Totes interesting…

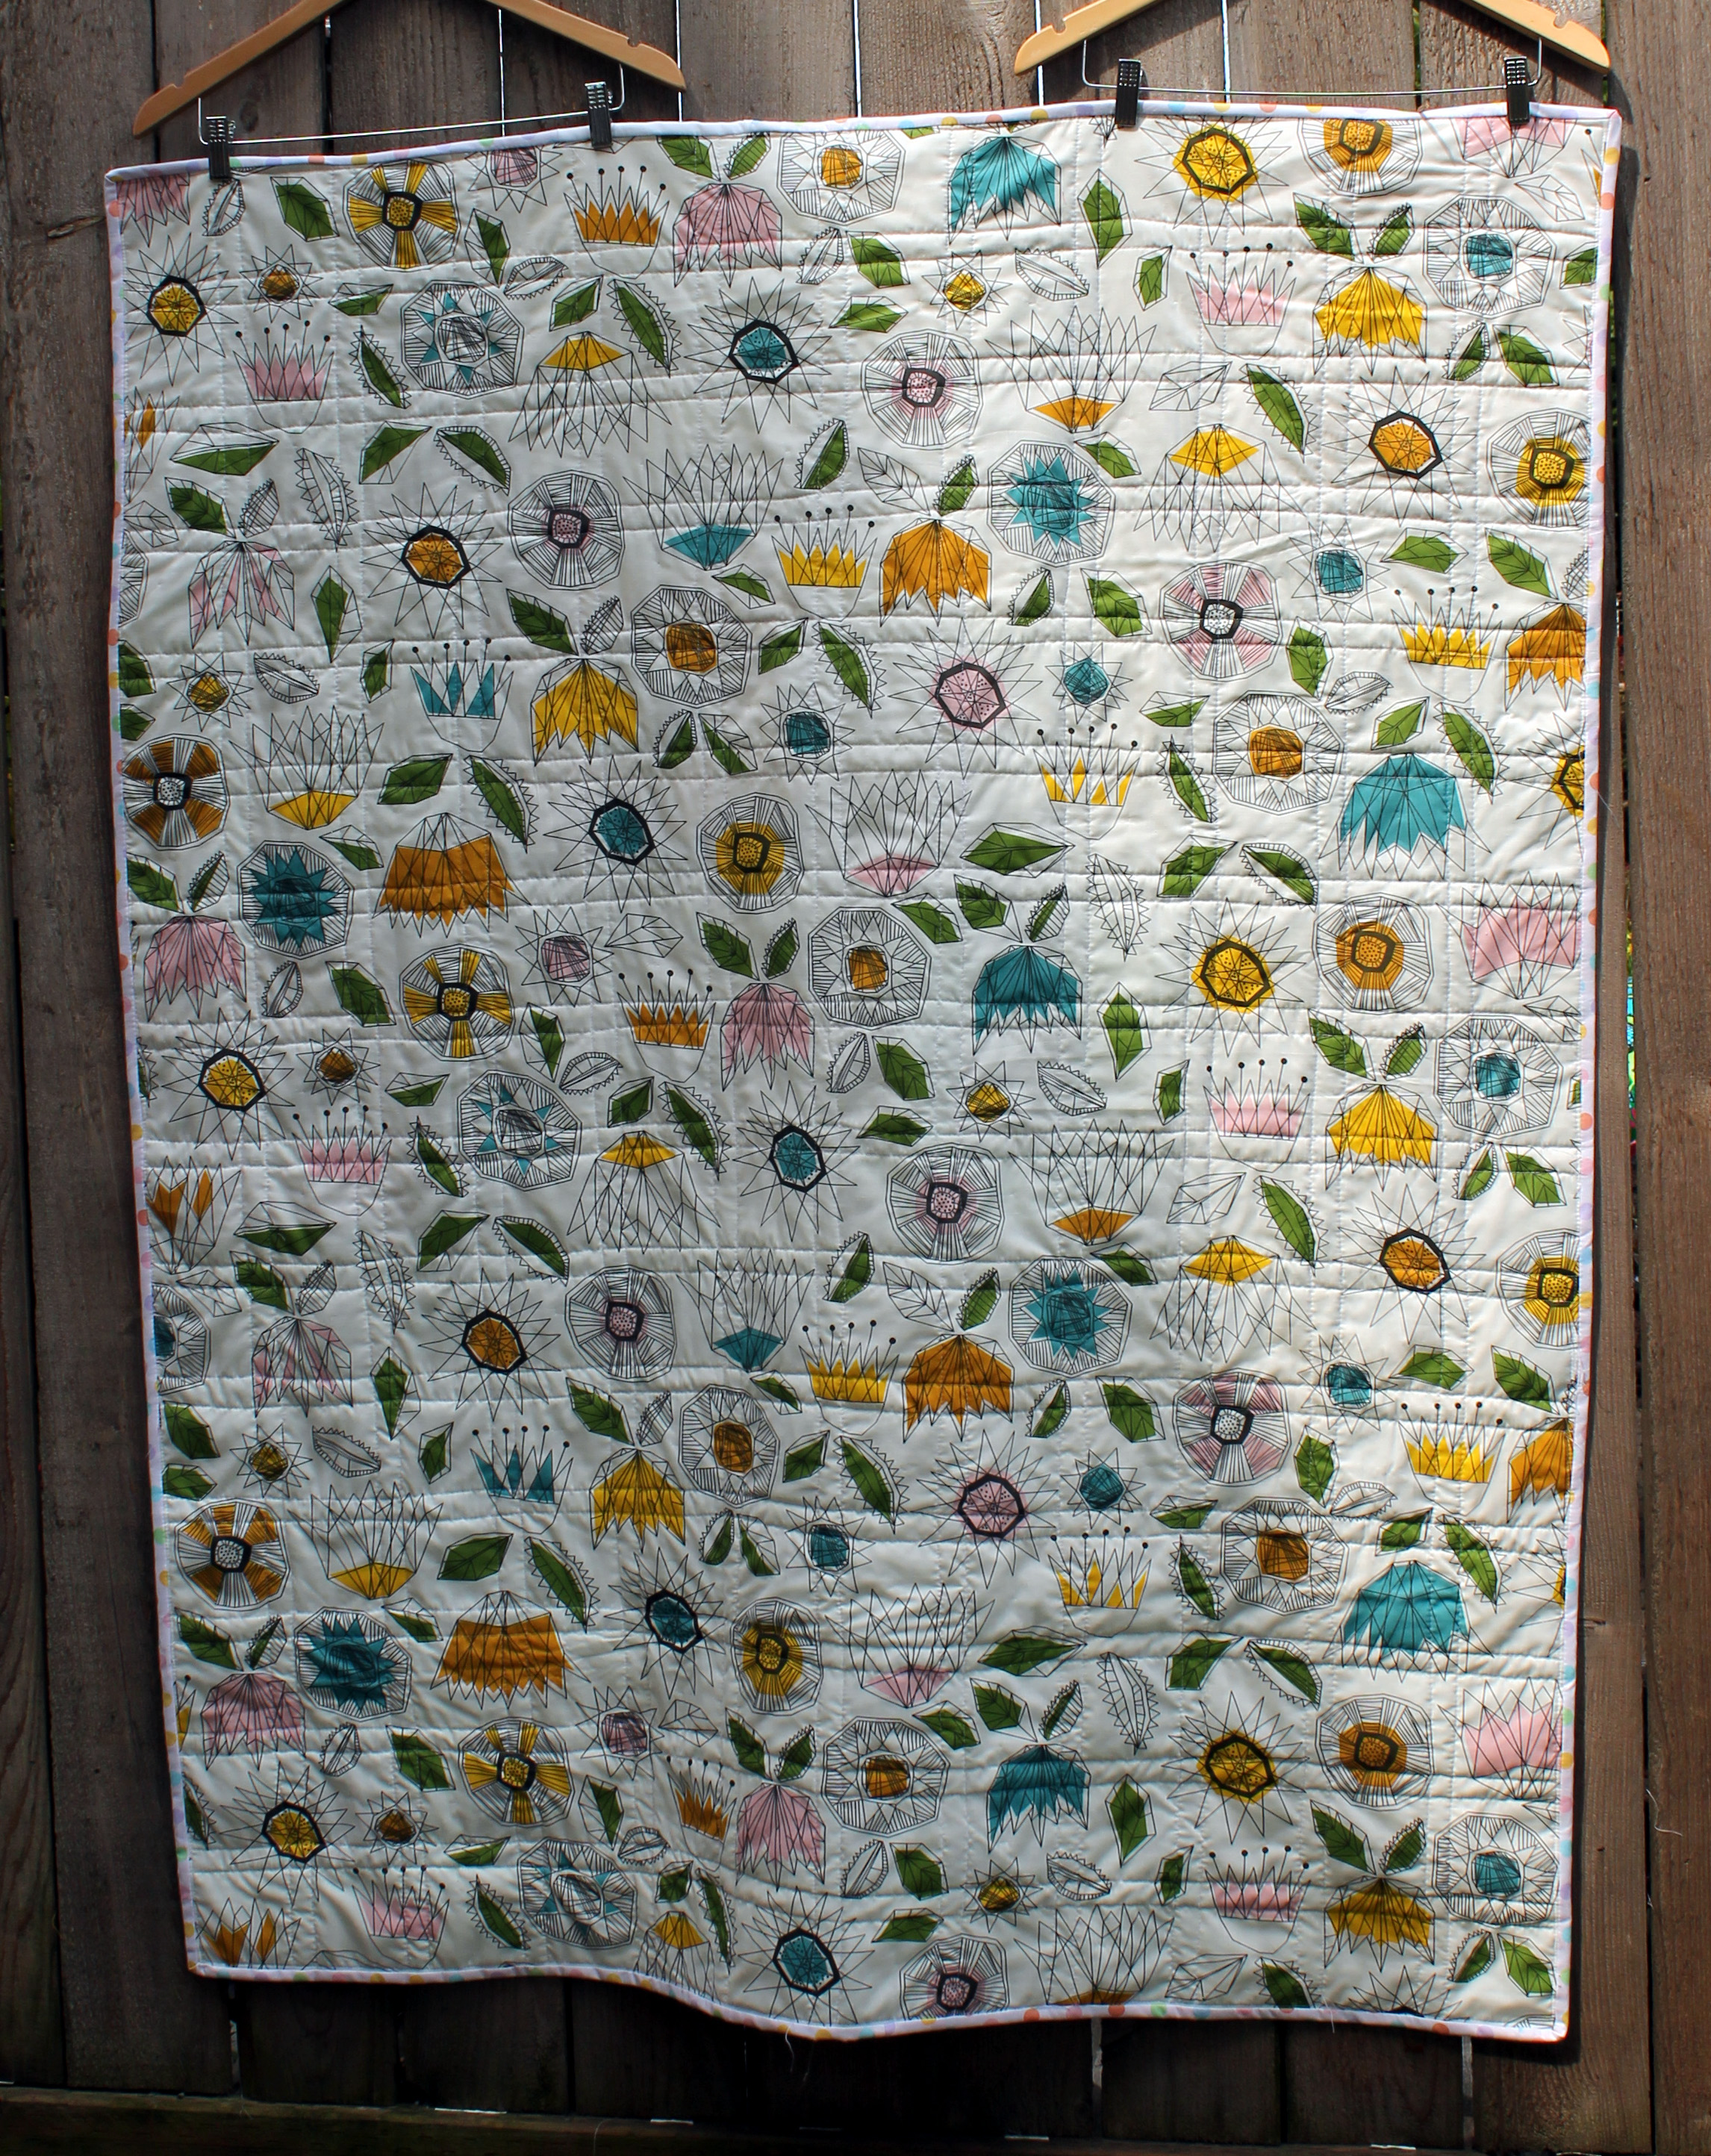
After the successful completion of my recent “quilted bucket” I decided to sign up for another swap.  This time I signed up for a brown bag tote swap for the PNW Modern Quilt Guild meet up.  I really must learn to say “no”…

As with the bucket I worked myself up into a tizzy about the whole thing. I mean a quilted container is one thing, a bag is a whole other kettle of fish.  After weeks and weeks of procrastinating I finally found a pattern I thought I could do without going crazy and set out on the adventure.

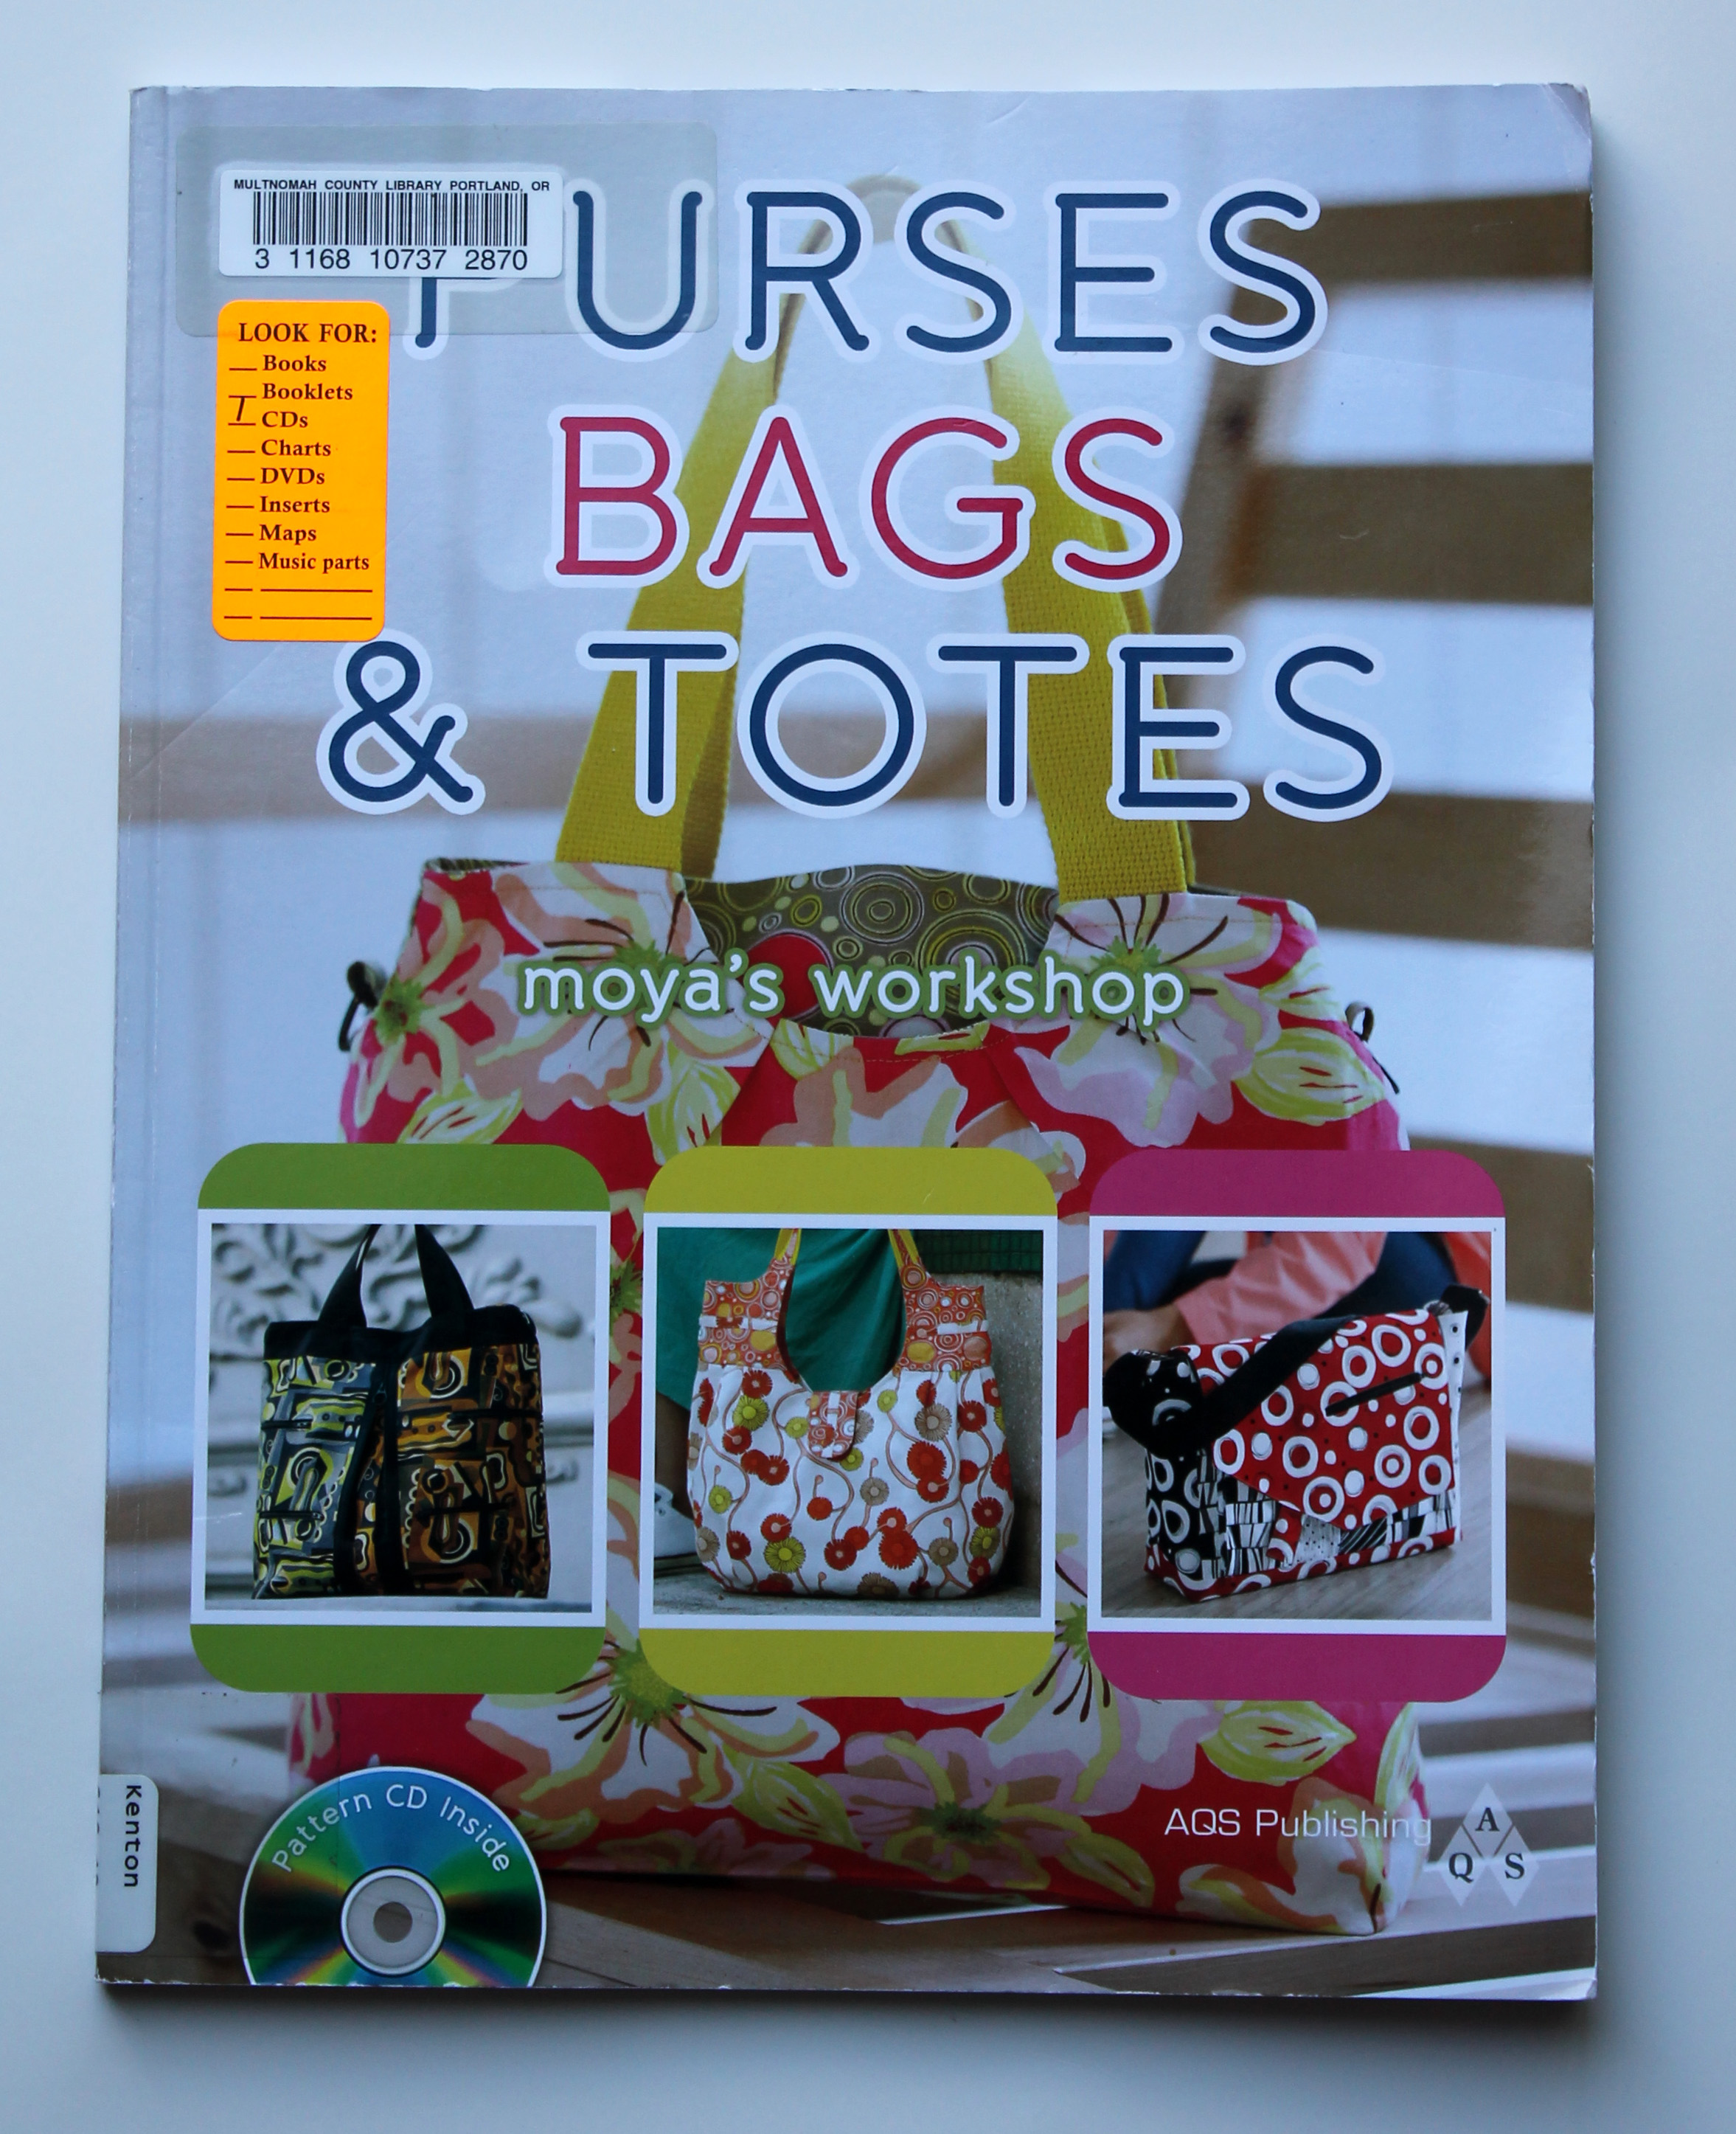
The pattern I choose was from Purses Bags & Totes which I borrowed out of my local library (and which may or may not be a little overdue!).

book

I then had to make a paper pattern, piecing together bits of letter sized sheets. Somehow I found it easier to do this while watching Project Runway for some reason!

pattern making

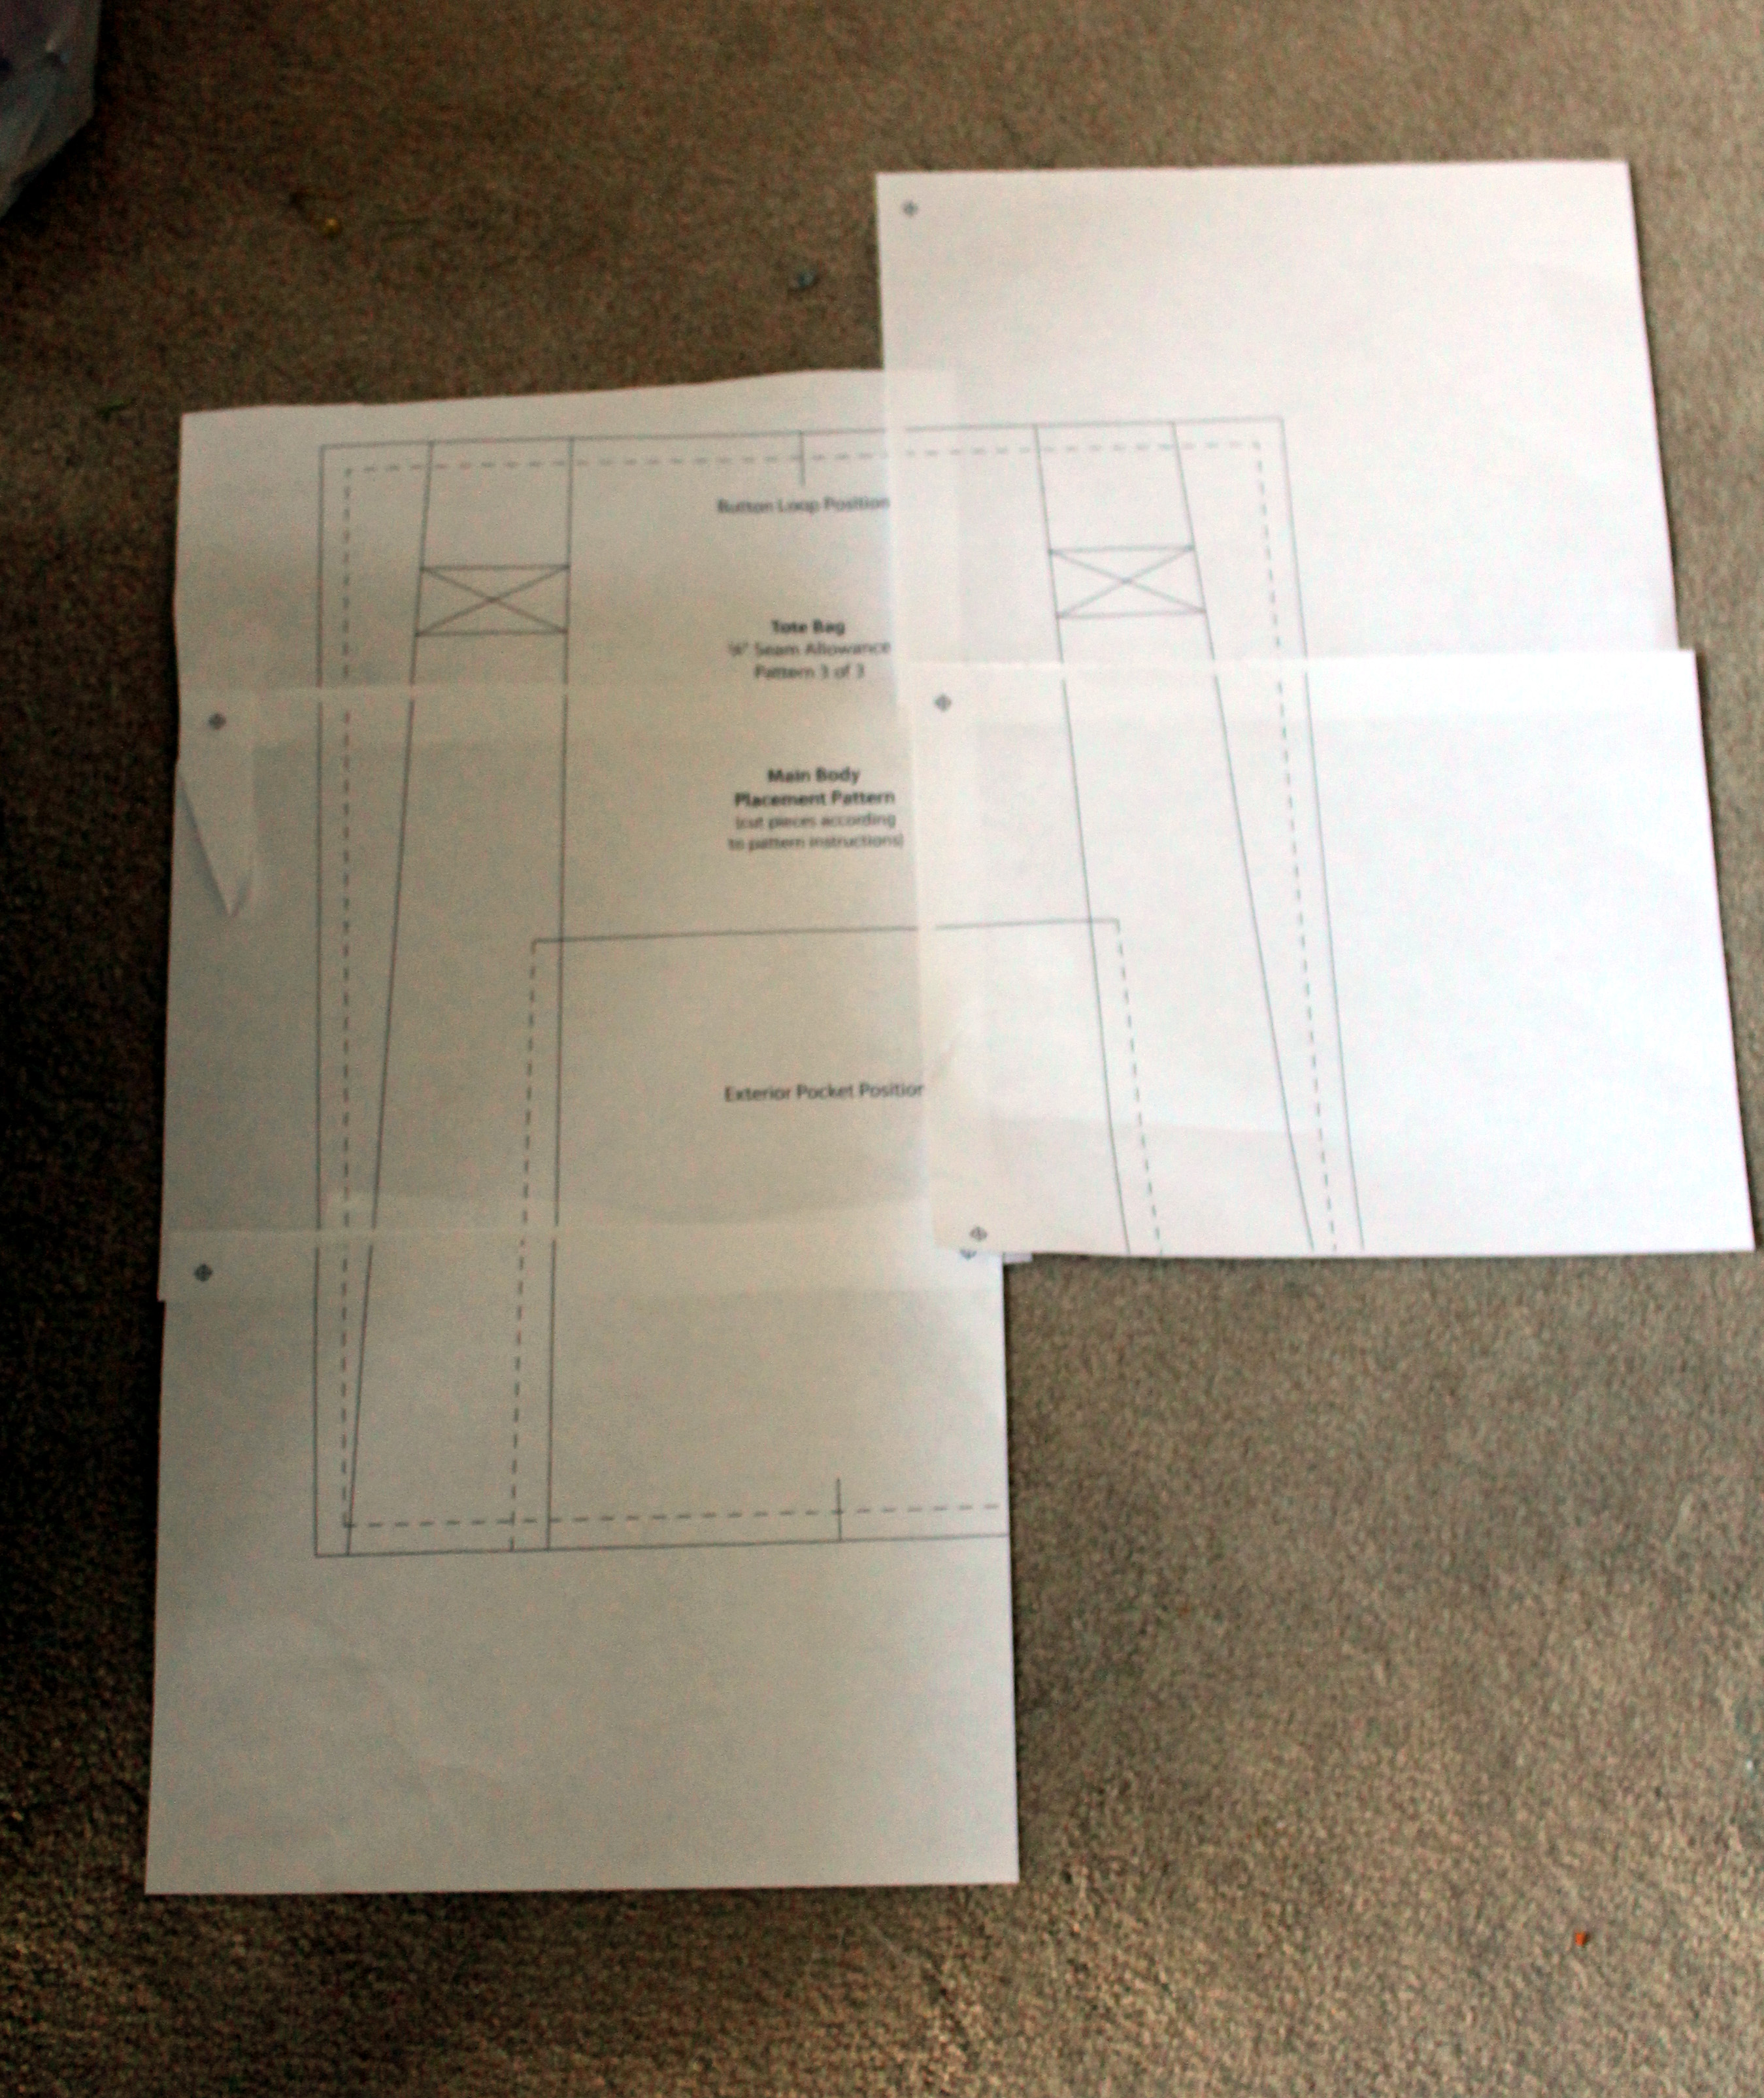
For the fabric we were given 1/2 a yard of denim from Robert Kaufman and I choose to supplement it with Michael Miller’s “Maze” and a selection of solids.

fabric detail
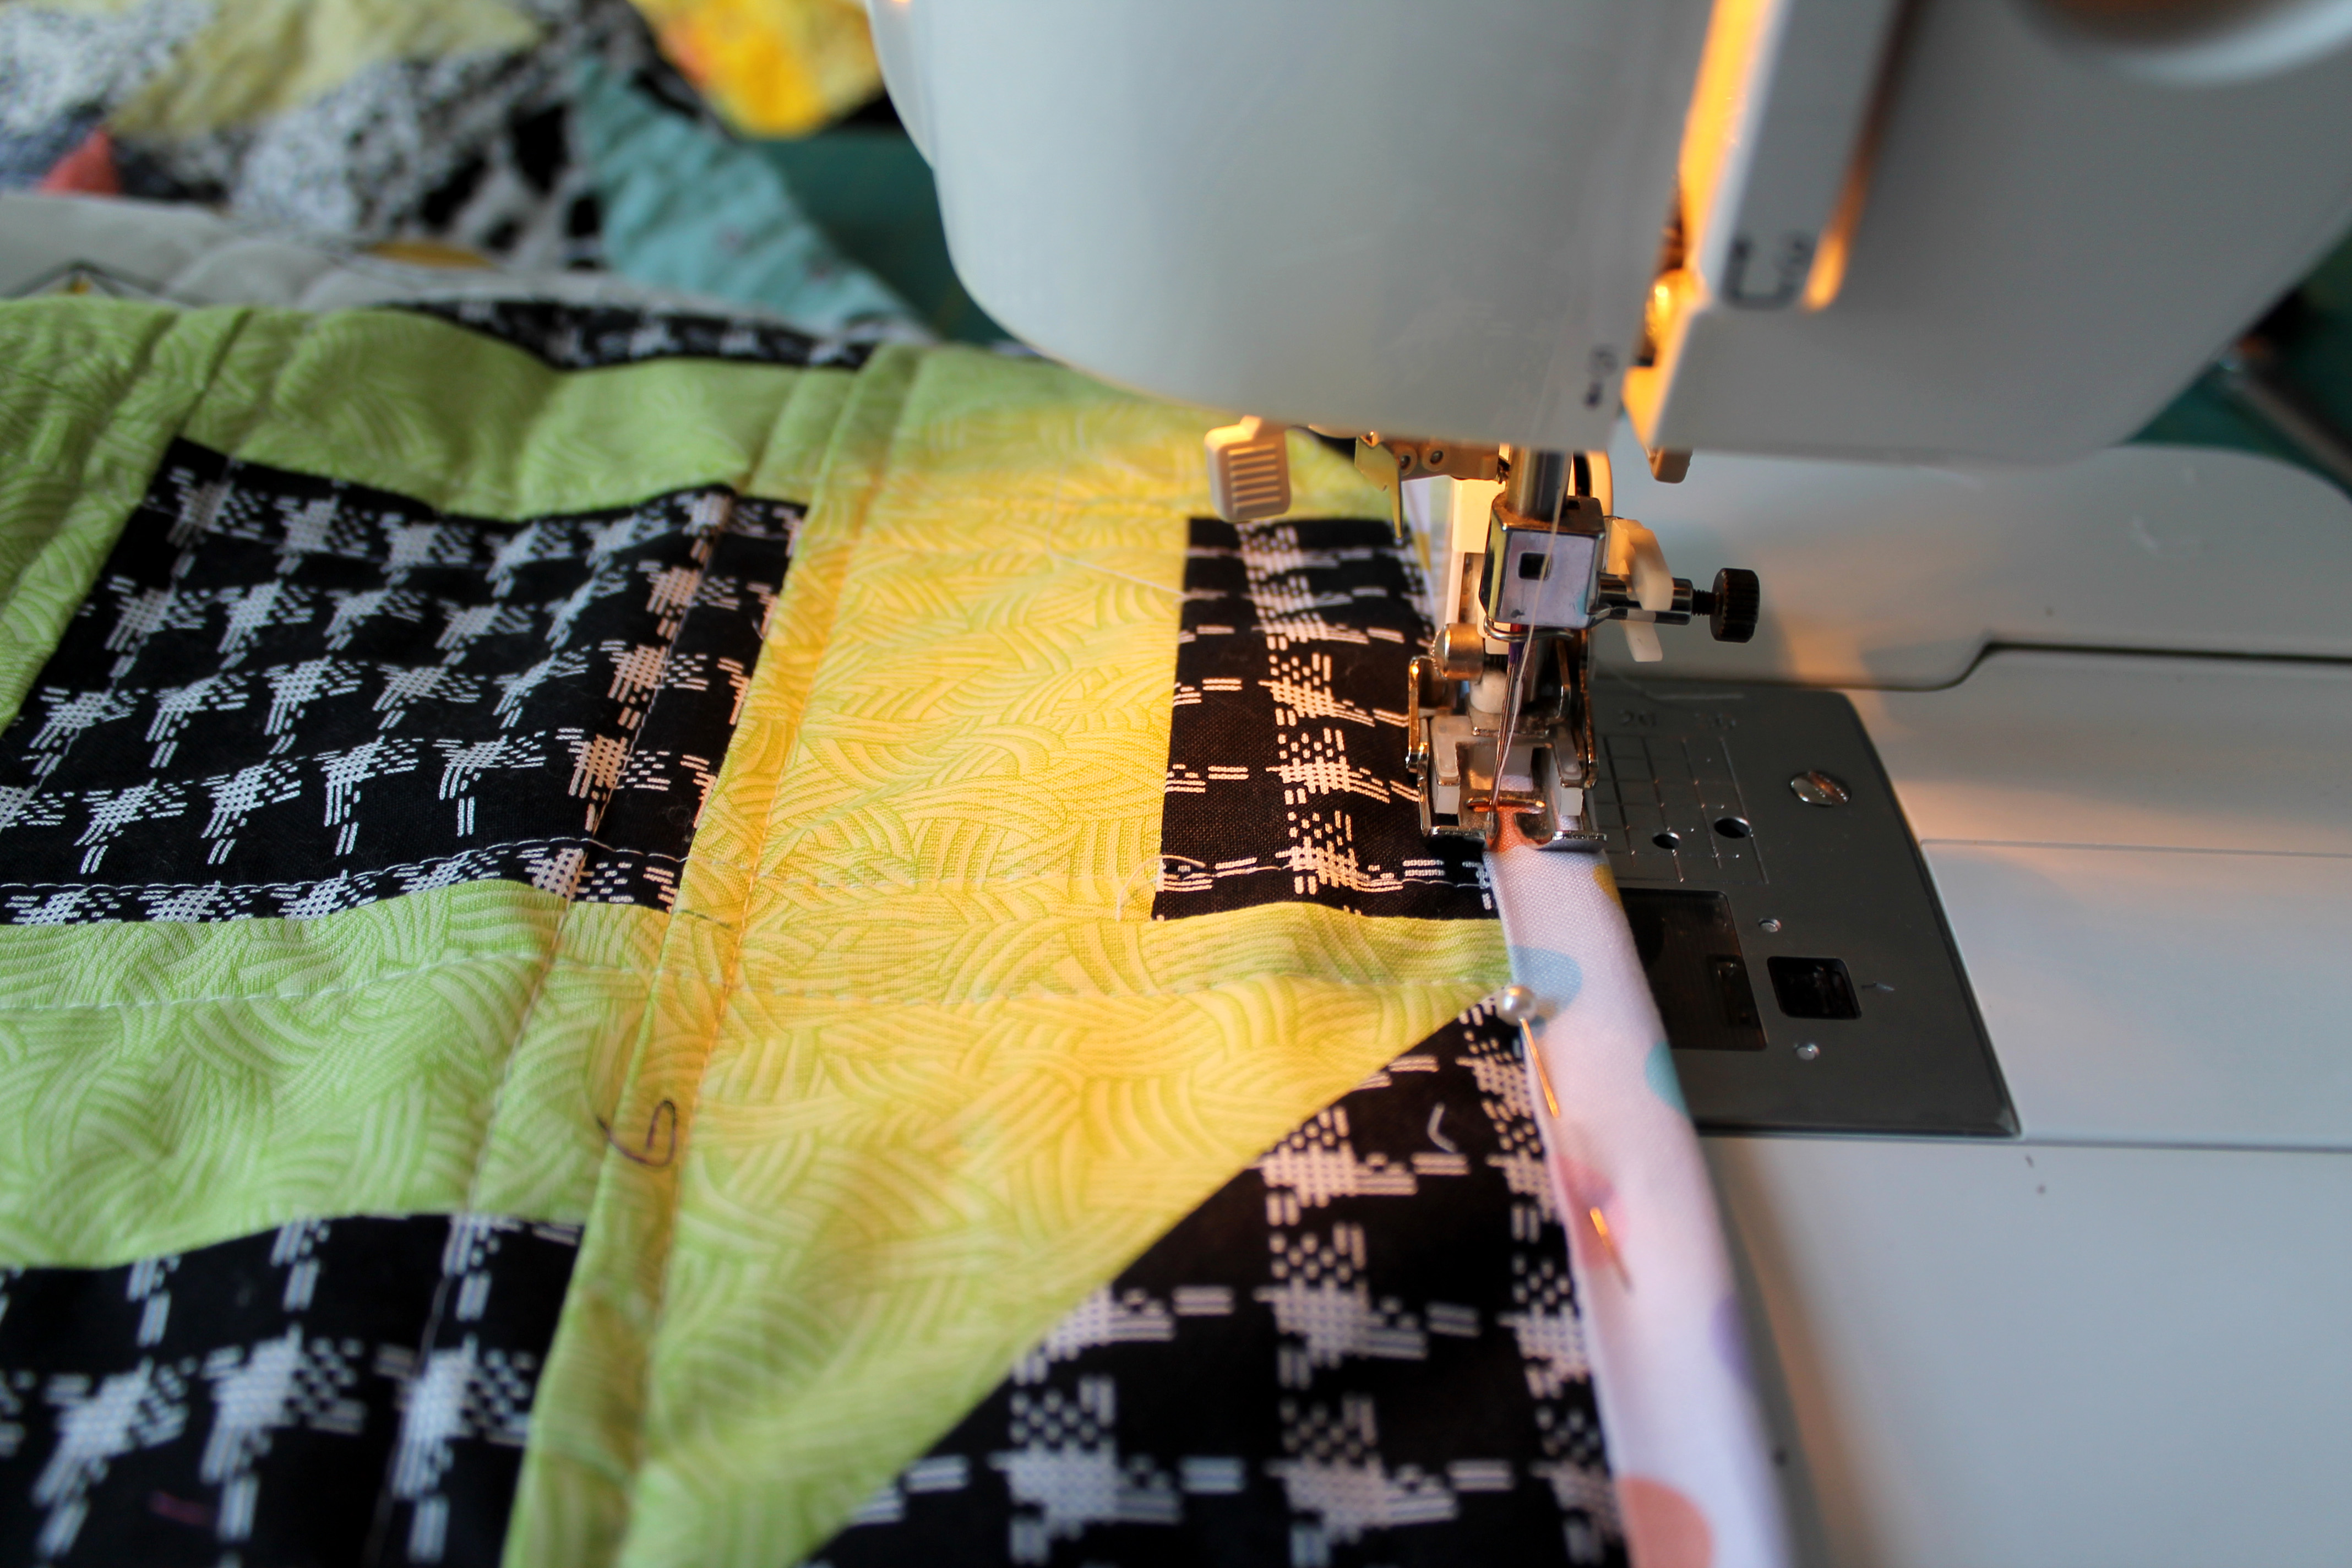
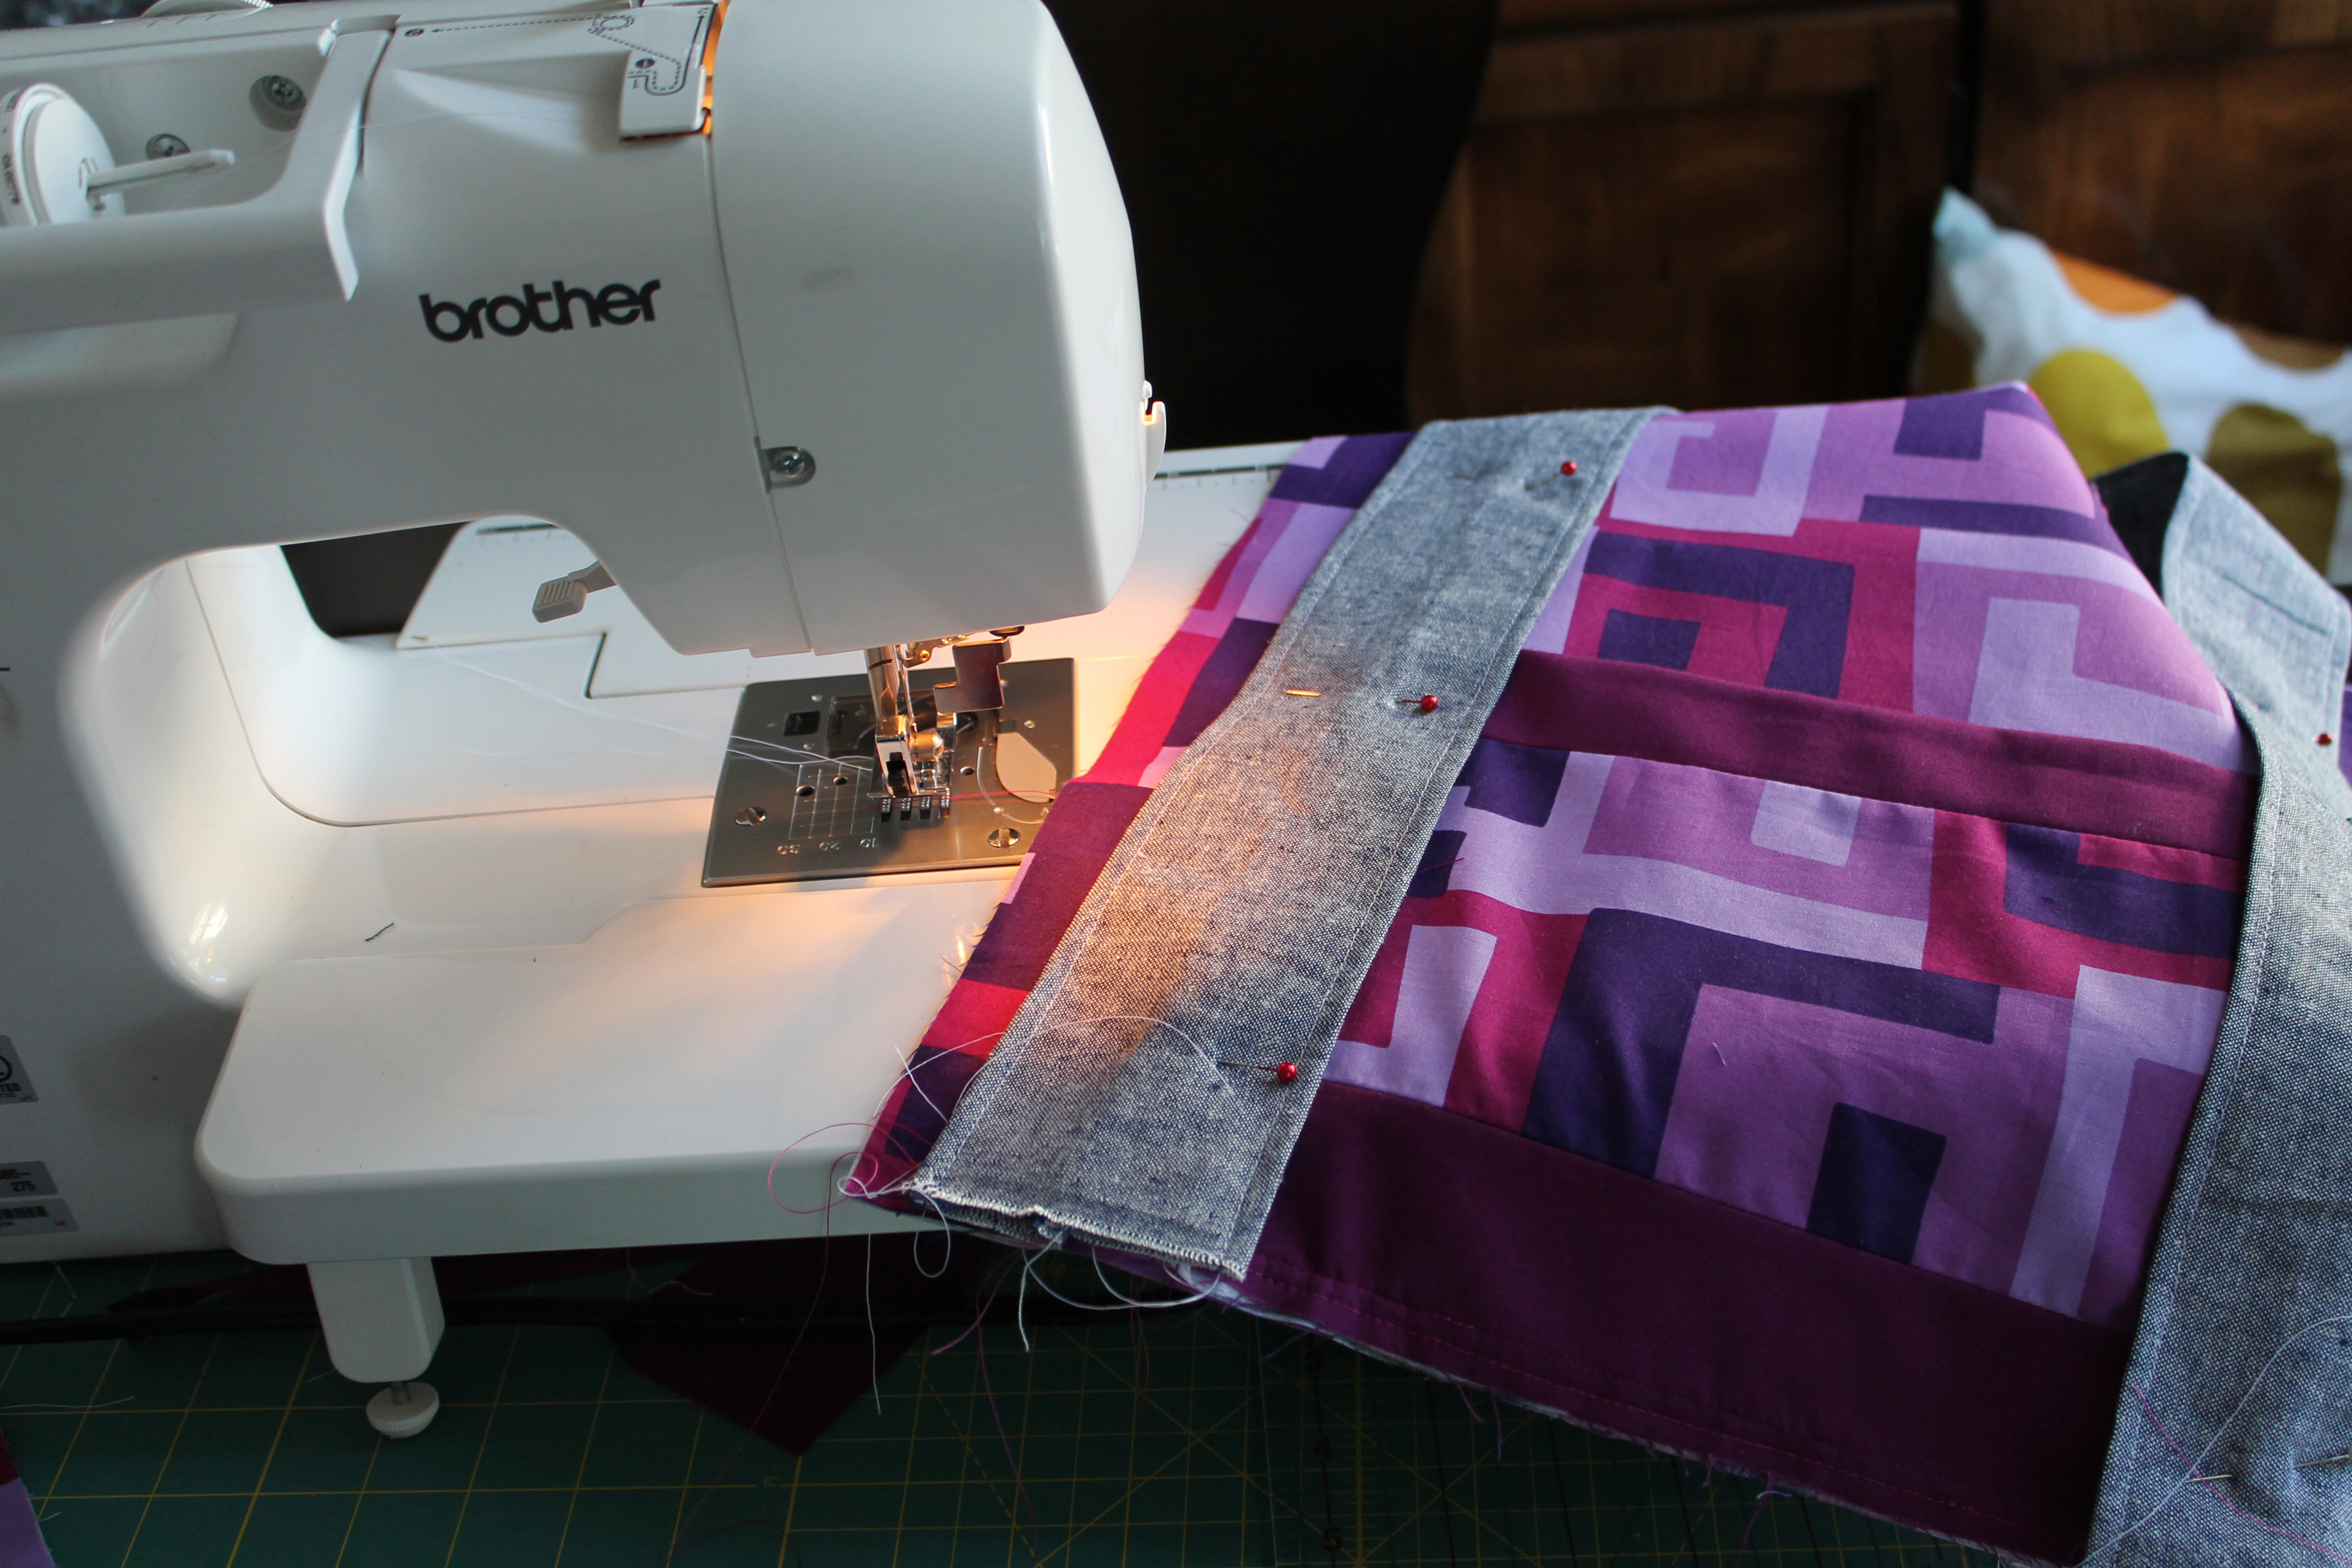
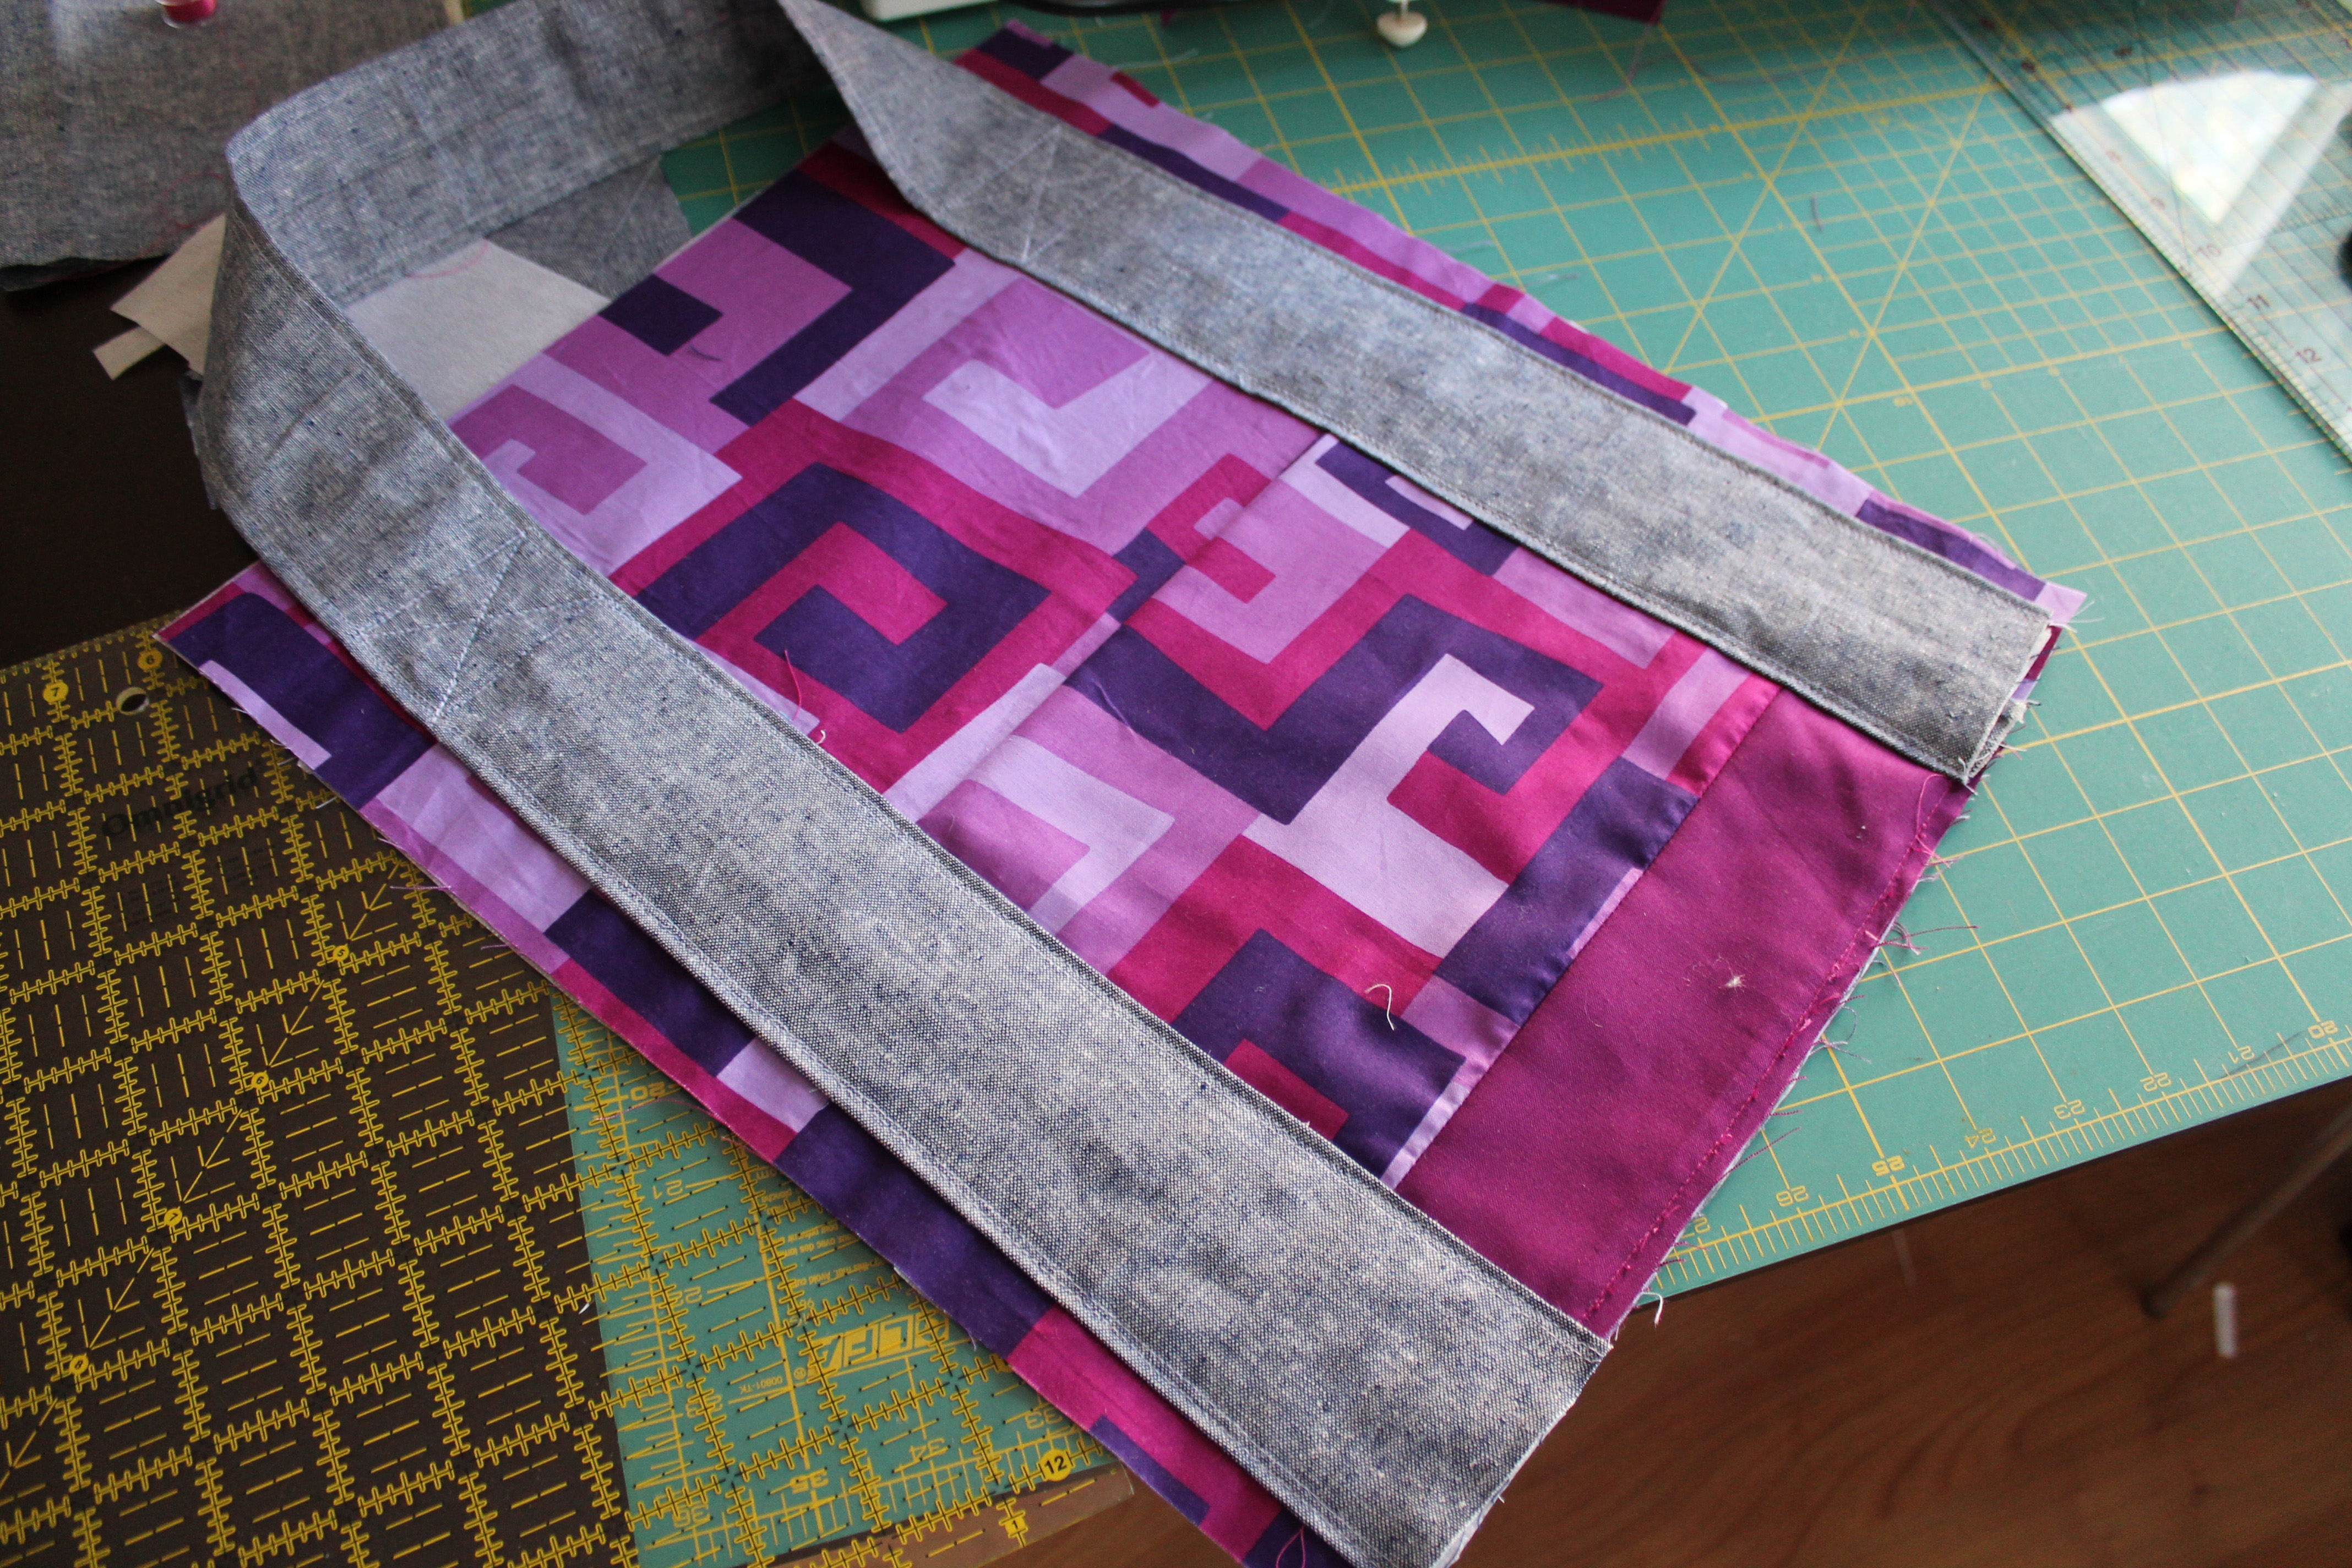
Once the pattern and the fabric where chosen the fun began.  There were at least 386 steps this time (double the steps of the bucket) and I was so busy making the sucker I forgot to photograph everything.  There was however a lot of sewing, a lot of pinning and a lot of swapping out thread – I constantly alternating between white and fuchsia bobbins.

sewing

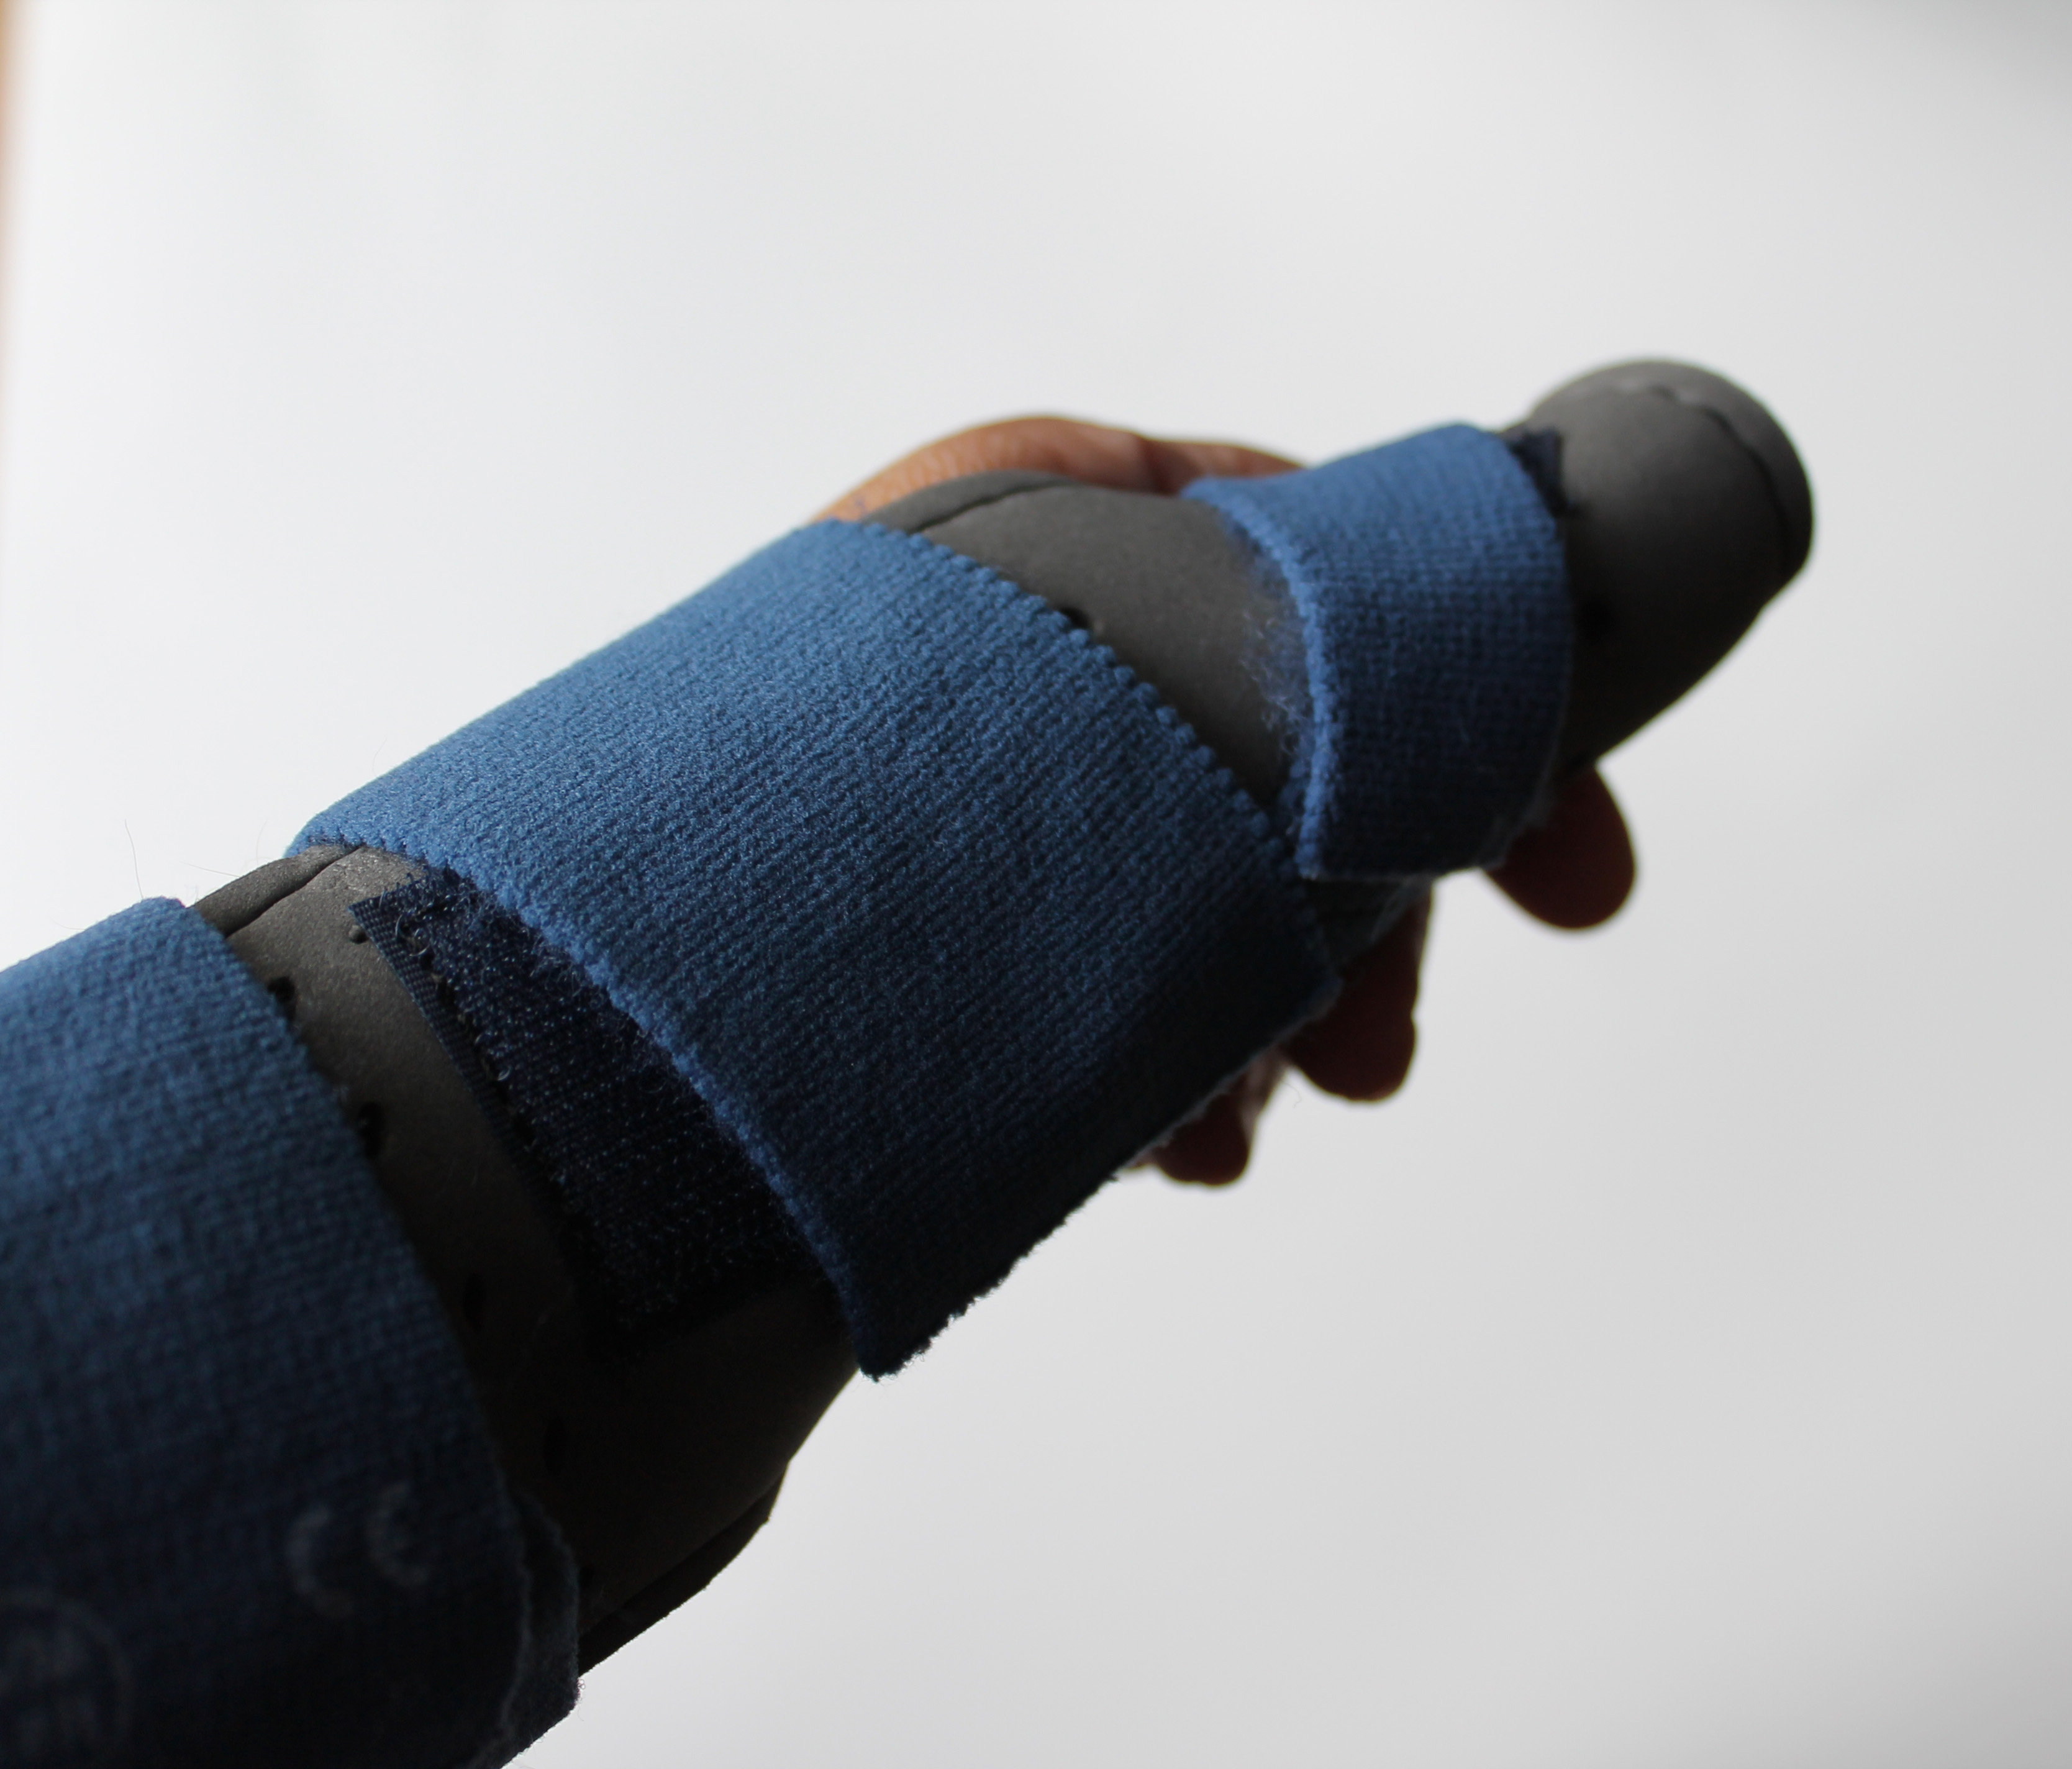
There was also the wonderful step I love… that step that lets you know you are nearing the end… the step that is hard to do with a hand brace on… the step I like to call “turning the sucker right side out through a small hole in the lining”.

turning inside out

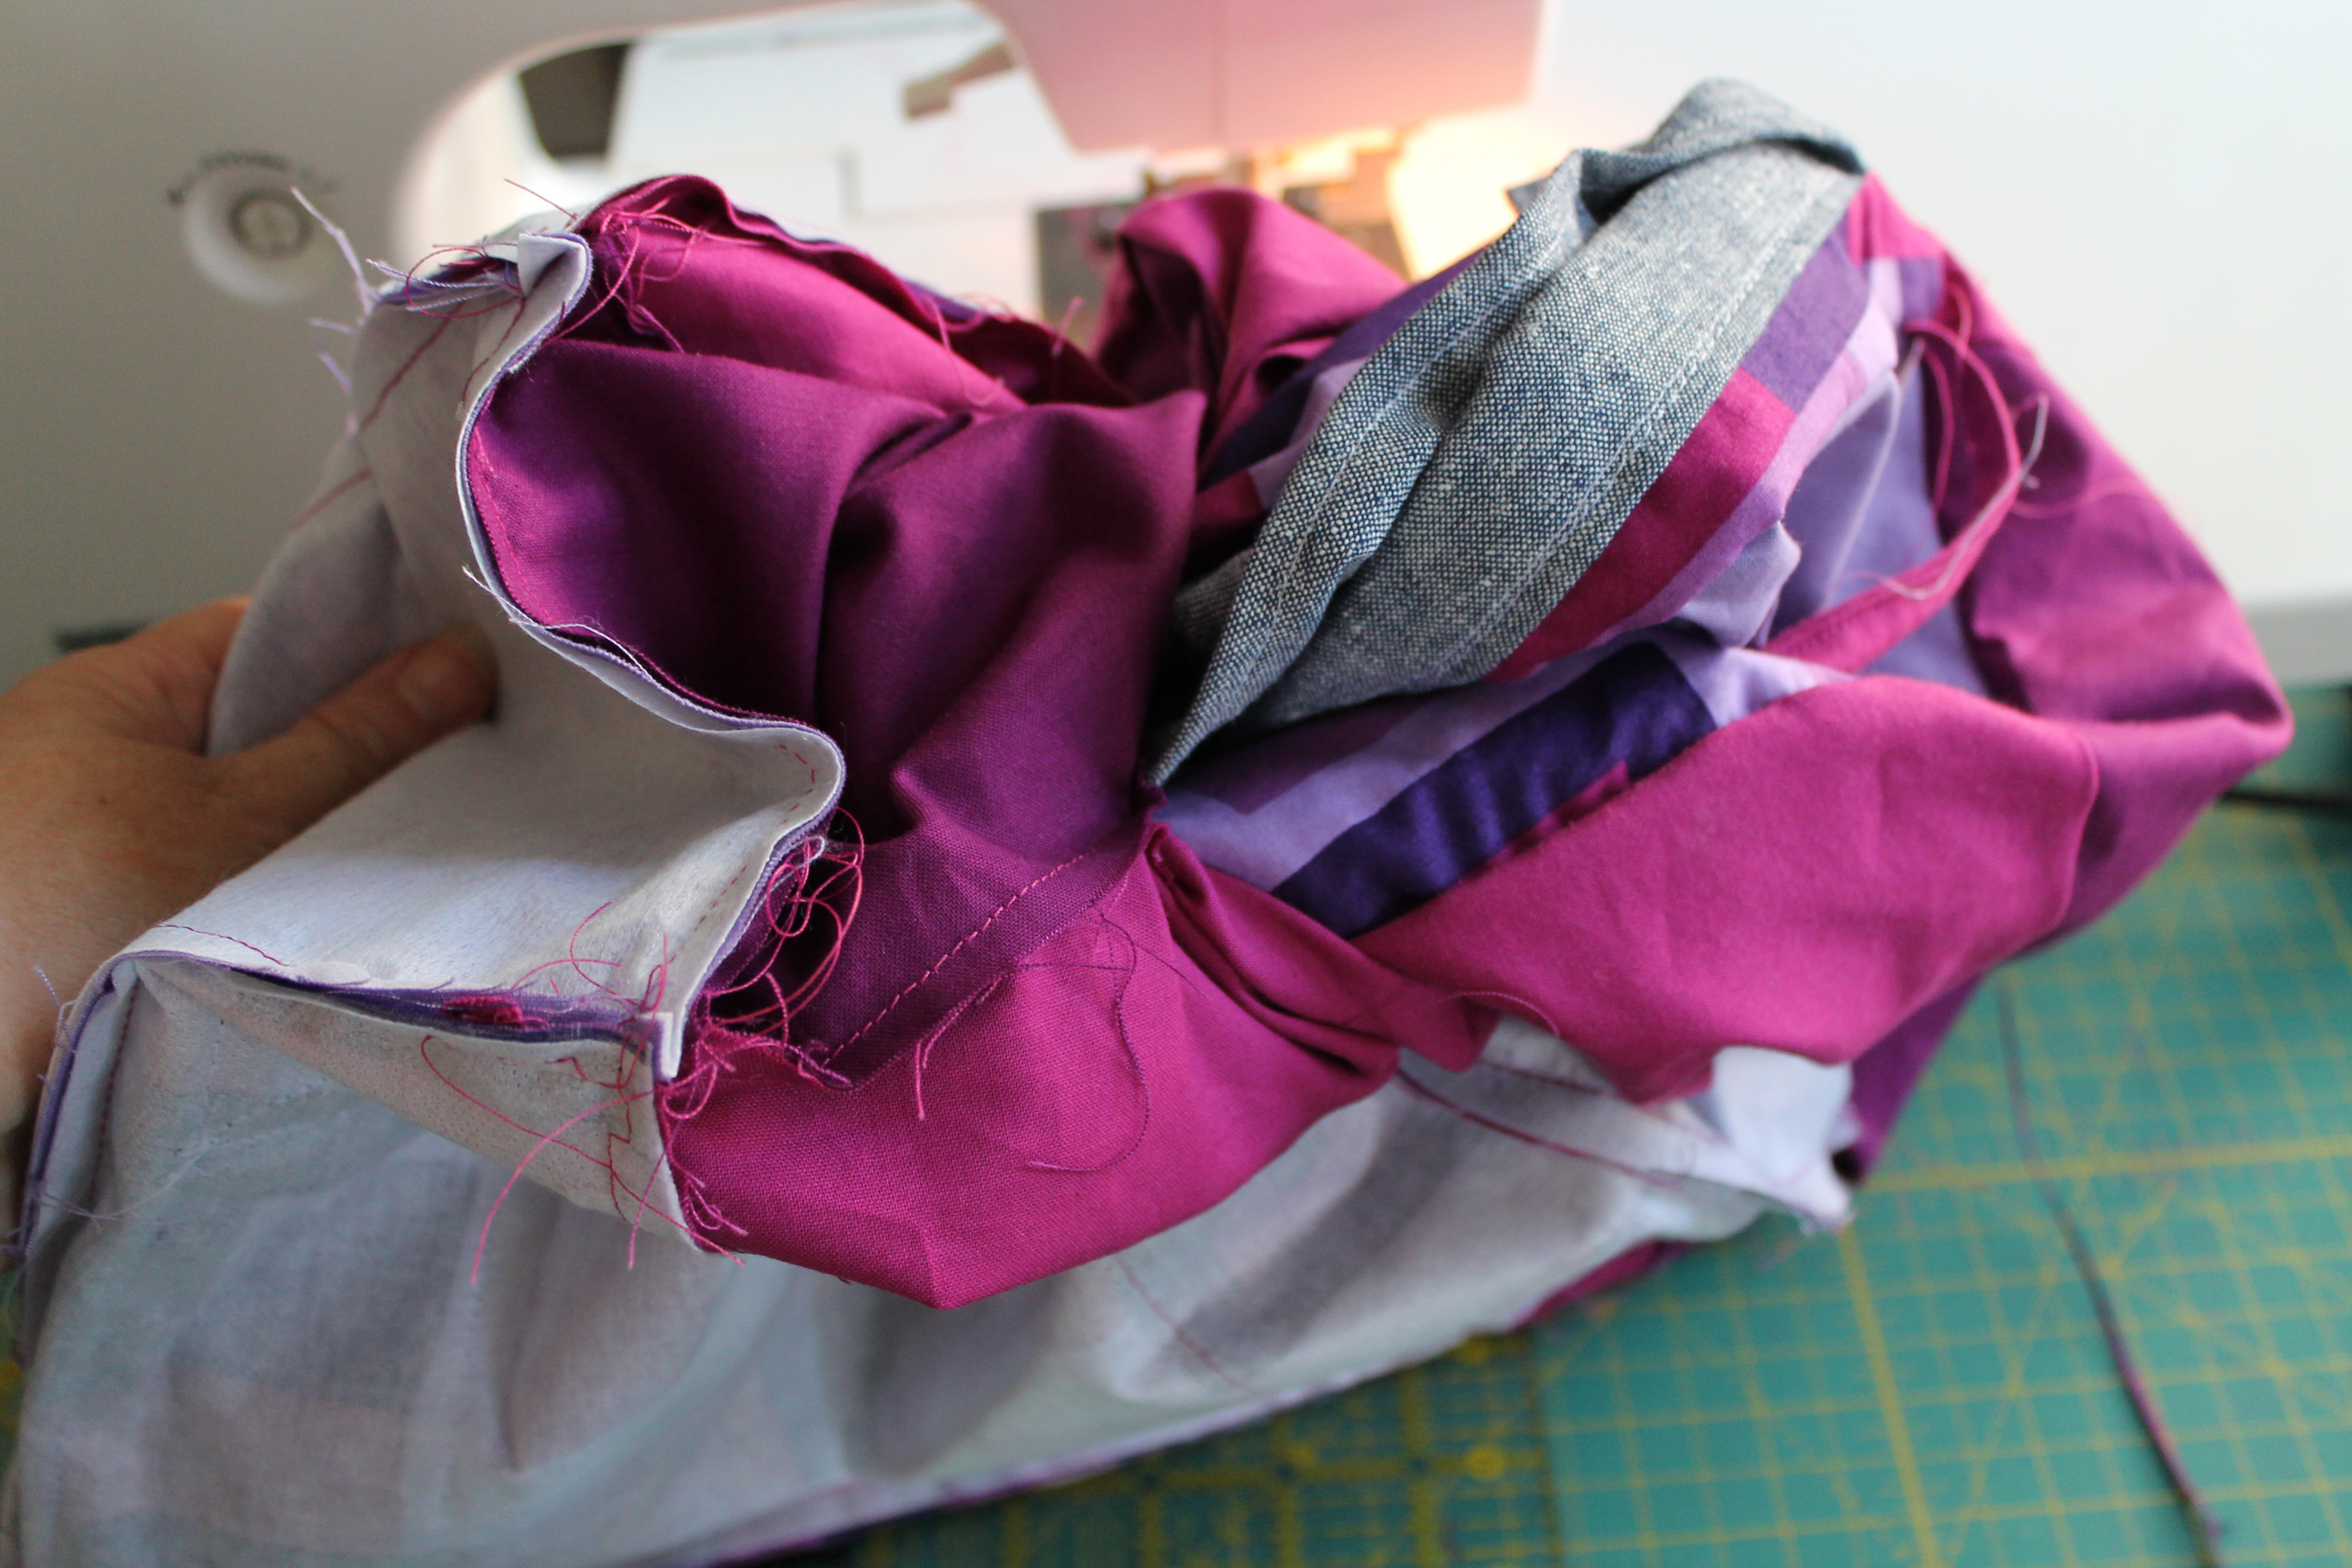
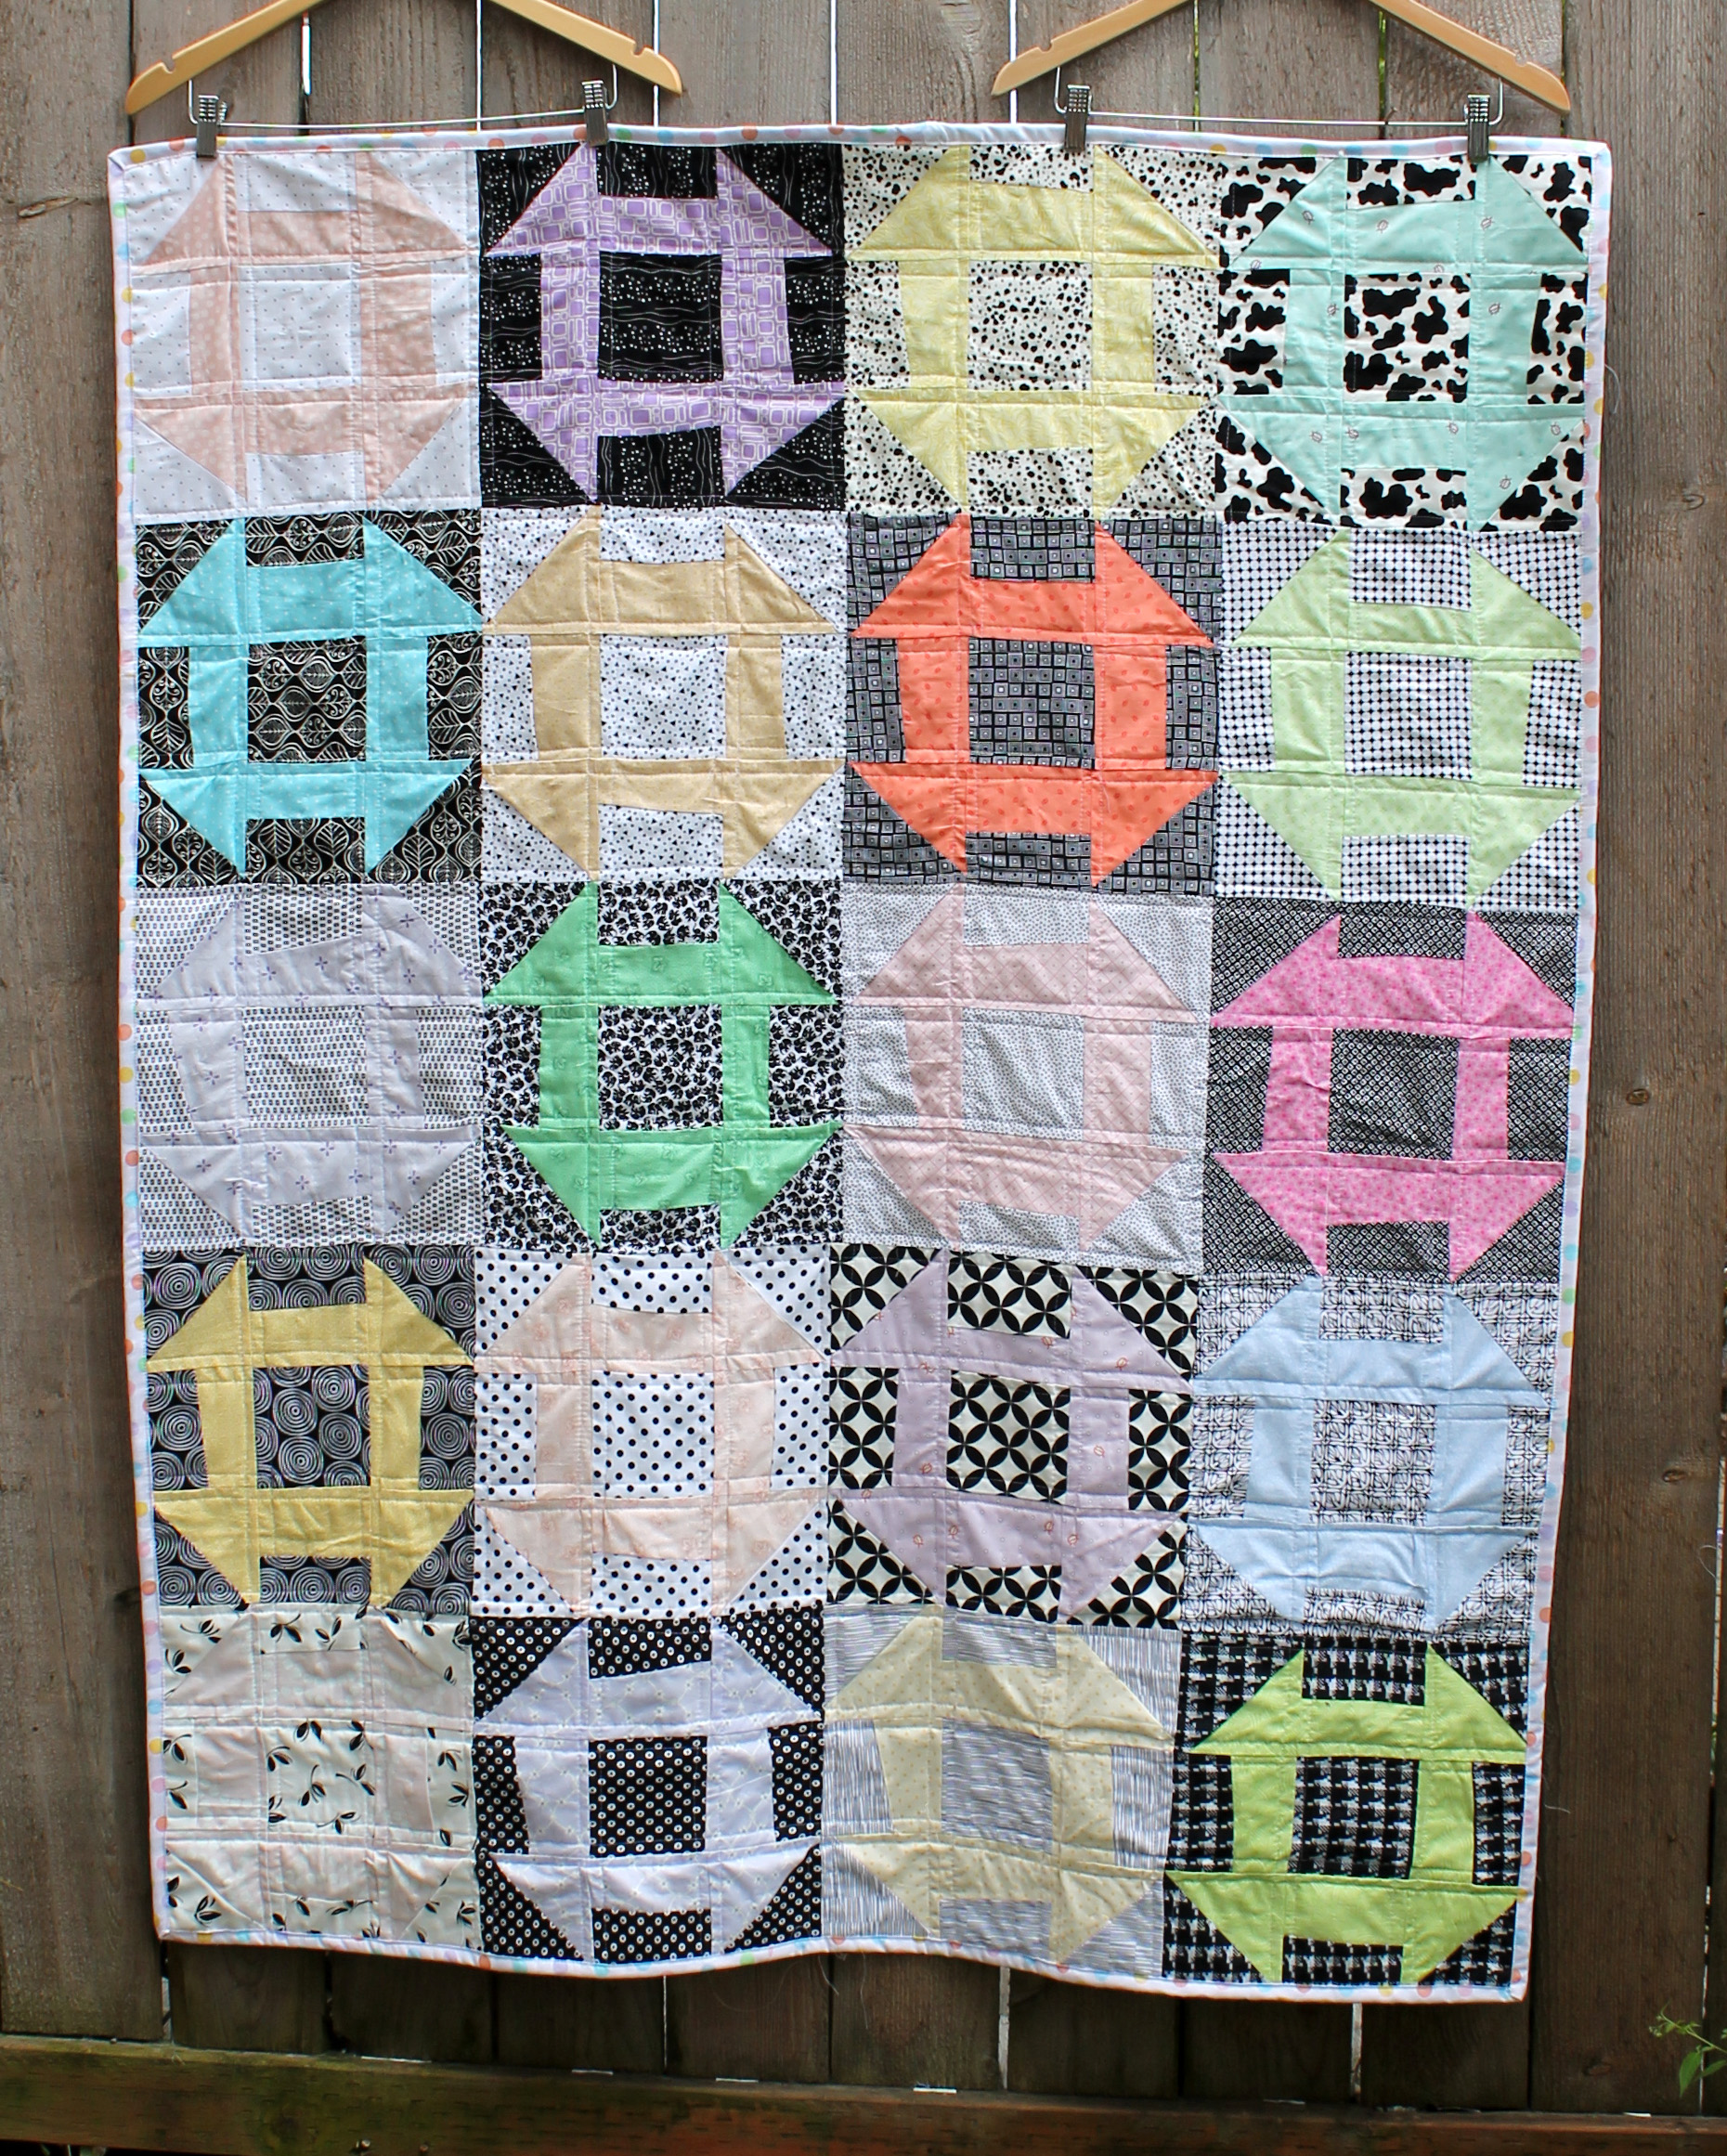
Finally, after more steps that I had counted on, I was left with this…

finished tote bag

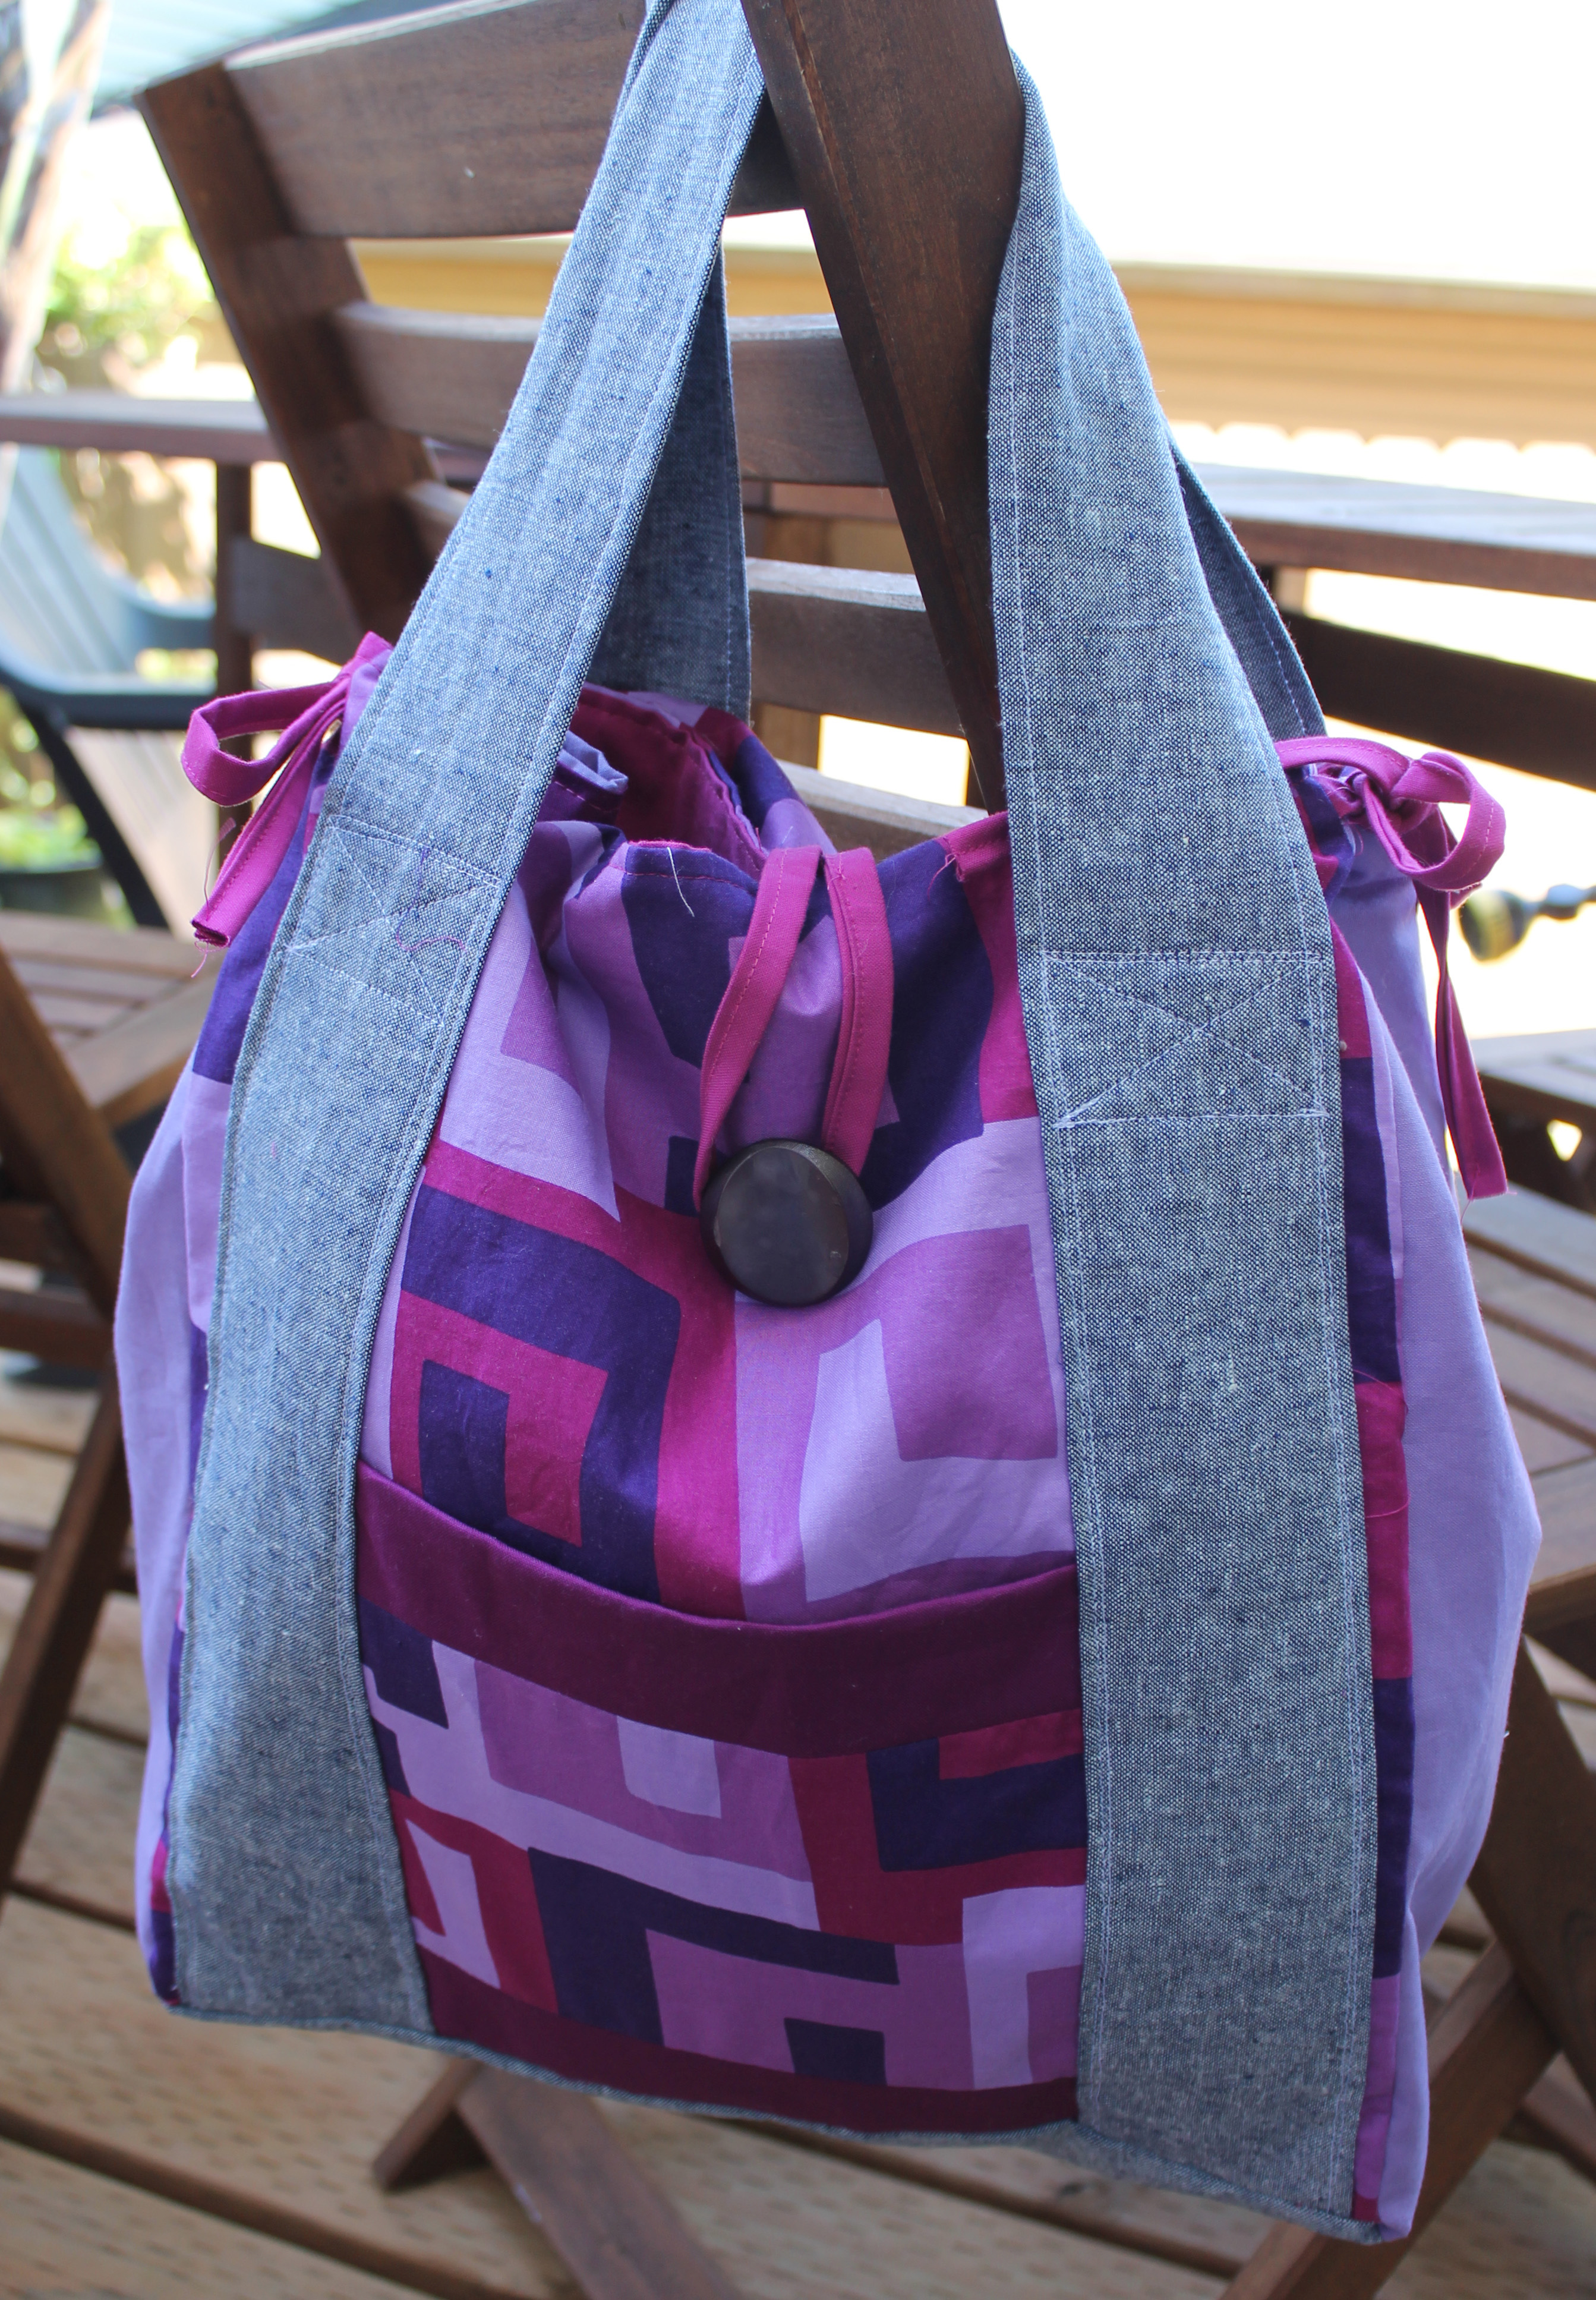
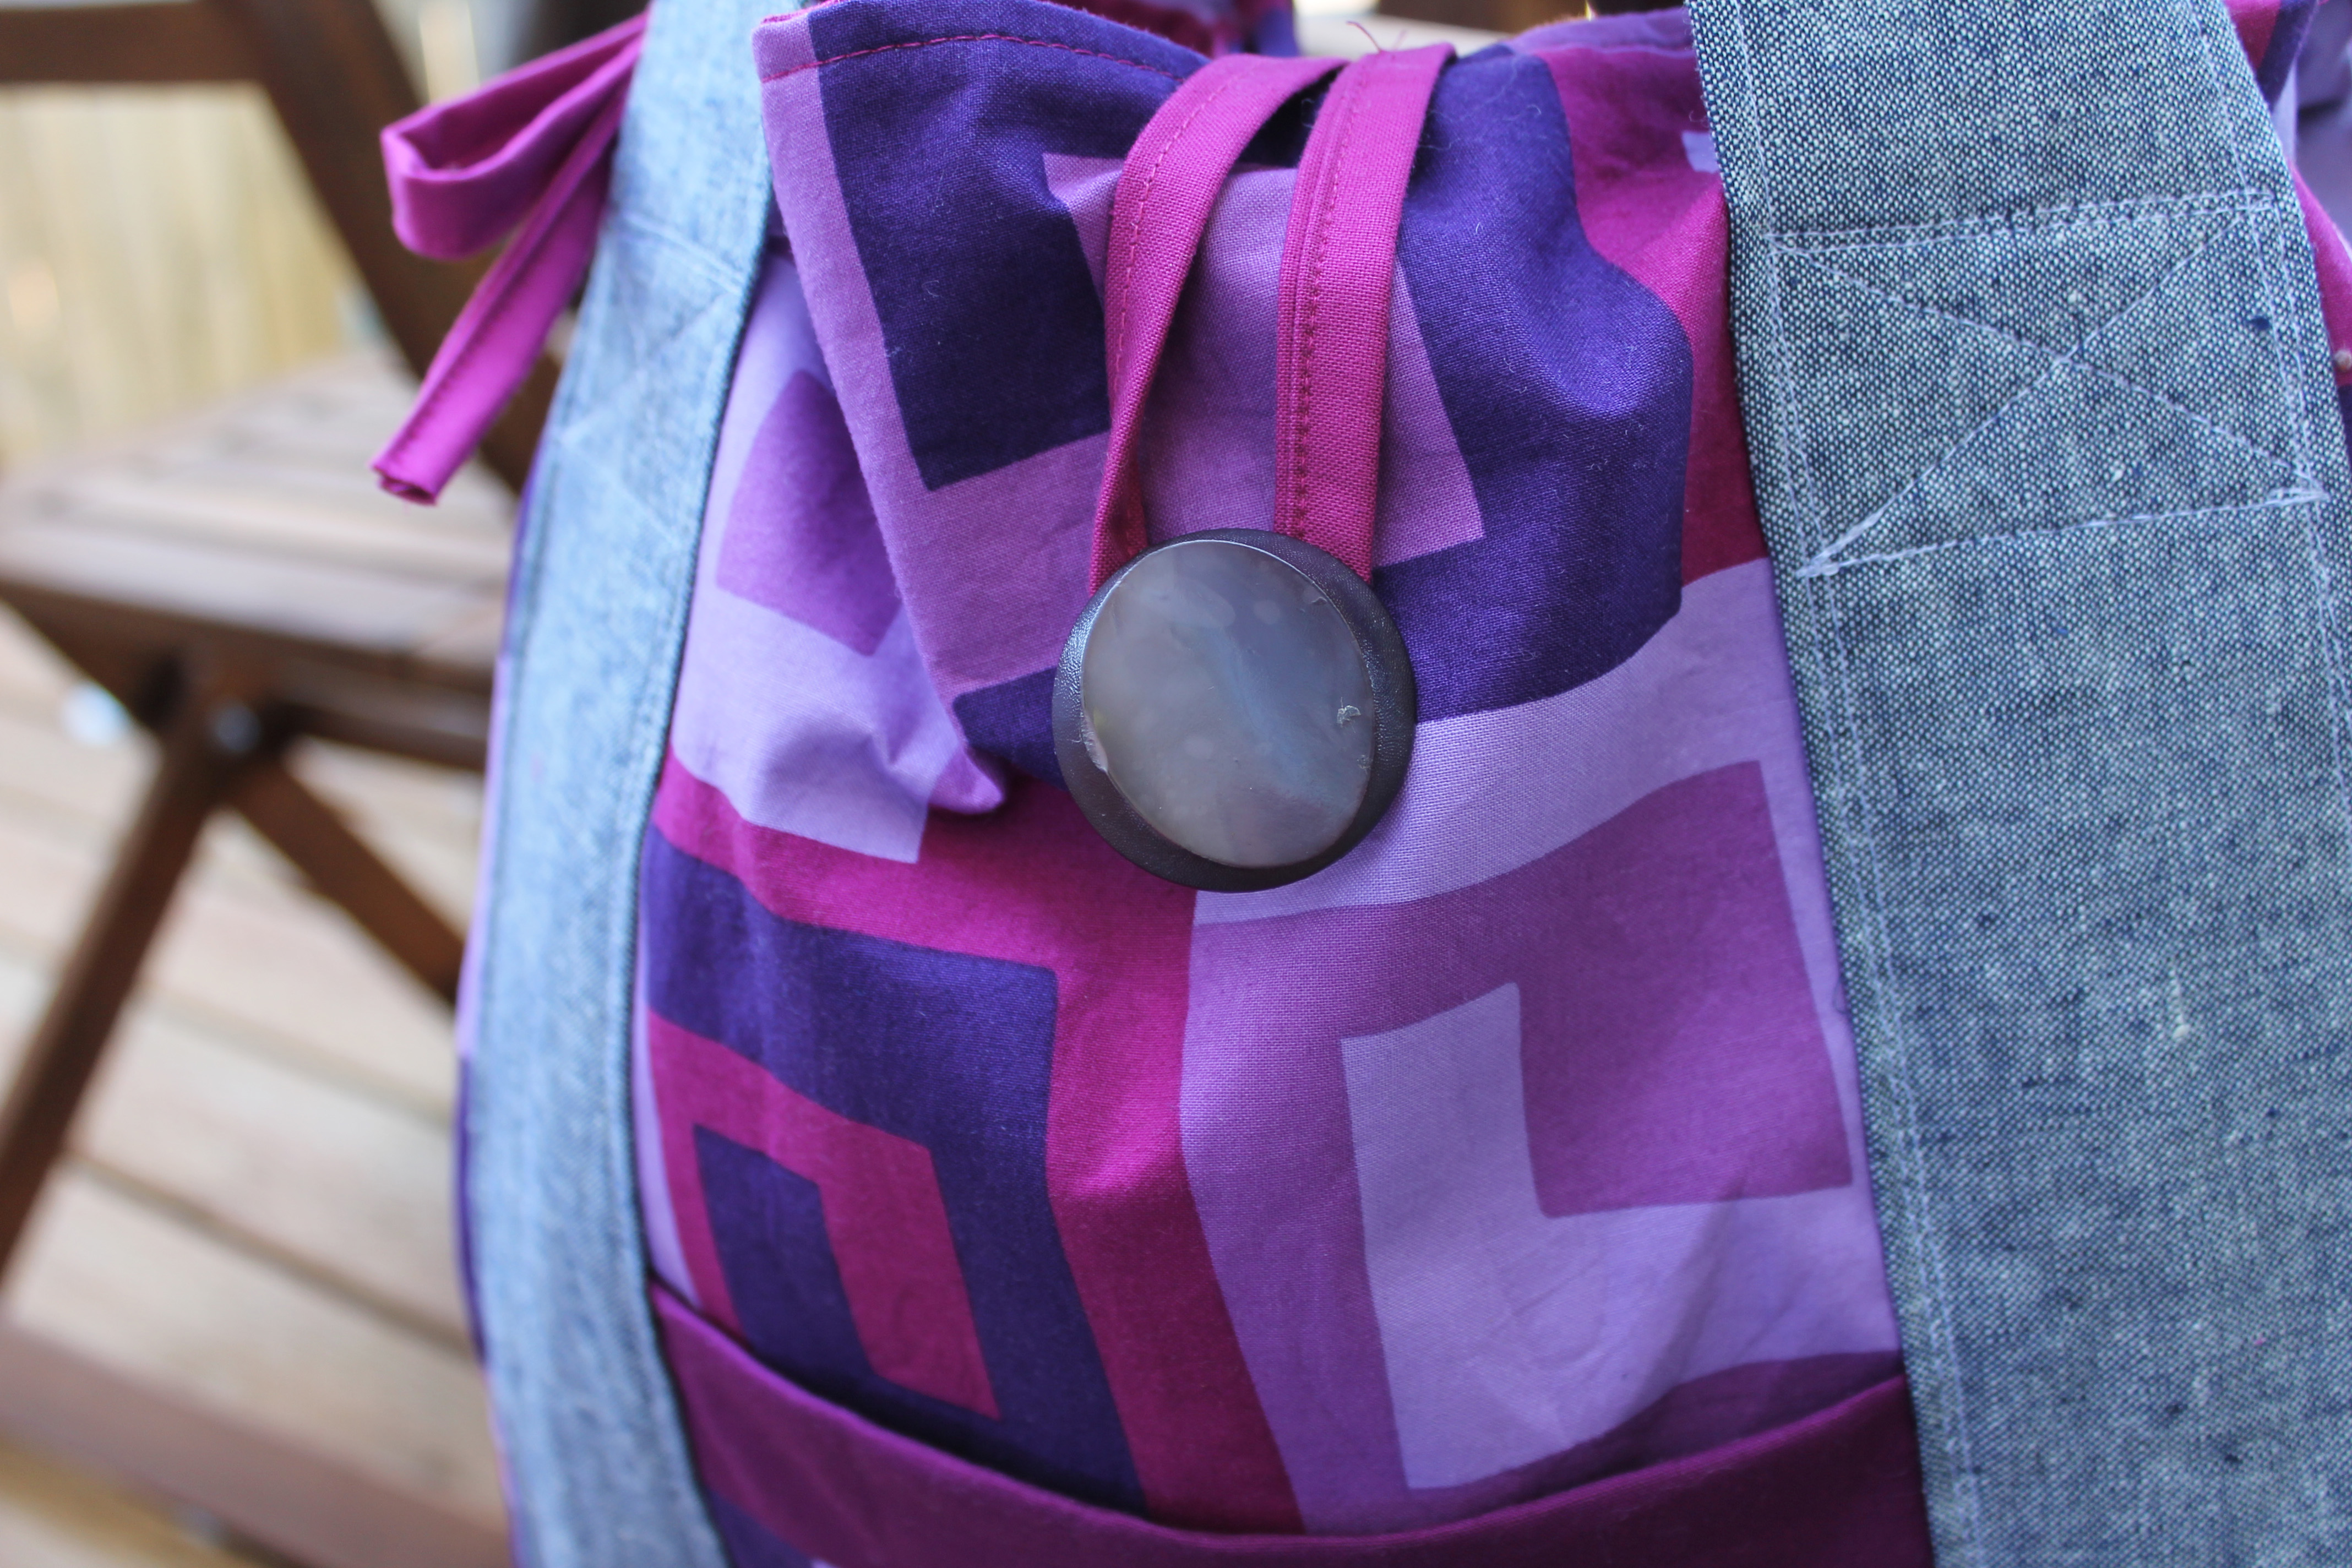
My tote has two pockets – one in the front and one in the back. I bordered the front one with a solid fuchsia to make it stand out a little…

back side of tote

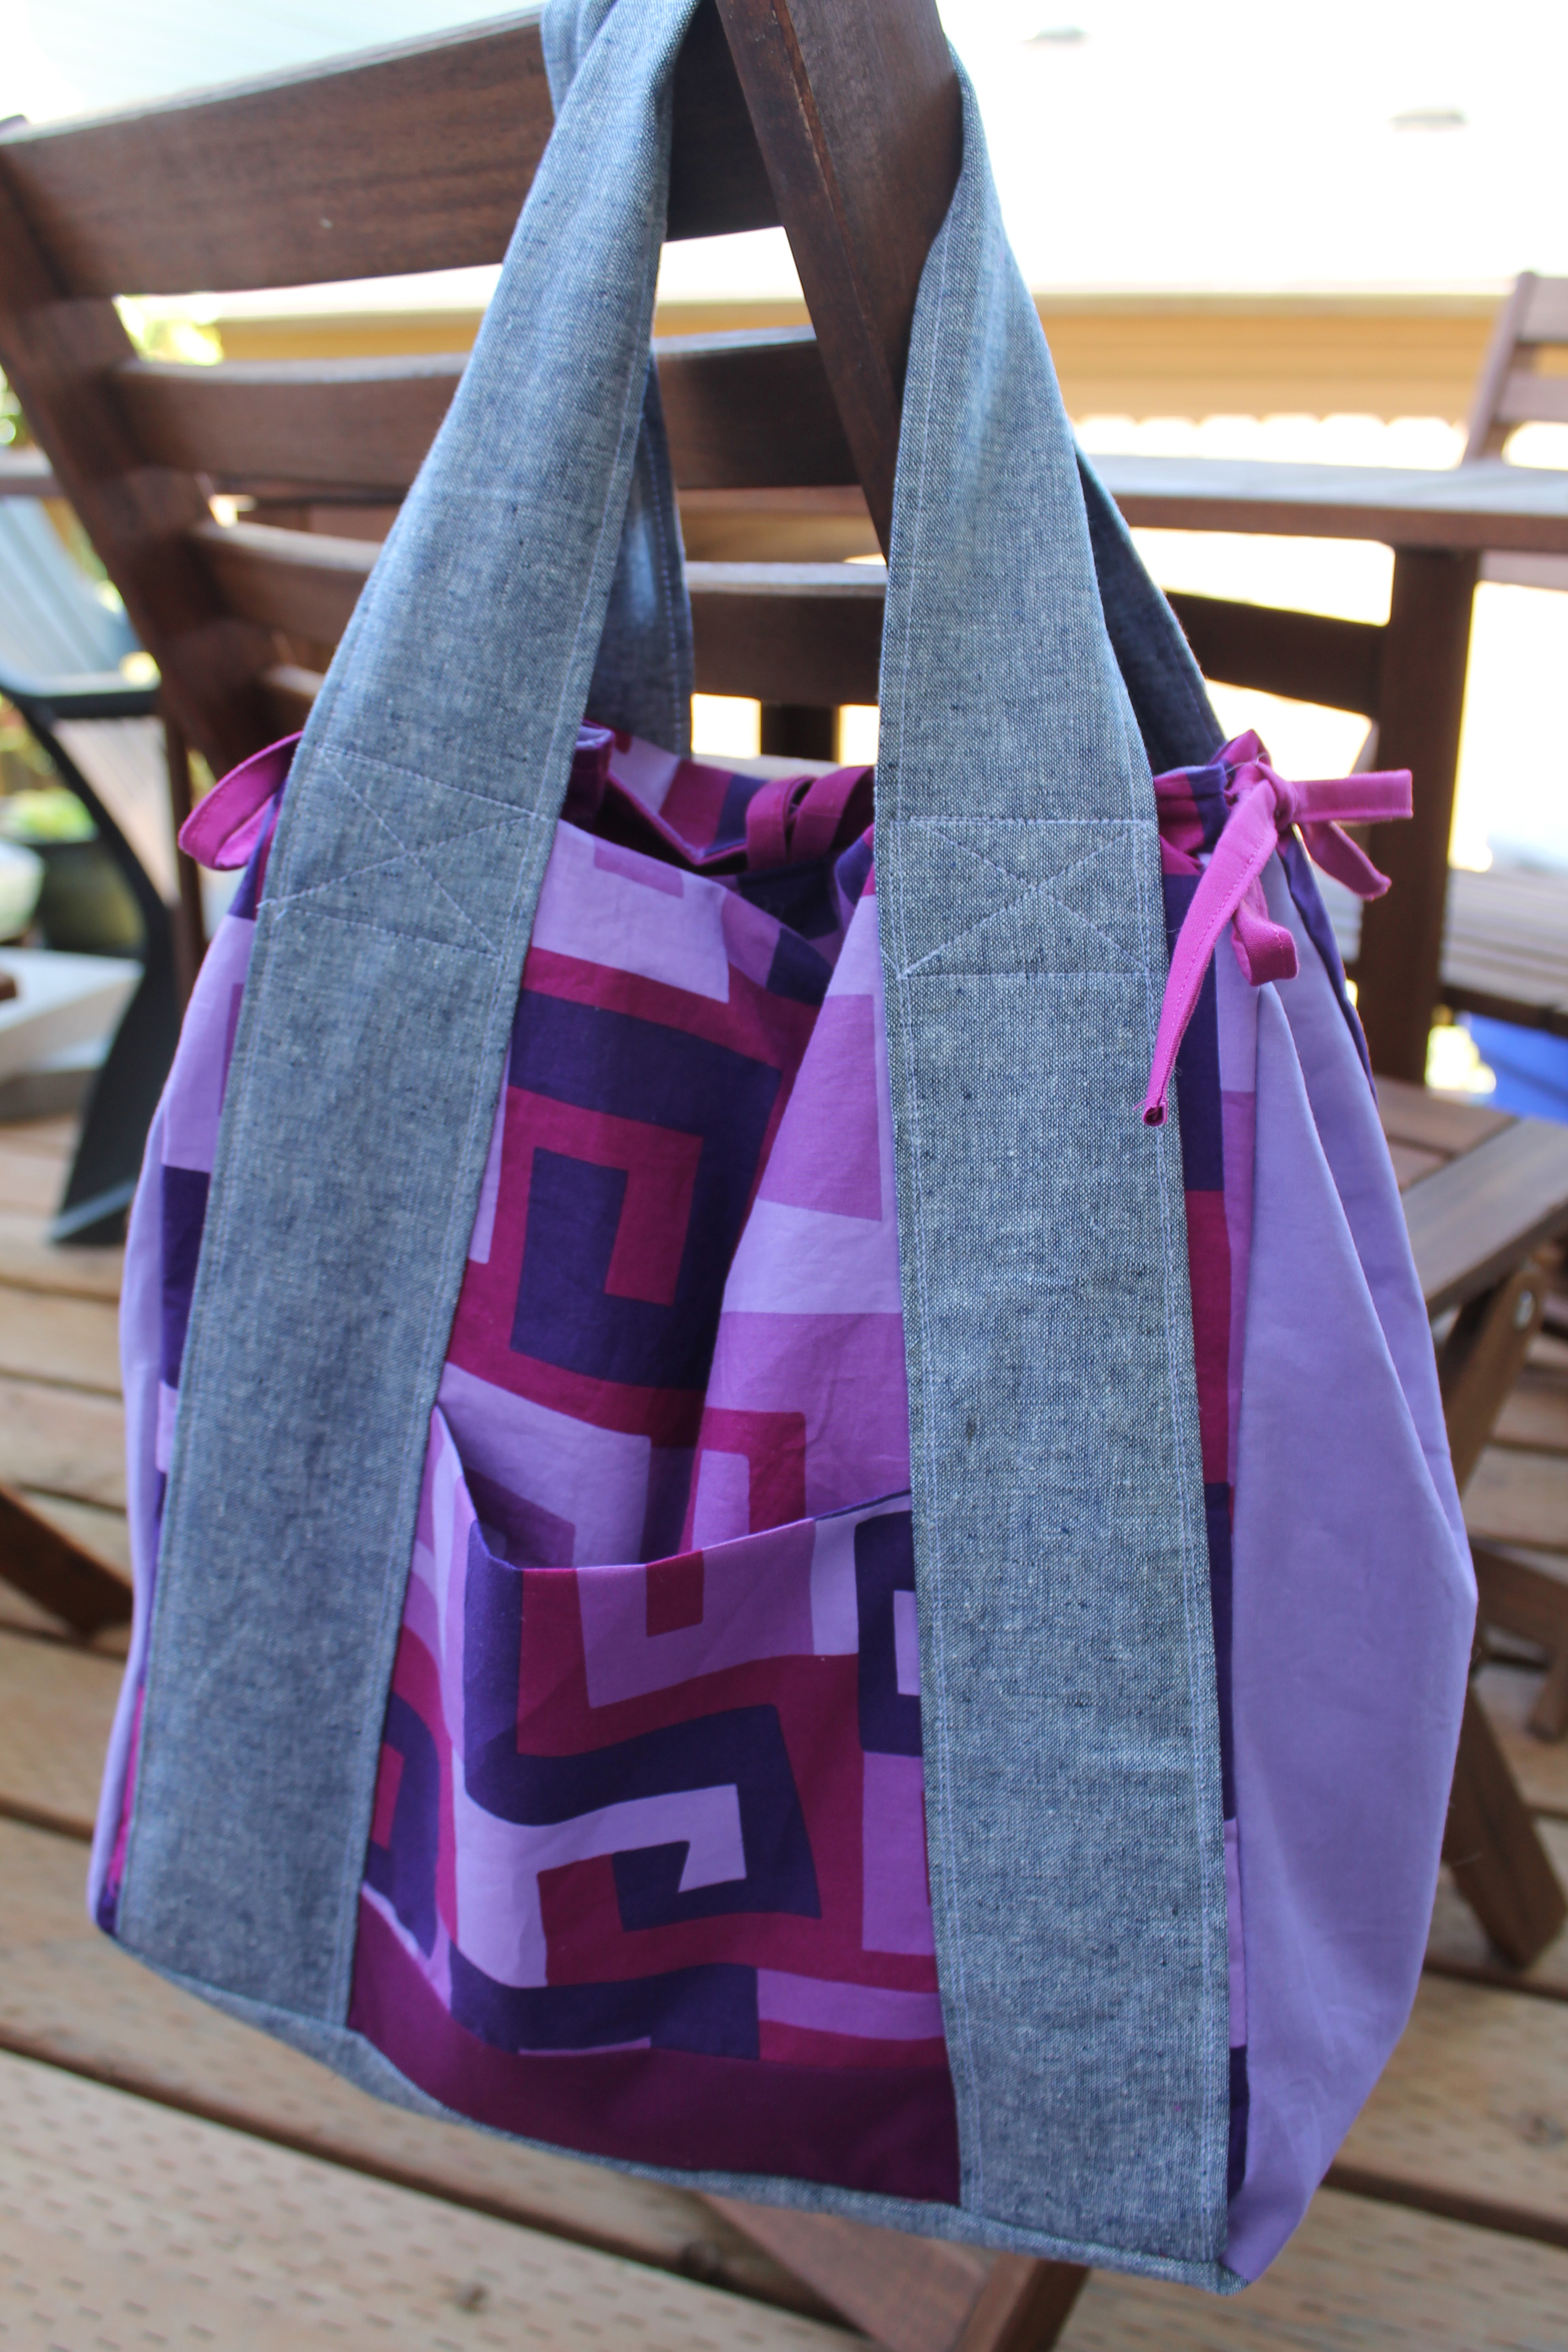
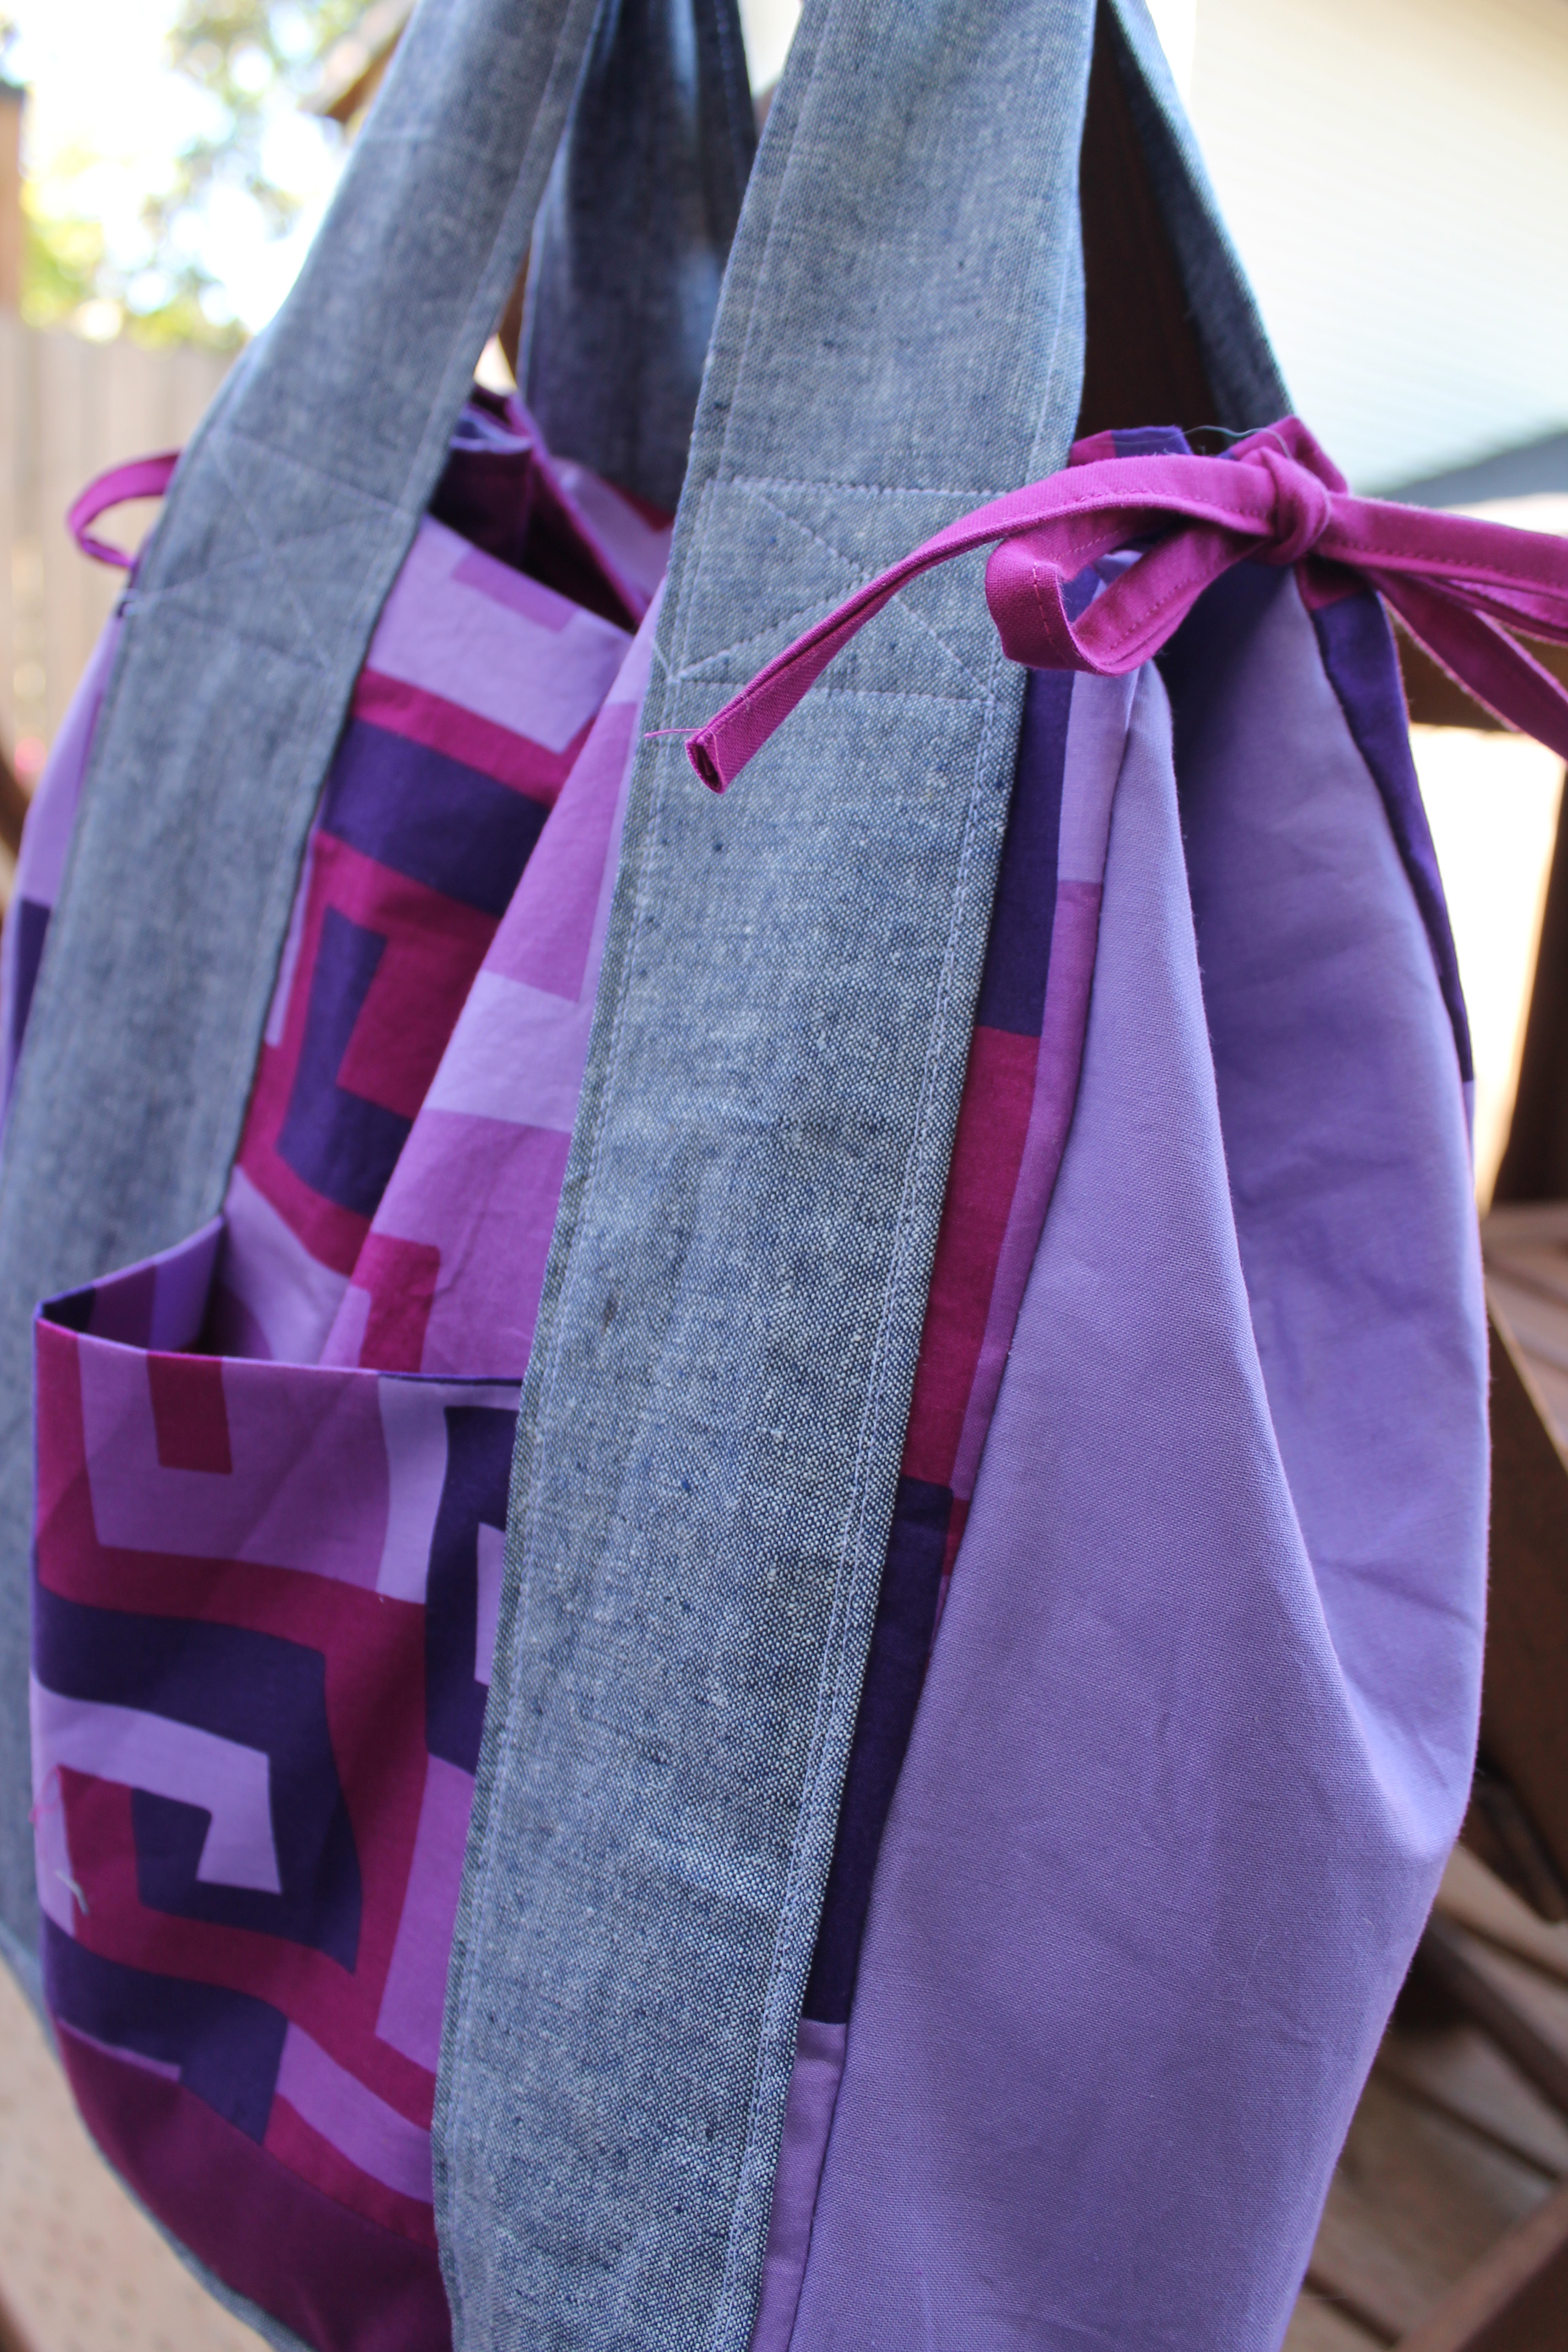
To tone down the fun, loud feature fabric I made the bag gussets out of solid purple…

gusset detail

and  used solid fuchsia to line the bag…

tote detail

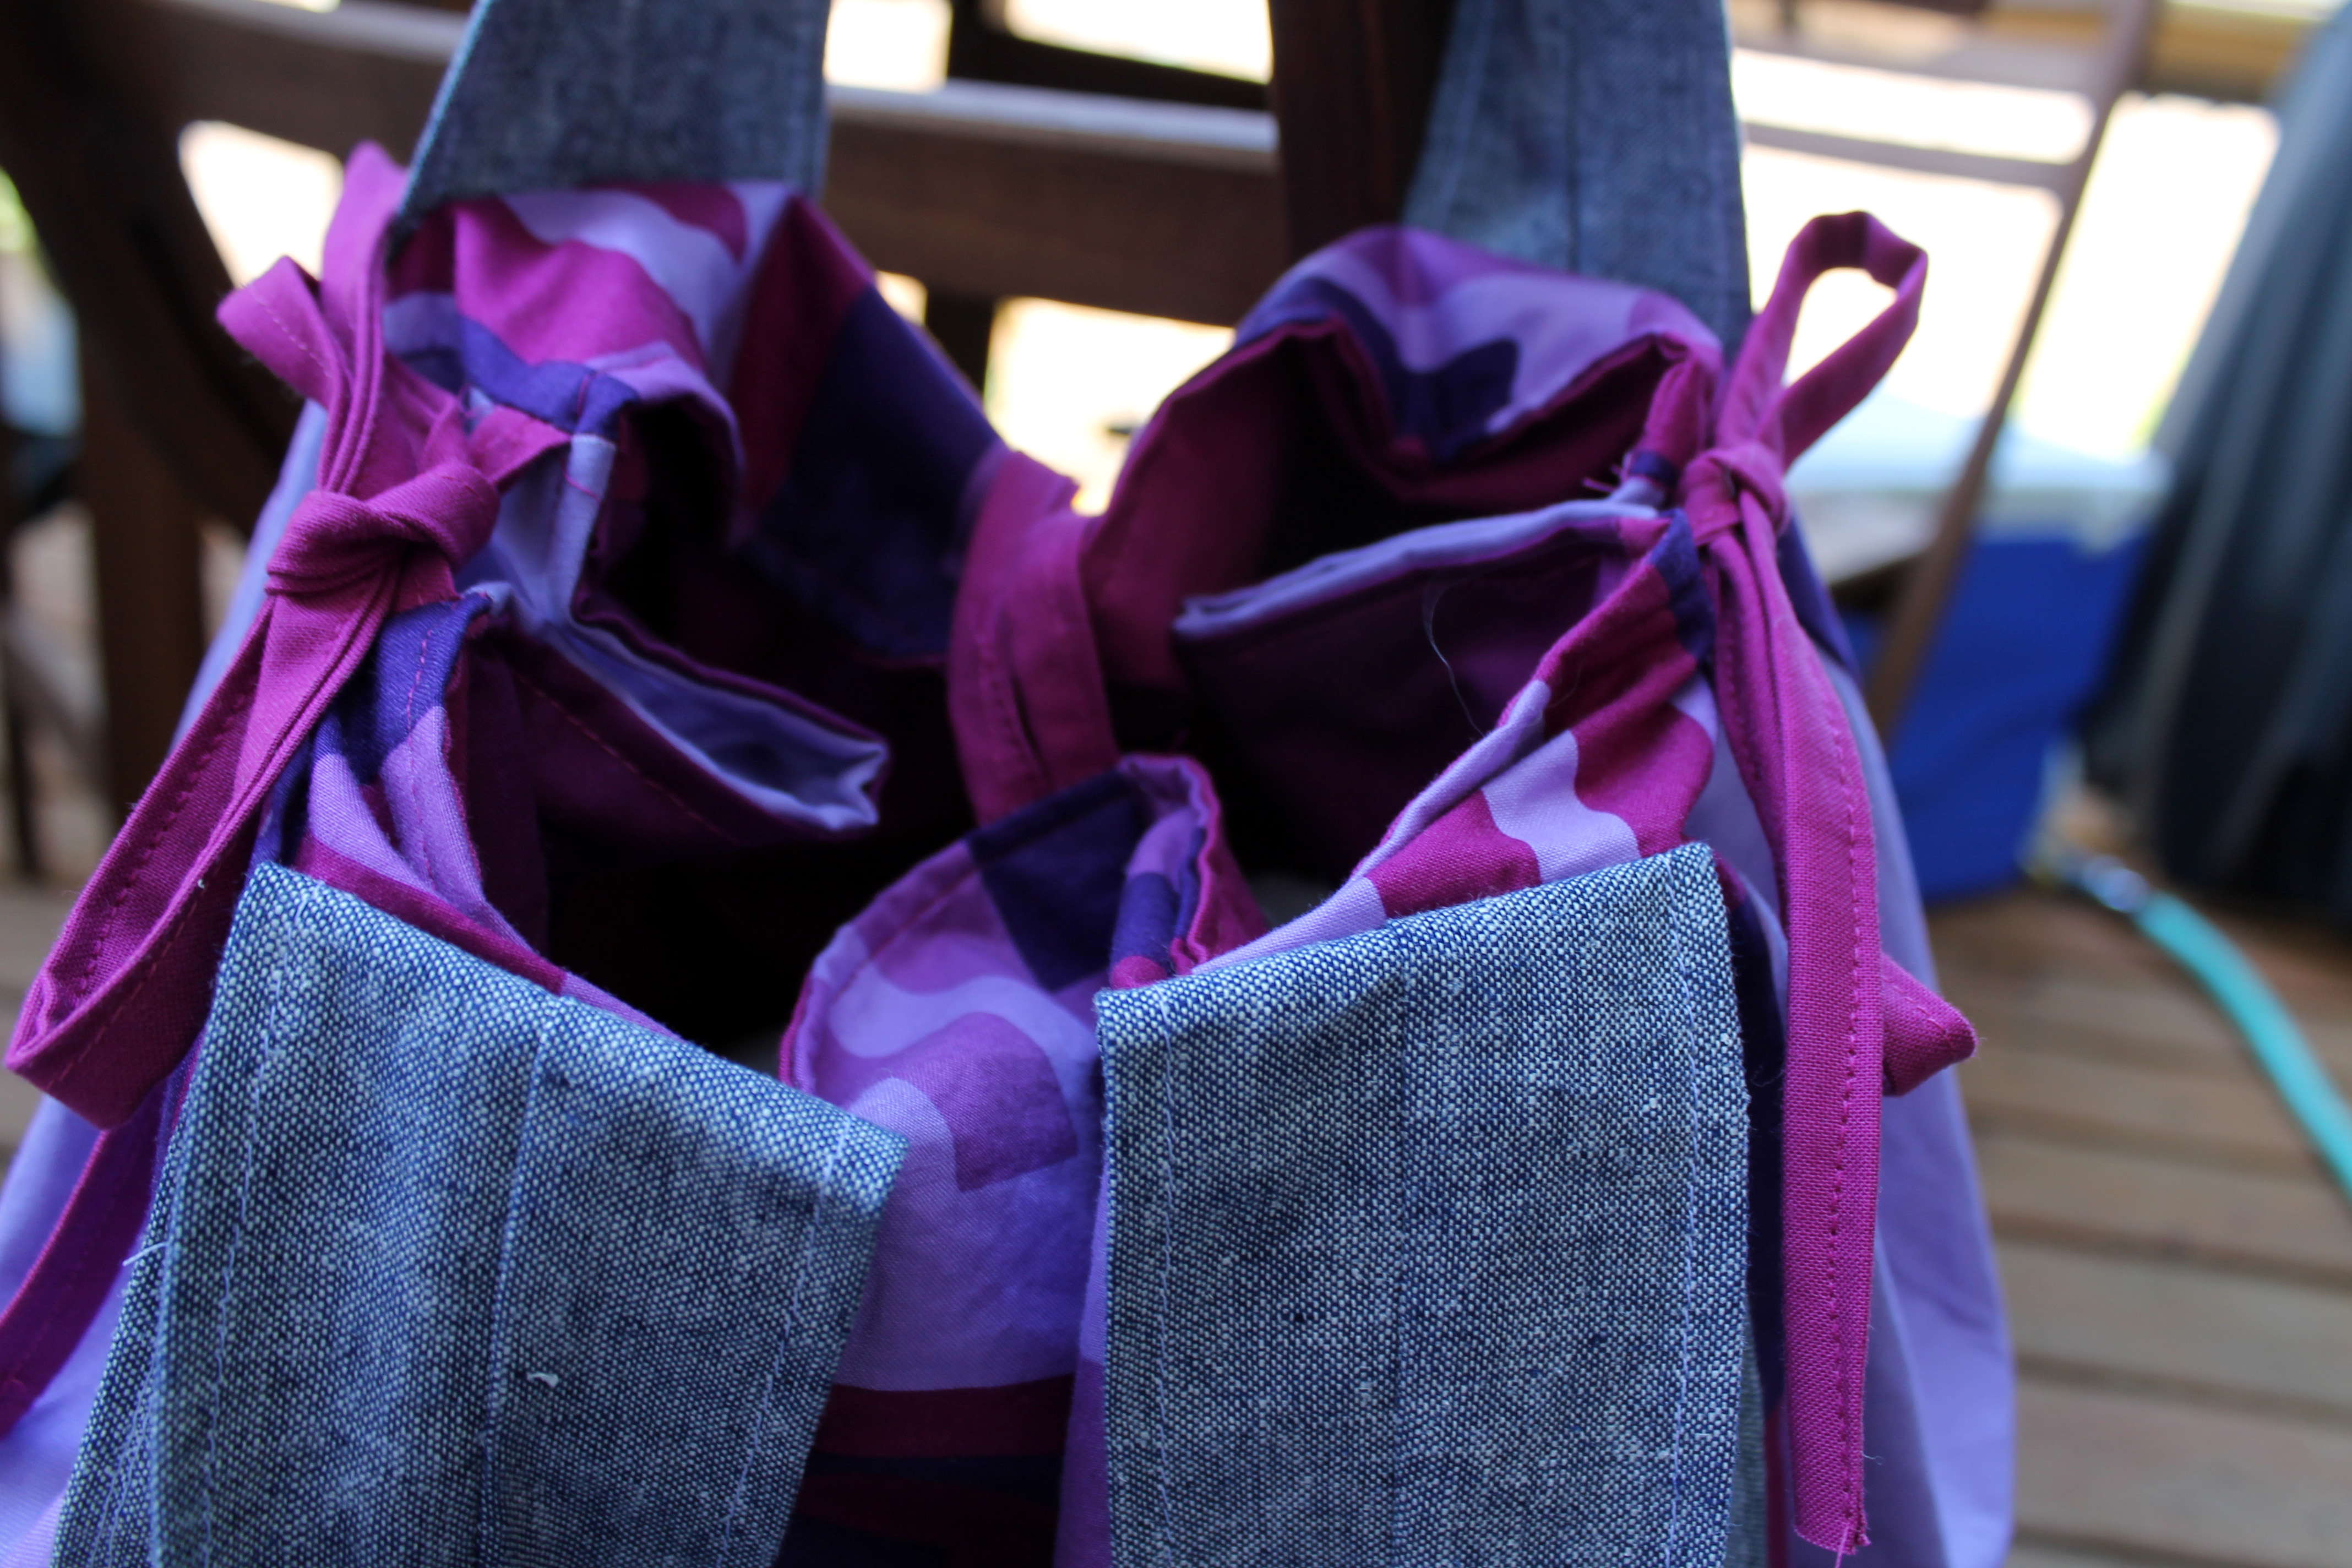
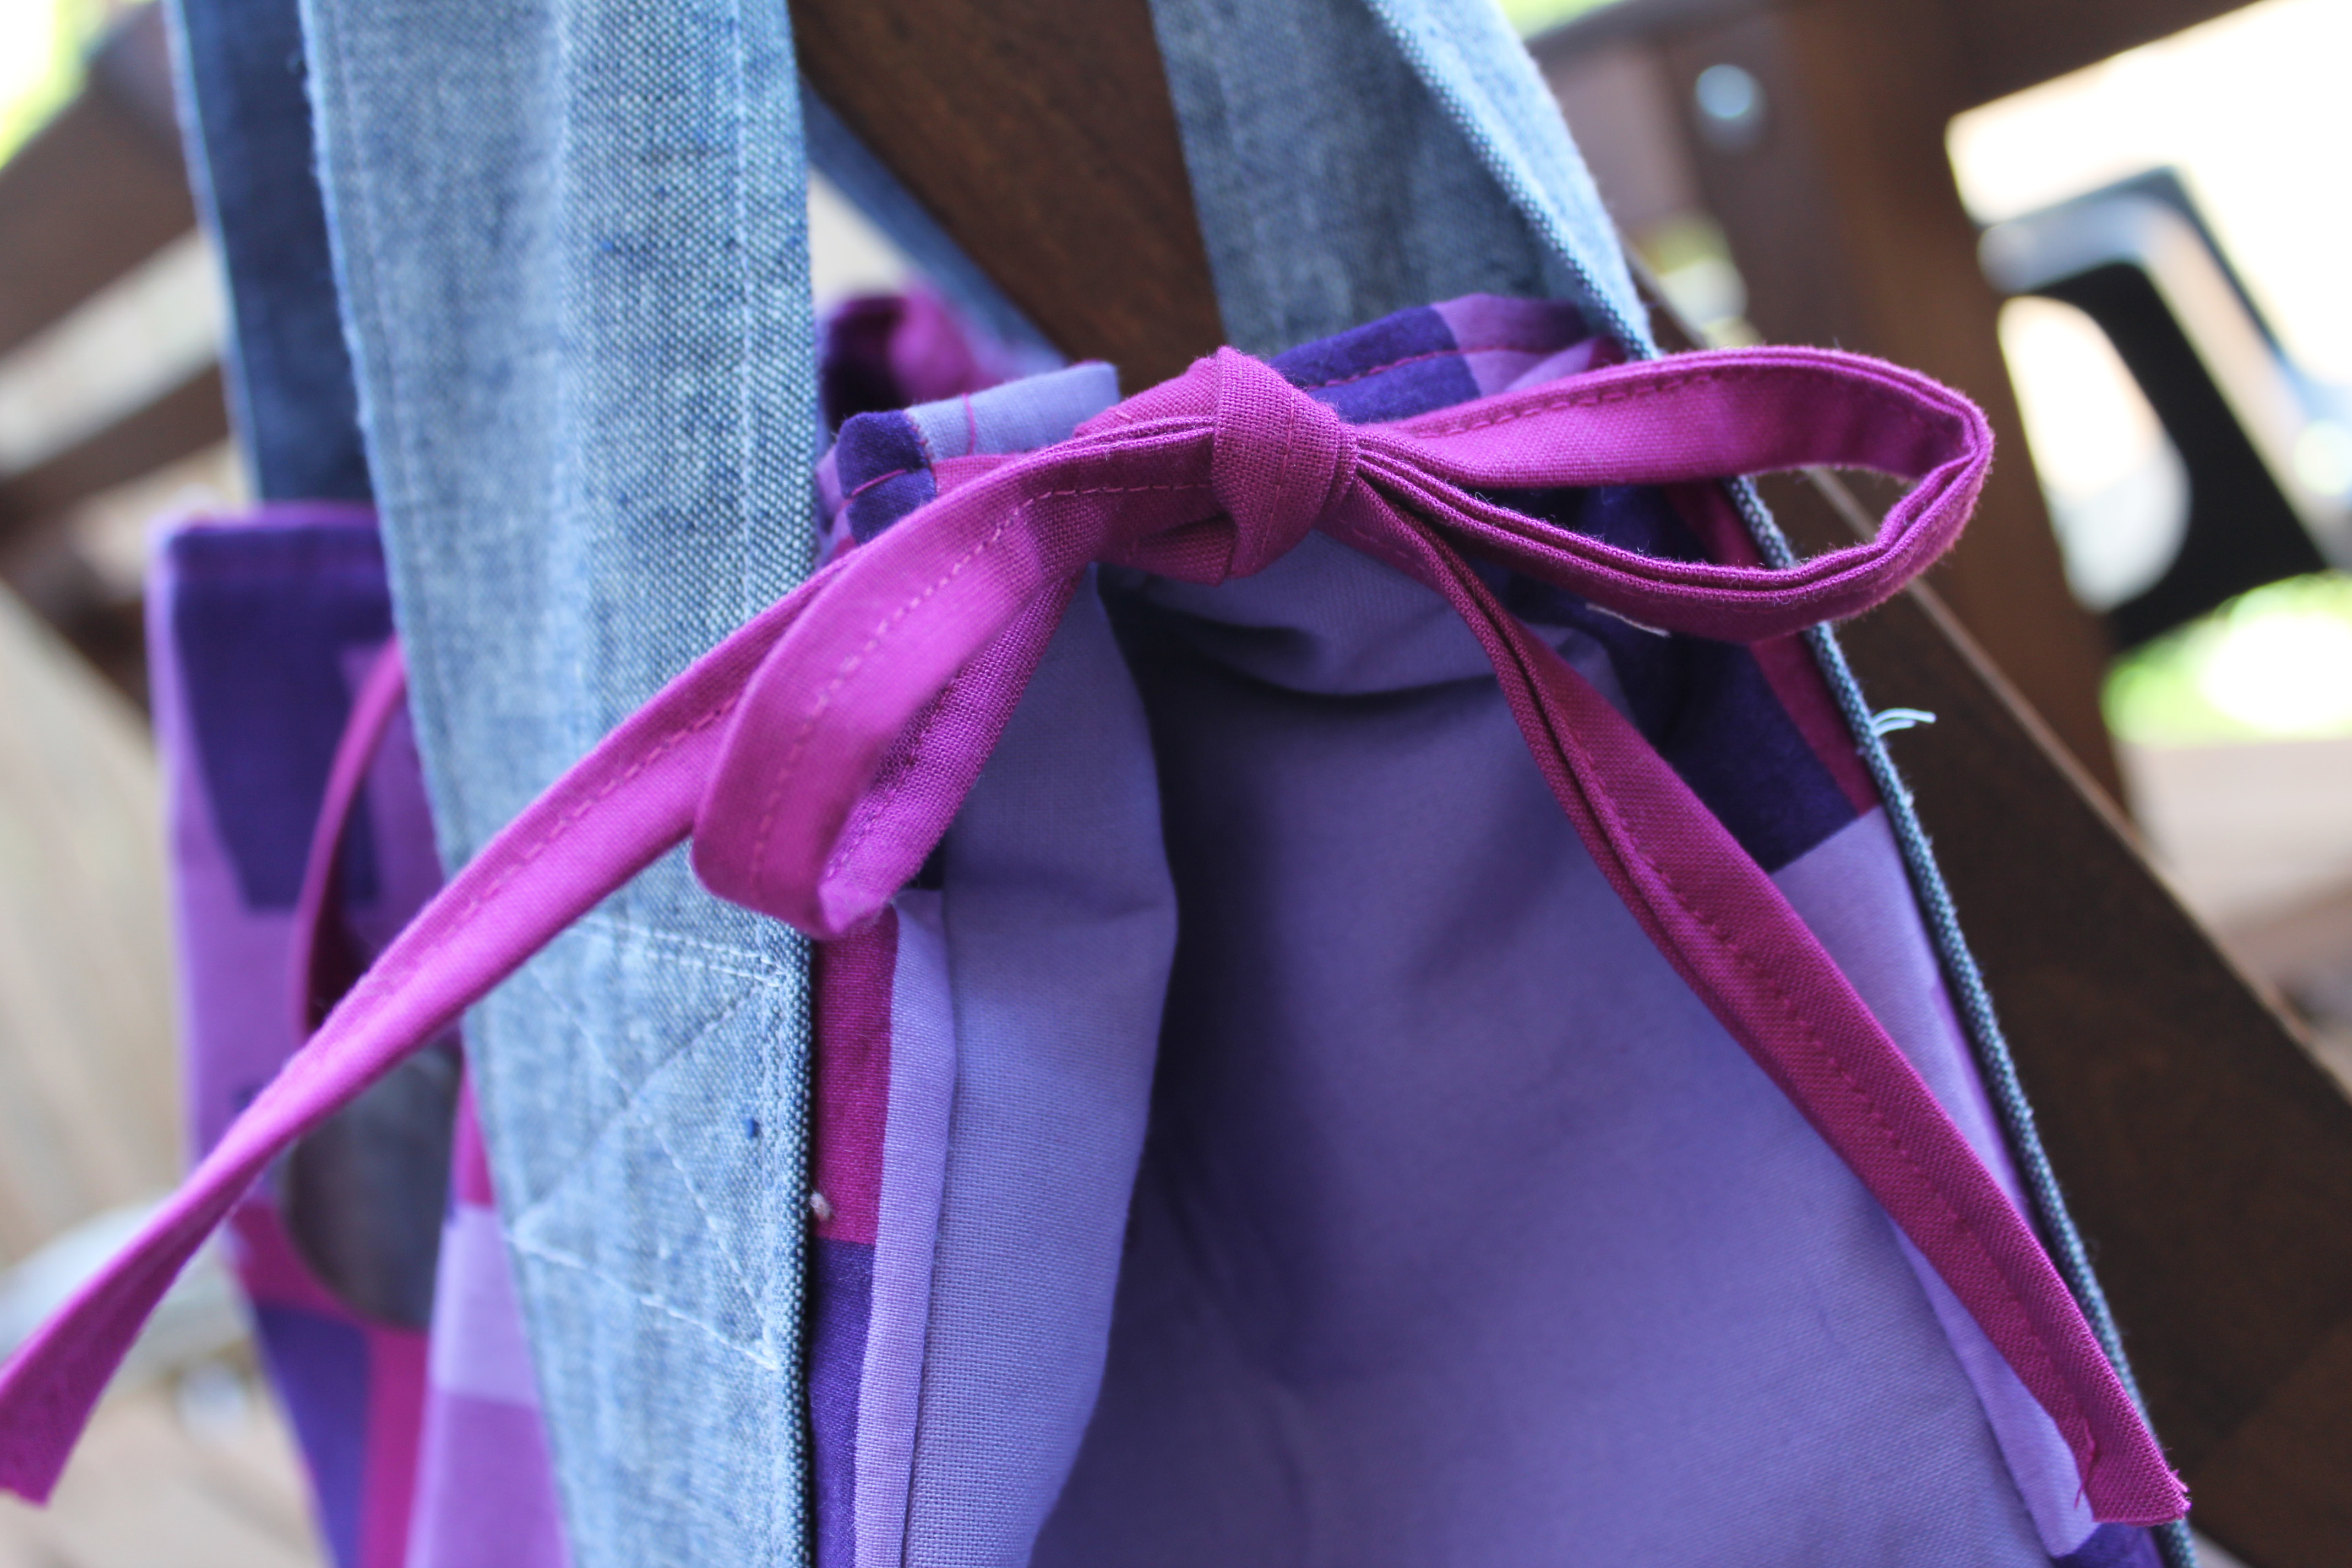
There are also little fuchsia ties on the side to bring the top part of the bag in…

bow detail

And a large, vintage button as the front clasp (though I am not sure how effective it is!)…

button detail

The tote is complete and will be swapped out this week at our Meet up.

Now to what I have learnt.. next time I would:

1.  Not leave it to the last-minute.

2.  Quilt the body of the bag.  The pattern did not say to do this but I think it would add a strength and structure to the tote.

3.  Use a fusible fleece instead of a just a heavy-duty fusible.  The pattern calls for just fusible but again I think the fleece would add a softness and structure that is needed.  I think this would also help with the bag creasing (it looks like it needs ironing constantly).

4.  Add a Wombat Quilt label… forgot to do it with this bag.

As they say…”live and learn”.

Paper Piecing Monday the Global edition

Welcome to another edition of Paper Piecing Monday.  On the weekend I found the perfect layout of my current sampler blocks and I am very excited.  The pattern uses just 10 blocks so I am nearing the end of this colour way.  But before we say good-bye there is a block or two to do…

Free paper piecing star block

The block is Julie at 627handworks “Global Concept” paper piecing pattern.  You can find the free pattern here.  As with all of Julie’s patterns there are so many ways this block can be interpreted.  I went with the light grey star in the center after toying with the idea of using the light blue fabrics in the center piece.   I am loving how it finished up.

Global block pieces

The block takes 35 pieces  and is one of the least complex of Julie’s patterns, not that you can tell by the finished block.  Using all scrap pieces to make my “Global Concept” added a complexity to it, which I love.

More music inspired paper piecing next week…


I do not love it… but

If you are like me, you have some quilt blocks, tops or even finished quilts that you really do not like.  You had a great idea, a vision in your head and what you have ended up with has fallen a little short.  What do you do with these quilt projects?

modern scrap easy kids quilt

For me the challenge becomes finishing them. This quilt is a case in point.  I made the top months and months ago.  It sat sadly in the corner of my quilt space, unloved.  But last week, when I realized I had not given quilts to Project Linus in months, my wonky churn dash got dusted off and is now finished.

I must admit I took some short cuts with finishing this quilt.

1.  I did simple, quick and easy straight line quilting using plain white thread.

quilt detail

2.  I used a whole cloth back – IKEA fabric of course.  No fancy pieced or even scrap pieced back.

quilt back

3.  I raided my box of pre-made binding and just picked one.    Usually I um and ah about the binding (it is a big decision after all).  9 times out of ten I normally end up making binding specially for the quilt being finished.

machine binding close up

4.  I machine bound the quilt.  I usually like to hand sew the binding, as I find it a nice handmade finishing touch.

machine binding

All these little decision mean I get the quilt done much quicker, with minimal fuss.  The quilt is then ready to be washed, dried and then delivered to Project Linus, leaving me ready to move onto the next one.

rainbow eye spy quilt

This is the next one… another quilt top that has been sitting in my cupboard, this time for years.

I encourage you dust off an old unfinished top or that pile of quilt blocks.  Finish the sucker – quilt it, bind it, wash it and deliver it to your local Project Linus or Quilts for Valor or Wrap them in love or Quilts for Kids or whatever charity you choose.   Let someone love and be comforted by your quilty creation.

Go on you know you want too…


Some work is being done by not enough…

Ah it is work in progress Wednesday and I had hoped to have some new fun things in the pipeline but instead I am dealing with this…

left hand

Ah yes 2013 is kind of kicking my butt at the moment.  This small set back has limited some of my quilting activities, but has not stopped me completely.  This week I have:

1.  Made a bee block for Ashley at Wasn’t Quilt in a Day.  Ashley requested the converging corners block in bright colours.

Ashley's Bee block

2.  I have finished up the last of  my fussy cut squares for Amanda at What the Bobbin.

fussy cut swap

3.  I am finishing up a block for a top-secret project.

special block

4.  I have been slowly adding to my hexagon quilt.  In a strange twist of fate it is easier for me to machine piece at the moment than hand piece!

hexagon wip

In the last 9 months nothing has stopped me quilting not a slipped disk in my neck, nerve damage in my right arm, laparoscopic surgery or now a torn tendon in my left arm.  I am either determined or crazy… or maybe a little bit of both!

Mercury rising – Paper piecing Monday

Today’s paper piecing pattern is called Mercury, which seems quite appropriate as the temperature gets warmer and warmer.  Is it just me or do you also find it harder to quilt in summer?  The sunshine and daylight keeps calling me out to play.

Anyway back to Mercury…

modern paper piecing star block

Yep it is another fabulous free paper piecing pattern from the amazing Julie at 627handworks.  You can find the pattern and directions on here.  I think there are only two more patterns left in Julie’s Block Rock’n paper piecing patterns.  There are going to be some severe withdrawal symptoms when these blocks end and any suggestions on how to convenience her not to stop would be greatly appreciated.

mercury block pieces

56 perfect little pieces which make up this fun block.  As you can see from the pattern there are a couple of different options for piecing this thing.  Again you can have fun with it and play around with your colours and fabrics.

Now the call of the sun is too much… I am heading outside for some vitamin D.