A couple of weeks ago I spent a very fun day at the monthly PMQG Charity Sew meet up. The event is held at the fabulous Modern Domestic (my new home away from home) and I got to spend many happy hours sewing on a beautiful Bernina 560. In a day of wonderfulness the most amazing thing was having my wonky star world rocked by one of my fellow PMQG sewers, Cherri.
Wonky Stars have been a fun staple in my sewing repertory for a while. It is s a quick and easy way to make fun kids quilts and if you peruse my “Finished Quilt” tab you will see a few of them in there. So for years I have been cutting out my 5 inch squares, using my scraps to make star points and calling it good… but no longer. Here is how the new wonky stars block goes…
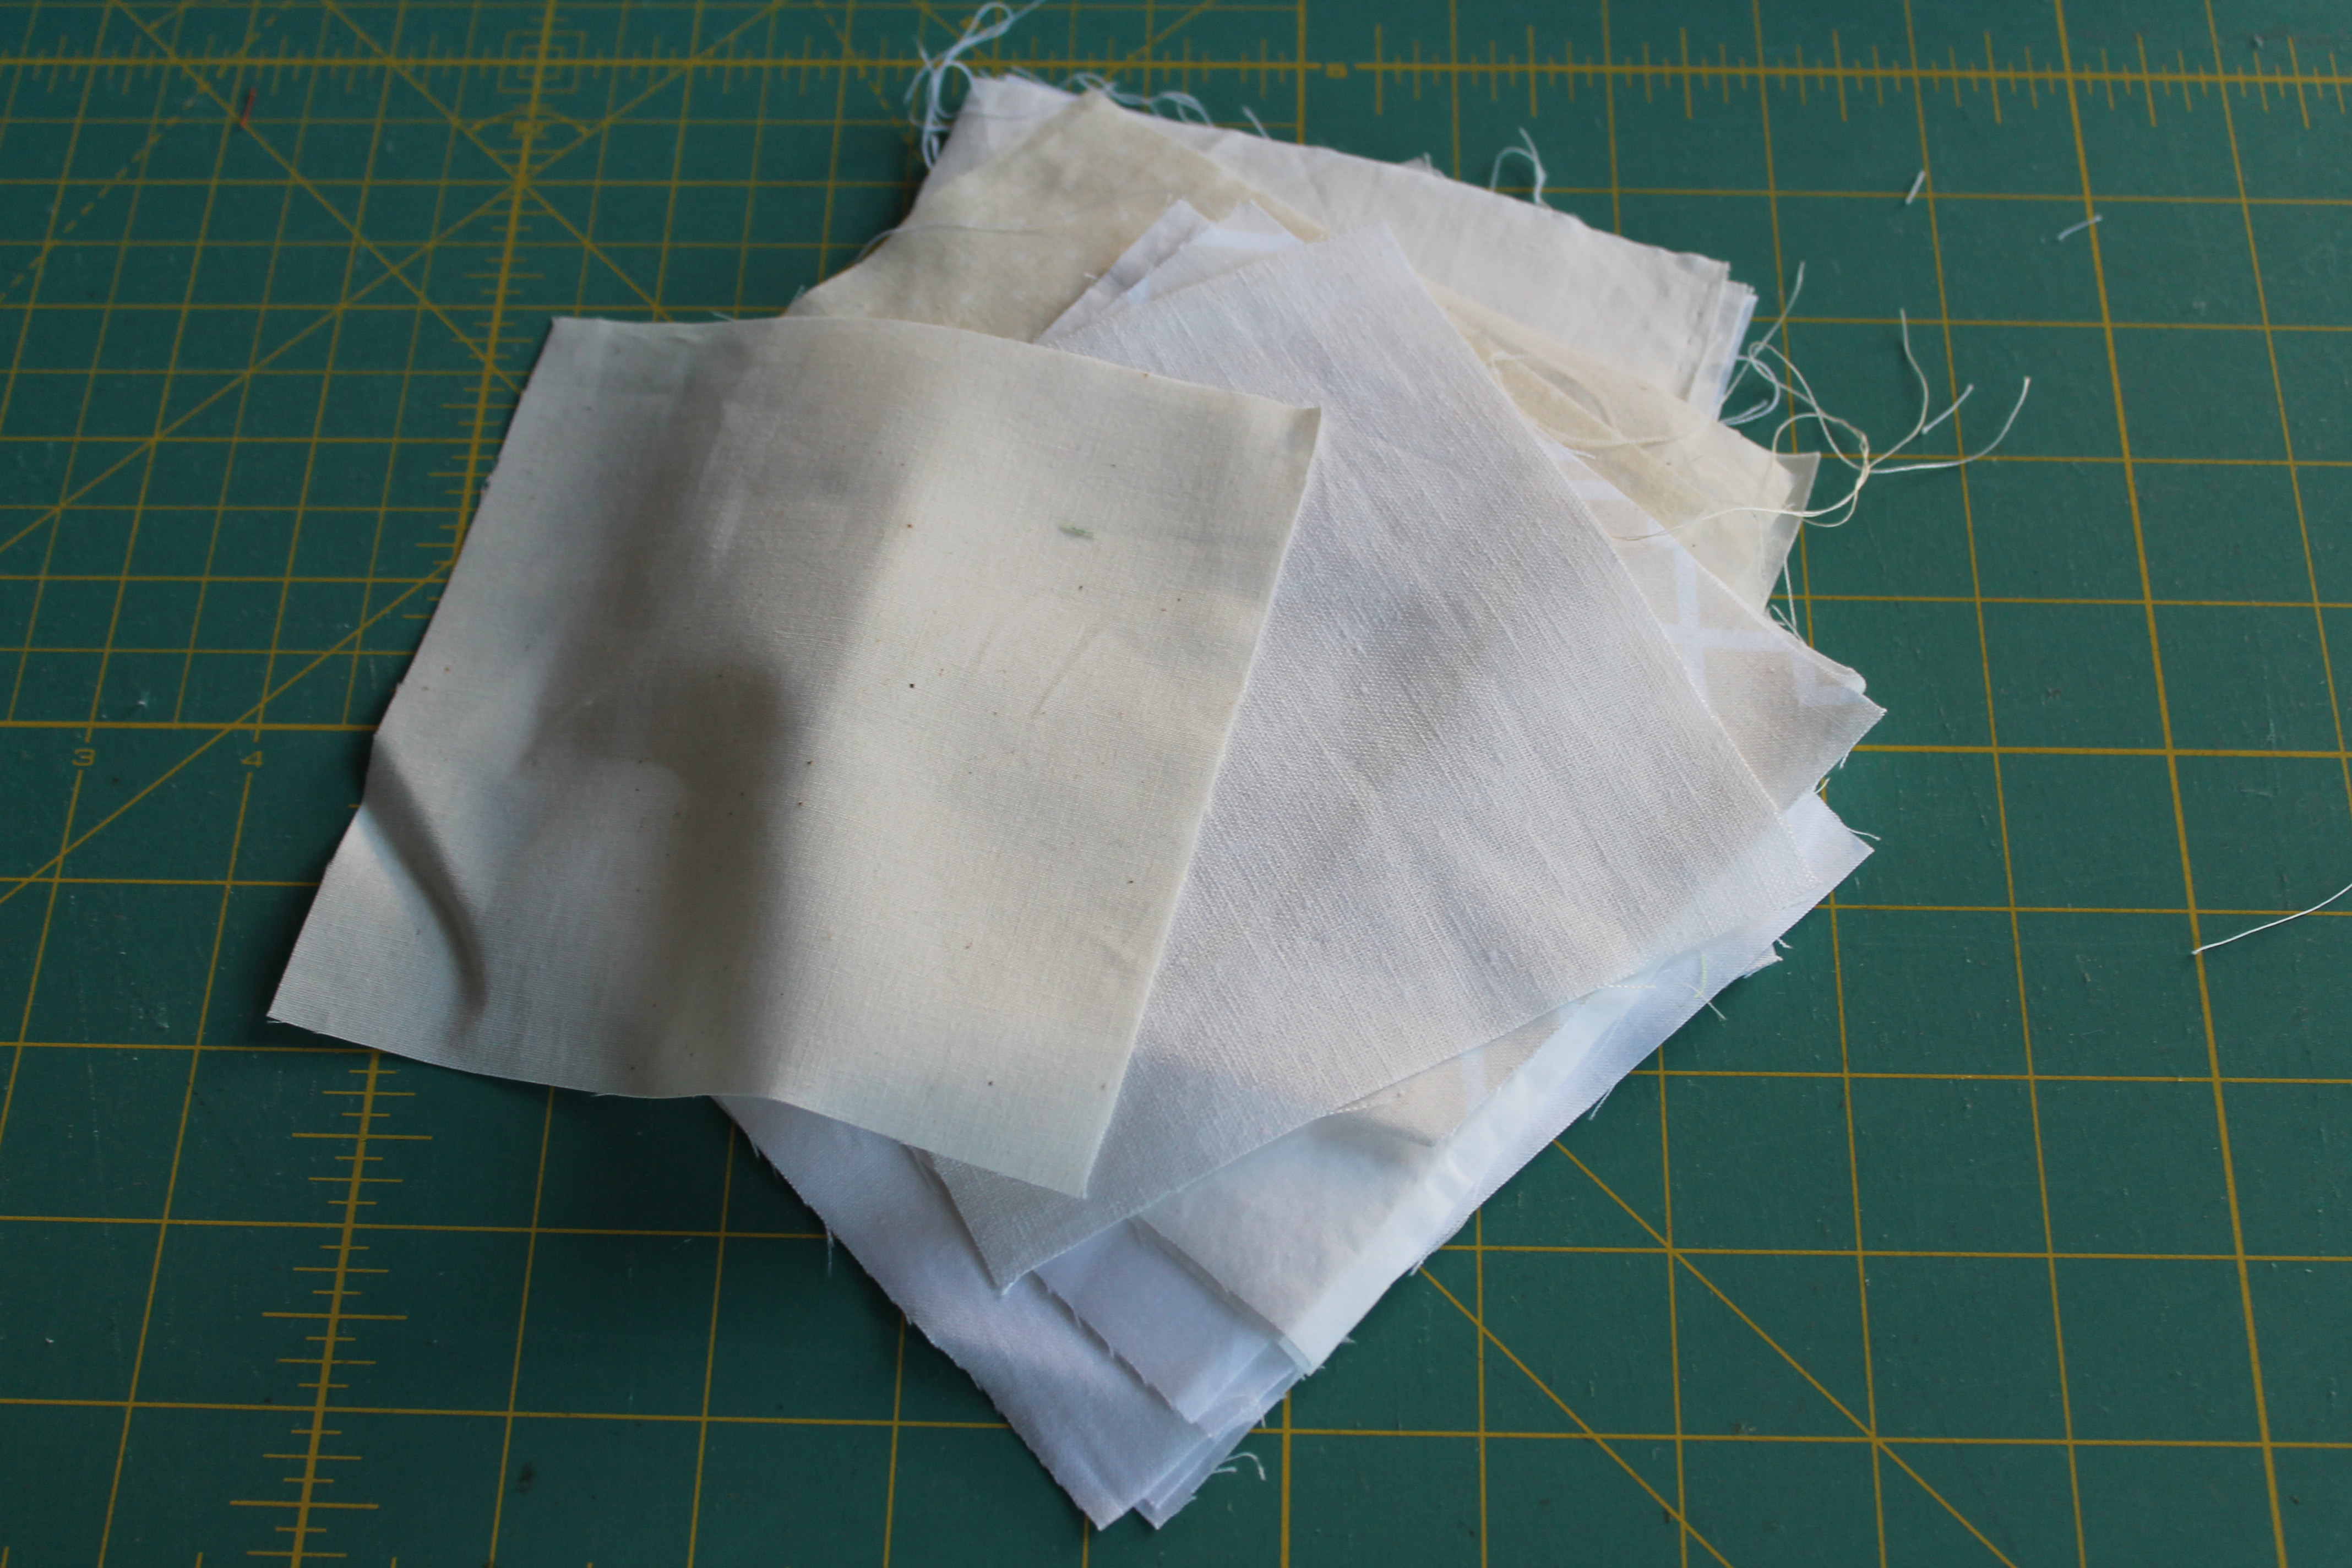
1. Take eight 5 inch x 5 inch squares of your background fabric… in this case various whites and creams.
2. Grab a pile of scraps in your colour scheme…for this exercise red.
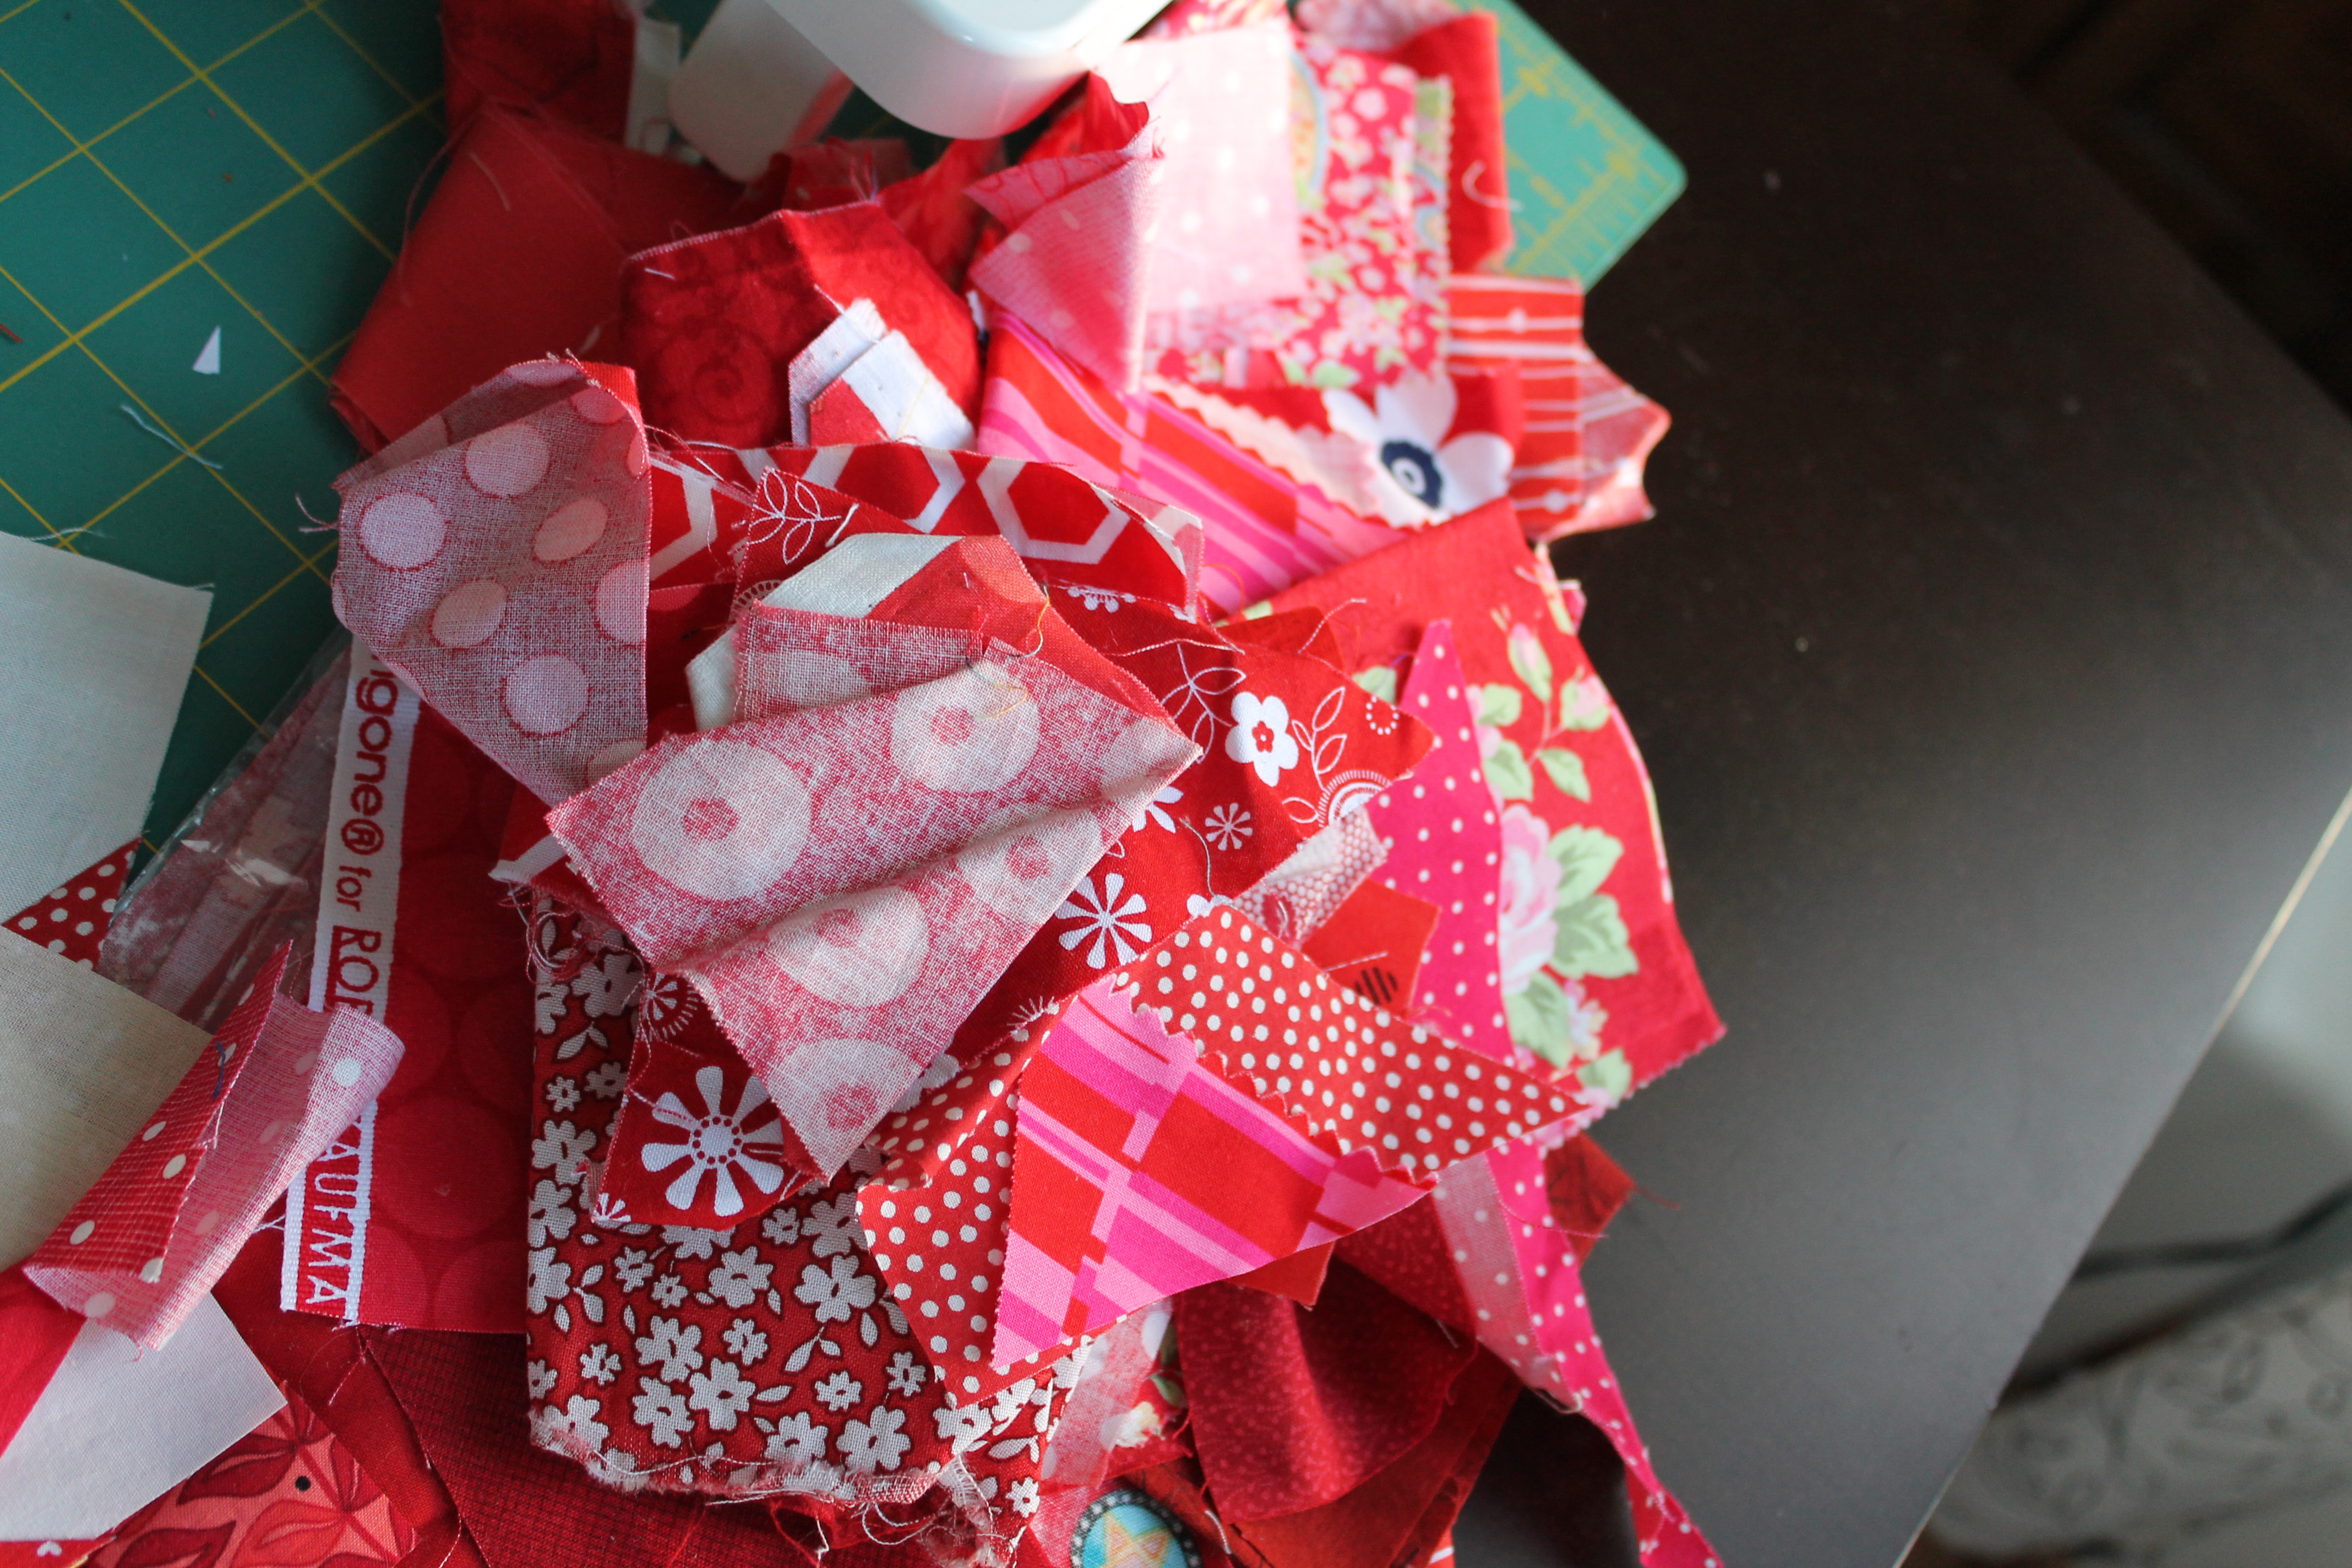
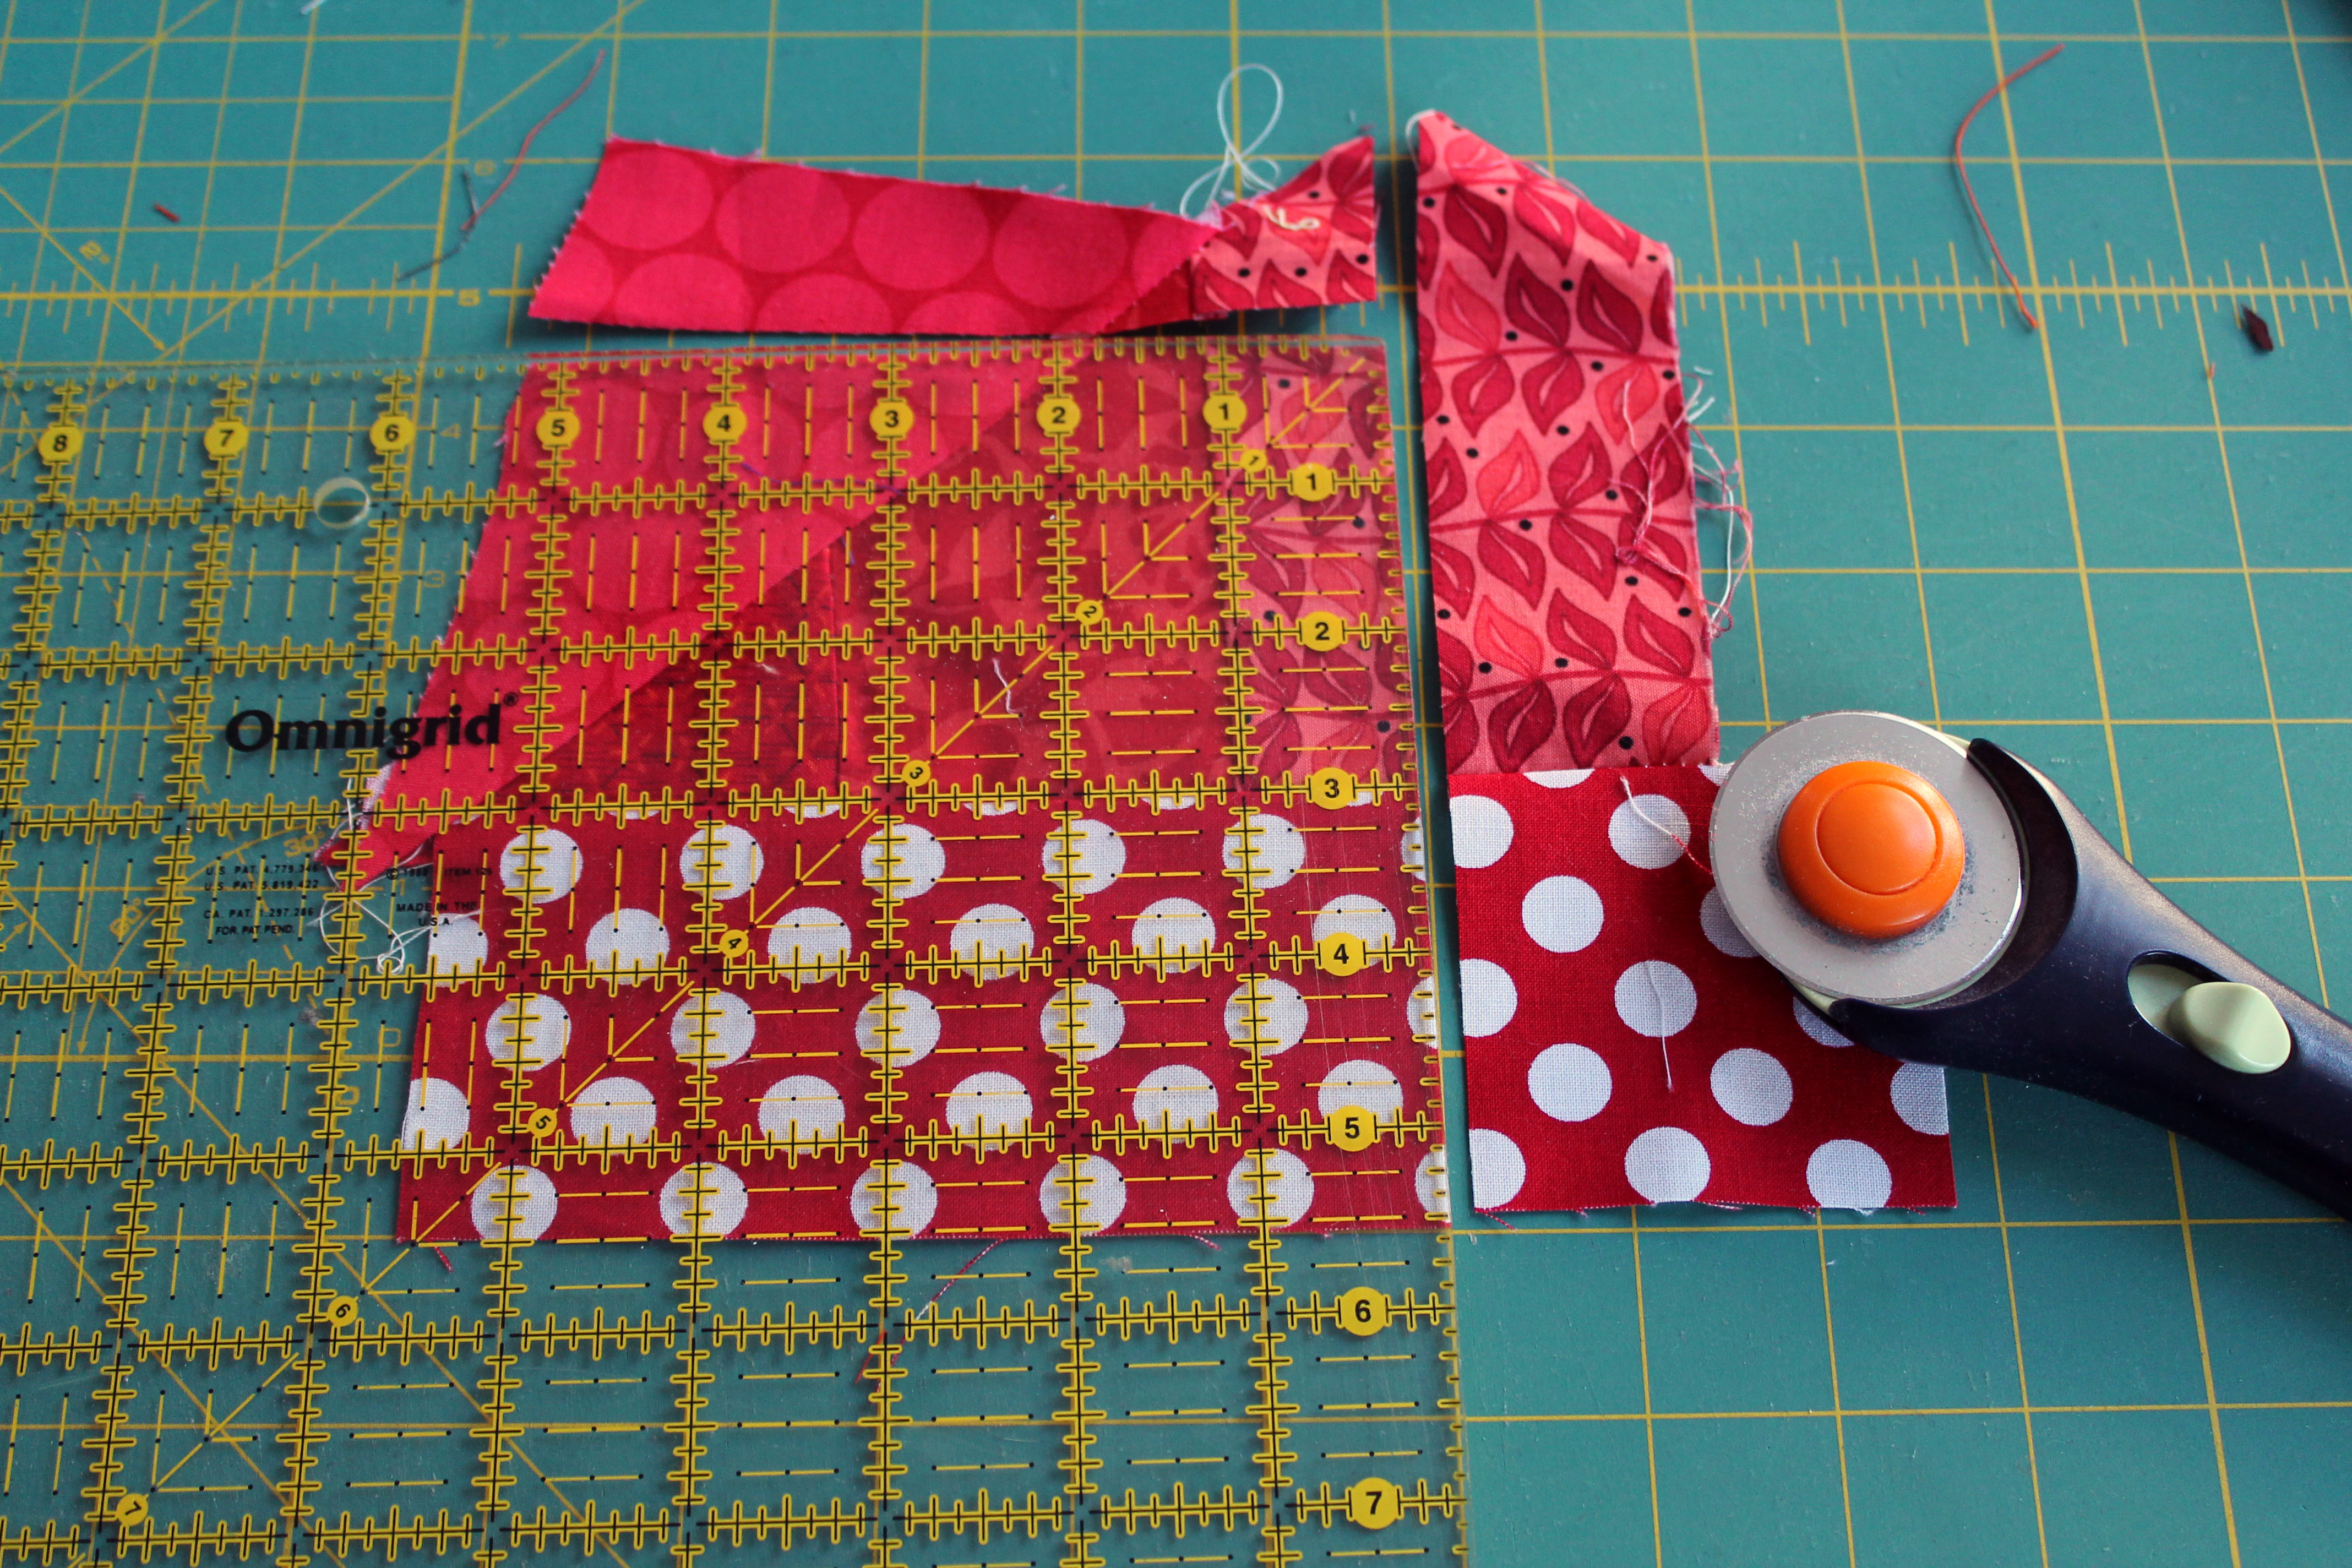
3. Sew random fun bits of scraps together to make a squarish shape, making sure that it is a bit bigger than 5 inches square. Anything goes at this point. You can fussy cut…wonky log cabin or just improv. Then trim your random scrappy square down to 5 x 5 inches.
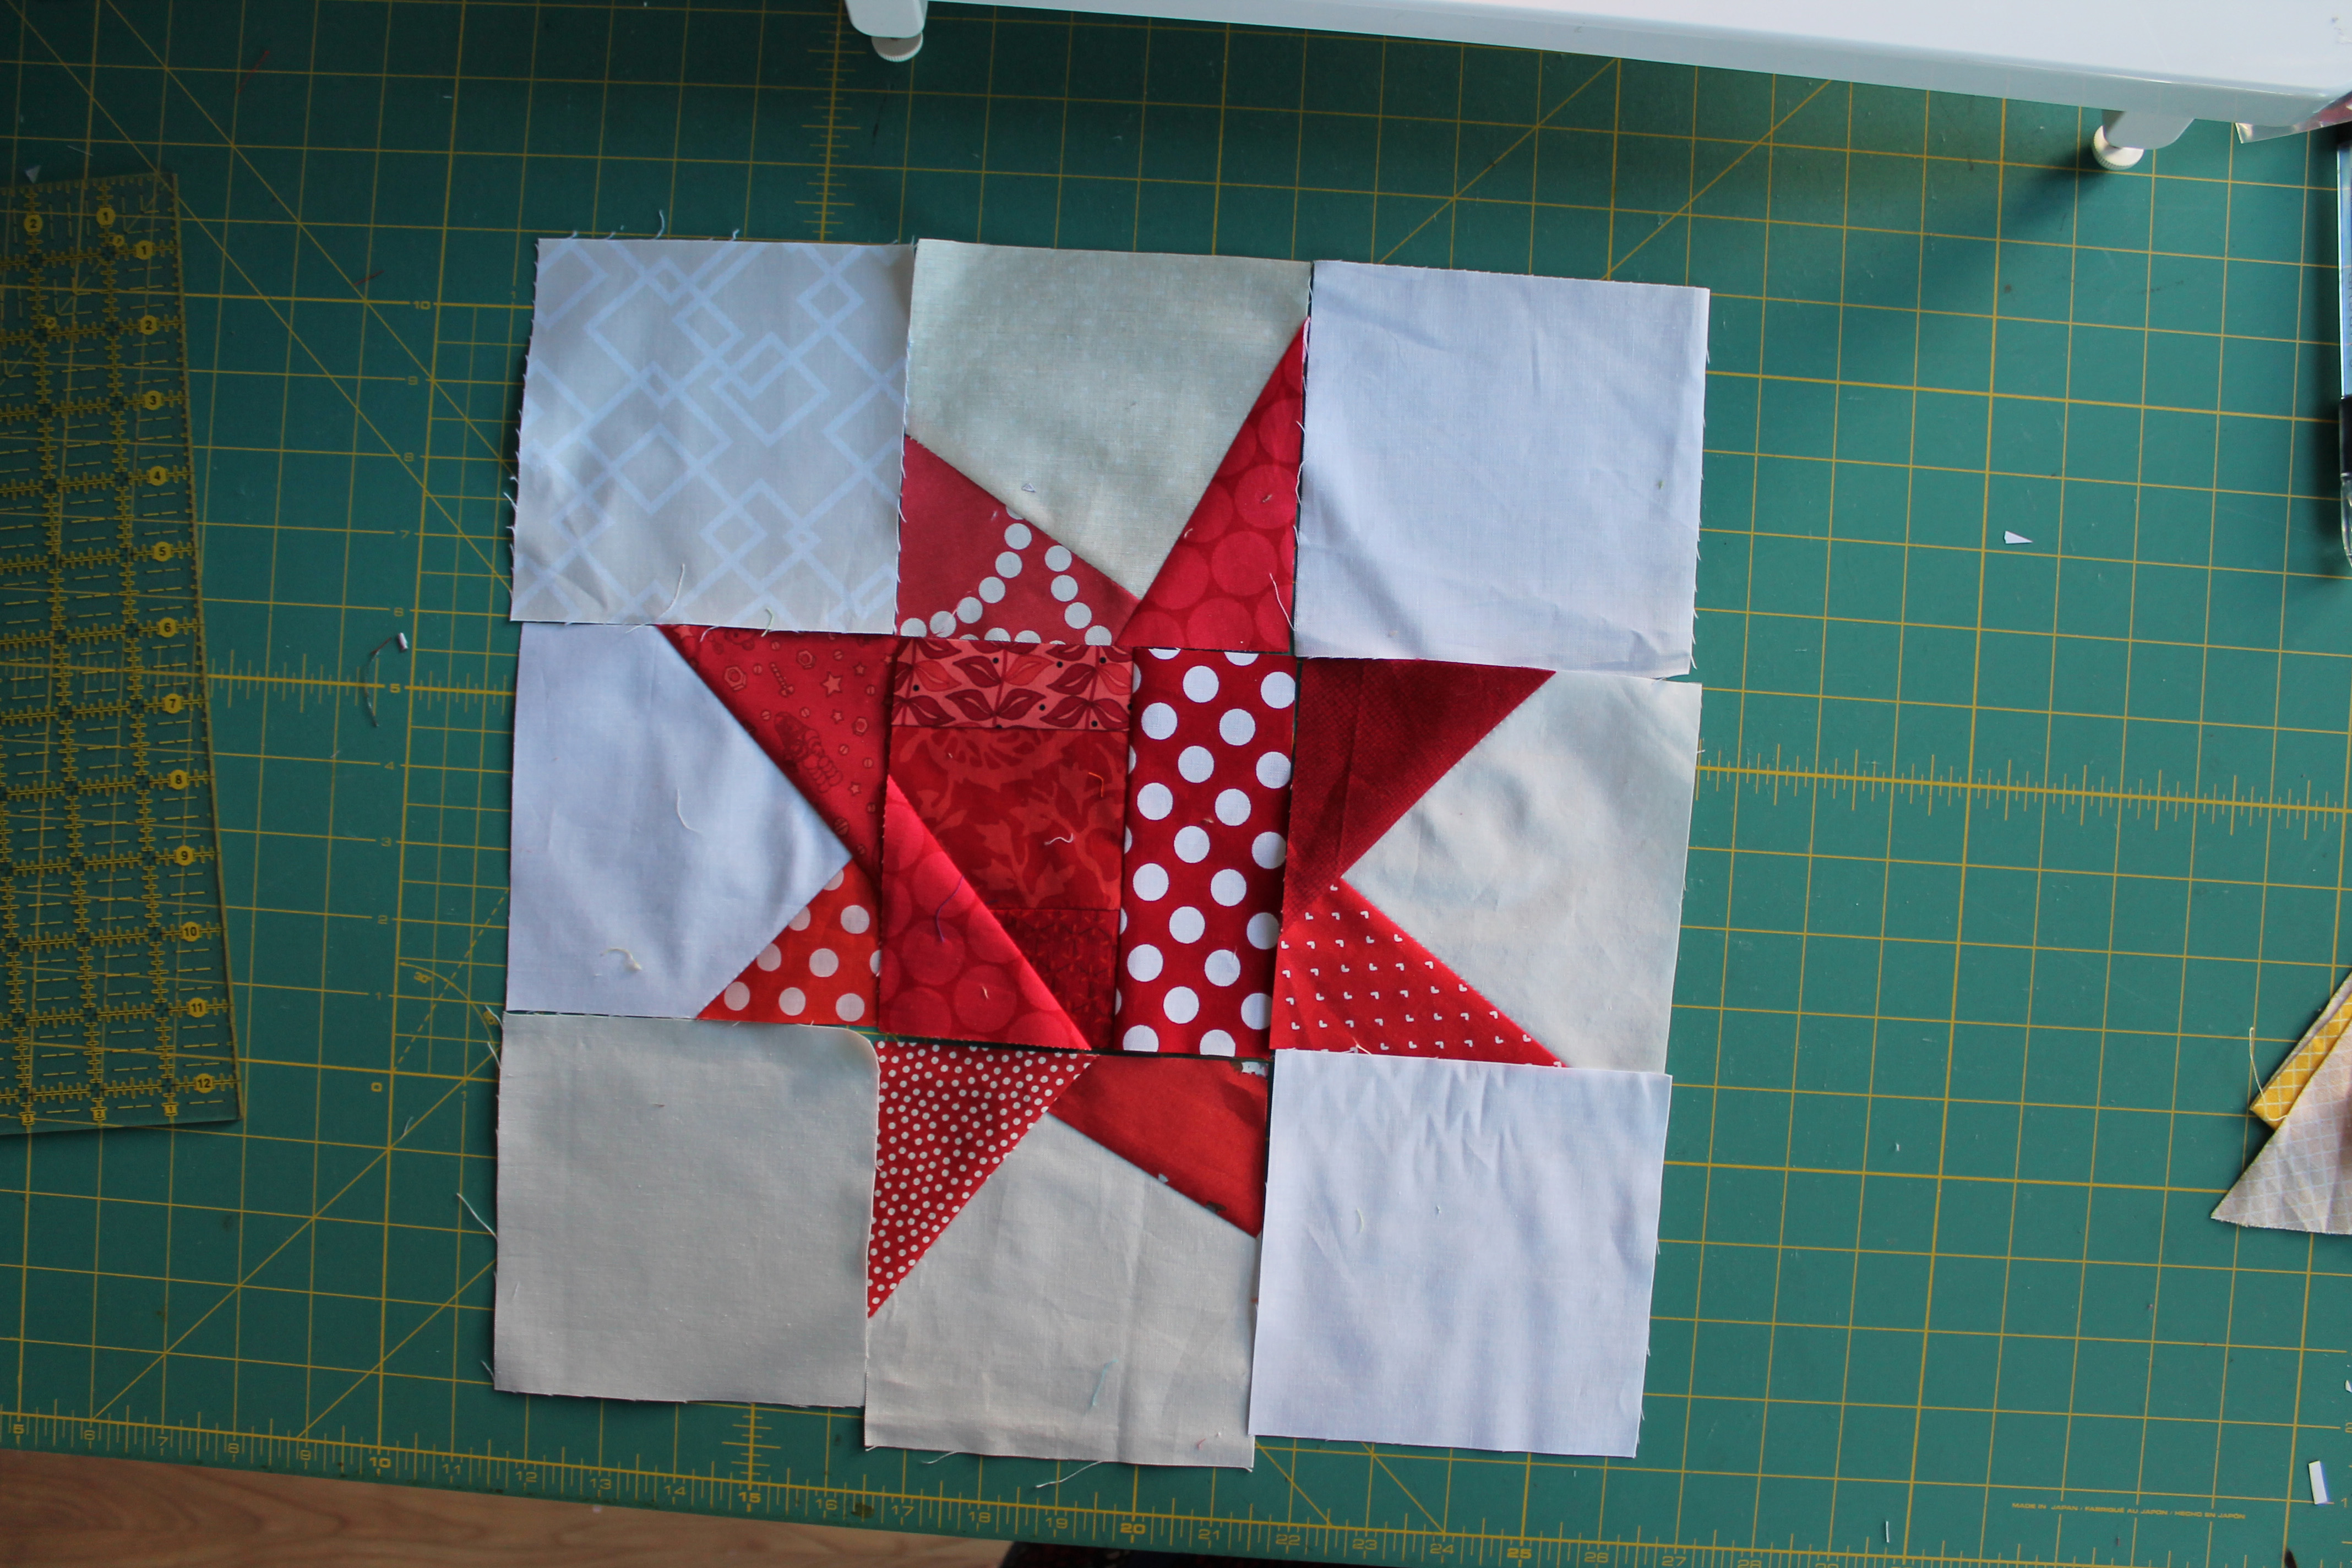
4. Make four points to you star using the 5 x 5 inch background squares as your foundation and larger scraps for the star points. Trim as needed to get a 5 x 5 inch square.

5. Sew the block pieces together – 4 plain corner pieces, 4 star point pieces and your fabulous scrappy center piece.
6. For an added extra bit of wonky fun at the Sew Day we then trimmed our blocks down to 12 1/2 inches square. This step allowed us to put the stars a little off center and added another element of randomness to the layout. The blocks work just as well trimmed down to 14 x 14 inches too.

And voila you have a fabulous wonky star with a scrappy center piece.

I can not believe I did not think of this technique myself. It is genius and the best way to use those little bits of fabric in your scrap bin. It was such a fun exercise this week to take all the wonky stars everyone made at the Sew Day and put them together into one loud, fun, wonky top.

There is a combination of solid centered stars and scrappy centered stars in this top and I think it works nicely.

And every star is so very very different. There was a lot of fun techniques used for the scrappy centers…

Because it is a kids quilt we went with bright colours, novelty prints and lots of fussy cutting. My favorite block is scrappy and fussy cut…

The finished top is 60 x 60 inches square and the next step is to find a fabulous PMQG member to quilt this beauty, or maybe we can throw it on the long arm at our next Charity Sew Day.

That looks great! Love the finished flimsy!
I love Scrappy quilt s and bright colors
Ohhhhh wonky, scraps and stars three ingredients I love, these look incredible, I might have to rethink this weekends sewing project 🙂 love your blocks just stunning as always 🙂
Hurray for wonky stars and using scraps!
What a super idea! Looks soooo good and such fun. I must make one!
That is so great, and a perfect example of what I’m really bad at: improvising and making it up as you go along. I always have to have everything perfectly decided and organised. I’m going to have to relax and give it a try!
And in return Kate I am not good at the extensive planning and detailed design. I like to just try things to see how they work. Oh and I am not overly organized…more organized chaos.
Well, it certainly seems to work for you!
What a fabulous quilt top! Love the technique.
Our group often makes wonky stars as they suit beginners and all abilities. (They are about the only thing everyone can make without complaint.) I love the scrappy and off-centre twist.
Love it! Aaand now there’s yet another thing on my ‘want to do’ list. 😉
Love the wonky stars….I love how quickly they come together. I love them even more now that you have made them all scrappy 🙂
Oh this is a fun take on wonky stars! I love seeing the quilt top with all those funky stars. What will your quilt guild do with the quilt once it’s quilted?
The finished quilt will go to Camp Erin here in Portland that helps grieving kids.
This is gorgeous!! The scrappy centre is such a great twist, although I think I like them best because they’re mixed in with solid centres. Thanks for showing how (have pinned so I can find it again when I want to push myself to try it). The finished quilt it so beautiful, you should all be very proud.
E xx
Hi Cath I love your wonky stars, and what a great way to use up scraps…..Many thanks
Jenny it is so fabulous for scrap busting. So fabulous.
Can’t wait typo try that!!!
LOL. Not sure if you meant it but this comment made my smile big time.
Totally happy to quilt it. Got batting?
Batting can be got. Thanks so much Rachel.
Love your stars ~ isn’t Cherri just the best person ever? Love her style (yours too)!
Love this. Those fussy cuts are adorable. Such a good update to an already fabulous block!!
So cute, but looks too complicated for me.
Oh no this is sooooo easy. The wonky means that you do not have to be precise and anything goes. It is one of the easiest blocks to make, promise.
Fantastic idea and beautiful result! I really love your stars with those happy coloured Fabrics and scraps are Near to my heart! Goes absolutely to my ‘list’! x Teje
I am not a fan of “wonky” but this is a great little tutorial and makes me want to try. Your star quilt is beautiful, and I love the colors!
Need. To. Try. This. Now!!!!!
Wonderful tutorial, thanks so much, Cath!
LPC
BEAUITFUL BEAUTIFUL WONKY STARS!!!!! LOVE THE COLORFULL!!!!!!!!
This is so creative! Thanks for sharing this project!
That is a great idea! I have a respectable pile of Kona white and snow scraps that I have been reluctant to use together. But seeing your quilt top and the different shades of background fabric, I think I might give it a try!
I have been surprised how great white and cream look together in scrappy projects. For a while I did not mix them but now…I love the interest it adds having the two colours side by side.
I really love this! Scrappy quilts are my favorite 😀
Reblogged this on embroiderybyemily and commented:
This looks like a great way to use up fabric scraps. I can’t wait to try it – yes, it’s gone on my “to-do” list!
I was sew happy to be a part of the PMQG Charity sew day! Kath, thanks for your help. And Wow! you whipped up a great top with the wonky stars collection!! Yay for Cherri’s pieced centers!
Sue it was great to meet you and your yellow stars really make this quilt top sing.
Very cute!
I might need to try this!
Omg! I love these wonky stars! I will defo be trying this out, it looks brilliant.
It really is fun and easy and highly recommended.
Pingback: On The Go Quilting » Friday Finds, March 21
Pingback: Zvaigžņu sega | Kur gājputniem mājas?
Pingback: A special QuiltCon reject | WOMBAT QUILTS
I found this recently. Such a beauty. I am making one now with different colors and the different whites and beiges. What color should the back be?? Making for someone and maybe one for me too. Thank you for sharing!.
Pingback: Weekend Works In Progress vol. 5
Pingback: Quilt Bee blocks – April, May and June | The Crafty Adventures of a Wallflower
Pingback: Panda Wonky Stars – Niki-B Salvage
This is so beyond gorgeous! I’ve been wondering forever what to make with some black chambray and colorful lawn fabric, and this is THE project. The wonky stars totally call me. :)) Thank you so much for sharing!!!!
What seam allowance did you use for this wonky star block? I picked up a kit last night at our PMQG meeting last night but want to check on the SA before I sew 🙂
Hi. I always use a 1/4 inch seam allowance even when I am doing wonky. A little bigger allowance does not matter but you do not want to go smaller than 1/4. Thanks for picking up a kit. Cath
Perfect!
Pingback: Rachel Lance
Pingback: 2020 BOM: March Instructions | seattle modern quilt guild
Pingback: 2022 Block of the Month Sew Along – July Wonky Piecing – Modern Quilt Guild Victoria