Simple, easy, quick and fun

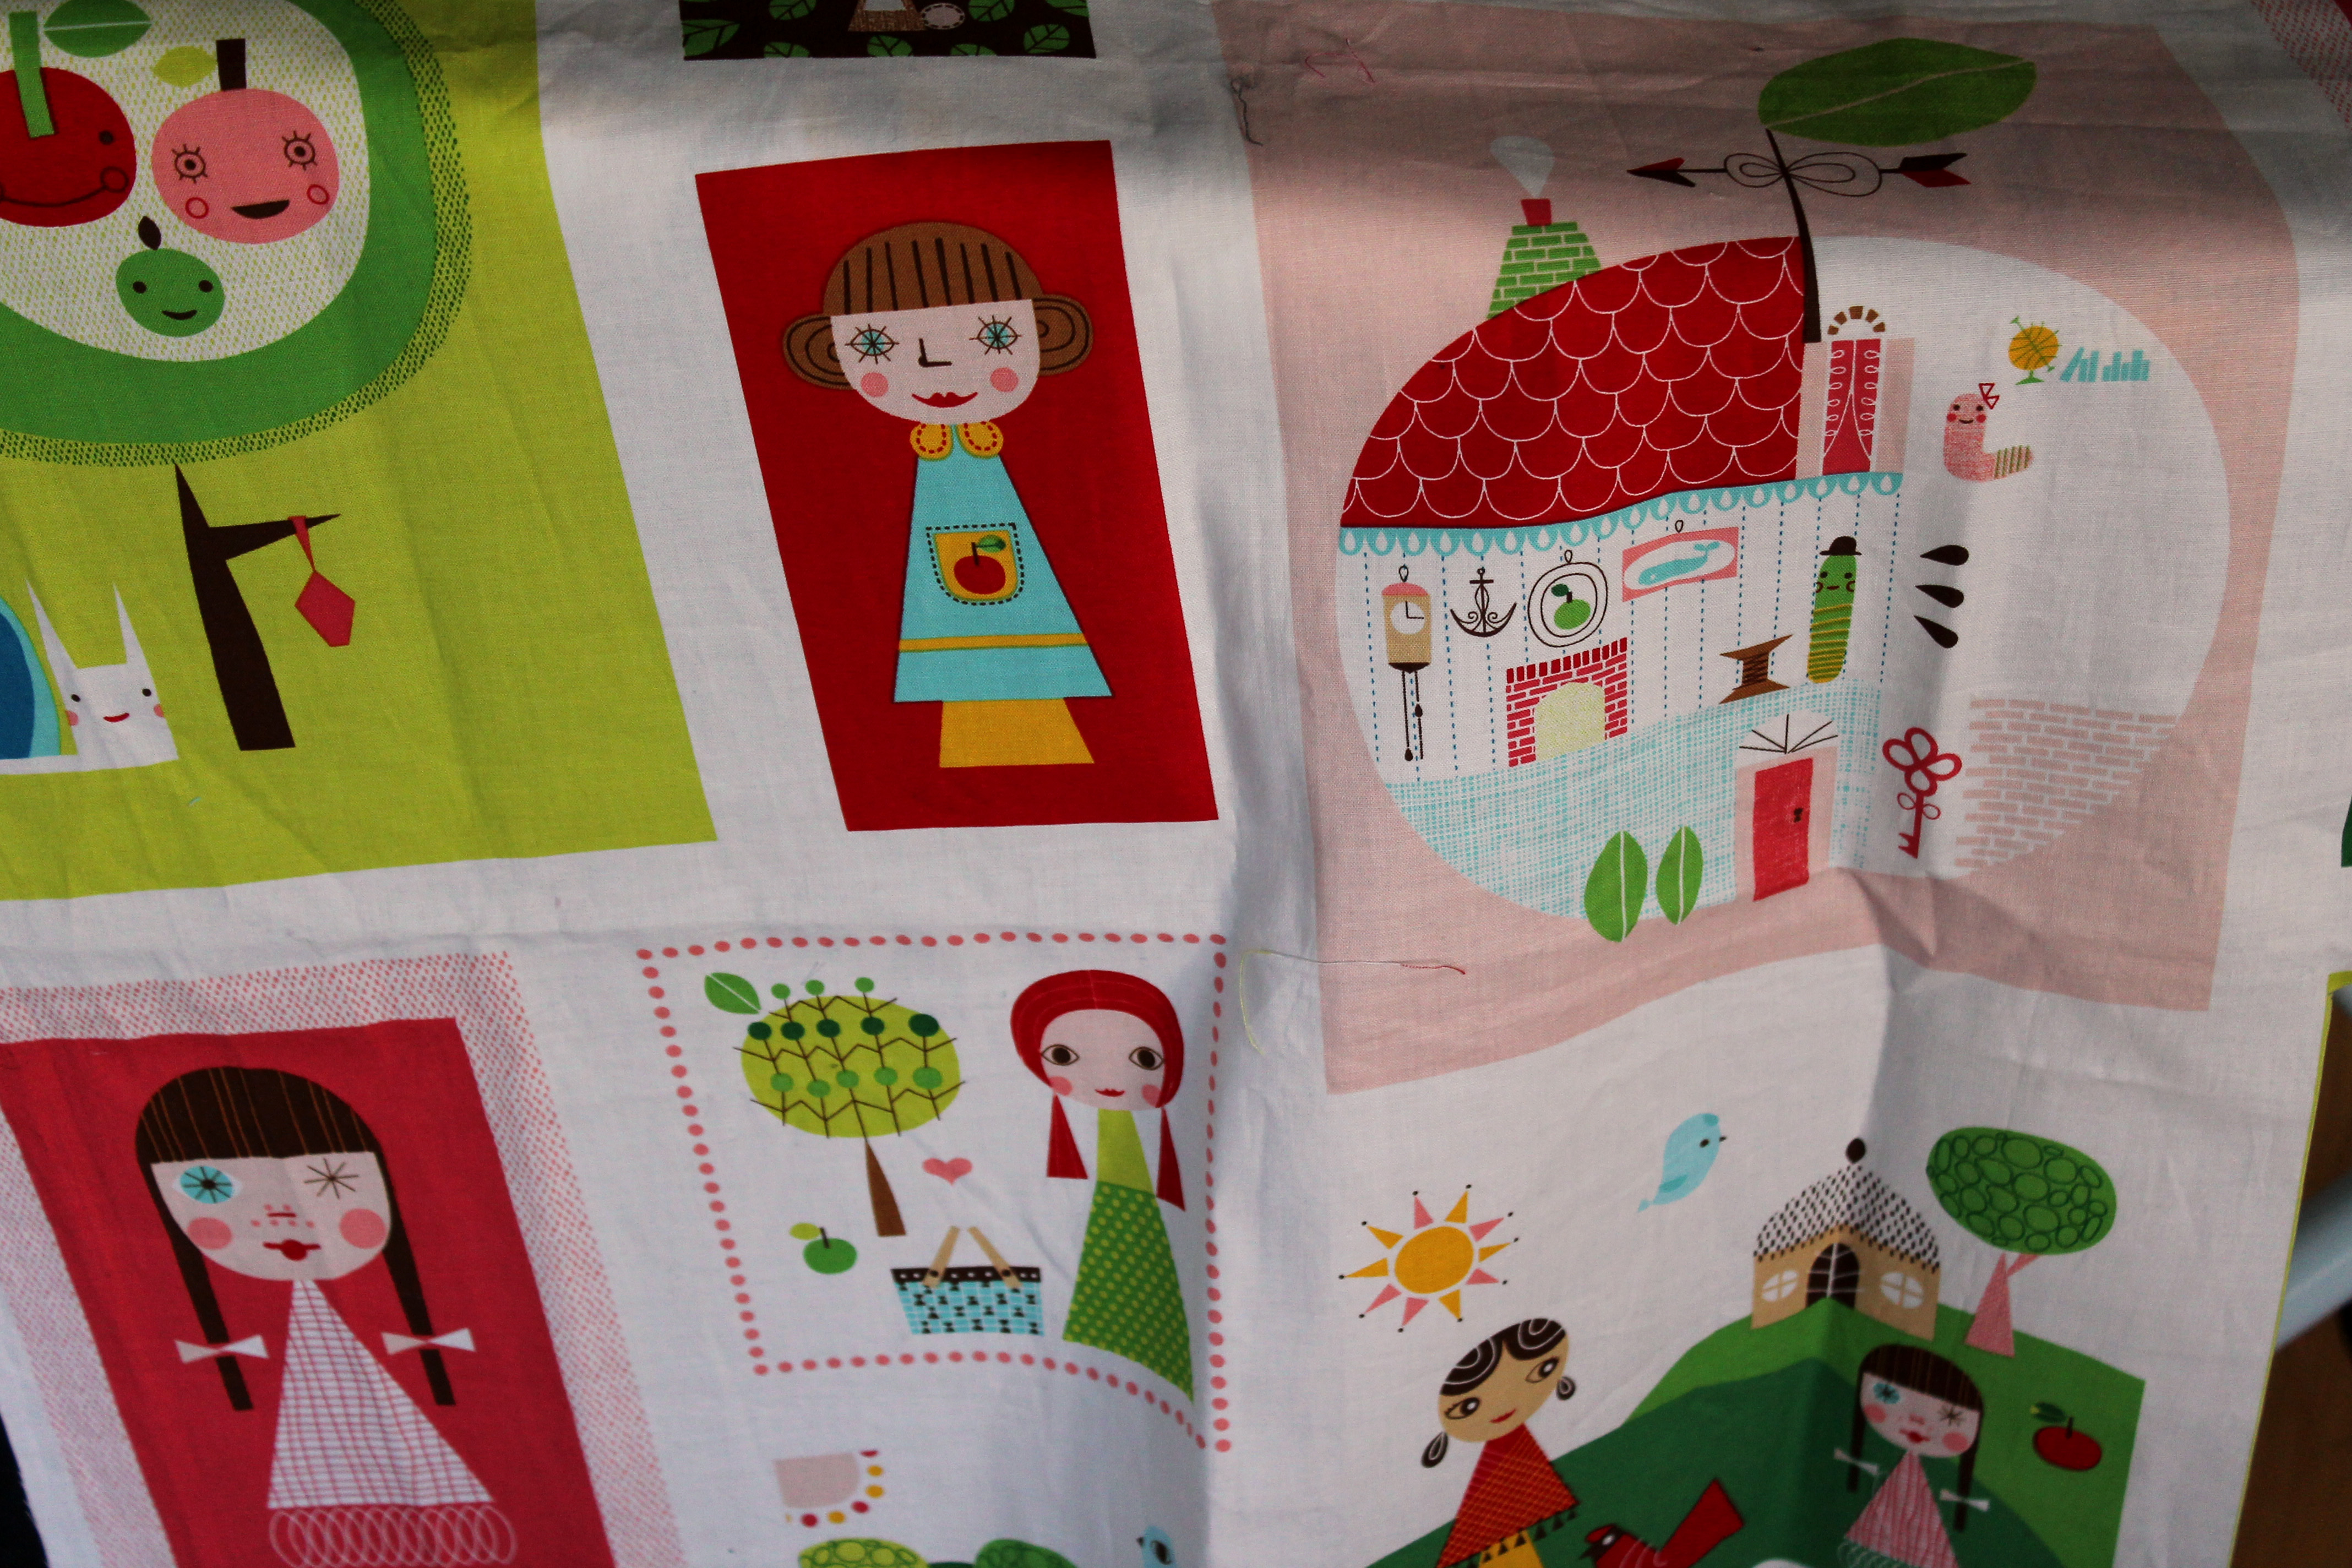
Monday night my husband decided to abandon me for some fun and games with some of his friends.  I was a little excited to have the night to myself and decided that I wanted to try to finish a quilt top in a night. I found the perfect fabric for my plan, some 1/2 yard cuts of three prints from Michael Miller’s “Les Monsieur” I bought a couple of months ago.

fabric detail

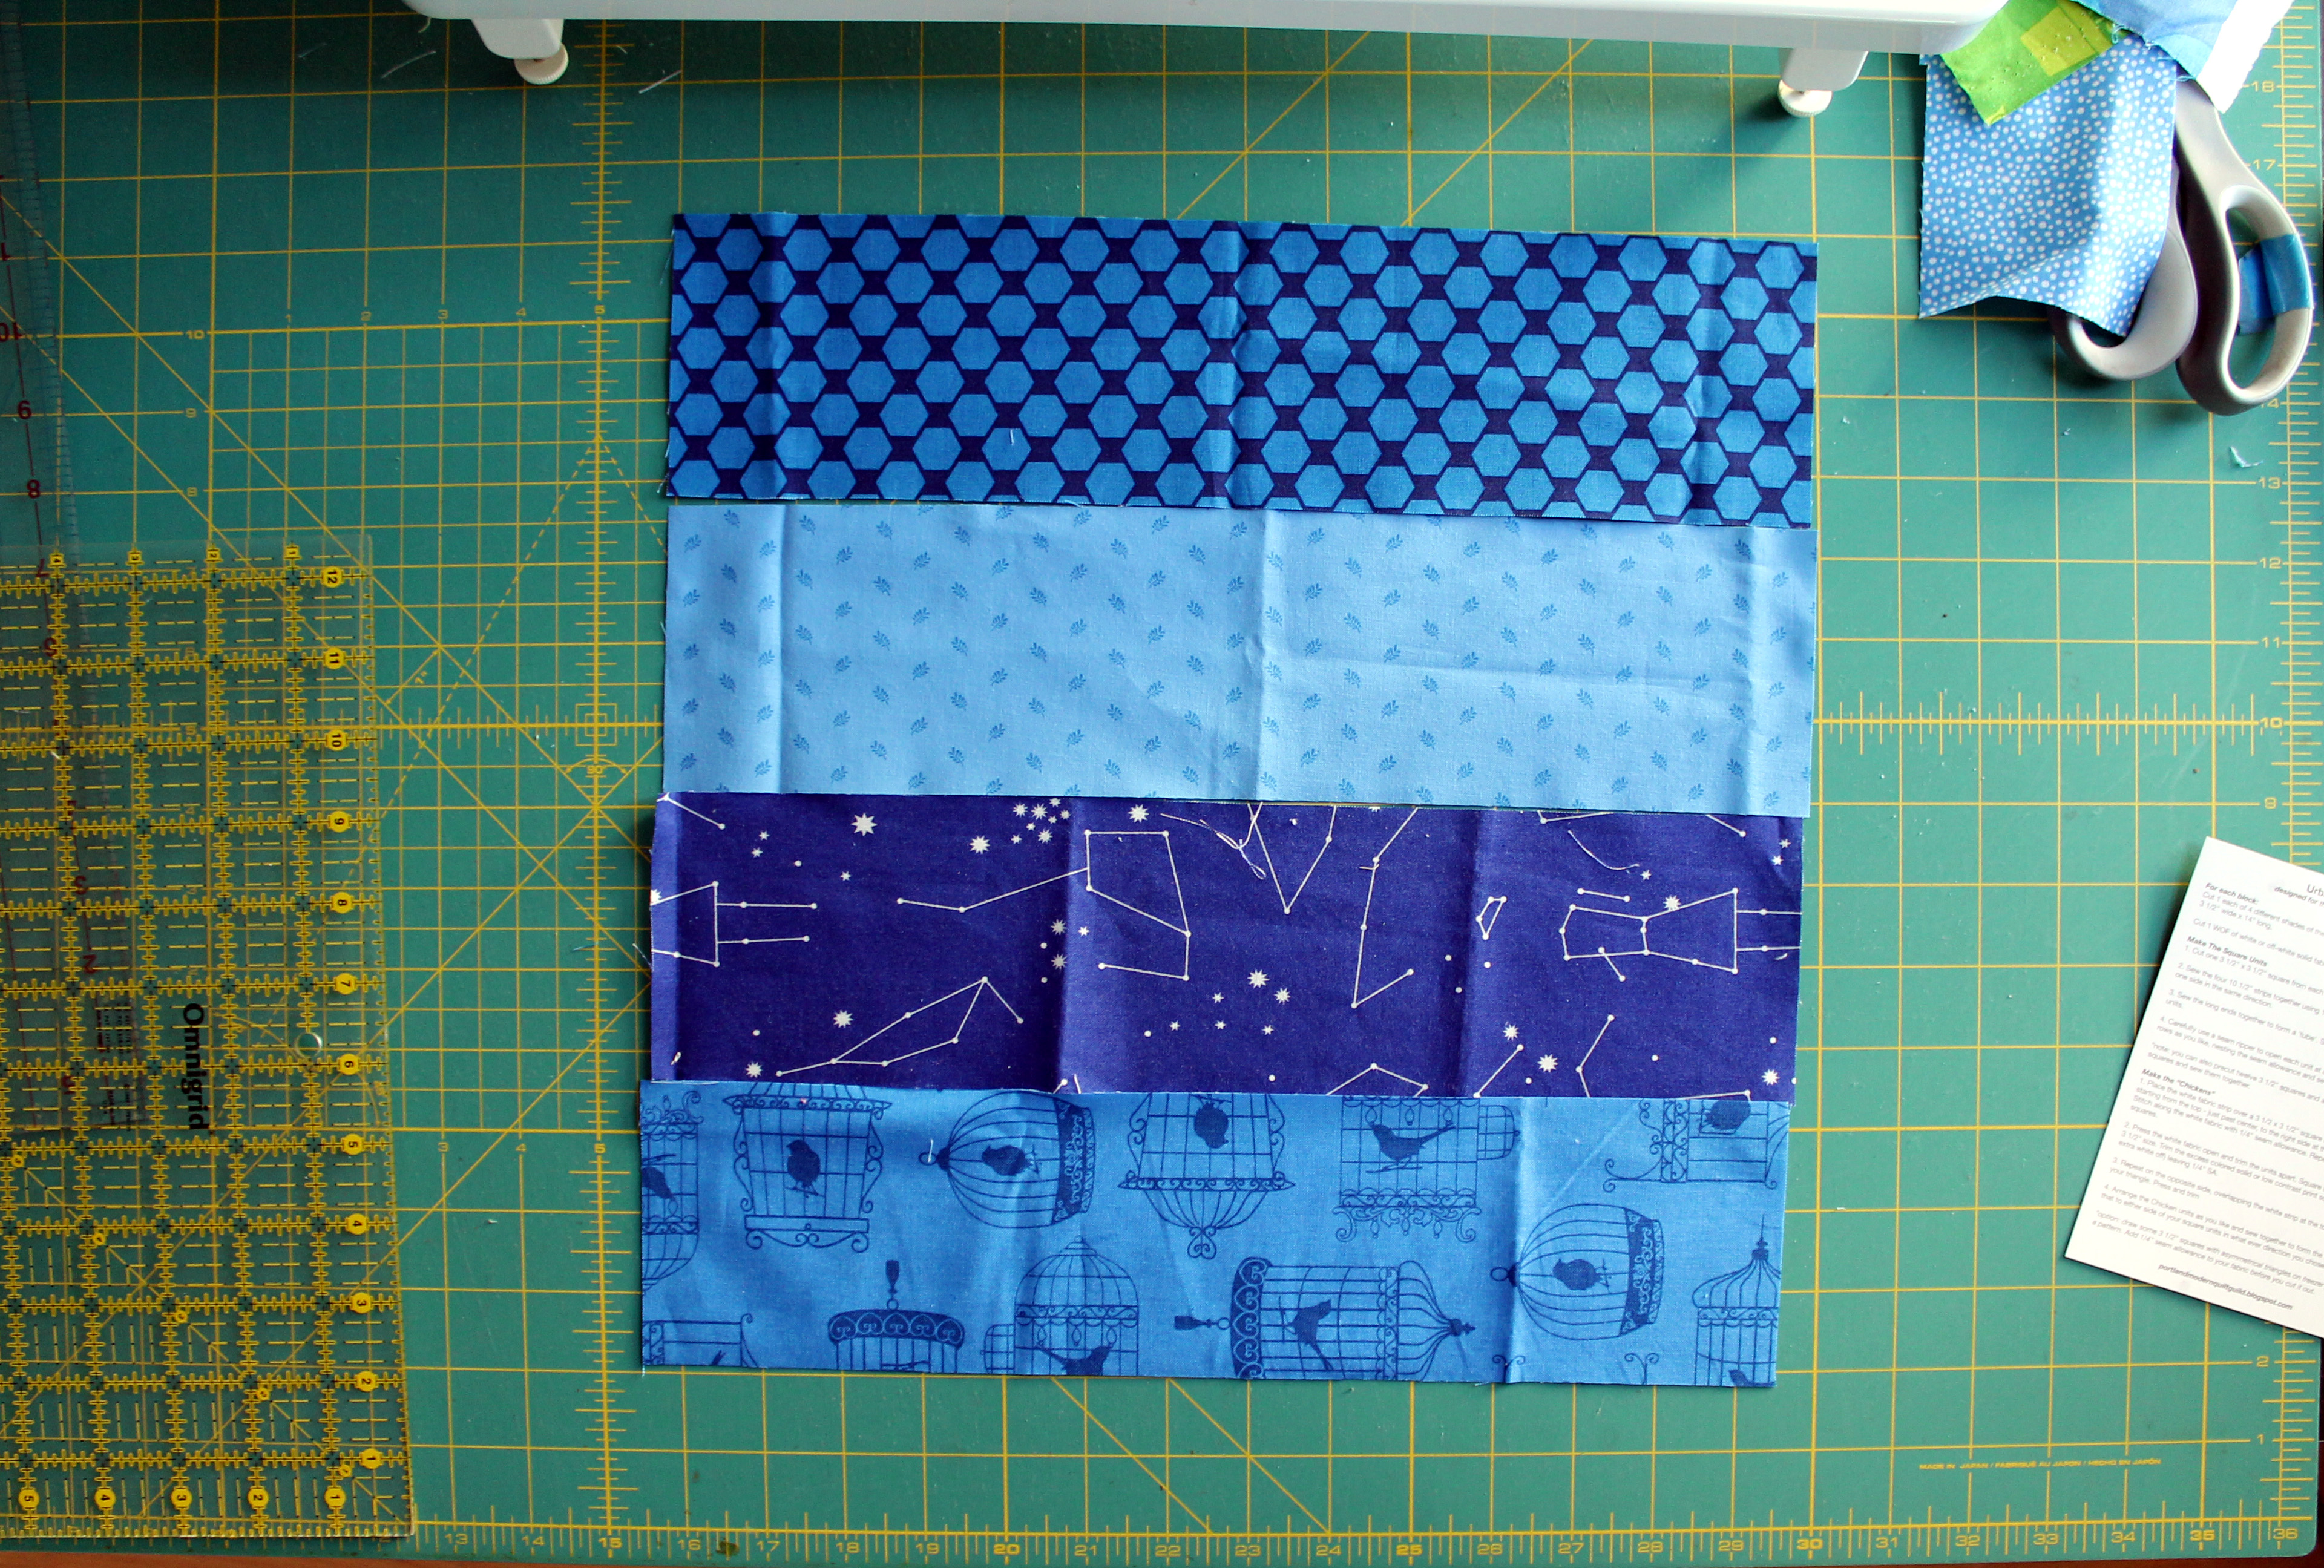
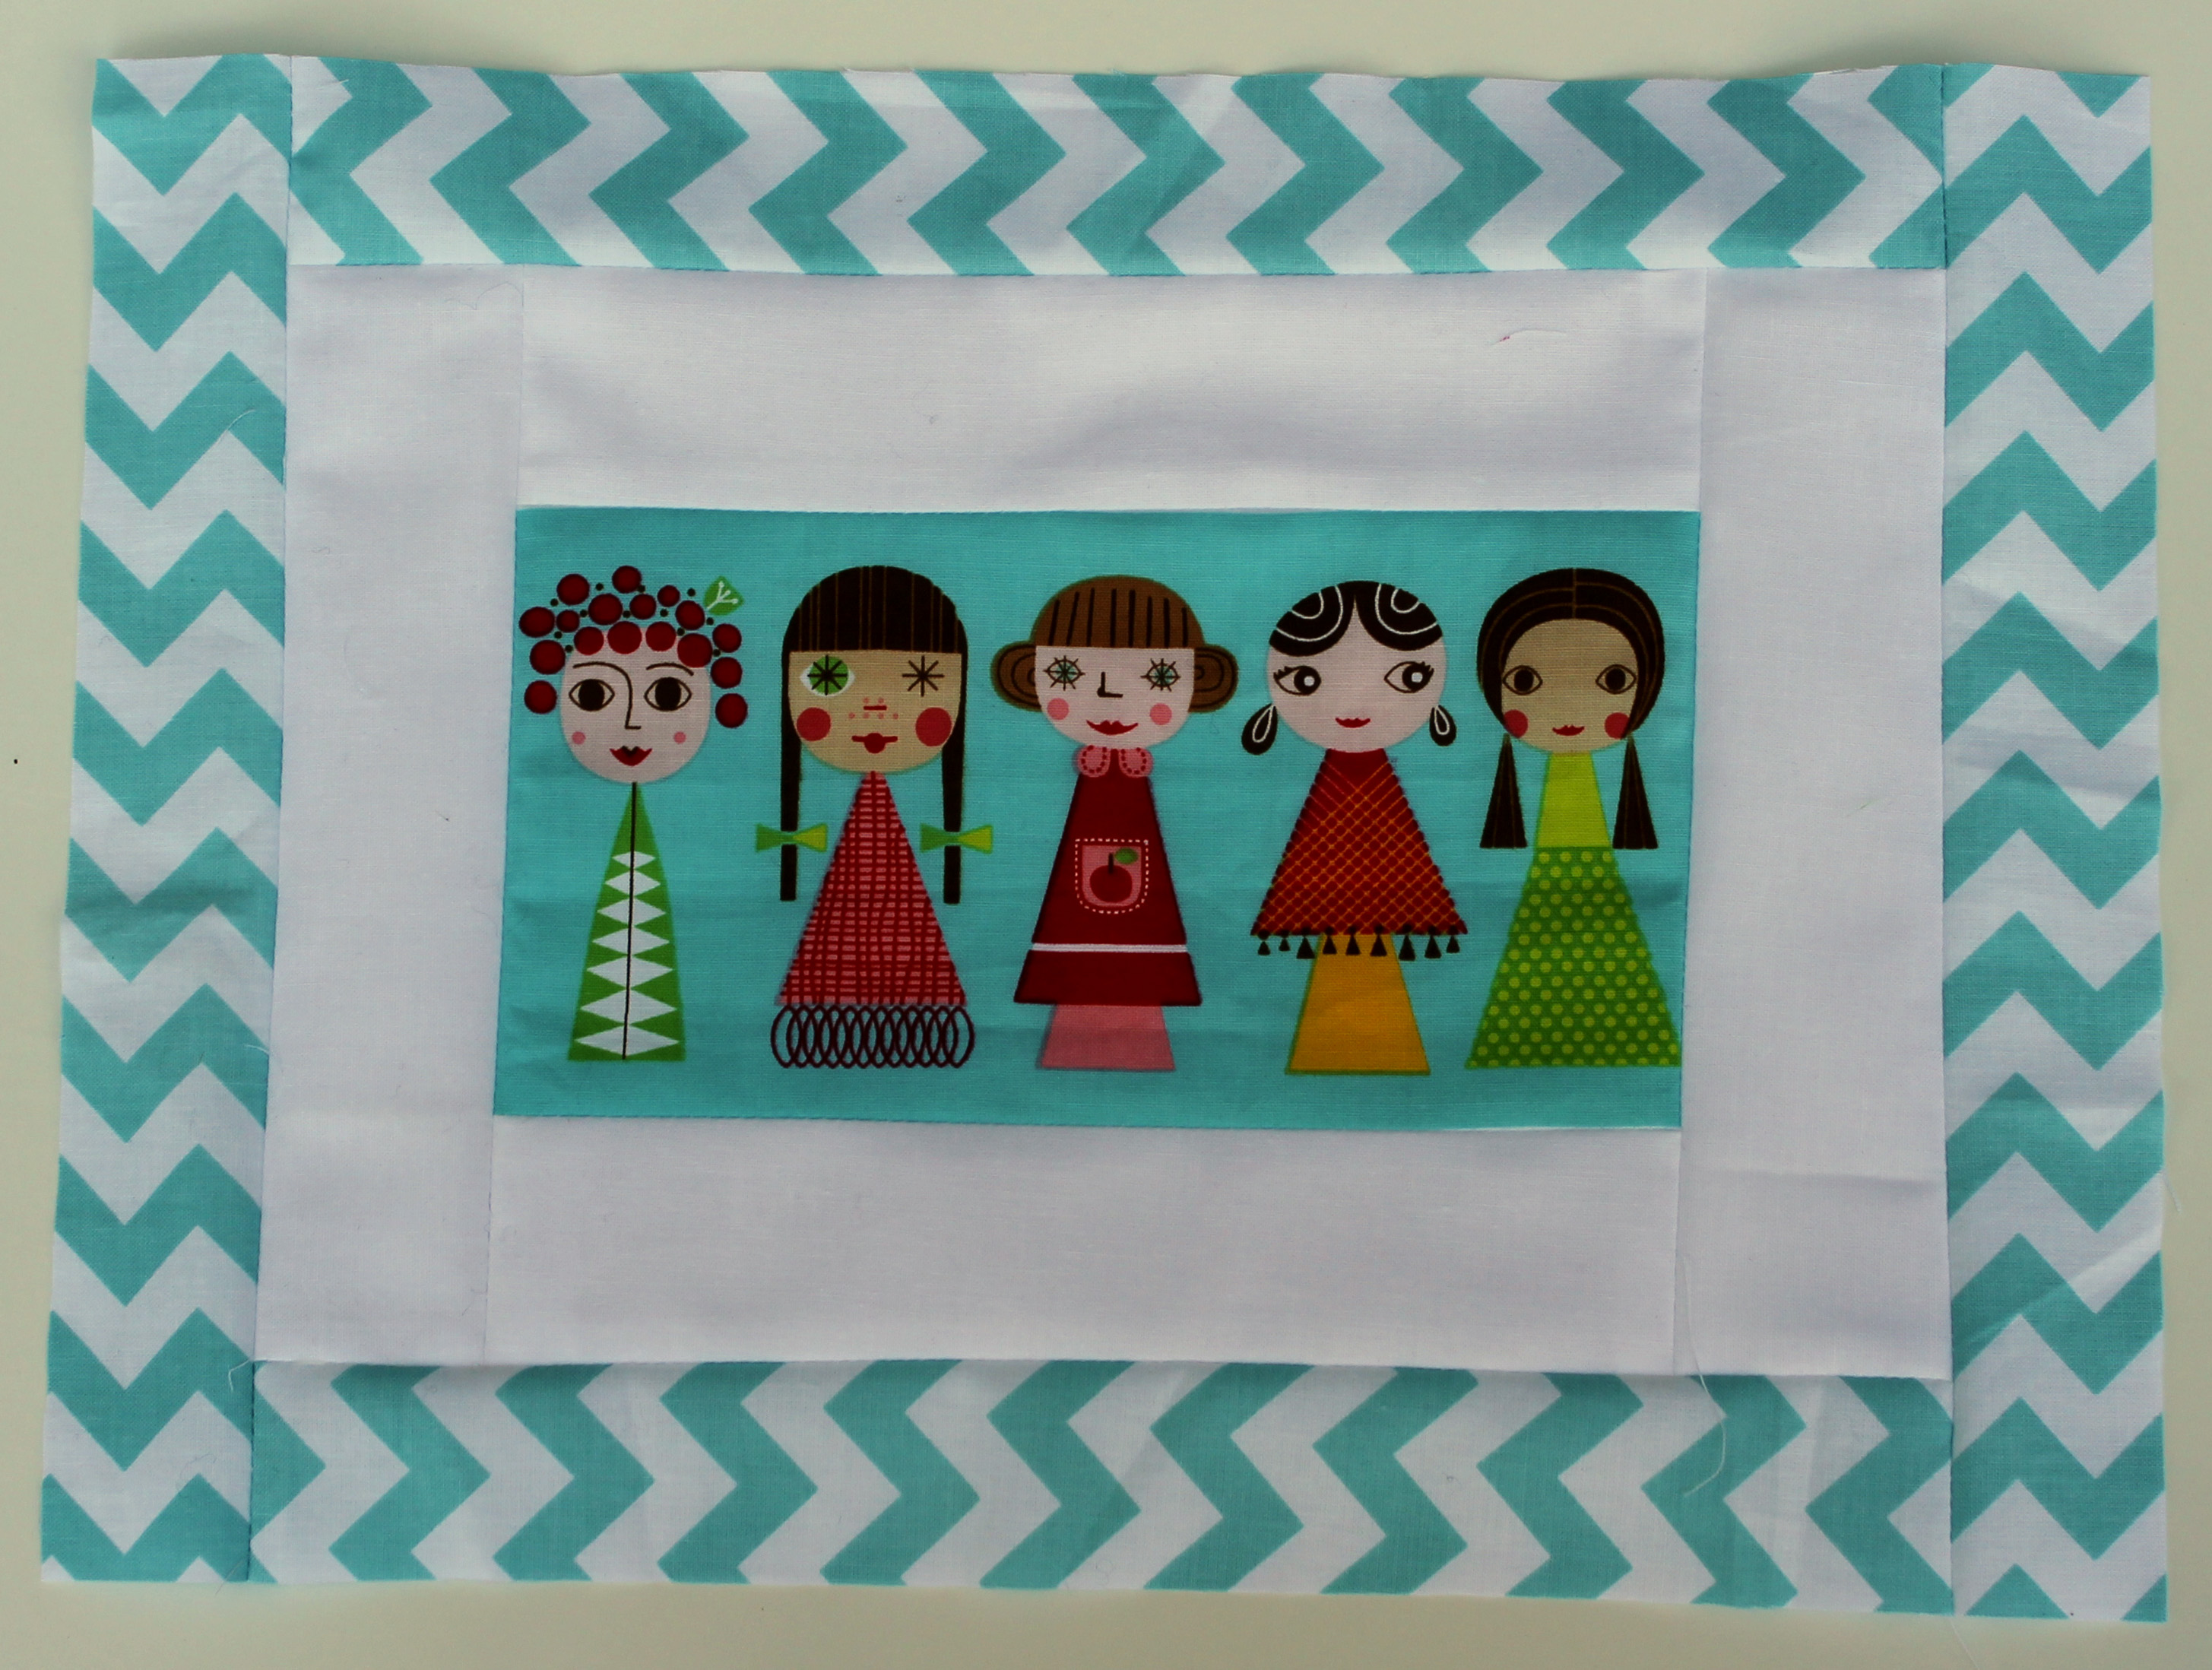
Using this fabulous print from the collection as my focus,   I pulled supporting green and blue fabrics,  tone on tone white and some mustaches from my stash and got to work.

Les Monsieur fabric

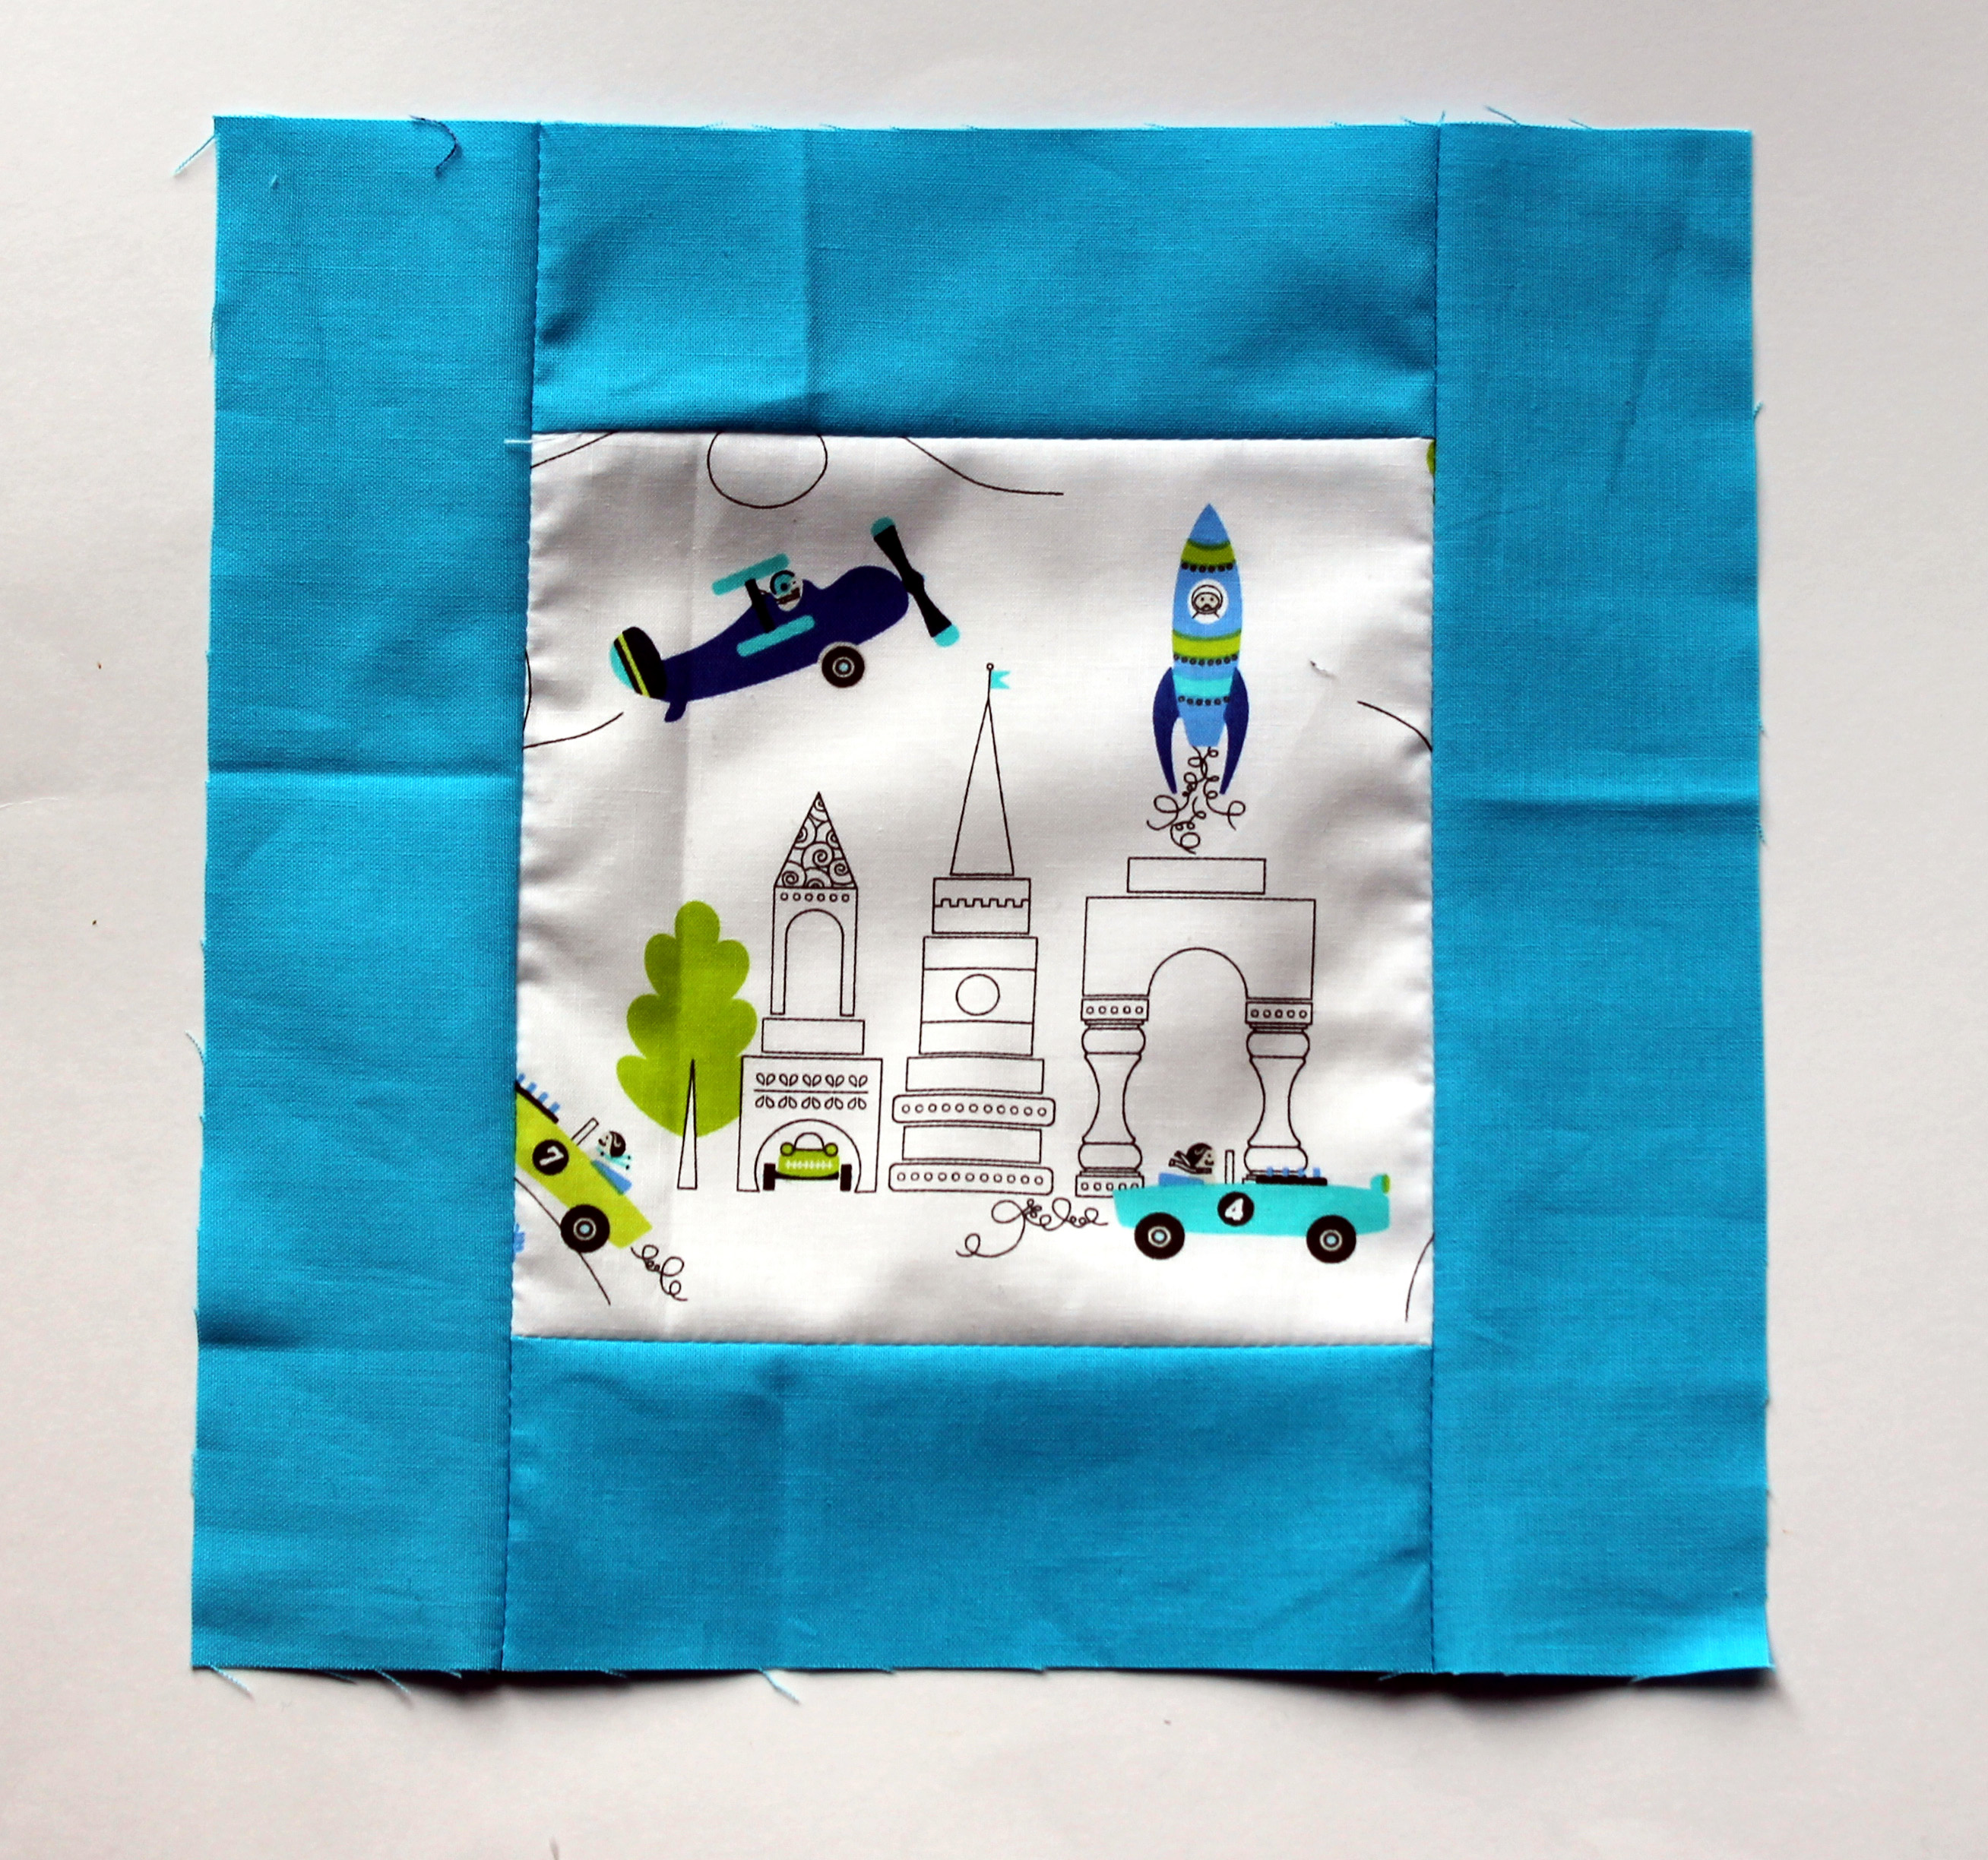
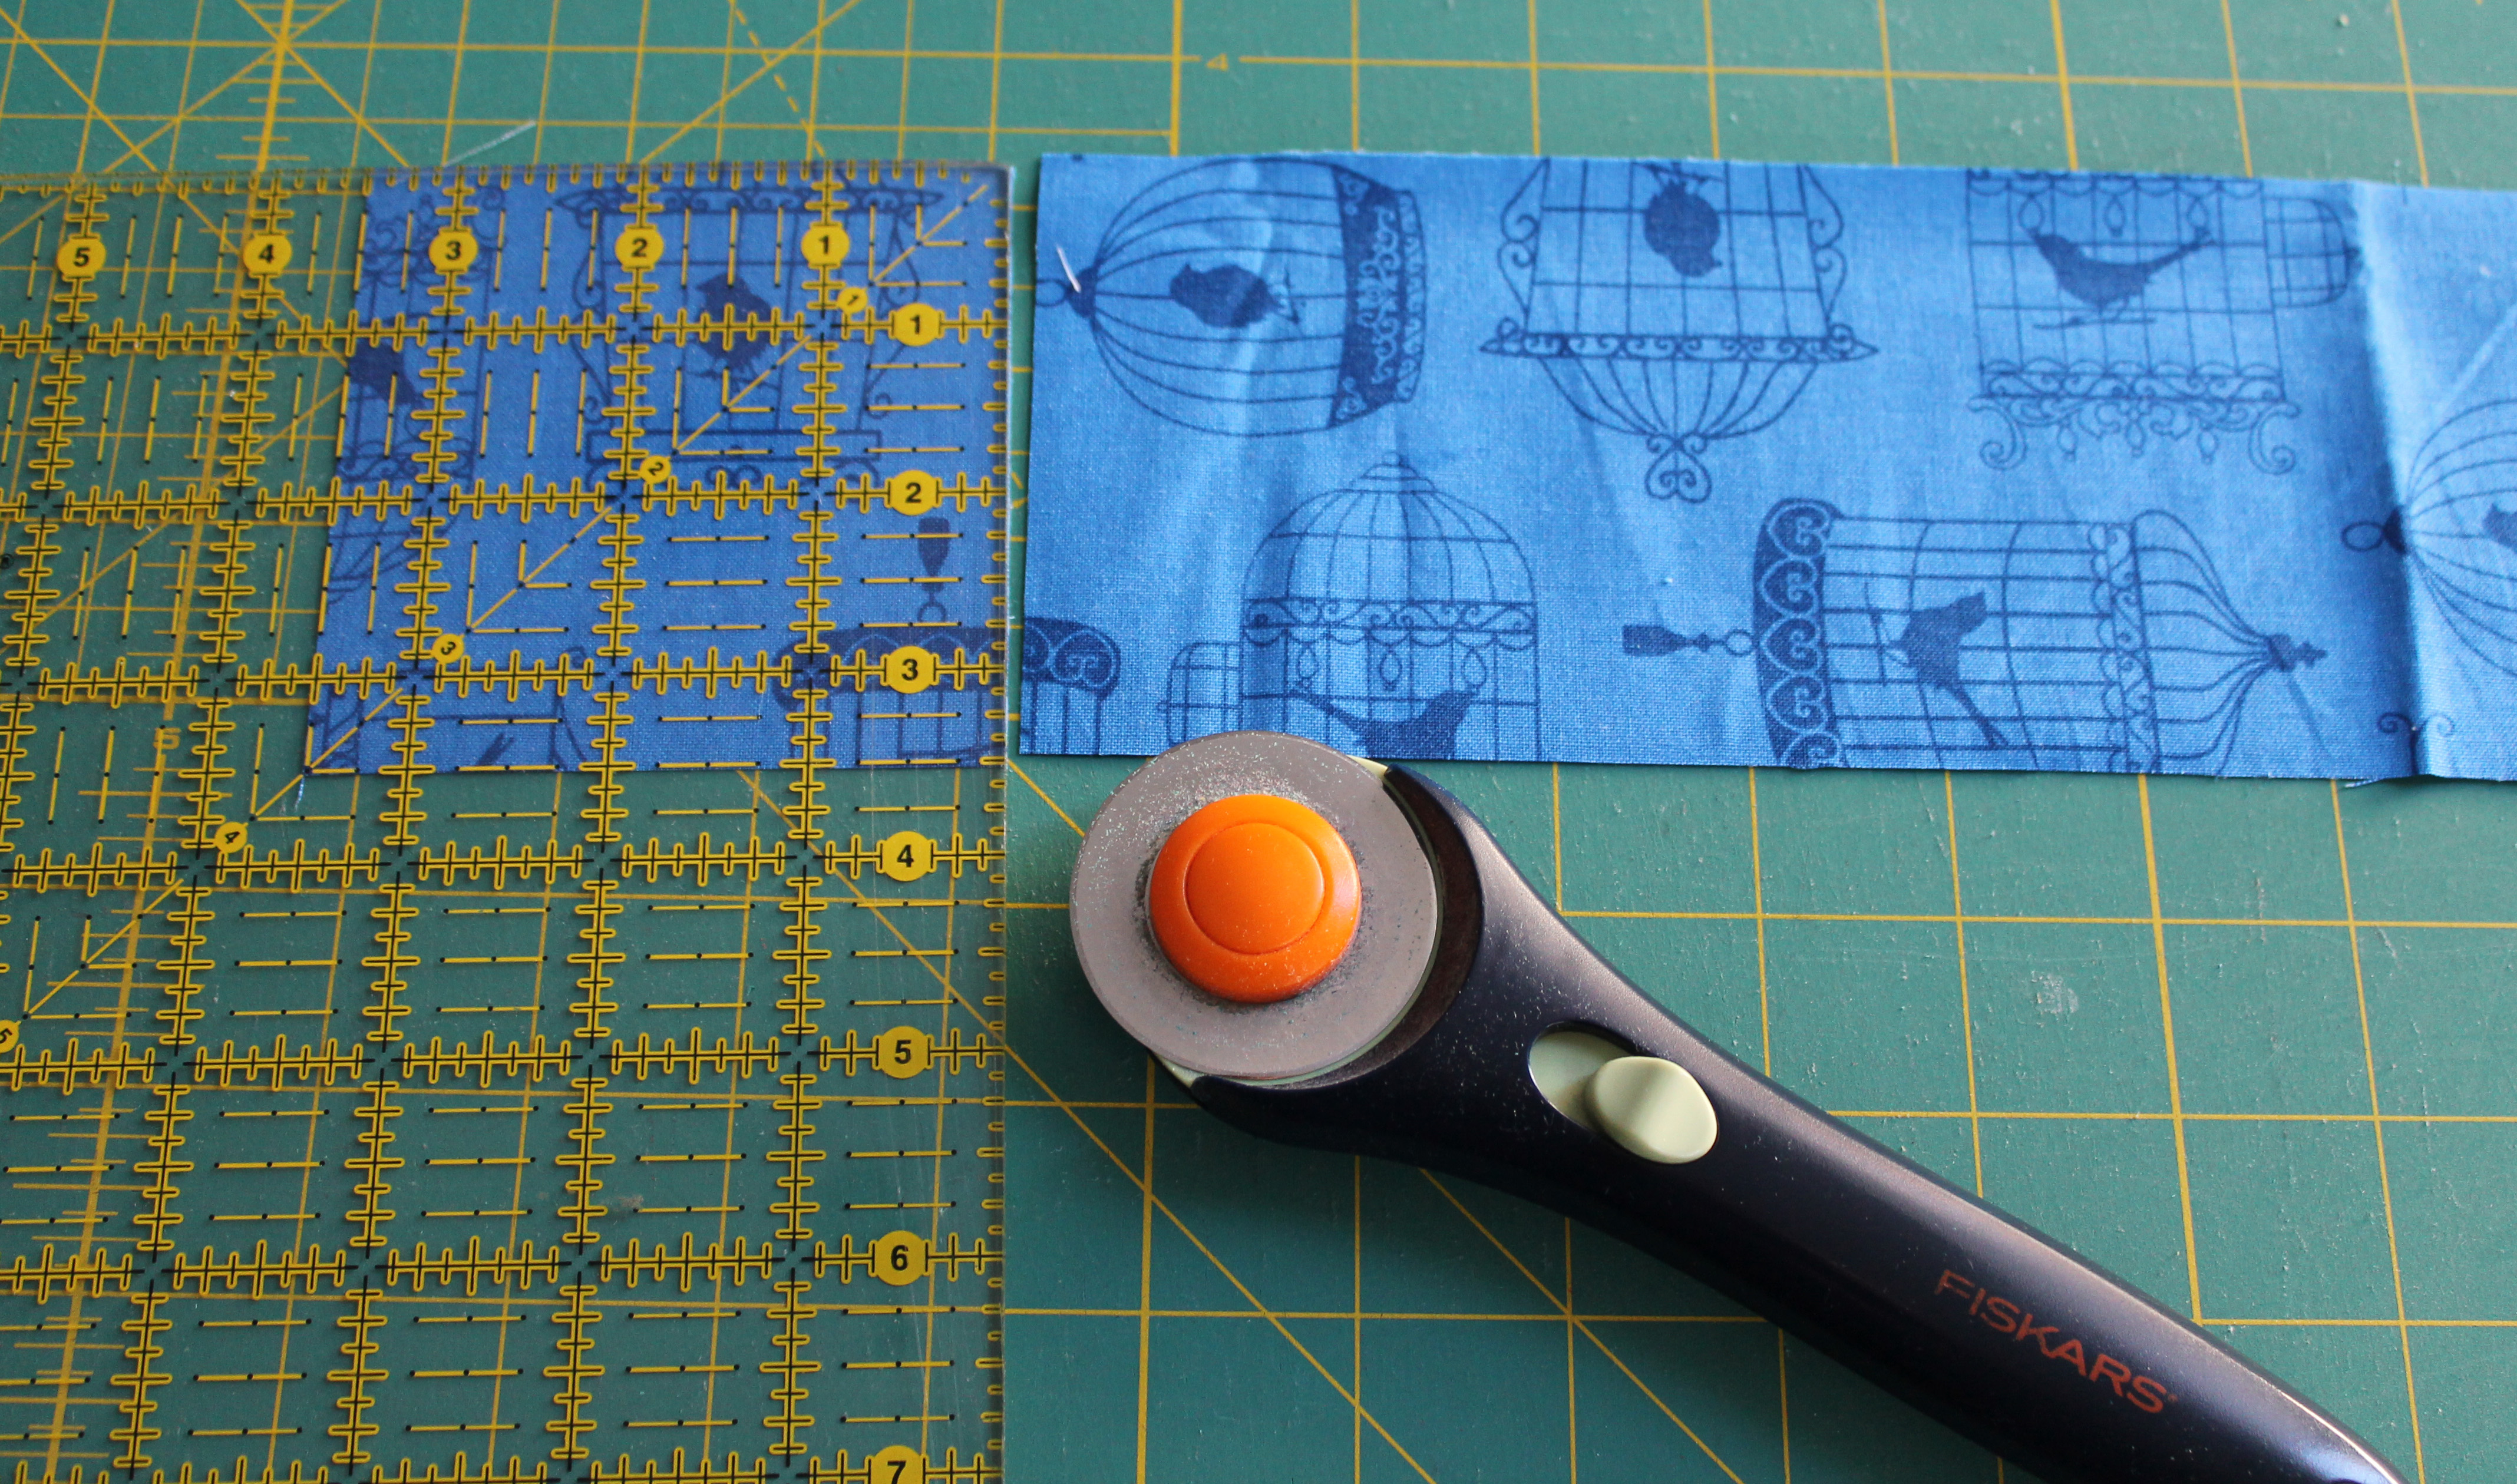
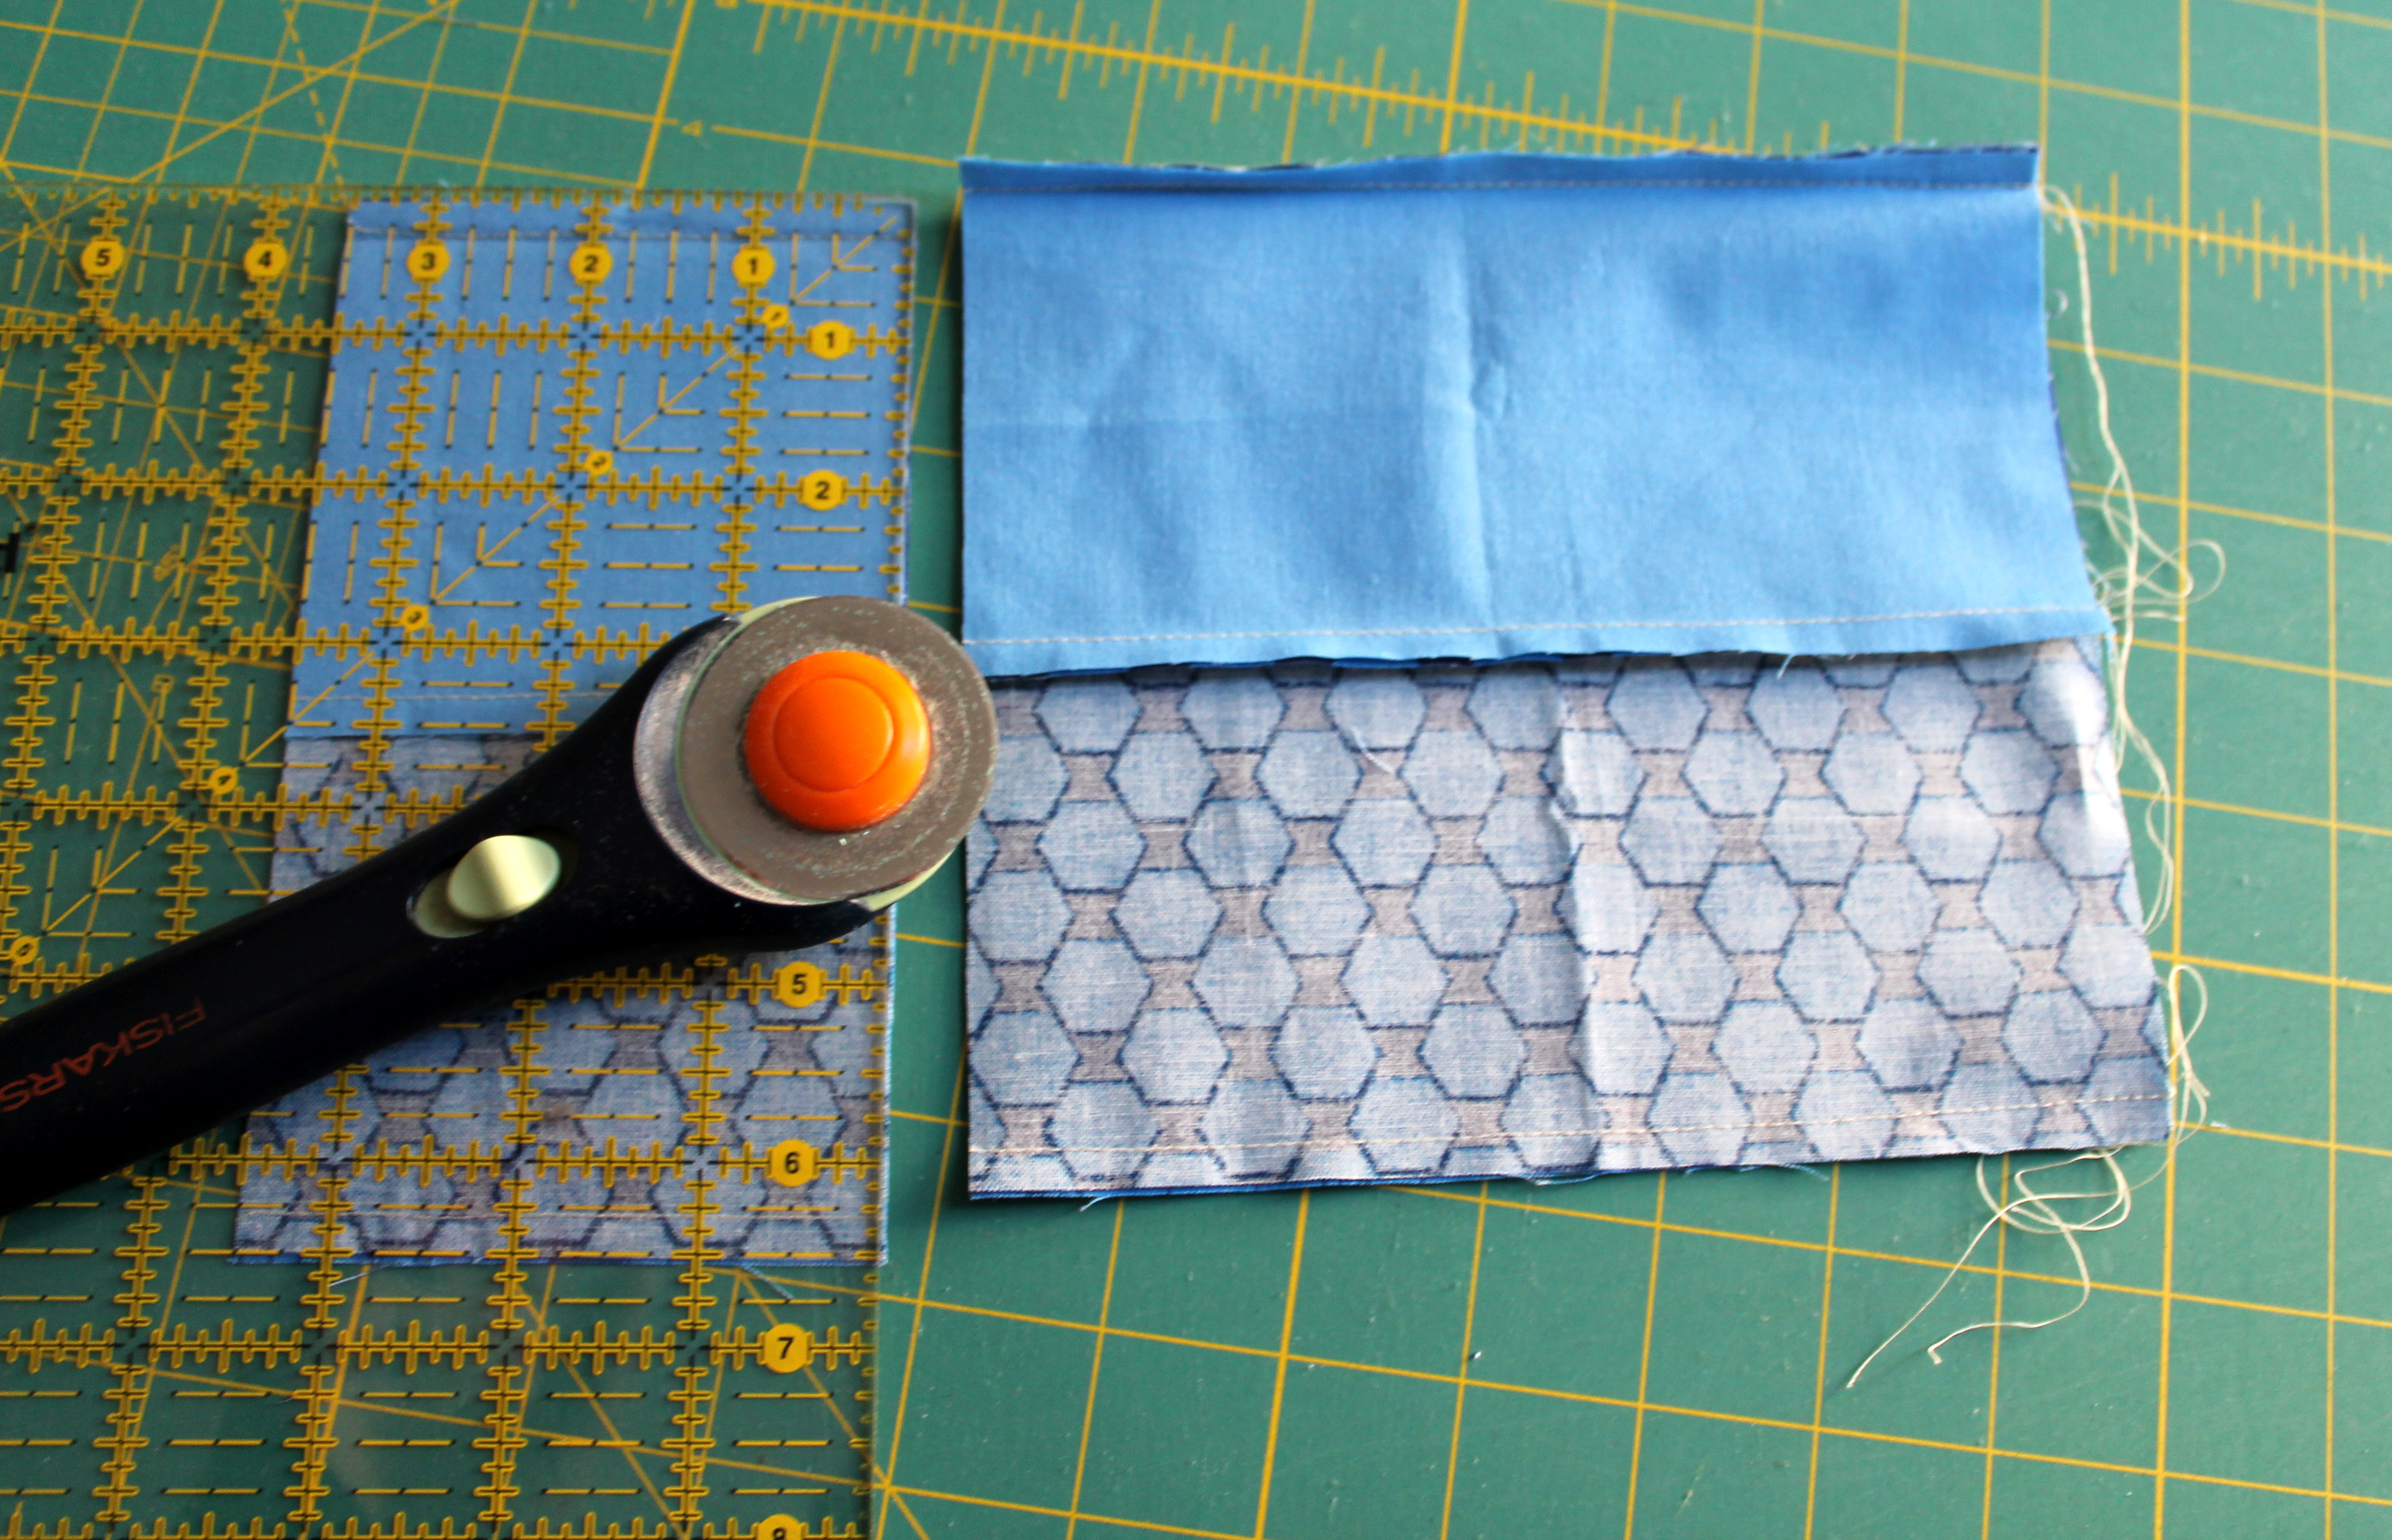
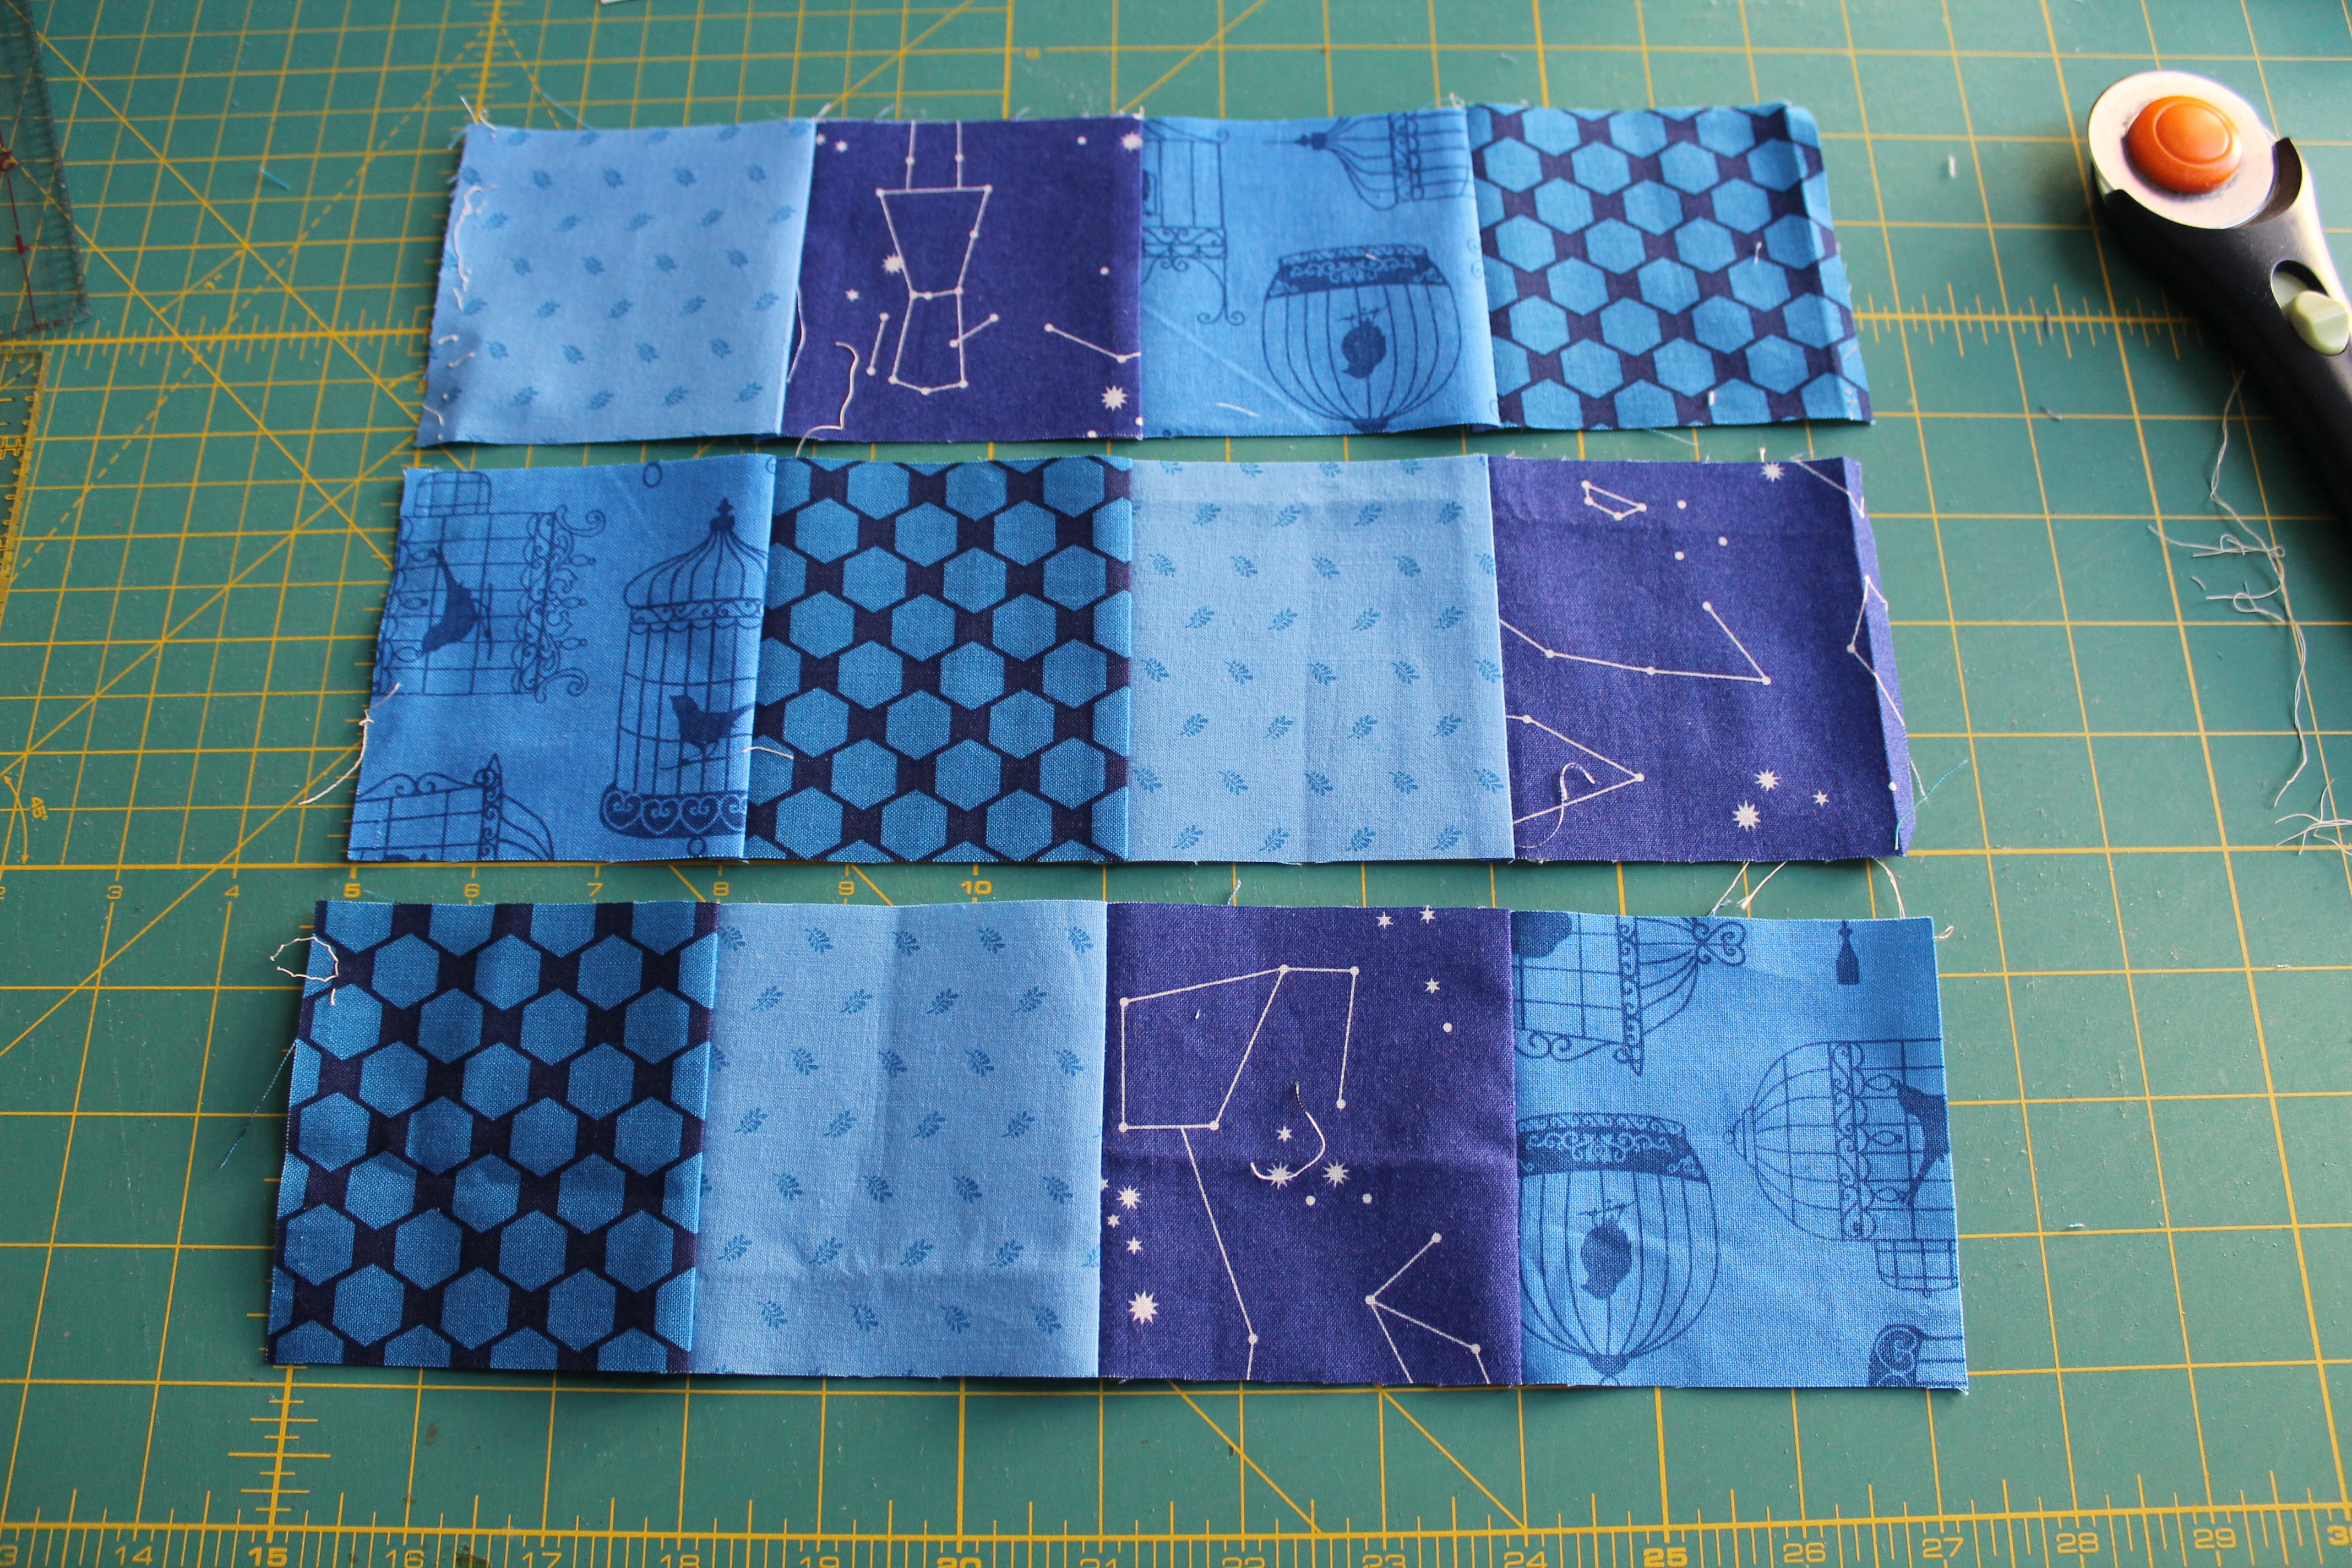
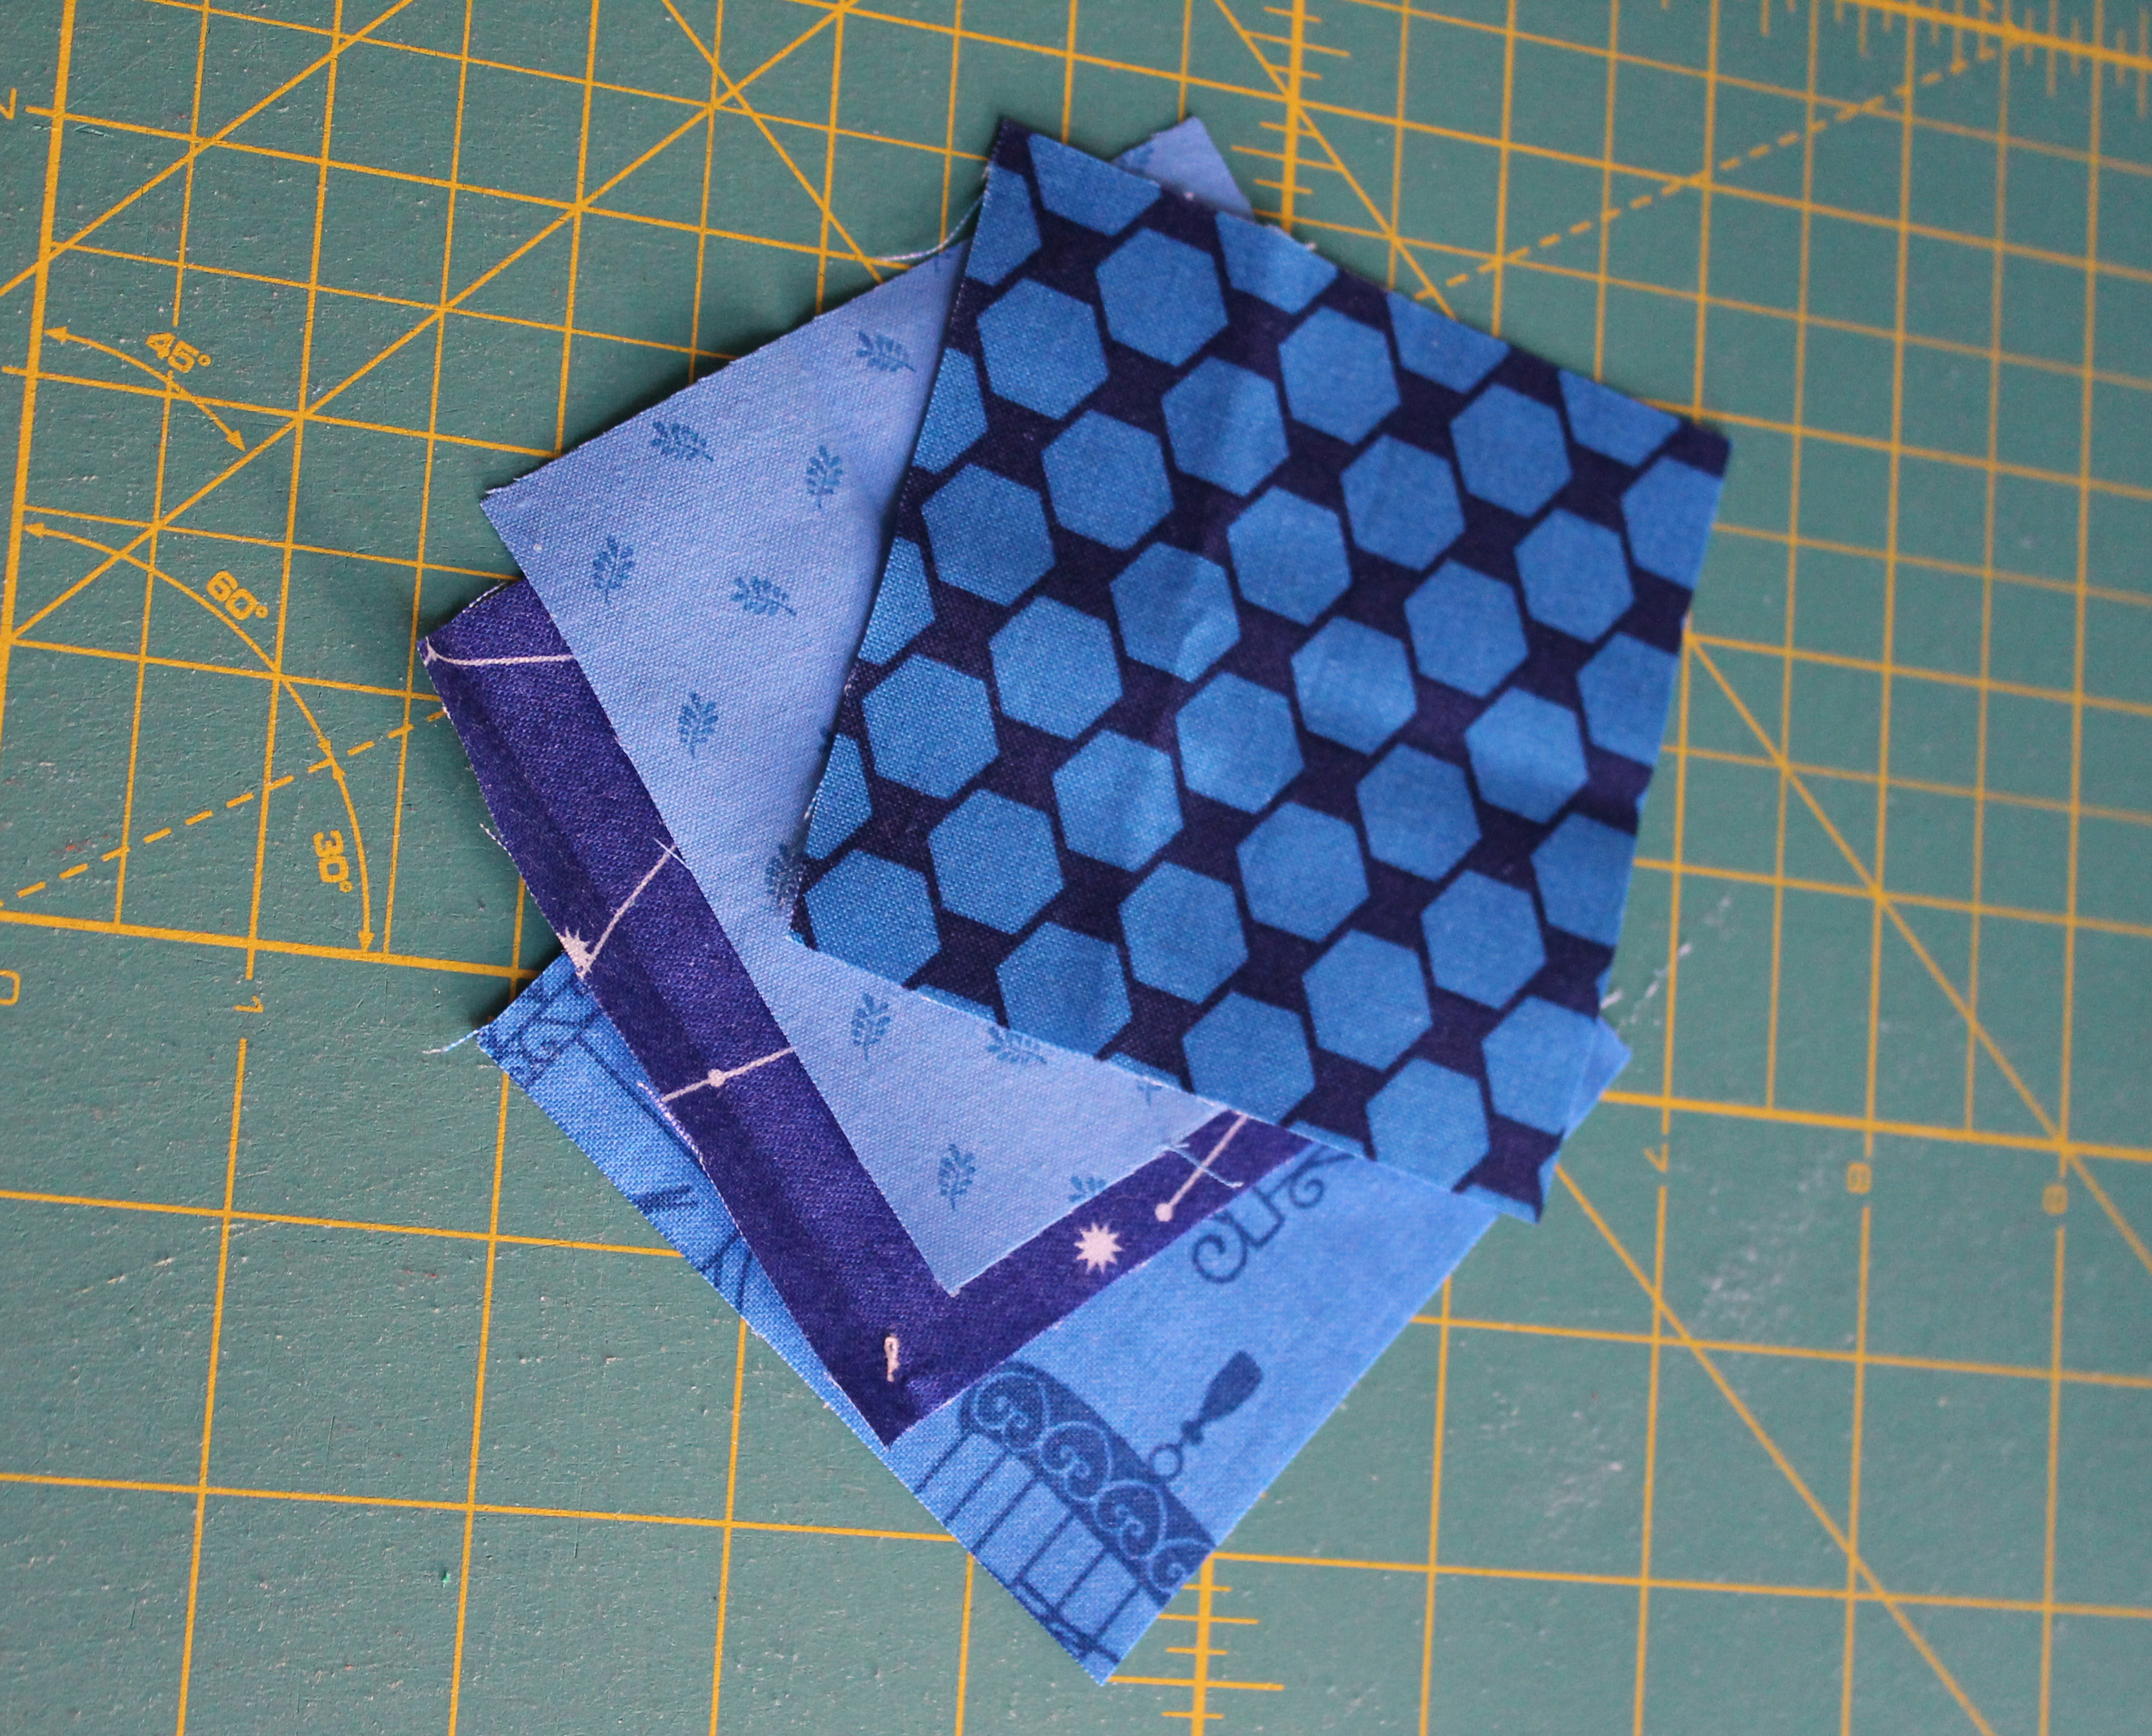
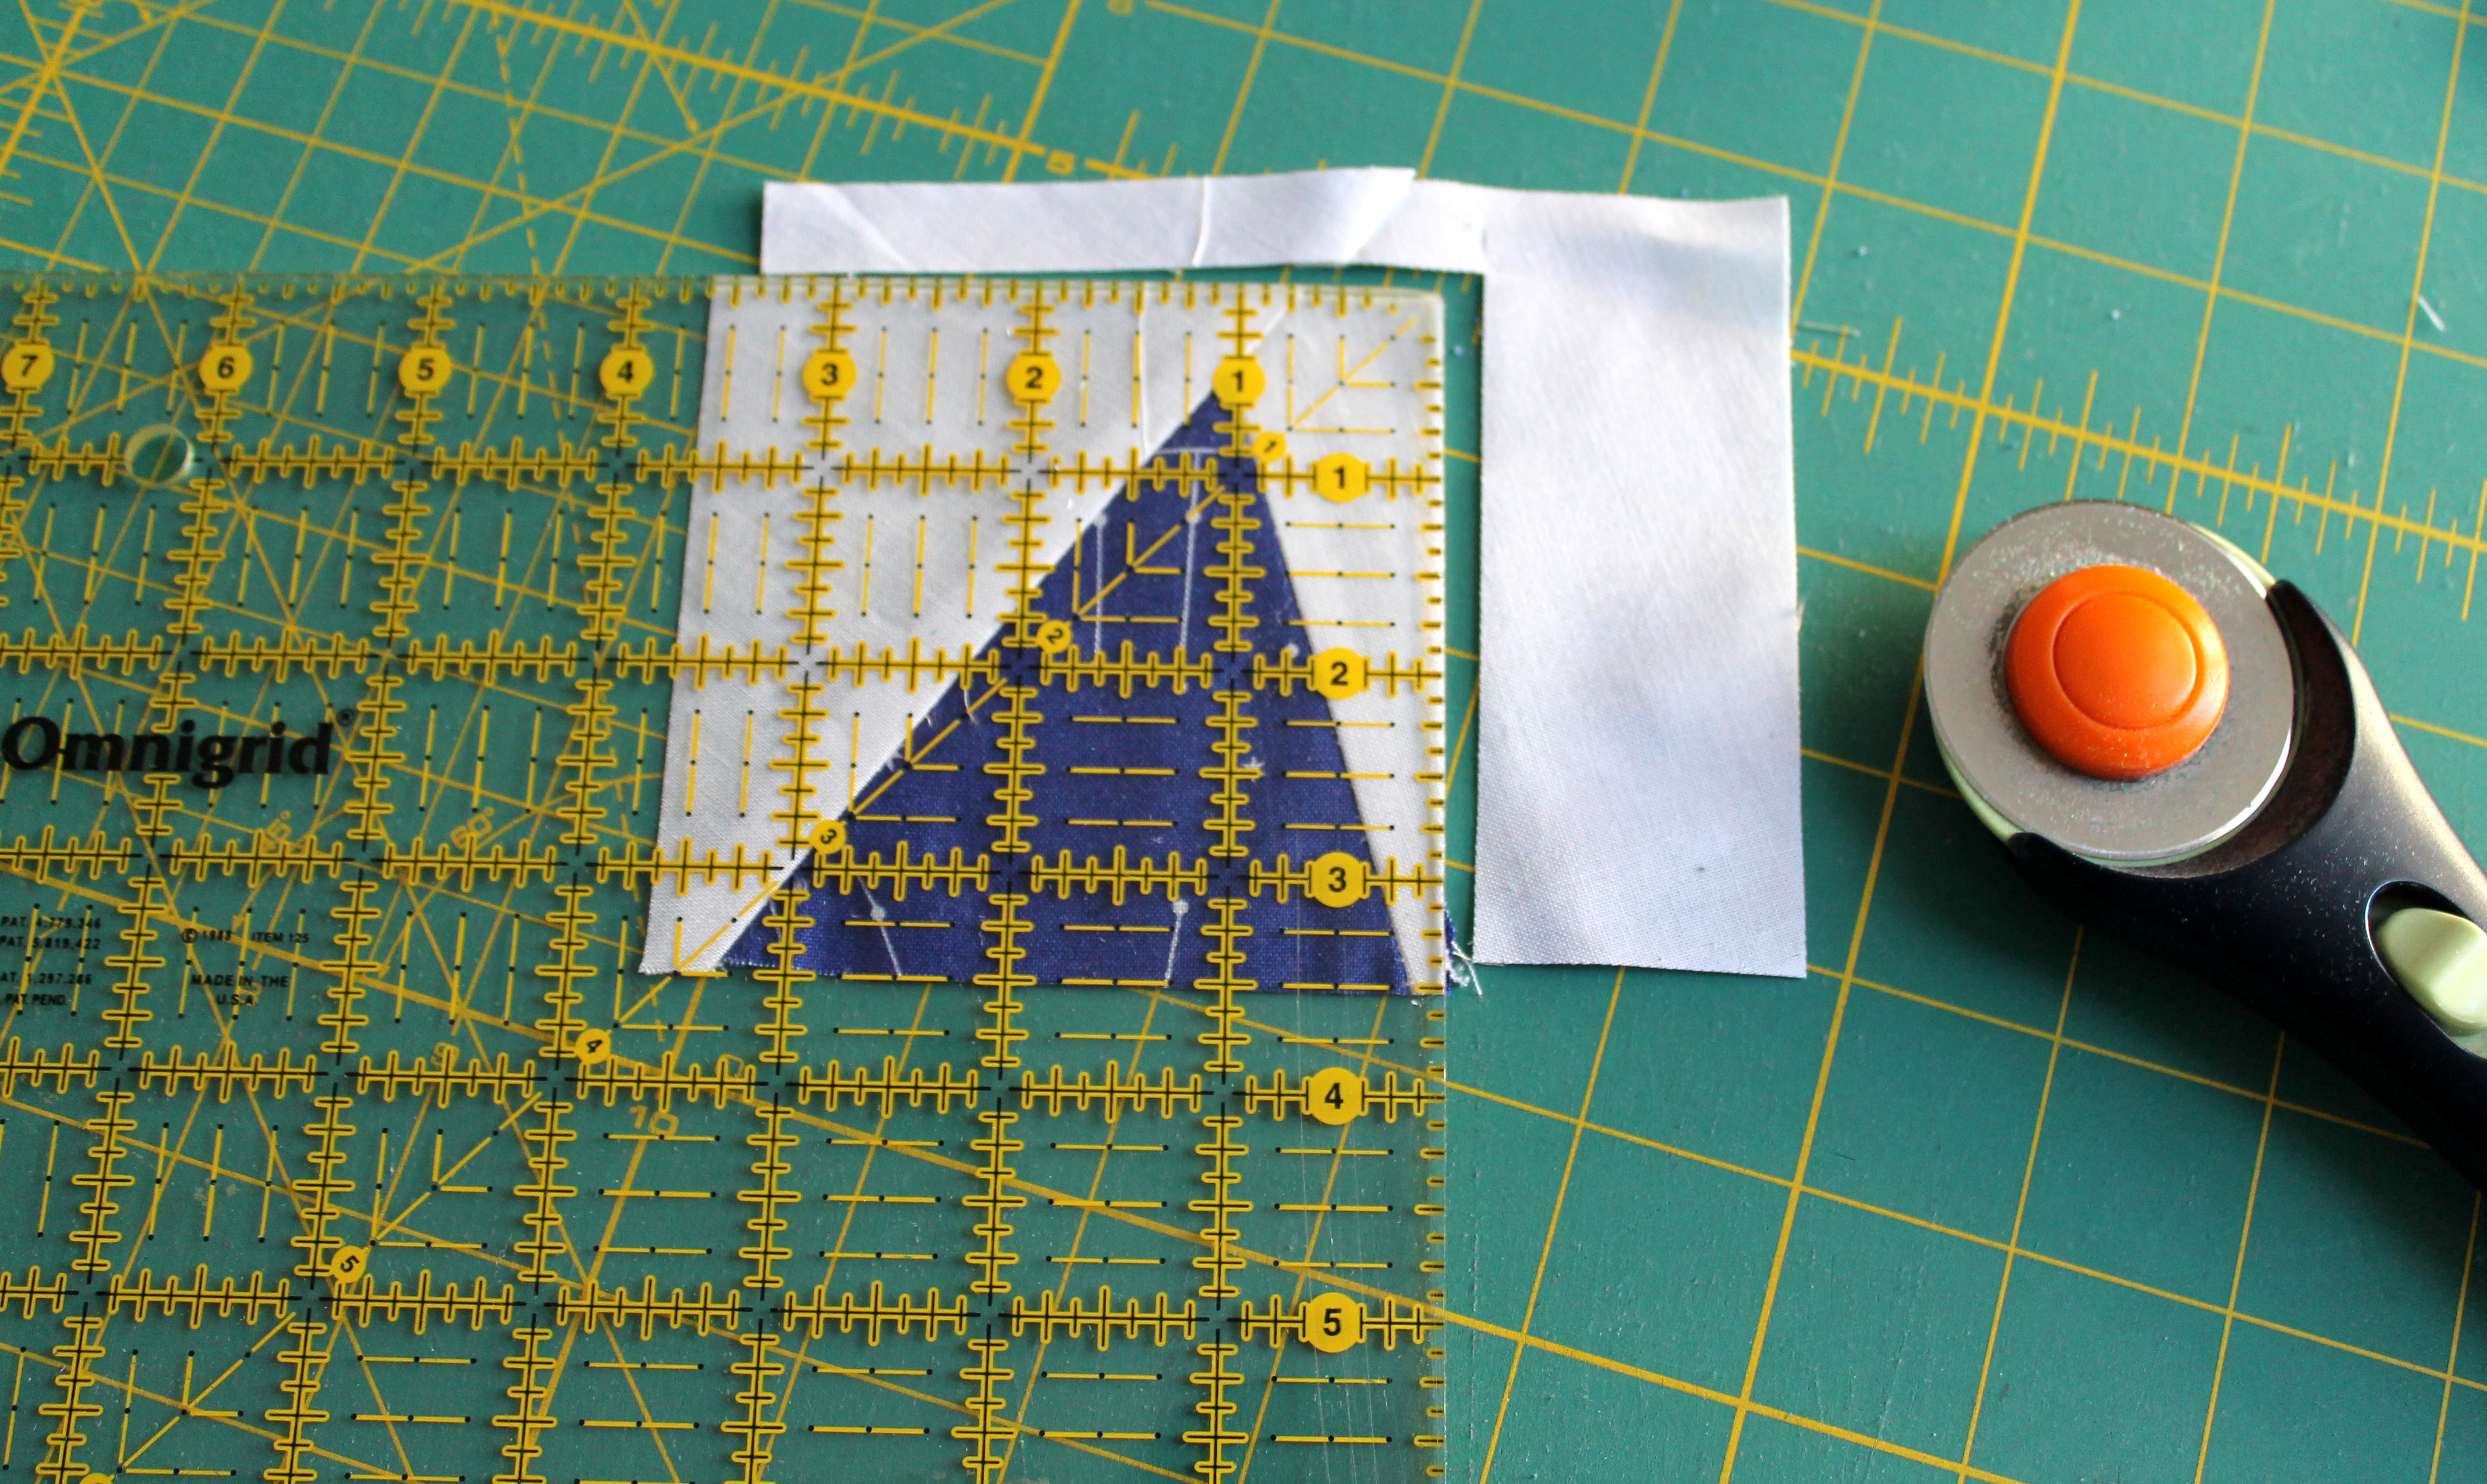
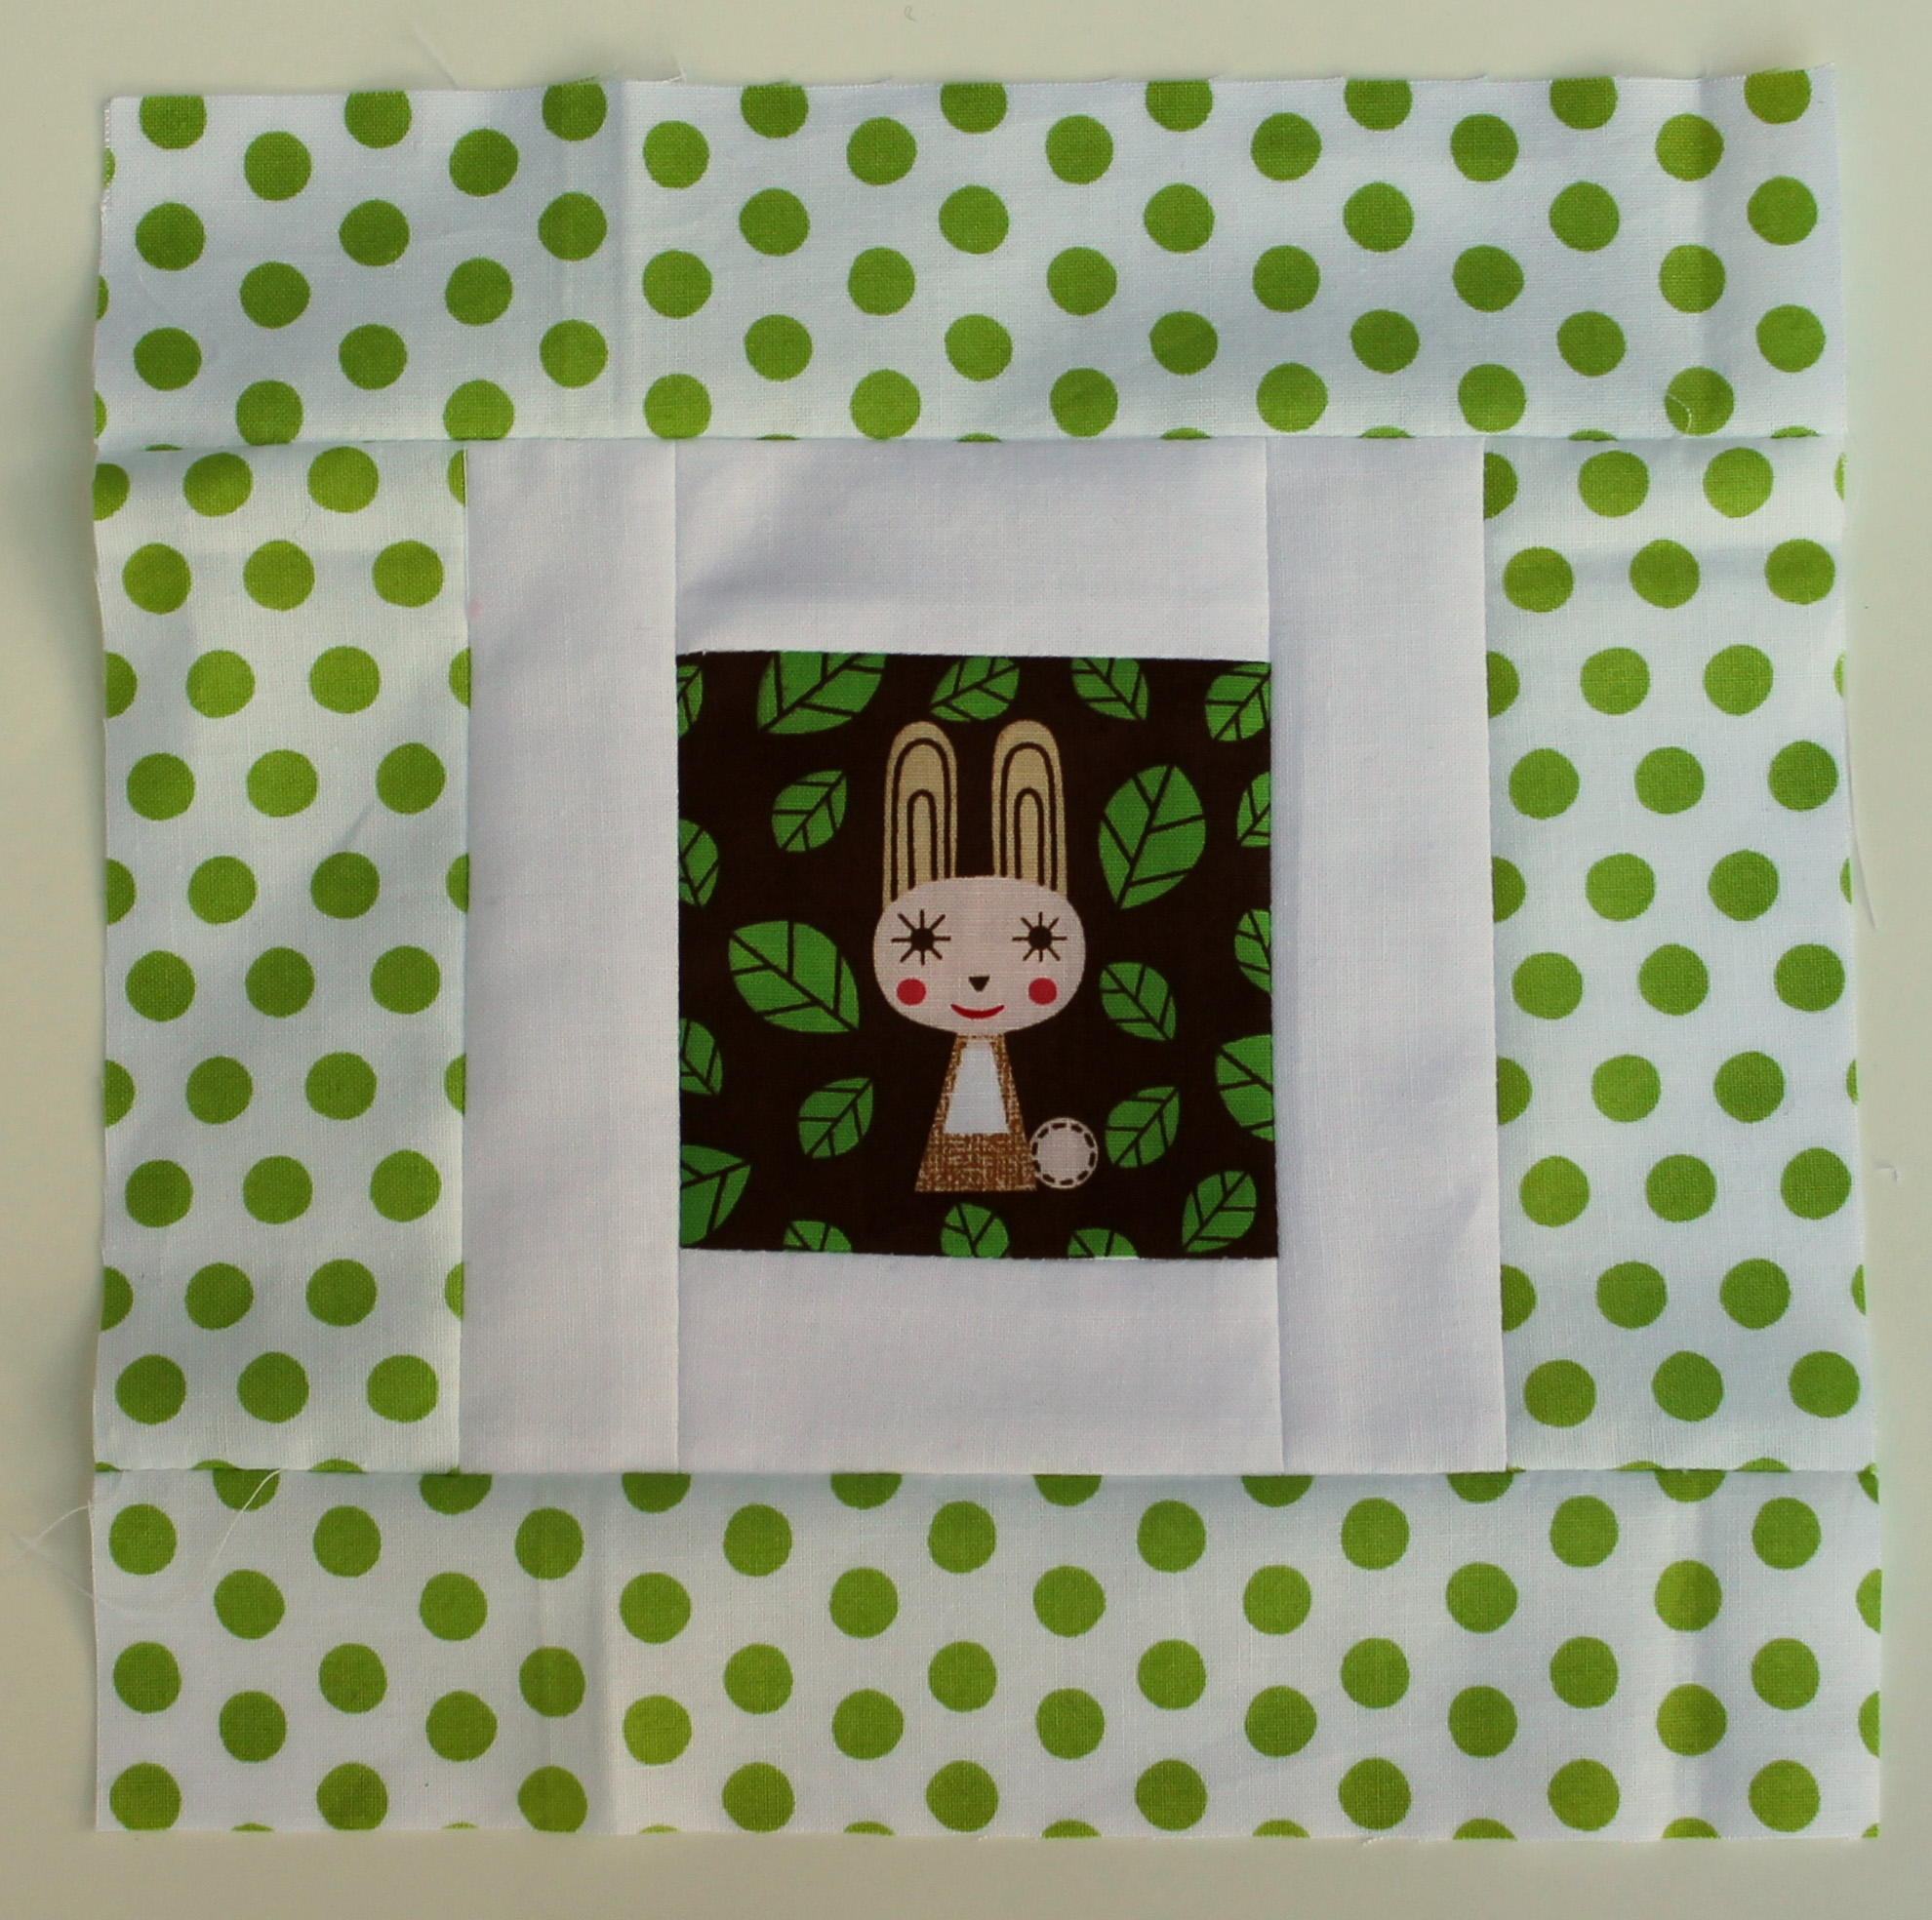
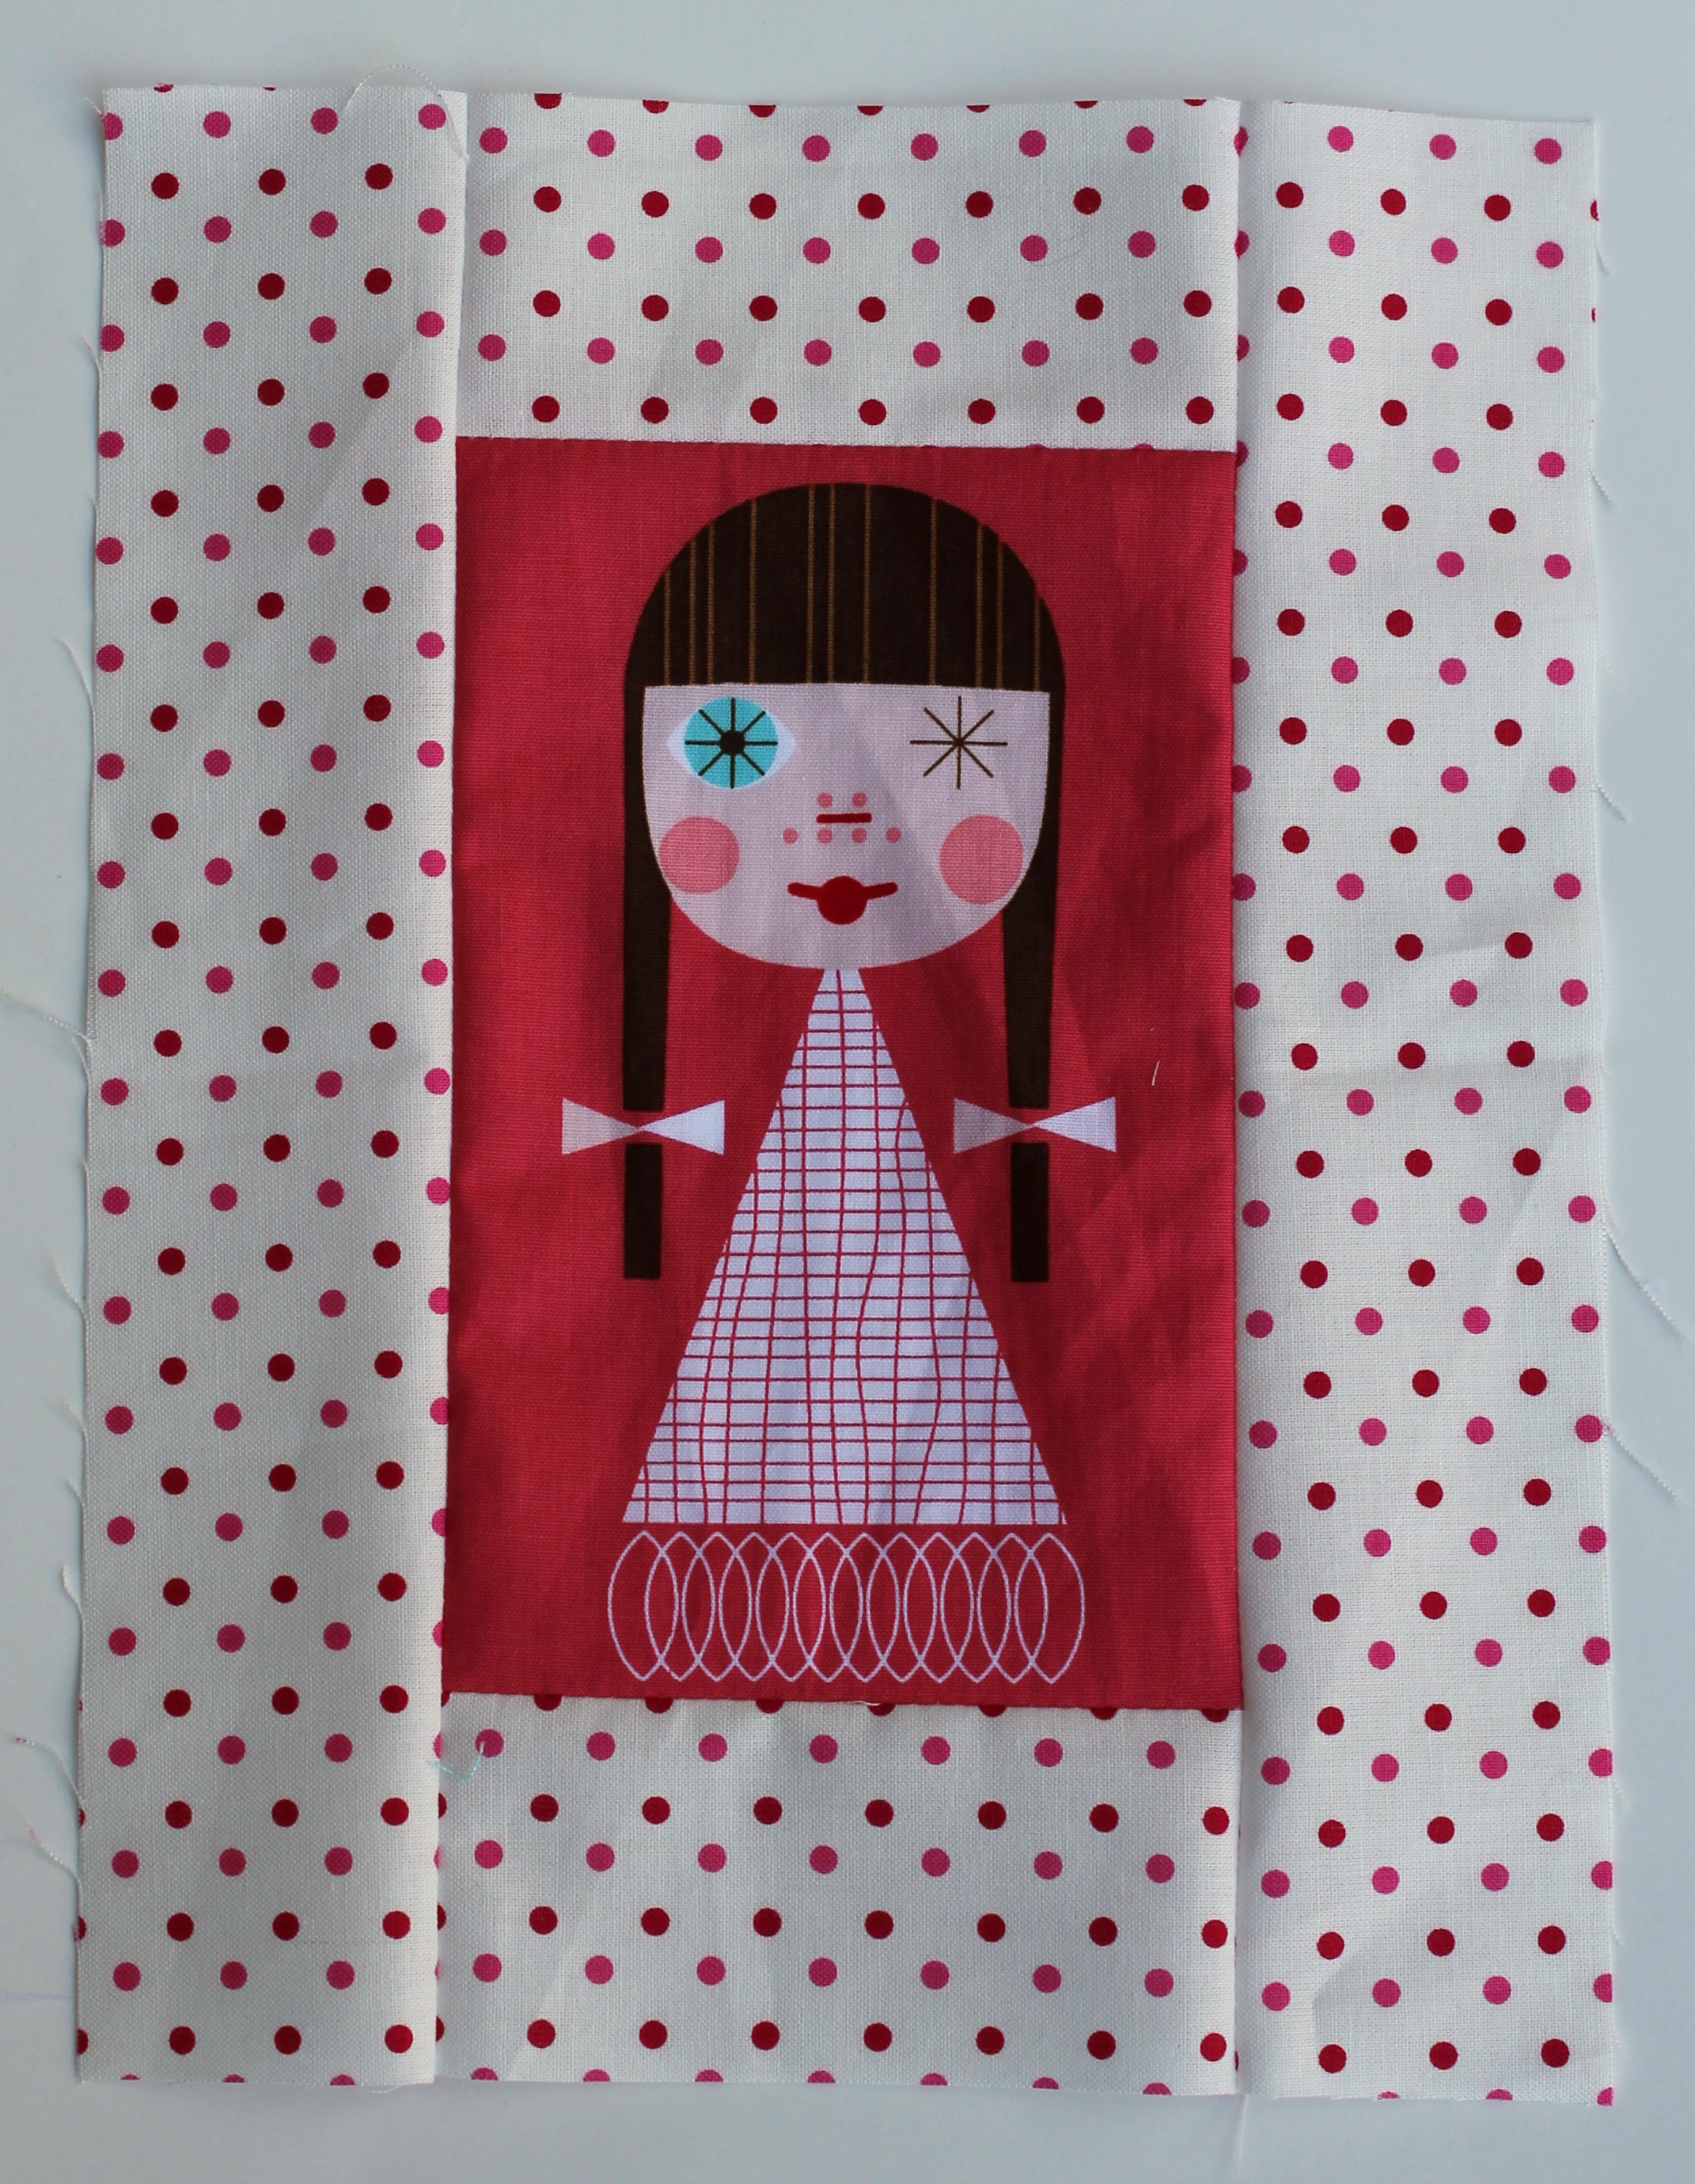
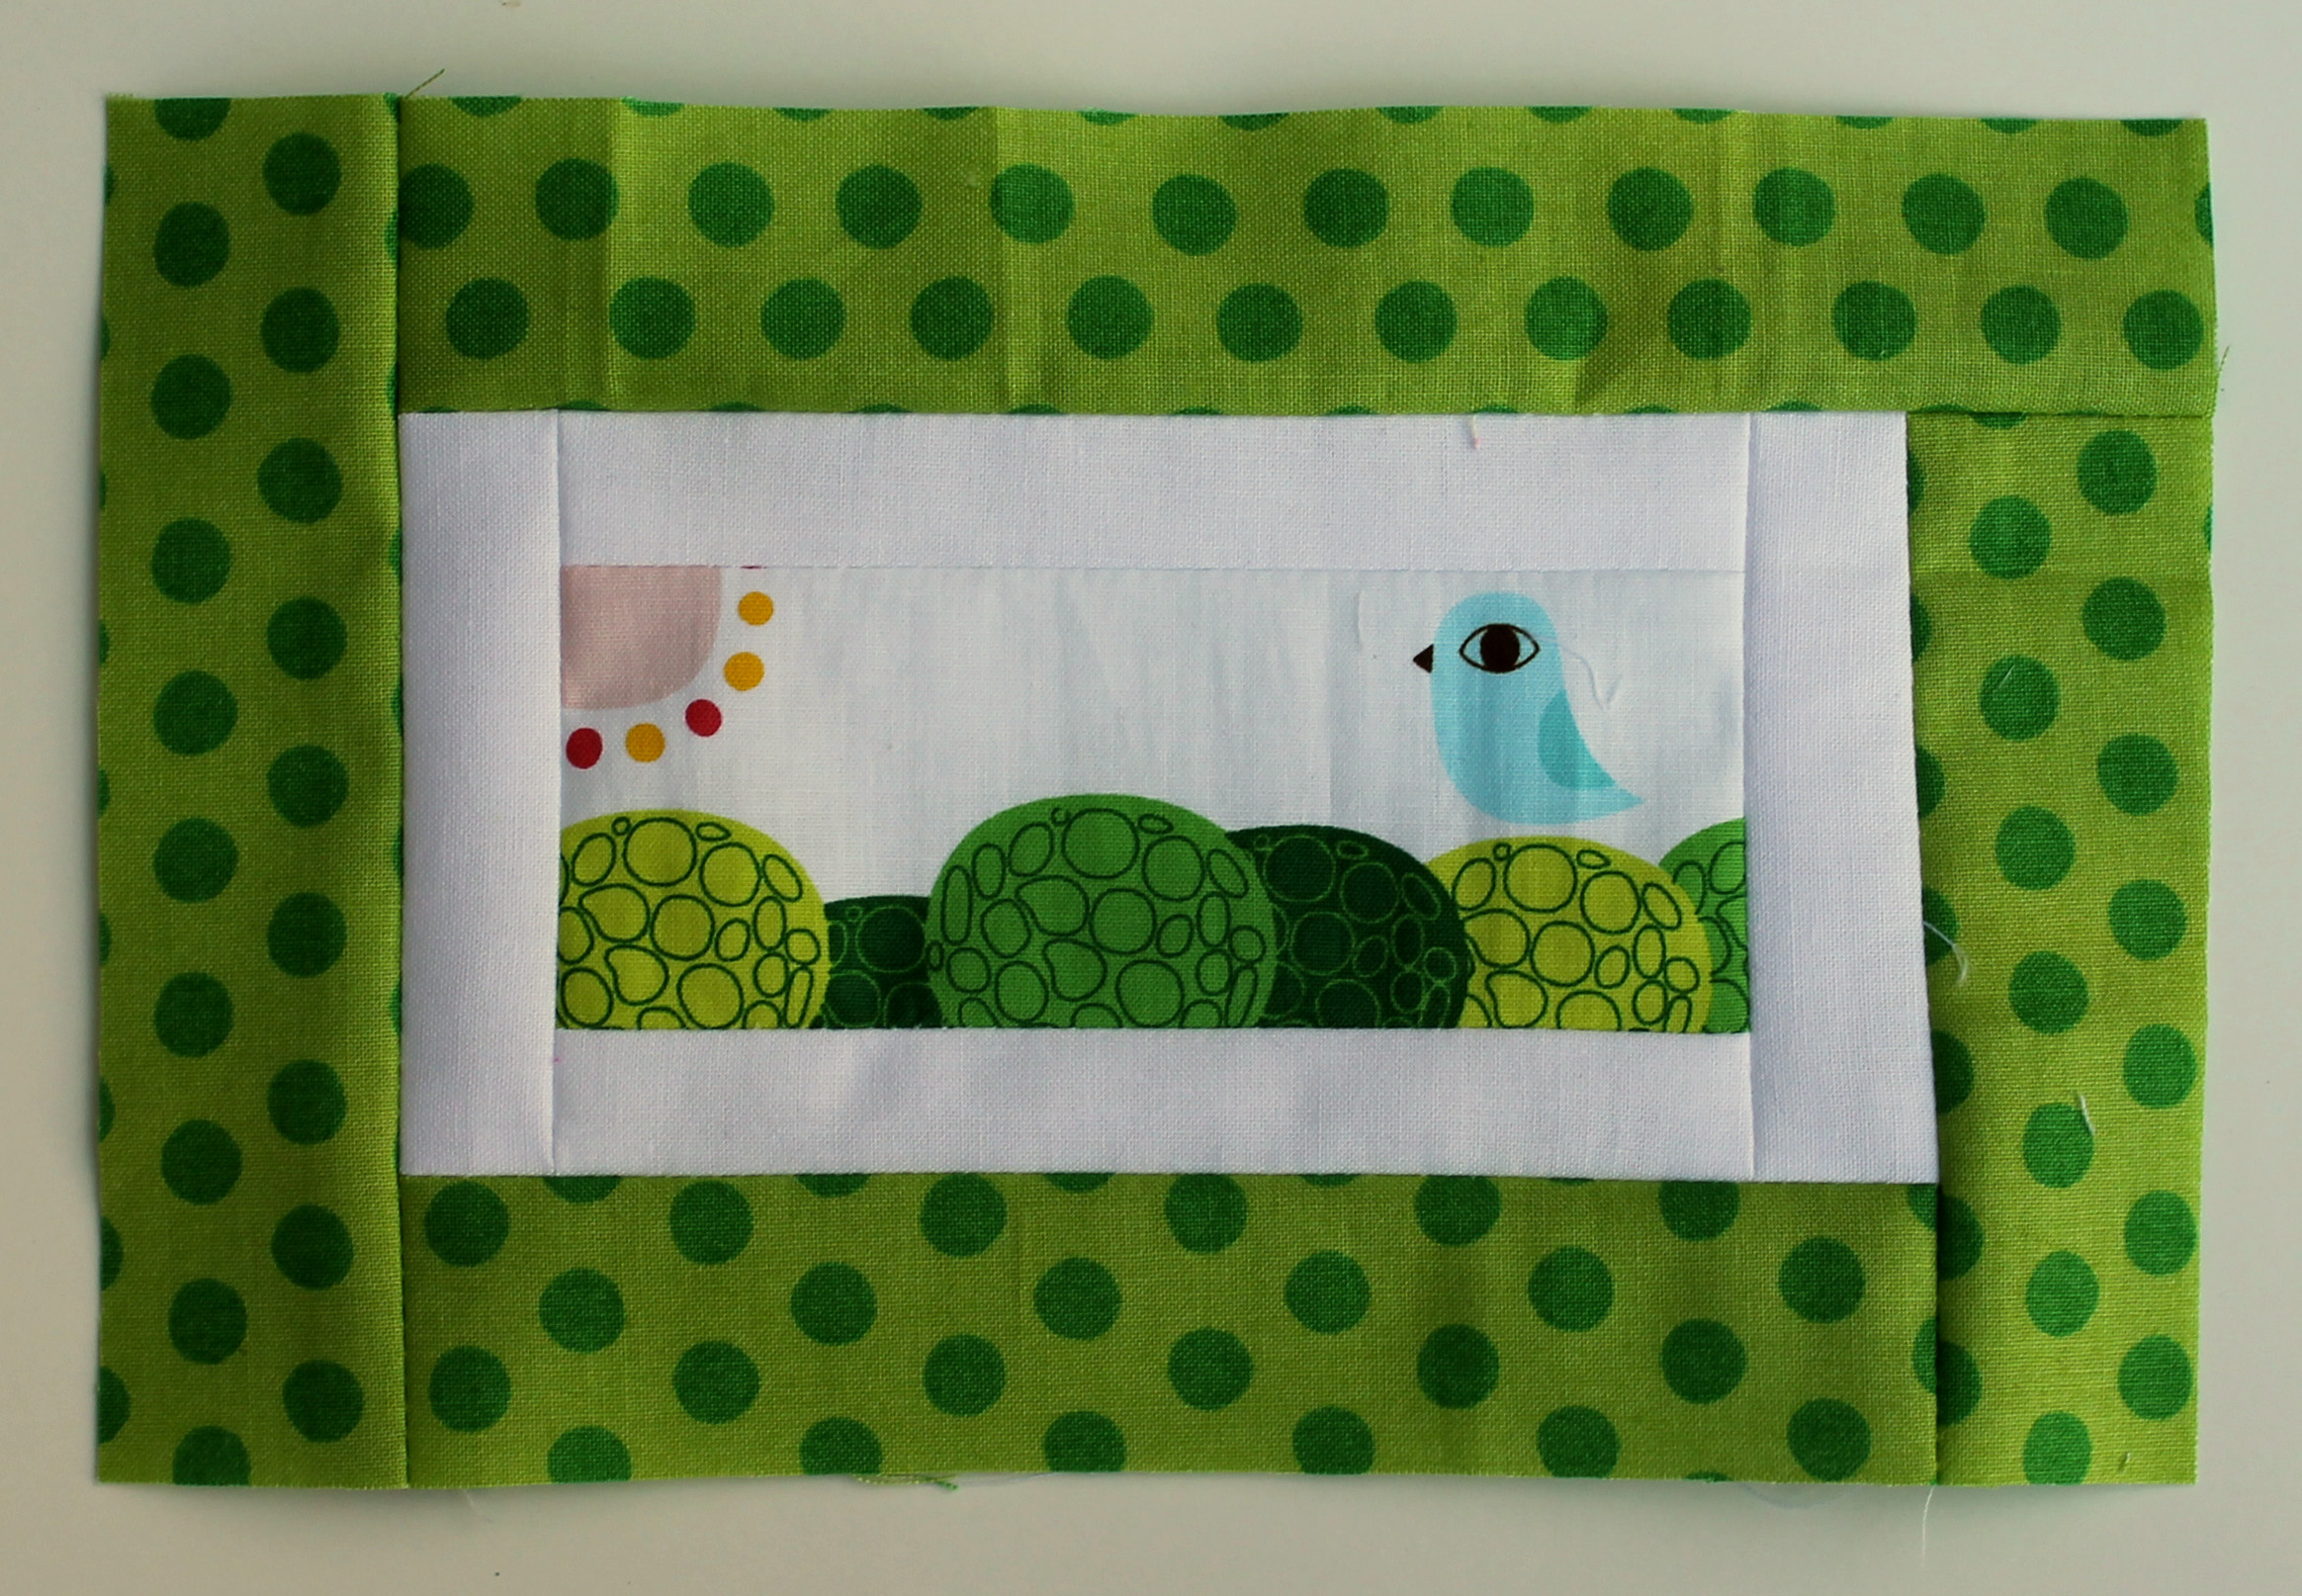
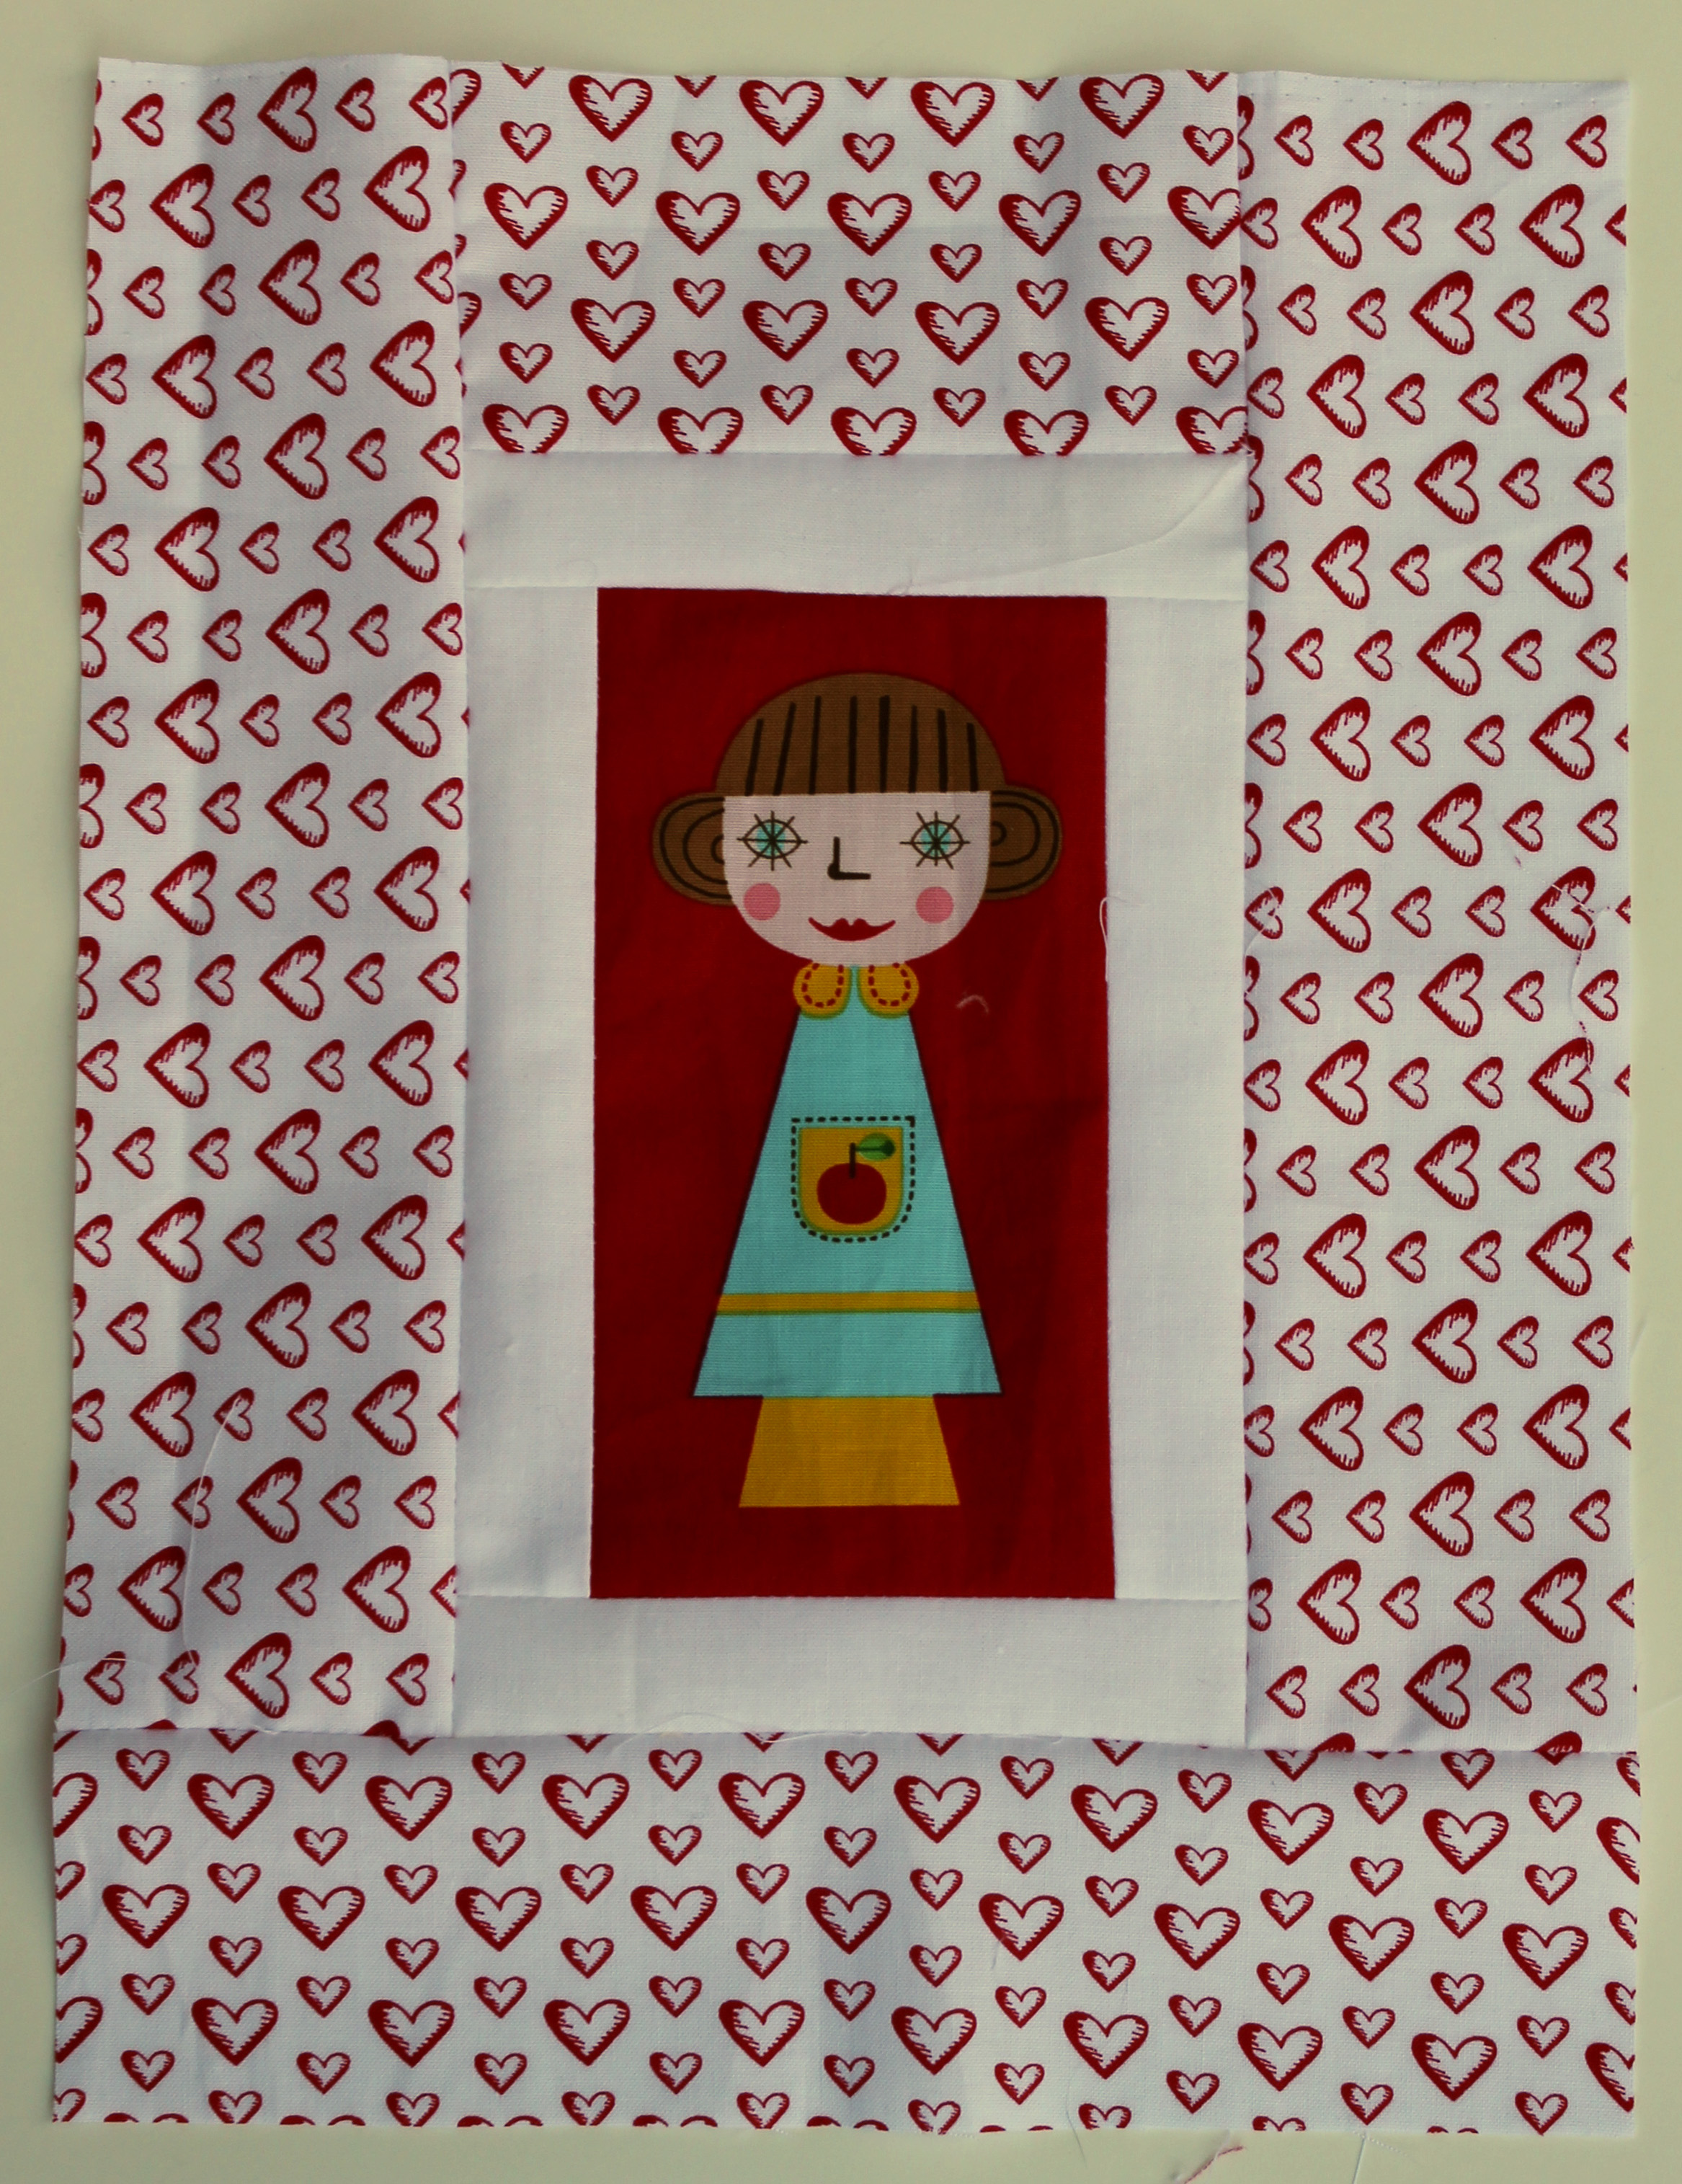
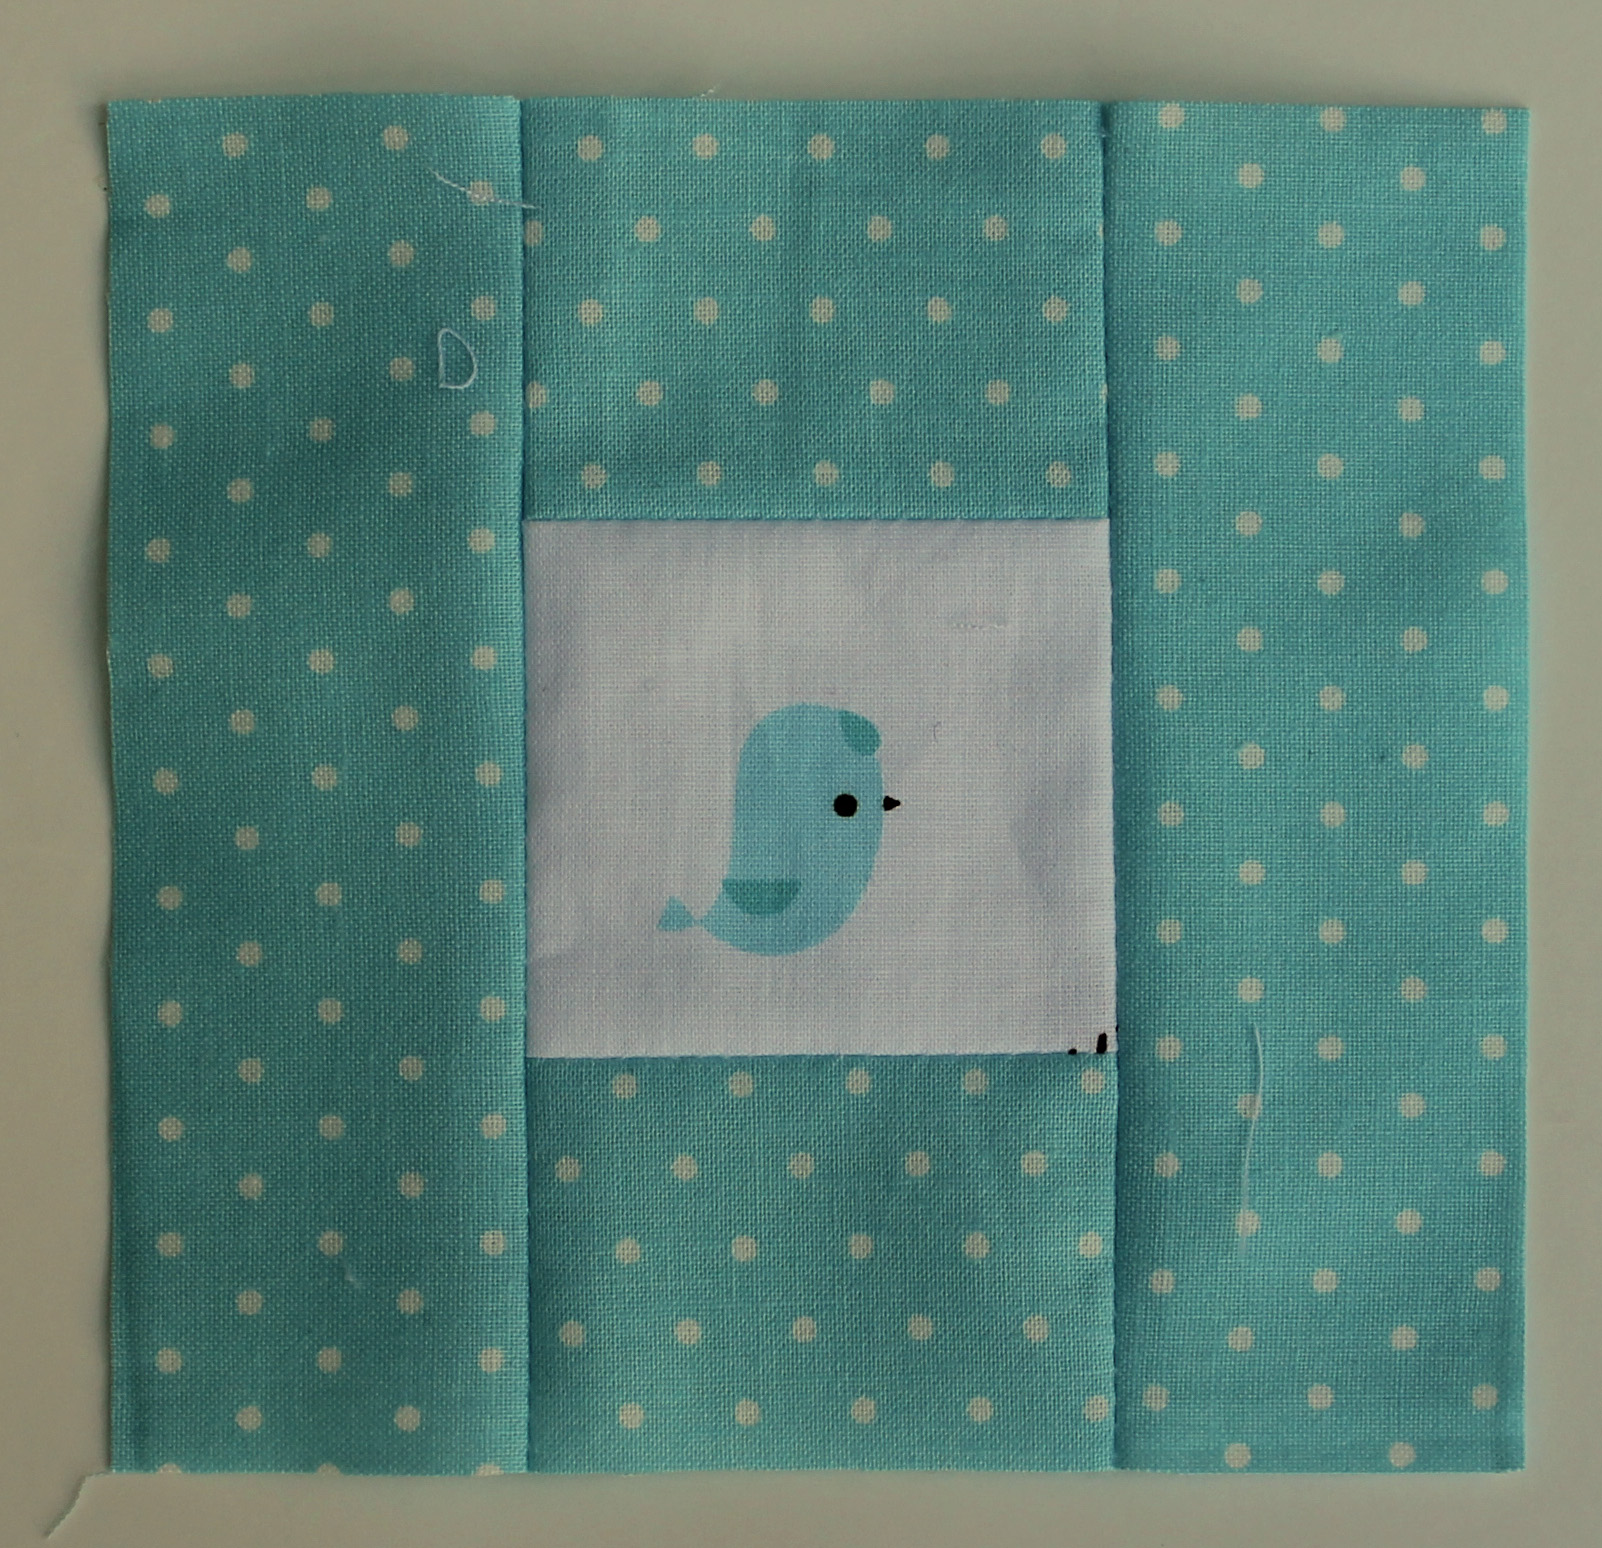
I cut strips from my stash fabric and fussy cut the Les Monsieur fabric and hours later I had this…

simple kids quilt

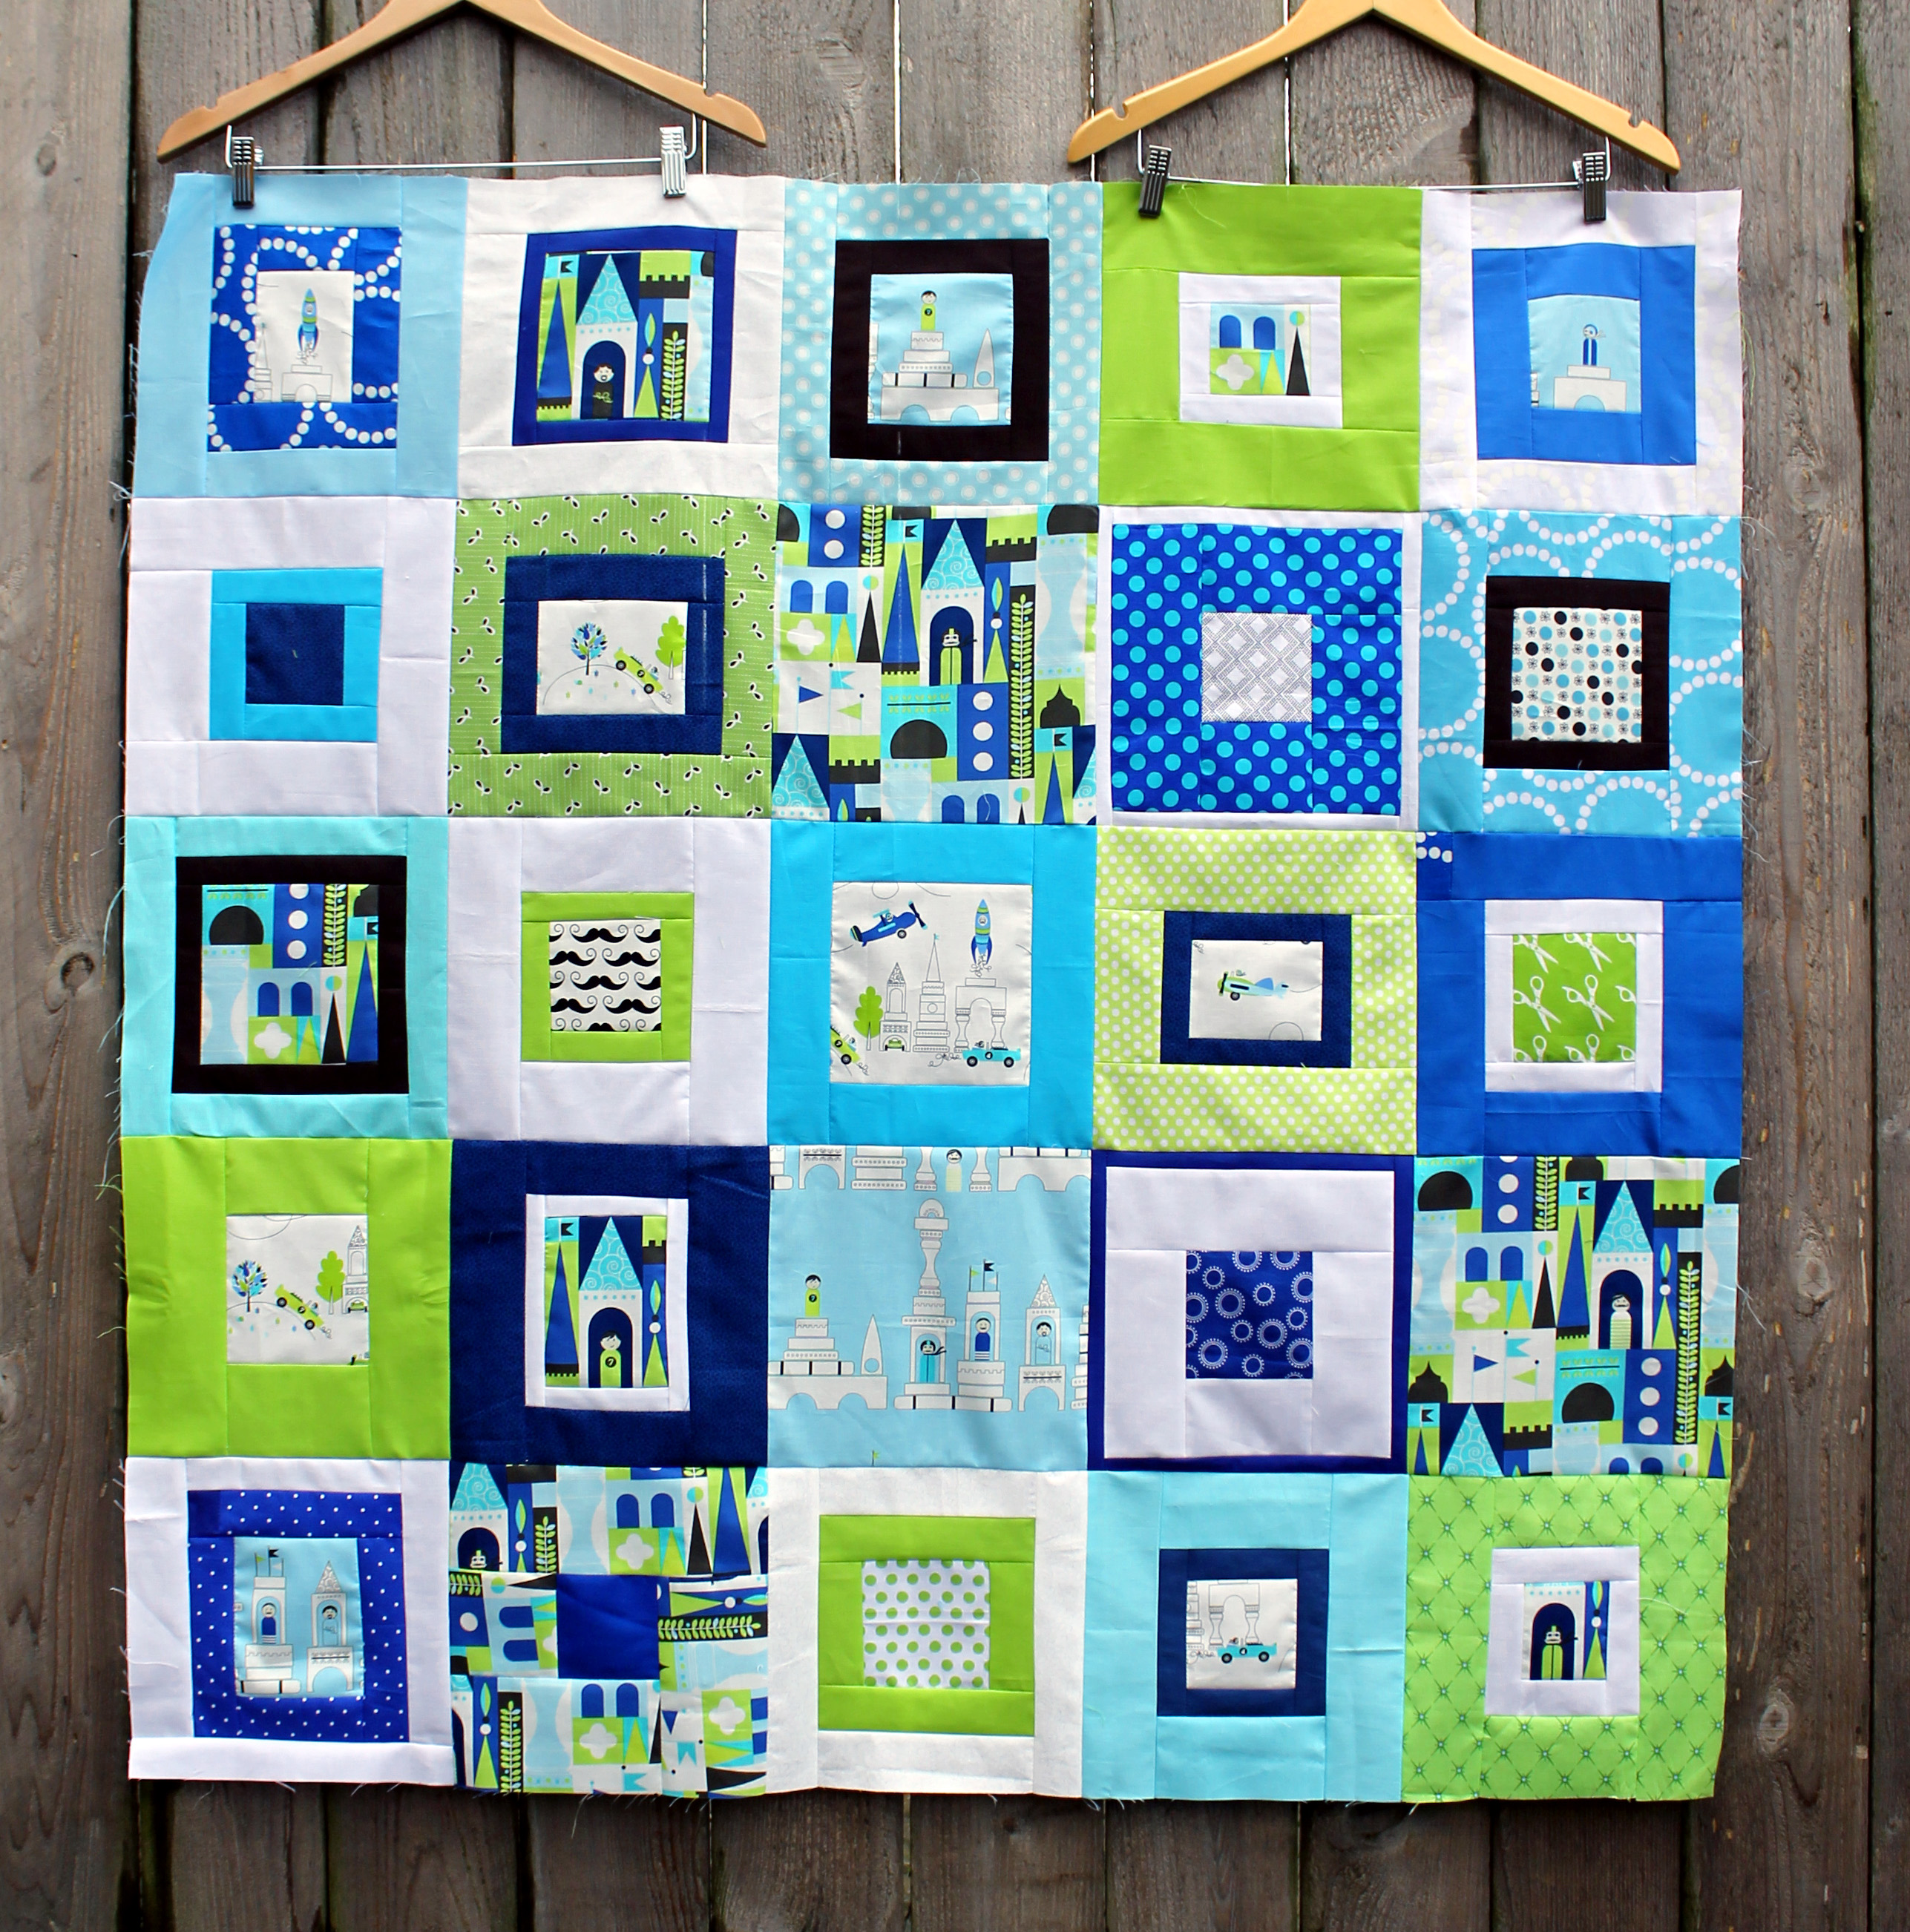
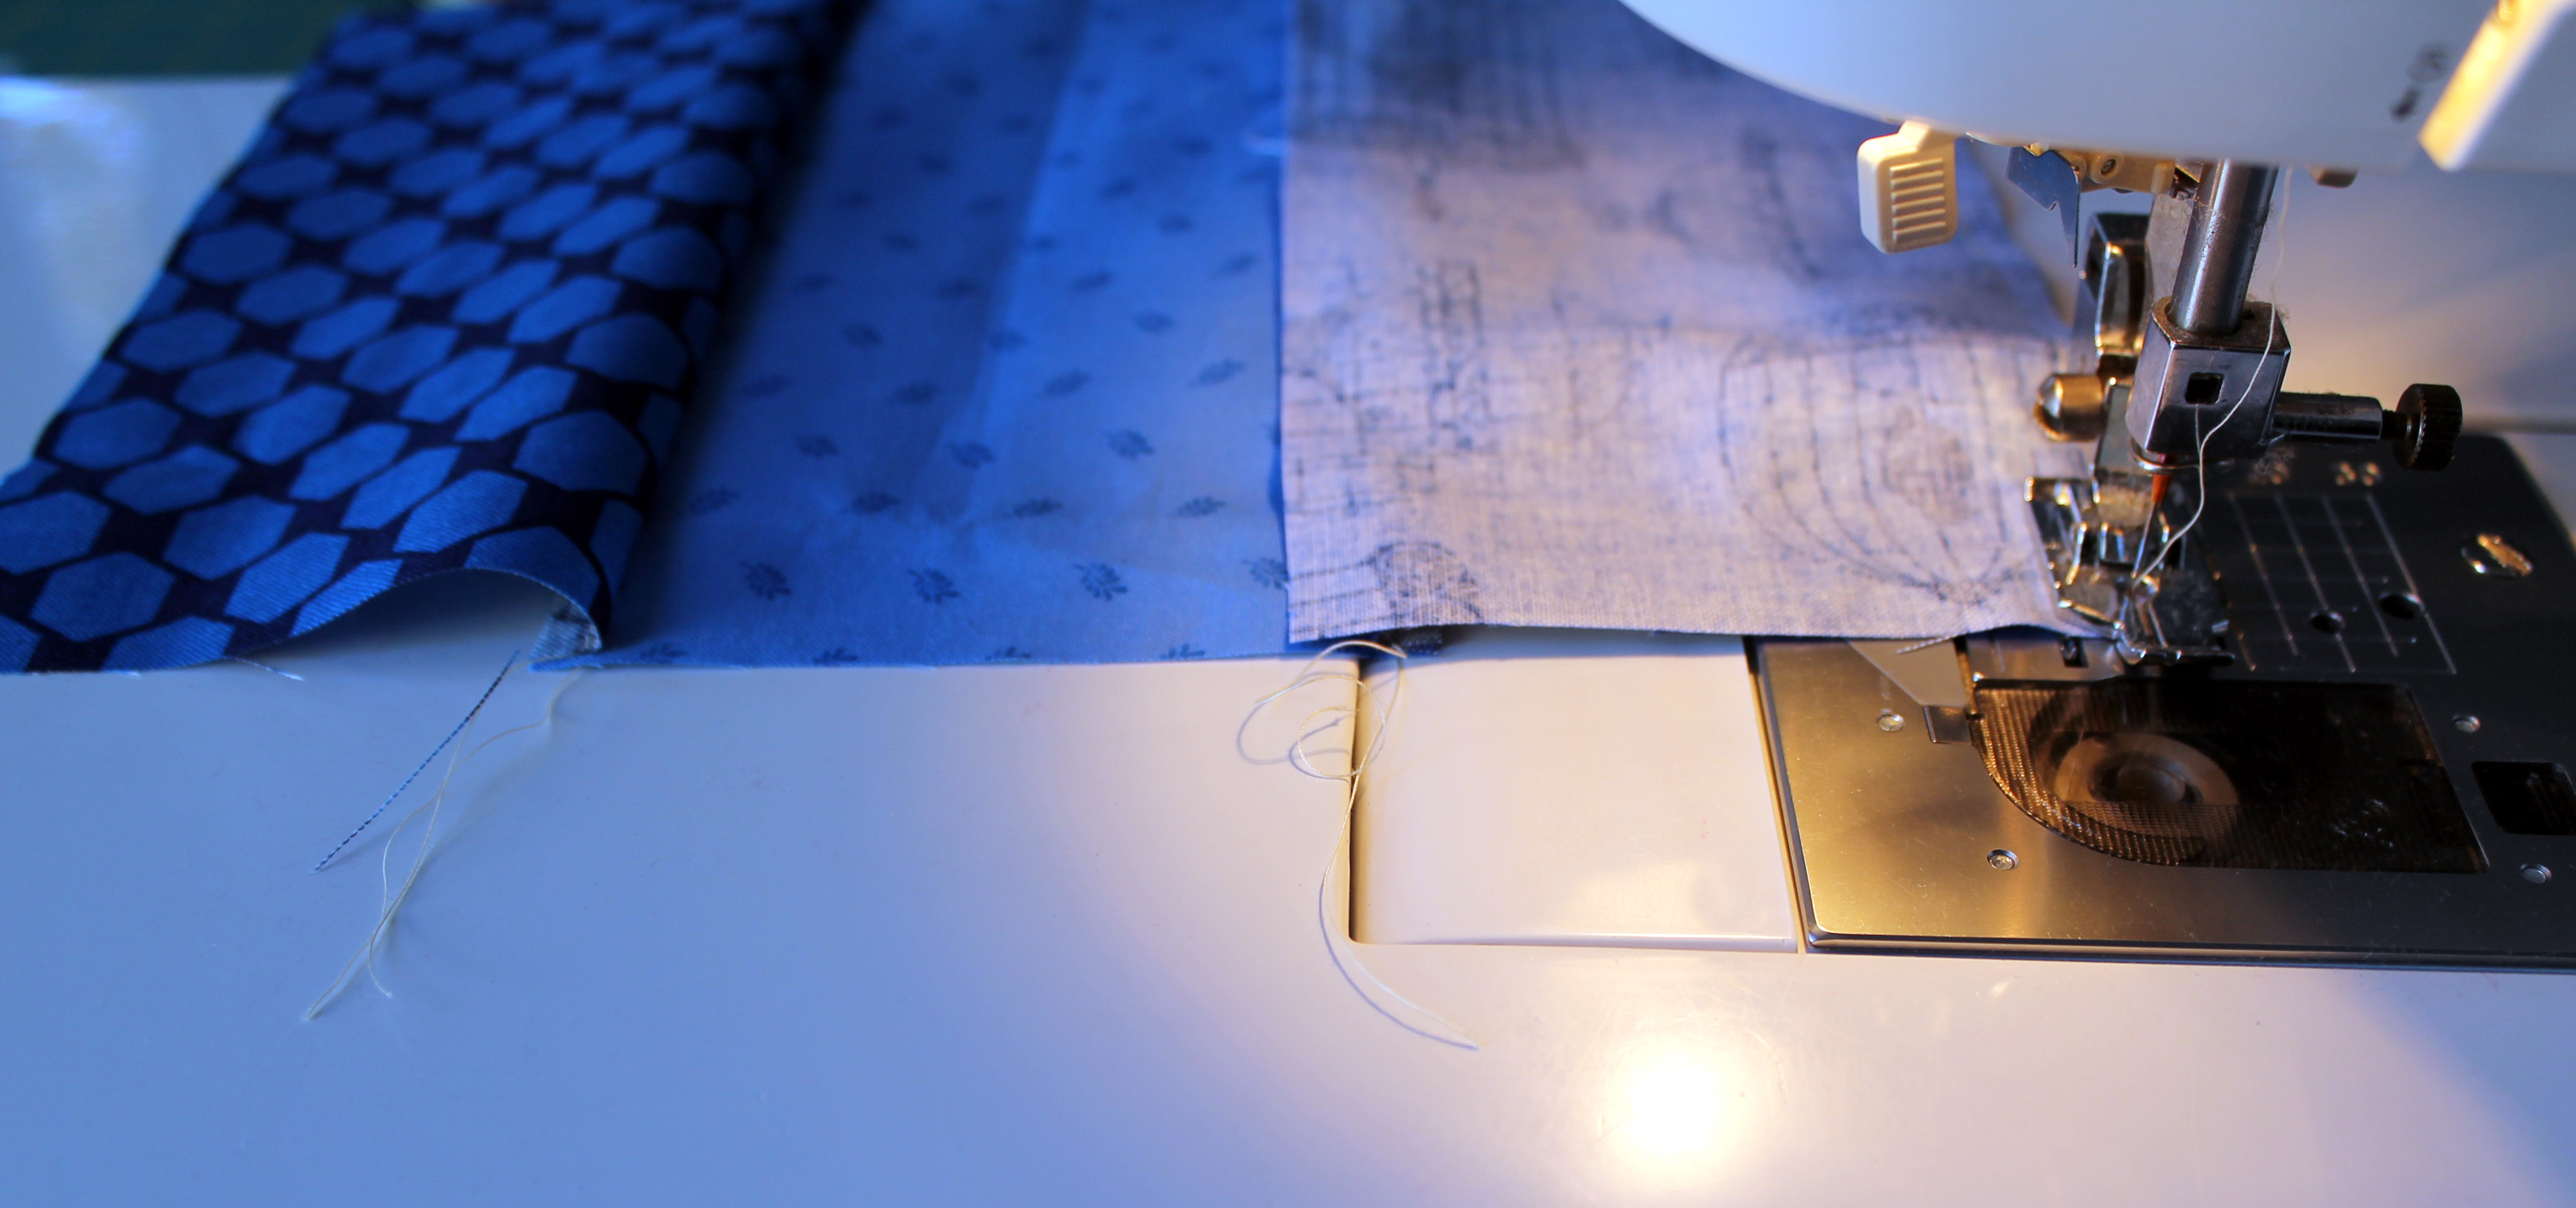
It was a fun and somewhat liberating experience making this quilt.   Once I knew my colour scheme and had some of the main prints fussy cut it was an easy process of putting blocks together.  Other than trimming your blocks to size (I used my 9 1/2 inch square ruler) you do not have to worry too much about precise measuring.

Les Monsieur quilt top detail 3

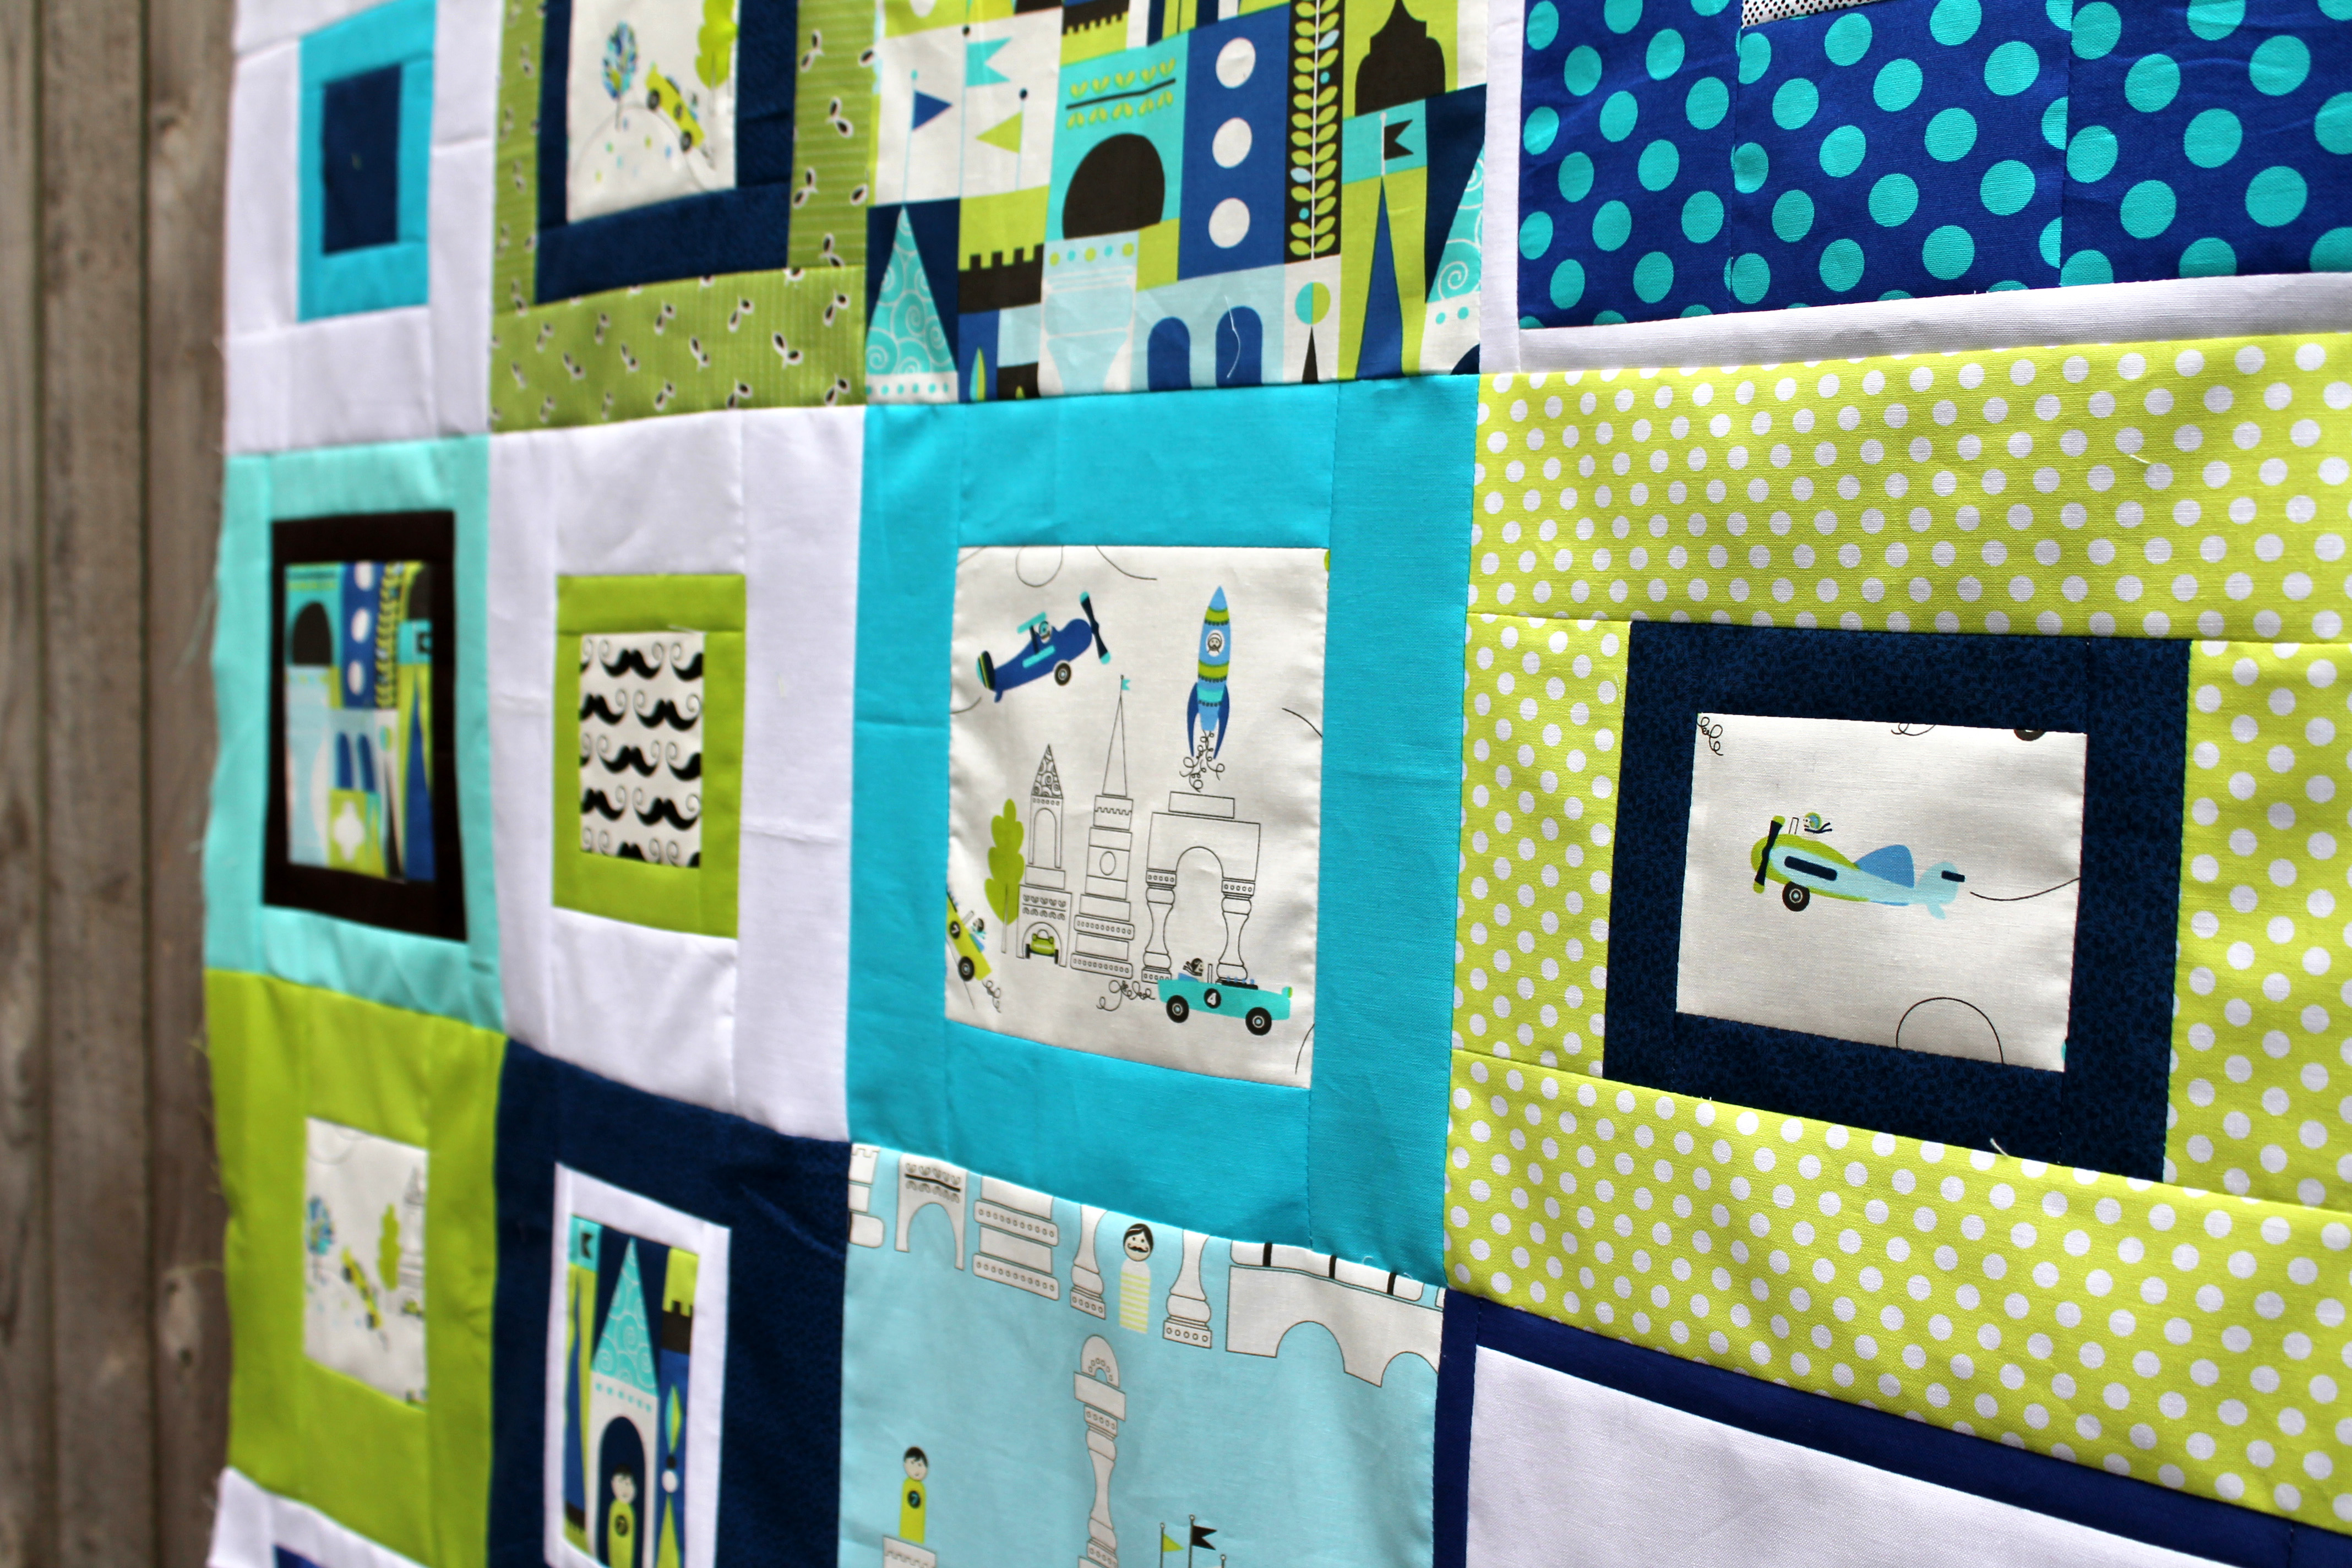
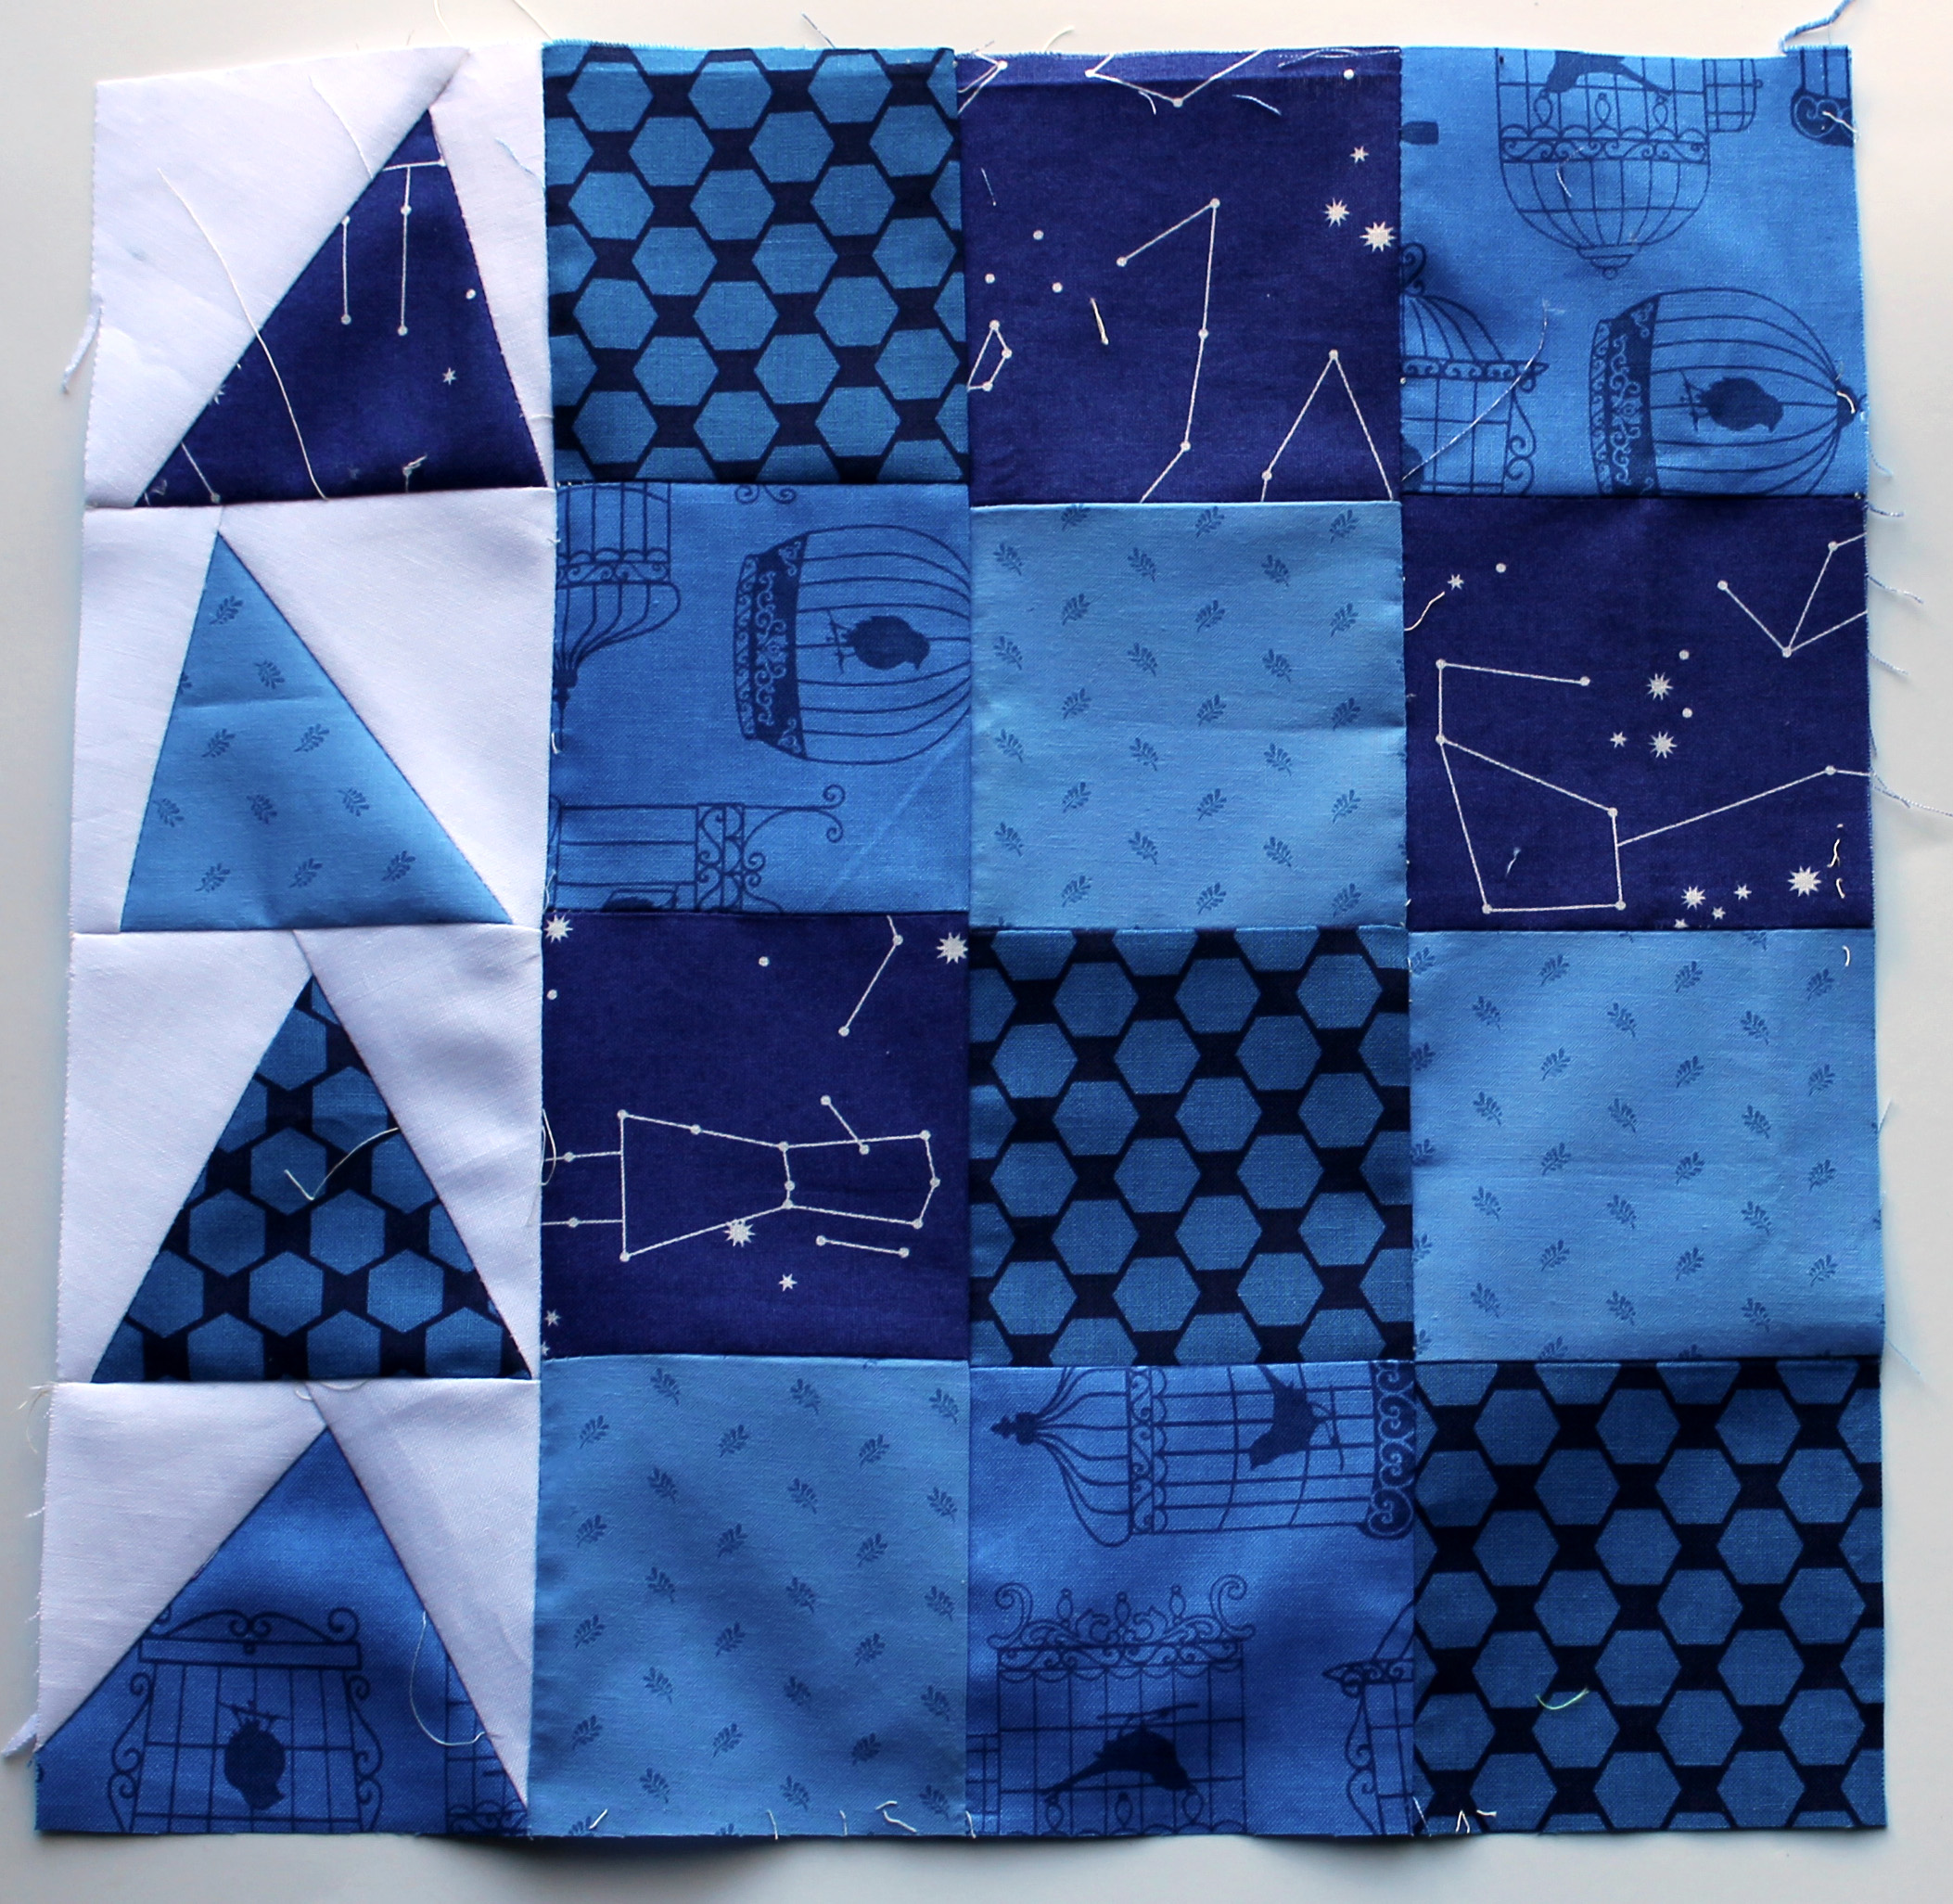
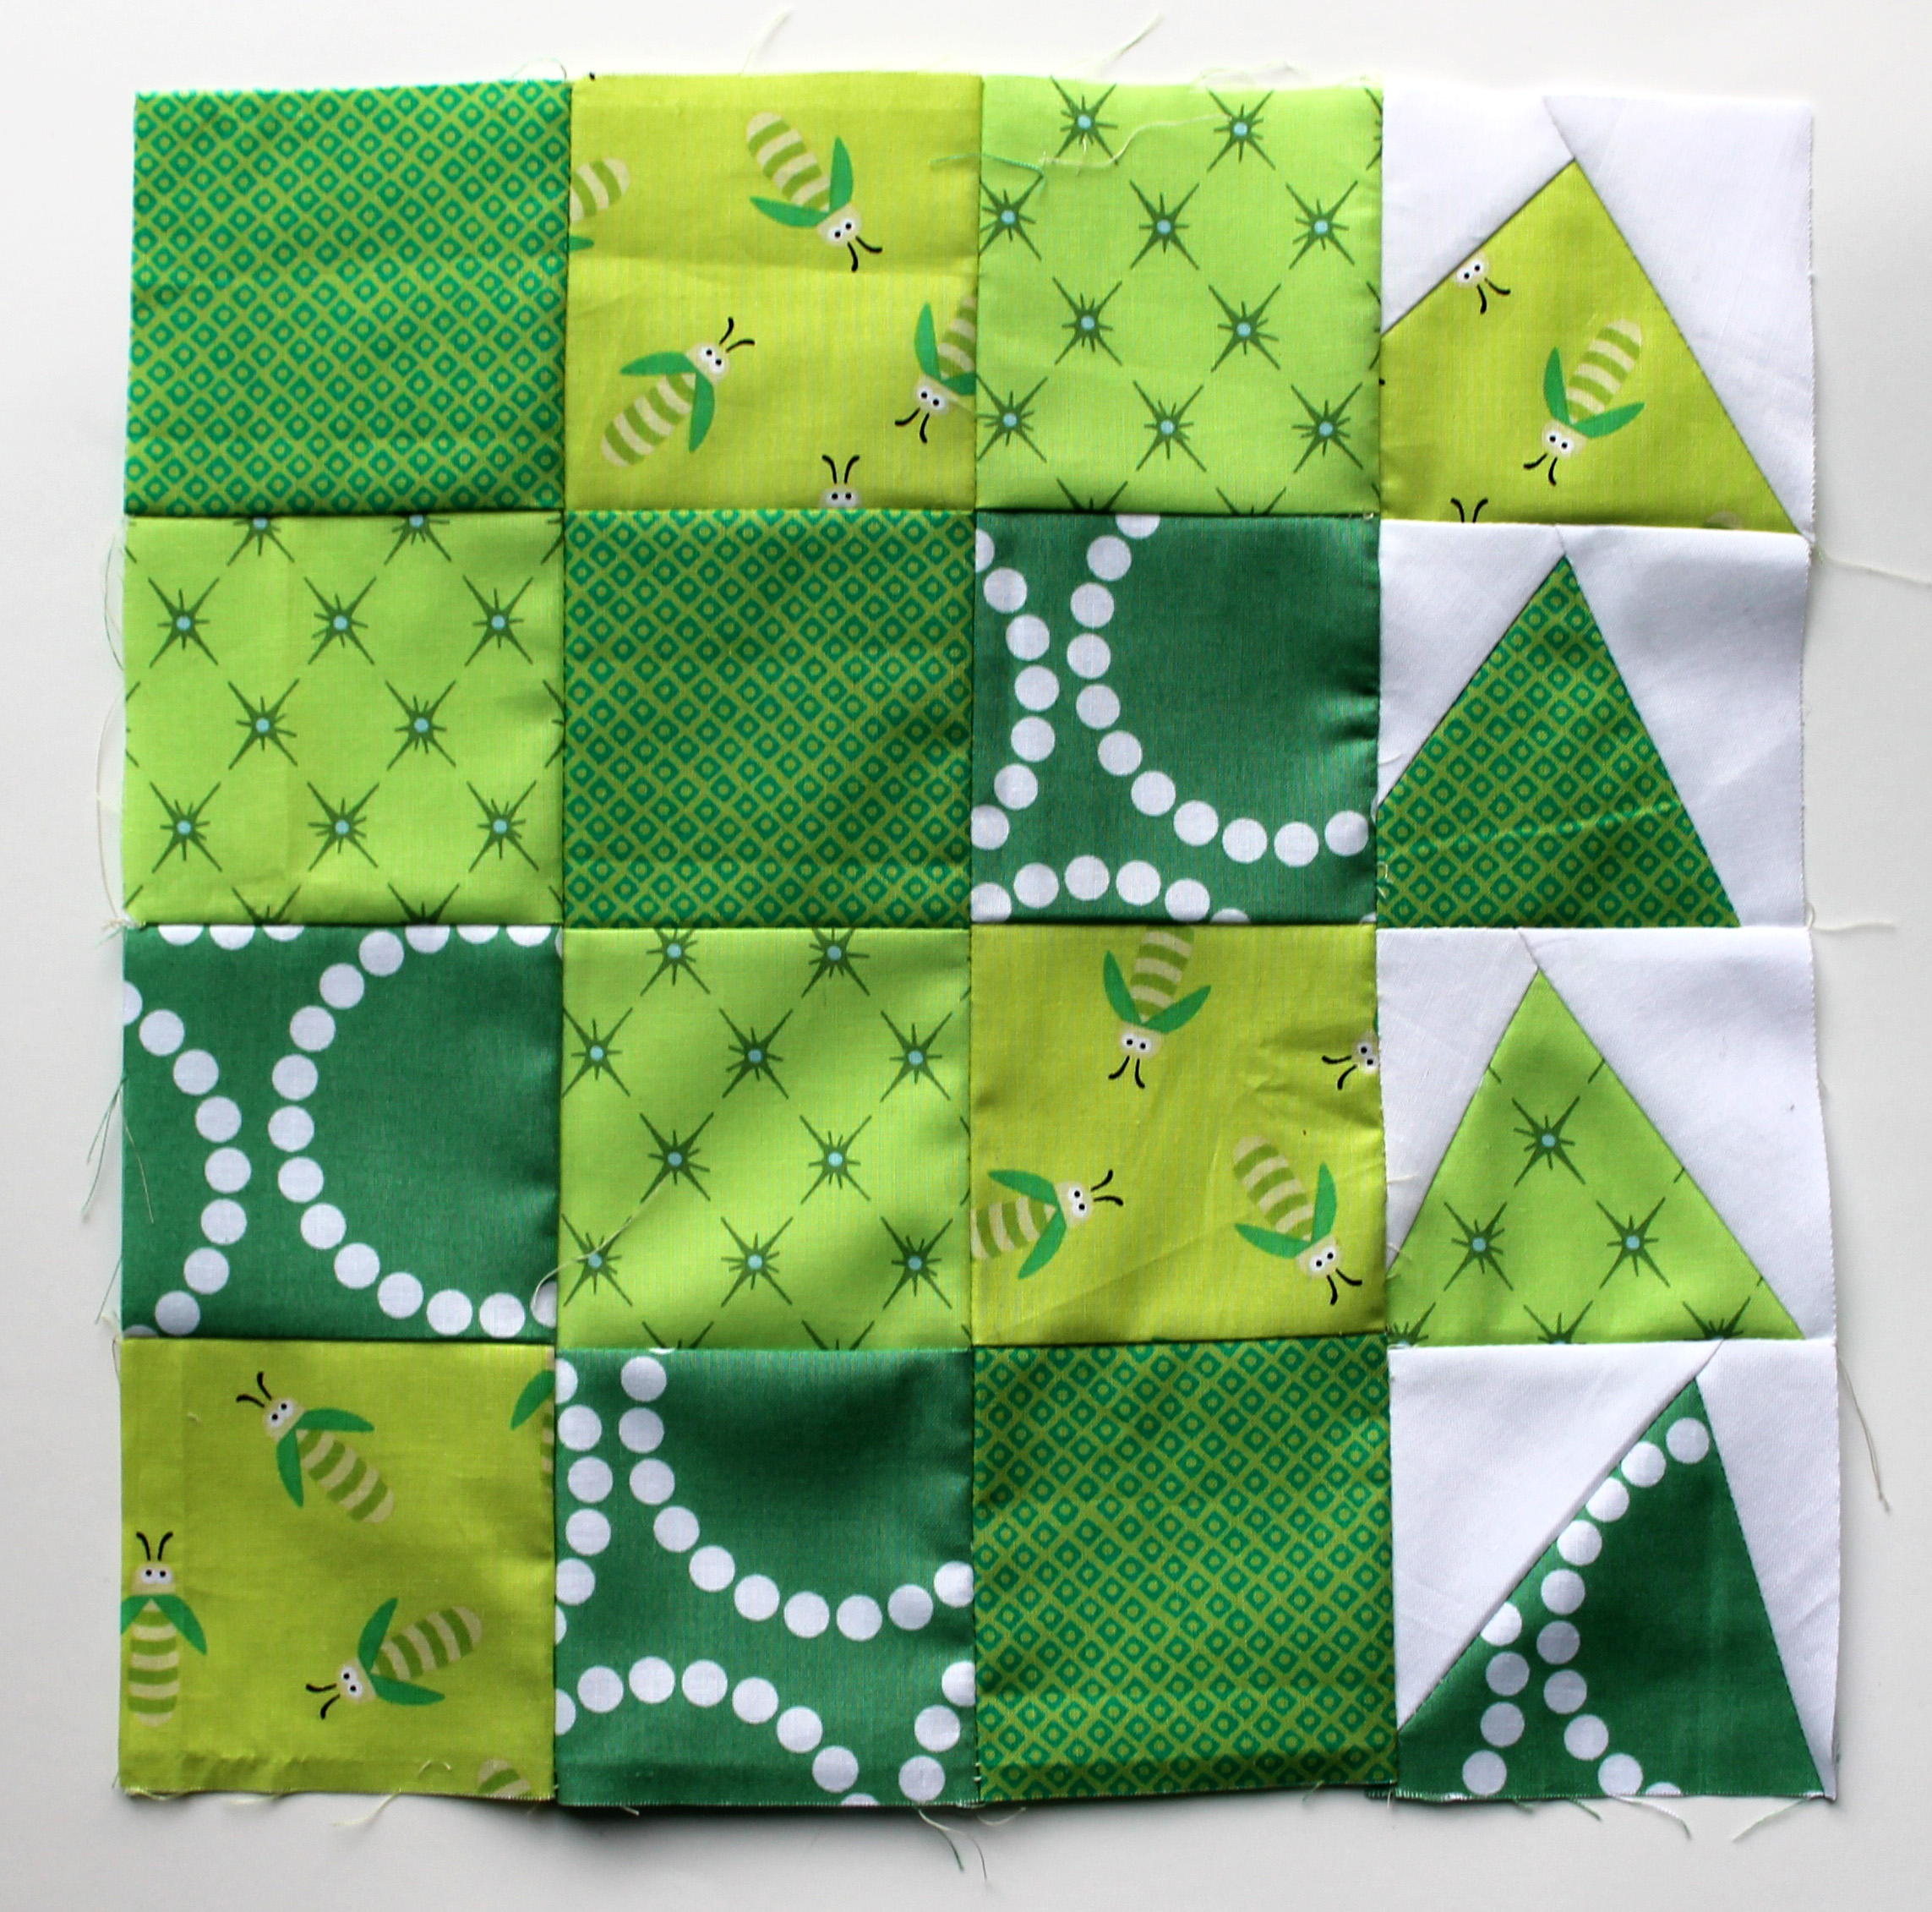
The fussy cut centers are different sizes, as are the borders surrounding them.

Les Monsieur quilt top detail

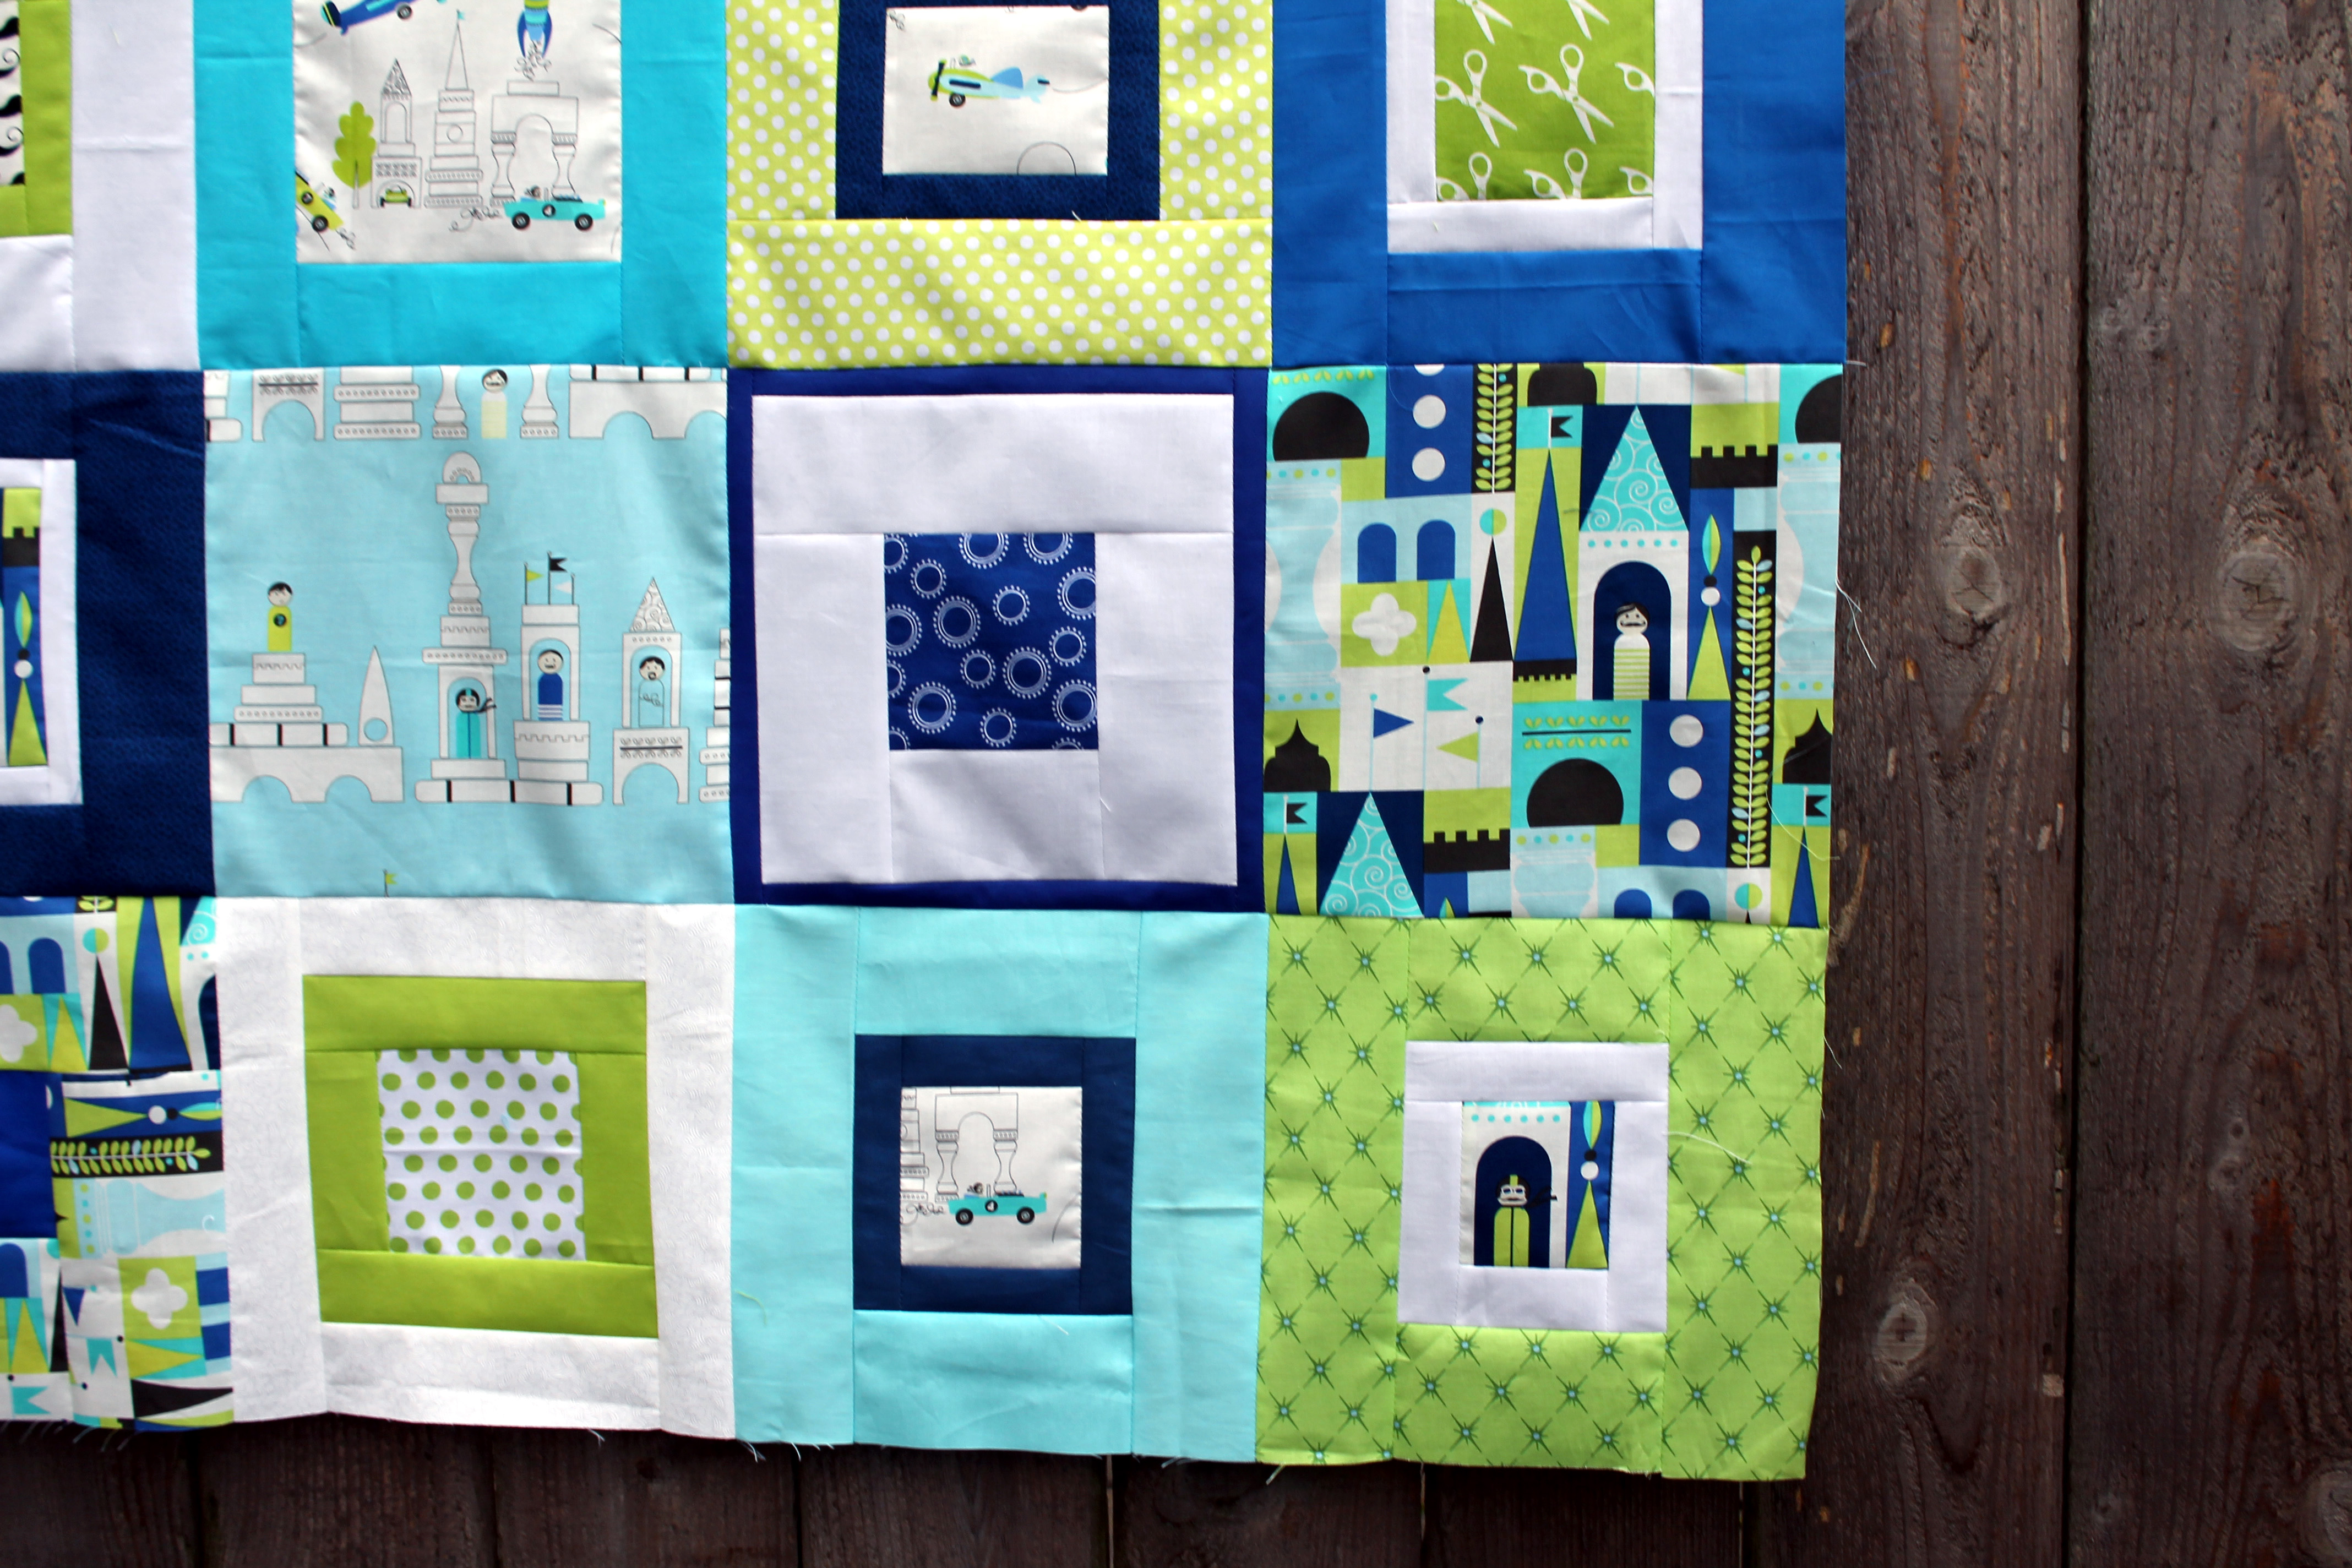
I did make sure there was a good balance of blues and greens in the blocks in the top…

Les Monsieur quilt top detail 2

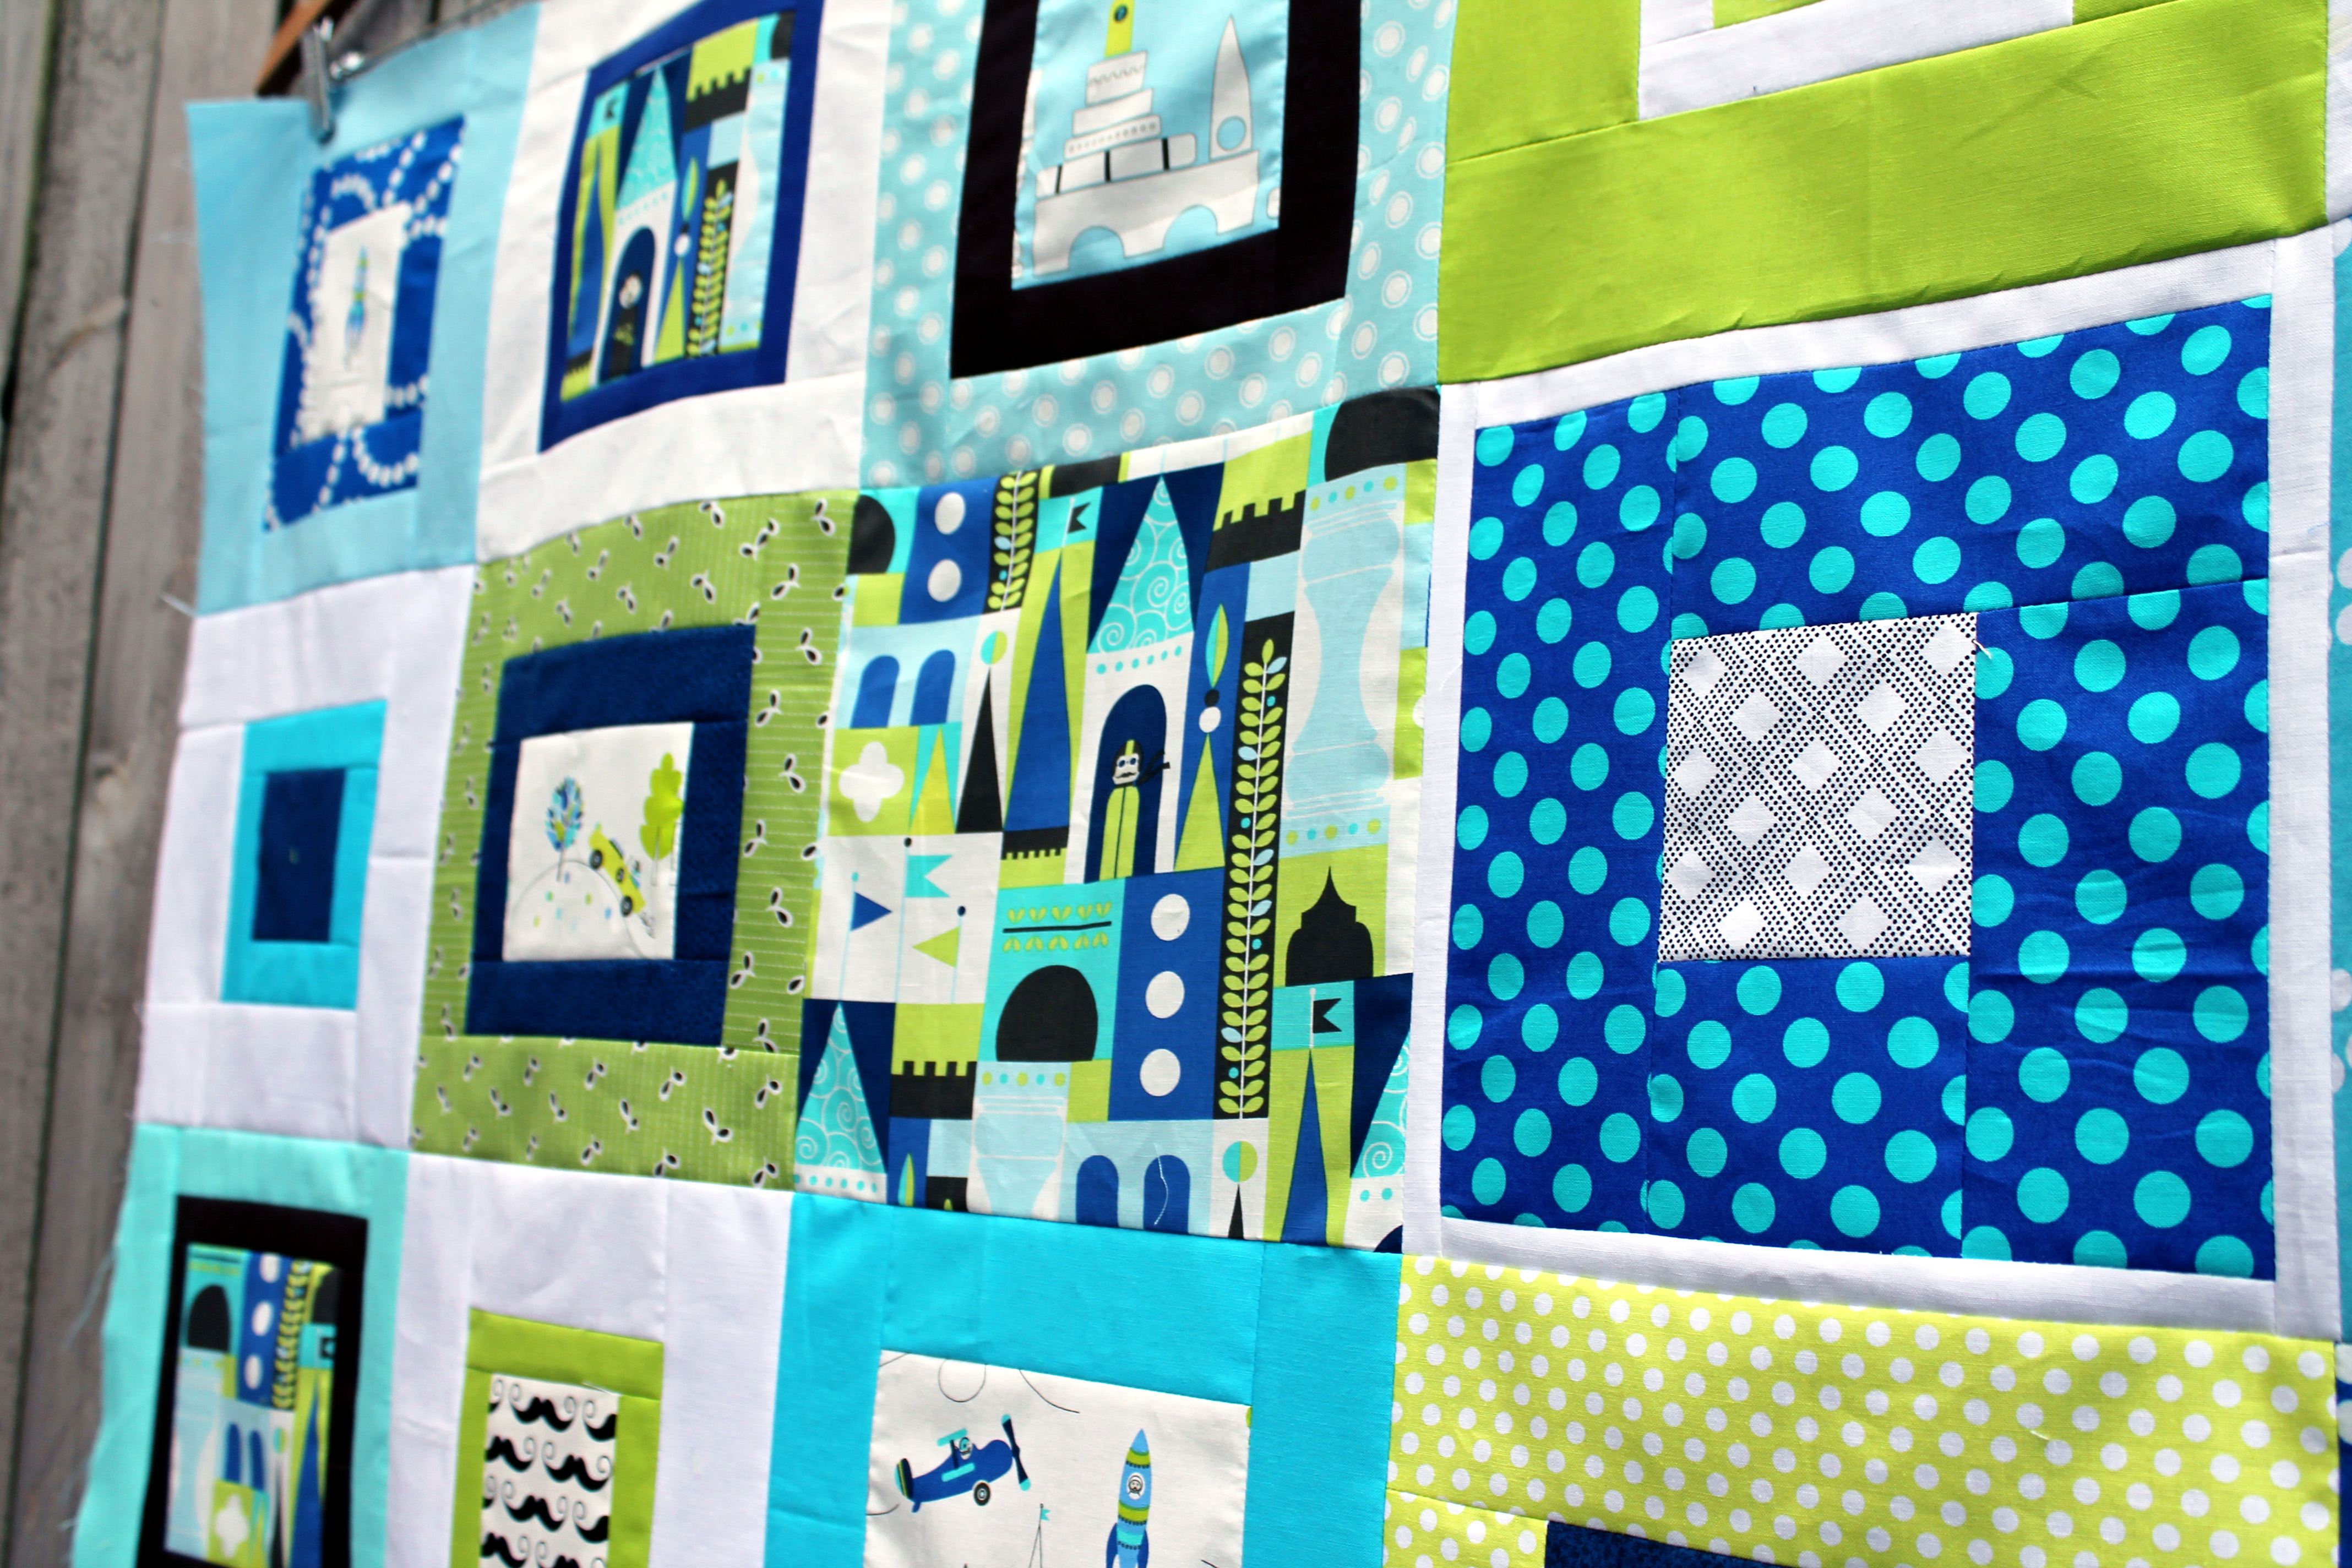
…as well as some dark tones to make things pop – I used a dark blue print and a nice Kona brown solid for this purpose.

Les Monsieur quilt top detail 4

I also made sure that there was plenty of white bordered blocks to help the contrast.  And voila… a quilt 45 inch square quilt top made in a night!

As it is Friday I am linking up with Crazy Mom Quilts Finish It Up Friday and Forth Worth Fabric’s Fabric Frenzy Friday.

Playing with Urban Chickens

To celebrate this years Pacific North West MQG Meet up our fearless leader,  Michelle Freedman designed a fun modern block to celebrate… the Urban Chicken.  During the Meet Up we did a charity sew day where chickens ran wild.

Charity Sew Day Urban Chickens

This week I decided to dust off the pattern card and make my own Urban Chicken quilt… below is my plagiarized, annotated and updated version of Michelle’s original pattern.

For each block you need:

1.  Four (4) different shades of the same colour – I decided to stick to green, blue & yellow

2.  White or off white fabric – I pulled all my scrap bag of solid whites out.

Then it is off to work making a block….

1.   Cut one  3 ½ inches  x 14 ½  inches strip of each of your four coloured fabric.  I added an extra 1/2 inch to the strips from the original pattern to allow for some wiggle room (ie. mistakes).

layout strips

2.  From these strips cut one 3 ½ inches x 3 ½ inches  and set aside these squares.

cut square off strip

3.  Sew the four 10 ½ inch strips together using 1/4 inch seam allowance.  Press the seams to one side in the same direction.

sewing strips together

.4. Sew the long ends together to form a tube… these next steps are the same as you would do for a Trip Around quilt.

5.  Subcut the tube into three 3 ½ inch wide units… this is where the excess 1/2 inch of fabric on the strips comes in handy for me.

cut tube

5.  Carefully use the seam ripper to open each unit at a different place.  Arrange the three rows as you like, nesting the seam allows and sew together.  Press the seams open or to alternating sides.

strip blocks ready to go

Then to make the chickens….

1.  Using your white scraps or some generously cut white strips (no smaller than 2 ½ wide) and the four coloured squares you had set aside make some wonky triangles.

set aside squares

2.  Place the white fabric strip over the 3 ½ x 3 ½ inch square right sides together – angling the white fabric from just past center of the square to one corner of the square.  Repeat on the other side.  Do this for all four coloured squares.

chicken pieces for trimming

3.  Press seams on your chicken unit and square it up to the original 3 ½” x 3 ½” size.  When trimming make sure that the top of the triangle has a ¼ inch seam of white.  This will allow you triangles to come to a clean point (learnt this one the hard way).

trim chickens

4.  Arrange your chickens as you like and sew them together to form the fourth strip of the block.

urban chicken block

You can stitch your chickens to either side of your solid blocks.

Urban chicken block 4

5.  Make sure you square off your completed block ensuring it measures  12½”” by 12½”.

To add some variation to your Urban Chickiens, Michelle suggests doing some blocks up without the chickens… that is blocks of just 4 x 4 coloured squares.

I am now off to add some more chickens to my coup.  I am really having fun with this quilt and can not wait to have a finished quilt top to show.

Some Appleville fun

This week I found in my stash a yard of fabric I bought a year or so ago because I fell in love the artwork on it.  It from Suzy Ultman’s “Appleville” range for Robert Kaufman.

suzy ultman fabric

I often buy fun printed fabric because I love it, but do not really know what I am going to do with it.  I struggled a lot with this fabric in particular because it is blocks of different prints, not an overall pattern.    I know I could have cheated and just used it as part of a backing fabric, but that would not show the fun prints off to their best advantage.

So this week to challenge myself, I pulled the fabric out of my stash, determined to make a quilt out of it.  I cut the individual printed sections of the fabric out and went to work.

modern kids quilt block

I grabbed some Kona white, some graphic bright prints and started playing.

Appleville block 2

As I finish a block it goes up on the design wall with the others.

Appleville block 5

Slowly but surely a quilt top is starting to emerge.

Appleville block 1

The blocks are all different shapes and sizes so the layout will be free form.

Appleville block 6

And there will be a lot of white used as the background fabric.

Appleville block 3

But in the end I hope to have a fun quilt top finished, quilted and bound for Friday.

Wish me luck…