Some more urban chickens…

As summer is coming to a close here in the US I took the opportunity to make the most of the sunshine recently and get some quilts photographed…. I actually have a stack of quilts finished but have not got all of them photographed.

I got a little bored with sticking the finished quilts on coat hangers and hanging them on the back fence so I have been venturing out with them when I can…

My latest adventure took me to the Oregon Coast with my cousin (aka. the quilt holder)…

finished urban chicken quilt

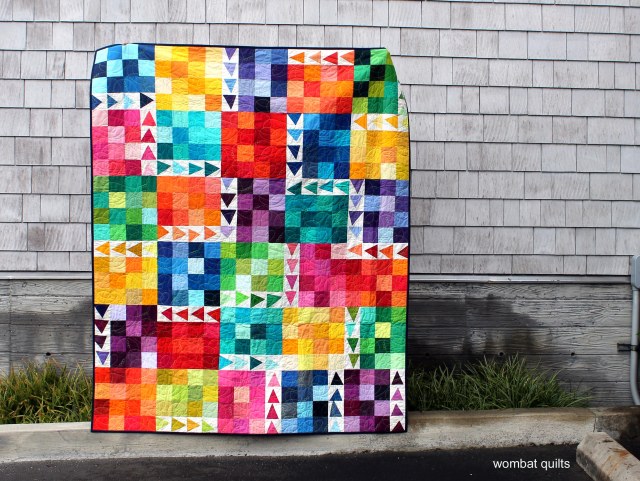
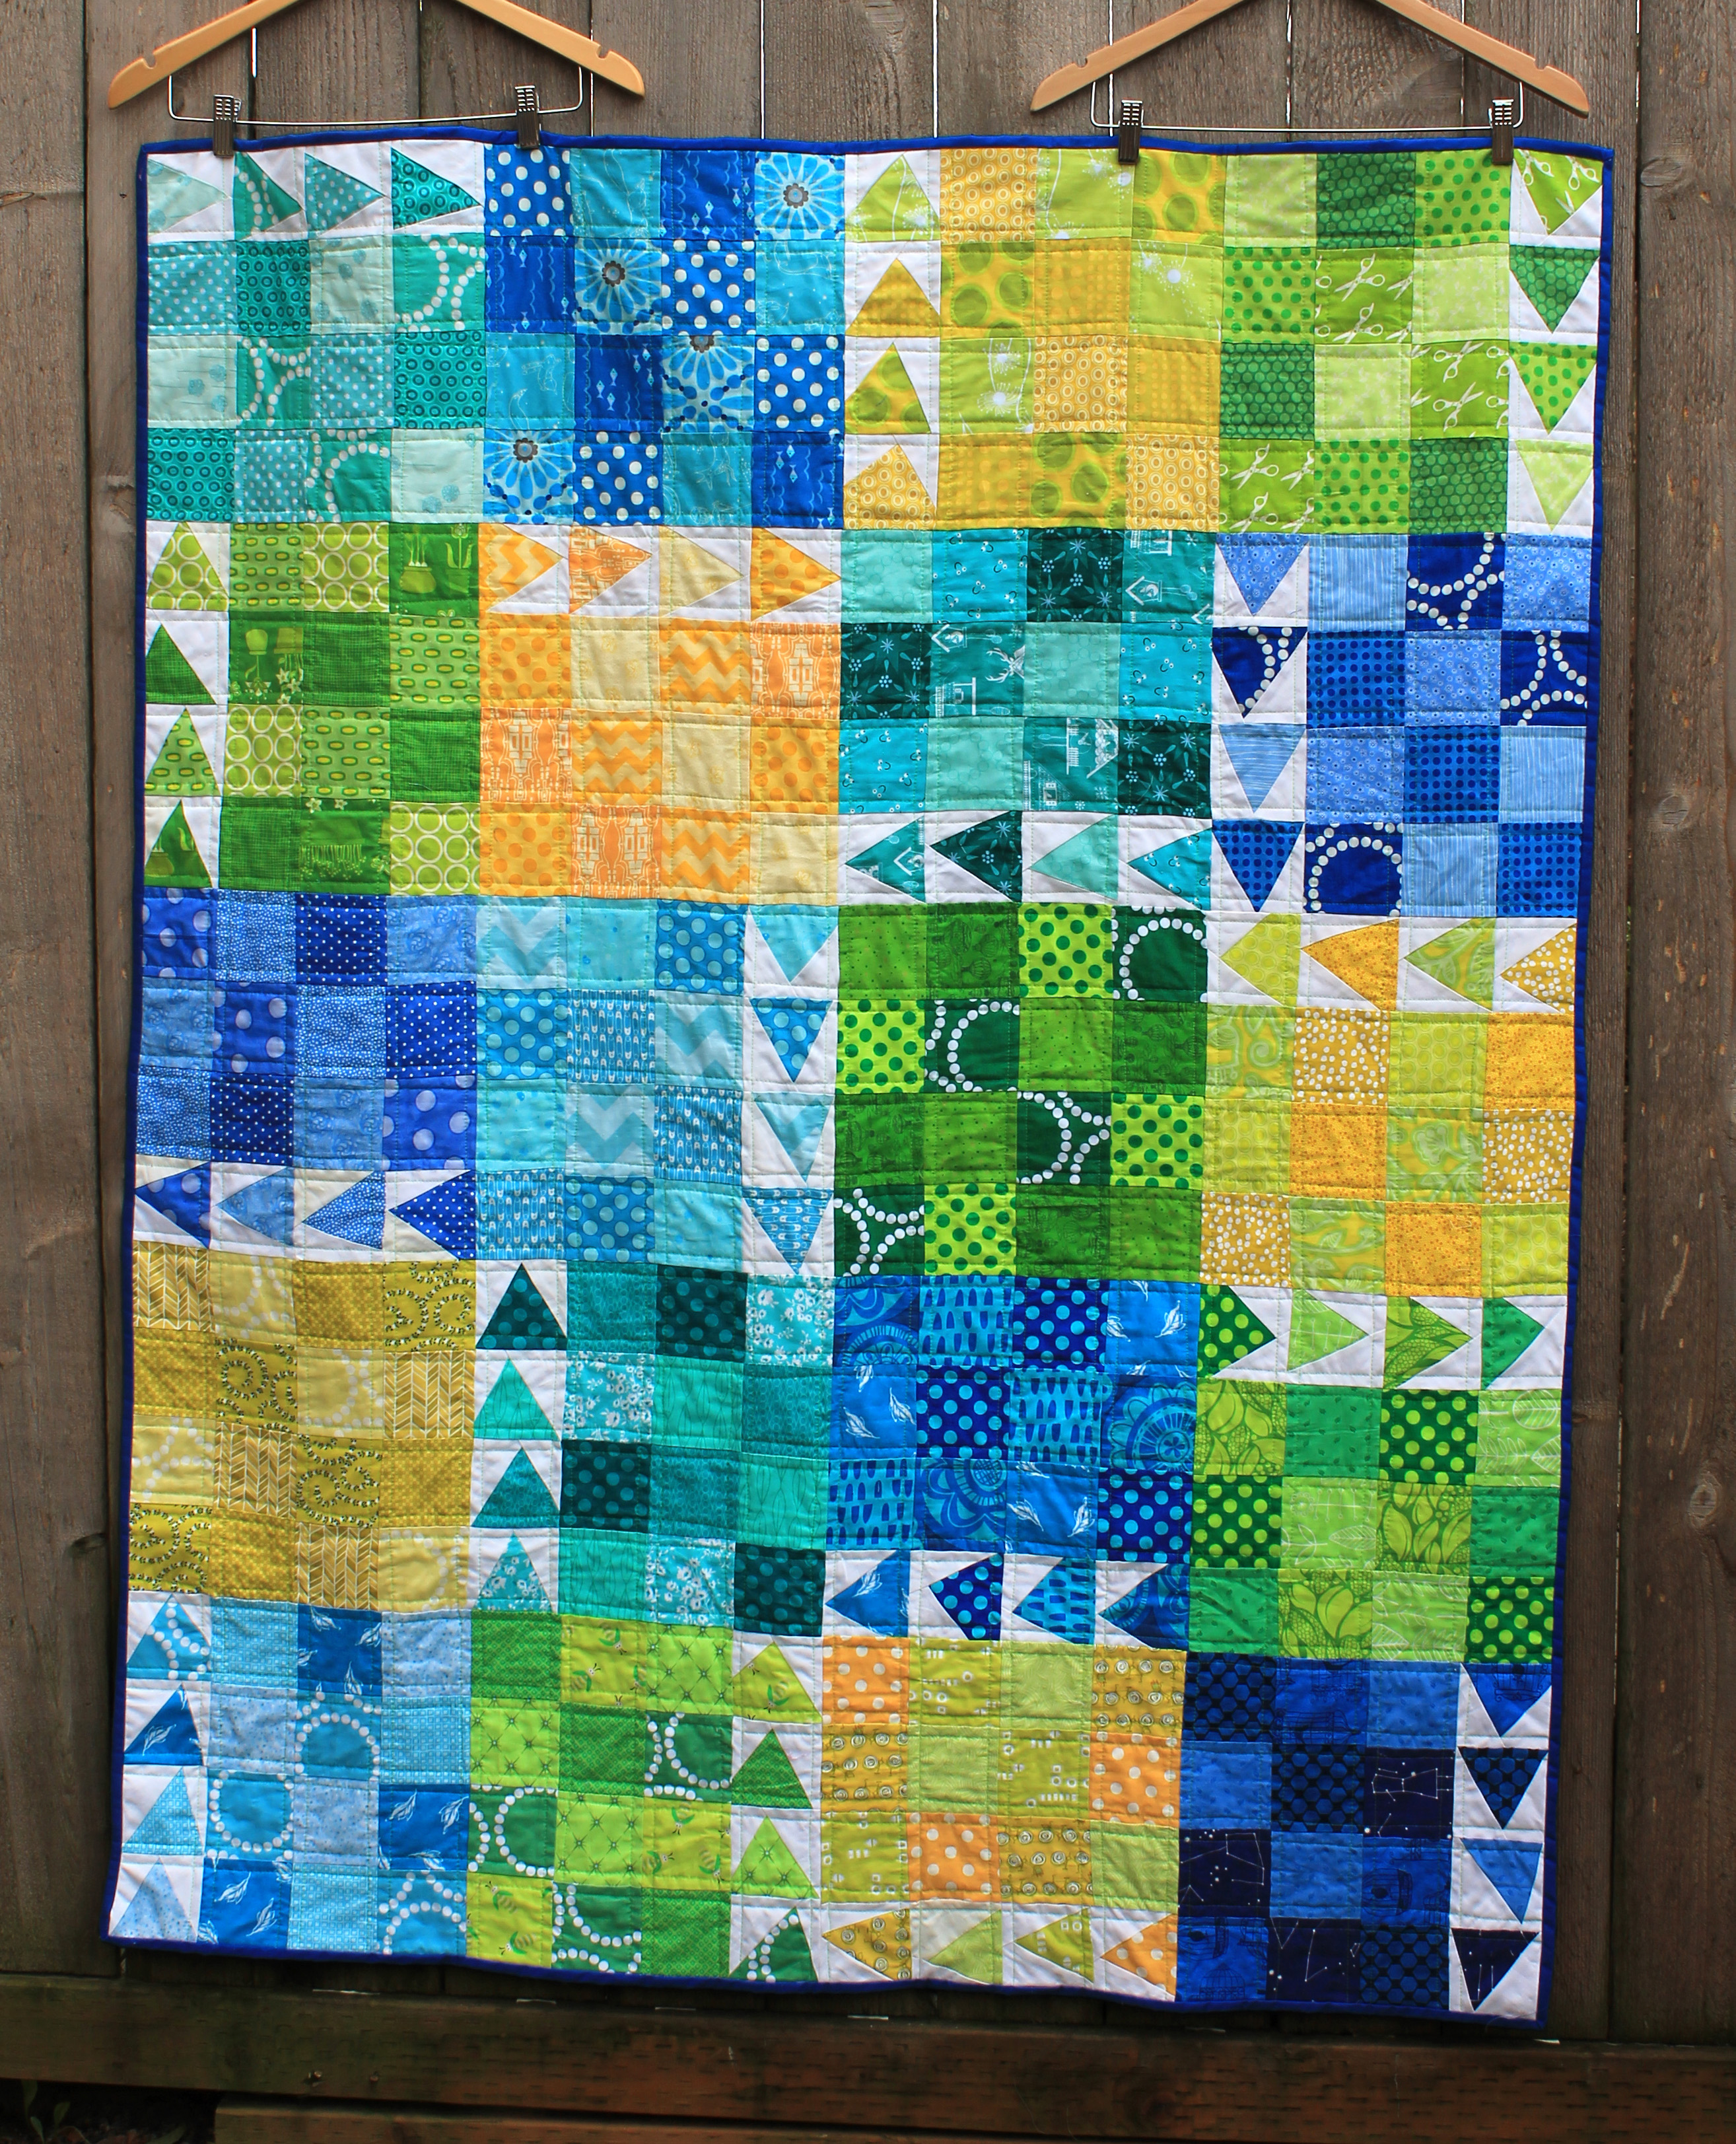
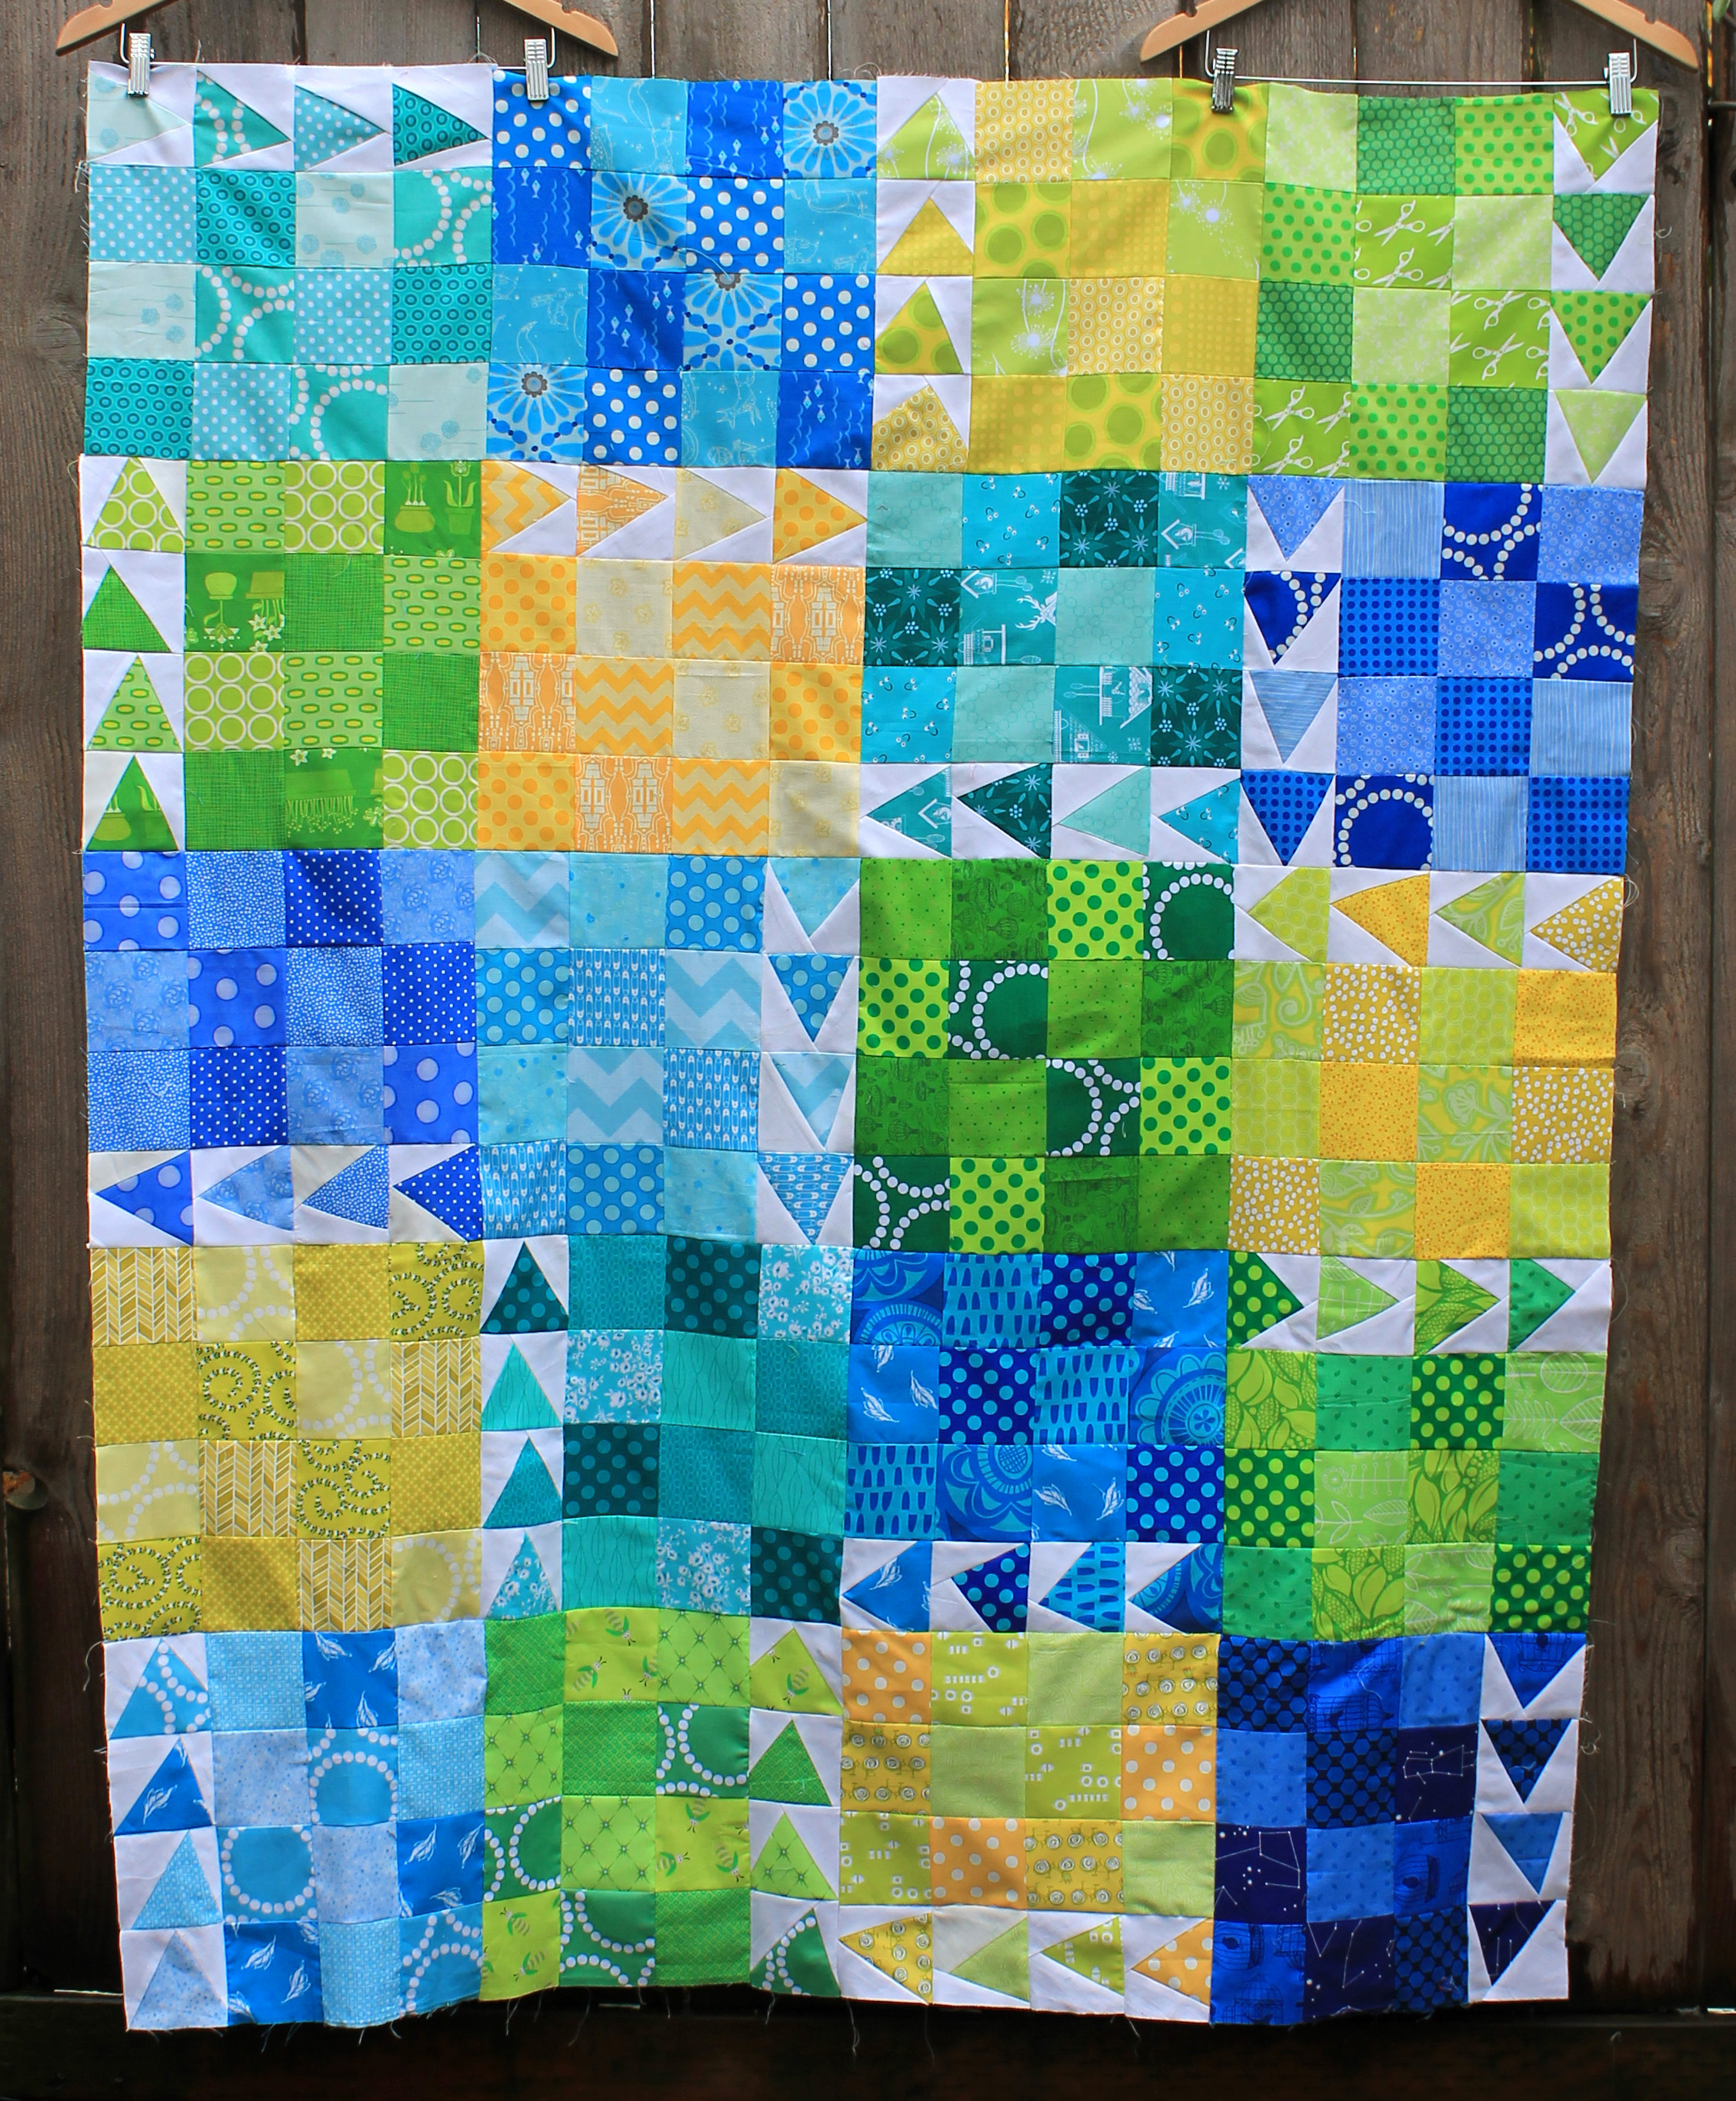
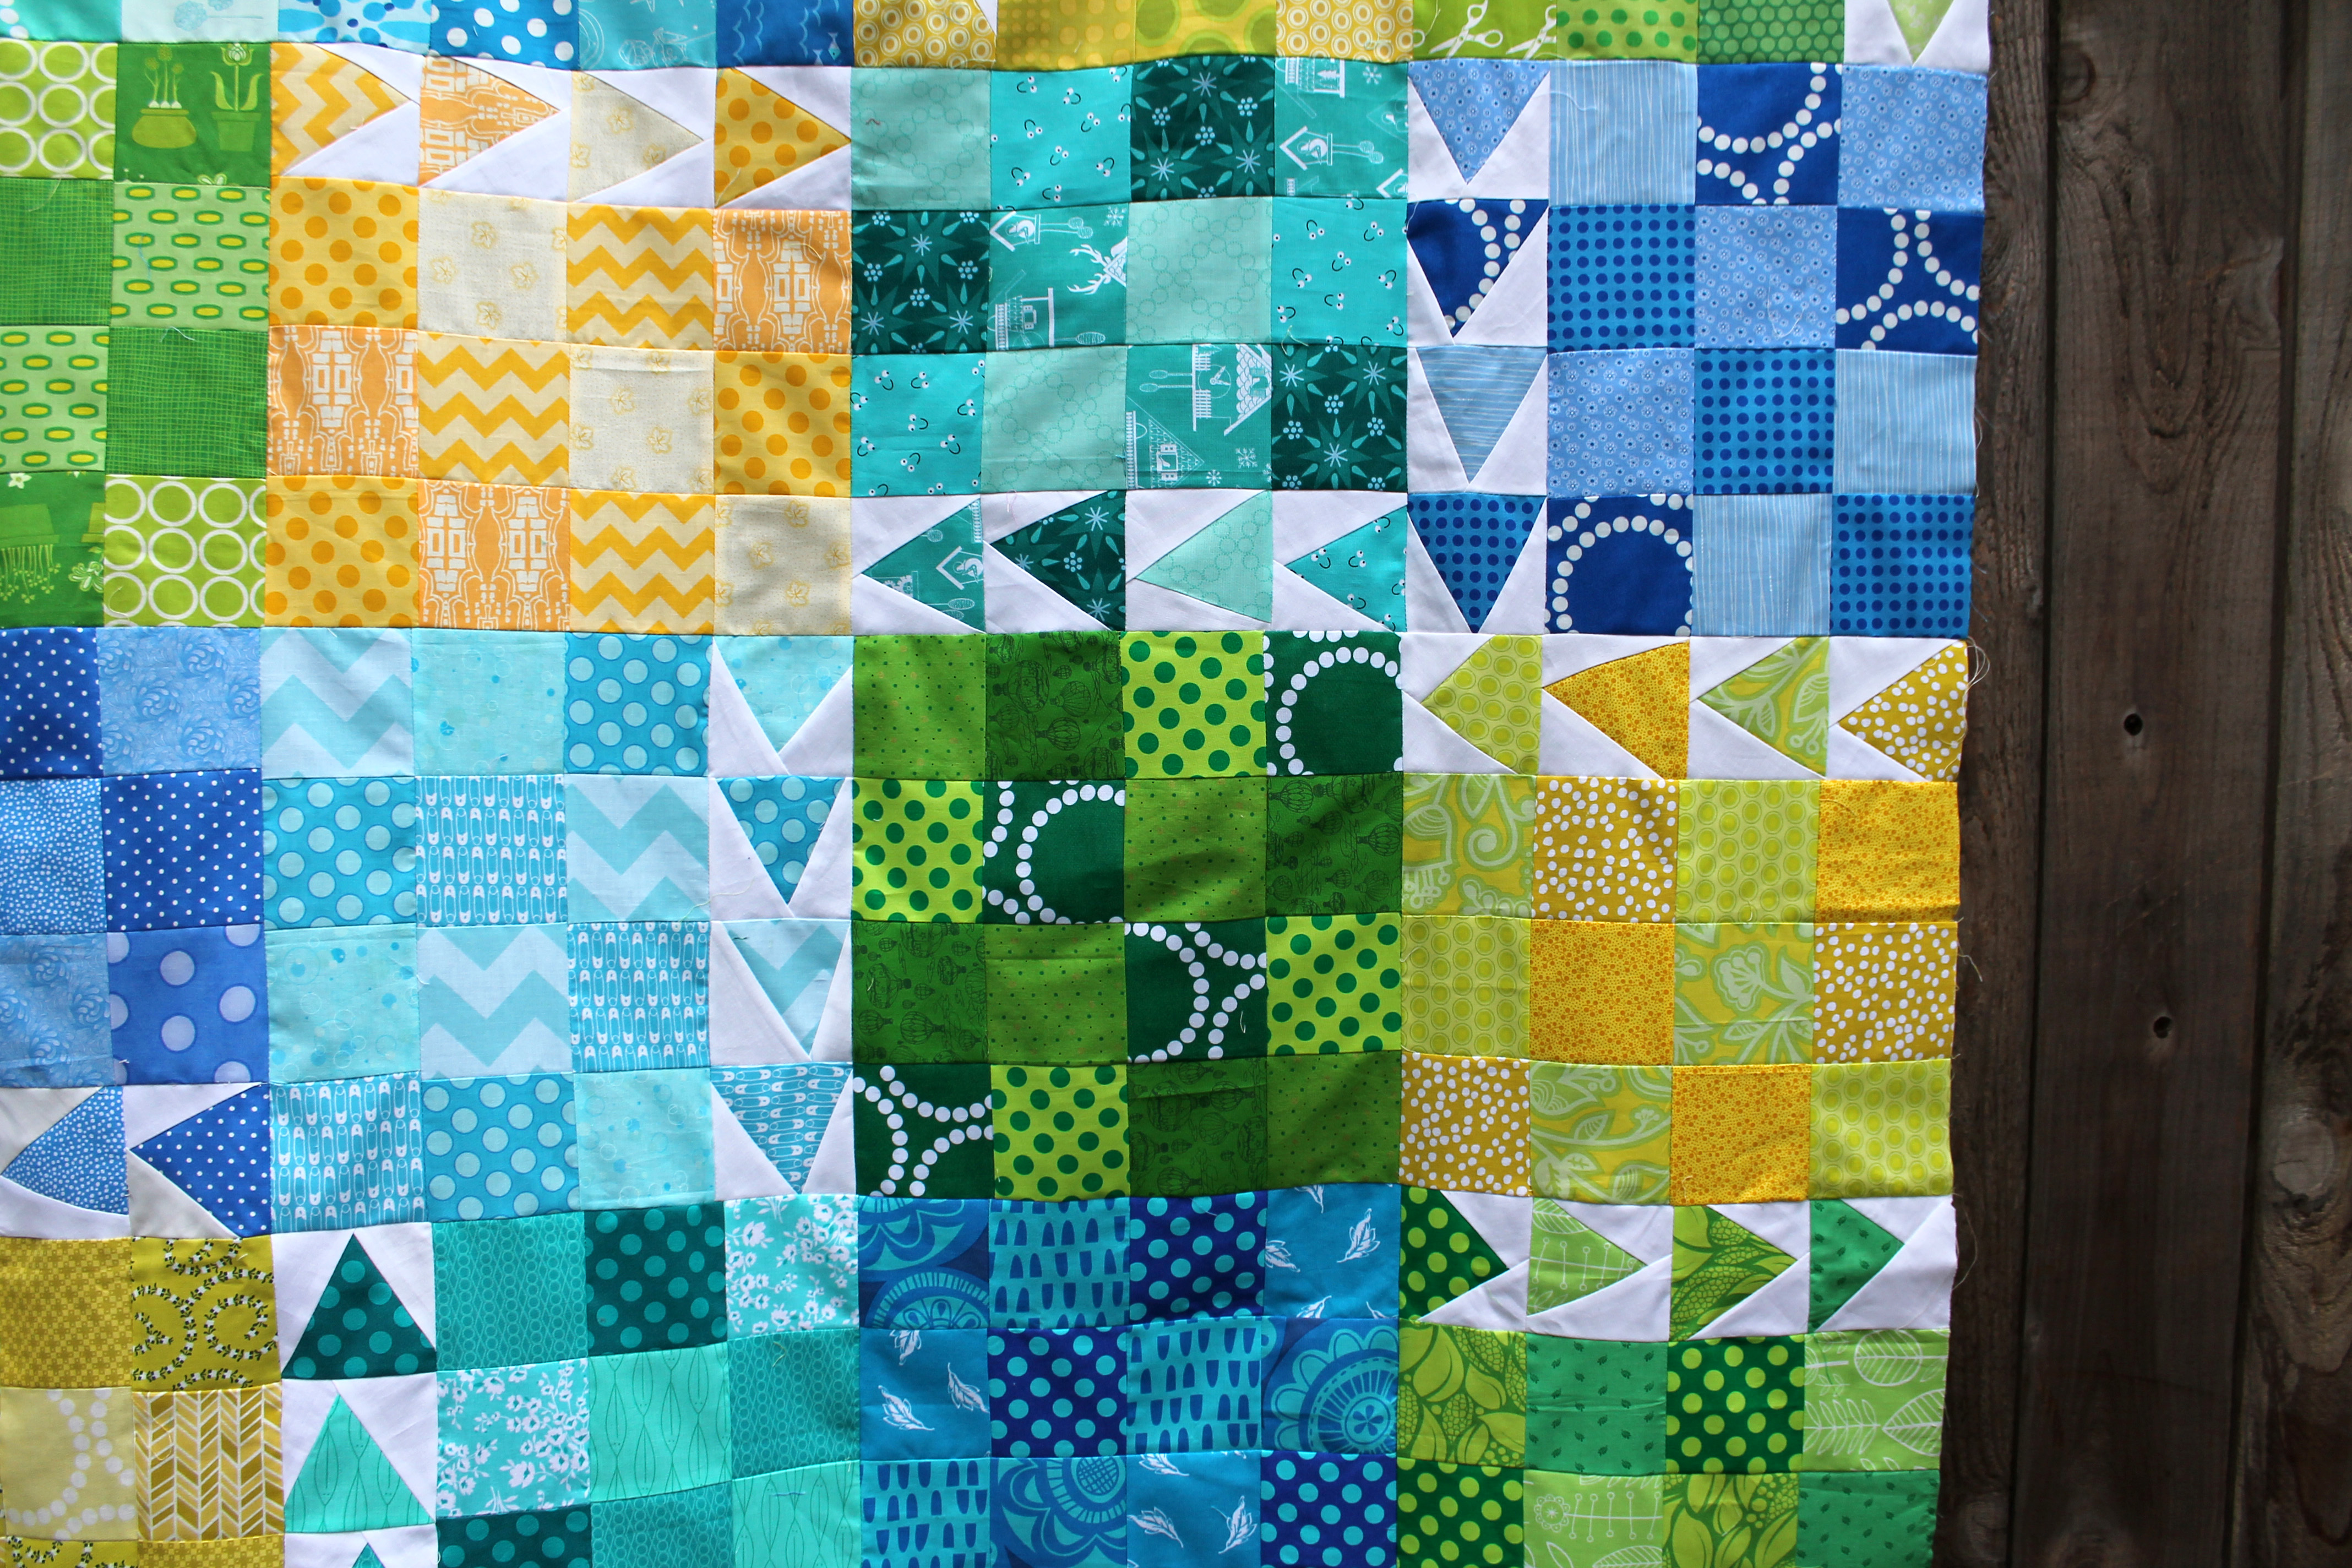
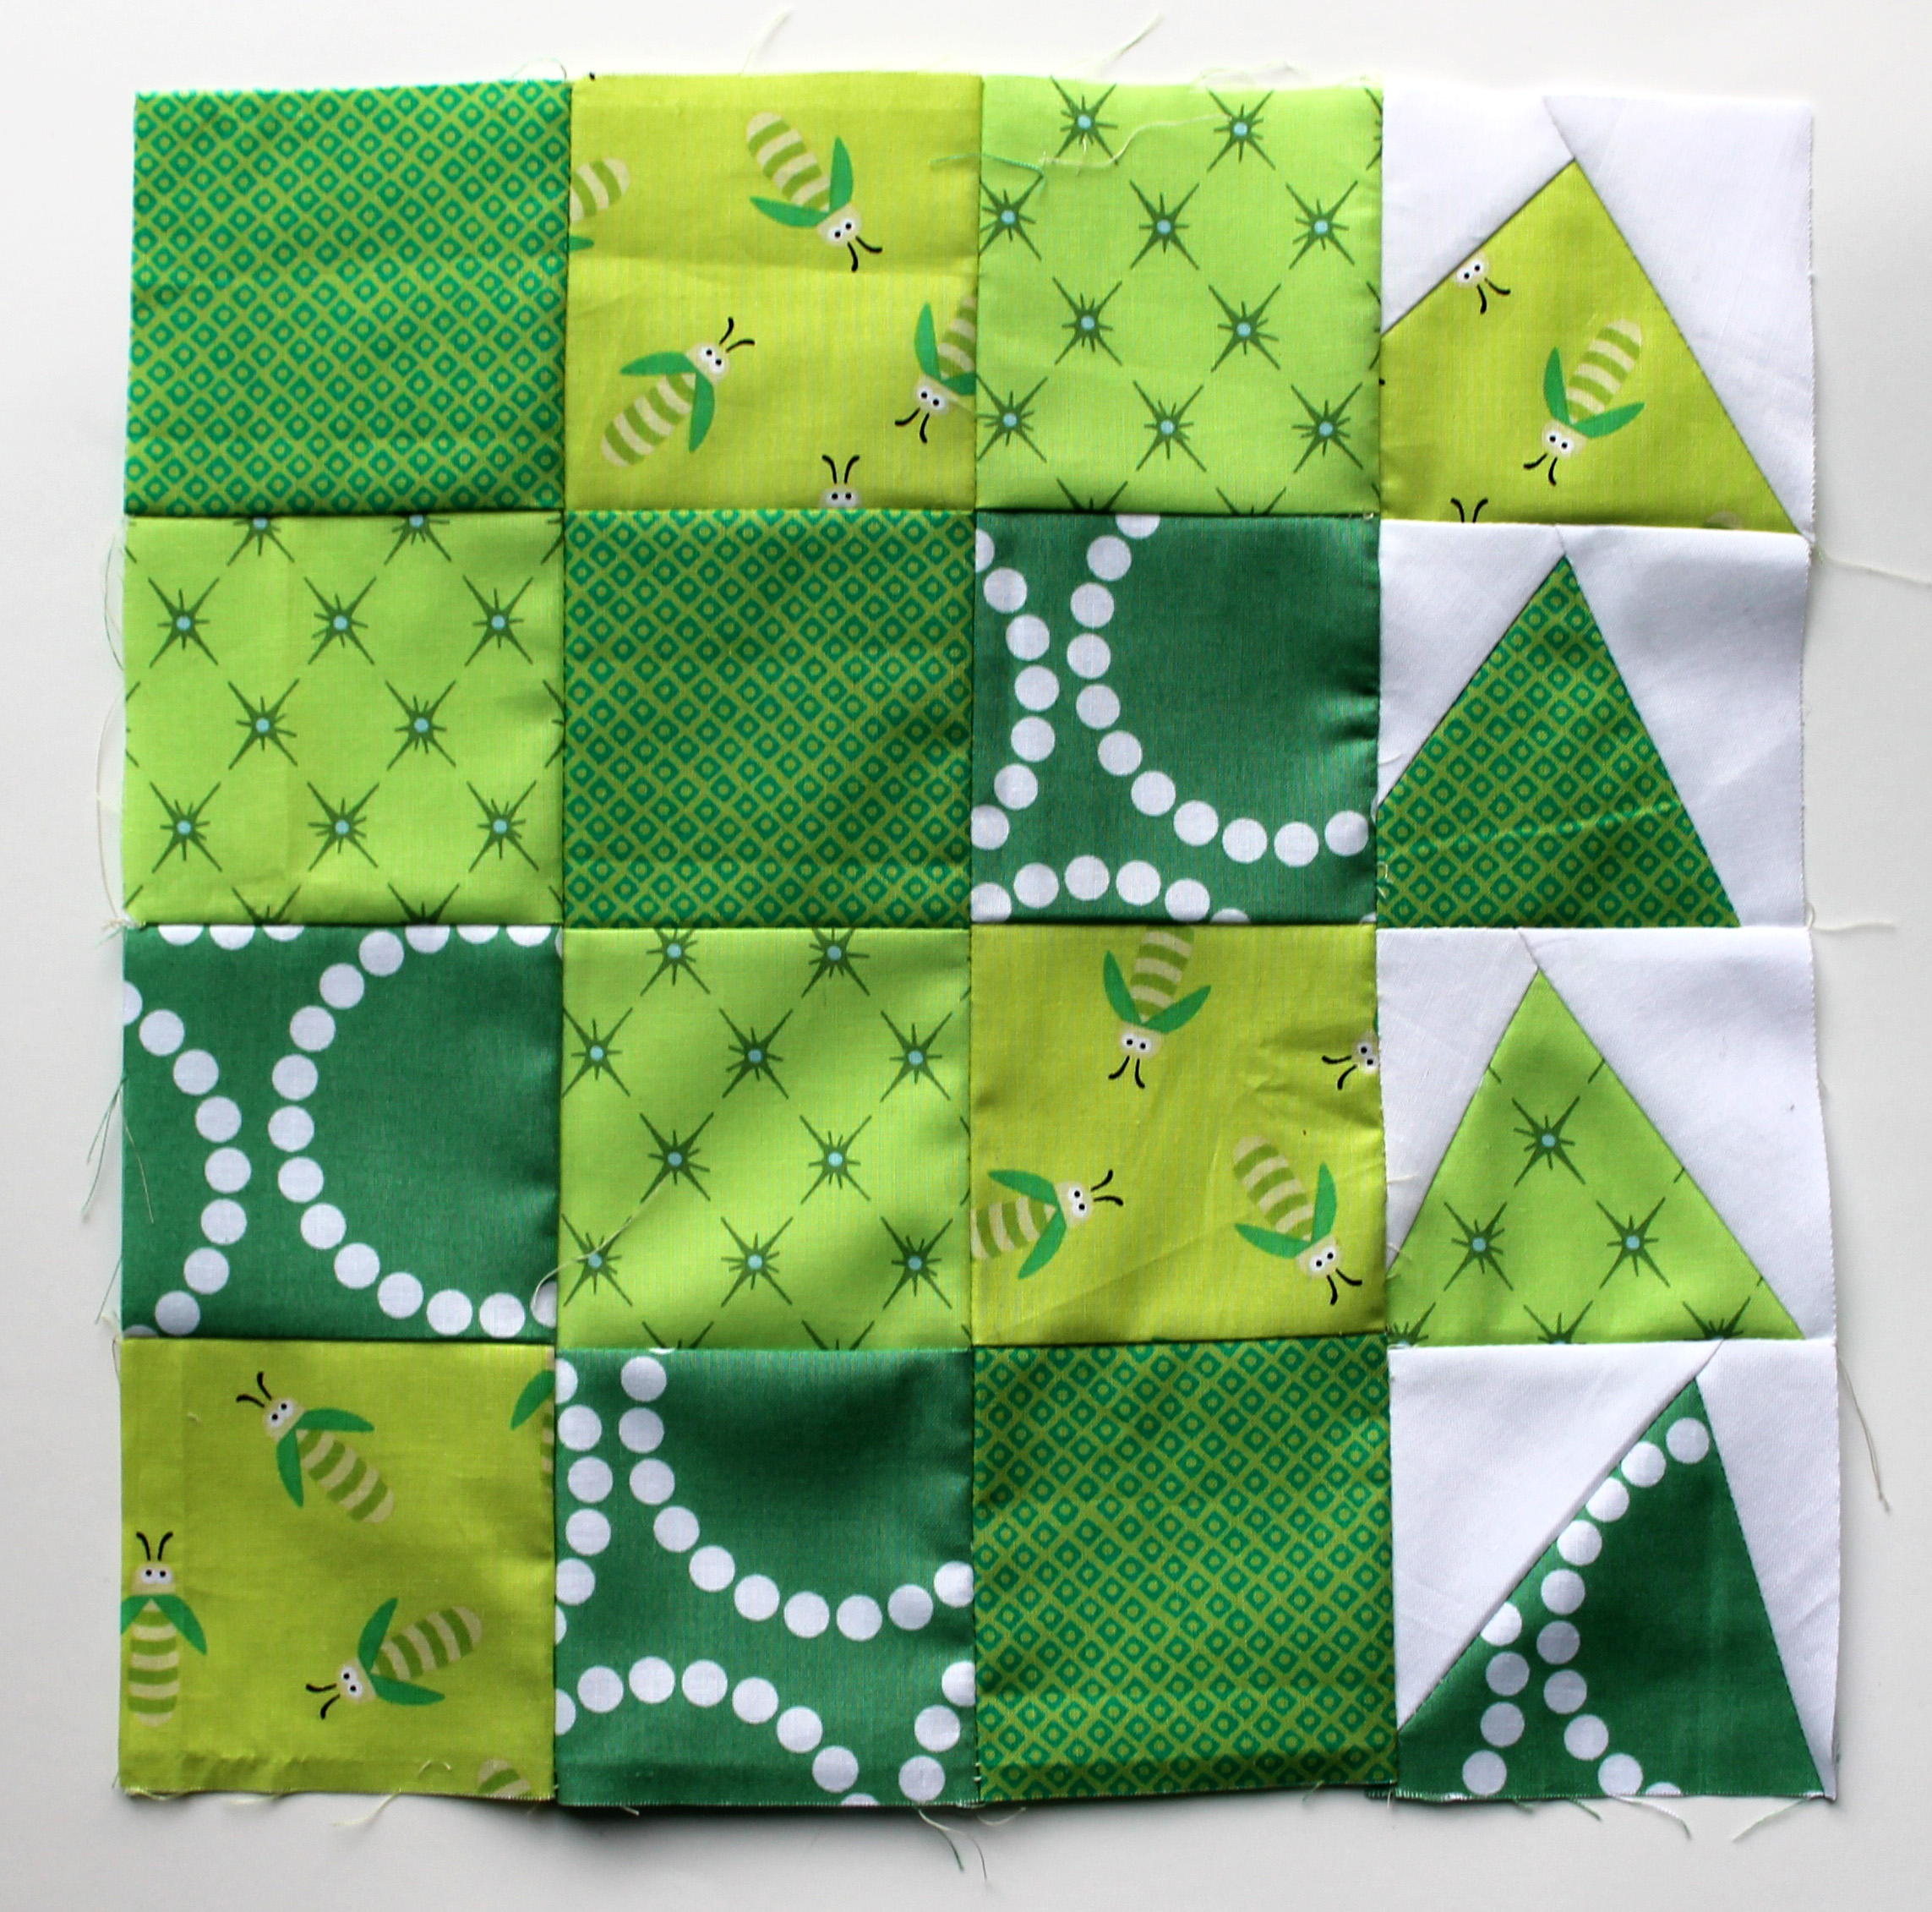
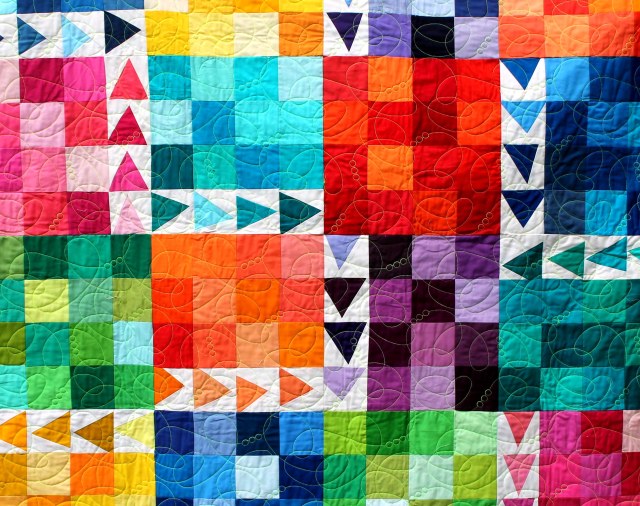
This quilt was made at one of this years Charity Sew Days.  Actually we made two of these tops in one day.  This year the charity program has exploded in a wonderful way.

quilt detail 3

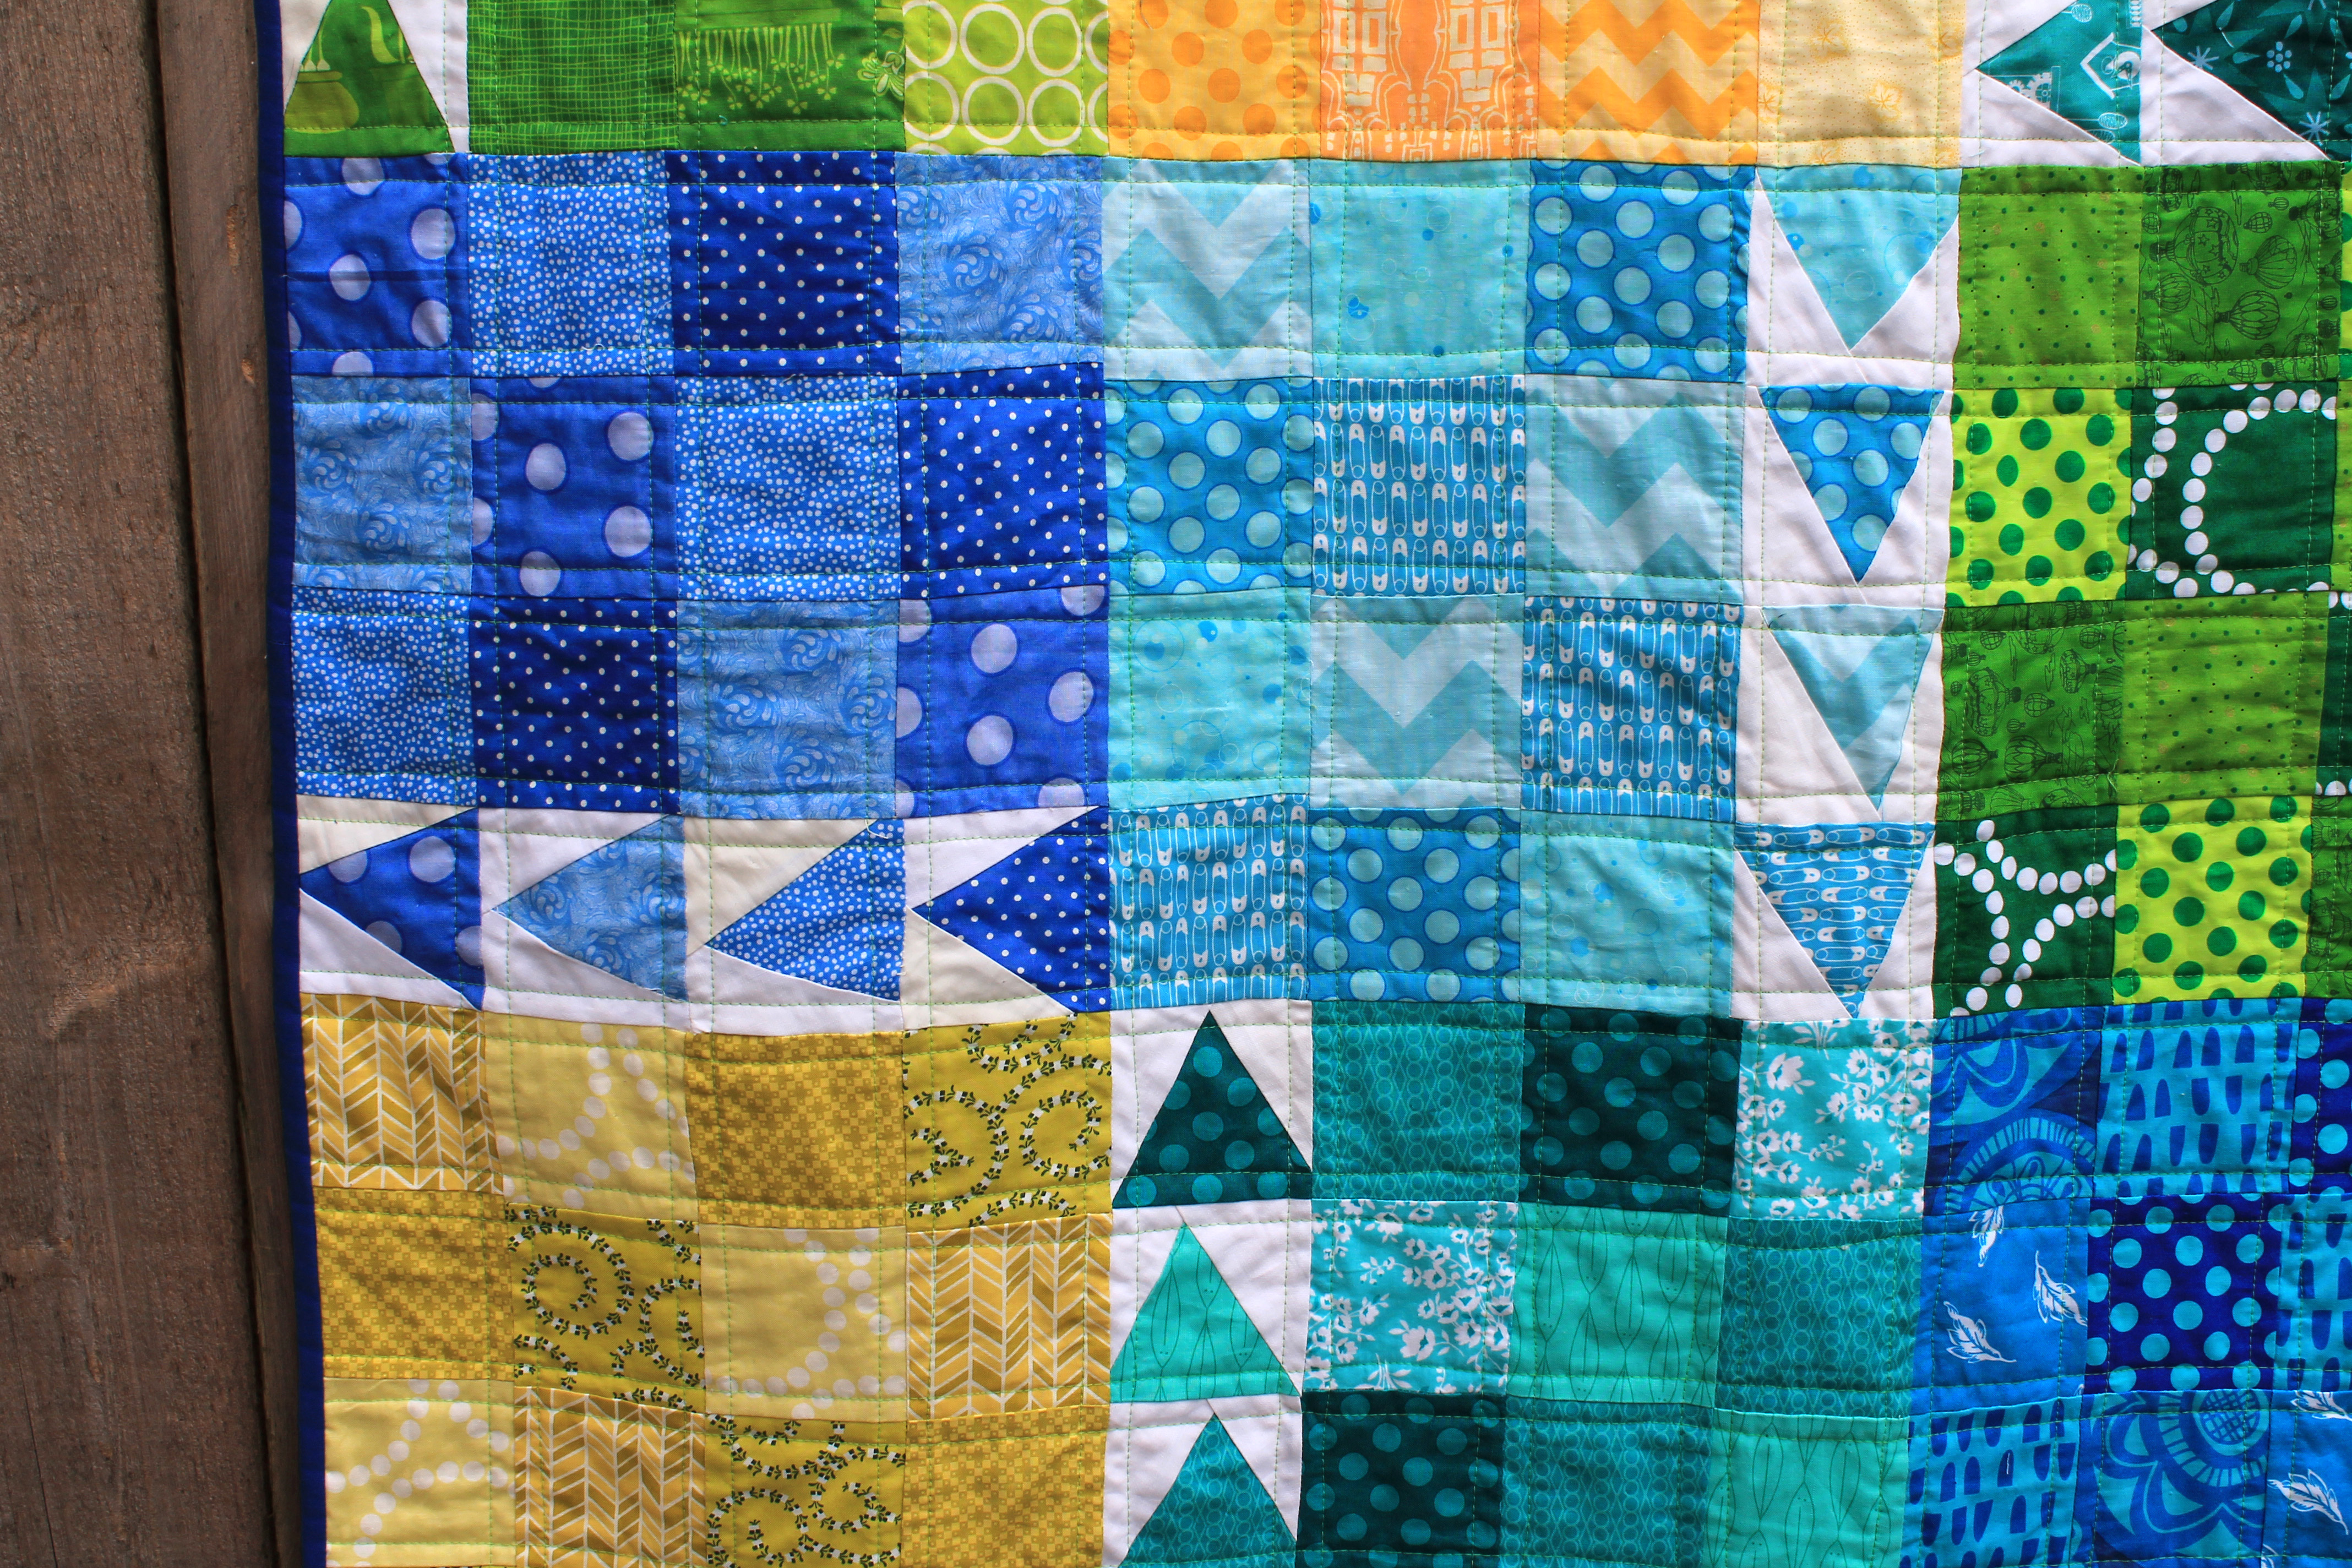
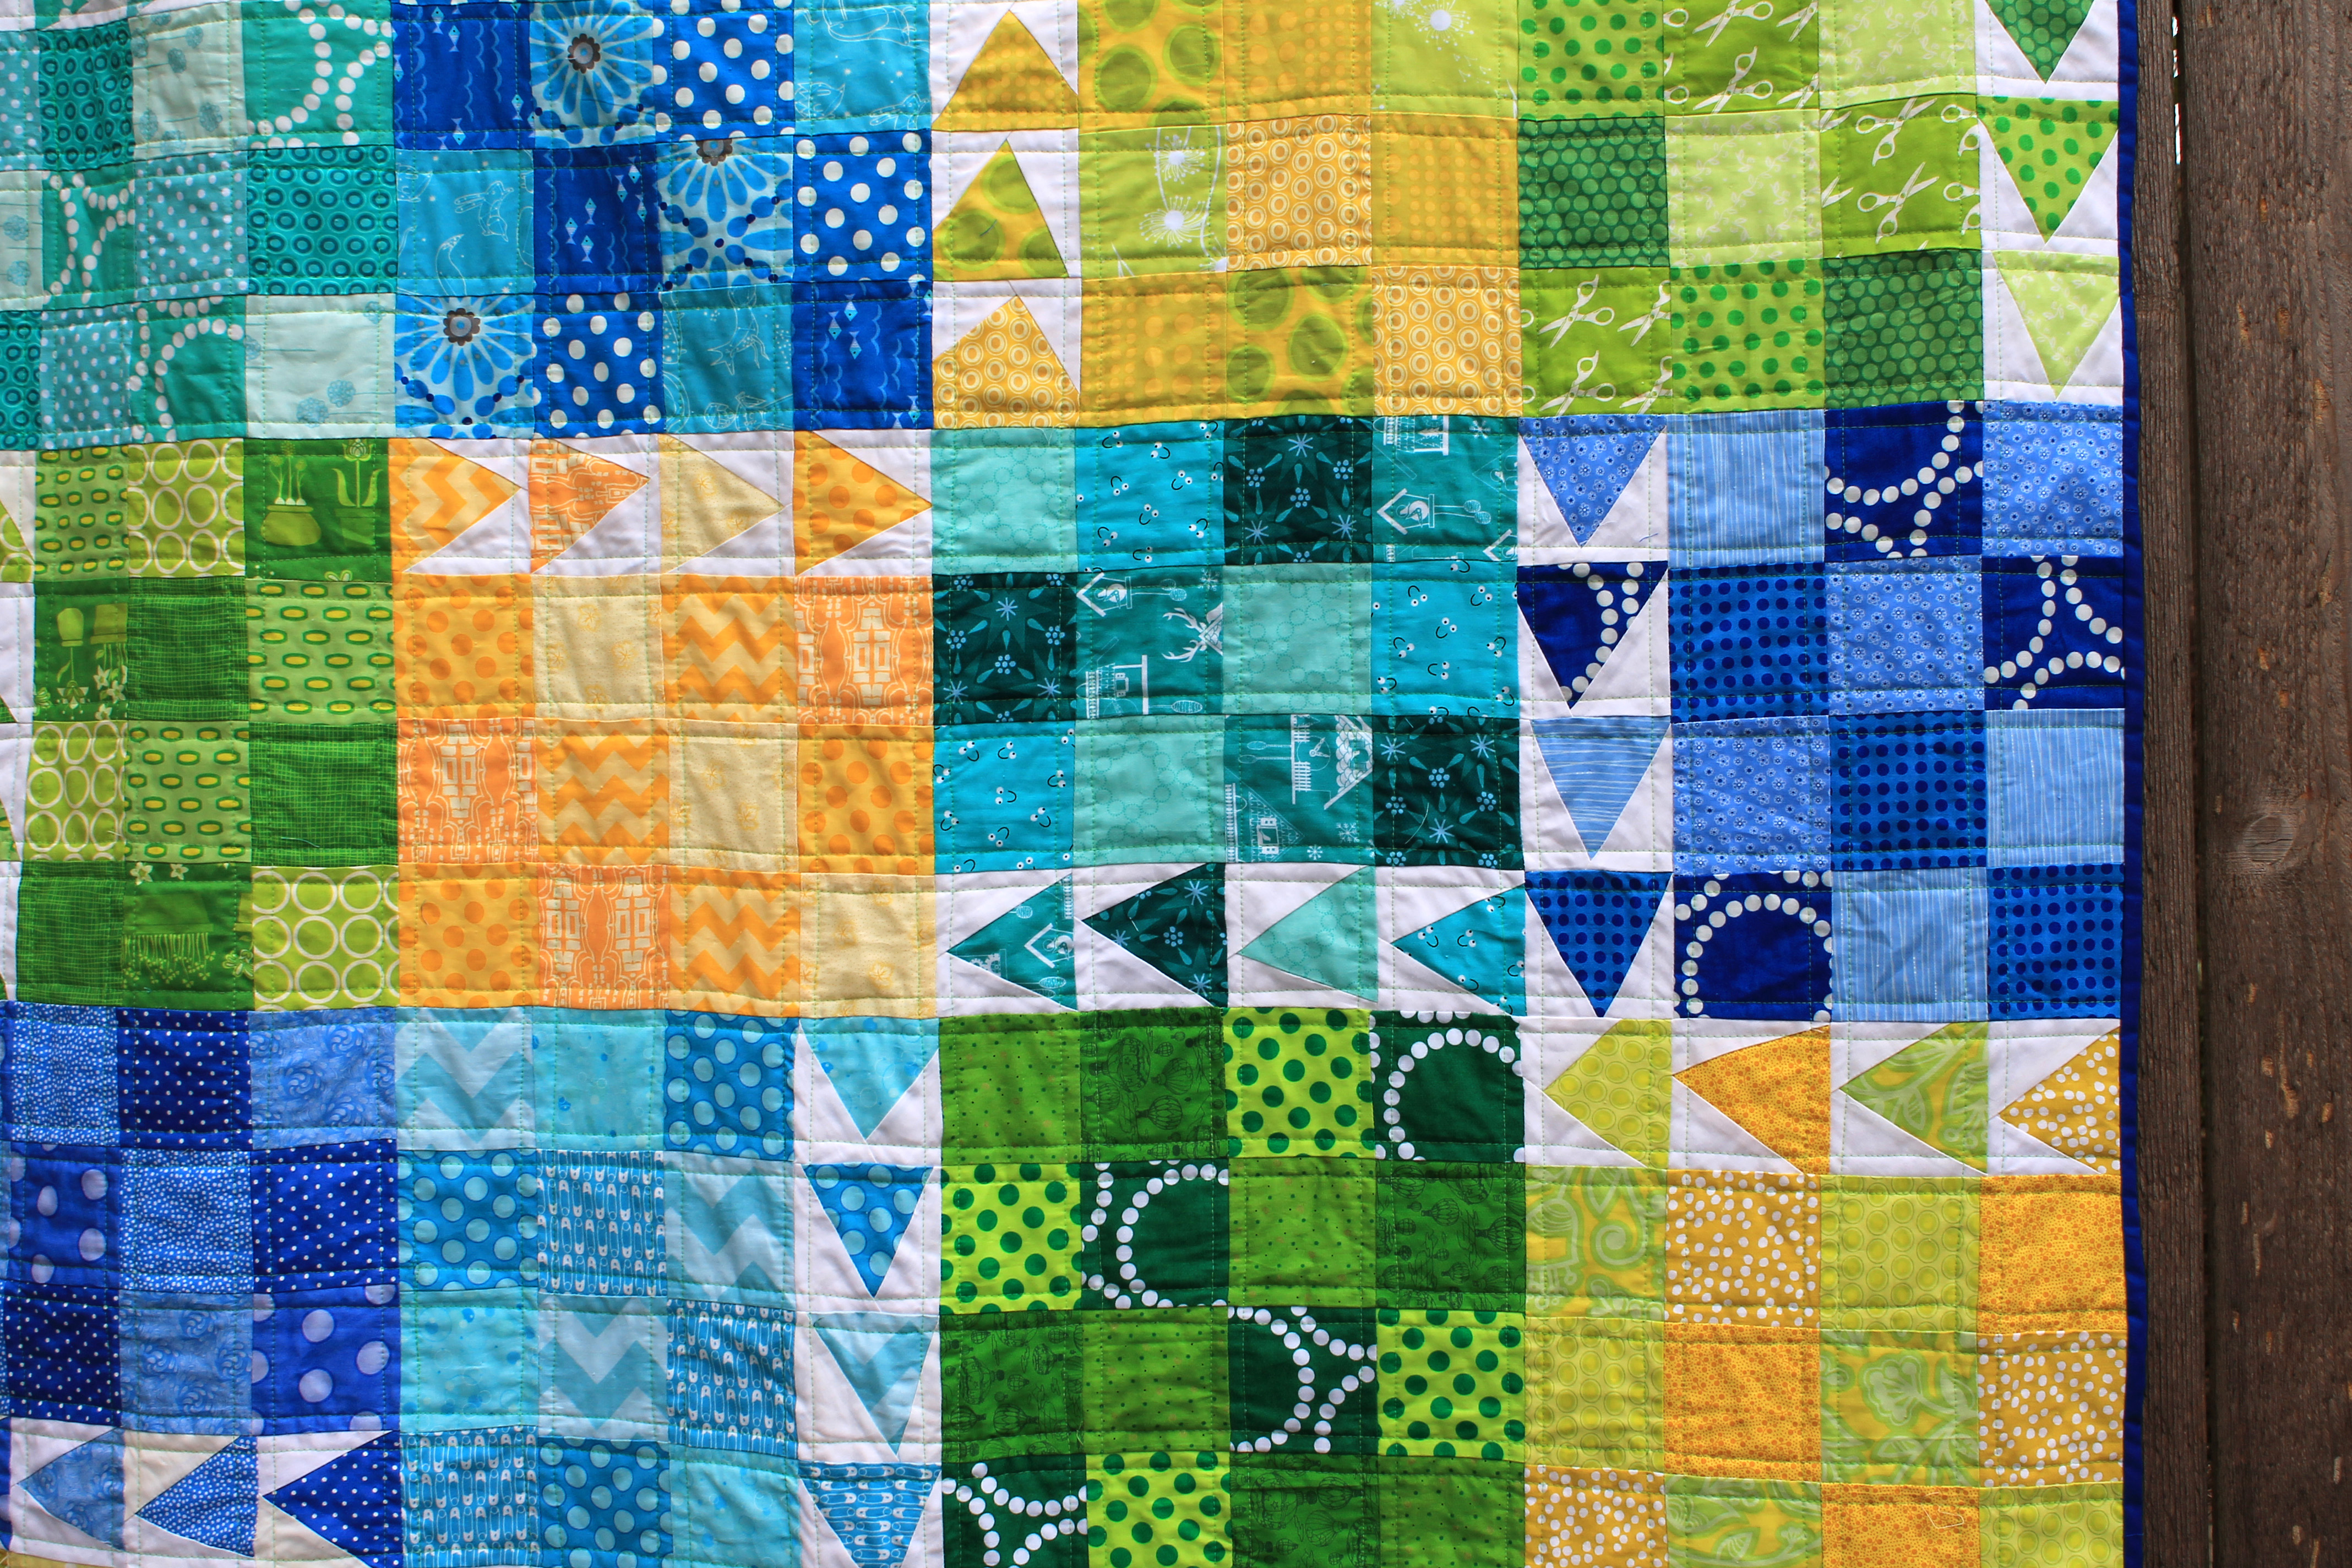
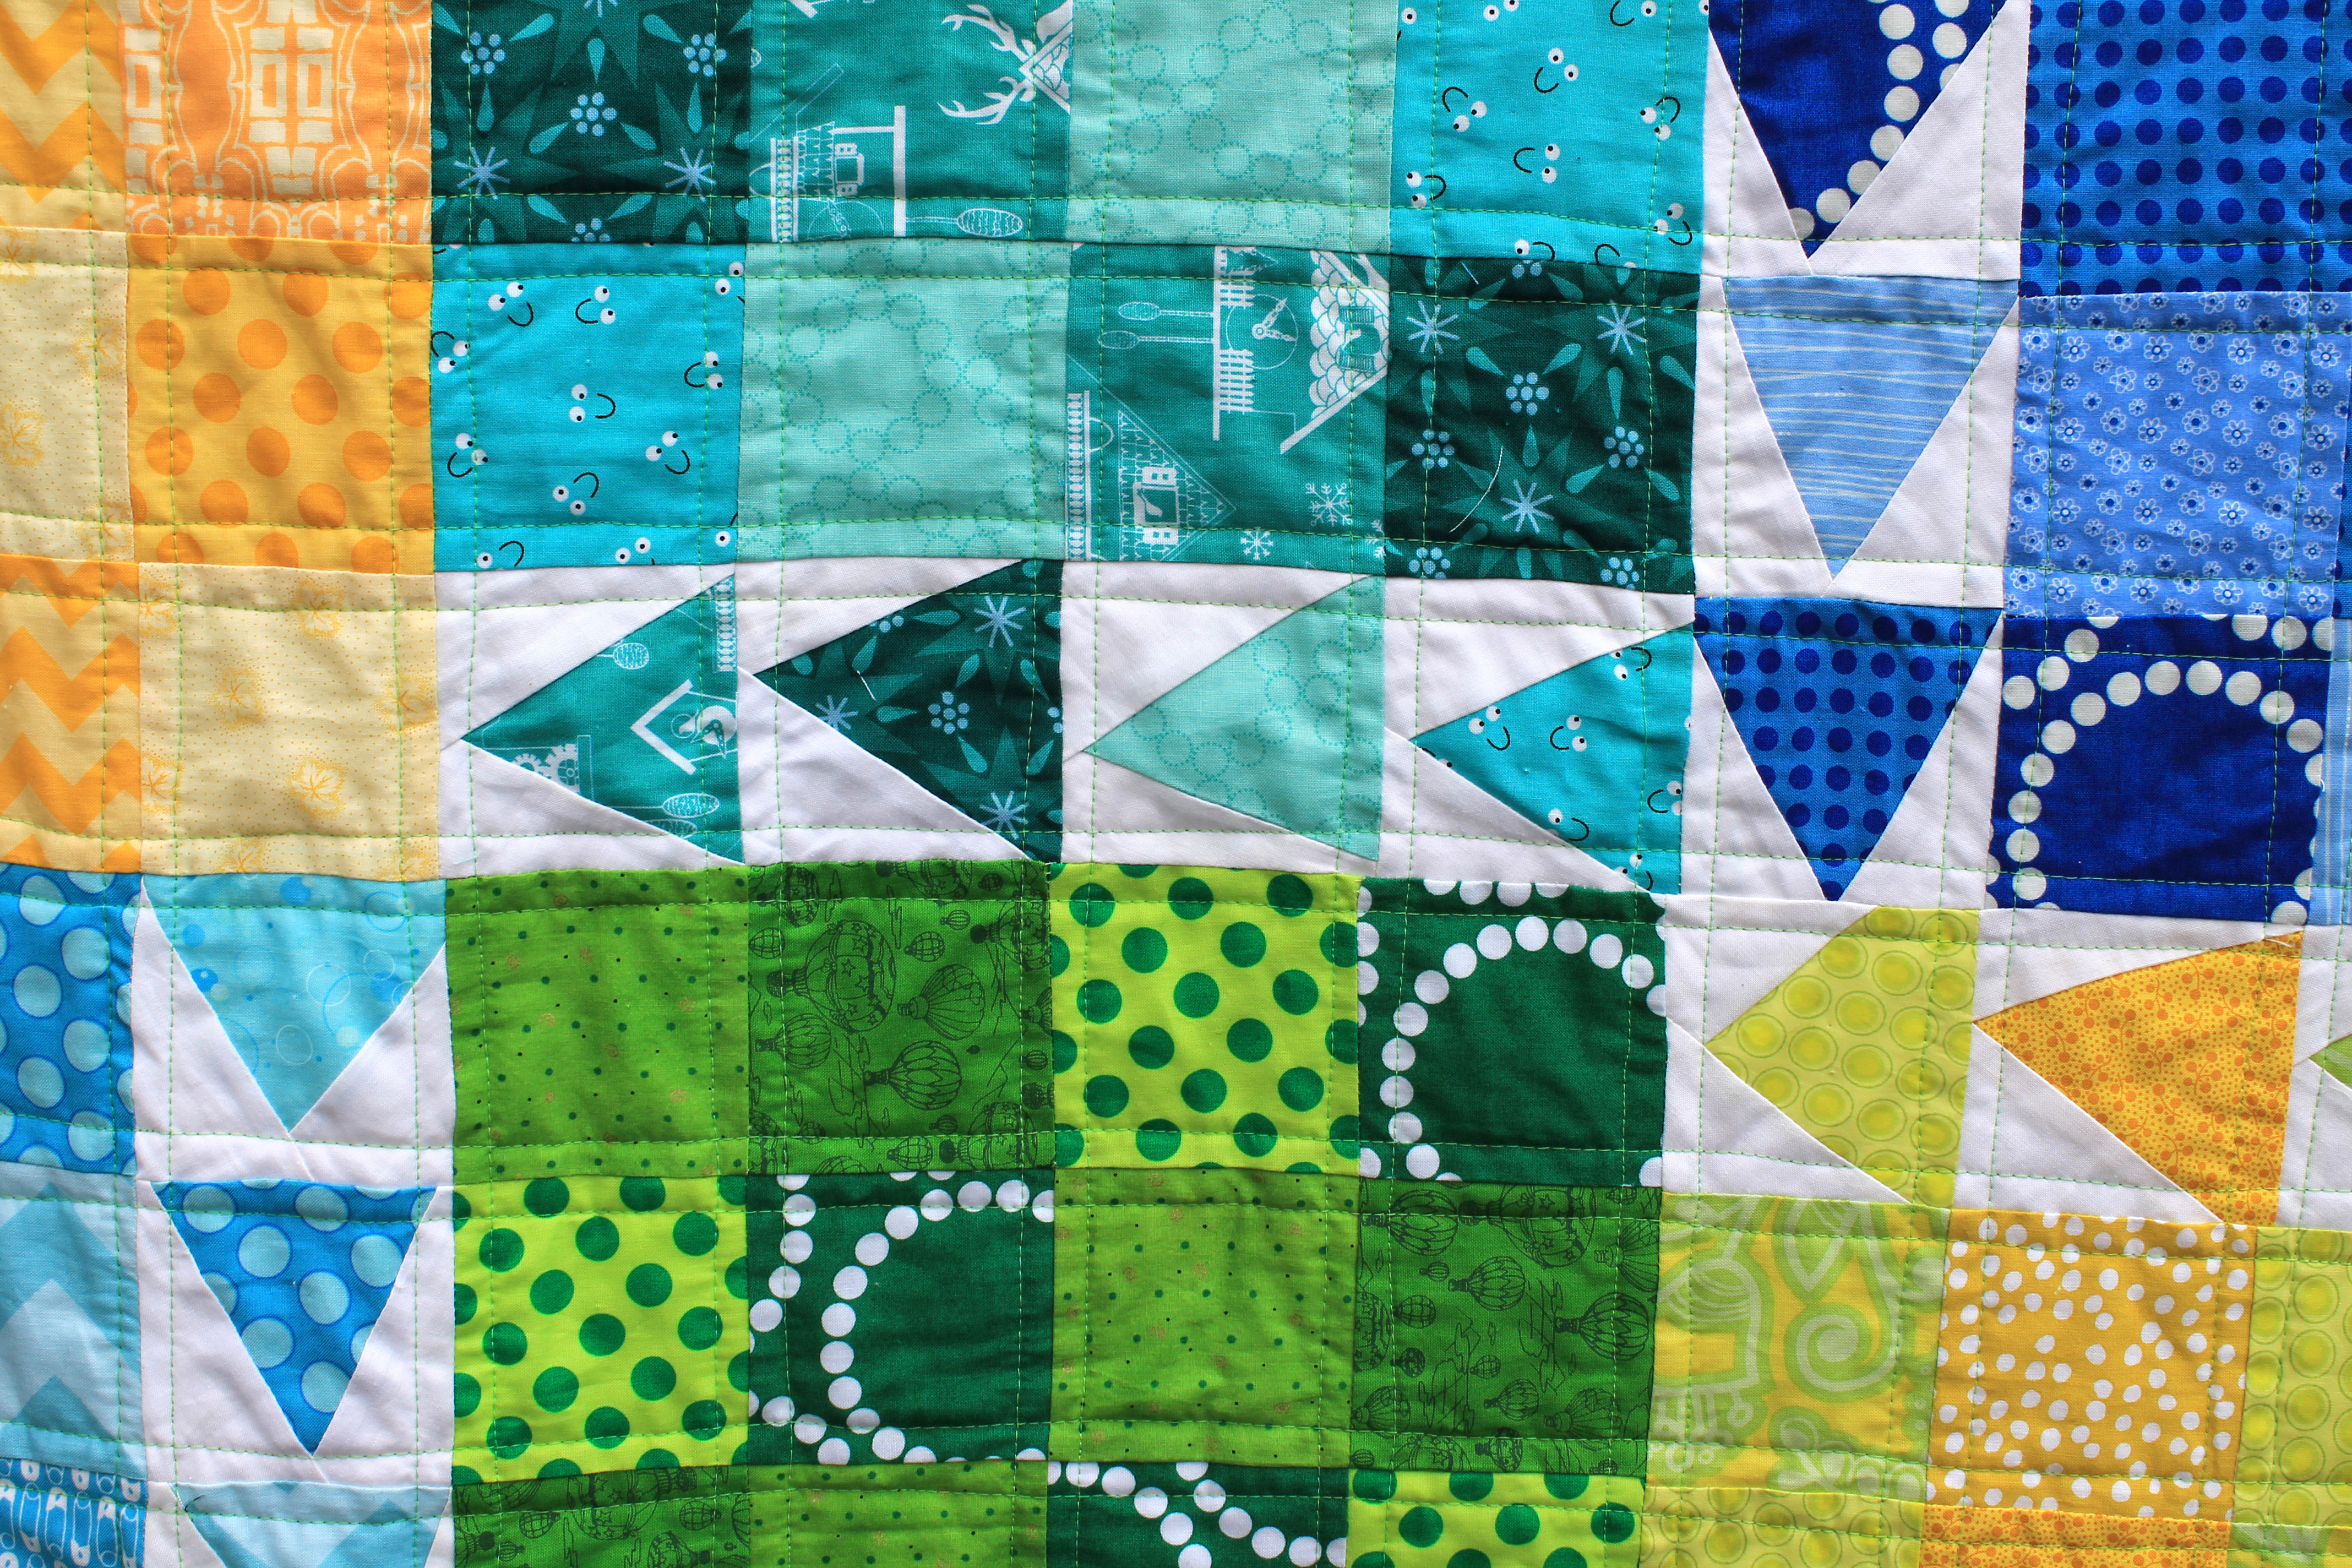
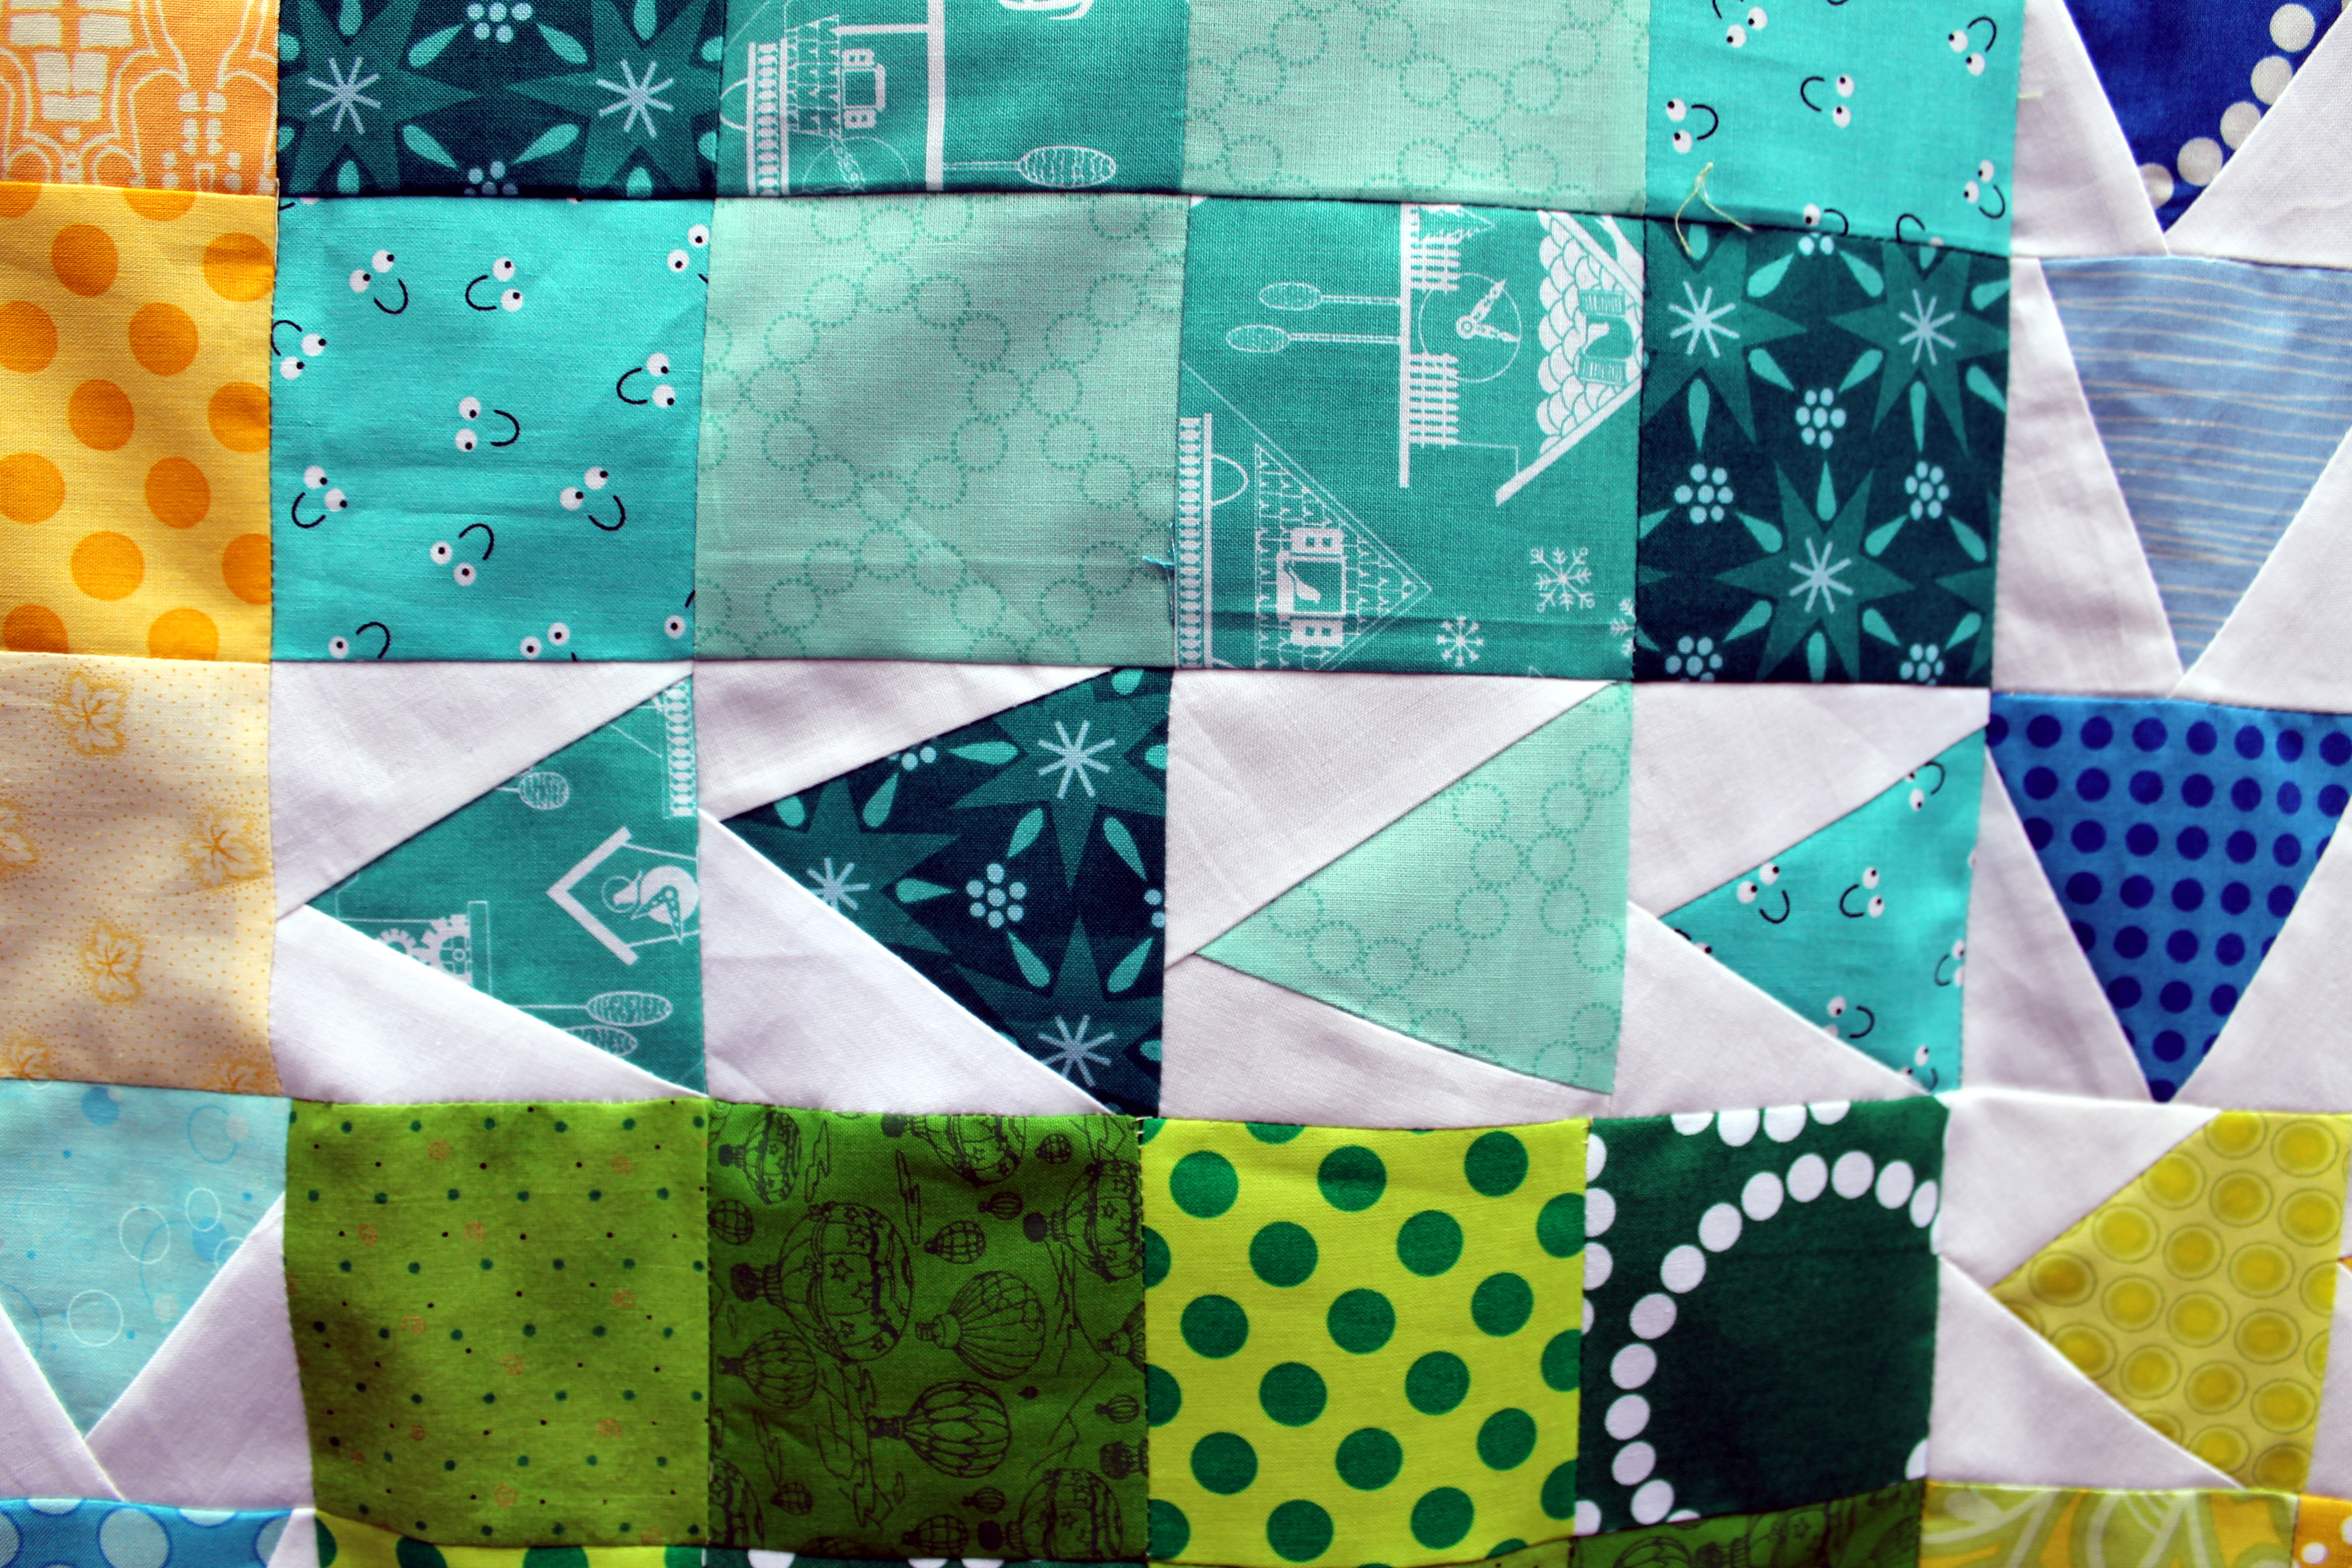
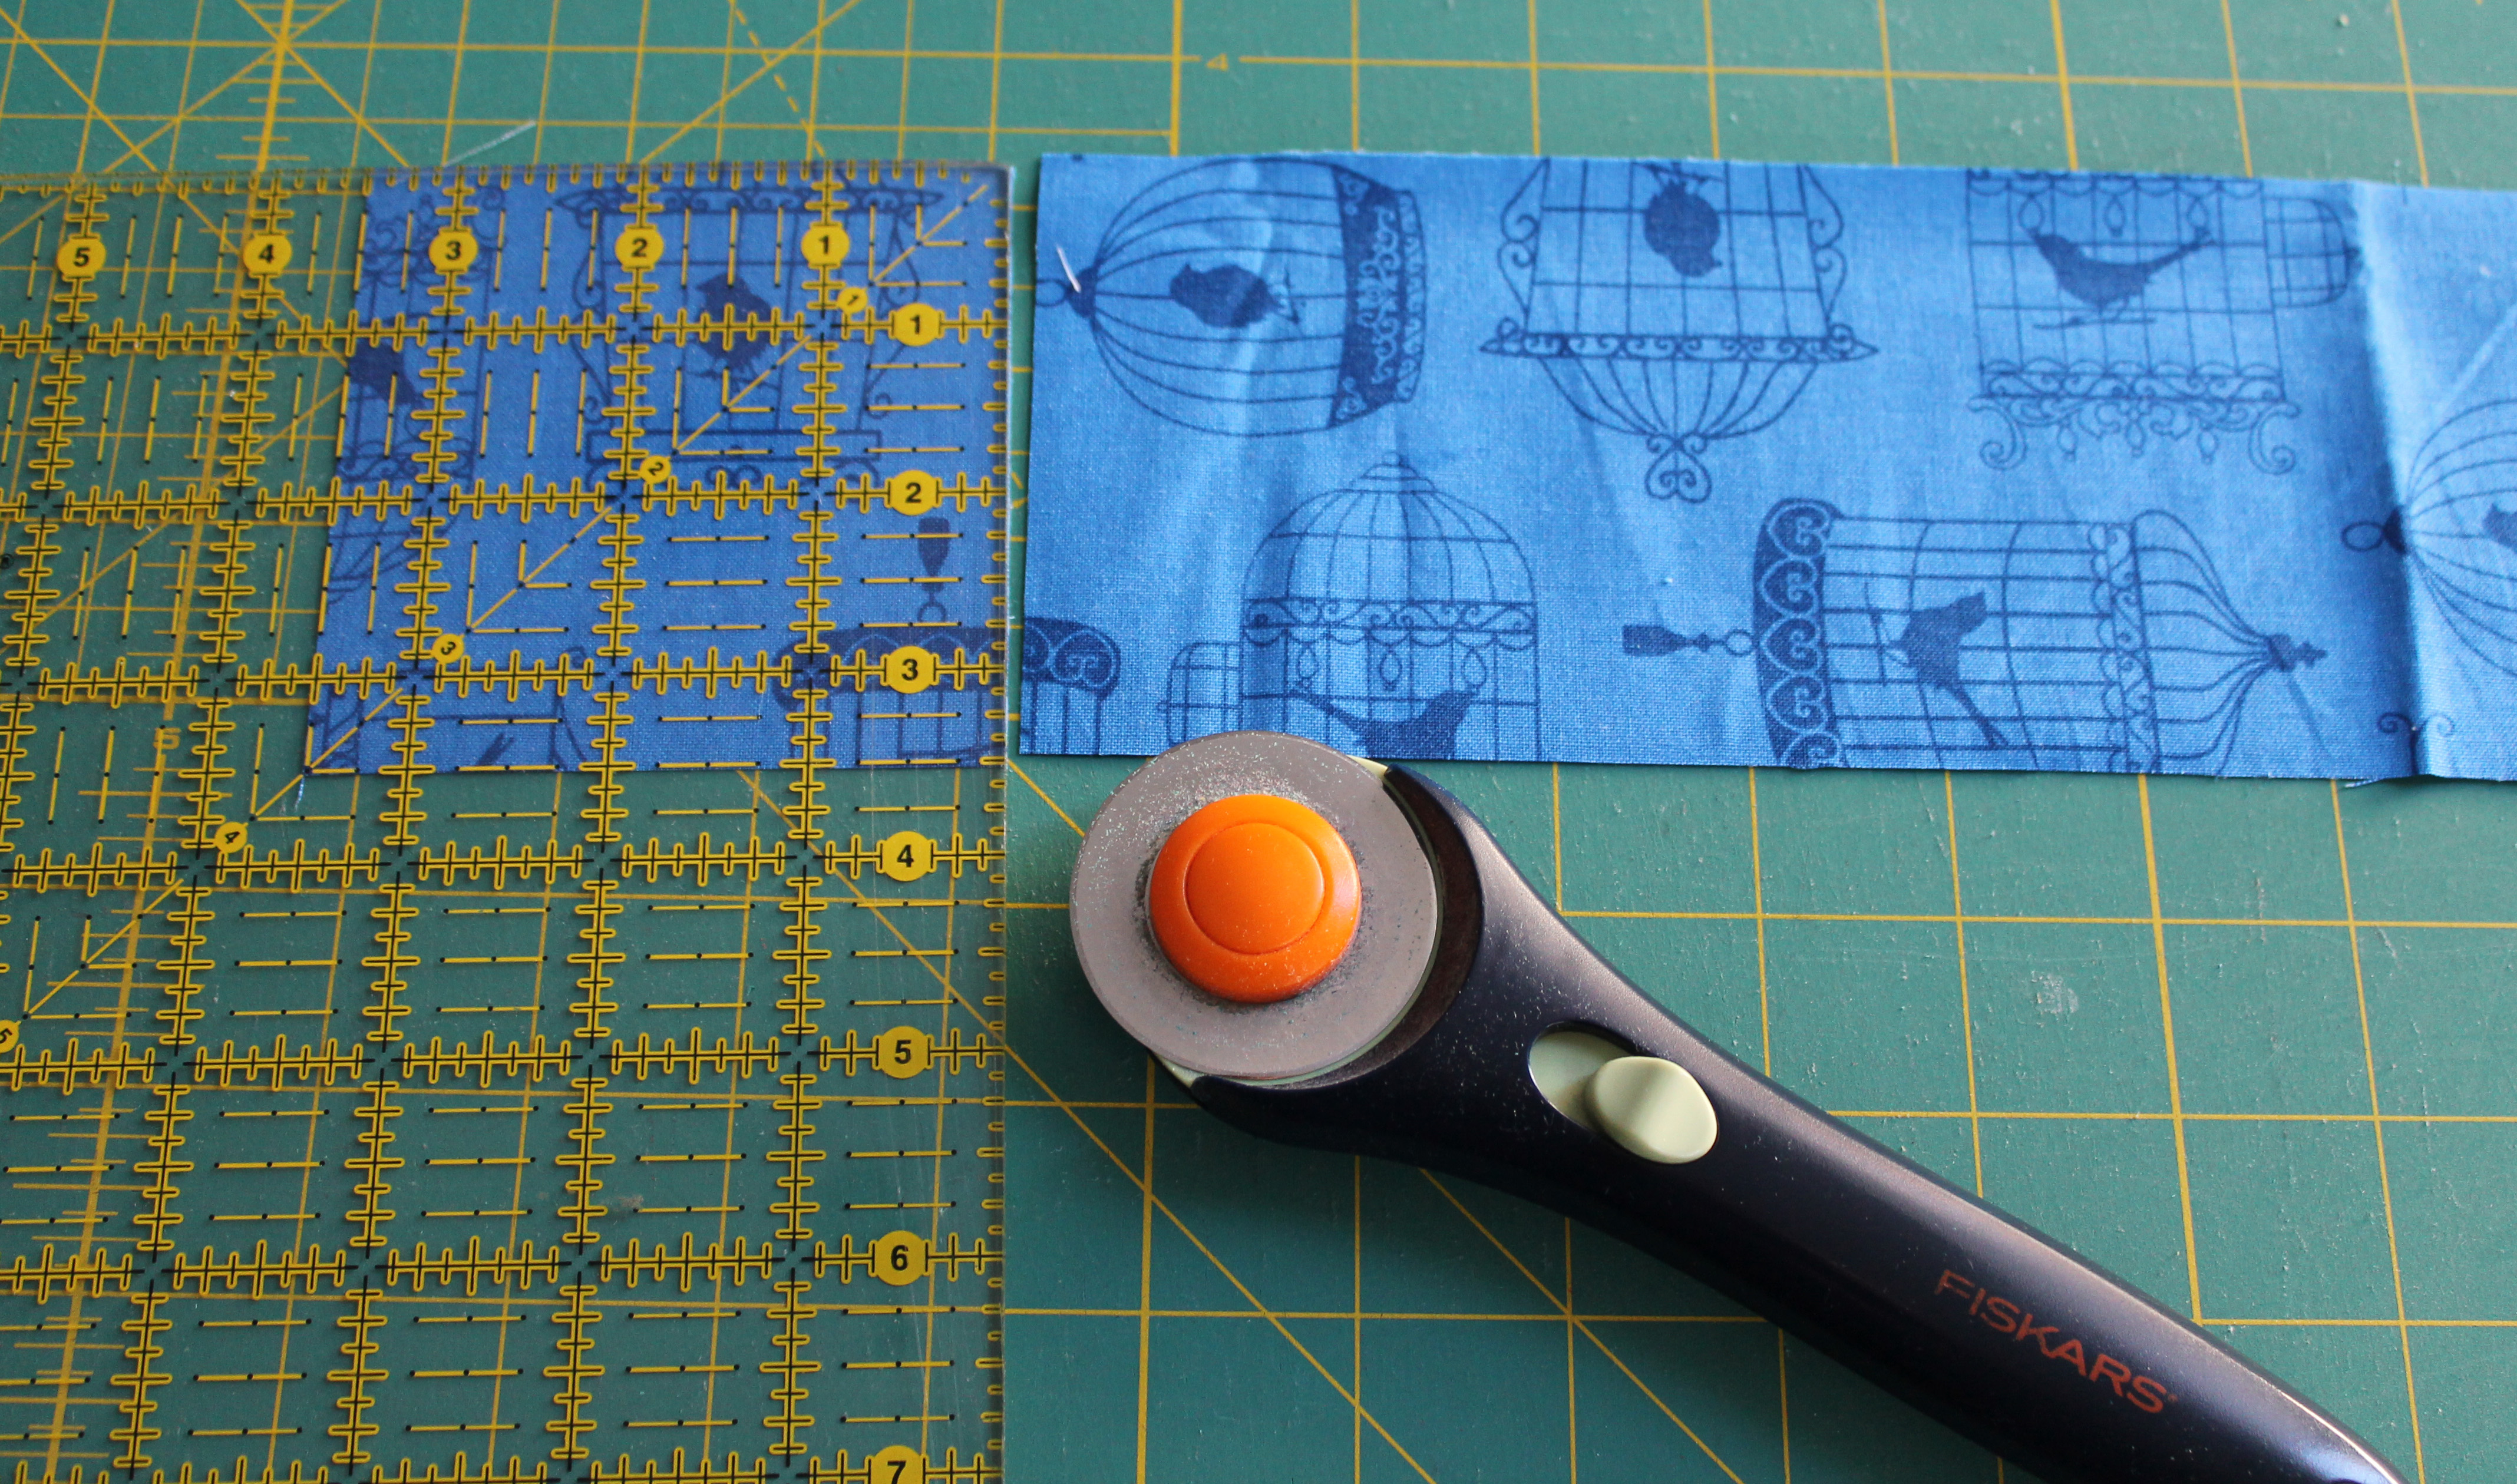
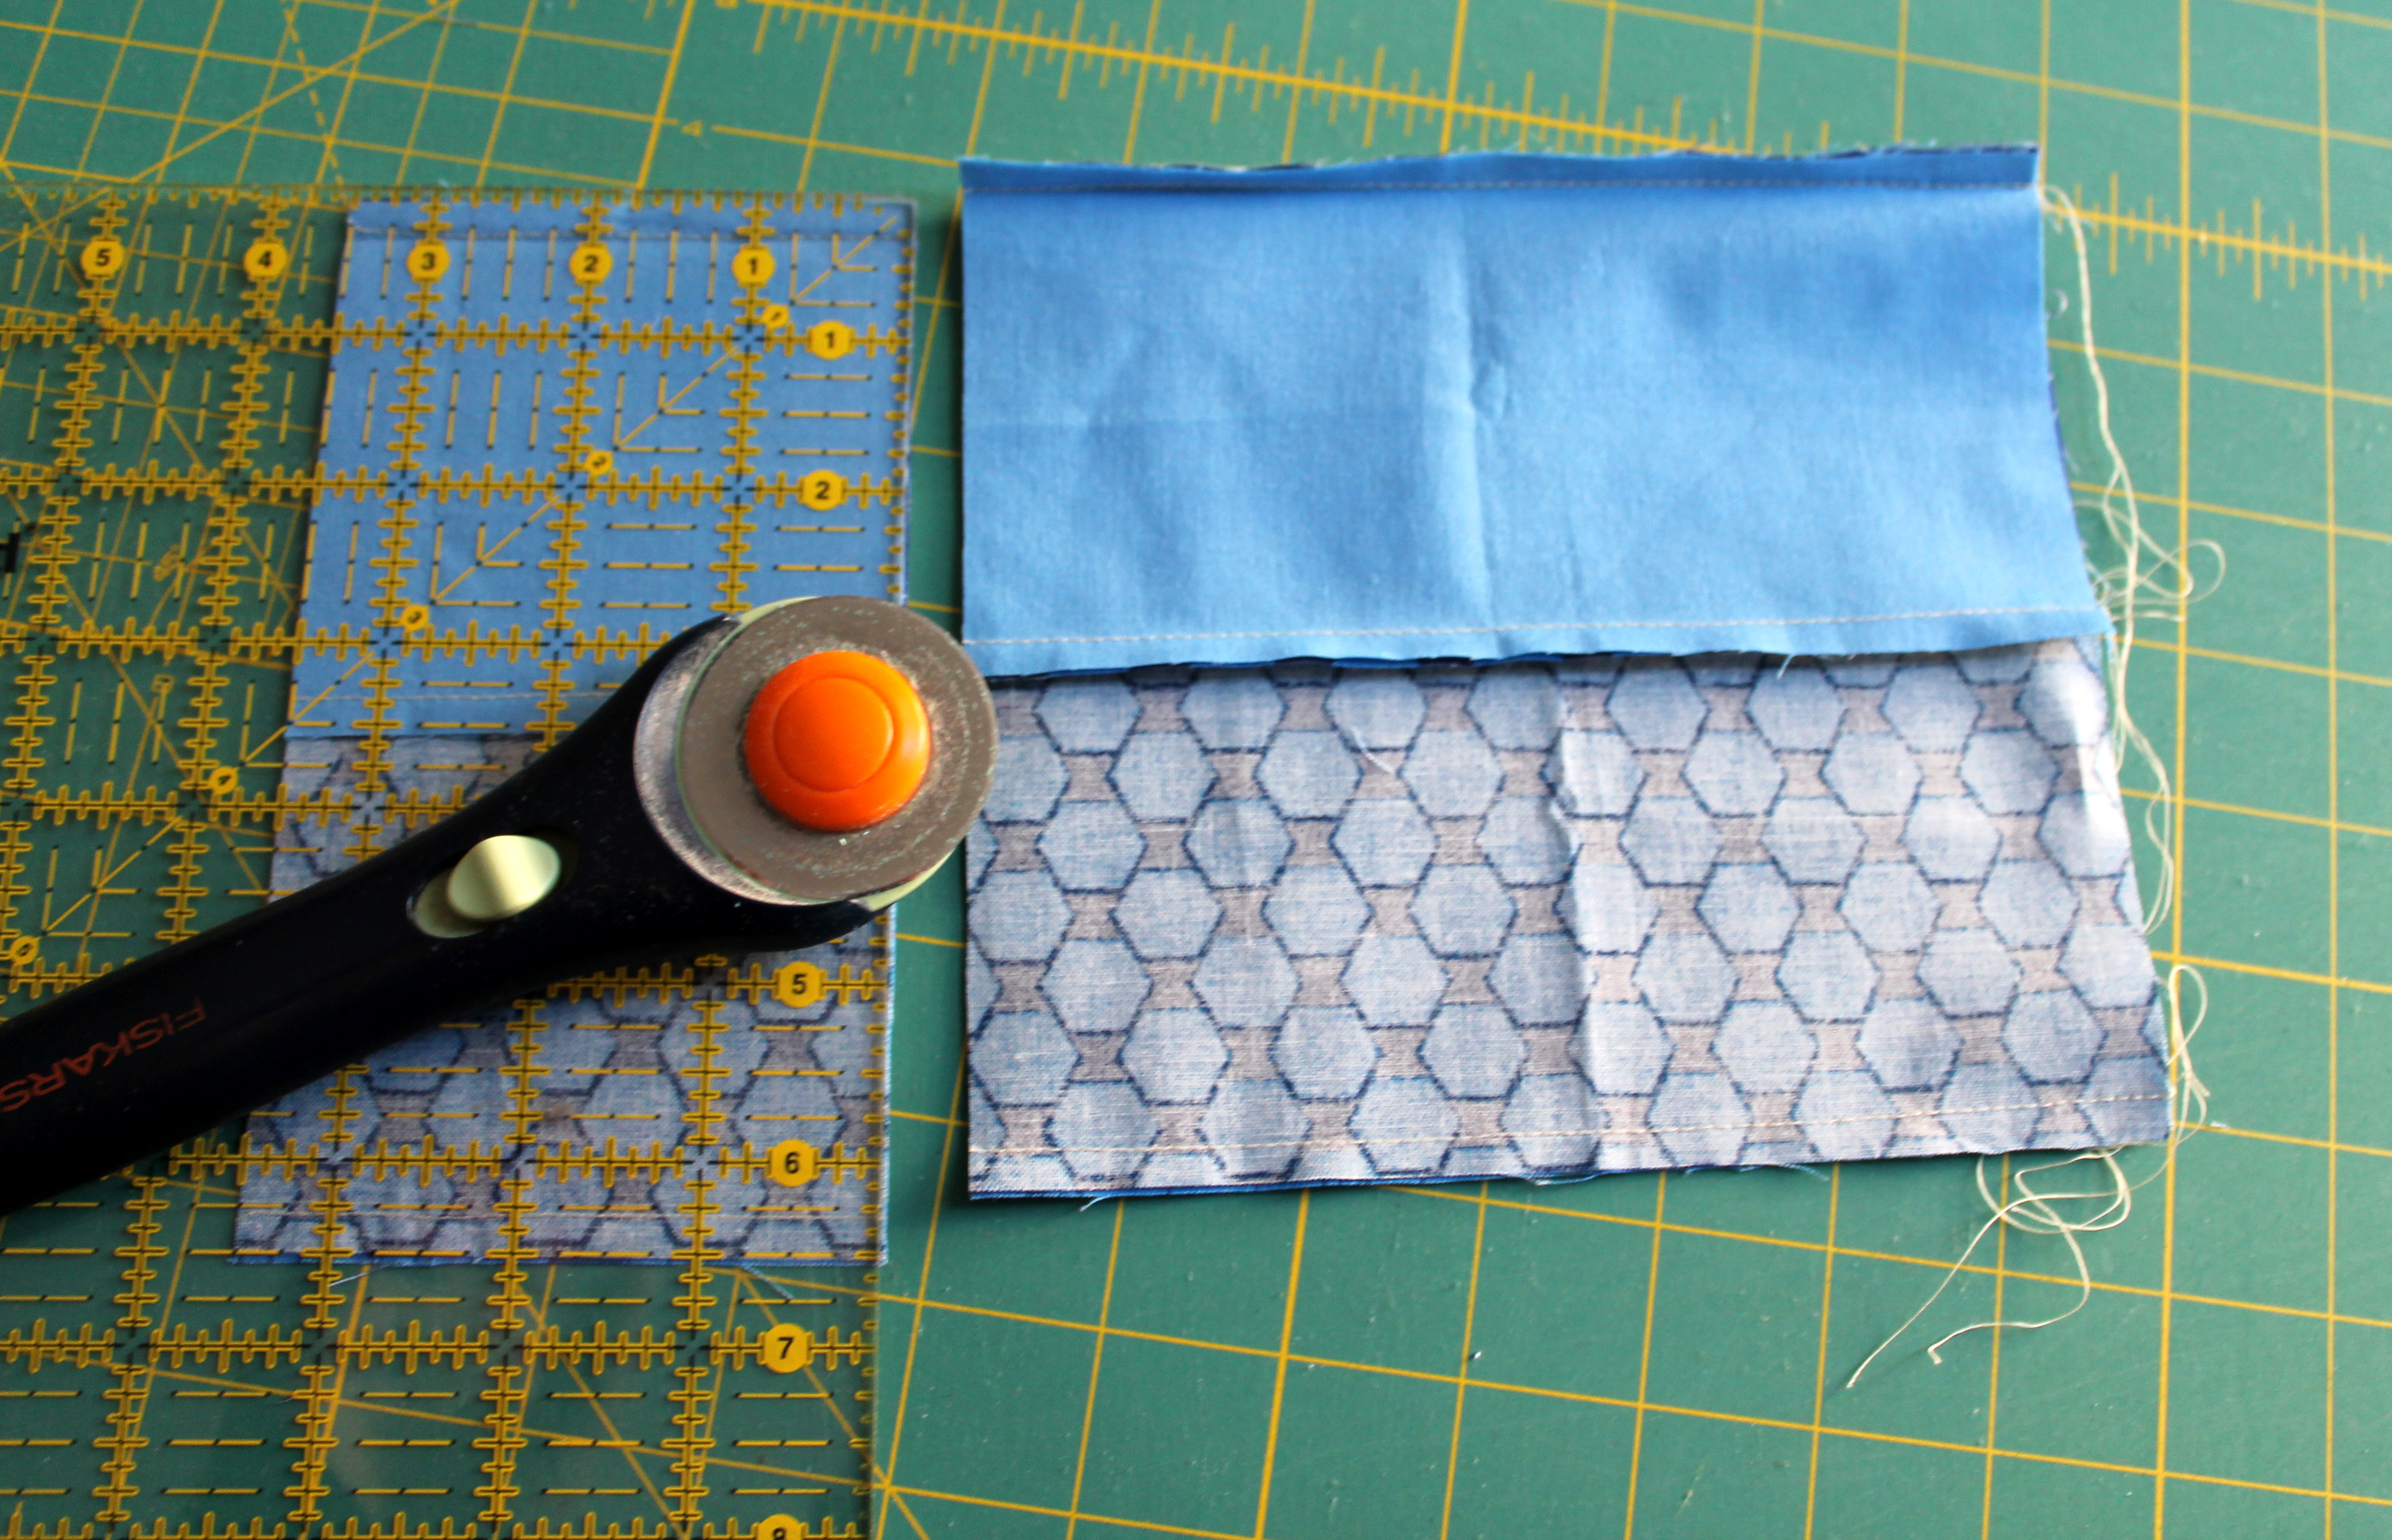
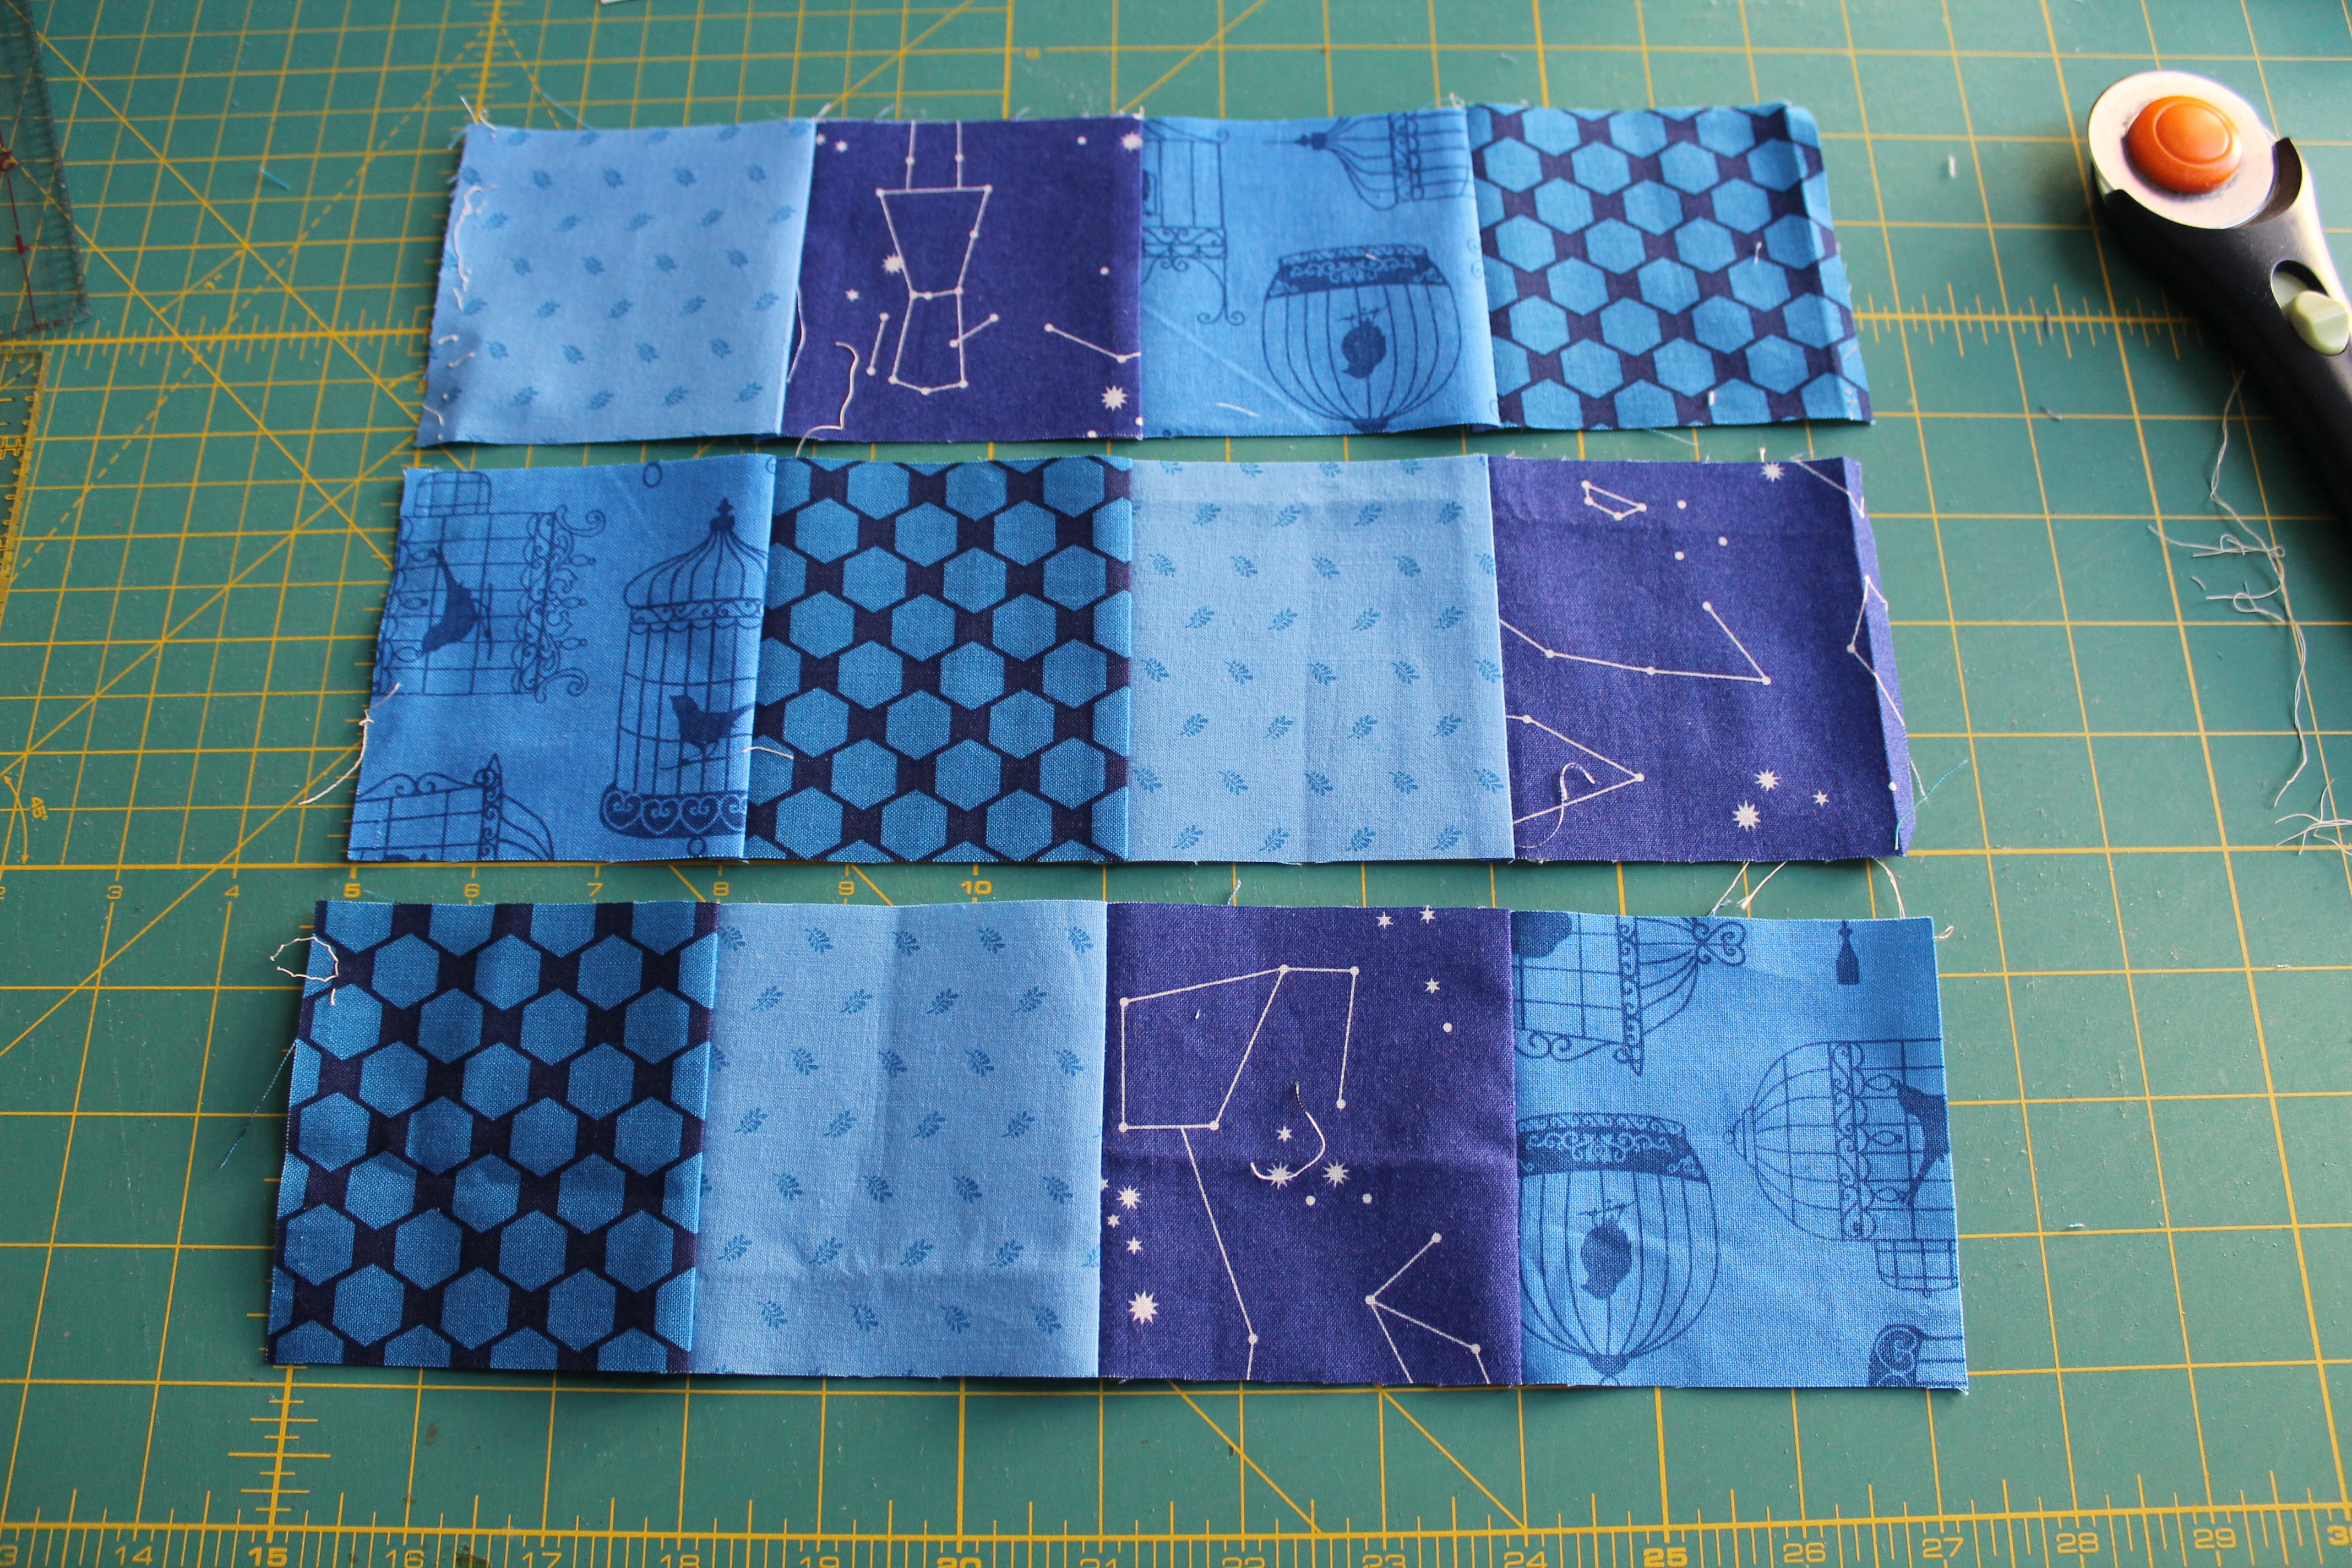
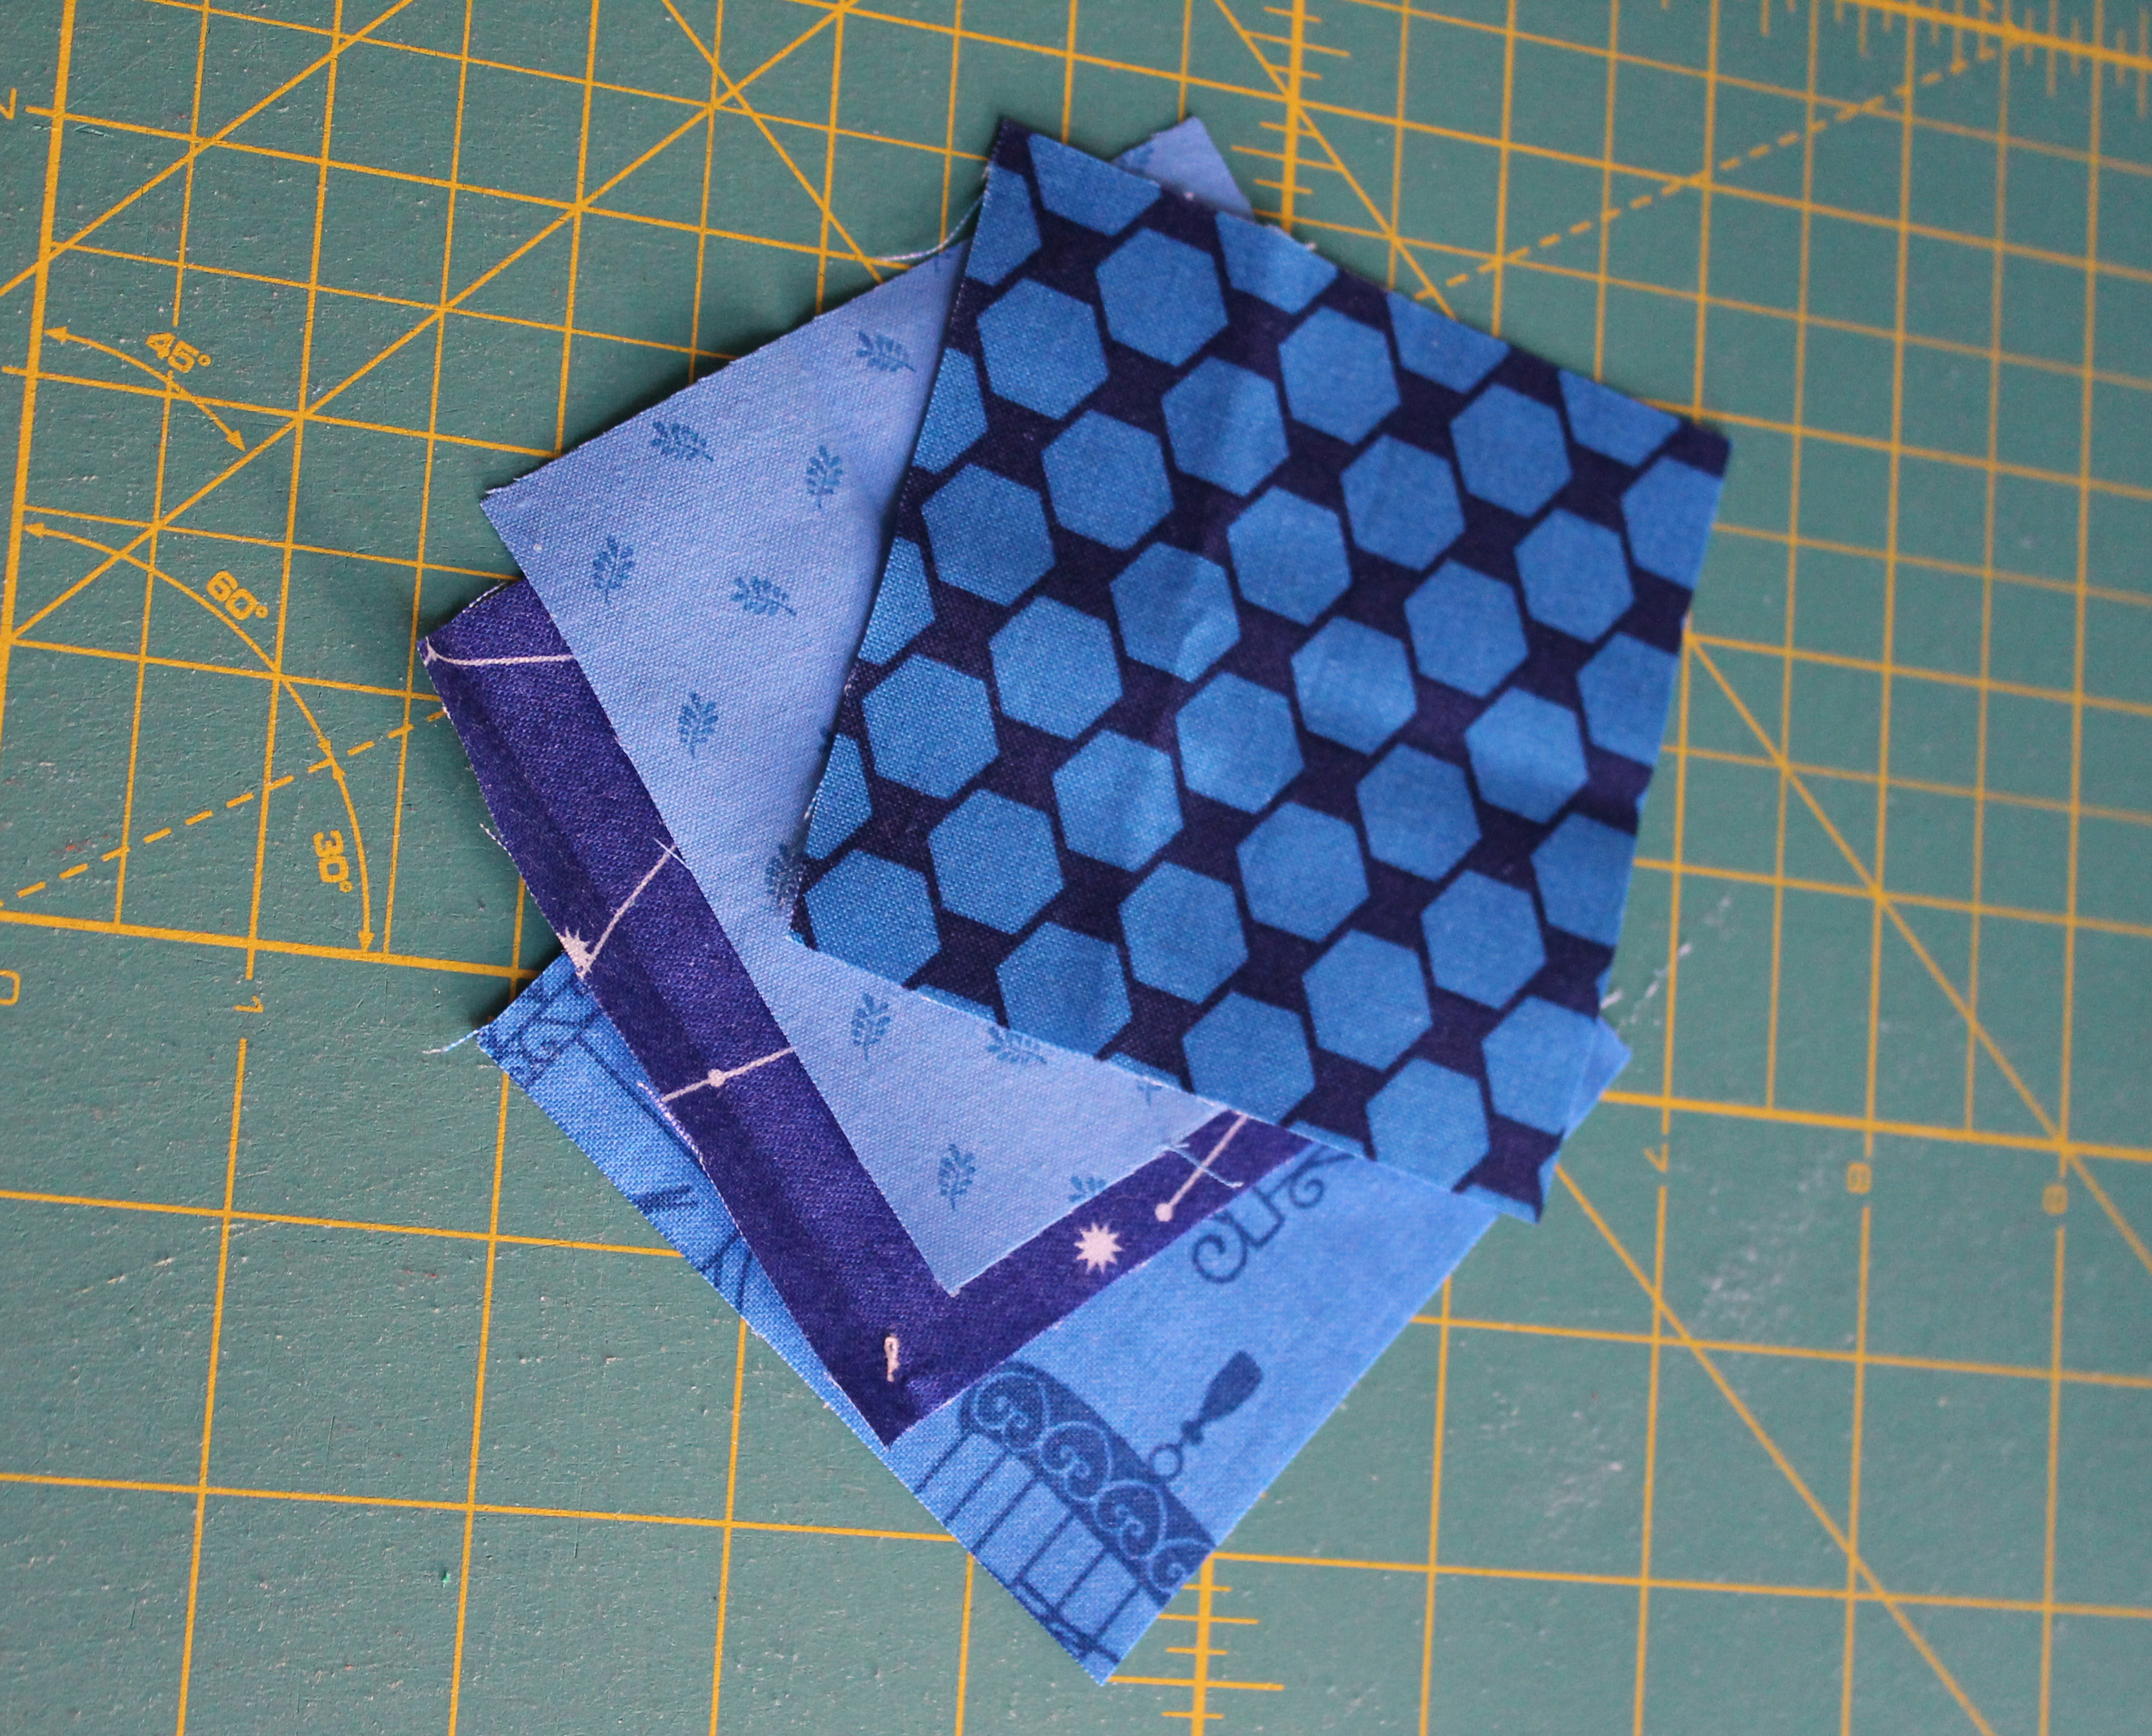
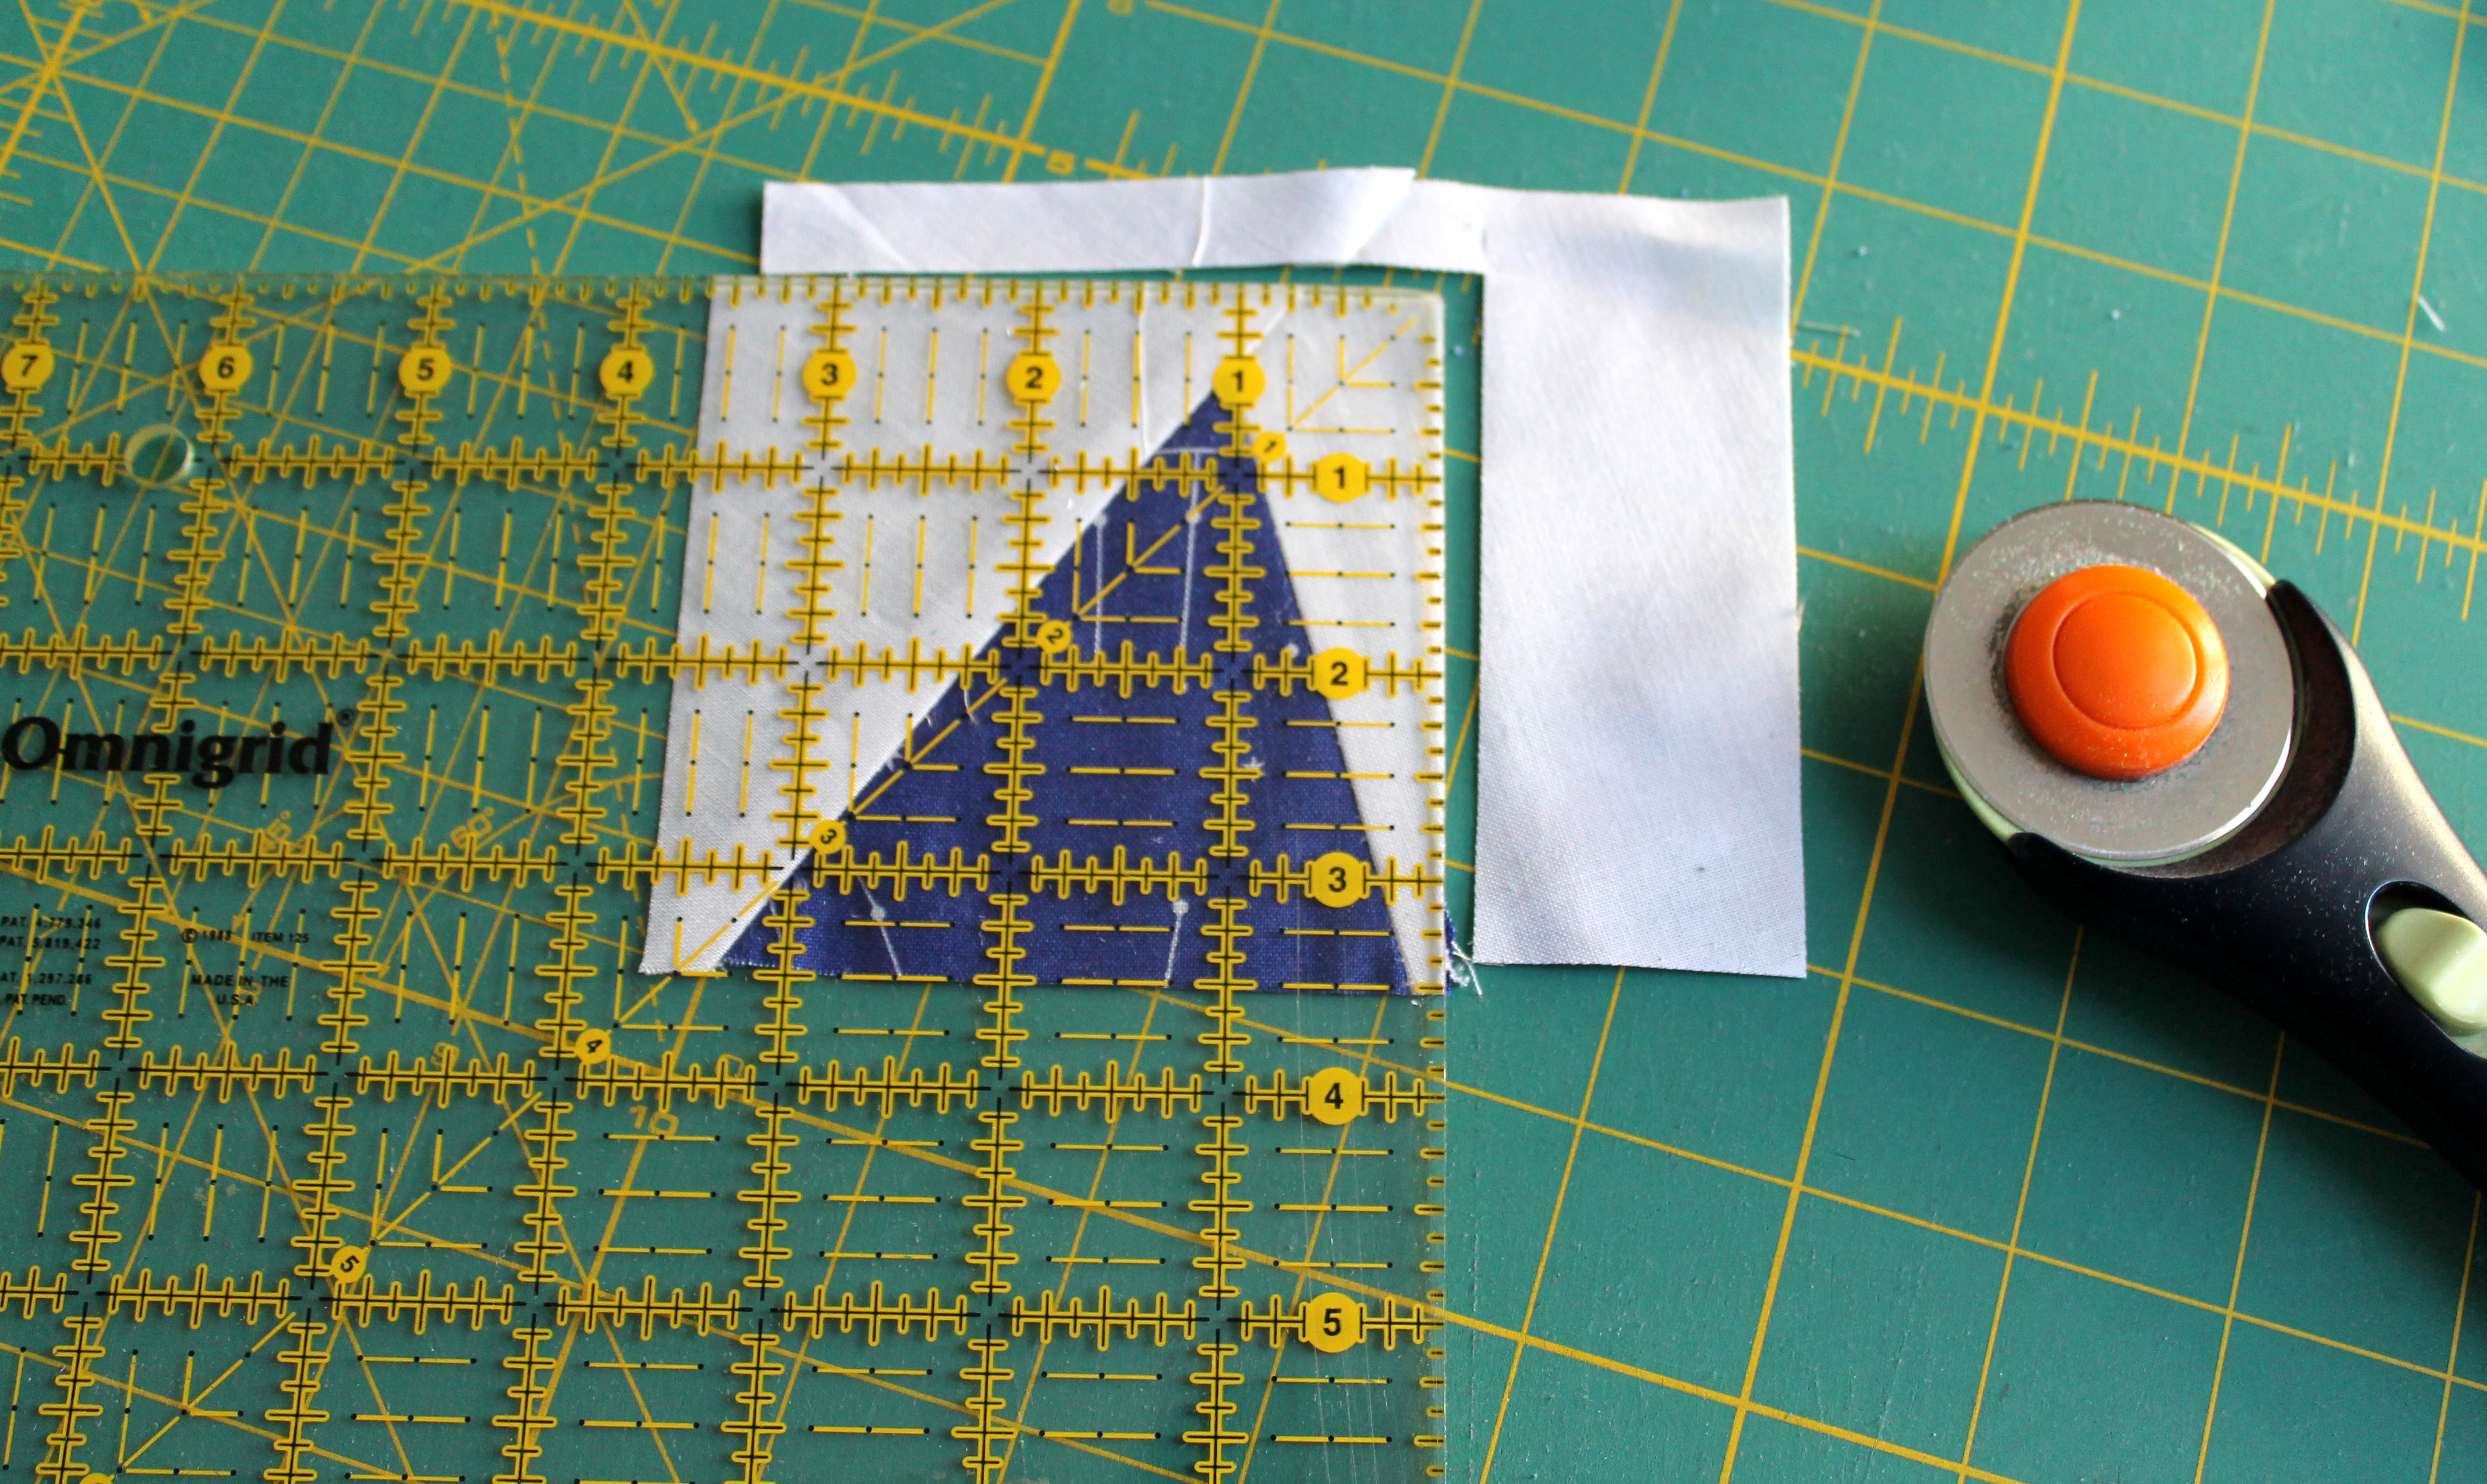
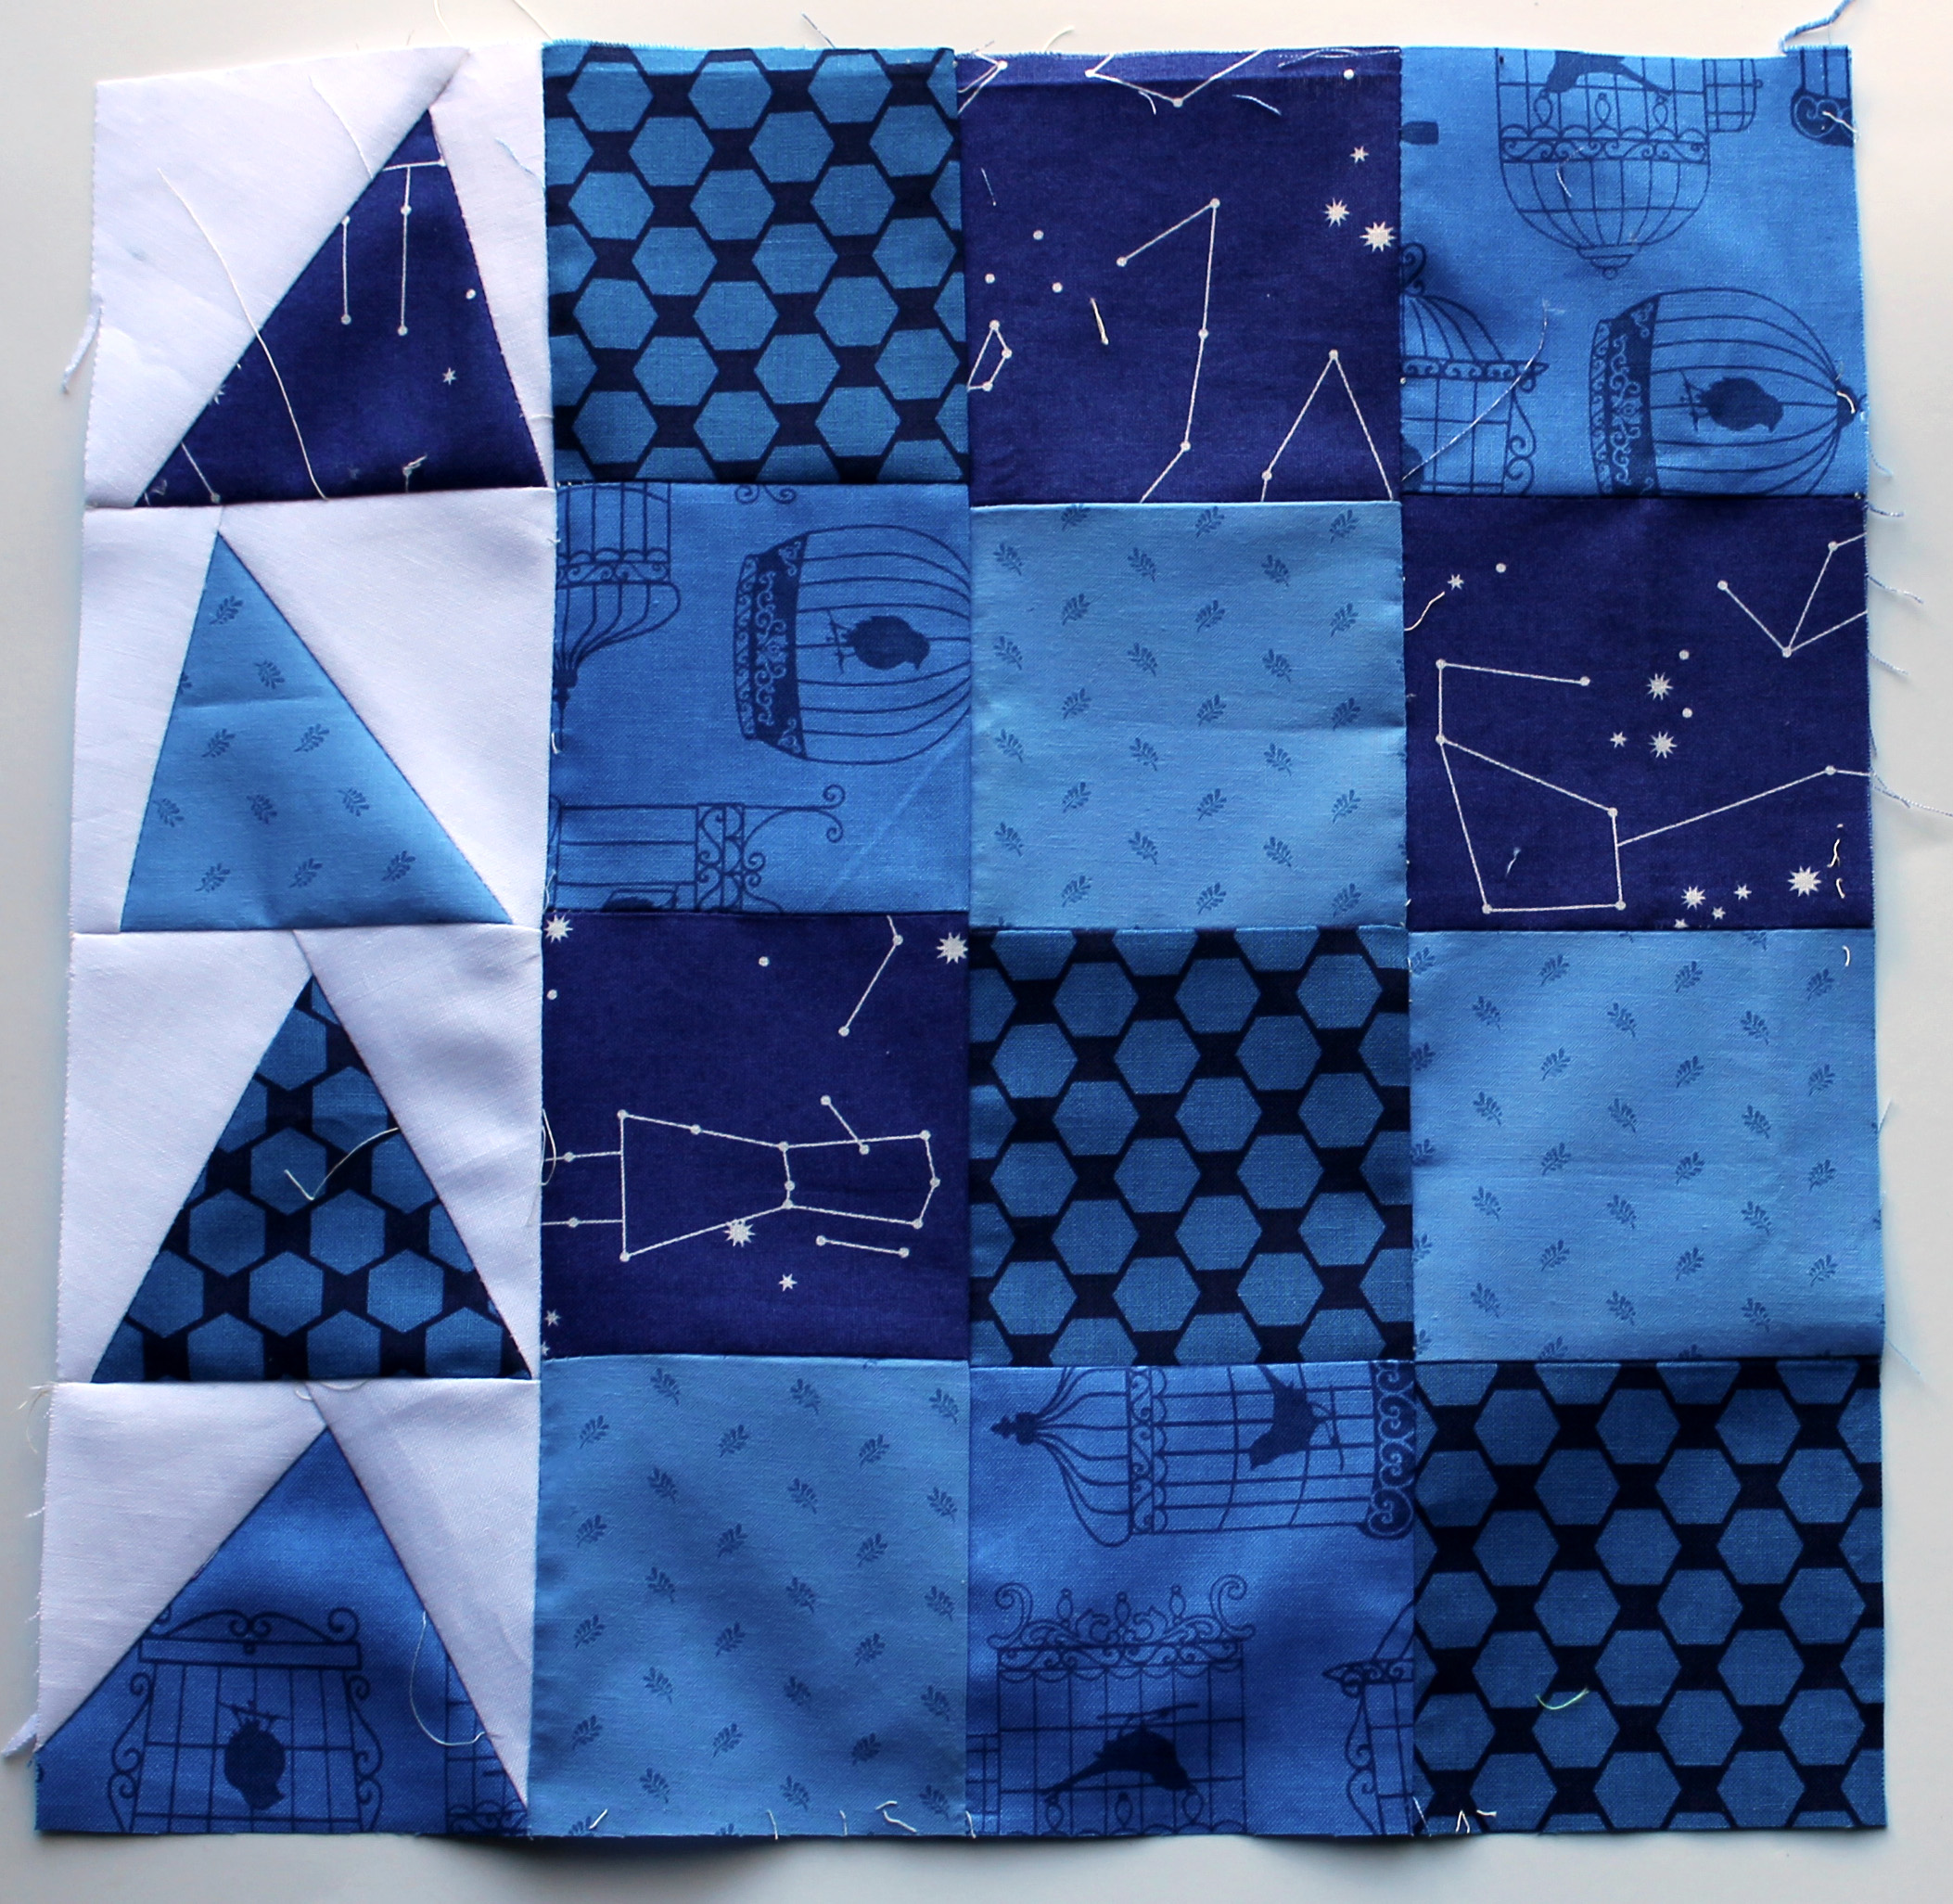
This is a fun block that I have made before but I love this all solids version.  The pattern was designed by my talented friend Michelle Friedman several years ago and you can find my step by step of it here…  We did vary the pattern a little, using pre-cut 3 1/2 inch squares instead of strips, but the result is pretty much the same.

quilt detail

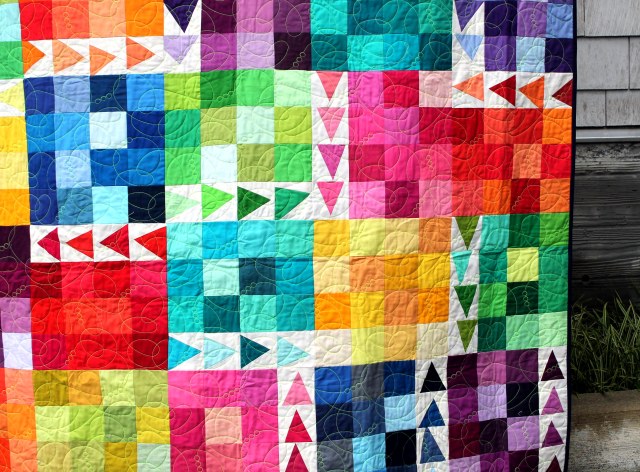
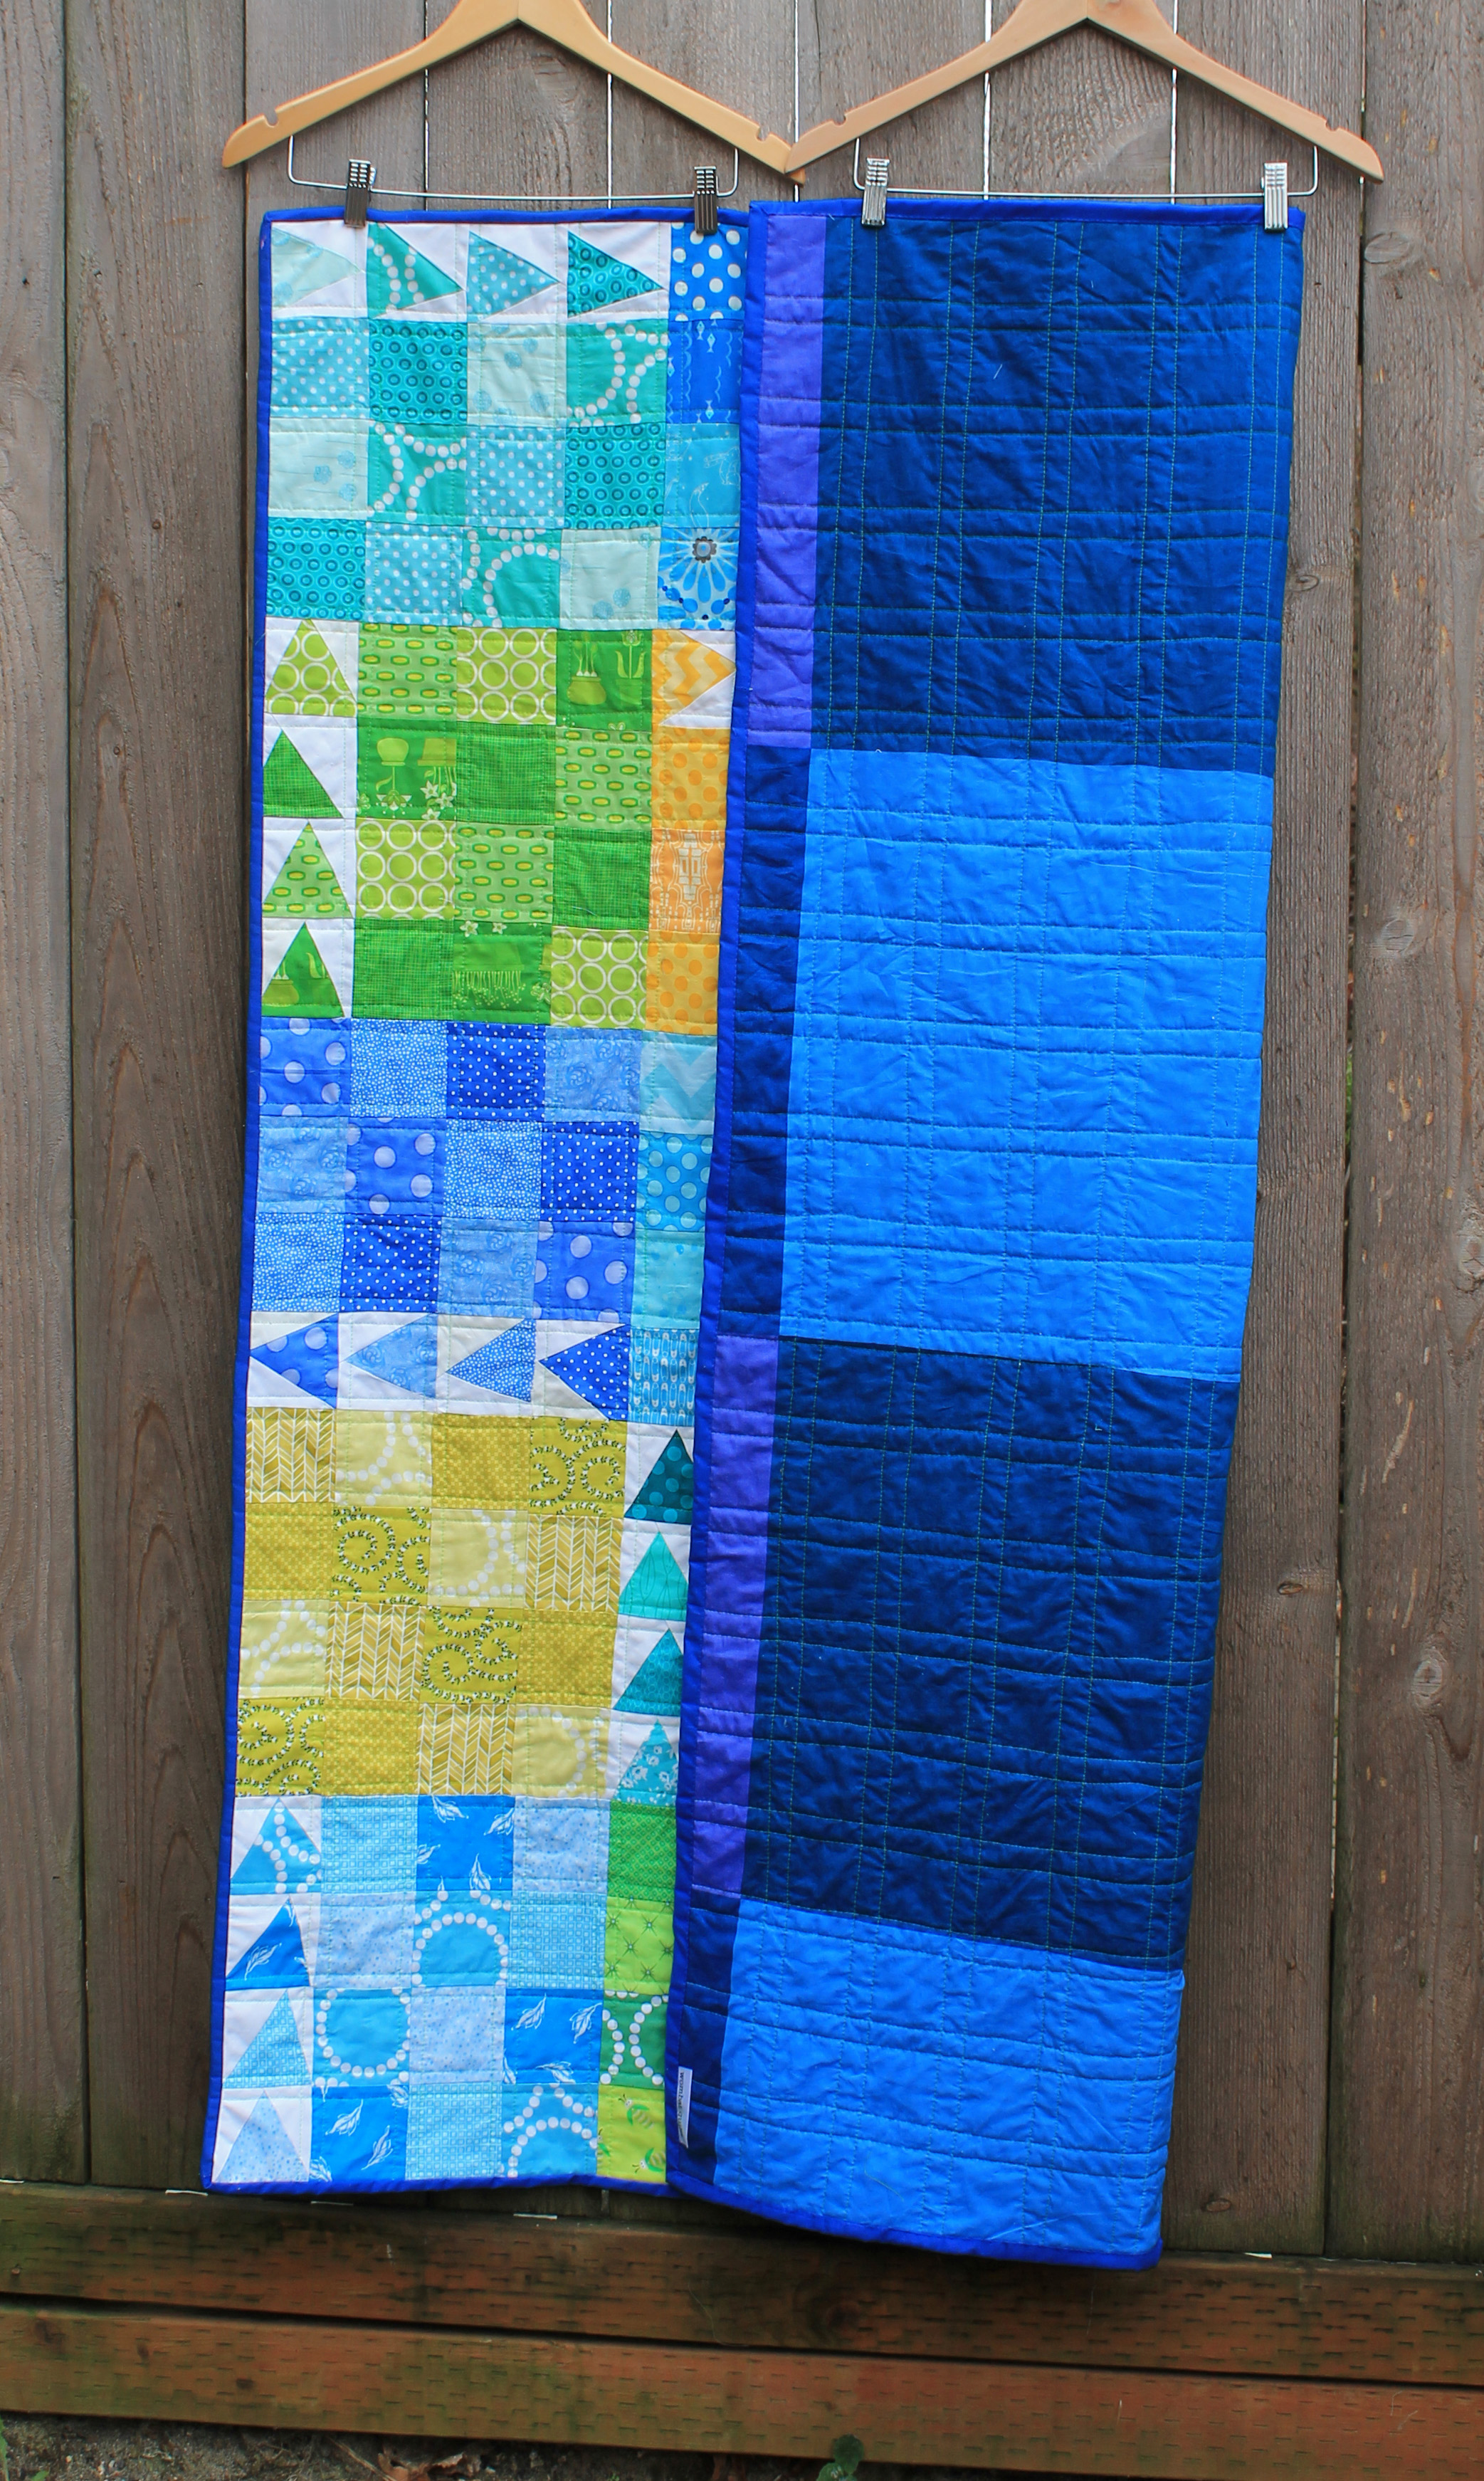
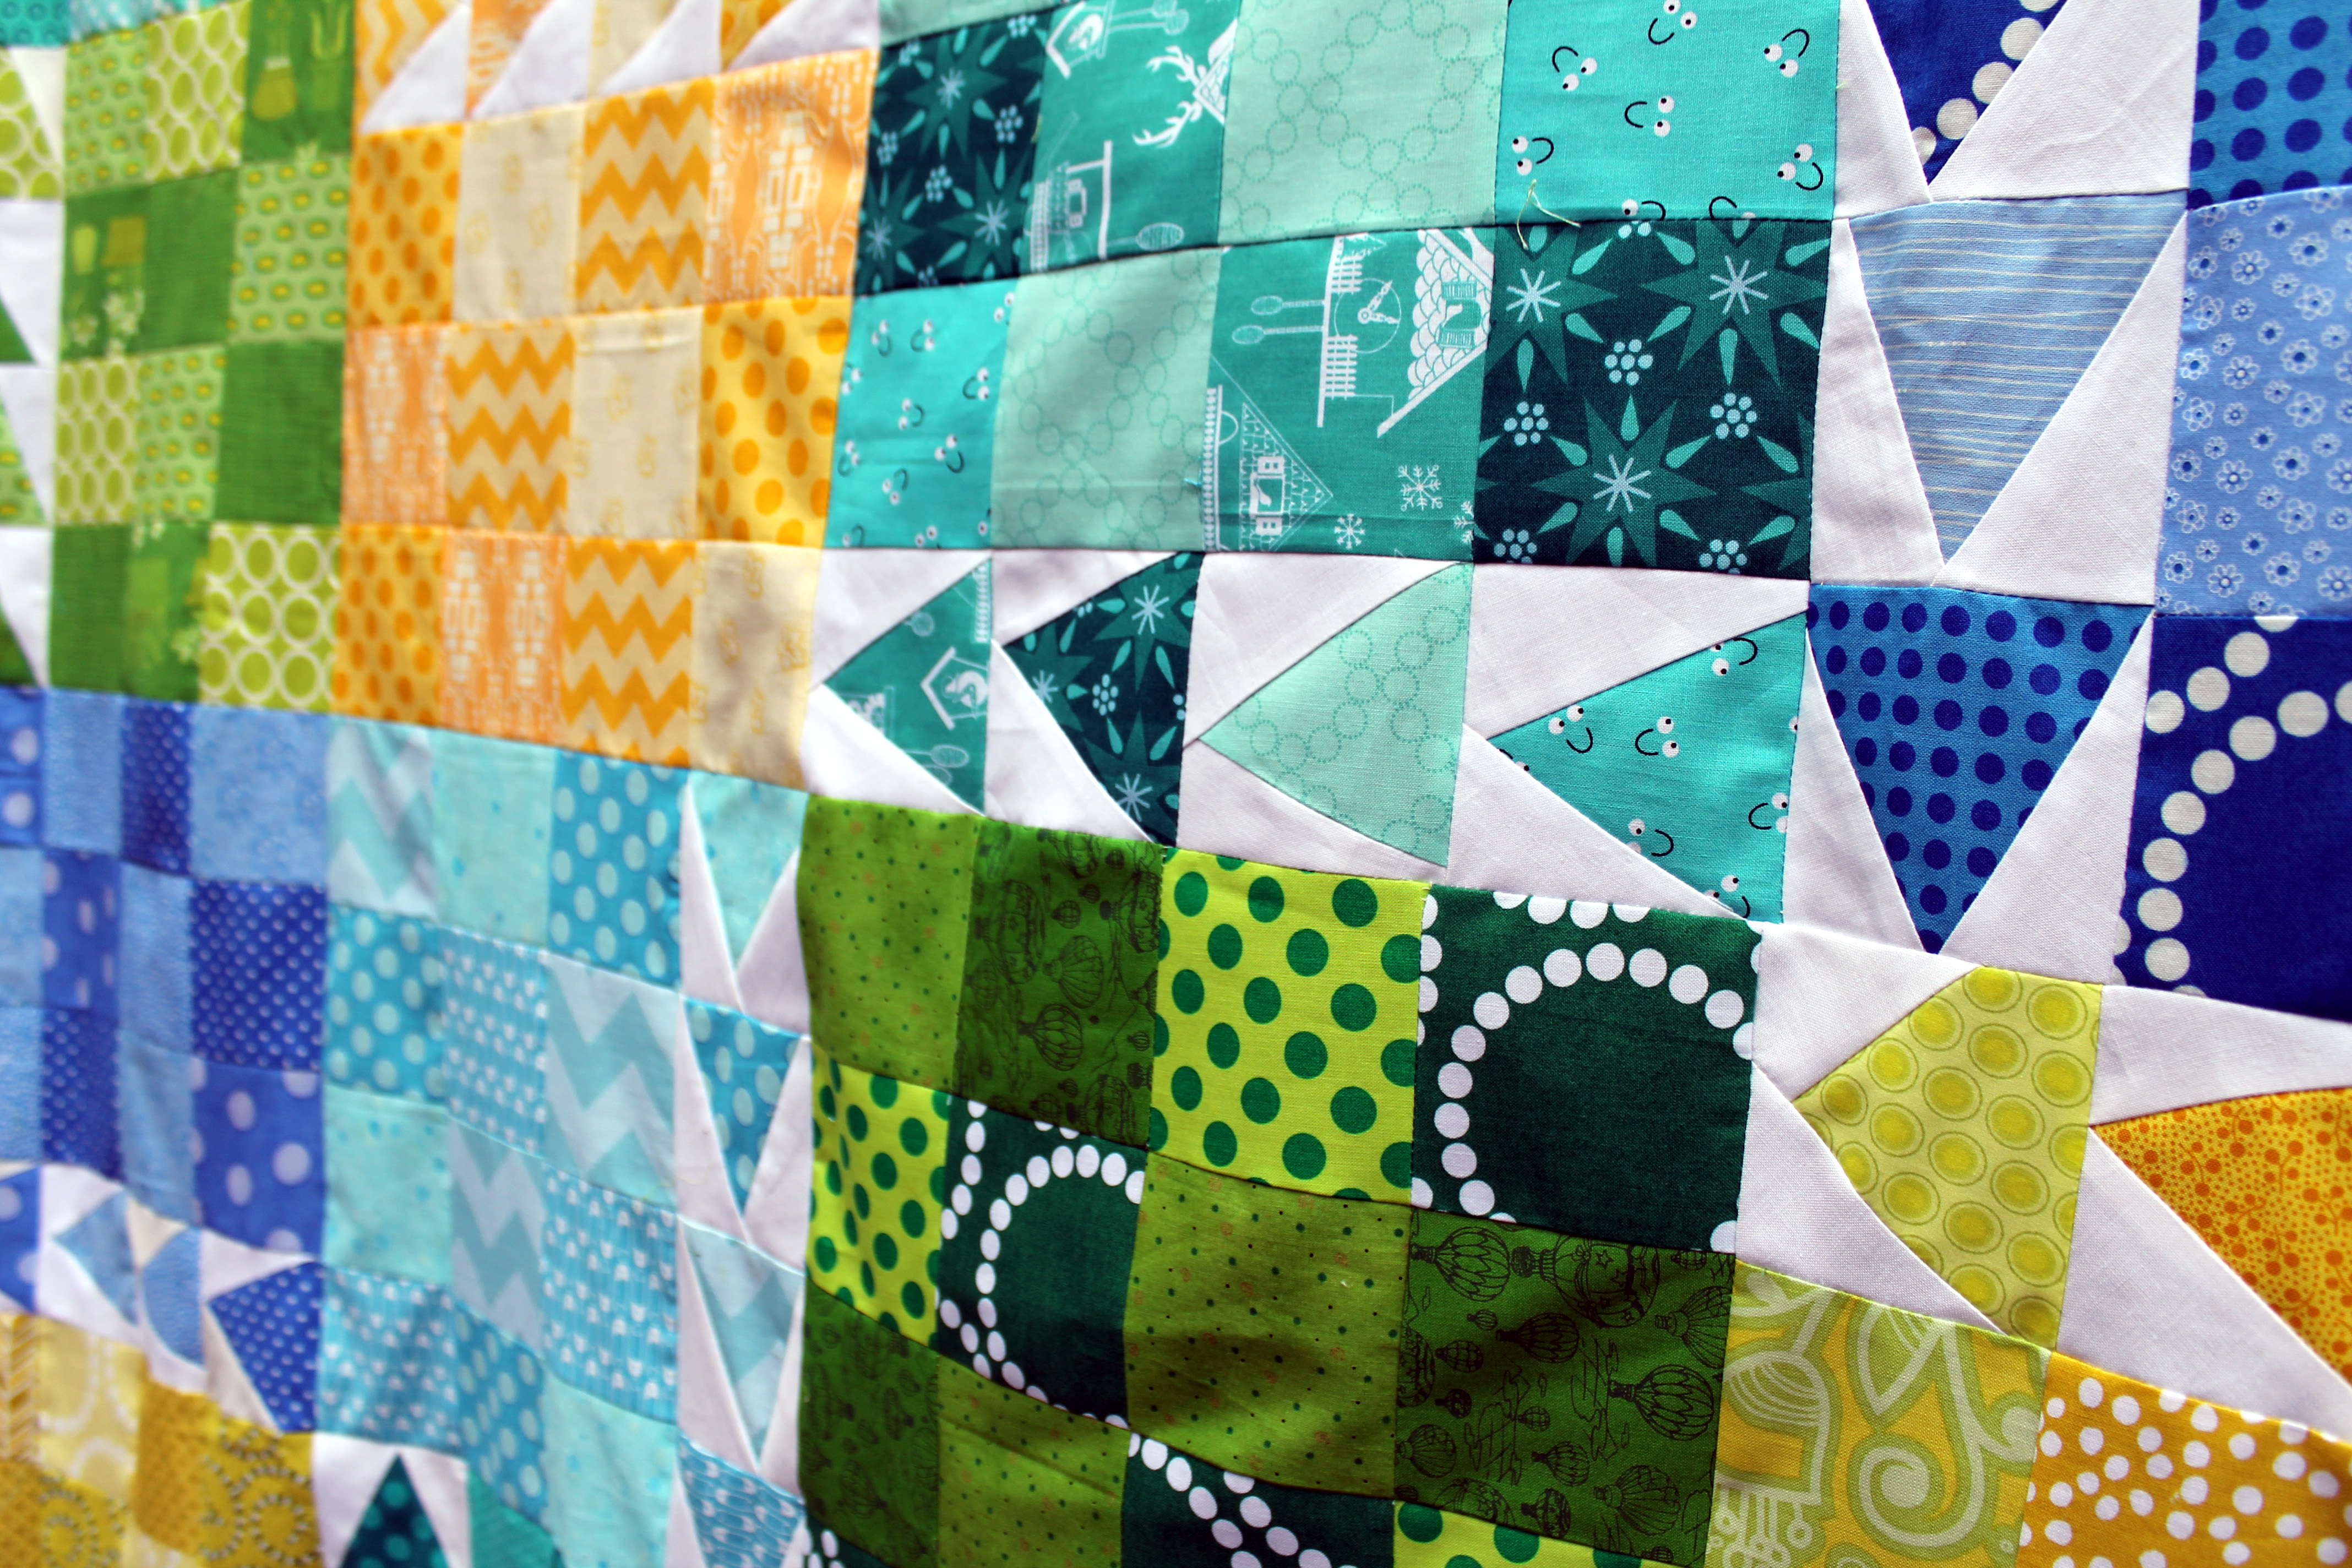
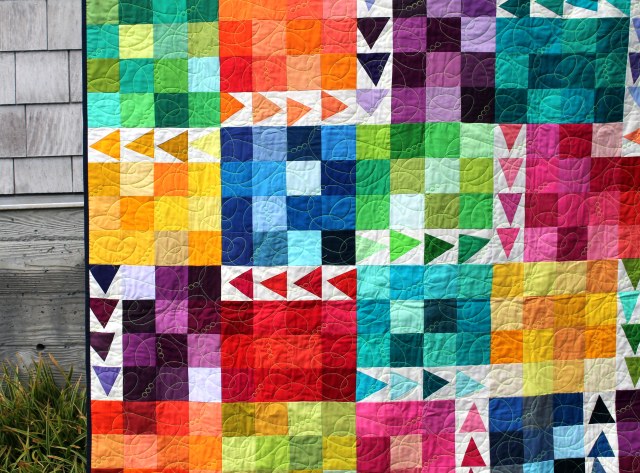
I absolutely love the quilting on this quilt, done by one of our talented long armers, Nancy Stovall. She used fluorescent green thread which was a daring choice but works wonderfully with the quilt.

quiltng detail

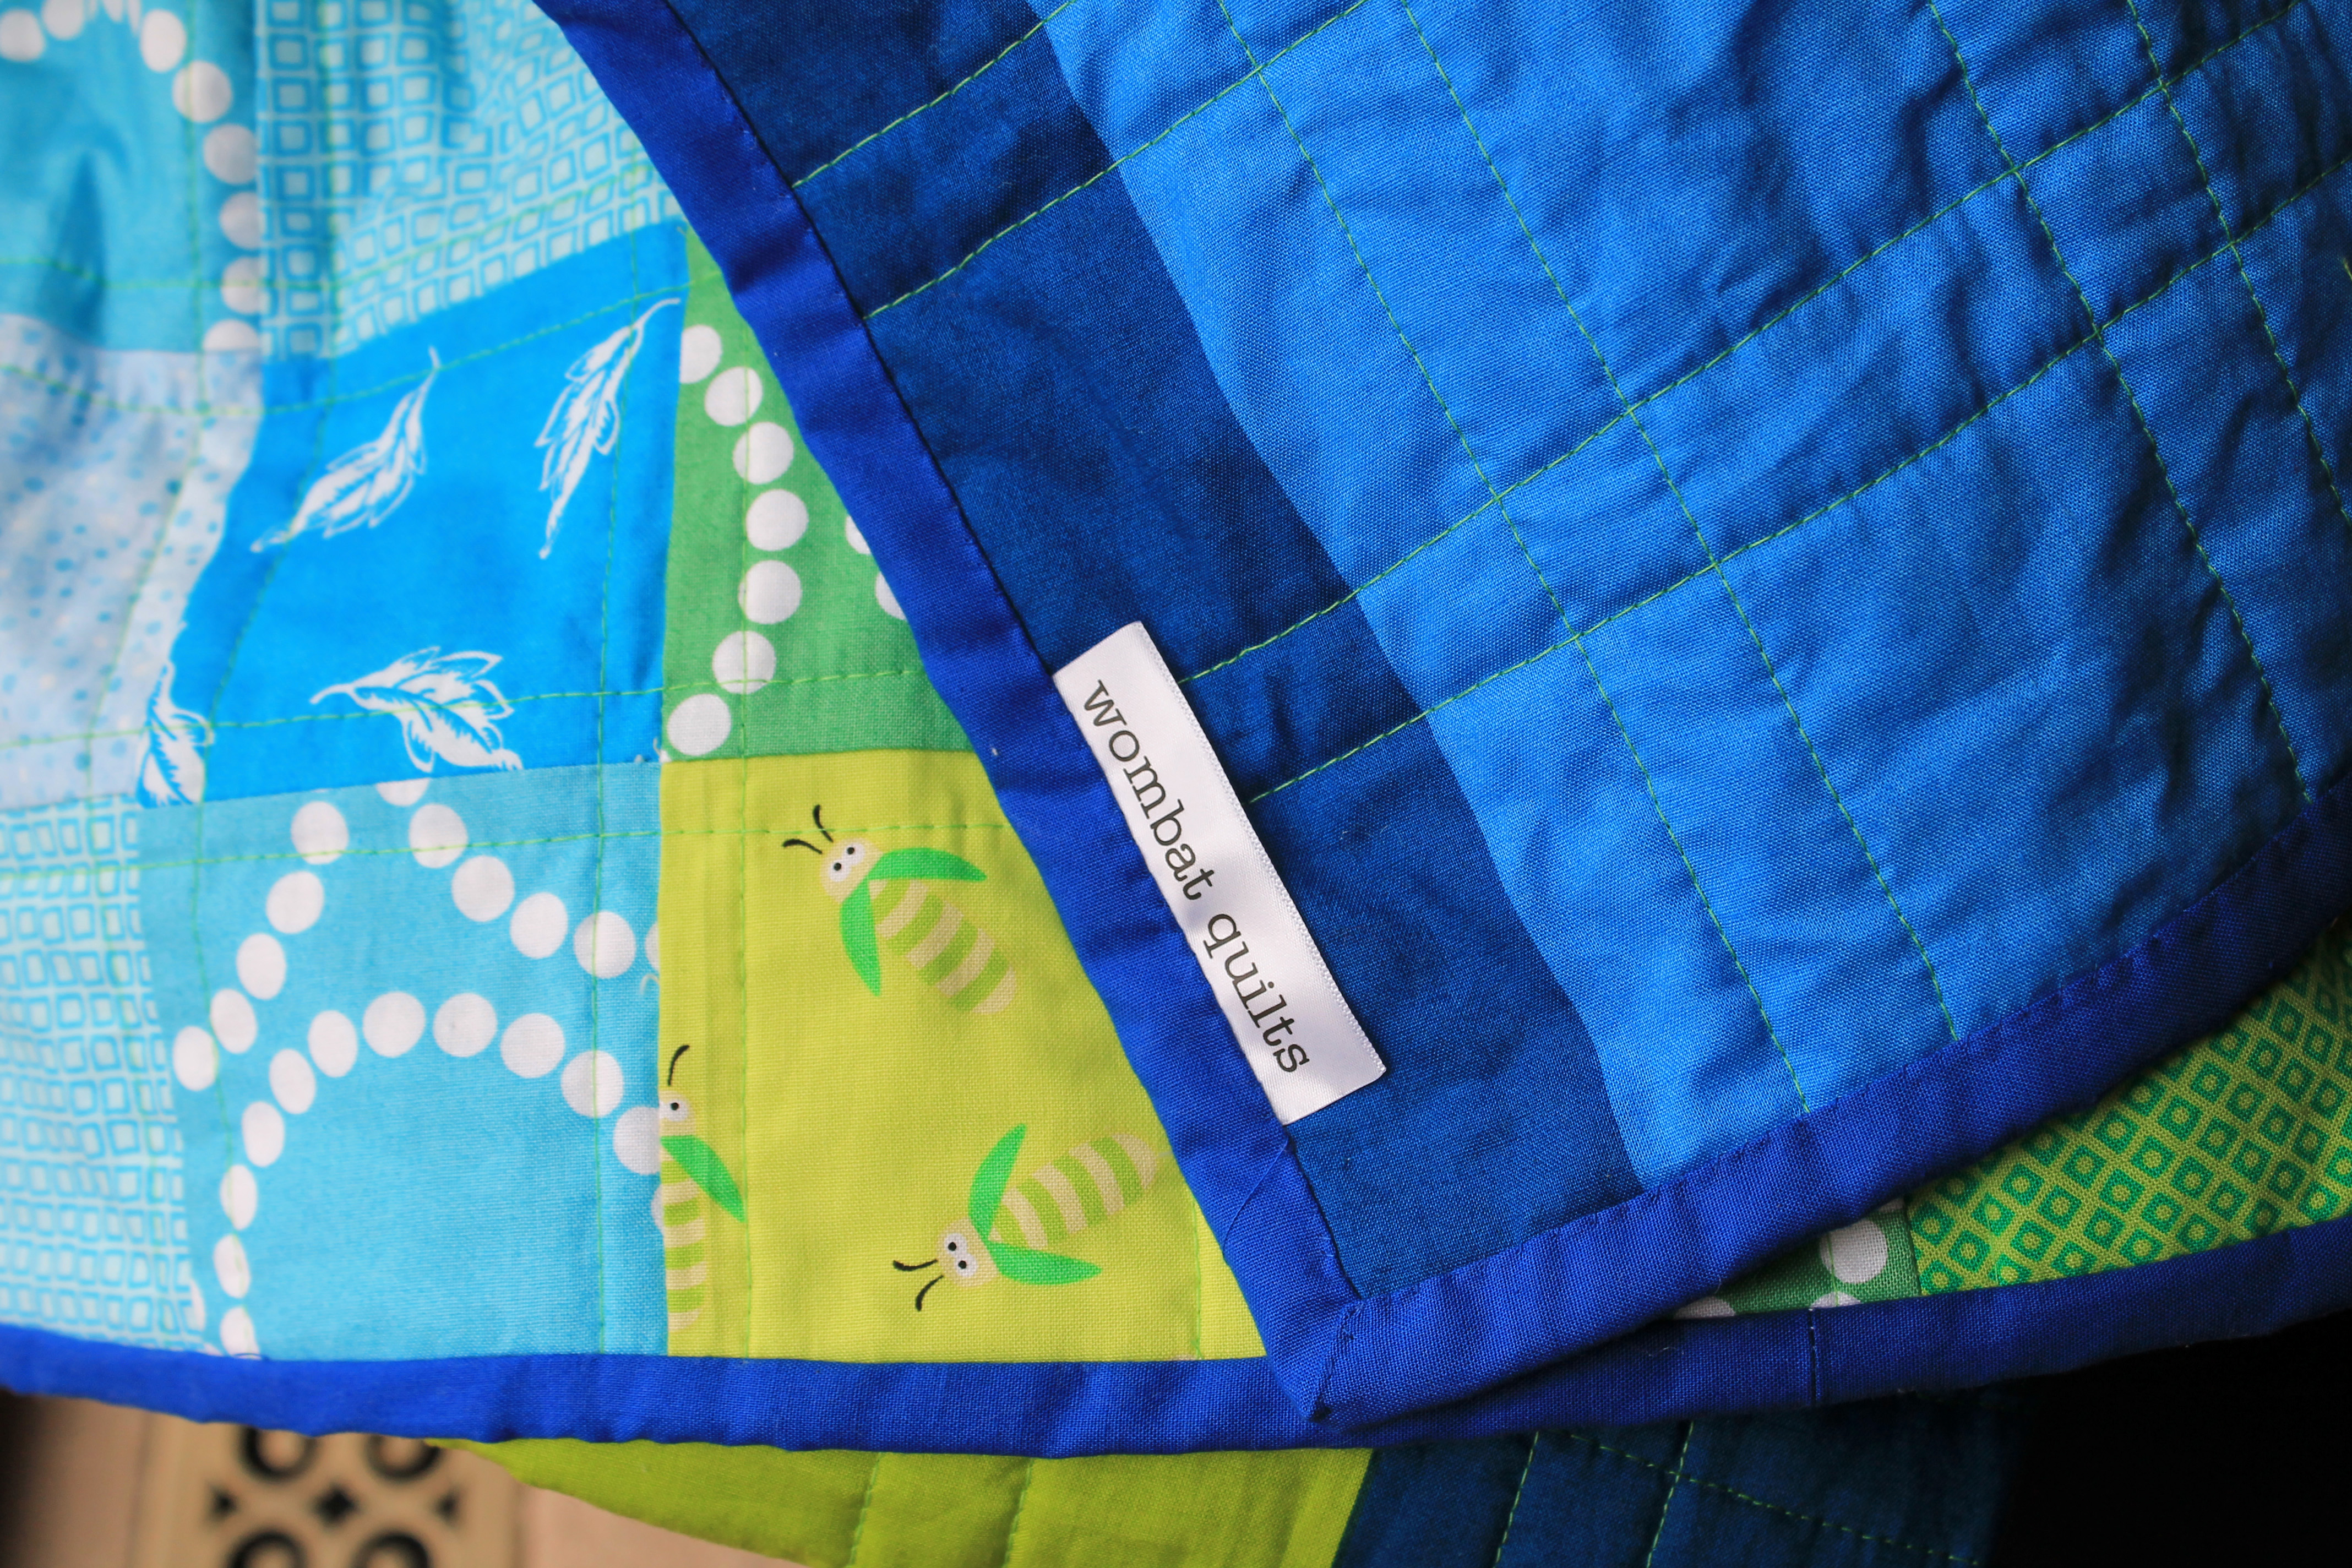
This quilt has now been labeled and set aside for next years Camp Erin.  The sister quilt, which was slightly smaller (4 blocks x 5 blocks) has already headed out to our local PICU.

Quilt Details:

Block:  12 inch Urban Chicken block
Fabric:  various solid cottons including Kona, Bella Solids and Cotton Couture
Finished quilt size:  60 x 72 inches


No turkey here…just some Urban Chickens

After a day full of Thanksgiving turkey yesterday, I thought I would stick with the poultry theme, but shake it up a little.  Somewhere in between baking tons and tons of pies this week I managed to finish my Urban Chicken Quilt.

easy modern kids quilt
This block is so fun and so easy to make… I set it as one of my Do.good.Stitches Bee blocks so you will be seeing another version on this site in the next month or so.   My tutorial for making this block can be found here.

finished urban chicken quilt detail 2I really do love how easy this quilt block is.  I think it will be my new “go to” block when I need to get a kids quilt done quickly.   Though next time I think I will put some more prints into the quilt, not just tone on tones.  I also want to try to make one just using solids.  Oh I have too many ideas and not enough time.

finished urban chicken quilt detail 3

For the quilting on this, I just went with straight lines, running either side of the ditch.  At some point, as my FMQ gets better I would like to quilt one of these with “chickens”, that is triangles, all over it.

finished urban chicken quilt detailTo back this quilt I used the last of my IKEA green and blue fabric.  This fabric has been a great way to back my quilts and I am going to keep my eye out for more of it.  The backing is one solid piece, but it looks like I have sewn together a pile of solid fat quarters.

finished urban chicken quilt backThe finishing touch is an electric blue binding… I seem to go through a lot of binding in electric blue for some reason.  It is either that or someone/something is eating my blue binding.

finished urban chicken binding

So there she is…my first finished Urban Chicken quilt.  I am now off to make myself a turkey sandwich… got to love Thanksgiving day leftovers.


Urban Chicken Fun

This week I manged to finish my first Urban Chicken quilt top…. I am so excited.   I love this modern easy fun pattern.

easy modern kids quilt

The Urban Chicken block was designed for the Portland Modern Quilt Guild meetup by Michelle Freedman.  You can find my original post and tutorial on making the block here.

urban chicken finished top chickens

When laying the quilt top out I had great fun making the chickens run all around… there really is a sense of silly to this quilt block that I love.

urban chicken finished

It is also a very forgiving block – wonky triangles, lots of scraps and bold bright colours.  You can get away with a few squiffy seams if need be.

urban chicken finished top cu

This is Urban Chicken number 1 for me.  I have another one following close behind in warmer colours, as I set this pattern for my Do.good.stitches bee this month.  You have been warned!

Playing with Urban Chickens

To celebrate this years Pacific North West MQG Meet up our fearless leader,  Michelle Freedman designed a fun modern block to celebrate… the Urban Chicken.  During the Meet Up we did a charity sew day where chickens ran wild.

Charity Sew Day Urban Chickens

This week I decided to dust off the pattern card and make my own Urban Chicken quilt… below is my plagiarized, annotated and updated version of Michelle’s original pattern.

For each block you need:

1.  Four (4) different shades of the same colour – I decided to stick to green, blue & yellow

2.  White or off white fabric – I pulled all my scrap bag of solid whites out.

Then it is off to work making a block….

1.   Cut one  3 ½ inches  x 14 ½  inches strip of each of your four coloured fabric.  I added an extra 1/2 inch to the strips from the original pattern to allow for some wiggle room (ie. mistakes).

layout strips

2.  From these strips cut one 3 ½ inches x 3 ½ inches  and set aside these squares.

cut square off strip

3.  Sew the four 10 ½ inch strips together using 1/4 inch seam allowance.  Press the seams to one side in the same direction.

sewing strips together

.4. Sew the long ends together to form a tube… these next steps are the same as you would do for a Trip Around quilt.

5.  Subcut the tube into three 3 ½ inch wide units… this is where the excess 1/2 inch of fabric on the strips comes in handy for me.

cut tube

5.  Carefully use the seam ripper to open each unit at a different place.  Arrange the three rows as you like, nesting the seam allows and sew together.  Press the seams open or to alternating sides.

strip blocks ready to go

Then to make the chickens….

1.  Using your white scraps or some generously cut white strips (no smaller than 2 ½ wide) and the four coloured squares you had set aside make some wonky triangles.

set aside squares

2.  Place the white fabric strip over the 3 ½ x 3 ½ inch square right sides together – angling the white fabric from just past center of the square to one corner of the square.  Repeat on the other side.  Do this for all four coloured squares.

chicken pieces for trimming

3.  Press seams on your chicken unit and square it up to the original 3 ½” x 3 ½” size.  When trimming make sure that the top of the triangle has a ¼ inch seam of white.  This will allow you triangles to come to a clean point (learnt this one the hard way).

trim chickens

4.  Arrange your chickens as you like and sew them together to form the fourth strip of the block.

urban chicken block

You can stitch your chickens to either side of your solid blocks.

Urban chicken block 4

5.  Make sure you square off your completed block ensuring it measures  12½”” by 12½”.

To add some variation to your Urban Chickiens, Michelle suggests doing some blocks up without the chickens… that is blocks of just 4 x 4 coloured squares.

I am now off to add some more chickens to my coup.  I am really having fun with this quilt and can not wait to have a finished quilt top to show.