A mini finished Friday

This week I finished up my two doll quilts for the Oregon Ballet Theater fundraiser that the Portland Modern Quilt Guild organized.. and broke my digital SLR.  So for today’s post you get the joy of seeing my doll quilts through the lens of my iPhone.  I apologize in advance…

pink yellow star doll quilt

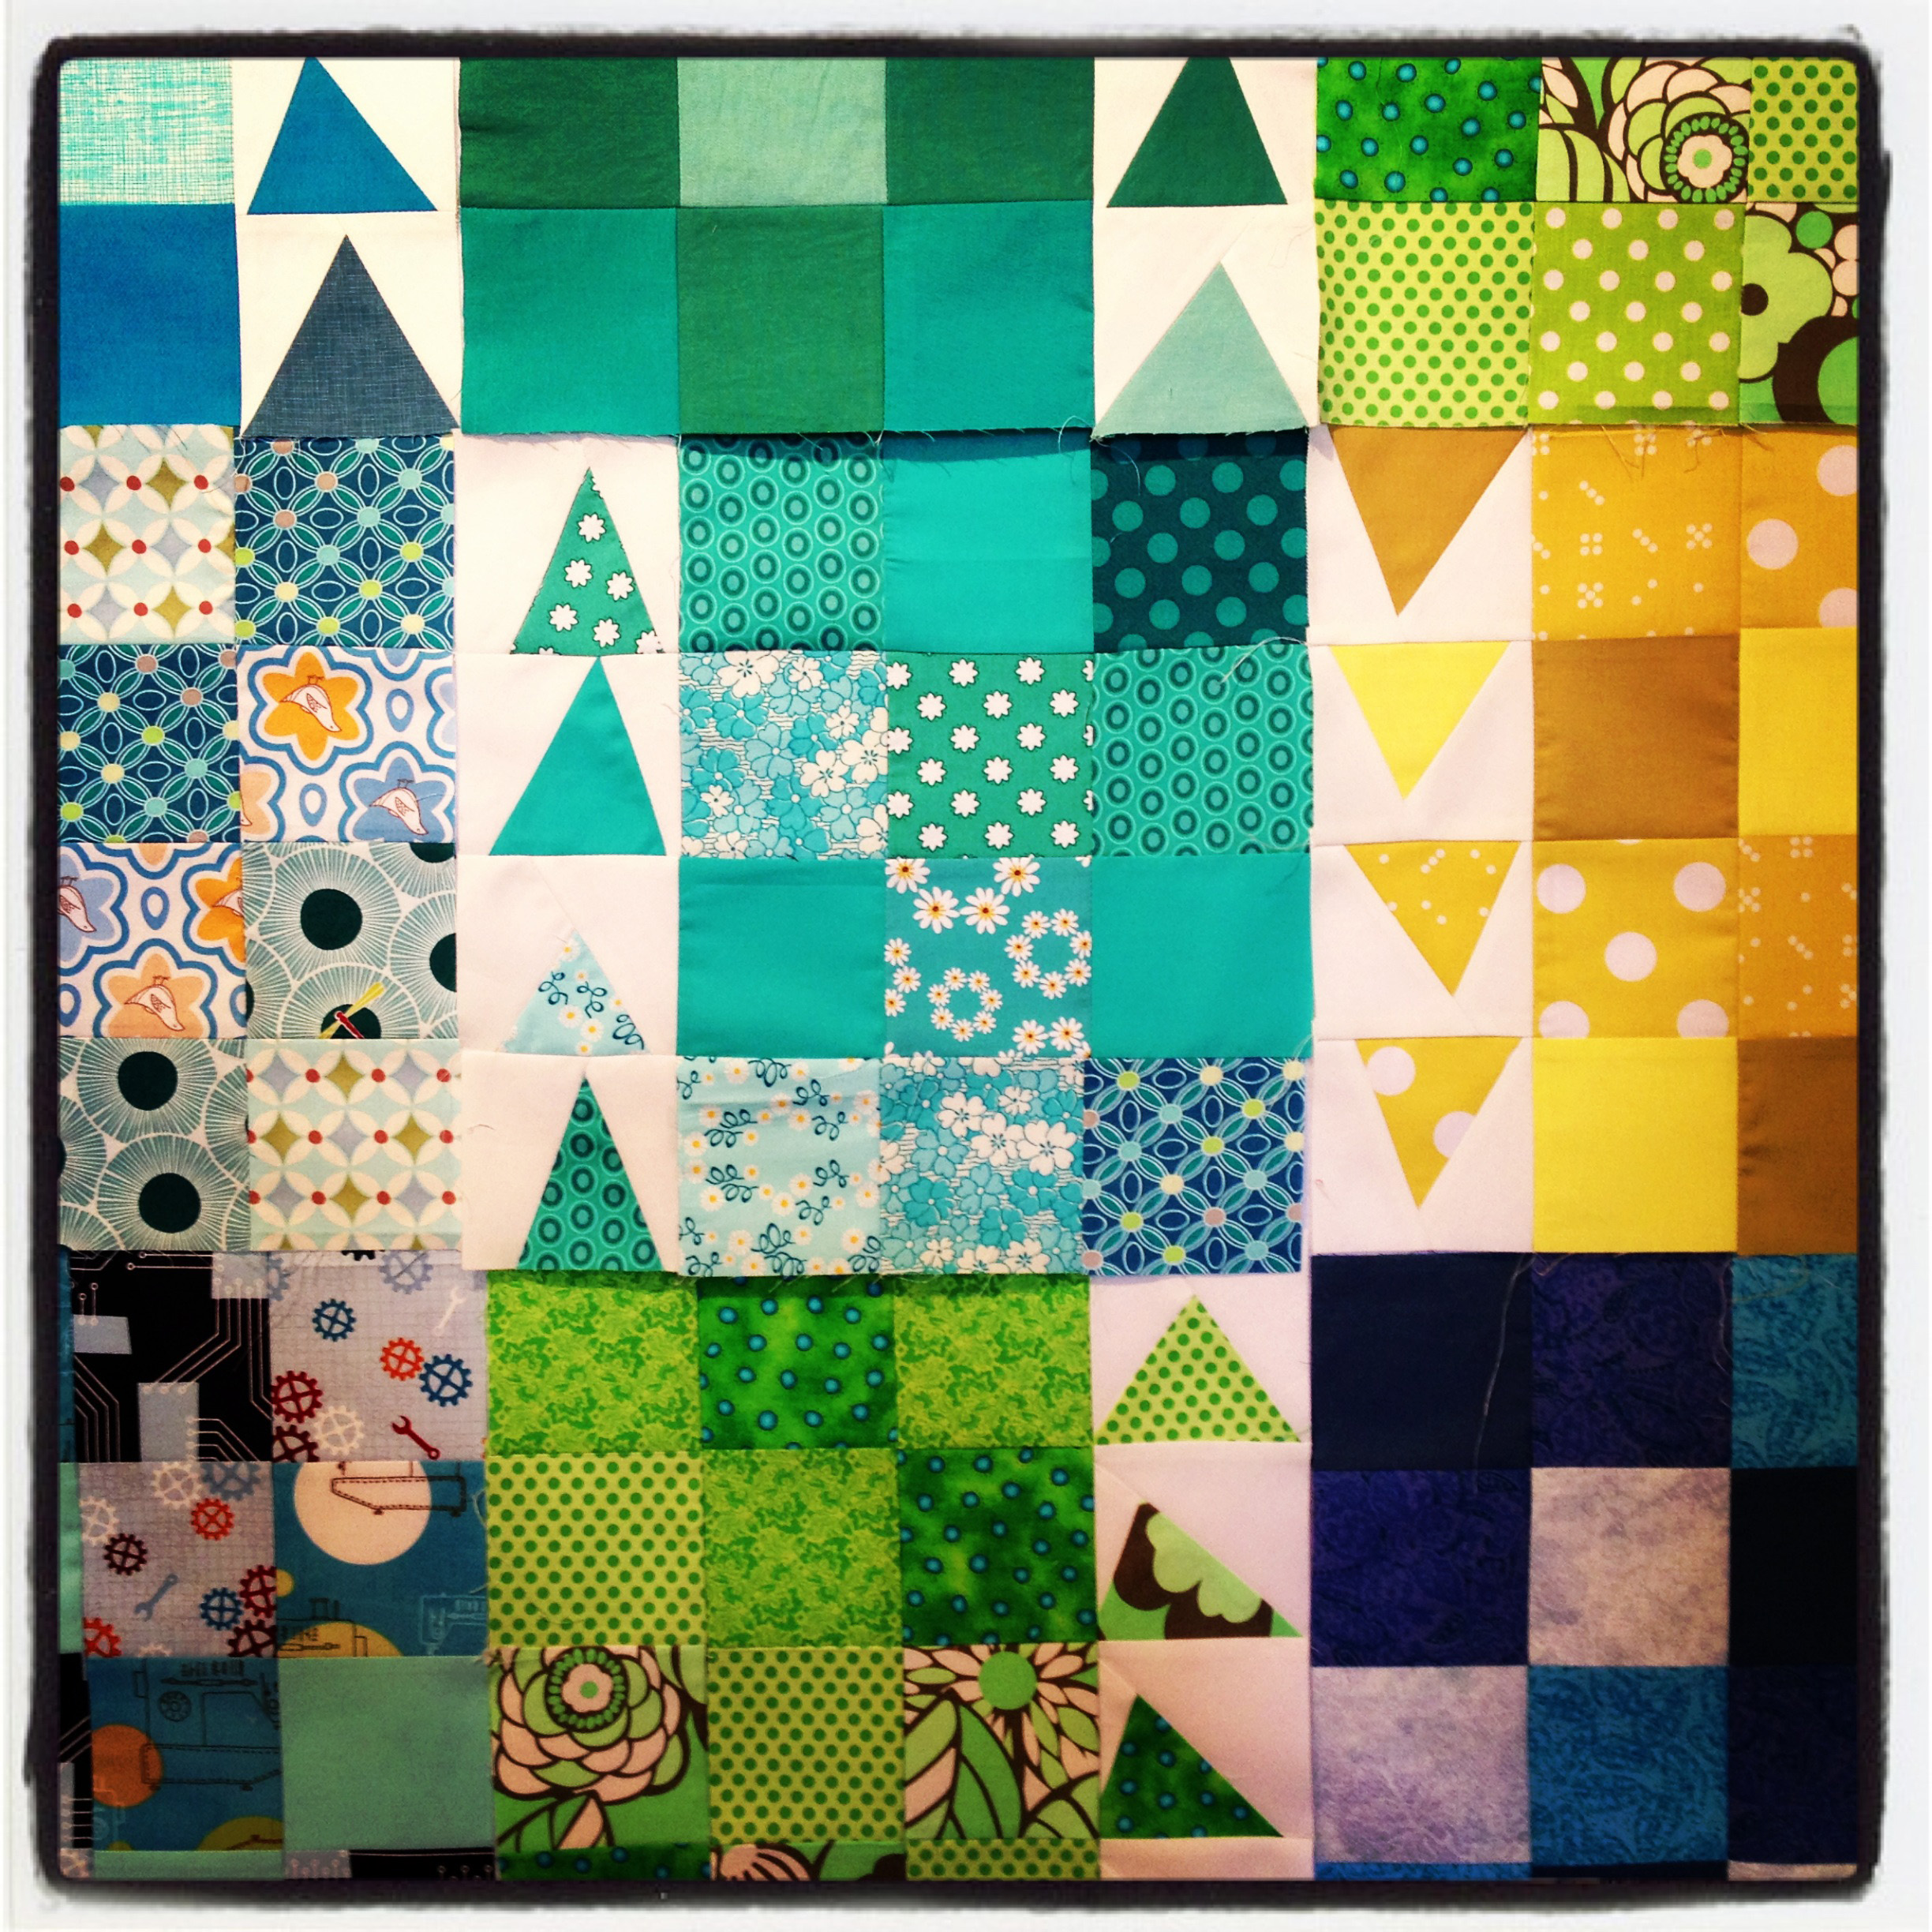
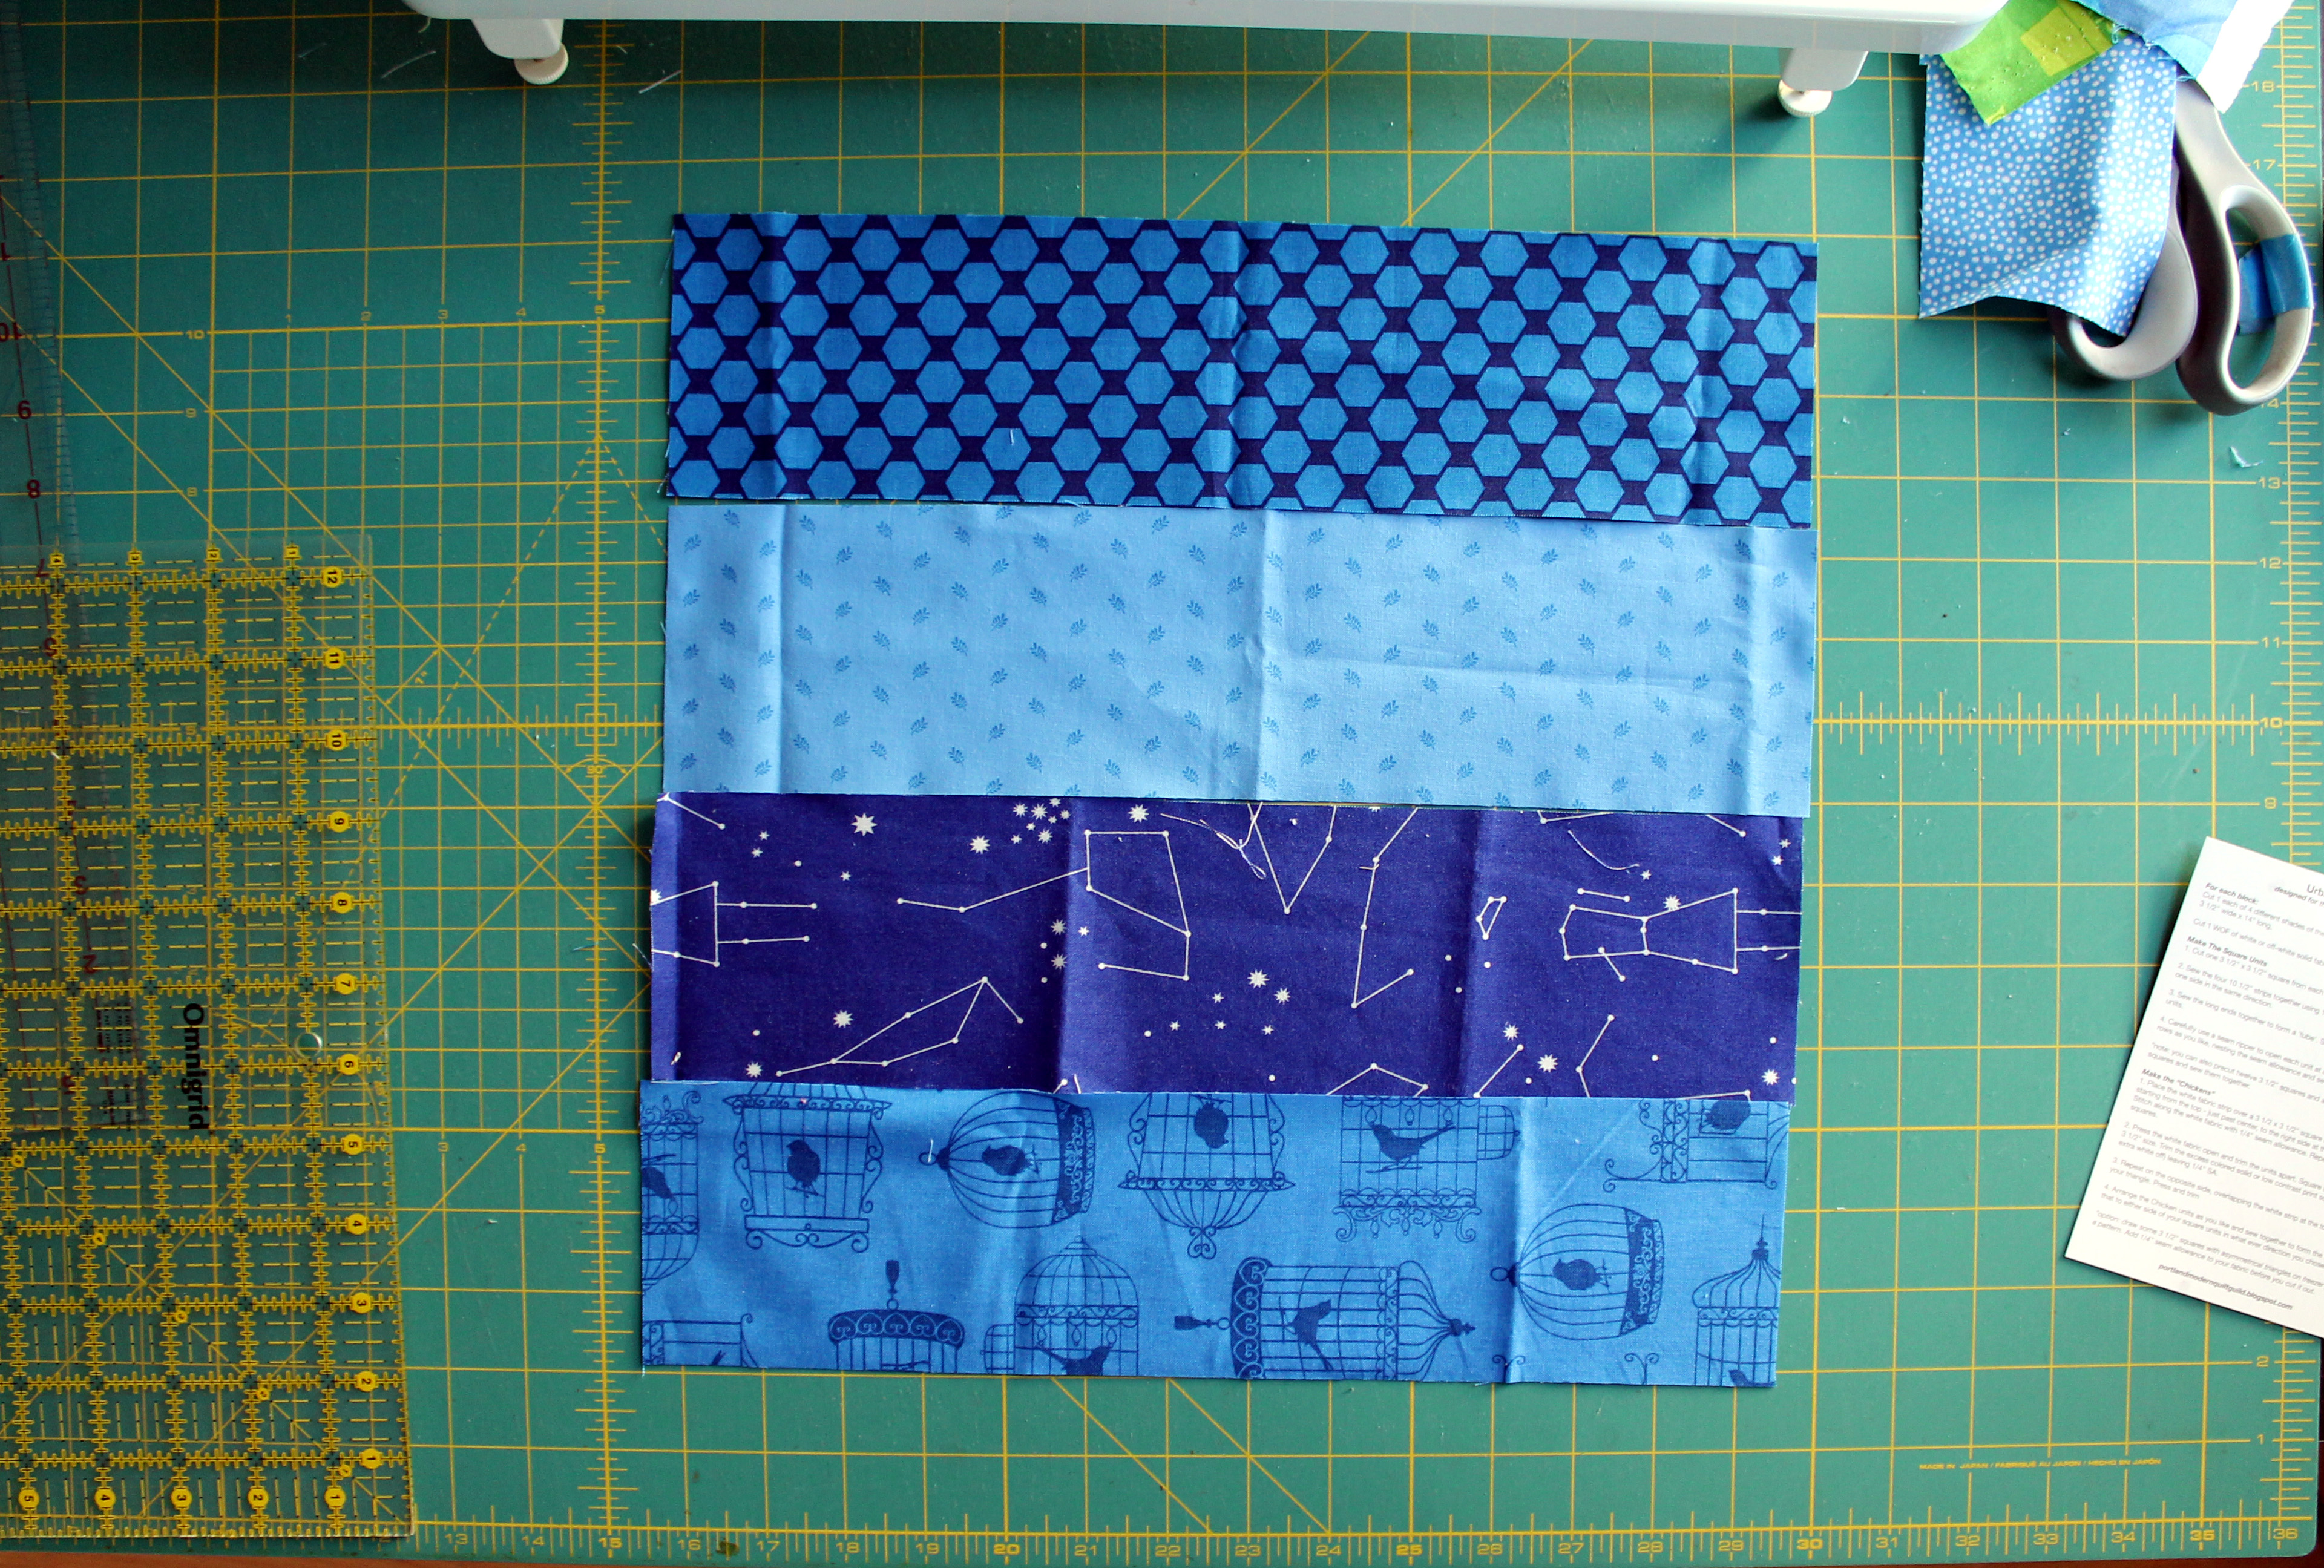
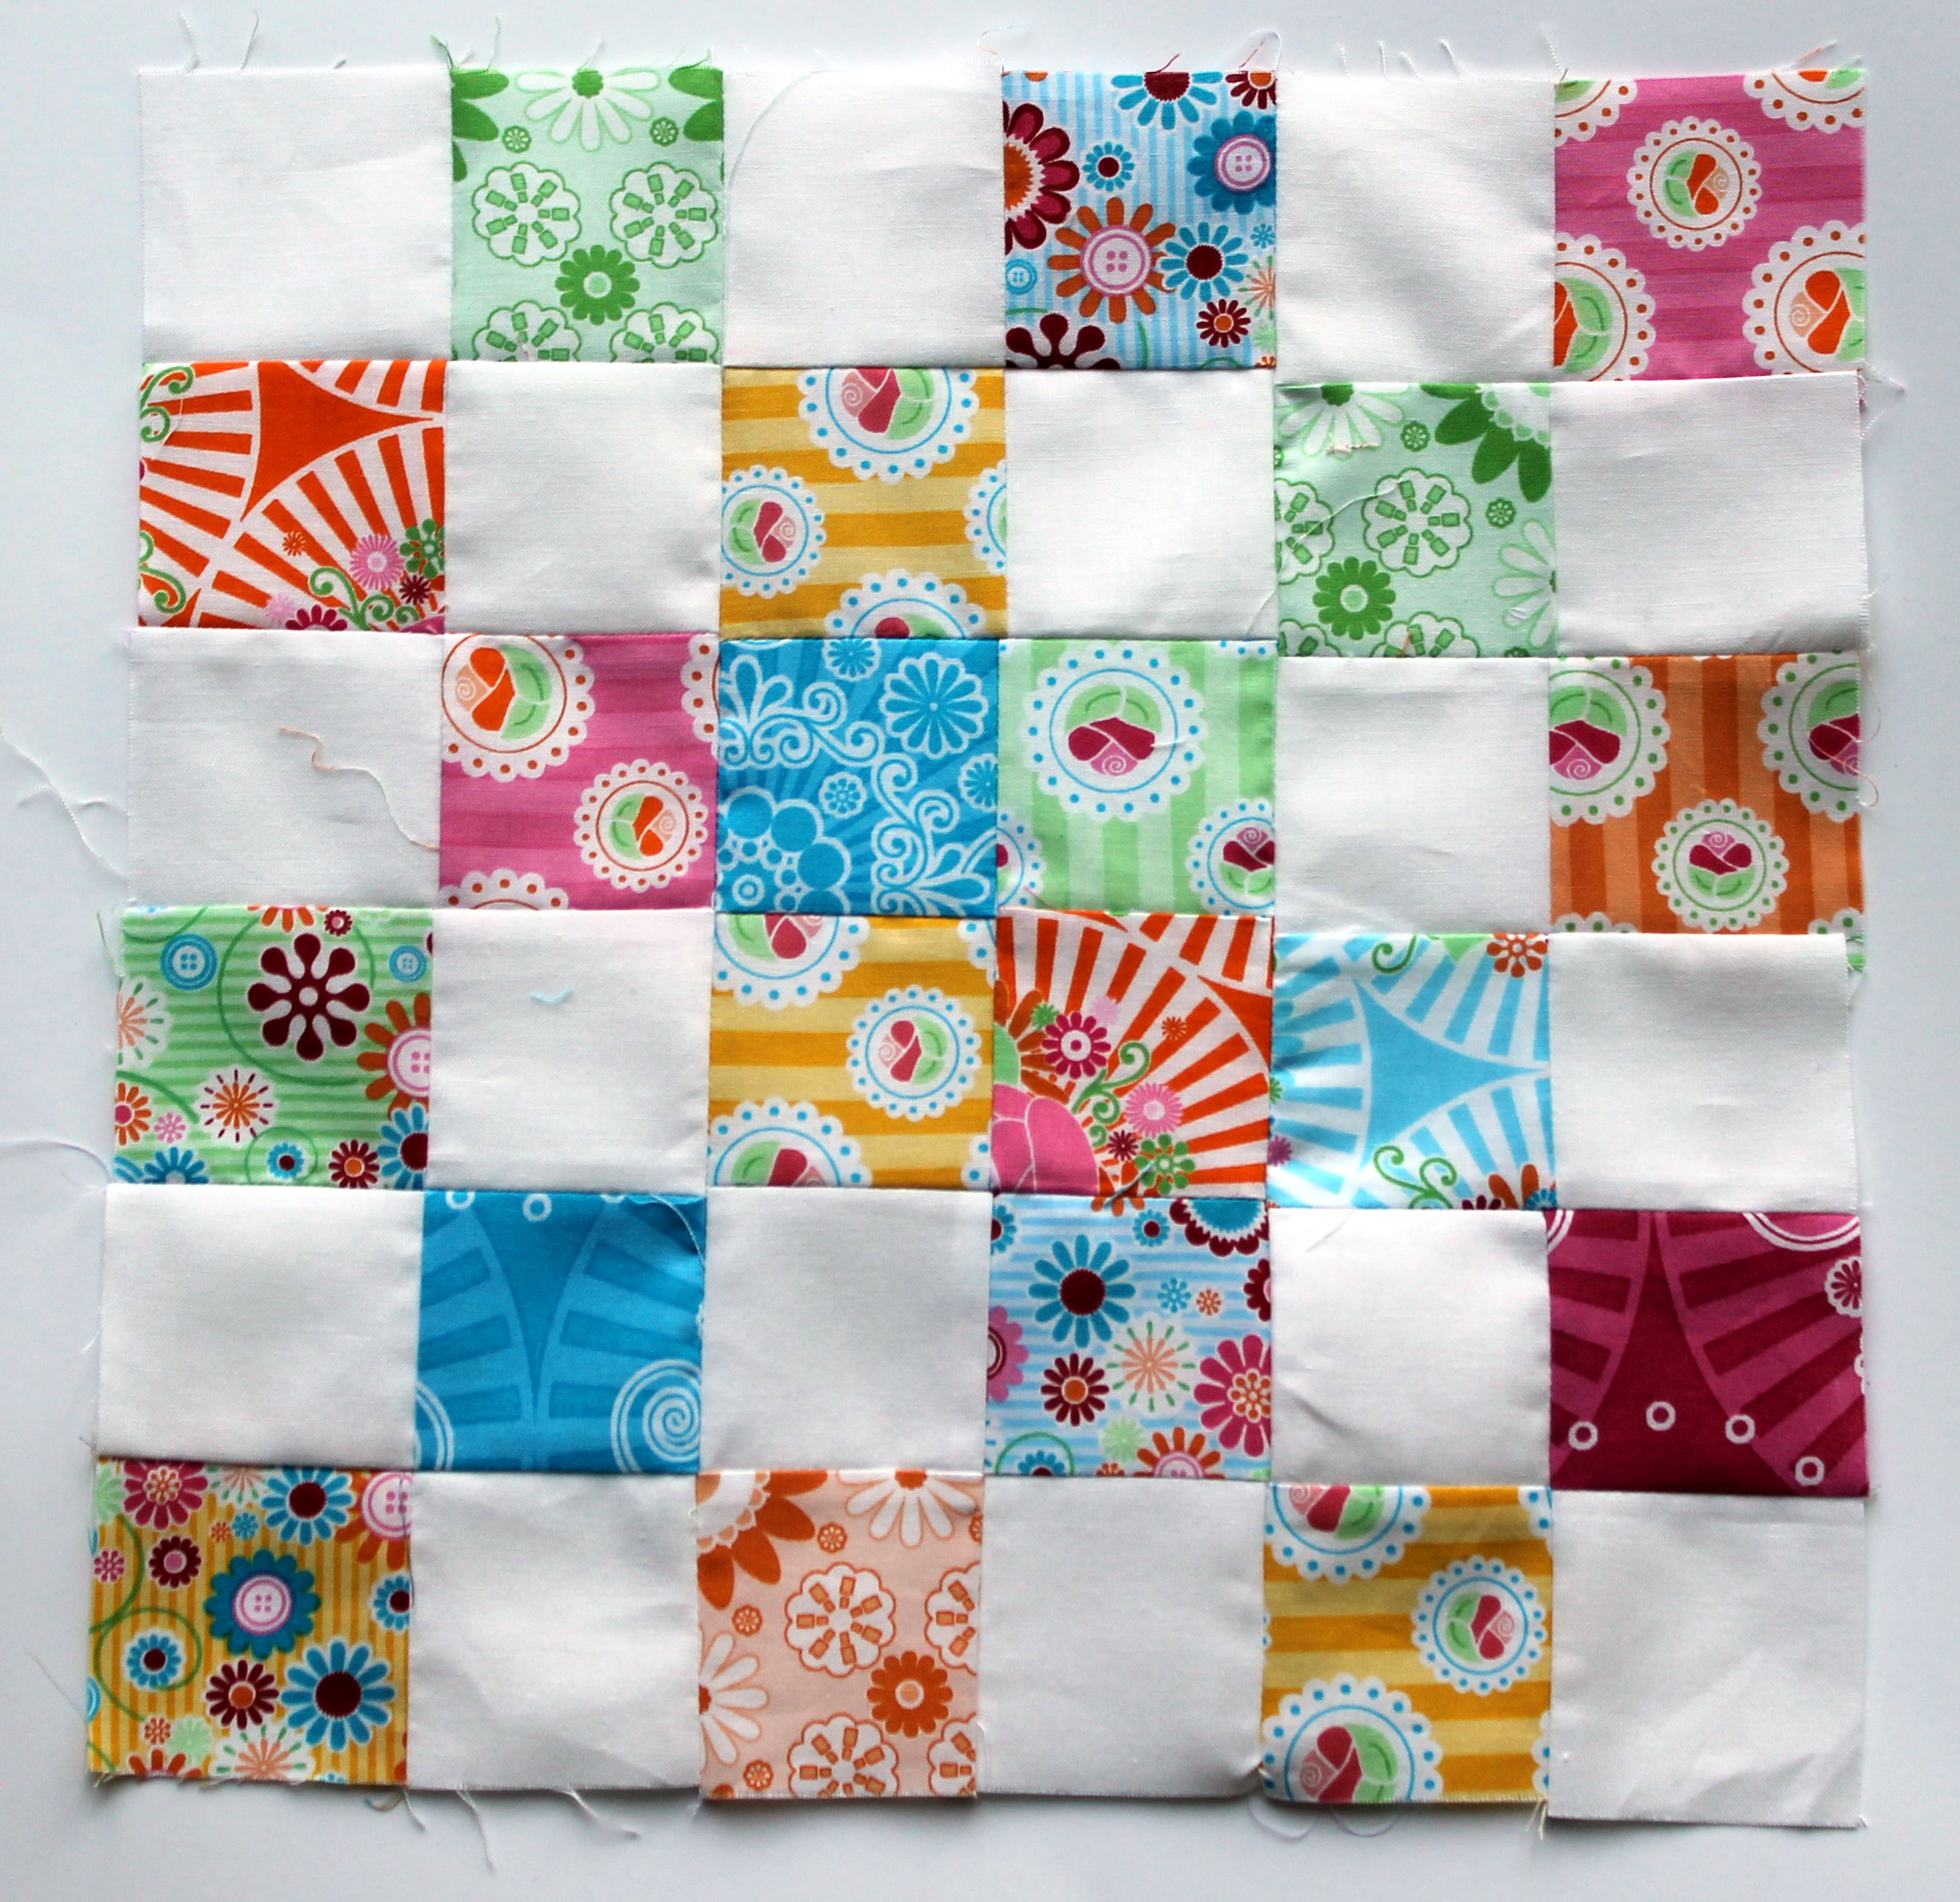
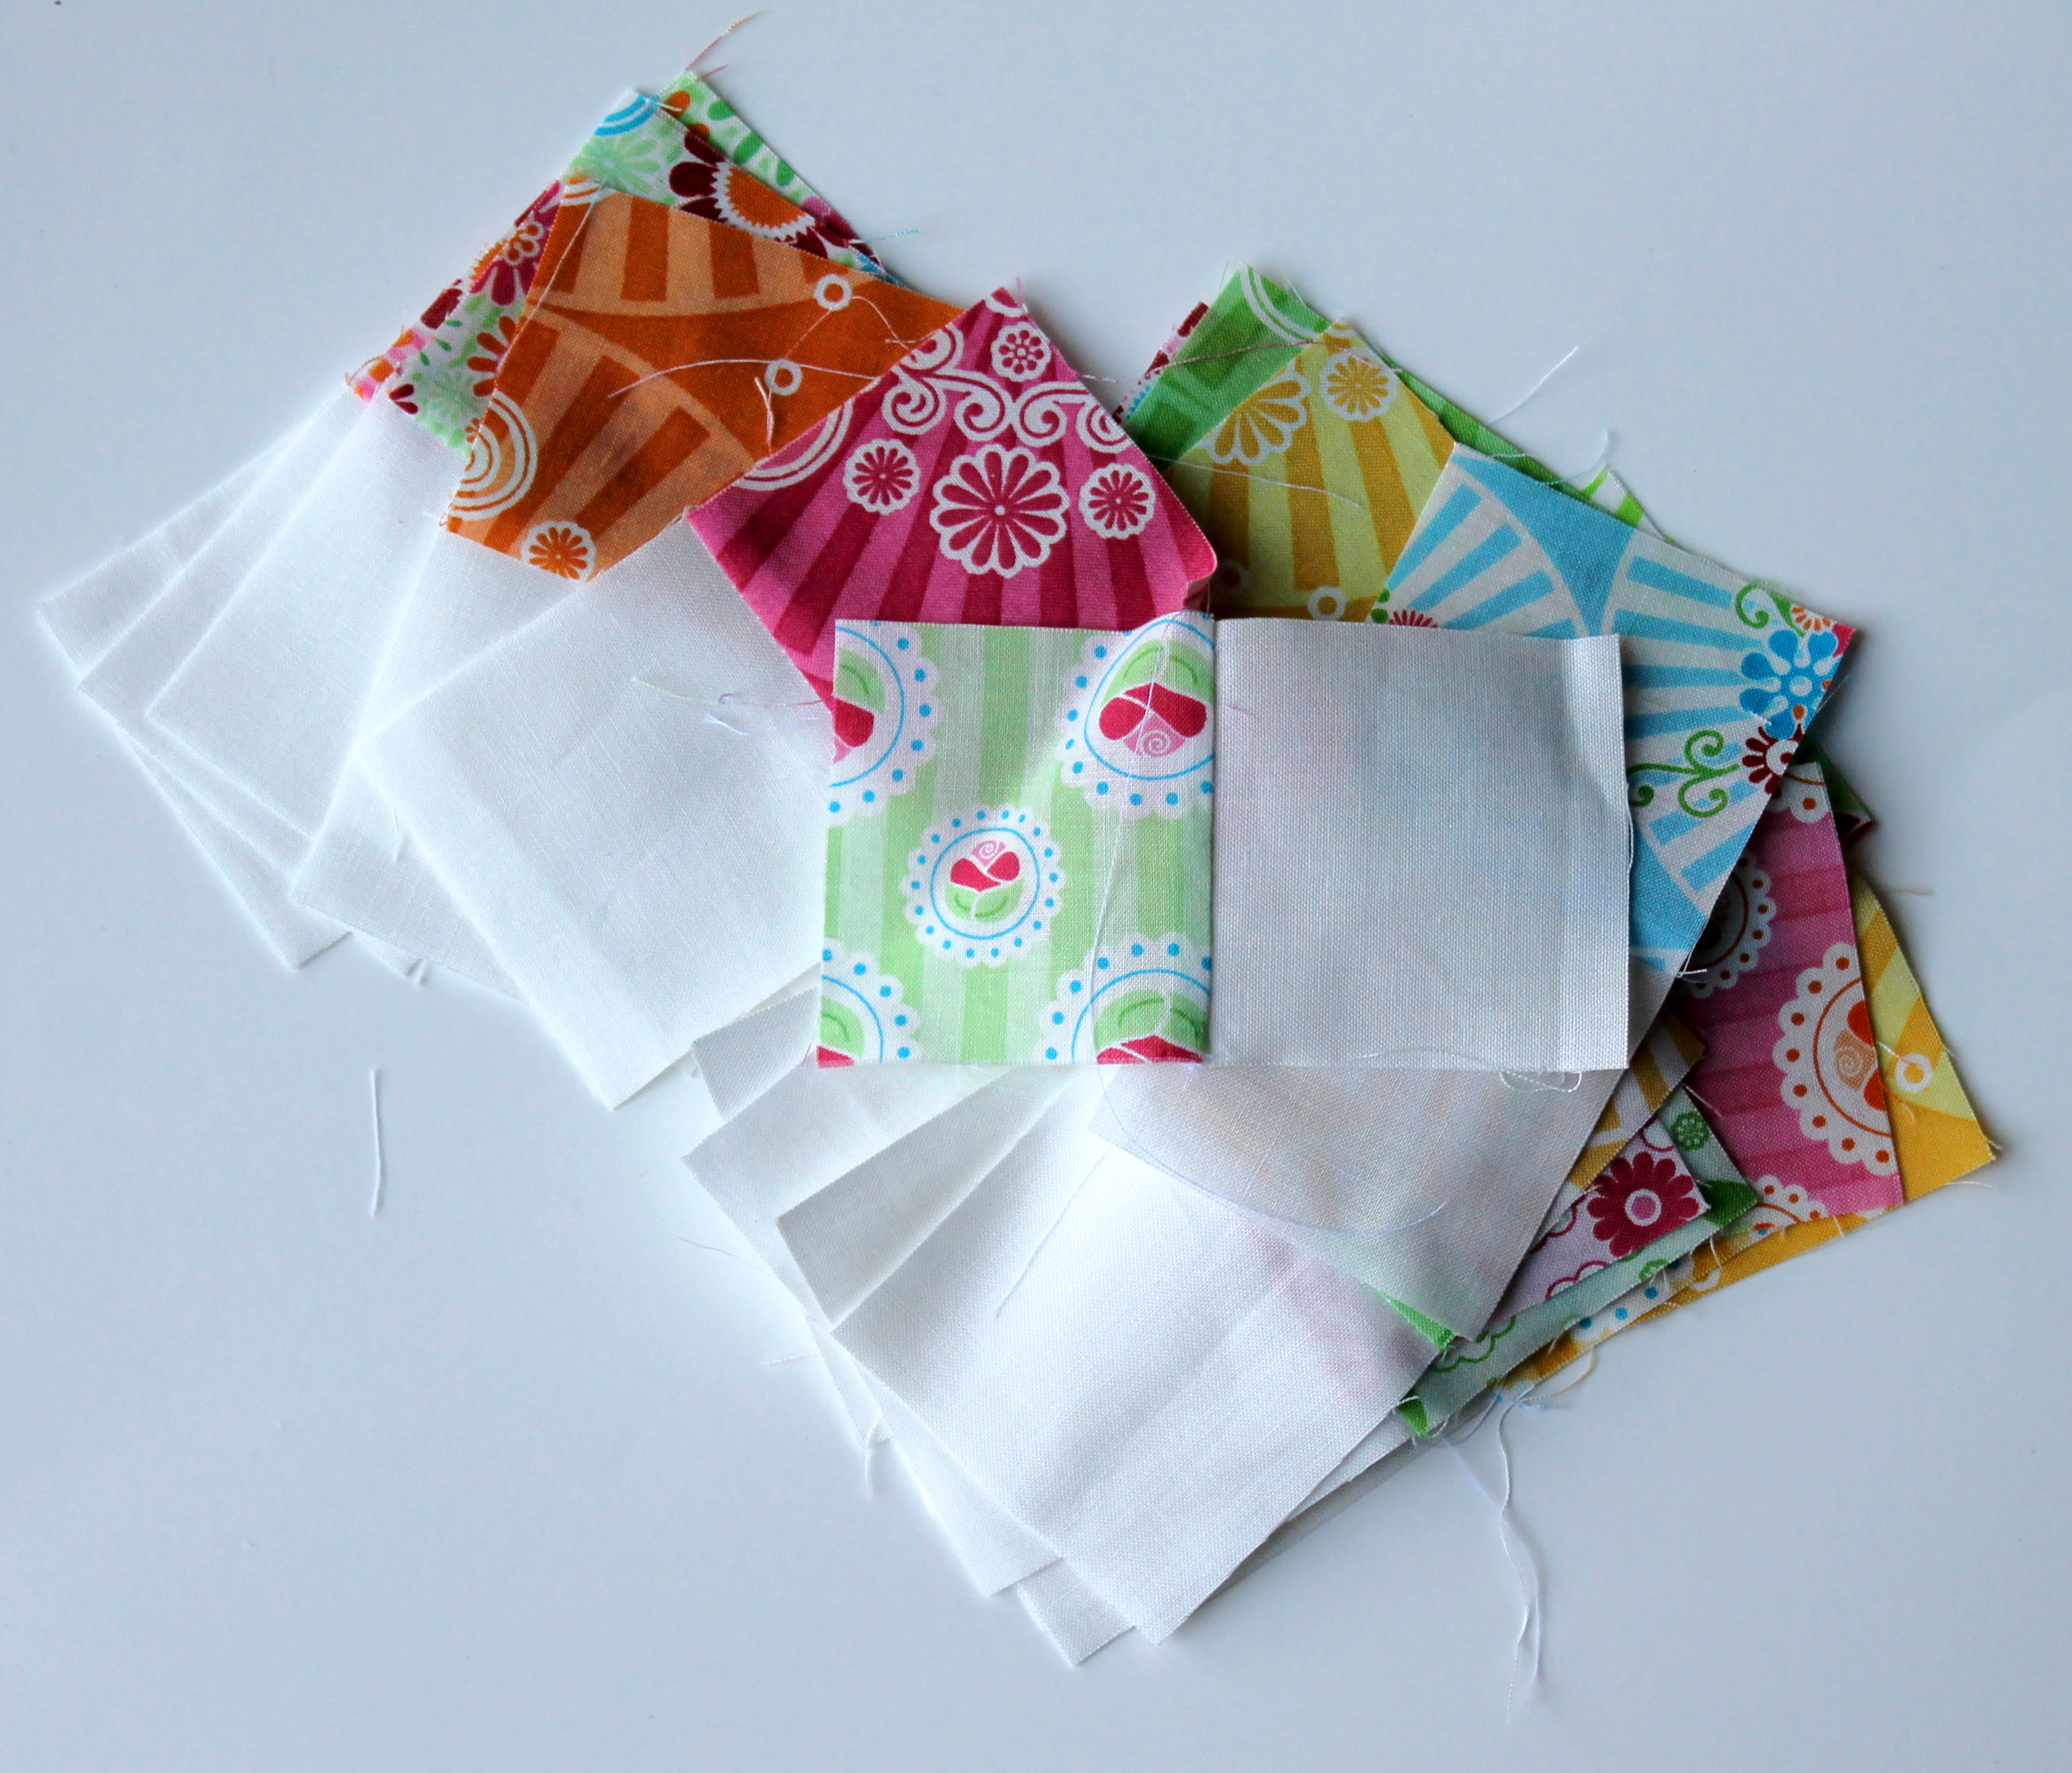
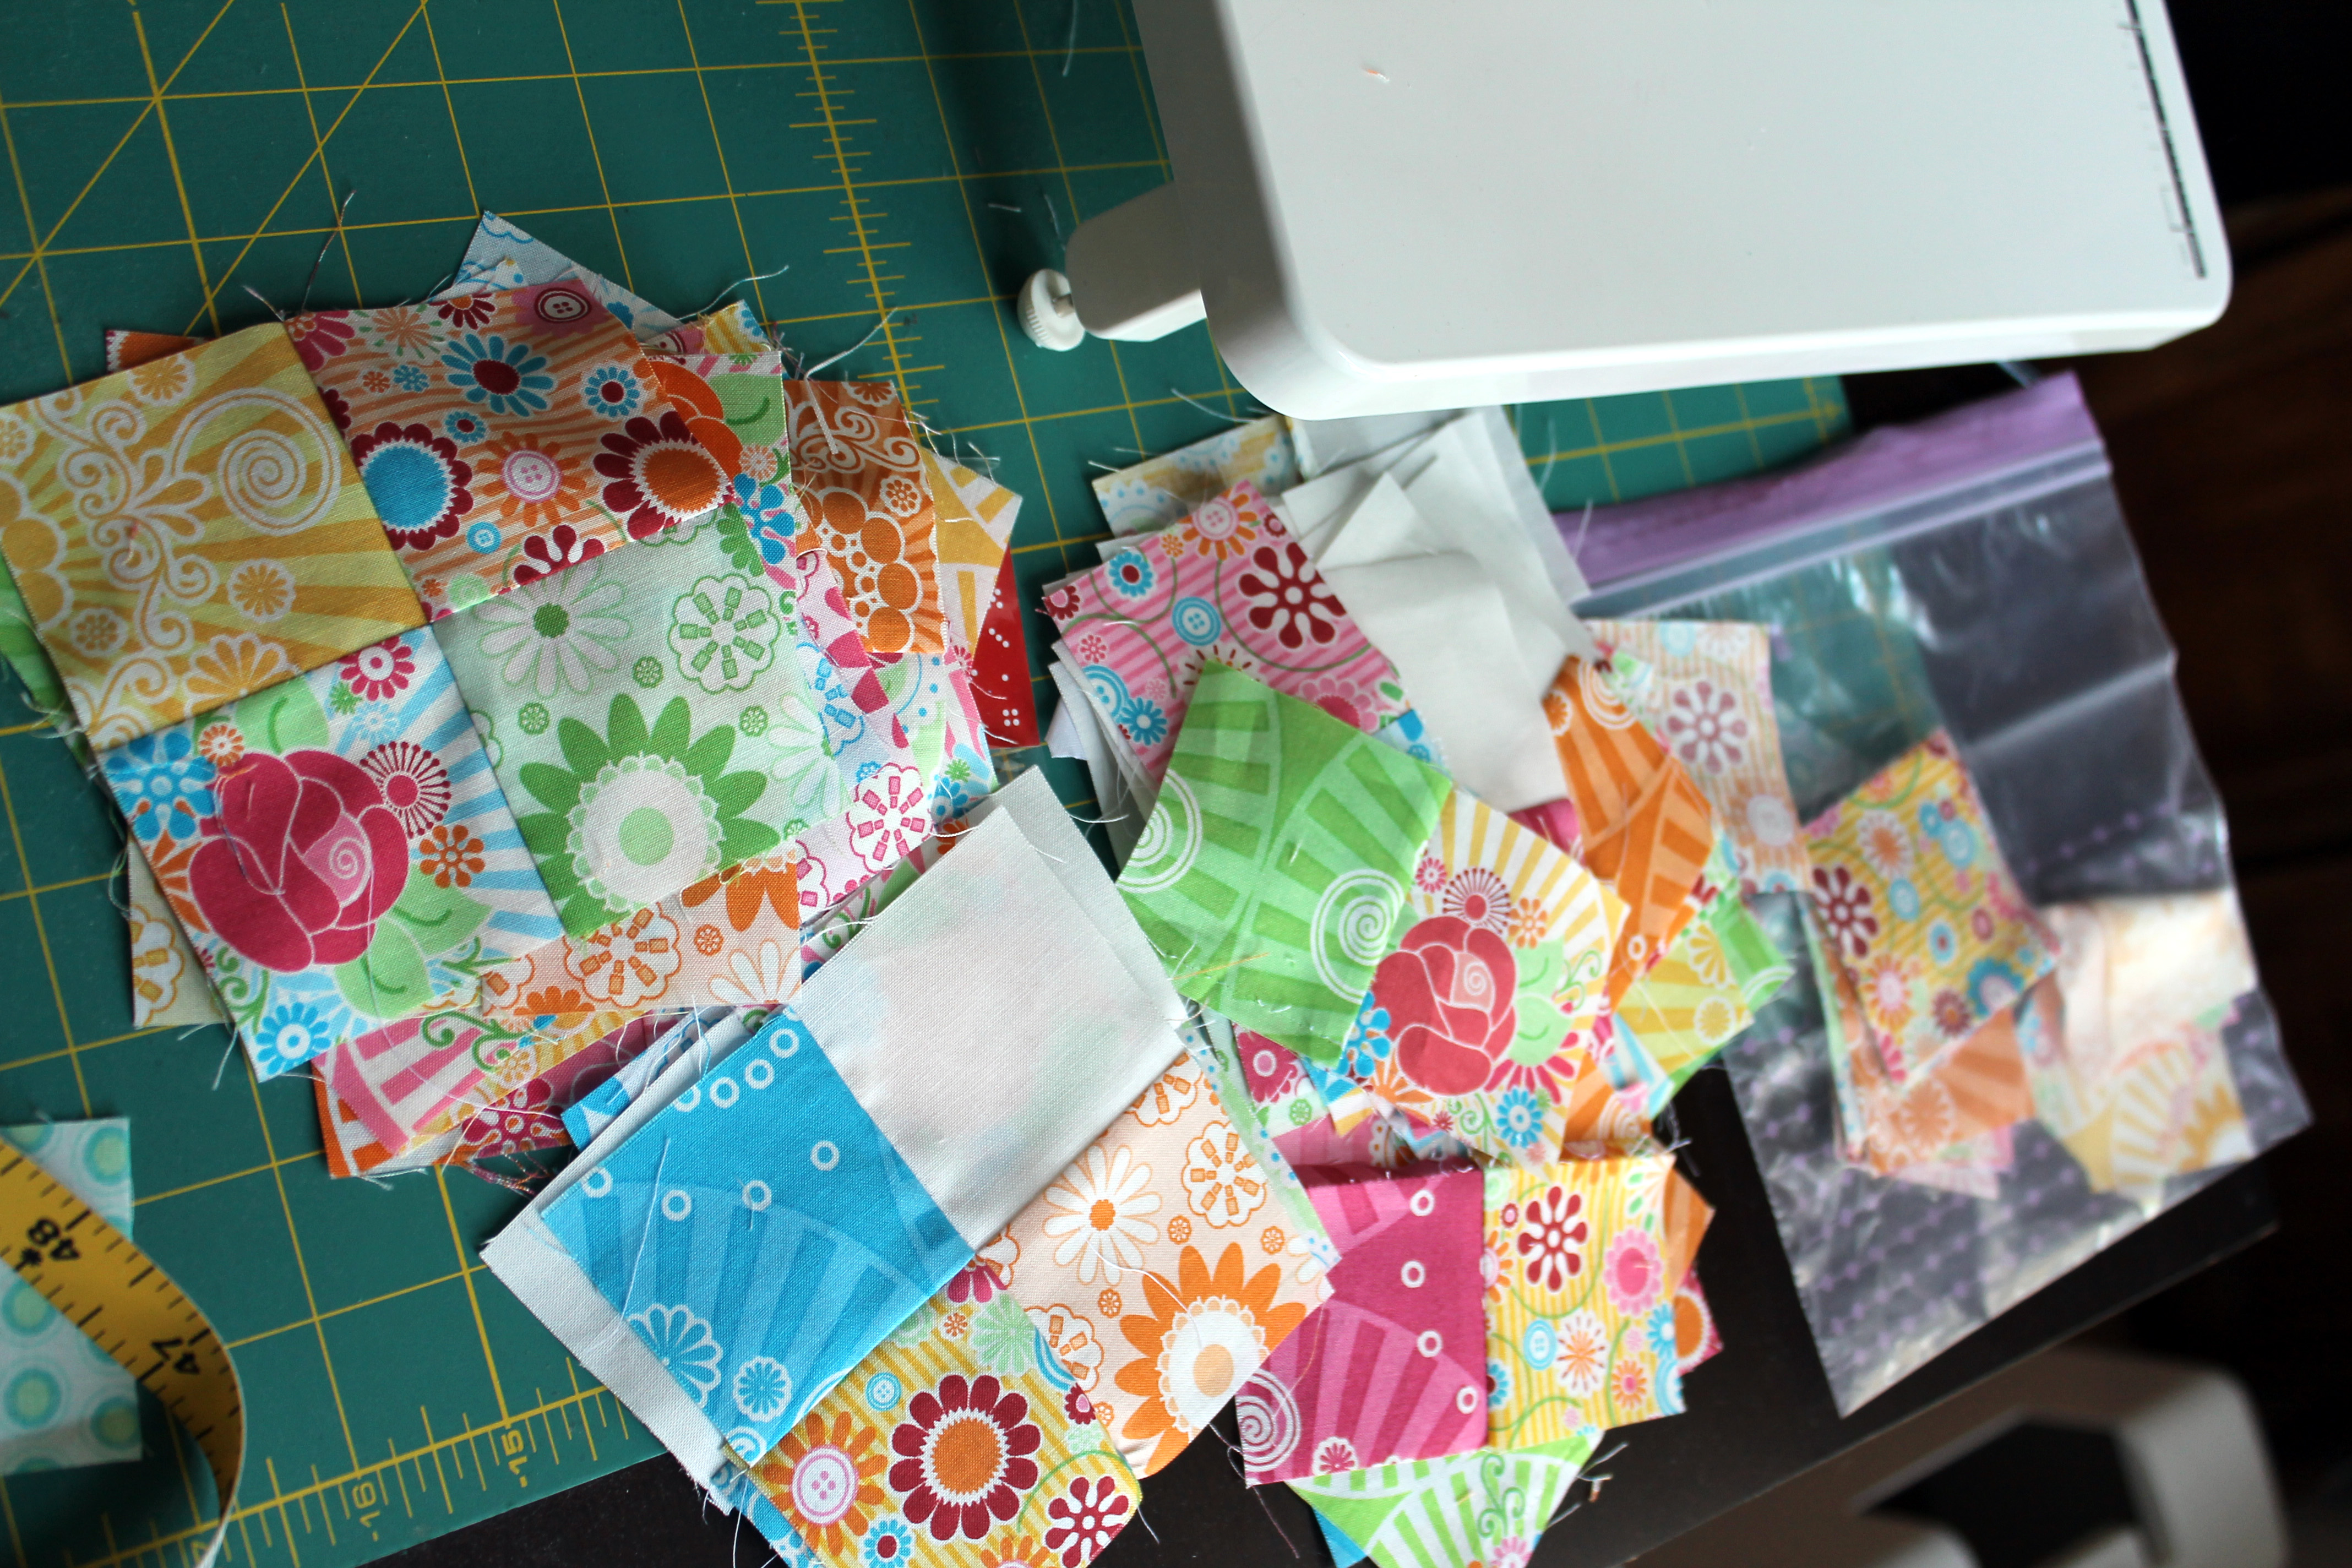
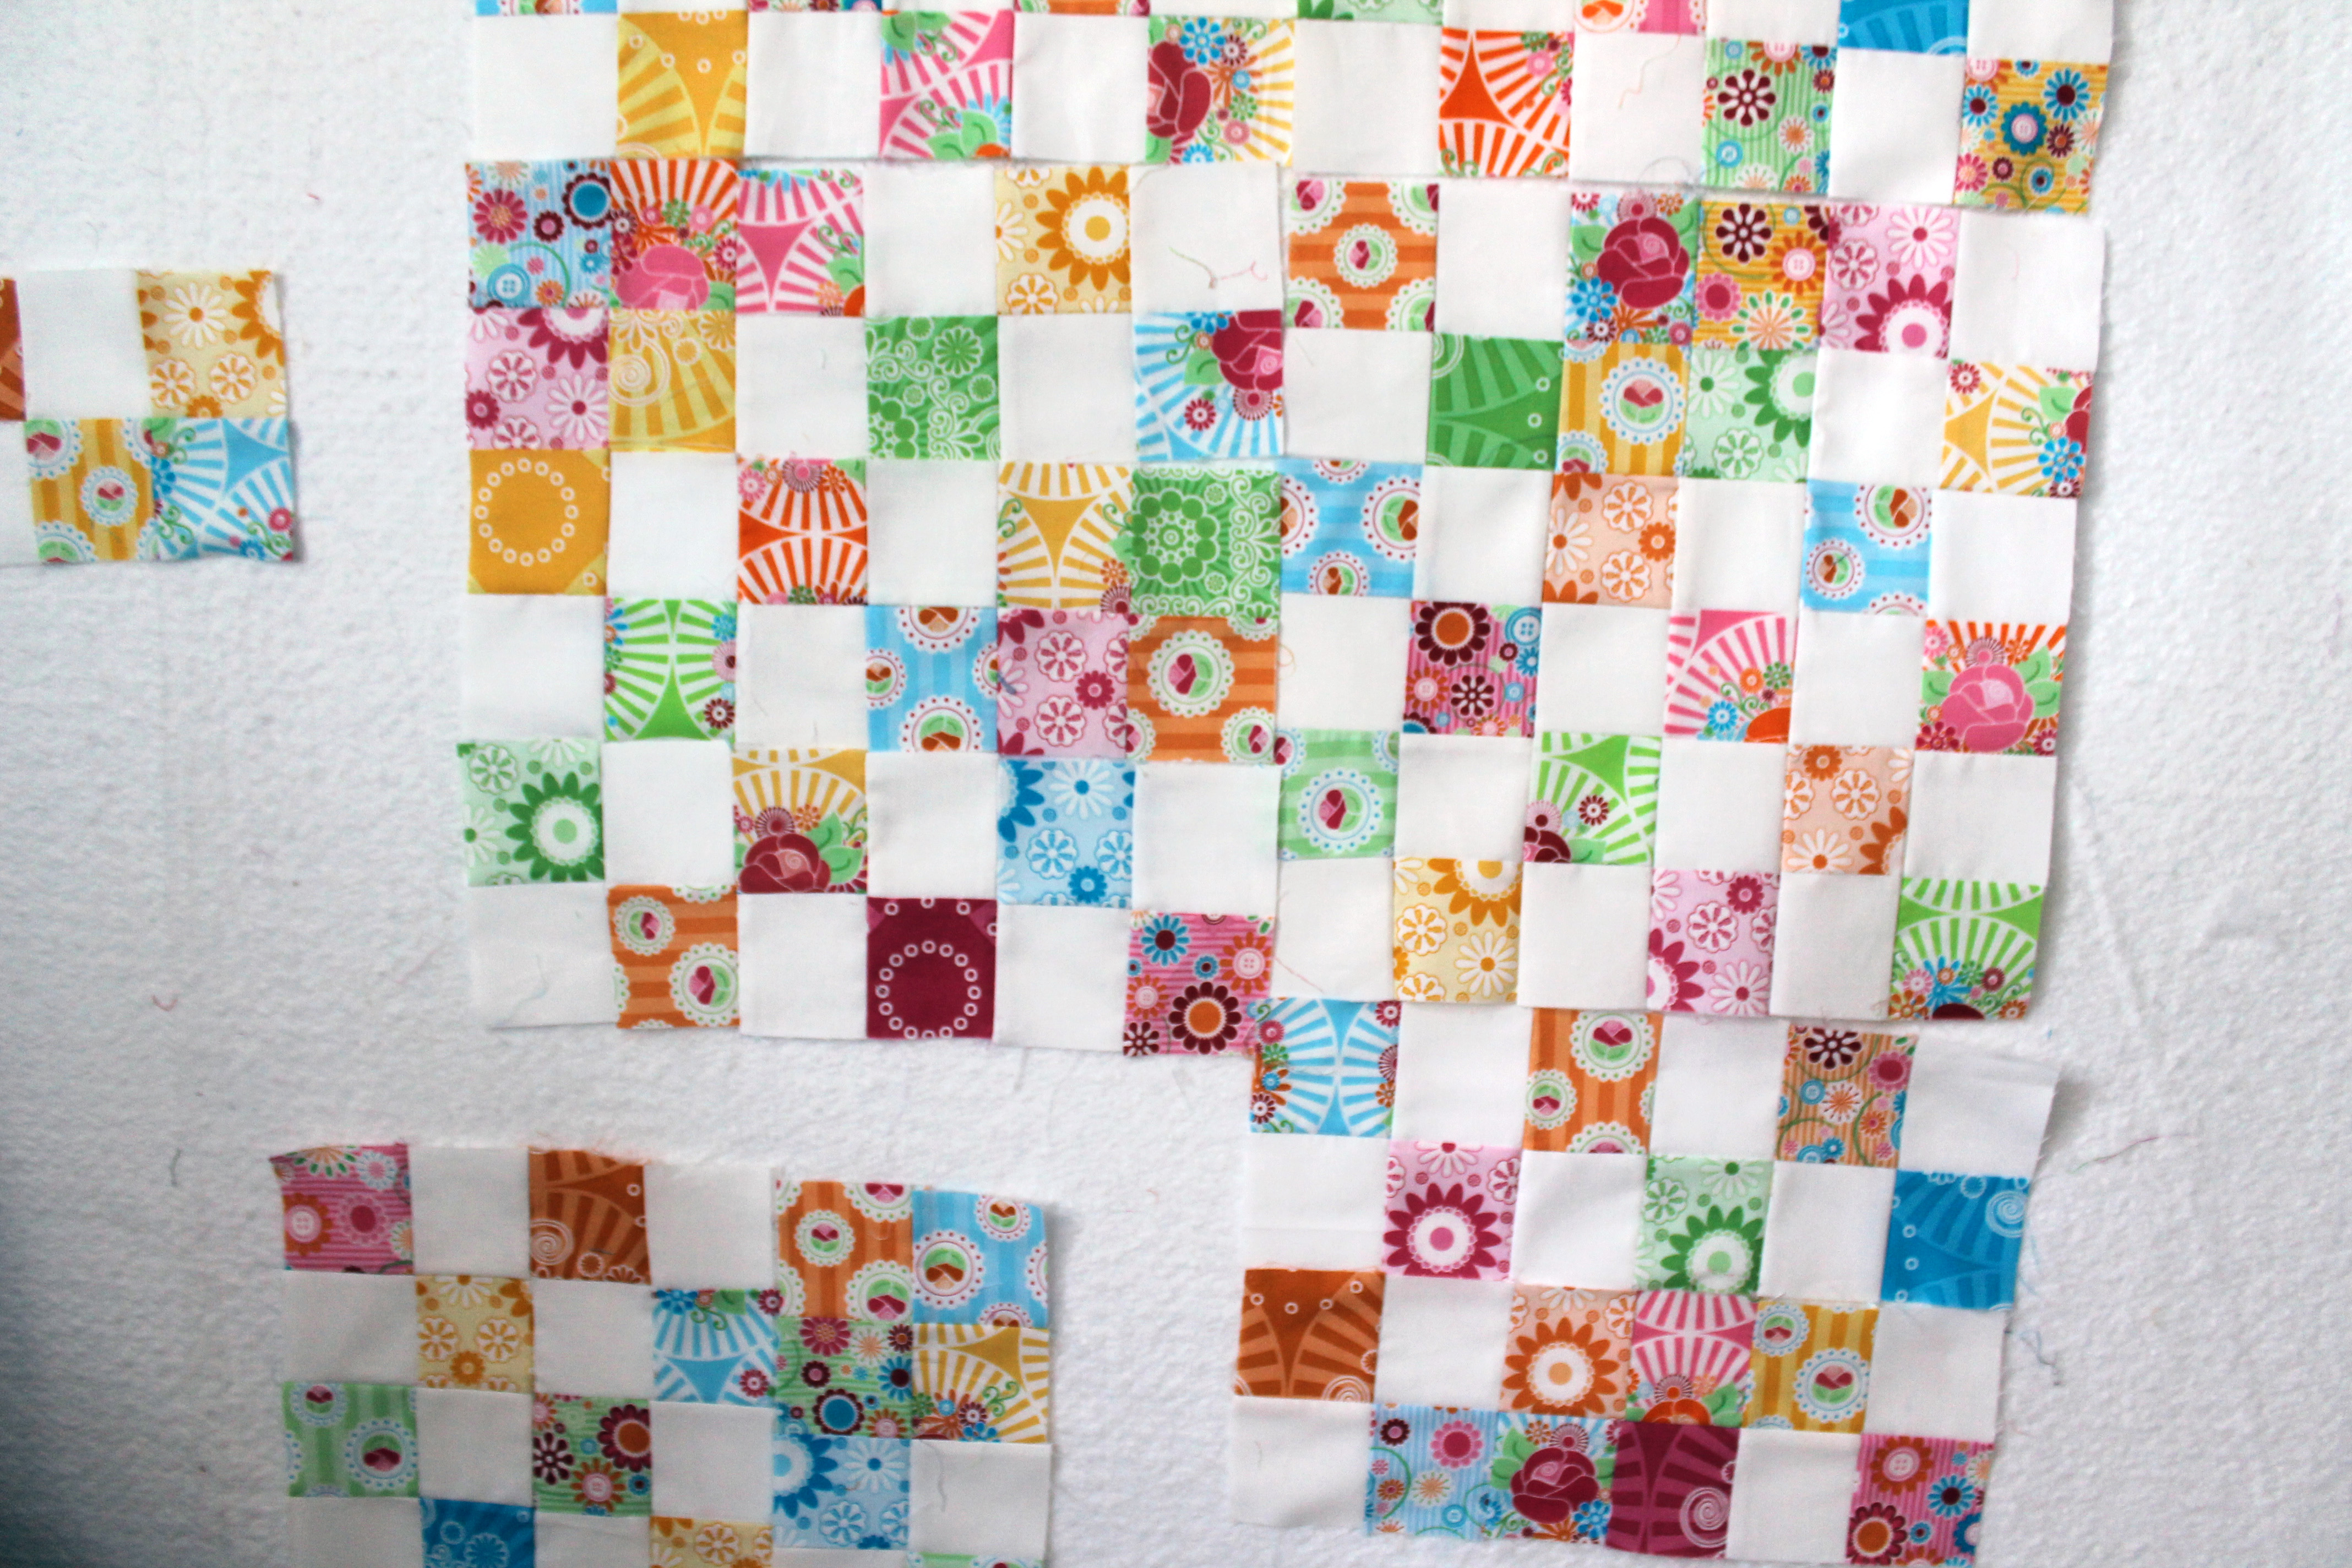
For both quilts I used my stash of 3 inch squares but backed and quilted each one differently.  For the challenge we were give some minky plush fabric, which I used for backing this yellow and pink quilt.  It is lovely and soft but a bugger to quilt.  I tried doing some free motion on this quilt but the stretch of the backing fabric made it impossible.  So I unpicked the mess and went with my trusty straight lines.

aqua wonky star doll quilt

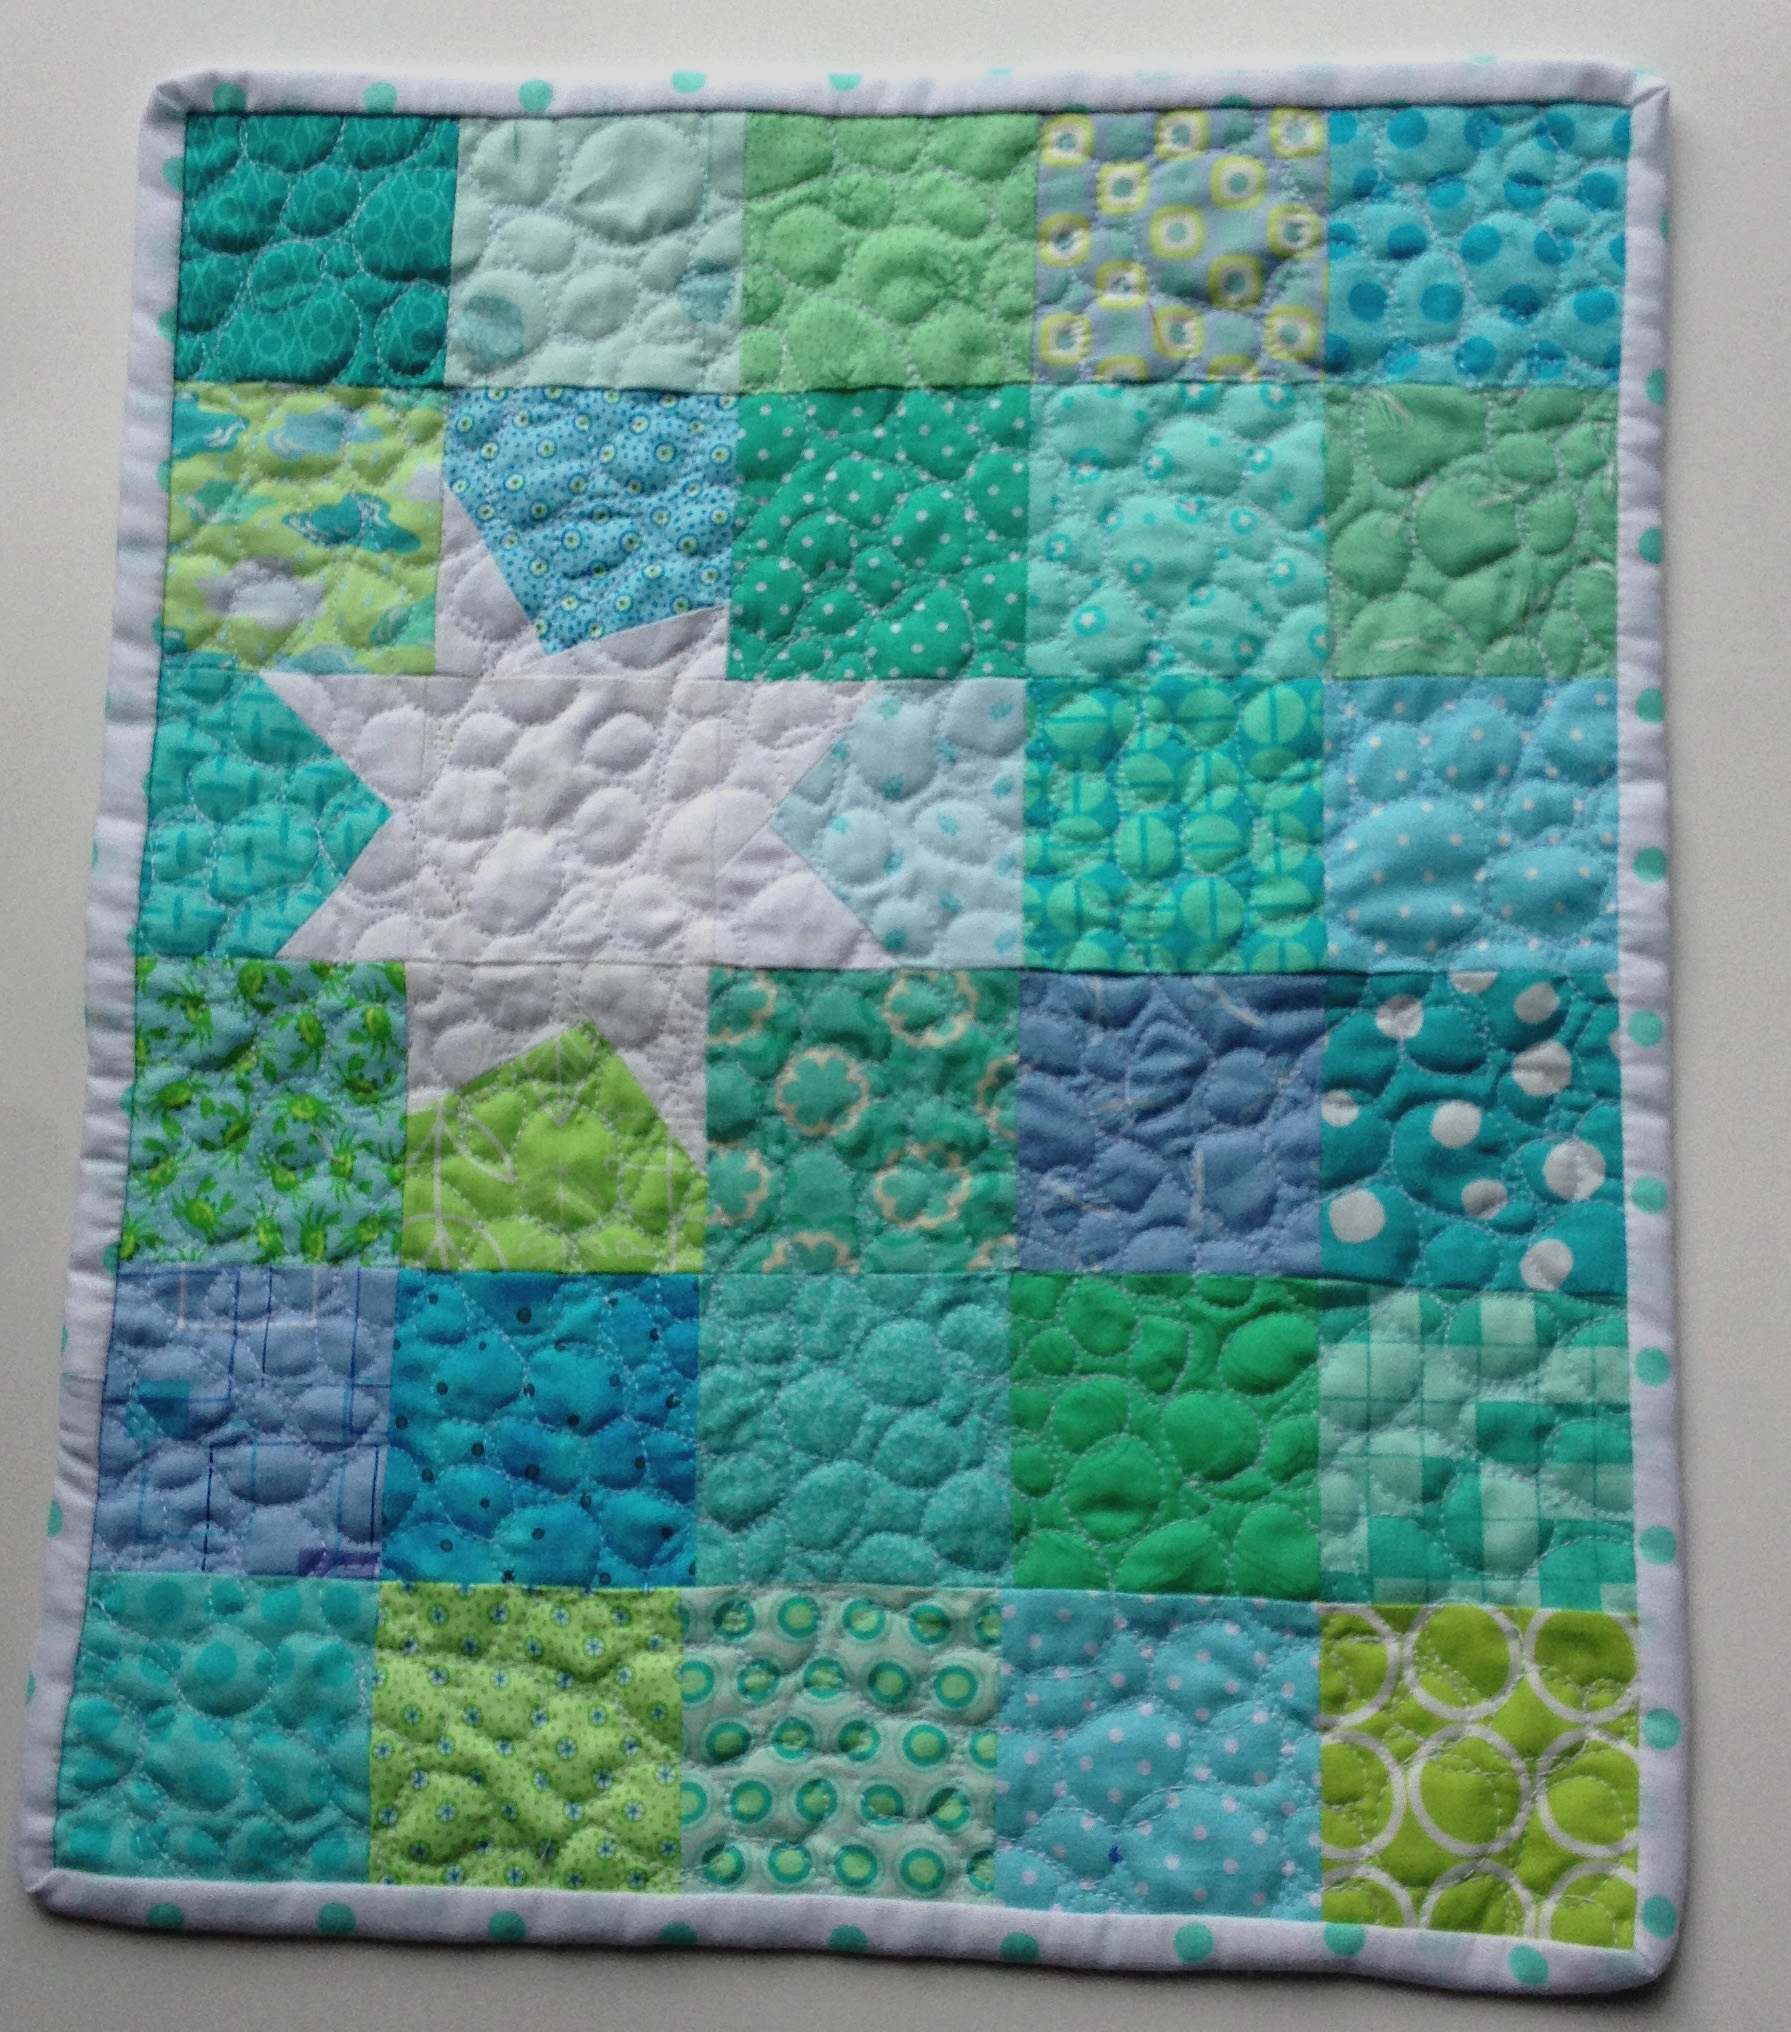
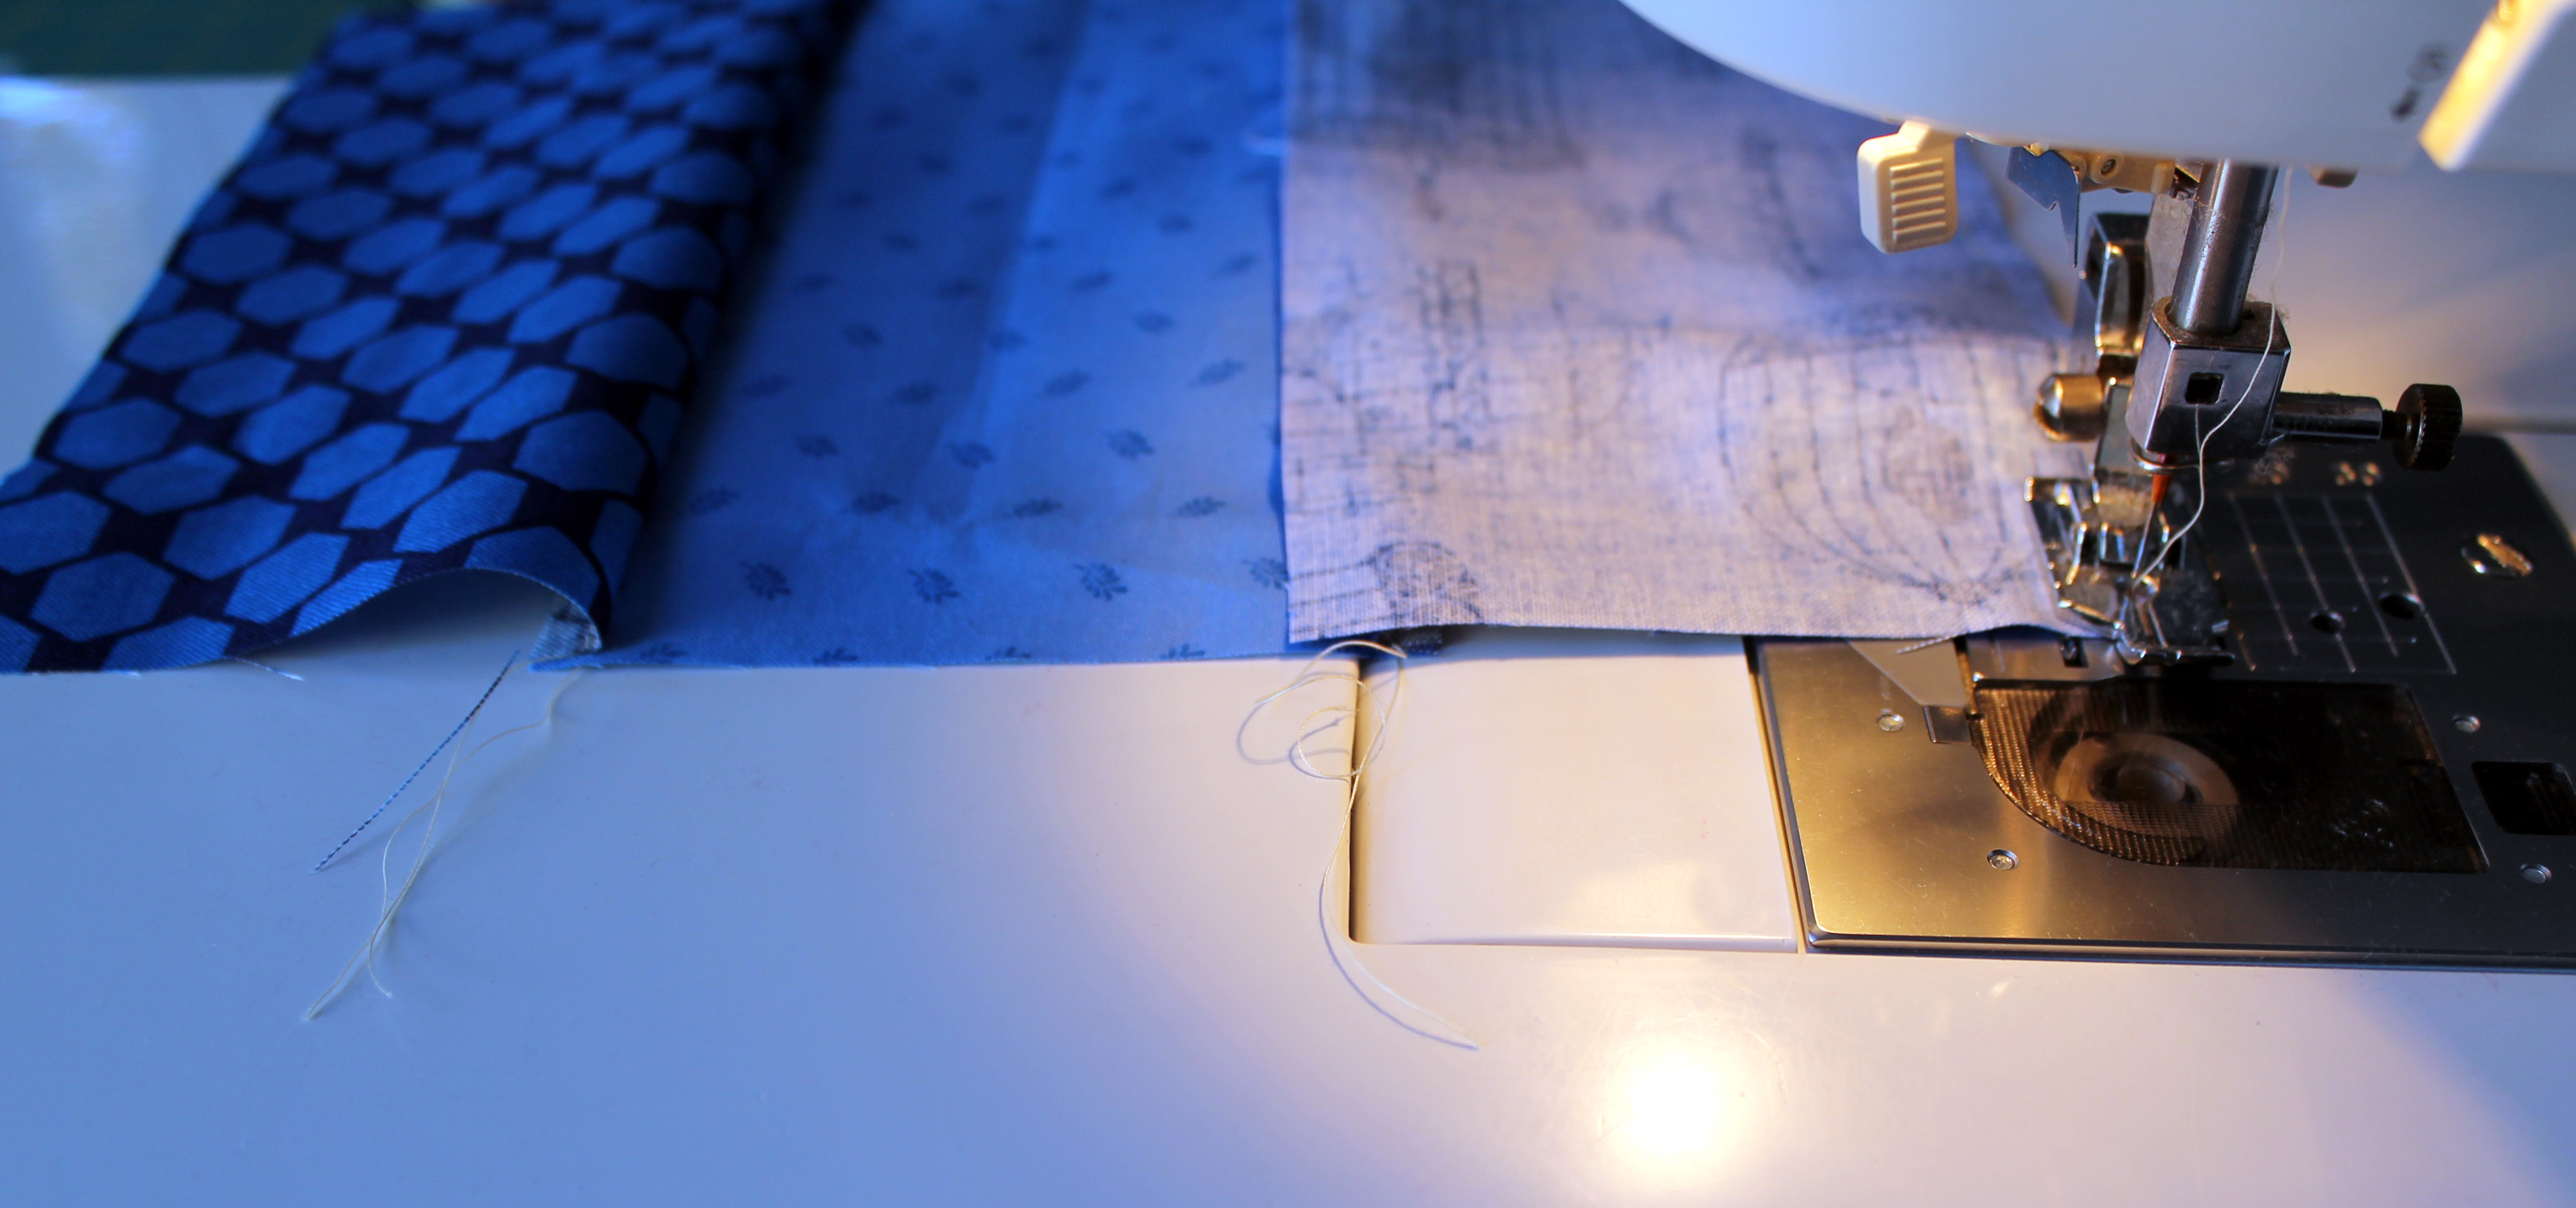
For my second quilt I used a standard cotton fabric backing and did my first attempt at free motion quilting.  I pebbled this sucker to within an inch of its life.  I really liked the flow of doing pebbles but I find the idea of doing a whole quilt this way daunting.  I think I have found my next challenge.

The back of this quilt is so much fun… because it is for a Ballet fundraiser I had to use this old fabric from my stash…

quilt back

Yep those are pigs in tutus.  This is the photo where I really wish my camera was working so you could really see the joy that is ballet dancing pigs.

I am borrowing a friends Digital SLR while mine is being fixed, so I promise this is the only post with dodgy photos.

Playing with Urban Chickens

To celebrate this years Pacific North West MQG Meet up our fearless leader,  Michelle Freedman designed a fun modern block to celebrate… the Urban Chicken.  During the Meet Up we did a charity sew day where chickens ran wild.

Charity Sew Day Urban Chickens

This week I decided to dust off the pattern card and make my own Urban Chicken quilt… below is my plagiarized, annotated and updated version of Michelle’s original pattern.

For each block you need:

1.  Four (4) different shades of the same colour – I decided to stick to green, blue & yellow

2.  White or off white fabric – I pulled all my scrap bag of solid whites out.

Then it is off to work making a block….

1.   Cut one  3 ½ inches  x 14 ½  inches strip of each of your four coloured fabric.  I added an extra 1/2 inch to the strips from the original pattern to allow for some wiggle room (ie. mistakes).

layout strips

2.  From these strips cut one 3 ½ inches x 3 ½ inches  and set aside these squares.

cut square off strip

3.  Sew the four 10 ½ inch strips together using 1/4 inch seam allowance.  Press the seams to one side in the same direction.

sewing strips together

.4. Sew the long ends together to form a tube… these next steps are the same as you would do for a Trip Around quilt.

5.  Subcut the tube into three 3 ½ inch wide units… this is where the excess 1/2 inch of fabric on the strips comes in handy for me.

cut tube

5.  Carefully use the seam ripper to open each unit at a different place.  Arrange the three rows as you like, nesting the seam allows and sew together.  Press the seams open or to alternating sides.

strip blocks ready to go

Then to make the chickens….

1.  Using your white scraps or some generously cut white strips (no smaller than 2 ½ wide) and the four coloured squares you had set aside make some wonky triangles.

set aside squares

2.  Place the white fabric strip over the 3 ½ x 3 ½ inch square right sides together – angling the white fabric from just past center of the square to one corner of the square.  Repeat on the other side.  Do this for all four coloured squares.

chicken pieces for trimming

3.  Press seams on your chicken unit and square it up to the original 3 ½” x 3 ½” size.  When trimming make sure that the top of the triangle has a ¼ inch seam of white.  This will allow you triangles to come to a clean point (learnt this one the hard way).

trim chickens

4.  Arrange your chickens as you like and sew them together to form the fourth strip of the block.

urban chicken block

You can stitch your chickens to either side of your solid blocks.

Urban chicken block 4

5.  Make sure you square off your completed block ensuring it measures  12½”” by 12½”.

To add some variation to your Urban Chickiens, Michelle suggests doing some blocks up without the chickens… that is blocks of just 4 x 4 coloured squares.

I am now off to add some more chickens to my coup.  I am really having fun with this quilt and can not wait to have a finished quilt top to show.

A Yummy work in progress

Last weekend I took part in the Pacific Northwest Modern Quilt Guild Meetup – quite a mouthful hey!  Guilds from around the Pacific Northwest gathered in Portland to meet, sew and basically have a great time.  It was a lot of fun and I meet some amazing quilters.  One of the events on Saturday was a charity sew day at Modern Domestic.  I spent several glorious hours using an amazing Bernina Sewing machine making these…

Yummy quilt block

As part of the goodie bag for the Meetup there was small packets 2 1/2 squares of Lecien’s “Happy Mochi yumyum” fabric (Monica, the designer of these fun fabrics is a Portland MQG member).

little bags of fabric

I gathered my packets, hunted down some of the spare packets that were left over and then bribed some more packets from some friends.  Finally when I thought I had enough, I went to work.

blocks in progress

I paired the fabric with some Kona “Snow” and happily sat chain piecing and ironing for hours.  I managed to get 4 blocks of 12 done during my time at the Sew Day, then bought the whole process home to finish.

work space

There is Yumyum all over my work space, which is fine with me.  It is such a happy fun fabric and works well in 2 1/2 inch squares.

design wall 2

I am hoping to have the top finished by Friday, so I am off to quilt some more.