Another group effort…

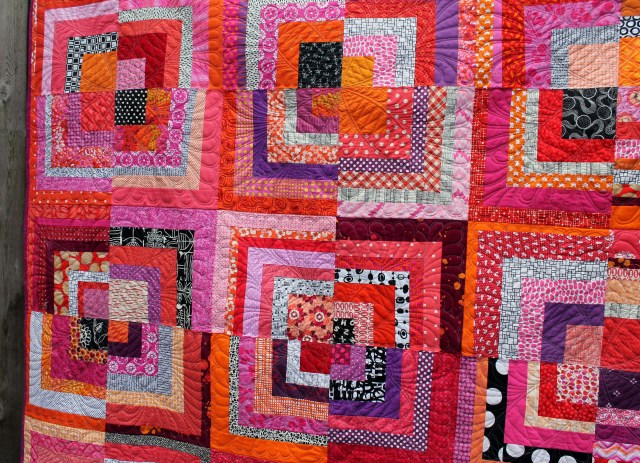
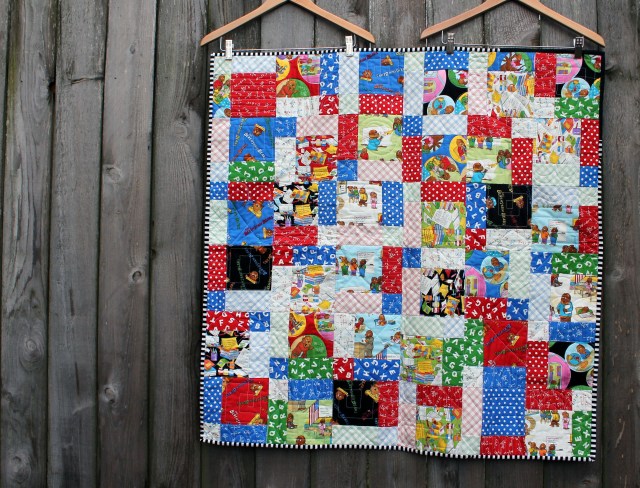
I wanted to share another one of Portland Modern Quilt Guild’s charity quilts… the blocks for this quilt were made in October 2014 and we now have a beautiful finished quilt….

pink cross quilt

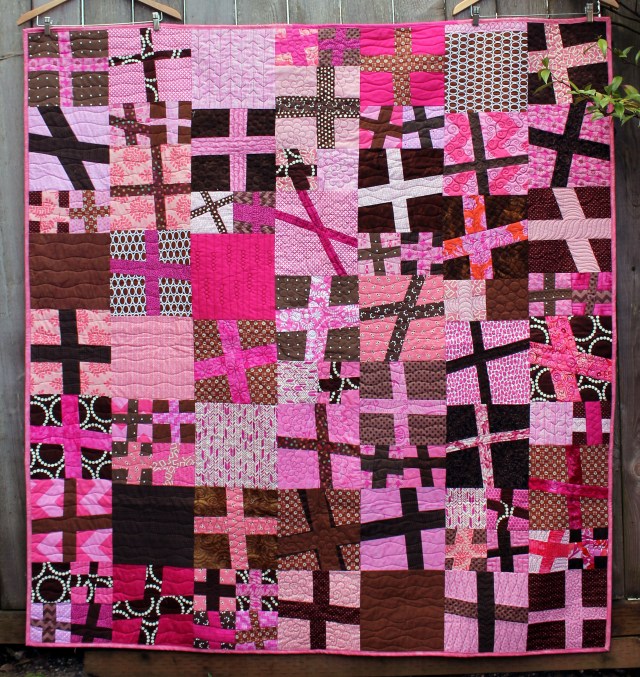
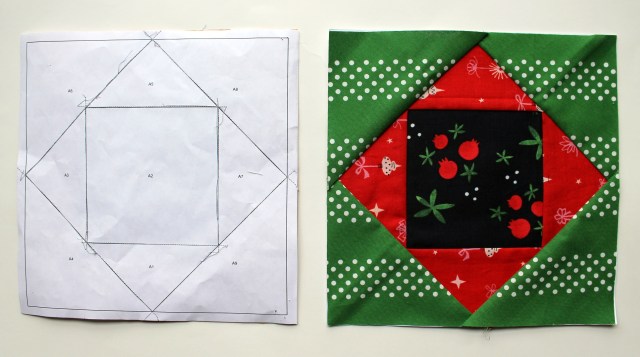
I love the wonky cross block for group sewing because it is so easy to make… with lots of wiggly room and creative options for any miss-sizing issues.

pink cross quilt detail 2

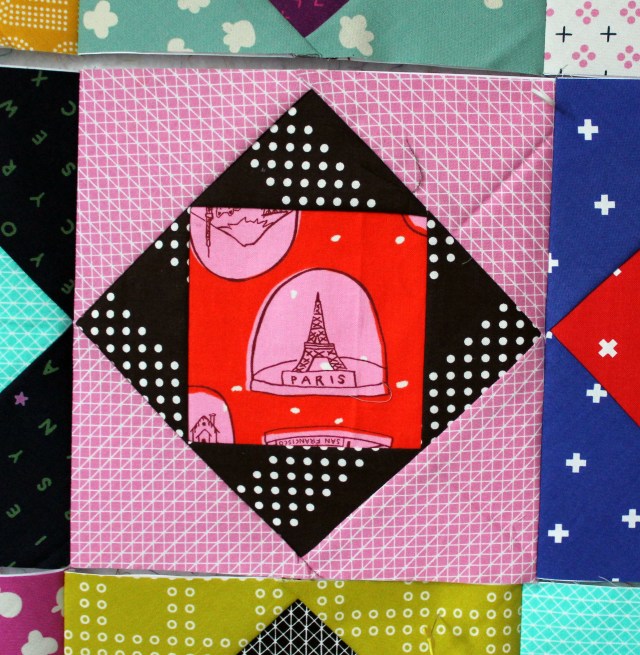
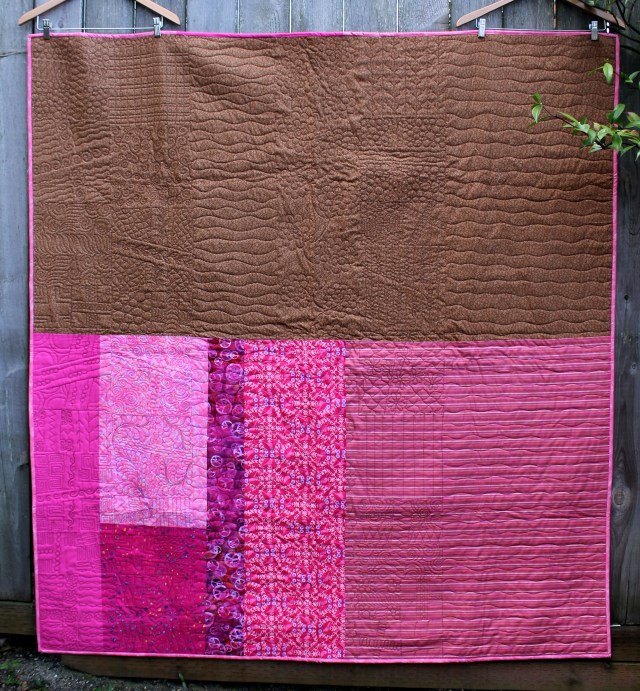
I love the pink and brown colour combination… the brown tones down the pink so the finished quilt does not feel to bubblegum or over girlie…

pink cross quilt detail 3

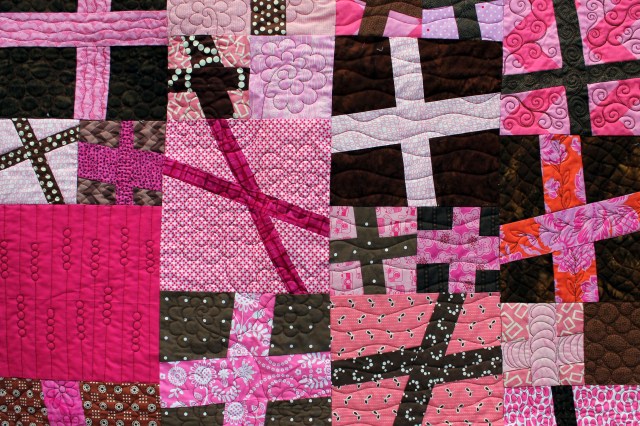
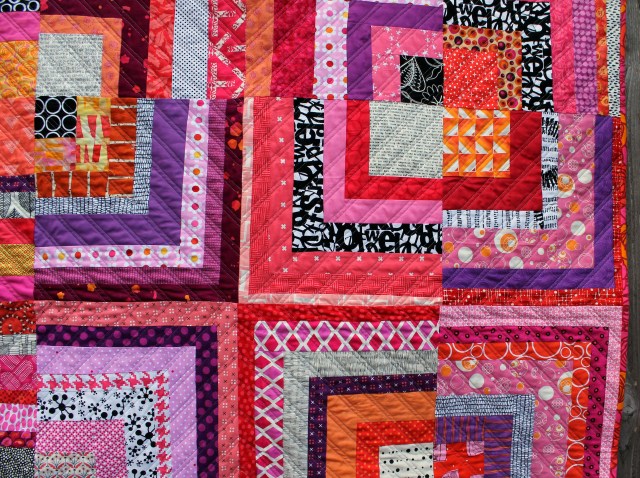
When we were putting the quilt top together we also used some solid squares of fabric to give the eye somewhere to rest…

pink cross quilt detail 4

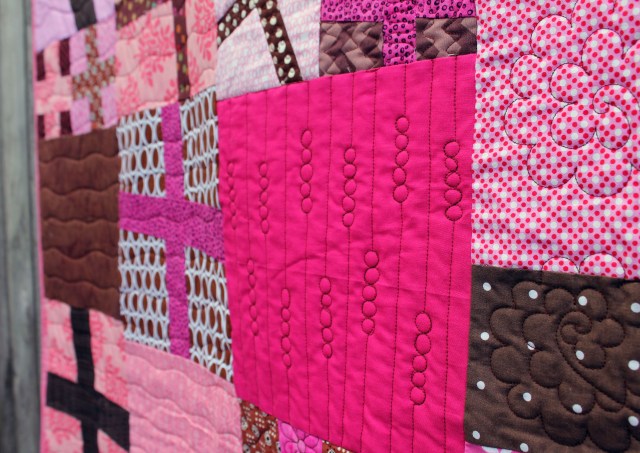
…which also gave our fabulous quilter, Coleen Bernhardt from the Quilted Thistle, room to play.

quilting detail

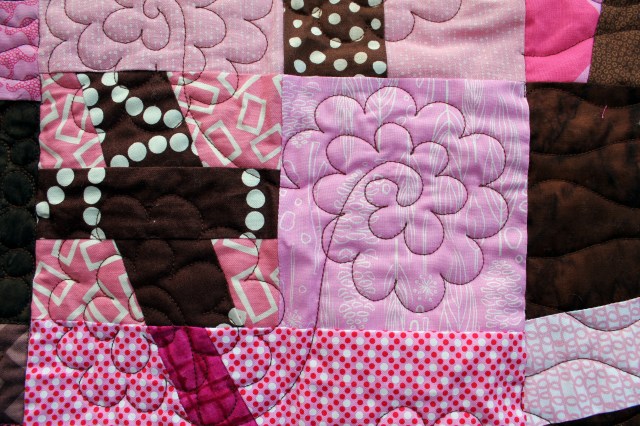
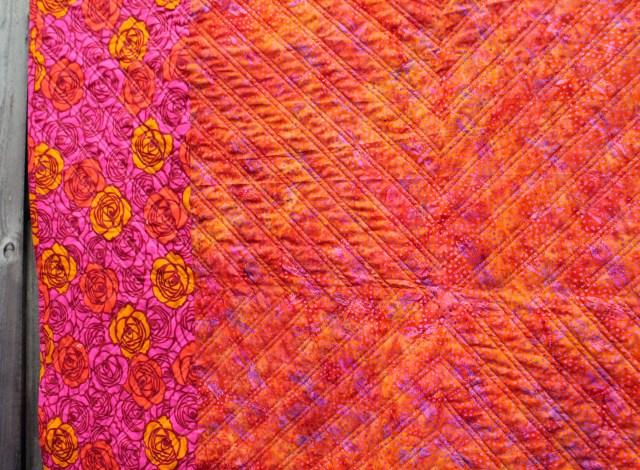
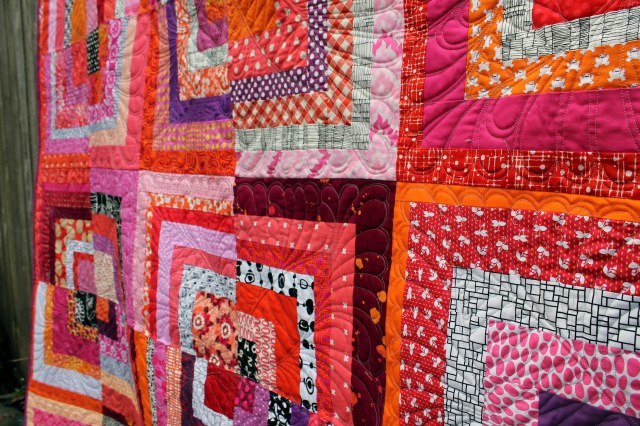
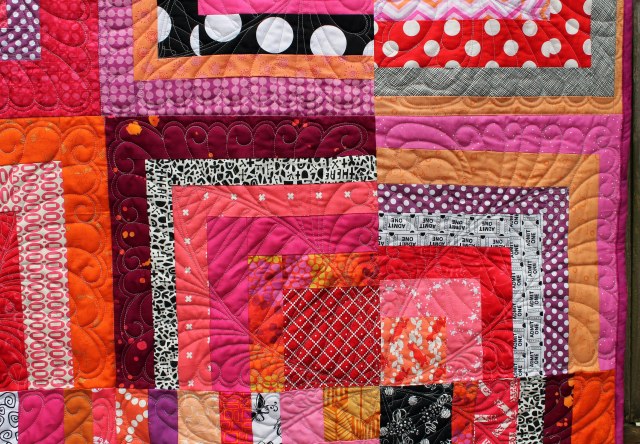
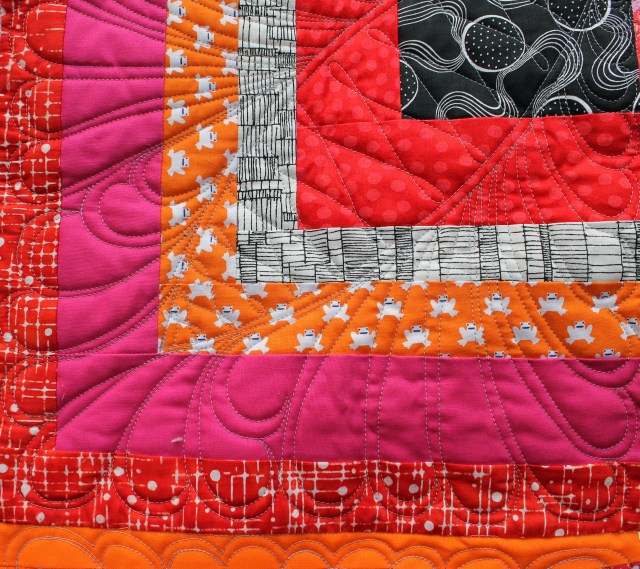
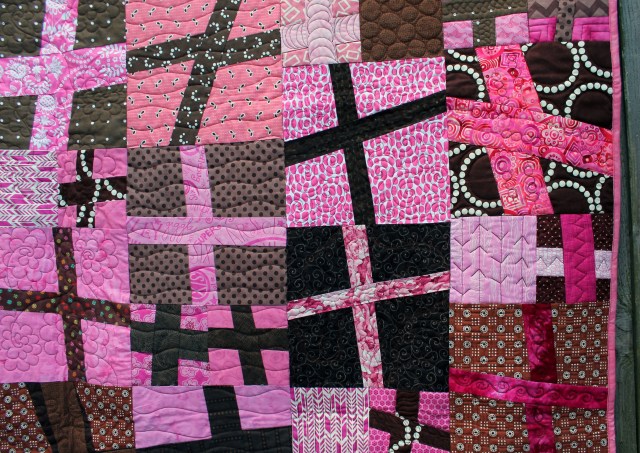
And Coleen really had fun and the back of the quilt shows just how much variety she put into the blocks…

quilting detail 4

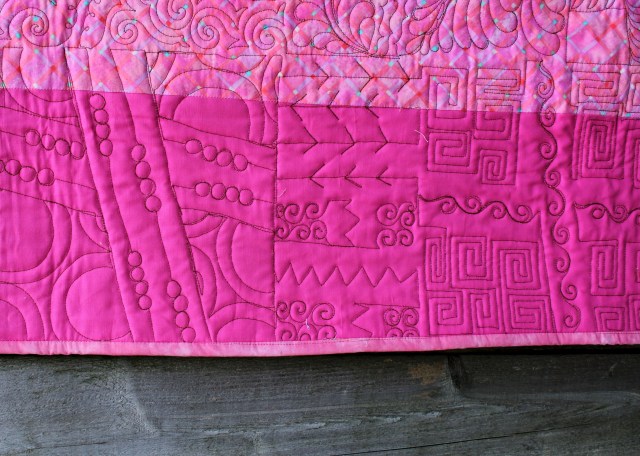
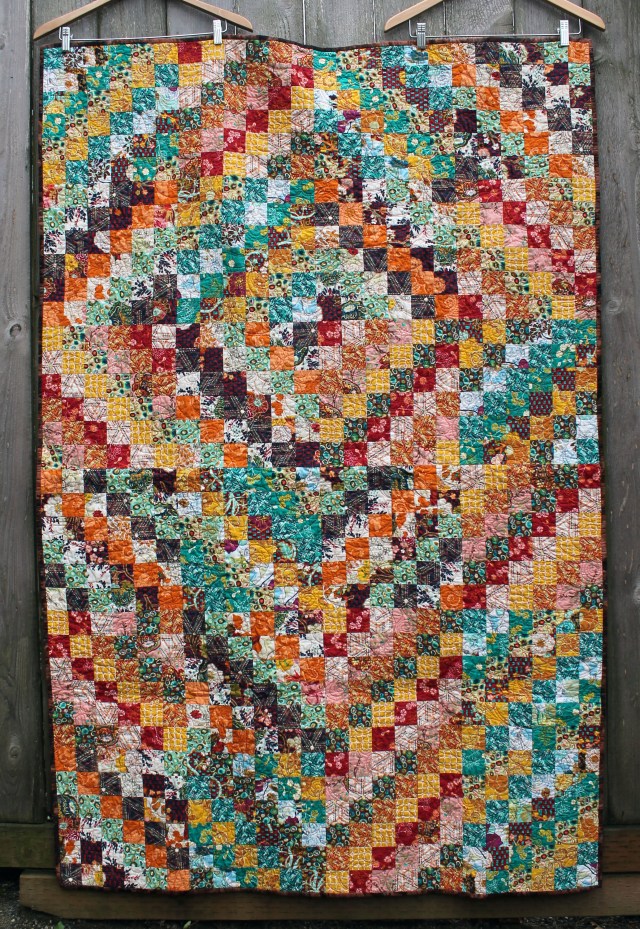
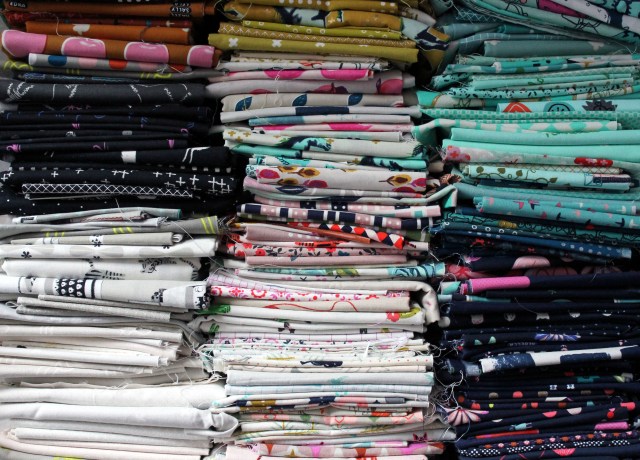
For the back of the quilt I pieced together a collection of brown and pink scraps…

quilt back

Add some binding and you have another wonderful quilt ready to give some comfort.

Spring is in the air…

Today I am sharing another PMQG charity quilt… and although this one is from our Charity Sew Day in September last year, it seems seasonal appropriate to share it now…

flower garden quilt copy

I call this the Flower Garden quilt, and it is made up of a piece of just about every floral fabric every donated to the Charity program…as well as a few from my scrap bin…

flower garden quilt detail

The floral squares are in three sizes, all of which work nicely together… 8 inches, 3 inches and 5 1/2 inches unfinished.

flower garden quilt detail 2

Each quilt block that was made was 15 1/2 inches unfinished… allowing each sewer to put together what ever combination of blocks they wanted too to get to the allotted size.

flower garden quilt detail 3

The left over blocks were sewn together to make part of the quilt backing….

flower garden quilt back

As with nearly all the Guild charity quilts, one of our talents long armers weaved their magic to finish things up…

flower garden quilting detail

Jolene chose an all over vine pattern, which works beautifully with the floral theme of the quilt….and viola we have another wonderful finished quilt ready to go out into the world and do some good.

As always thanks to the wonderful Guild members who donated their time, fabric and skills….

The joy of quilting with others…

This week I am going to showcase some of the amazing quilts that the Portland Modern Quilt Guild has made as part of its Charity Program.  The PMQG has a pretty active Charity arm and once a month we meet to make quilt blocks for one of our selected causes… our January get together produced this beauty…

half log cabin quilt

During the Sew Day we made a pile of half log cabin blocks…using pink, orange, red, purple and black & white stripes.  Each blocks started with a center square and we then sewed out until we reach 12 1/2 x 12 1/2 inches (or trimmed down if we got a little carried away)…

half log cabin blocks

At the end of the day we had enough blocks to make a big (70 x 70) and a small (48 x 48) quilt…

small quilt

Bright, loud and fun were the words of the day…

half log cabin quilt detail 3

The two quilts were then sent out to two of our Guild members who did a wonderful job quilting them… the small quilt has a straight line pattern that radiates out from the center of the quilt…

small half log cabin quilt detail

The back of the quilt gives you a good view of the overall pattern… I love how effective this quilting is with this block… and I extra love that I could achieve this effect with my home machine, a ruler and Frixon pen.

small quilting detail

On the large quilt each four block section has an amazing feathering pattern on it…

quilt detail

Kazumi, who quilting the large top, used a ruler set to create the wonderful motifs in each section…


half log cabin quilt detail 2

The quilting is so pretty and detailed… and totally beyond my skill level….

quilting detail

Both quilts are so bright and fun, and the light touches of black and white stop the them from being too obviously loud and garish.  They will shortly go out into the world and provide some warmth, comfort and colour in some kids life.  Thanks to all who donated fabric, made blocks or quilting these beauties.


A special selection…

It has been quite a while since I have posted photos of some of the charity quilts that members of the Portland Modern Quilt Guild have made, so I hope you will indulge me as I share some of the recent projects…

trip around quilt

First up is a scrappy trip along top… the blocks and extra fabric was donated to the Guild by the wonderful Elsa and all I had to do sew the blocks together and make the back….

trip around quilt detail 3

We put this top on the long arm at one of our Charity Sew Days and a number of people had a blast quilting flowers all over it….

quilt back

And for the back of the quilt I pieced together the left over fabric and a few extra fat quarters and viola…

Bernstein bears quilt

Another donation to the Charity program was a couple of charm packs of fun Bernstein Bear fabric, which were easily turned into disappearing nine patch blocks…

Bernstein bears quilt detail

This fabric is so fun and bright not to much was need too make a fabulous kid friendly quilt…

orphan block quilt

And it would  not be a Charity quilt showcase without some orphan block quilts starting with this fun number.

orphan block quilt detail

I love all the quilting on this quilt….each block has a different pattern but all the pattern use straight lines.

orphan star quilt

And last but not least is this orphan block quilt that one of our wonderful members, Juline, put together.  I love Juline’s use of negative space with this quilt… she made a handful of similar blocks into a wonderful modern quilt.

I will try and get some photos of our group quilts up in the next couple of days as well, if the Portland weather permits.


Enlarging Paper Patterns

Over the last week or so I have been slowly putting together another Economy block quilt, this time using my stash of Cotton and Steel fabric…

part of my cotton and steel stash

As Cotton and Steel releases more lines, my stash has grown, as has my love for the modern fabric line.  While I was at Quilt Con I managed to snag and huge bag of scraps, which the Cotton and Steel ladies wrapped in a darling canvas tote bag.    It was as I was unpacking the scrap bag that I realised I just HAD to make an economy block quilt using all the fabulous fussy cutable prints.  I had made a small version last year for a swap…

Economy block mini quilt copy

…but my three inch block pattern was not going to be enough to capture some of the prints I wanted to highlight, so I enlarged the pattern to 7 1/2 inches… and got to work…

enlarged economy block

Now I have the luxury of being able to pull the pattern from my EQ program and just select “Print at 7 1/2 inches” but that is not the only way you can enlarge paper piecing patterns.  Before I had EQ I would enlarge my patterns by:

  1.  Cutting out the block pattern I wanted to enlarge, putting it on the photocopier and selecting enlarge pattern X percent.
  2. Dragging a JPEG of the image into either word or Photoshop, opening a new clean letter or A4 sized document and scaling the pattern using to fit the sheet of paper.

pretty print

Now with all these tried and tested techniques getting accurately sized blocks can be tricky, particularly if math is not your strong suit.  Luckily for us there are some tools out there that can help like this Enlargements/Reductions chart...

favorite block

Now I must admit when I am doing an all over block, like I did in this quilt, I do not worry about the exact size of the block.  I am not trying to match the block to anything other than an exact replica of itself so if the block is 7.689 inches wide it does not matter.  I just scale the block to get it as big as I can on a page.

block detail

Actually many of my finished paper pieced quilts are really weird sizes because my blocks fitted on a Letter or A4 sheet at a unconventional size.    Now if you want to try this yourself with this block you can download my 3 inch version or play with the jpeg in my first Economy block post which you can find here

my design wall

But remember when you reduce or enlarge a pattern you should always maintain a 1/4 inch seam allowance around your pattern pieces…. remember to trim your blocks with a ruler and rotary cutter for accuracy…

trimming block

So now you can go forth and shrink patterns for that mini quilt swap or enlarge them to make a cushion cover….