Playing with dolls – wip Wednesday

Recently the Portland Modern Quilt Guild set it’s members a challenge to make Doll Quilts to help raise money for the  Oregon Ballet Theater.  I had never made a doll quilt before and it seems like a great way to practice my free motion quilting while helping out a good cause.

So I started with some 3 inch squares and came up with these…

Doll quilt wonky star

Aqua star doll quilt

What is so strange about both this little quilts is that they have made 3 inch blocks seem too big.  I am going to have to go smaller – which scares me a little, but should be interesting.

I have also started playing with some 1001 Peeps scraps I had and have this little wip on my design wall.

1001 Peeps doll quilt

Just in case you were wondering why I am supporting this cause so vigorously…

206652_17937208024_2981_nYes that is me in my bright pink tutu!


Another log cabin done and dusted…

I managed to get my Blush log cabin quilted and bound this week.  I am so thrilled with how this quilt finished up and can not wait to see how it washes.

scrap log cabin quilt

I quilted Blush using the diagonal lines of the log cabin block as a guide.   I love how the how this simple quilting adds extra interest to the log cabin.

blush quilting detail

I must admit I am looking forward to trying some of the free-motion techniques I learned last week at the PMQG Meet Up, but I have a few weeks before my wrist is up for the challenge.  So the next few quilts will involve straight lines in some shape or form and in the meantime I will do my free-motion exercises in my new graph paper note-book.  As instructed by Rachel (of 2nd Ave Studios) I will be using pen only for the doodling. No erasing.

blush quilt detail 2

I found the perfect fabric piece in my stash for the back of this quilt – the Weekend by Erin Morris fabric worked perfectly with a little bit of pink supporting fabric.

blush quilt back

The final touch was a solid binding in Magenta which just bought the whole quilt together.

quilt bindingNow I am just a few stitches away from finishing my Yummy quilt so it is back to the sewing machine.

I am linking up with Crazy Mom Quilts and TGIFF.

Flying Geese Paper Piecing Monday style

This week I am taking a short break from my grey sampler quilt to share a little Bee crazy with you.  I was super excited to recently joined a do.good. Stitches circle.  I excitedly did the first blocks for my Bee, forgot to photograph them and then sent them to the wrong person.  I was off to a flying start with the group!

Then the August block was posted and I must admit I gasped a little.  This is why – 3 inch flying geese culminating in a 12 inch block with 96 pieces…

paper pieced flying geese mini block

The requested blocks were from Liesel Made’s crazy mini patchwork sampler series.  You can find the original post here.  As I read the instructions for making the block I thought there had to be a way to make this which was not going to freak me out.  My answer was of course  PAPER PIECING!  Paper piecing was the only way I personally was going to be able to make those precise little triangles.

So I pulled out my graph paper and made a pattern.

block components

In the end these were fun blocks to make.  I used up lots of little scraps which always makes me happy and messed with the triangle layout a little.  If you want to make this block the paper way, please feel free to use my graph paper pattern – 3 inch Flying Geese pattern.

Next week it will be back to our regularly scheduled program.

Star String quilt top finished

I am so thrilled to have finally finished my star string quilt top… and extra thrilled that it turned out exactly like I pictured it.  So without further ado, here she is in all her scrappy wonderfulness…

free quilt pattern modern star

I must admit my strong feelings about this quilt maybe effected slightly because I designed the quilt block.  You can find the free paper piecing pattern and details about my  inspirations here on the original post.

quilt top detail

I had a lot of fun making this quilt slowly, piece by piece.  Using colour pencils and paper I worked out each square in advance.

cross block wip

The central stars are made from lots of little bits from my scrap pile.  The black and white fabrics were a little bit of scrap pile and a lot of stash cutting.

star string block close up

I wanted bright colours for the stars and mainly worked with red, yellow, orange, blue, green and purple with a smattering of apricot, fuchsia and citron.

star string quilt detailThe finished quilt top is 62 inches square – five blocks across five blocks down.  This of course meant there was a lot of paper to pull off the back.

paper piecing pile

I am now off to vacuum up the paper and thread pieces that are littered all over our living room floor, before my husband comes home!

I do not love it… but

If you are like me, you have some quilt blocks, tops or even finished quilts that you really do not like.  You had a great idea, a vision in your head and what you have ended up with has fallen a little short.  What do you do with these quilt projects?

modern scrap easy kids quilt

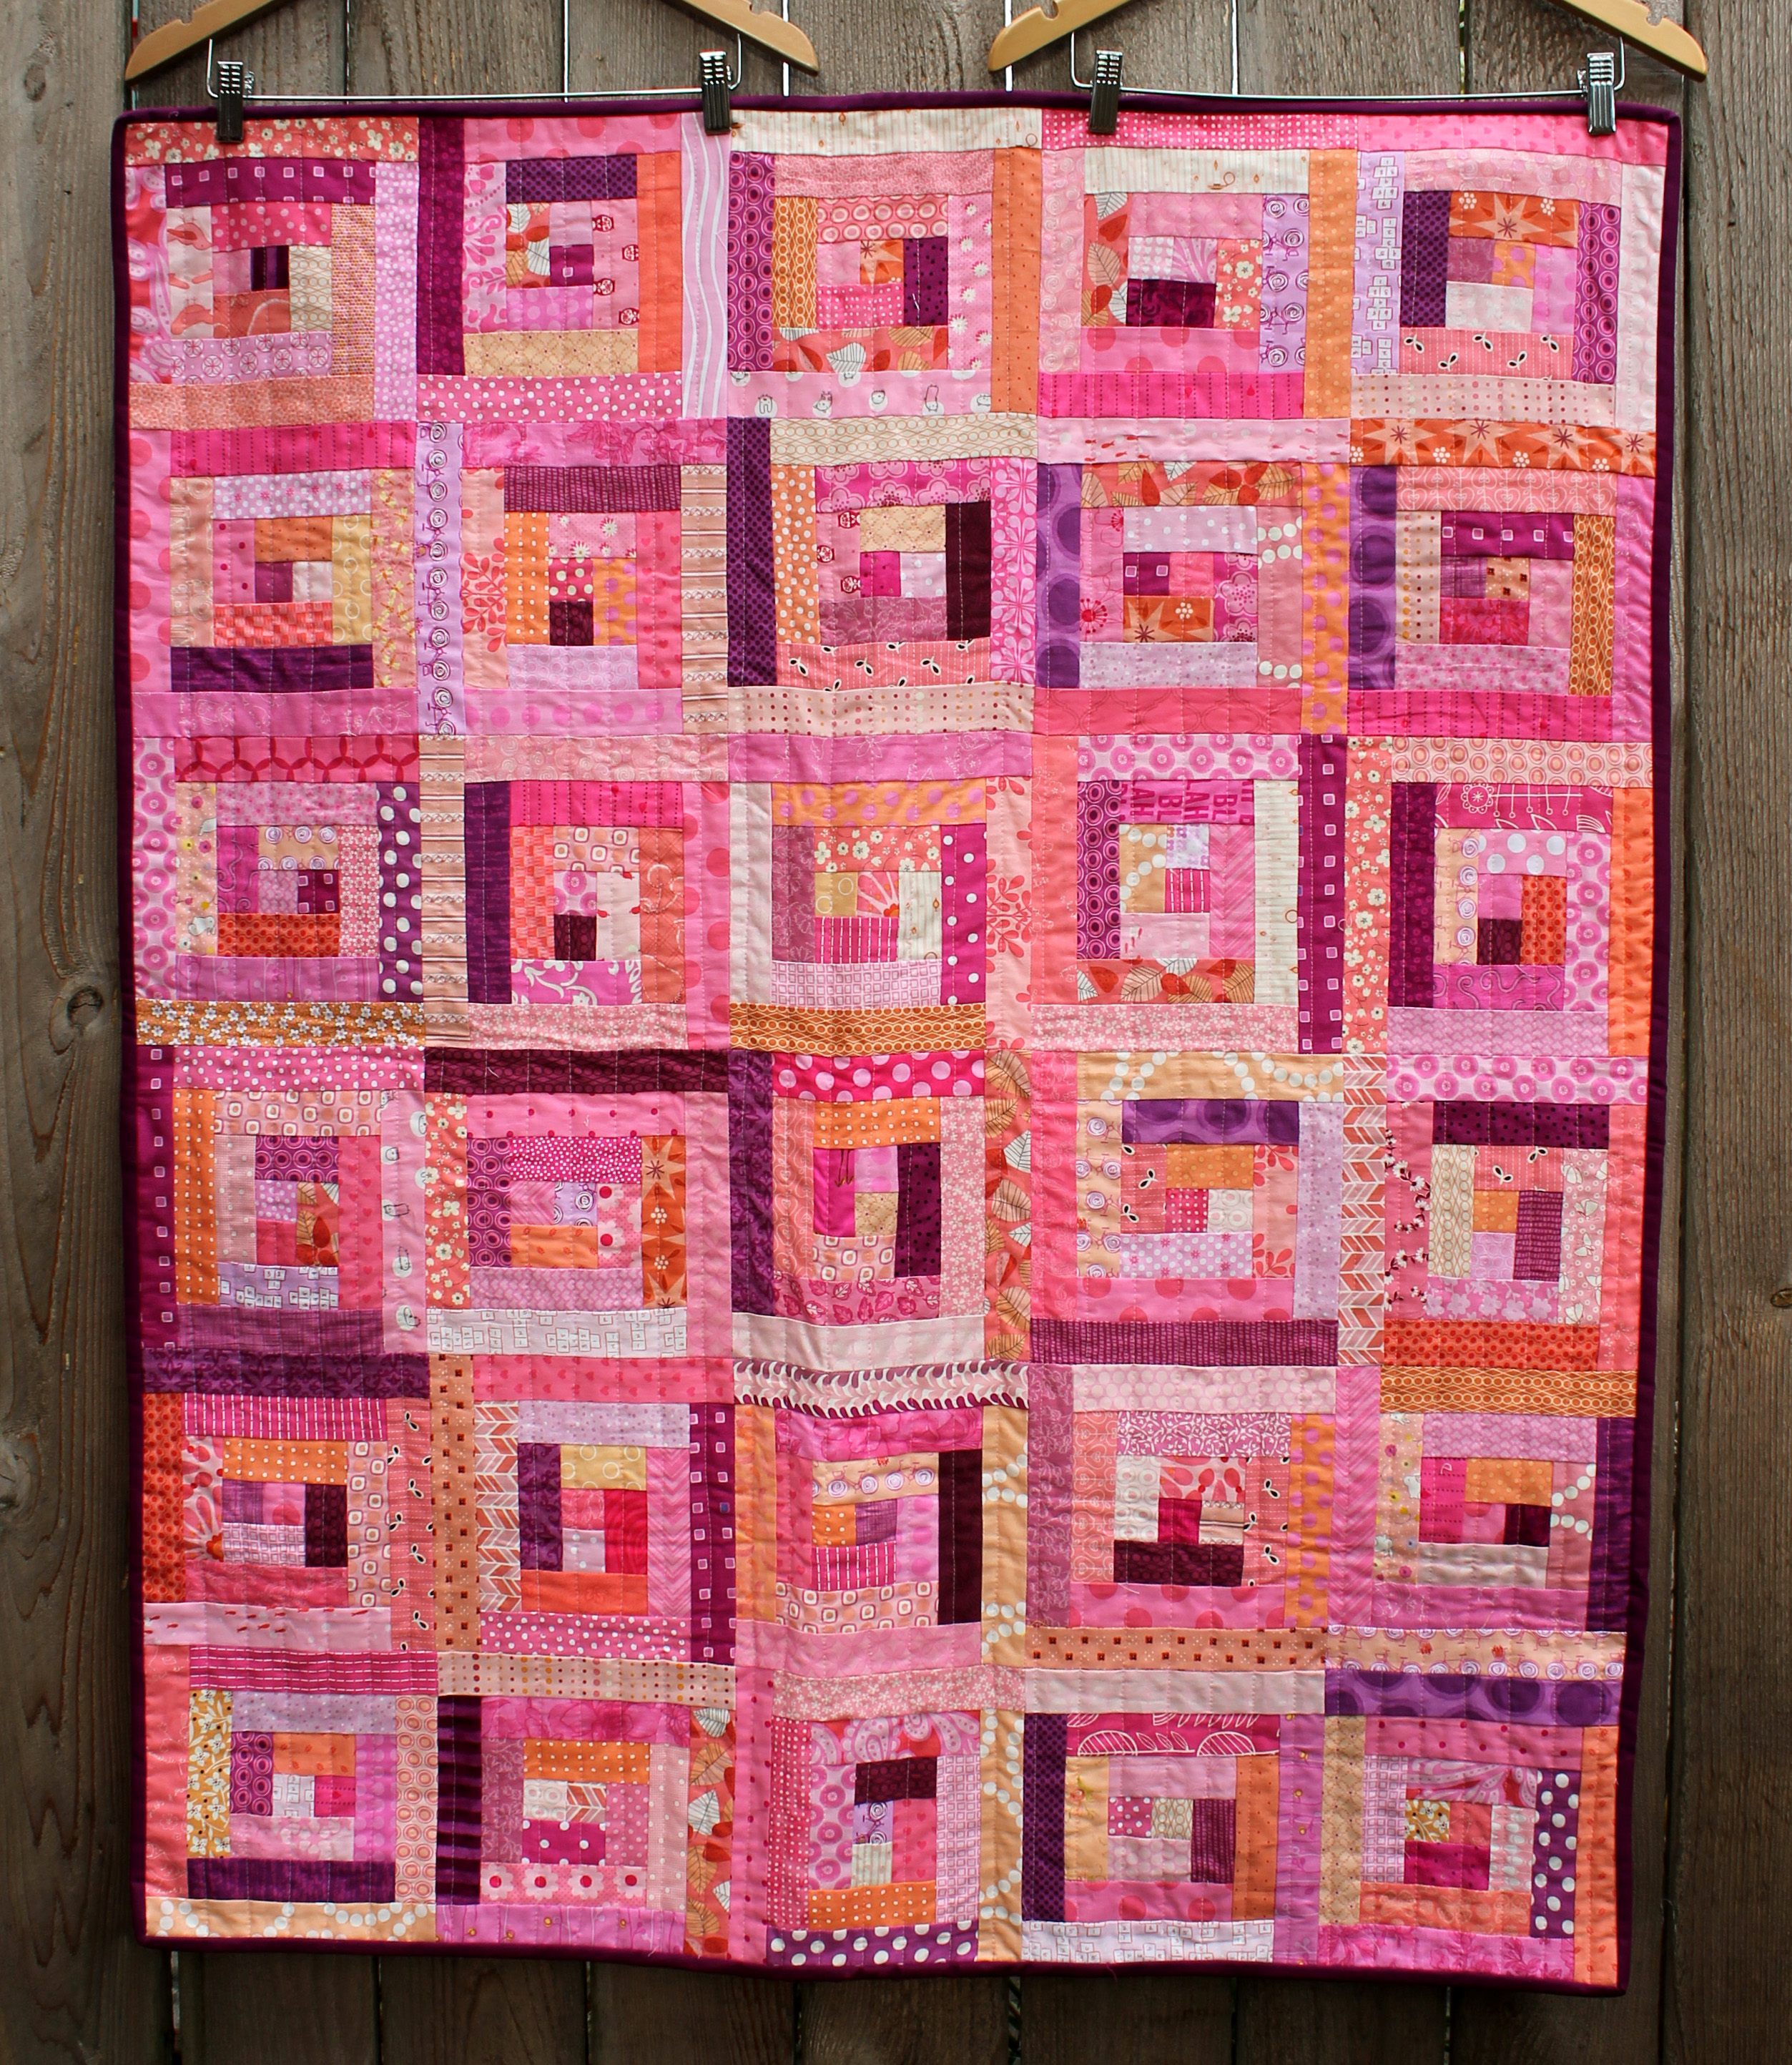
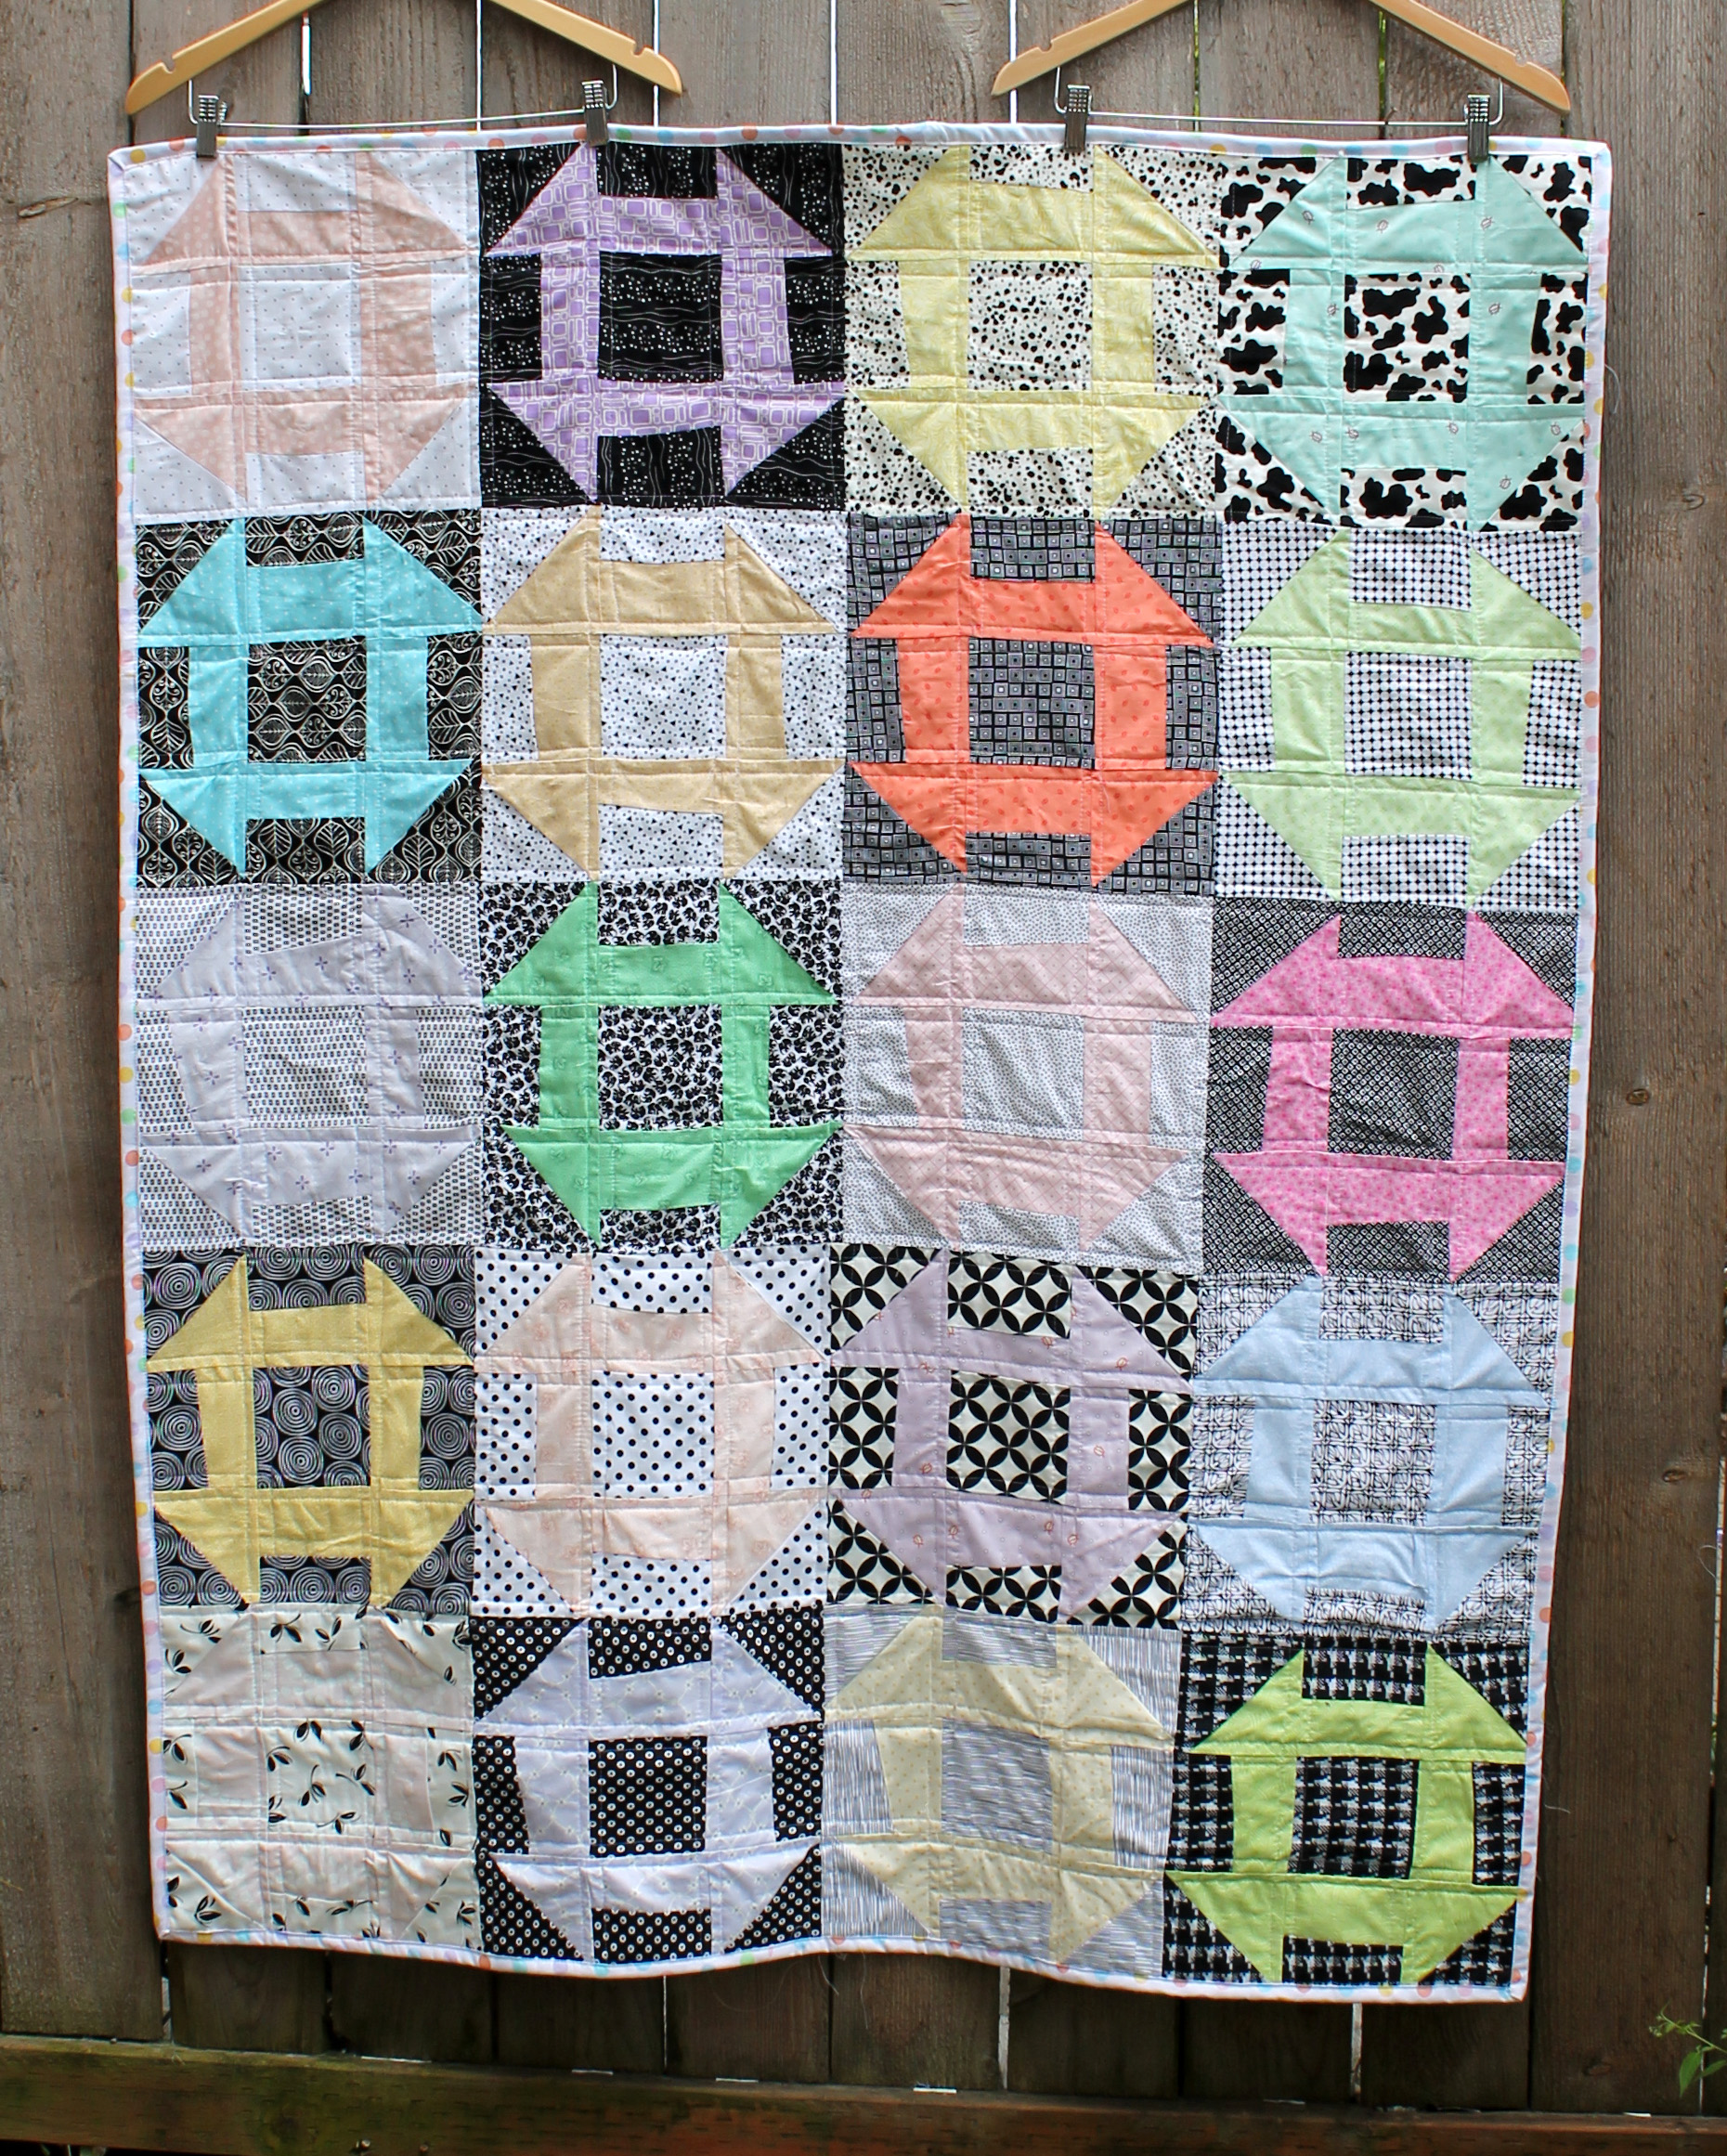
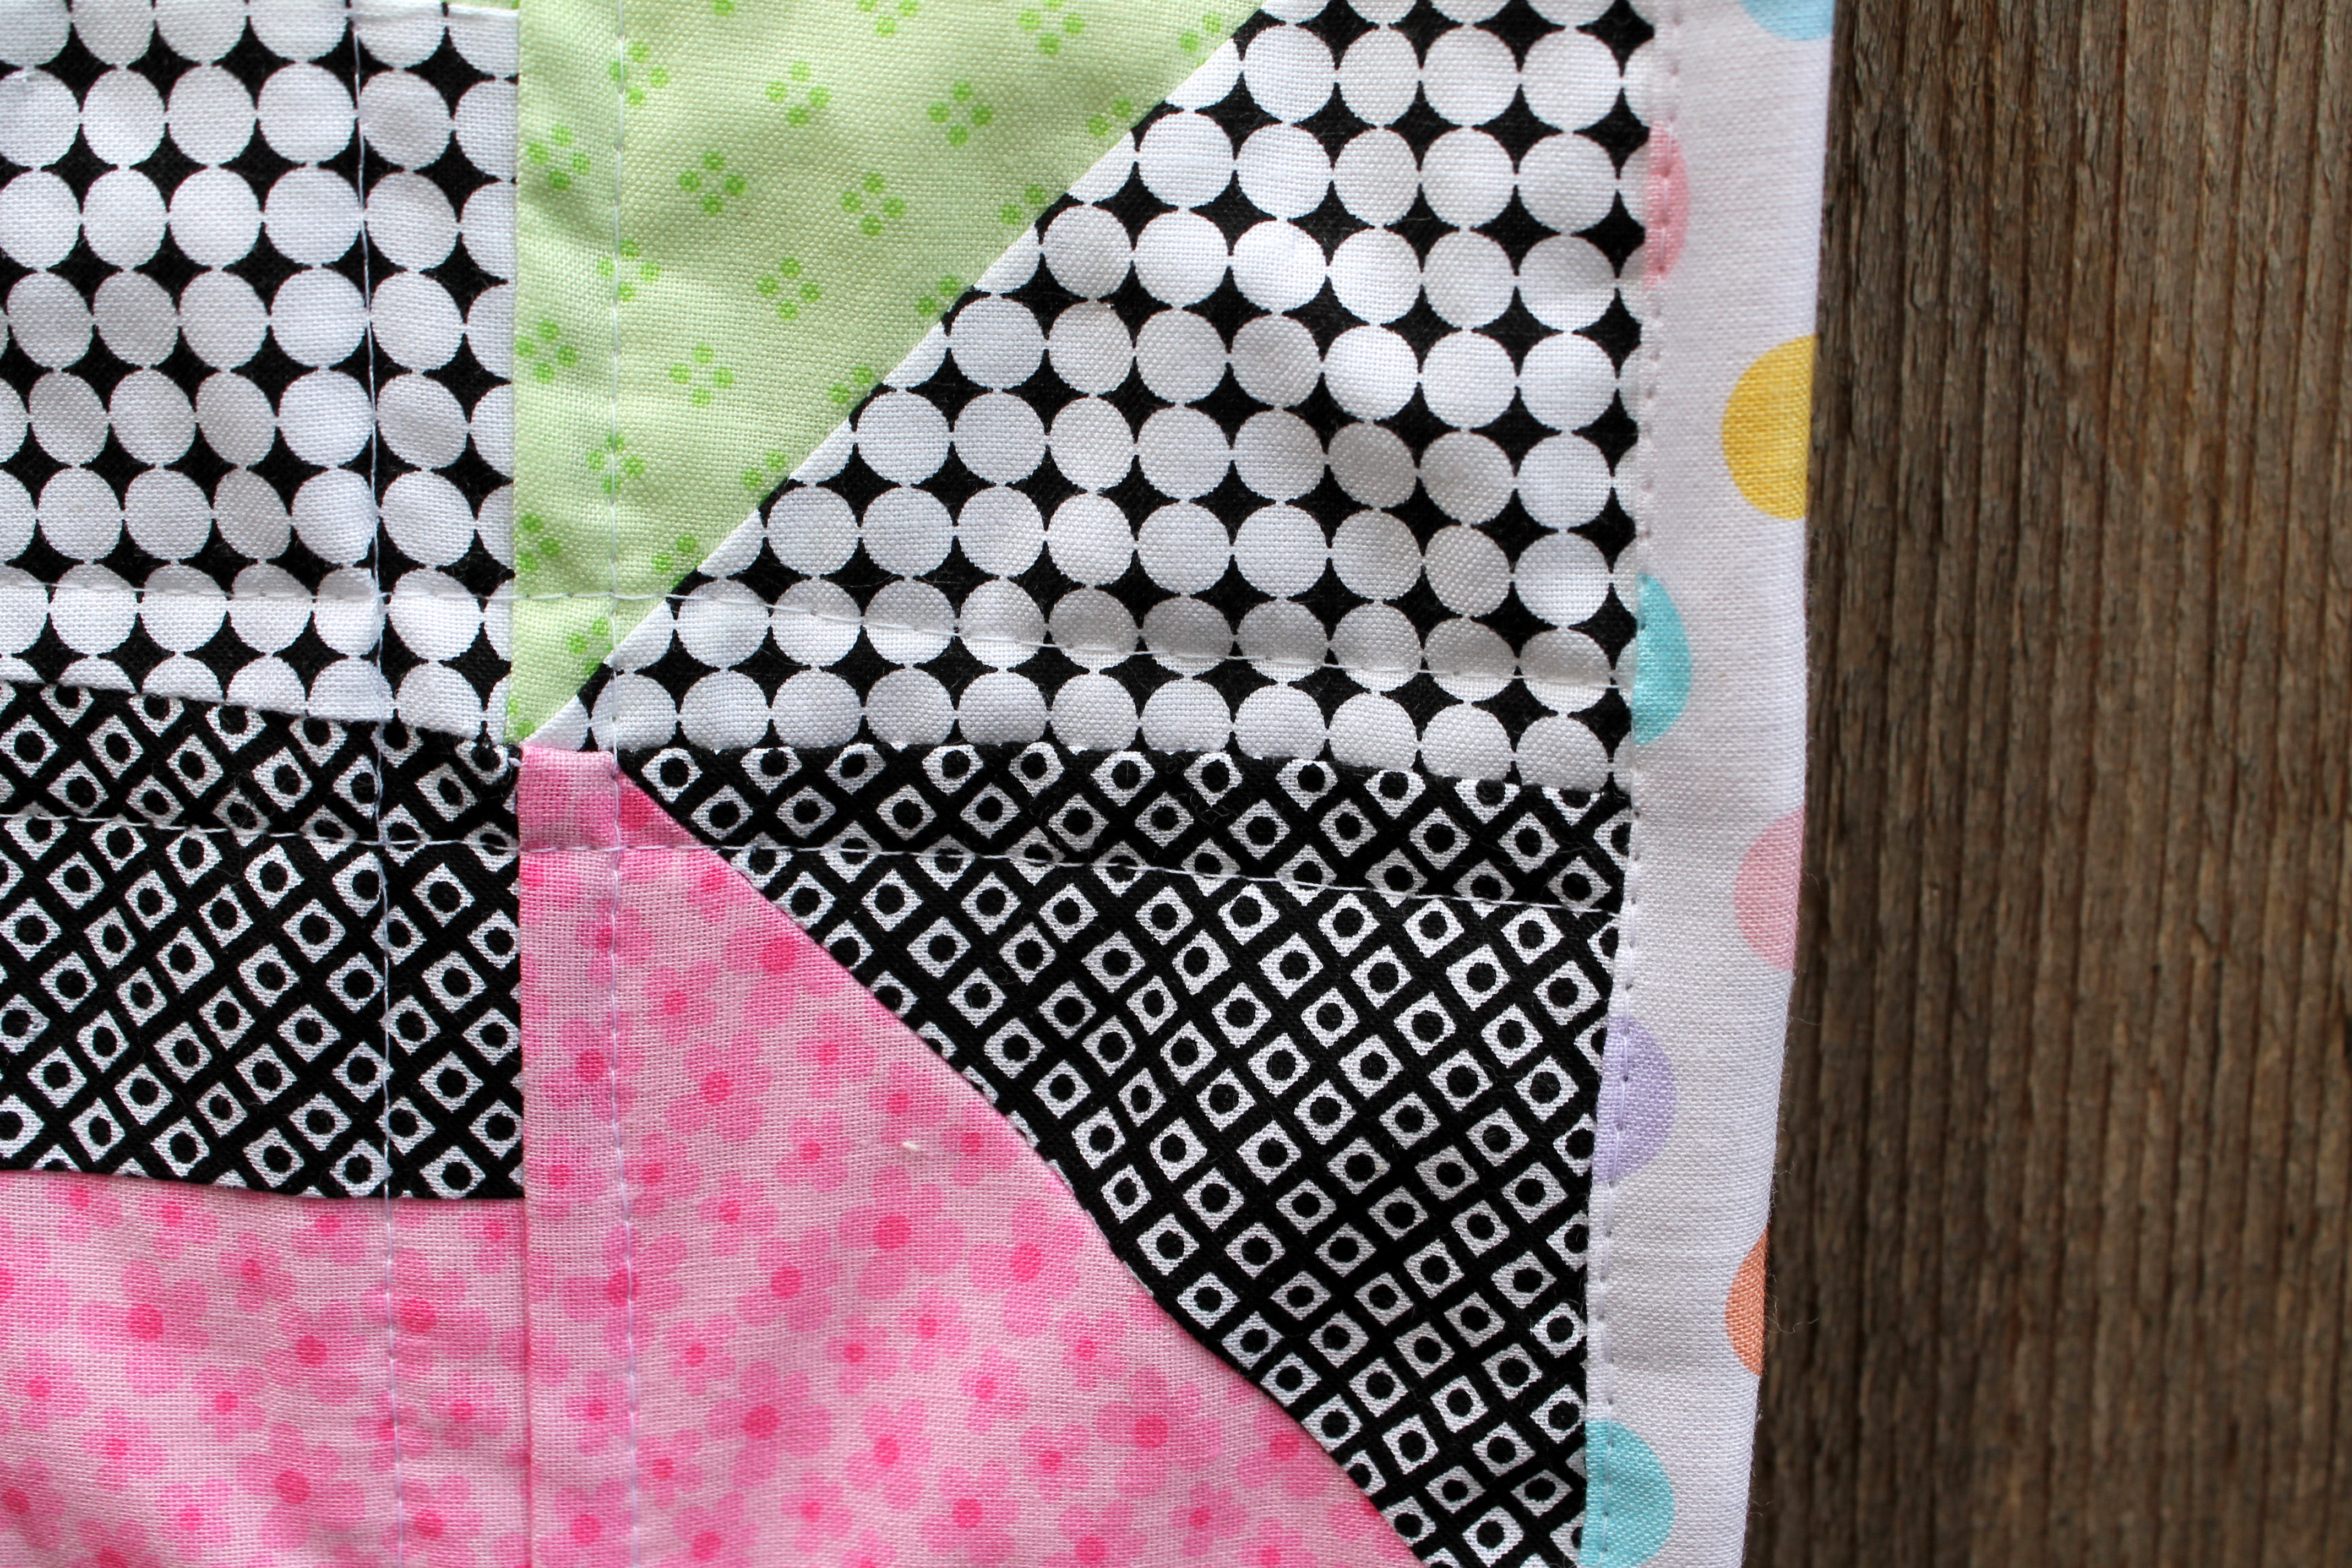
For me the challenge becomes finishing them. This quilt is a case in point.  I made the top months and months ago.  It sat sadly in the corner of my quilt space, unloved.  But last week, when I realized I had not given quilts to Project Linus in months, my wonky churn dash got dusted off and is now finished.

I must admit I took some short cuts with finishing this quilt.

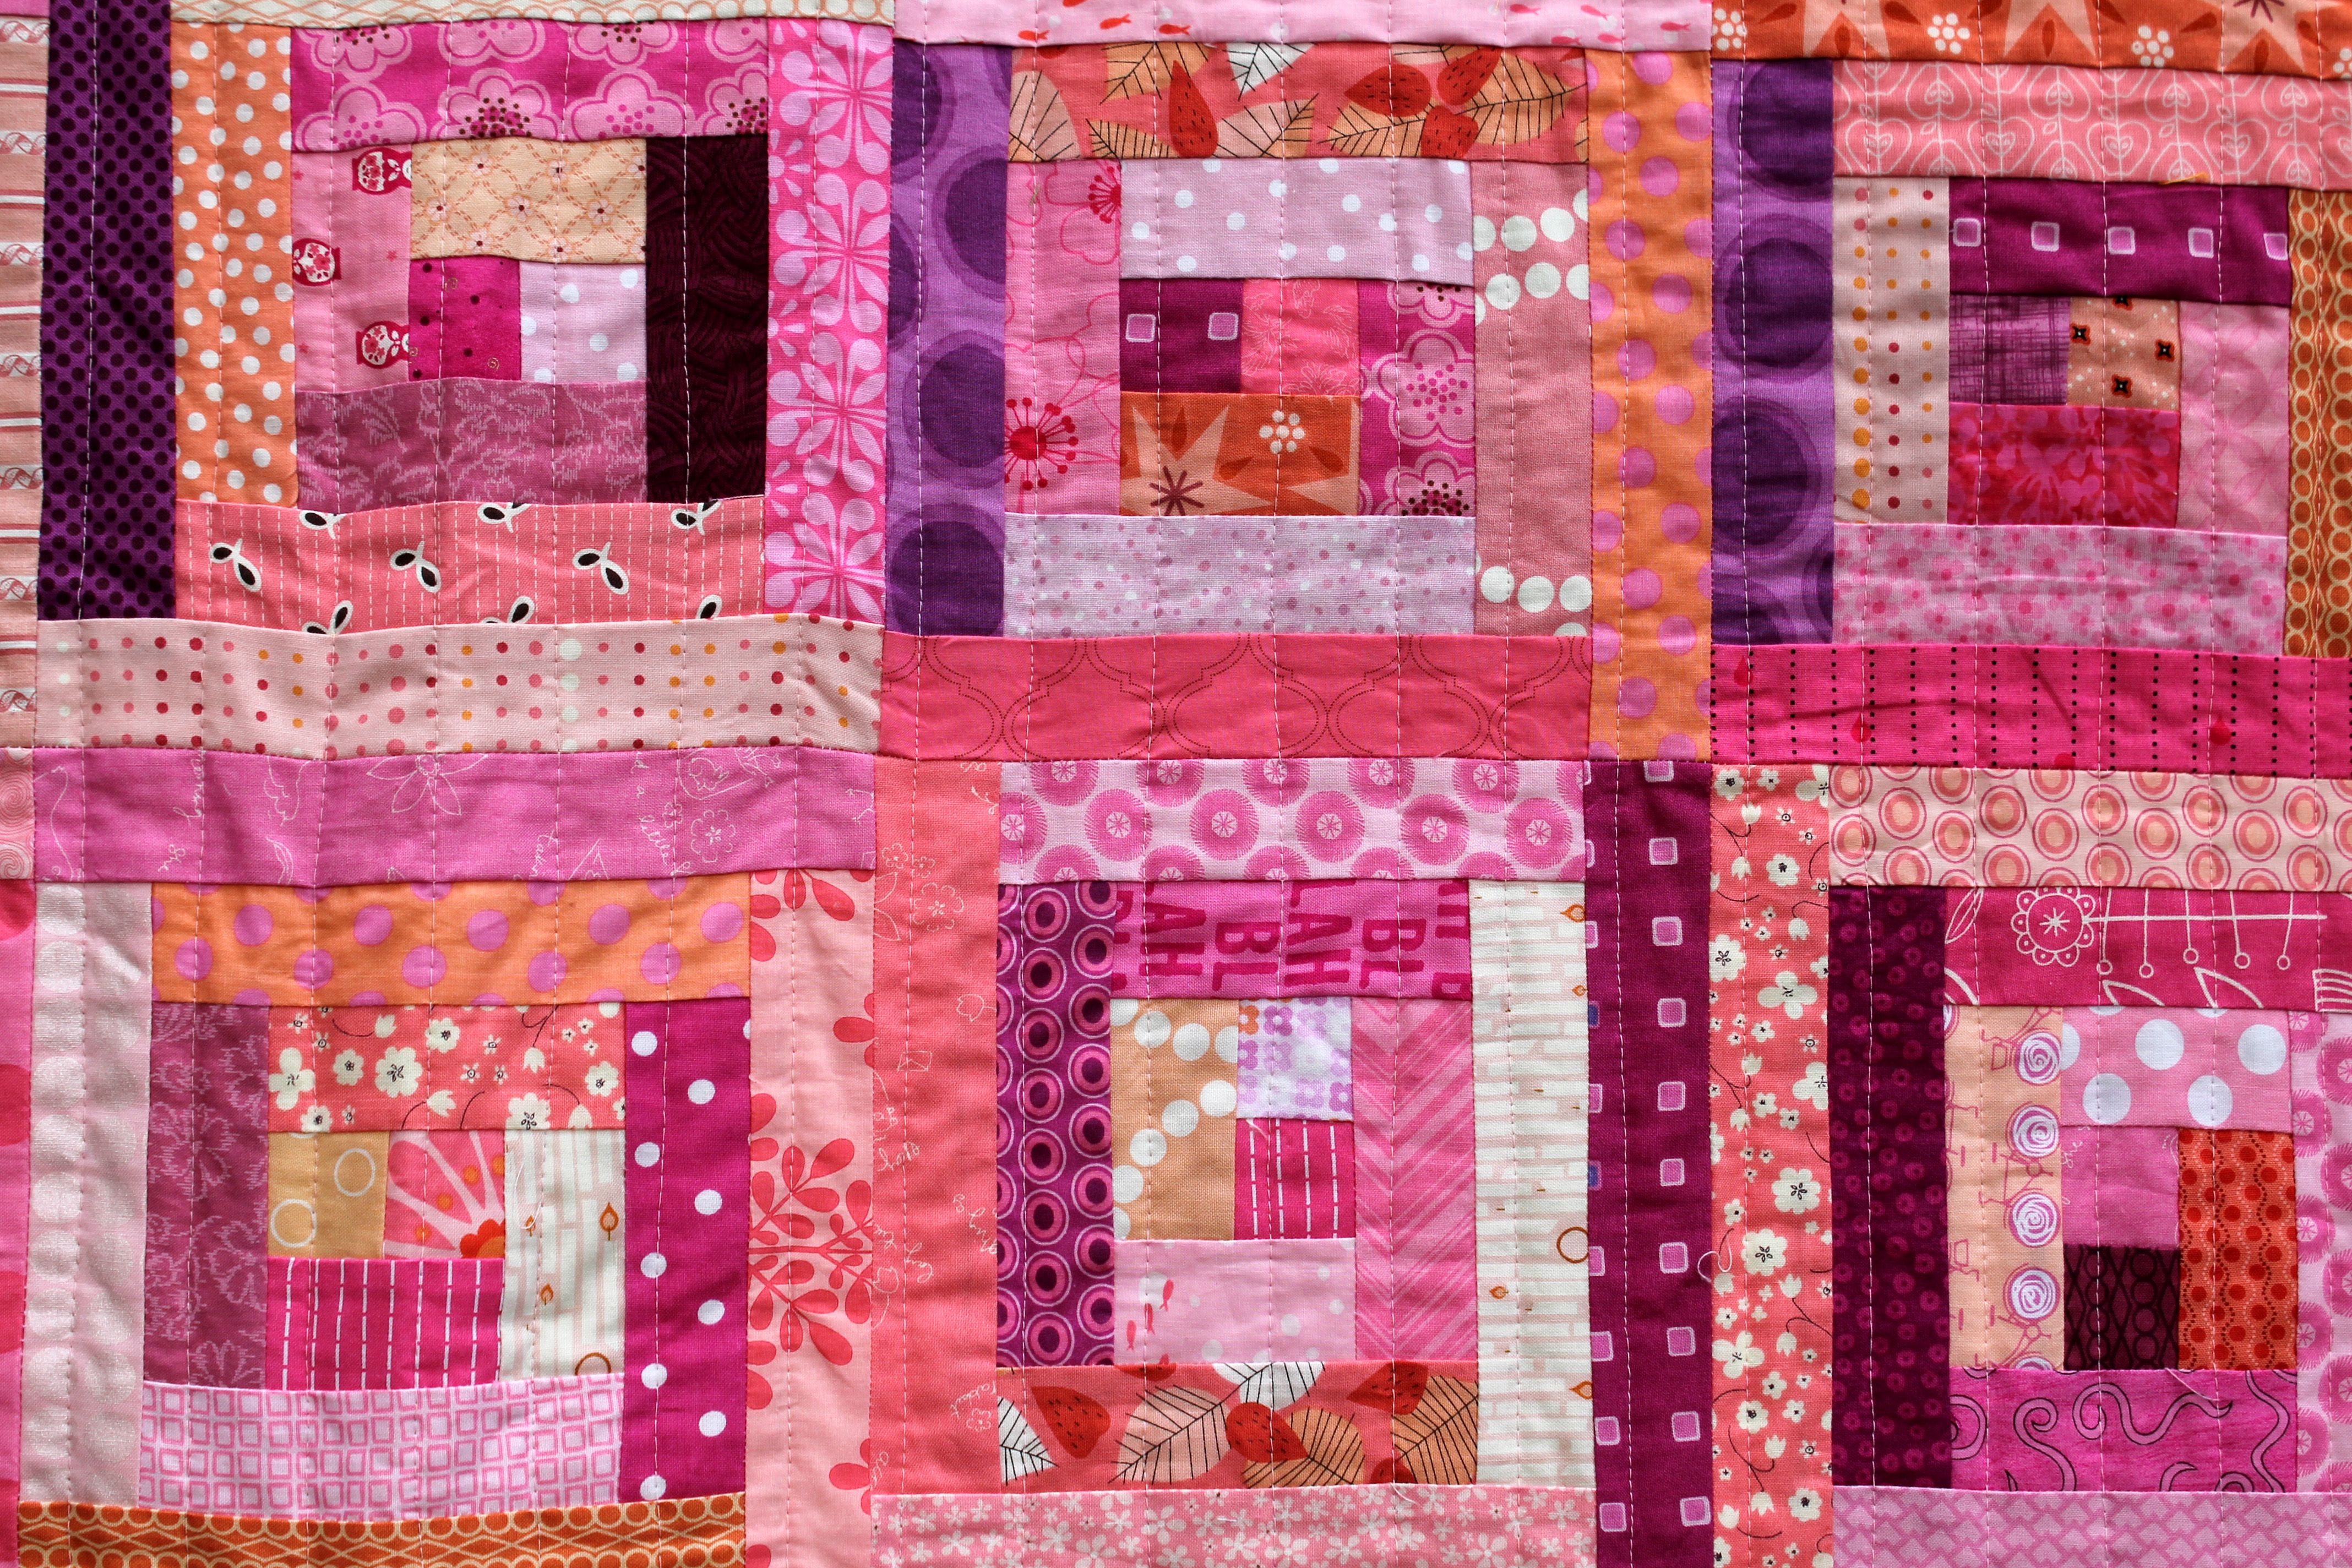
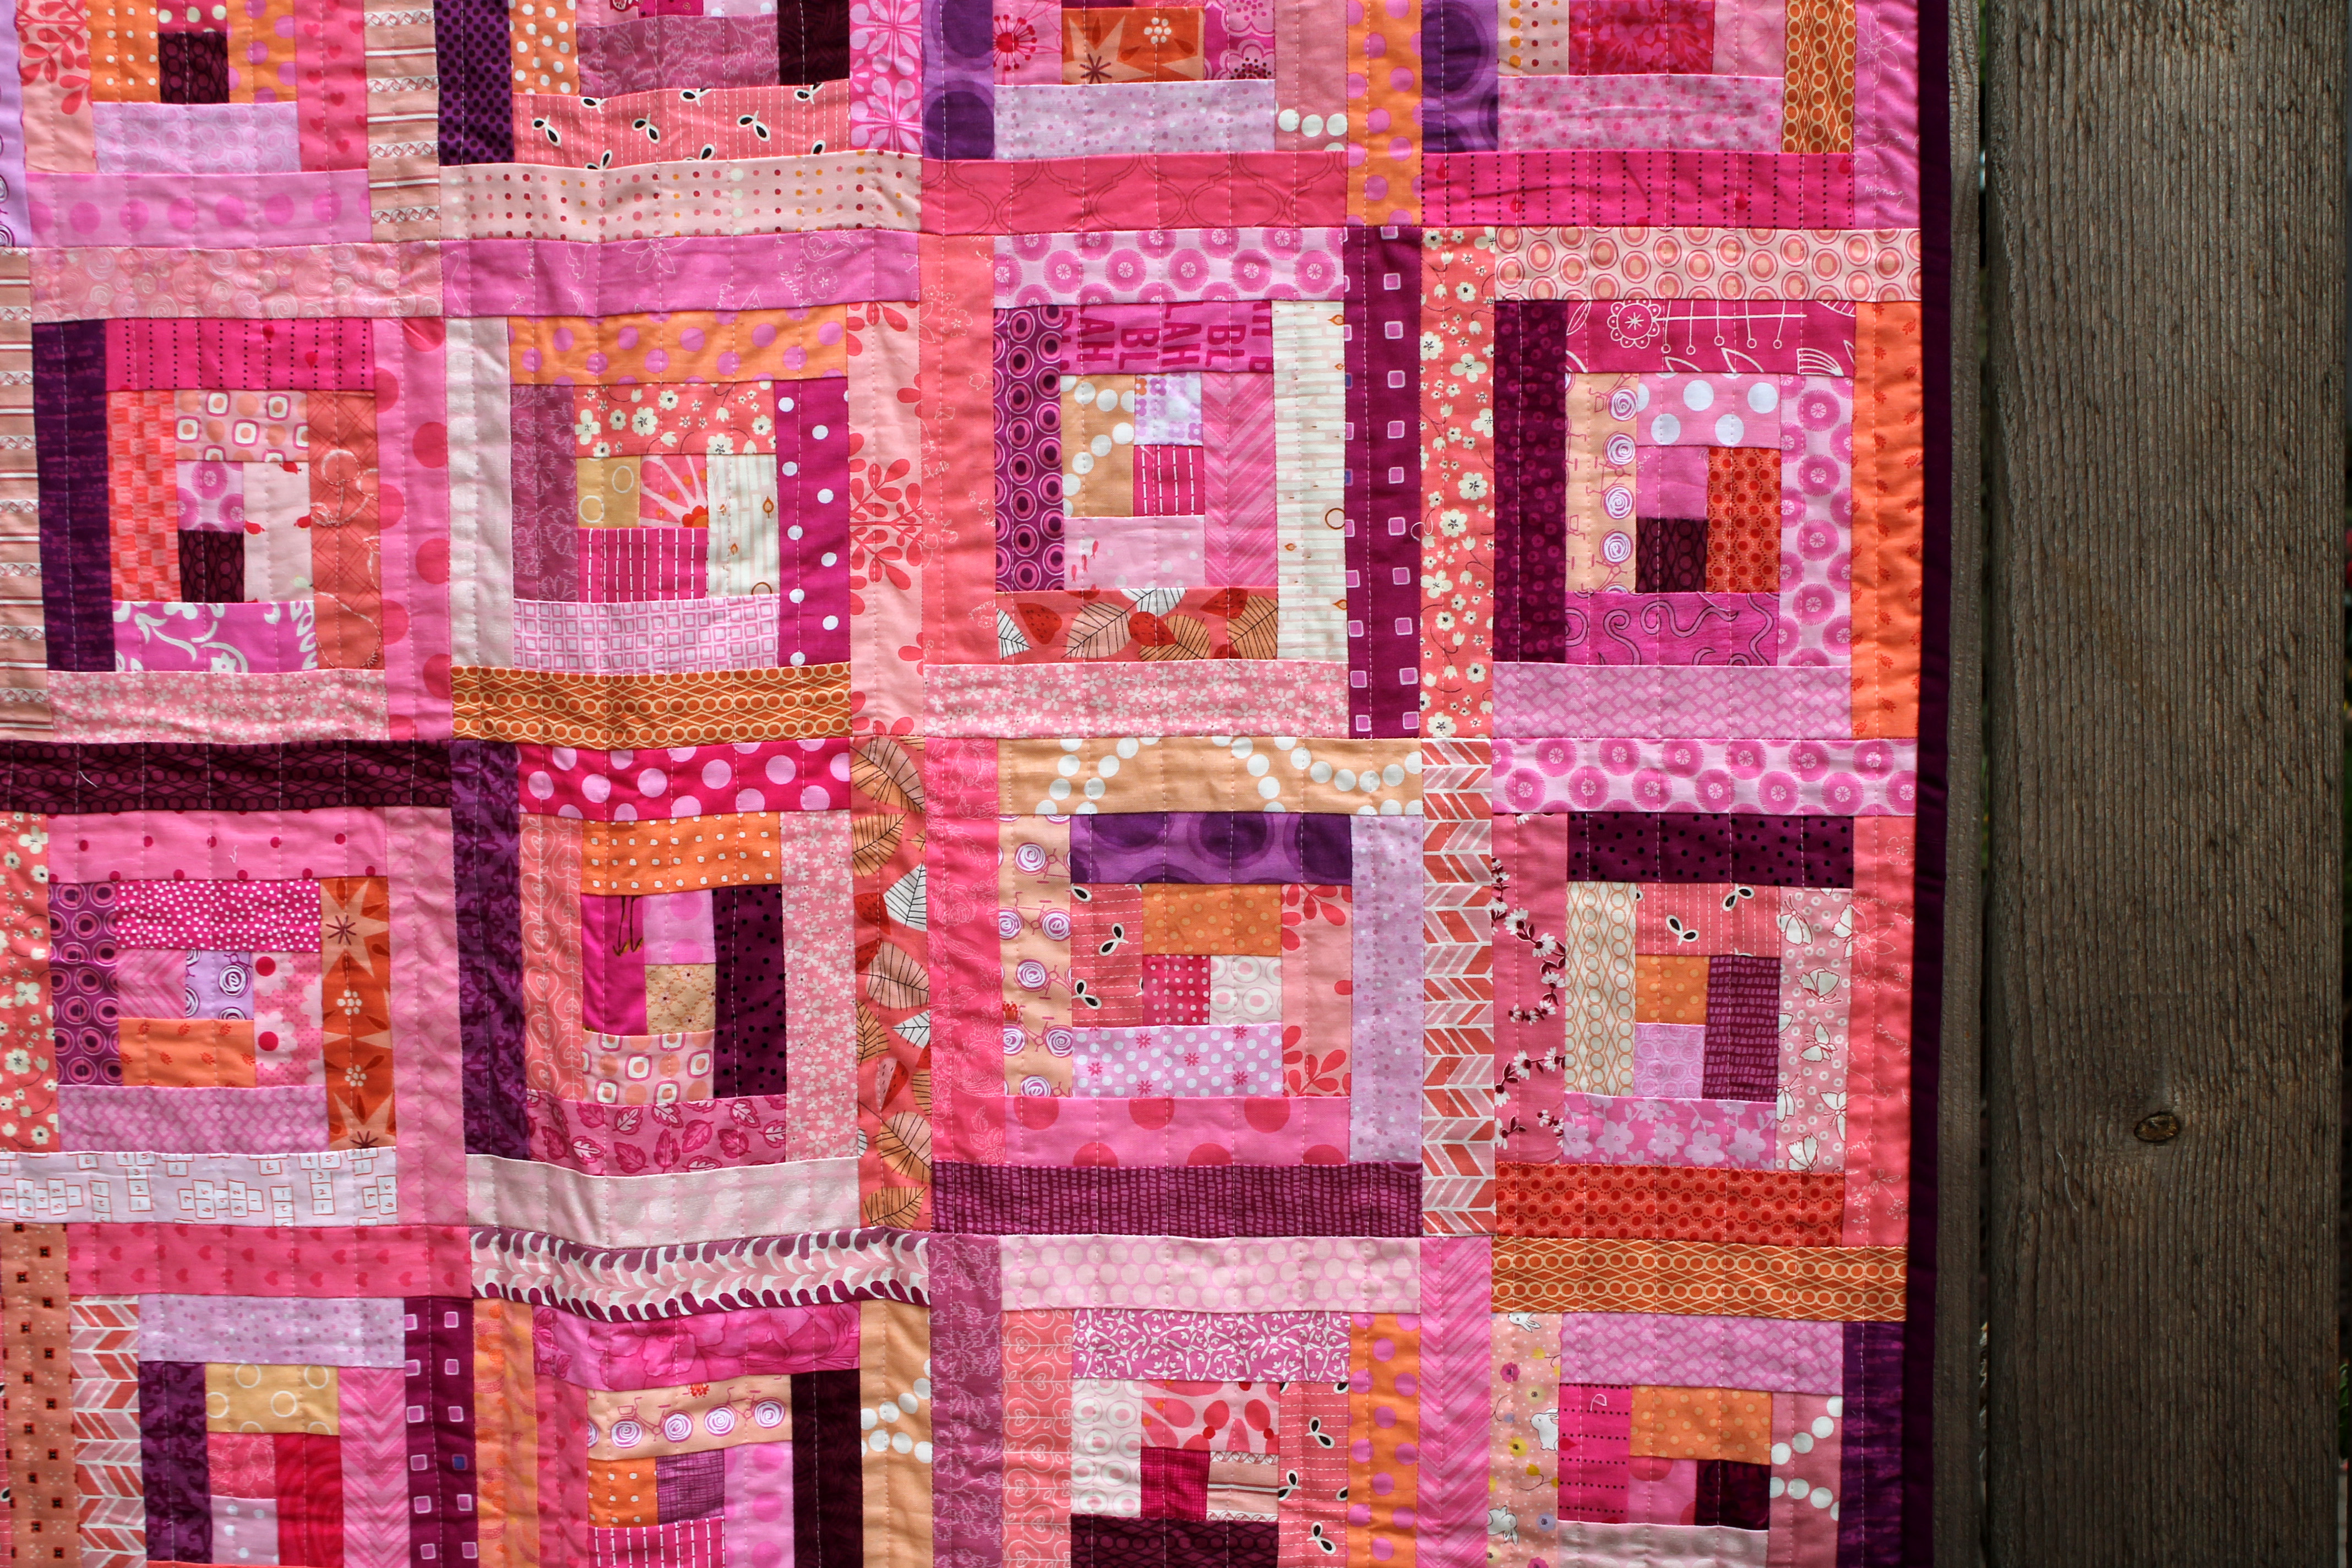
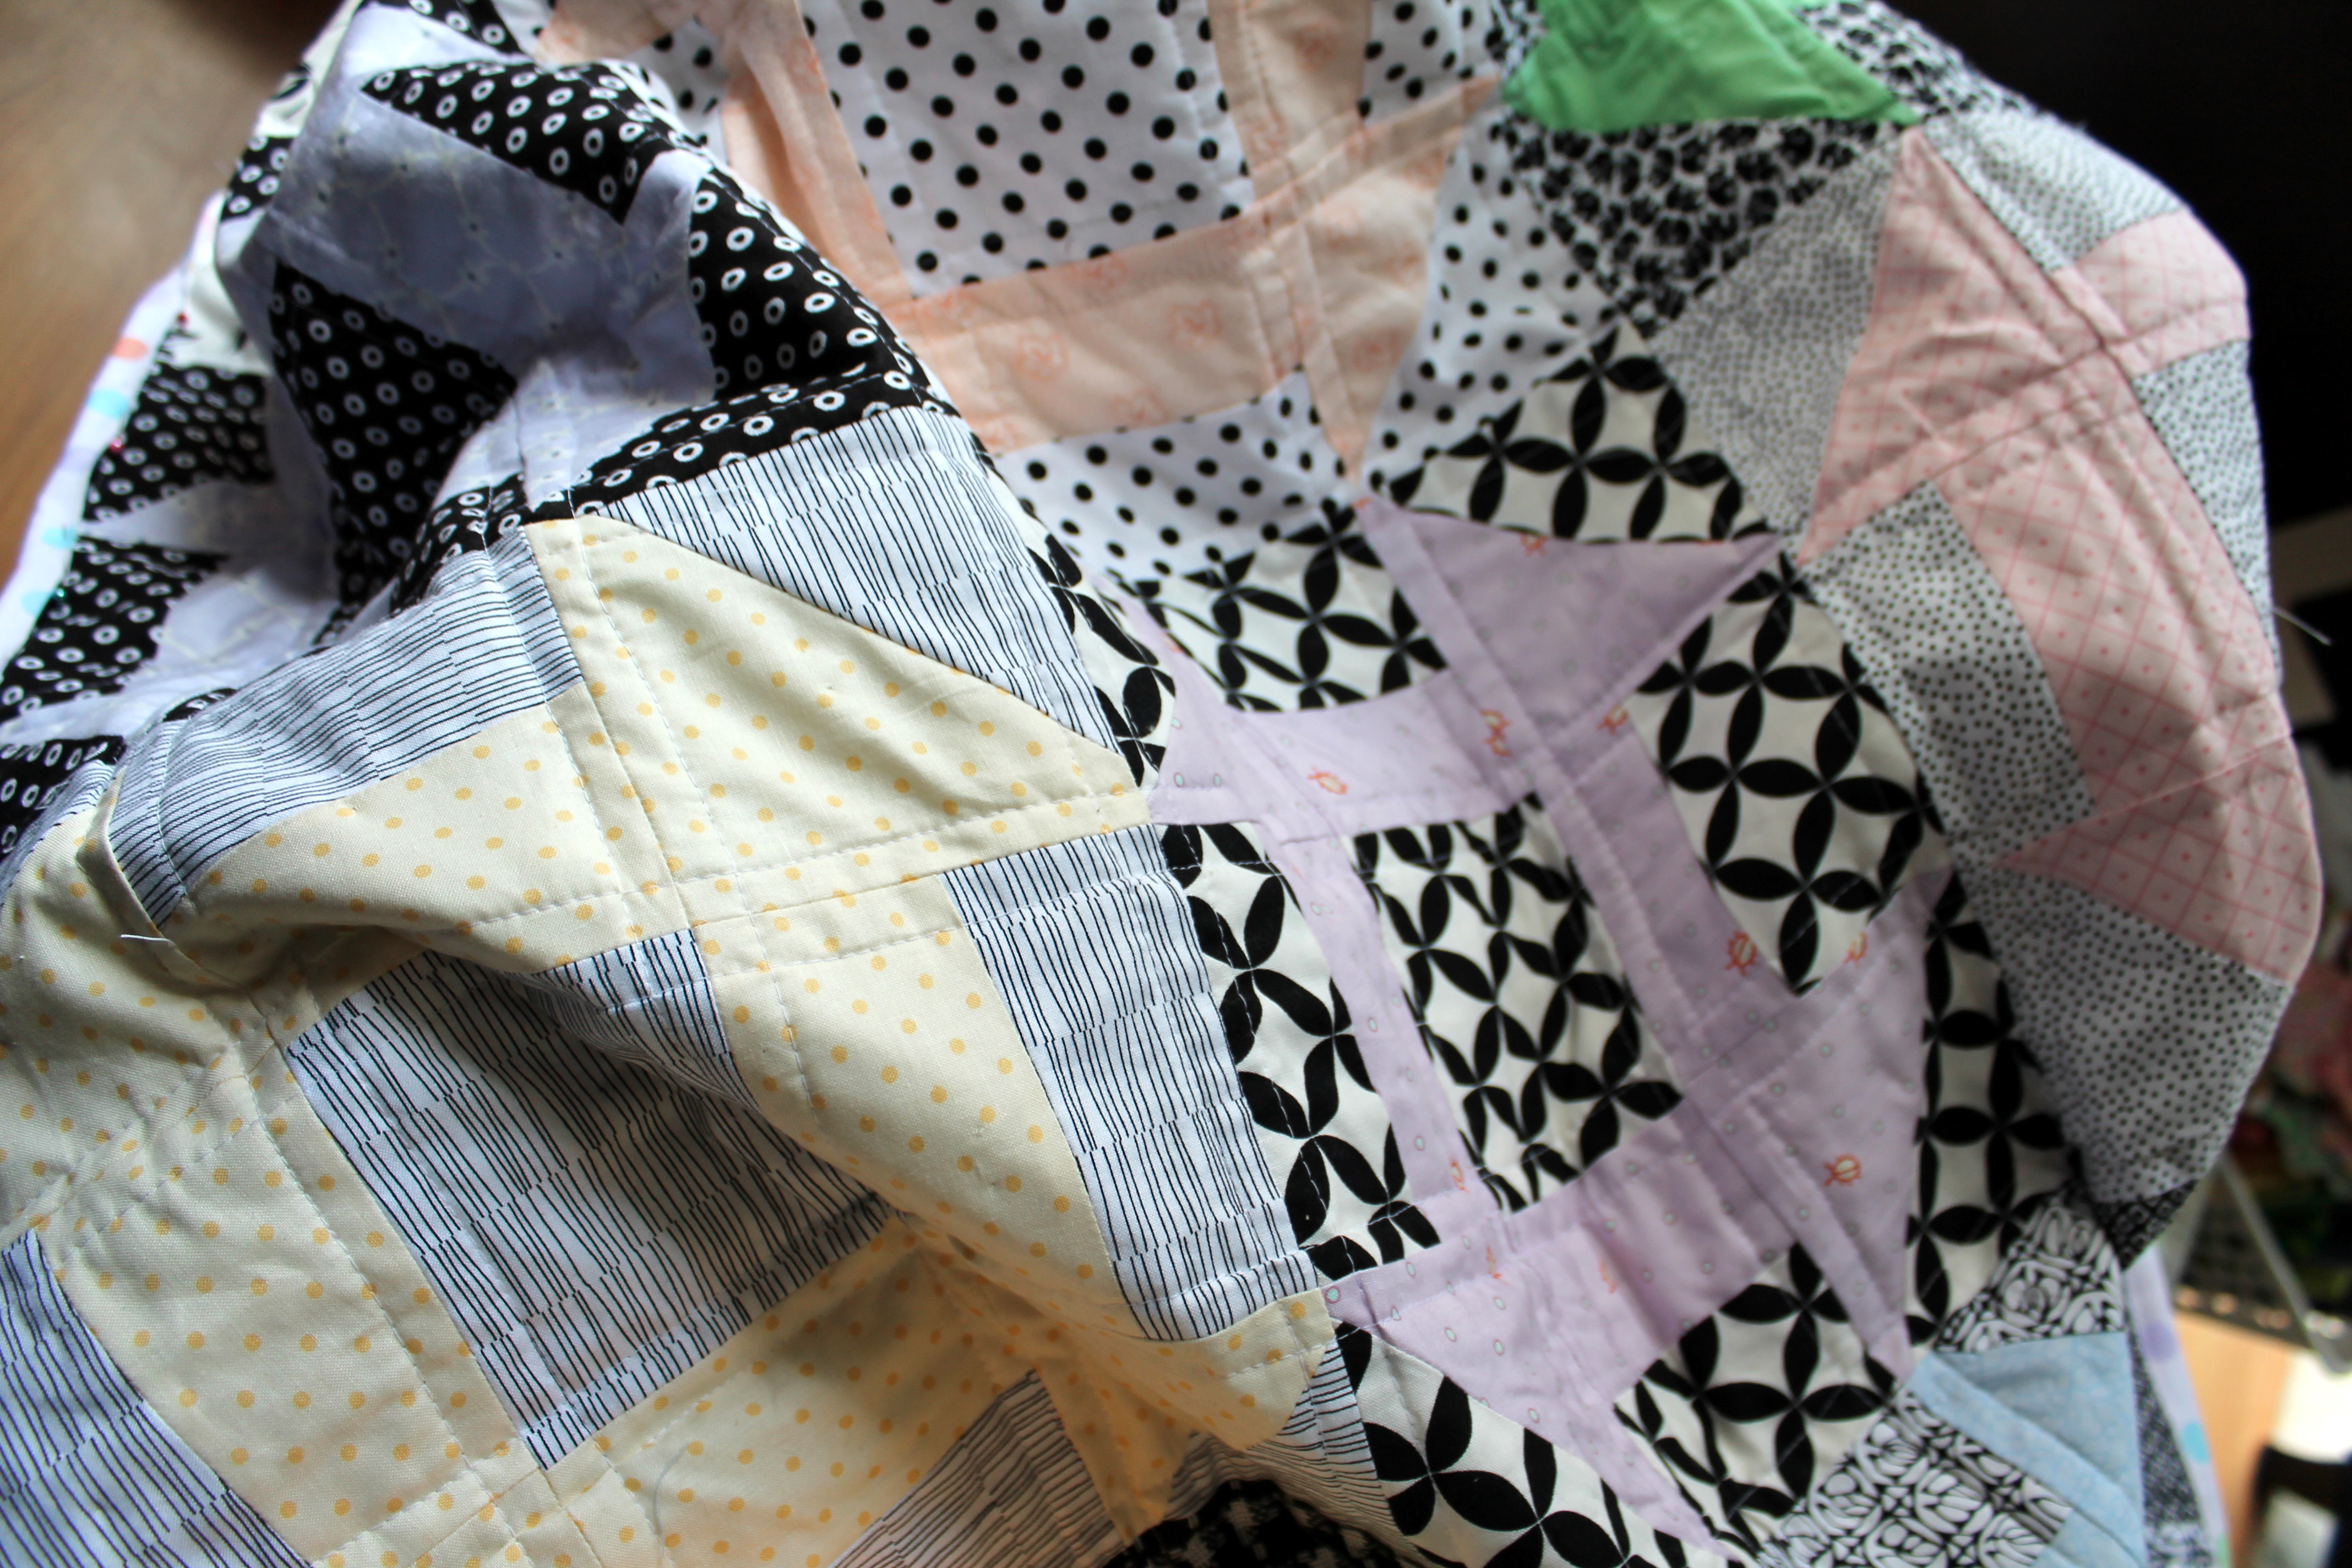
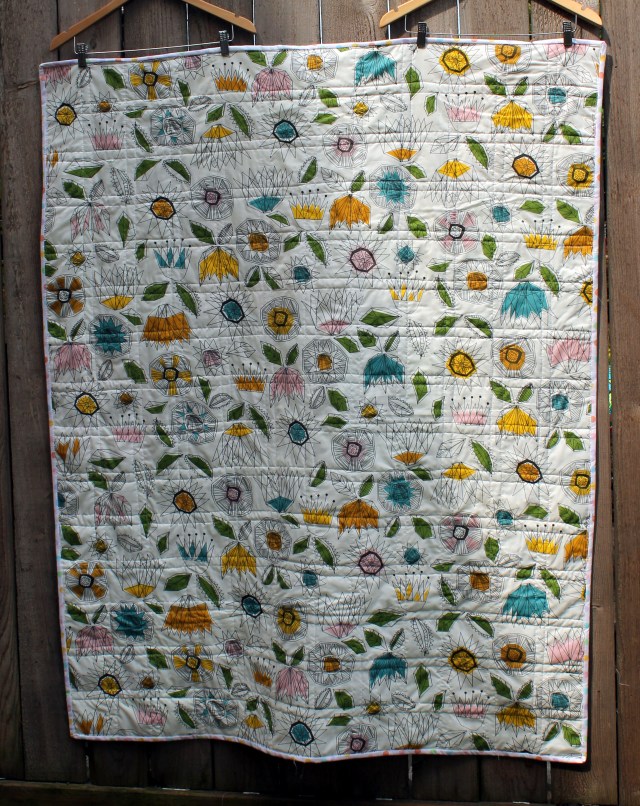
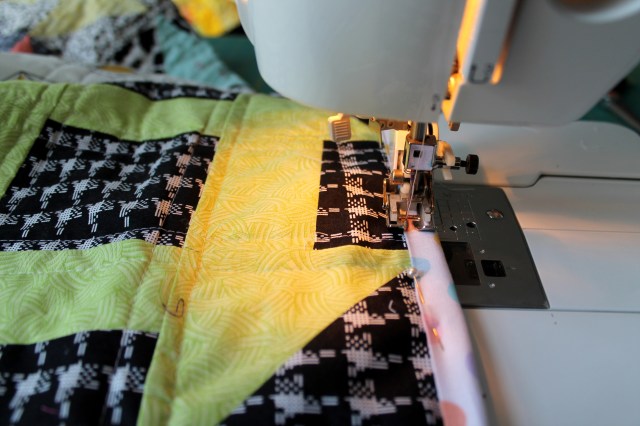
1.  I did simple, quick and easy straight line quilting using plain white thread.

quilt detail

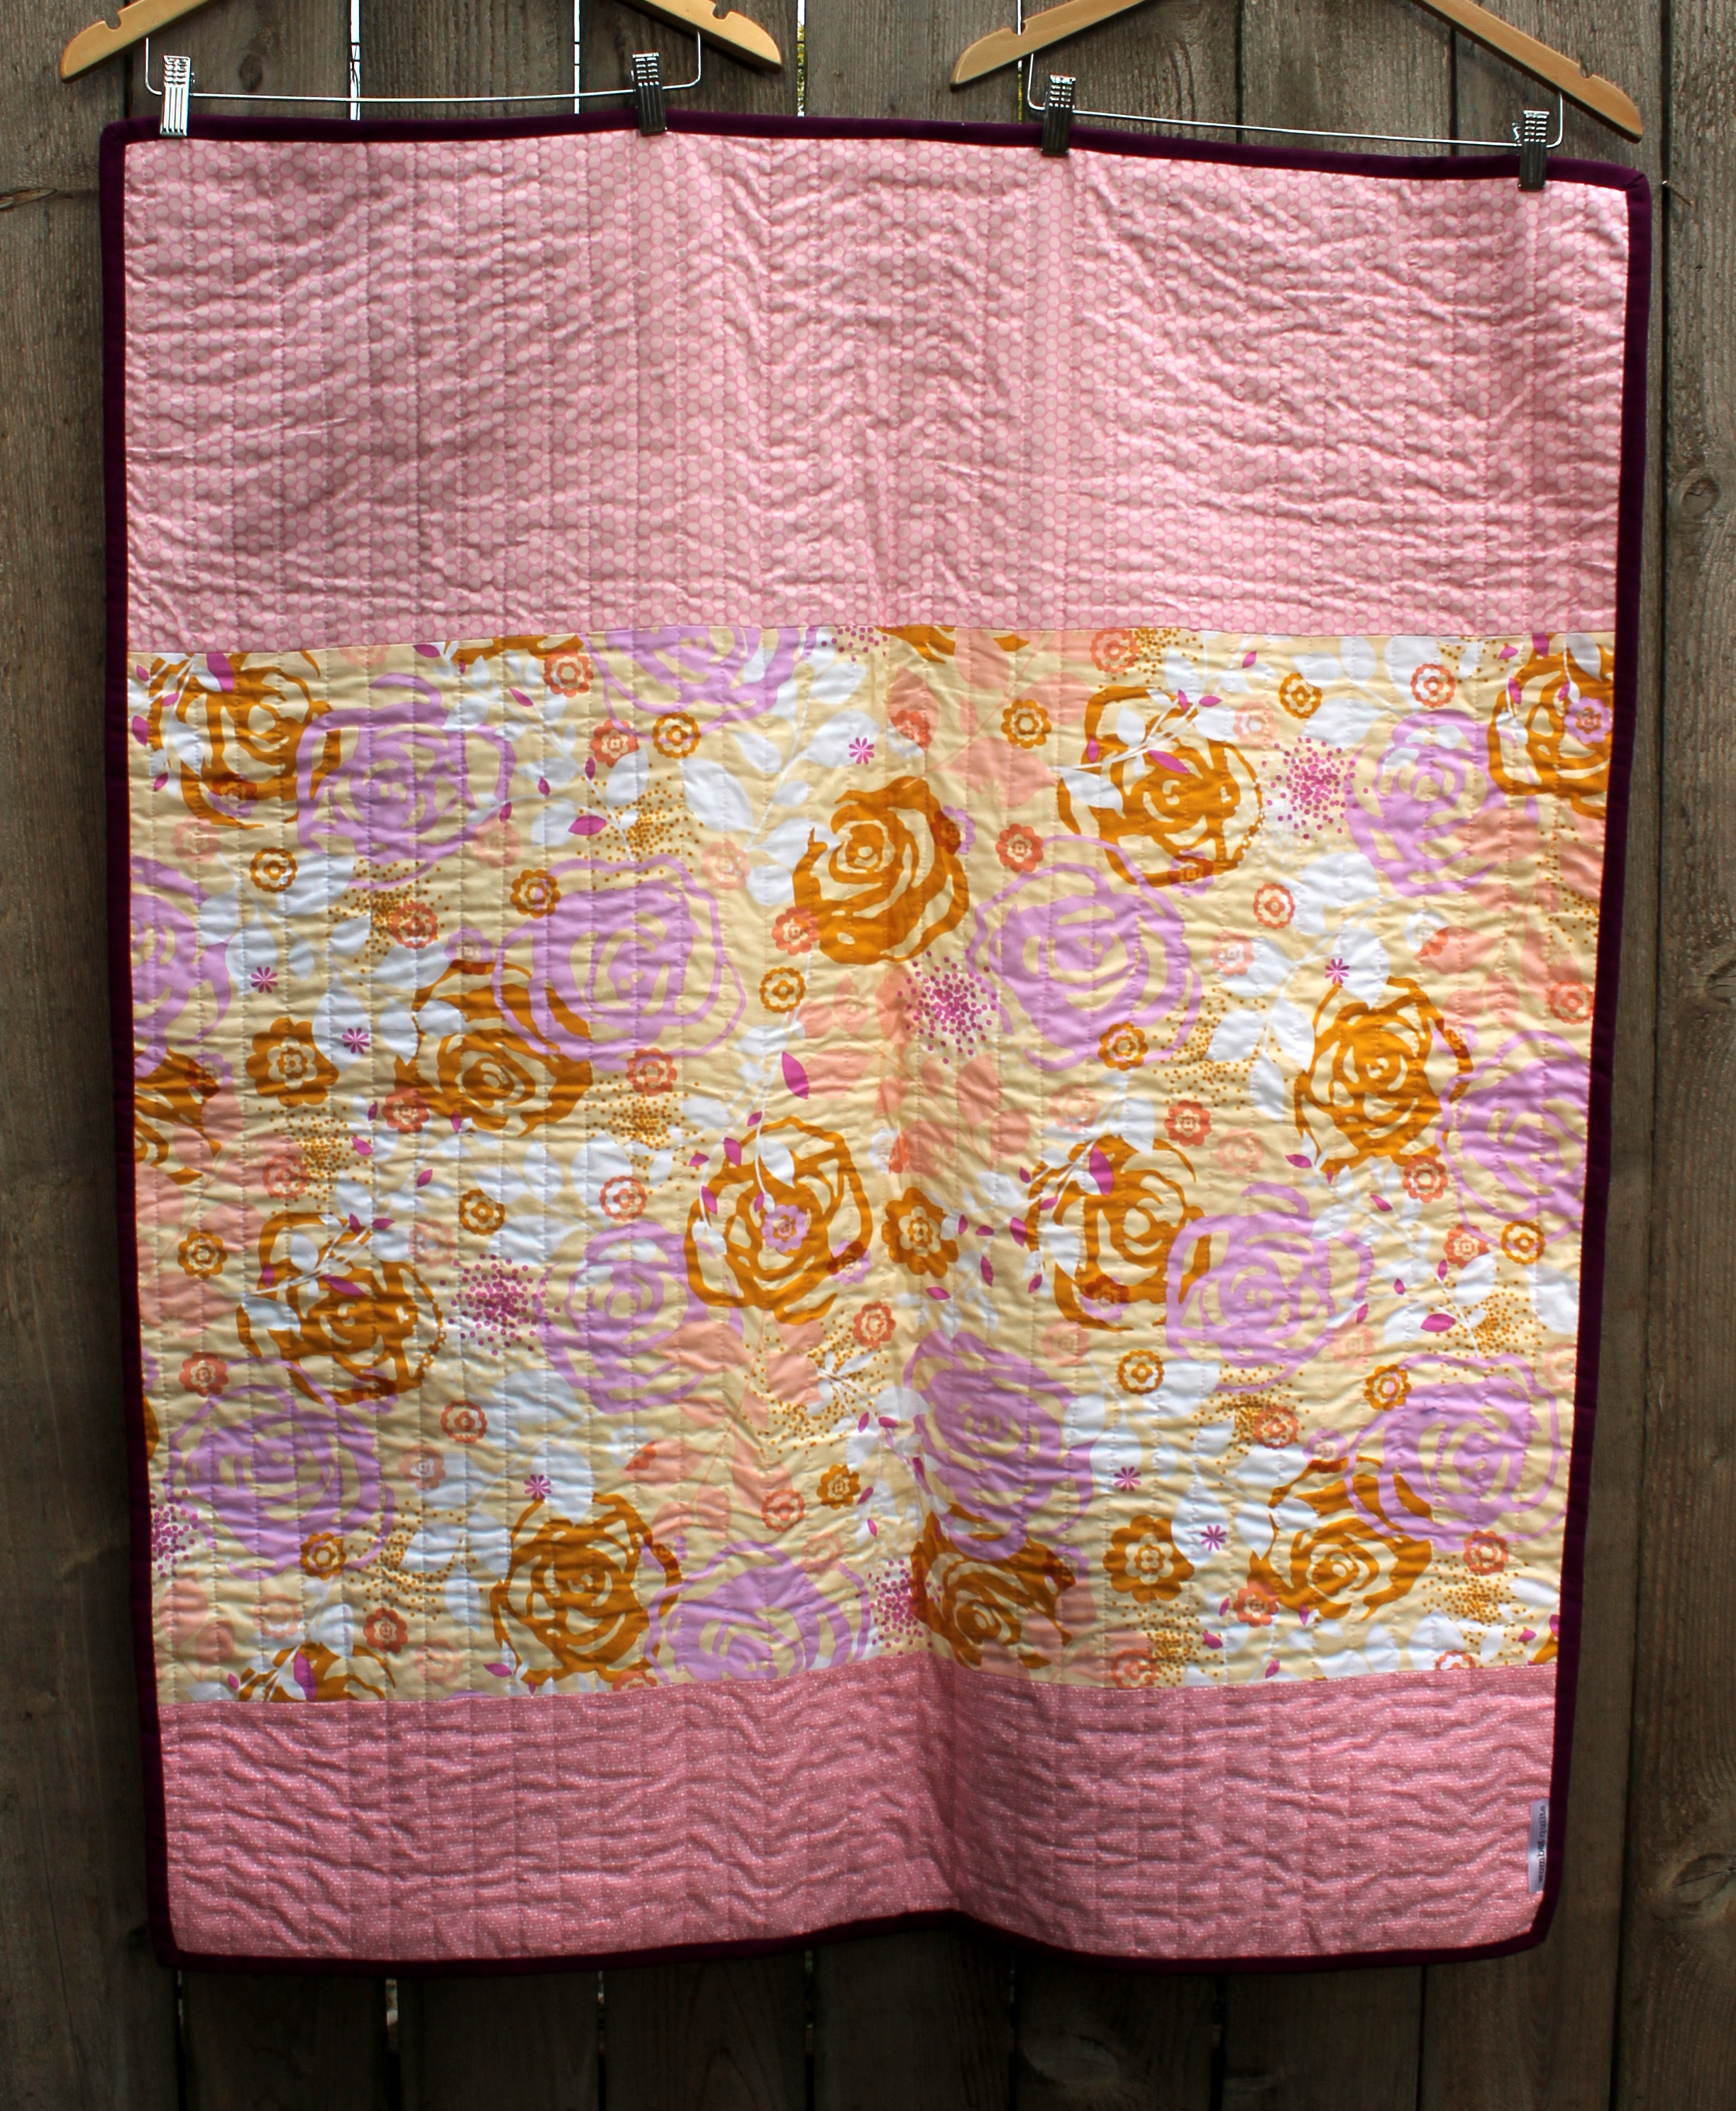
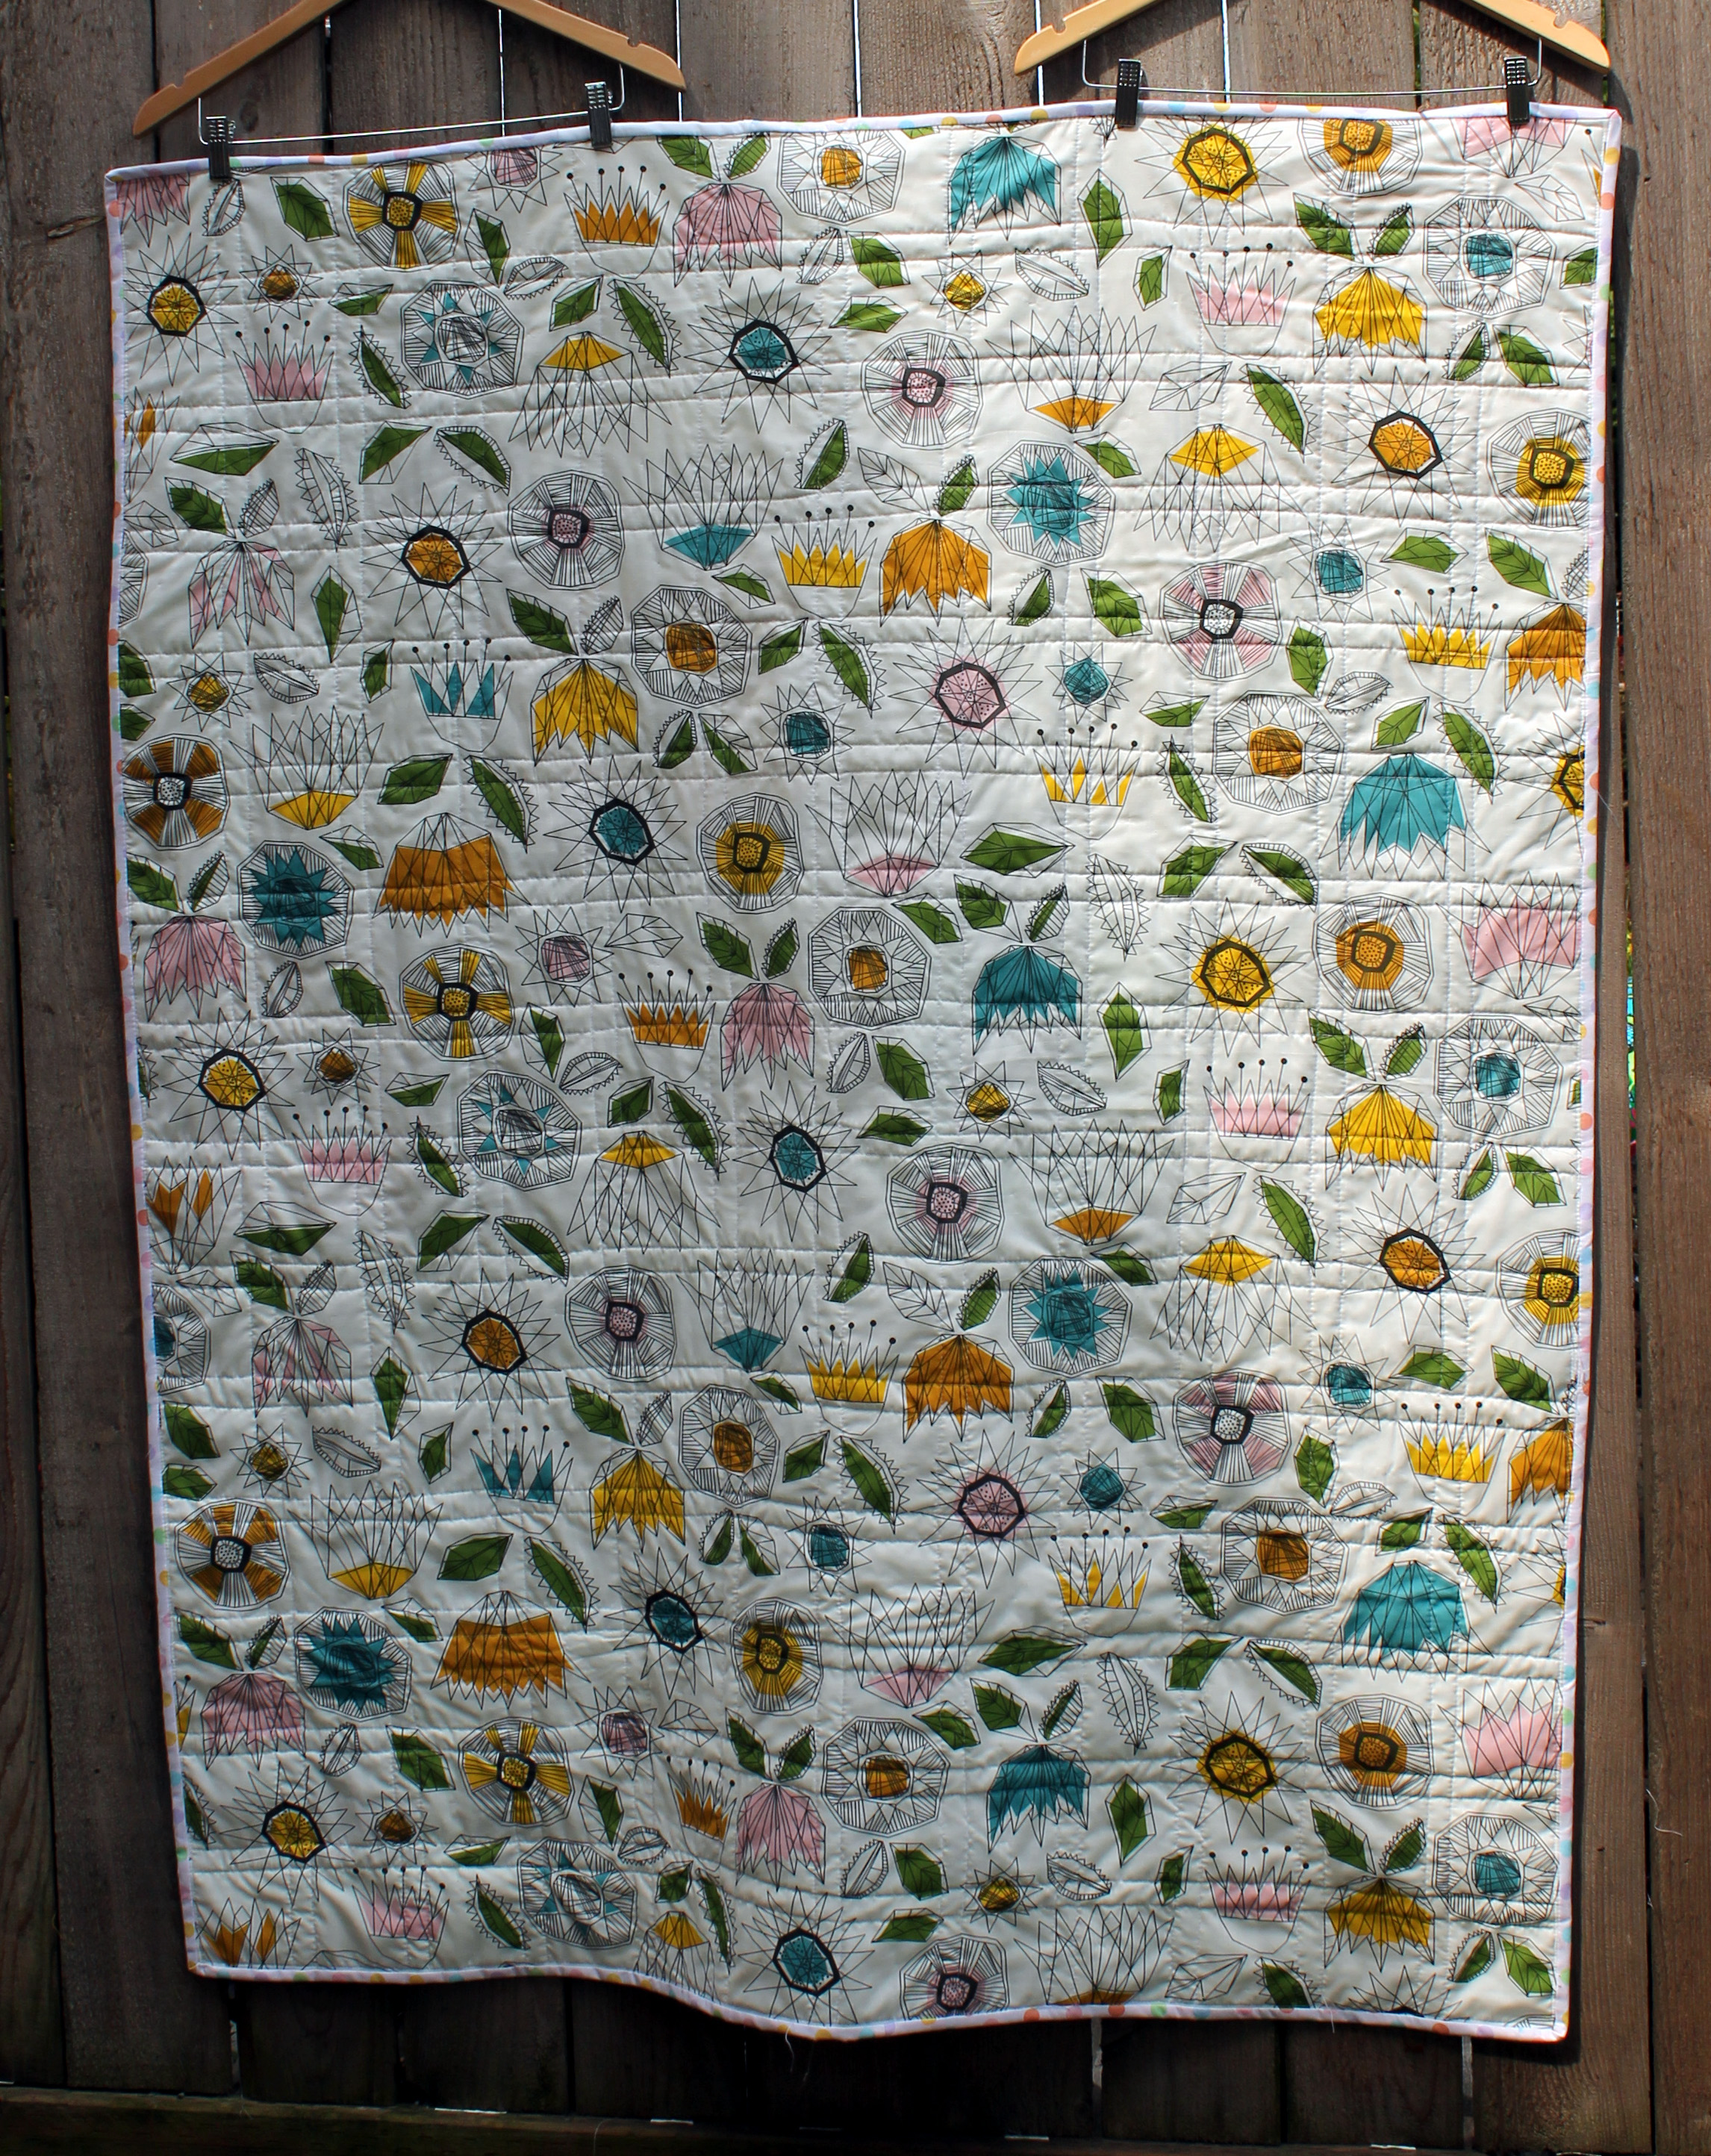
2.  I used a whole cloth back – IKEA fabric of course.  No fancy pieced or even scrap pieced back.

quilt back

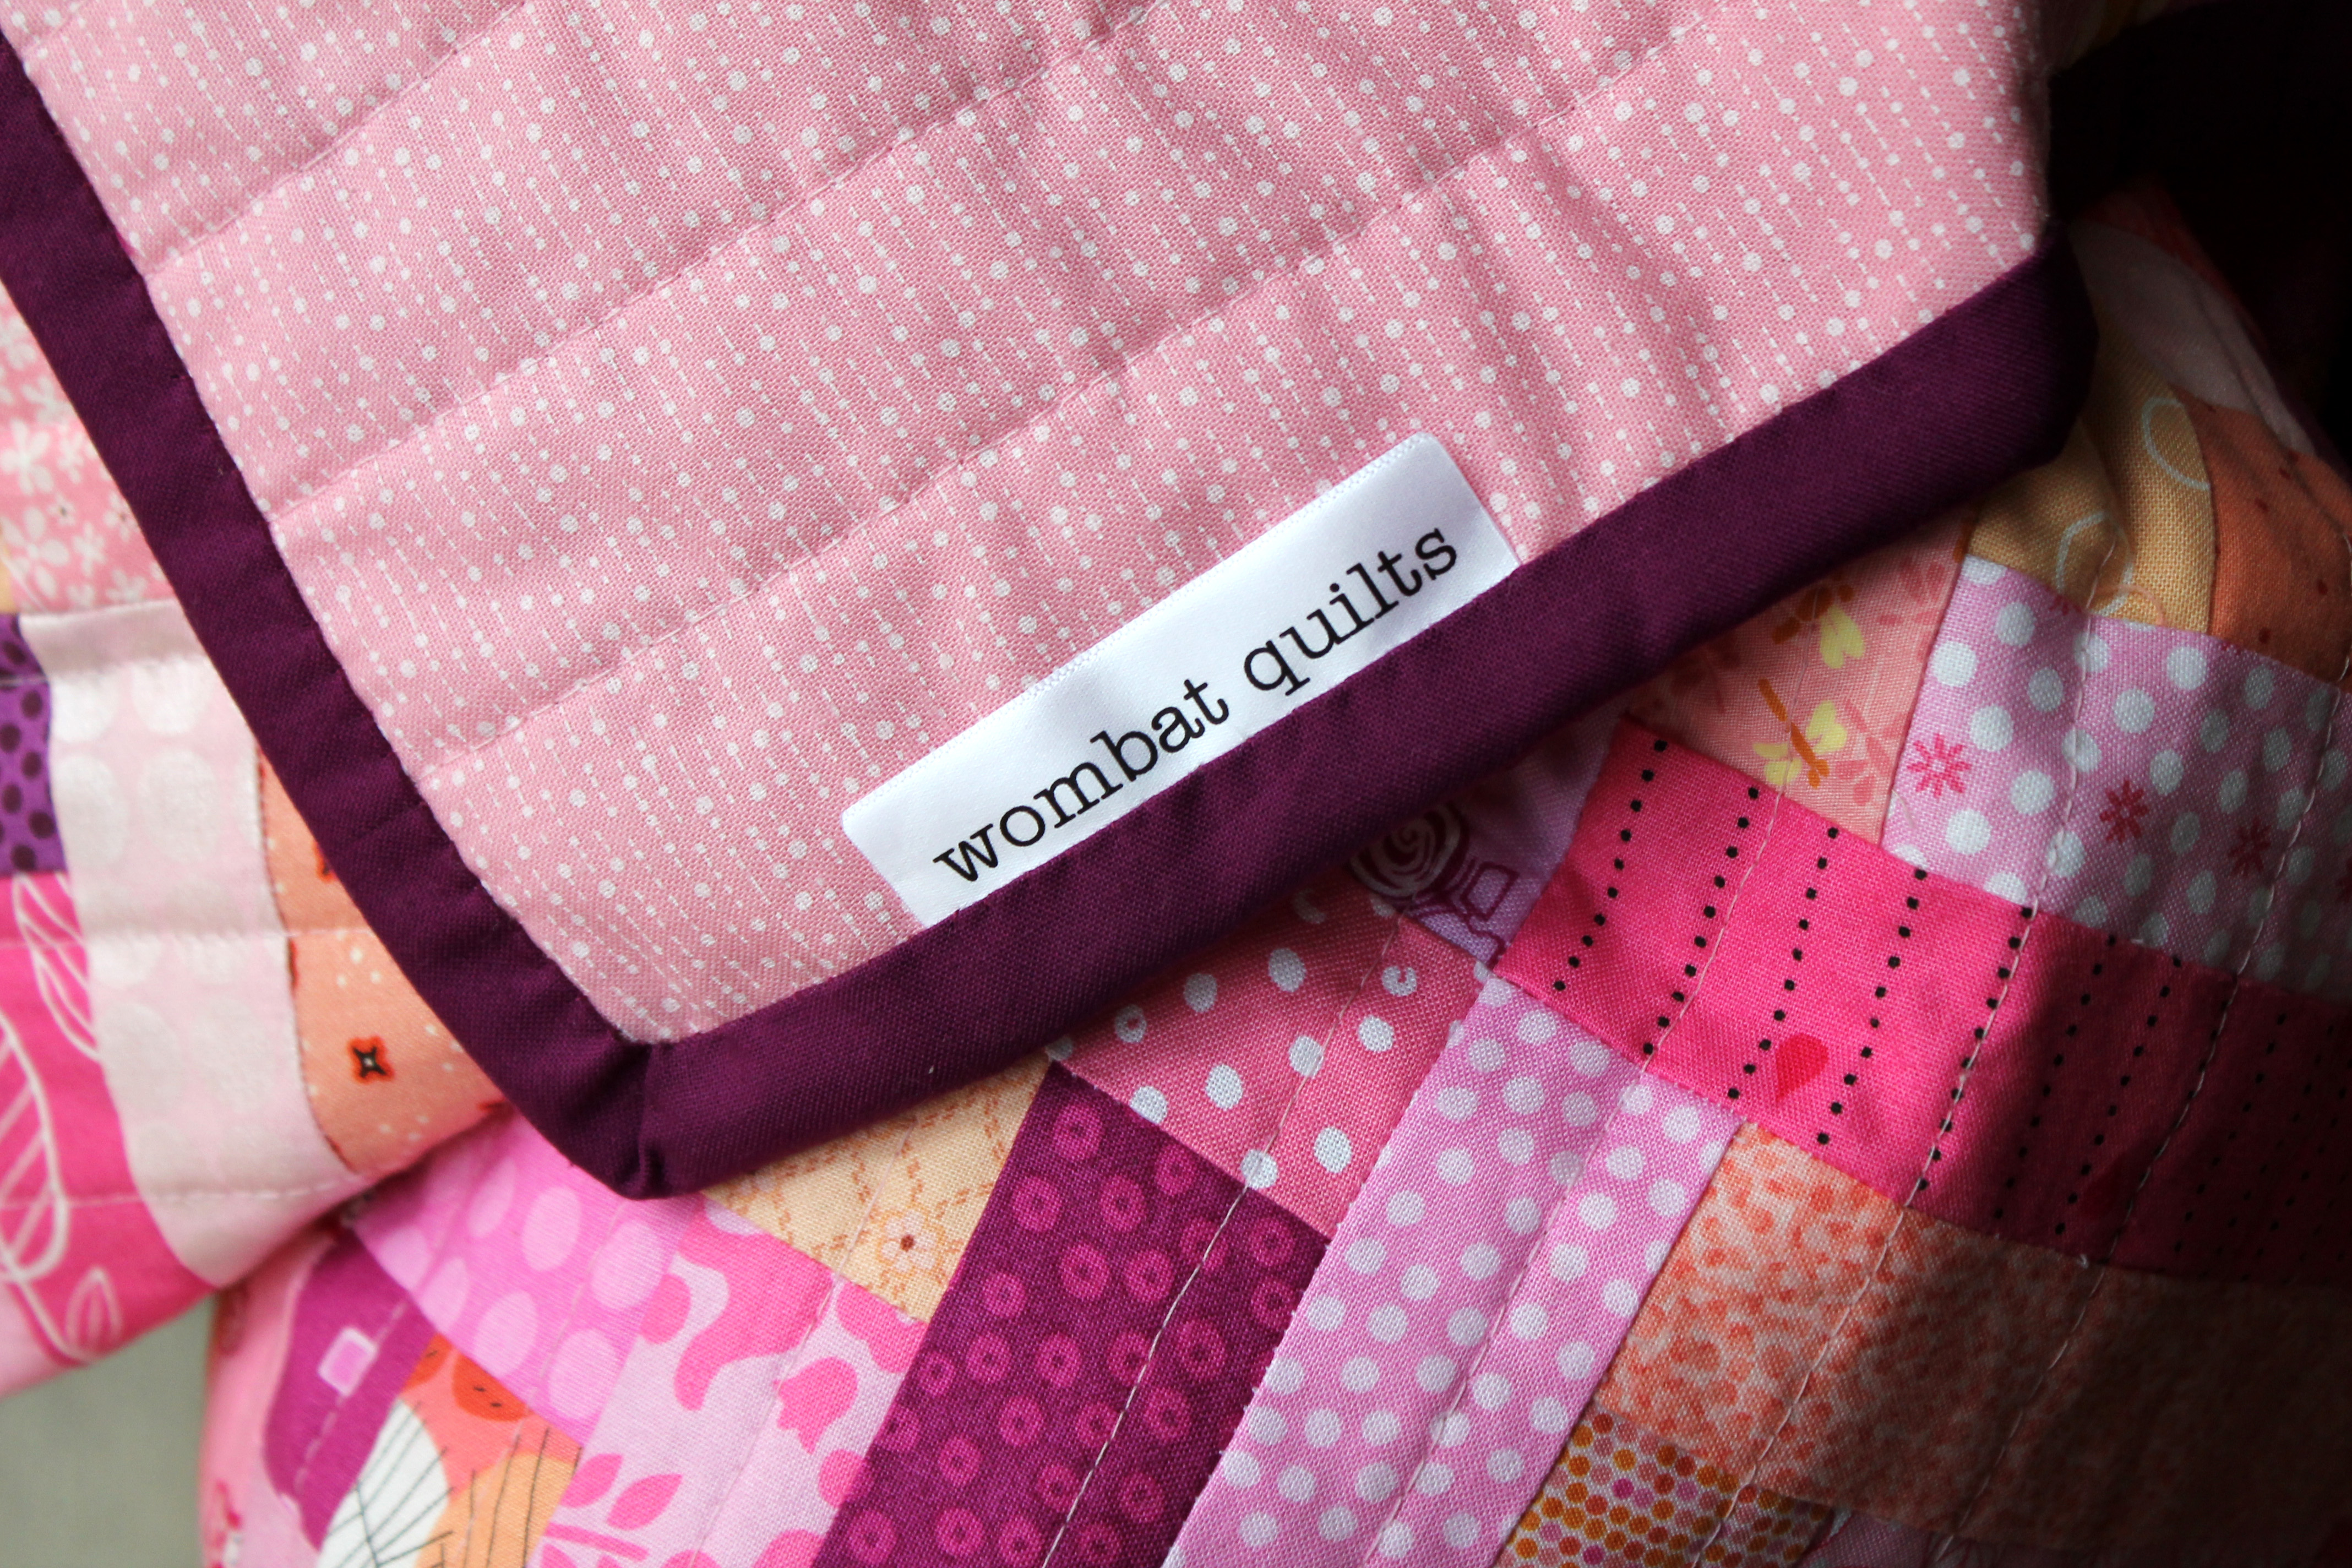
3.  I raided my box of pre-made binding and just picked one.    Usually I um and ah about the binding (it is a big decision after all).  9 times out of ten I normally end up making binding specially for the quilt being finished.

machine binding close up

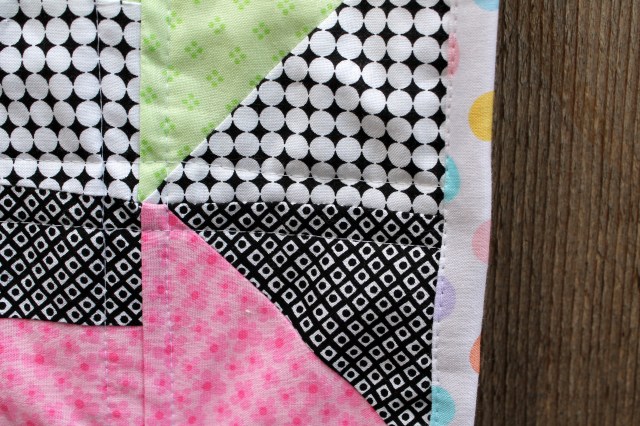
4.  I machine bound the quilt.  I usually like to hand sew the binding, as I find it a nice handmade finishing touch.

machine binding

All these little decision mean I get the quilt done much quicker, with minimal fuss.  The quilt is then ready to be washed, dried and then delivered to Project Linus, leaving me ready to move onto the next one.

rainbow eye spy quilt

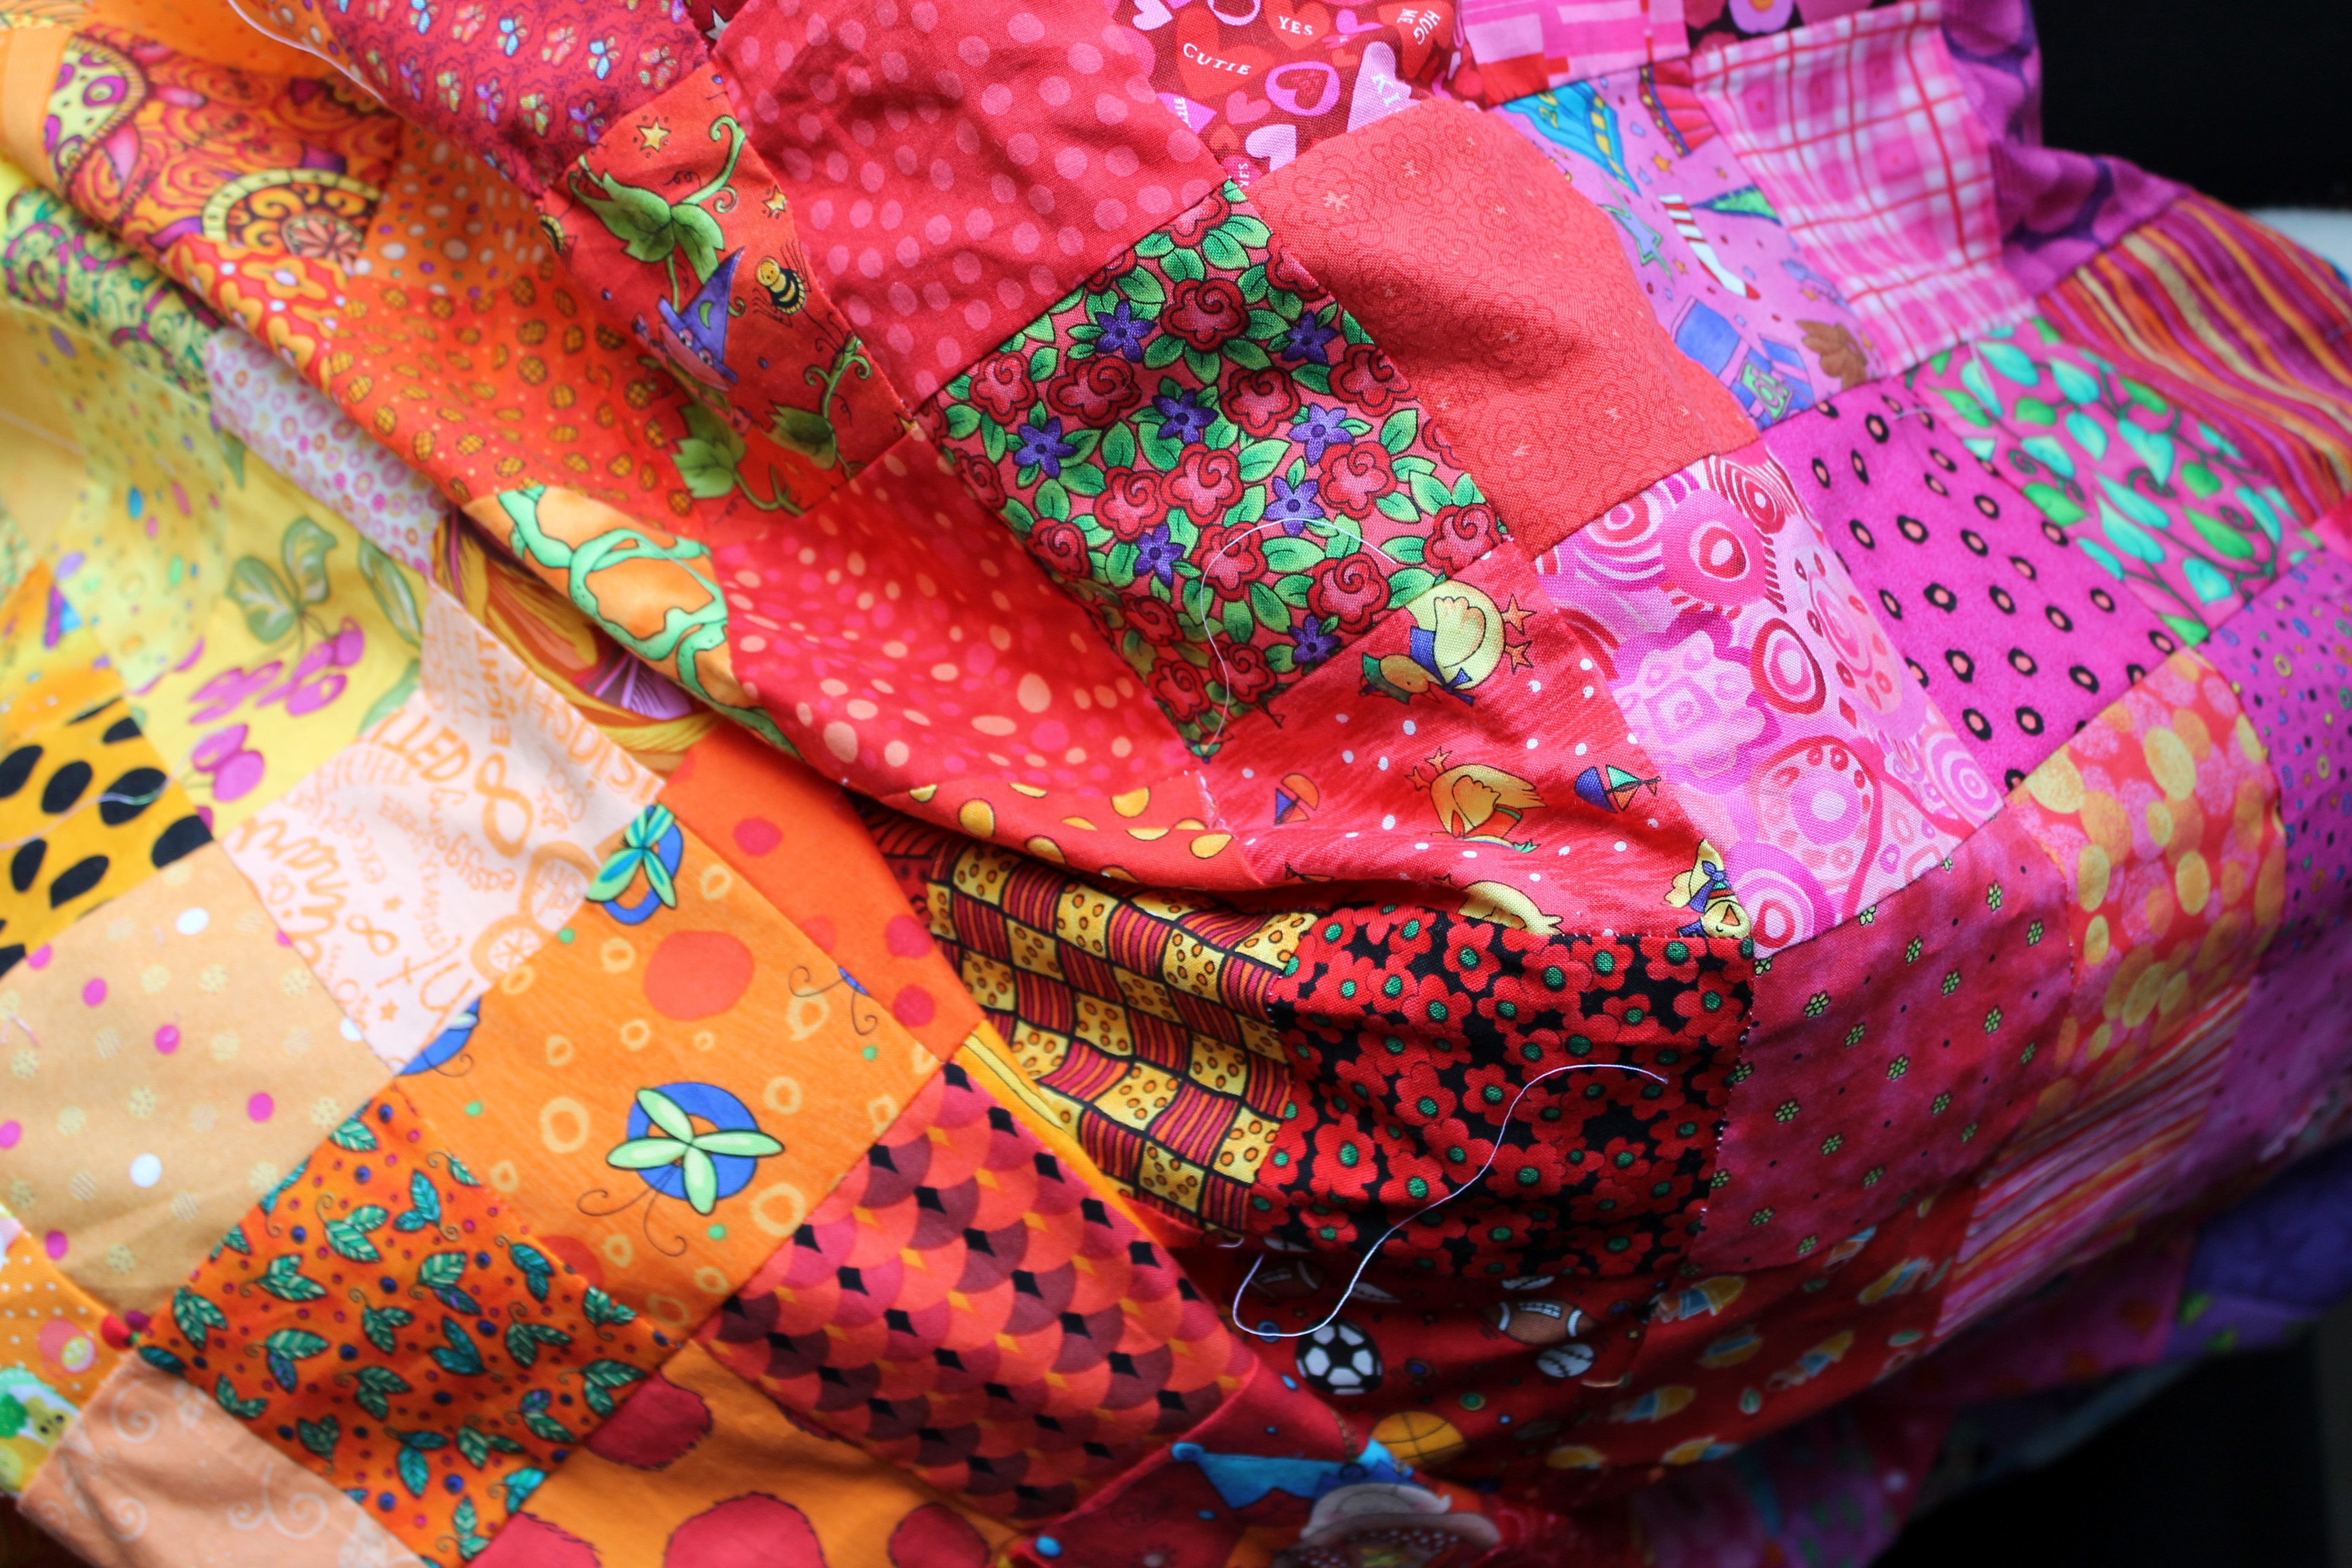
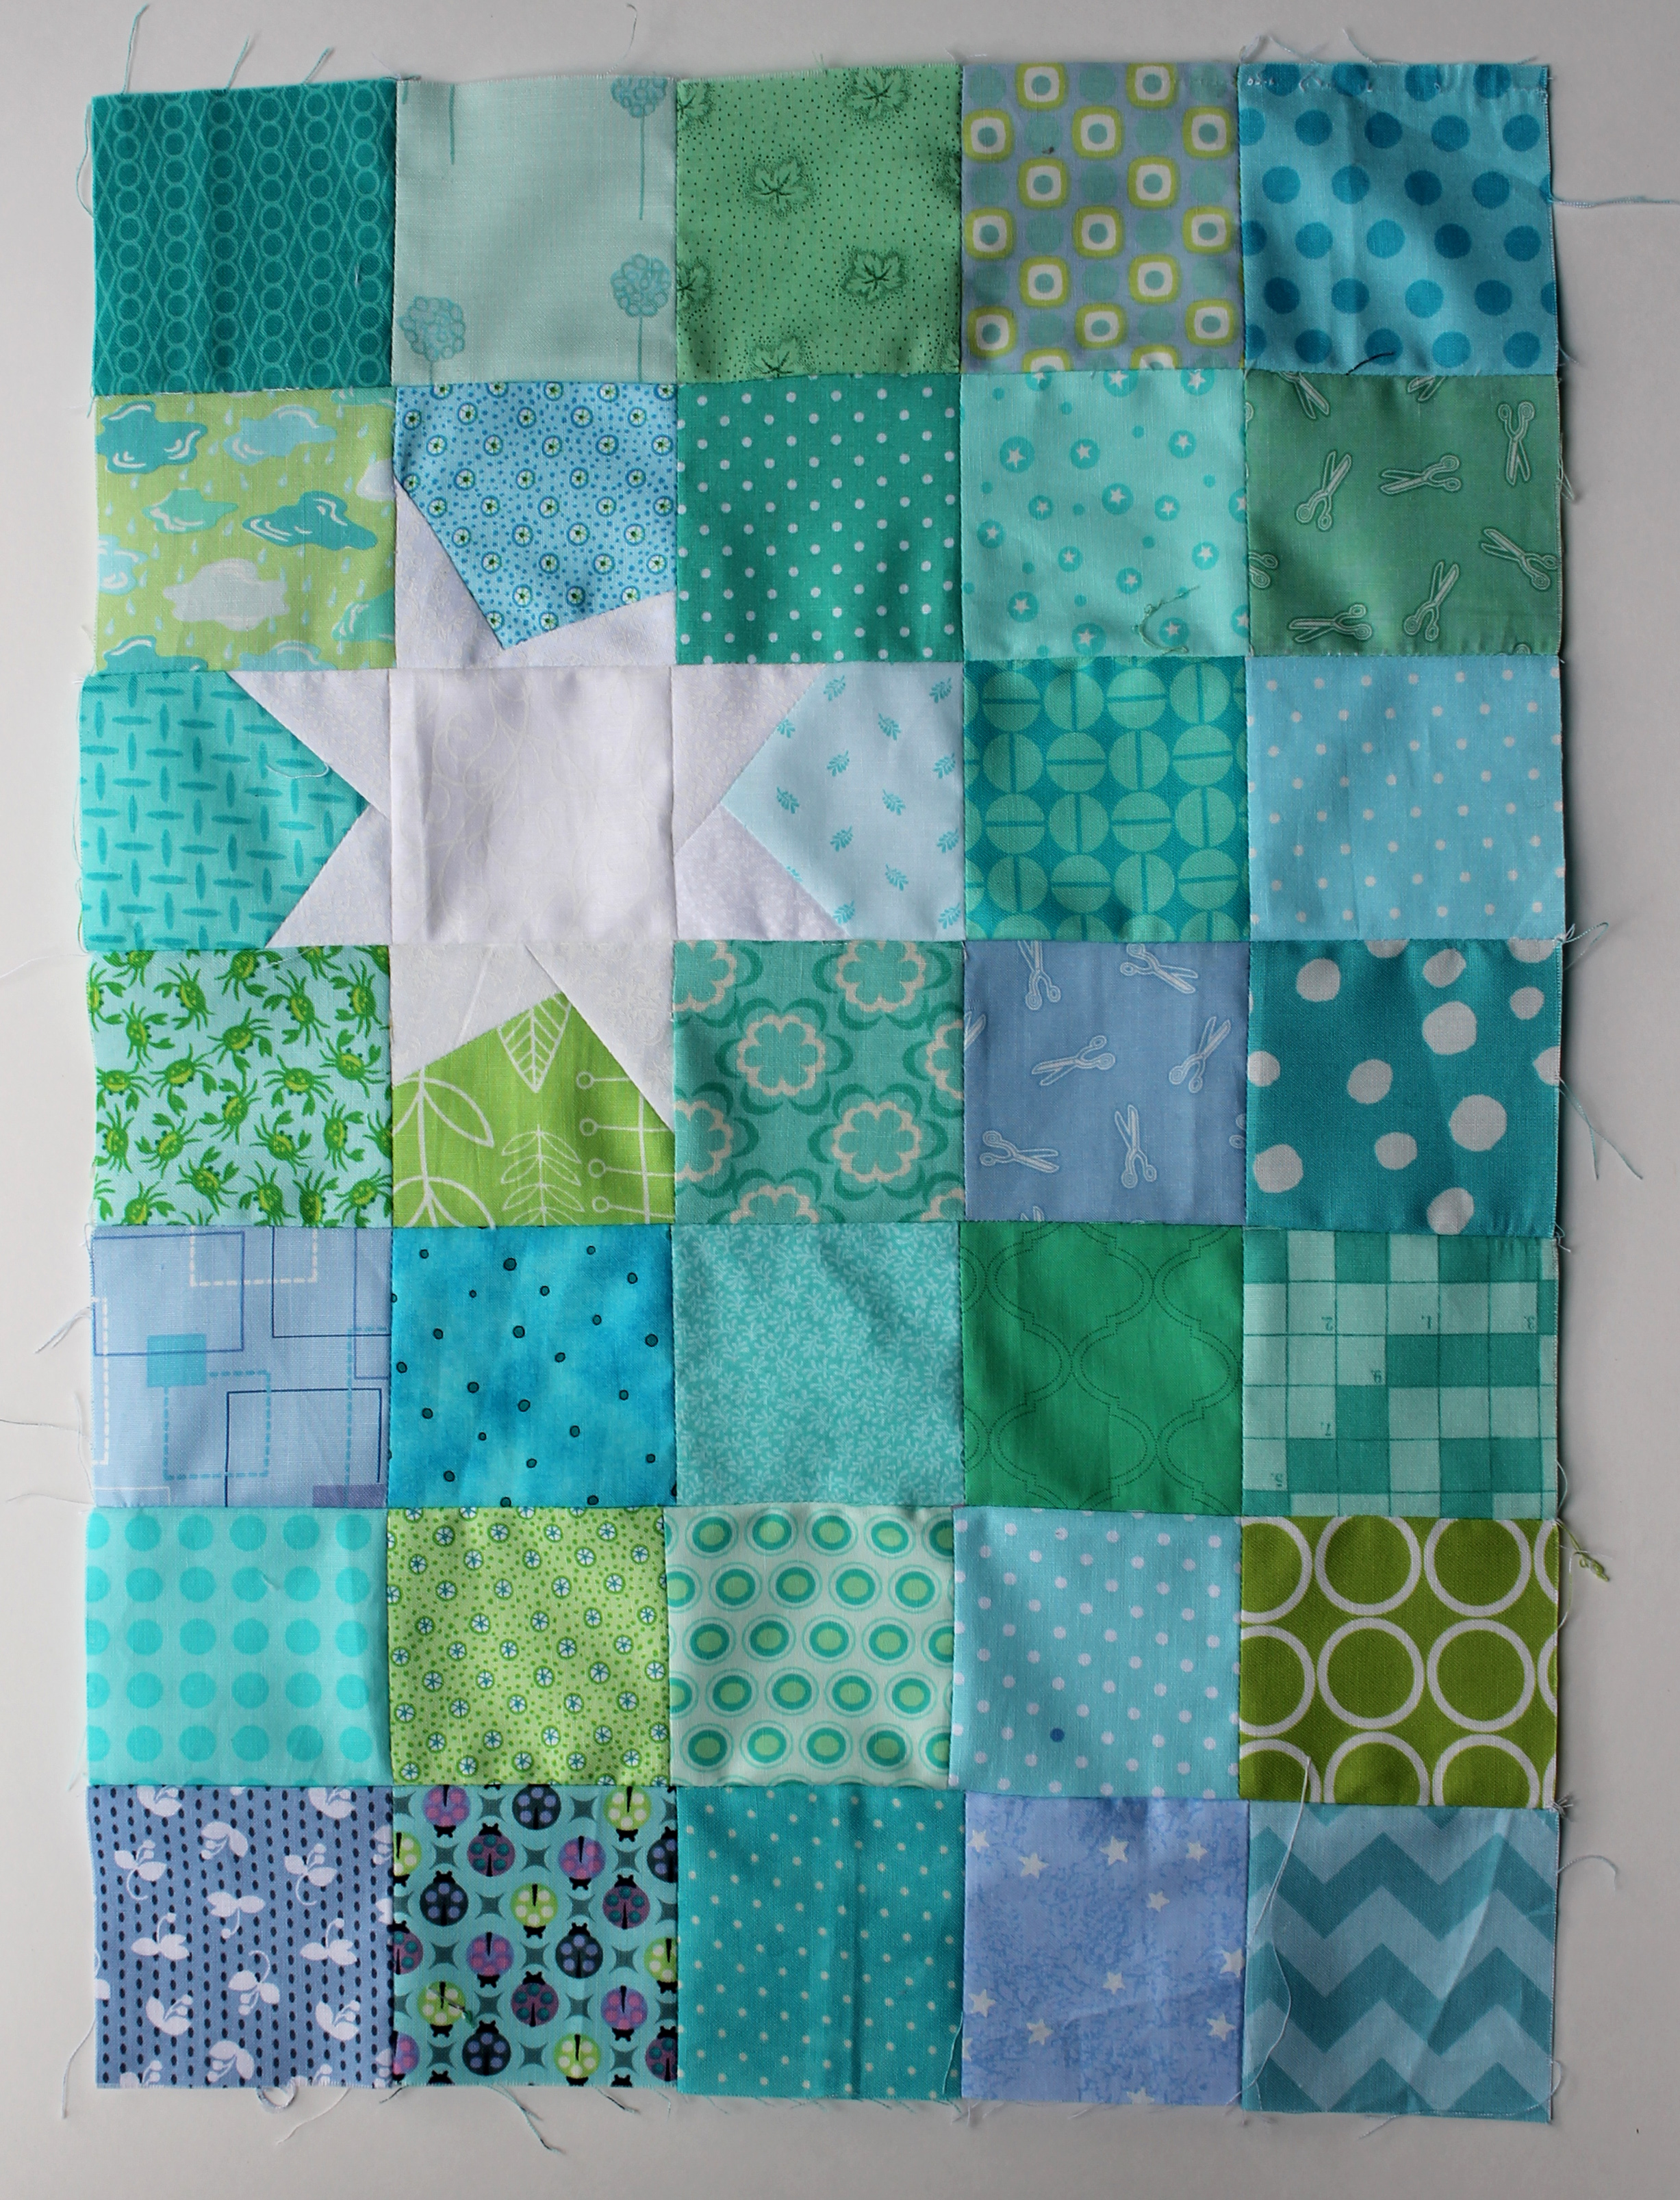
This is the next one… another quilt top that has been sitting in my cupboard, this time for years.

I encourage you dust off an old unfinished top or that pile of quilt blocks.  Finish the sucker – quilt it, bind it, wash it and deliver it to your local Project Linus or Quilts for Valor or Wrap them in love or Quilts for Kids or whatever charity you choose.   Let someone love and be comforted by your quilty creation.

Go on you know you want too…
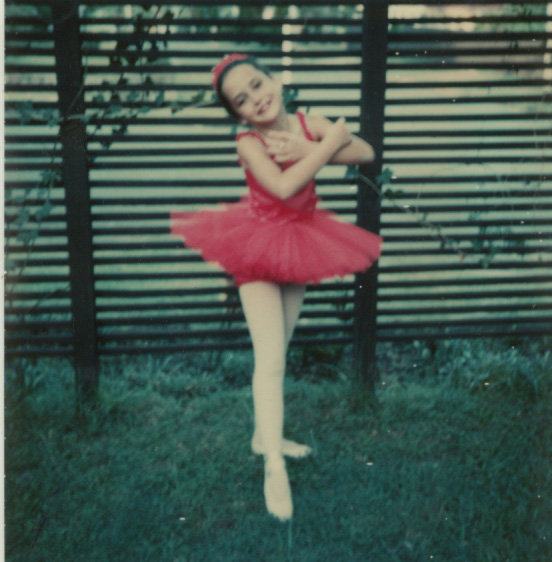