Dealing with bulky seams….PP Monday style

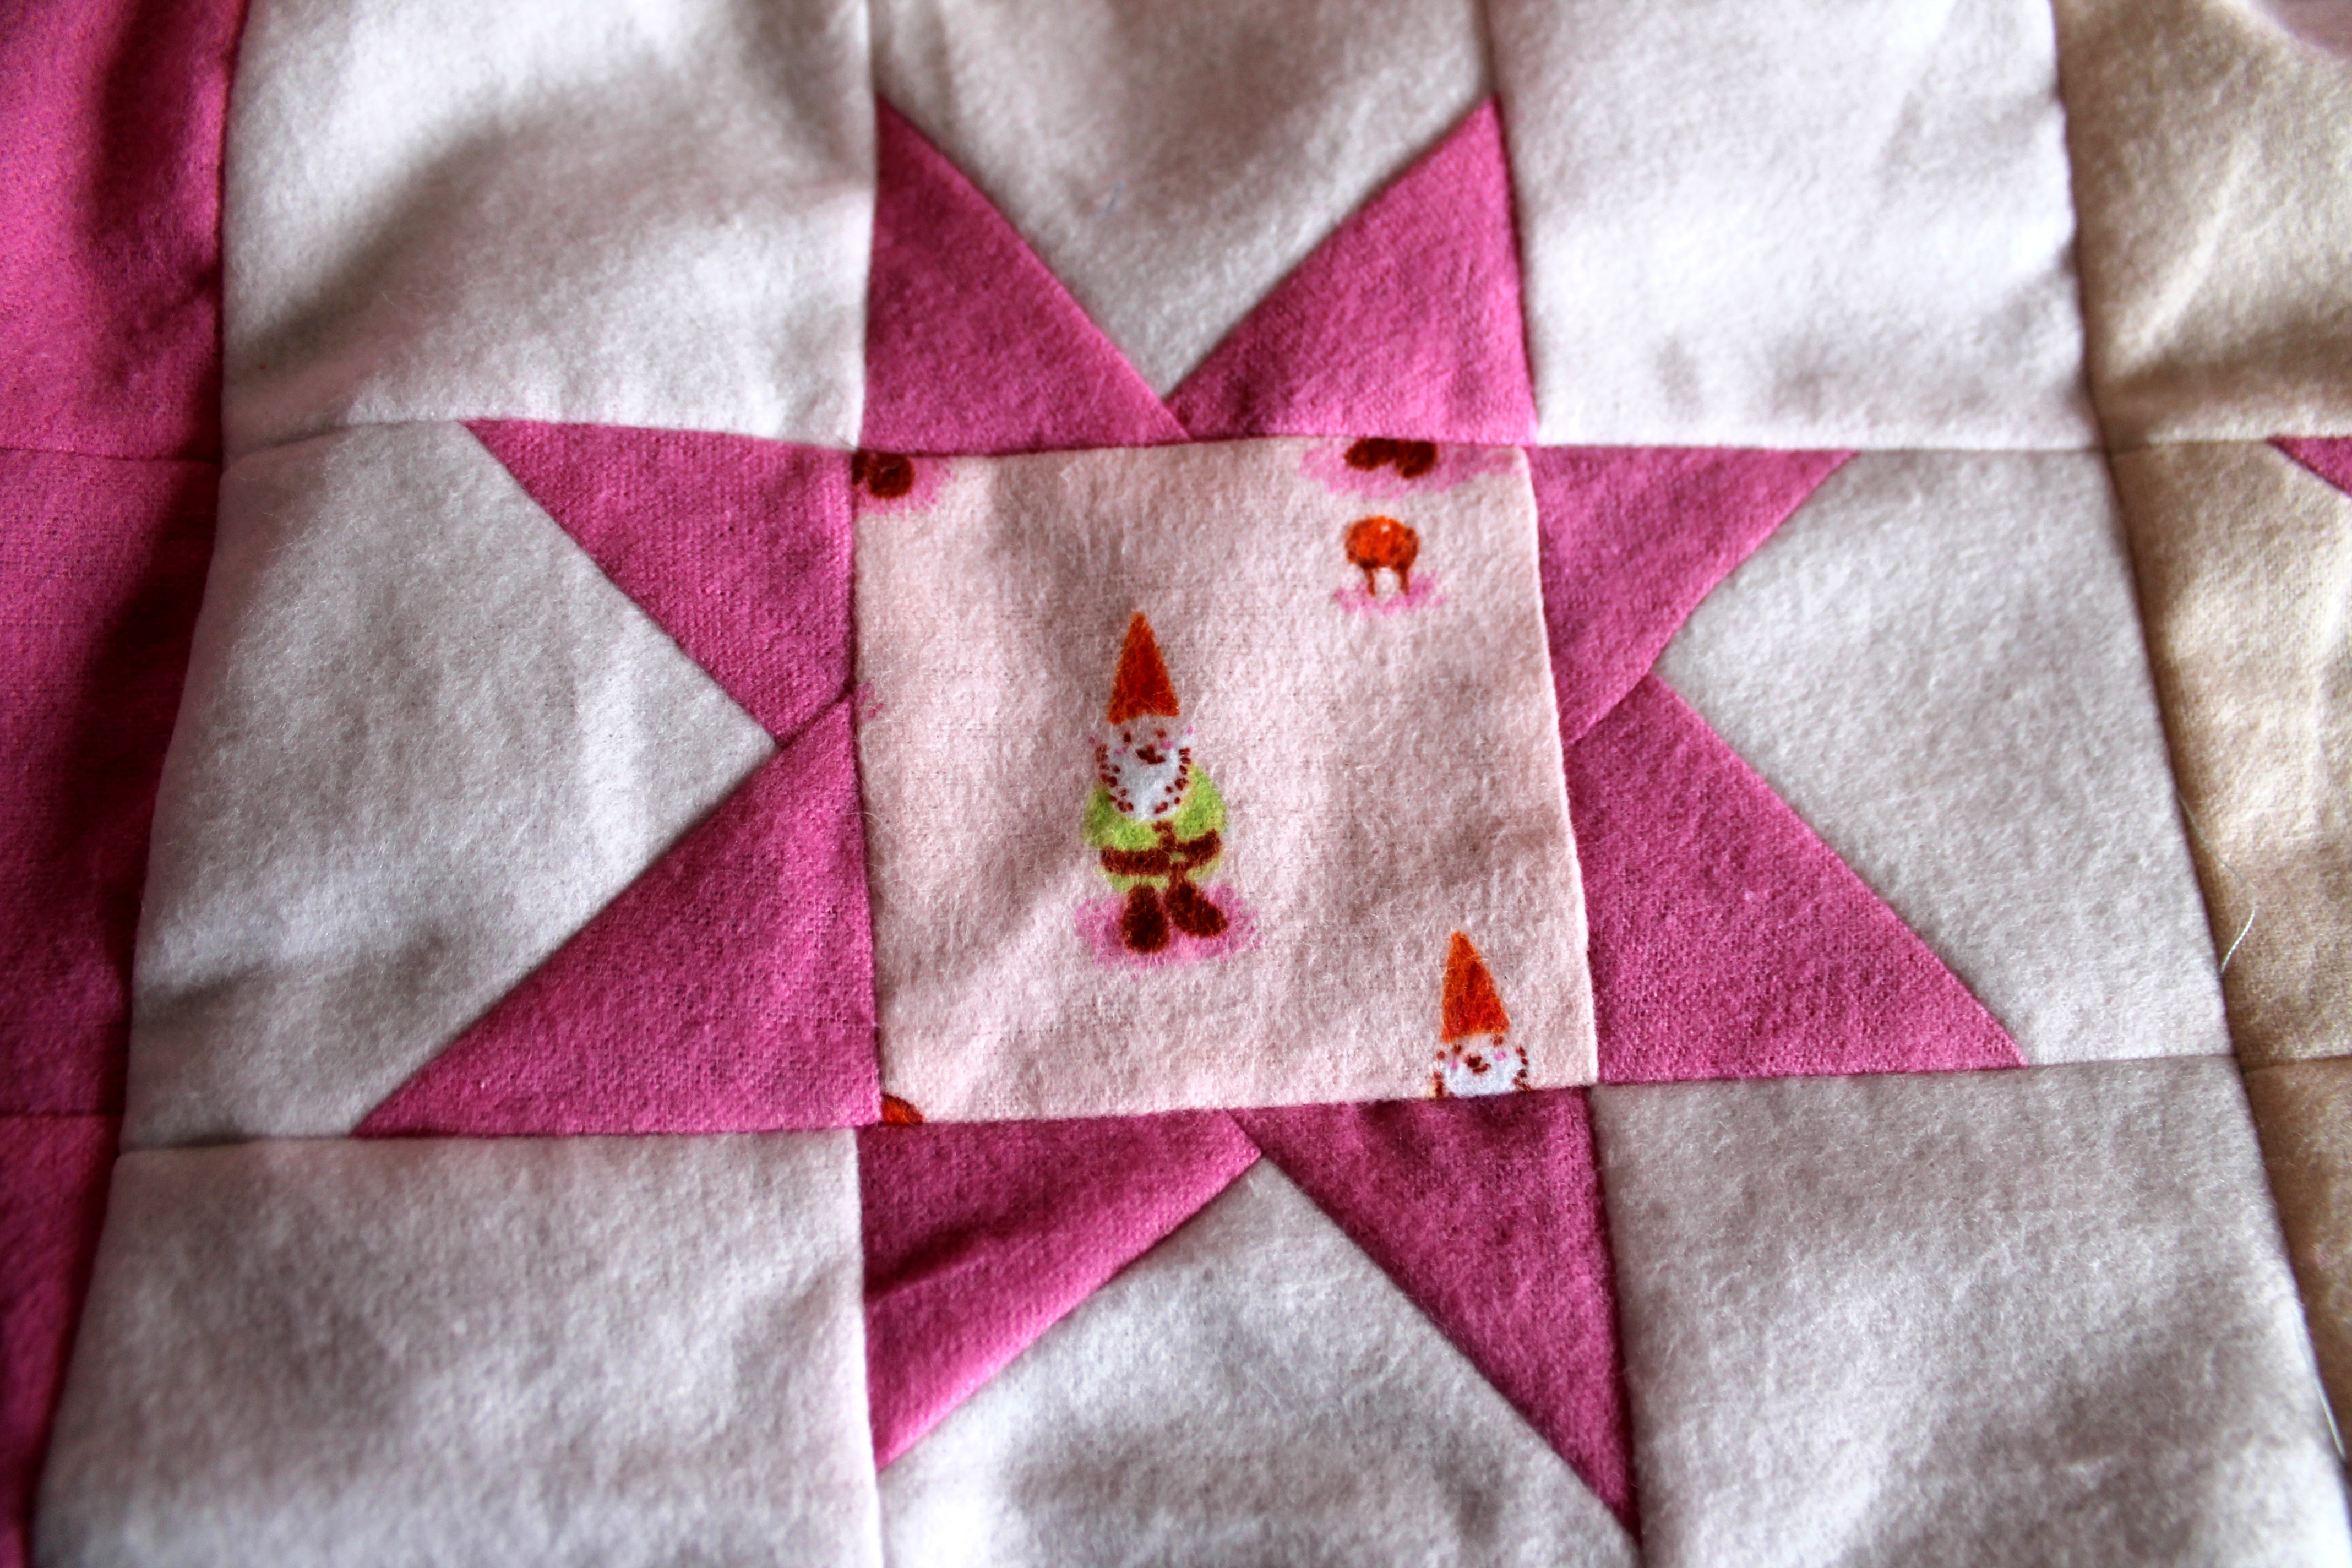
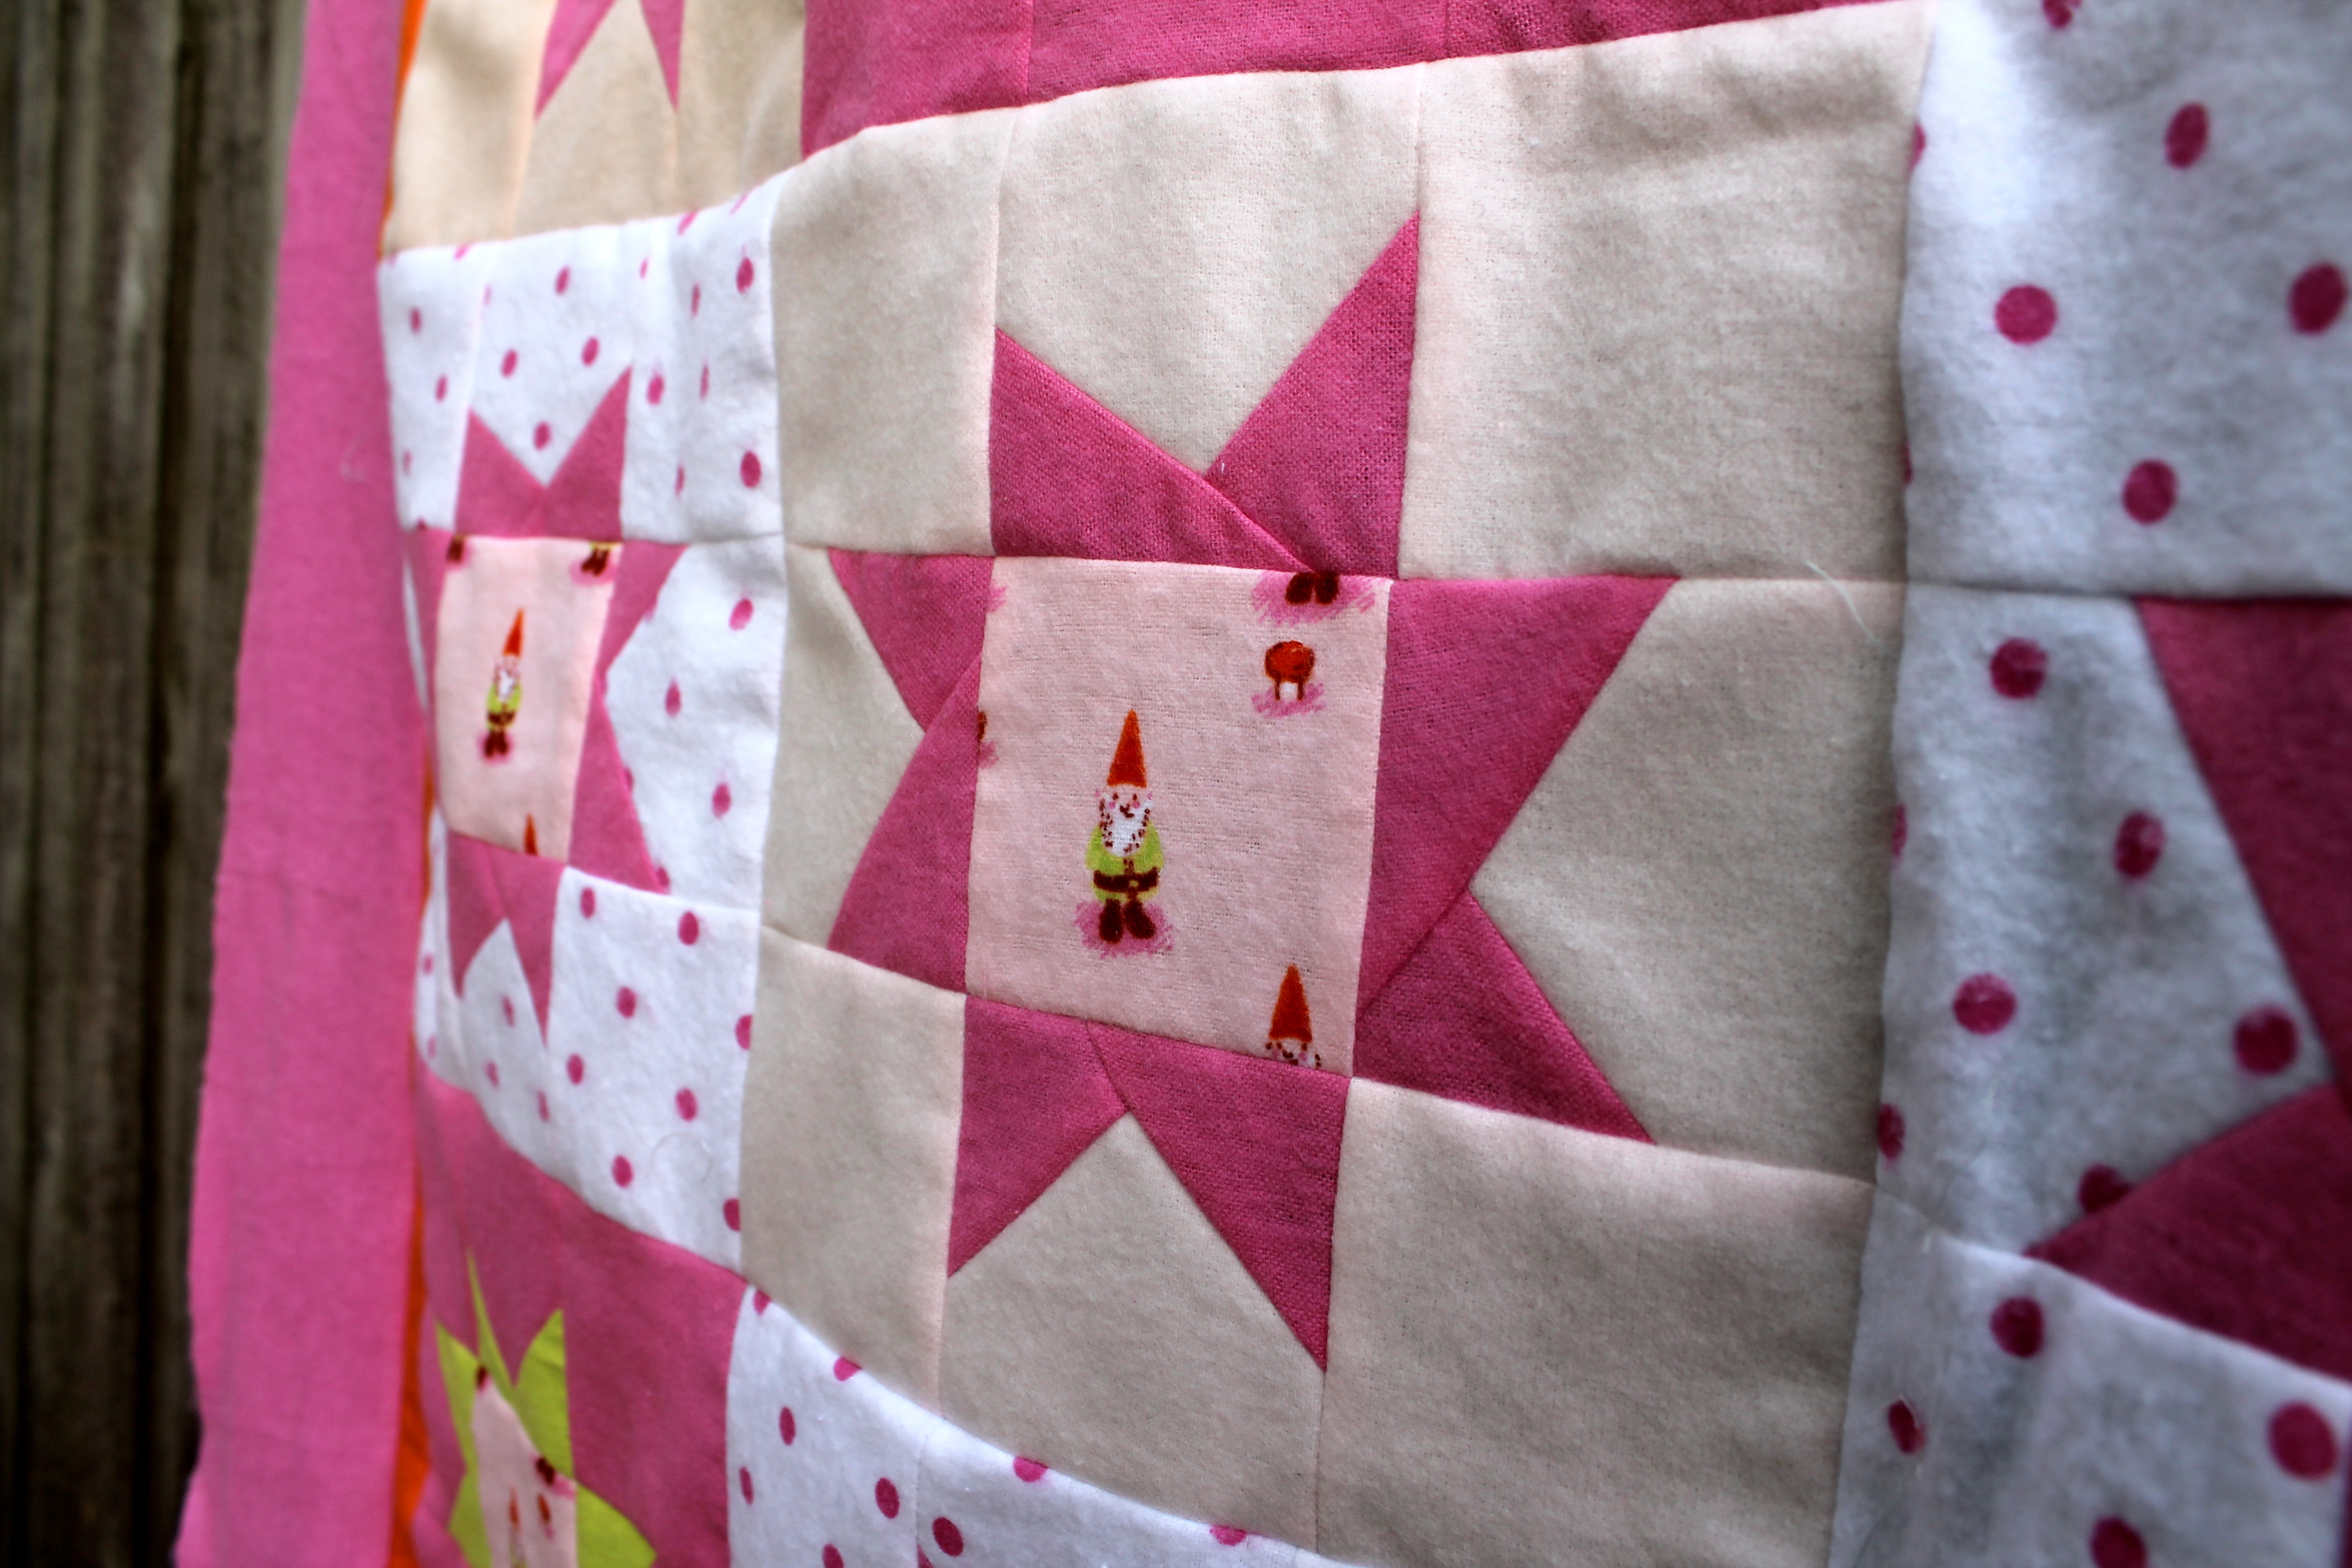
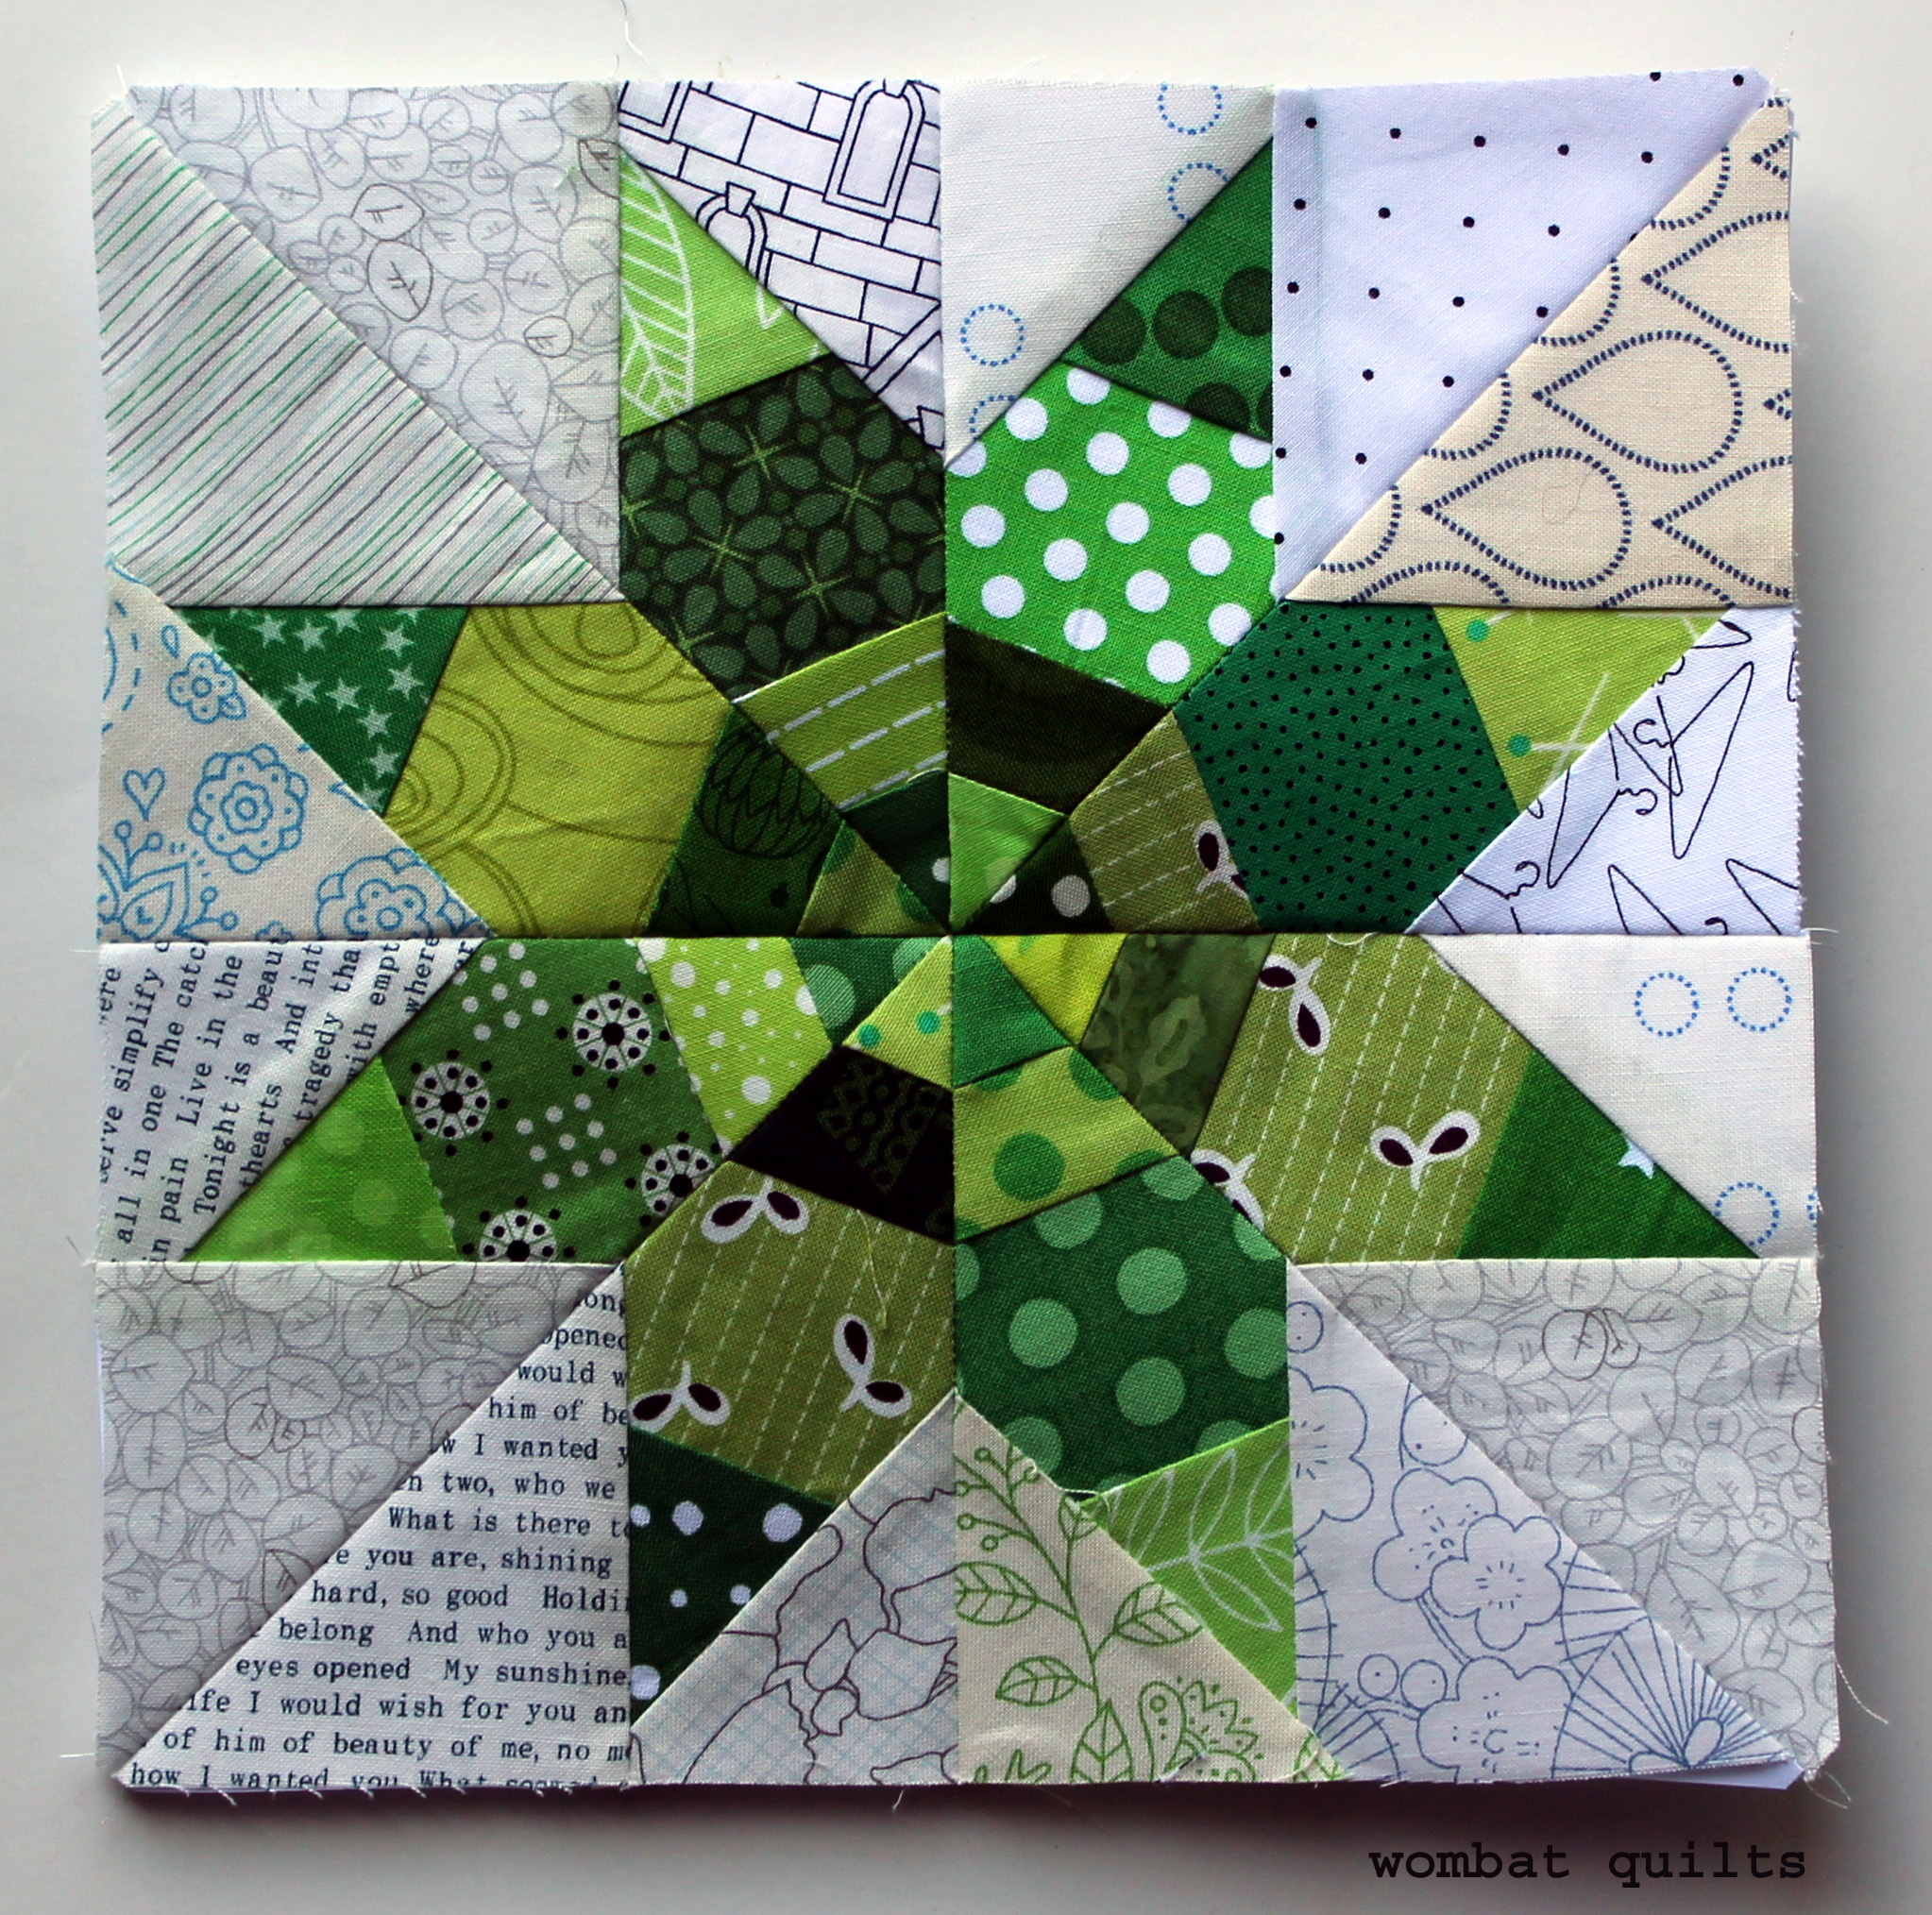
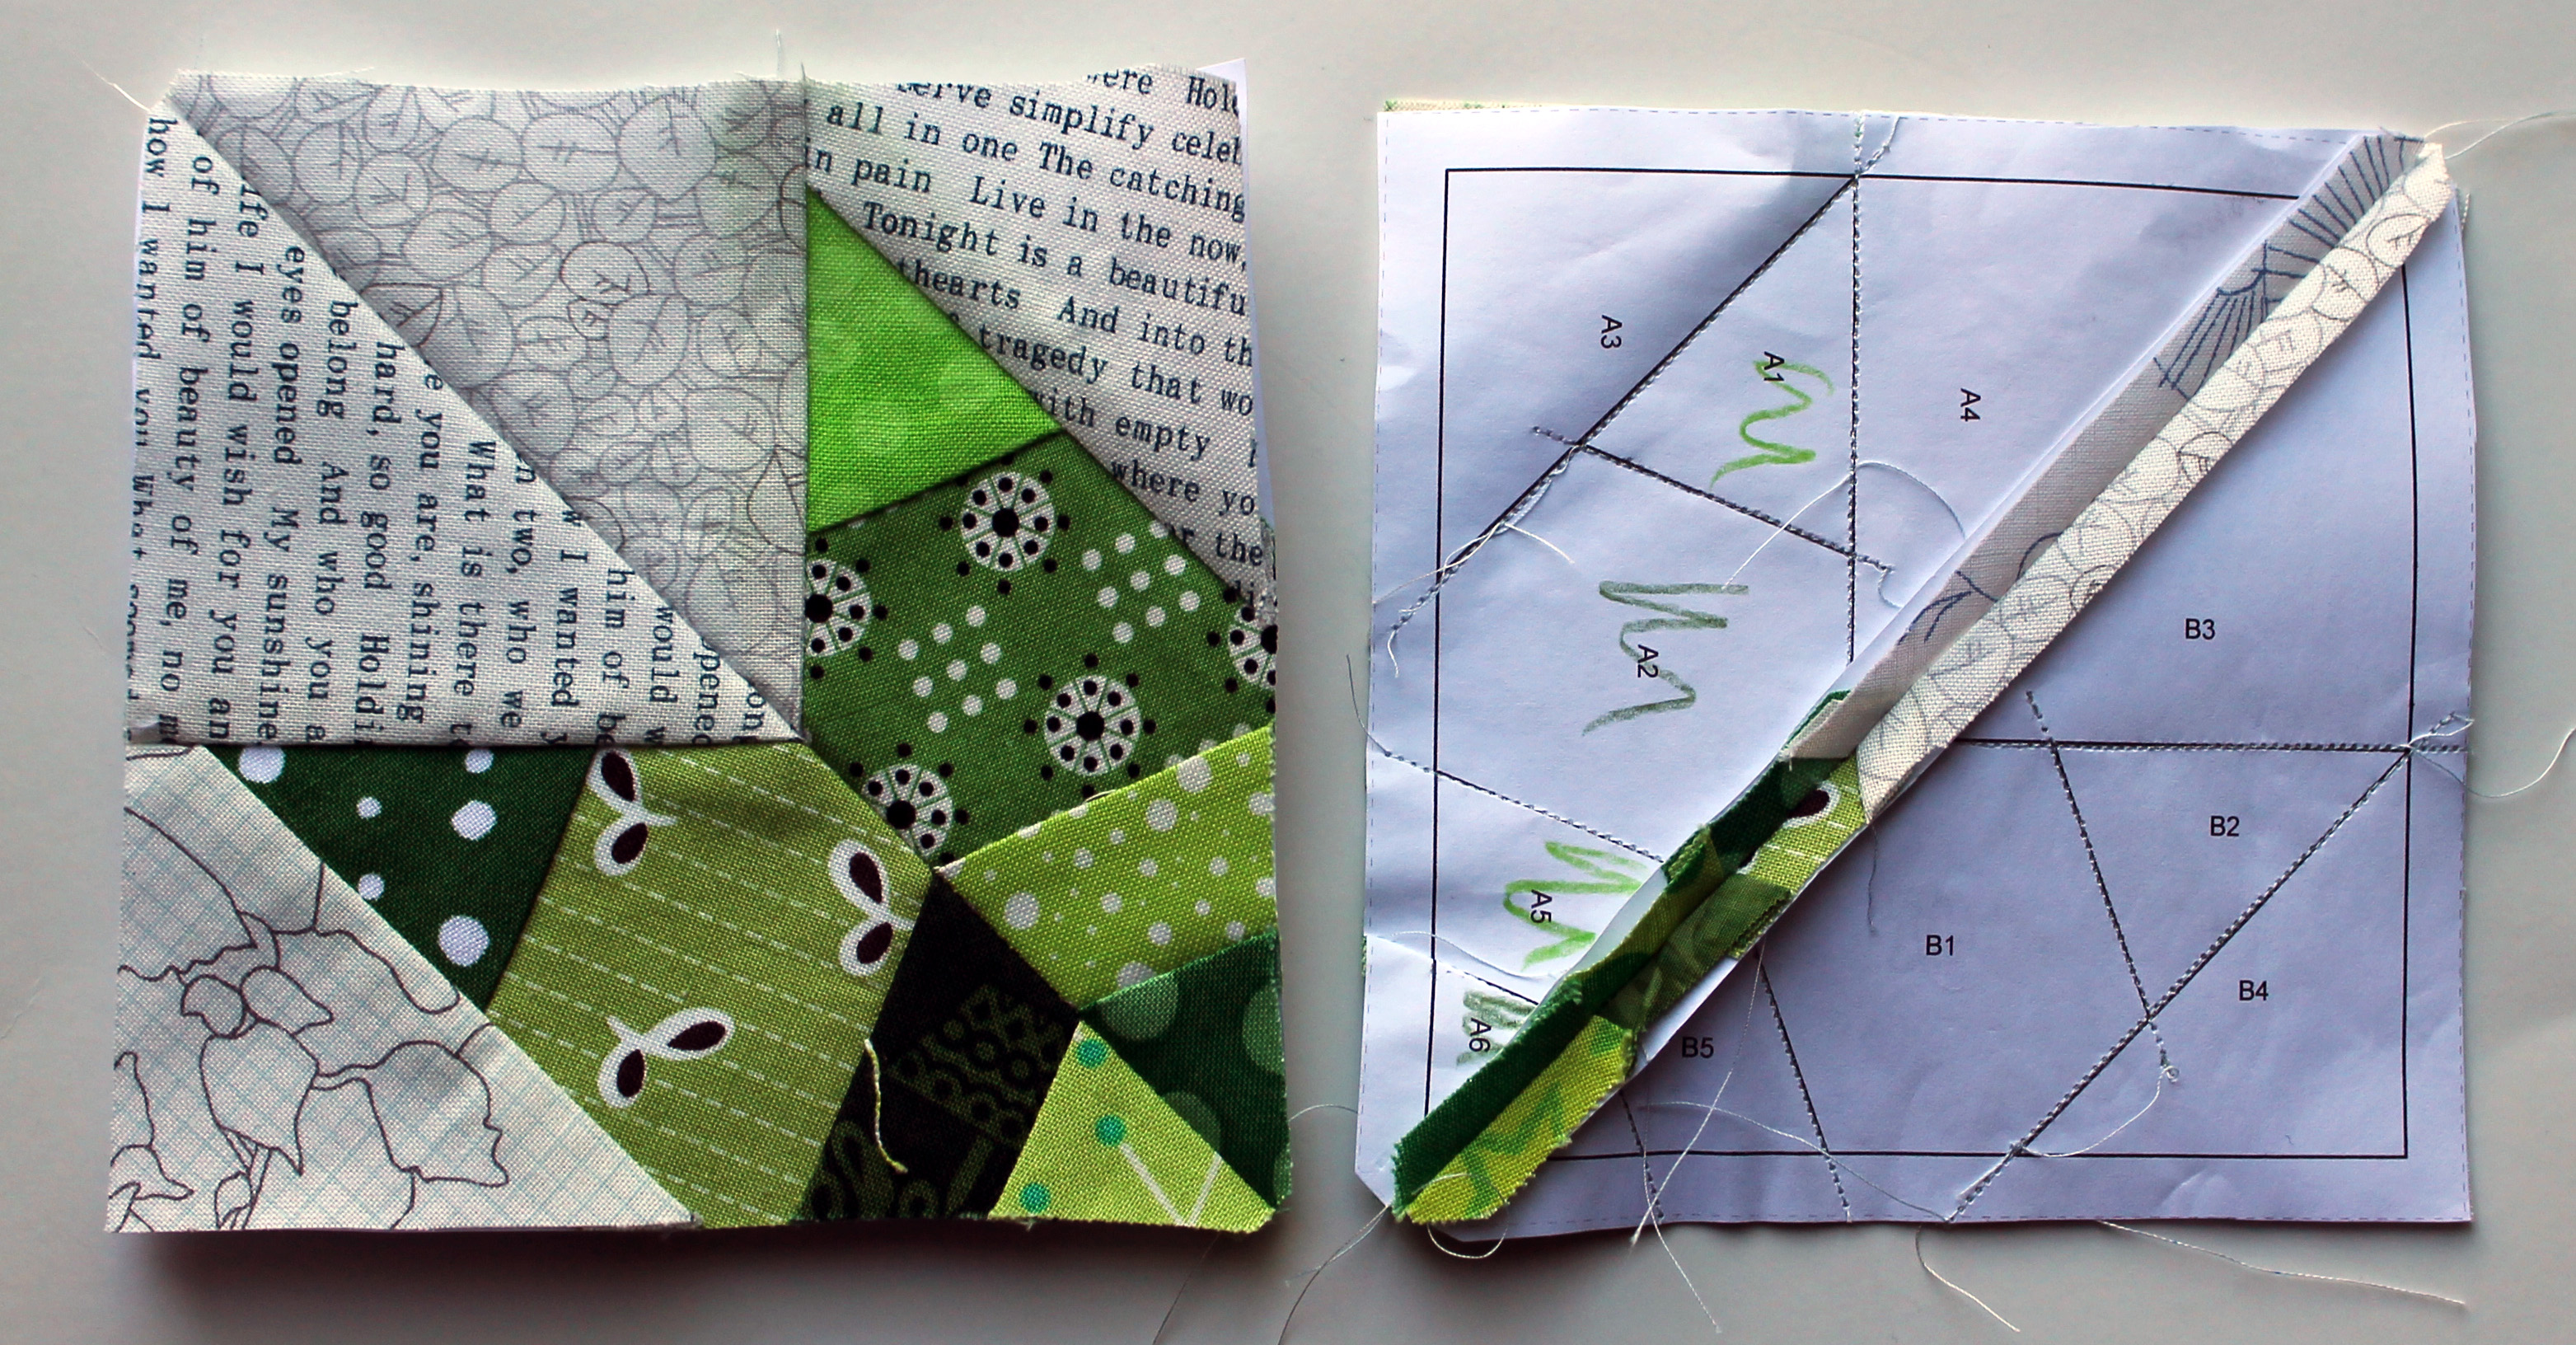
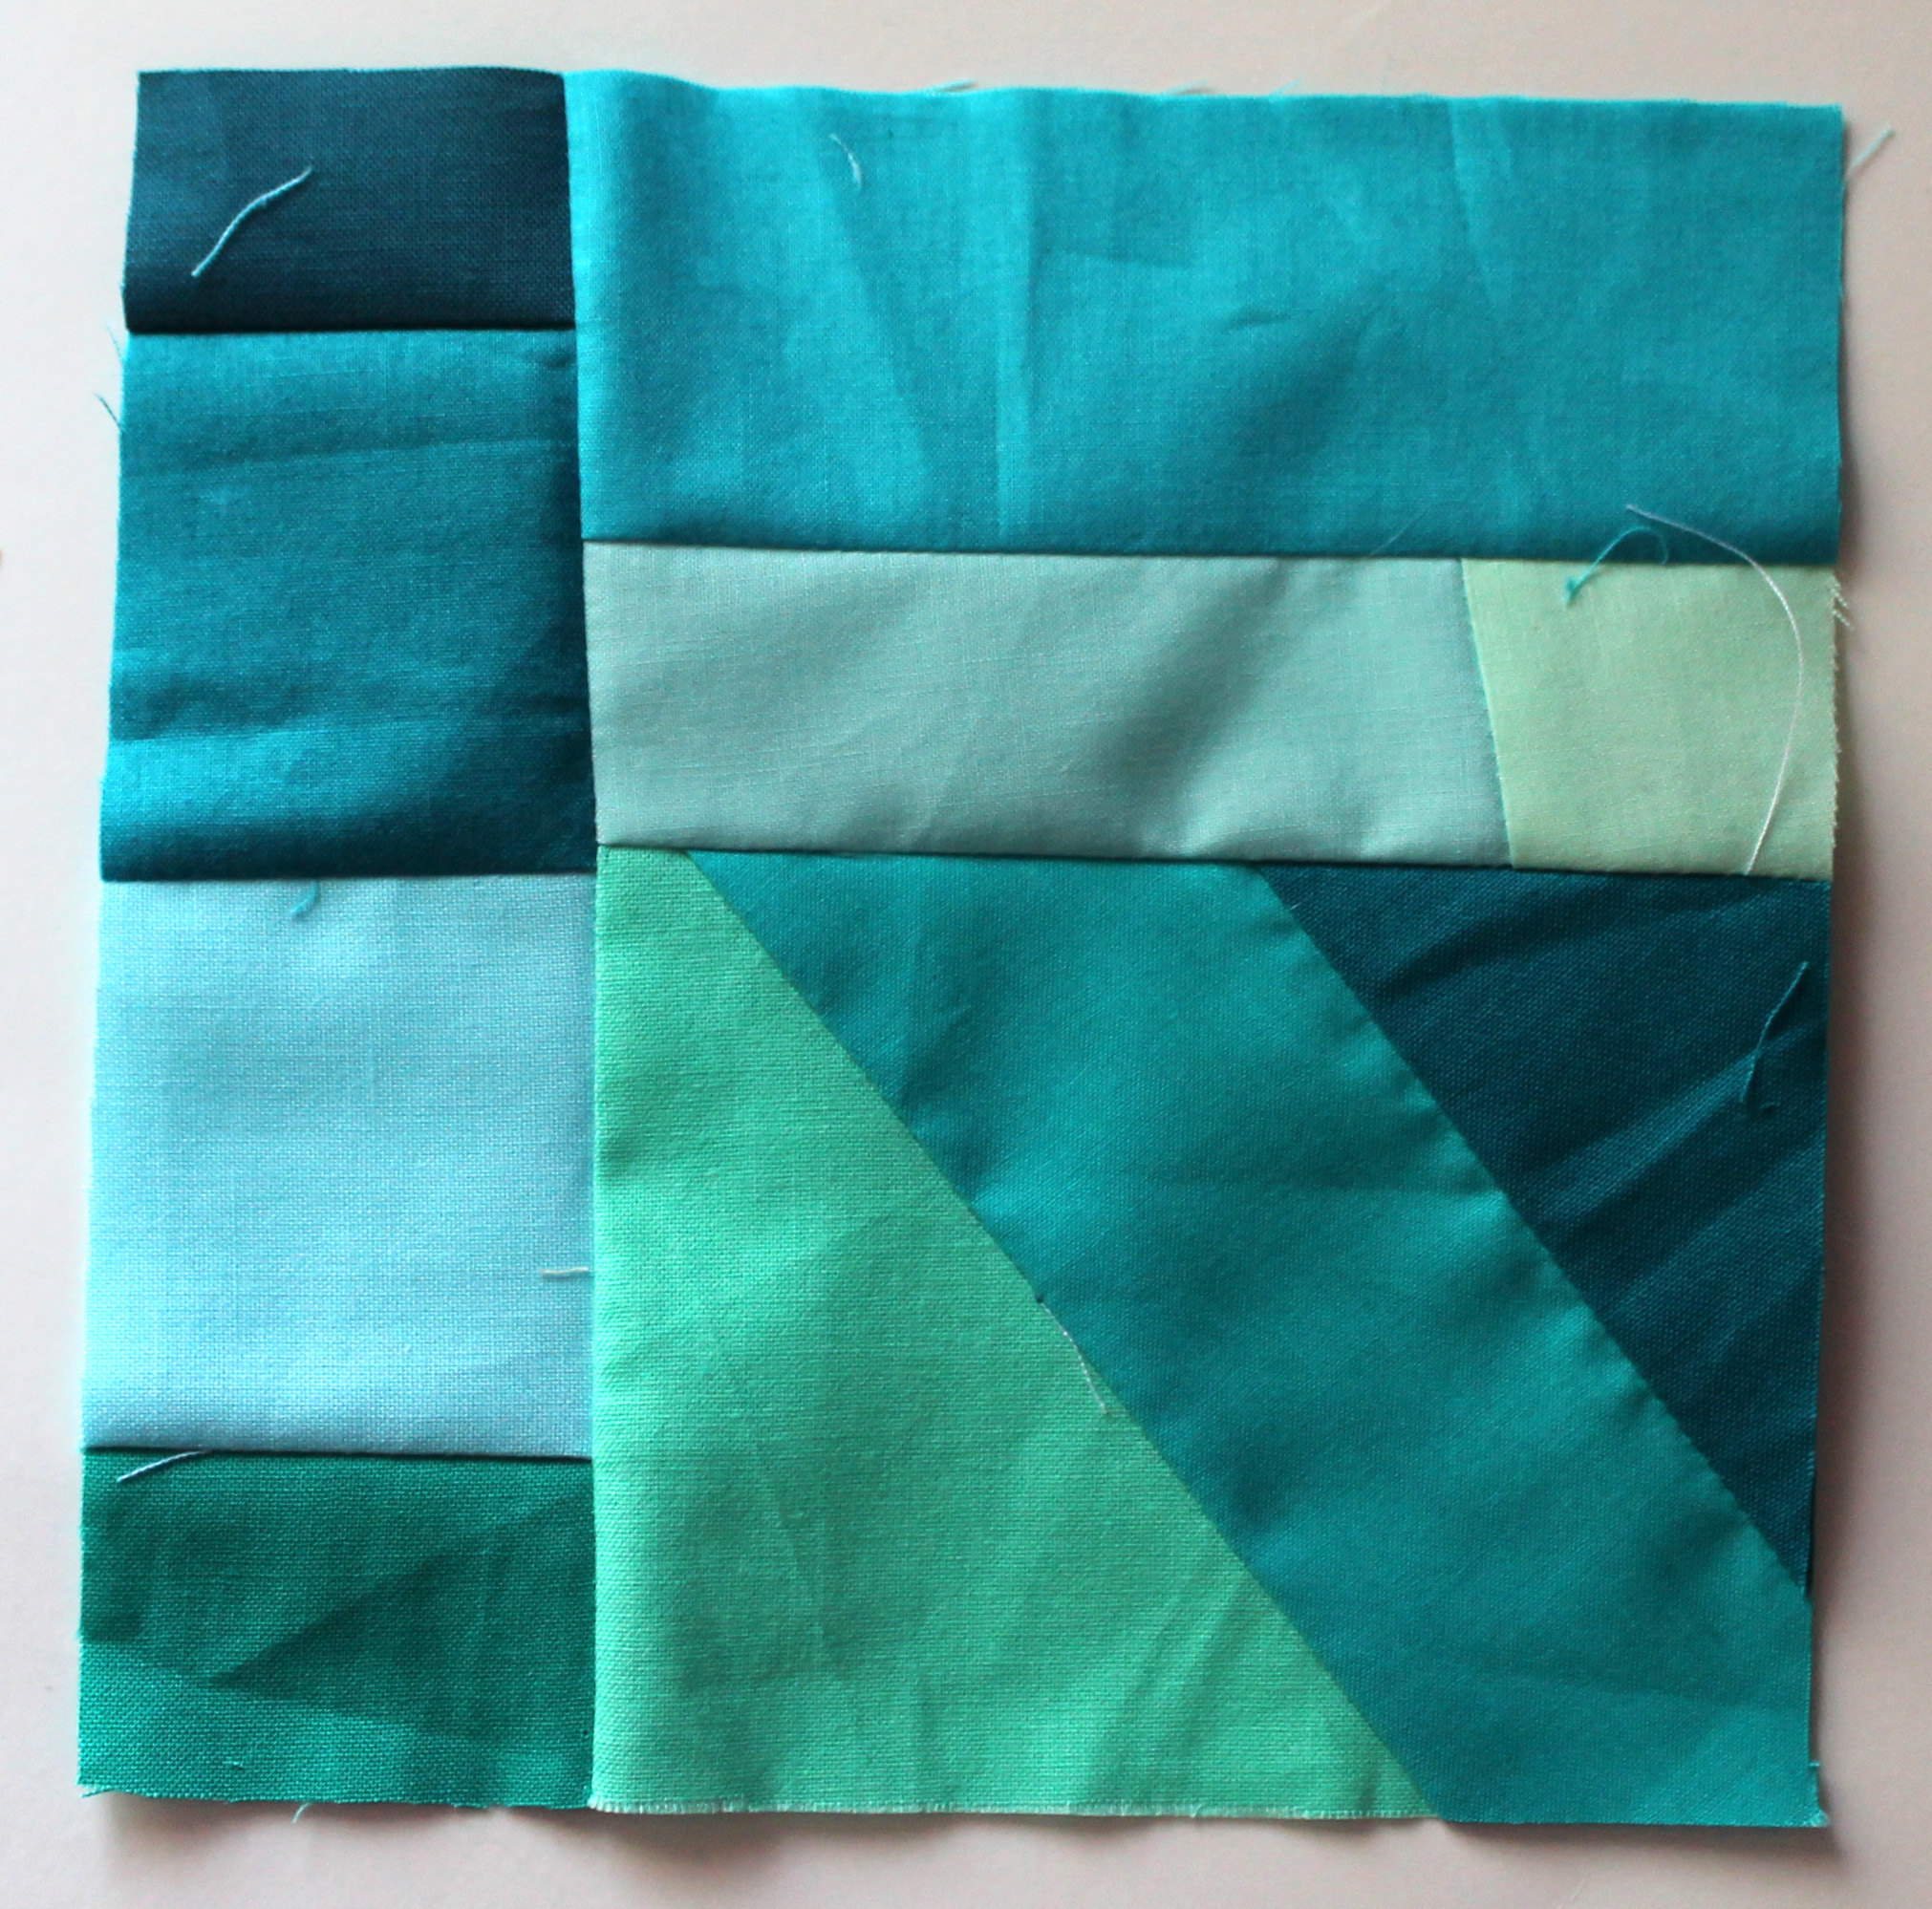
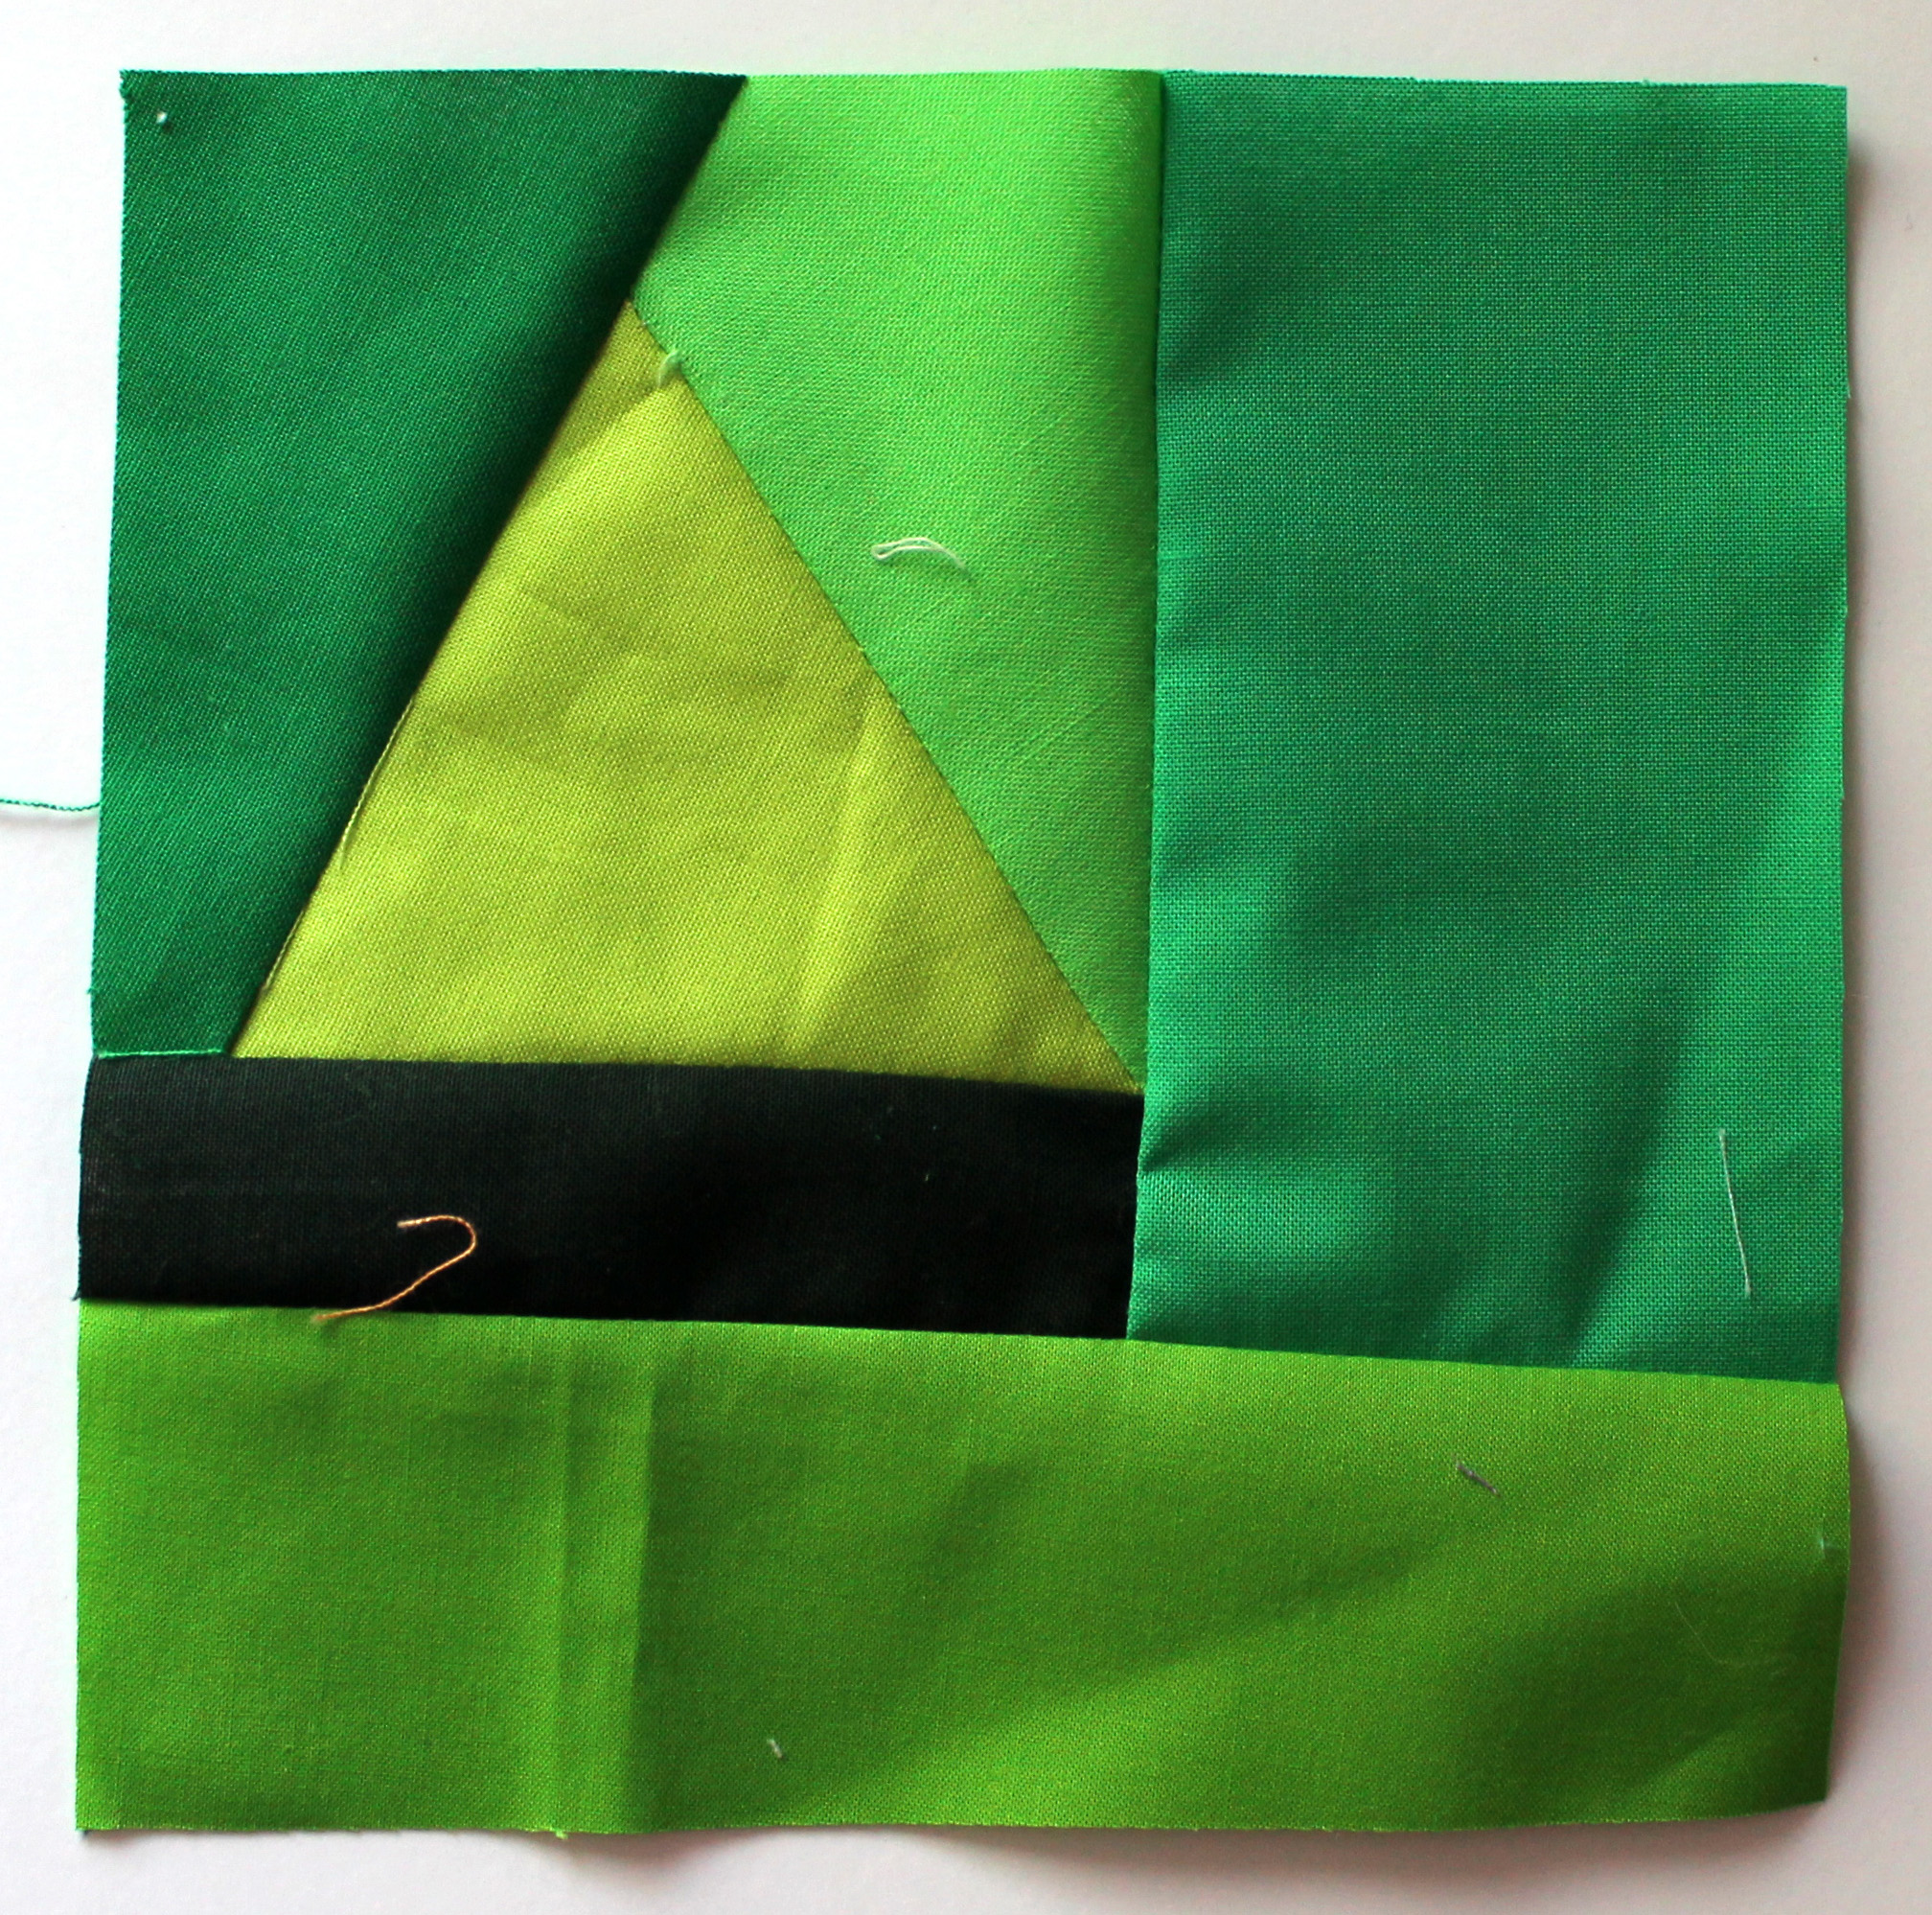
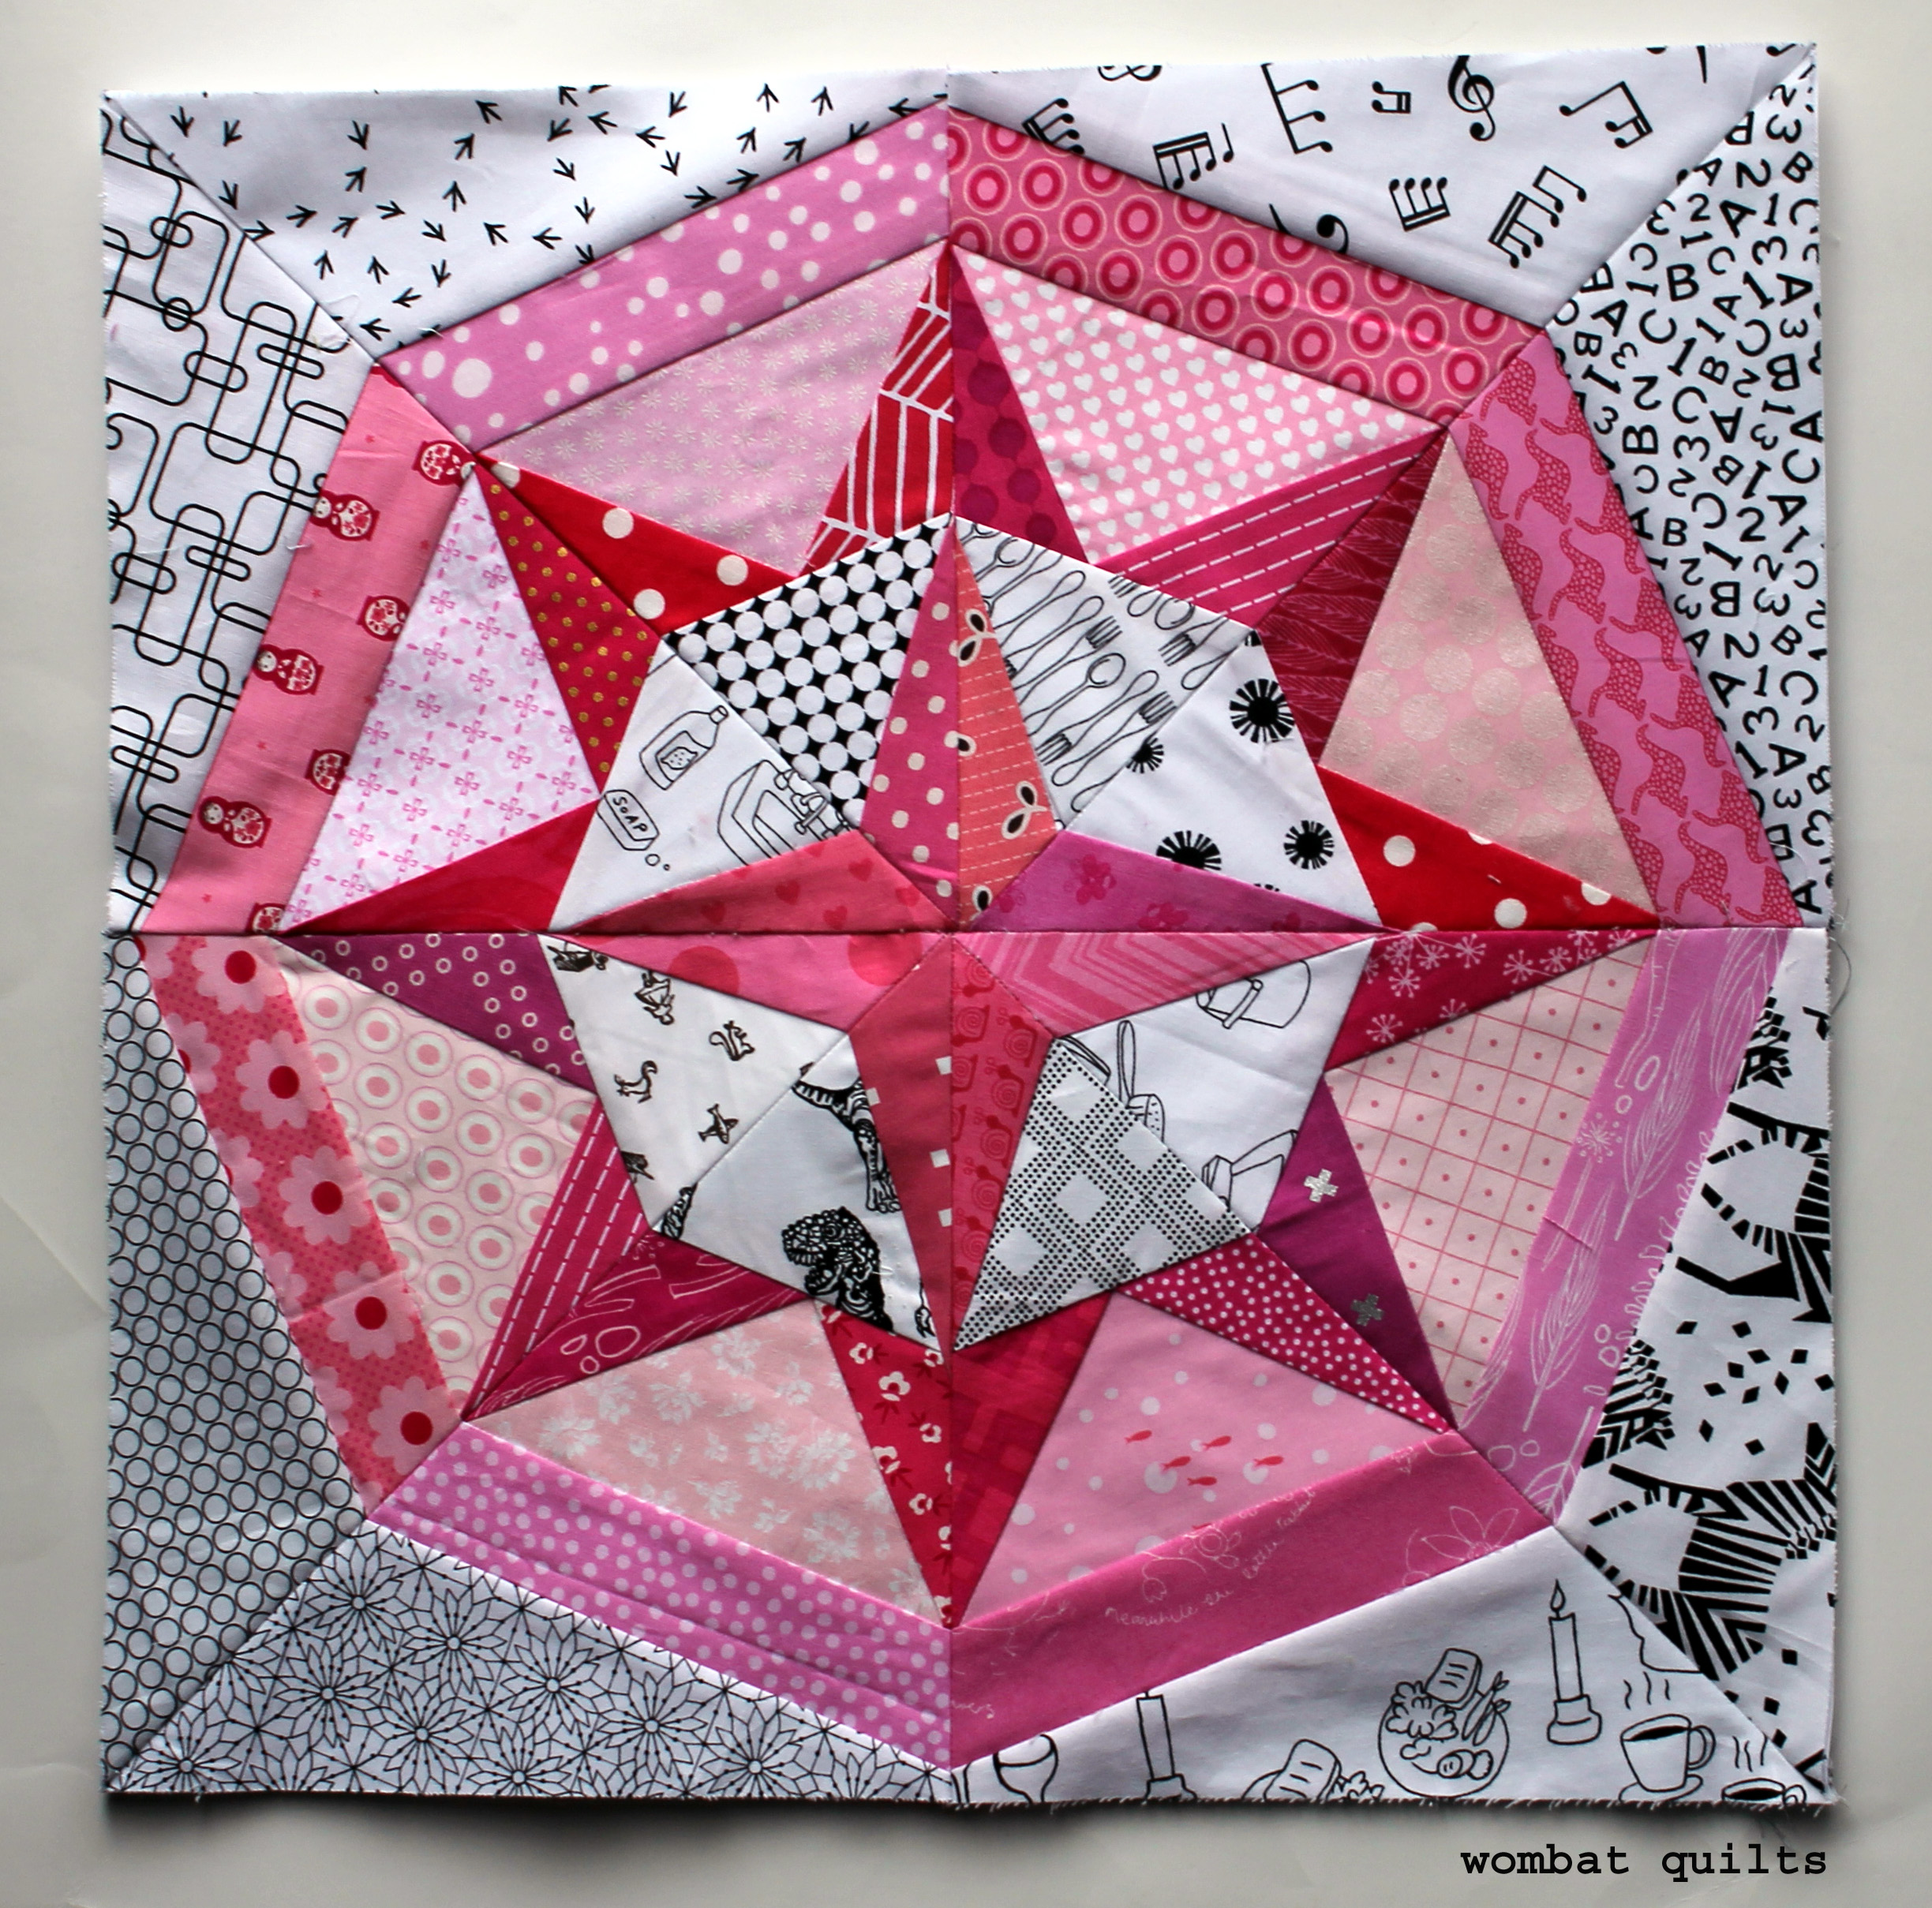
After making my green star for this week I ummed and ahhed about whether to share it on the blog.  I love the star, but it suffers from the problem that a lot of paper piecing stars suffer from… a bulky center.

free paper pieced star block
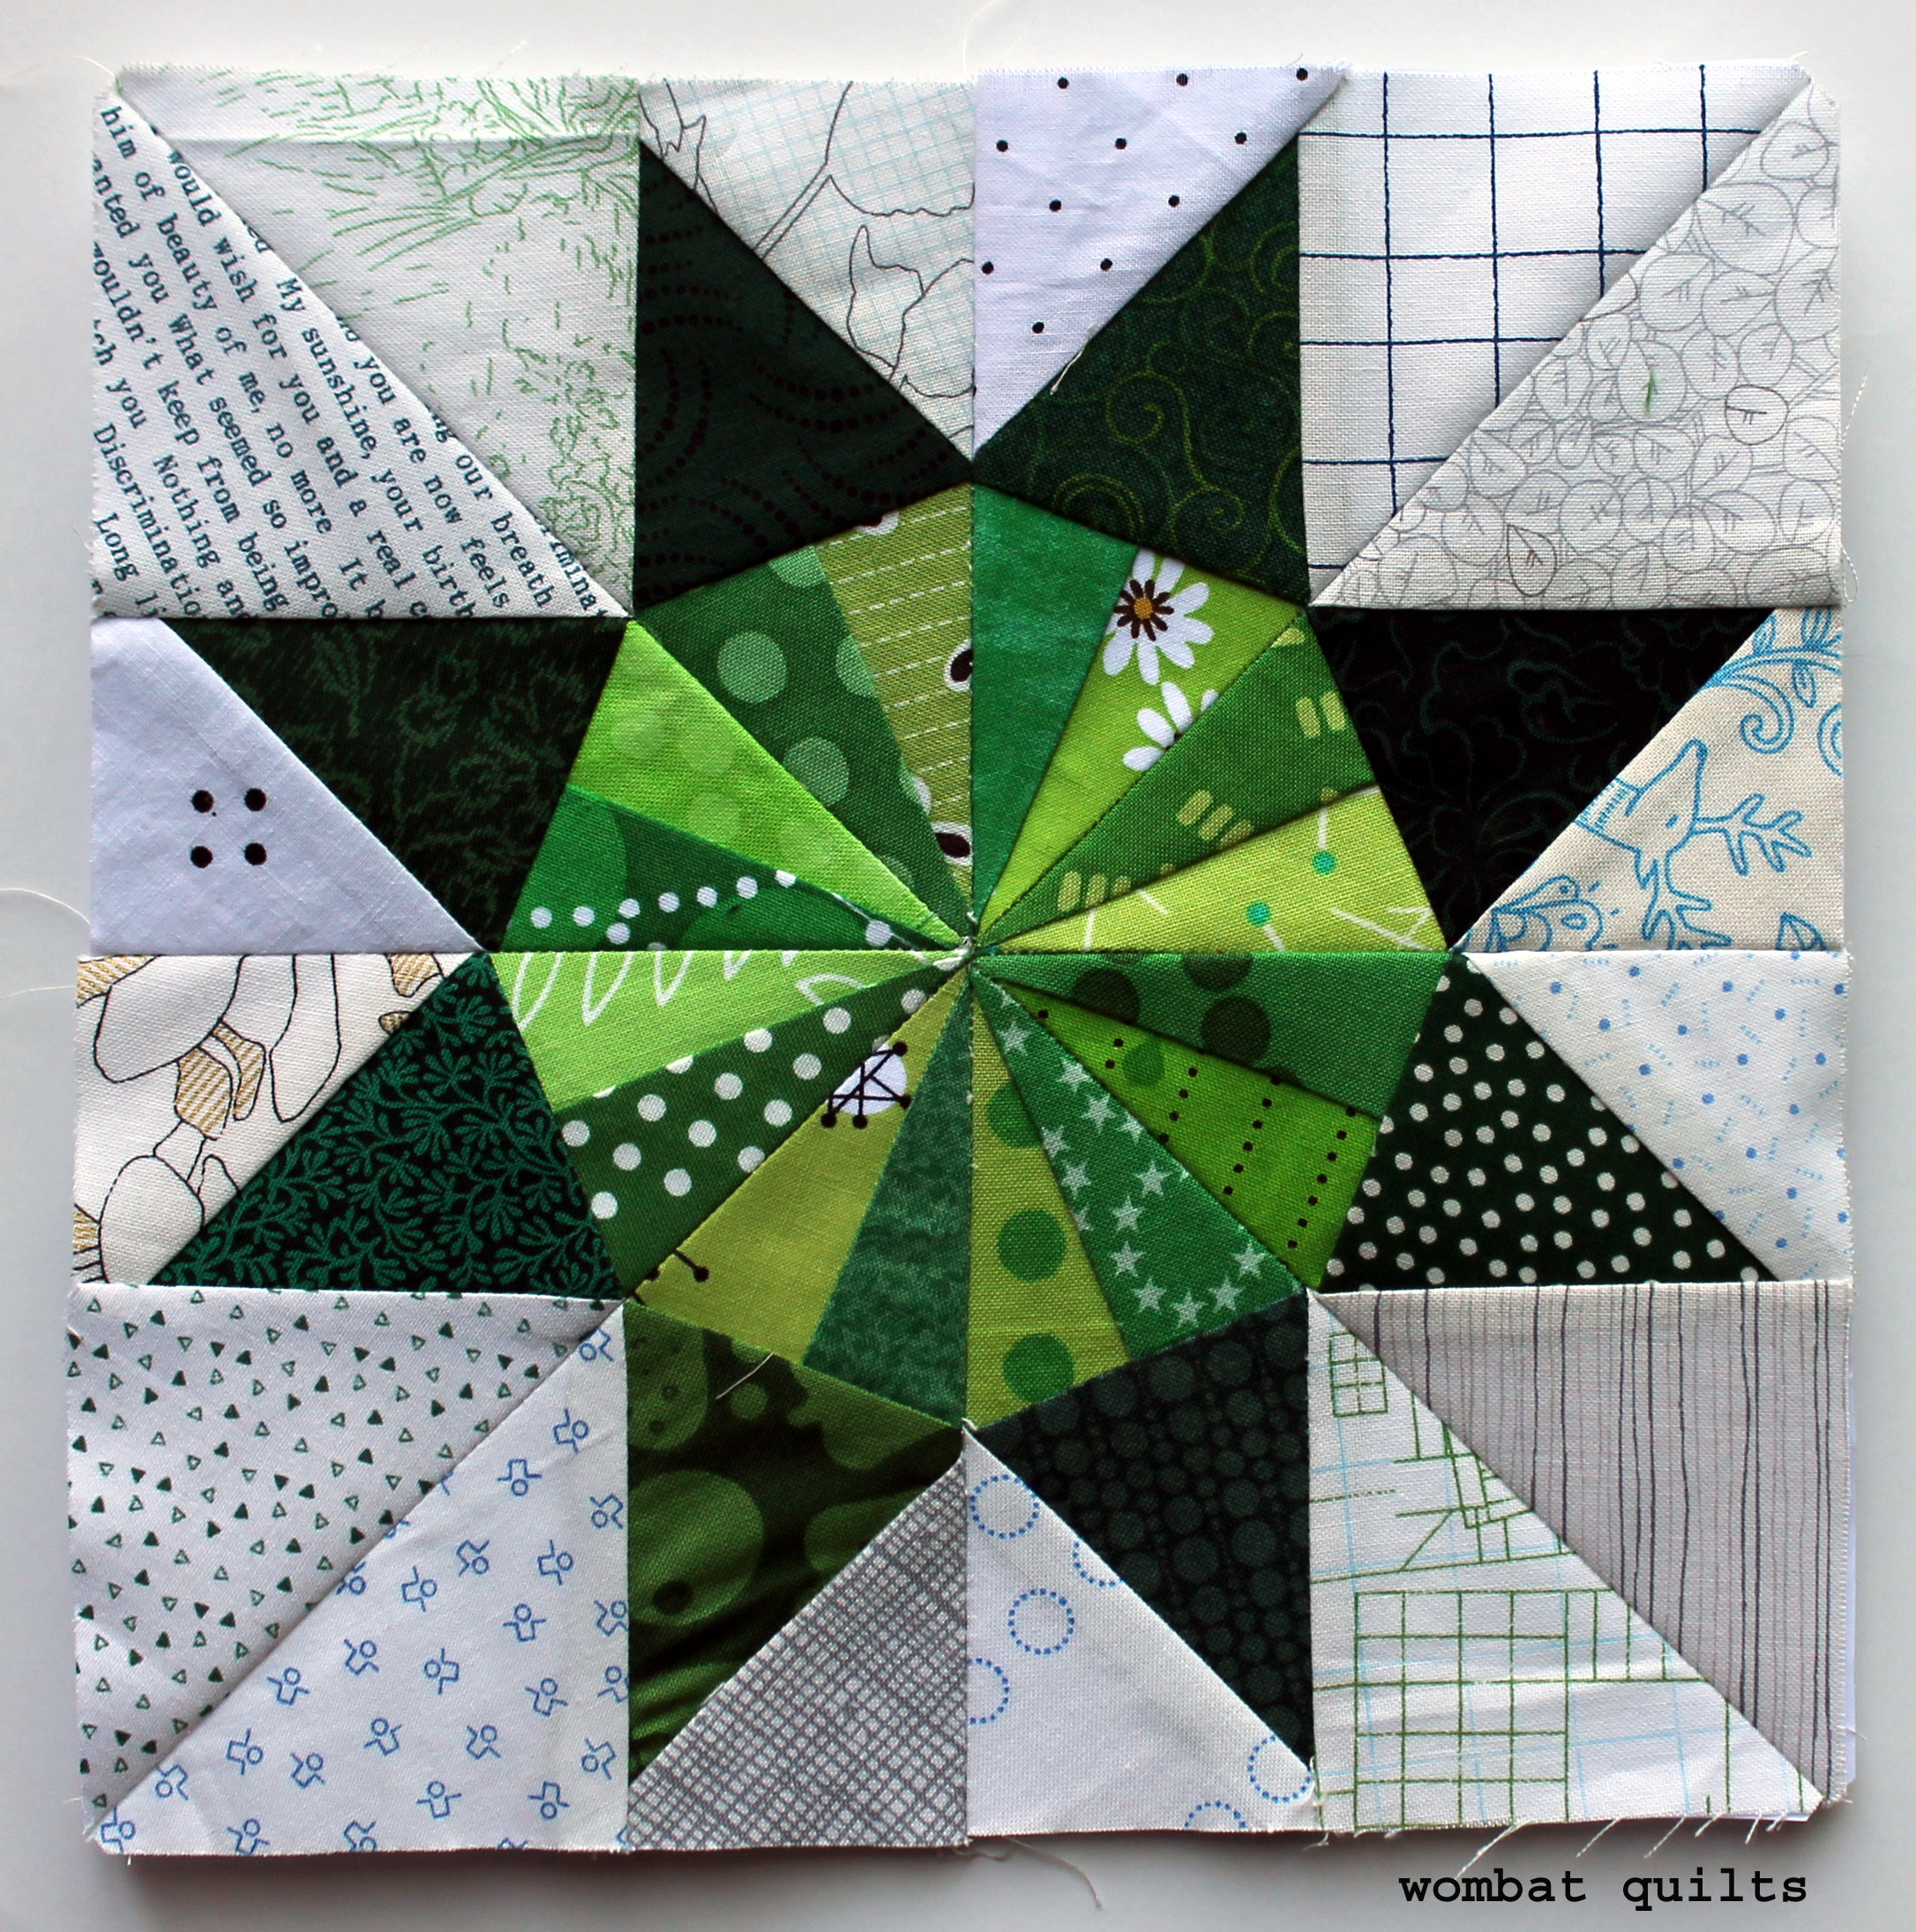
It is a fun star but the center is where 16 points of fabric meet, and as the star is only 8 inches square it makes for a lumpy middle.  Now this is a problem that I came across when I first started making paper pieced stars and there are a couple of tricks for minimizing the bulk.

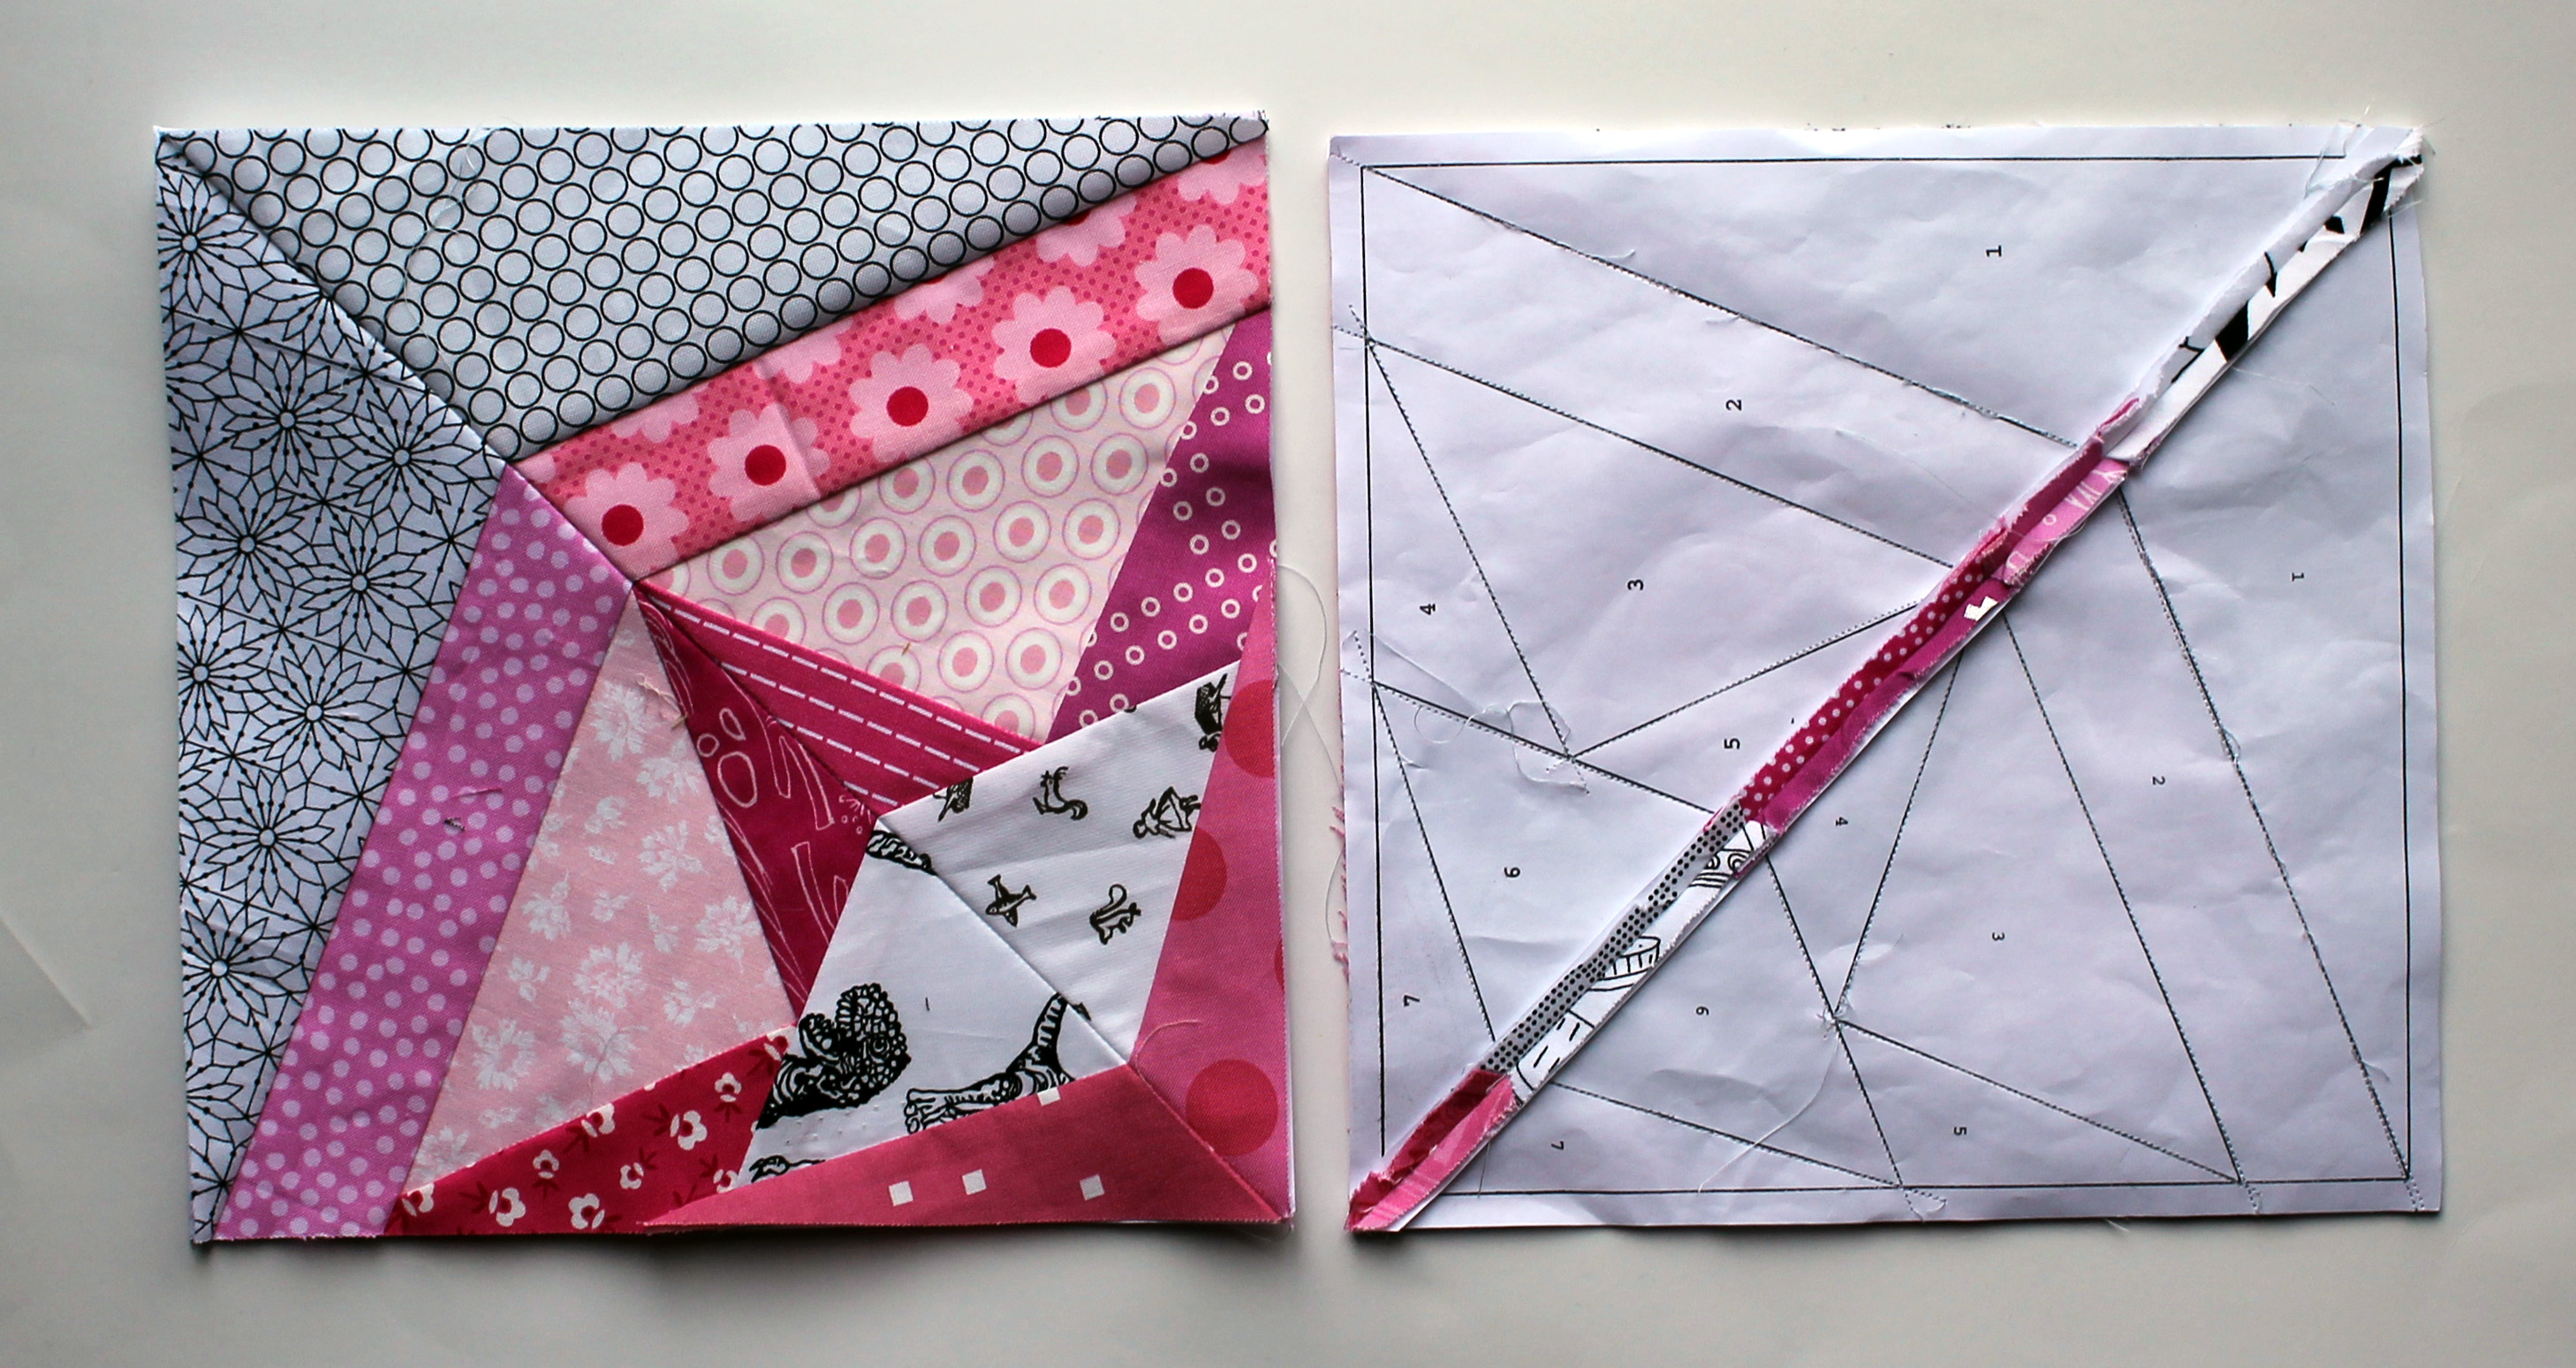
1.  Iron seams open… ALL the seams are ironed open on my stars… and when the paper is removed I starch the seams so that all they want to do is stay open.

turning star partscompleted paper back
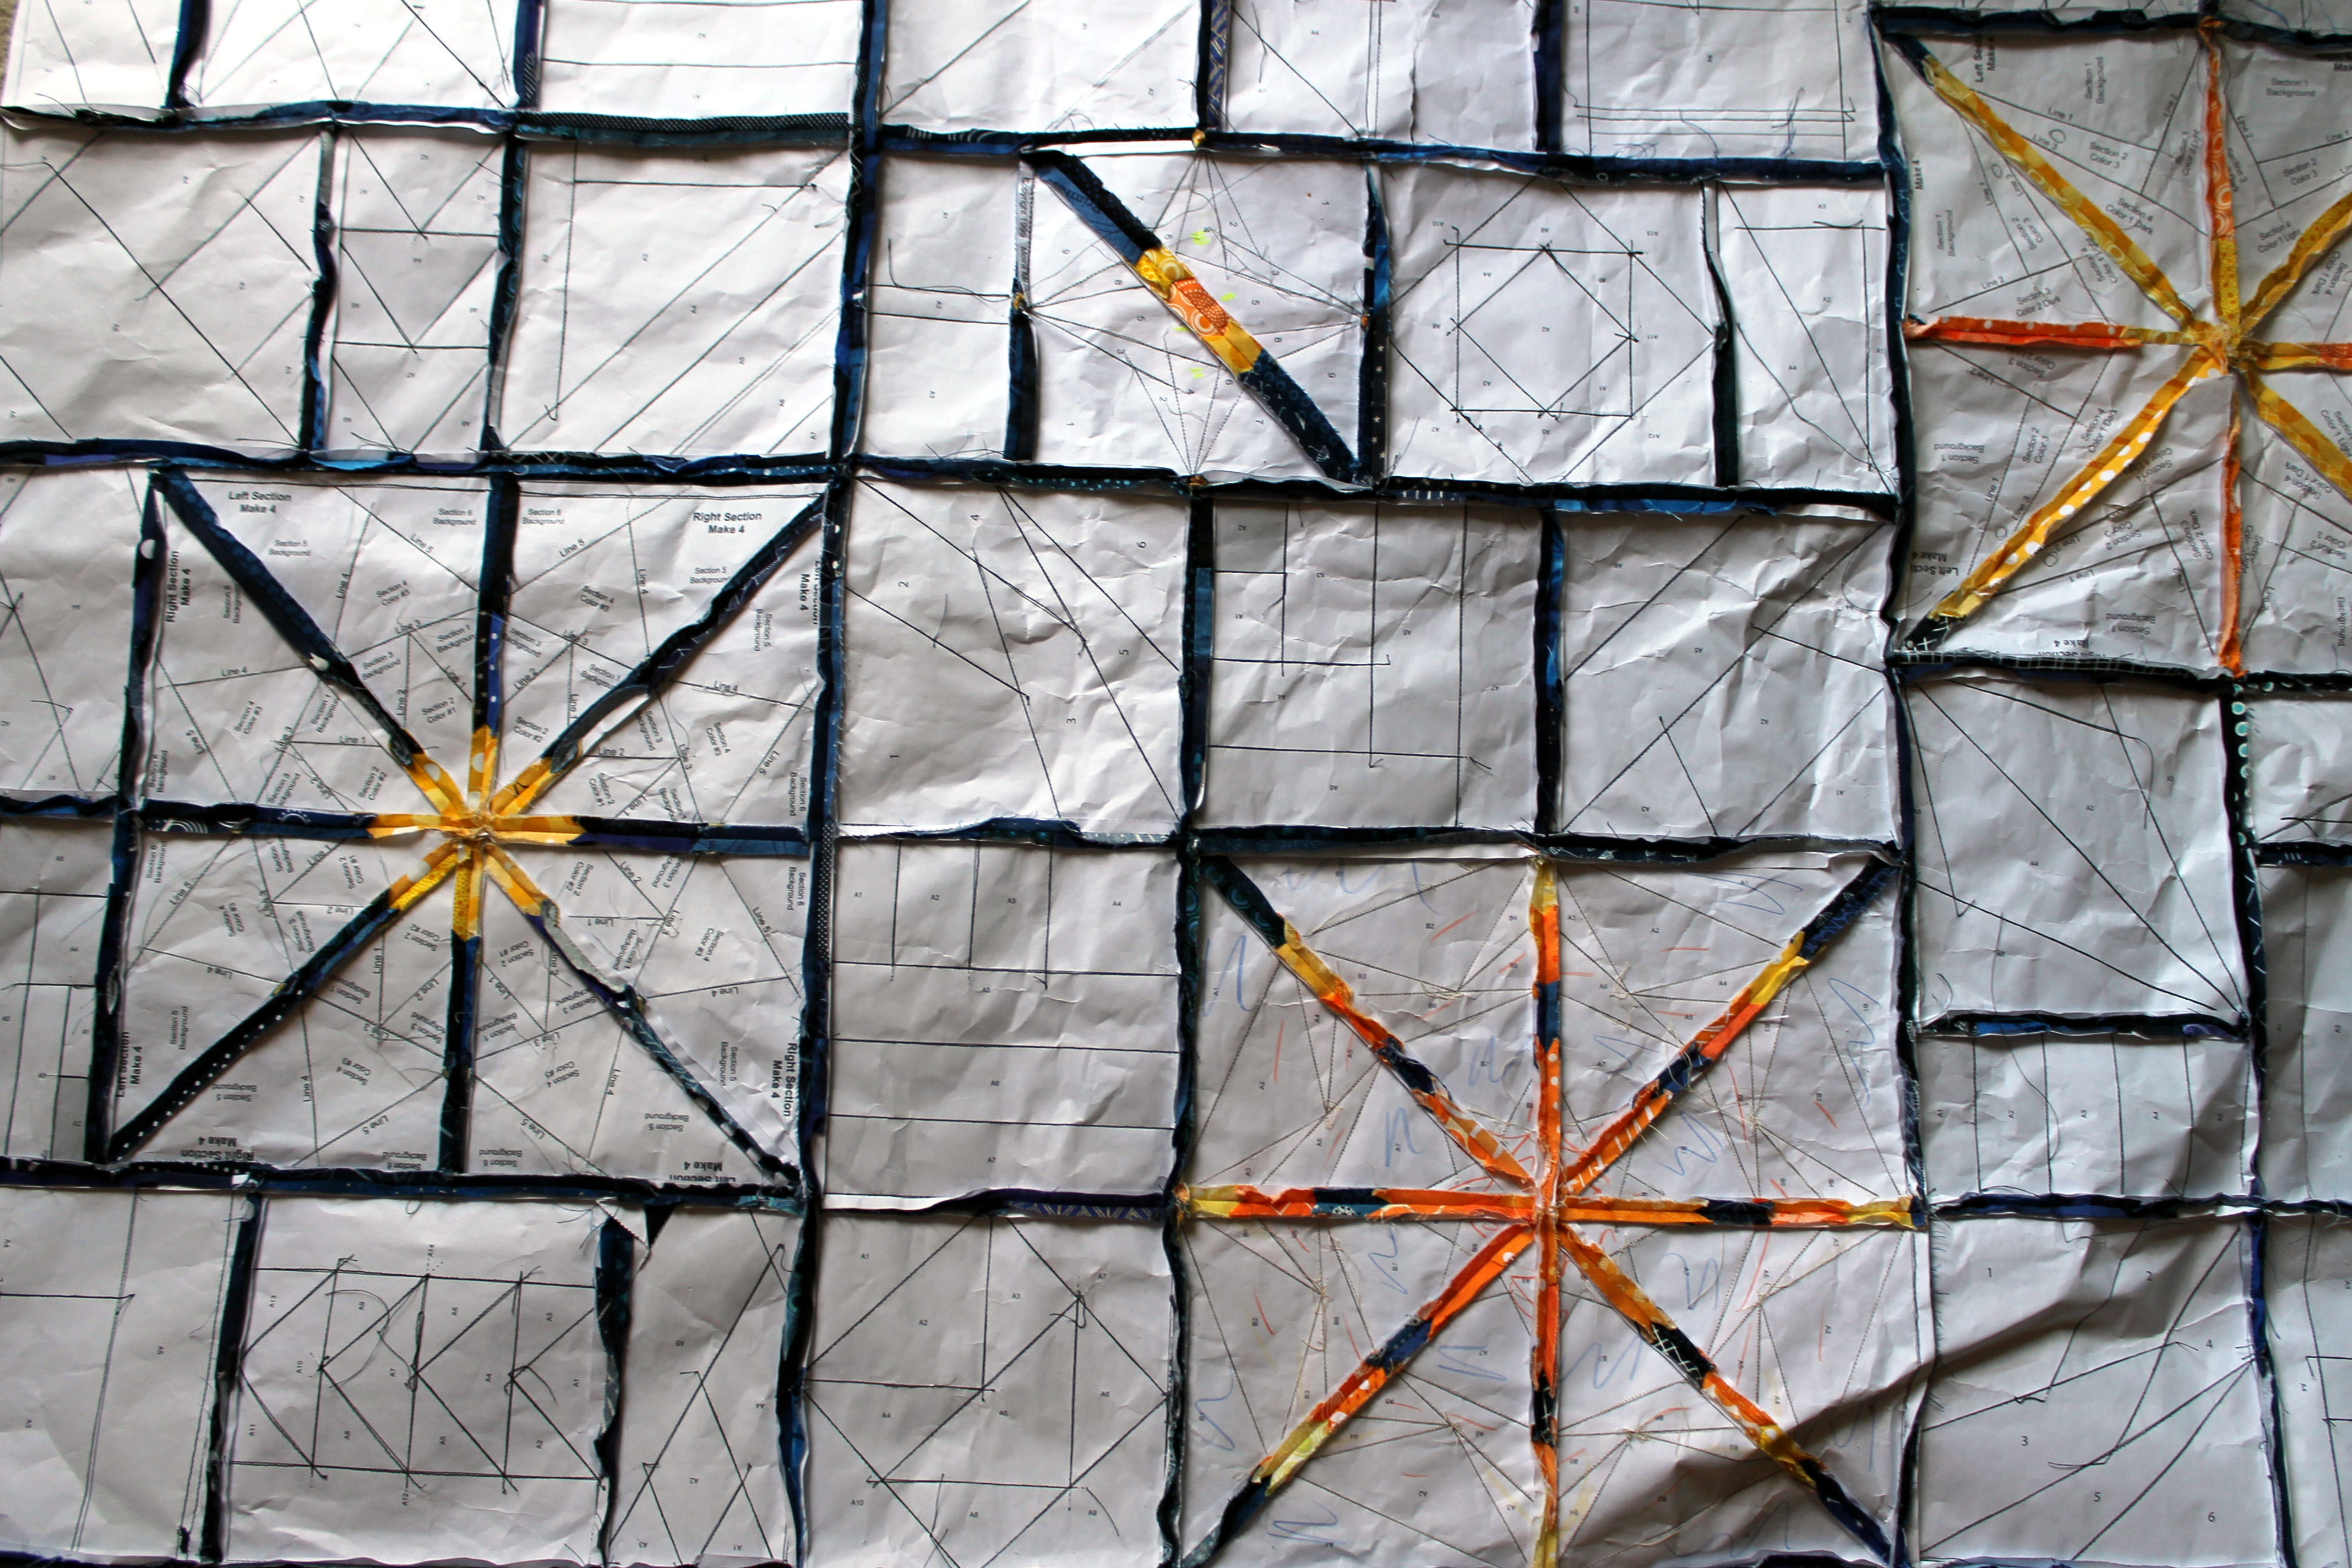
2.  Remove the paper pattern in the corners BEFORE I sew all the pieces of the star together.

remove paper
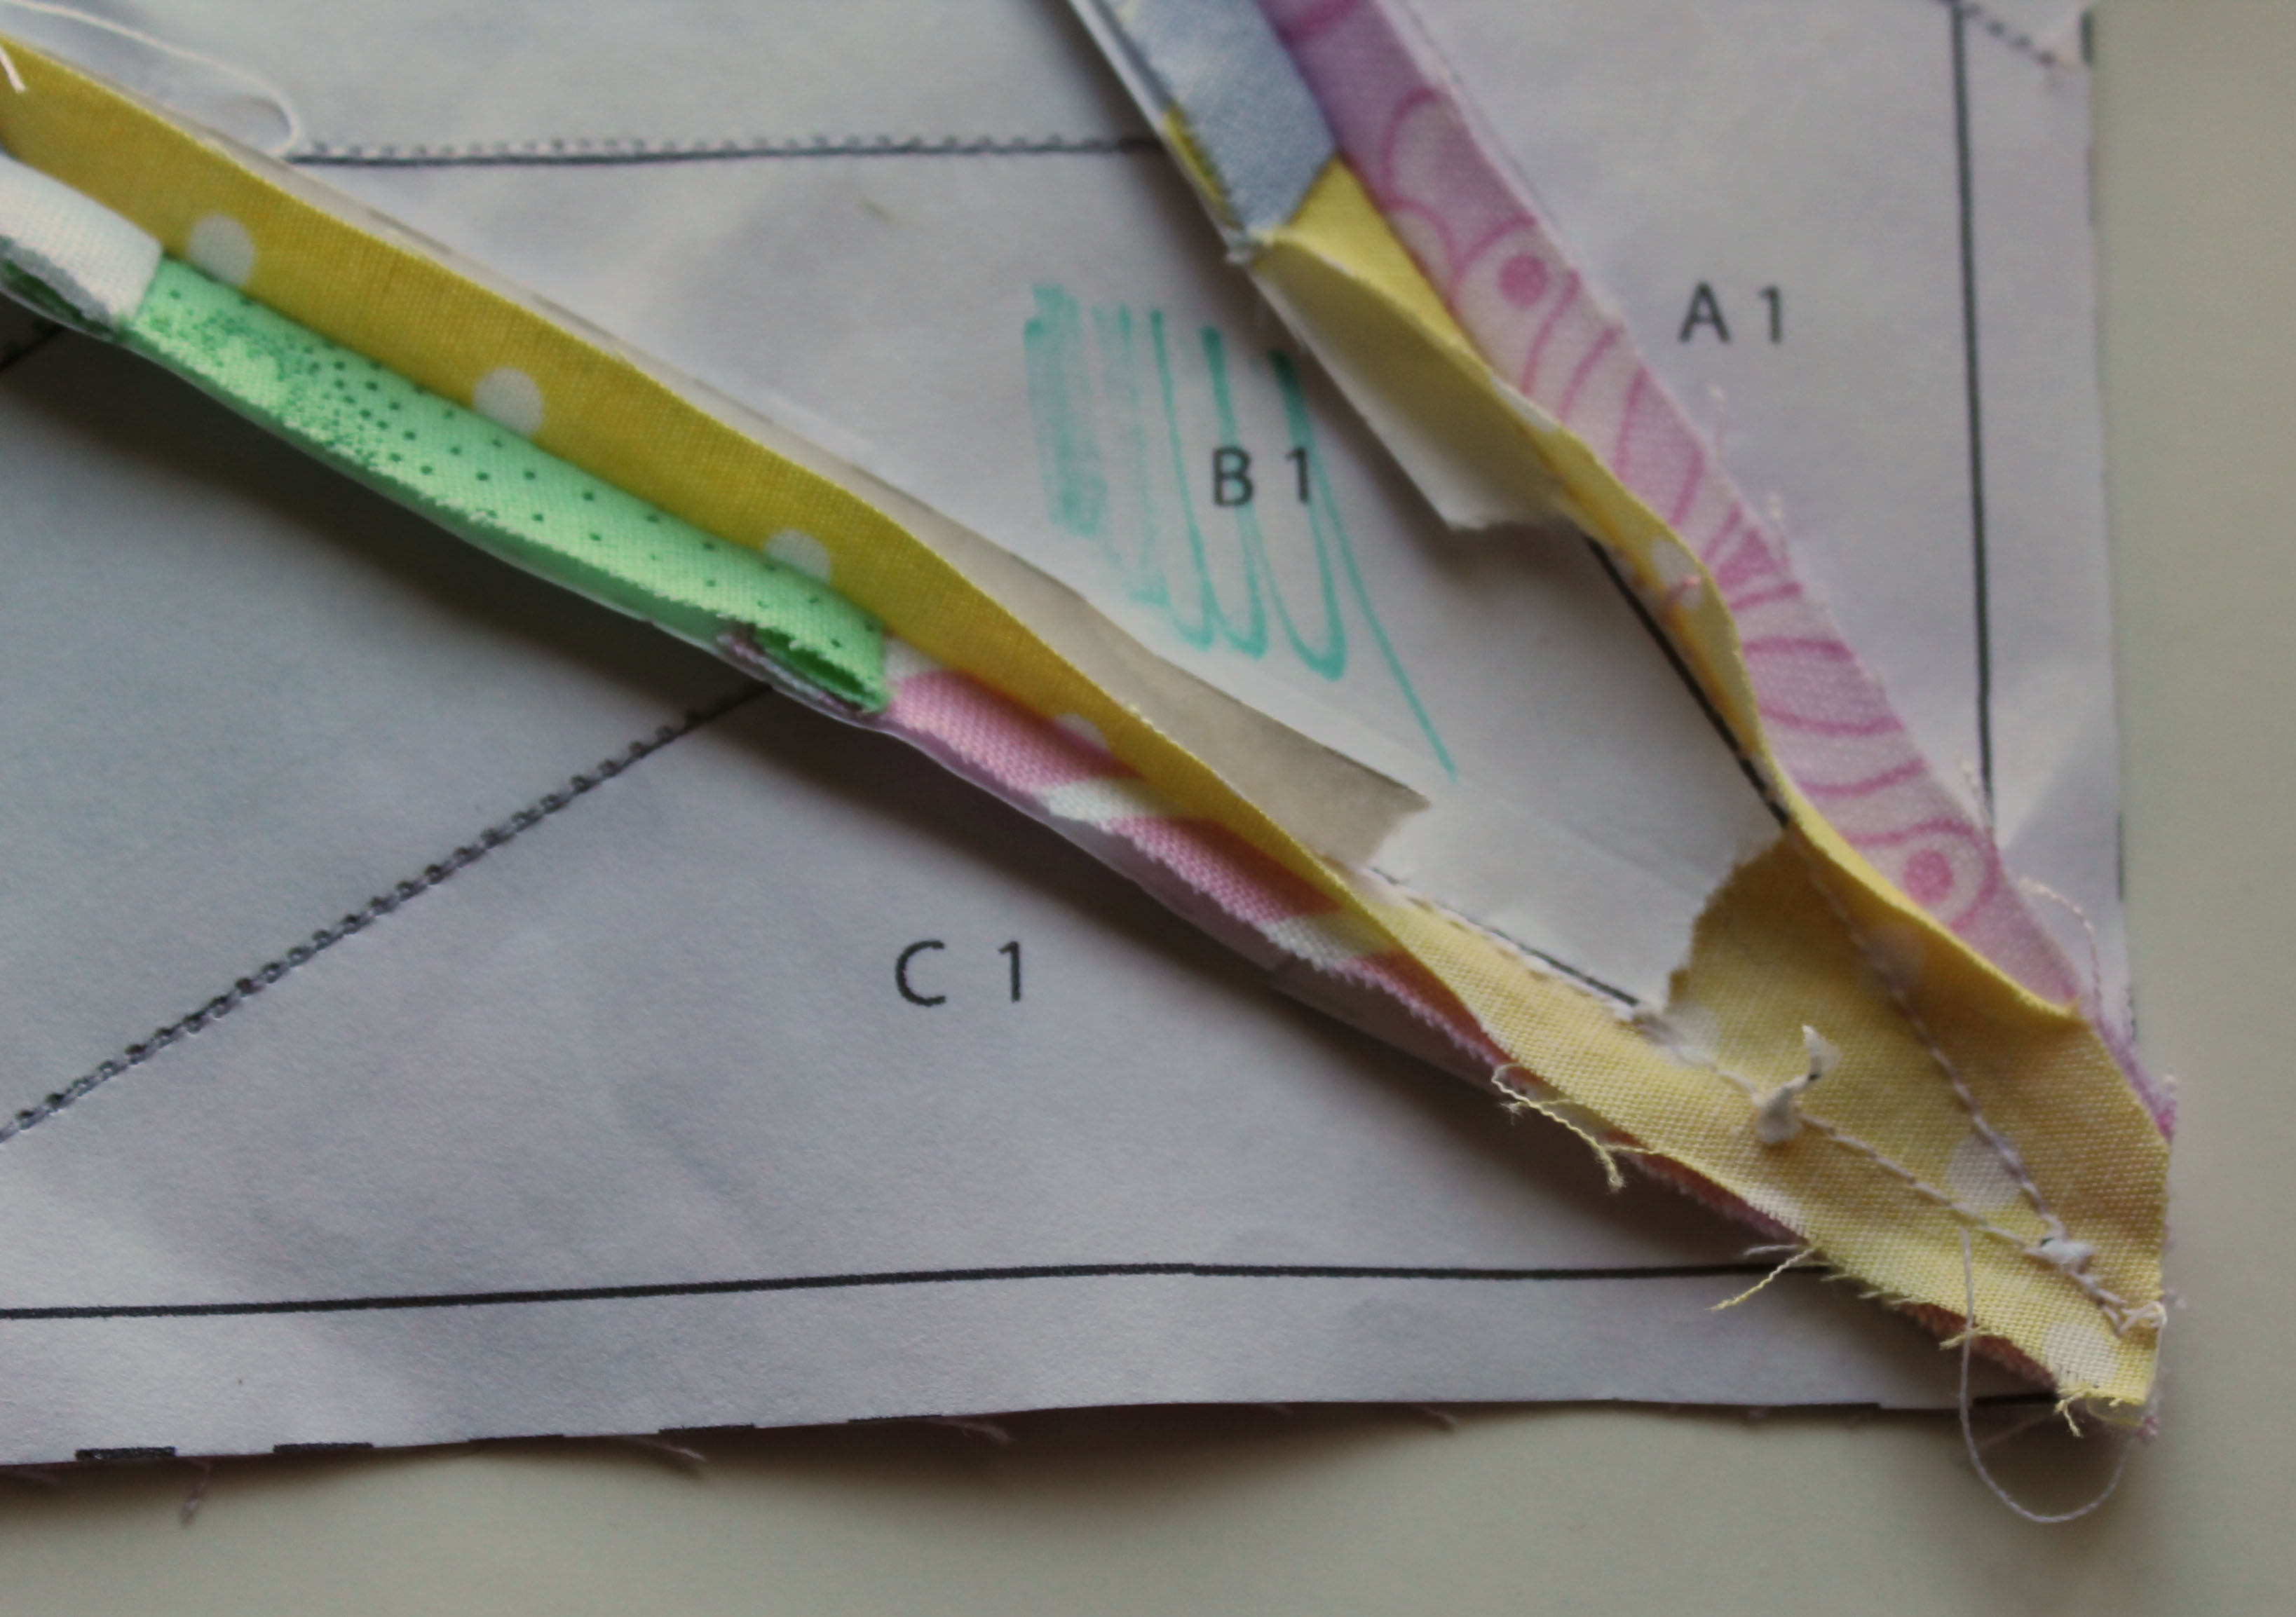
This step means you are less likely to get paper stuck in the center joins… and so less bulk.

3.  Use tweezers to remove any excess paper that does get stuck….

tweezer actionThe only other trick is I have found that quilting through the bulk helps soften it, and with time, washing also softens it too.

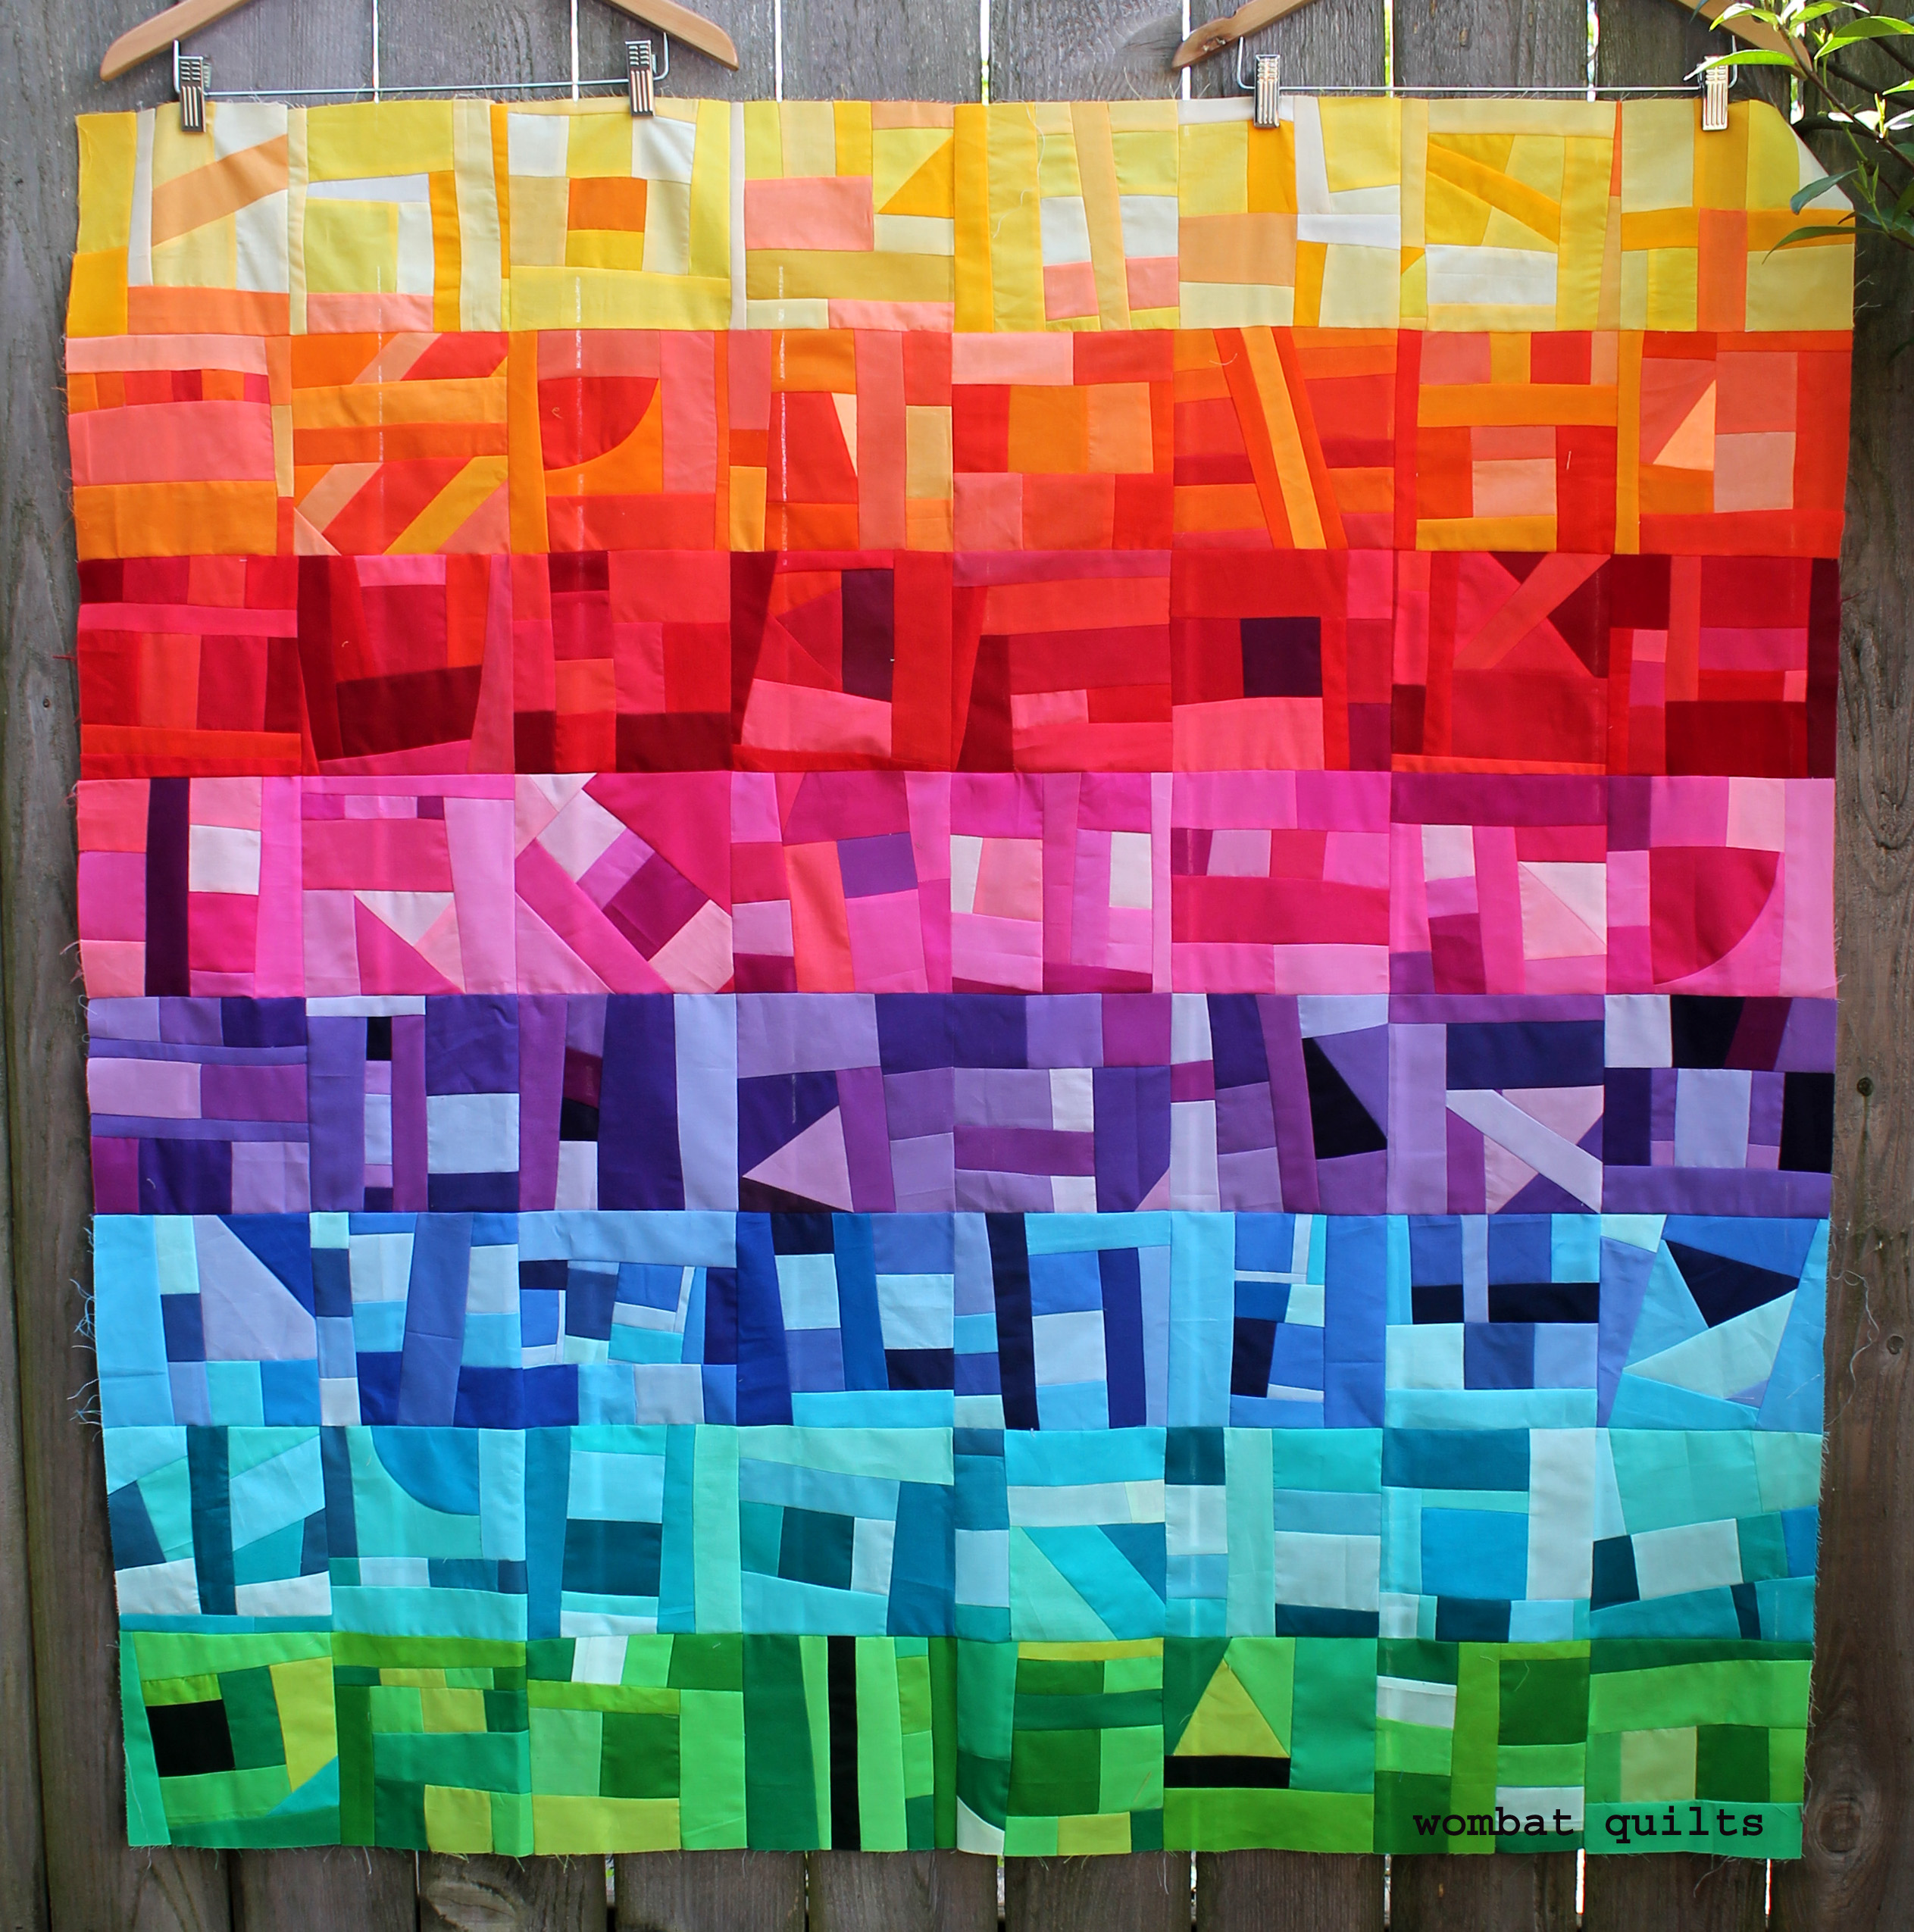
Now there is only so much of the bulkiness you can effect… at the end of the day the bulk is there because so many seams are meeting at the same point. I personally think the visual effect of the stars are worth the extra bulk…

Now, if I have not turned you off this pattern, you can find the PDF here….turning star pattern.

Enjoy.


An interesting source of fabric

At Christmas my darling husband gave me a set of Munki Munki flannel pj’s.  Pajama giving at Christmas seems to be a very American tradition..but I have fully embraced it.  When I opened my Christmas package only one thing came to mind….this is going to make a wonderful quilt.

pjsFor those of you that are not familiar with the Munki Munki brand, their top designer was/is Heather Ross and collecting the pajama prints and using them for quilts is very popular amongst modern quilters.  This is of course what I tried to explain to the husband when he found me cutting up my pajama top.

Seriously how could I resist these darling gnomes…

fabric detailSo a flurry of fussy cutting ensued and my favorite “go to” block pattern, the wonky star, was employed….

star detailWhat was interesting about making the top in particular for me was that I used all flannel.  I had previously back several quilts in flannel…I love the soft finish particularly for baby quilts… but I had never pieced in it.

Munki quilt detailFor this top I used some flannel scraps a friend had given me and bought some more from my local quilt store… and I tried to use as much of the source pajama fabric as I could…including the sleeve and leg cuffs which were bright green.

green starMost of the flannel I used had a wrong and right side and it was at times tricky to tell which was which…. except for the Cloud 9 flannel which was beautifully thick and lush and was reversible.

sashing detailThe end result was this darling little baby quilt… and I love how soft and cuddly it is.

munki munki baby quilt

Paper Piecing Tuesday

Hello and welcome to Paper Piecing Tuesday…. yesterday got away from me so this week we are paper piecing a day late.

free paper piecing patternThis week we are back to green stars.  I have 5 blocks to go before I have enough to finish my quilt top…  So to start this final green wave we have the Alternating Star…

block piecesI had fun making this one, alternating light and dark stripes.  The PDF pattern for this 8 inch star can be found here…Alternating star pattern.   See you next week for another  star!

A little bit of Improv fun…

Over the last month or so I have been slowly making a quilt top, using nothing but my solid scraps.  This week I finally finished sewing it all together to make this piece of modern crazy….

modern improv quilt It all started when I began cutting up my solid scraps into useable squares…

my 5 inch block collection

I was left with a pile of long strips, small square and random shapes.  As a scrap quilter I could not just throw them away, so I started making Improv blocks.

improv orange blockMy first step was to sew lots of the small little bits together to make bigger units.

aqua improv blockIf I found a curved piece in amongst the scraps I used it…

improv pink 2The same with triangles (there was no shape biased here!)…

red improv blockI was not afraid to slash through a block and add extra bits…

purple improv block And I always made sure that there was tonal variation in the blocks…

green improv blockI worked colour by colour….first I pulled out all my yellow scraps and made blocks….then my orange…then my red etc.  Working row by row, colour by colour I could make sure that there was some flow between each line of blocks…

improv quilt detail 3My blocks finished at 6 inches square and not one of them is even remotely like the another.  I found an amazing freedom in making this quilt….there was no pattern to follow, no measuring or pre-cutting to do.

quilt detail 1 When I needed a break from paper piecing or just wanted to do something quick and creative I grabbed a handful of scraps and made some blocks.

quilt detail 2So much fun…I can highly recommend this process… it is perfect for letting go and just playing.  There is no right or wrong, just colour and creating and fun.

Ellen’s Snowball…

Last week I posted the last pink block I was using for the baby quilt I am making….it was not my last pink snowball though.  While posting on Instagram a friend requested I send the quilt to her…I could not oblige but as a compromise I said I would make her a pillow.

So this weekend I sat down and designed Ellen a snowball block.  I must admit I was a little influenced by the New York Beauty blocks I have been making…and I came up with this.

Ellens Snowball blockIt is a little more complex than some of the snowball blocks but I love how it turned out.  The block consists of 56 pieces but came together really quickly.  I of course had to throw in some dinosaurs and my beloved Aussie kangaroo print.

block piecesNow the block you are looking at is 16 inches big.  I enlarged the pattern for the cushion and will add a black and white border around the block to have finished size of 18 inches.  So this weeks pattern comes in two sizes… the original 12 inch block for those that want it as an option to go with the other blocks…Ellens Snowball 12 Inch pattern.  And just in case you are interested in doing a pillow version like me the 16 inch pattern (which comes in two pieces/pdfs)…Ellens Snowball Pattern A and Ellens Snowball Pattern B.