On a roll….

Another Friday finish for you…and this week is a darling little baby quilt I made using some small wonky star blocks I had floating around…

finished small wonky star quilt

Usually when I make wonky star quilts I use 5 inch squares to make the stars , but for this quilt I used my stash of 3 inch squares and a pile of scrap pieces to make 8 inch (unfinished) stars.

small star detail 2

Actually these stars had been sitting in my WIP pile for a while when I dug them up and started playing… I did not want to make any more stars so instead I used a pile of low volume scraps to play with the star layout.

small wonky star detail

I tried to lay the stars out randomly and used filler pieces – mainly 3 inch squares, 3 x 5 1/2 inch and 3 x 8 inch strips to fill in the gaps.  I wanted the background to be just as scrappy as the stars so I did not use any really big low volume pieces.

small star detail

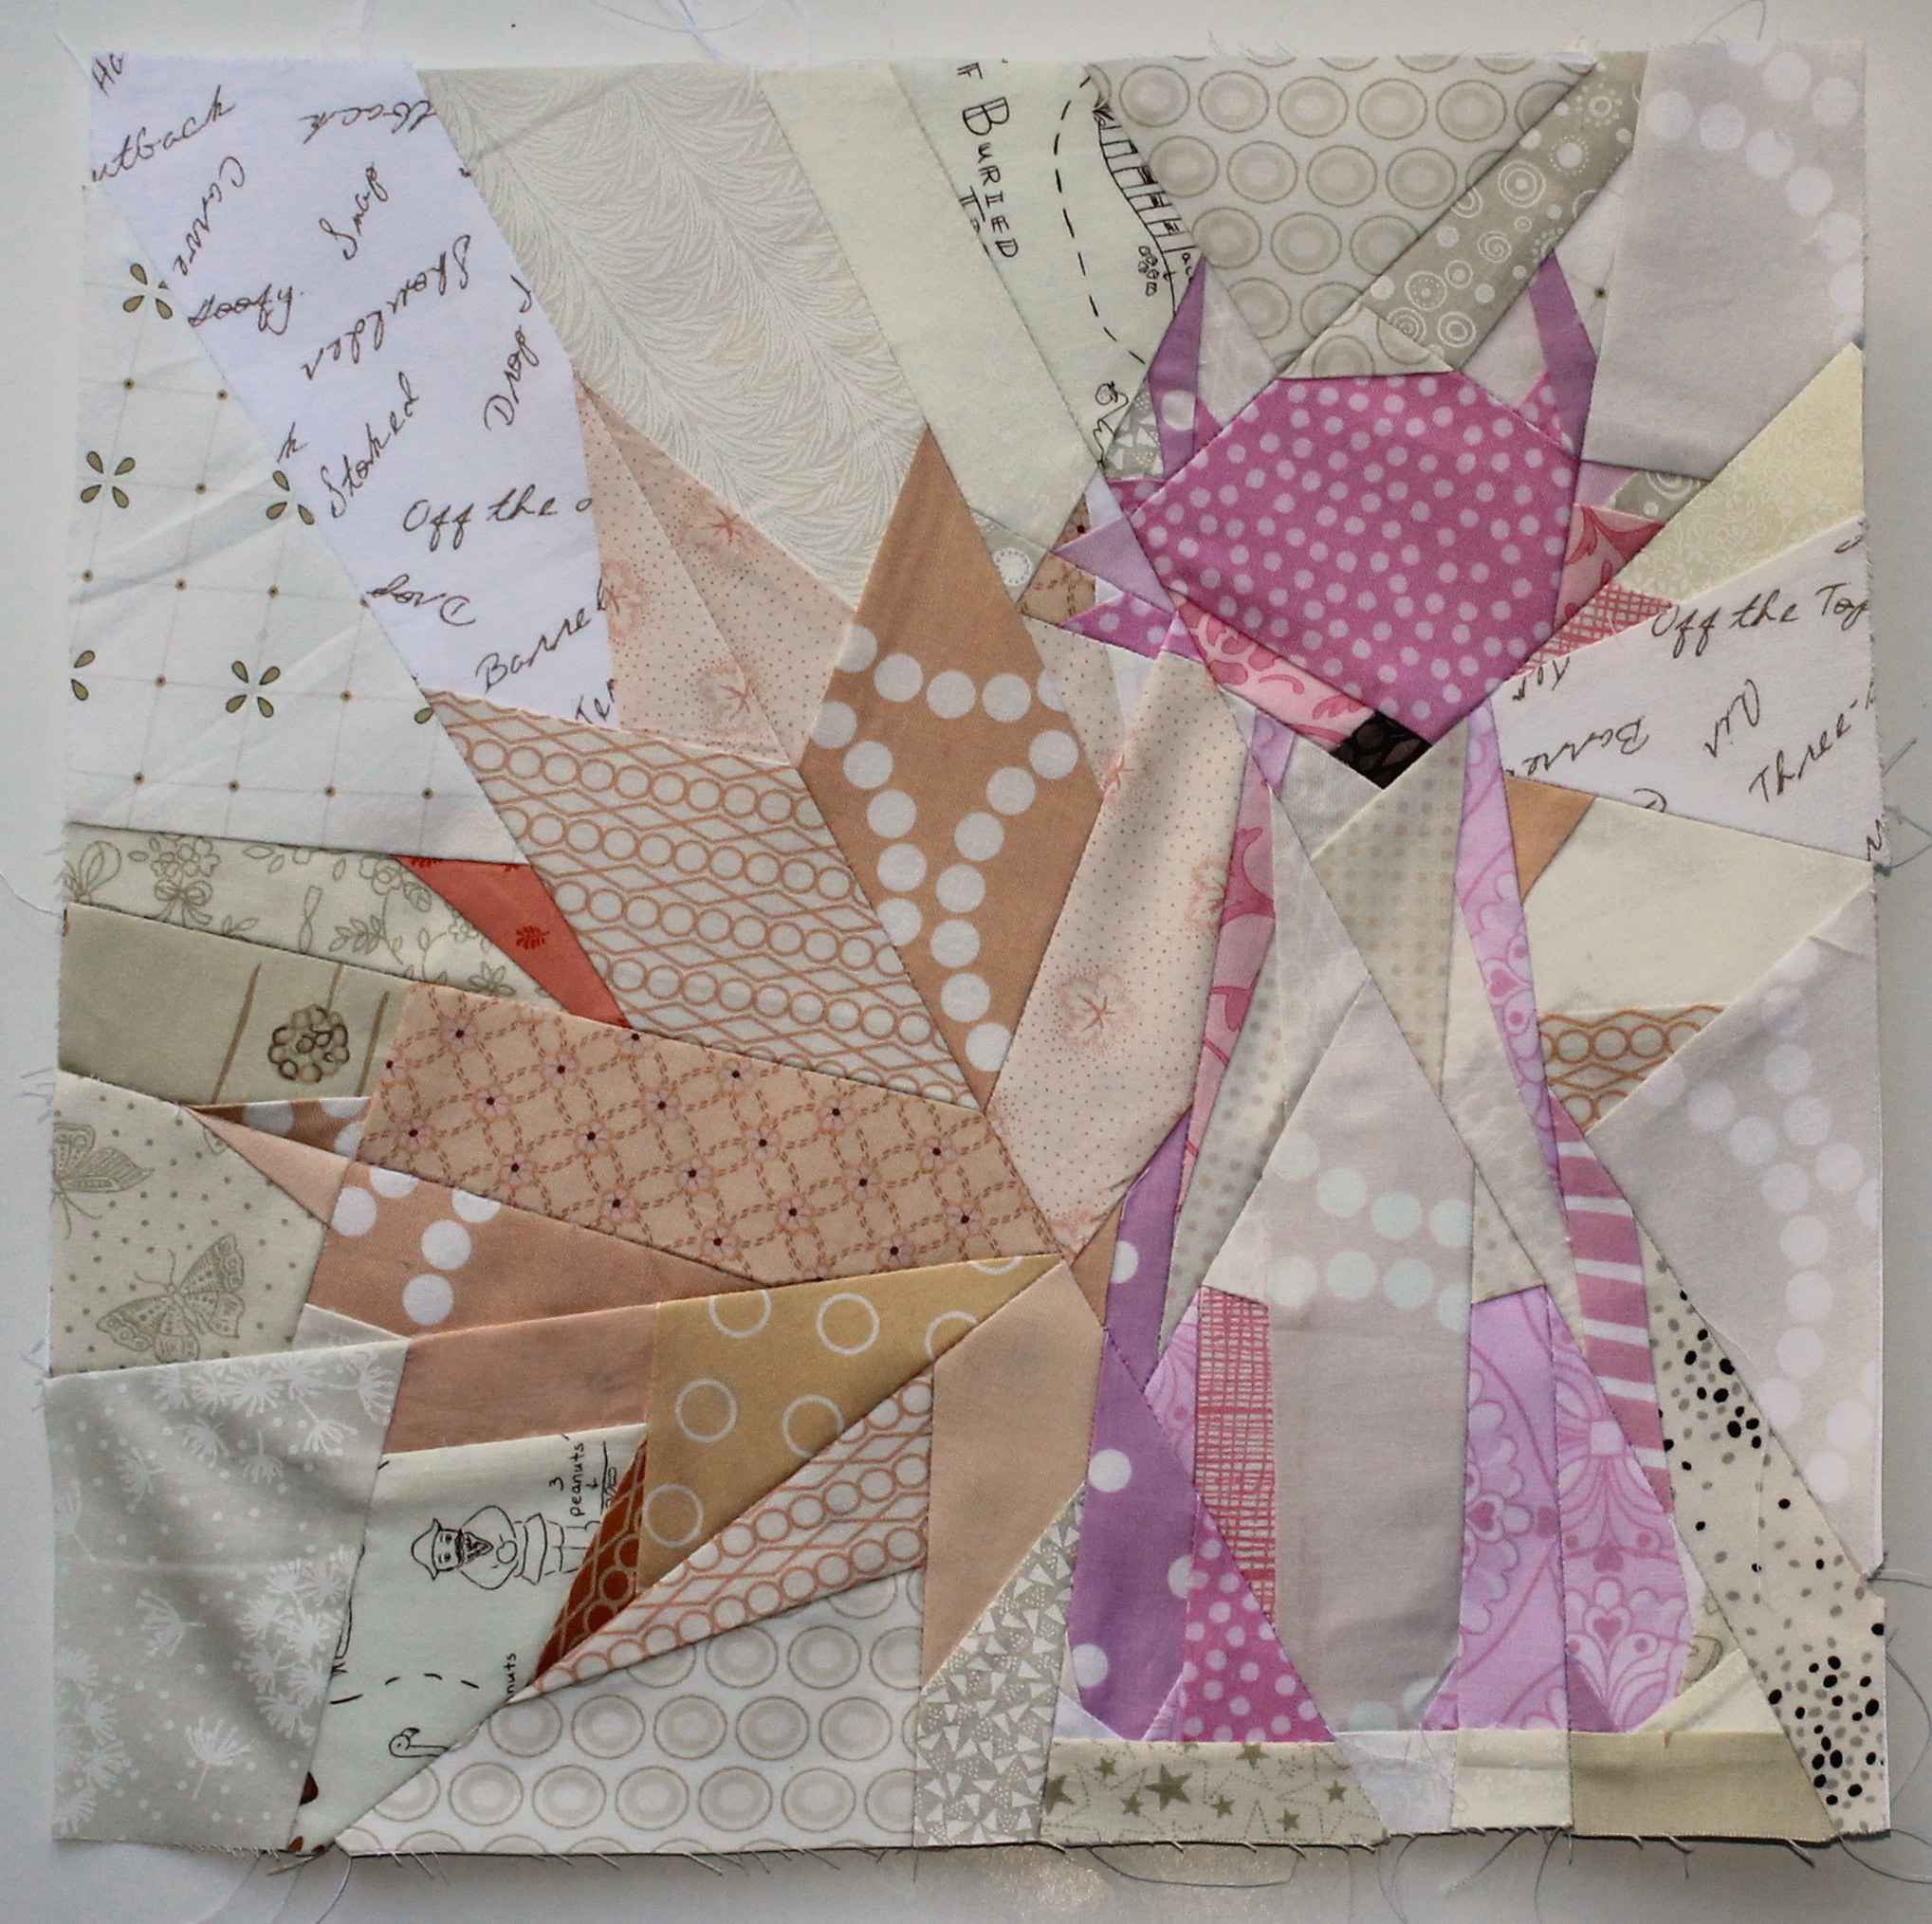
The scrappy background also gave me more opportunities for fussy cutting, allowing me to cram in even more novelty prints (have you spotted the squirrels yet!).

My binding choice was a little different from usual with this quilt too… I went with low volume soft colours to frame the quilt instead of my usual wonky star binding – navy blue or scrappy brights.  I liked how this choice lets the stars jump off the quilt instead of containing them inside a frame.

quilting detail

The wonderful free motion quilting on this piece was done by my friend Michelle of Mariposa Quilting.  I was so pleased this quilt was not ruined by my clumsy straight line quilting.

Once washed this quilt will head off to the our local Pediatric Intensive Care unit where it will hopefully be used for a couple of good games of I Spy….

Some low volume fun…

I have just manage to finish up one of two low volume quilts I have been commissioned to make… despite the universe conspiring against me getting a finish for Friday.

low volume quiltRecently I was asked to make two low volume quilts for some adorable twin toddlers… with the instructions to make sure there was lots of pink, green and purple and only a small hint of yellow or orange, if necessary.

low volume quilt detail eOkay I found it necessary to use a hint of orange just to include these adorable Heather Ross mice but other than that I stuck to the instructions.

low volume quilt detail bPulling the fabric stack was fun – the first round  was only fabrics with a white/cream background and then I went back and pulled out a couple of soft pastels.  I find low volume quilts some of the easiest to pull fabric for, because you are using fabric that reads as light but are not worrying too much about scale or style.

low volume quilt detail aAnd when in doubt there is always the quick trick of photographing your fabric and turning the photo black and white to see how the fabric reads.  I usually do this step when I have the blocks up on the design wall and always end up rearranging the blocks and sometimes removing a fabric or two altogether.

black & white fabric I of course had a fun time putting in as many novelty prints as I could…. because what kid quilt is completely without the ability to play “I Spy”.

low volume quilt backFor the back of the quilts I fully embraced pink… choosing some of my favorite fabrics to highlight, namely some Lizzy House “Catnap”.

low volume quilt backing detailI kept the quilting simple and went with a soft pink binding, in a shade just a little different from the backing solid and chose to attach the binding by hand.  I love the hand-made touch that hand binding gives to a quilt… those little stitches let the recipient know that the quilt was made with love.

low volume quilt bindingNow all I have to do is finish up the binding on the second quilt and they will be ready to send to their new owners.


Keeping the volume on low…

First for all thanks for all the well wishes over the last two weeks… it has been slow going but after 10 days of wallowing in self-pity I am slowly getting back into quilting.  Yesterday I finally put the machine back up and sewed a little… I thought I was at last okay enough to “operate heavy machinery”.

twins quiltsSo I have been slowly, very slowly quilting a darling low volume quilt I had pieced before I got sick.  Actually I have pieced two quilts which are almost identical – they use the same fabric but just arranged differently.  It is a custom order for two gorgeous twin toddlers who happen to really like pink… girls after my own heart.

twin quilts 2I have also discovered another joy of quilting in the last two days – you can do a little sewing and then have a lie down when you need to.

I promise I will be back on schedule next week…


Floral Crackers Fabulous Finish

I was so excited last night when I took deliver of my finished Floral Cracker’s quilt.   The fabulous Rachel from 2nd Avenue Studios had used her amazing long arm/free motion quilting skills to complete this project for me.

modern scrap floral quilt

I meet Rachel through the Portland Modern Quilting Guild and fell in love with her quilts. She does the most amazing wonky scrappy creative quilts.  I was a huge fan and when she offered to quilt Floral Crackers for me I was beyond excited.  Rachel also makes a lot of charity quilts and also does long arming quilting of charity quilts for the Guild.  Basically she is a rock star.

Floral cracker finished quilt detail 3I made the blocks for this quilt months ago using my black and white stash and lots of crazy floral fabrics.  i raided my Kaffe Fassett stash, my Amy Butler stash as well as my friend Lisa’s stash.  You can find my original post about the block, along with pattern links on how to make it here.

Floral cracker quilting motif

Rachel used a wonderful free motion flower pattern for the quilting.  The shape is very  “Kaffe” and mirrors several of the fabrics in the quilt.

Floral Cracker quilting detail

I struggled to get decent pictures that do the quilt and quilting justice.  Why do photos never capture the true beauty of a quilt?

Floral cracker finished quilt detail

To back the quilt, Rachel went with a gorgeous light orange dot solid.  It is the perfect simple accompaniment to the crazy busy front.

Floral Cracker quilt back

Rachel also kindly did the binding for me on this quilt with her new Bernina binding magic thingy…. and I love it almost as much as I love the quilting.  As a nod to me she used Kaffe Fassett’s “Aboriginal Dot” fabric.

Floral Cracker binding detail

I know it is kind of cheating but I am counting this as one of my October Project Linus quilts… I did make the top!

FLORAL CRACKER DETAILS:

Technique:   Paper Piecing

Finished Block size:  7 inches

Quilt size:  56″ x 70″

Foxy Paper Piecing Monday

Okay I could not help myself…I just had to do it…

Paper pieced fox block

I decided that my low volume quilt needed a block from No Hat’s In the House fabulous Forest quilt, as a not too subtle nod to the amazing quilt that inspired my low volume sampler.  So I bit the bullet and headed over to the Forest QAL and picked one of their FREE paper piecing  blocks.

These patterns are crazy good but complex.  How complex I hear you ask… well my fox took four colours…

fabric pull for fox

cut into 99 scraps of fabric…

fabric & paper bites 2

sewn onto 27 separate pattern pieces…

block bits and guidethat were then sewing into three sections…

piecing block

These sections were then sewn together to make one incredible block.

I was so thrilled with how this block turned out and I kept shoving it in my husbands face saying “look how fabulous this is”… “isn’t this block incredible”… “have you ever seen anything so amazing”.   He was not as excited as I had hoped about the whole thing.  Actually his response was decidedly underwhelming.  Going to have to get him to work on that.

He just keeps saying “what does the fox say“….