Some work is being done by not enough…

Ah it is work in progress Wednesday and I had hoped to have some new fun things in the pipeline but instead I am dealing with this…

left hand

Ah yes 2013 is kind of kicking my butt at the moment.  This small set back has limited some of my quilting activities, but has not stopped me completely.  This week I have:

1.  Made a bee block for Ashley at Wasn’t Quilt in a Day.  Ashley requested the converging corners block in bright colours.

Ashley's Bee block

2.  I have finished up the last of  my fussy cut squares for Amanda at What the Bobbin.

fussy cut swap

3.  I am finishing up a block for a top-secret project.

special block

4.  I have been slowly adding to my hexagon quilt.  In a strange twist of fate it is easier for me to machine piece at the moment than hand piece!

hexagon wip

In the last 9 months nothing has stopped me quilting not a slipped disk in my neck, nerve damage in my right arm, laparoscopic surgery or now a torn tendon in my left arm.  I am either determined or crazy… or maybe a little bit of both!

Dresden Plate challenge – wip Wednesday

This week I decided to challenge myself, and try to make a block I had never done before – the Dresden Plate. I was so inspired by Susan at The Bored Zombie’s Dresden plate quilt, that I had to give it a go.   So I bought a Dresden plate template (I went with EZ Quiltings) and pulled some fabric.

1930 quilting fabric

I decided to raid my stash of 1930’s fabric which has been sitting under my bed, untouched, for years.  There is something about the Dresden pattern that just called out to be made in vintage style fabrics.   I was actually shocked at how much of this fabric I had accumulated over the years – what is shown above is about 1/15th of my stash. I went through a period many year ago of making baby quilts out of this fun fabric ( I was partial to the Aunt Grace and Storybook lines).

workspace

With the fabric cut, I found the rest of the process really easy.  I sewed the top of the cut pieces together using chain stitching.

string sewing

Snipped the corner, turned it inside out and I was ready to go.  I was so surprised how quickly I could get the pieces and block done.  I thought it would take me hours to finish a block but it was really quick.

Then came the hard part. Having finished most of the block pieces I realized I wanted to make the block feel a little more modern.  I started playing with what to back the block with and here are my top  choices…

1.  Hatched block back

1. Hatched block back

2.  Scrappy white back

2. Scrappy white back

3.  Red & white dot back

3. Red & white dot back

4.  Black & white dot back

4. Black & white dot back

5.  Navy blue back

5. Navy blue back

6. Grey linen print back

7.  Red solid back

7. Red solid back

HELP!  I can make a case for each of these fabrics and I am feeling a little overwhelmed.  Please let me know which back you like best.

All selections, suggestions, advice, feedback, comments and support gratefully accepted.


A quilted container – WIP Wednesday

In my sewing career I have made hundreds of quilts and one fancy dress costume. Once or twice I have hemmed or mended a few clothing items on the sewing machine but that is absolutely it, until this week.

Rewind a little bit to last month’s Portland Modern Quilting Guild meeting where a new swap was proposed. I had never participated in a swap before, they scare me a little – you have to do something on deadline to please someone else. Too much pressure for me. Last month though, thru a combination of pain medication and peer pressure I said yes to making a quilted container.

Fast forward to this week. I need the container for Thursday’s meeting and I had not even started. I had spent weeks procrastinating and convincing myself I could not do this. With time running out I bite the proverbial bullet and started. The Guild website had helpfully linked to a number of free tutorials, so I picked one – 1/4″ Mark.com’s quilted bucket and went to work.

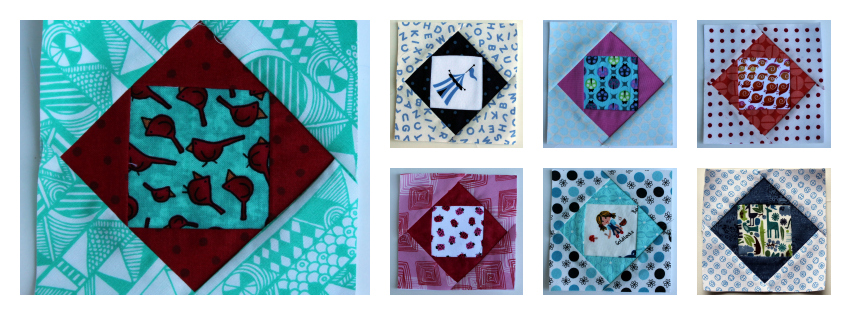
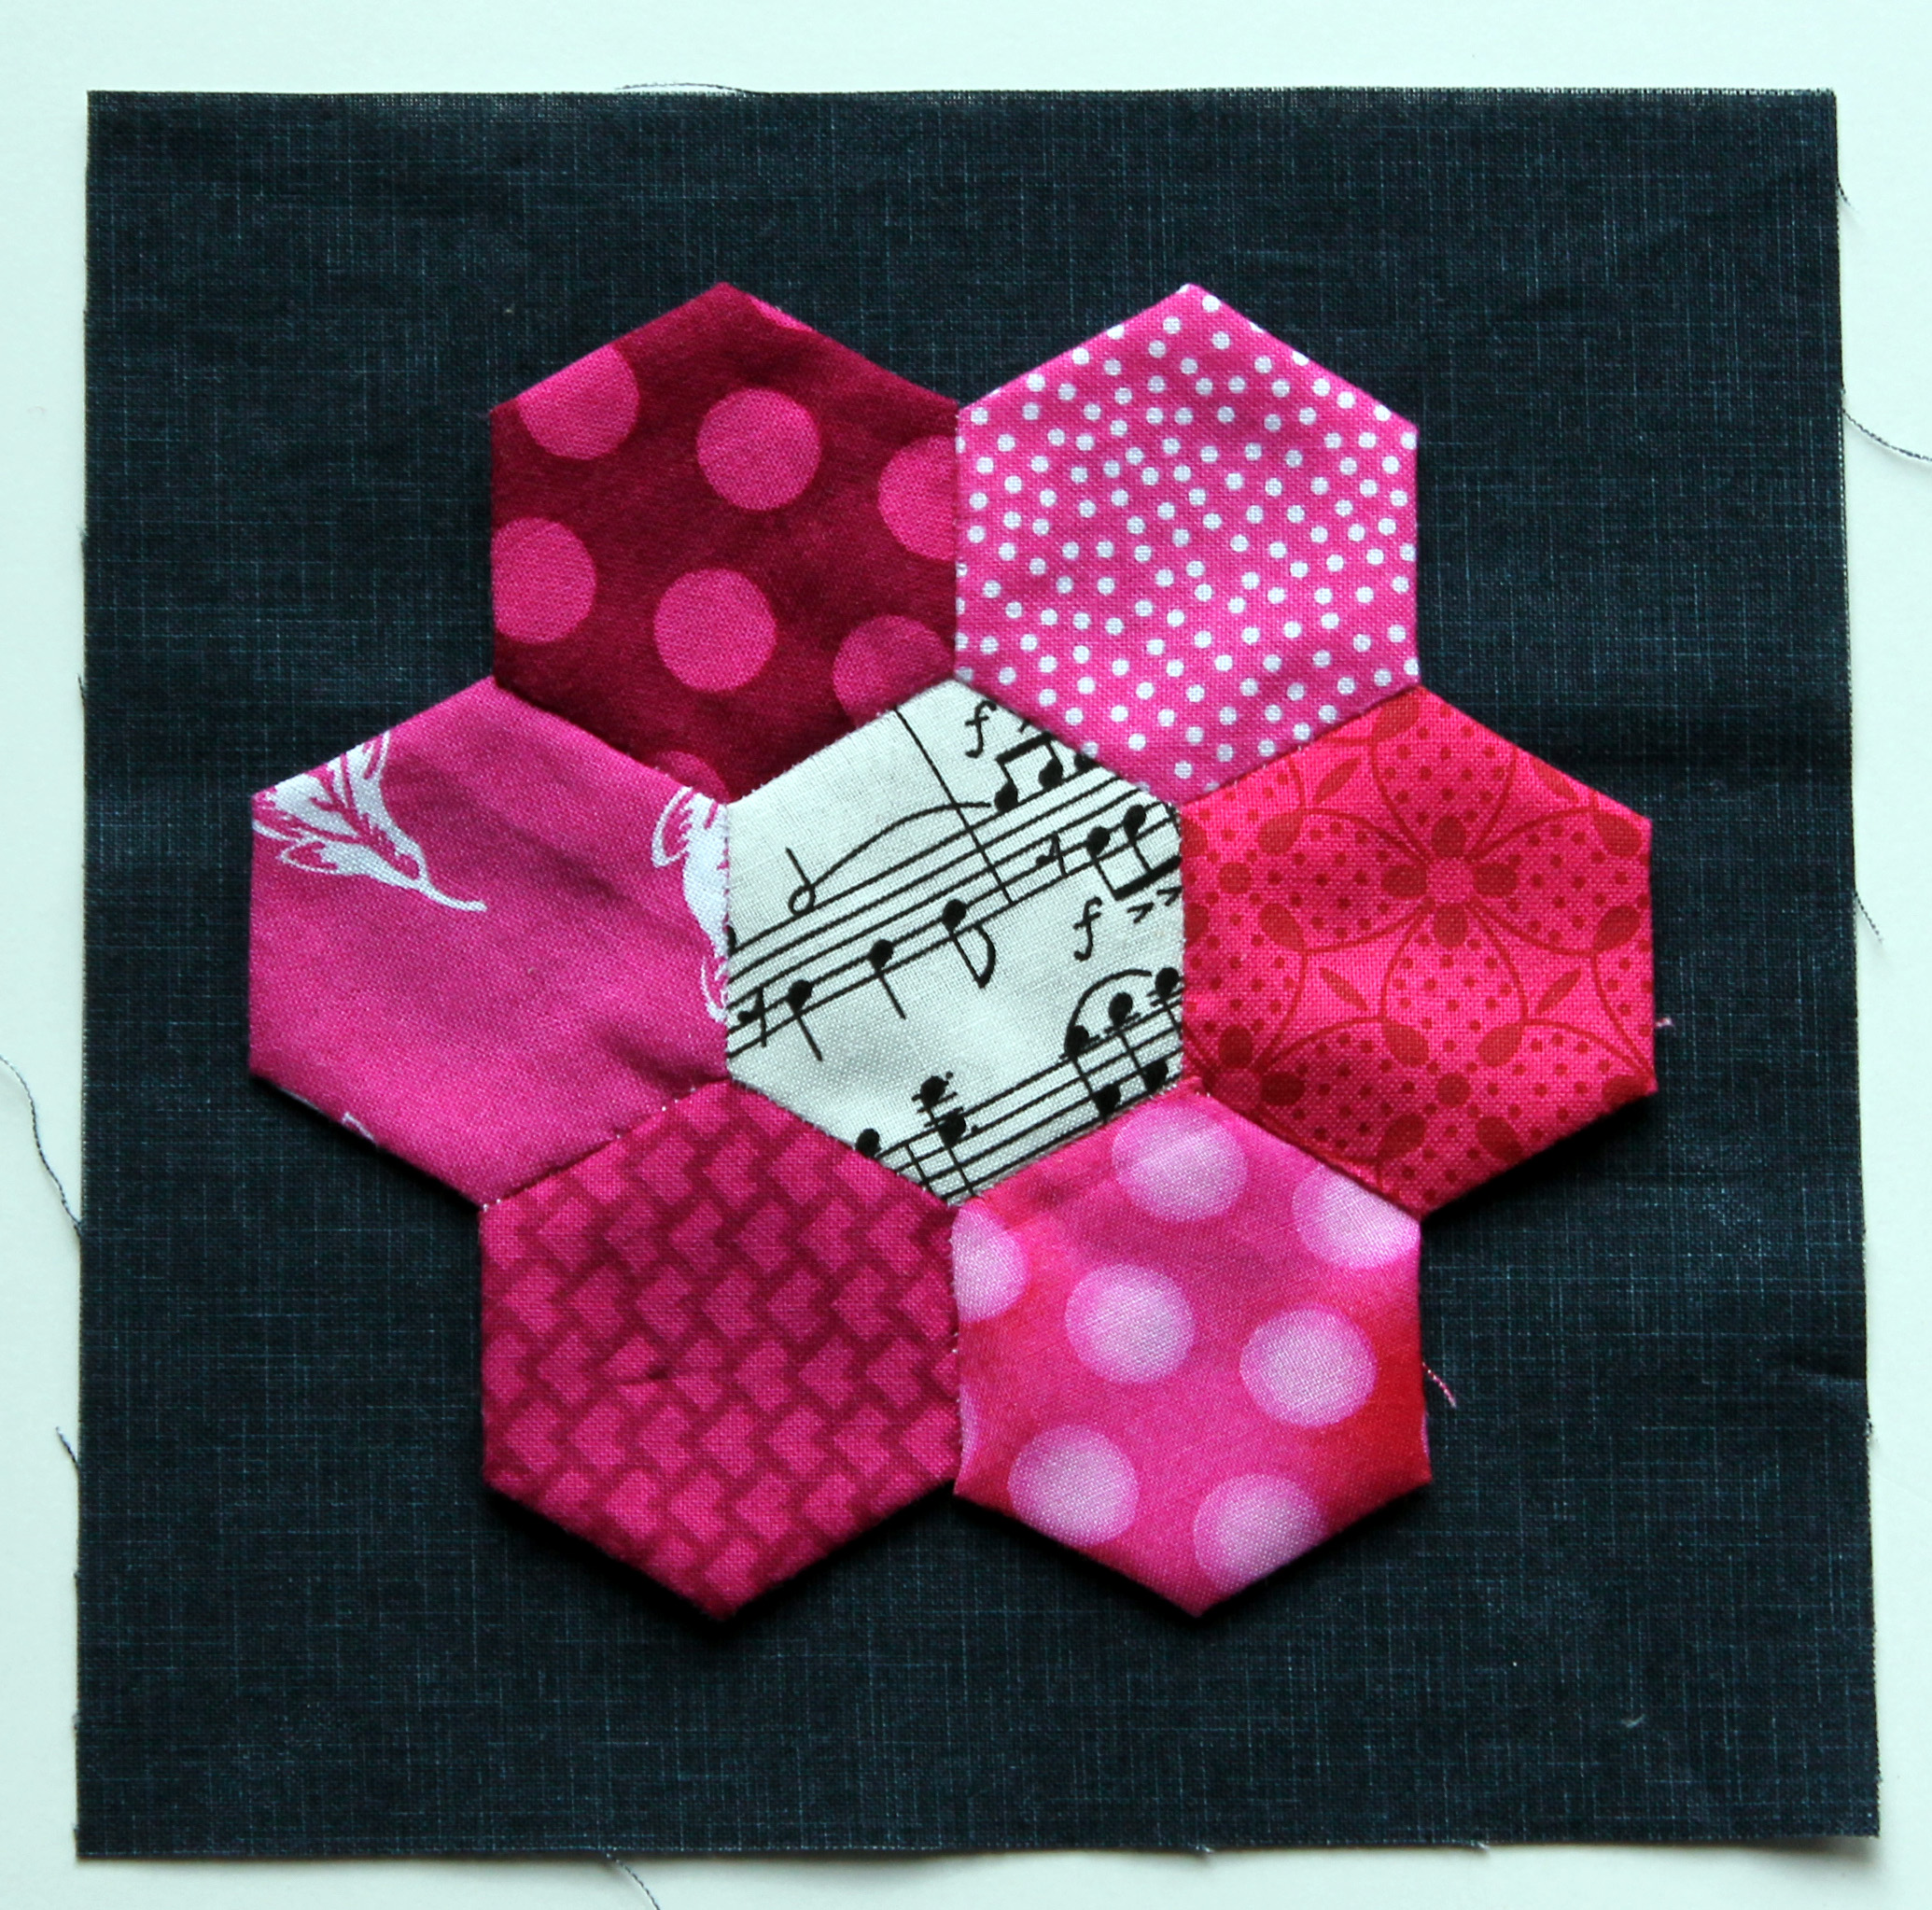
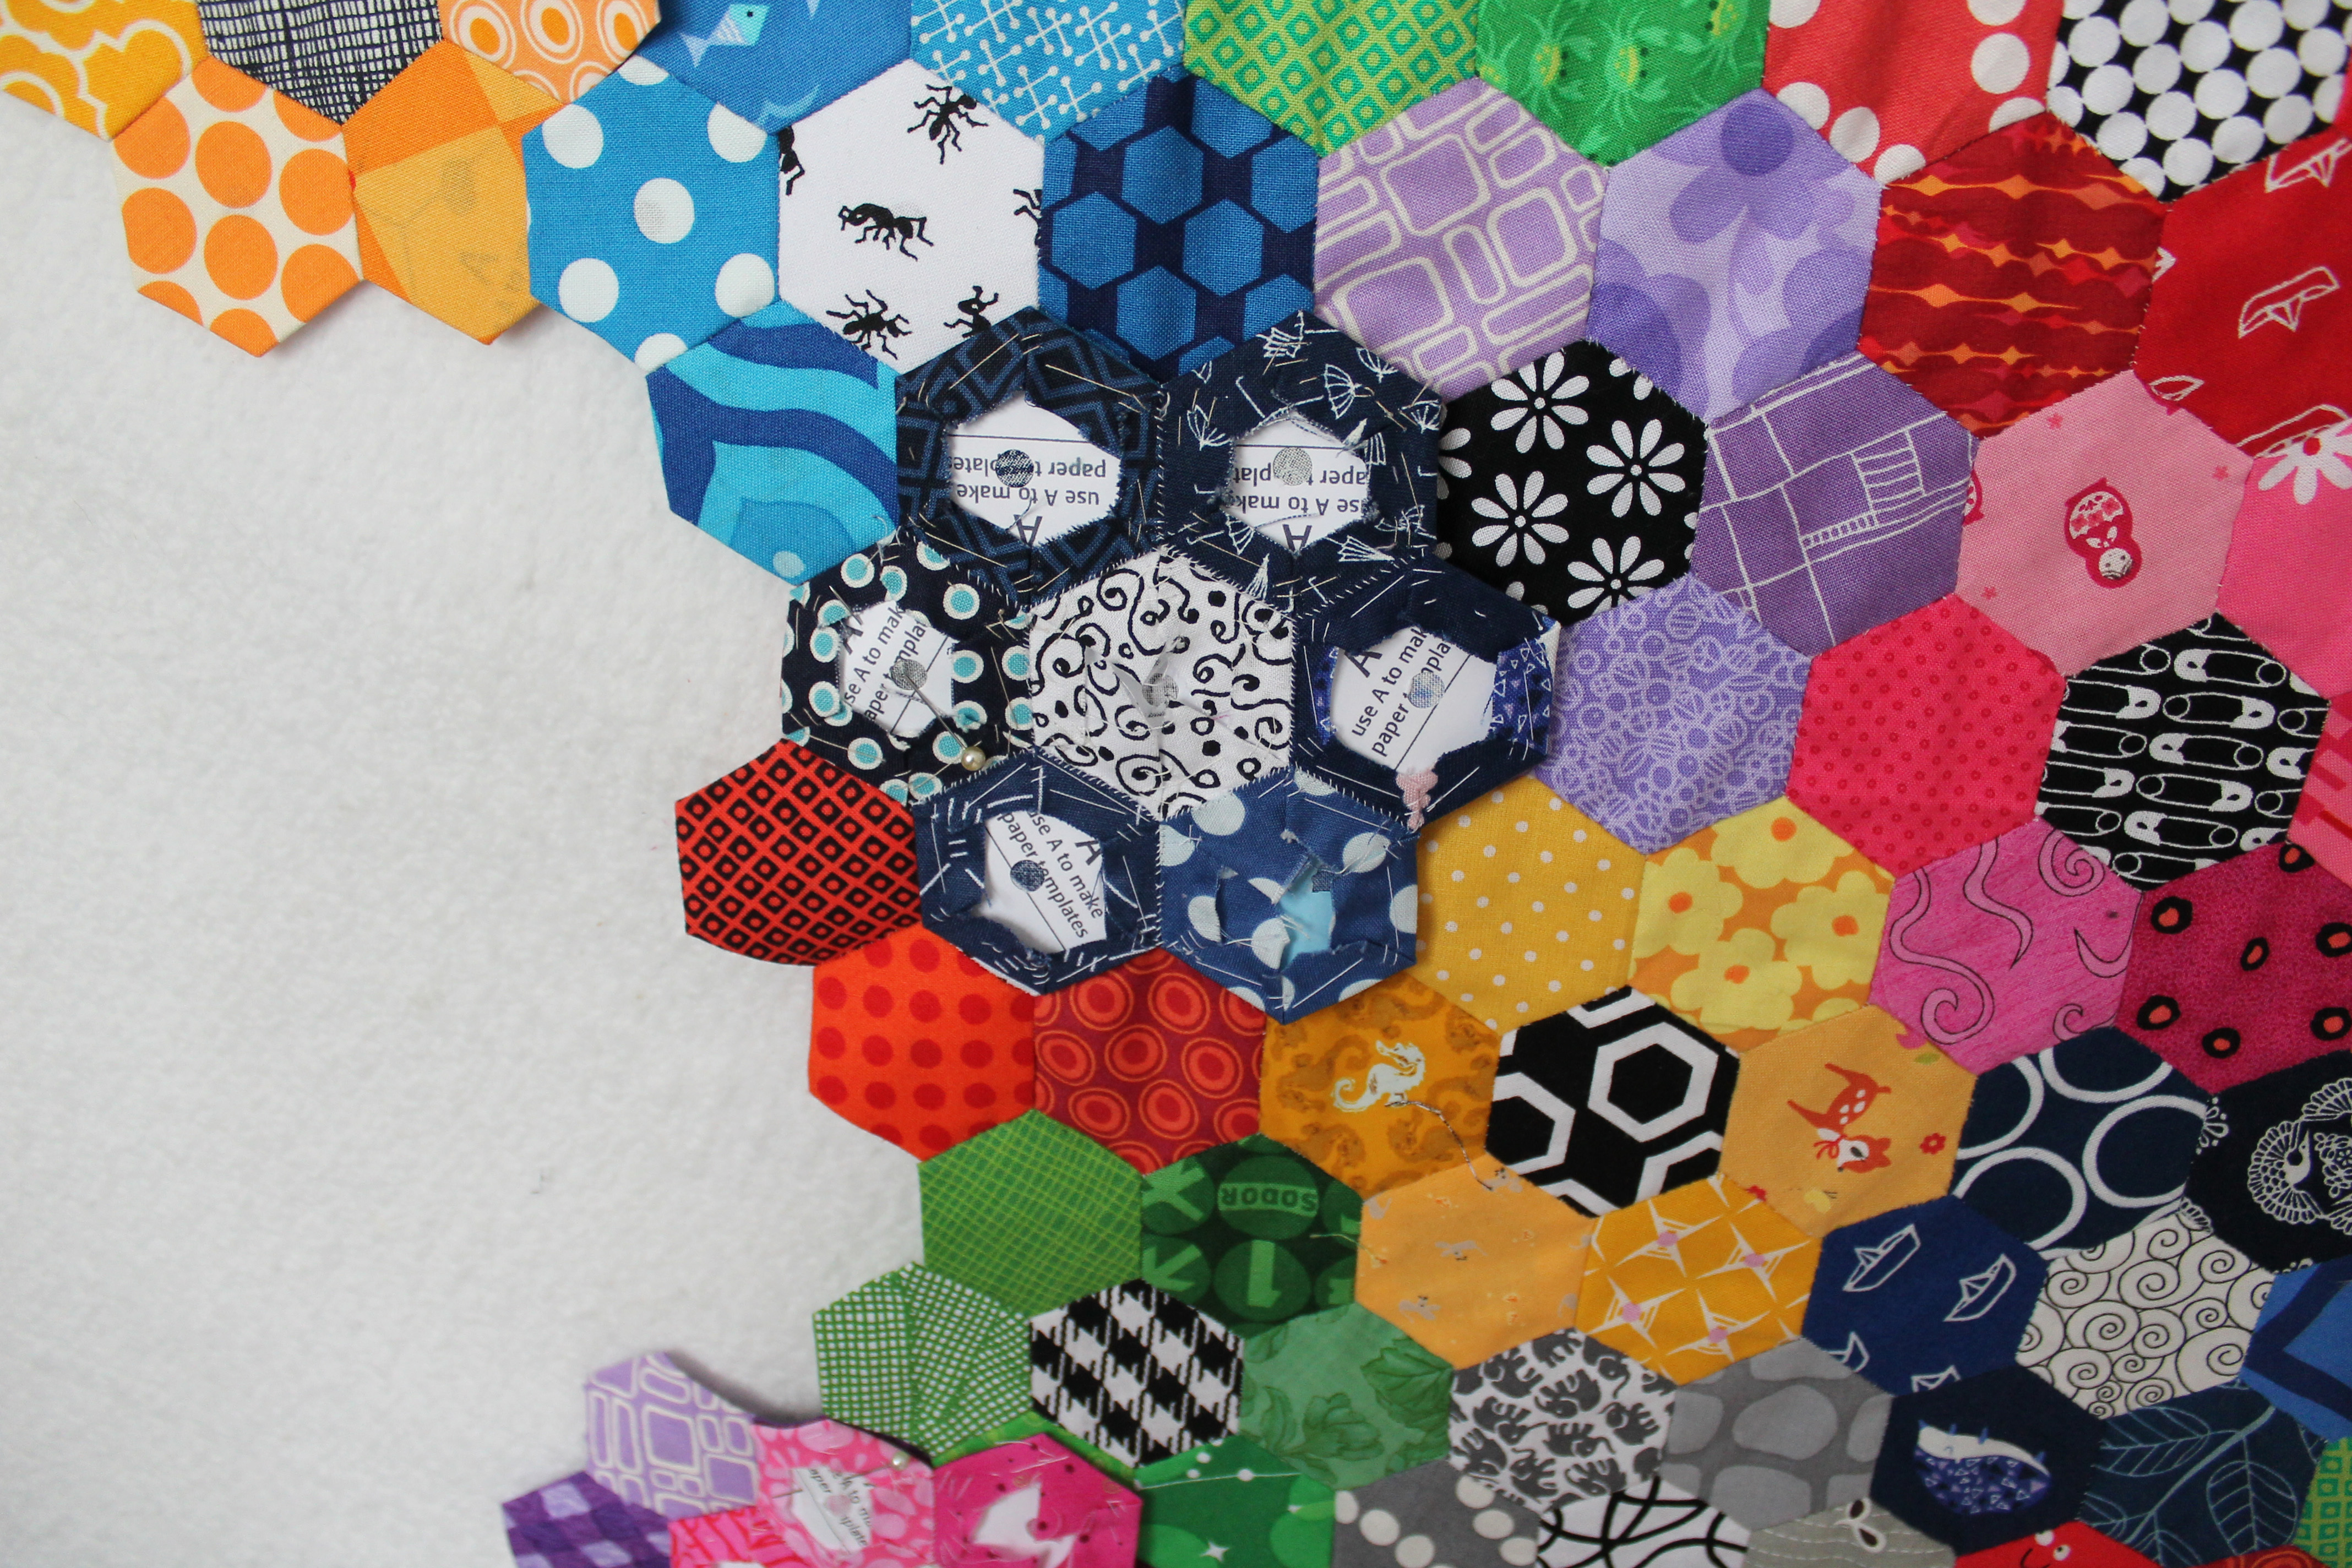
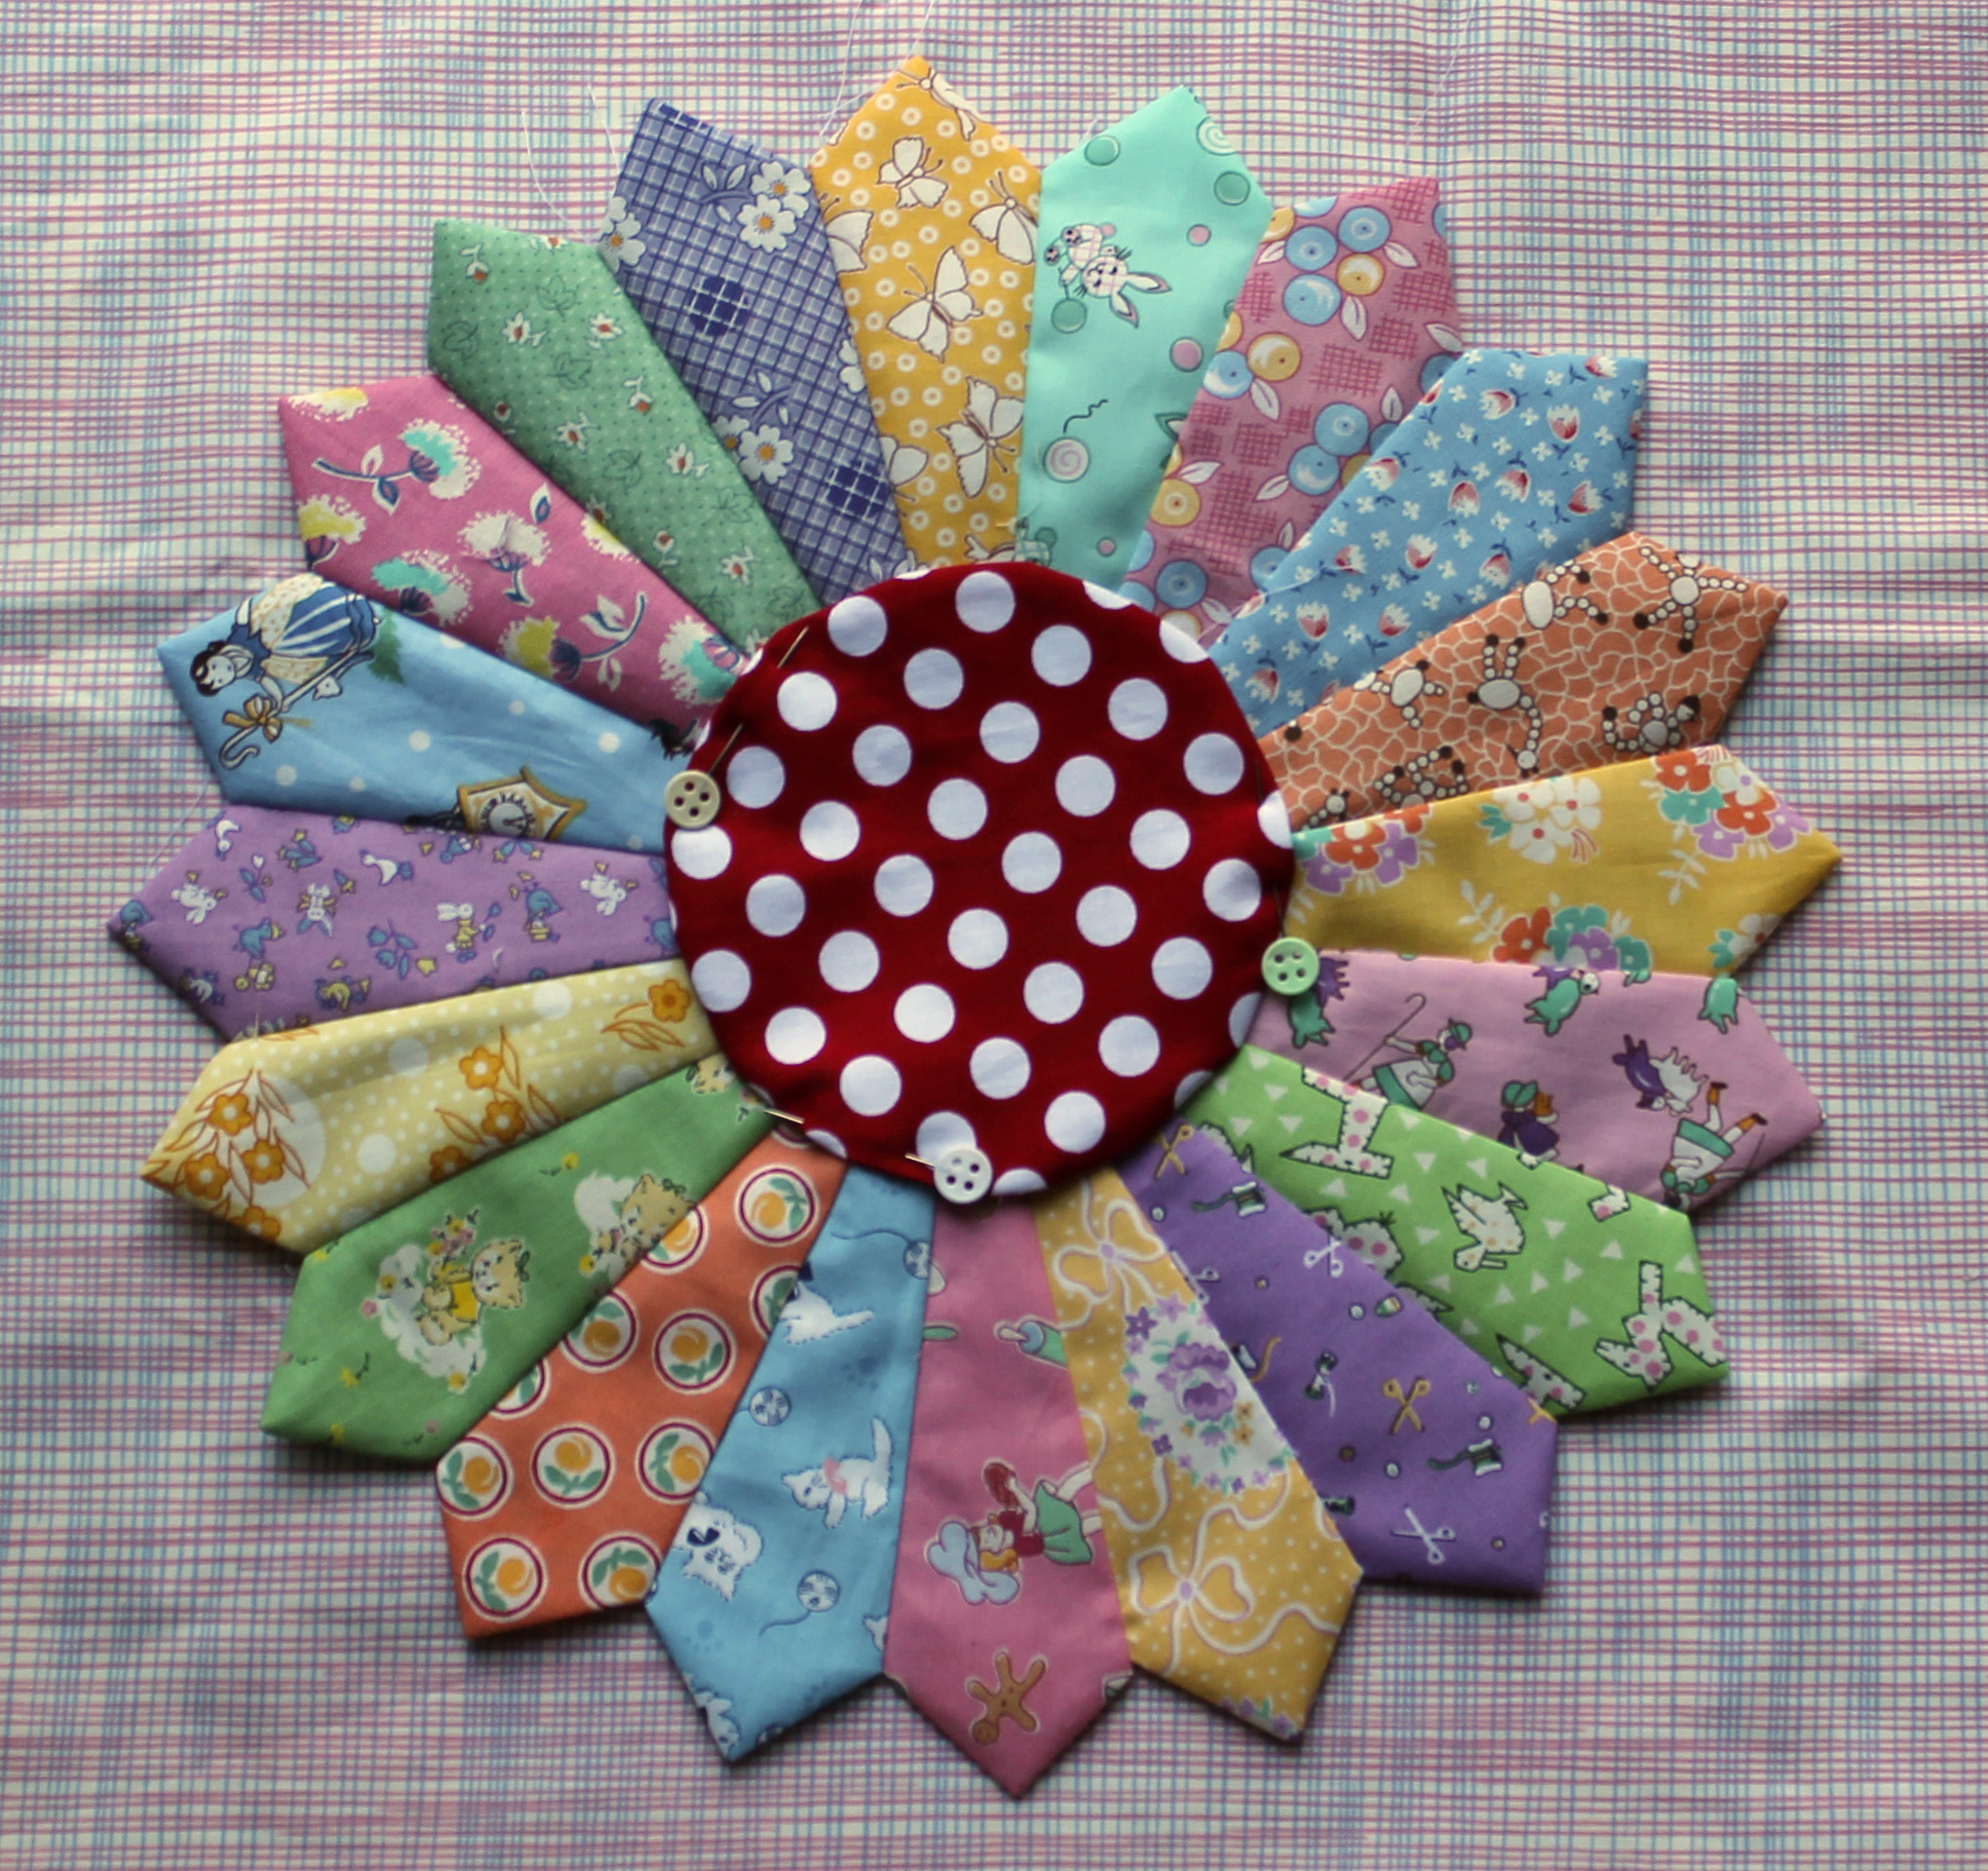
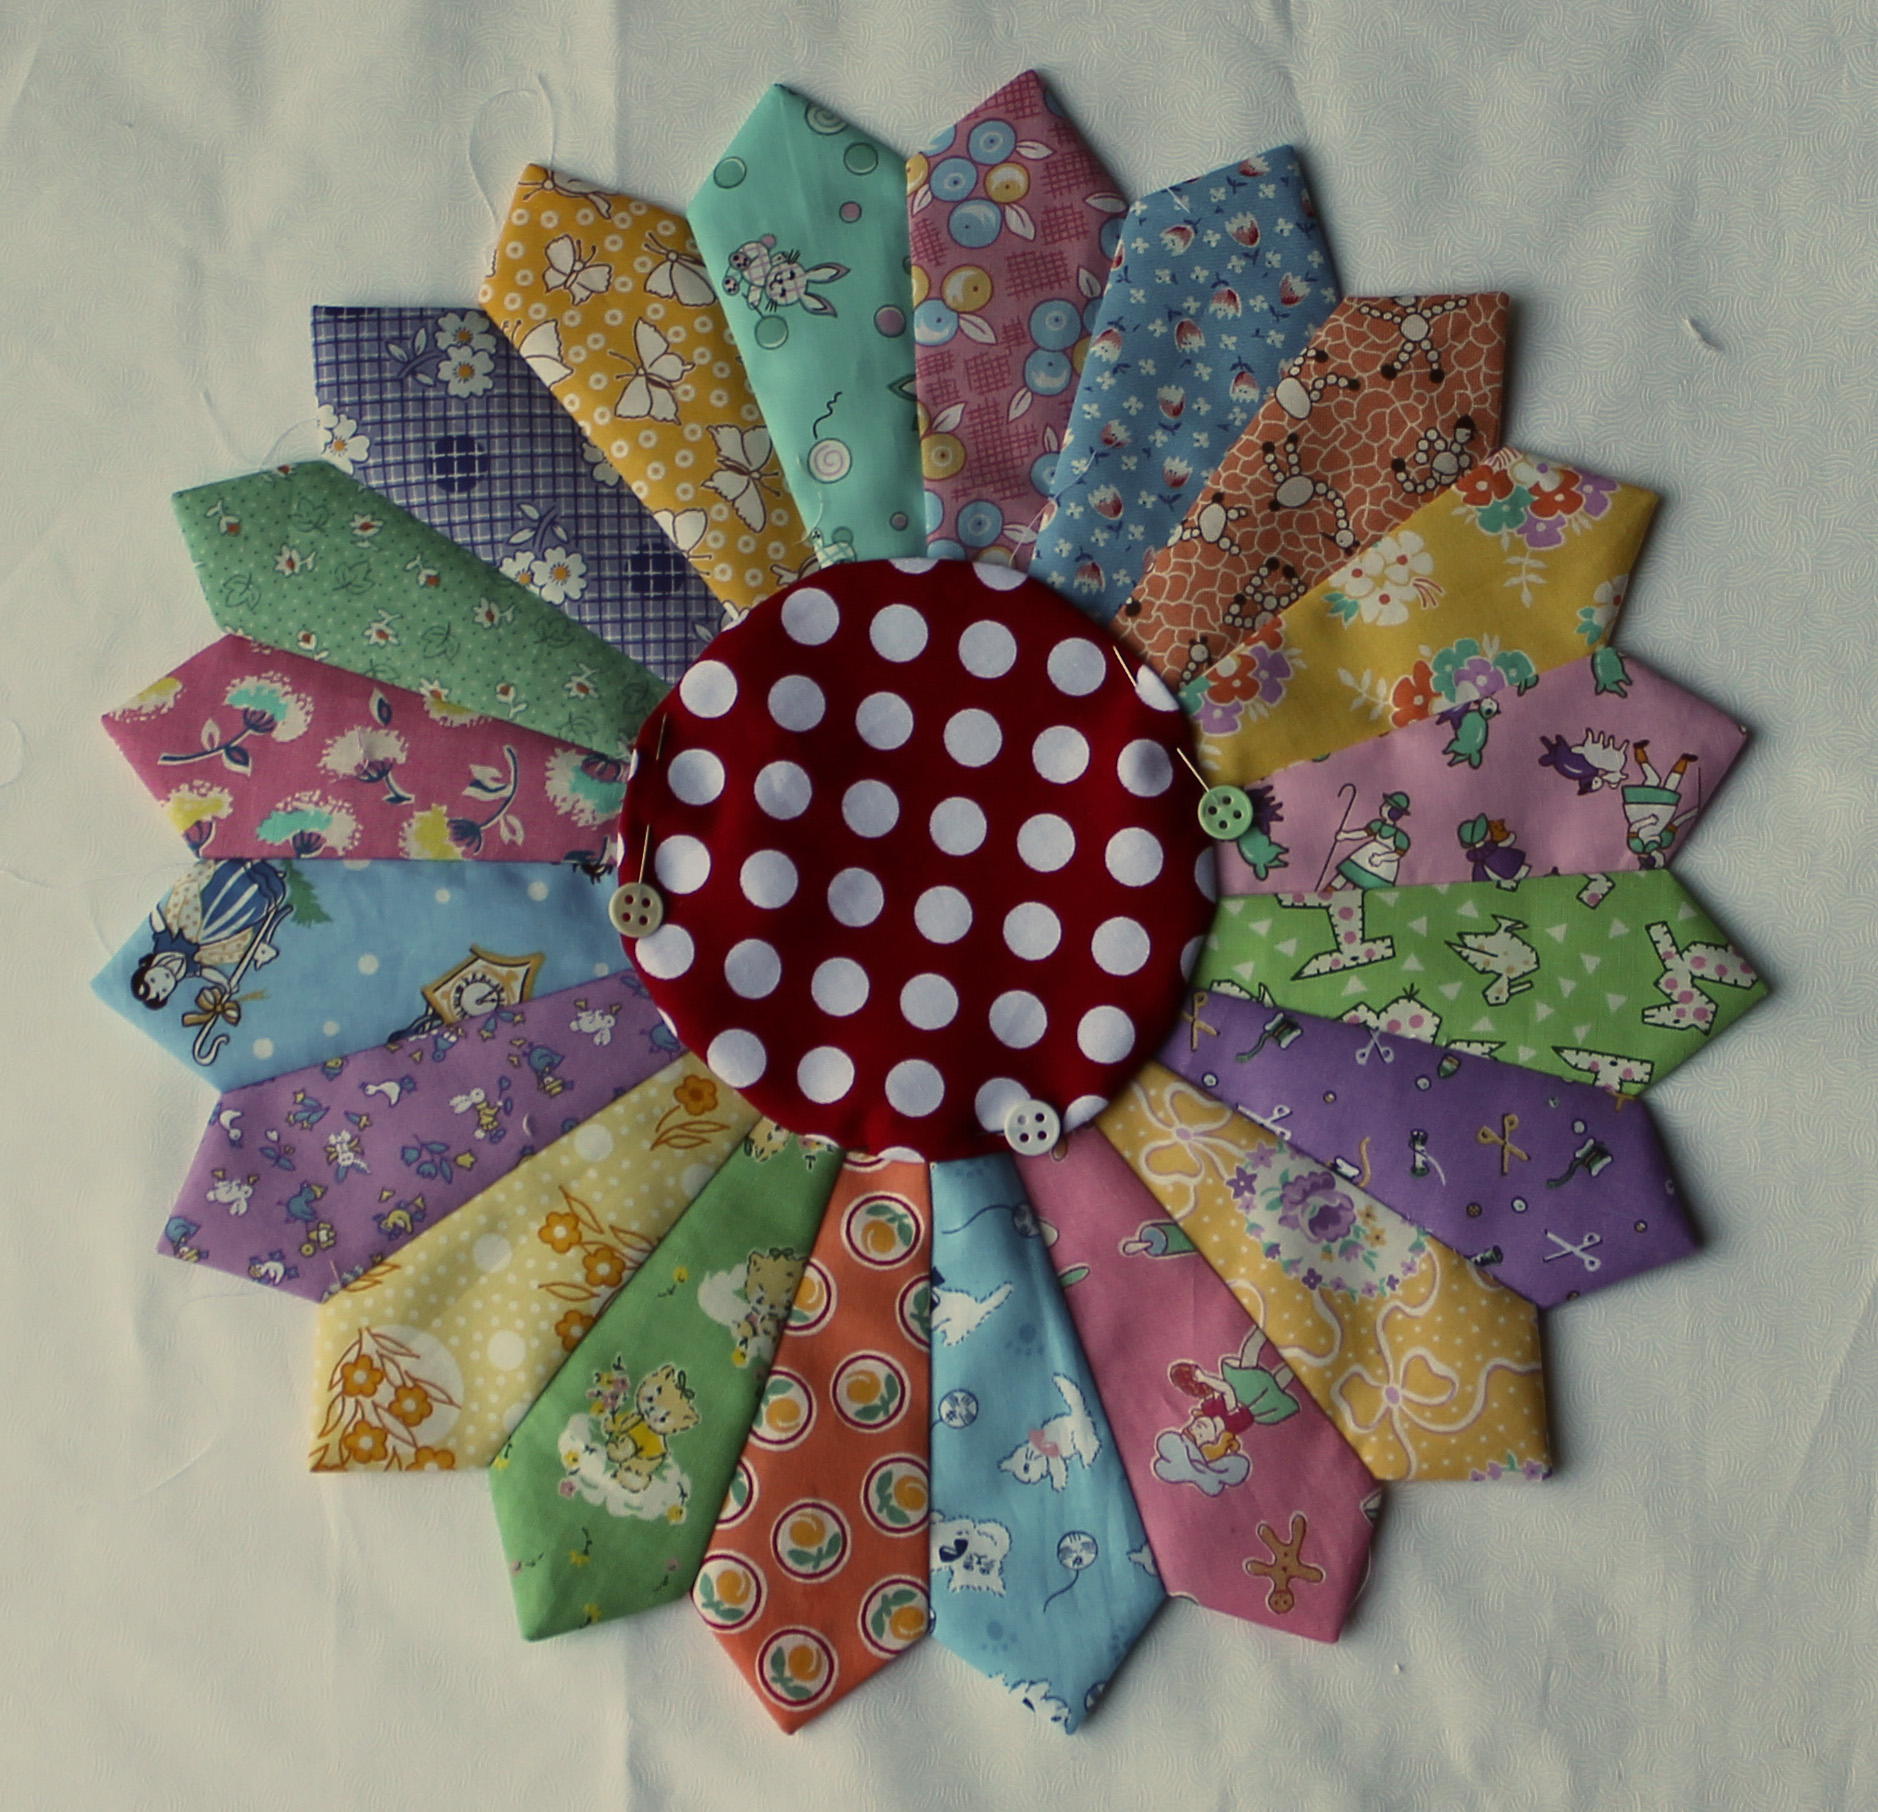
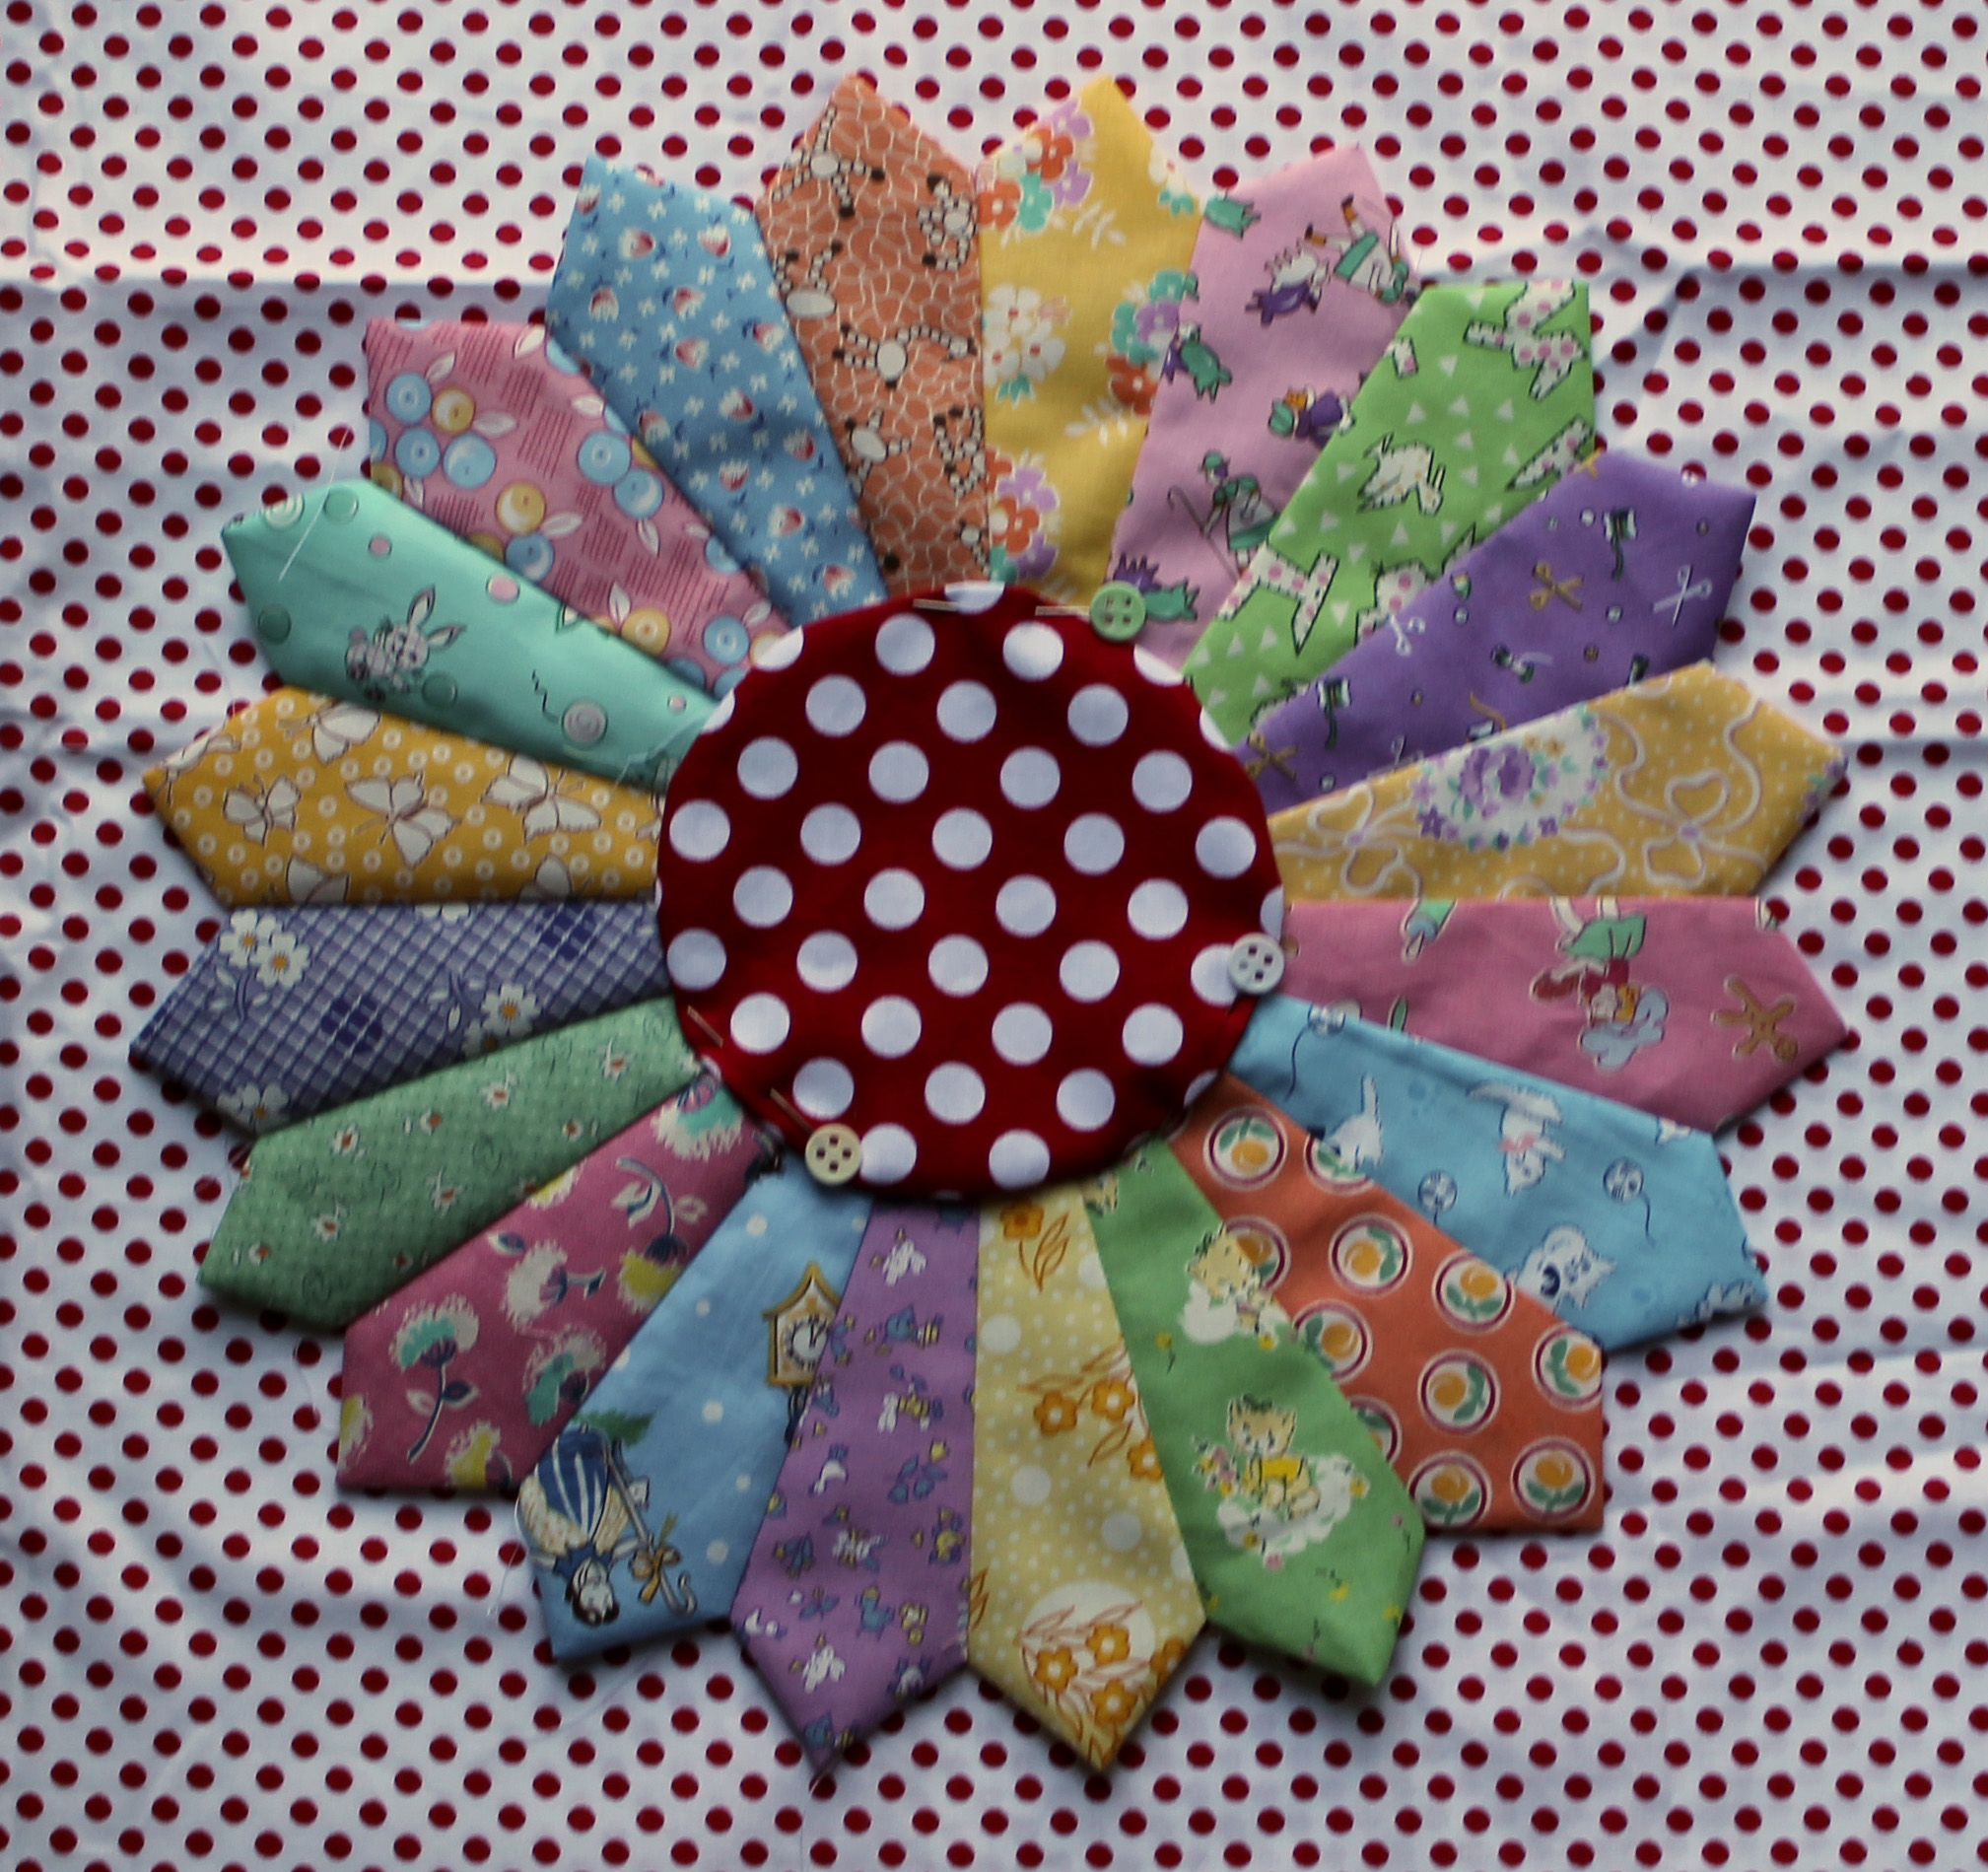
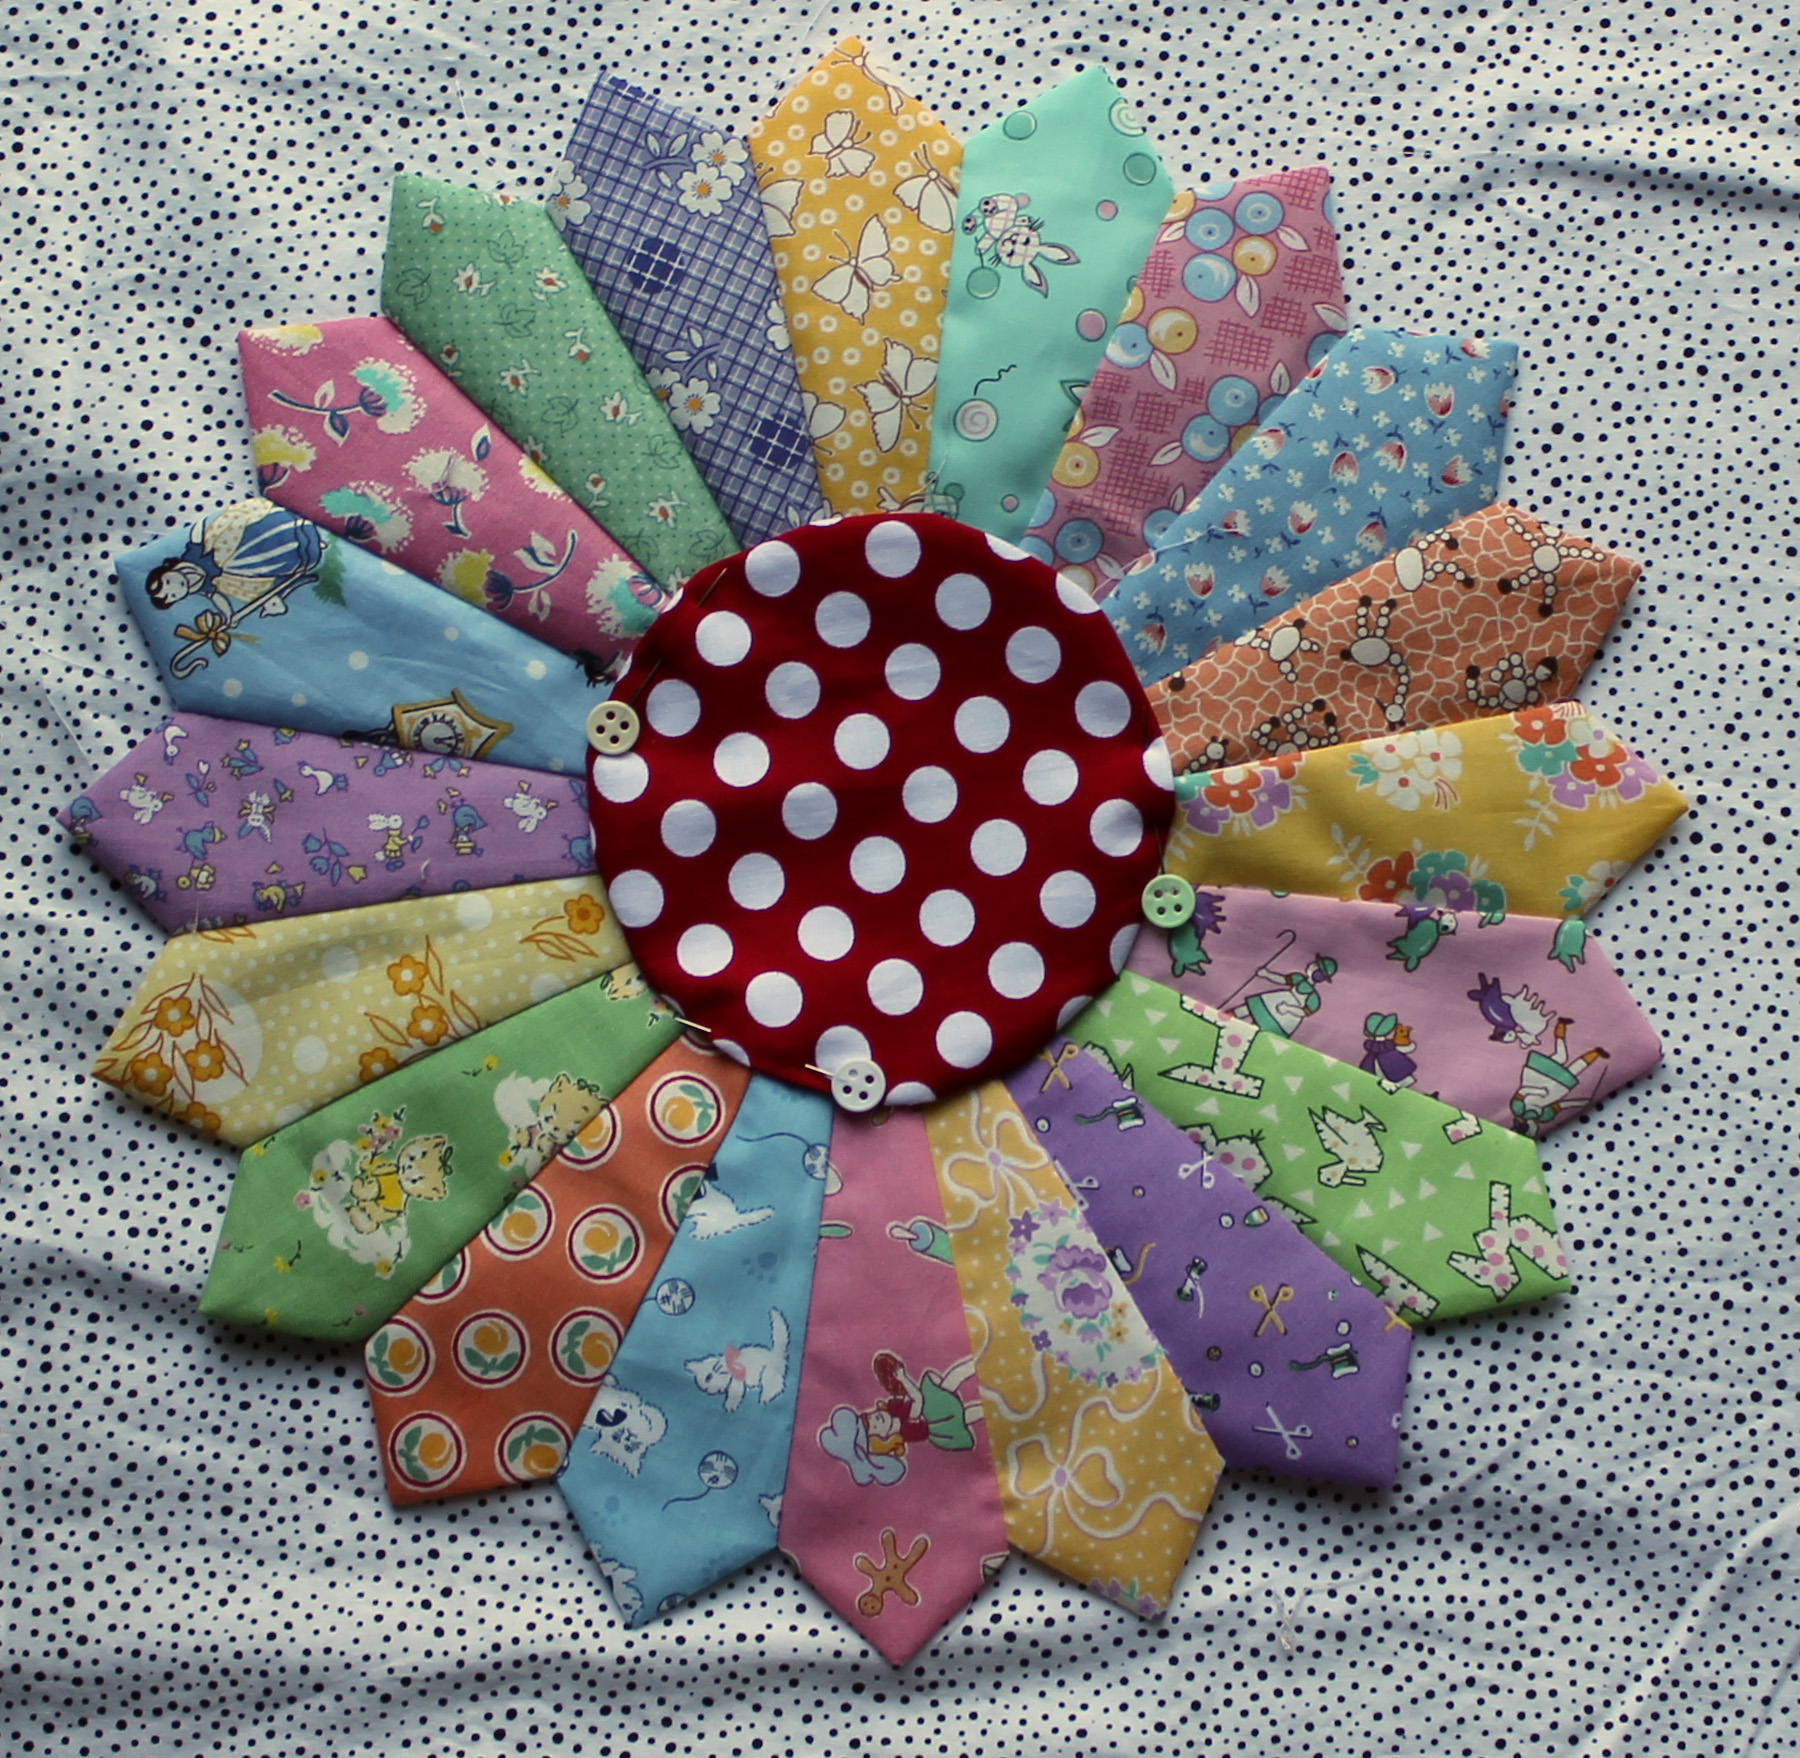
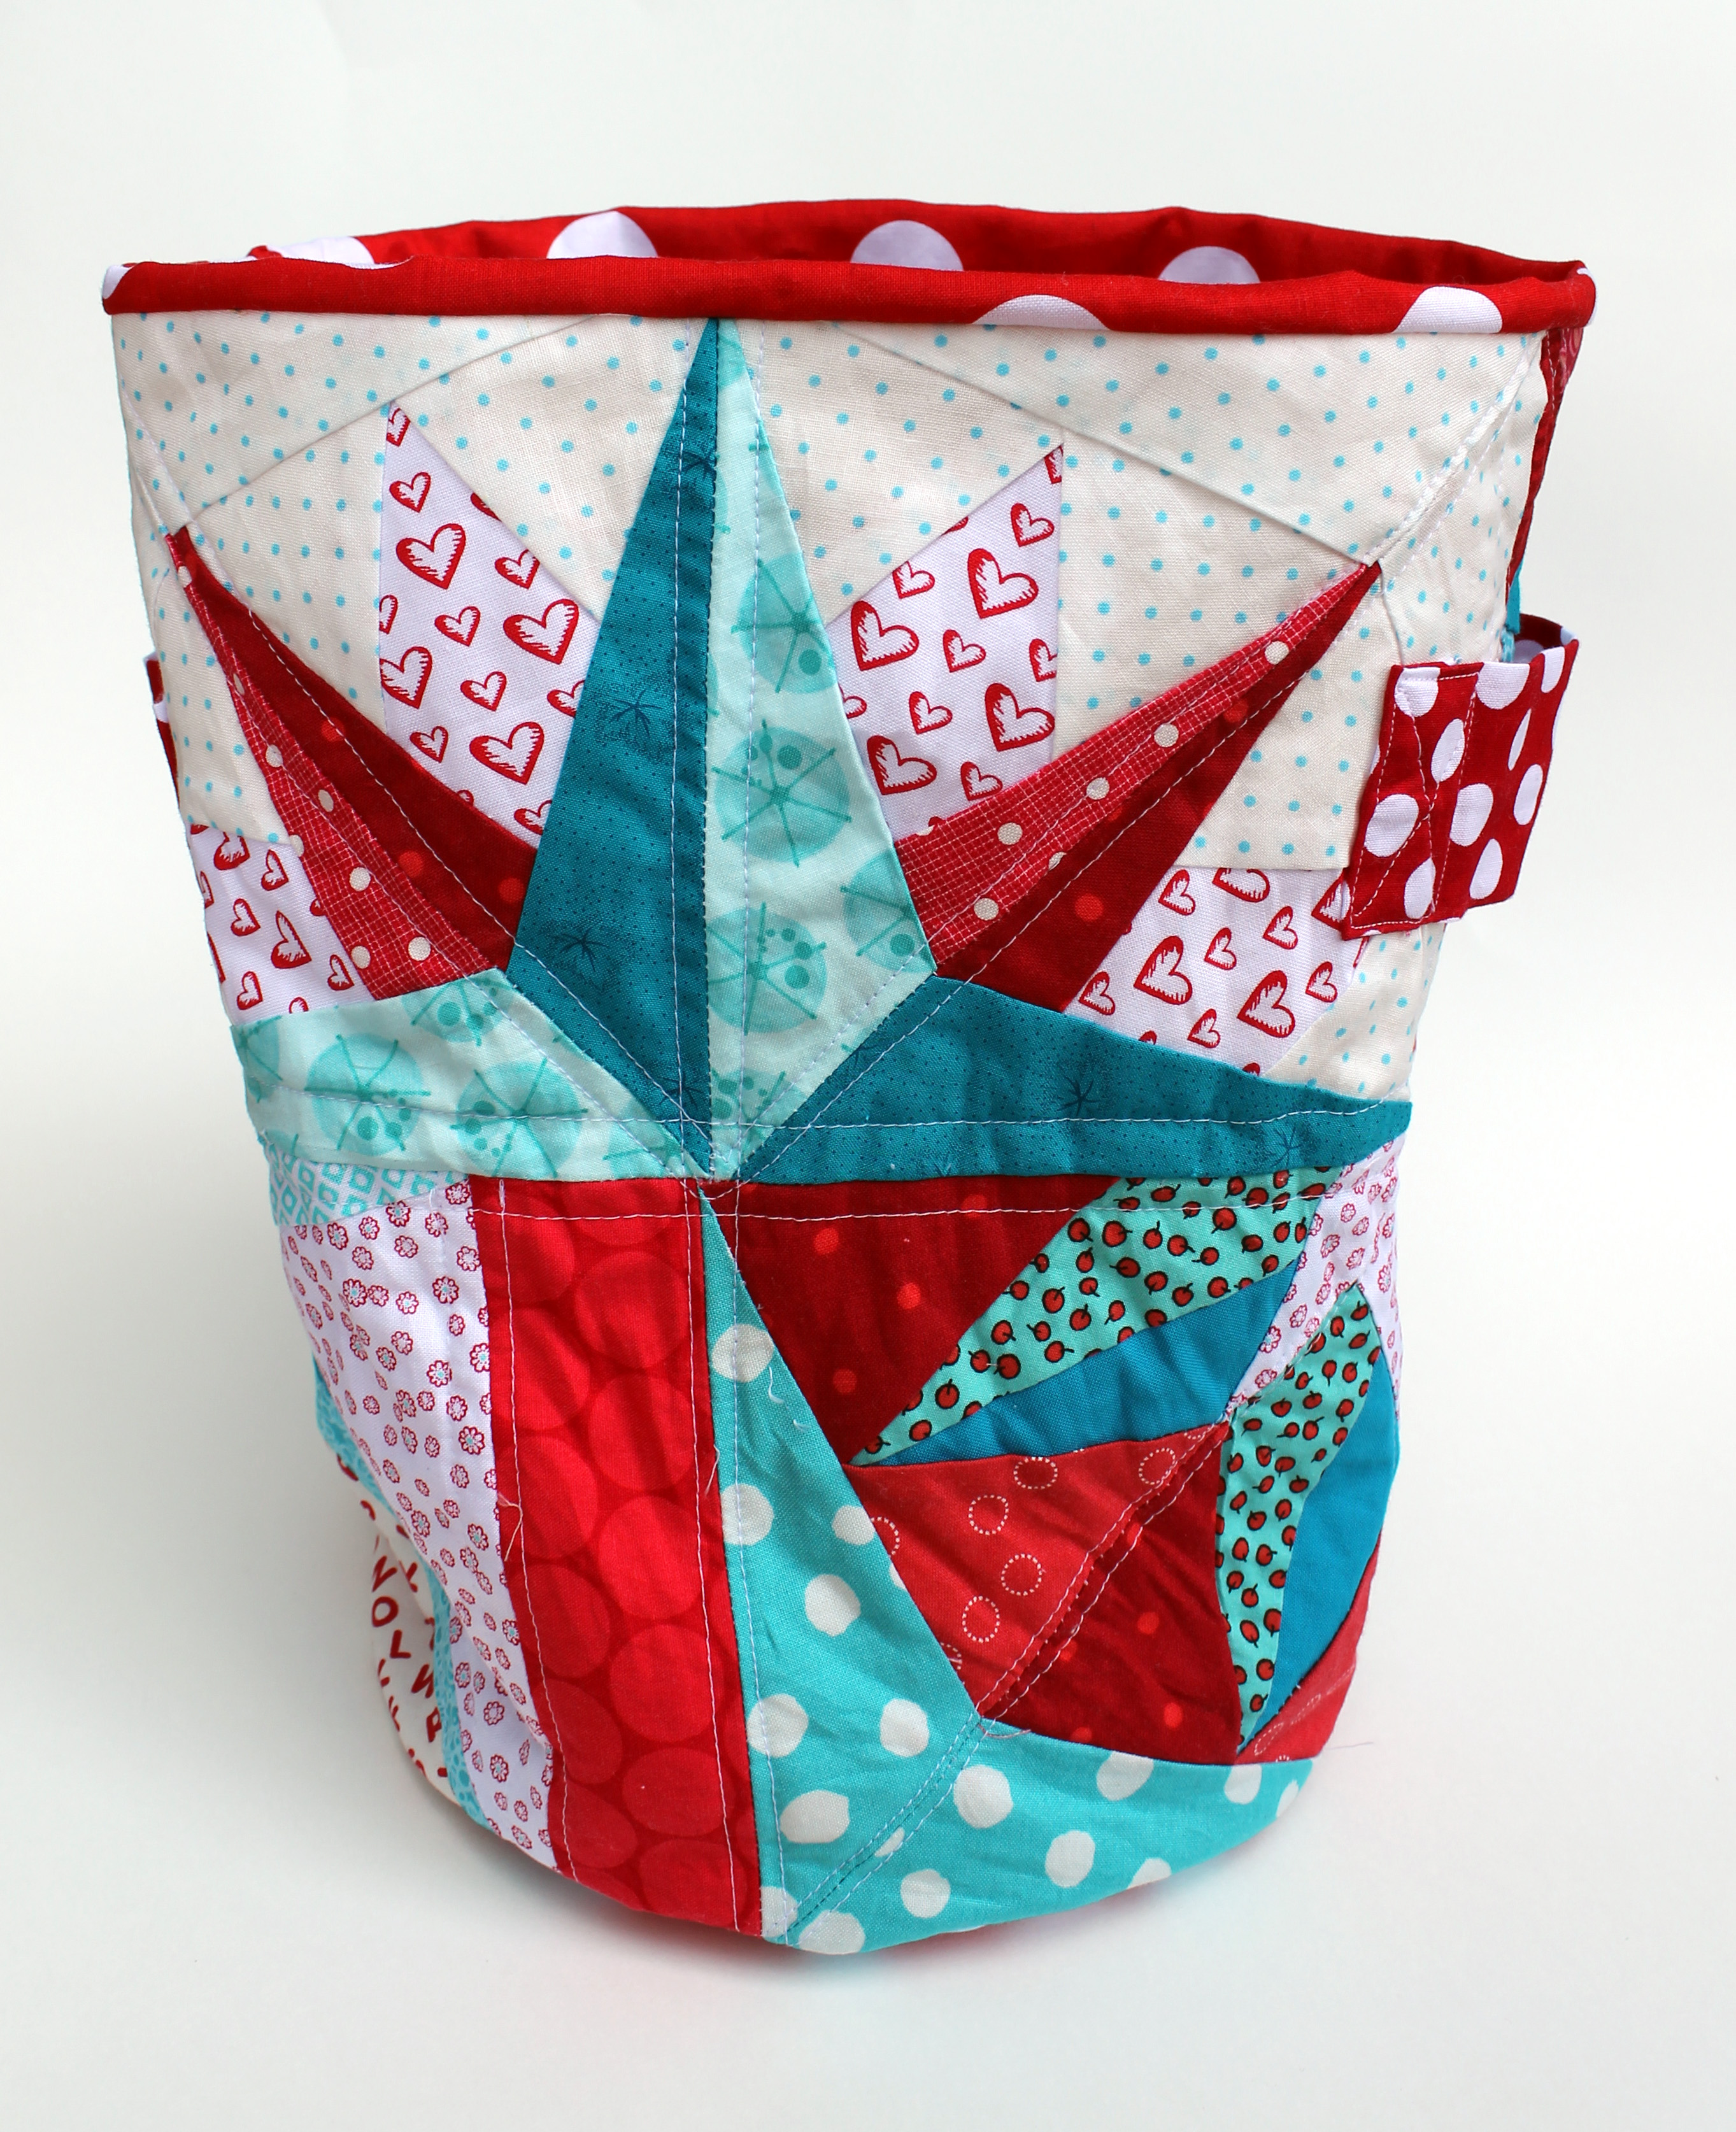
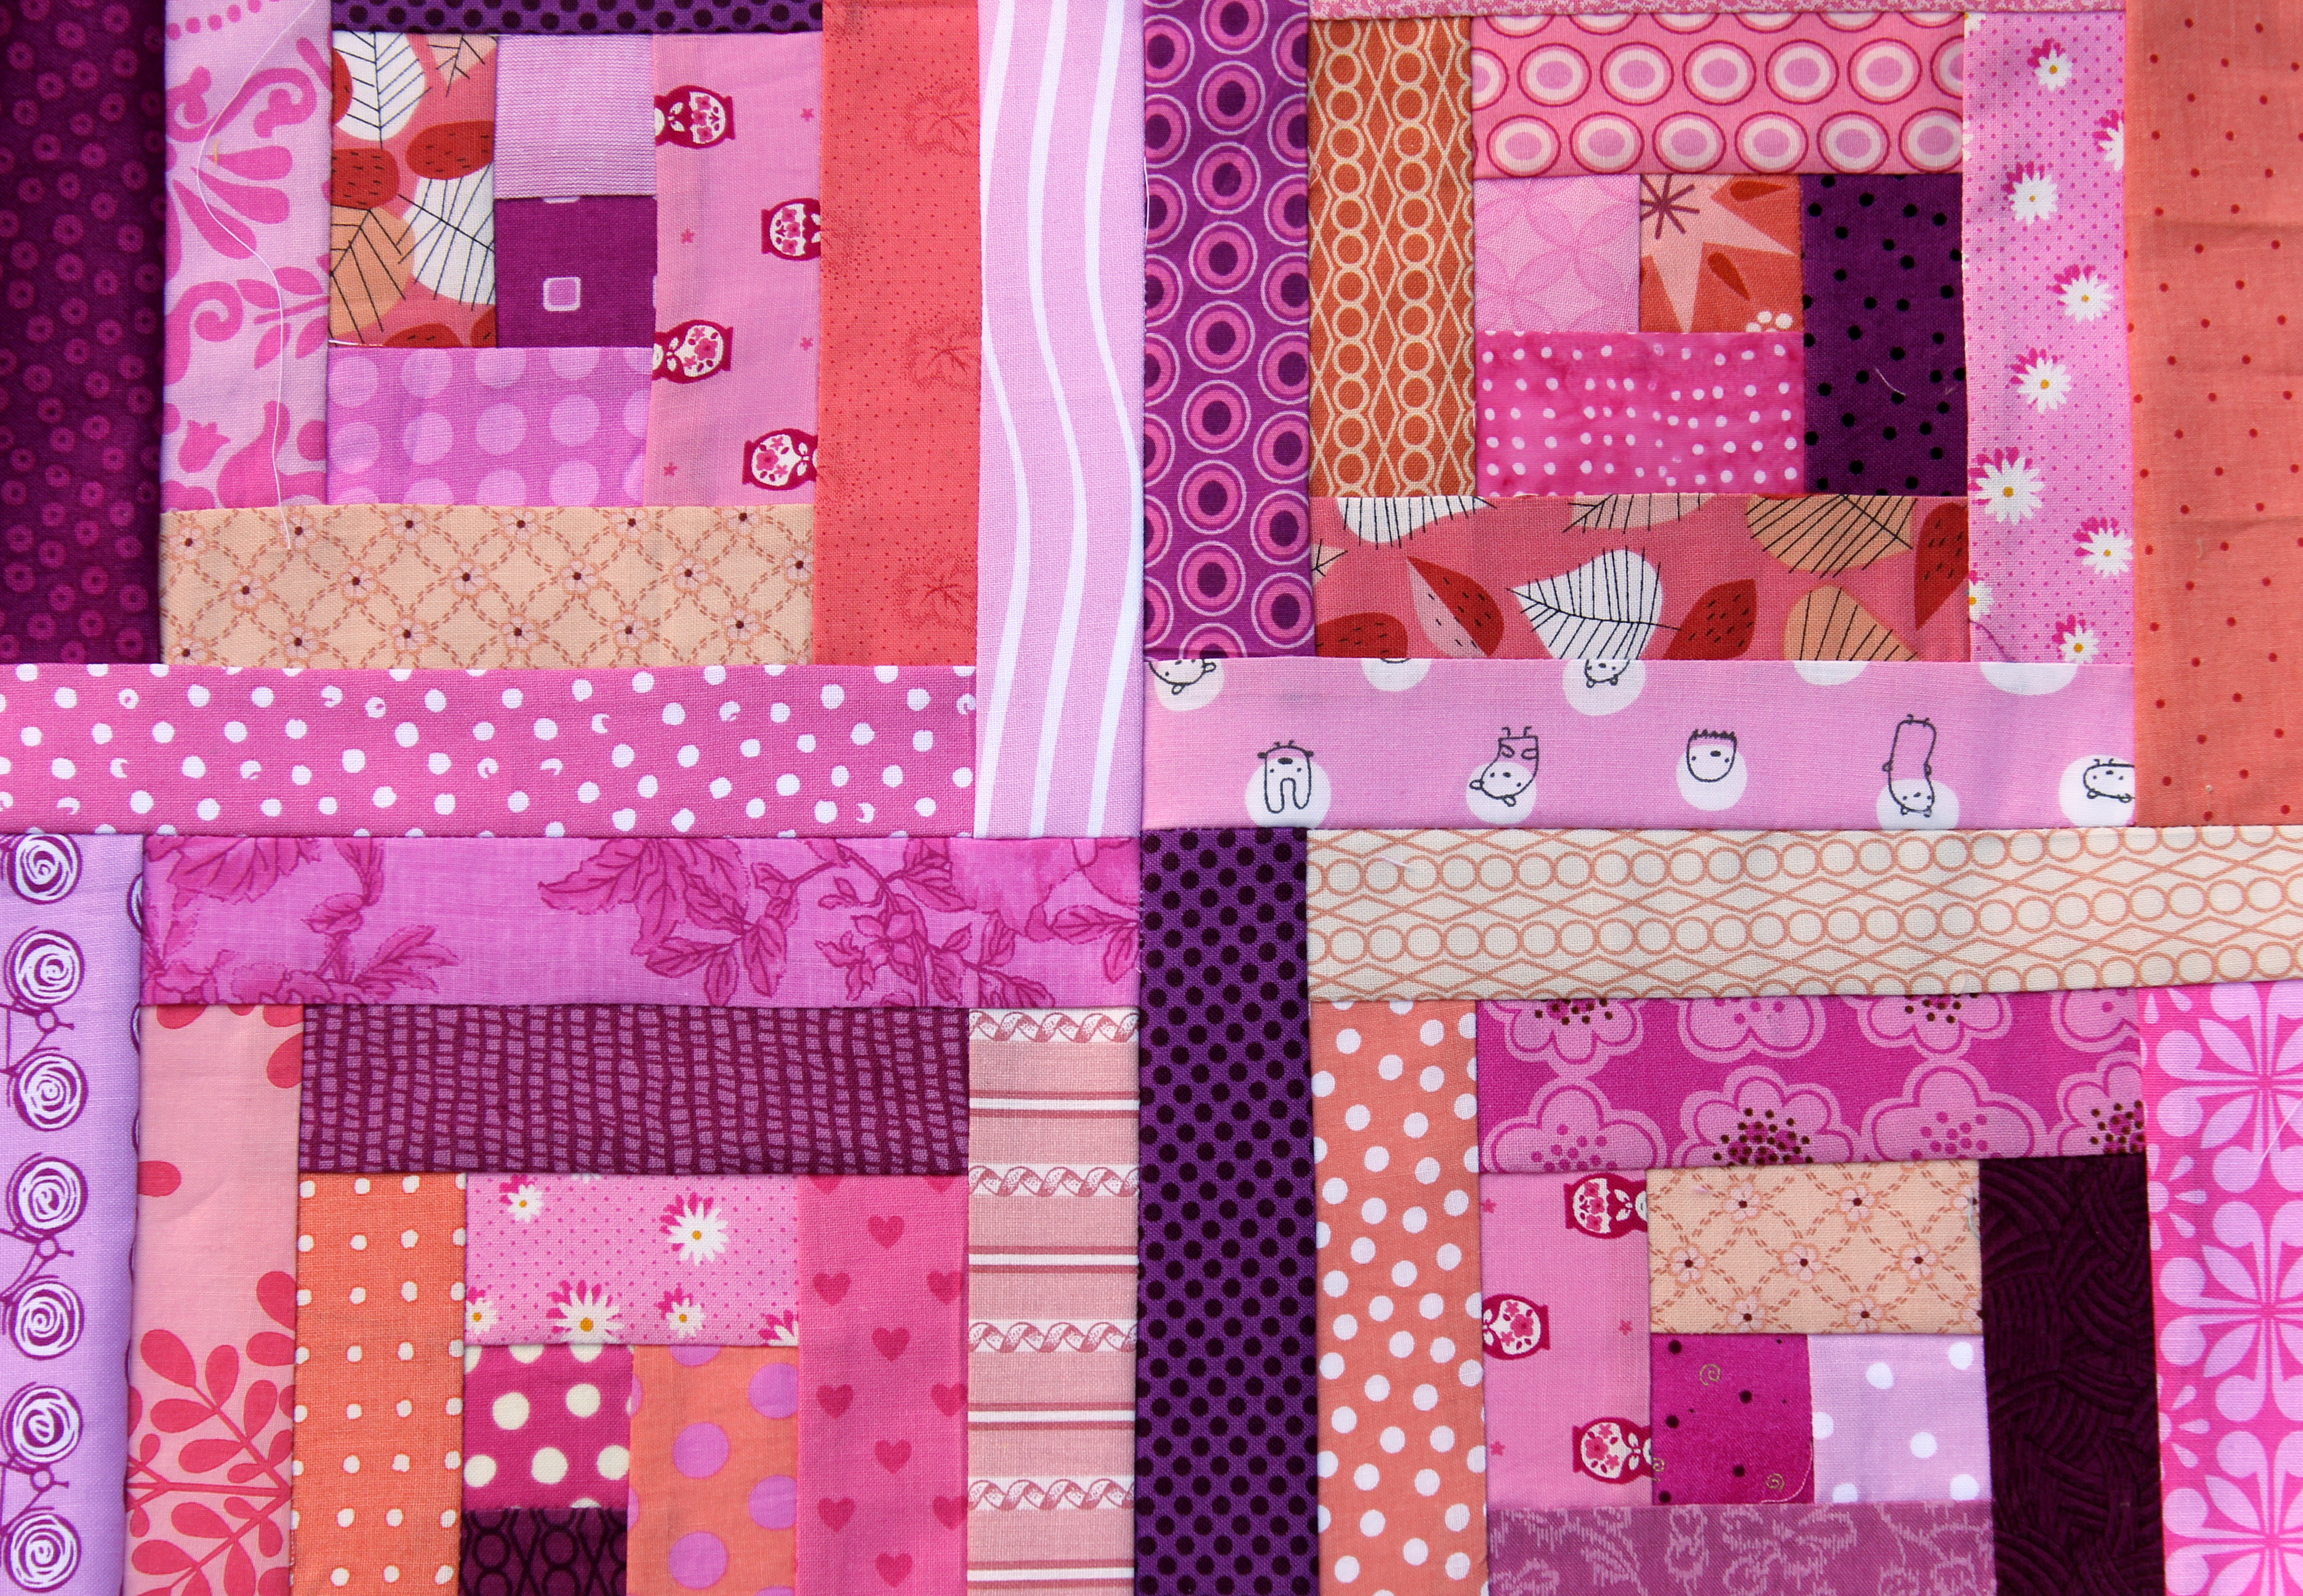
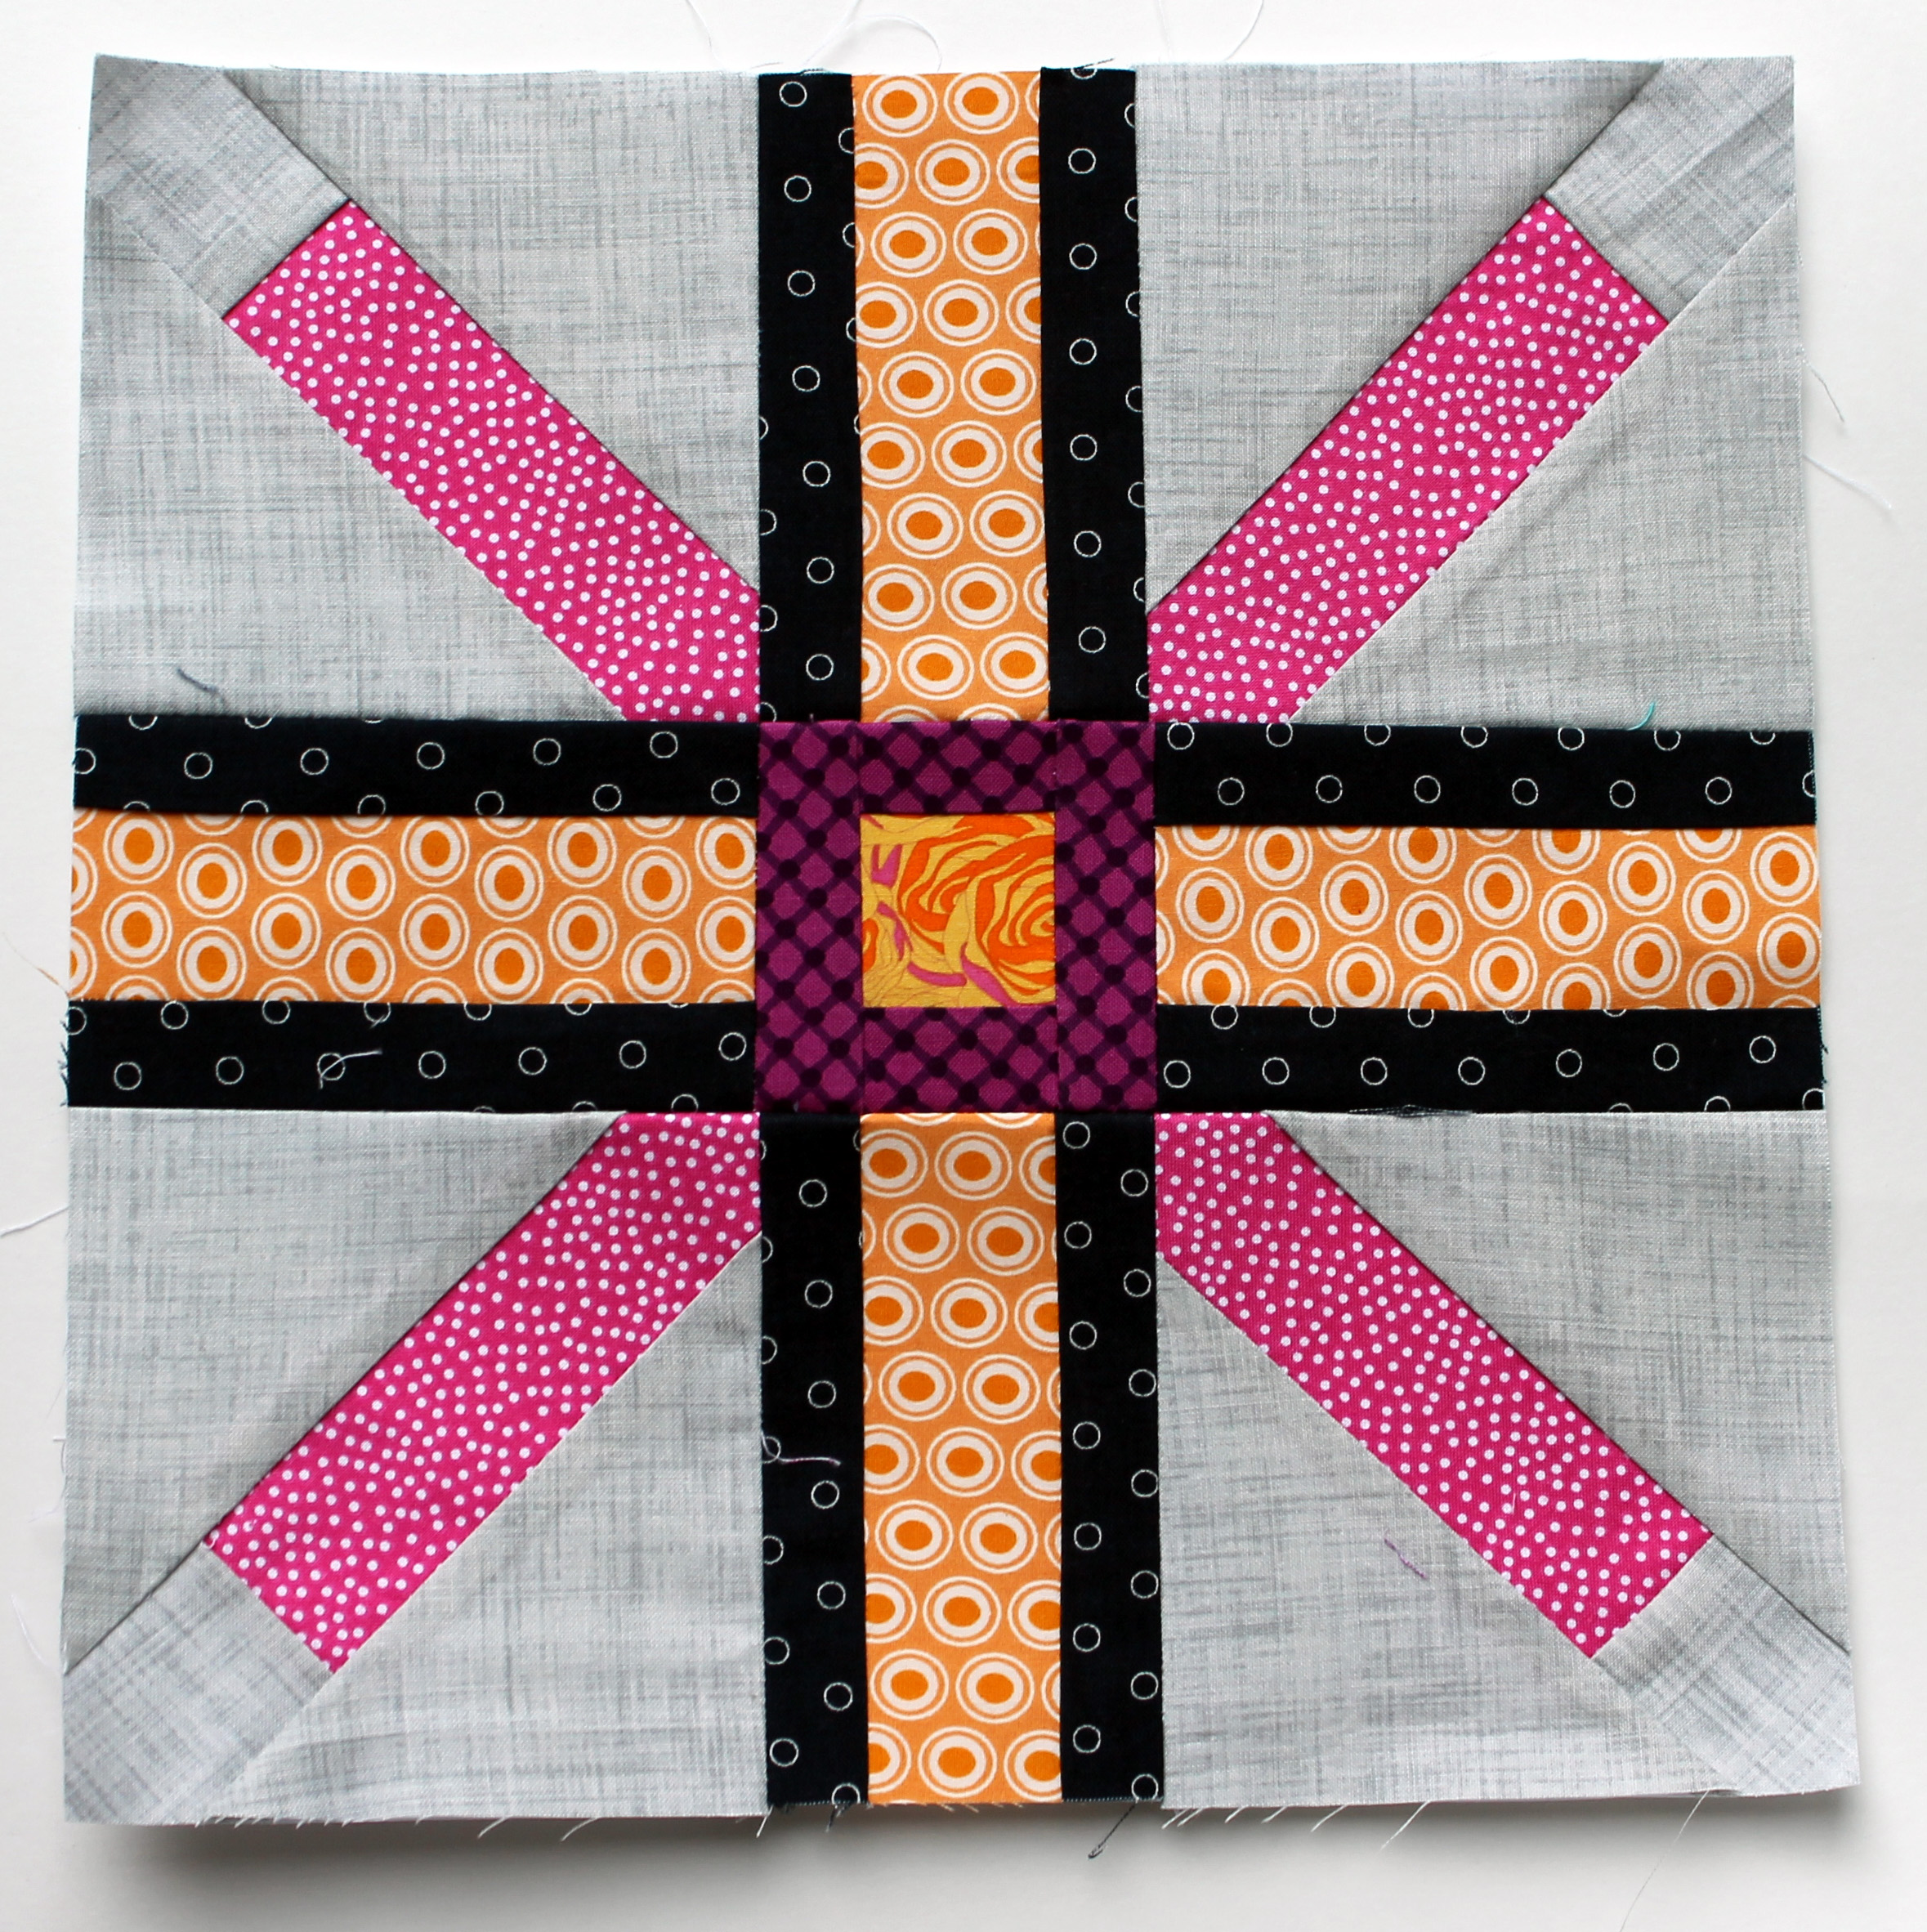
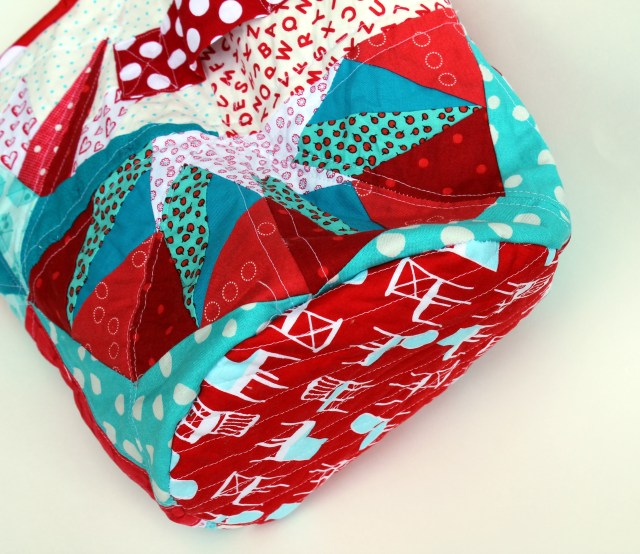
Step one.. I selected some unused blocks to use in the body of the bucket. These paper pieced stars set the colour scheme for the finished piece

paper pieced star blocks


Step two
… I made the bottom of the bucket (this step also involved spray basting my fingers together)
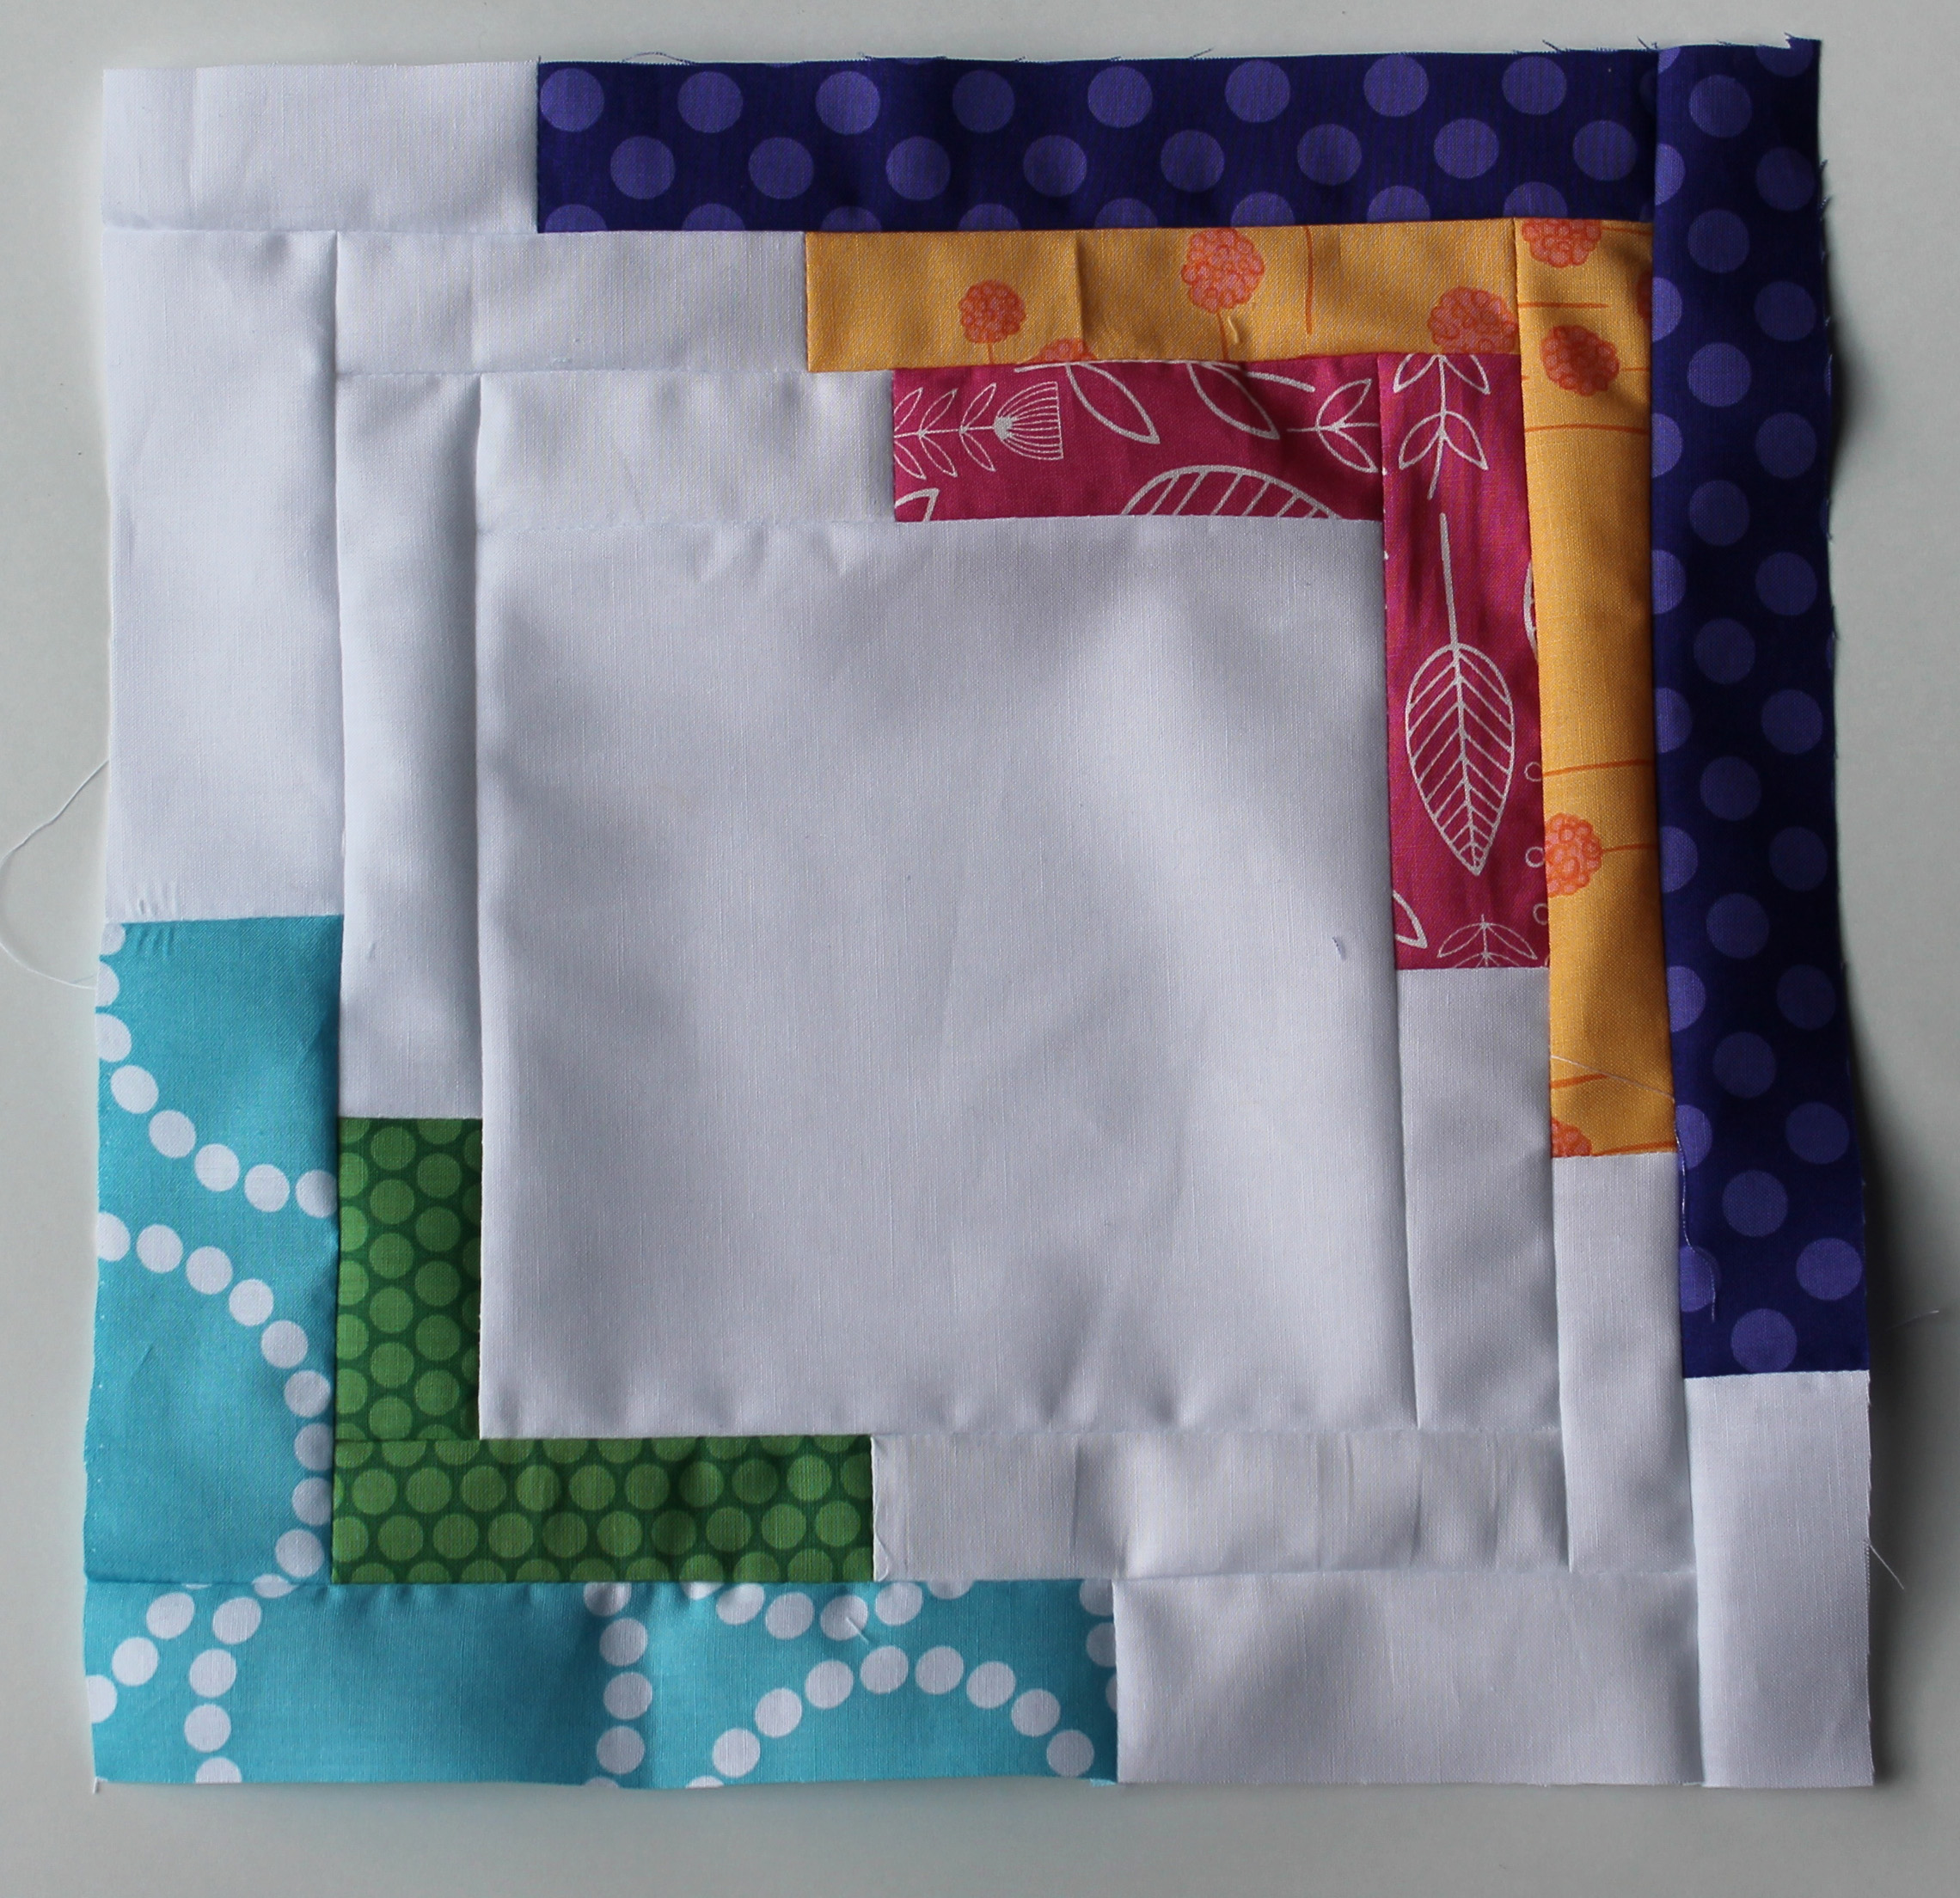
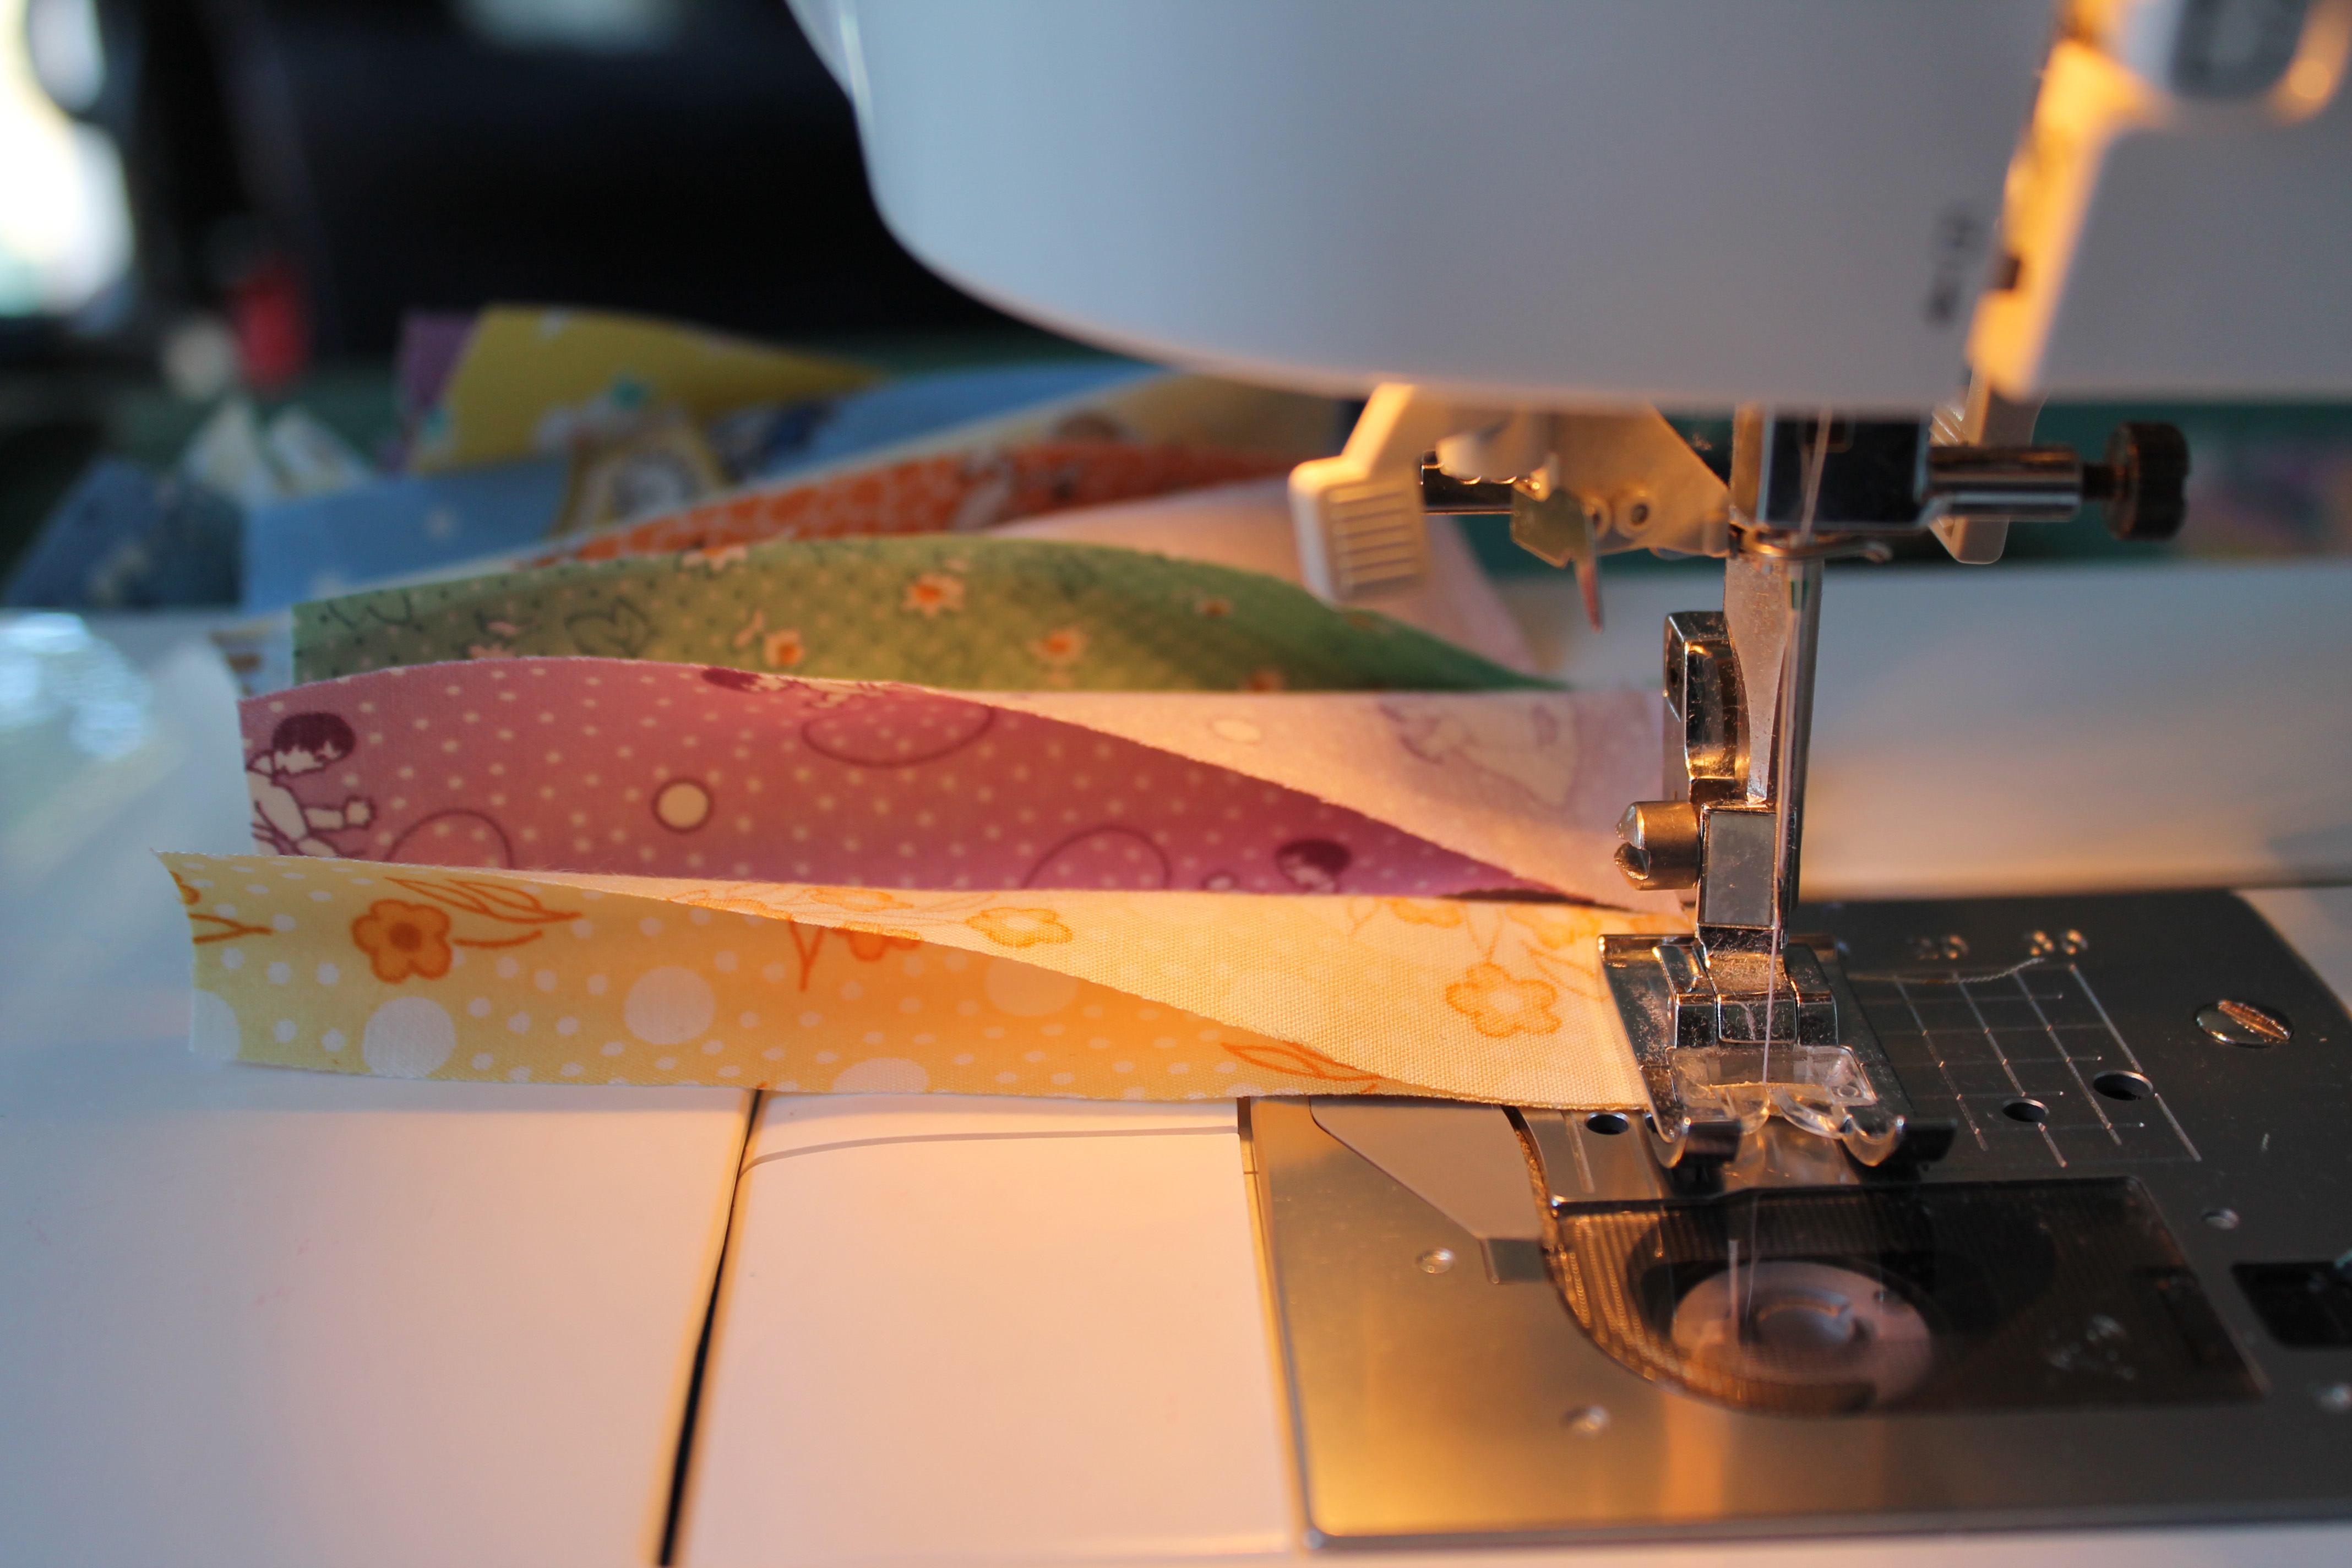
Step 1


Step three
… I did some maths (the hardest part of the whole darn process), deconstructed the blocks and made the body of the bucket.

Step 3


Step four, five and possibly six
… quilted the bucket body, then pinned the bottom piece to the body piece.

Step 3b

Which resulted in this…
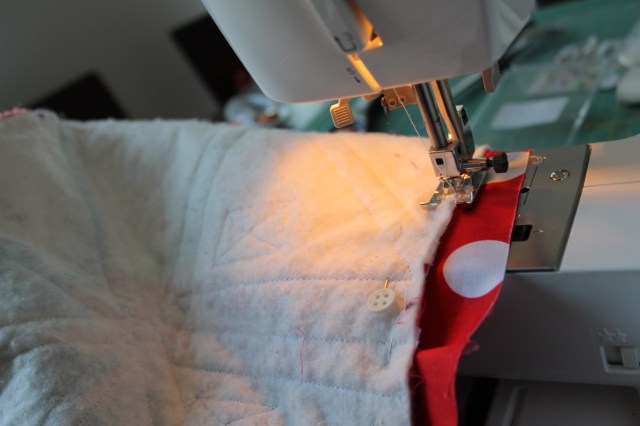
step 4


Step seven
… turned the outside piece inside out and attached handles
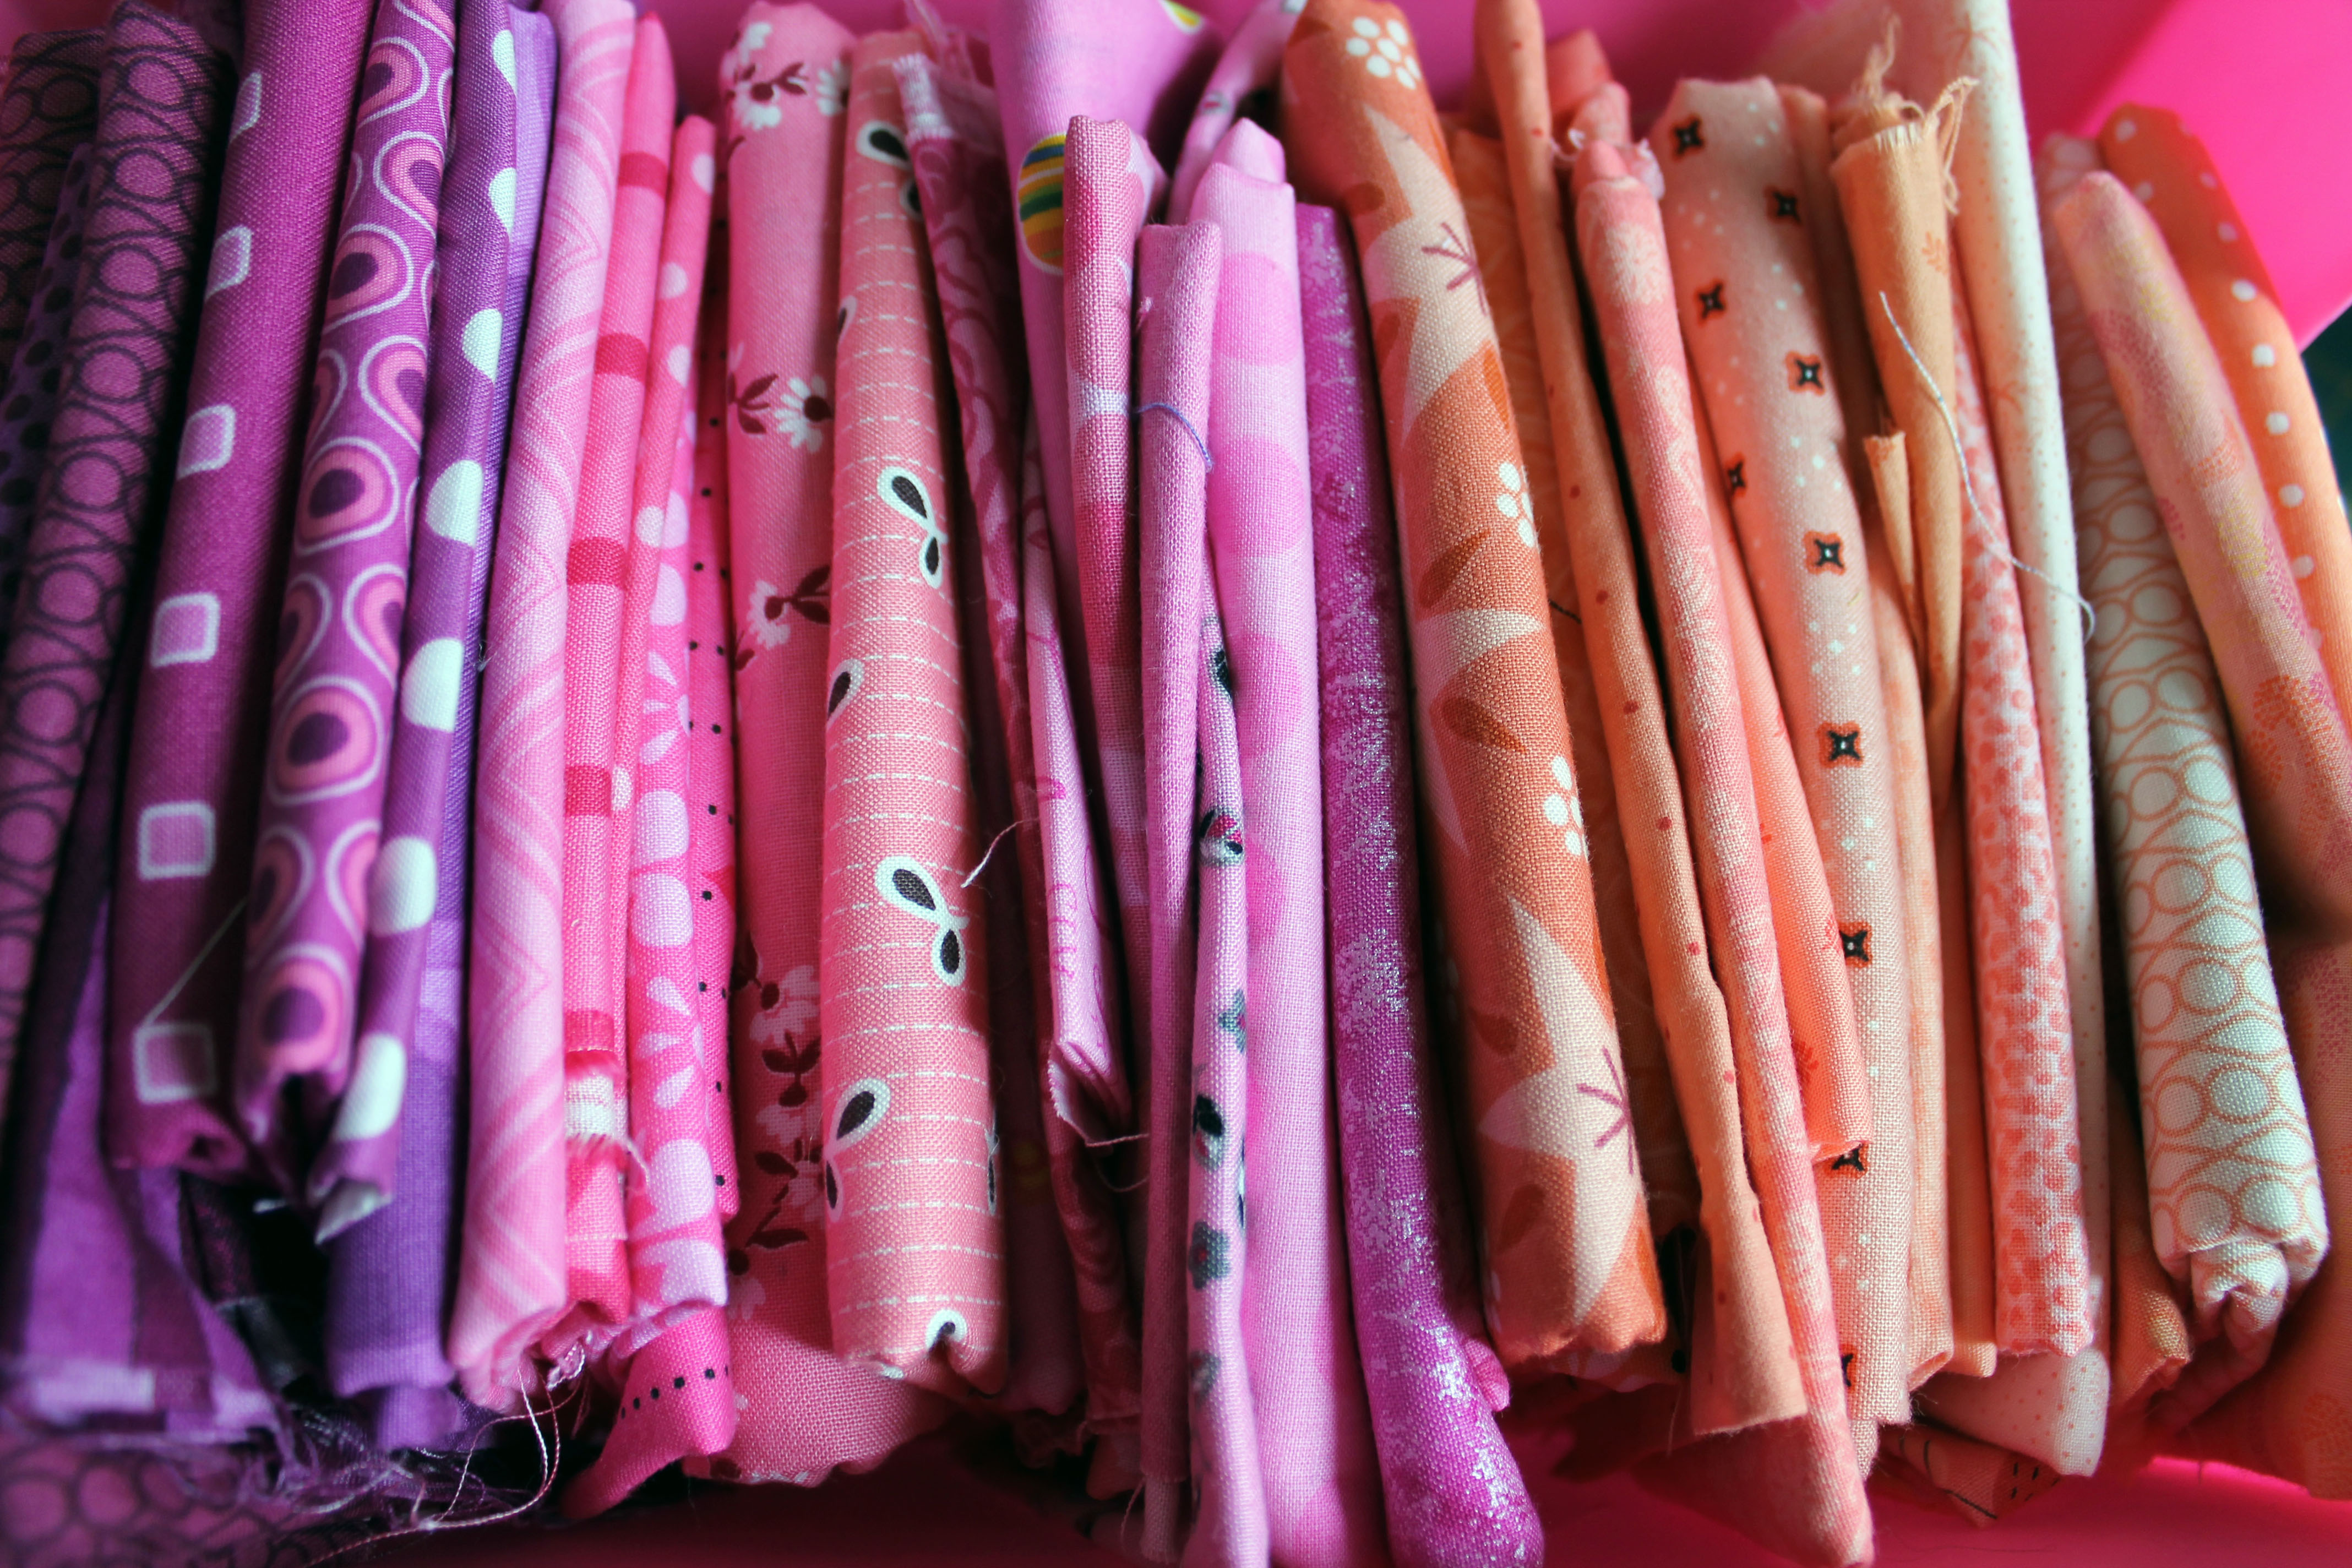
bucket handles


Steps eight to twelve
… selected lining fabric, cut bottom and side bits, sewed them together, turned them inside out and sewed them to the quilted outer piece. By this stage I was loosing the will to live, but bravely carried on.

last step


Step two hundred and six five
… nearly finished… I pulled the quilted part through a small 2 inch whole left in the lining part to reveal this…

Finsihed quilted bucket

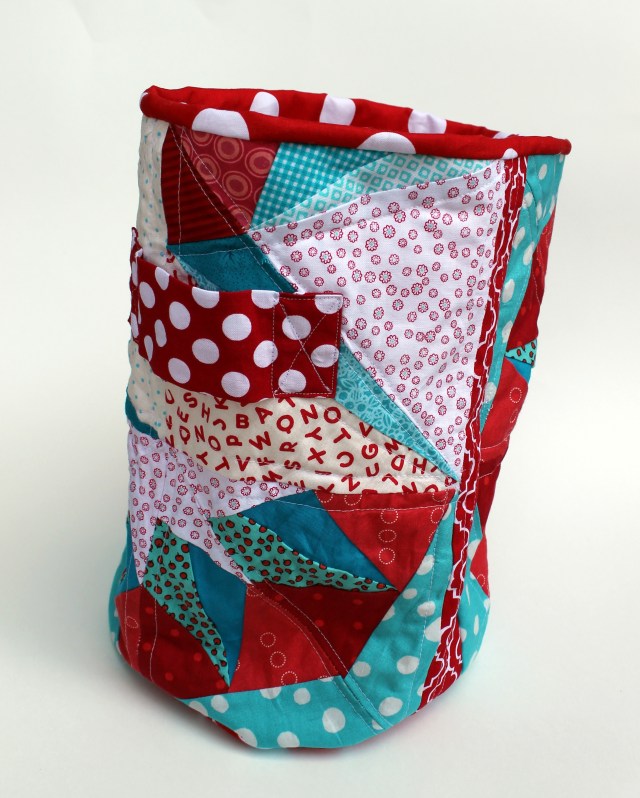
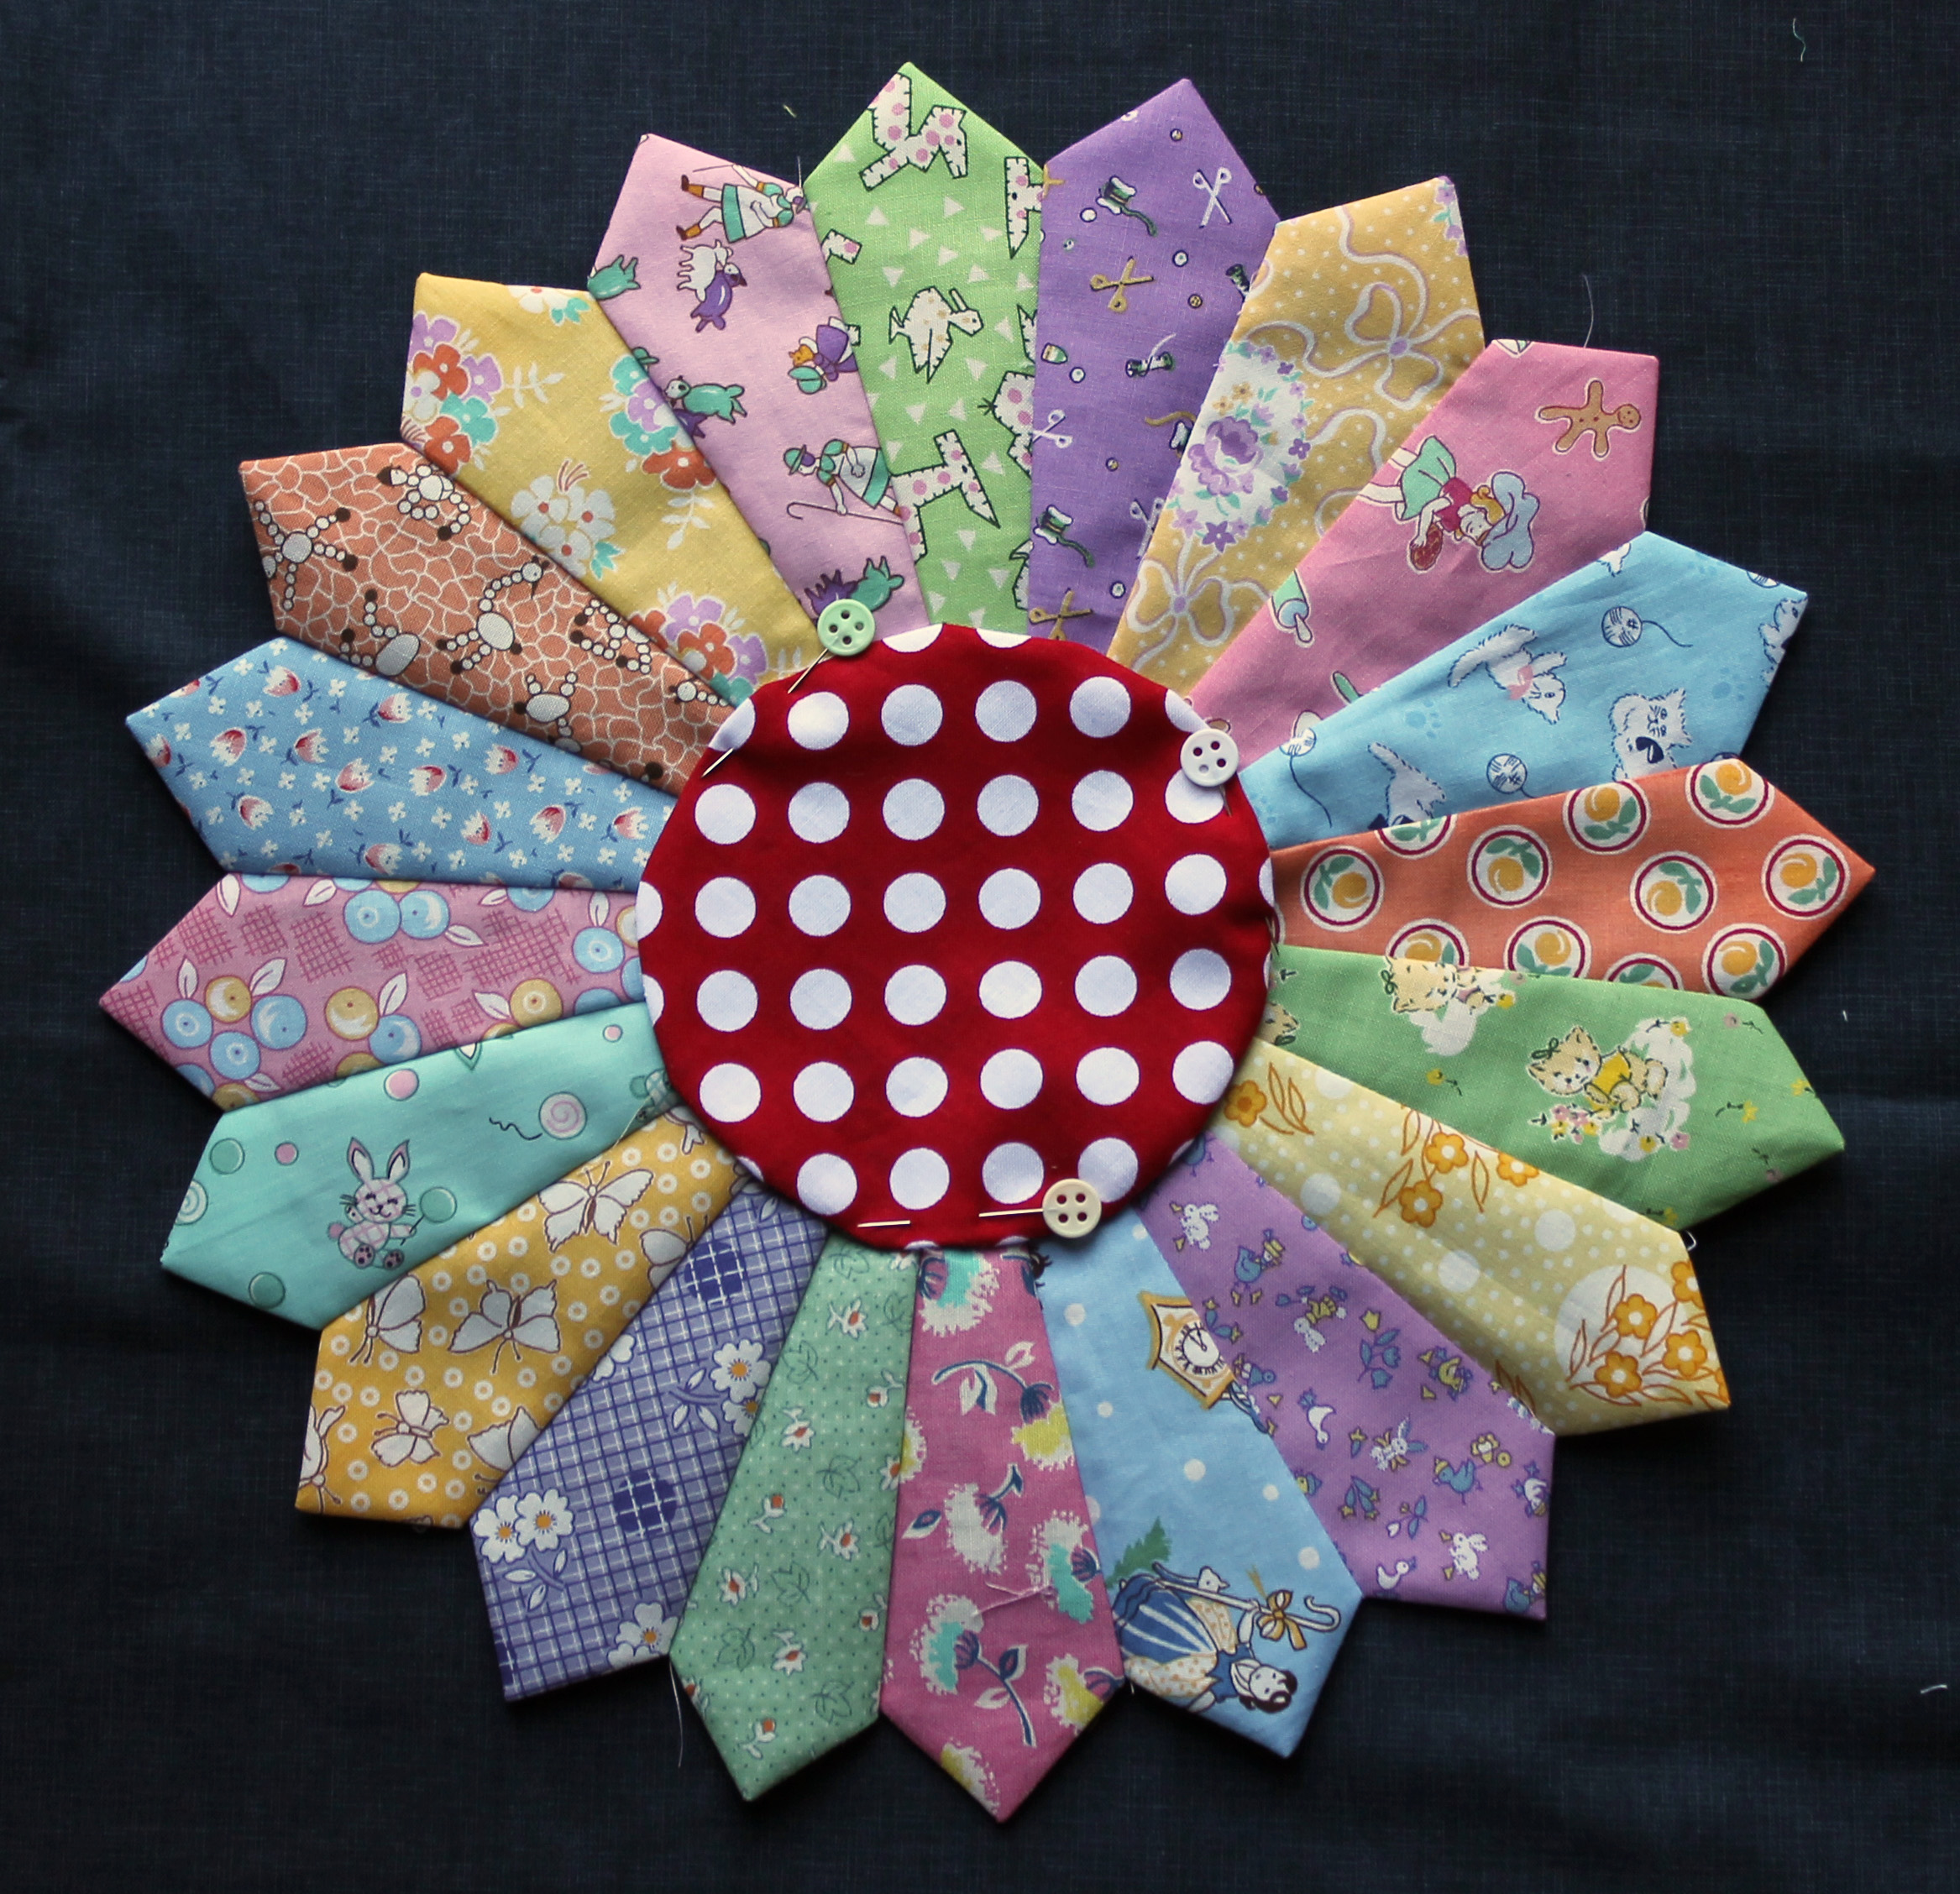
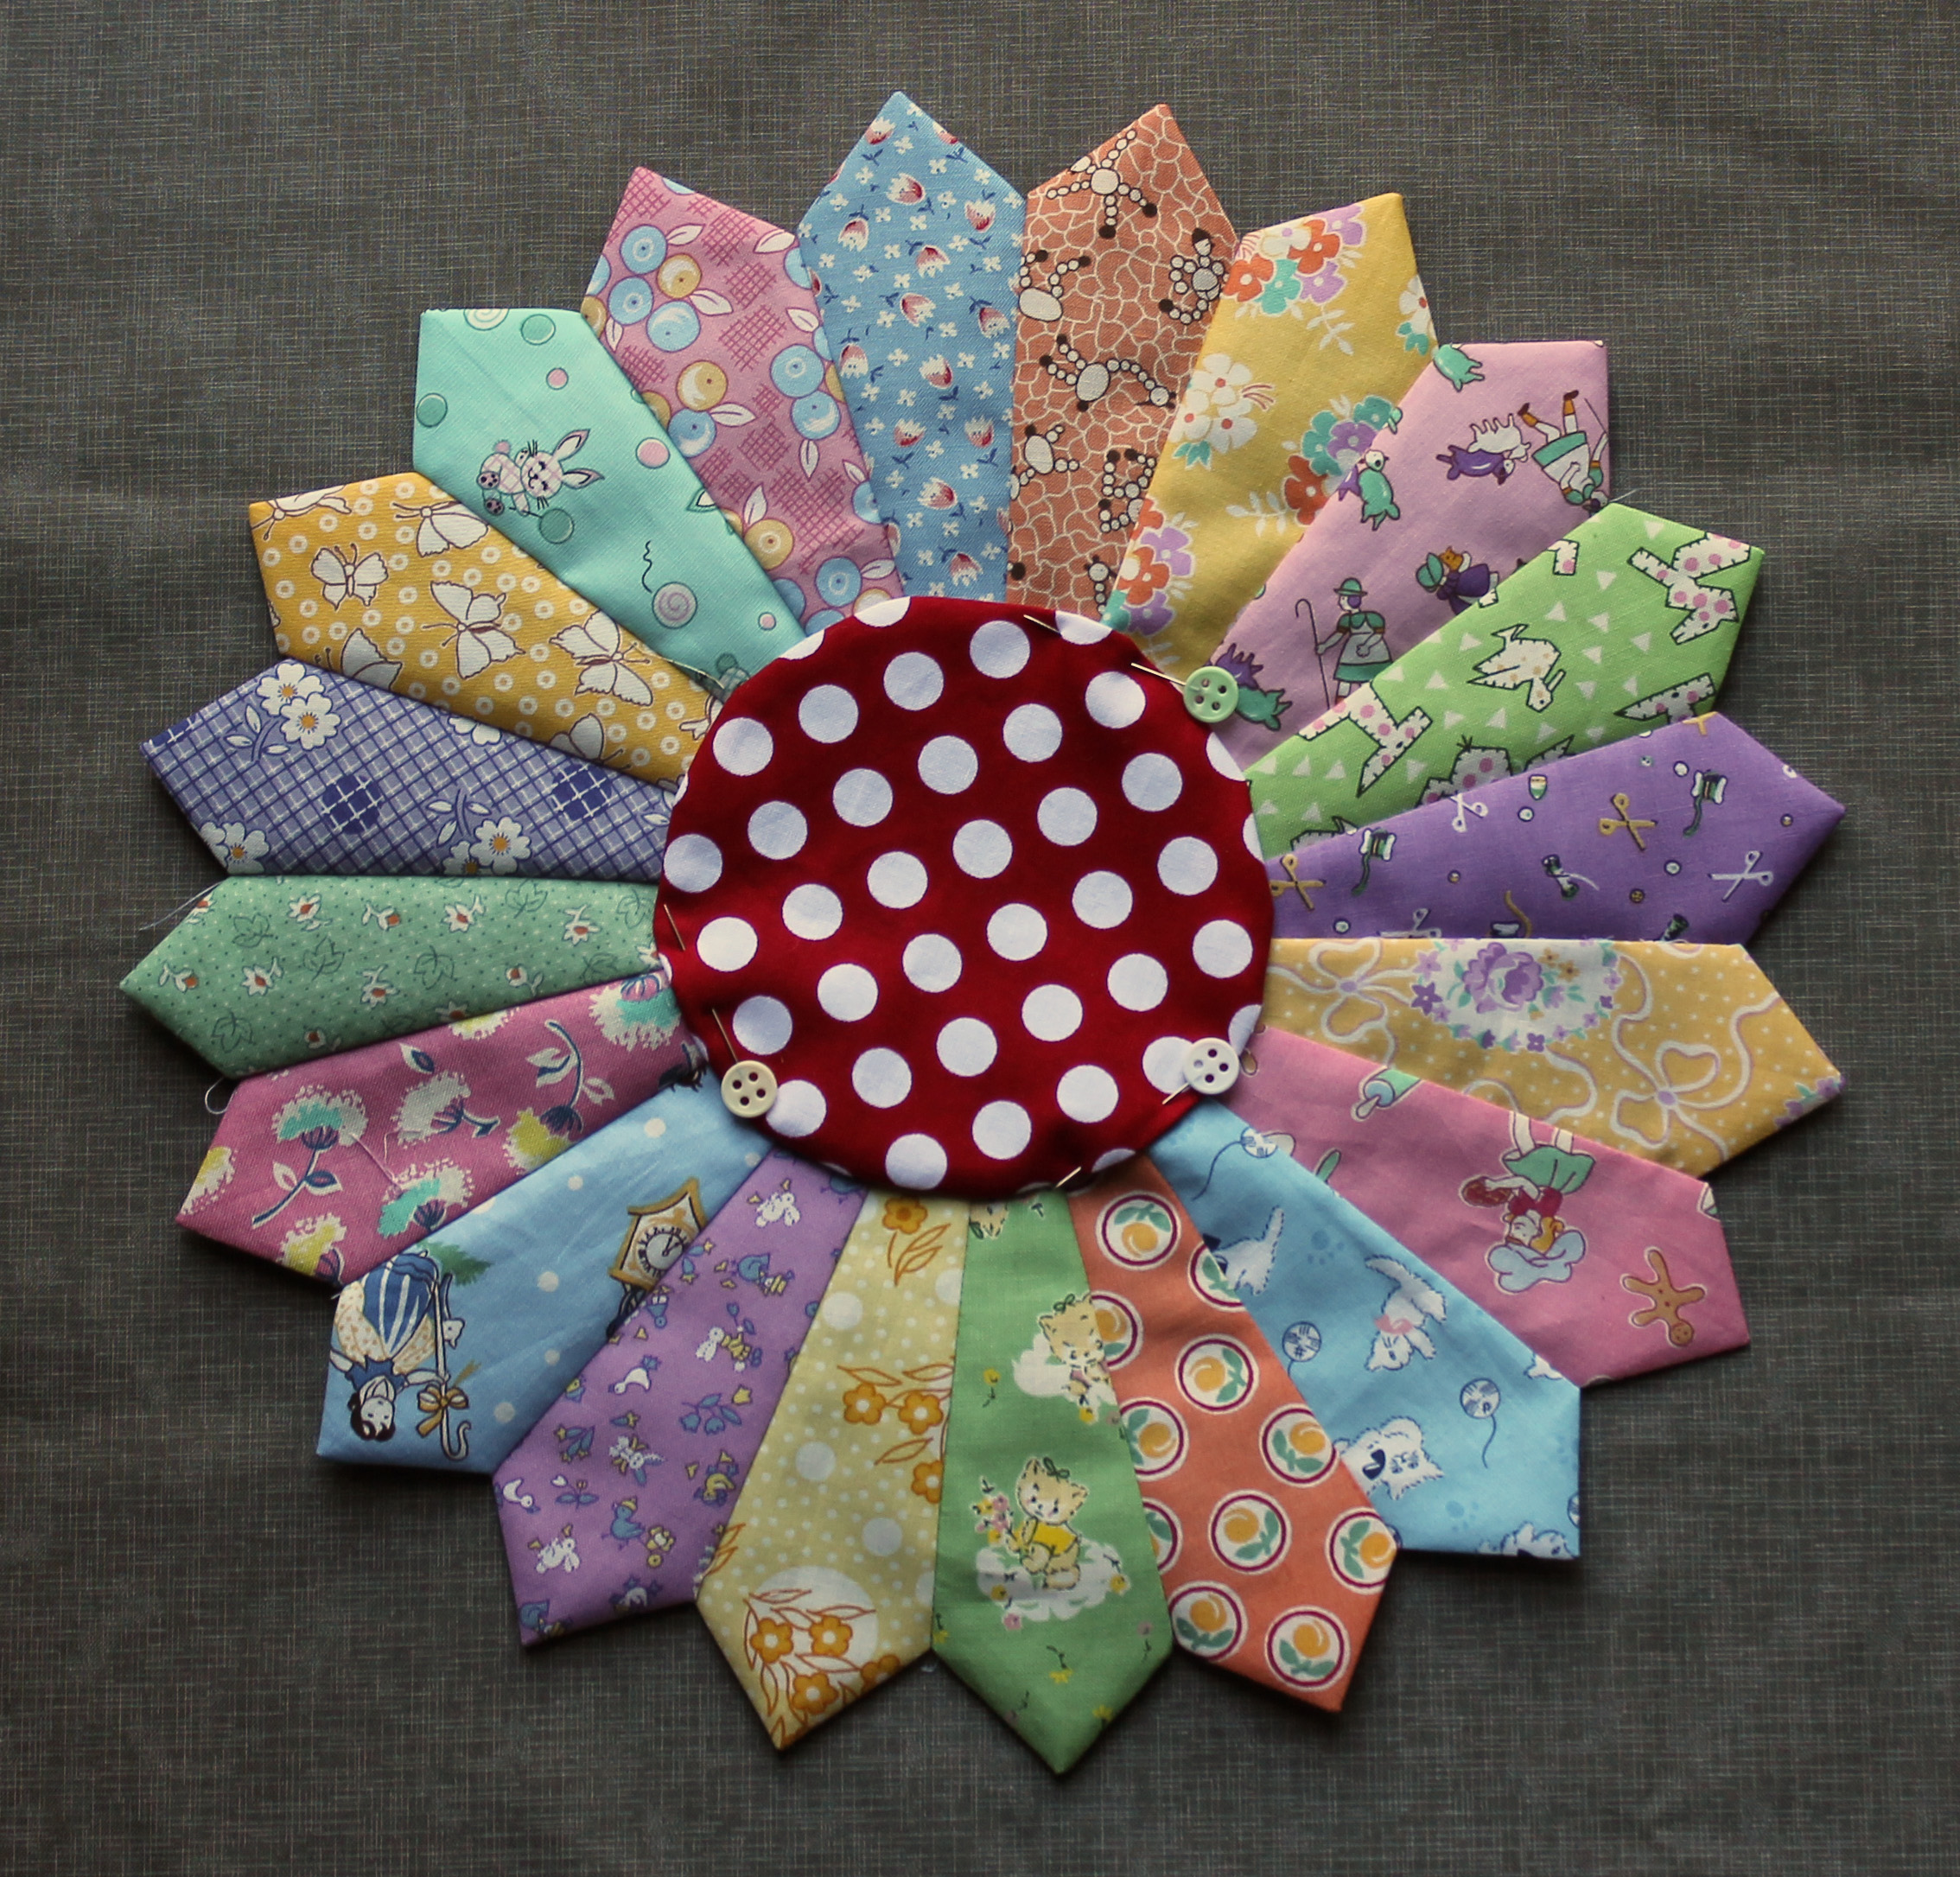
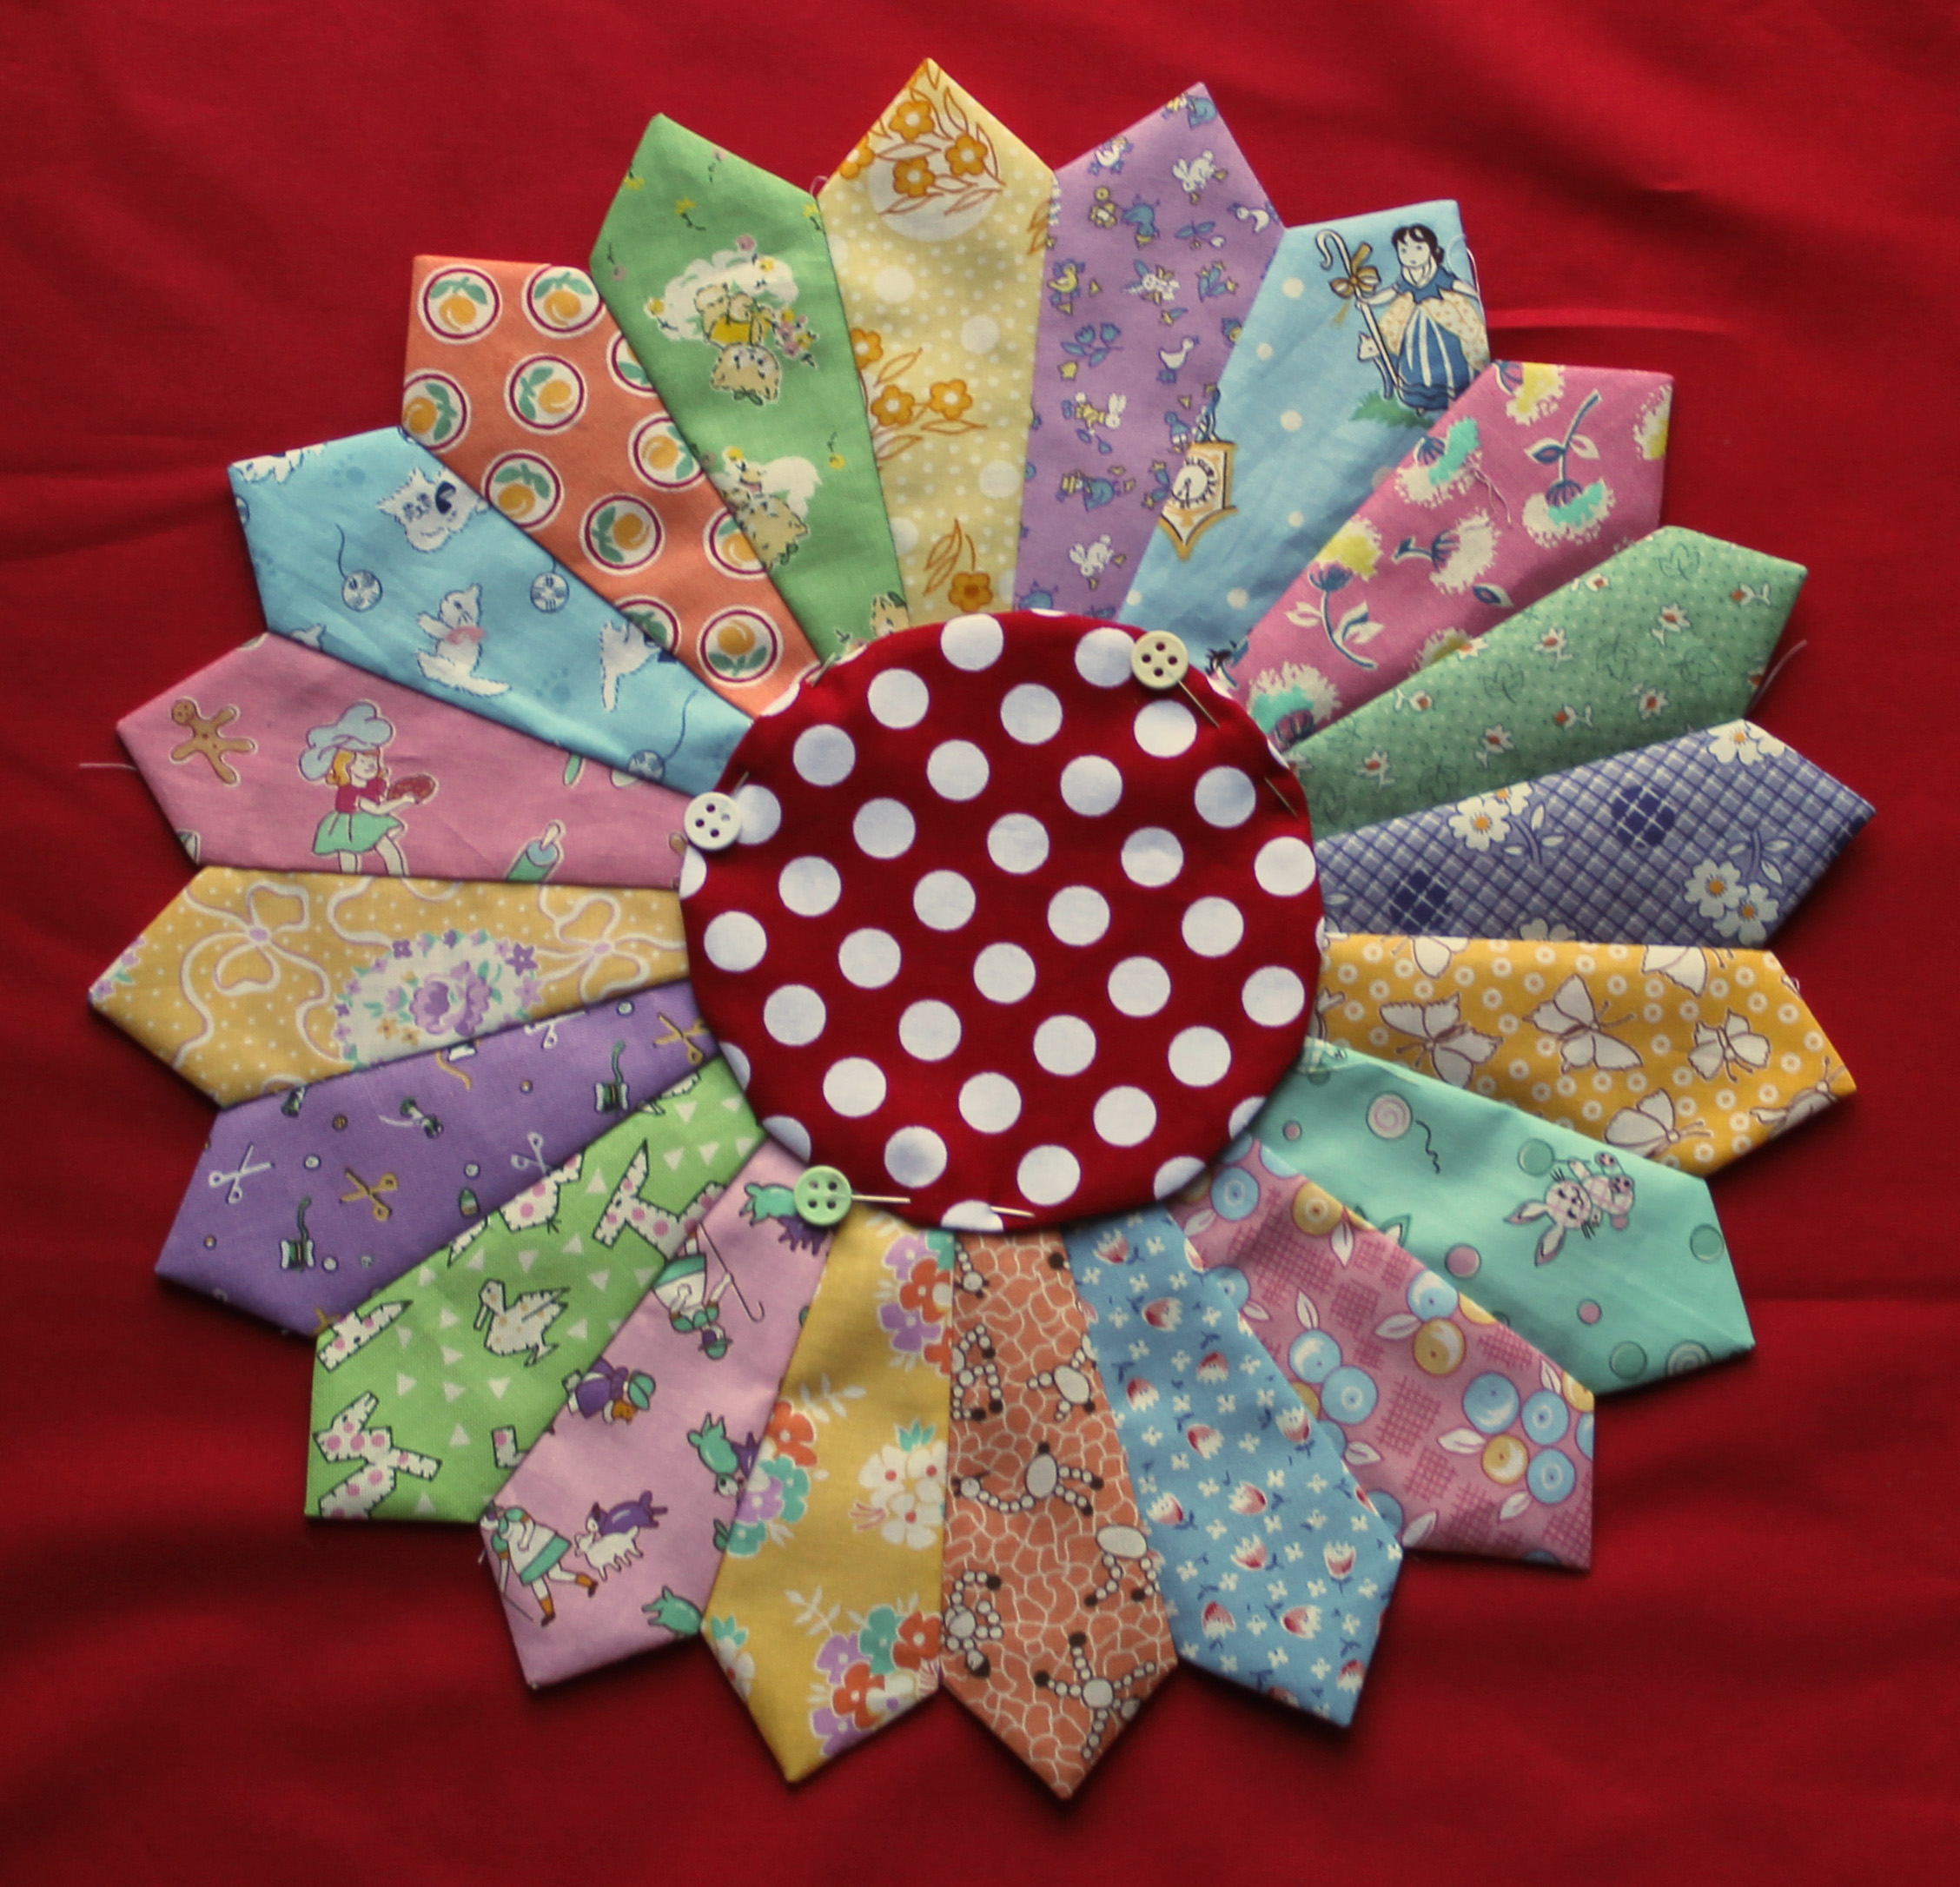
My finished bucket. The sides of the bucket are 12 inches and the base is 8 3/4 inches. I think if I was to make it again I would make the sides a little smaller but other than that I am pleased with the finished product. So pleased I took lots and lots of photos…

finished bucket 5

finished bucket 2

Really lots and lots…

details 2

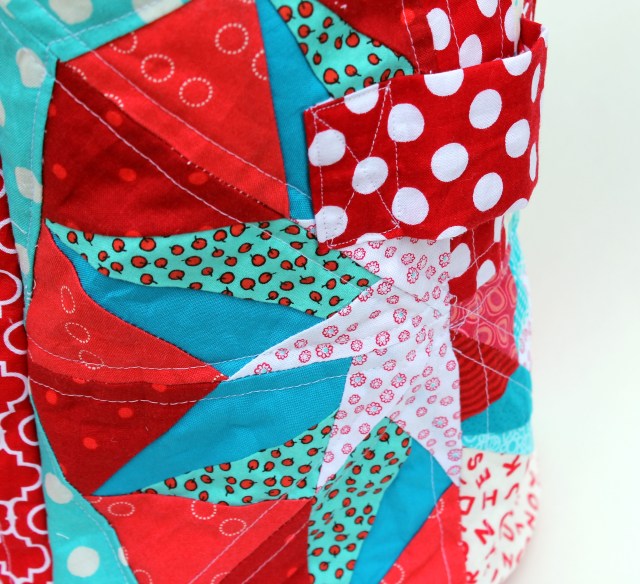
From lots of different angles….

finihsed bucket 4

bottom of bucket

Just to document the achievement of having made a quilty thing that was not a quilt…

Revisiting blush – WIP Wednesday

A month or so ago I pulled this stash of fabrics that I thought was lovely, soft and pretty (original post here).

fabric for blush block

The block I originally made with this fabric pull did not excite me as much as I would have liked.  Fast forward a month, and after working on  a collection of graphic, bright quilts, I wanted something different.  This is where I ended up….

scrappy log cabin block

I am loving how this quilt is coming together.  It is fabulously easy, fabulously scrappy and fabulously girly.

modern scrap log cabin block

It is being made almost completely from my scrap bin, and I have only had to cut some of the longer strips so far.   I have not been stressing at all about choosing the fabrics – I have full embraced just going with the first strip of fabric that I pull out of my pile.  It is very liberating.

blush log cabin detail

There is an “I Spy” element to these blocks which will make for a great baby/kids quilt.  I want to finish this one in time for SwimBikeSew’s 100 Quilts for Kids drive which started this week.

Testing fun…. wip Wednesday

I am still at go slow pace at the moment, only able to do small stints at the sewing machine.  Despite the frustrating lack of mobility,  I have managed to get some fun things done.

This week I tested a pattern for Michelle at Factum-of-Arts.  The pattern was a paper piecing pattern called Royal X-Plus and it was fun to try out and give feedback and suggestions.   Here is my finished  11 x 11 block…finished paper piecing block

This week has also seen my Star Cross blocks from last week grow in number.    I am working low tech for this one, using coloured pencils to pre-mark the patterns.  If you missed last week’s post you can find it and the free paper pieced pattern here.

cross block wip

And last, but not at all least, my hexagon quilt has been slowly growing.

modern hexagon flower quilt wip

I am now heading back to the couch to rest, watch more Toddlers and Tiara’s and  add a few more hexie flowers to my quilt.