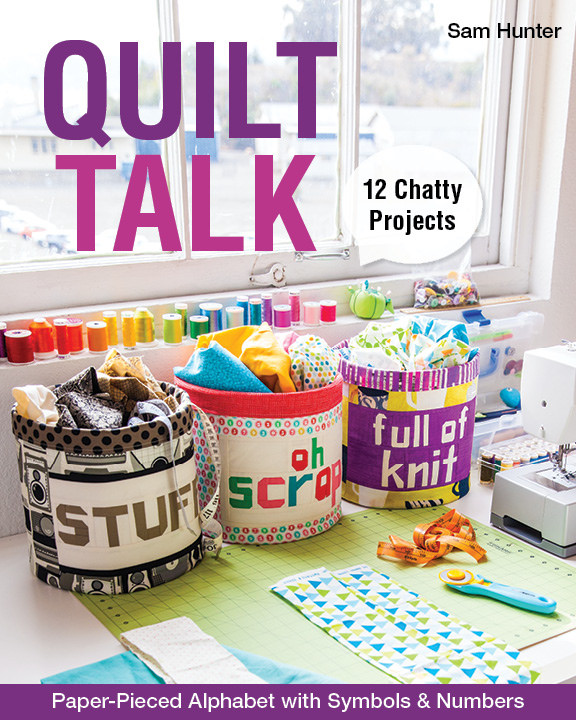
I have been waiting for this day for what seems like ages…. today, this day, when I get to take part in the Blog Hop for my friend Sam Hunter’s new book, Quilt Talk.
I first heard of Sam through her “We Are Sew Worth It” campaign, which was eye opening for me. Sam started a serious conversation about the value of our work, a quilter’s work, as artists, which continues to resonate with me.
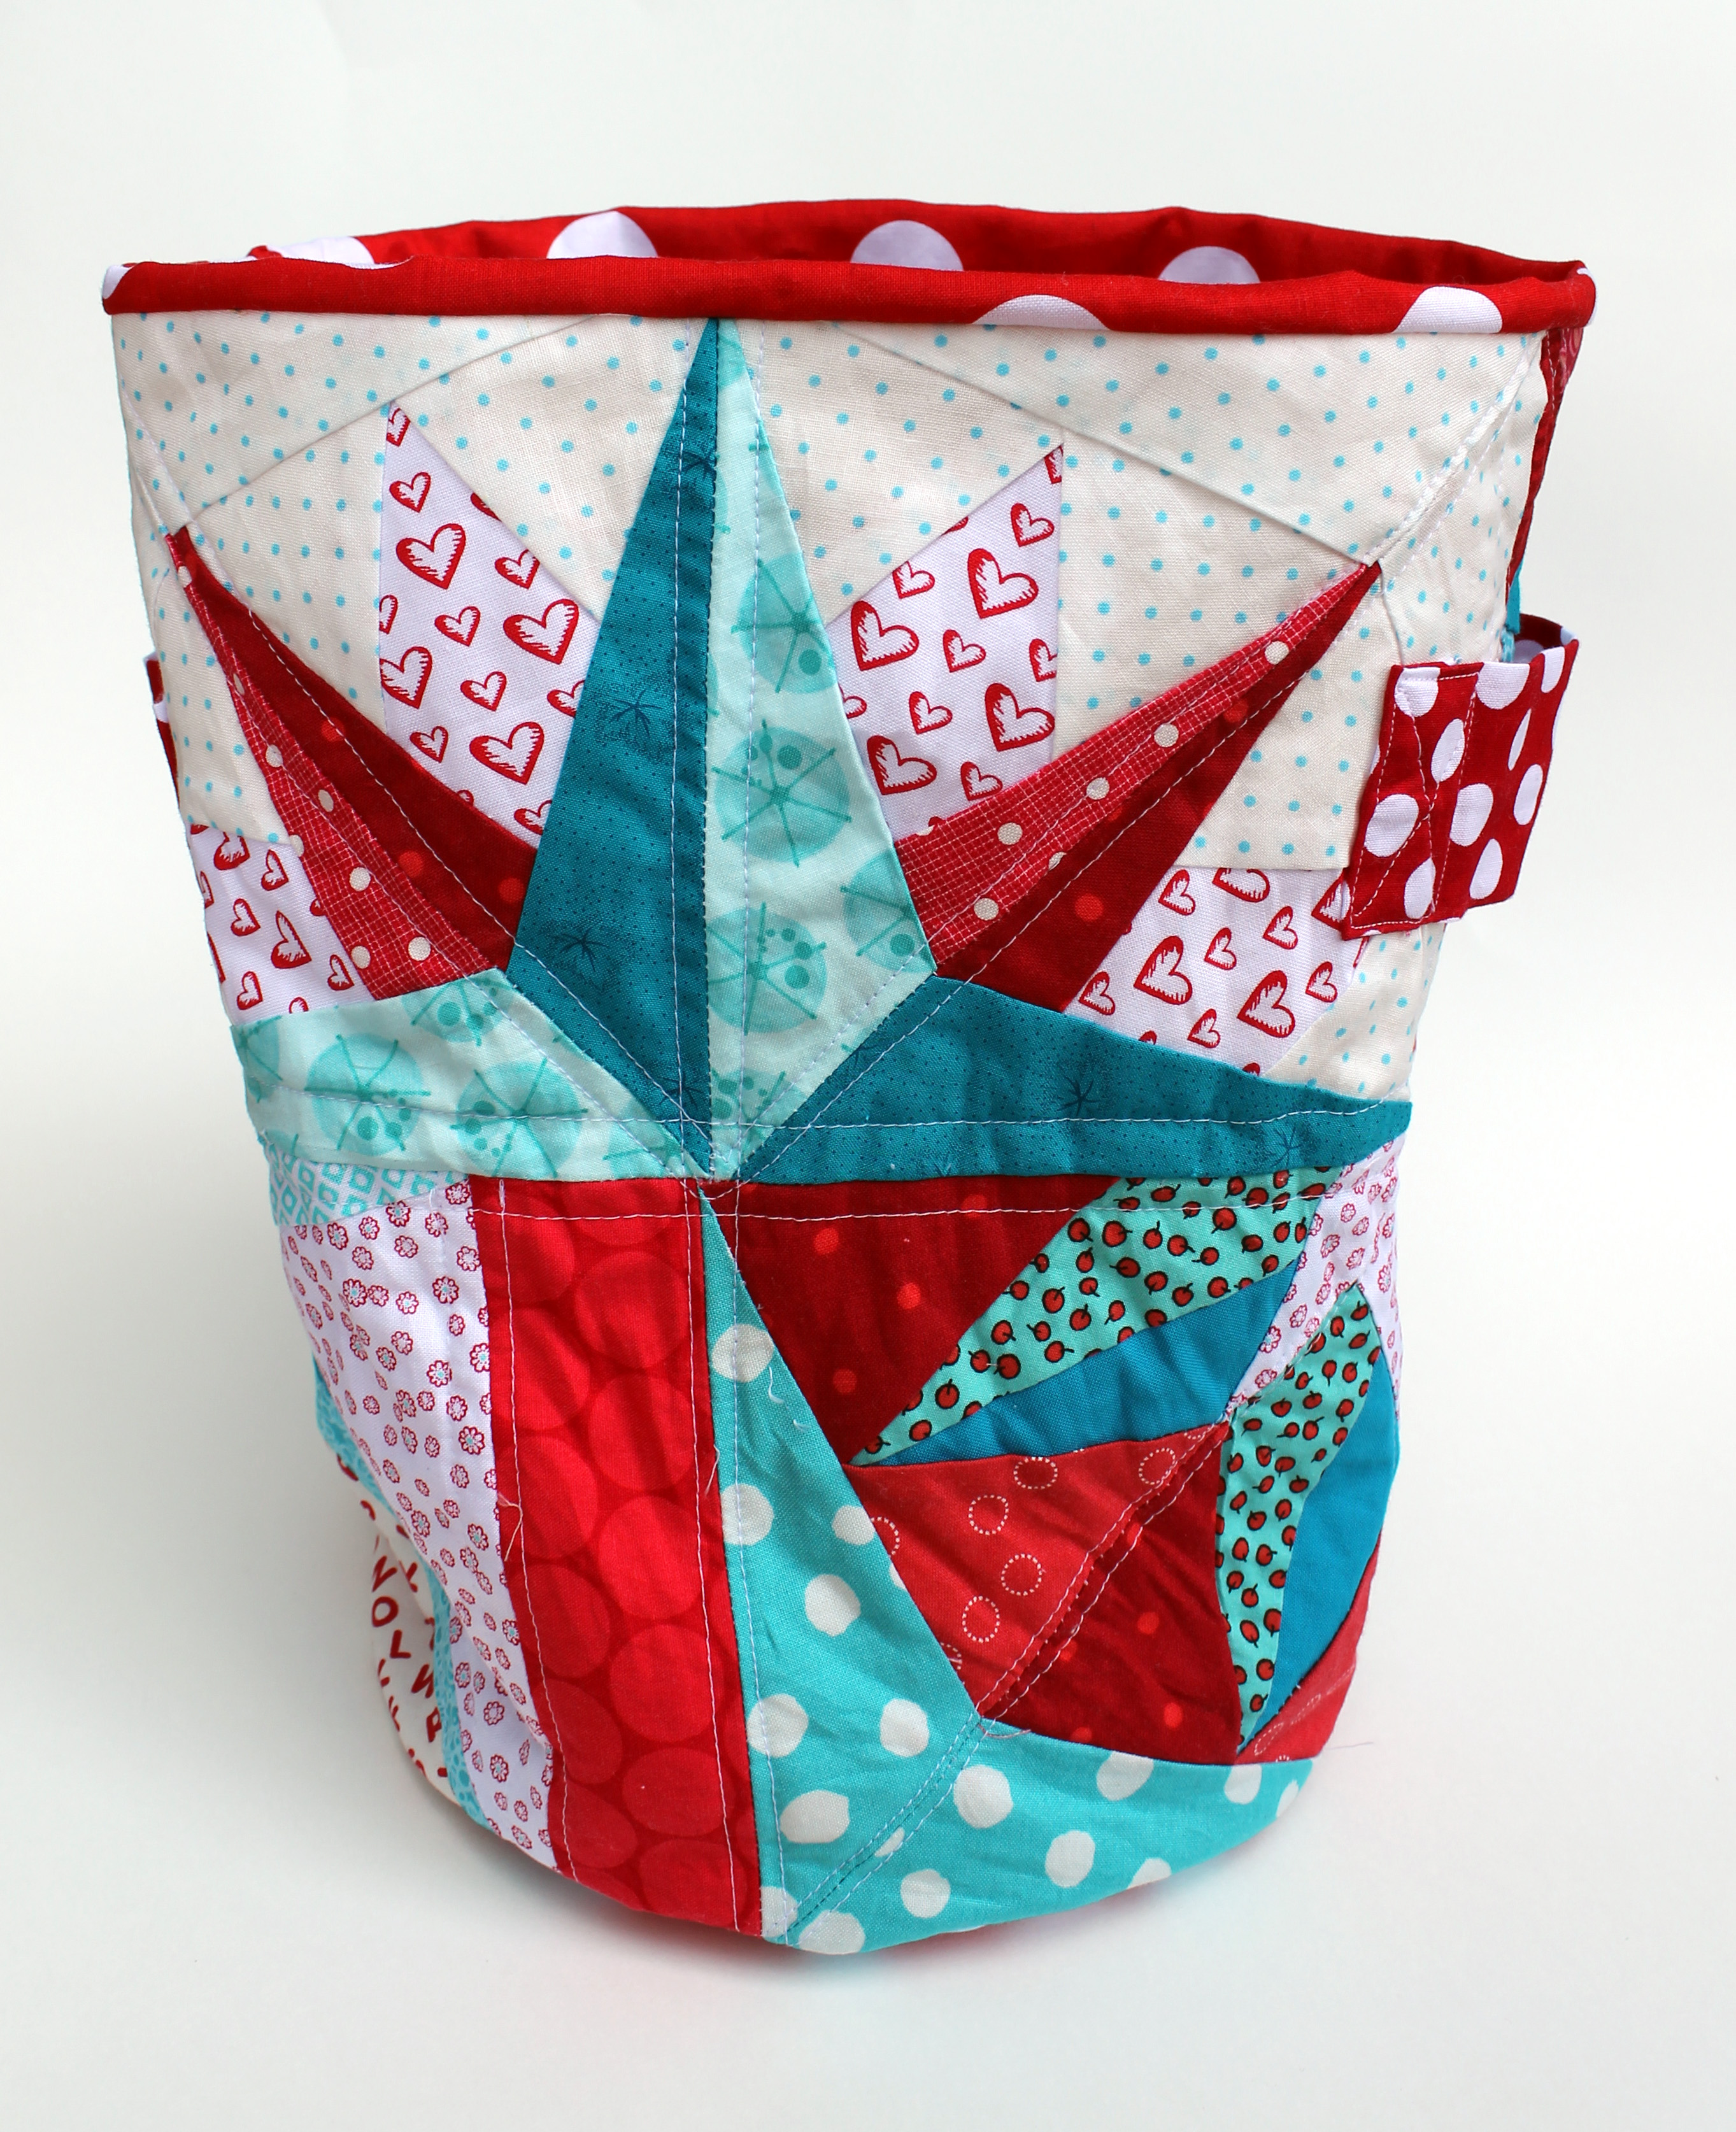
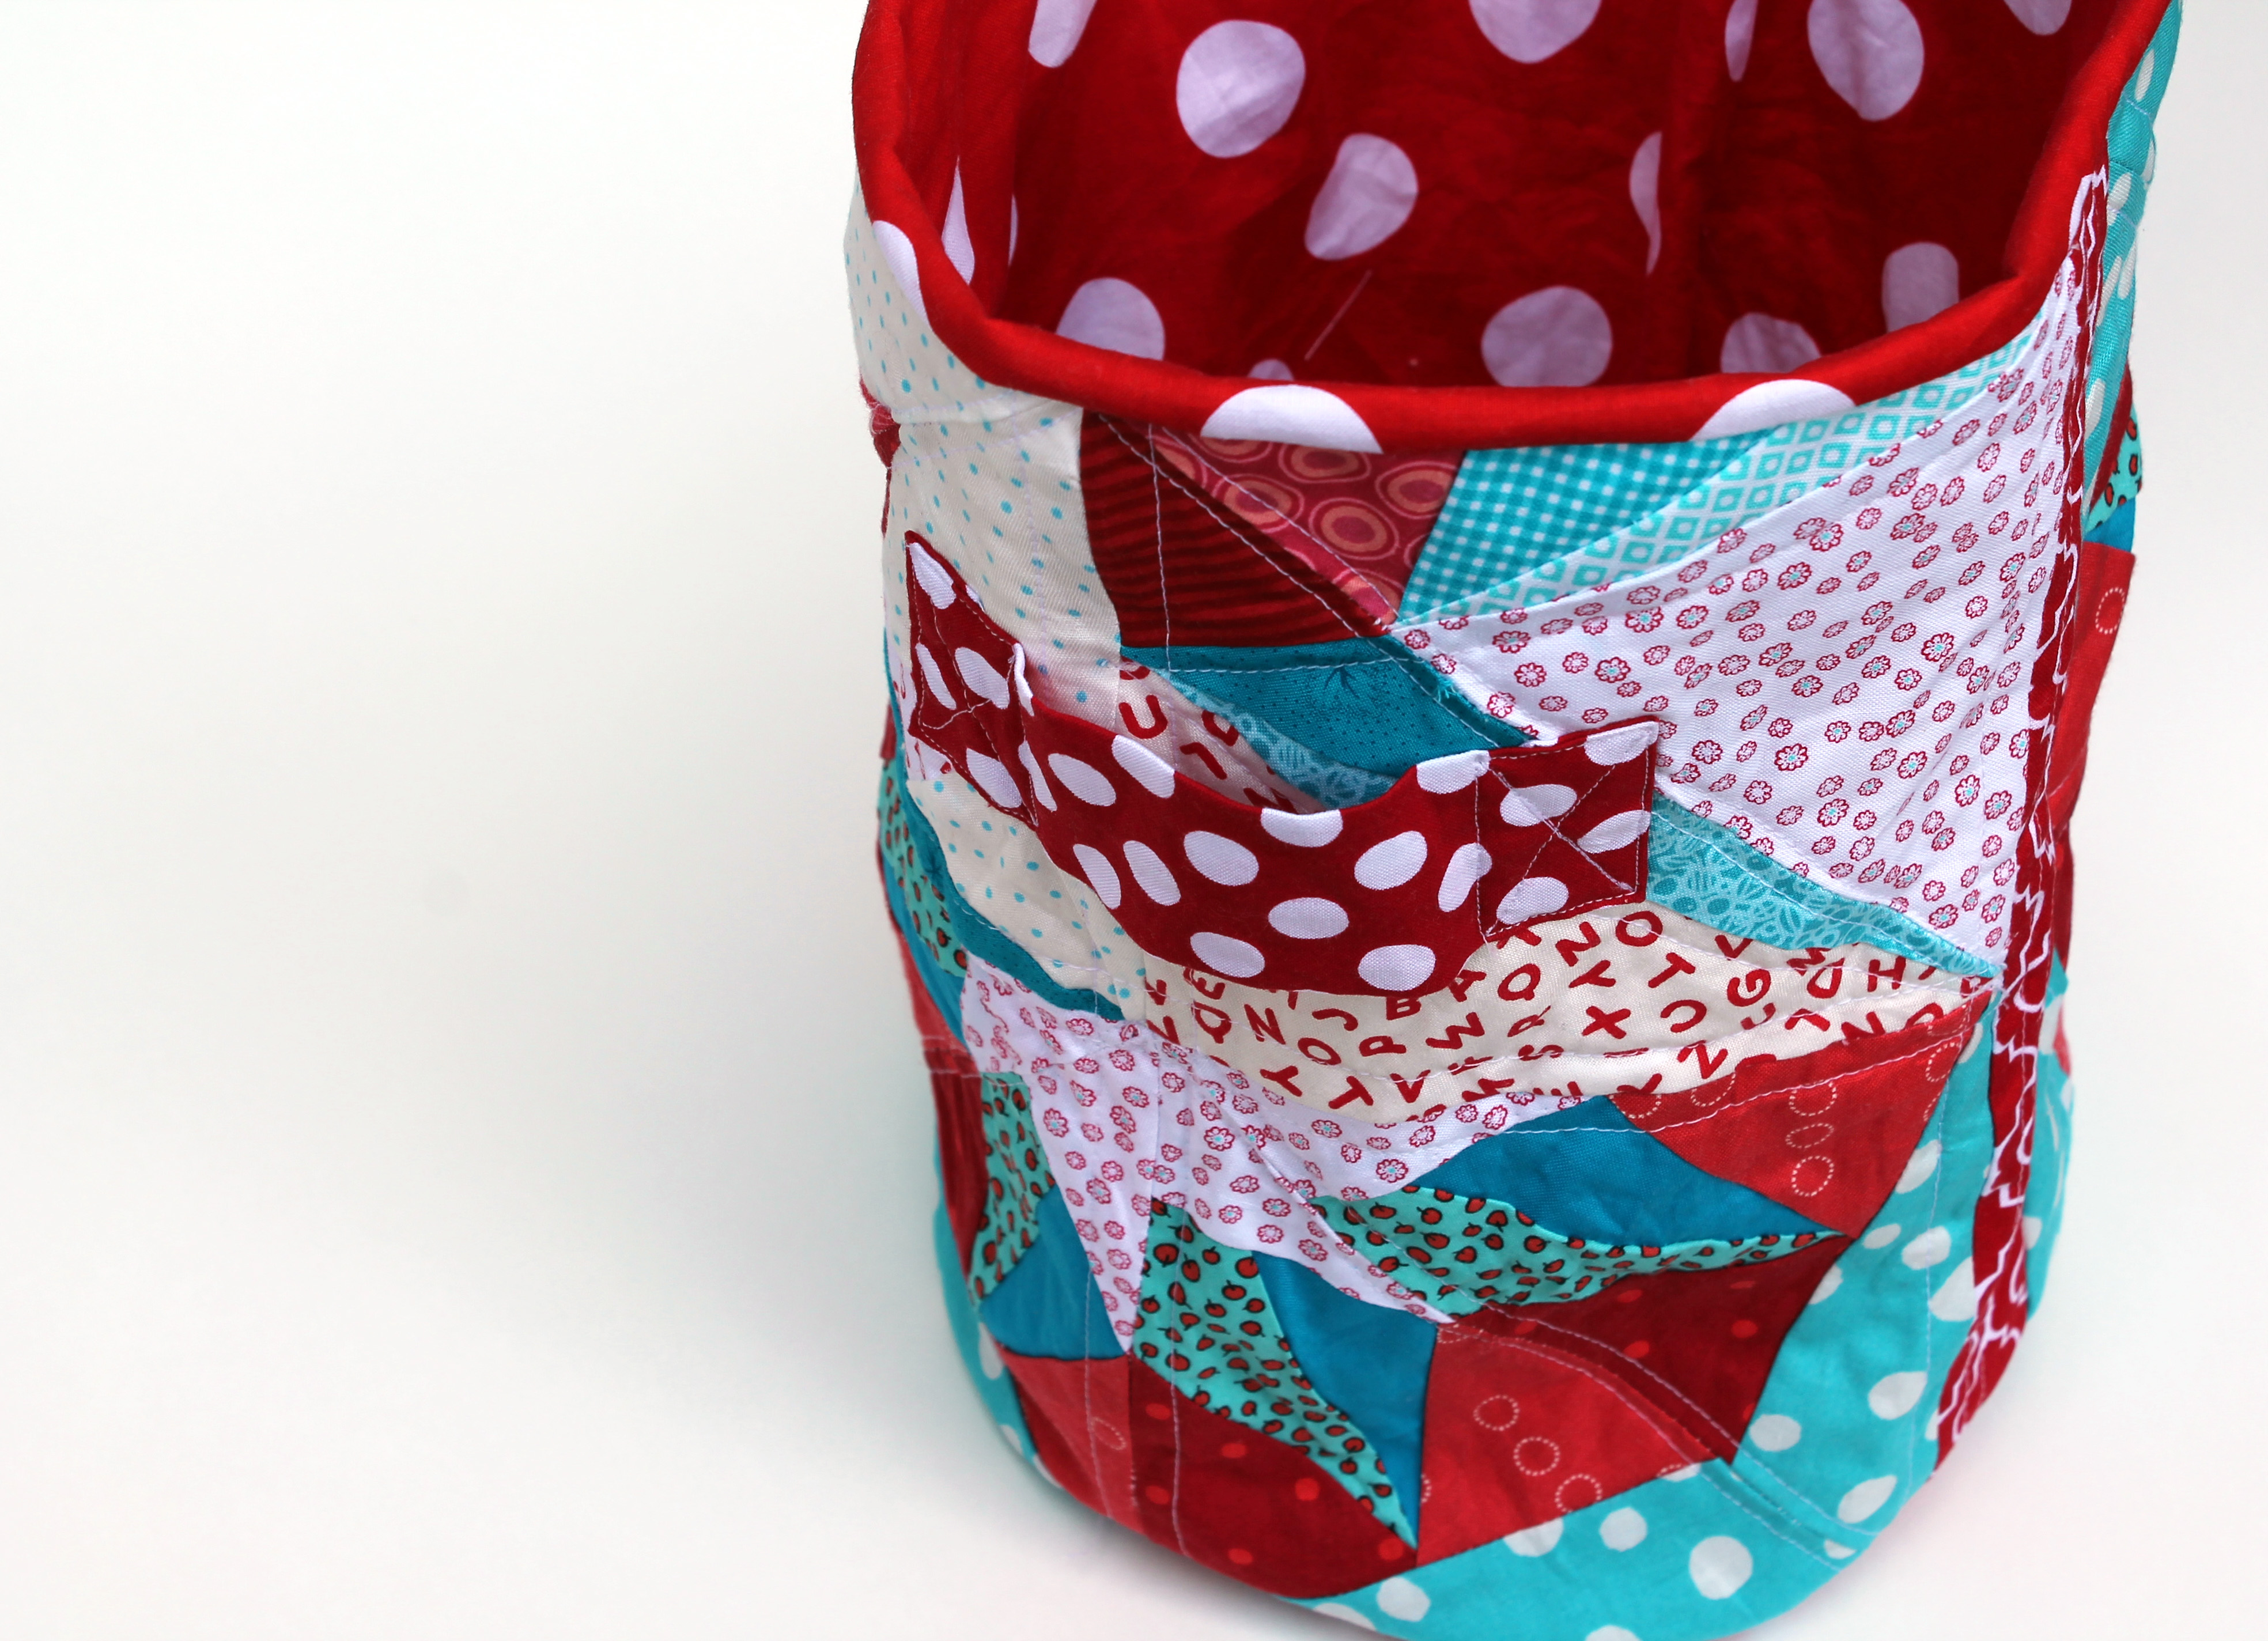
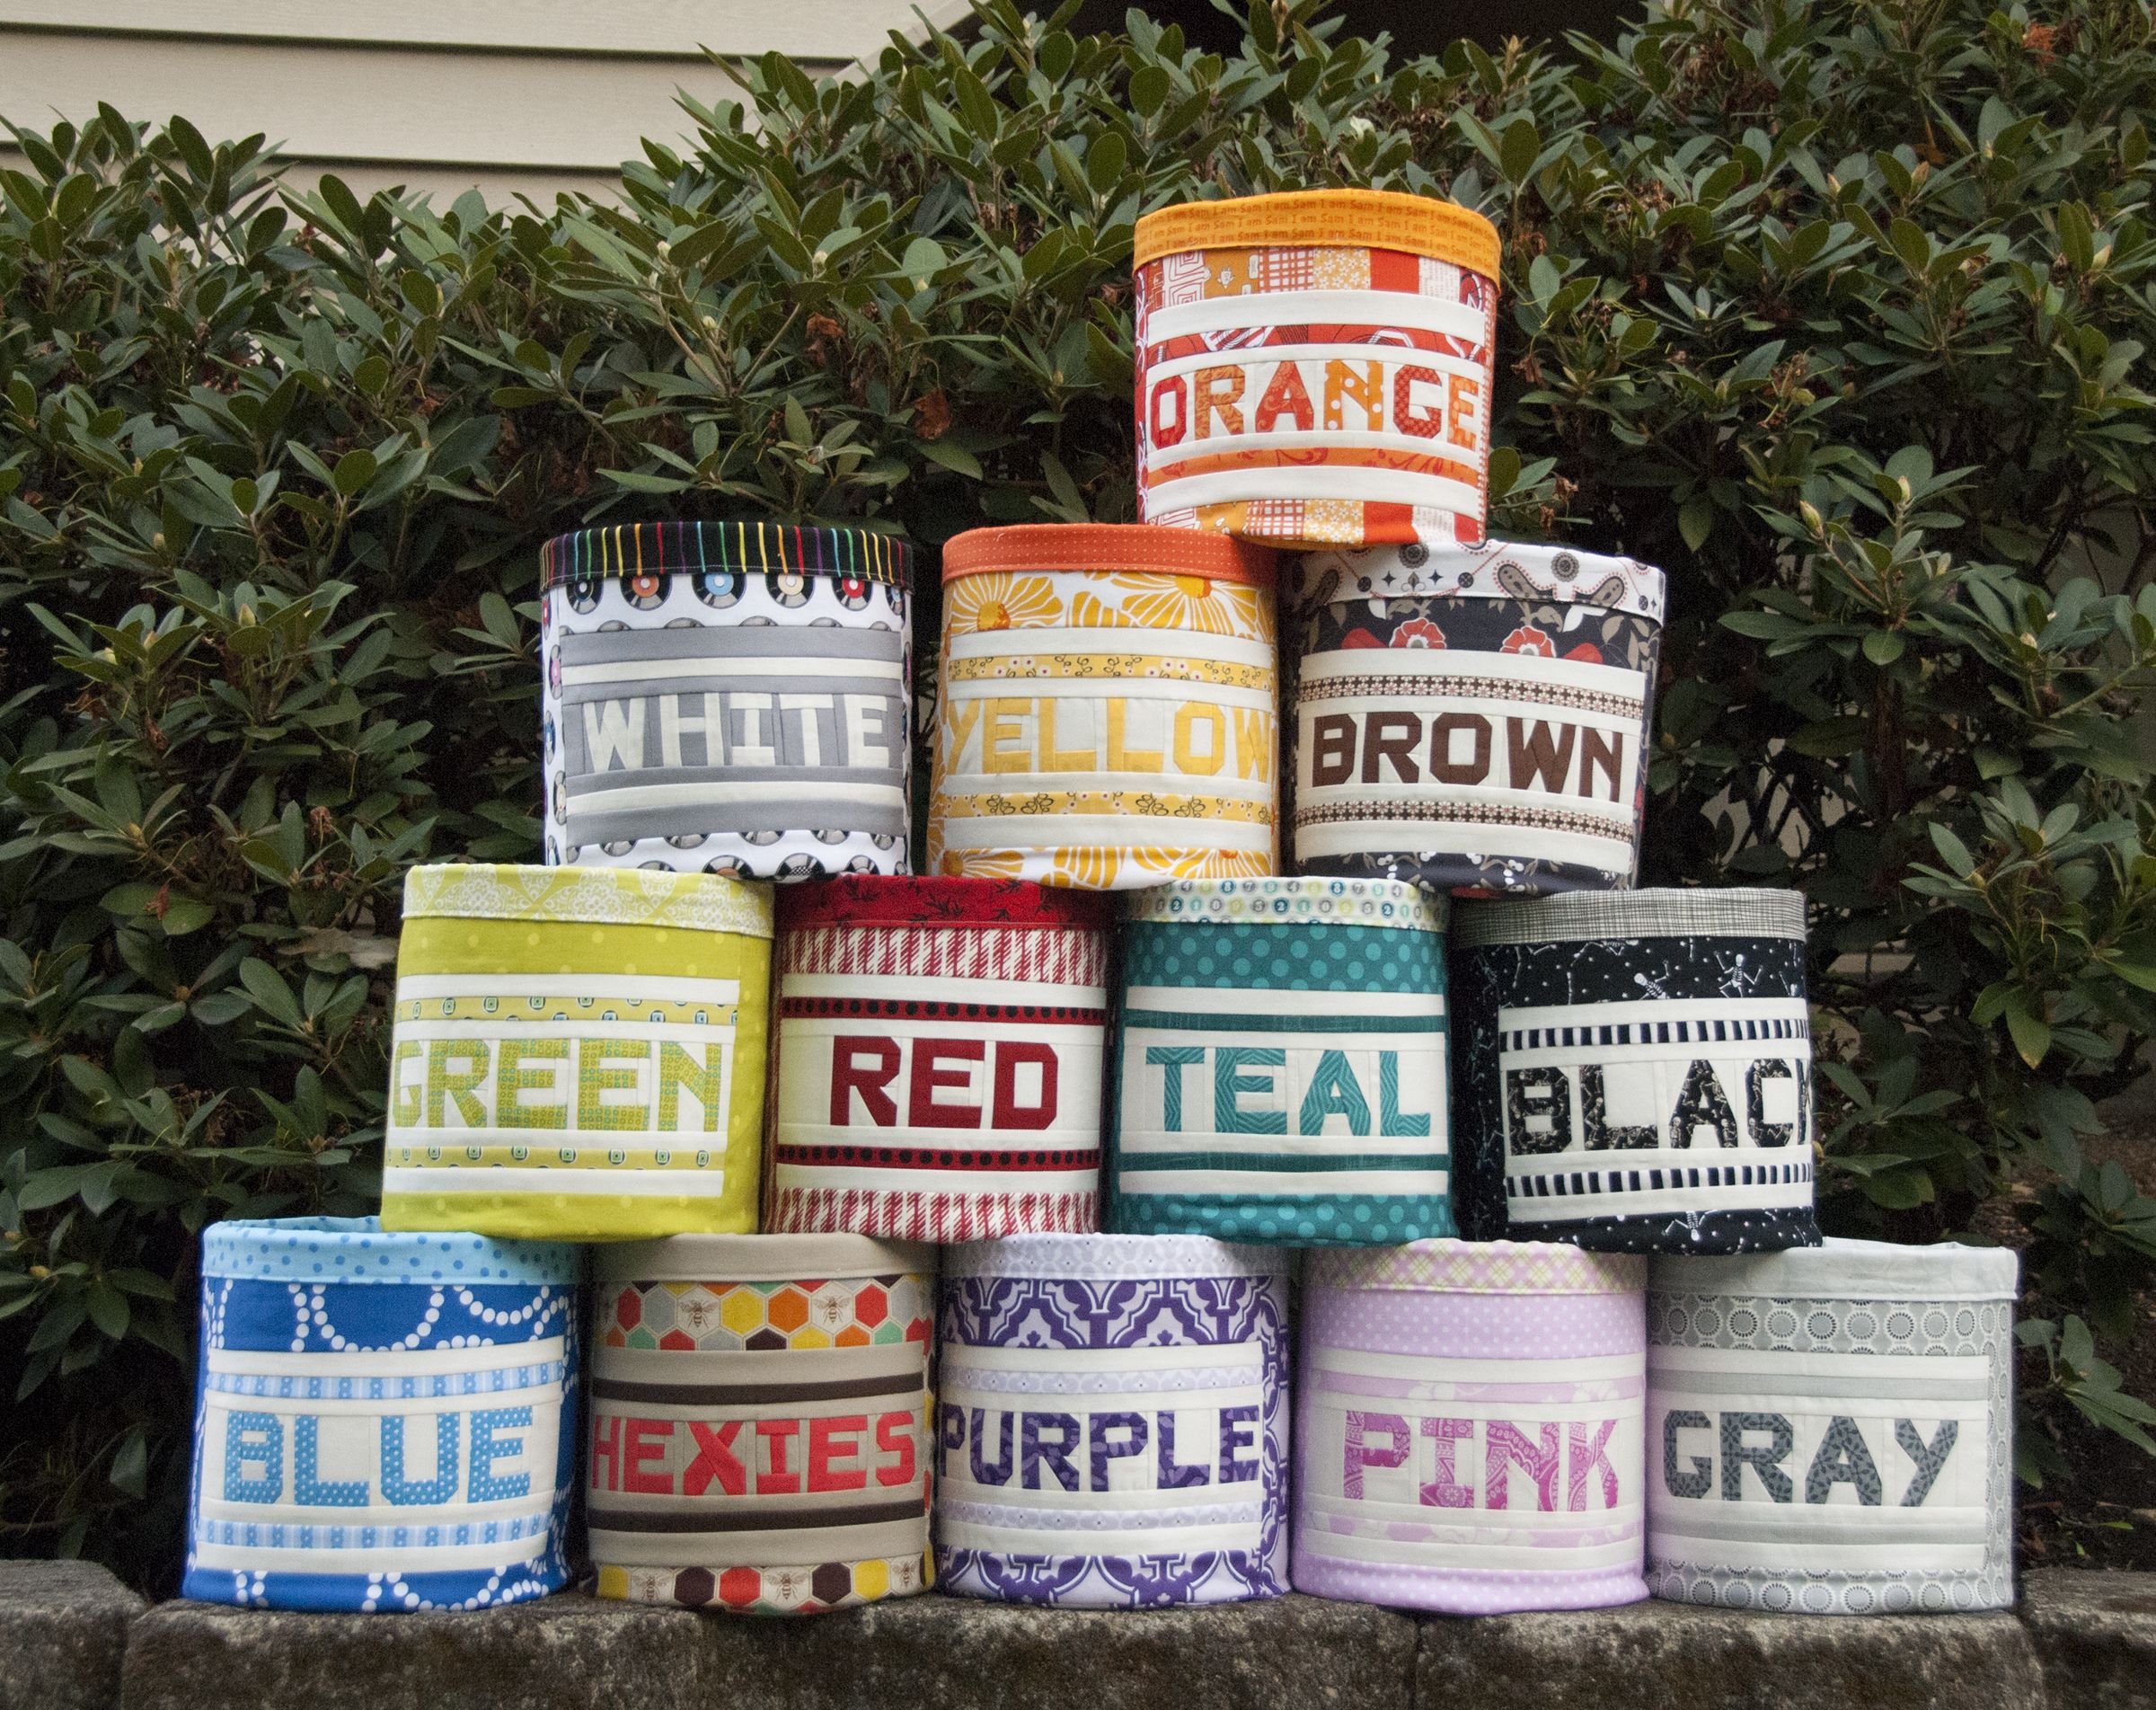
About 6 months later I was thrilled to hear that Sam had moved to Portland and joined the Portland Modern Quilt Guild. The first time I met her I knew I had found a kindred spirit- she was straight talking, feisty, talented and hilarious (if you want to know what Sam’s sense of humor is like take a closer look at the buckets on the cover of her new book!)
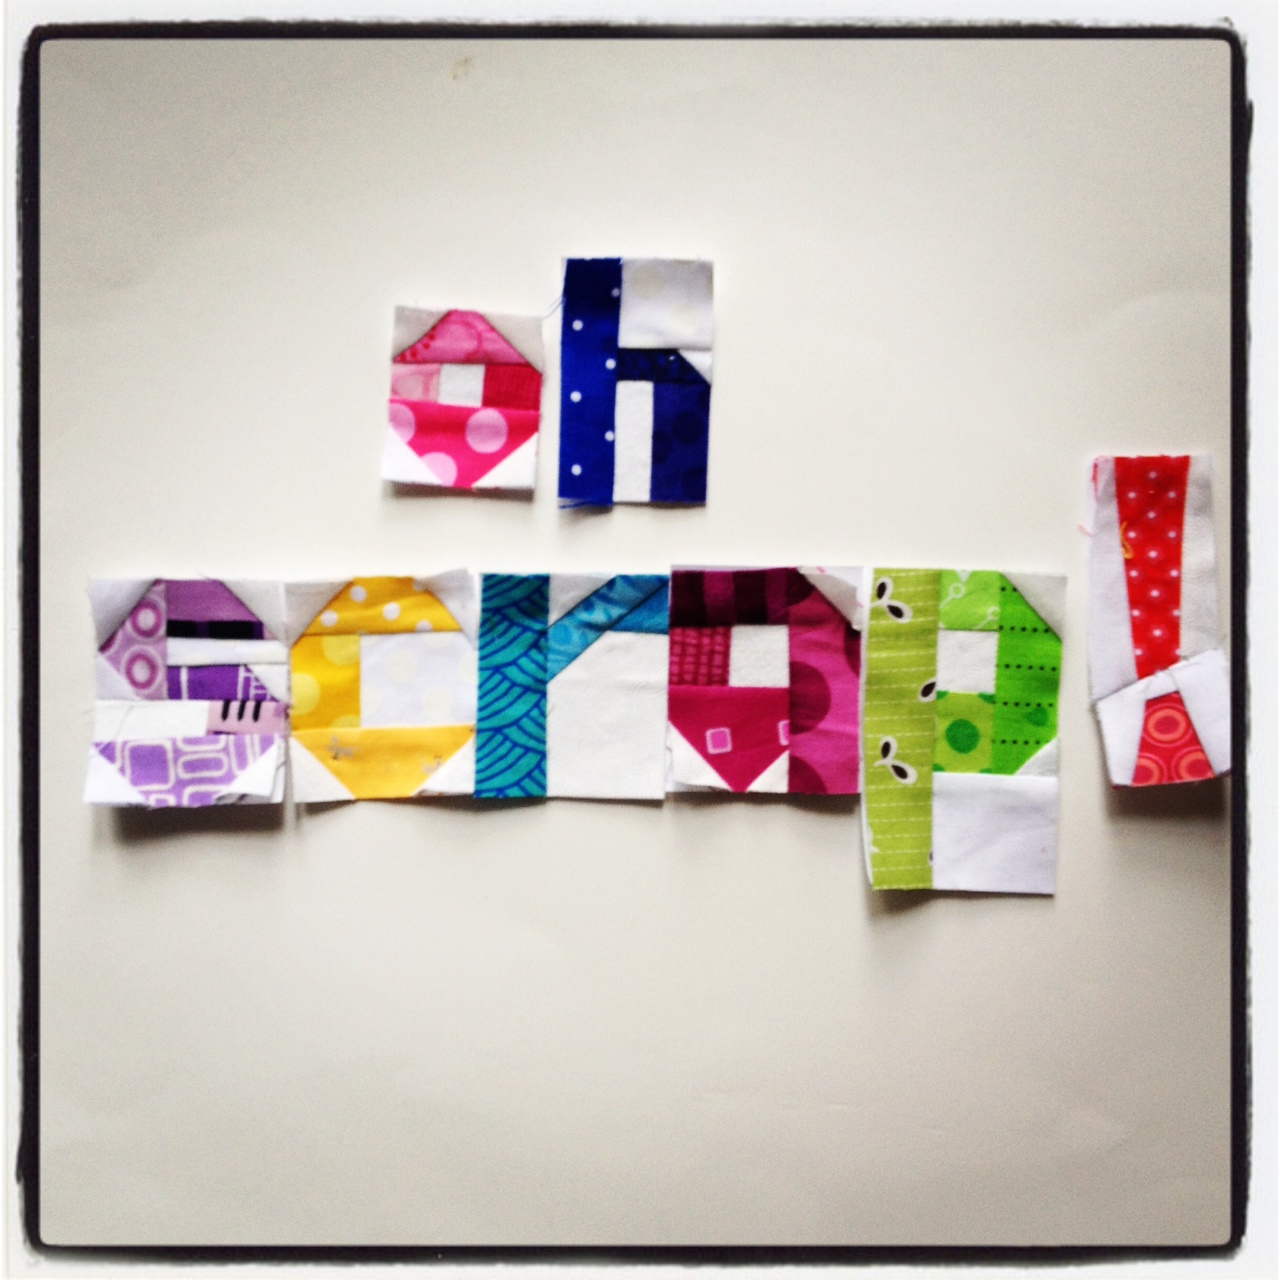
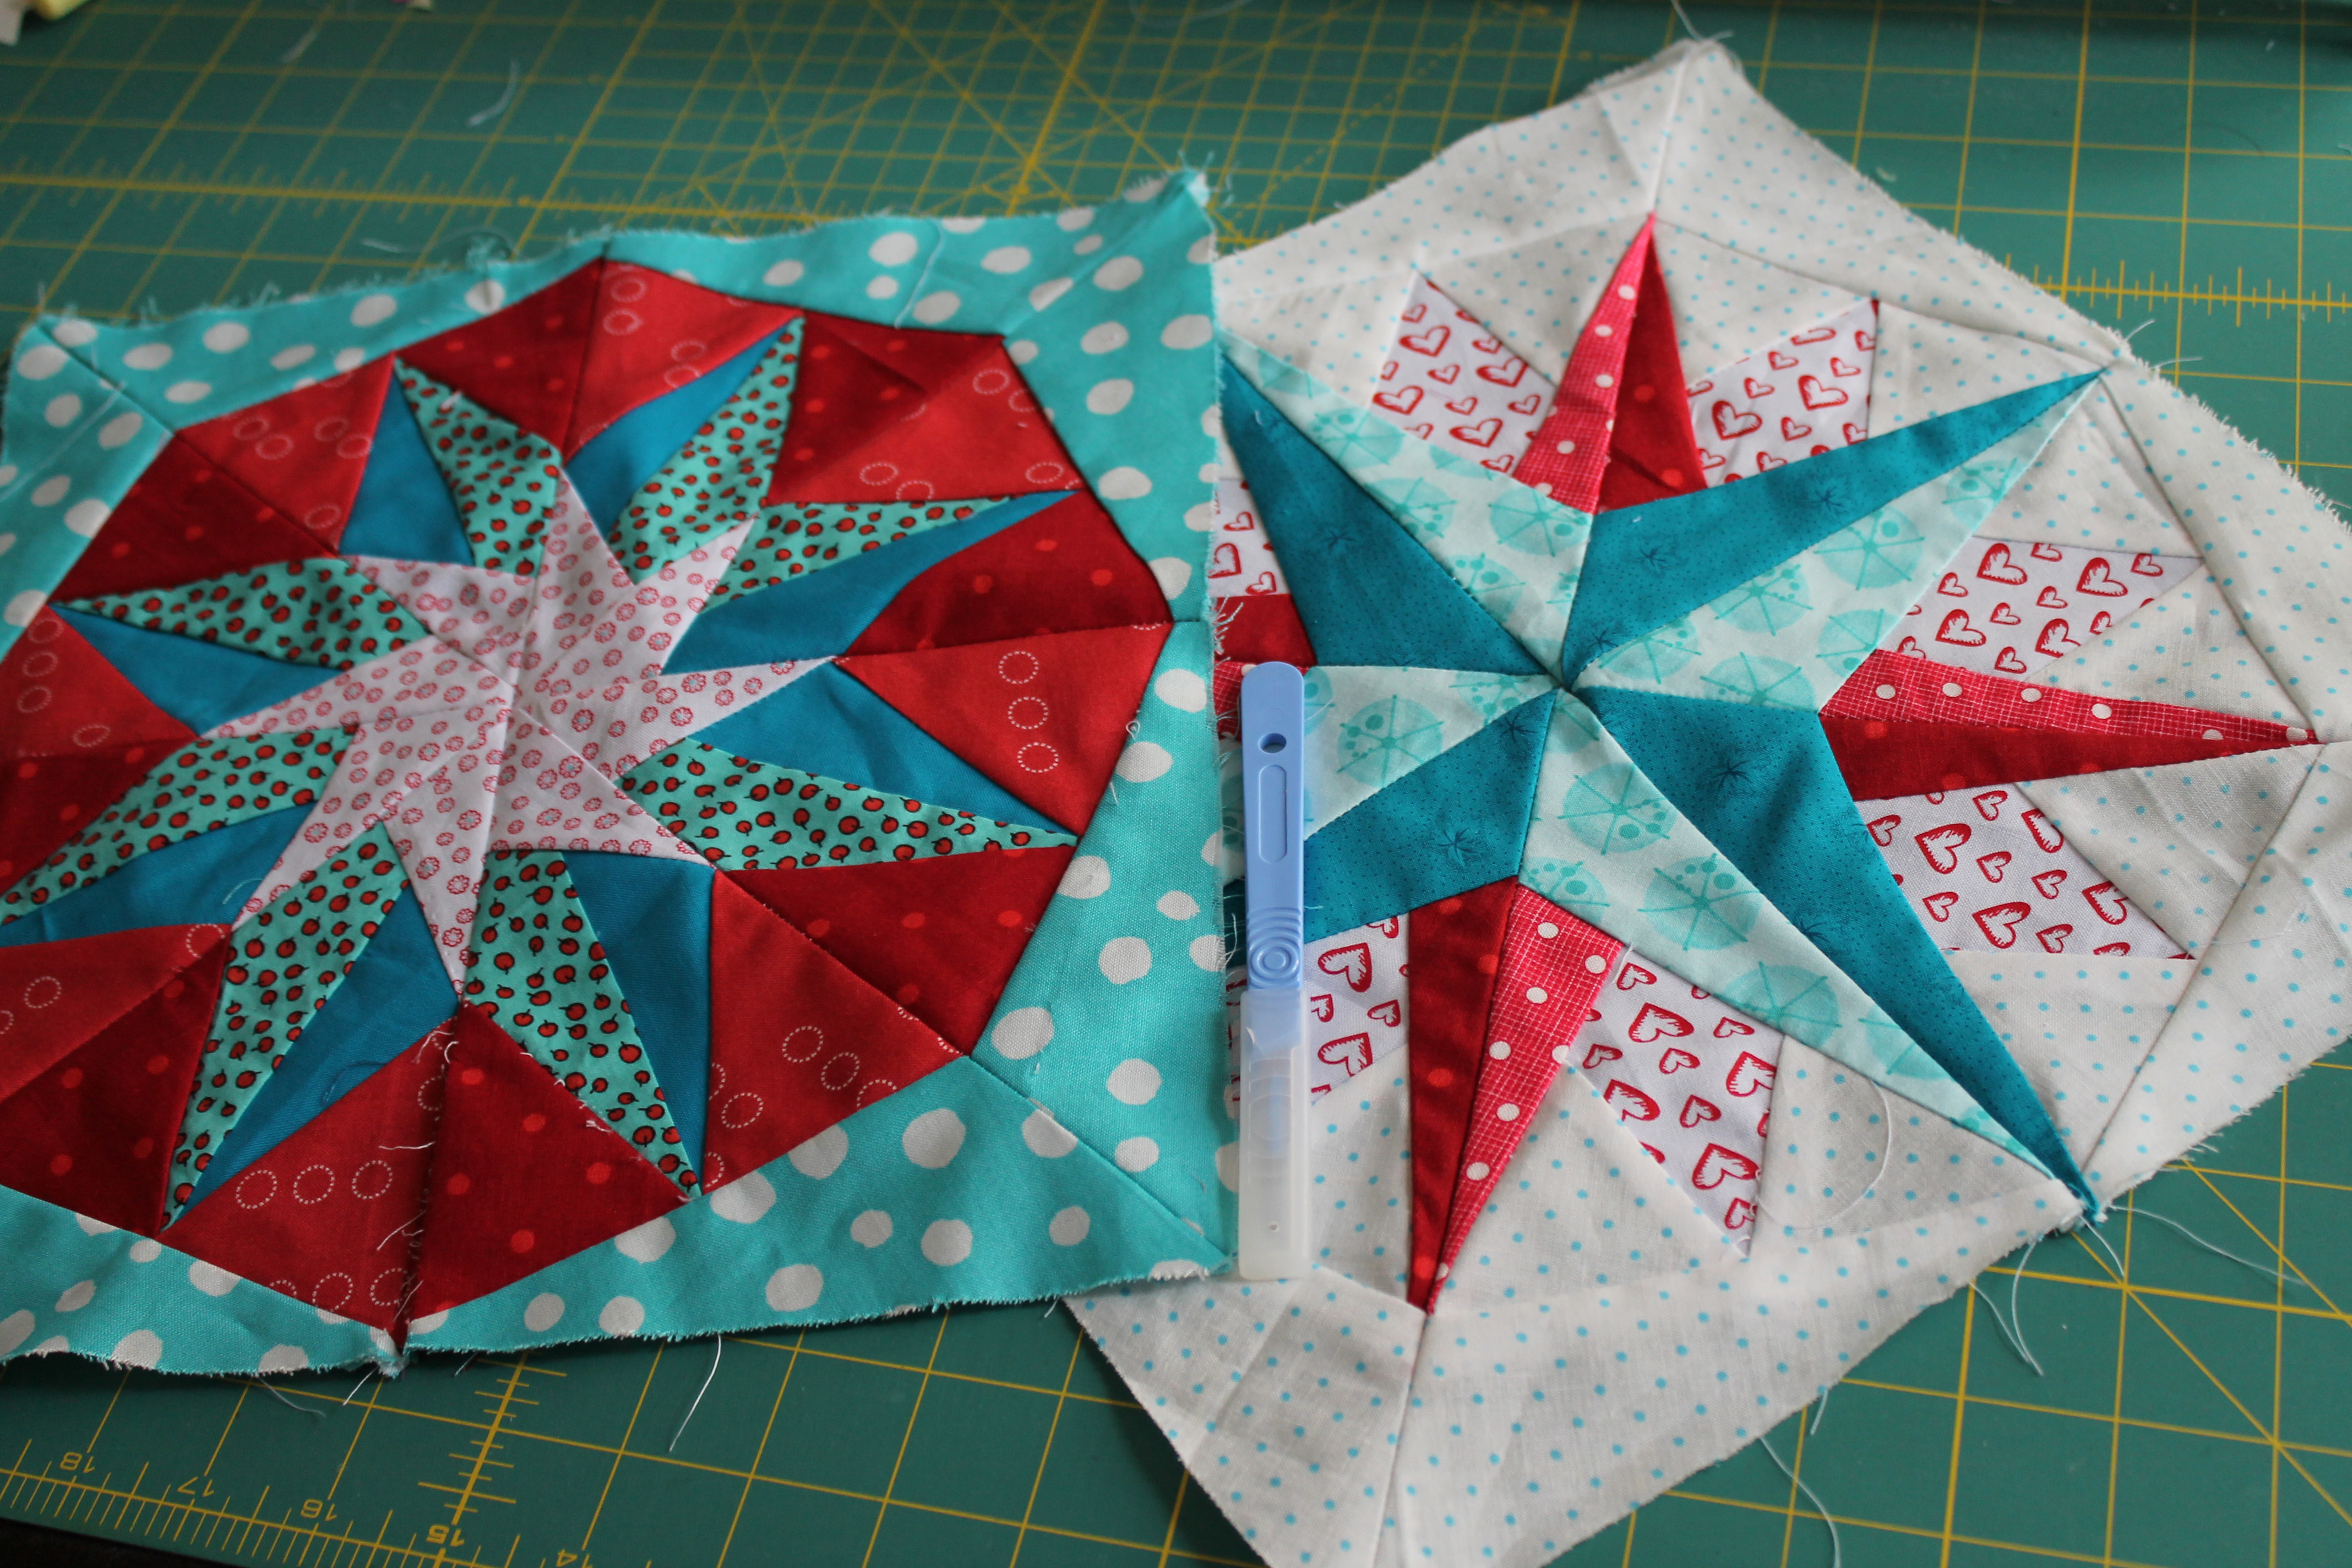
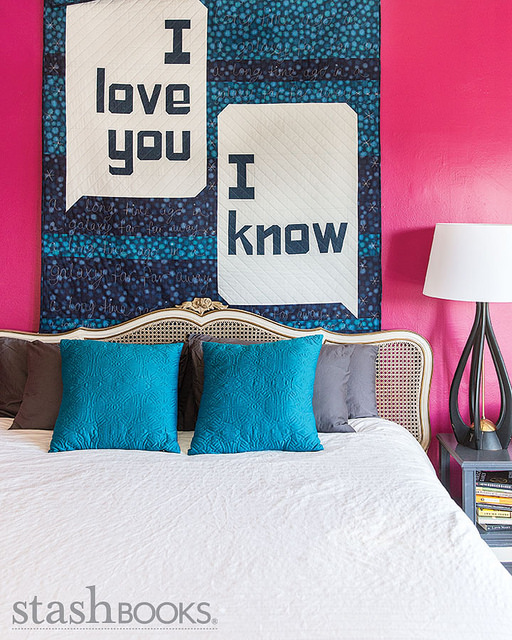
You can imagine my excitement when I found out Sam was doing a paper piecing book… Quilt Talk is designed around a paper pieced font, which includes a full alphabet with letters, numbers, special characters and accents There is also a dozen lovely projects that you can customize with your own words… my fave is this Star Wars inspired beauty (yes I am a geek)…
As part of the Blog Hop Sam has given each Hop host the paper pieced pattern for a particular word and a link on how to use them to make the buckets on the cover of her book. My word is appropriately…

DOWNLOAD THE HEXIES PATTERN HERE….
You can collect the full set of patterns by visiting the other Blog Hop hosts…
- Thursday, October 2 – PURPLE – Megan Dougherty, The Bitchy Stitcher
- Friday, October 3 – BROWN – Carrie Bloomston, Such Designs
- Monday, October 6 – RED – Kim Niedzwiecki, My GoGo Life
- Tuesday, October 7 – TEAL – Flaun Cline, I Plead Quilty
- Wednesday, October 8 – WHITE – Molli Sparkles
- Thursdays, October 9 – HEXIES – Cath Hall, Wombat Quilts
- Friday, October 10 – PINK – Ebony Love, LoveBug Studios
- Monday, October 13 – GREEN – Rose Hughes
- Tuesday, October 14 – BLUE – Sarah Fielke
- Wednesday, October 15 – GRAY – Maddie Kertay, The BadAss Quilter’s Society
- Thursday, October 16 – BLACK – Cheryl Sleboda
- Friday, October 17 – YELLOW – Victoria Findlay Wolfe
- Monday, October 20 – ORANGE (but of course!) – Sam Hunter, Hunter’s Design Studio
Sam has also kindly given me a copy of the book to give away to one lucky reader… so if you would like to win a hard copy of this fabulous book just leave a comment, telling me what your favorite colour is… a random winner will be drawn on Sunday night (12th October) and announced during Paper Piecing Monday’s post.