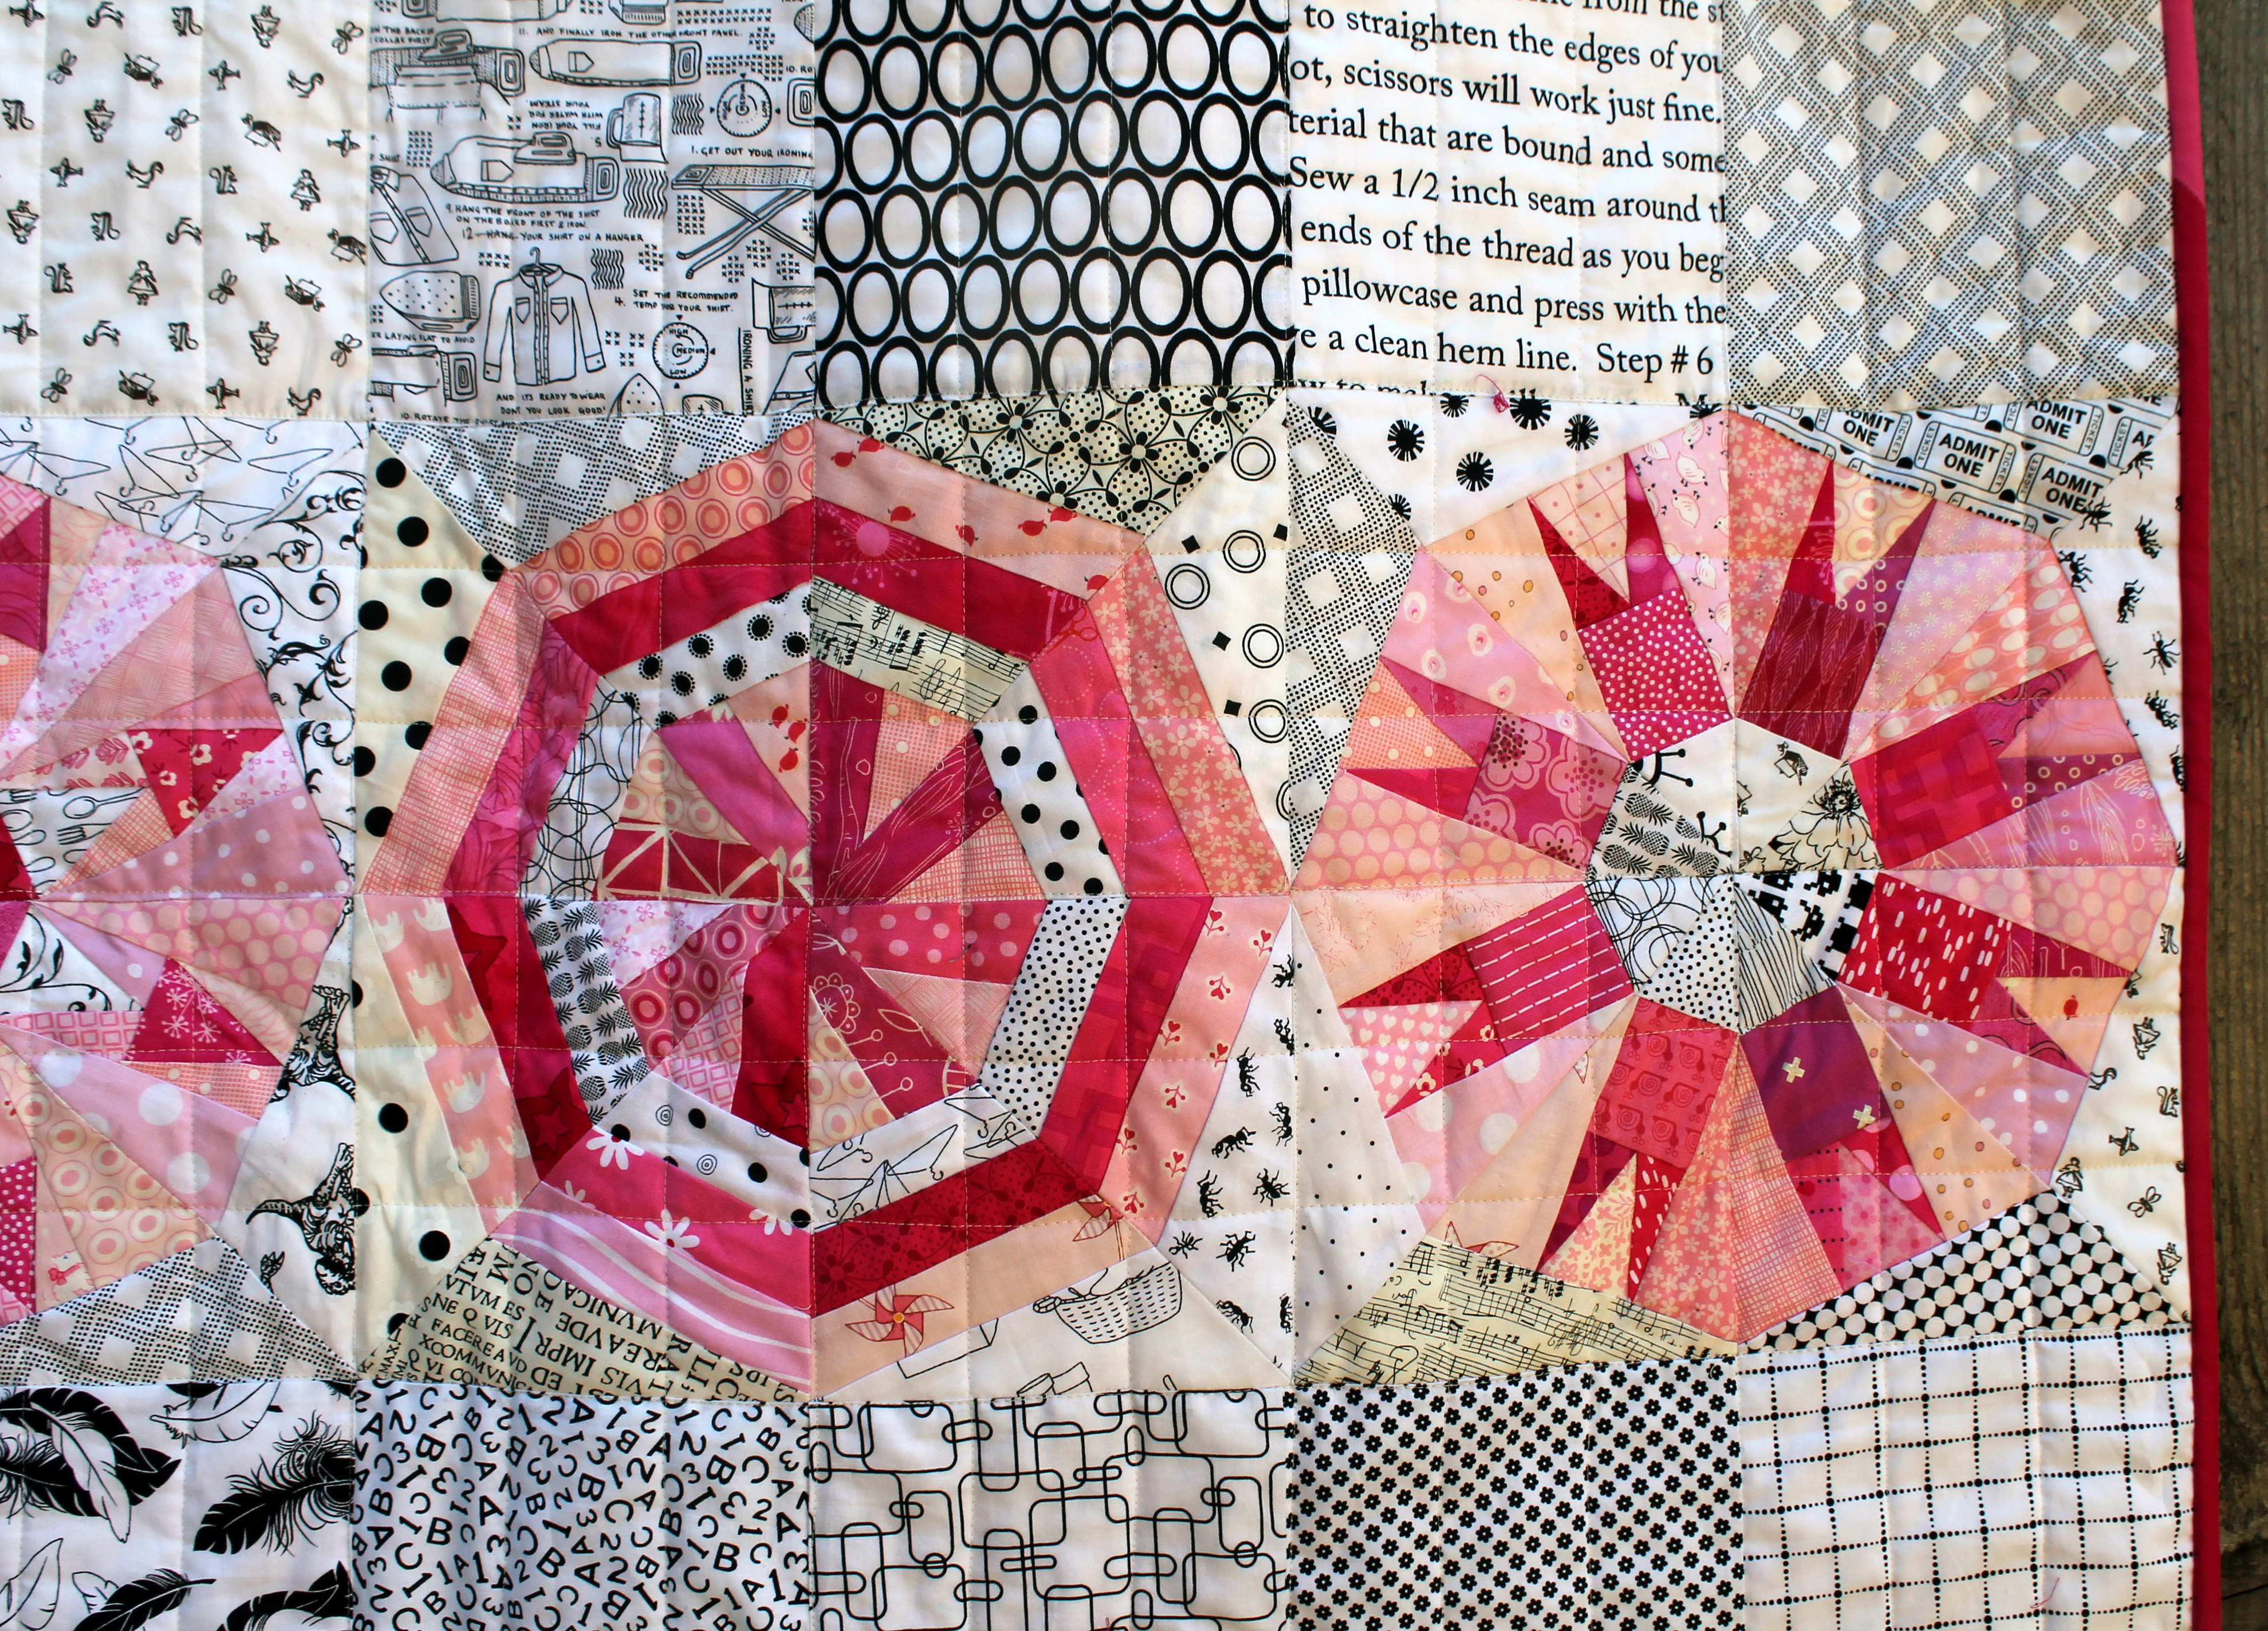
This week I finished the binding on my Paper Piecing Monday baby quilt. I am so thrilled with how this quilt turned out…and how easy it was to make.
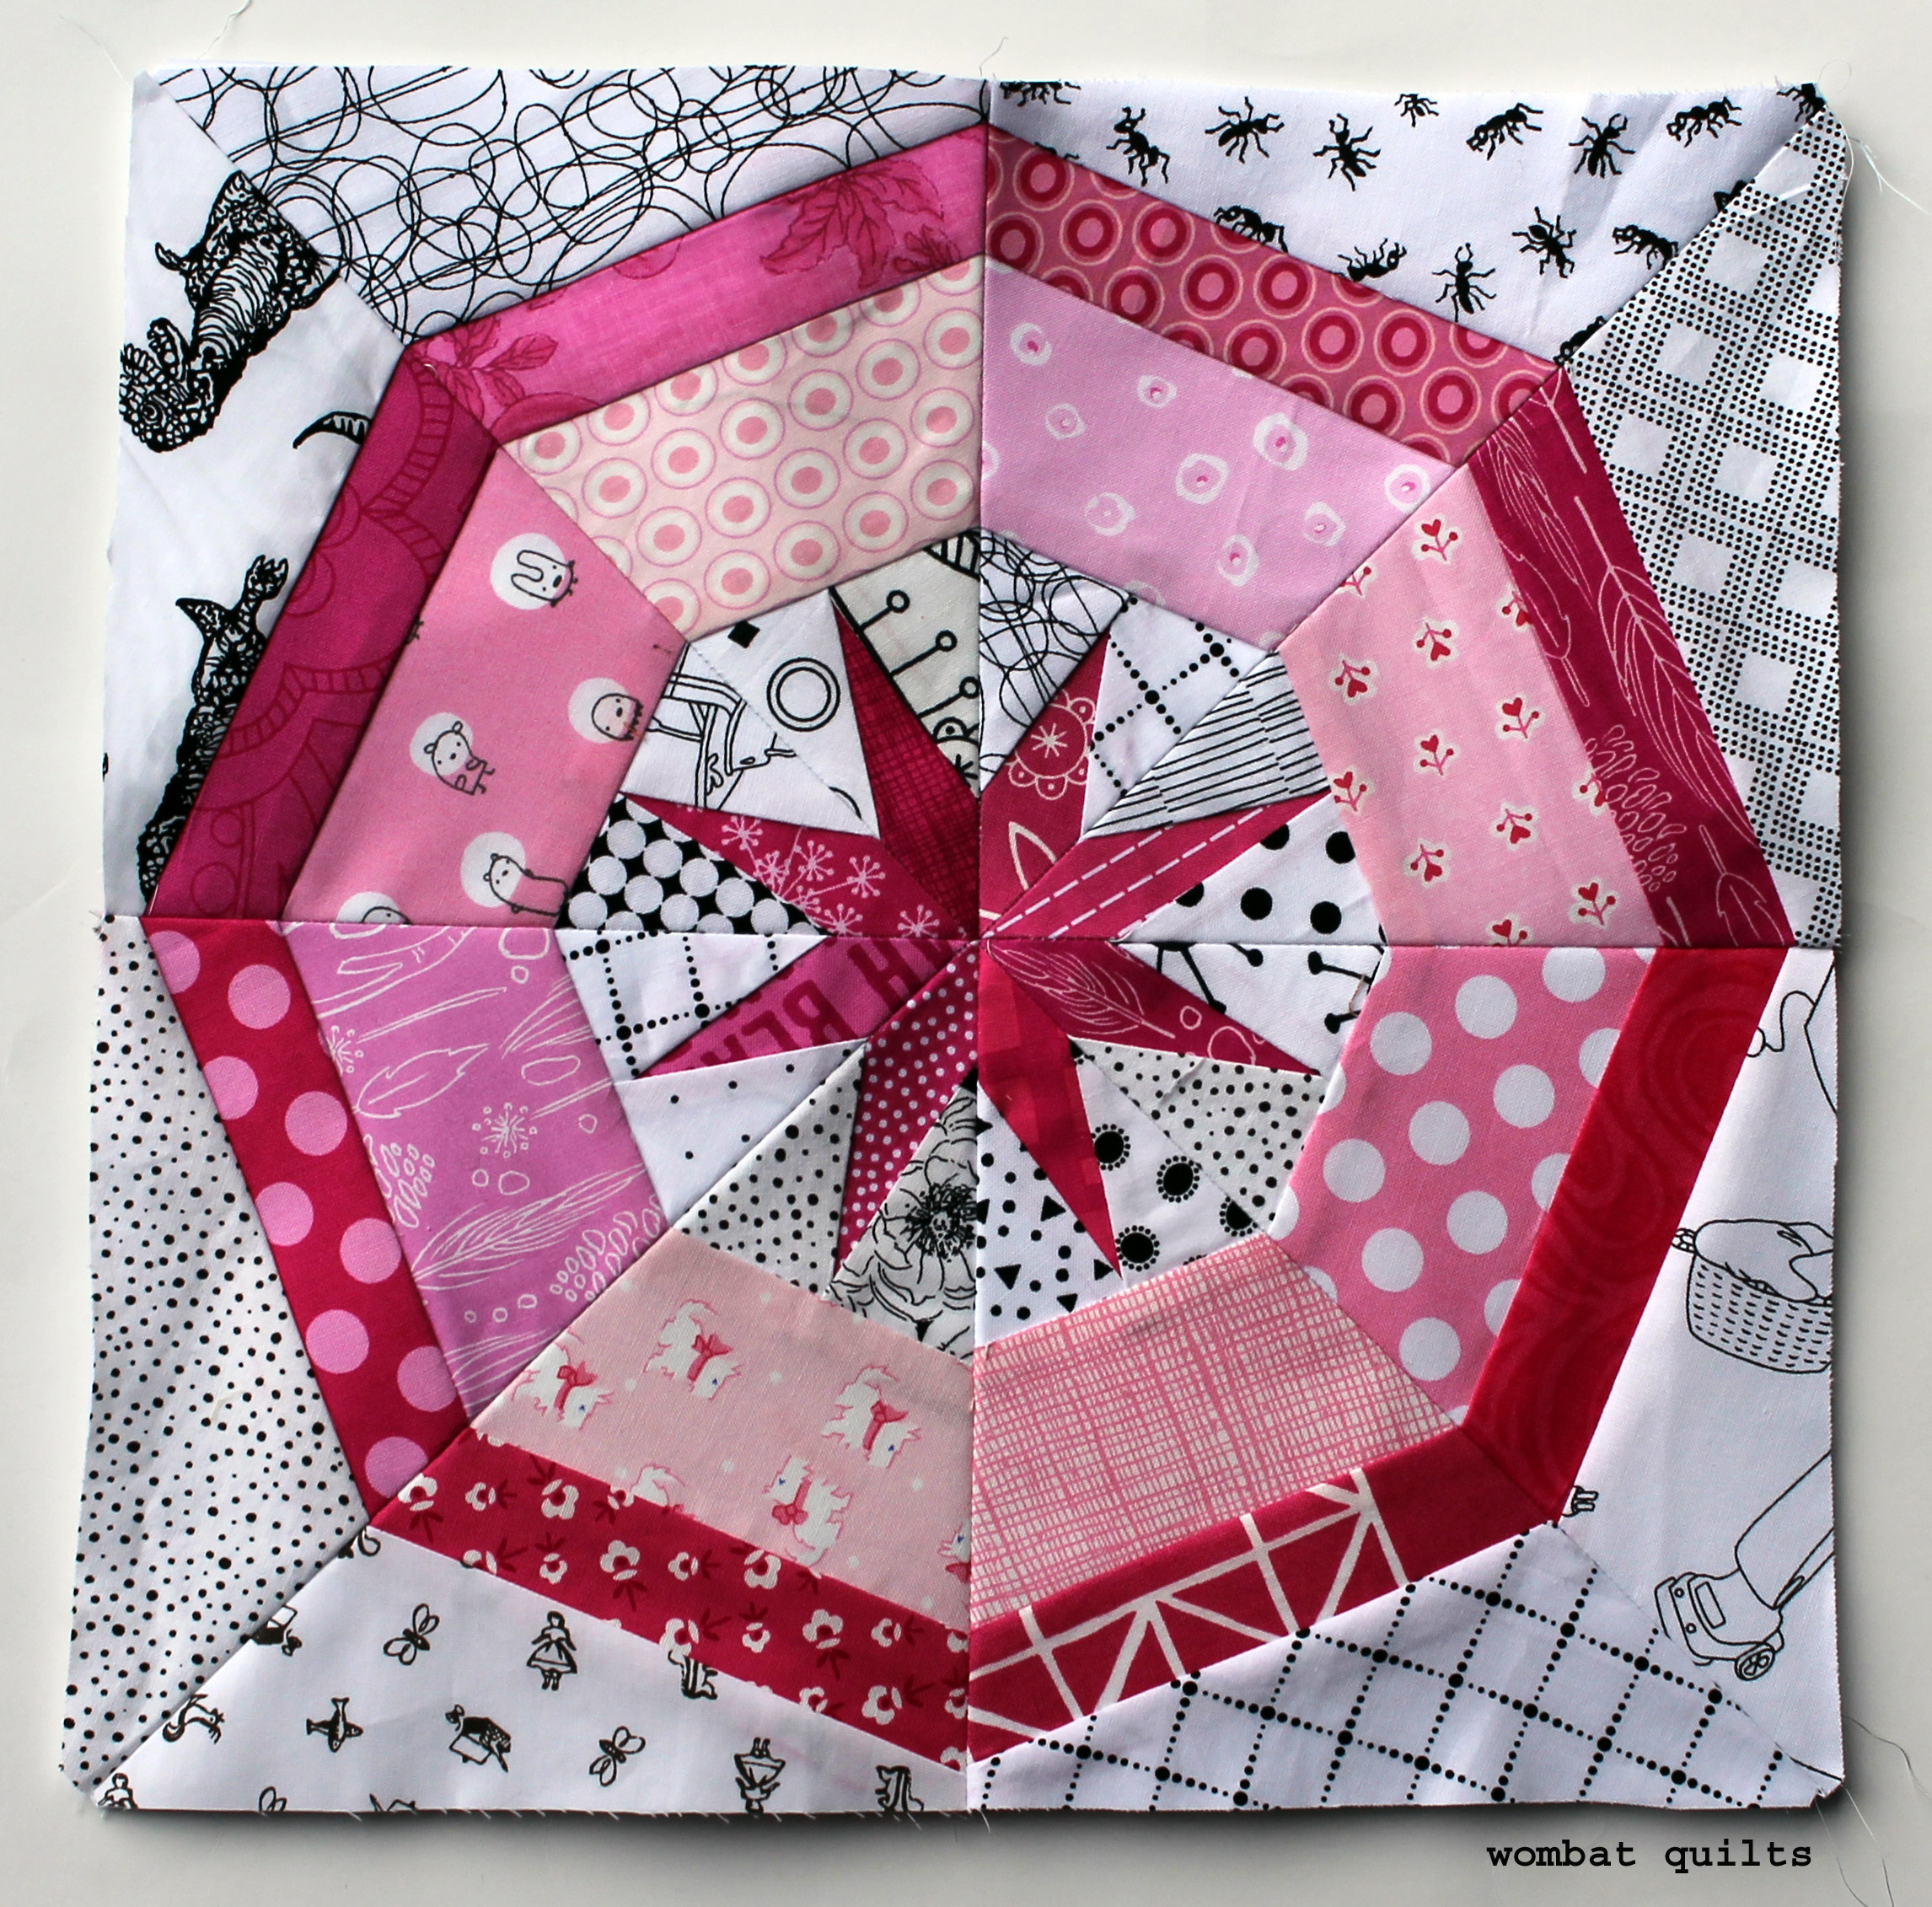
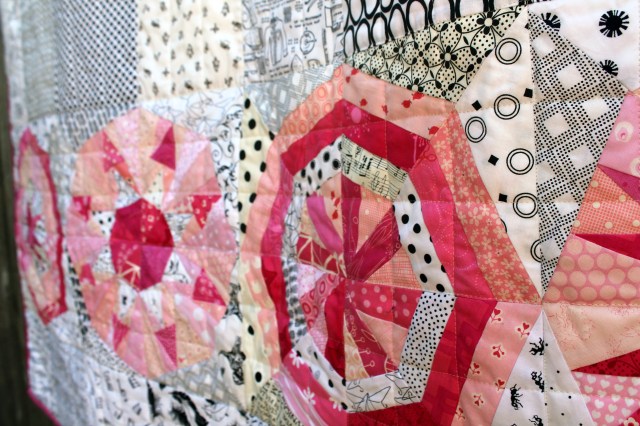
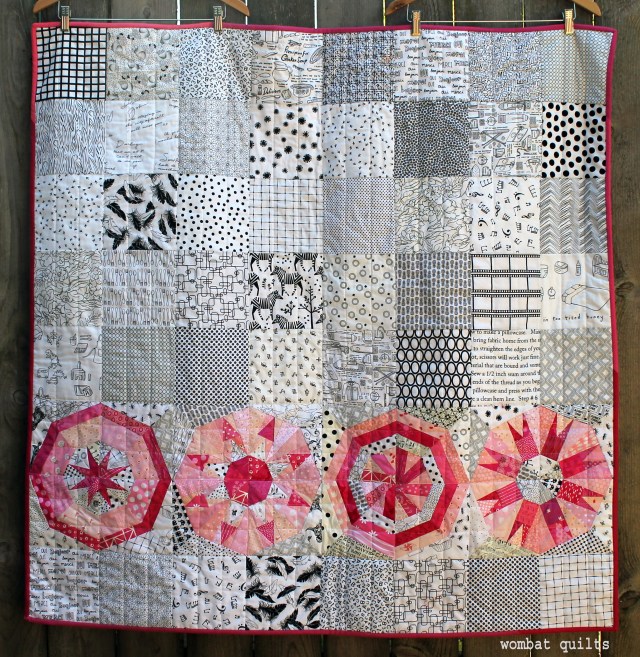 As you can see the quilt used just four of my paper piecing Snowball patterns, and they really are the stars of the show. My favorite block is definitely this one…
 But you can find the free paper piecing pattern for all the blocks under the “Free Paper Piecing Patterns” tab if you want to make your own version.
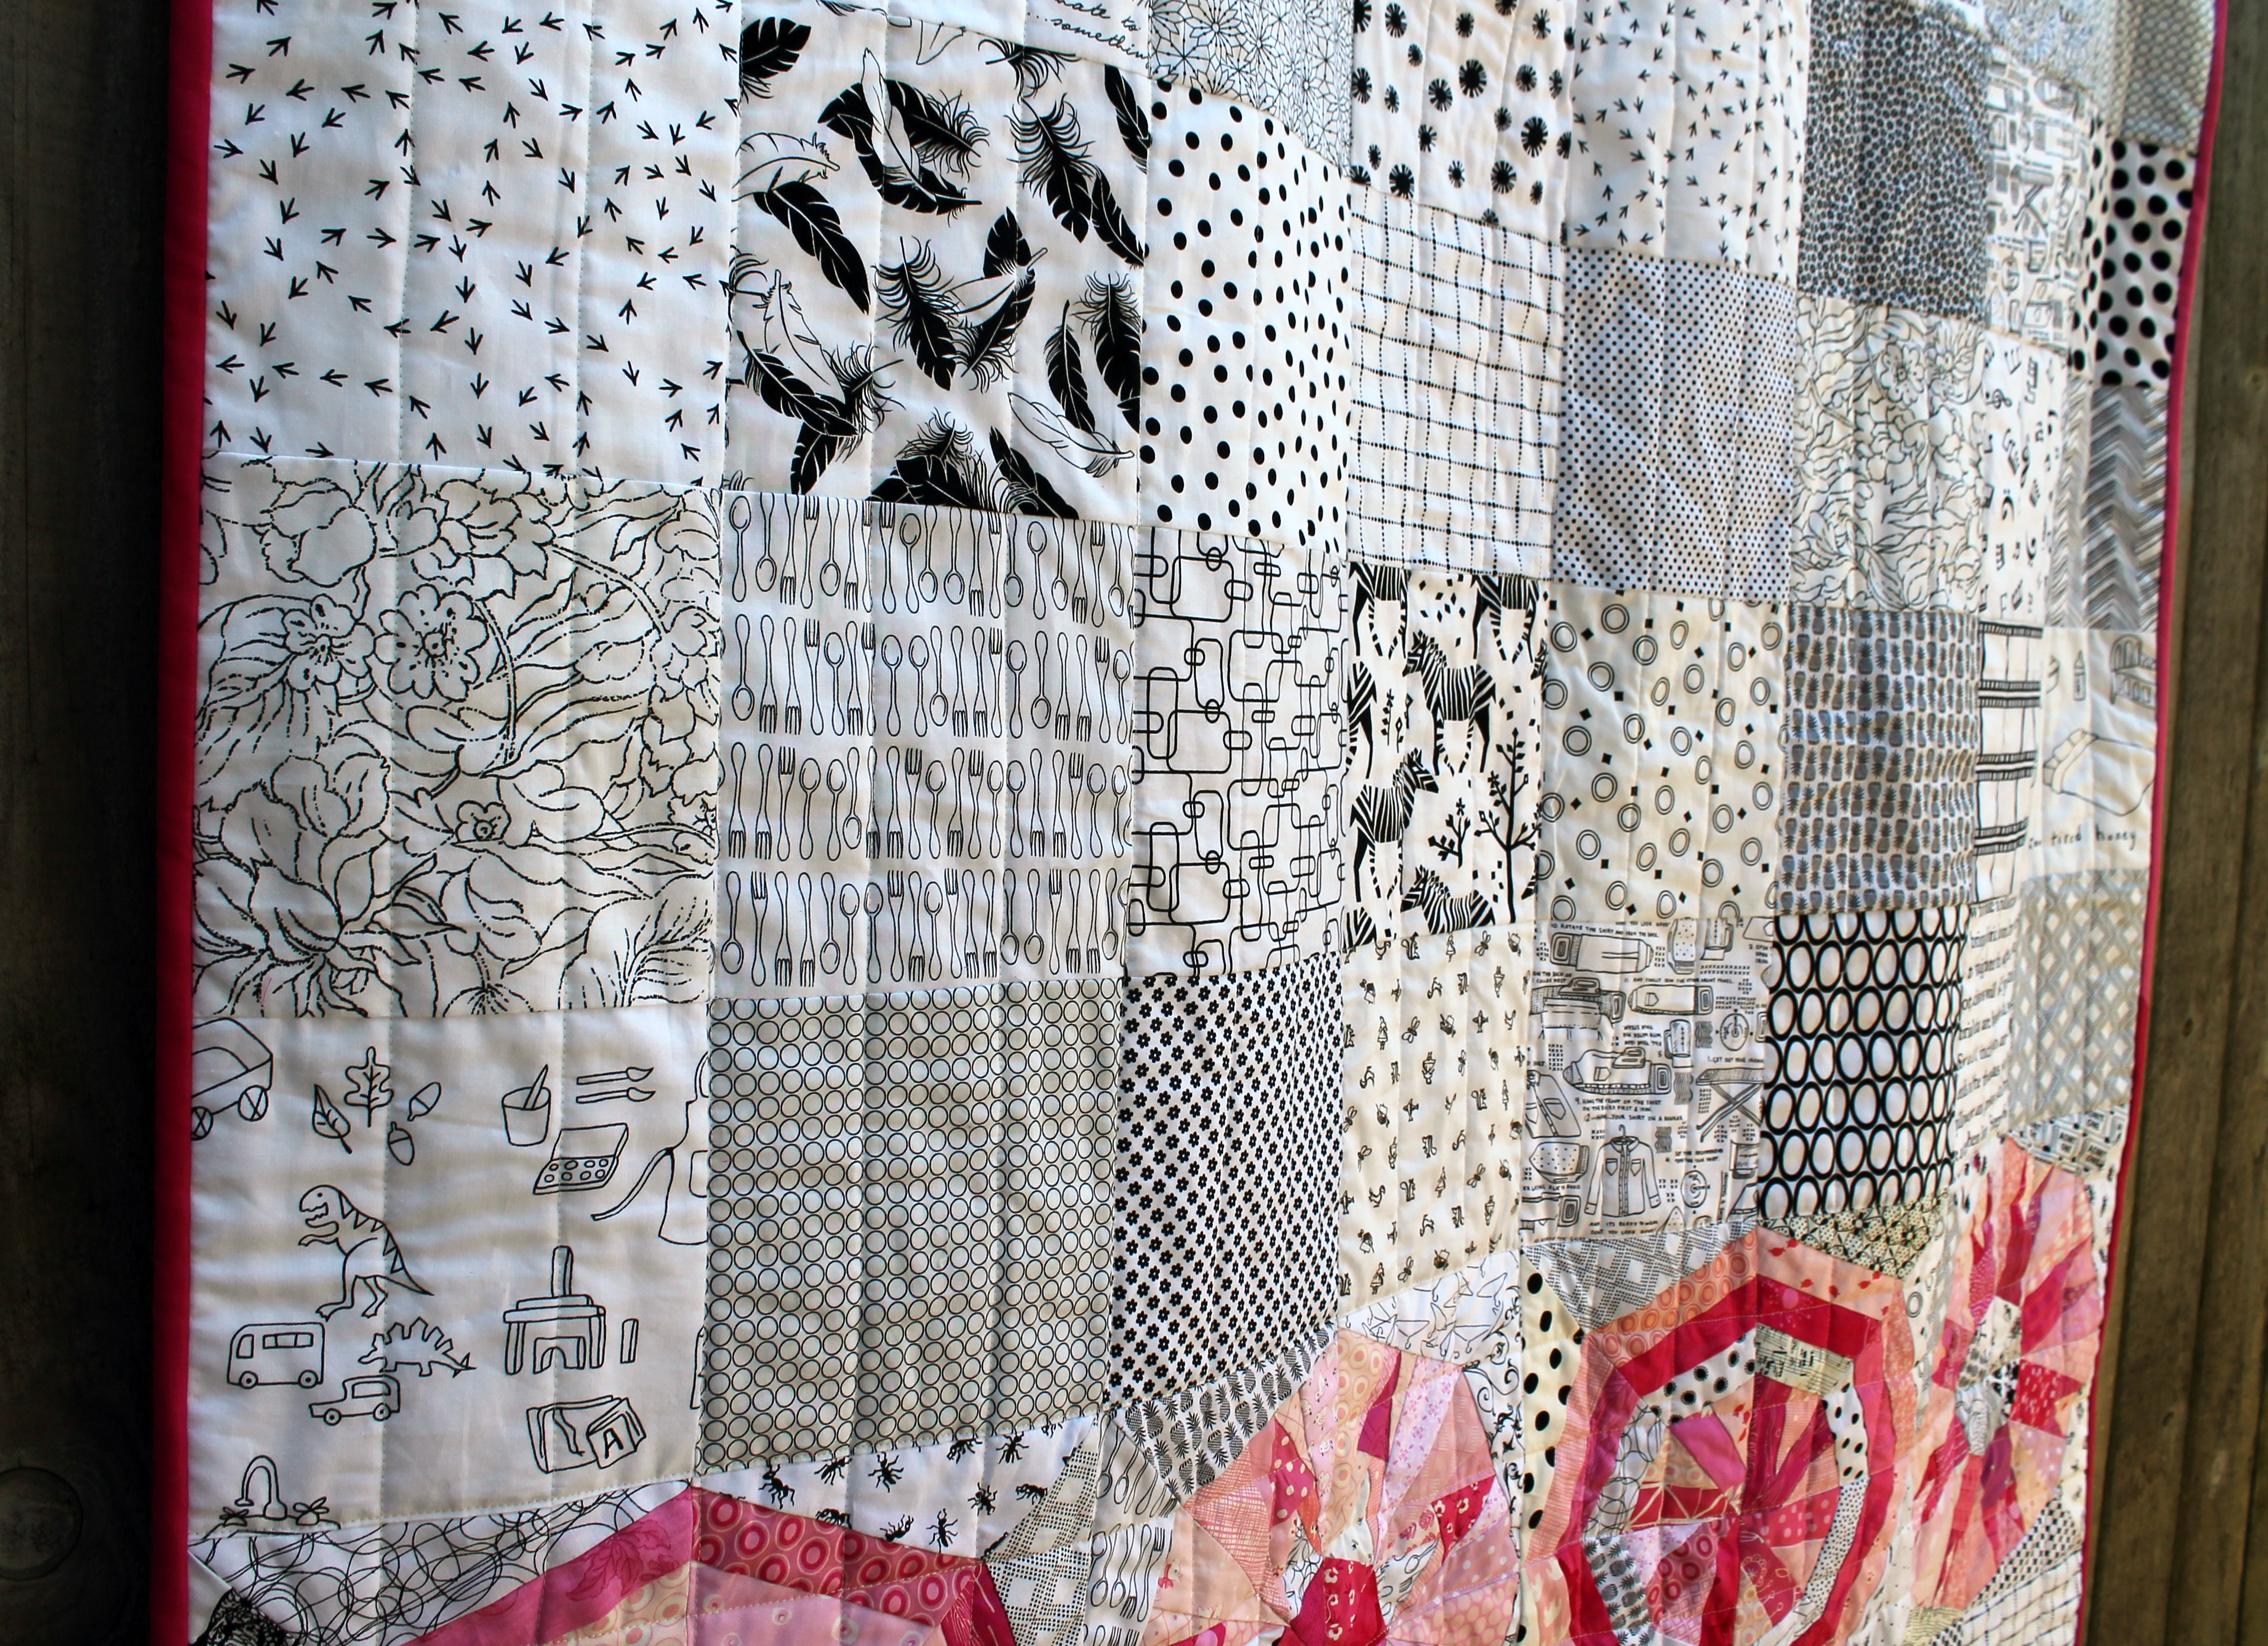
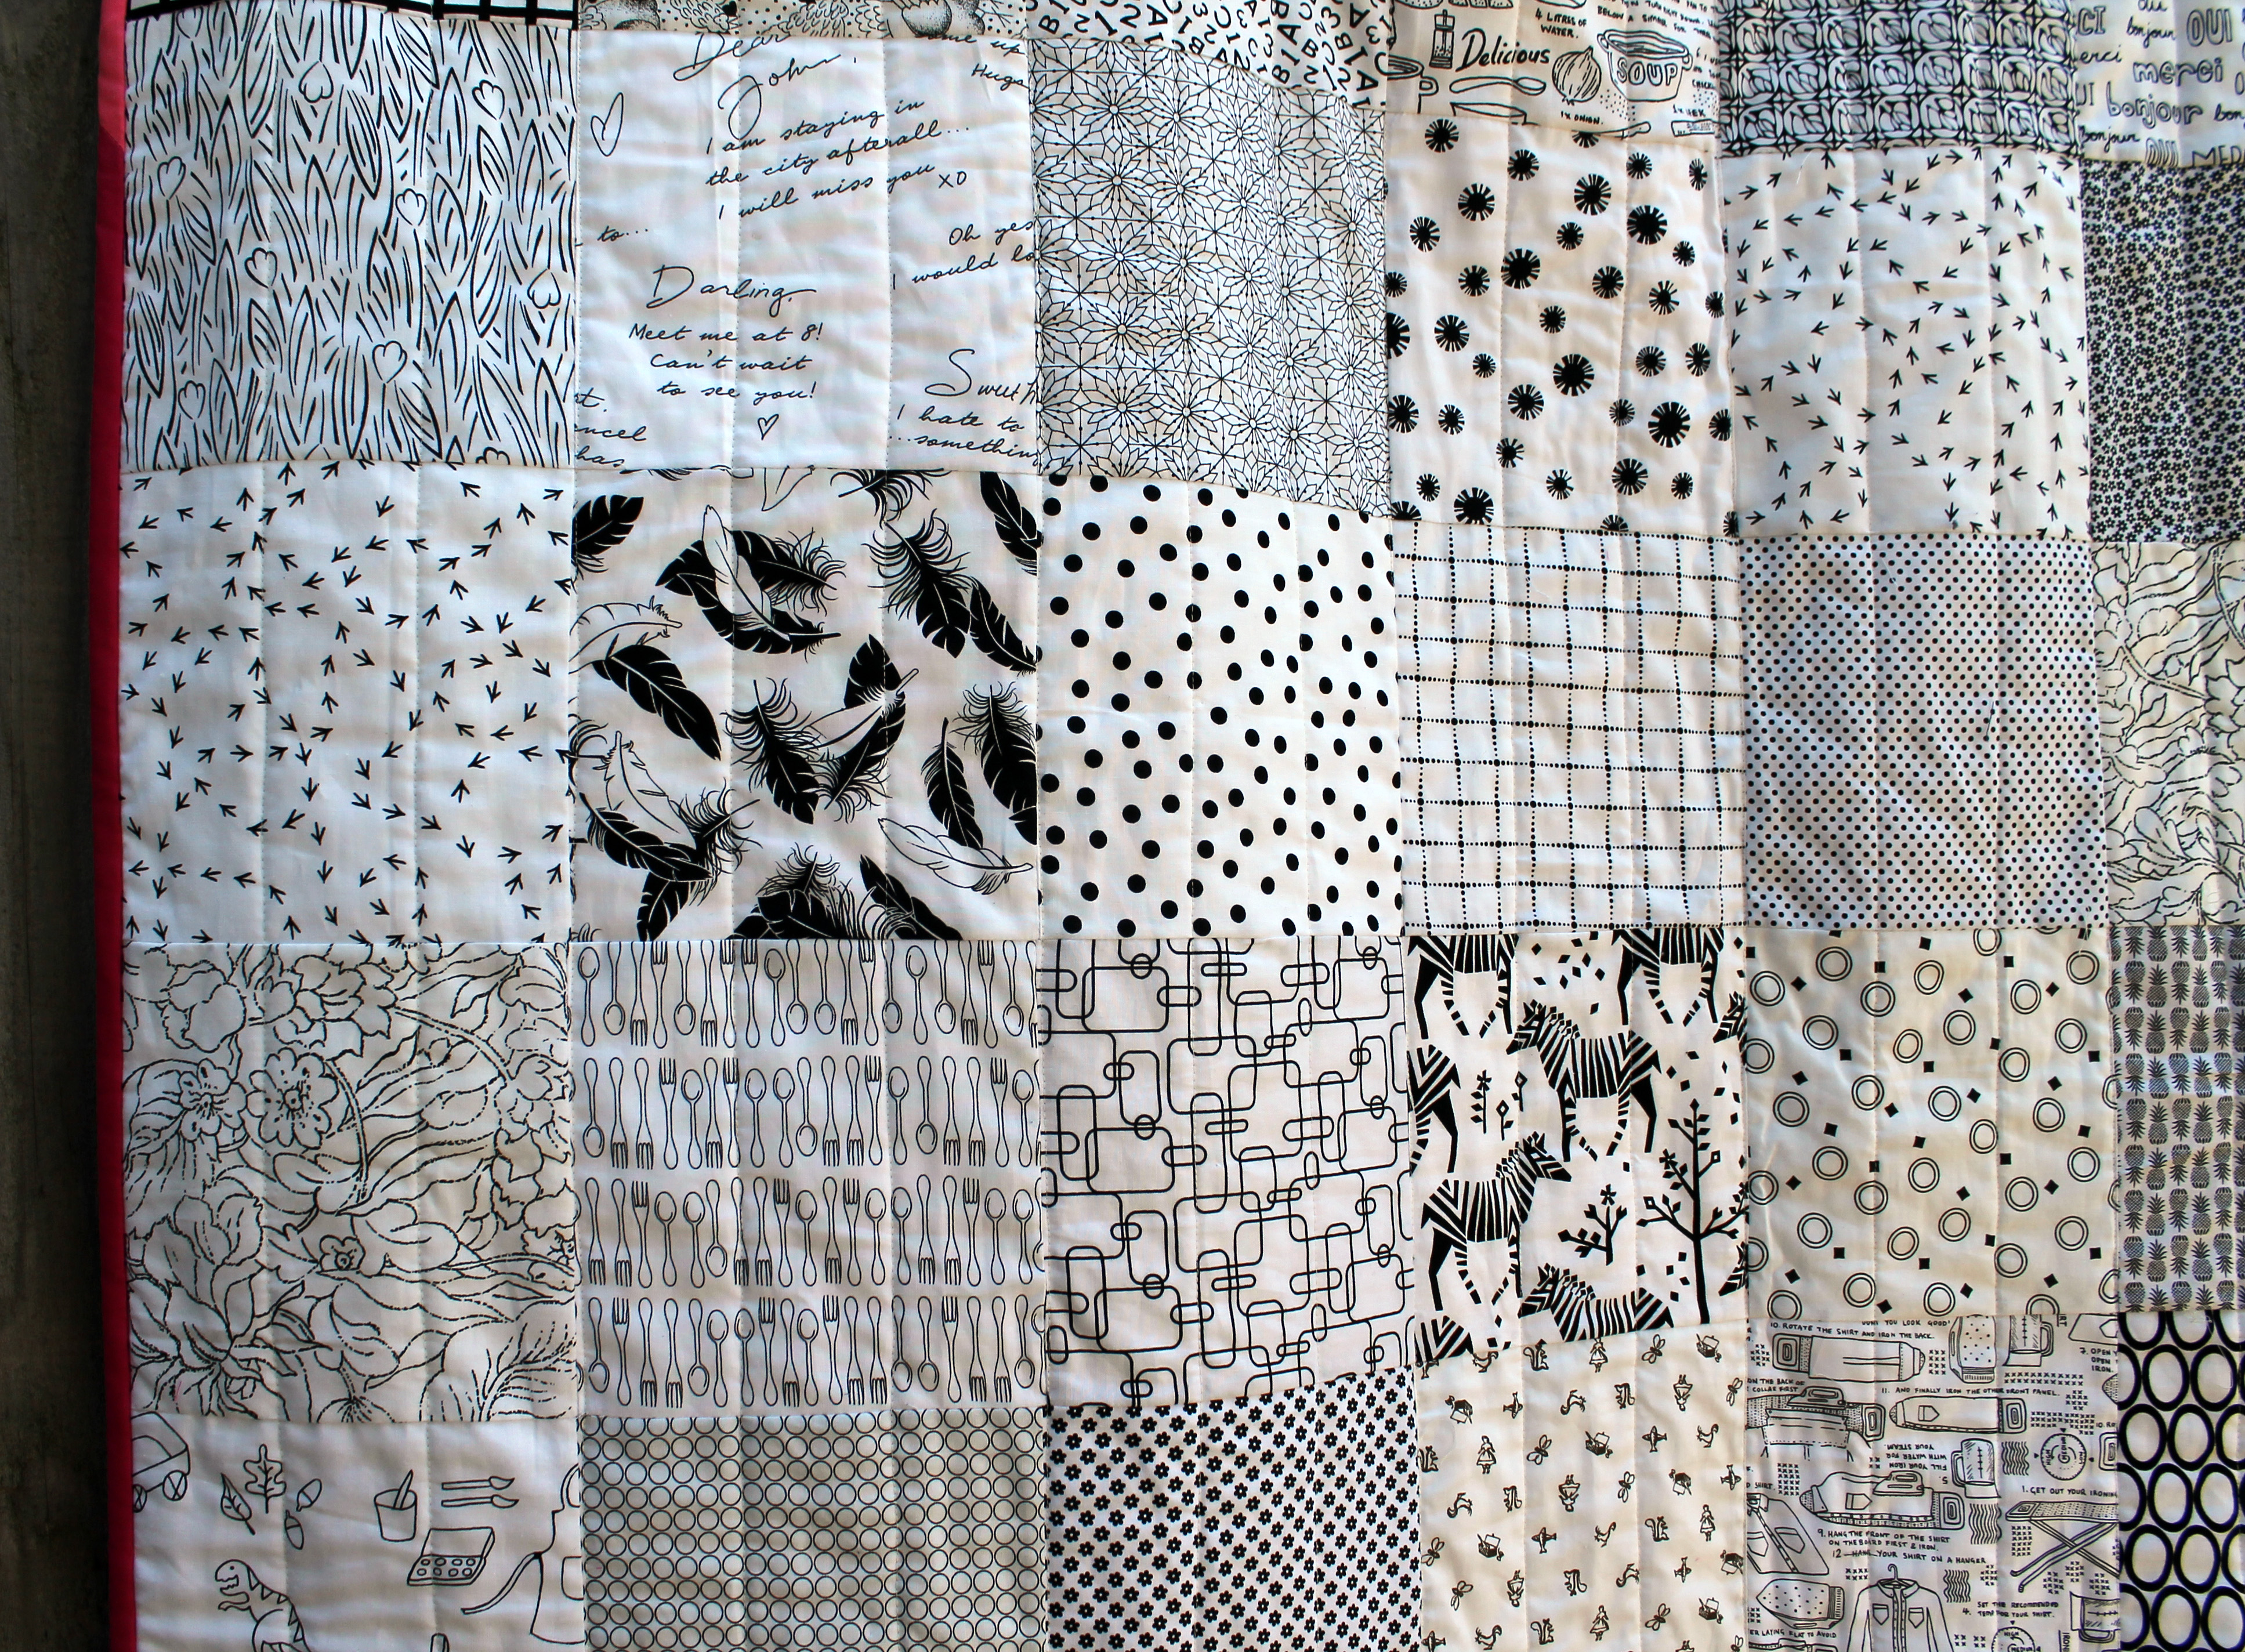
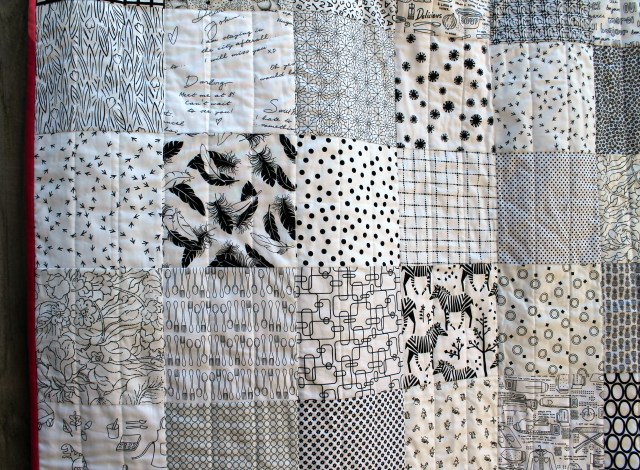
 To build out the quilt I cut a bunch of 6 1/2 square blocks from my black and white stash. The blocks were just the perfect size so I could play with layout and see how I wanted the quilt to flow.
I originally started with the pink blocks running down the side of the quilt, but after some procrastination went for the layout I have now – one row below the paper pieced blocks and 5 above.
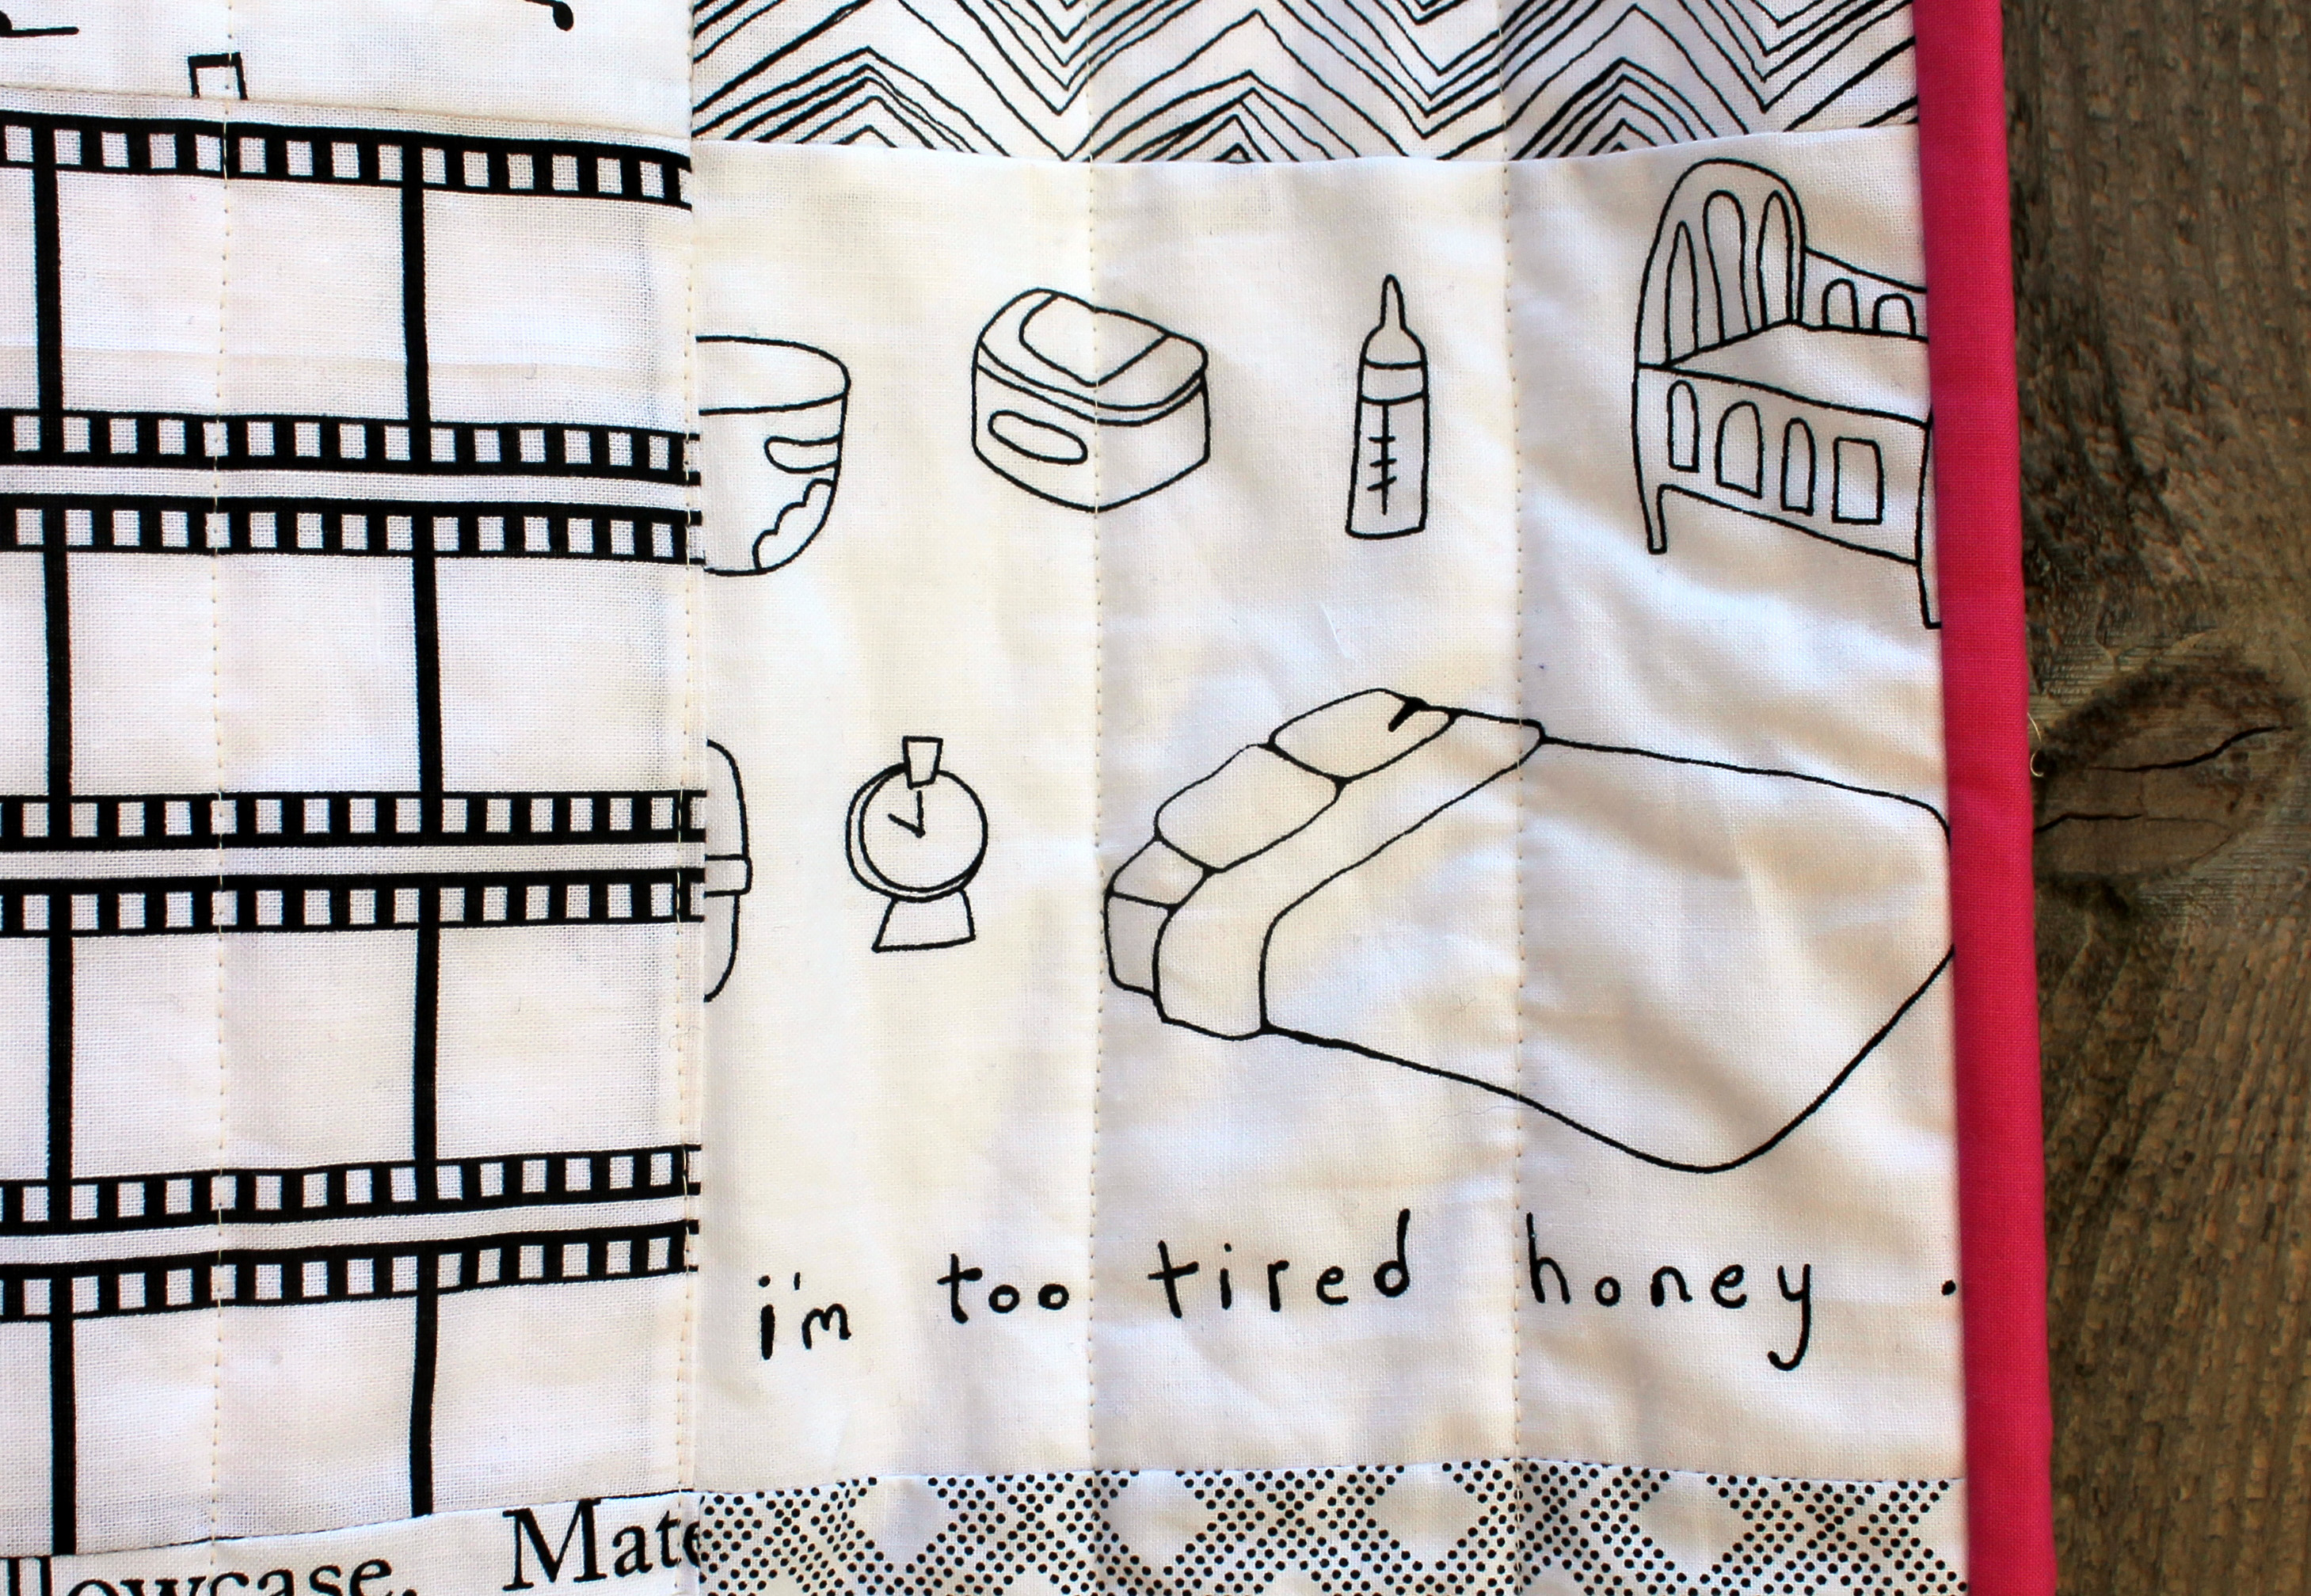
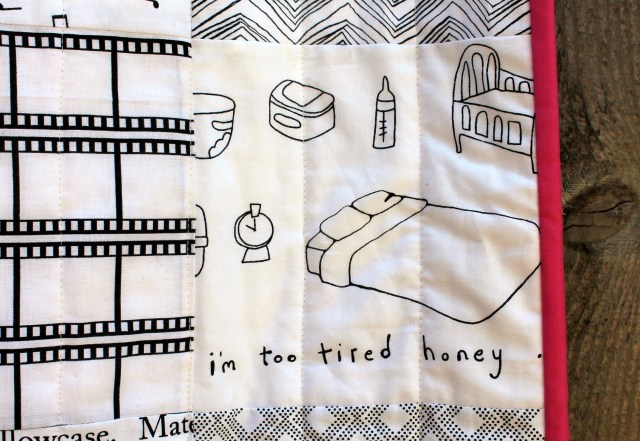
 I had some serious fun fussy cutting… this block in particular seemed so appropriate for a baby quilt…
 The quilt could easily have been made longer by adding another row or two of black and white blocks but I liked the square format.
 For the quilting I ran straight lines down the quilt and then sewed intersecting vertical lines thru the paper pieced squares.
 For the back I used some fun pink number fabric and some black and white dots. Nothing too fancy. The binding was of course scrappy pink solids!
 This quilt is destined for an exciting life when my friends baby is born. They are an amazing couple that lead a slightly unconventional life. A traditional baby quilt was not going to do…
Quilt Details:
Technique: Paper piecing and simple patchwork.
Block size: 12 inches
Quilt Size: 48 x 48 inches
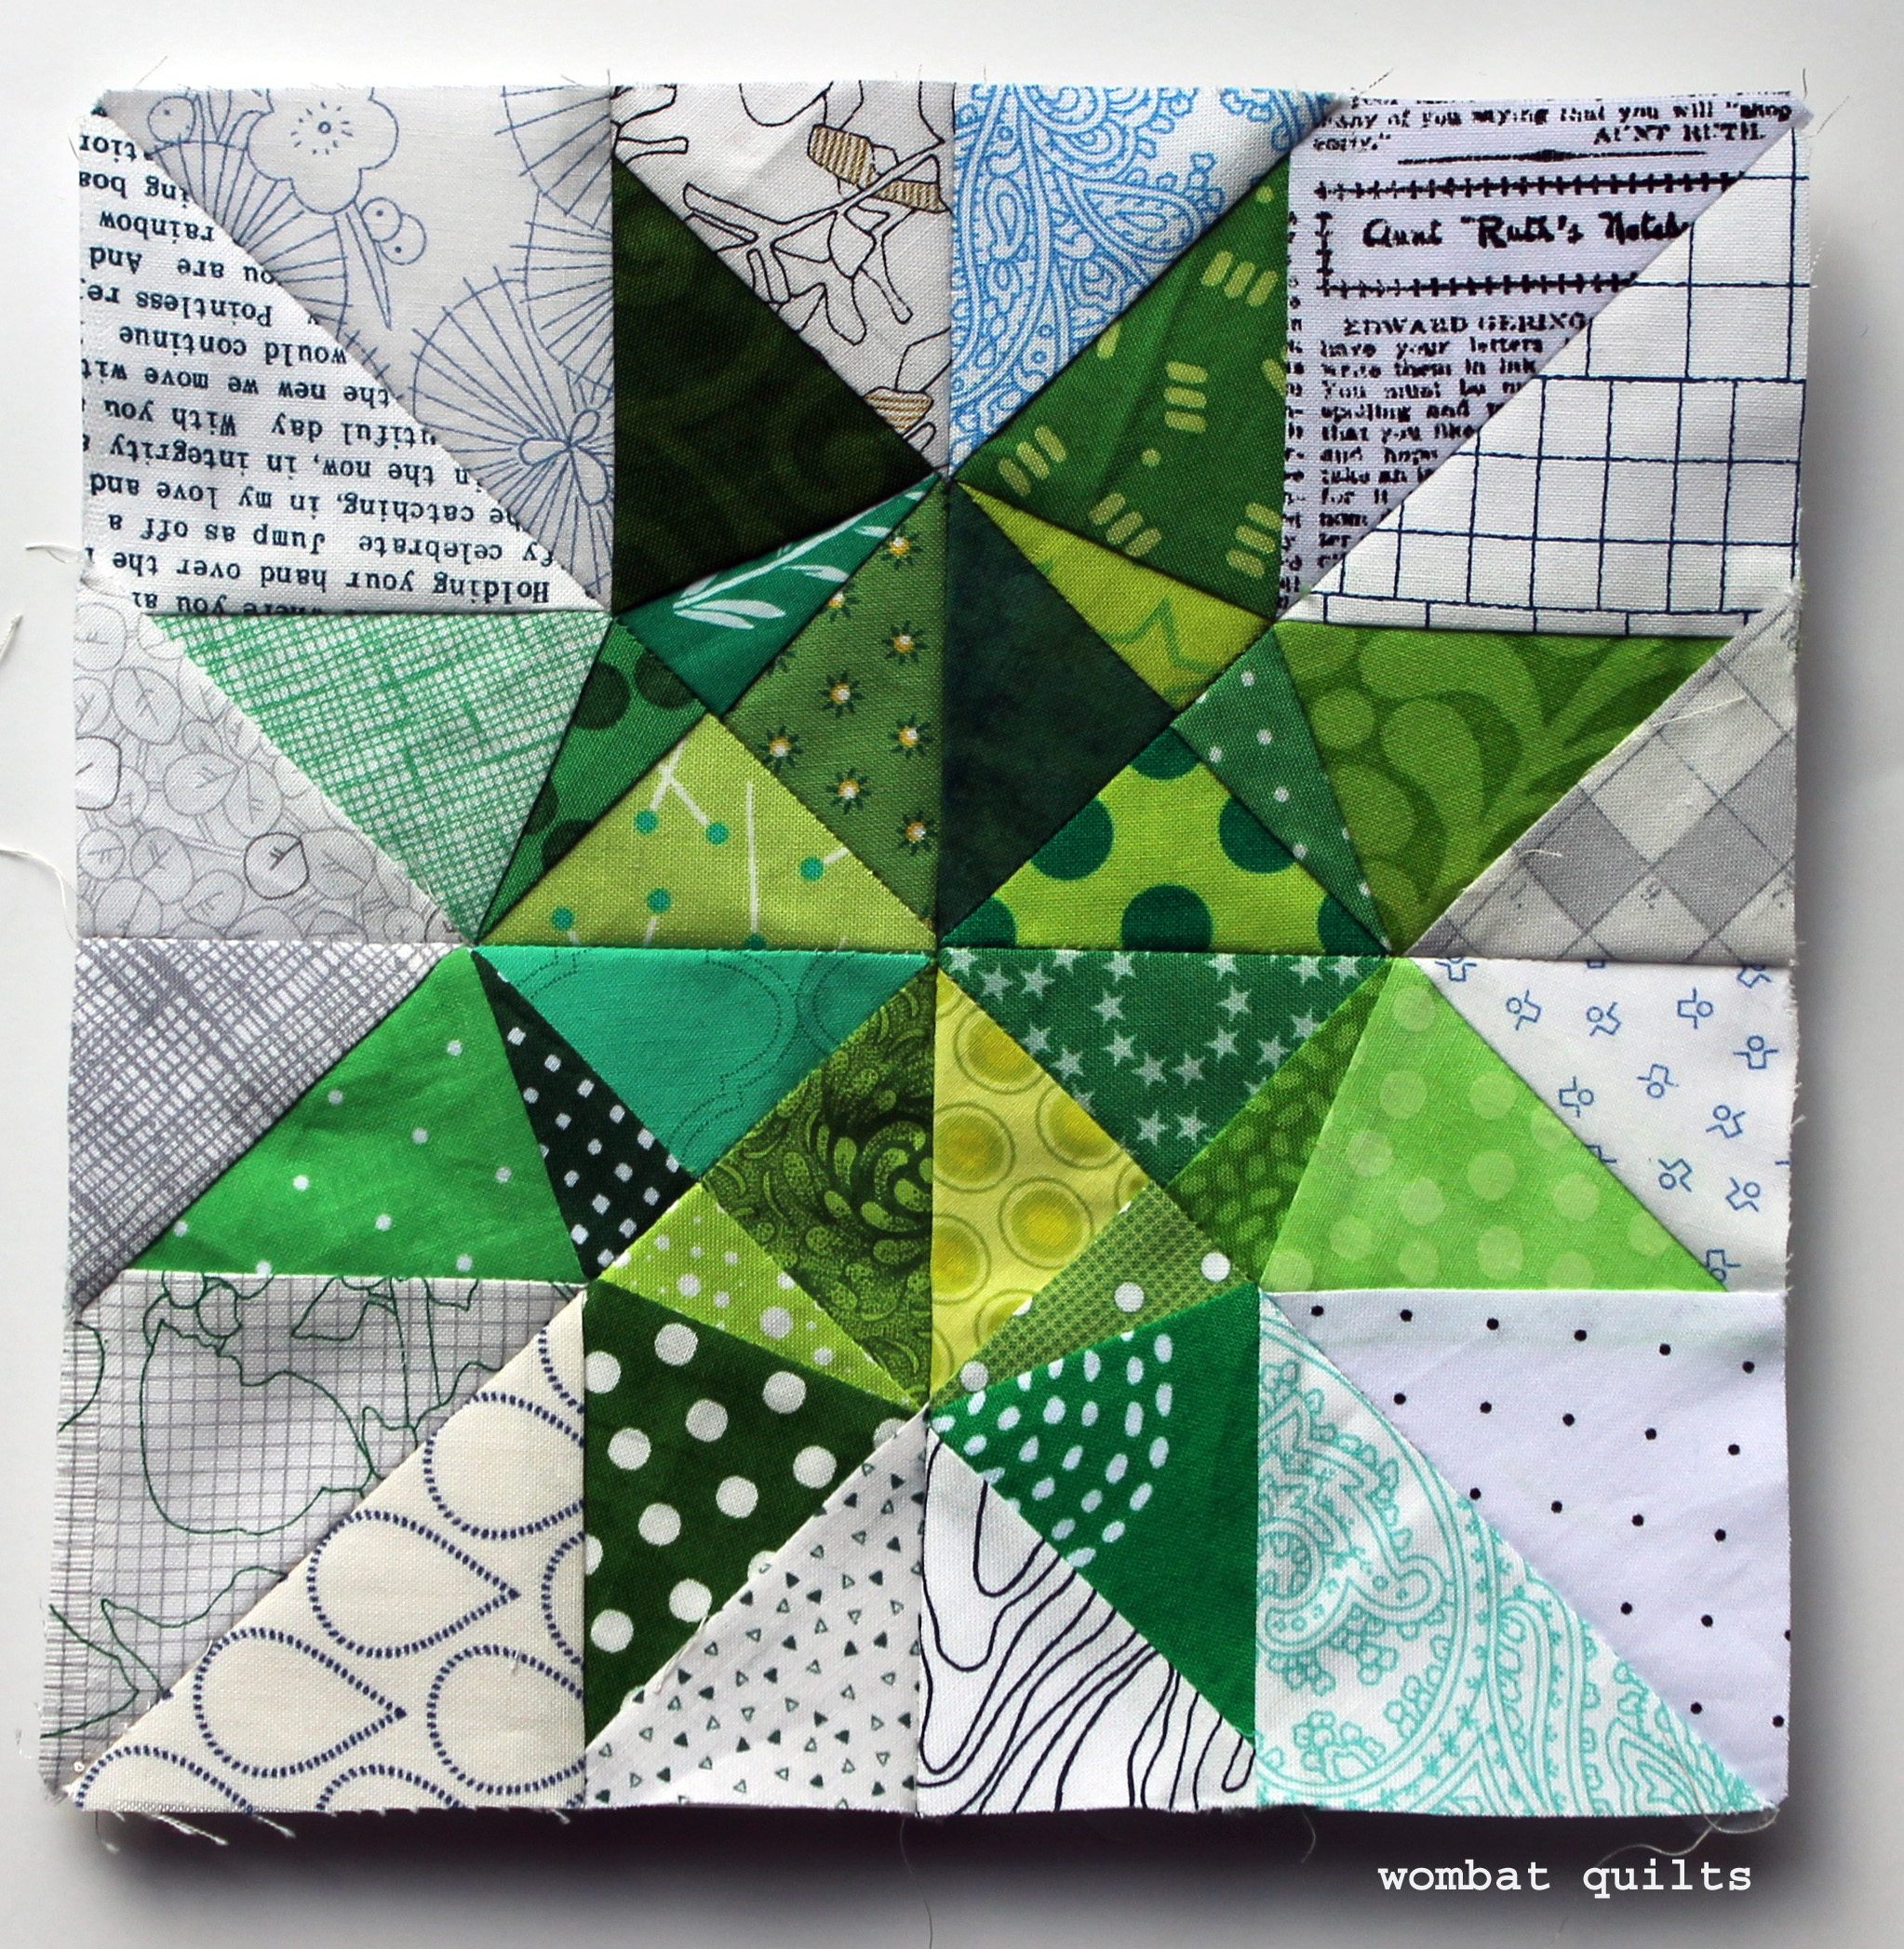
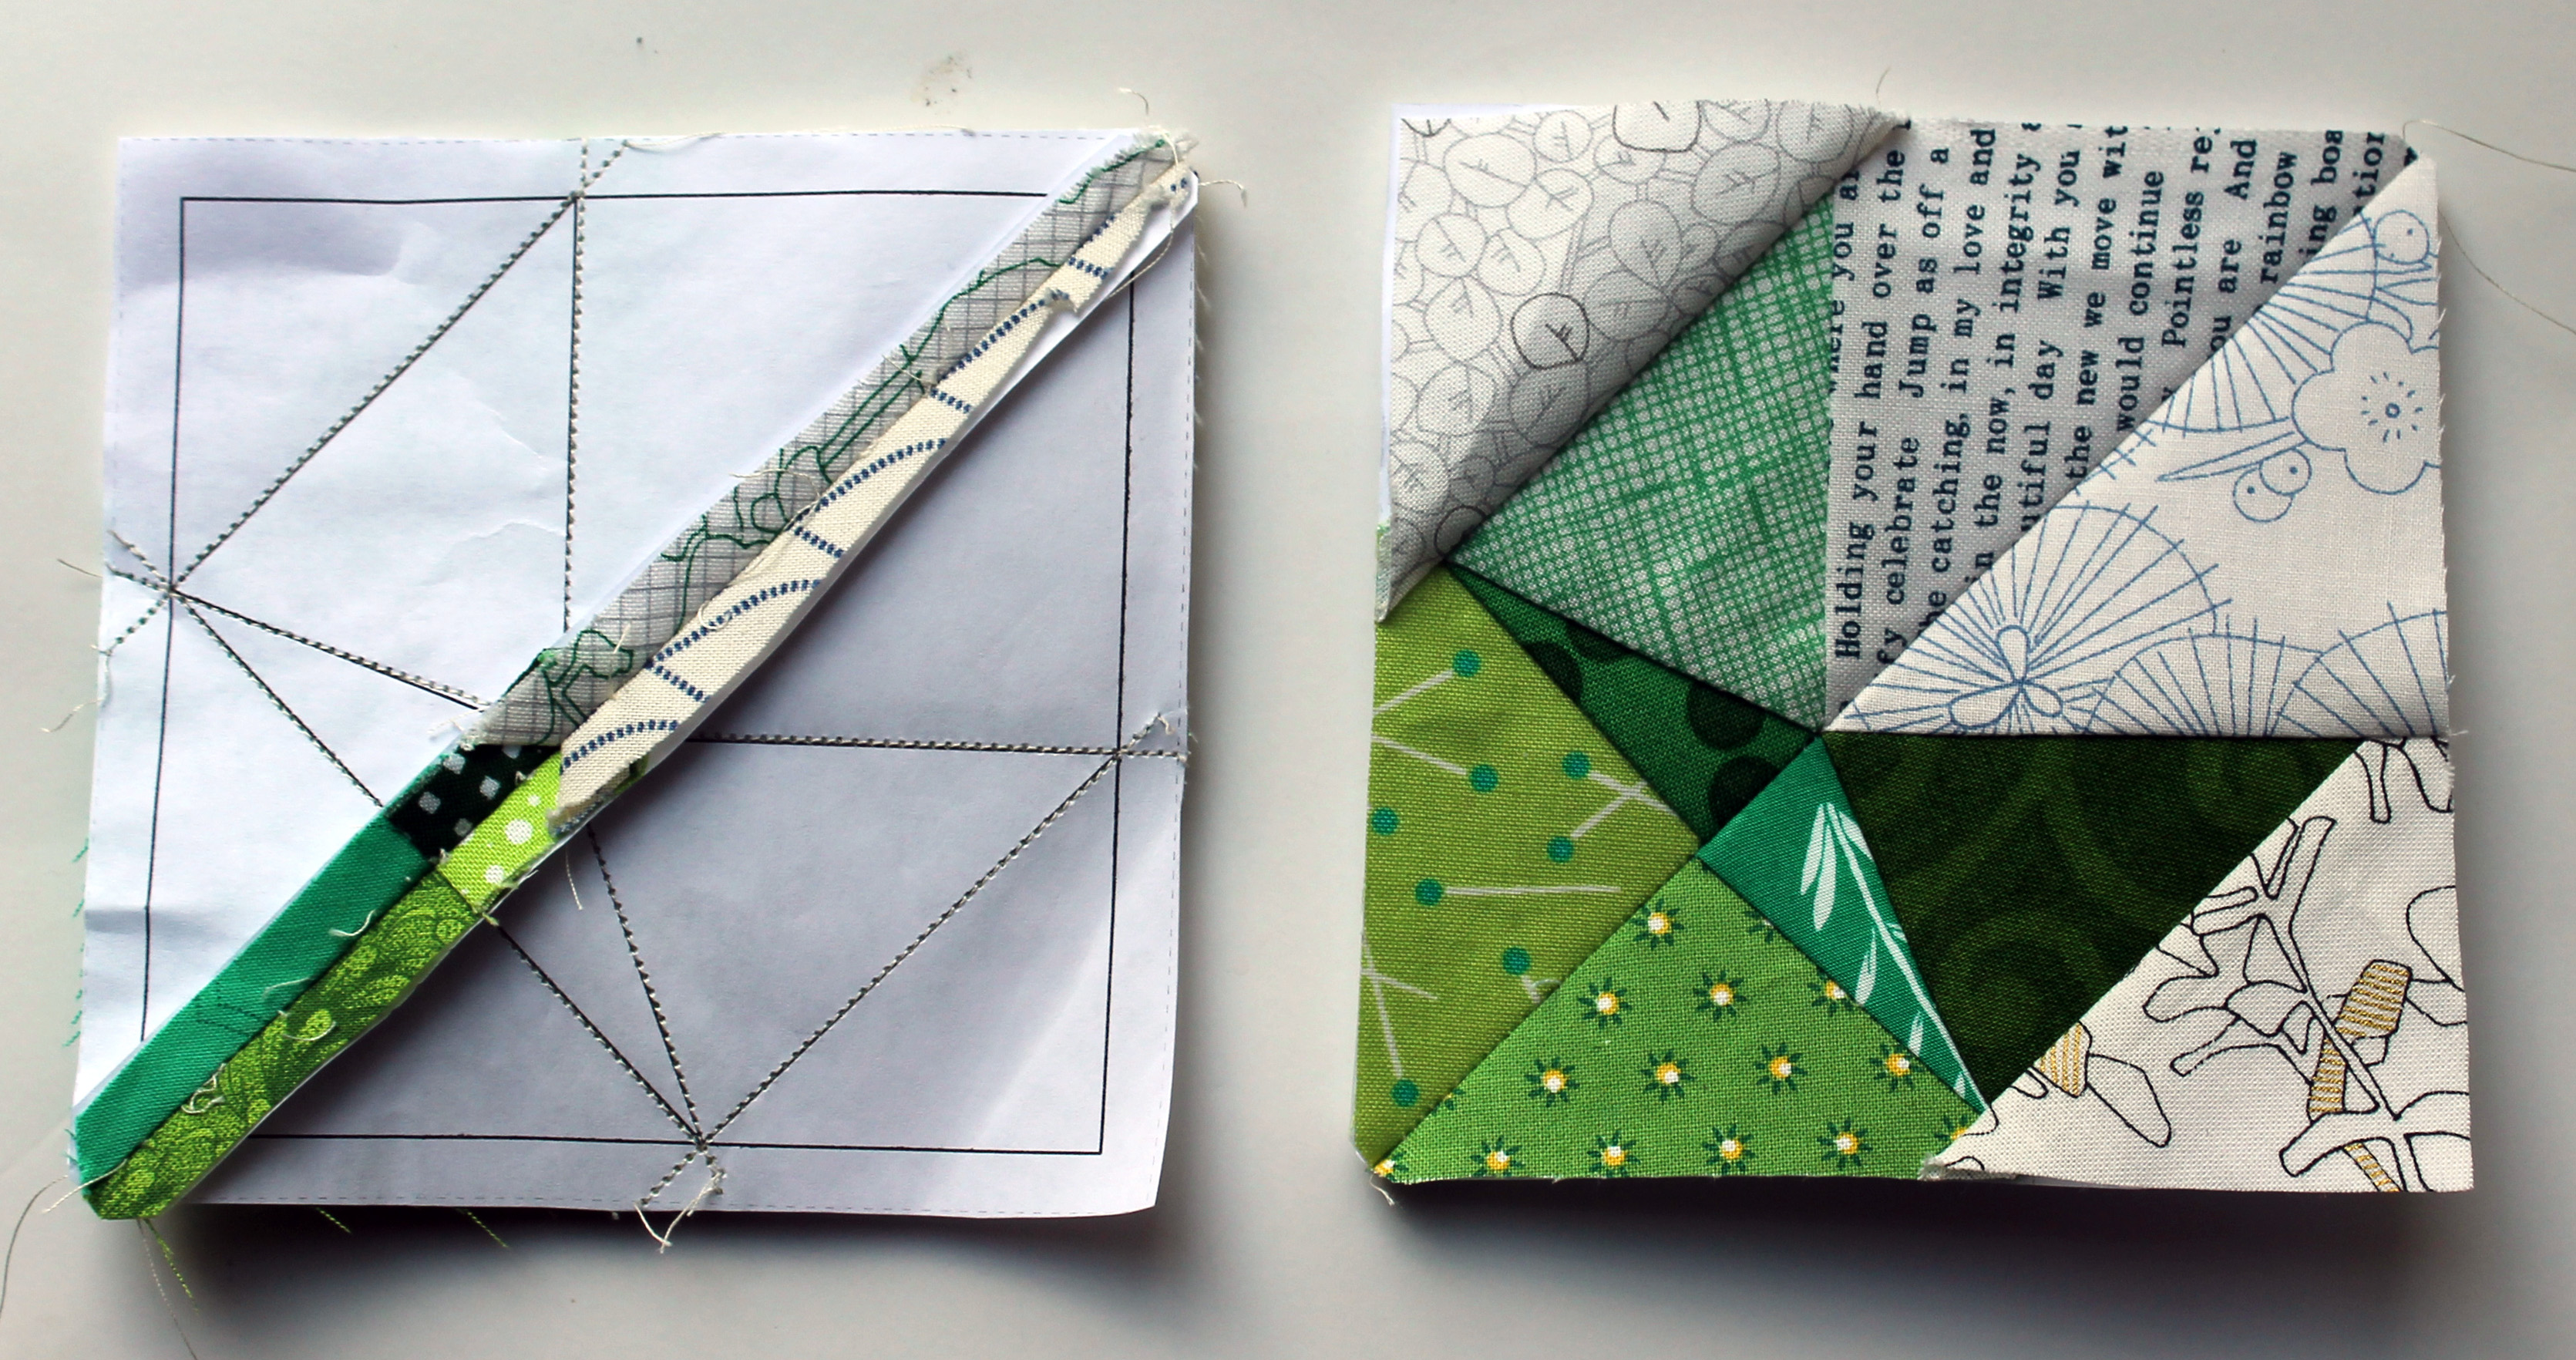
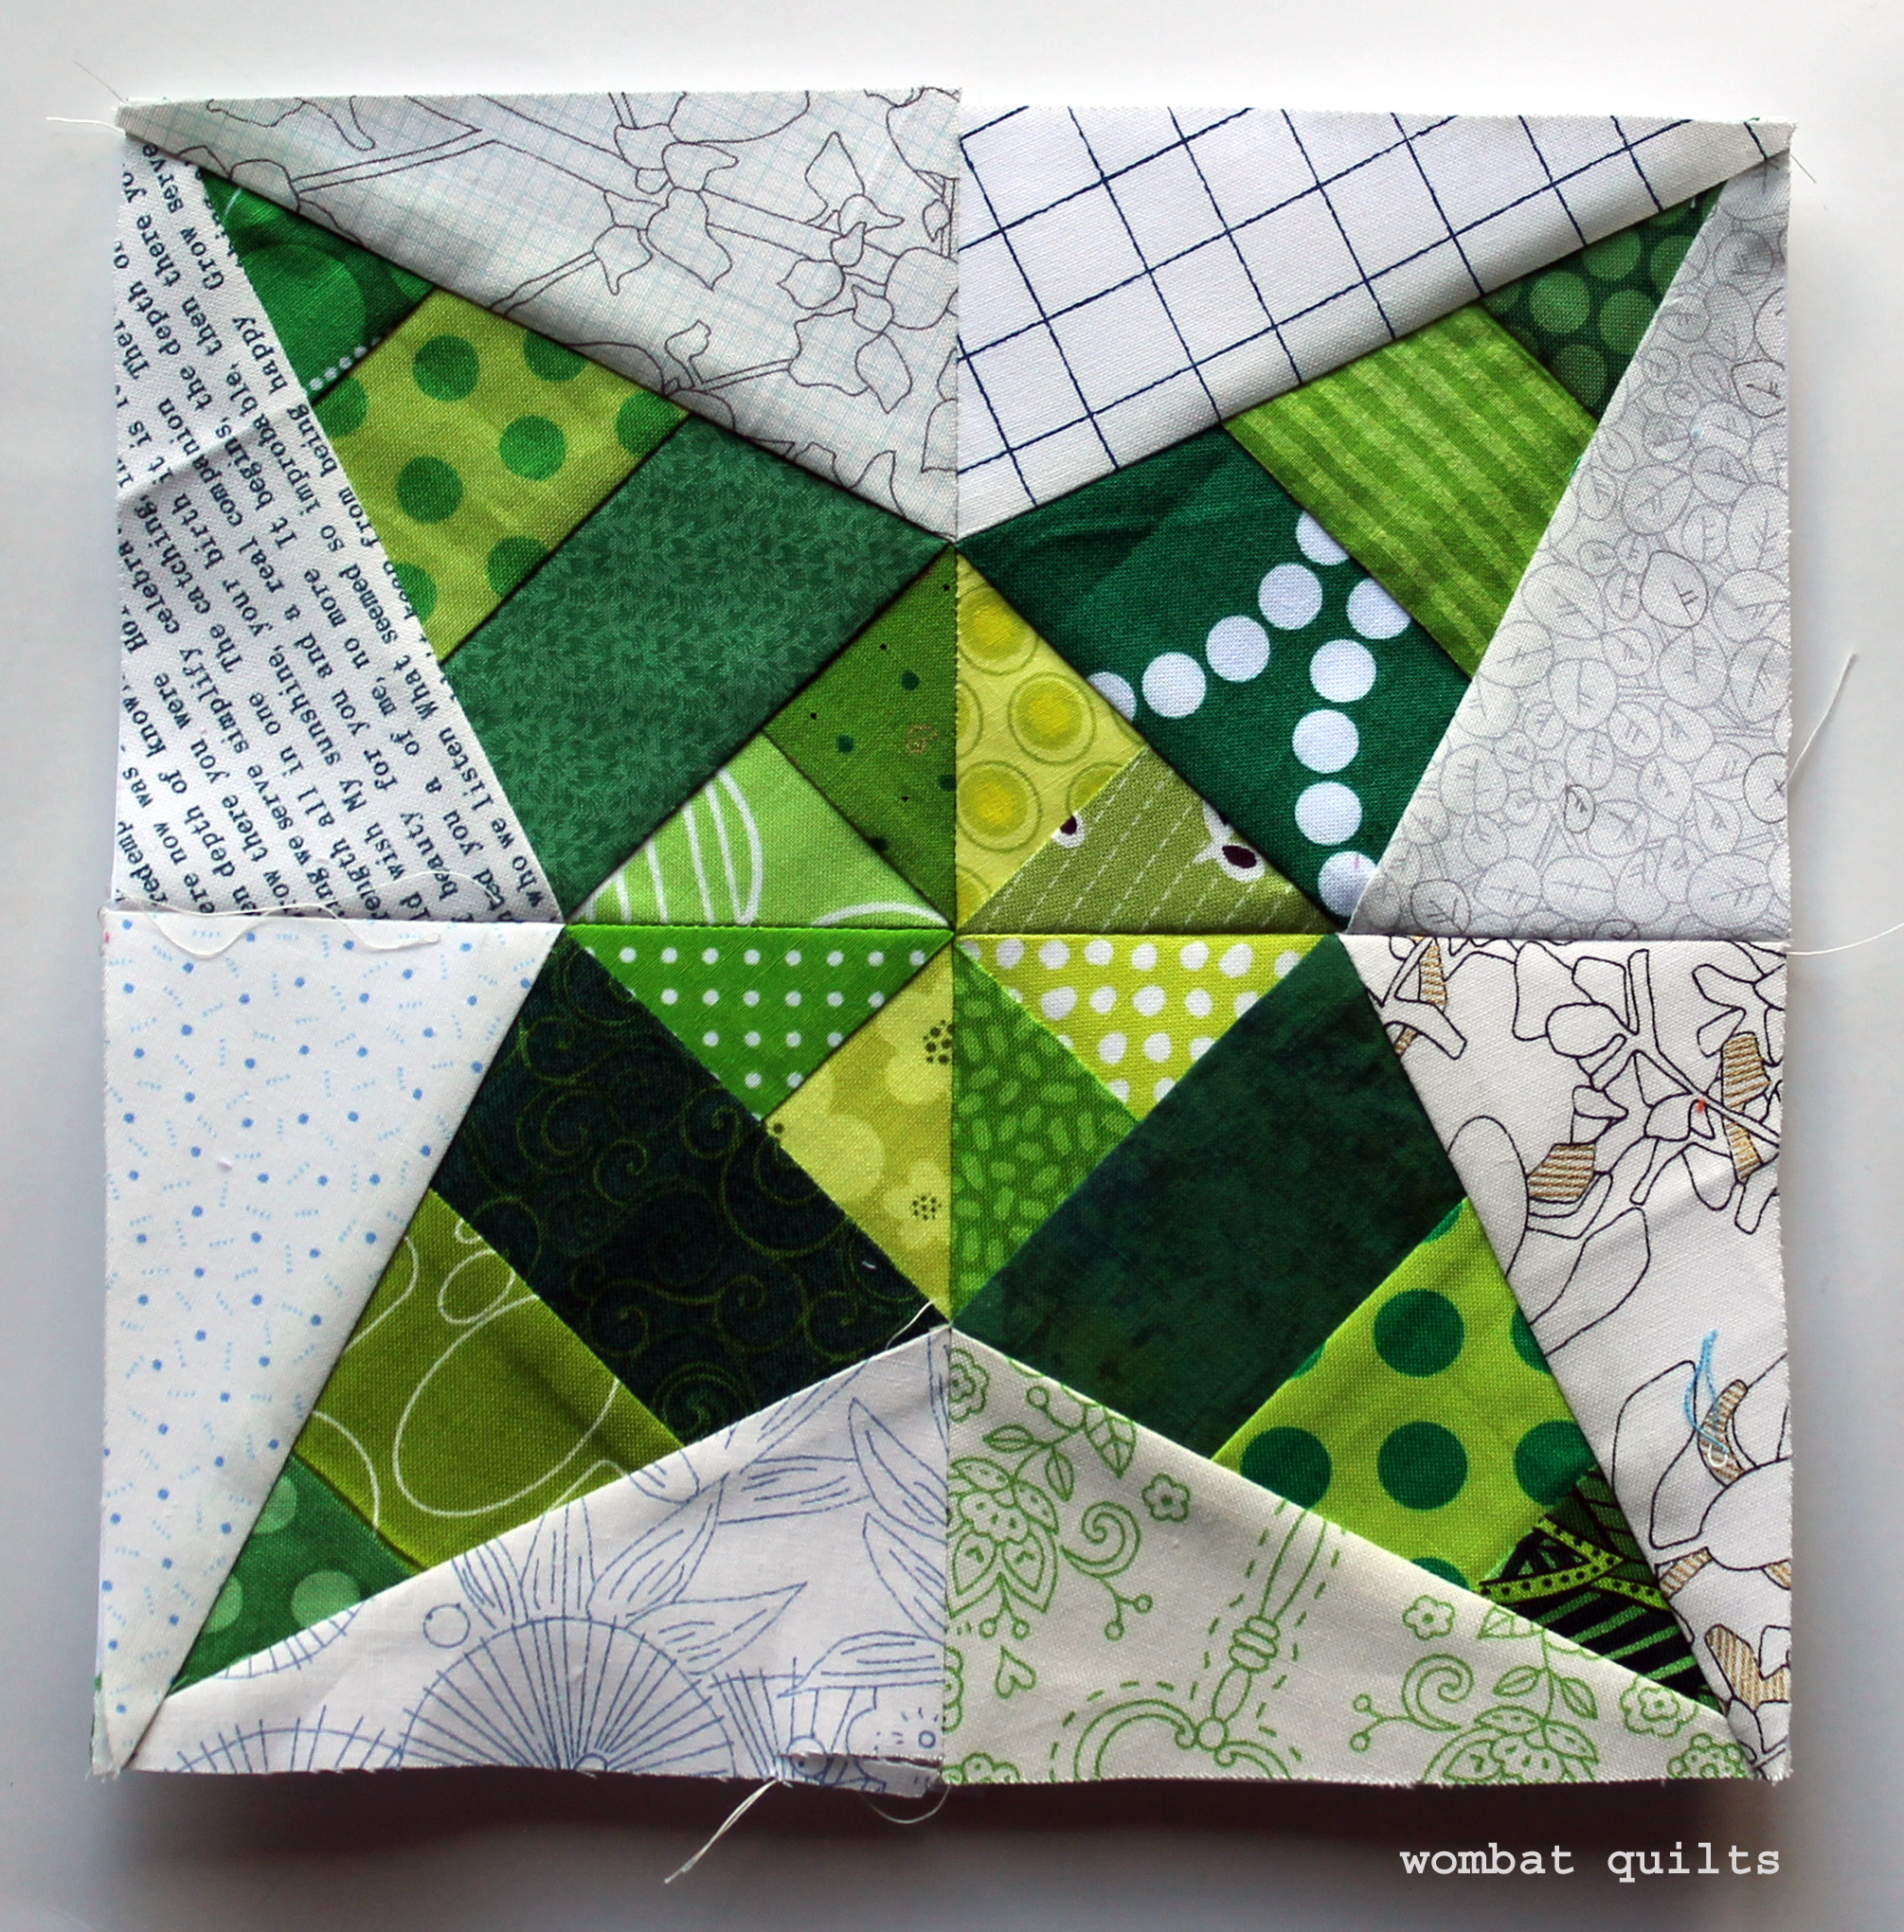
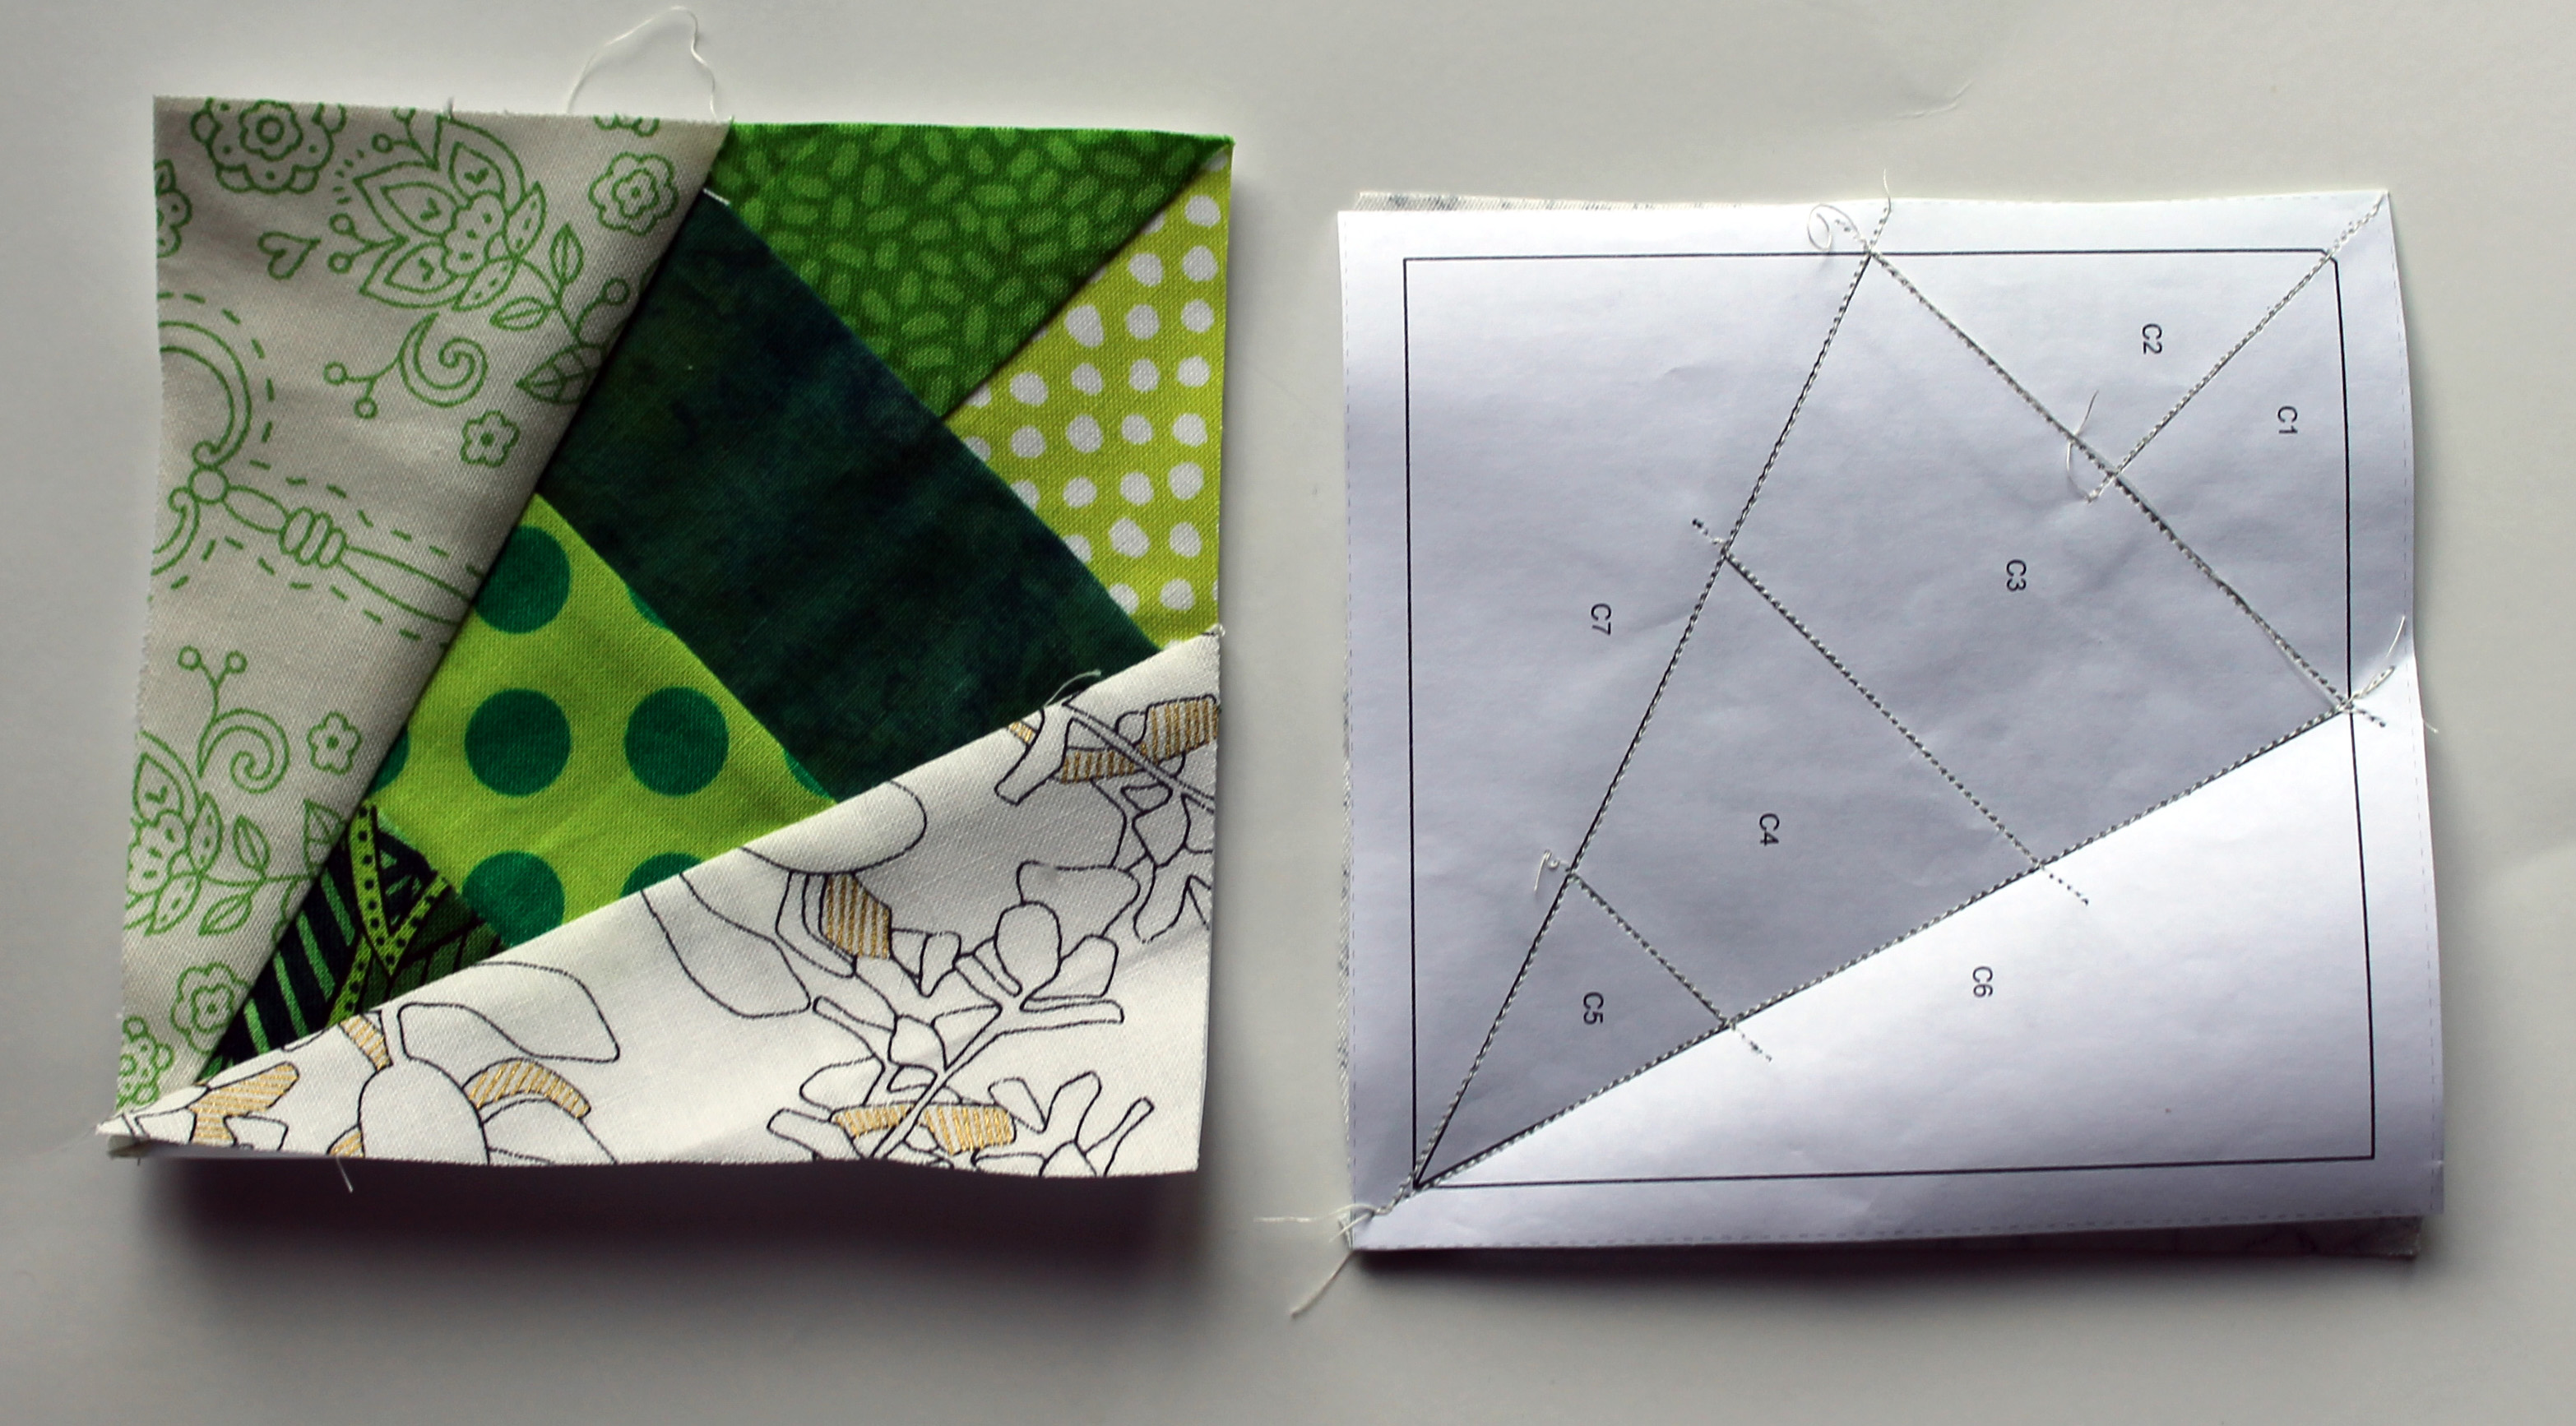
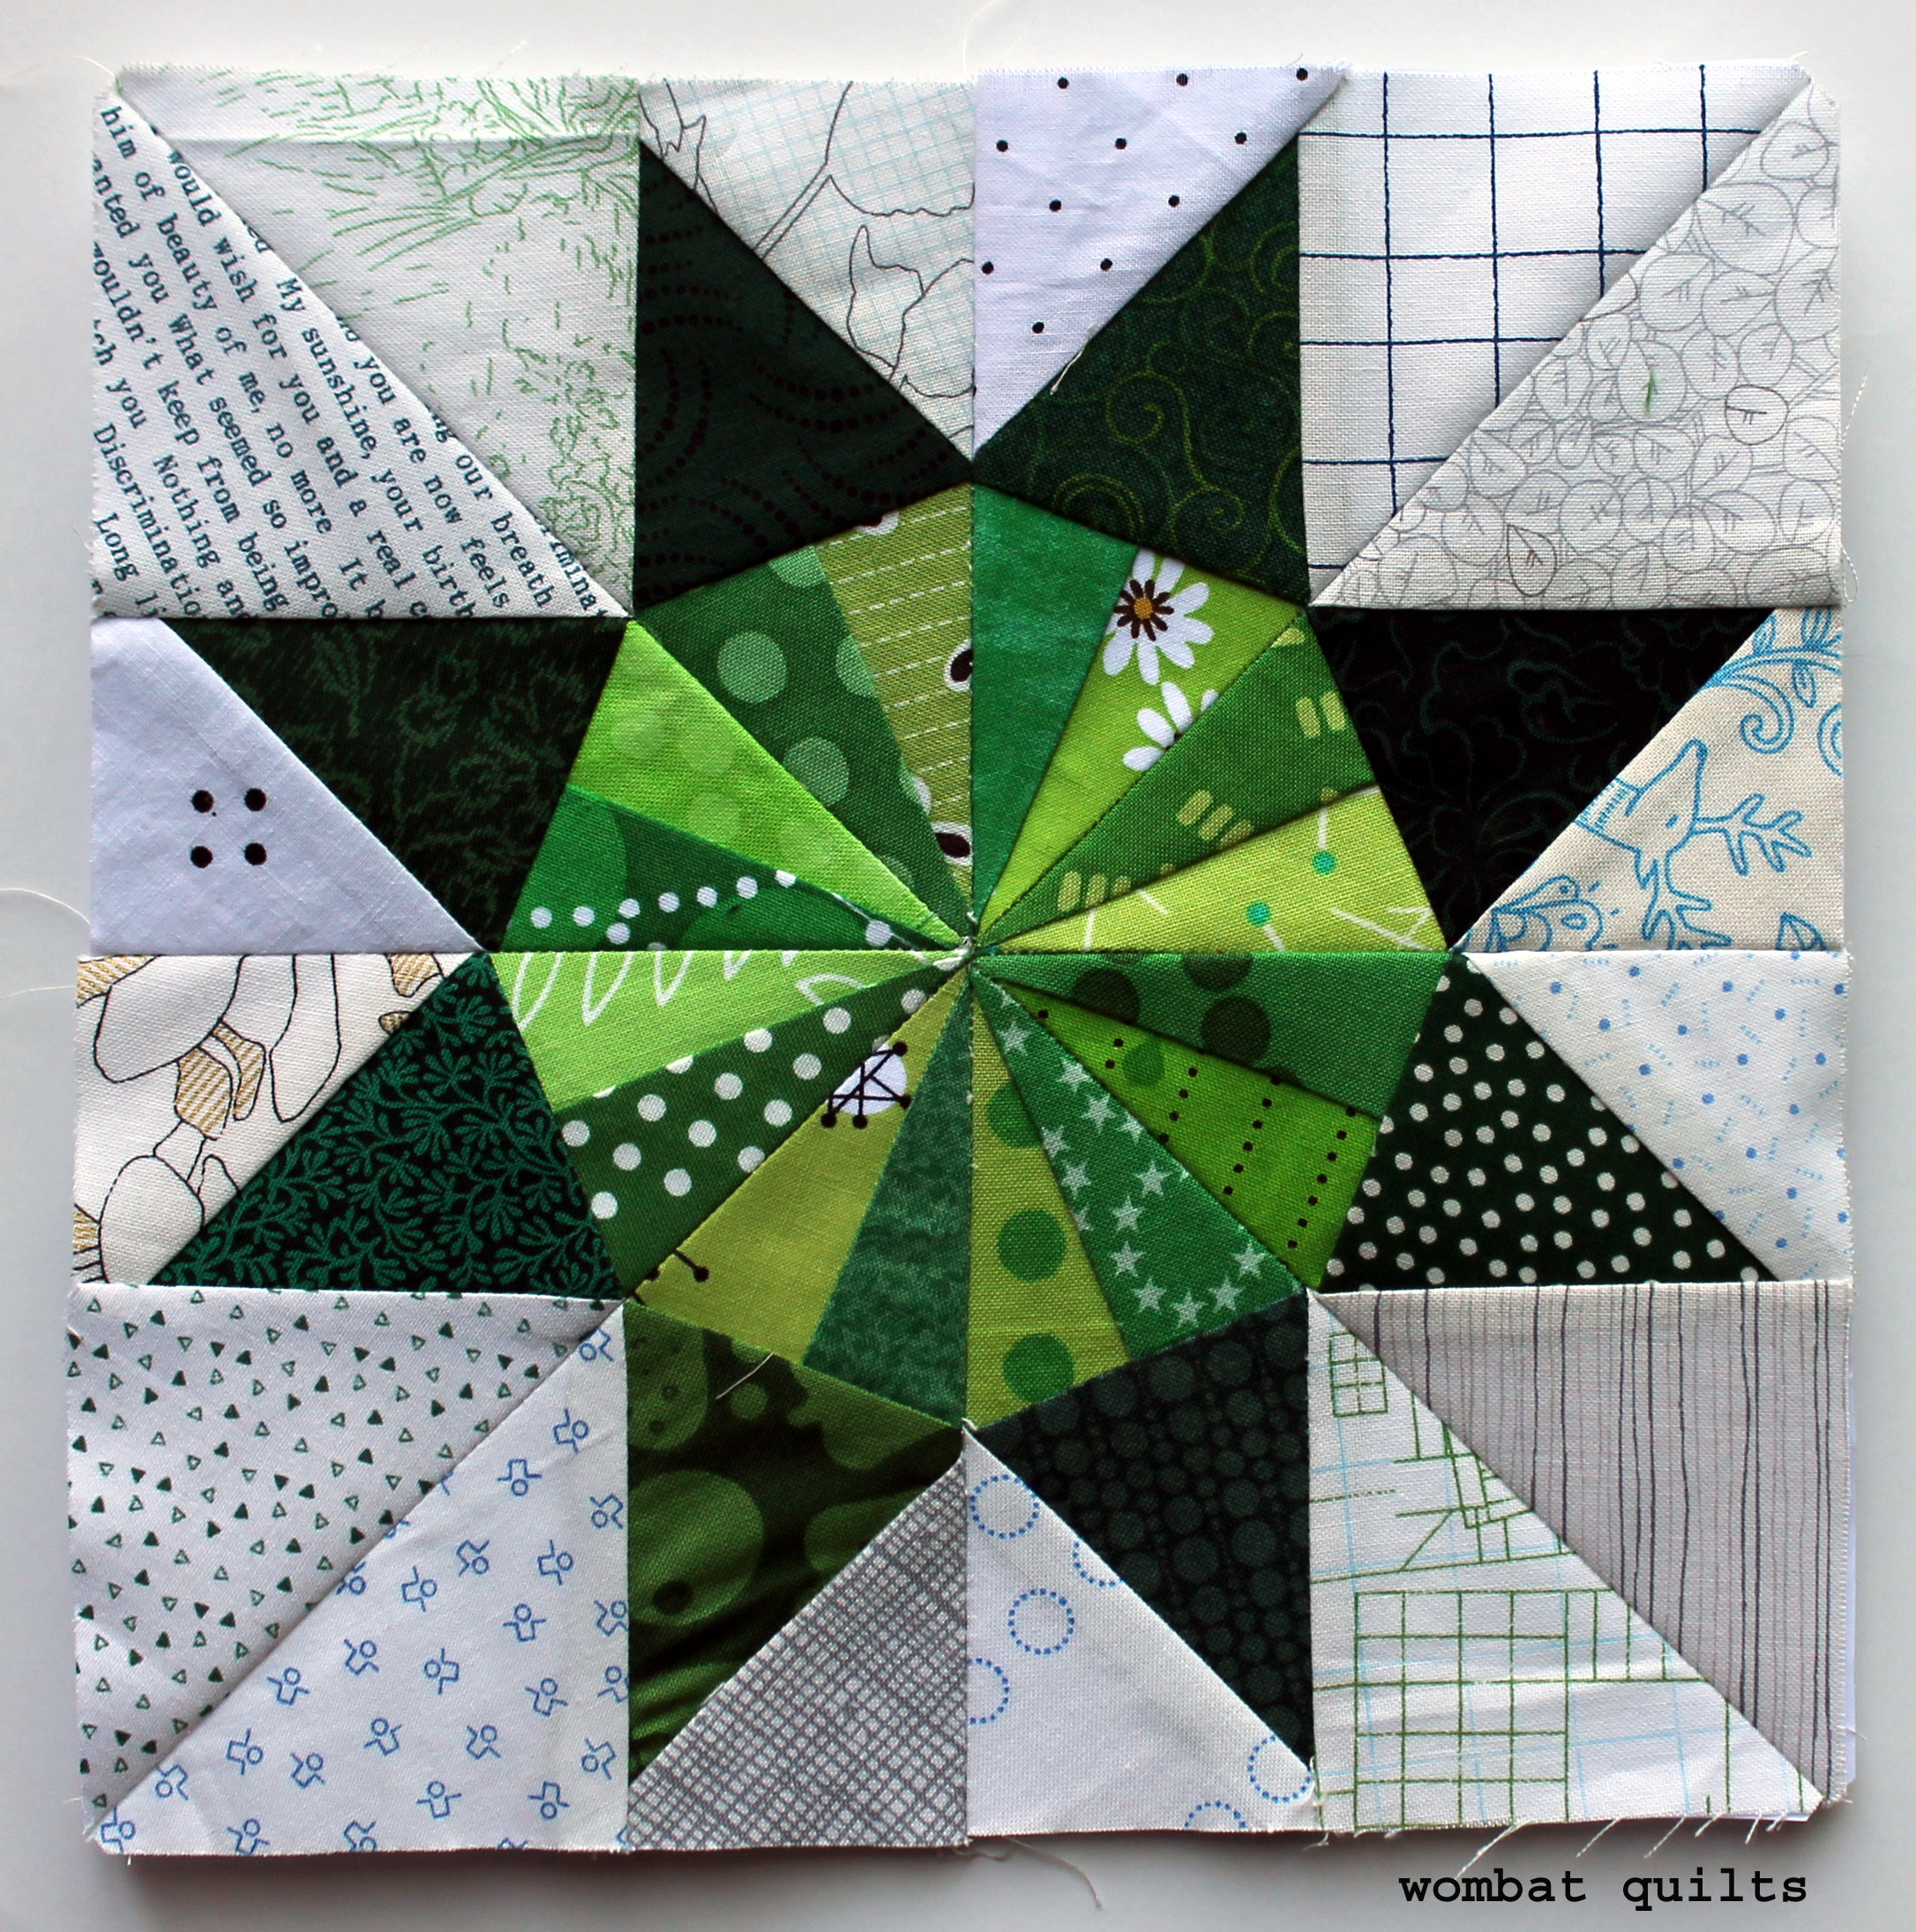
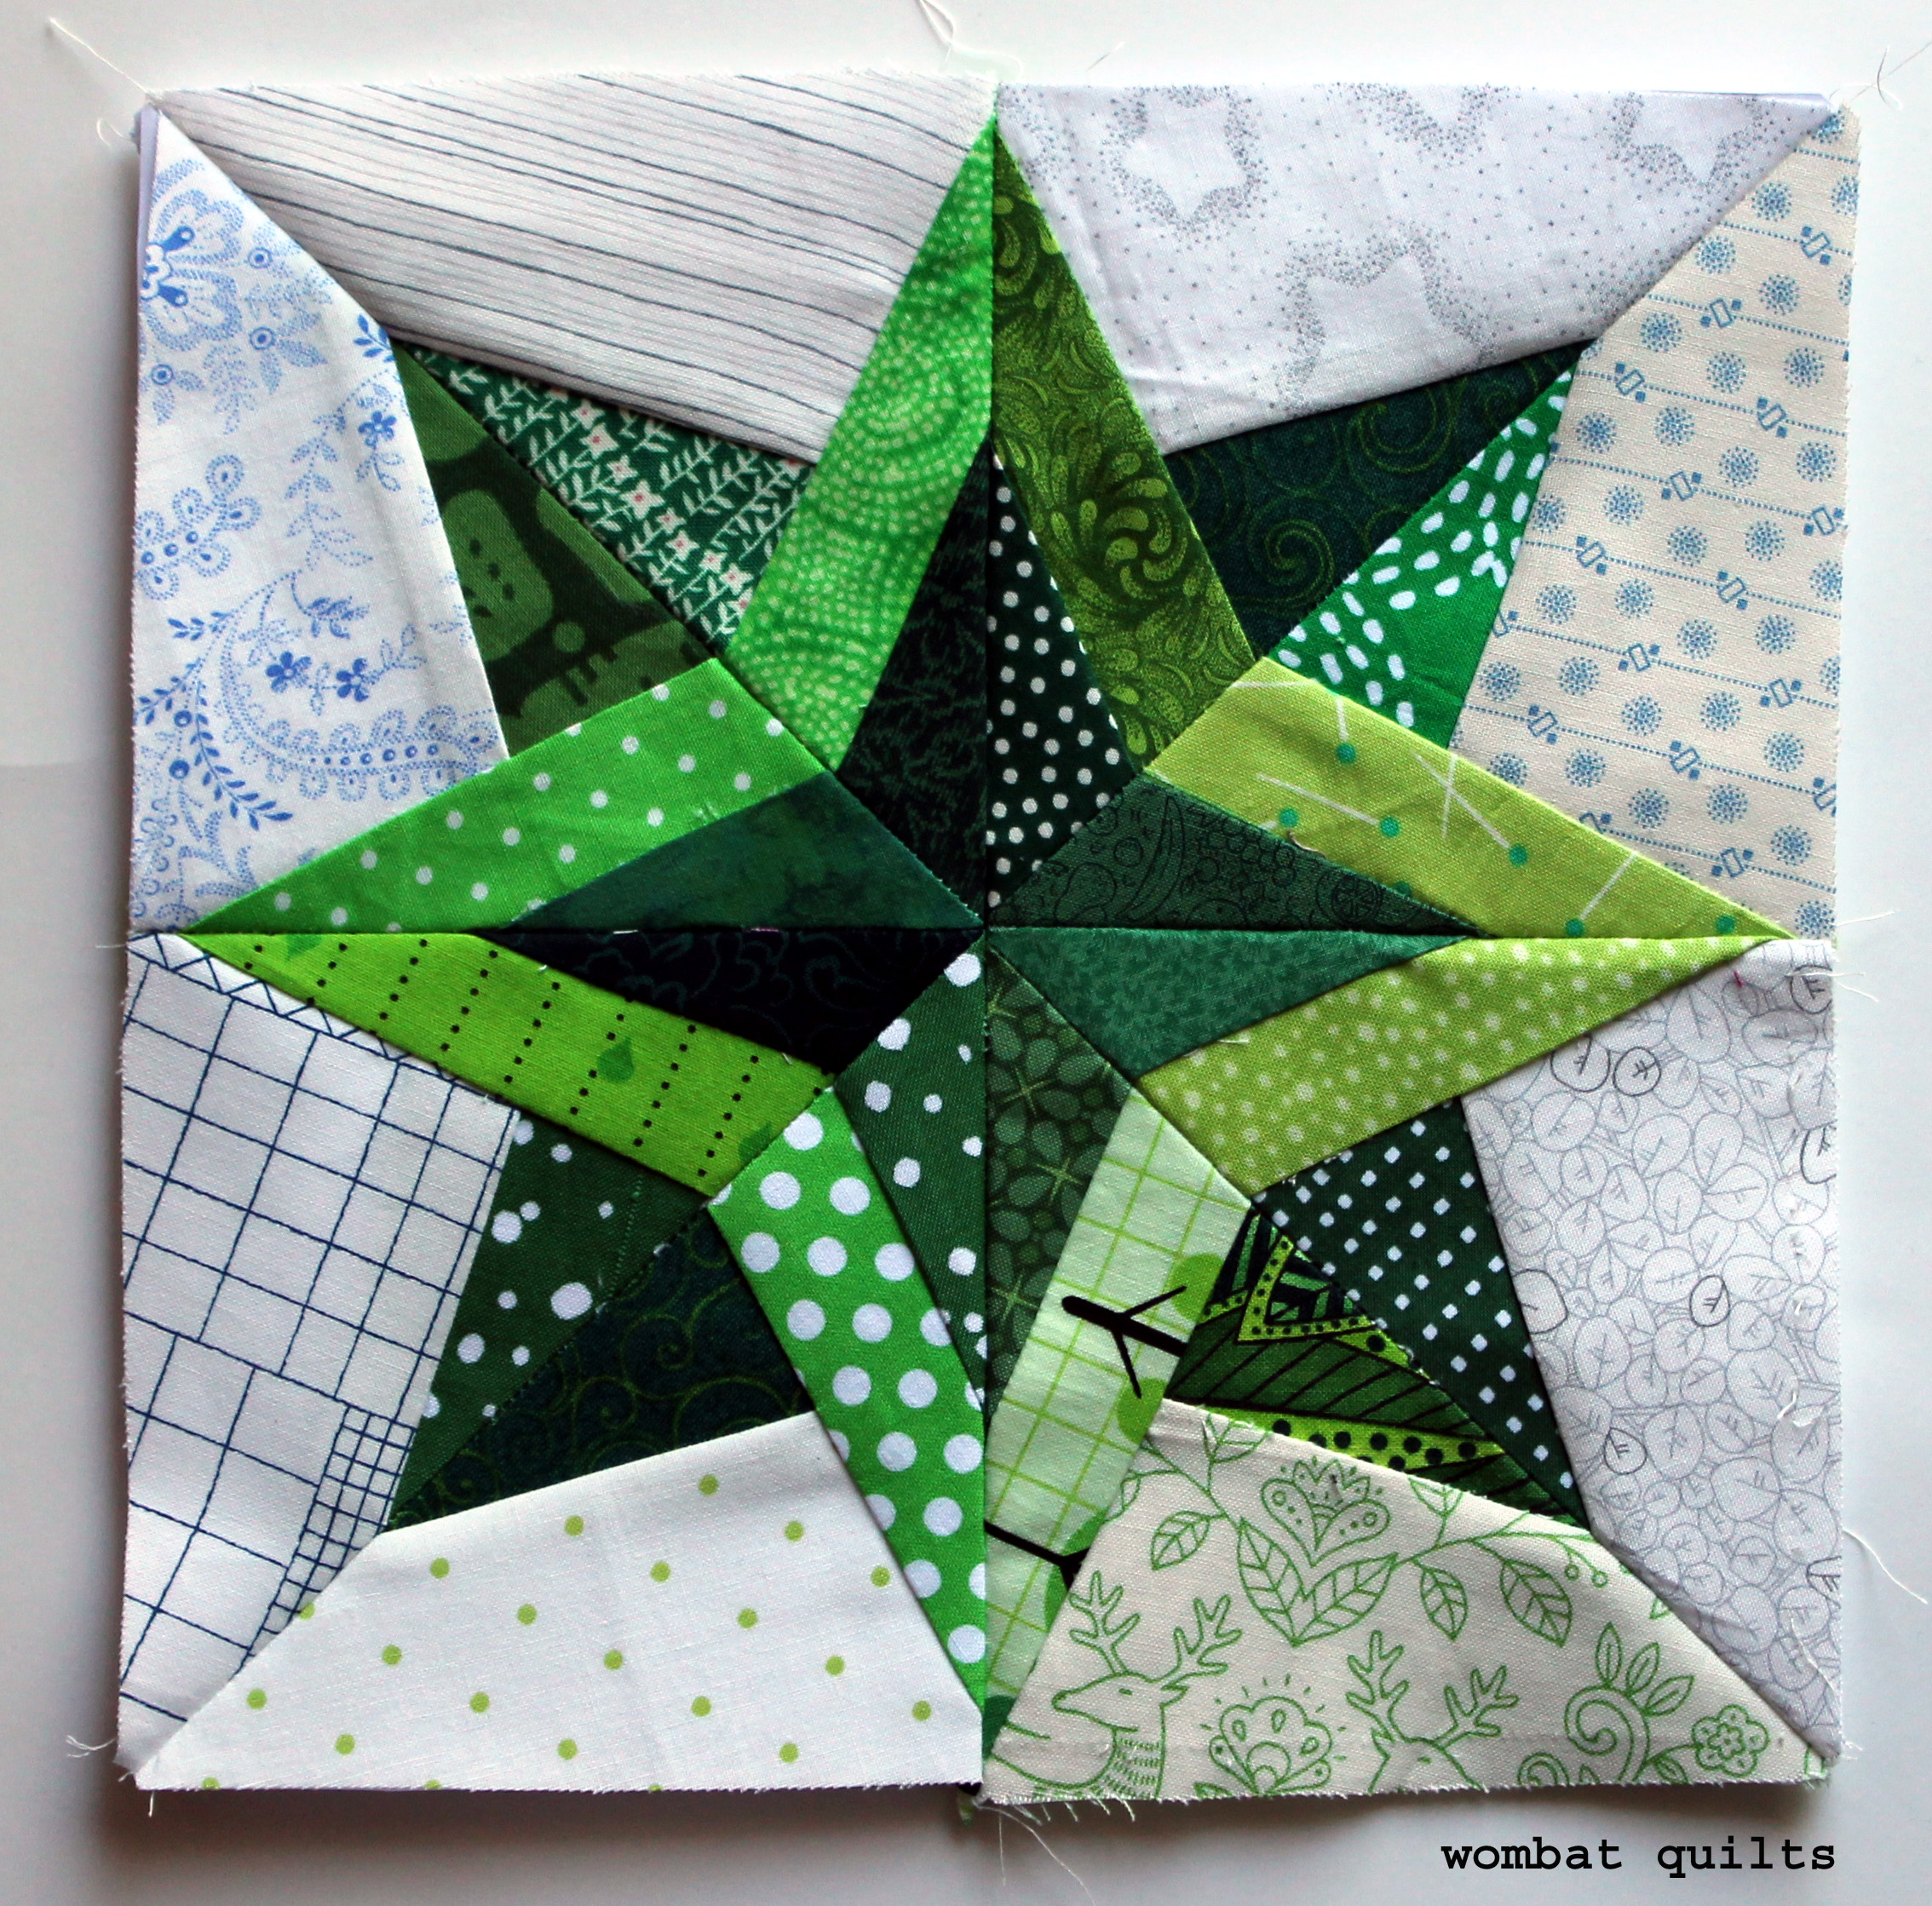 This is my Outlined star…a fun little star with 32 lovely little pieces. I designed this star after staring at the other blocks on my design wall for a week or so and it seems to fit nicely into the Green star mix.
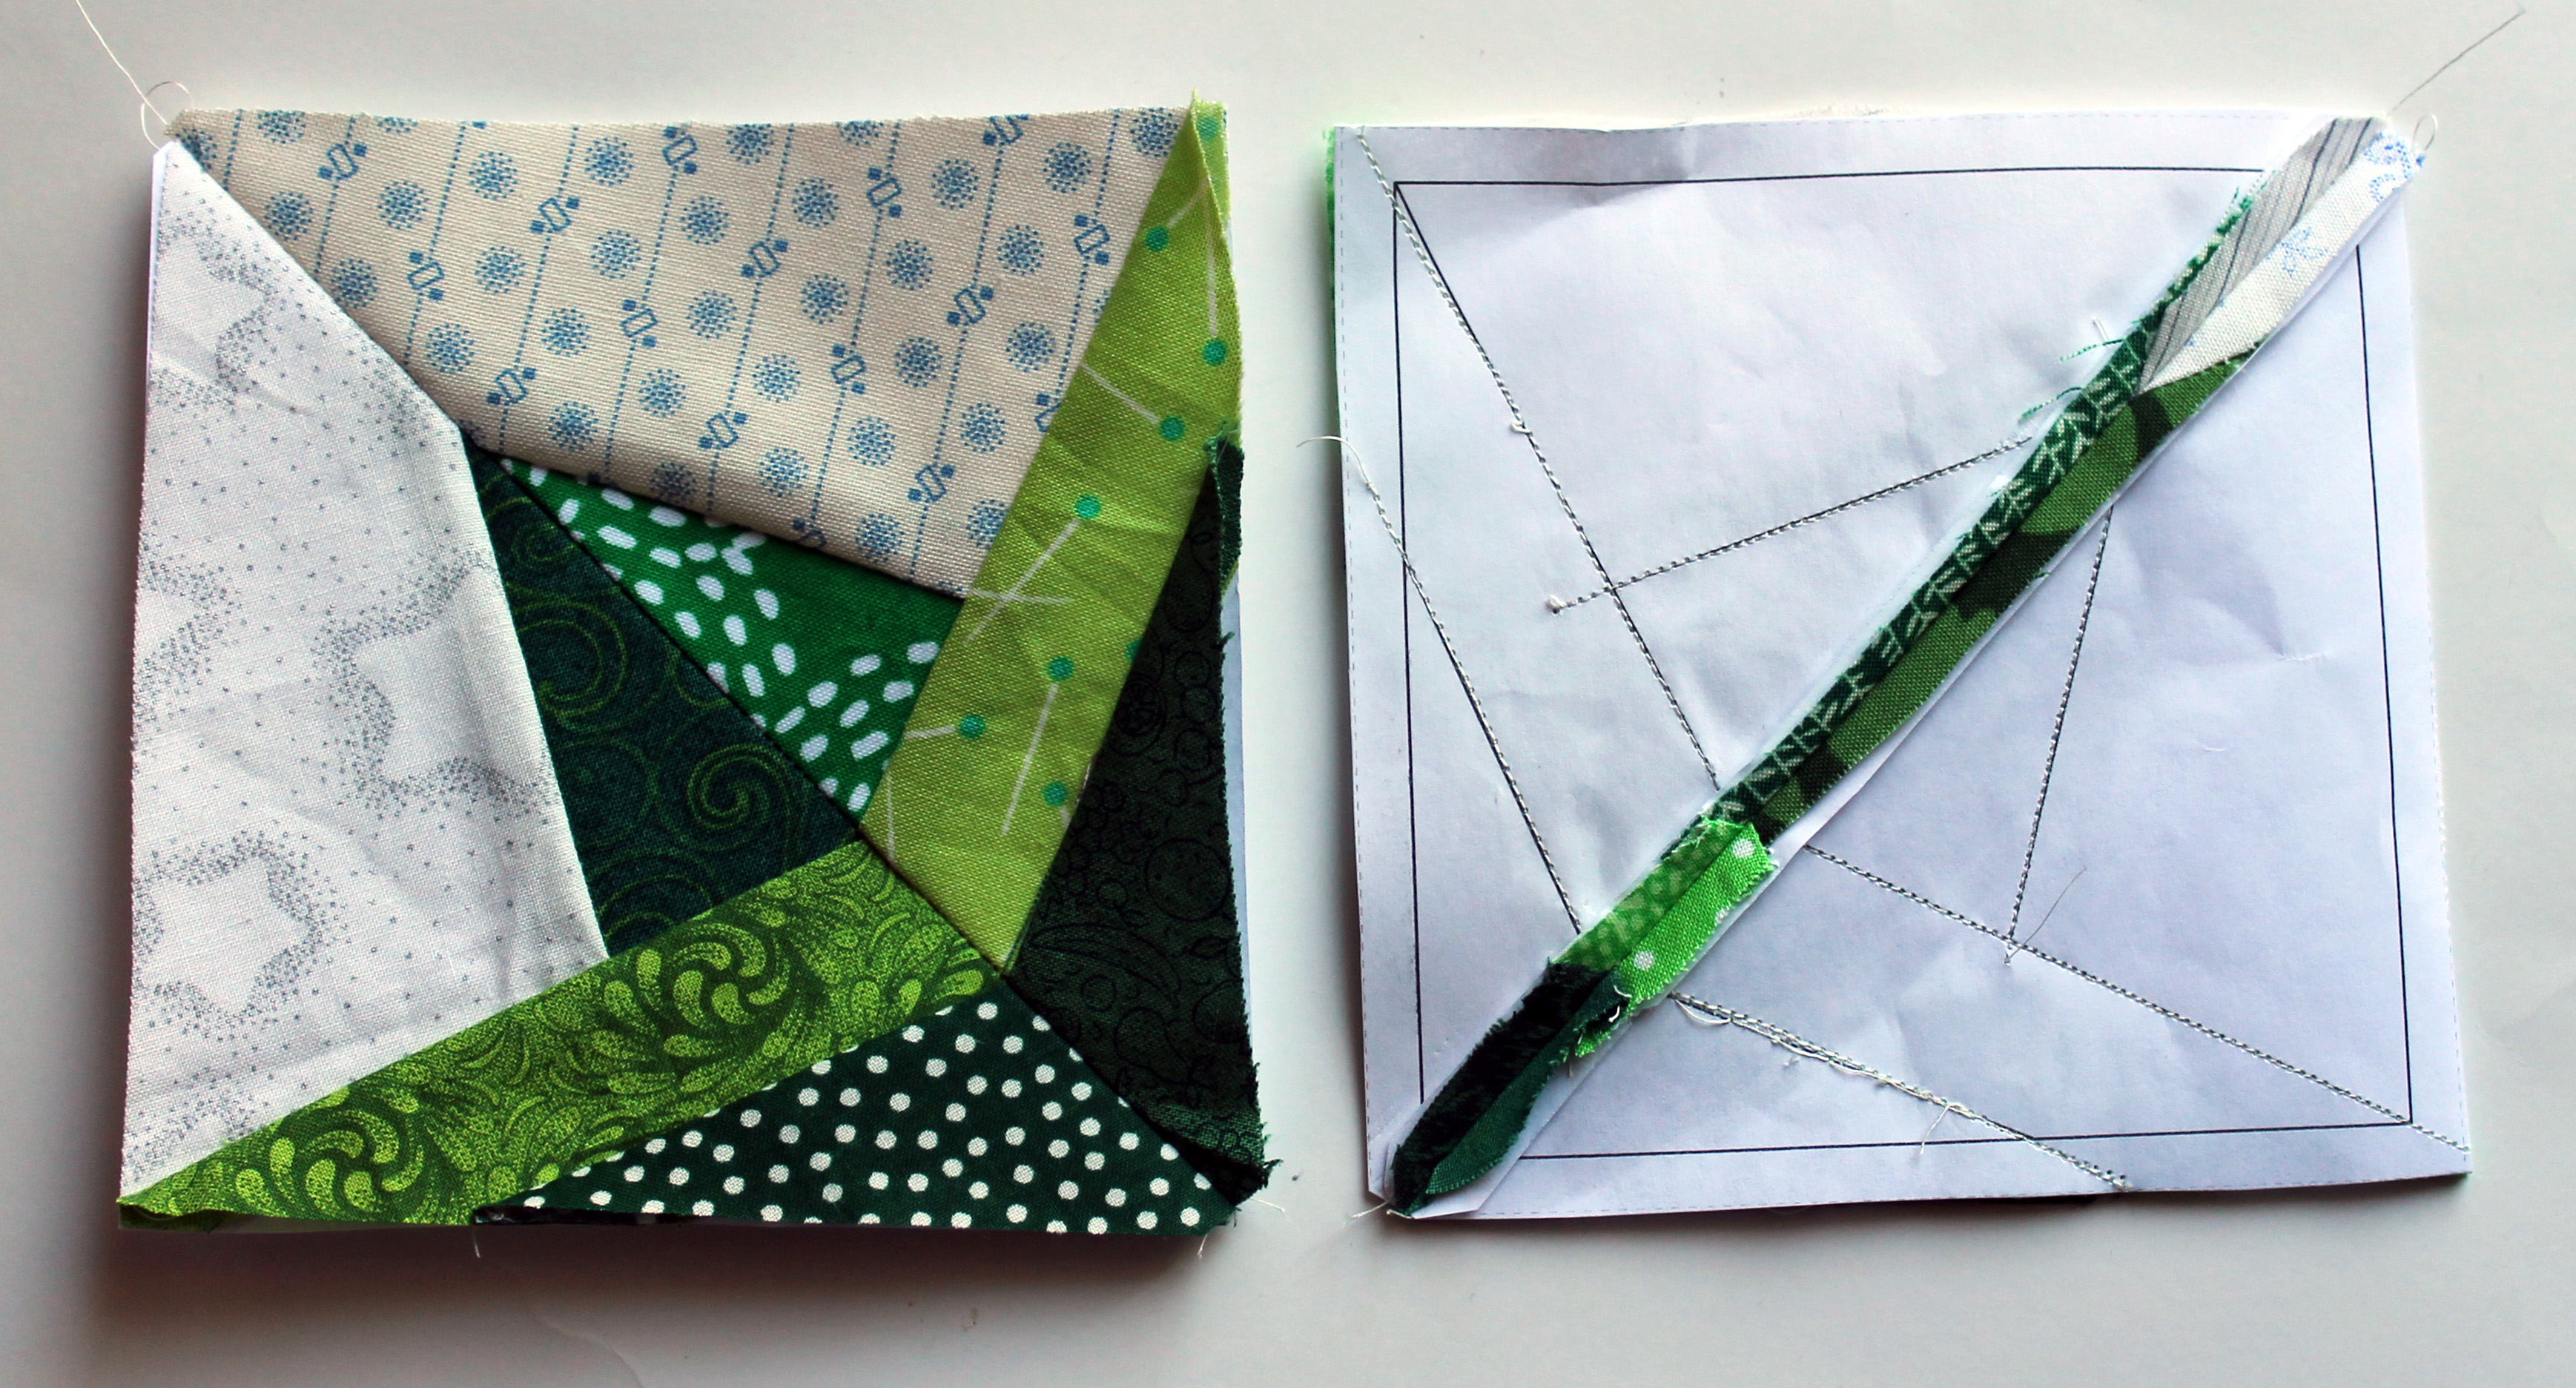 If you would like to add this star to your collection you can find a free PDF of an 8 inch pattern here….Outlined star pattern.
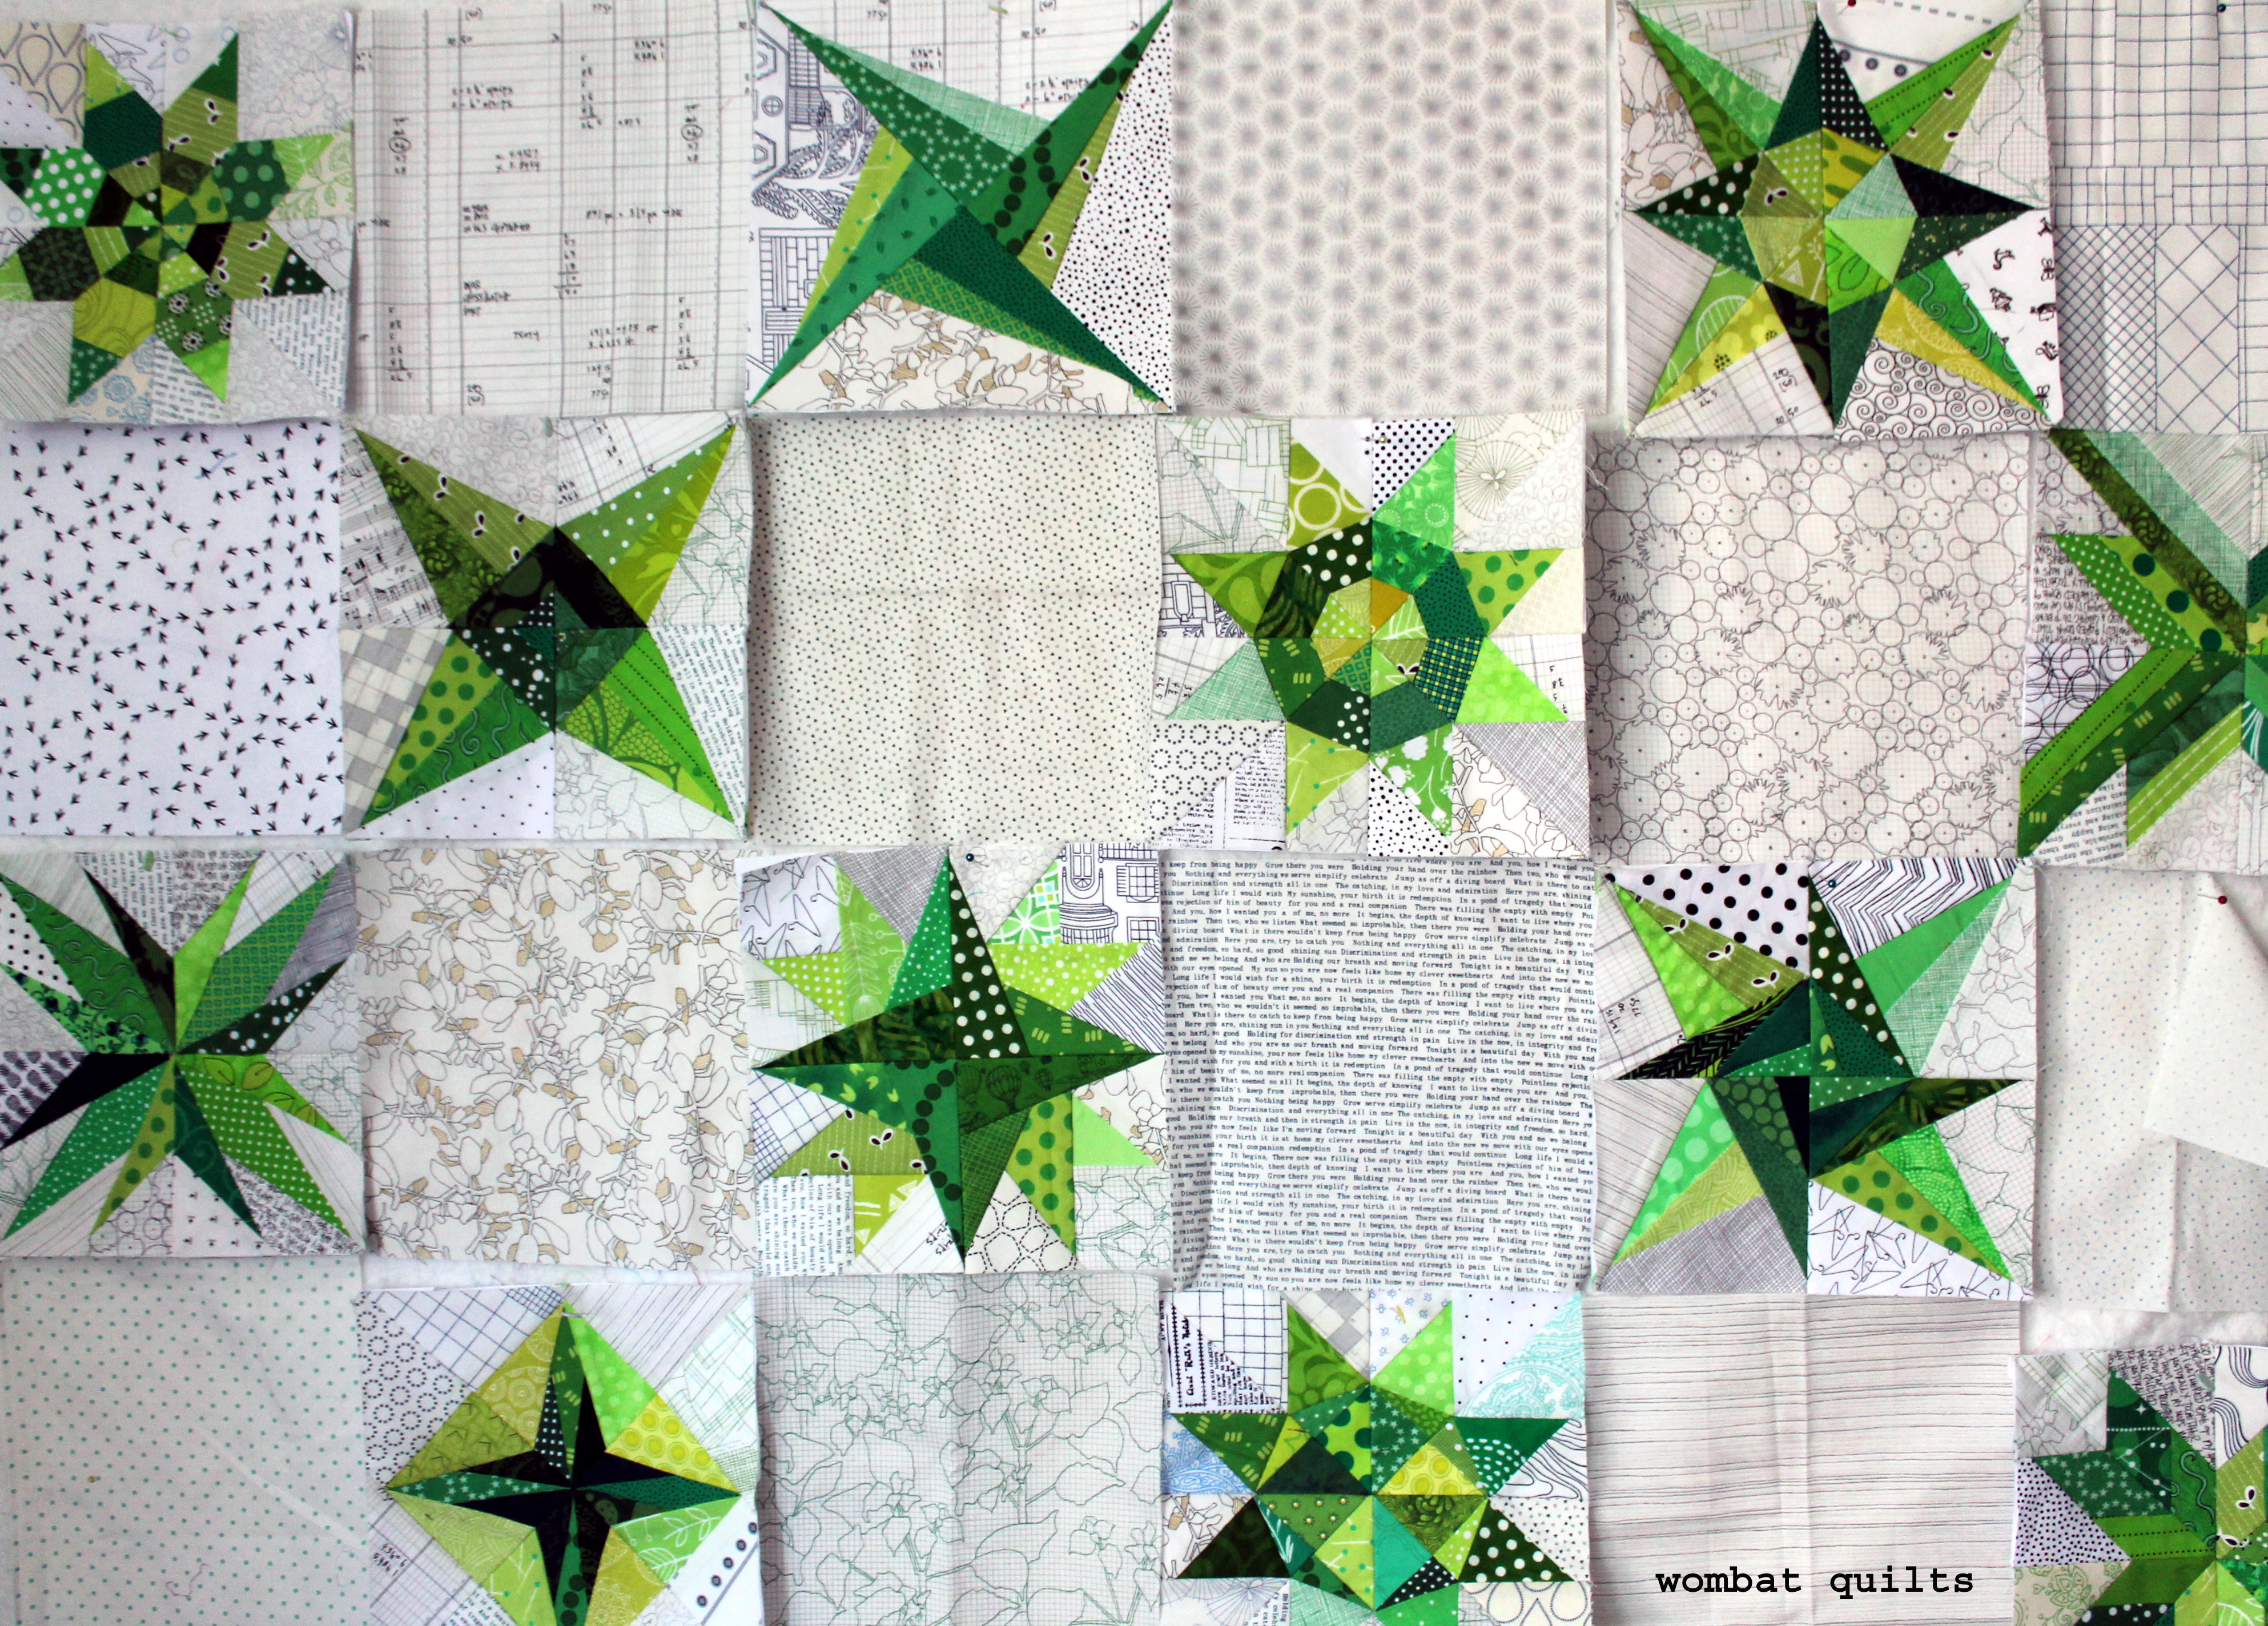 I hope to have a finished quilt top to share with you on Friday…