Simple quilts – an ongoing work in progress

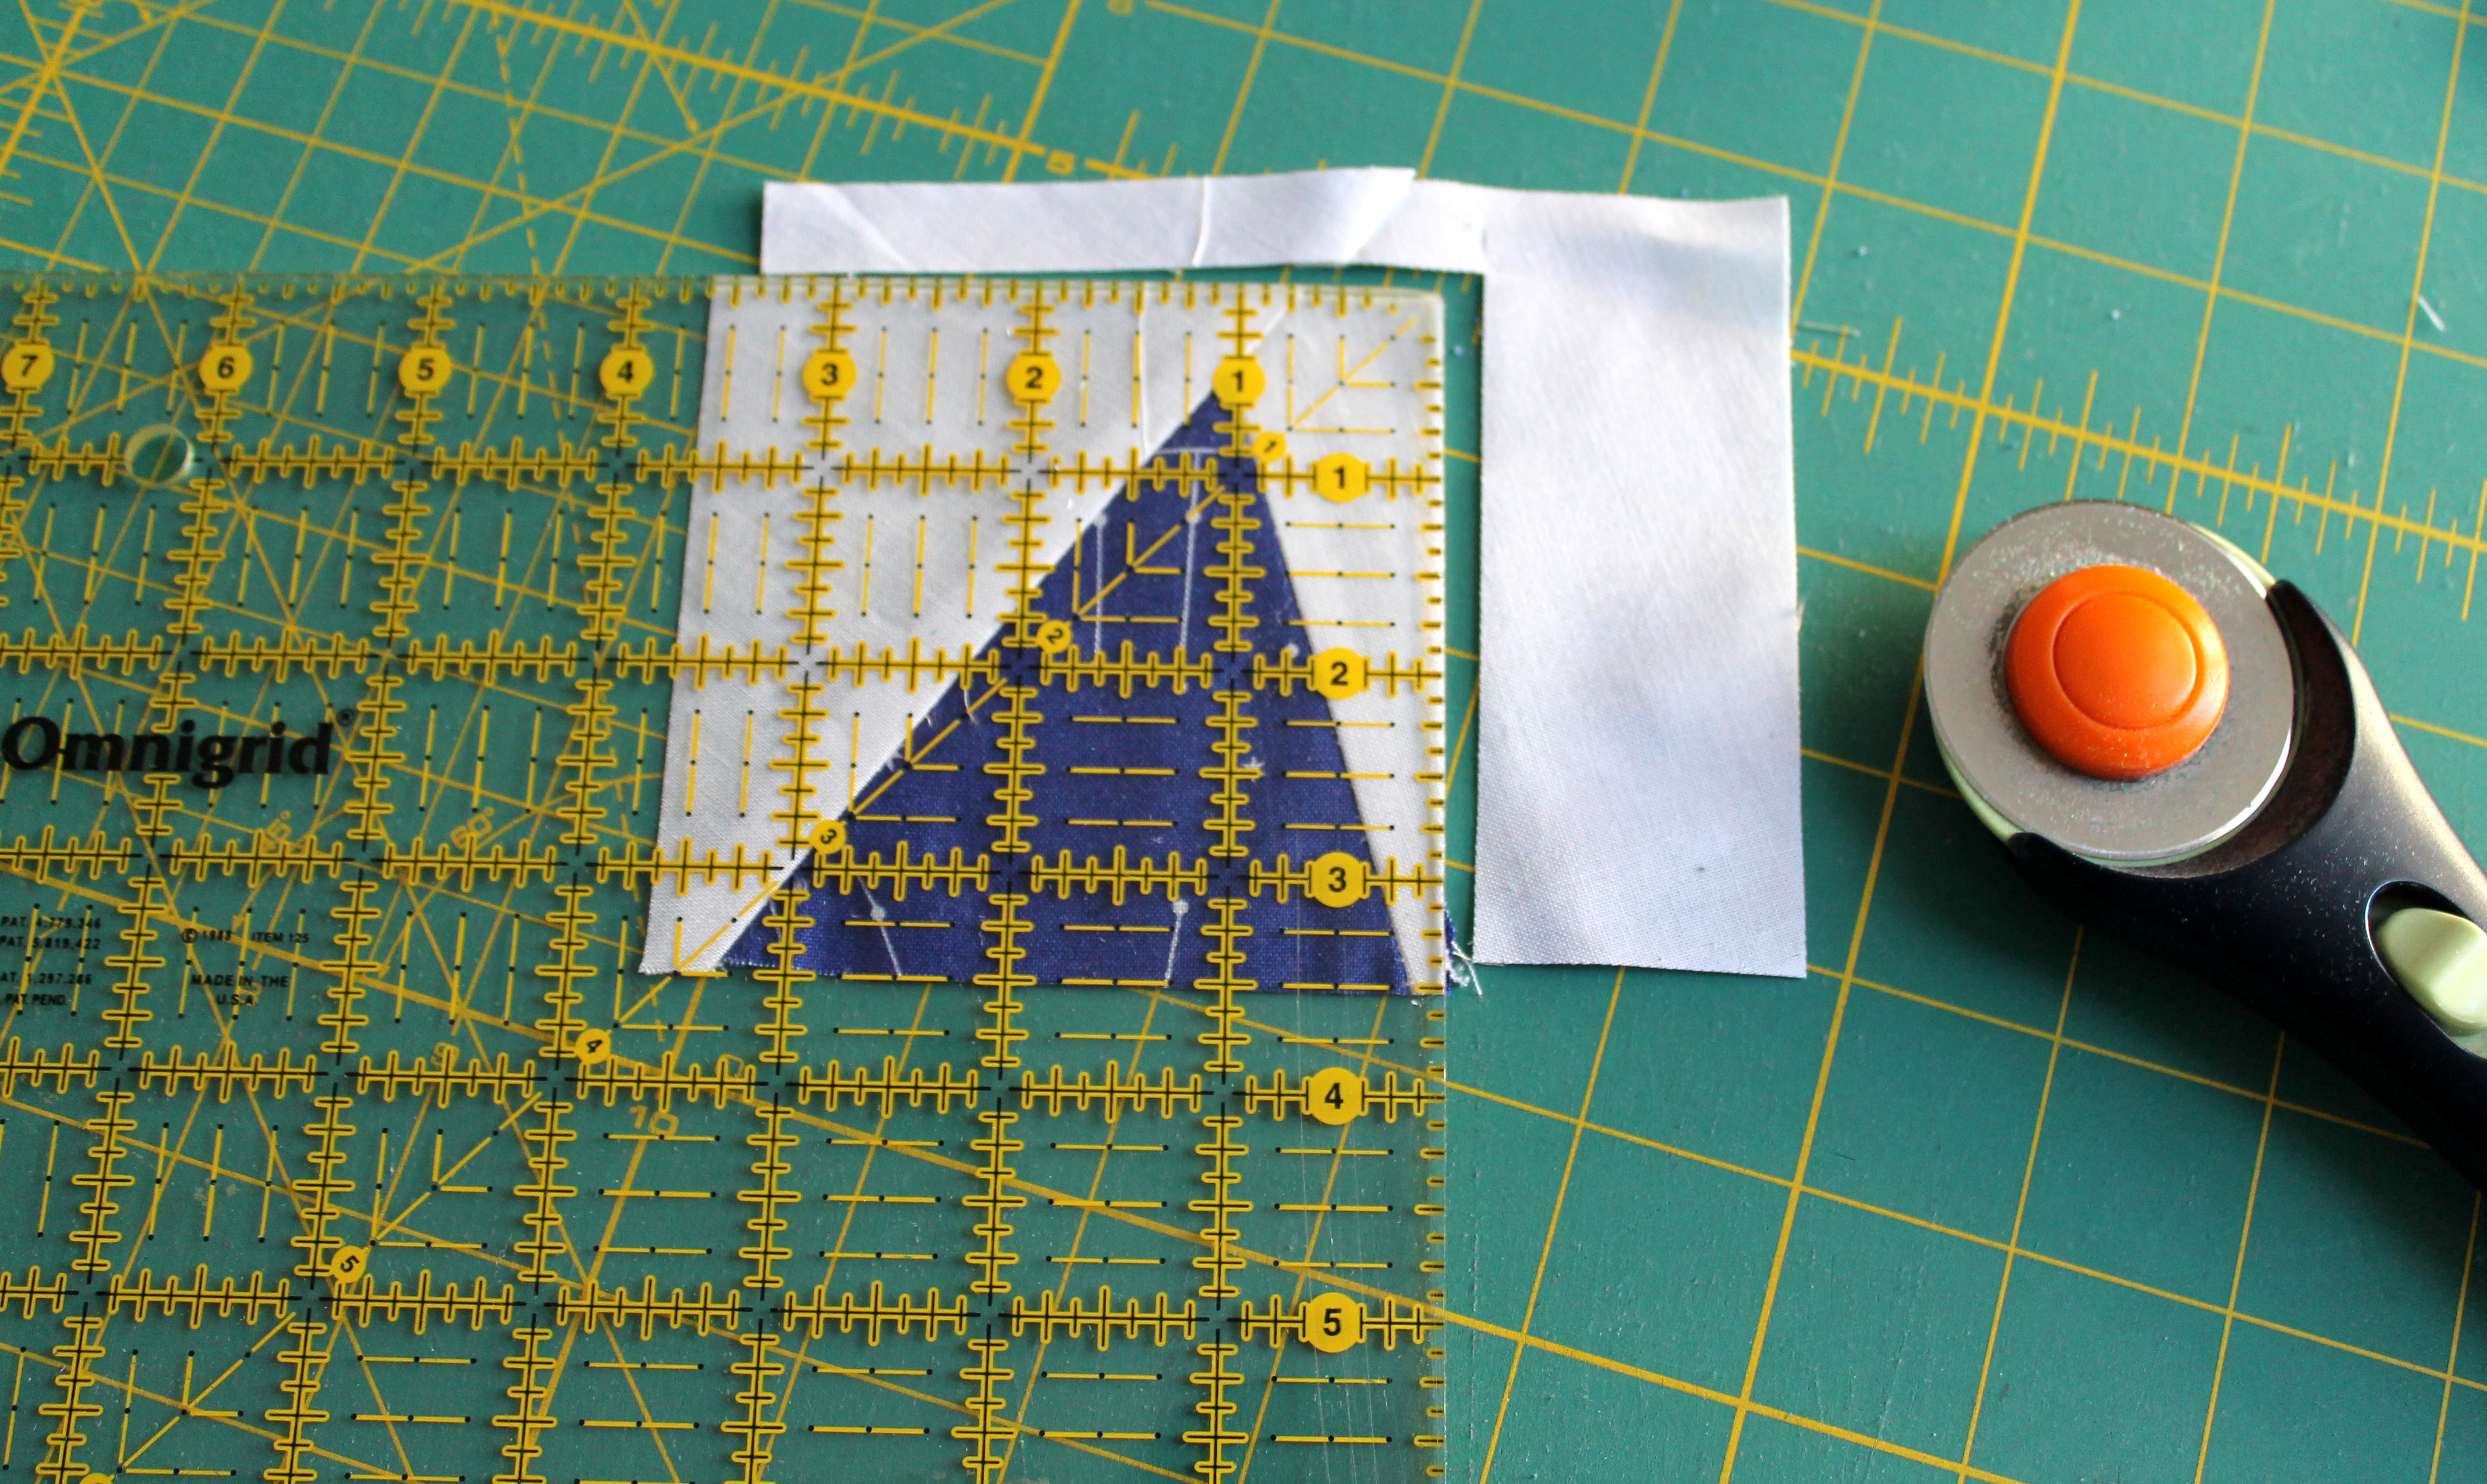
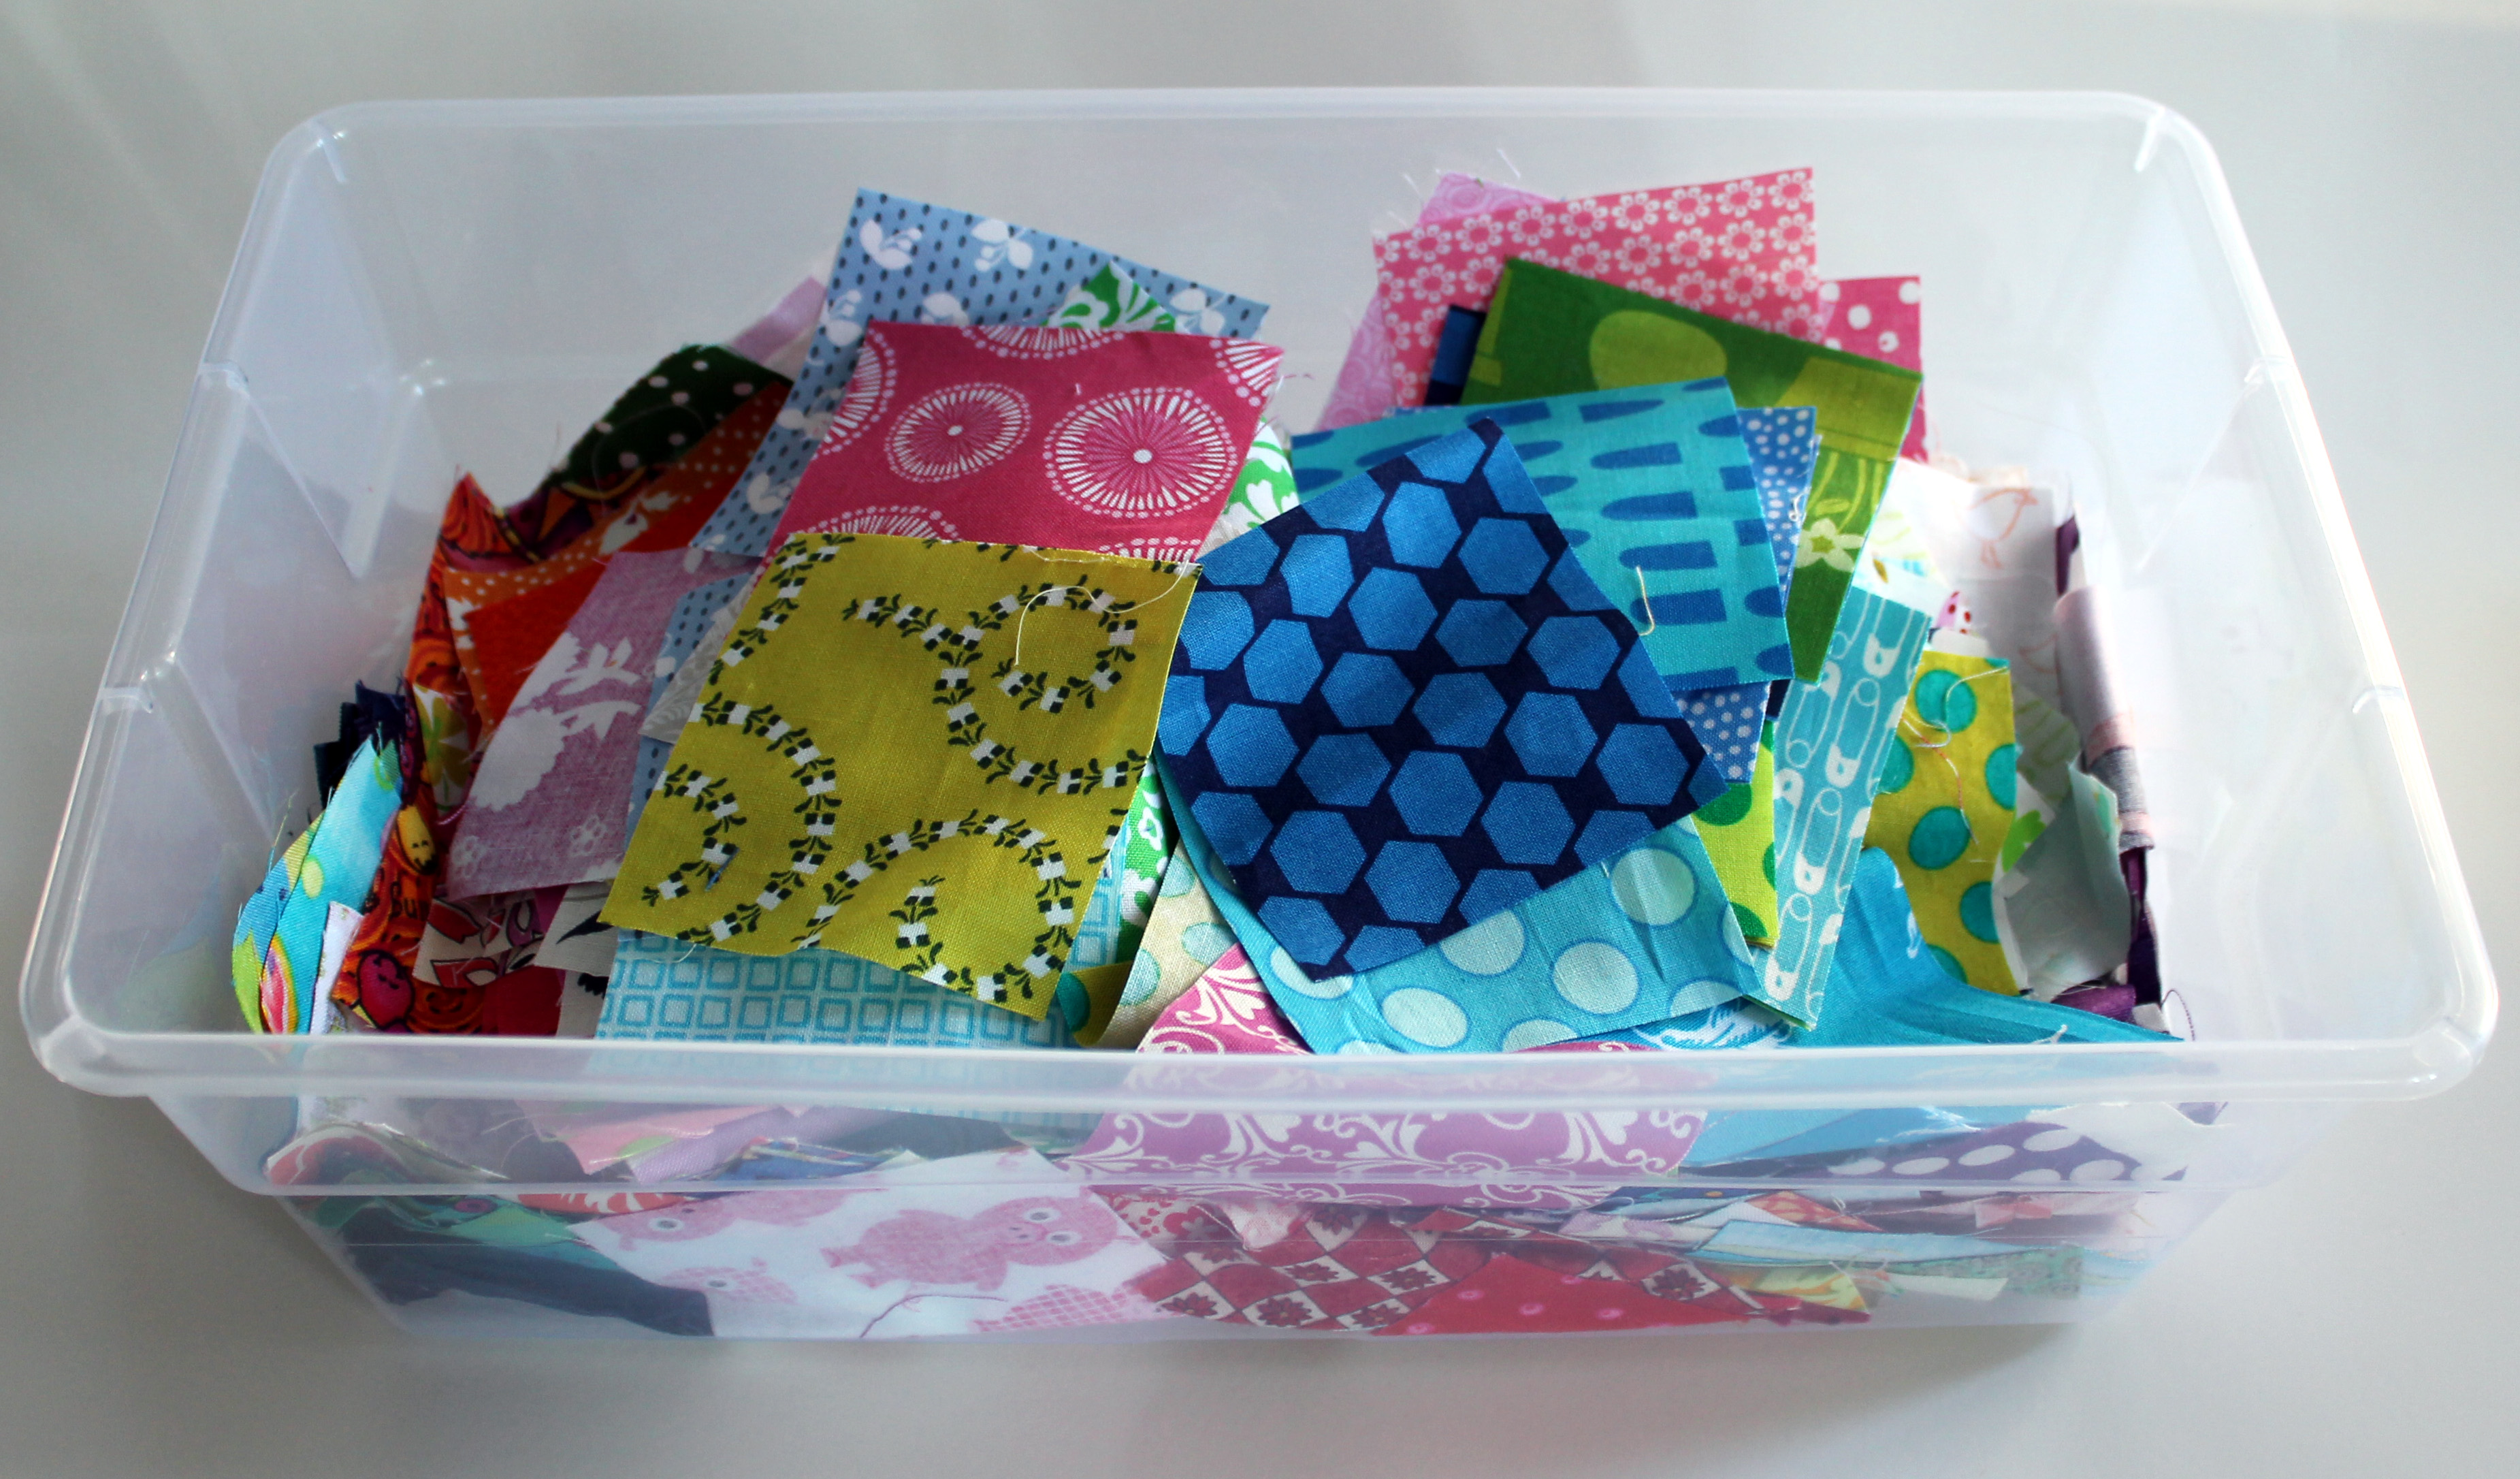
Any of you that have been following my blog for a little while or anyone who has plowed through my site will know that I am pretty prolific in my quilt creation.  I am constantly trying new patterns or new colour combinations.  I make a lot of quilts.  In the last 6 months or so I have got into the habit of cutting 3 inch squares  from any of the scraps left over from my current project.

3 inch trim

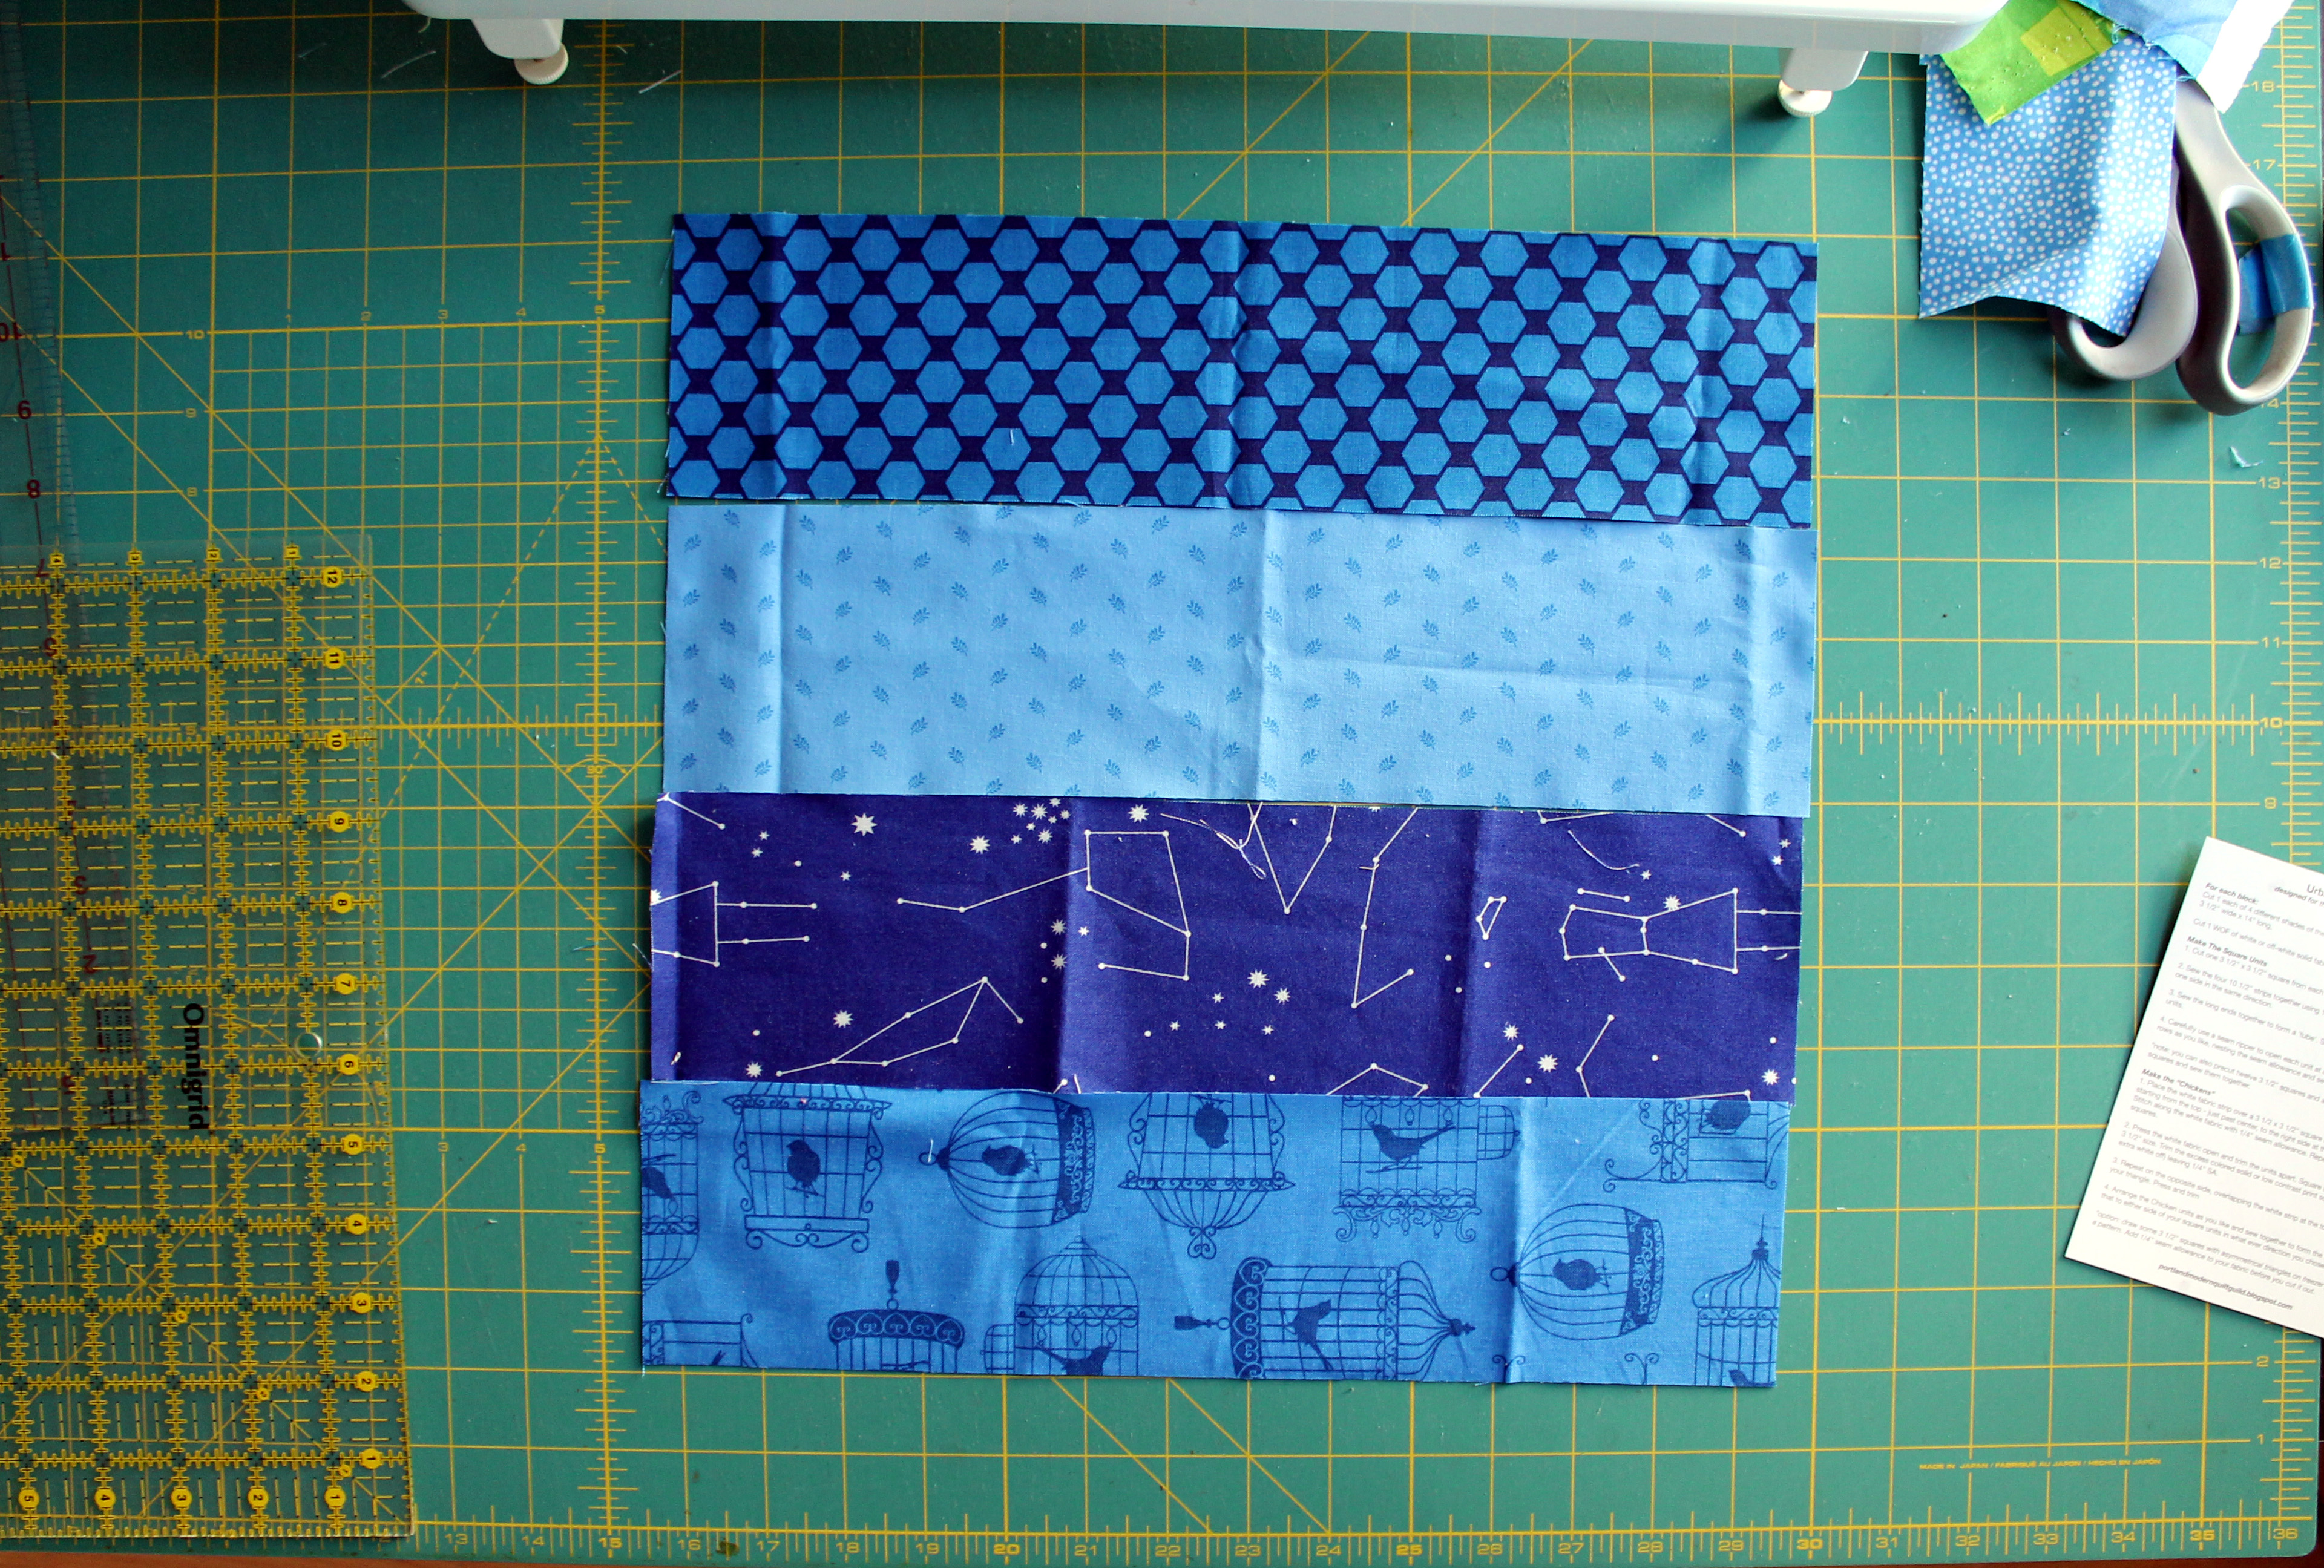
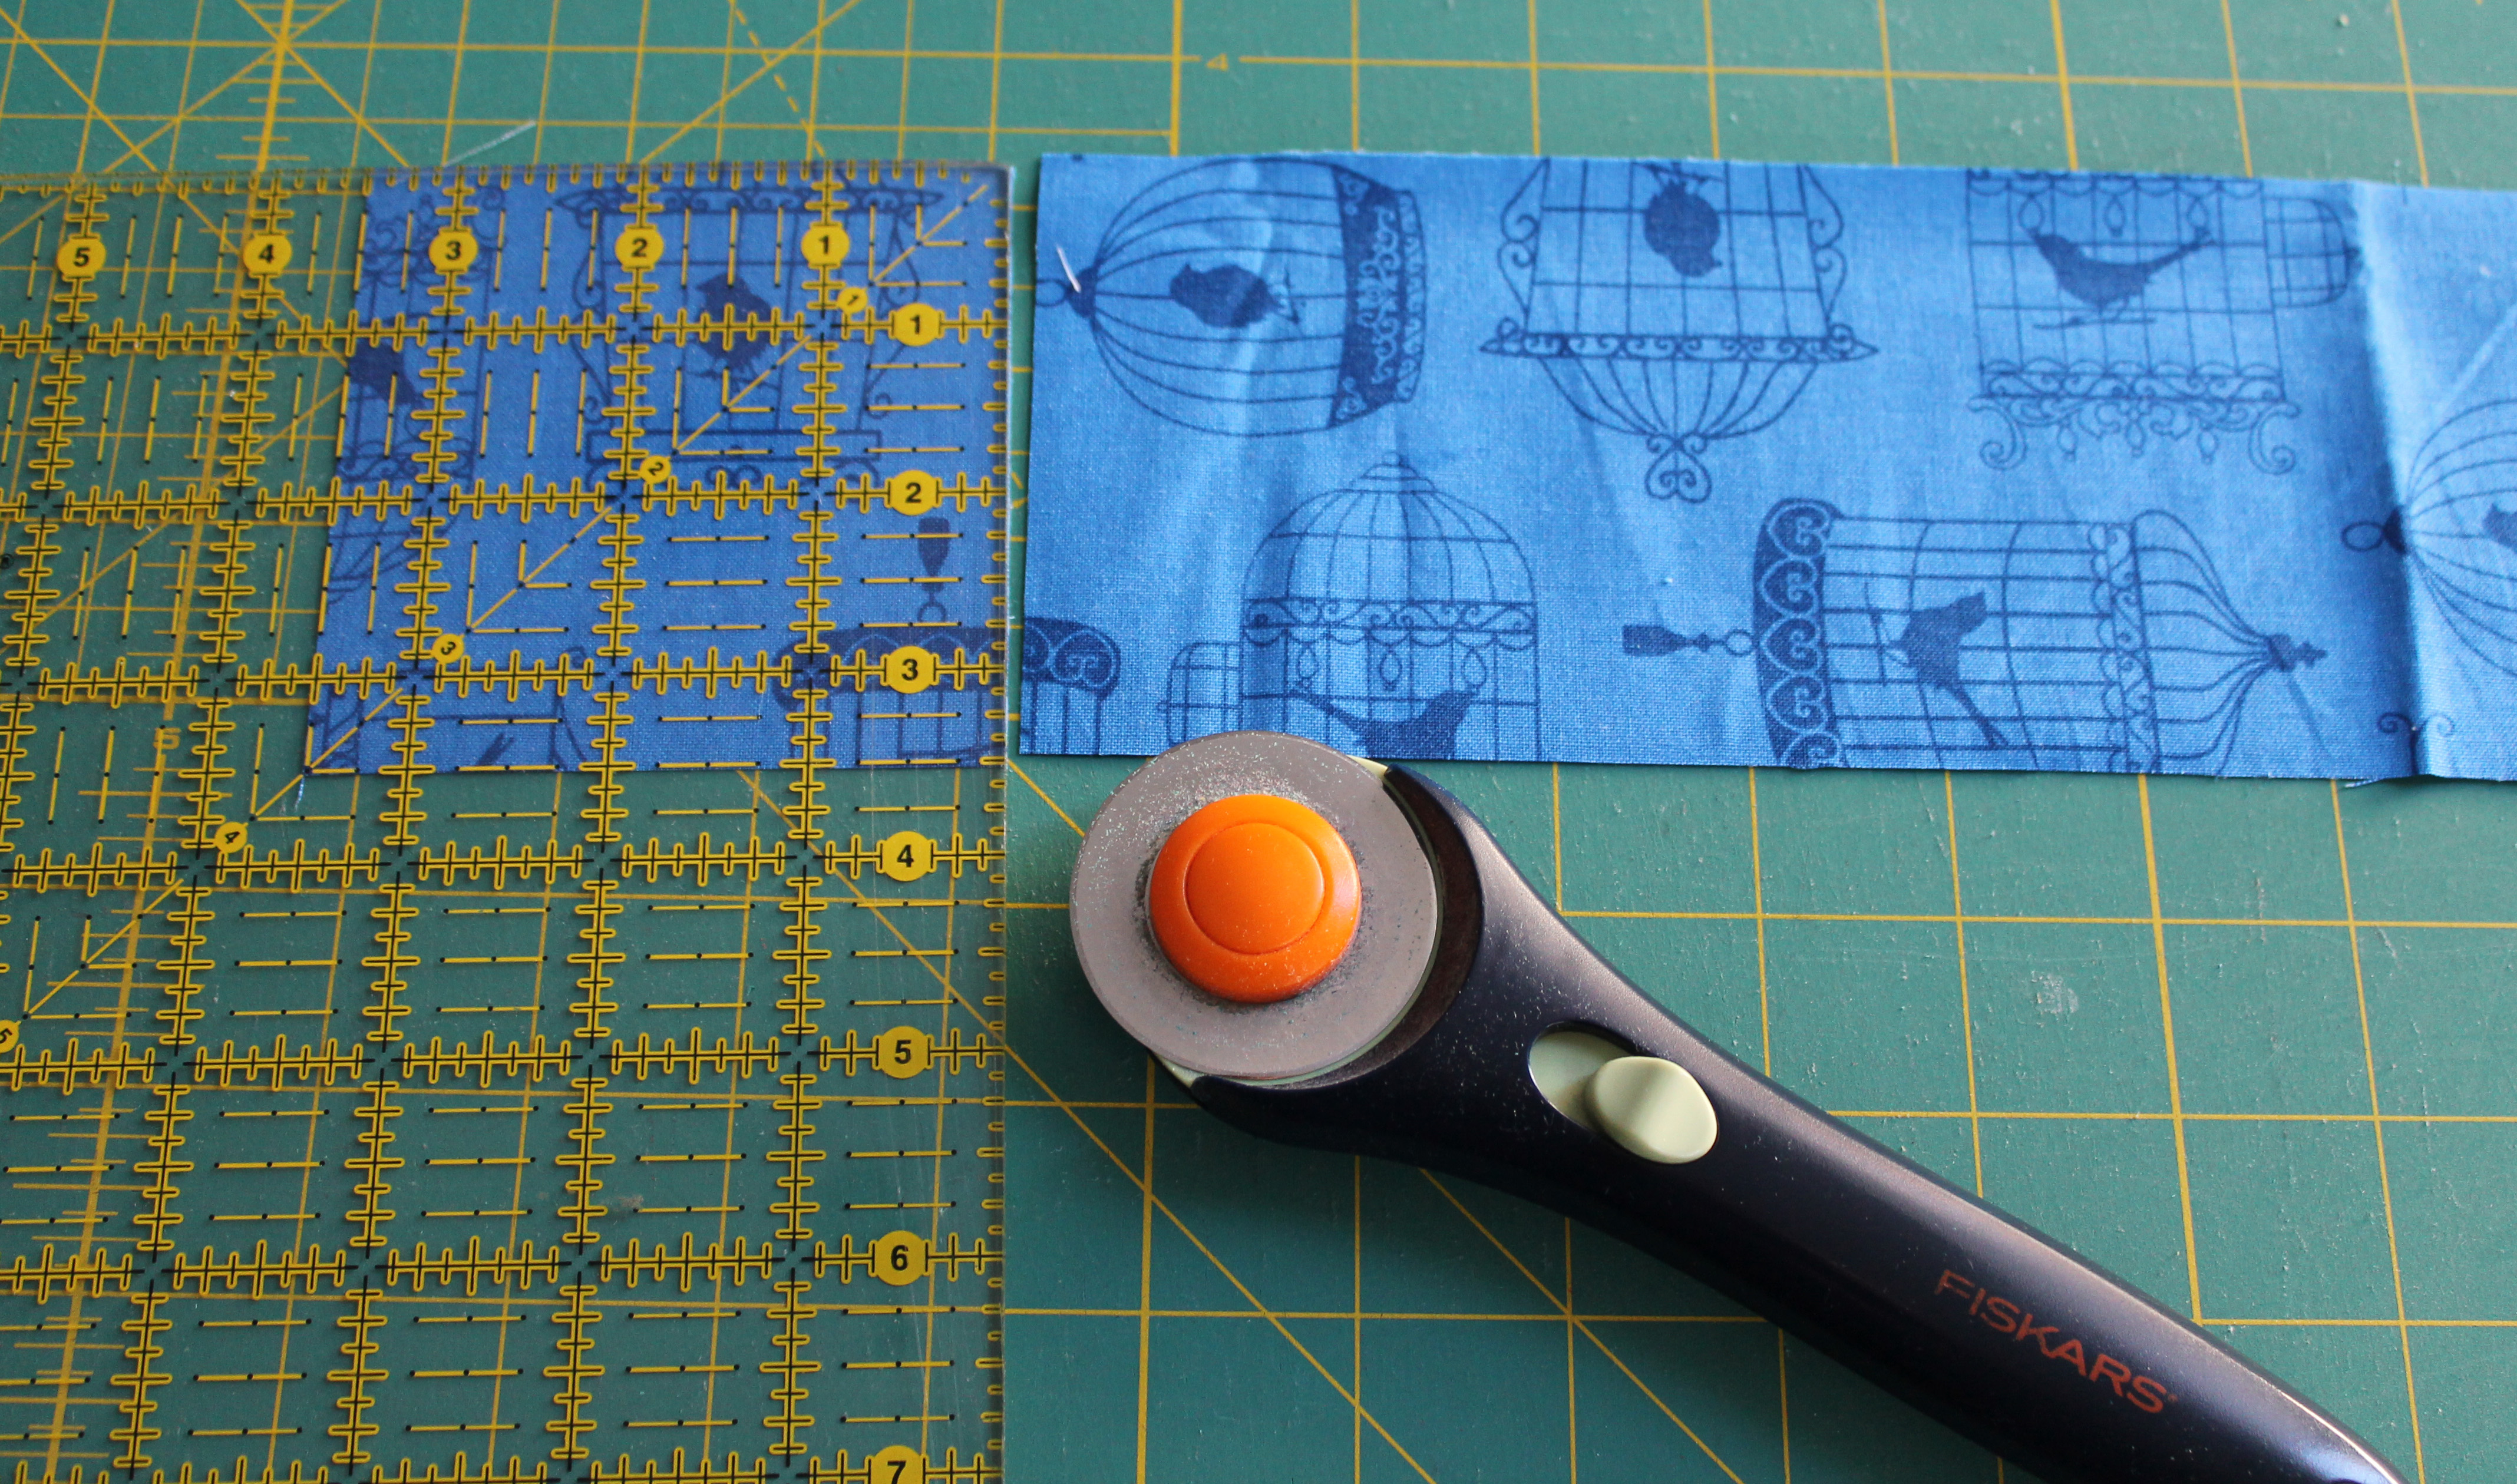
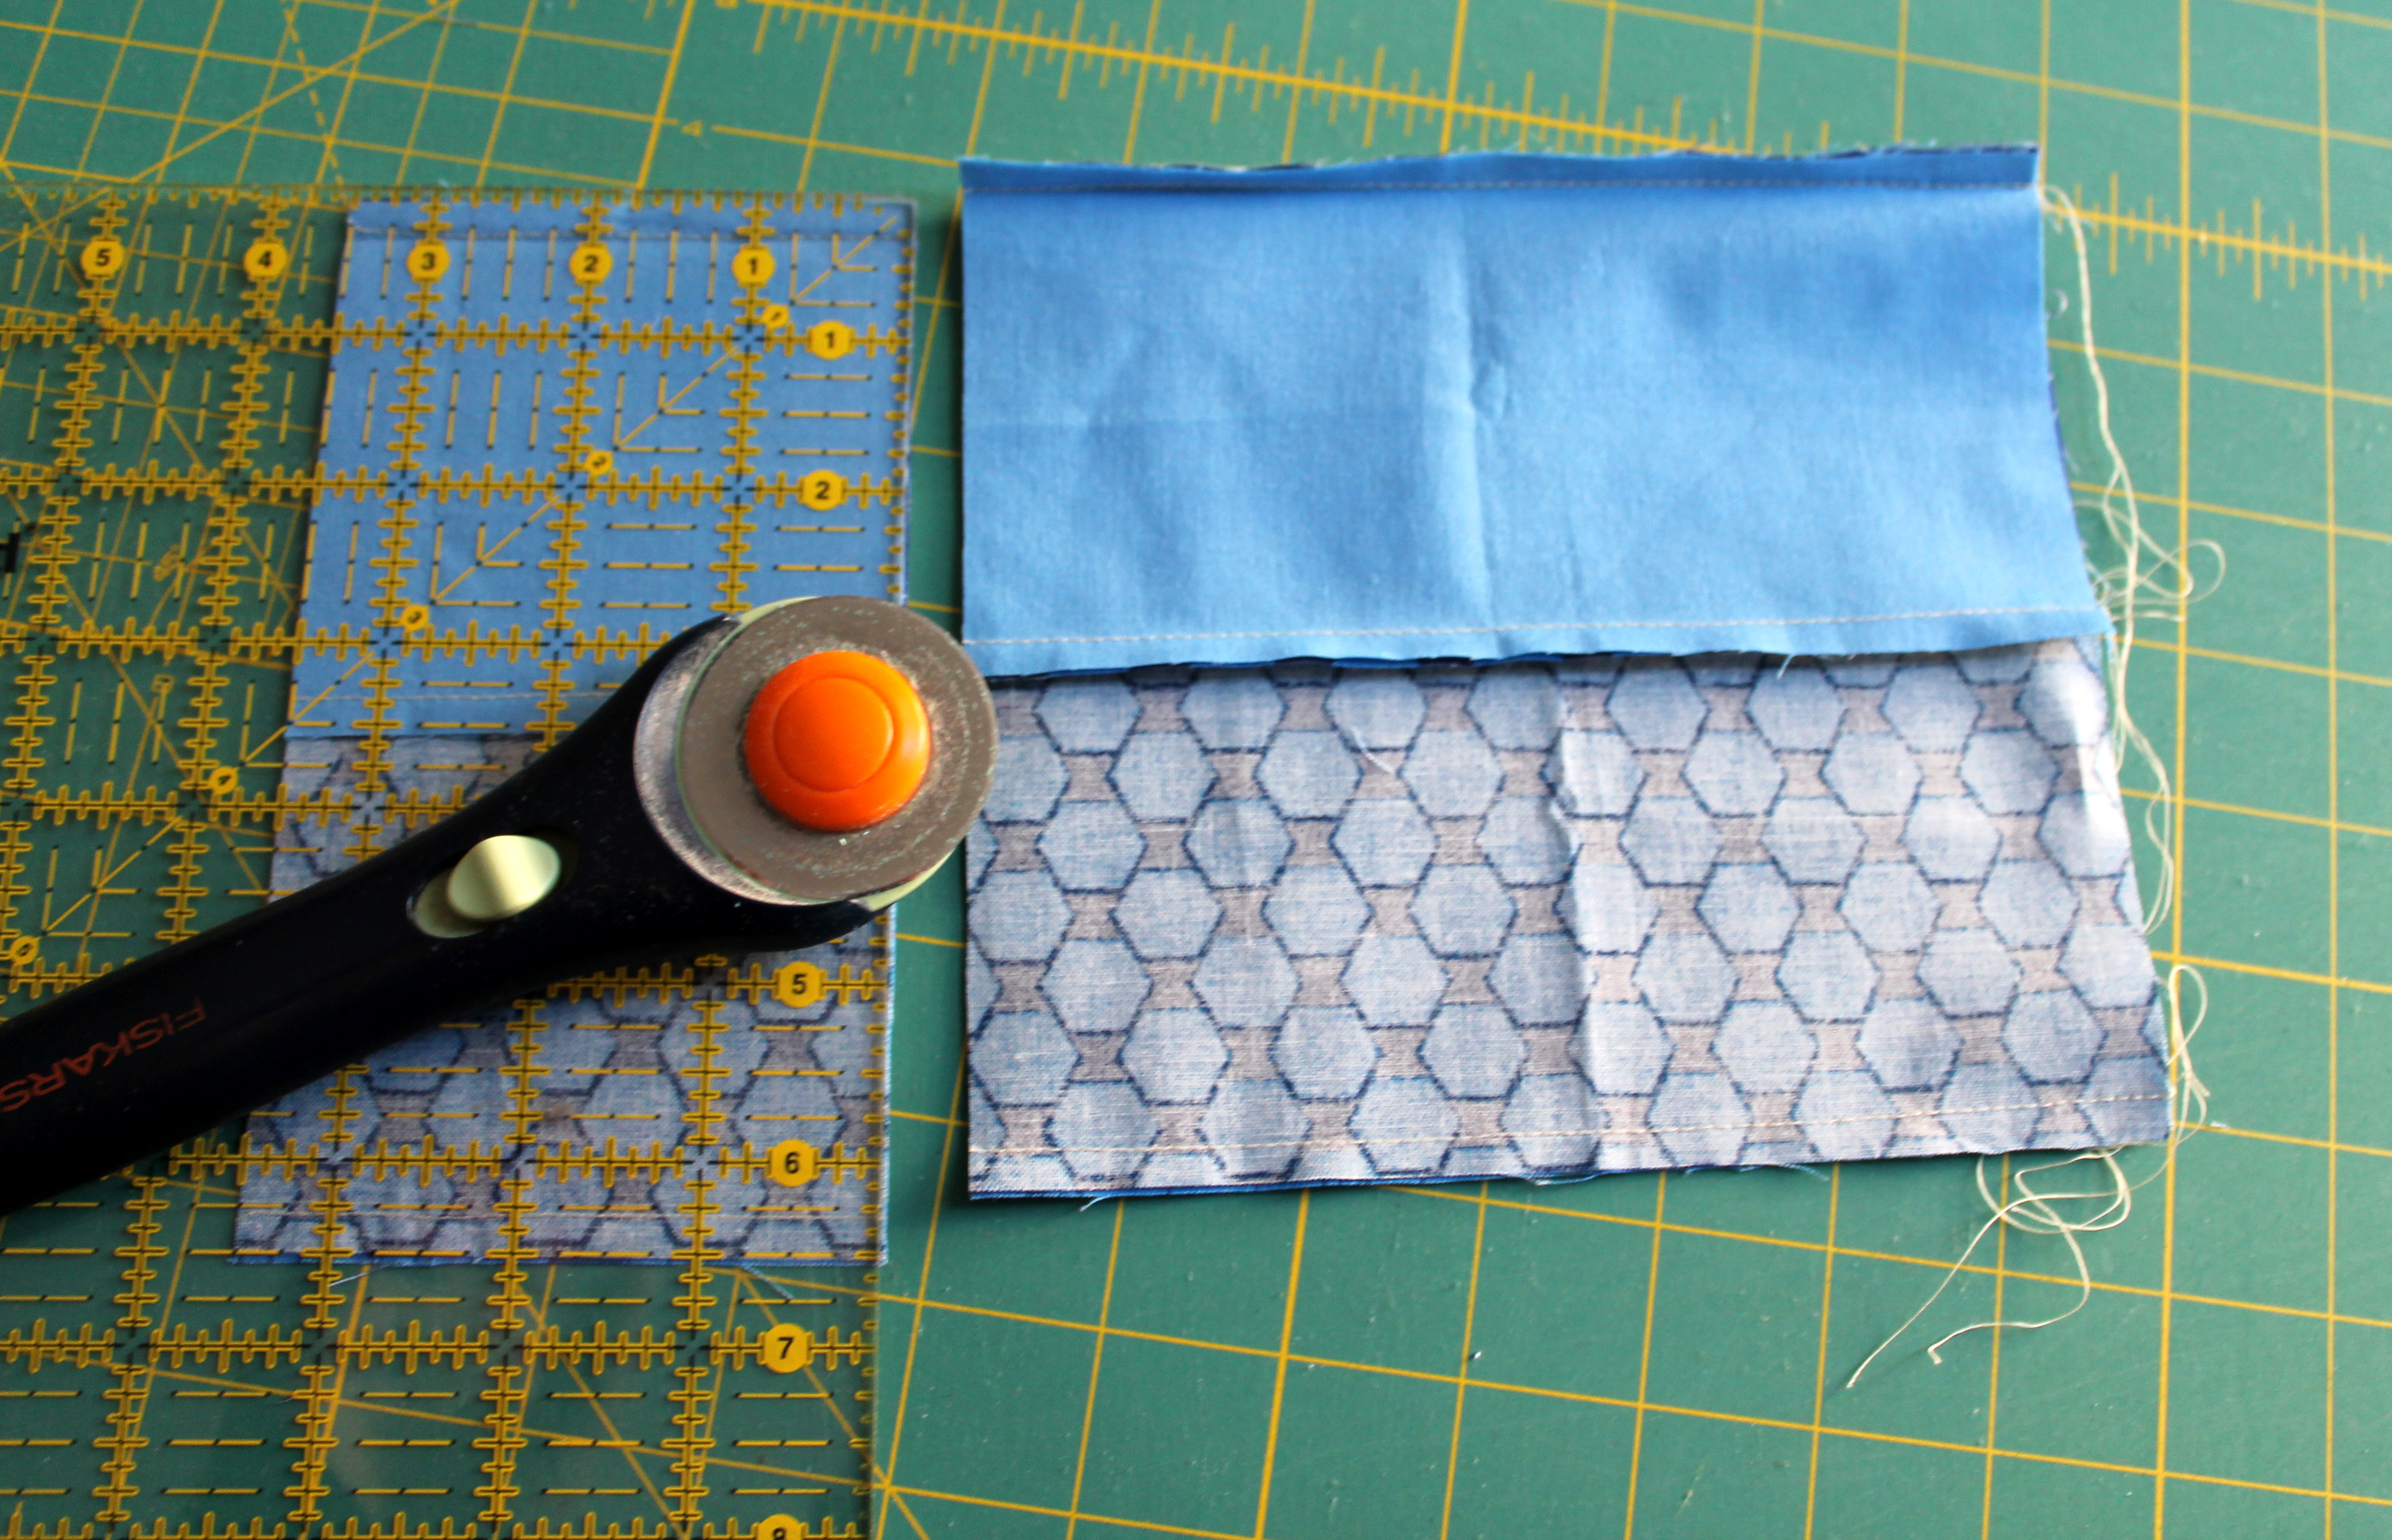
As I am cutting fabric for a new quilt, I will make sure that any scraps that are big enough get cut into a 3 x 3 inch square and put into a shoe box set aside for them.  It has become a habit that means my scrap pile is a little more manageable and I have a ready supply of 3 inch squares for projects.

3 inch squares box

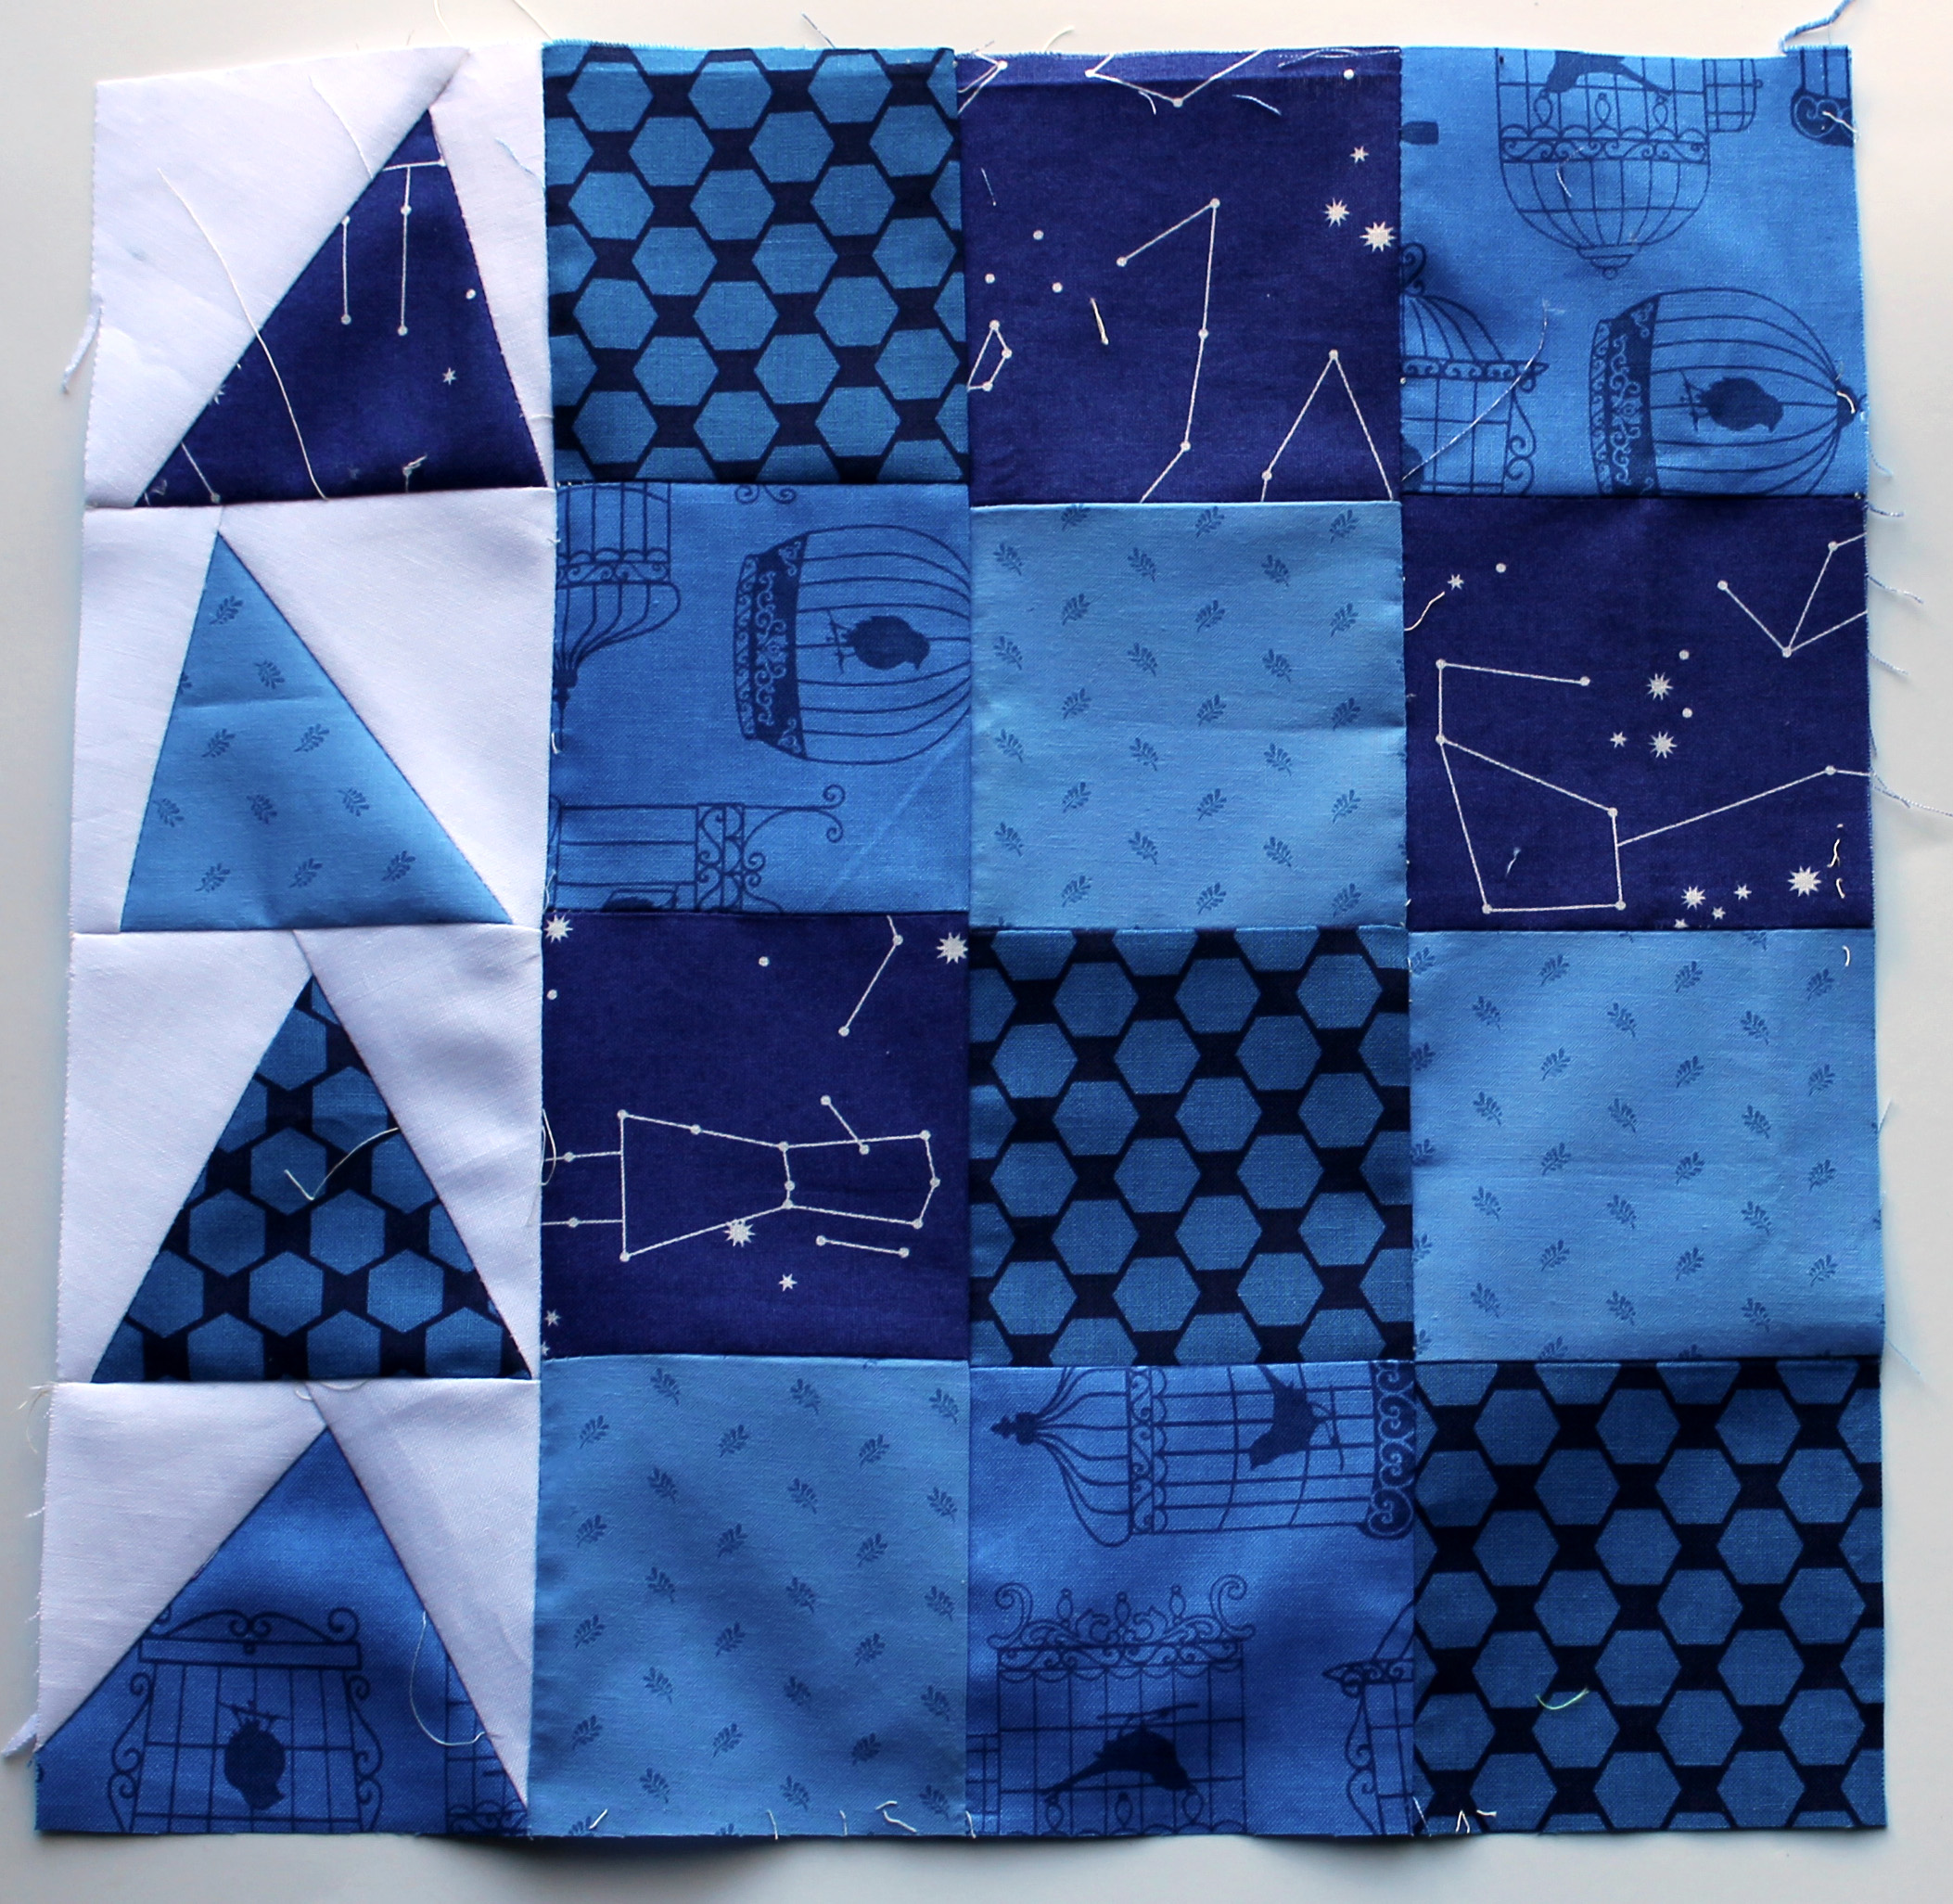
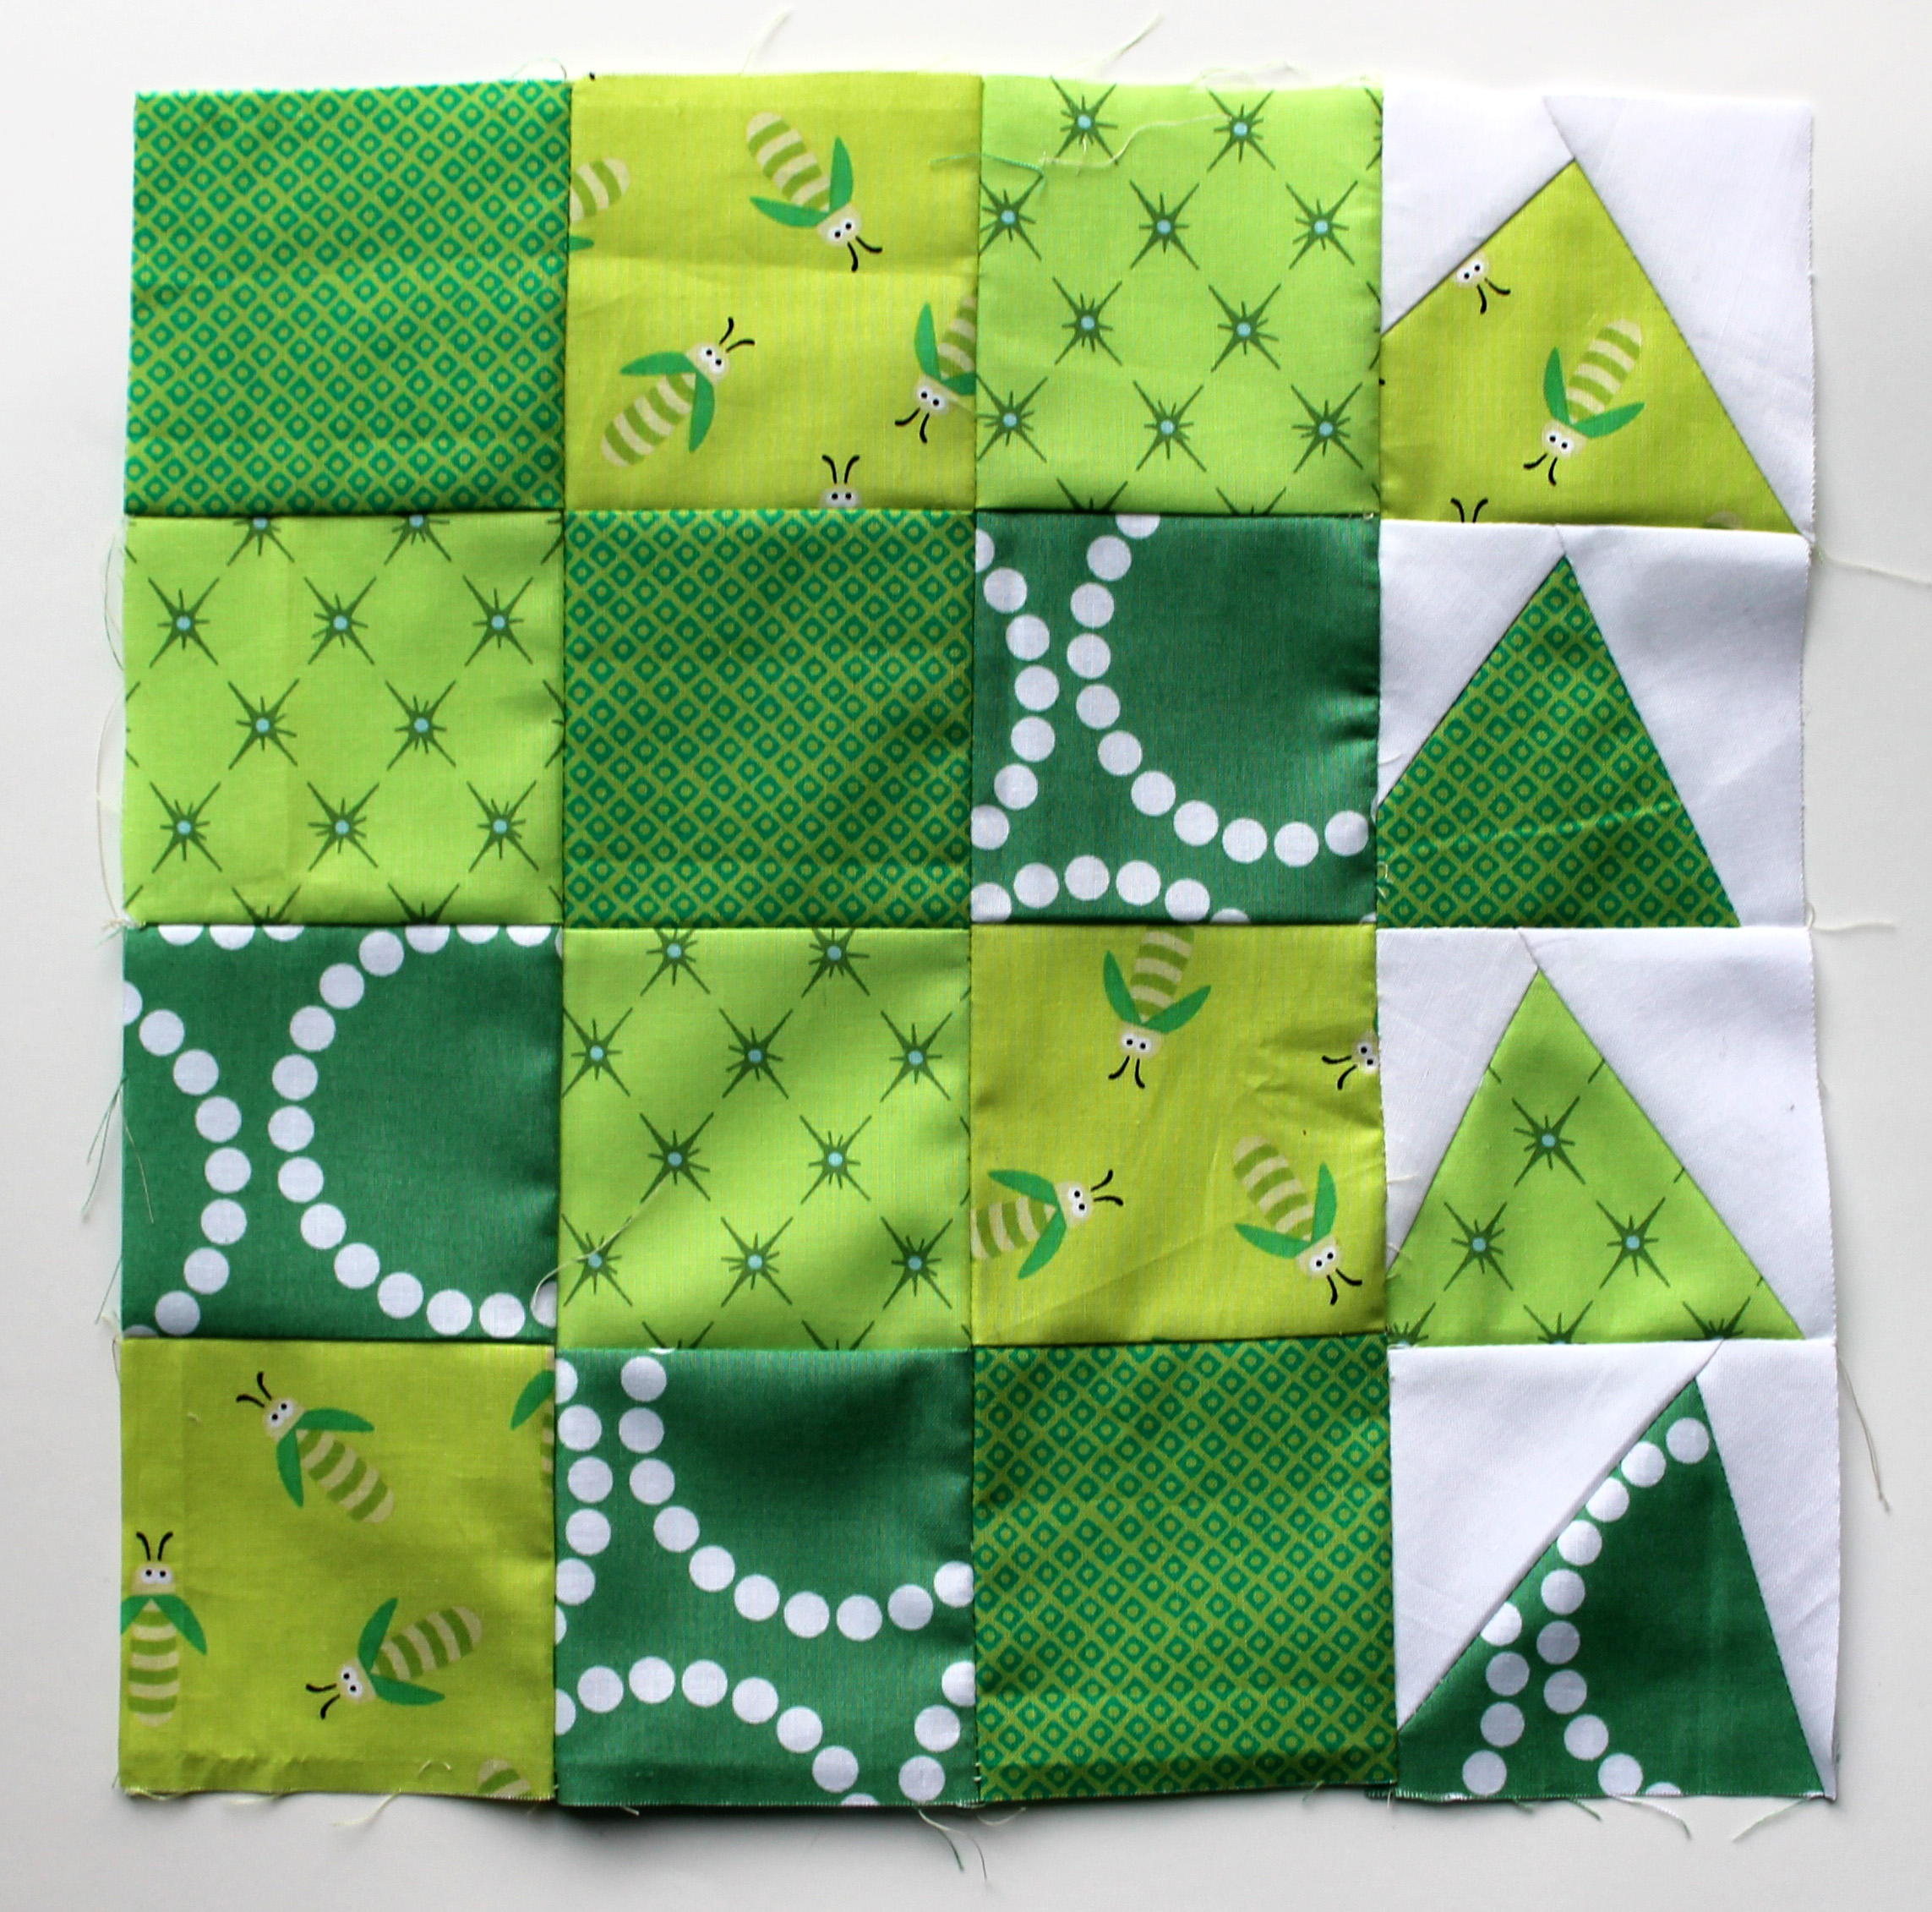
What can you do with a pile of 3 inch squares you may be asking… so far I have made:

1.  Granny Square blocks

Work in progress granny quilt blocks. Simple bright quilt block

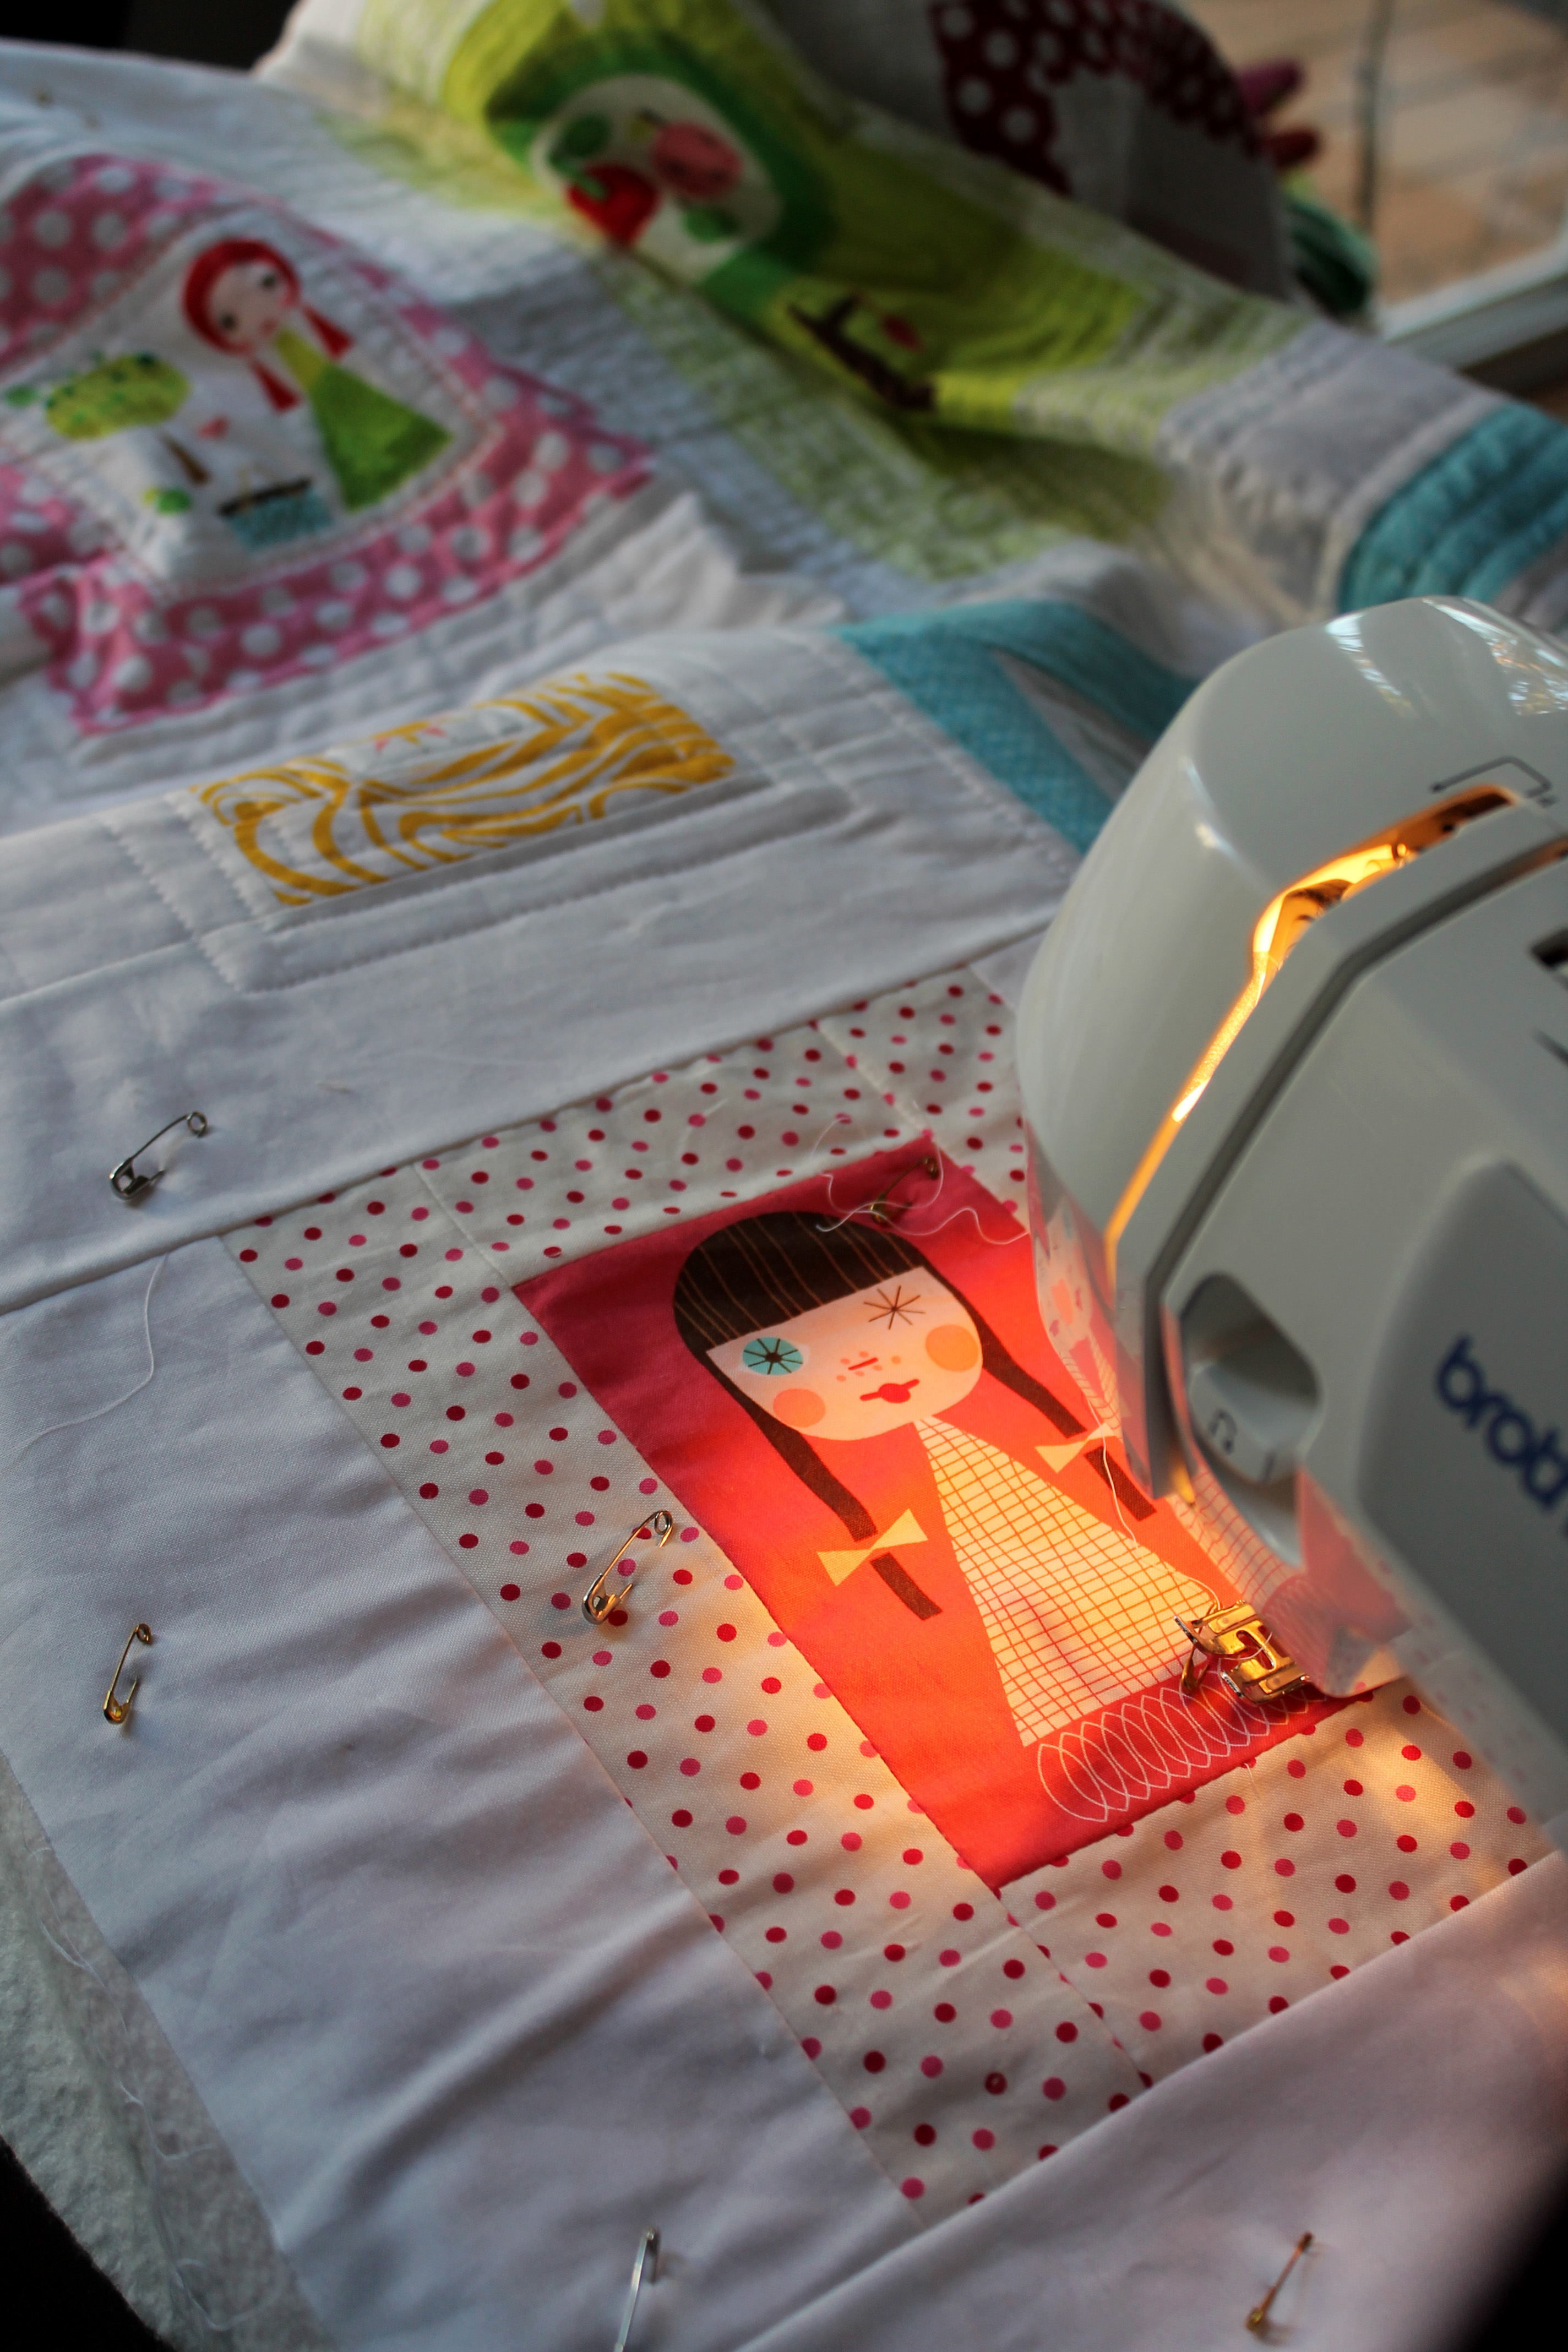
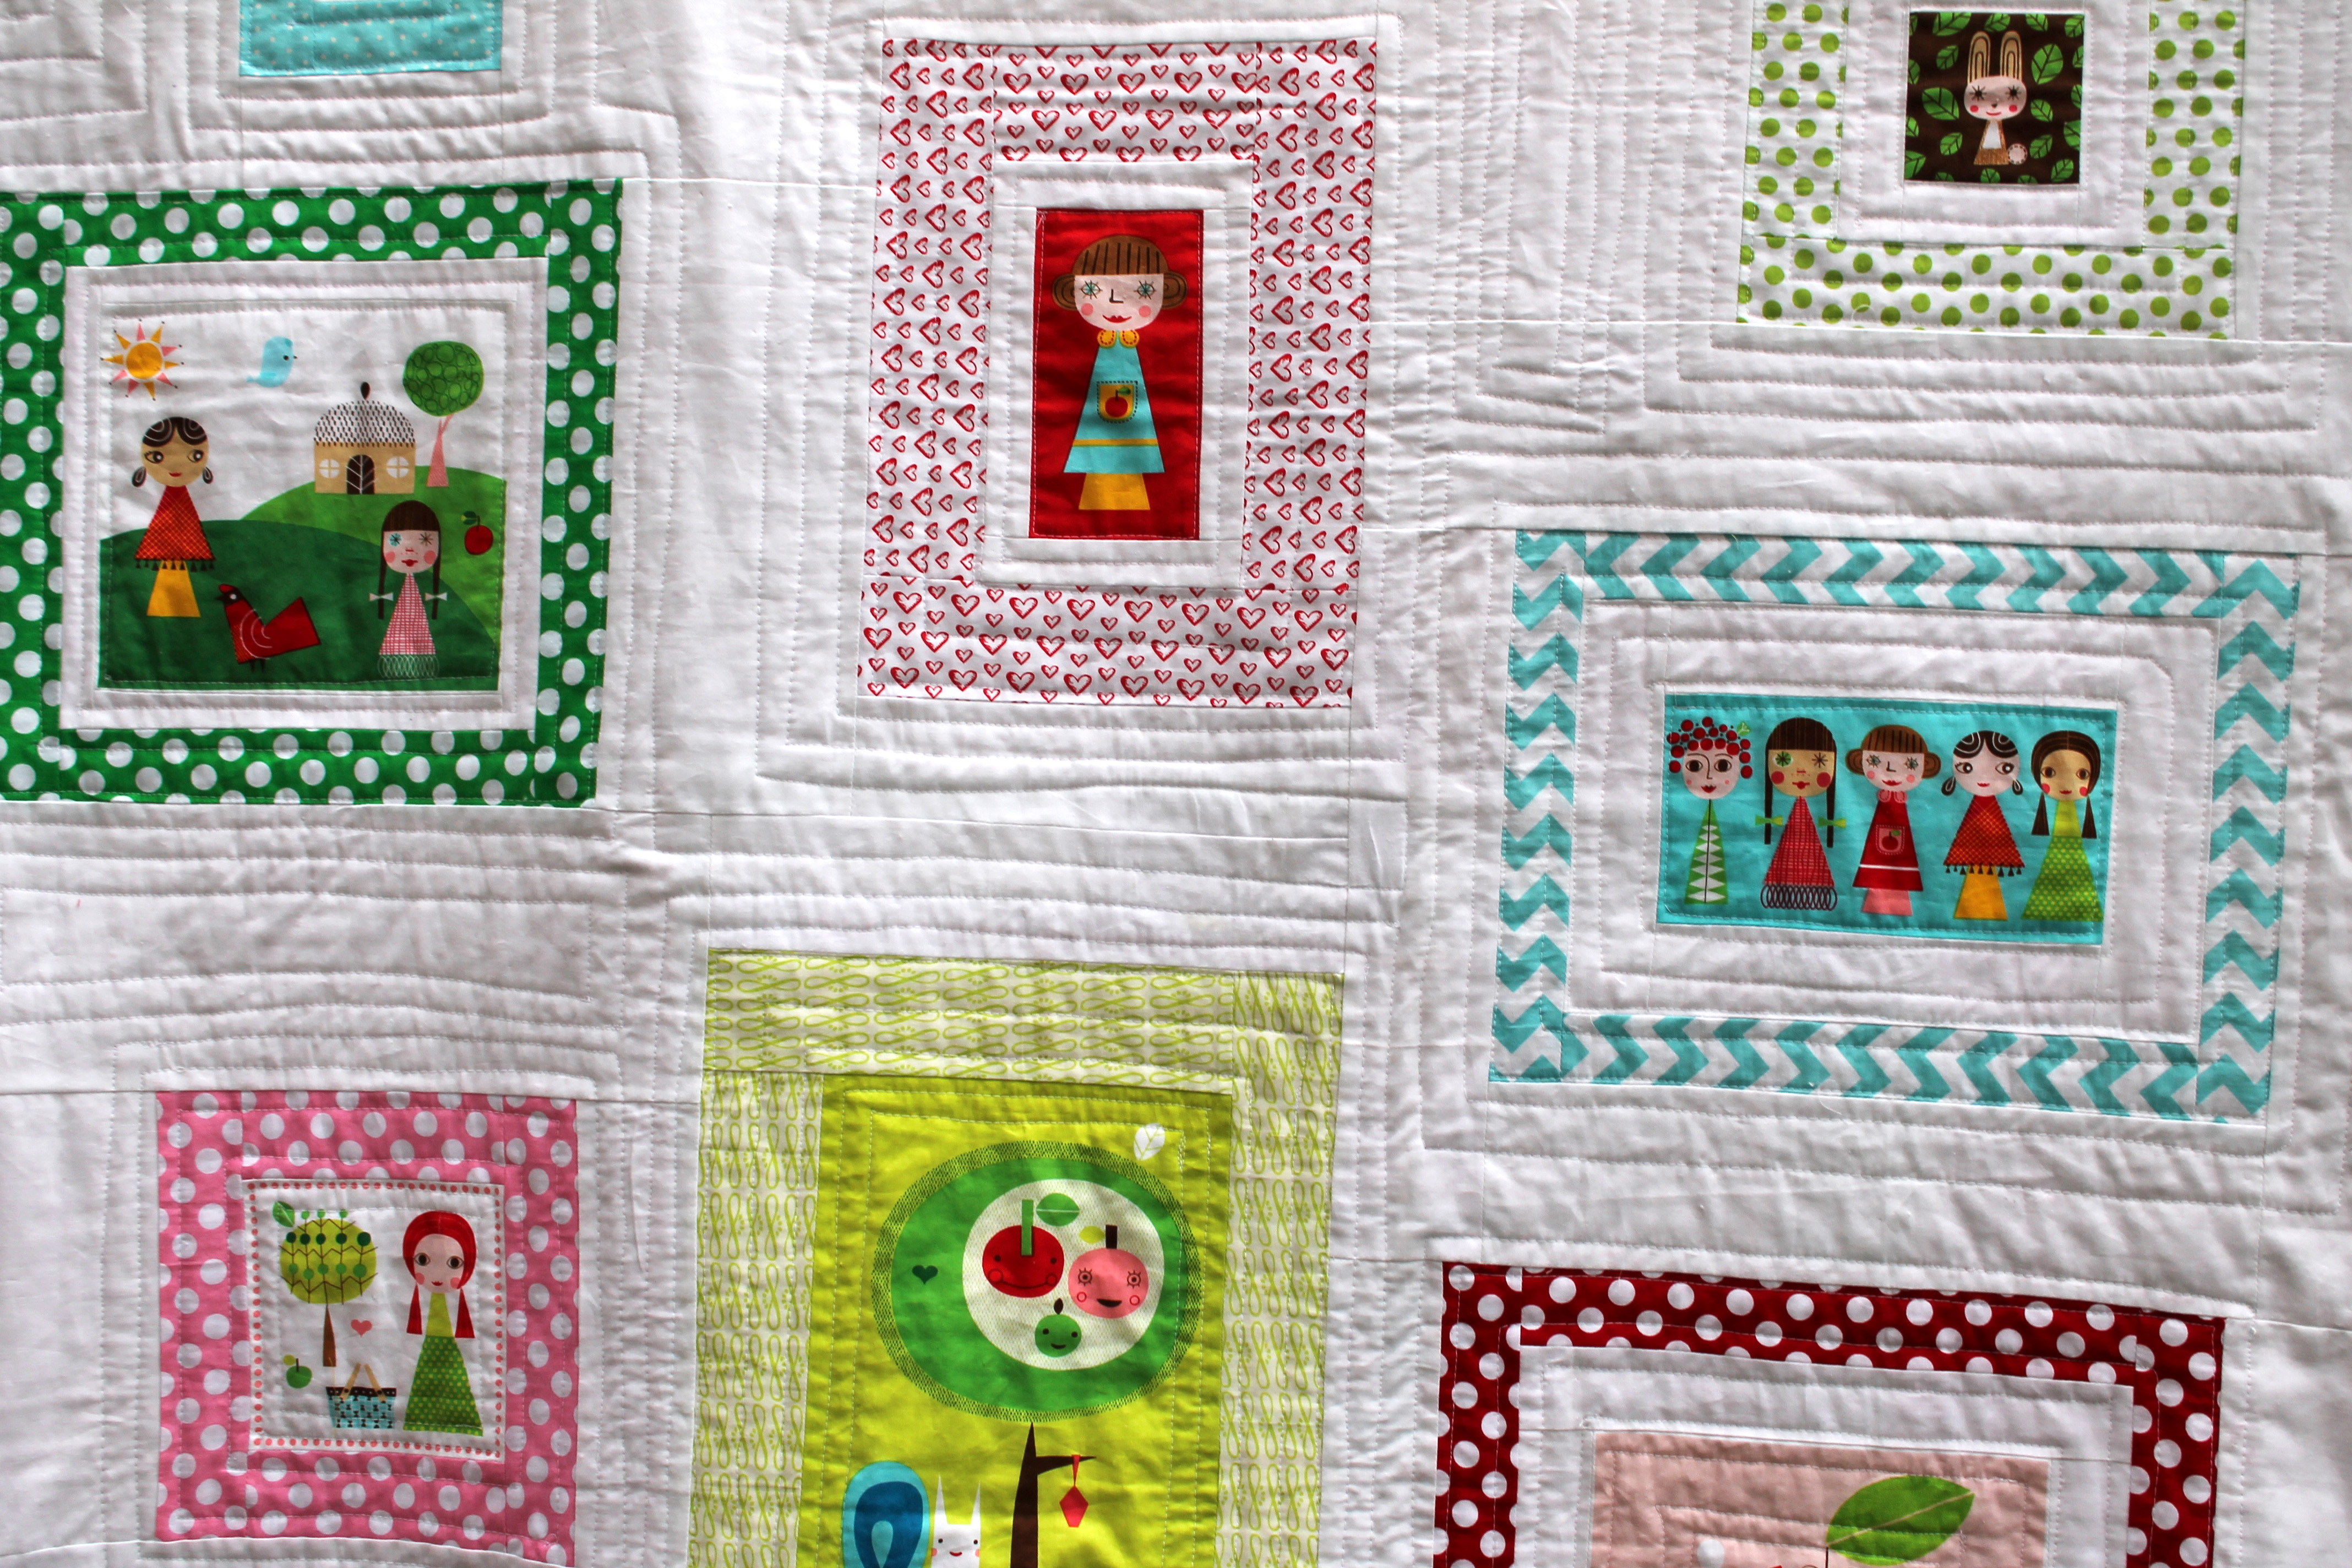
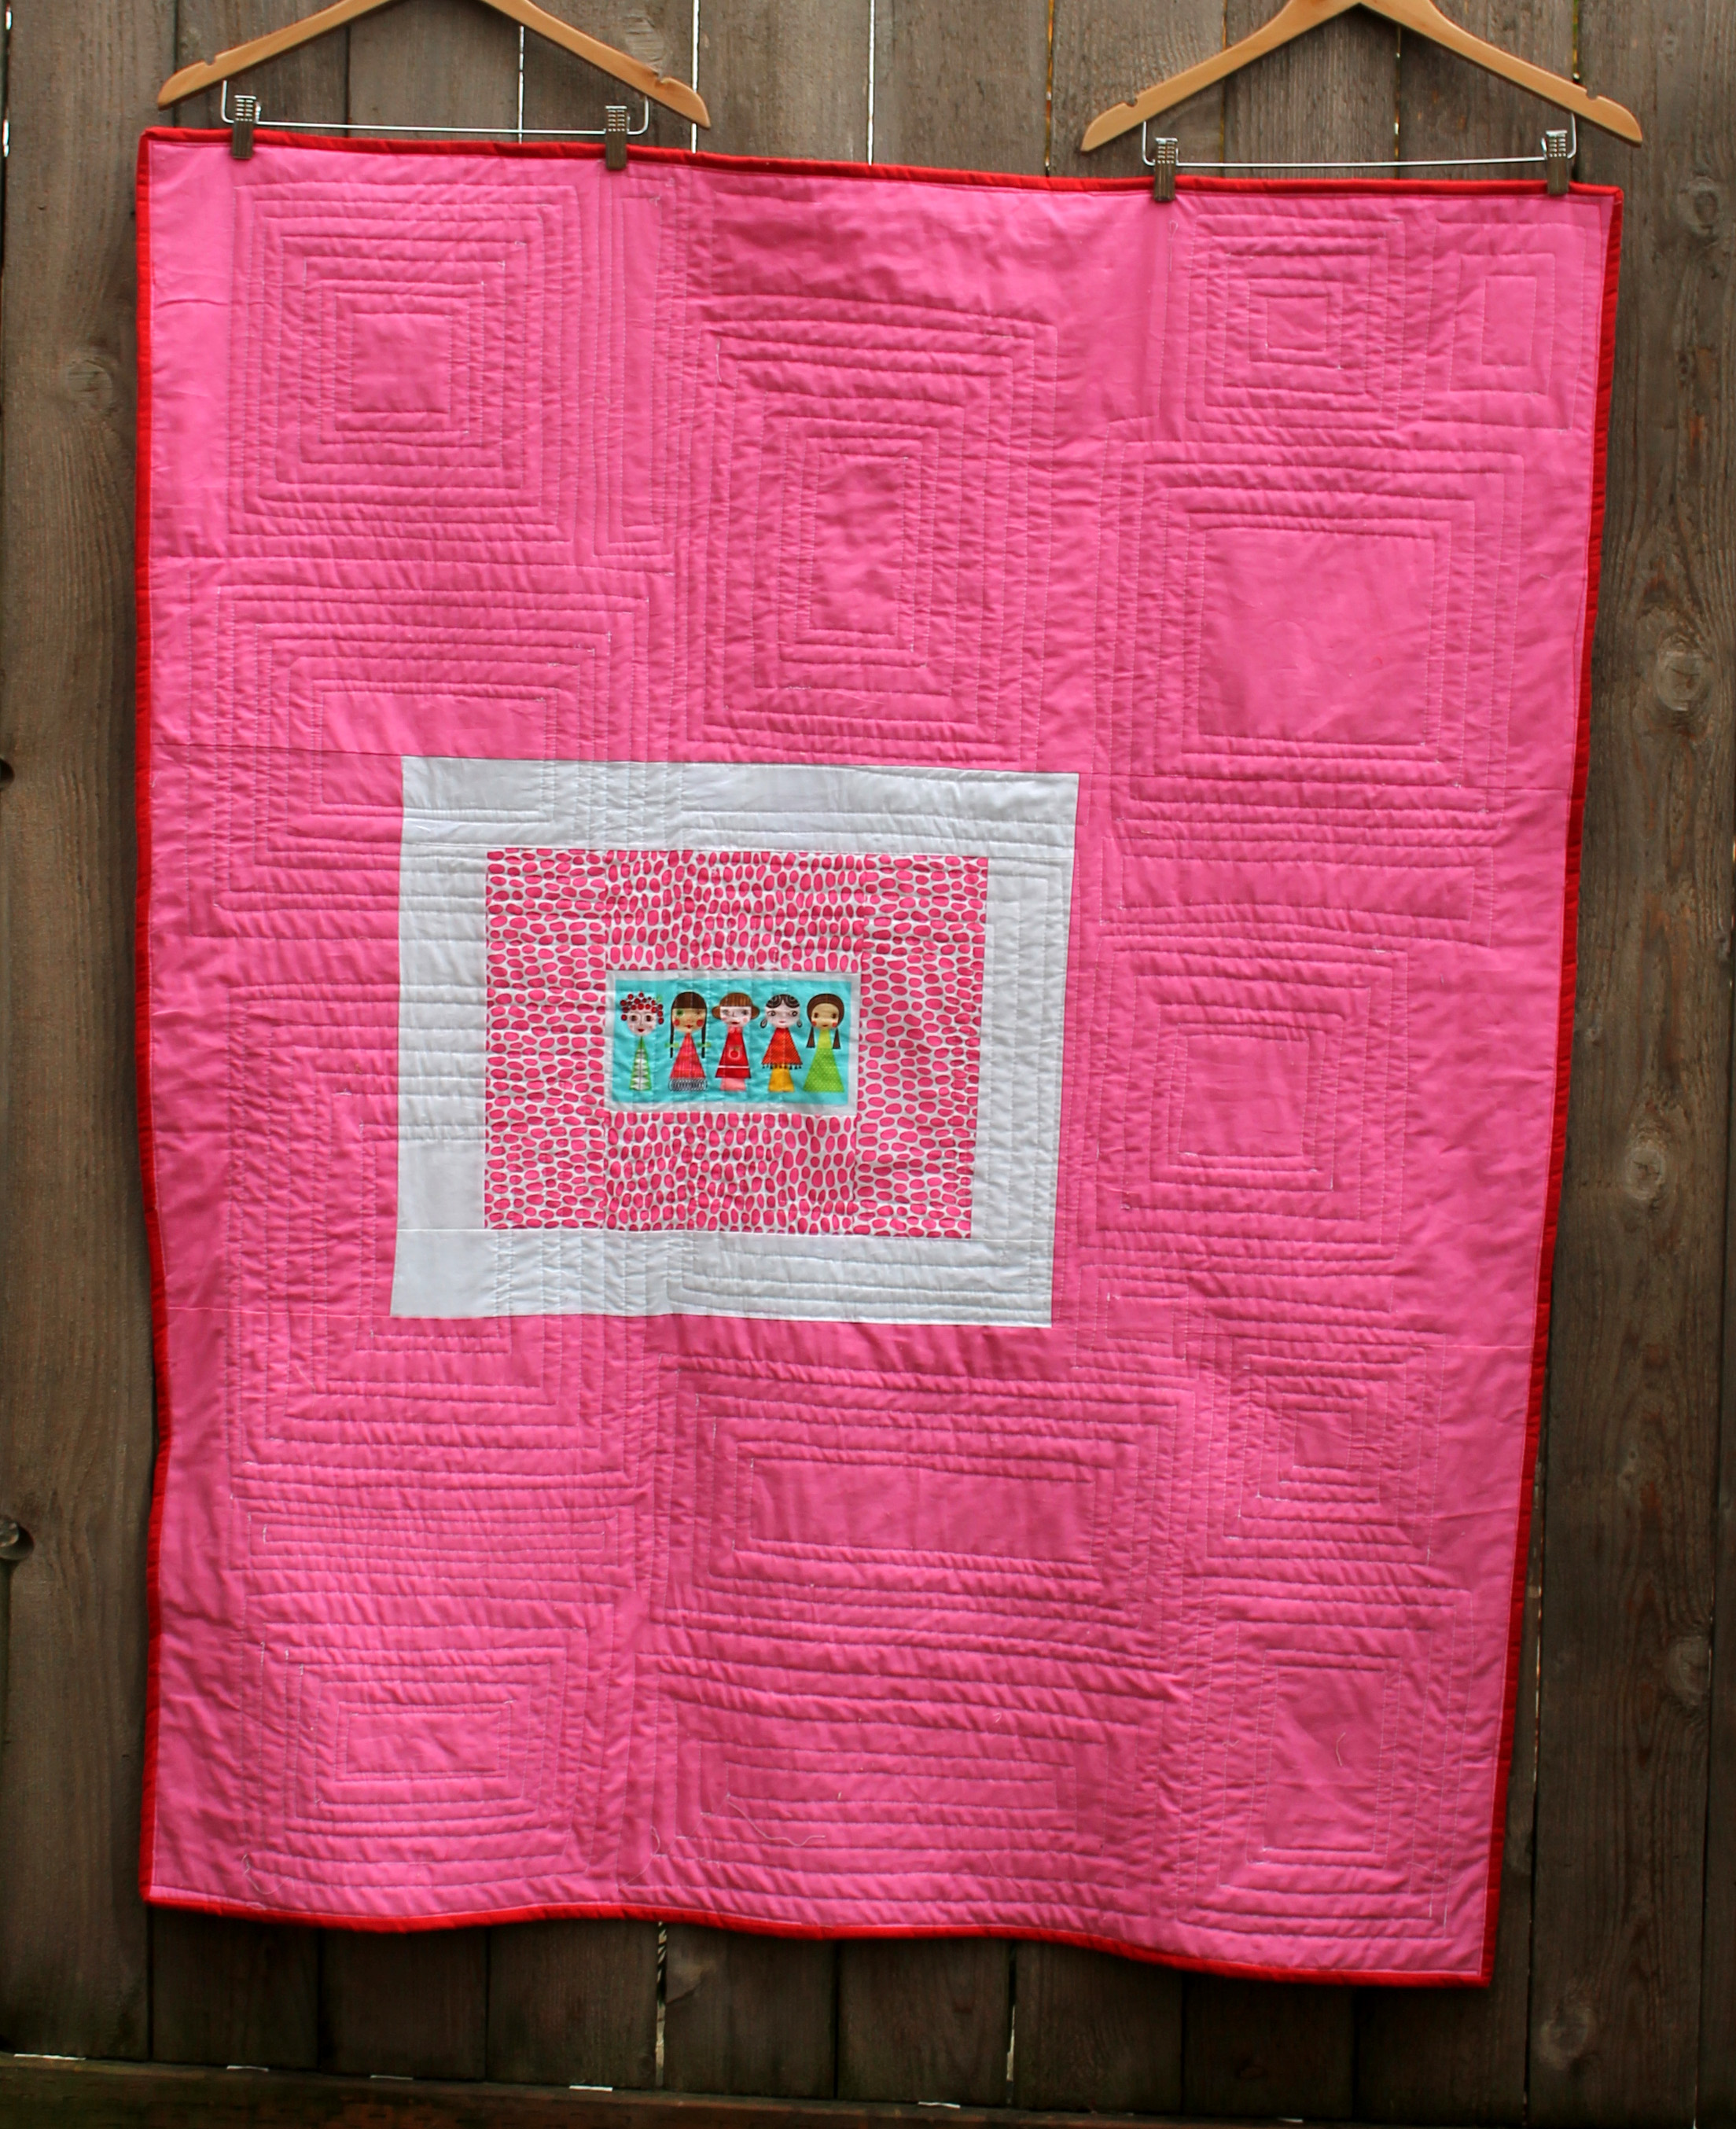
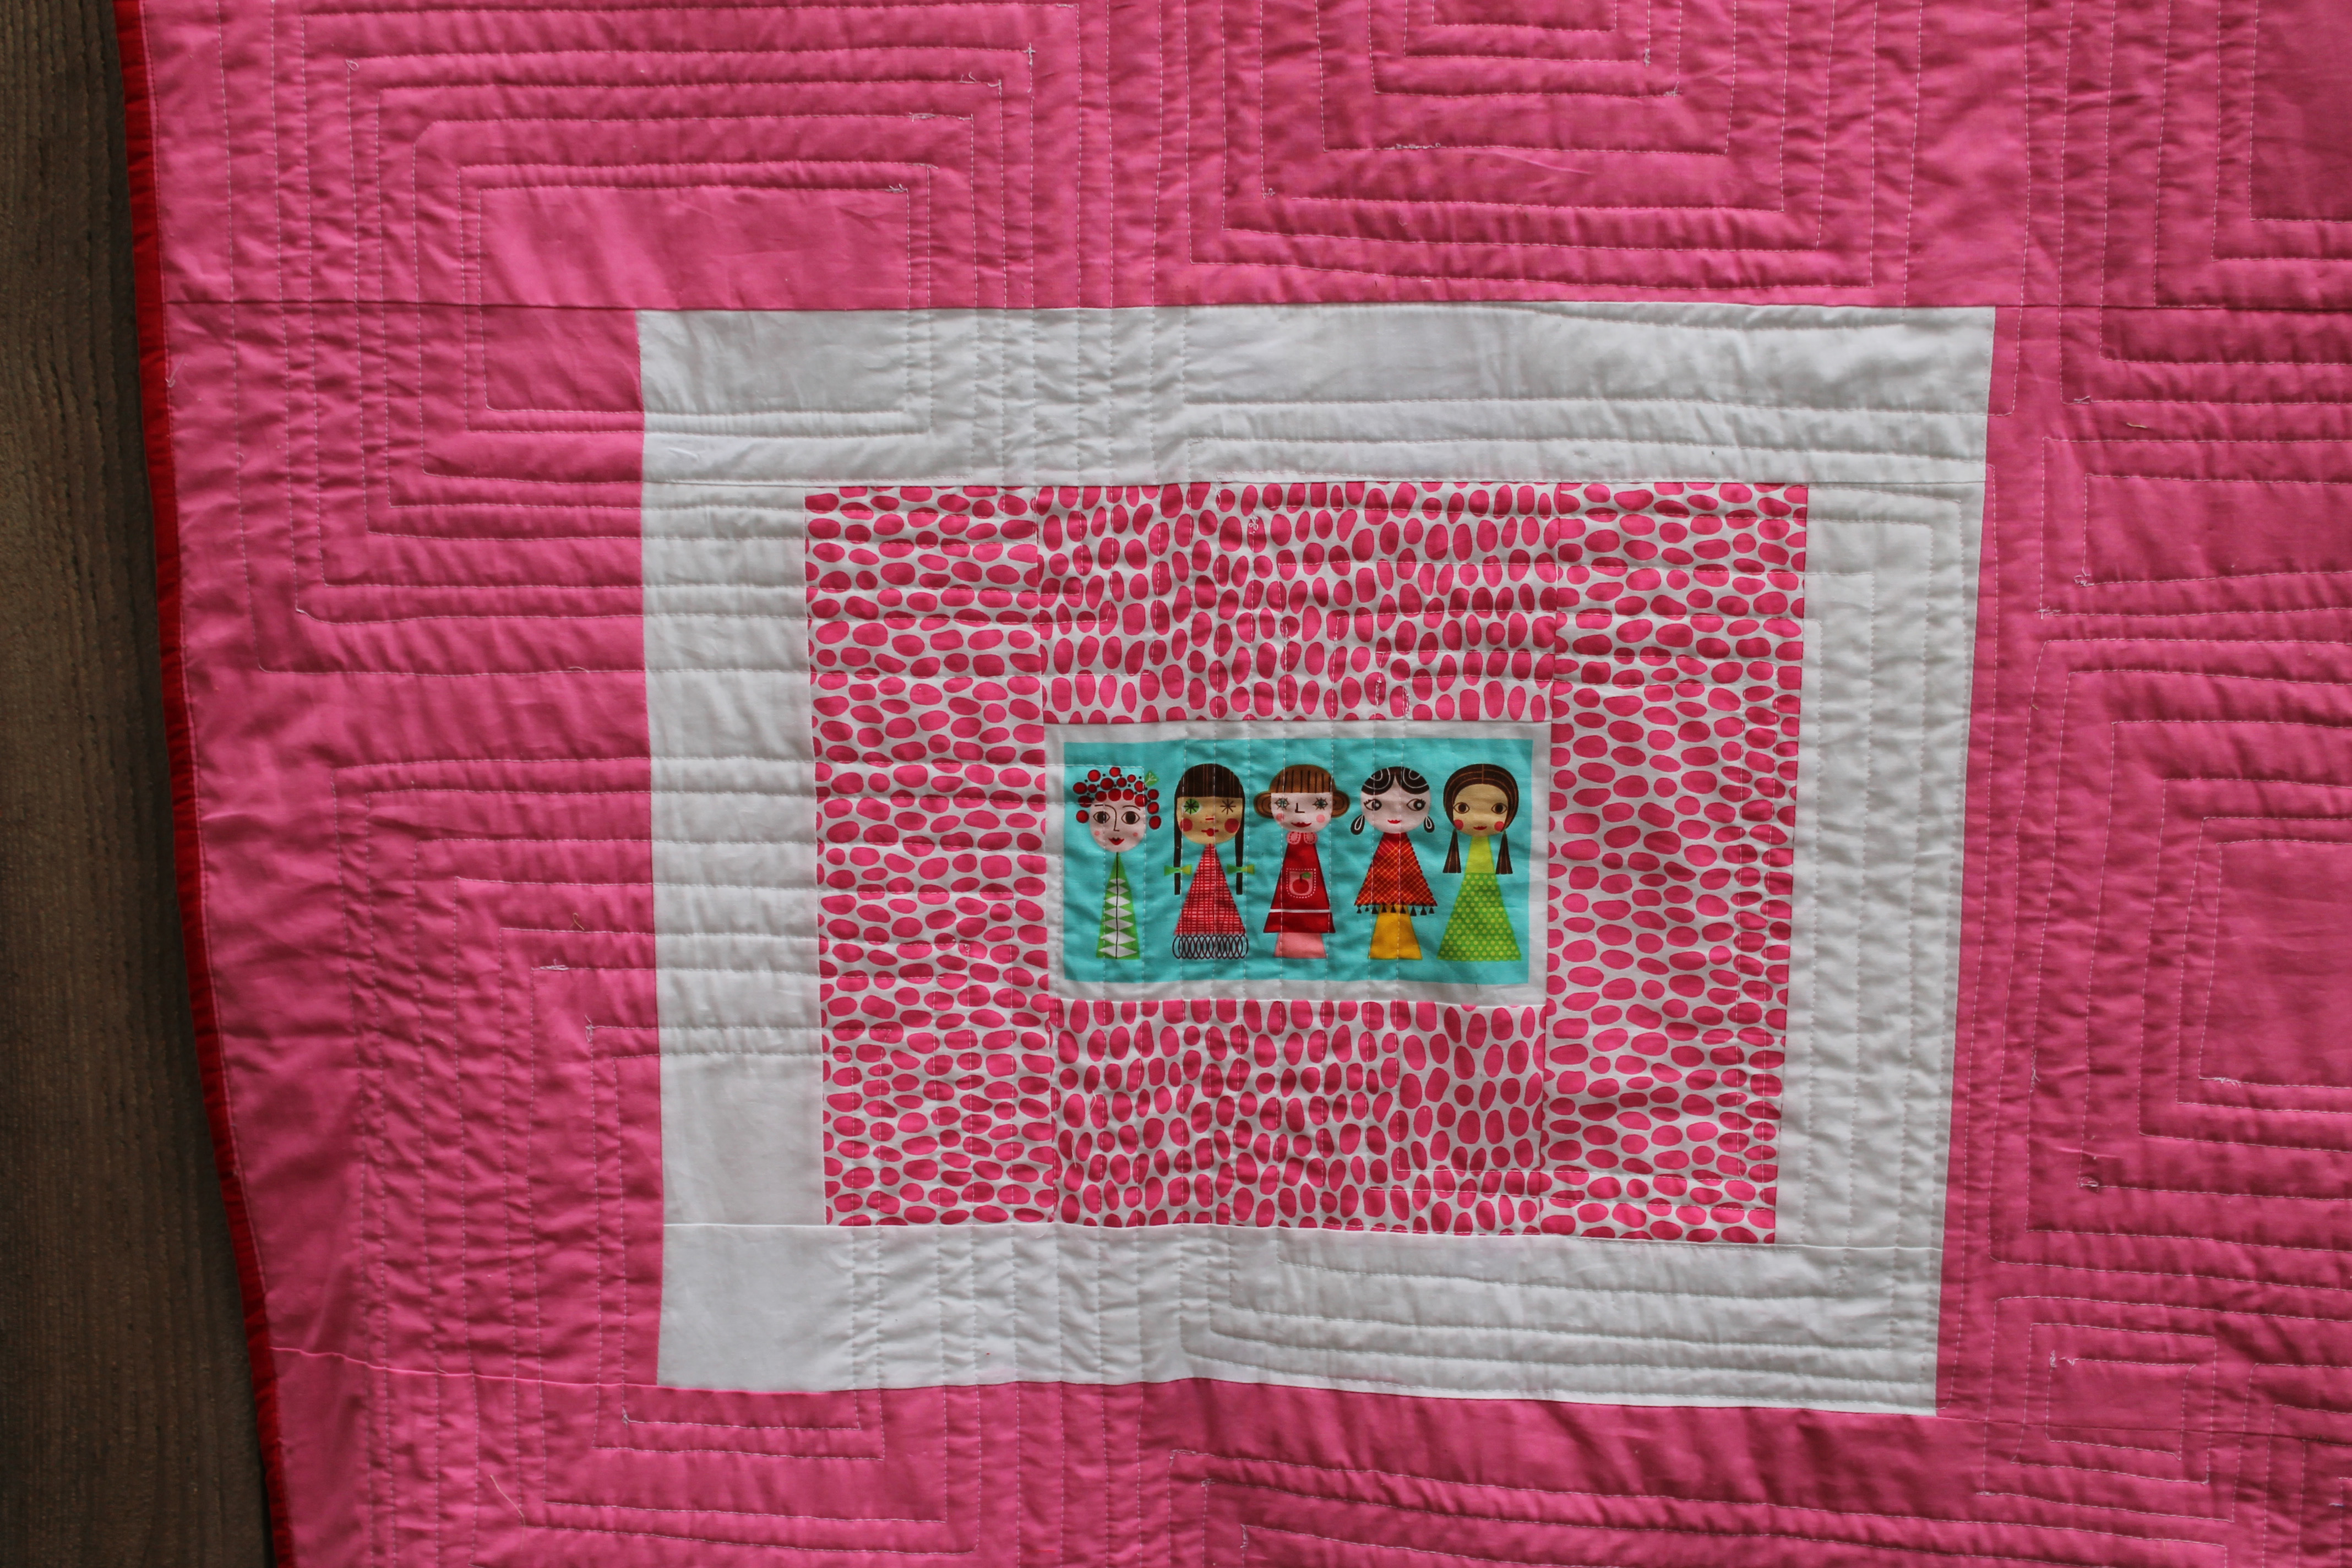
2.  Doll quilts… that are currently in need of quilting!

Doll quilt wonky star

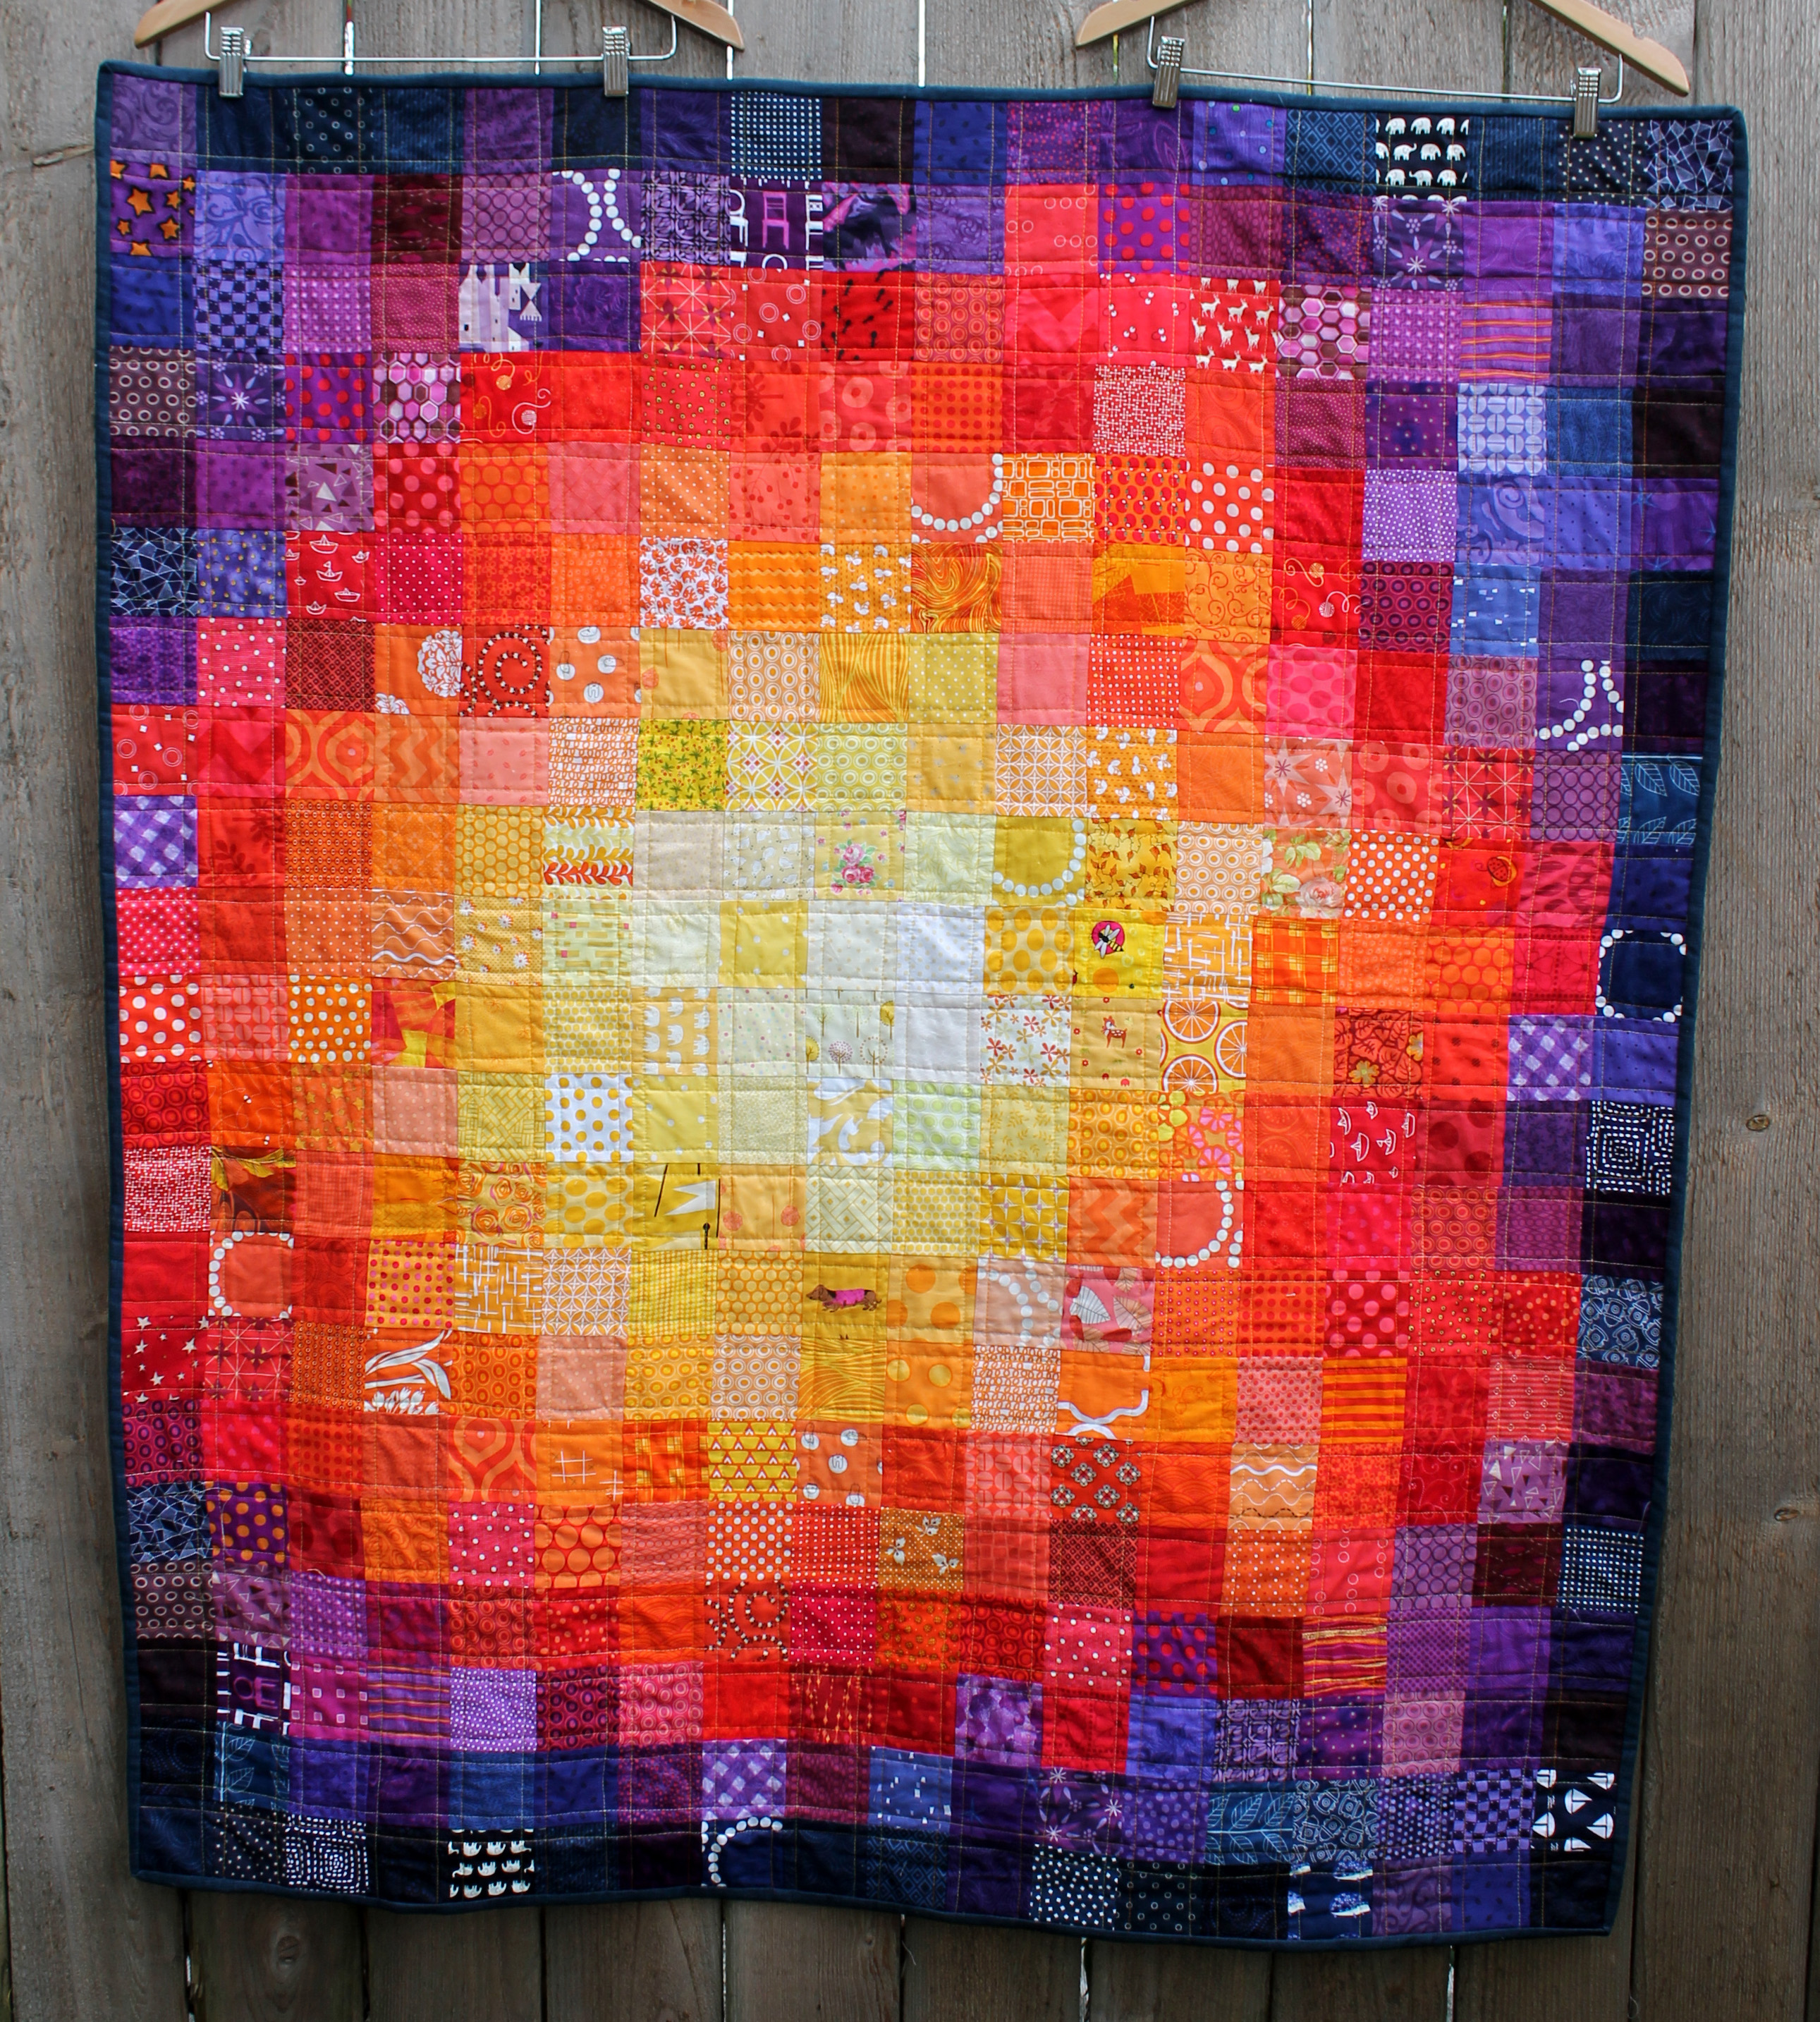
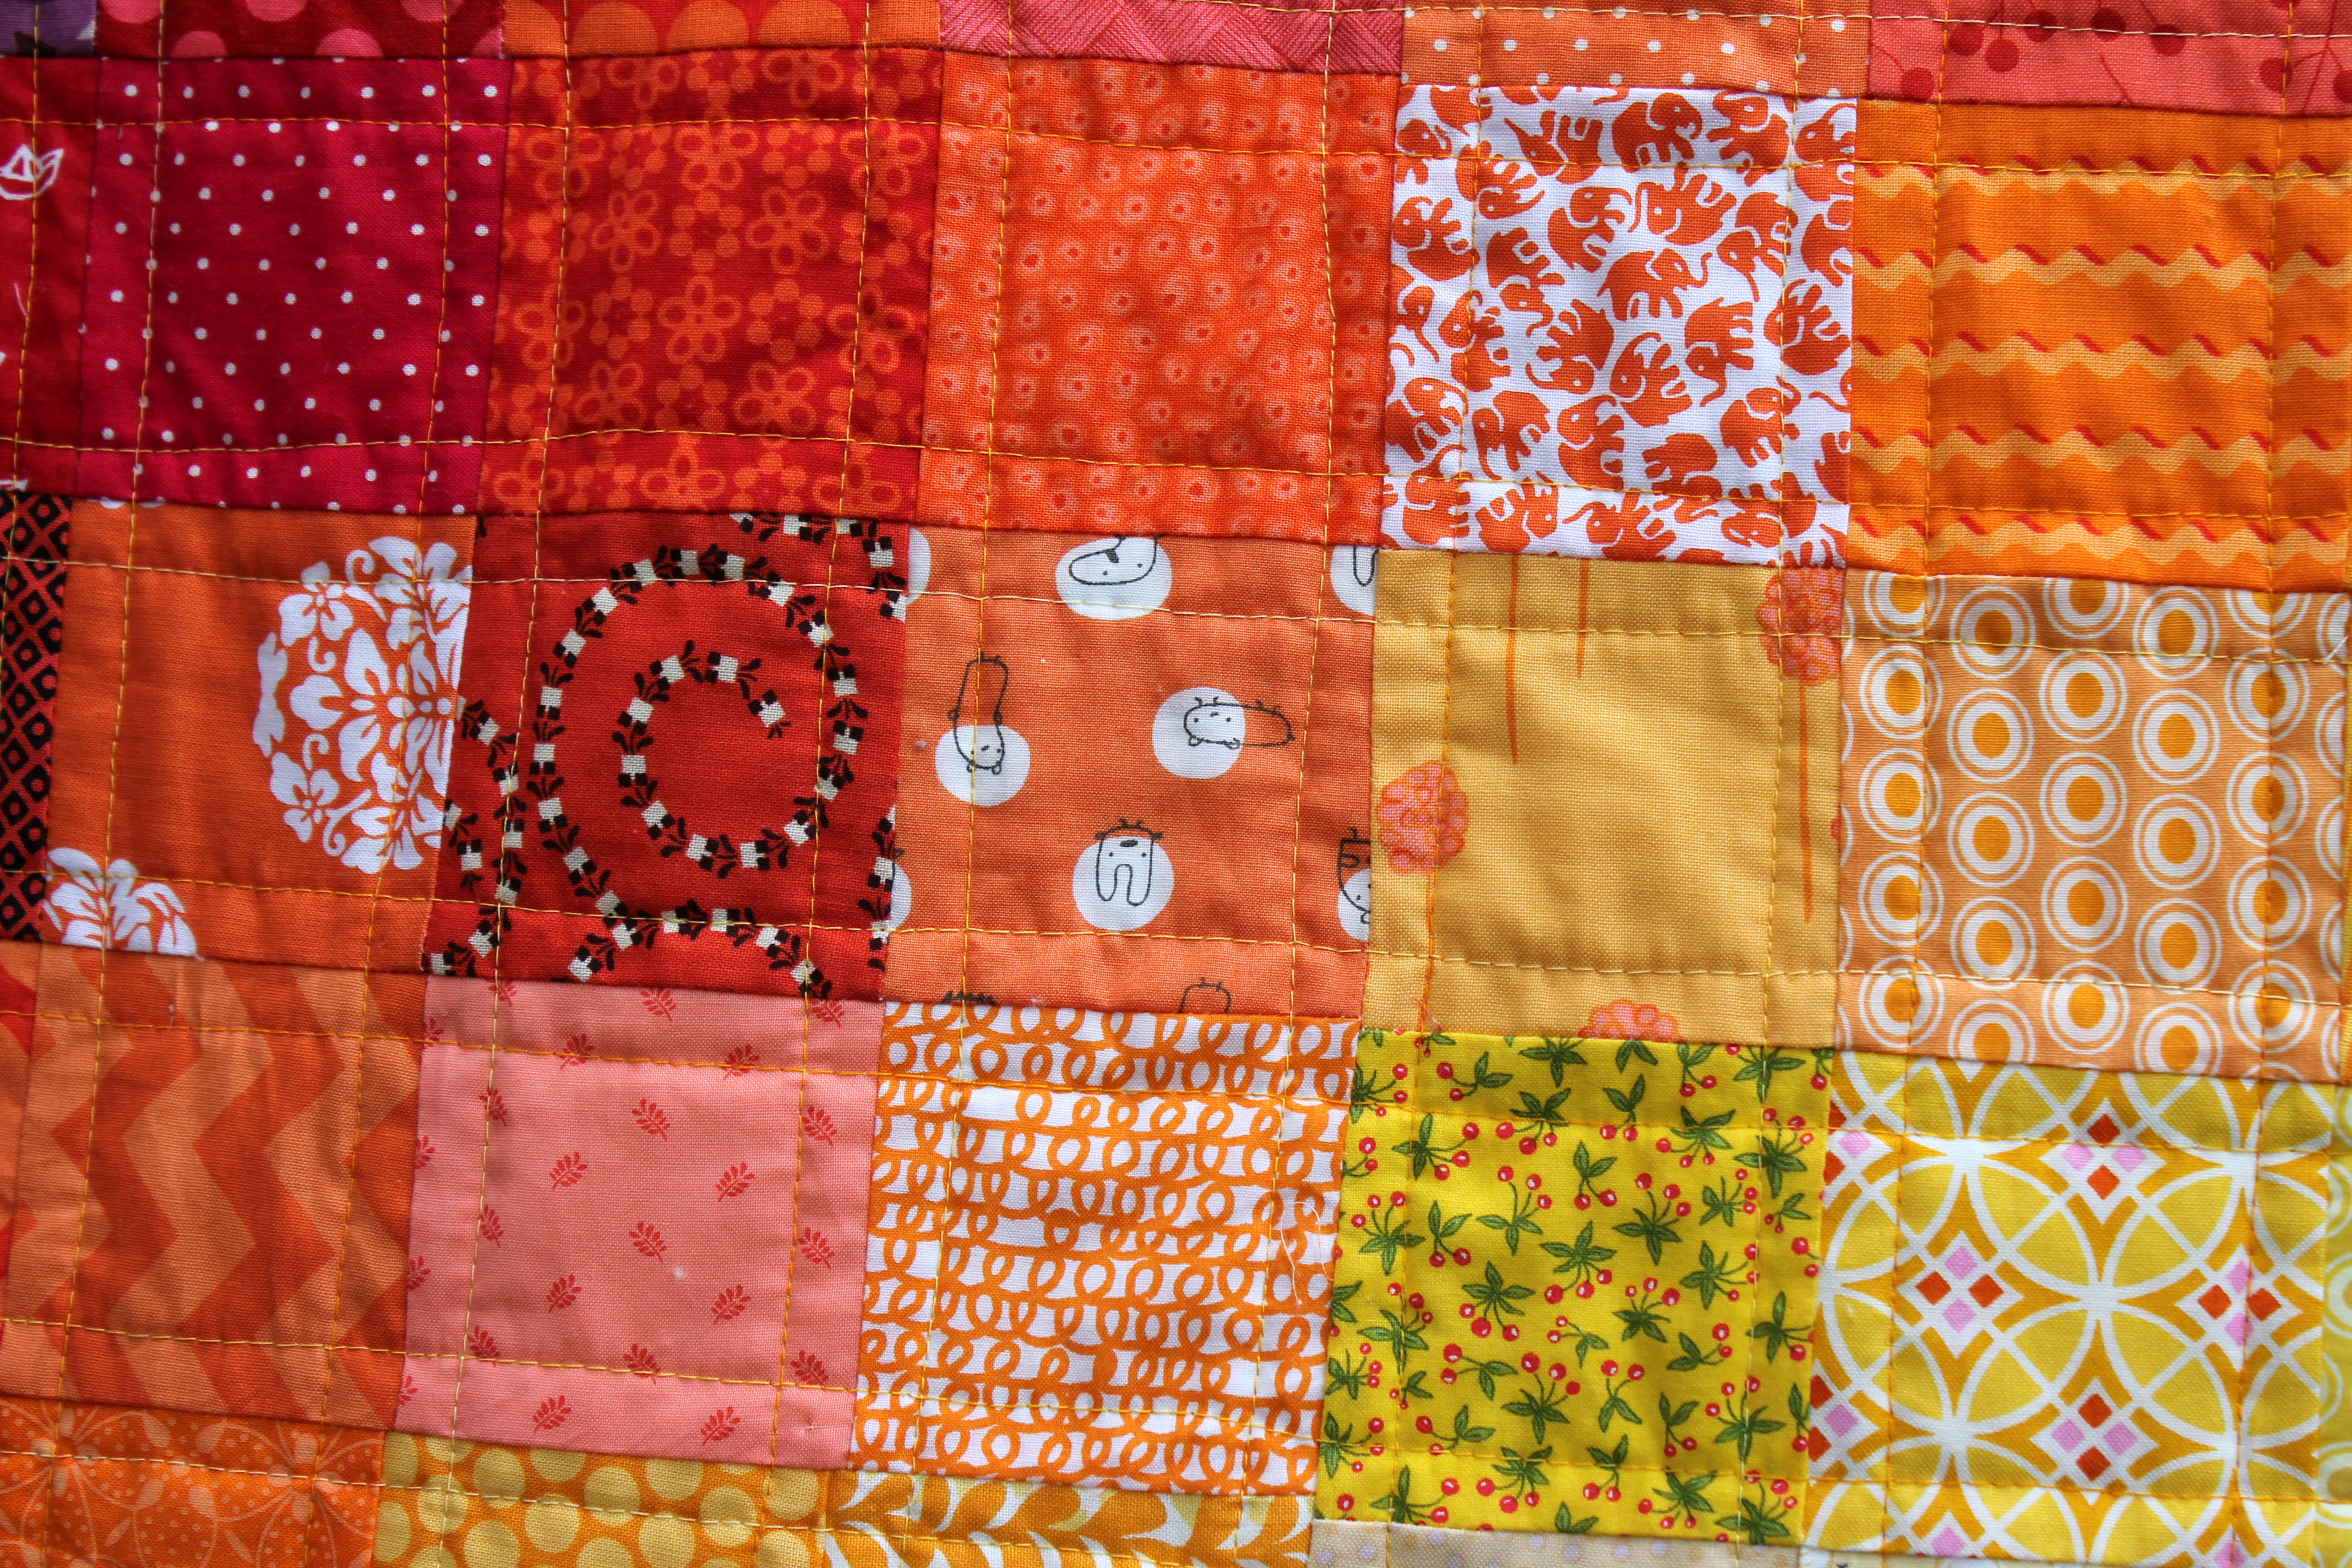
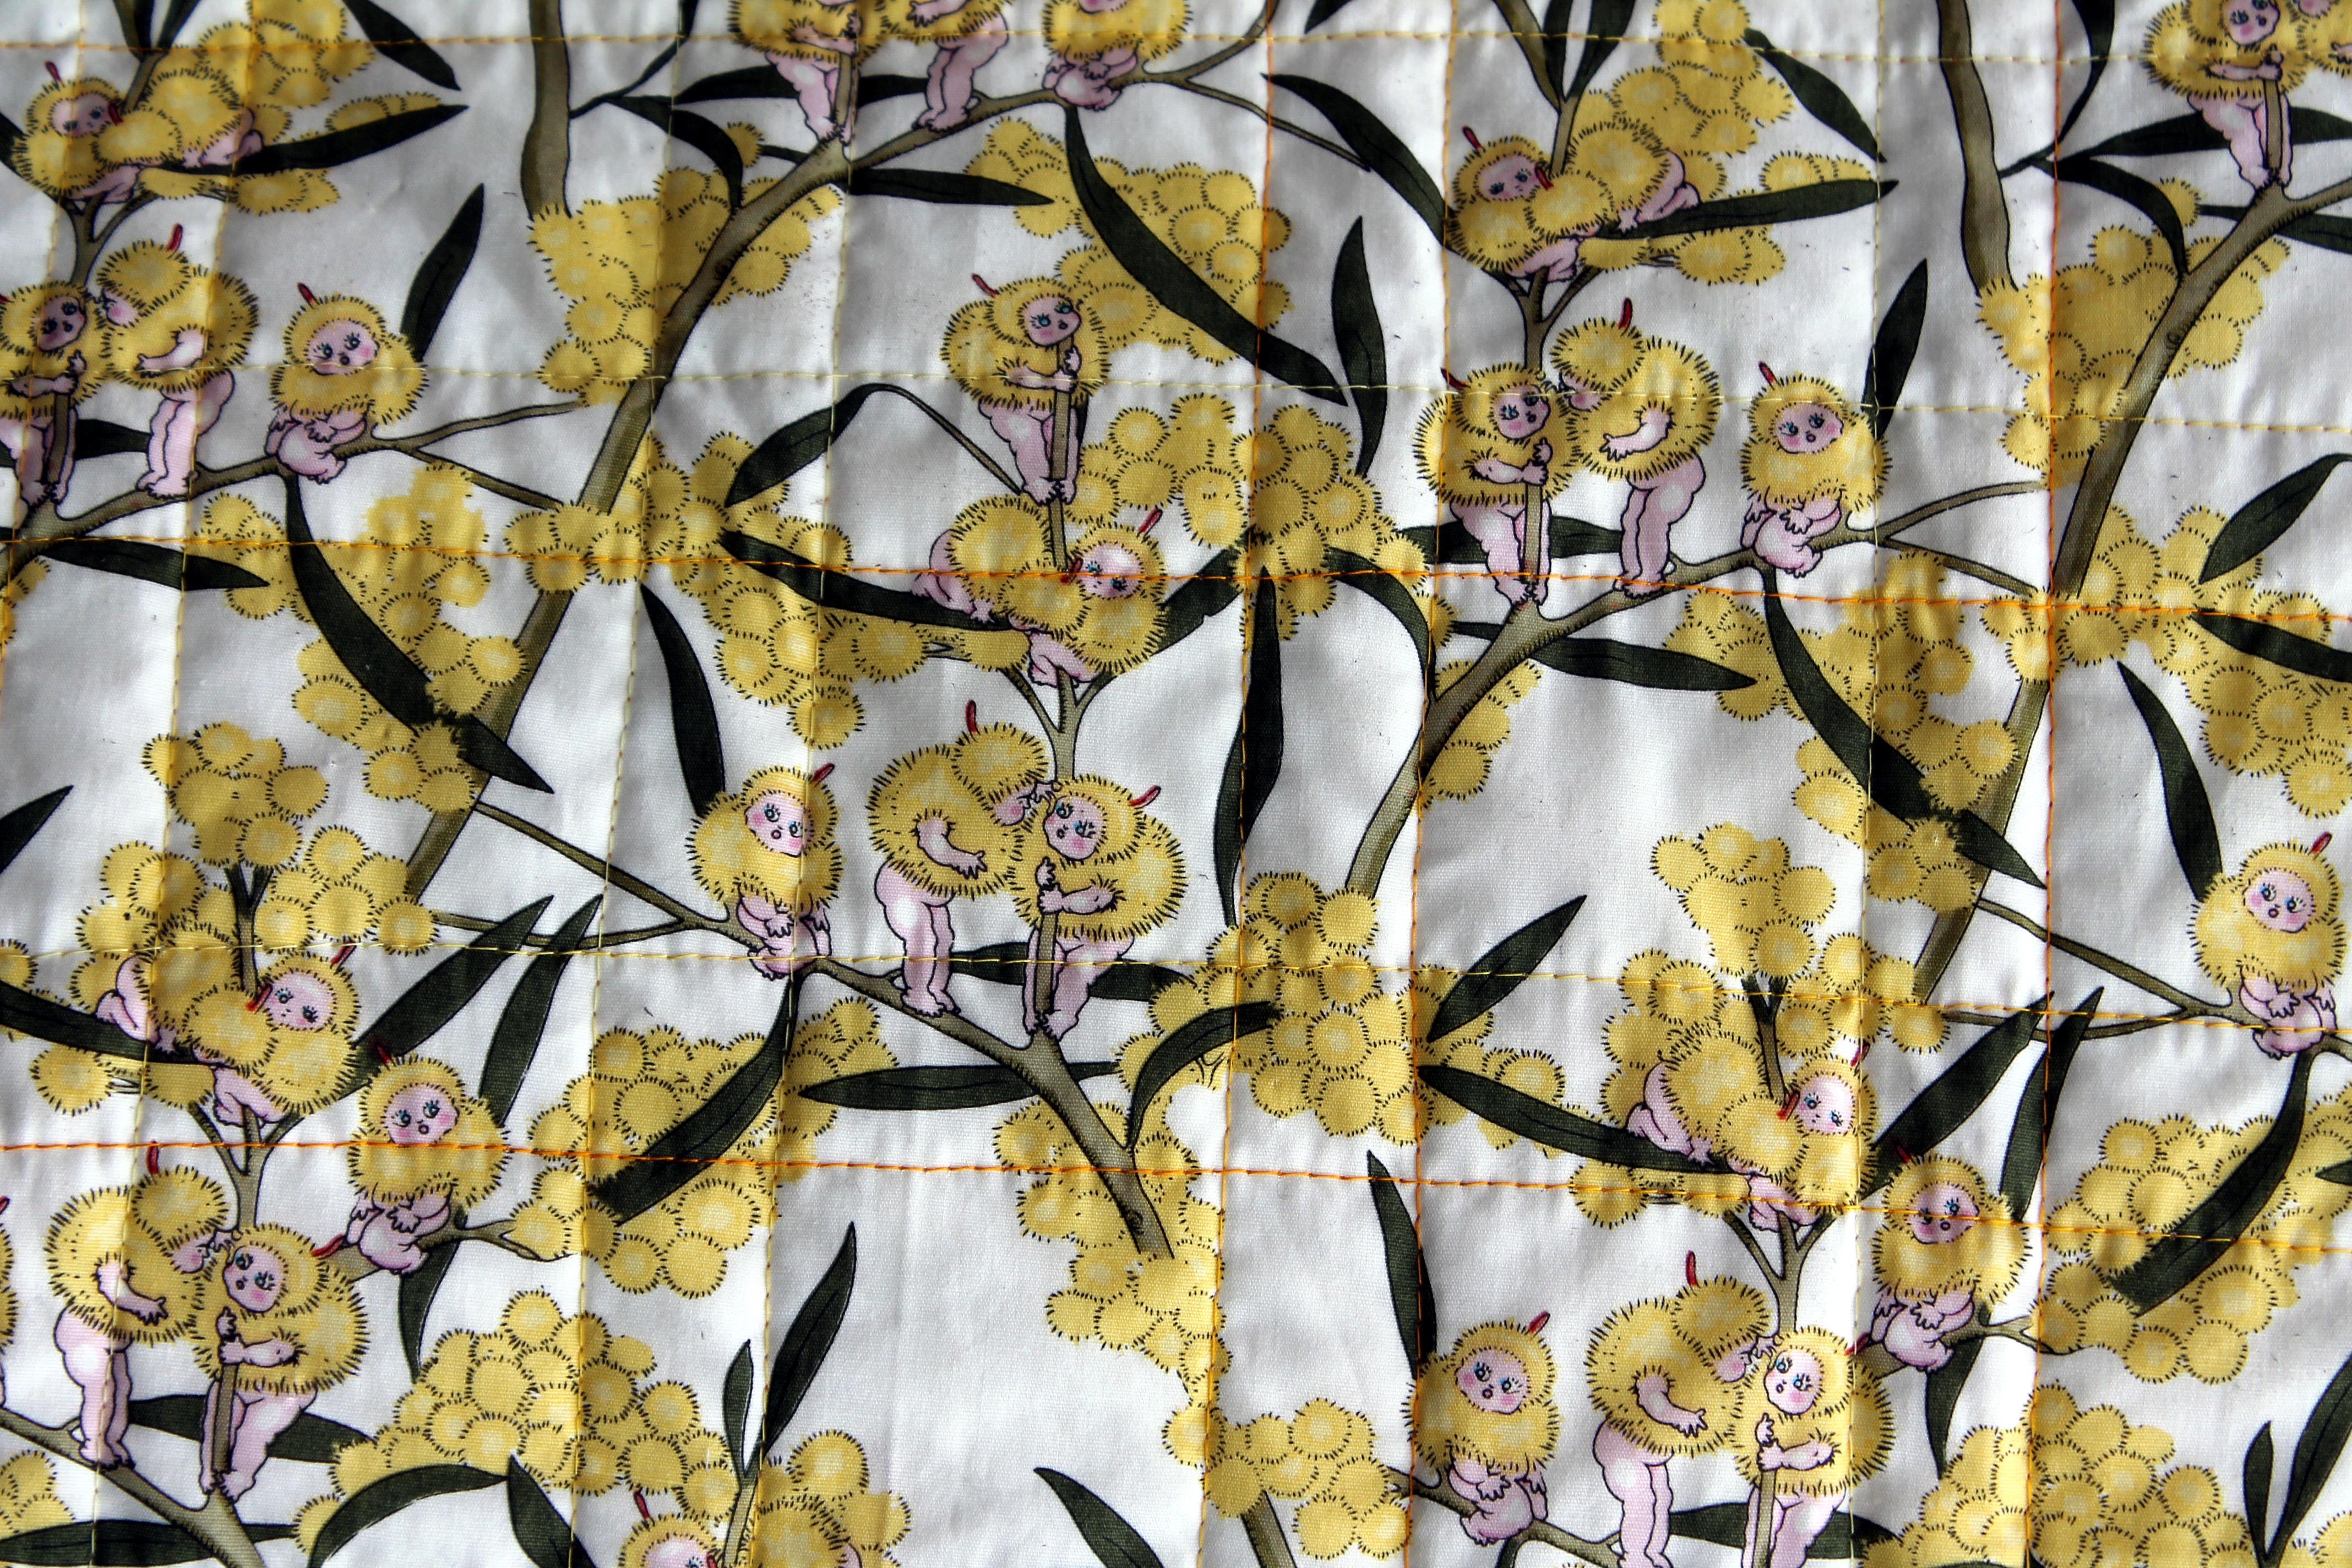
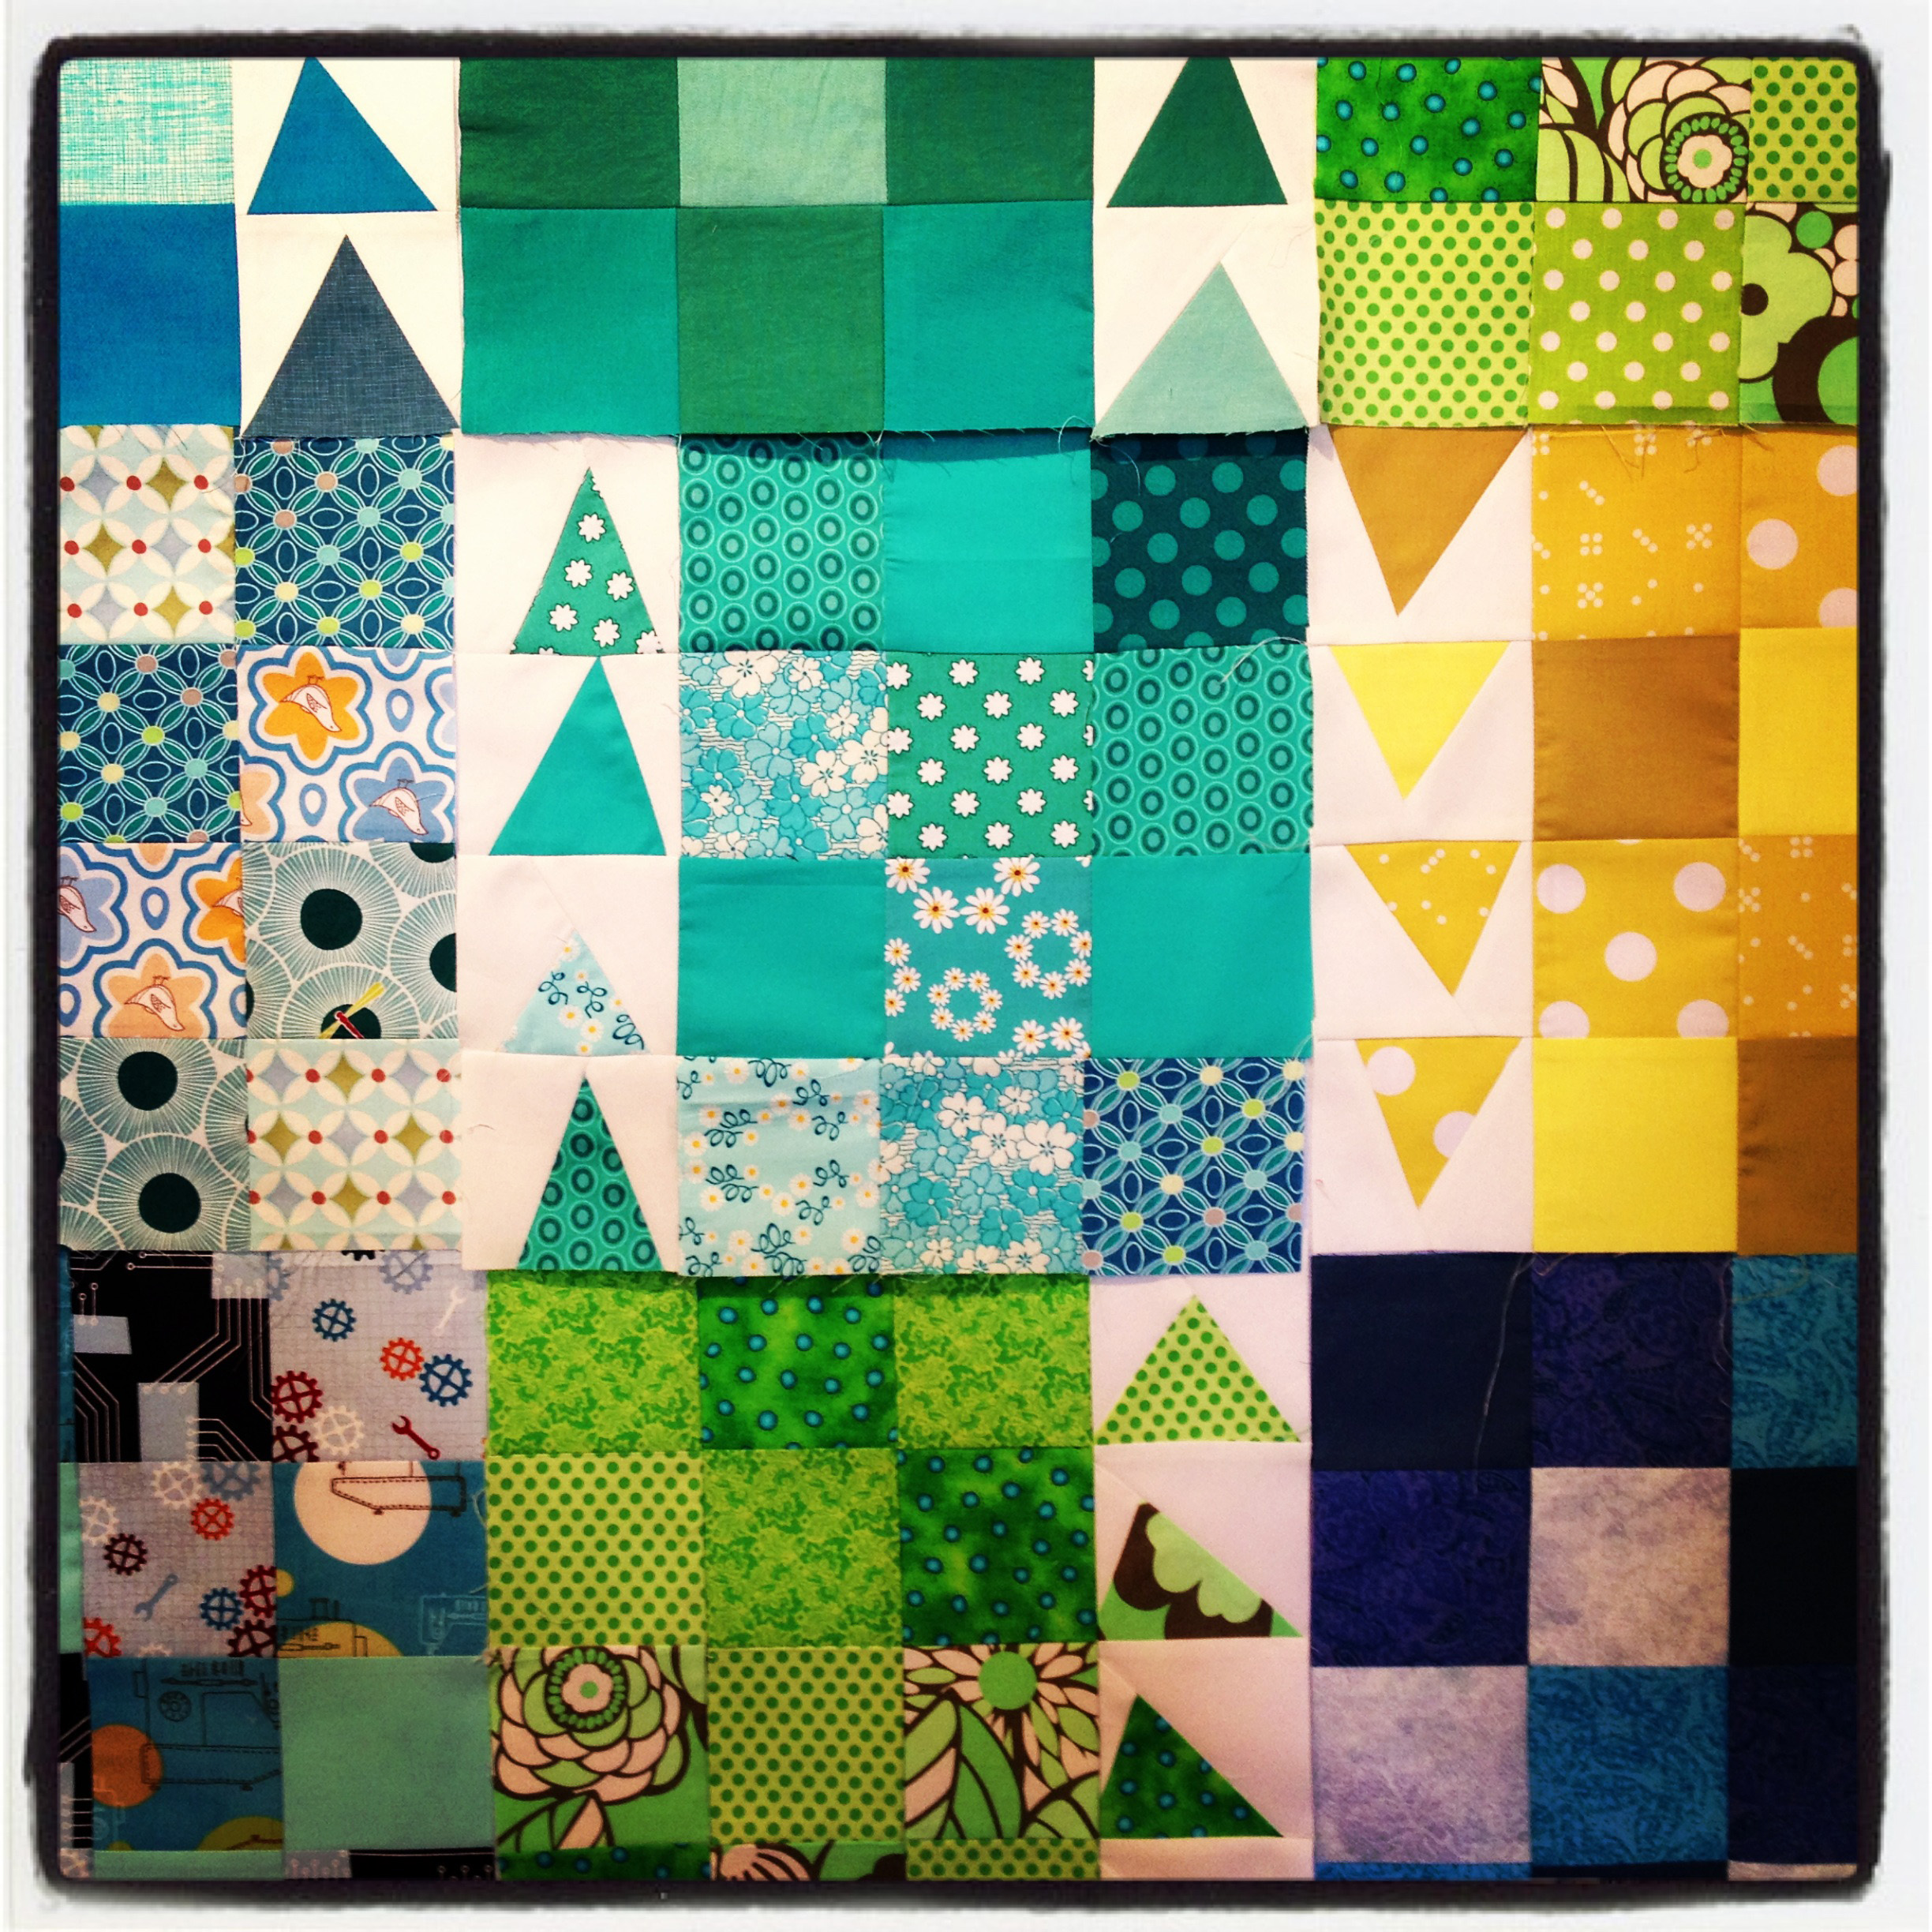
3.  Graduating colour quilts – Sunburnt country is made up of 3 inch squares

cropped-sundburnt-country-finished-top.jpg

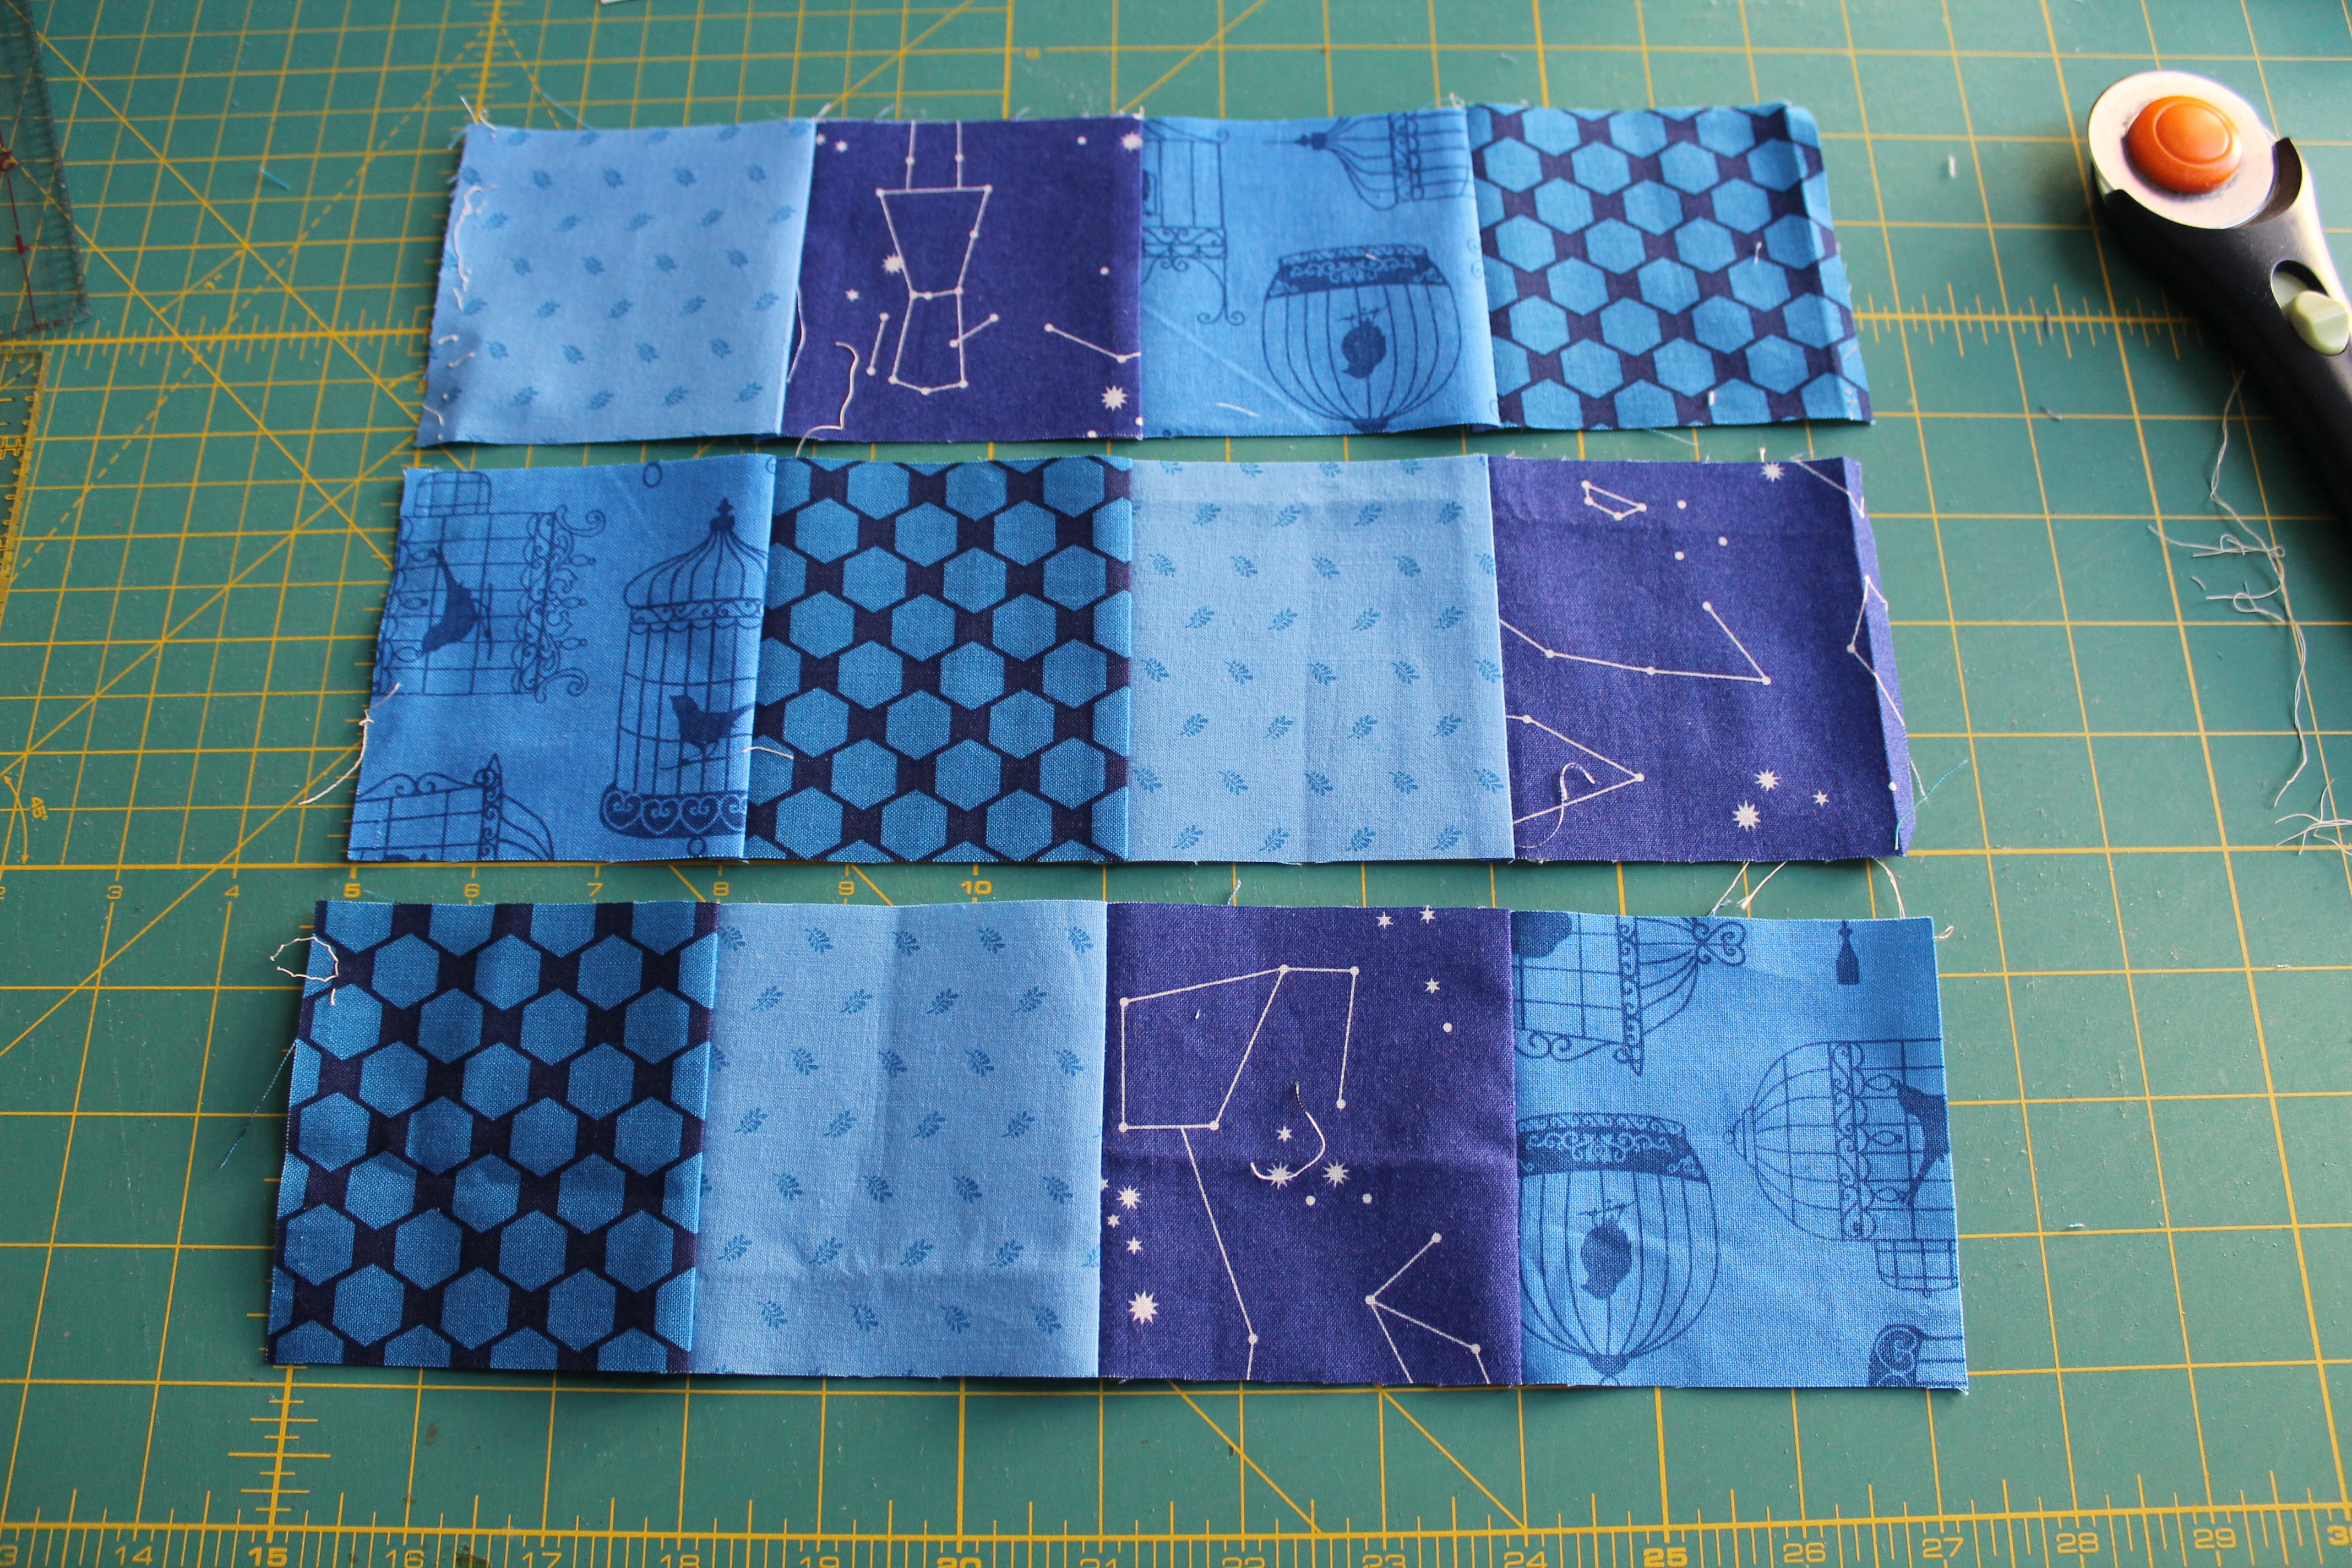
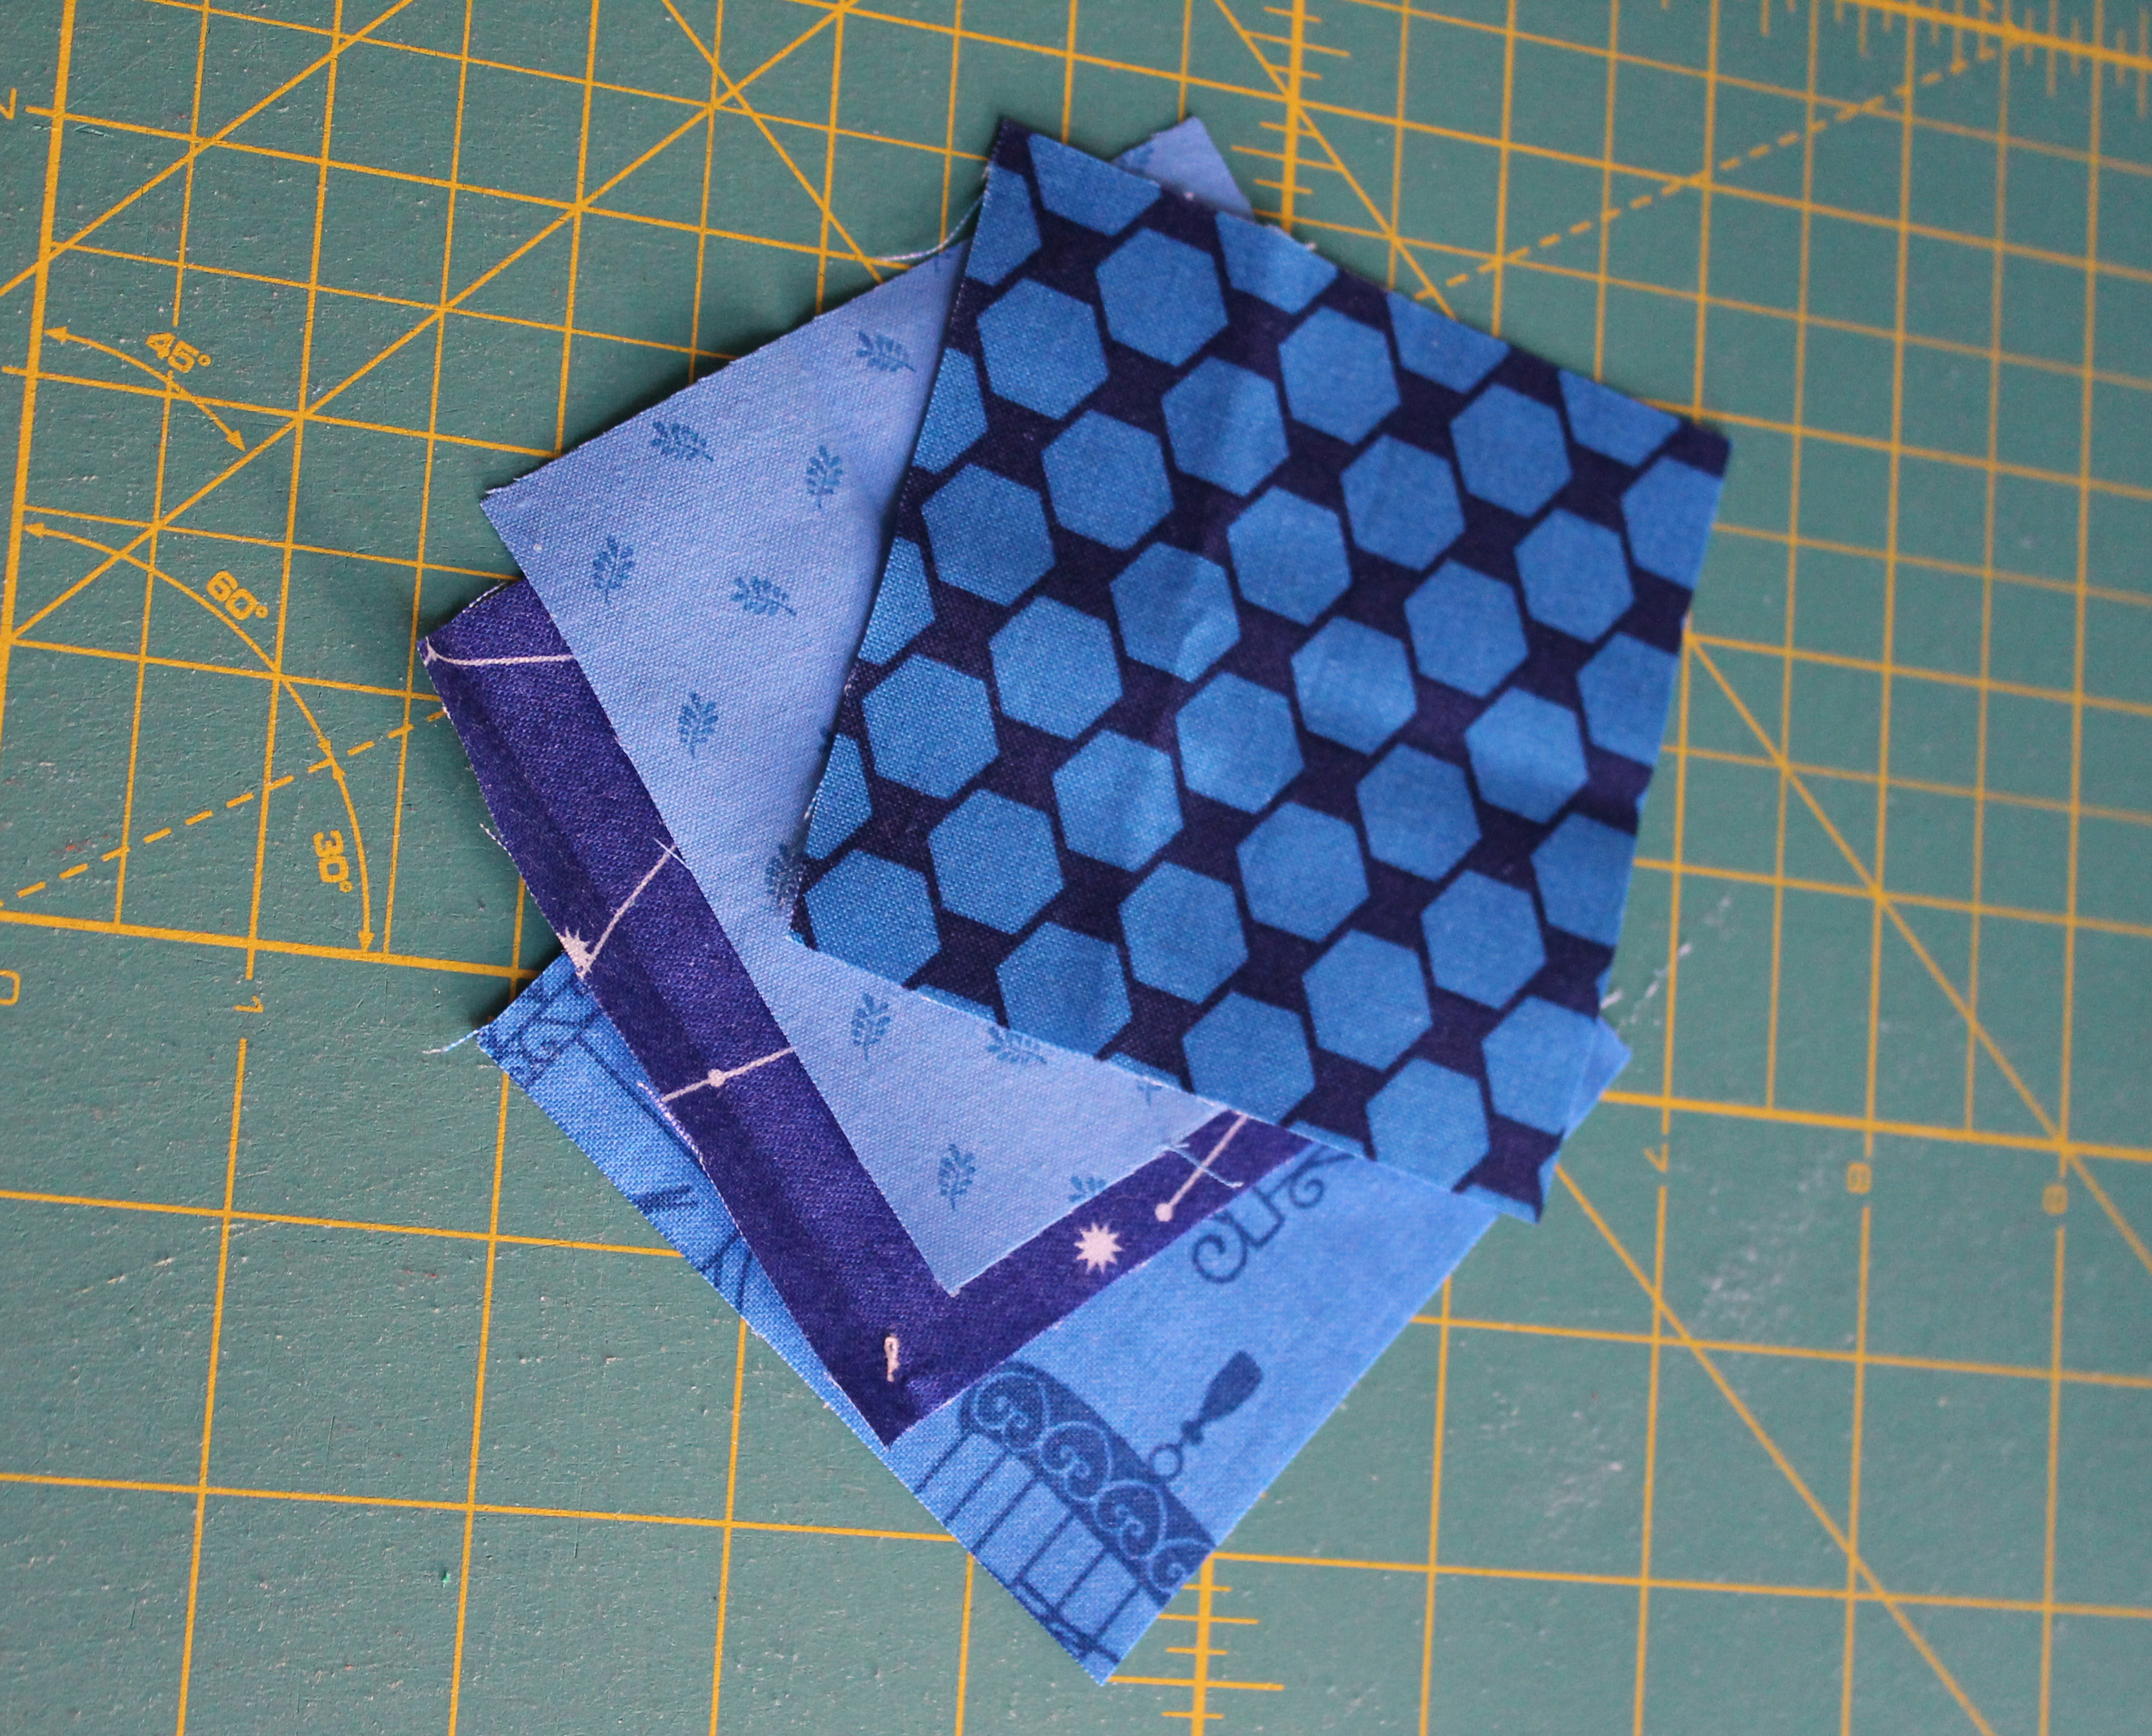
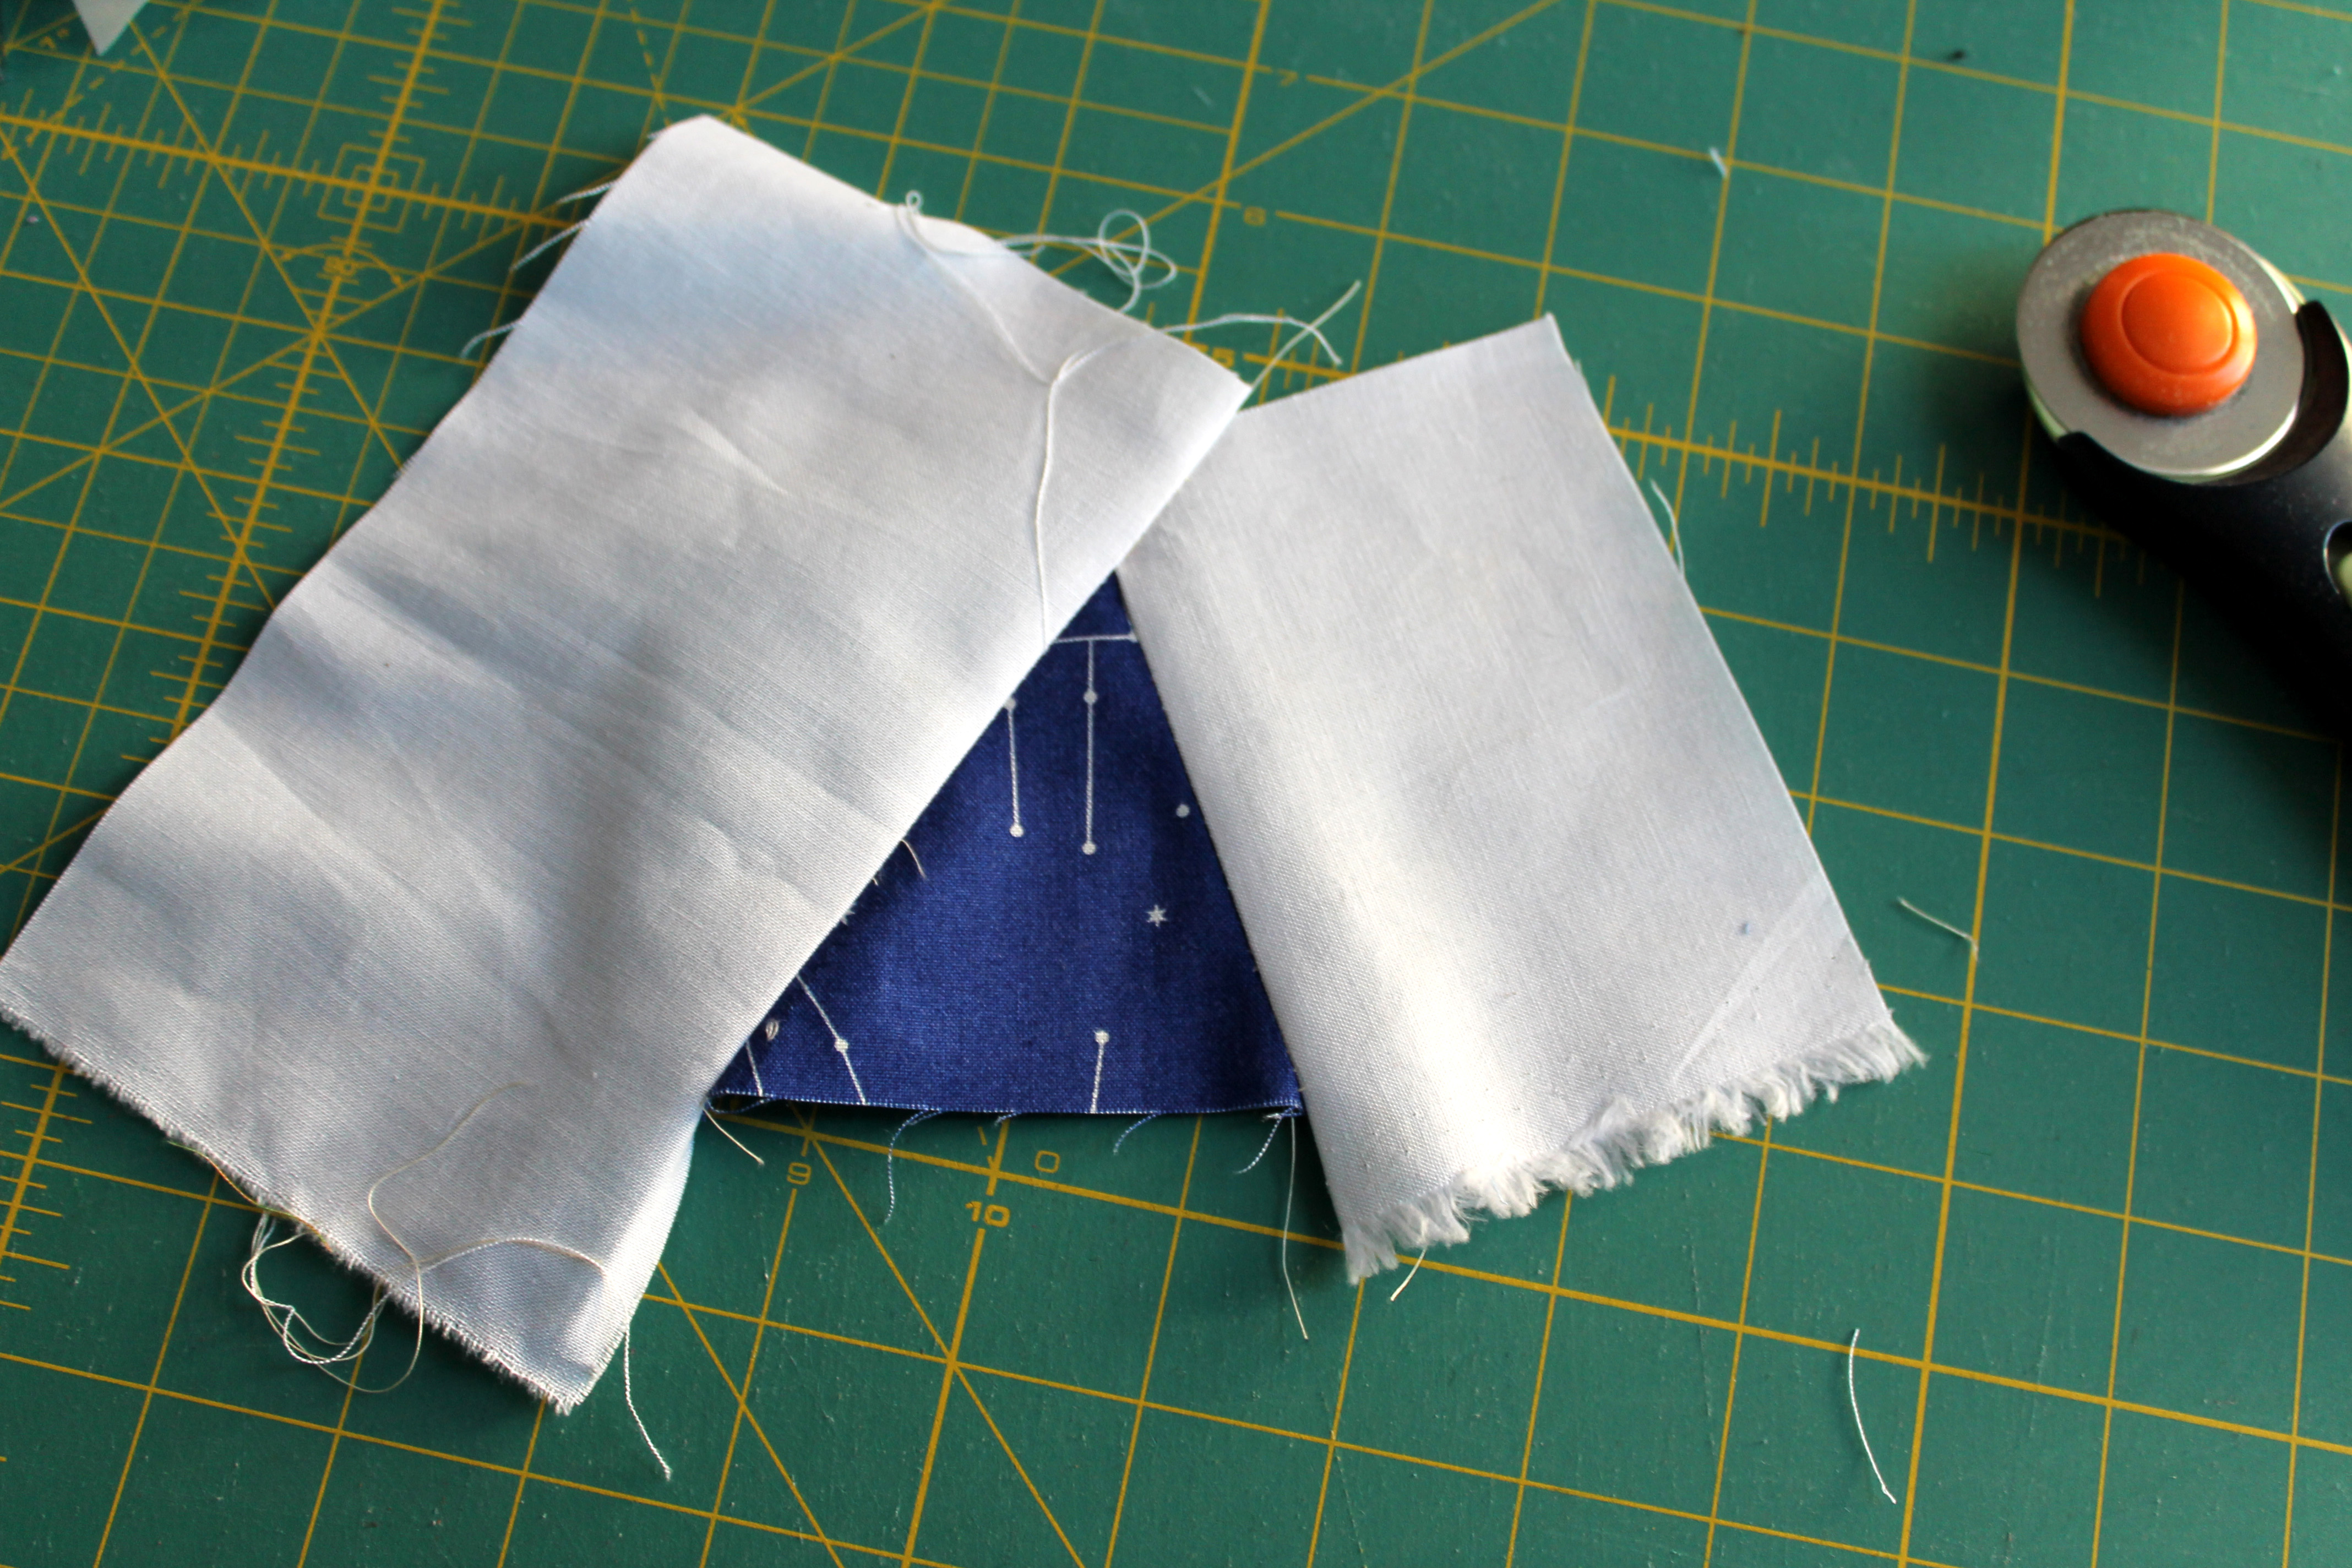
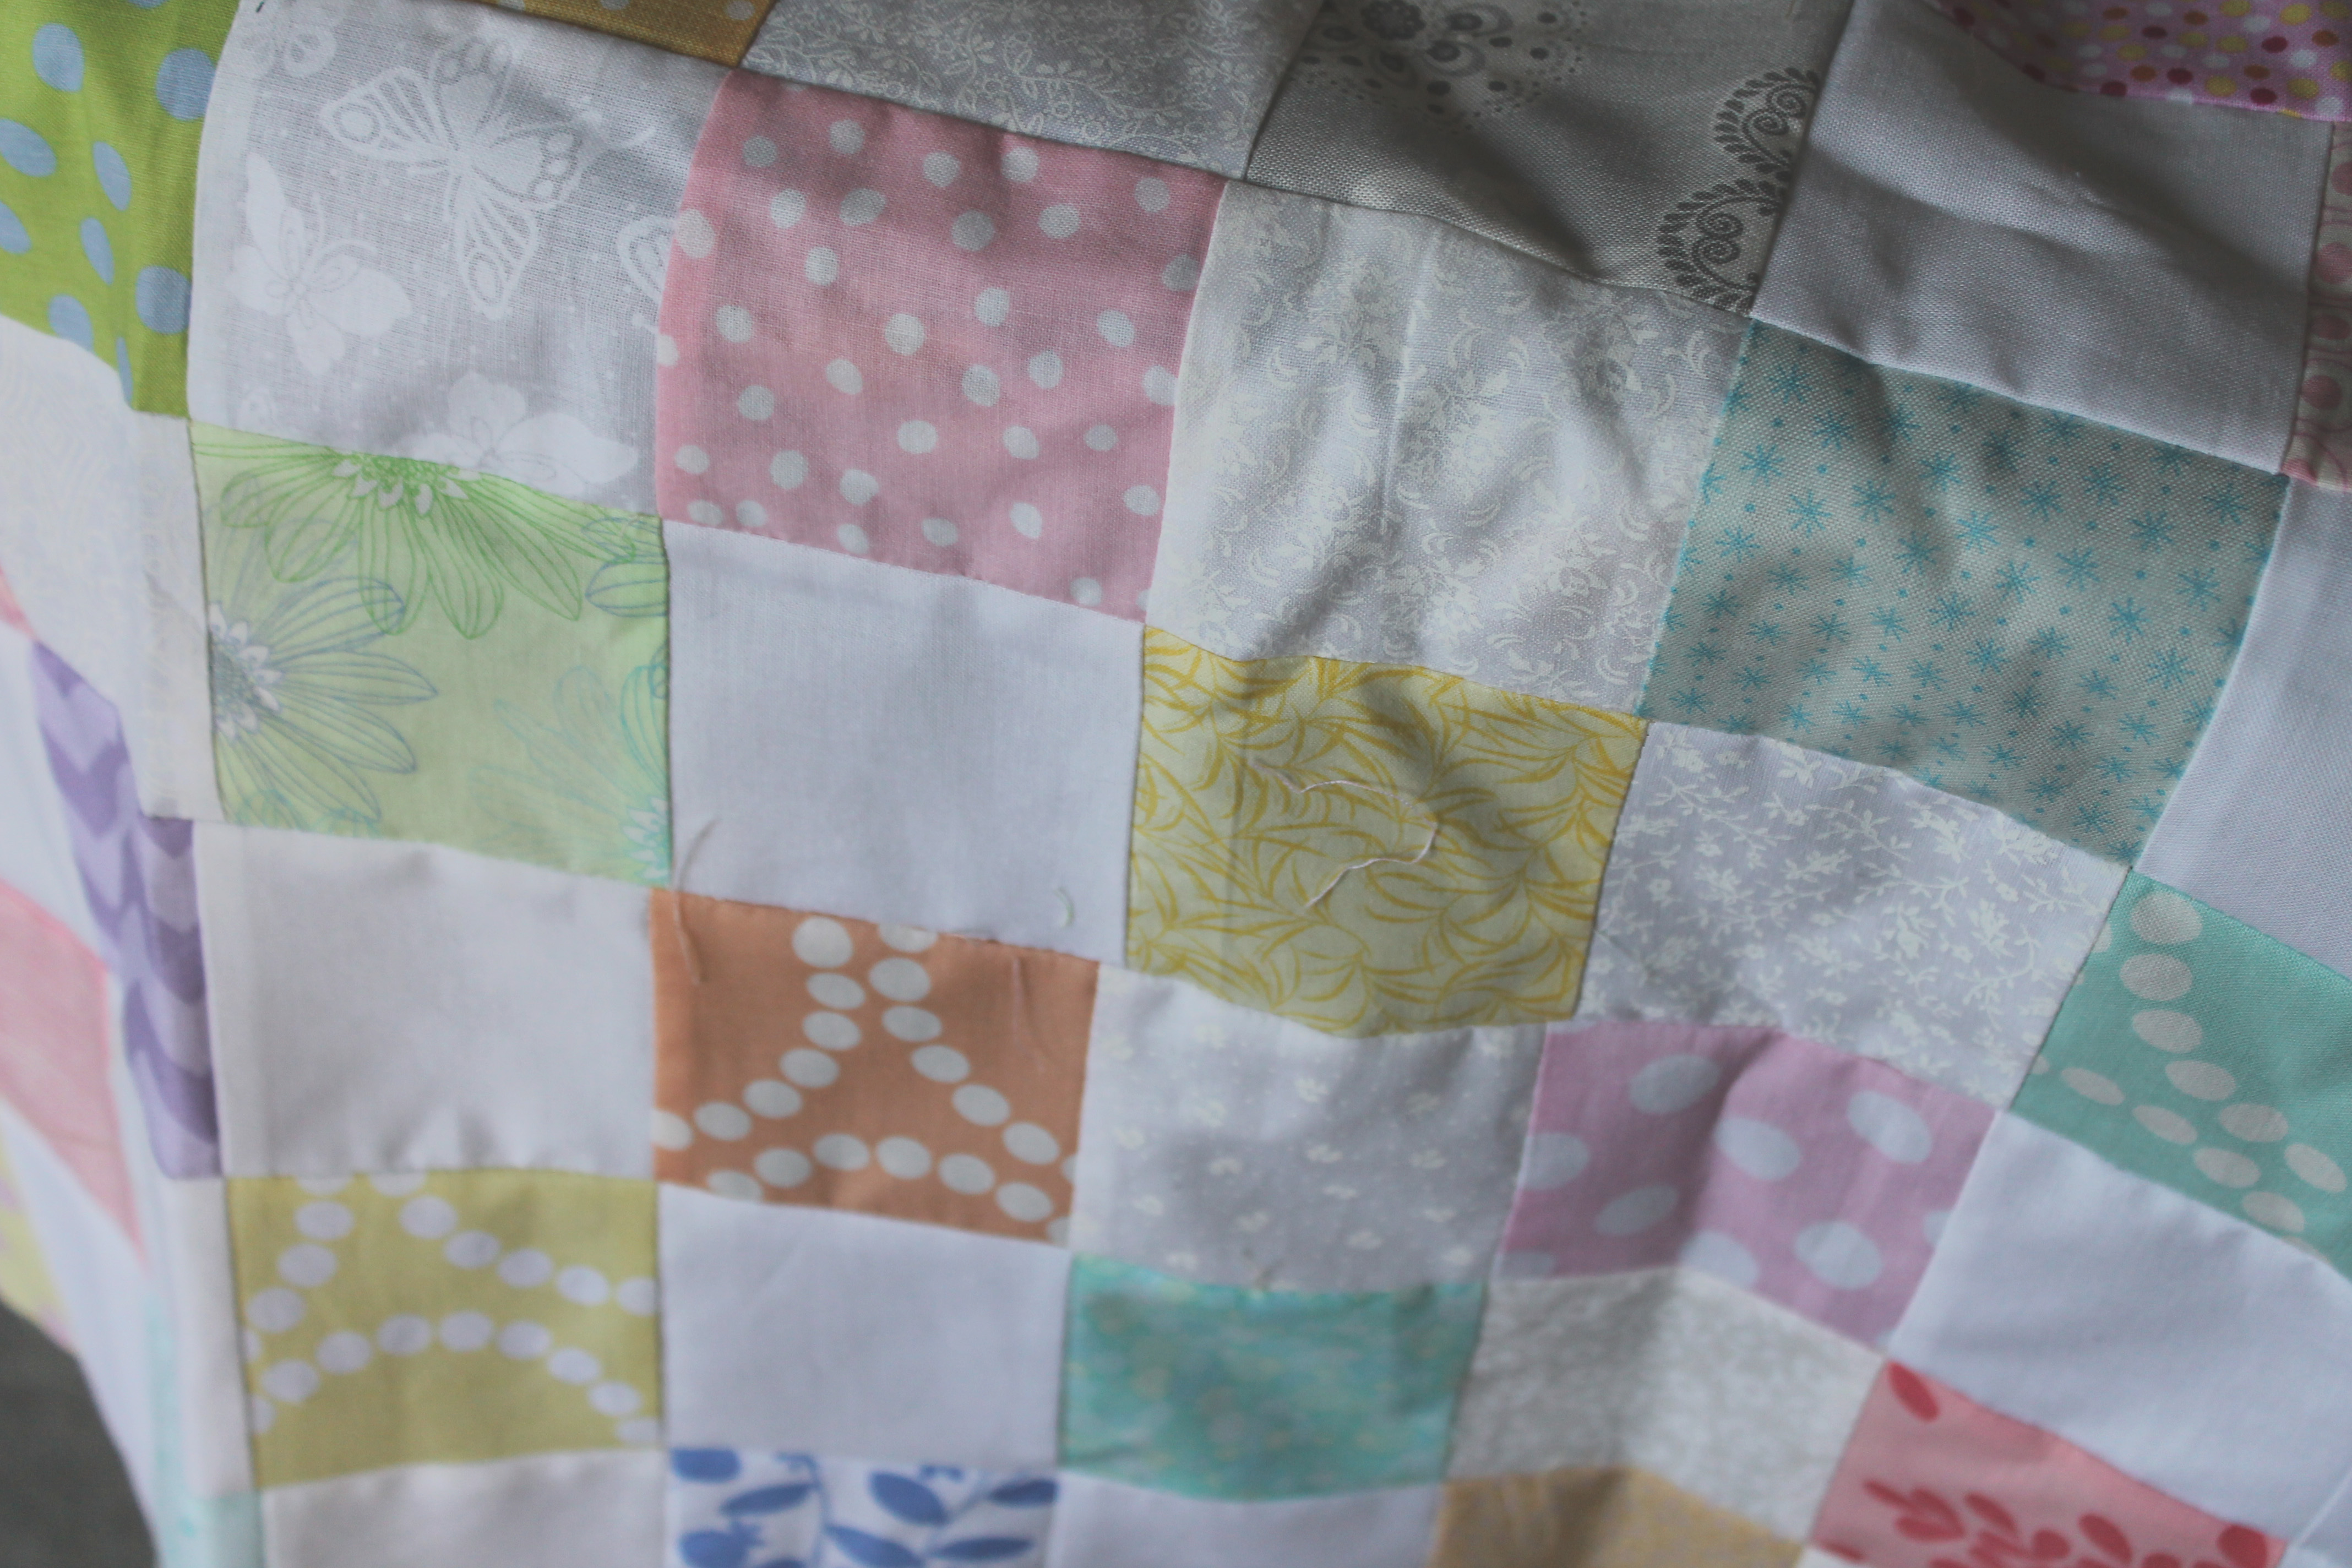
4.  Paper bag quilts – this quilt top is being made with a bag of white scraps and bag of pastel scraps.  I chain pieced white and pastel squares together, then sewed them into strings of 14 blocks long.  When finished this will be a very easy, but cute baby quilt.

pastel quilt

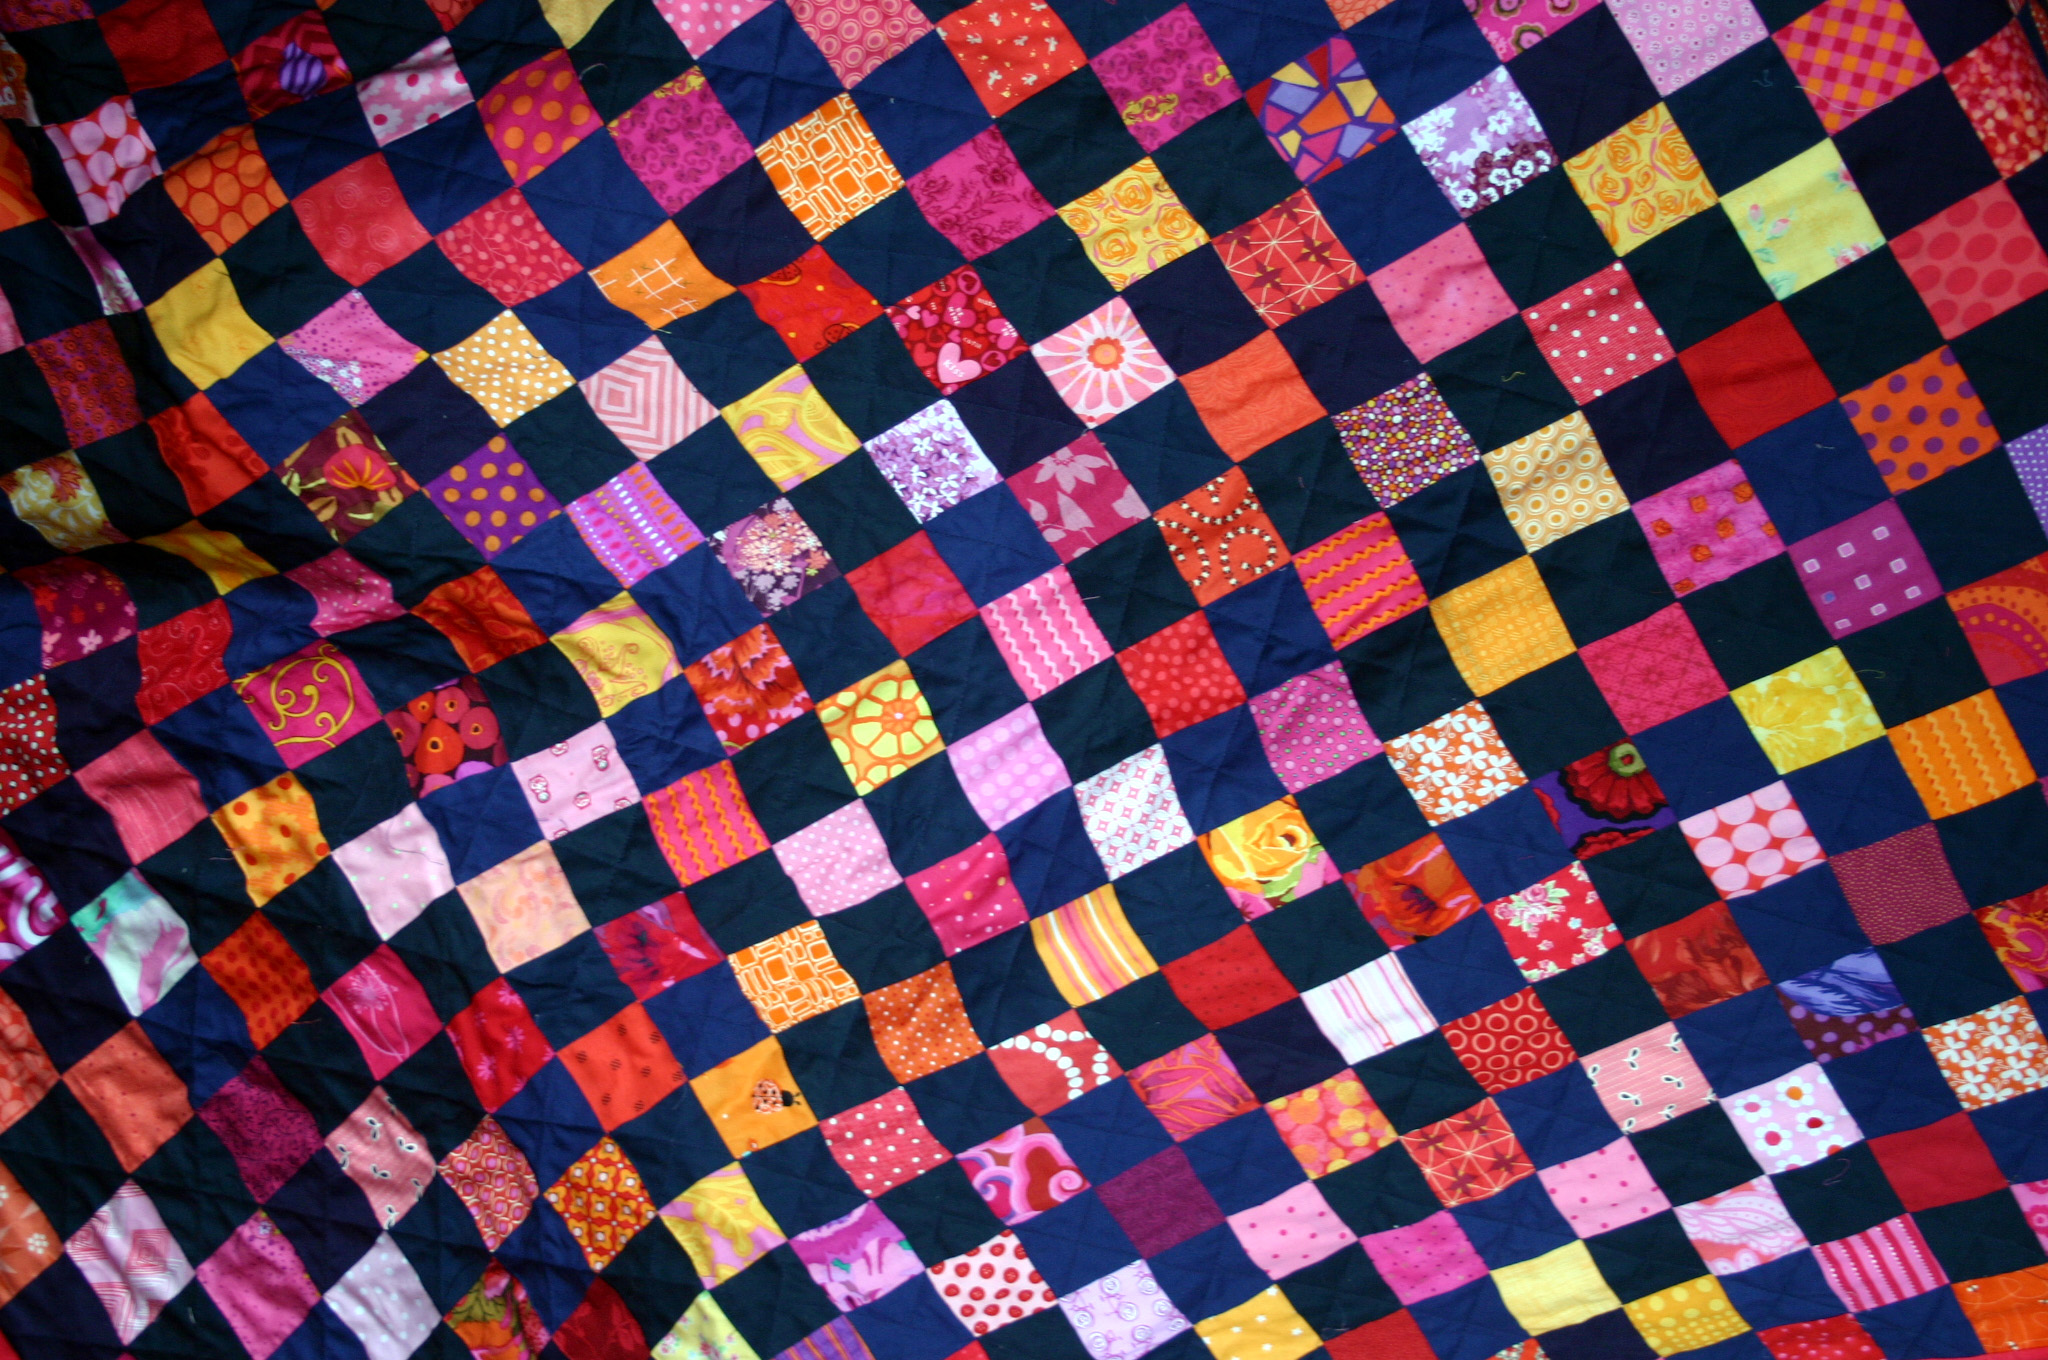
I have used the same paper bag process to make a number of fun quilts including my niece Zoe’s quilt.

zoe's quilt top

Up next I really want to make a scrap vomit quilt with all my 3 inch squares.  A total random hodge podge of fabrics sewn together to make something ugly beautiful.  Sounds like fun!

Starry Night Paper Piecing Monday

First of all I have to explain, for those of you that do not know me, I have the attention span of a gnat.  I get bored easily and always have more ideas than I have time.  With this revelation in mind I hope you will forgive me for putting aside my pastel paper piecing blocks and starting a new project… Starry Night.

paper pieced star quilt block

I had the idea for this series of blocks the other day while watching an episode of “Face Off” and after seeing Quilts of a Feathers fabulous WIP Tardis quilt, and just had to run with it. Then I discovered that Quilting on the Square had added a six more free blocks to it’s Compass collection and it seemed like Kismet.  I promptly picked the Rolling Compass block pattern (block3countryregister) and went to work.

Starry night block pieces

Another fairly simple star pattern with just 40 pieces, but once again the scraps make it look more complex than it is.  I think this is going to be a fun quilt to make.

ps.  last night my husband did a very technical spreadsheet thingy and choose a winner of Give Away. Congrats to Melintheattic.  A bundle of fun goodies will be winging their way to you soon.  And thanks to everyone for the kind comments left on the site… made me feel all mushy.

Bloggers Quilt Festival

I have decided to enter a quilt in the Bloggers Quilt Festival this quarter – my Sunburnt Country which I am submitting to the Baby Quilts section of the Festival.

modern baby quilt

Sunburnt country

I made this quilt for an Aussie family friend whose great-grandchild would be growing up in the USA.  She wanted a quilt that would be a little bit of Australia in North Carolina.   The main inspiration for this quilt was a famous old Australian Poem “My Country”, whose most quoted stanza is:

I love a sunburnt country,
A land of sweeping plains,
Of ragged mountain ranges,
Of droughts and flooding rains.
I love her far horizons,
I love her jewel-sea,
Her beauty and her terror
The wide brown land for me!

graduating quilt detail

The quilt is made up of 3 inch squares with lots of novelty prints thrown in to keep a child’s interest.  You can find more about the quilt and my process on my original post about the project.

finished quilt detail cu

The quilt is then backed with some a beautiful Australian print by May Gibbs – a famous Australian illustrator whose Snuggle Pot & Cuddle Pie book series has been a charming Australian children since 1918.

quilt back

The Wattle babies are just darling on this fabric and add to the Australian feel of the finished quilt.

fabric detail

Sunburnt Courntry

Style:  Graduating scrap quilt

Block:  3 inch squares

Quilt size:  45 1/2″ x 53″

Appleville Quilt finished

I managed to finish my Appleville quilt this week… another Project Linus finish for October.    I started this quilt a week or so ago and it was a real challenge for me.

Appleville modern kids quilt

I was using a “cheater” panel for the first time and really wanted to highlight each of the individual illustrations somehow.  Once I had worked out my colour scheme and pulled some appropriate supporting fabric from my stash, the individual blocks came together easily.   My original post on the quilt was full of optimism.   Then  the struggle began for me with how to lay them out.

Appleville qulit detail

I had never worked with this much white/negative space before.  My design wall was a blessing as I moved the blocks around trying to find a flow I liked.  Once I had a layout I was happy with the real hard work began.  It was like doing a jigsaw puzzle piecing in the white Kona cotton.  The top part of the quilt took me ages to put together but by the bottom section I was an old pro.  There are even some Y seams in this sucker (another first for me).  I would love to hear from anyone who has advice, tricks or tips on doing this kind of piecing.  I know I have a lot to learn.

Appleville quilt detail

With the top all pieced I now had to fill all that negative space with quilting  First off I tried some hand quilting in red thread – I liked it but my wrist is not healed enough to handle that much hand quilting at the moment…. so unpicking number one.

Applieville quiltingThen I quilted  lines inside the blocks and tried a little free motion pebbles in the white space.  I did not like it, and again my wrist was not up to that much pushing and pulling of fabric through the machine… unpicking number 2.   In the end it was straight lines and boxes.

Appleville quilt detail 2

It does the job, but is not as beautiful as I would have liked.  I am still coming to terms with my quilting shortfalls (which is my actual quilting) and my current physical limitations (my darn left wrist).  I am chomping at the bit to do some proper free-motion quilting to build up my skills.

For the back of the quilt I used my favorite printed panel and made it the focal point.

Applieville quilt back

I think it is one of the cutest quilt backs I have done.  And it is all because of this little print.

Appleville quilt back detail

Appleville Quilt Details:

Style:  Modern free form

Fabric:  Appleville by Robert Kaufman & Kona White

Finished quilt size: 47″ x 57″


Playing with Urban Chickens

To celebrate this years Pacific North West MQG Meet up our fearless leader,  Michelle Freedman designed a fun modern block to celebrate… the Urban Chicken.  During the Meet Up we did a charity sew day where chickens ran wild.

Charity Sew Day Urban Chickens

This week I decided to dust off the pattern card and make my own Urban Chicken quilt… below is my plagiarized, annotated and updated version of Michelle’s original pattern.

For each block you need:

1.  Four (4) different shades of the same colour – I decided to stick to green, blue & yellow

2.  White or off white fabric – I pulled all my scrap bag of solid whites out.

Then it is off to work making a block….

1.   Cut one  3 ½ inches  x 14 ½  inches strip of each of your four coloured fabric.  I added an extra 1/2 inch to the strips from the original pattern to allow for some wiggle room (ie. mistakes).

layout strips

2.  From these strips cut one 3 ½ inches x 3 ½ inches  and set aside these squares.

cut square off strip

3.  Sew the four 10 ½ inch strips together using 1/4 inch seam allowance.  Press the seams to one side in the same direction.

sewing strips together

.4. Sew the long ends together to form a tube… these next steps are the same as you would do for a Trip Around quilt.

5.  Subcut the tube into three 3 ½ inch wide units… this is where the excess 1/2 inch of fabric on the strips comes in handy for me.

cut tube

5.  Carefully use the seam ripper to open each unit at a different place.  Arrange the three rows as you like, nesting the seam allows and sew together.  Press the seams open or to alternating sides.

strip blocks ready to go

Then to make the chickens….

1.  Using your white scraps or some generously cut white strips (no smaller than 2 ½ wide) and the four coloured squares you had set aside make some wonky triangles.

set aside squares

2.  Place the white fabric strip over the 3 ½ x 3 ½ inch square right sides together – angling the white fabric from just past center of the square to one corner of the square.  Repeat on the other side.  Do this for all four coloured squares.

chicken pieces for trimming

3.  Press seams on your chicken unit and square it up to the original 3 ½” x 3 ½” size.  When trimming make sure that the top of the triangle has a ¼ inch seam of white.  This will allow you triangles to come to a clean point (learnt this one the hard way).

trim chickens

4.  Arrange your chickens as you like and sew them together to form the fourth strip of the block.

urban chicken block

You can stitch your chickens to either side of your solid blocks.

Urban chicken block 4

5.  Make sure you square off your completed block ensuring it measures  12½”” by 12½”.

To add some variation to your Urban Chickiens, Michelle suggests doing some blocks up without the chickens… that is blocks of just 4 x 4 coloured squares.

I am now off to add some more chickens to my coup.  I am really having fun with this quilt and can not wait to have a finished quilt top to show.