It is my blogaversary… and someone will get the pressies

One year ago I posted my first ever blog post.  I can not believe that 132 posts later I am still going… and absolutely loving it.   To celebrate this milestone, and to say thanks to you all for your kinds words and support over the last 12 months,  I thought I would put together a package of my favorite things as a giveaway to one lucky reader.

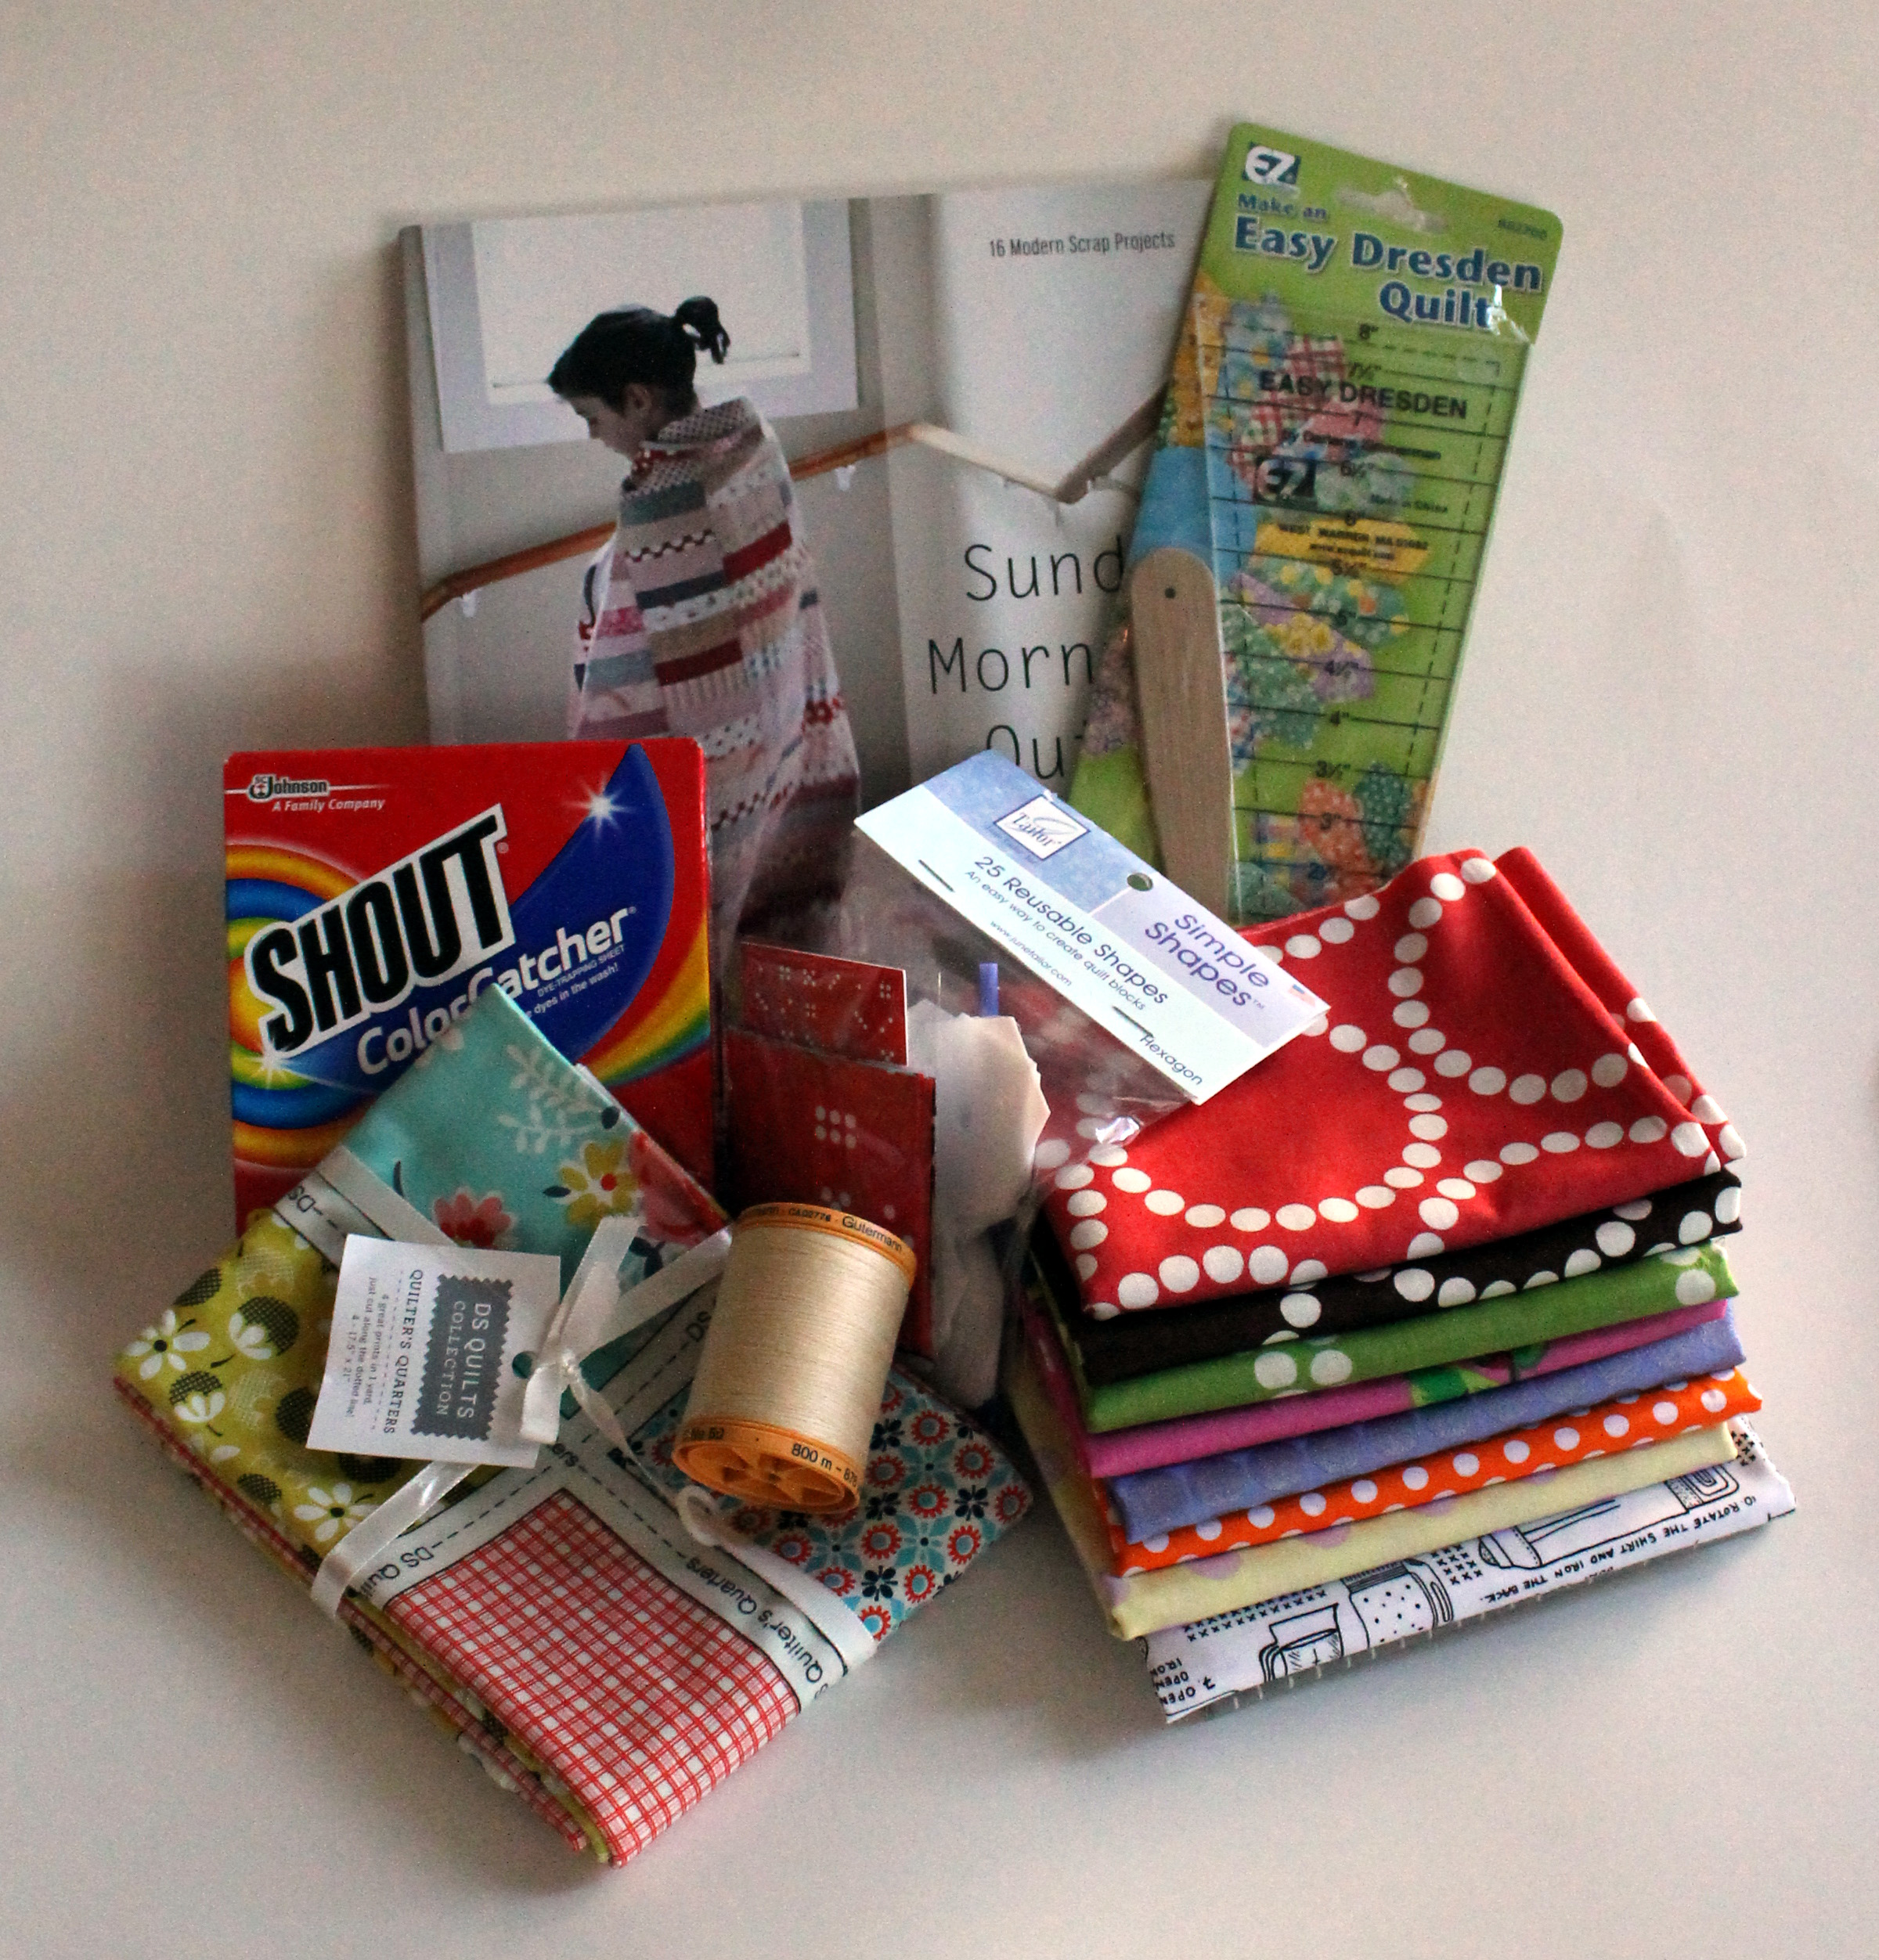
First up is my favorite quilting book.. Sunday Morning Quilts by Cheryl Atkins and Amanda Jean Nyberg.  I love so many of the quilts and patterns in this book.

Sunday morning quilts

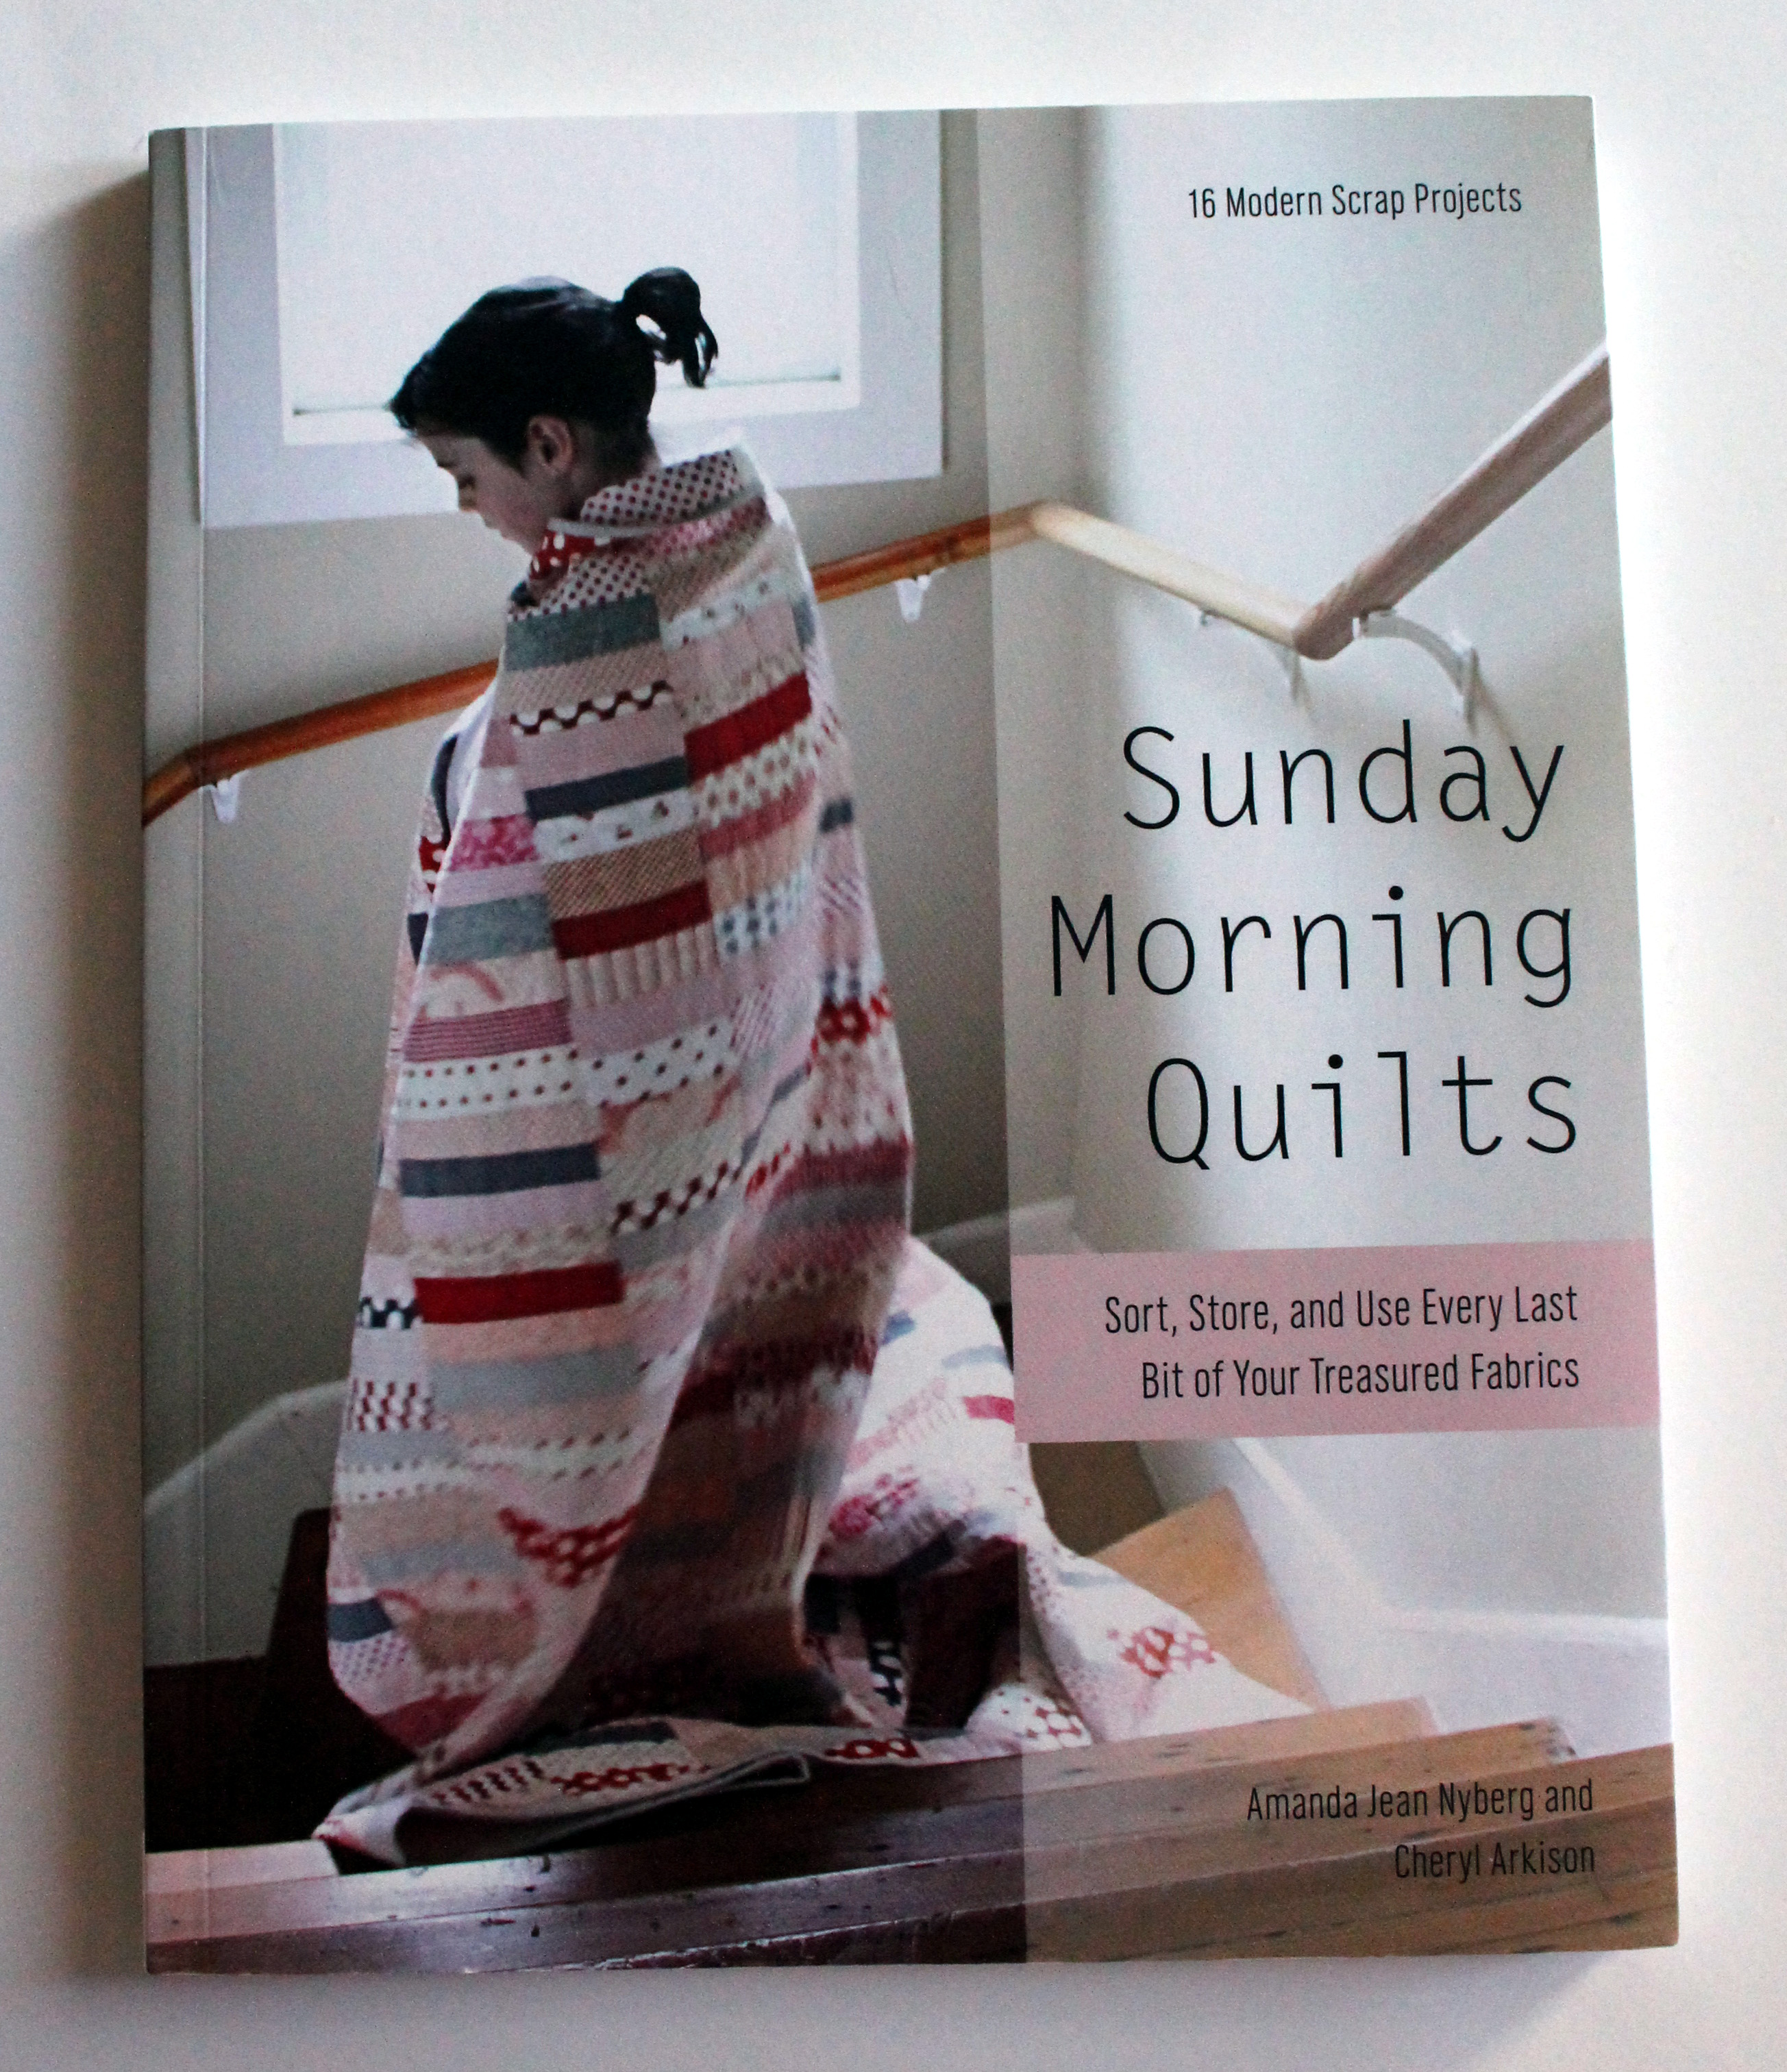
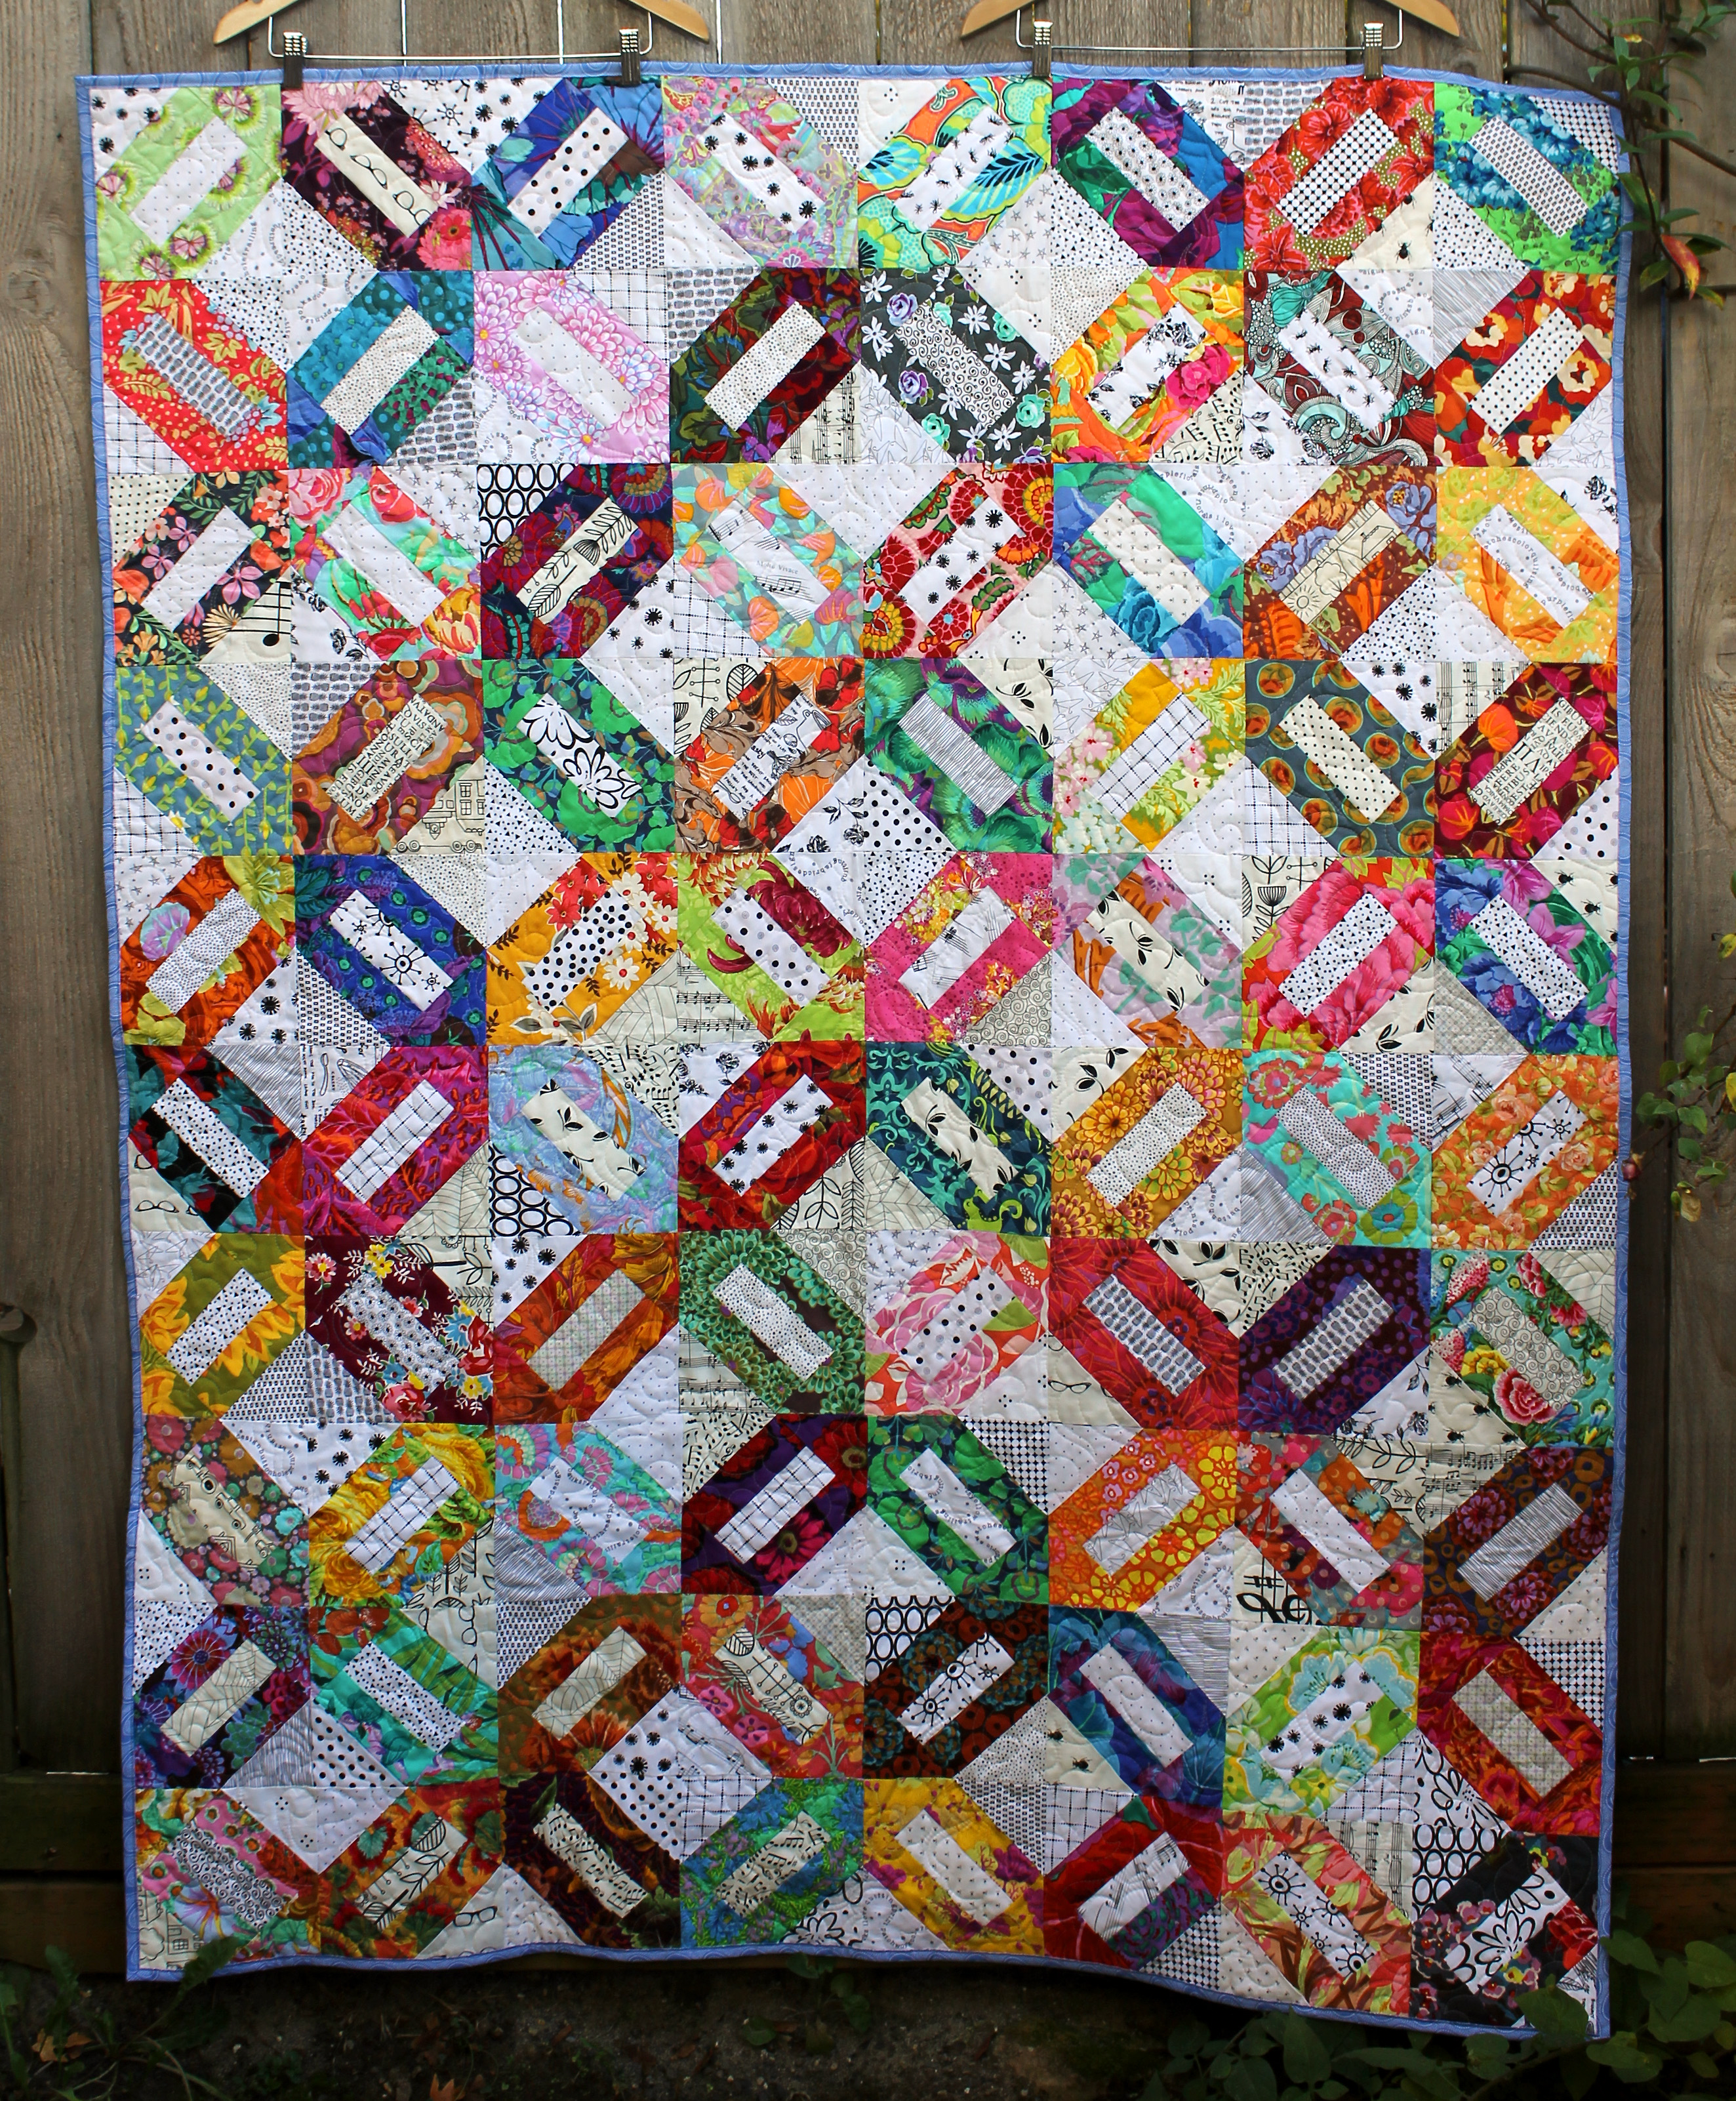
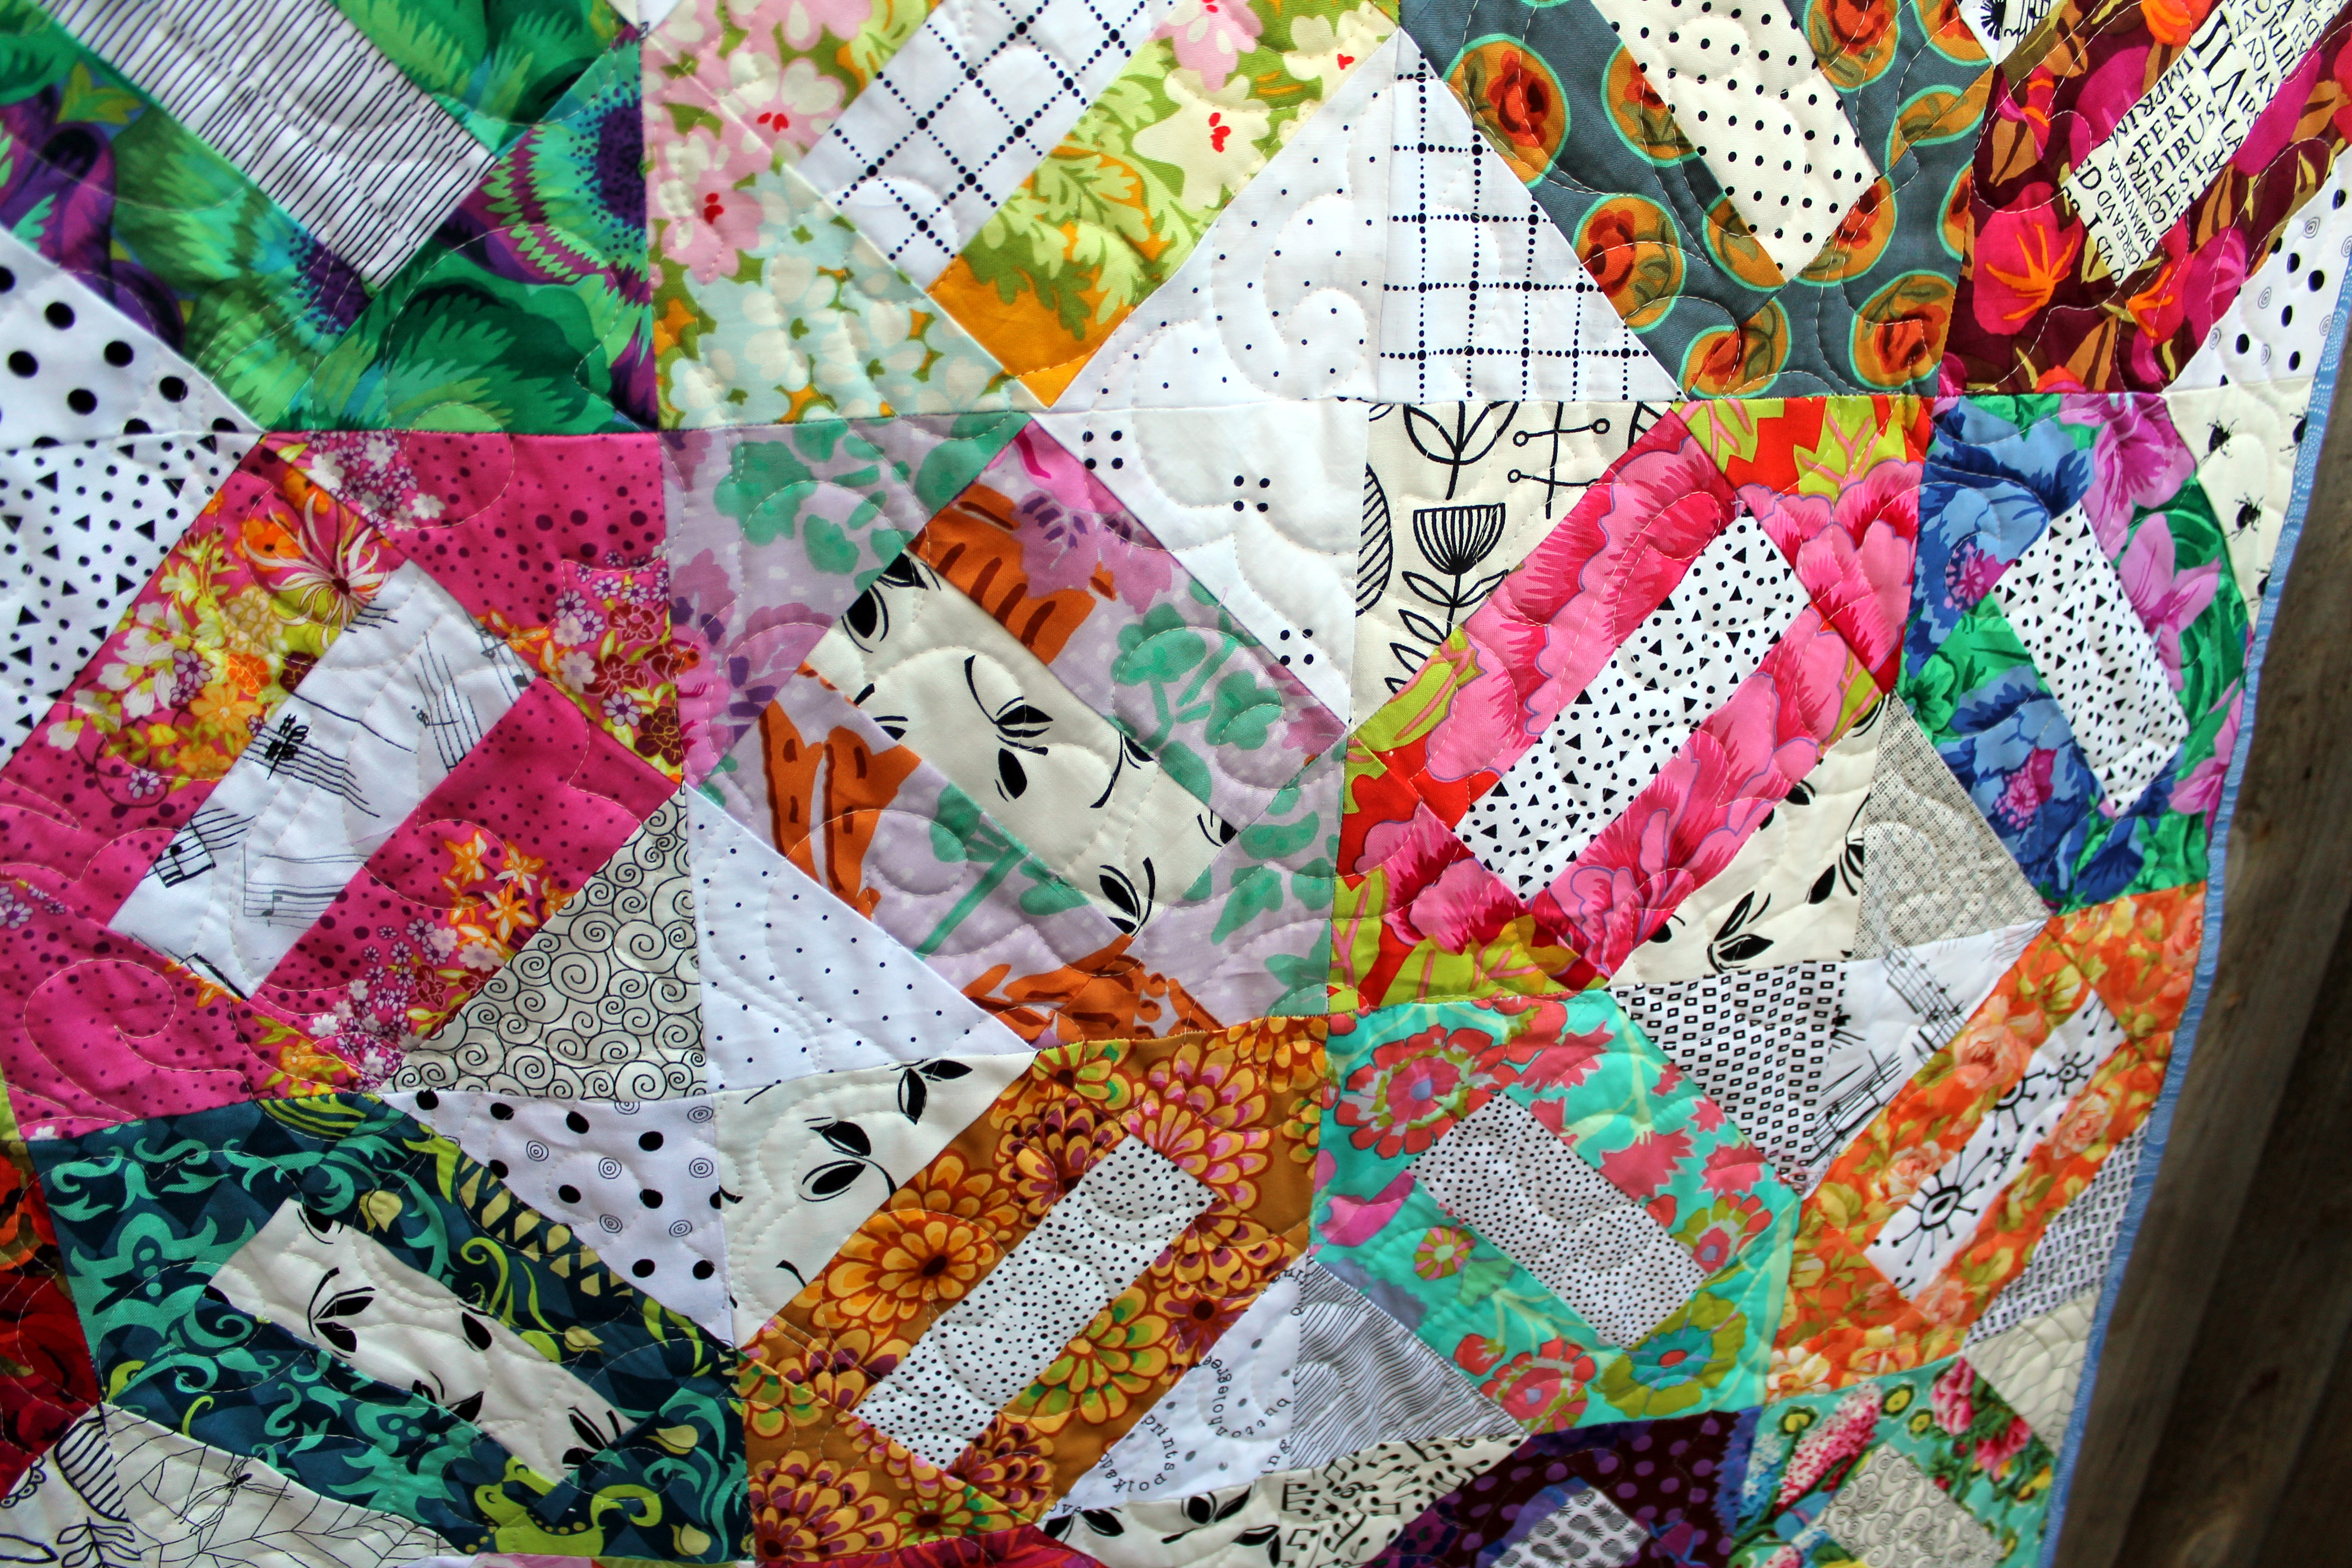
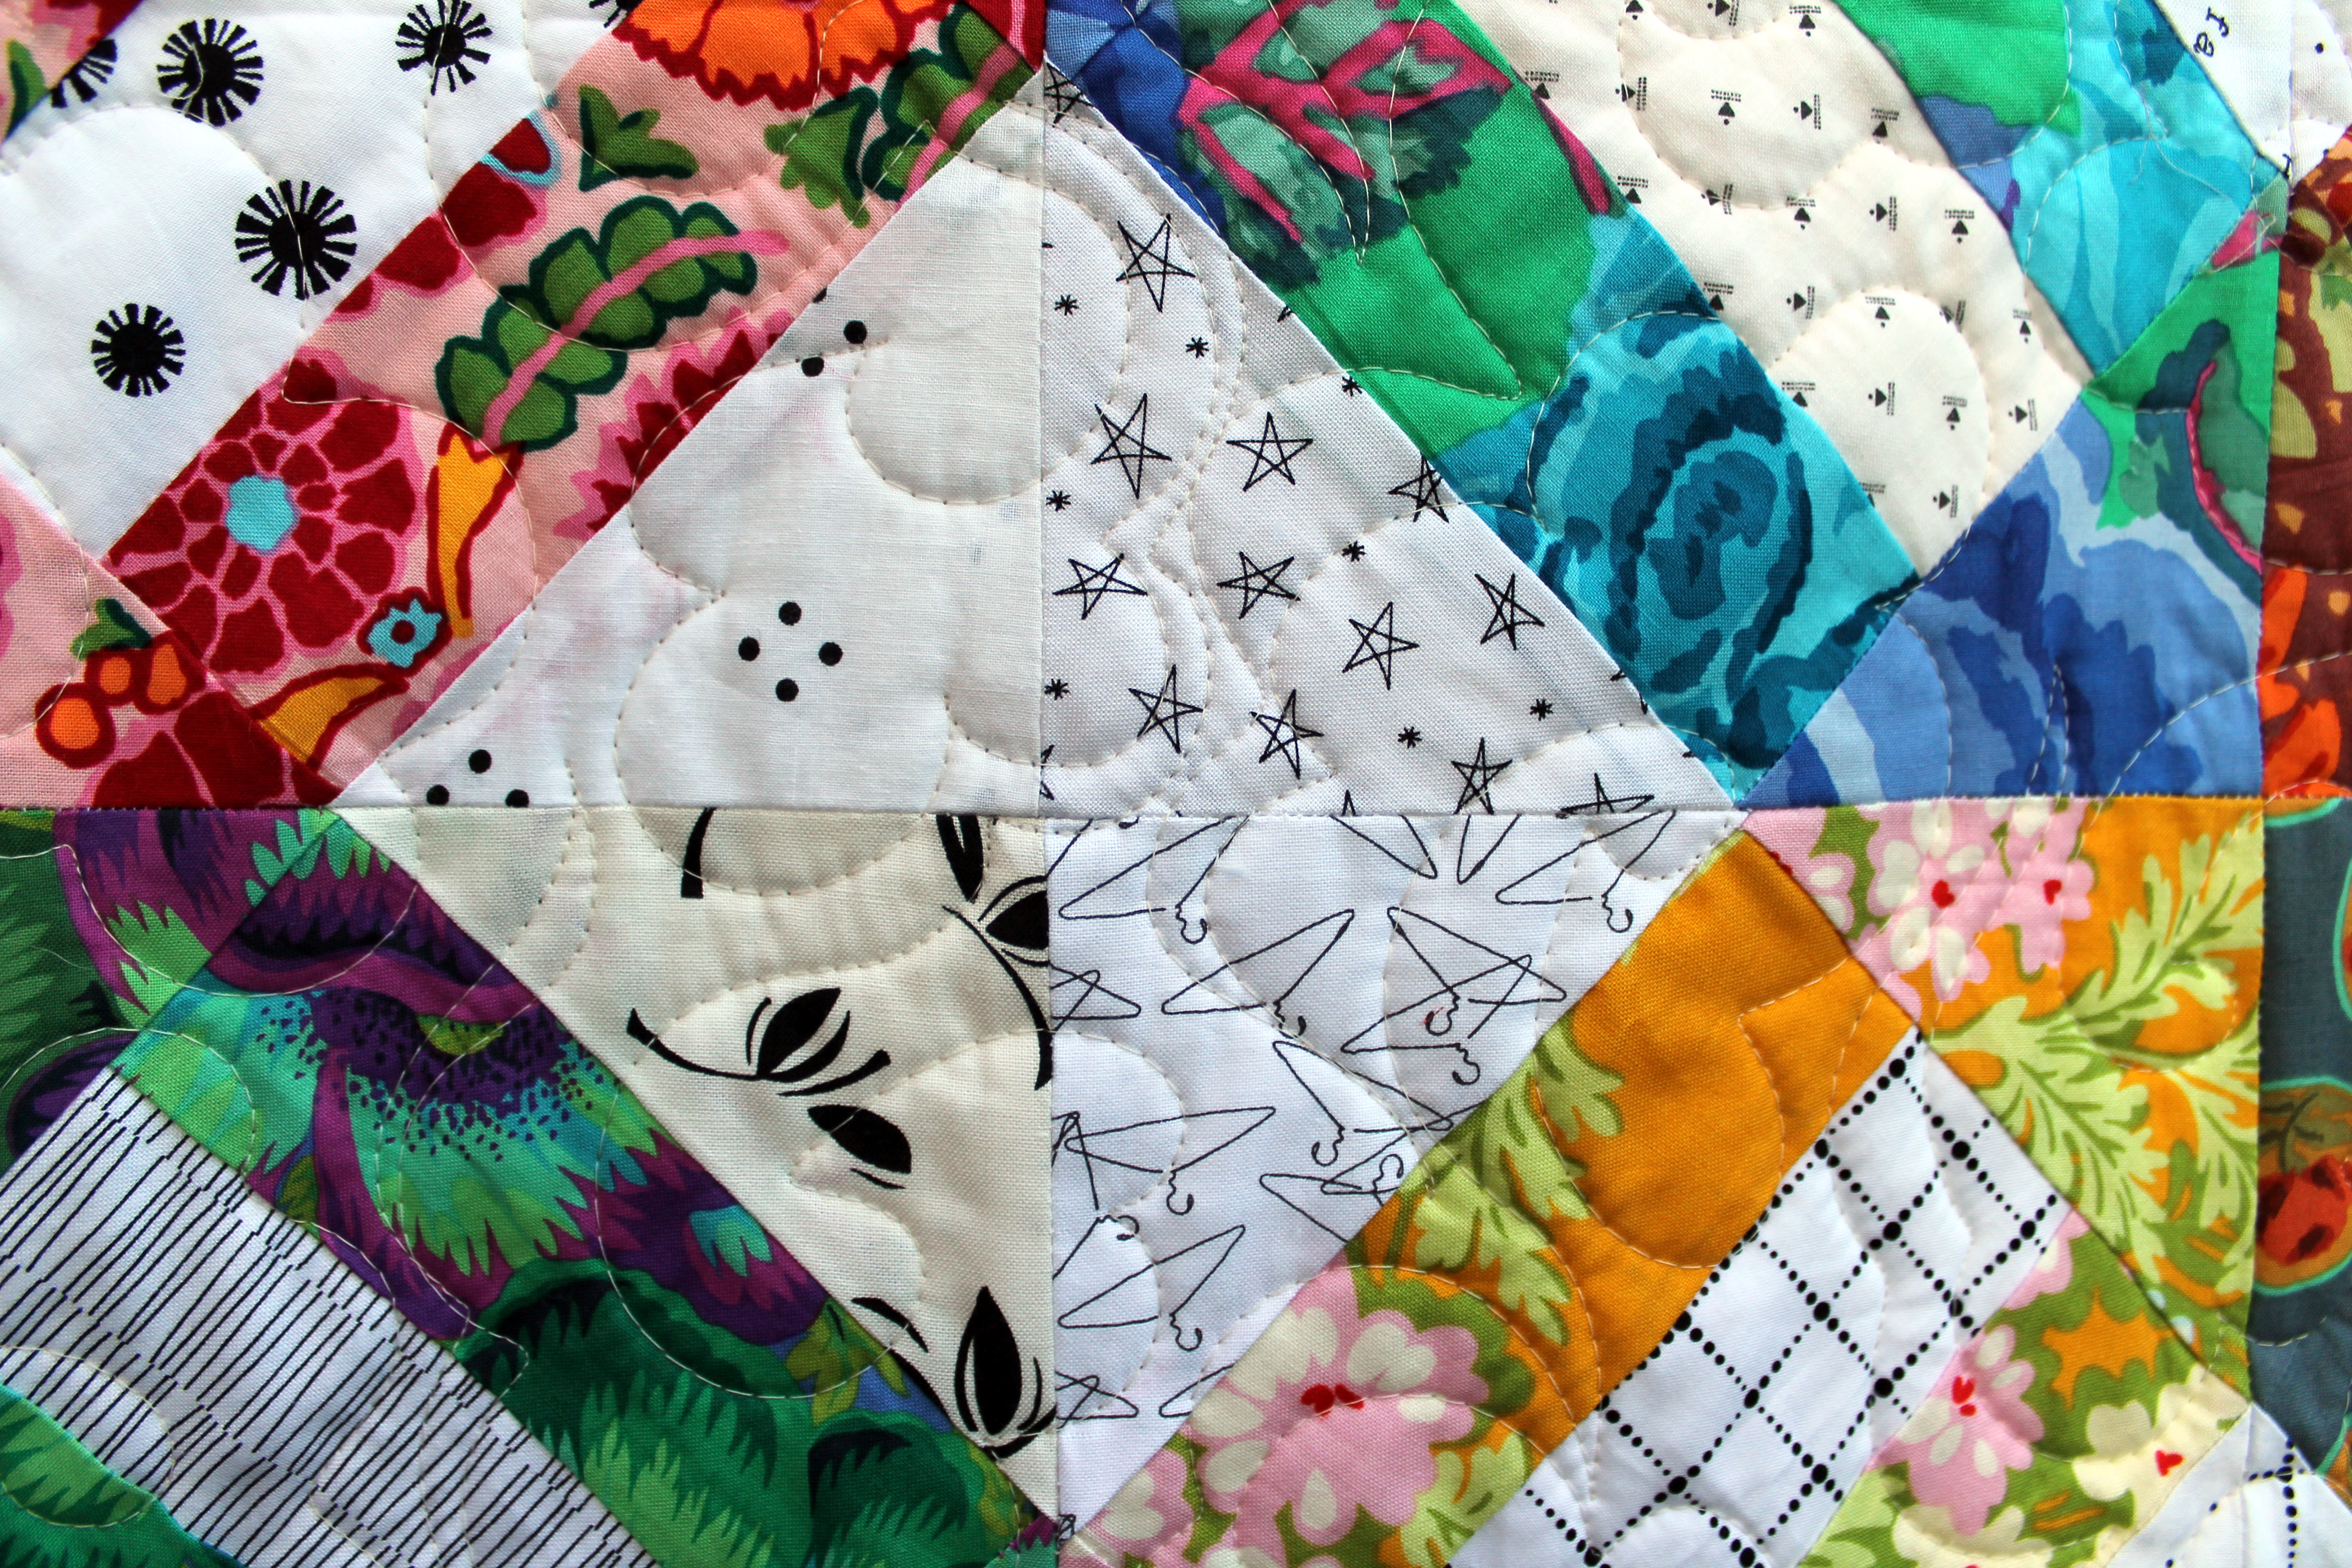
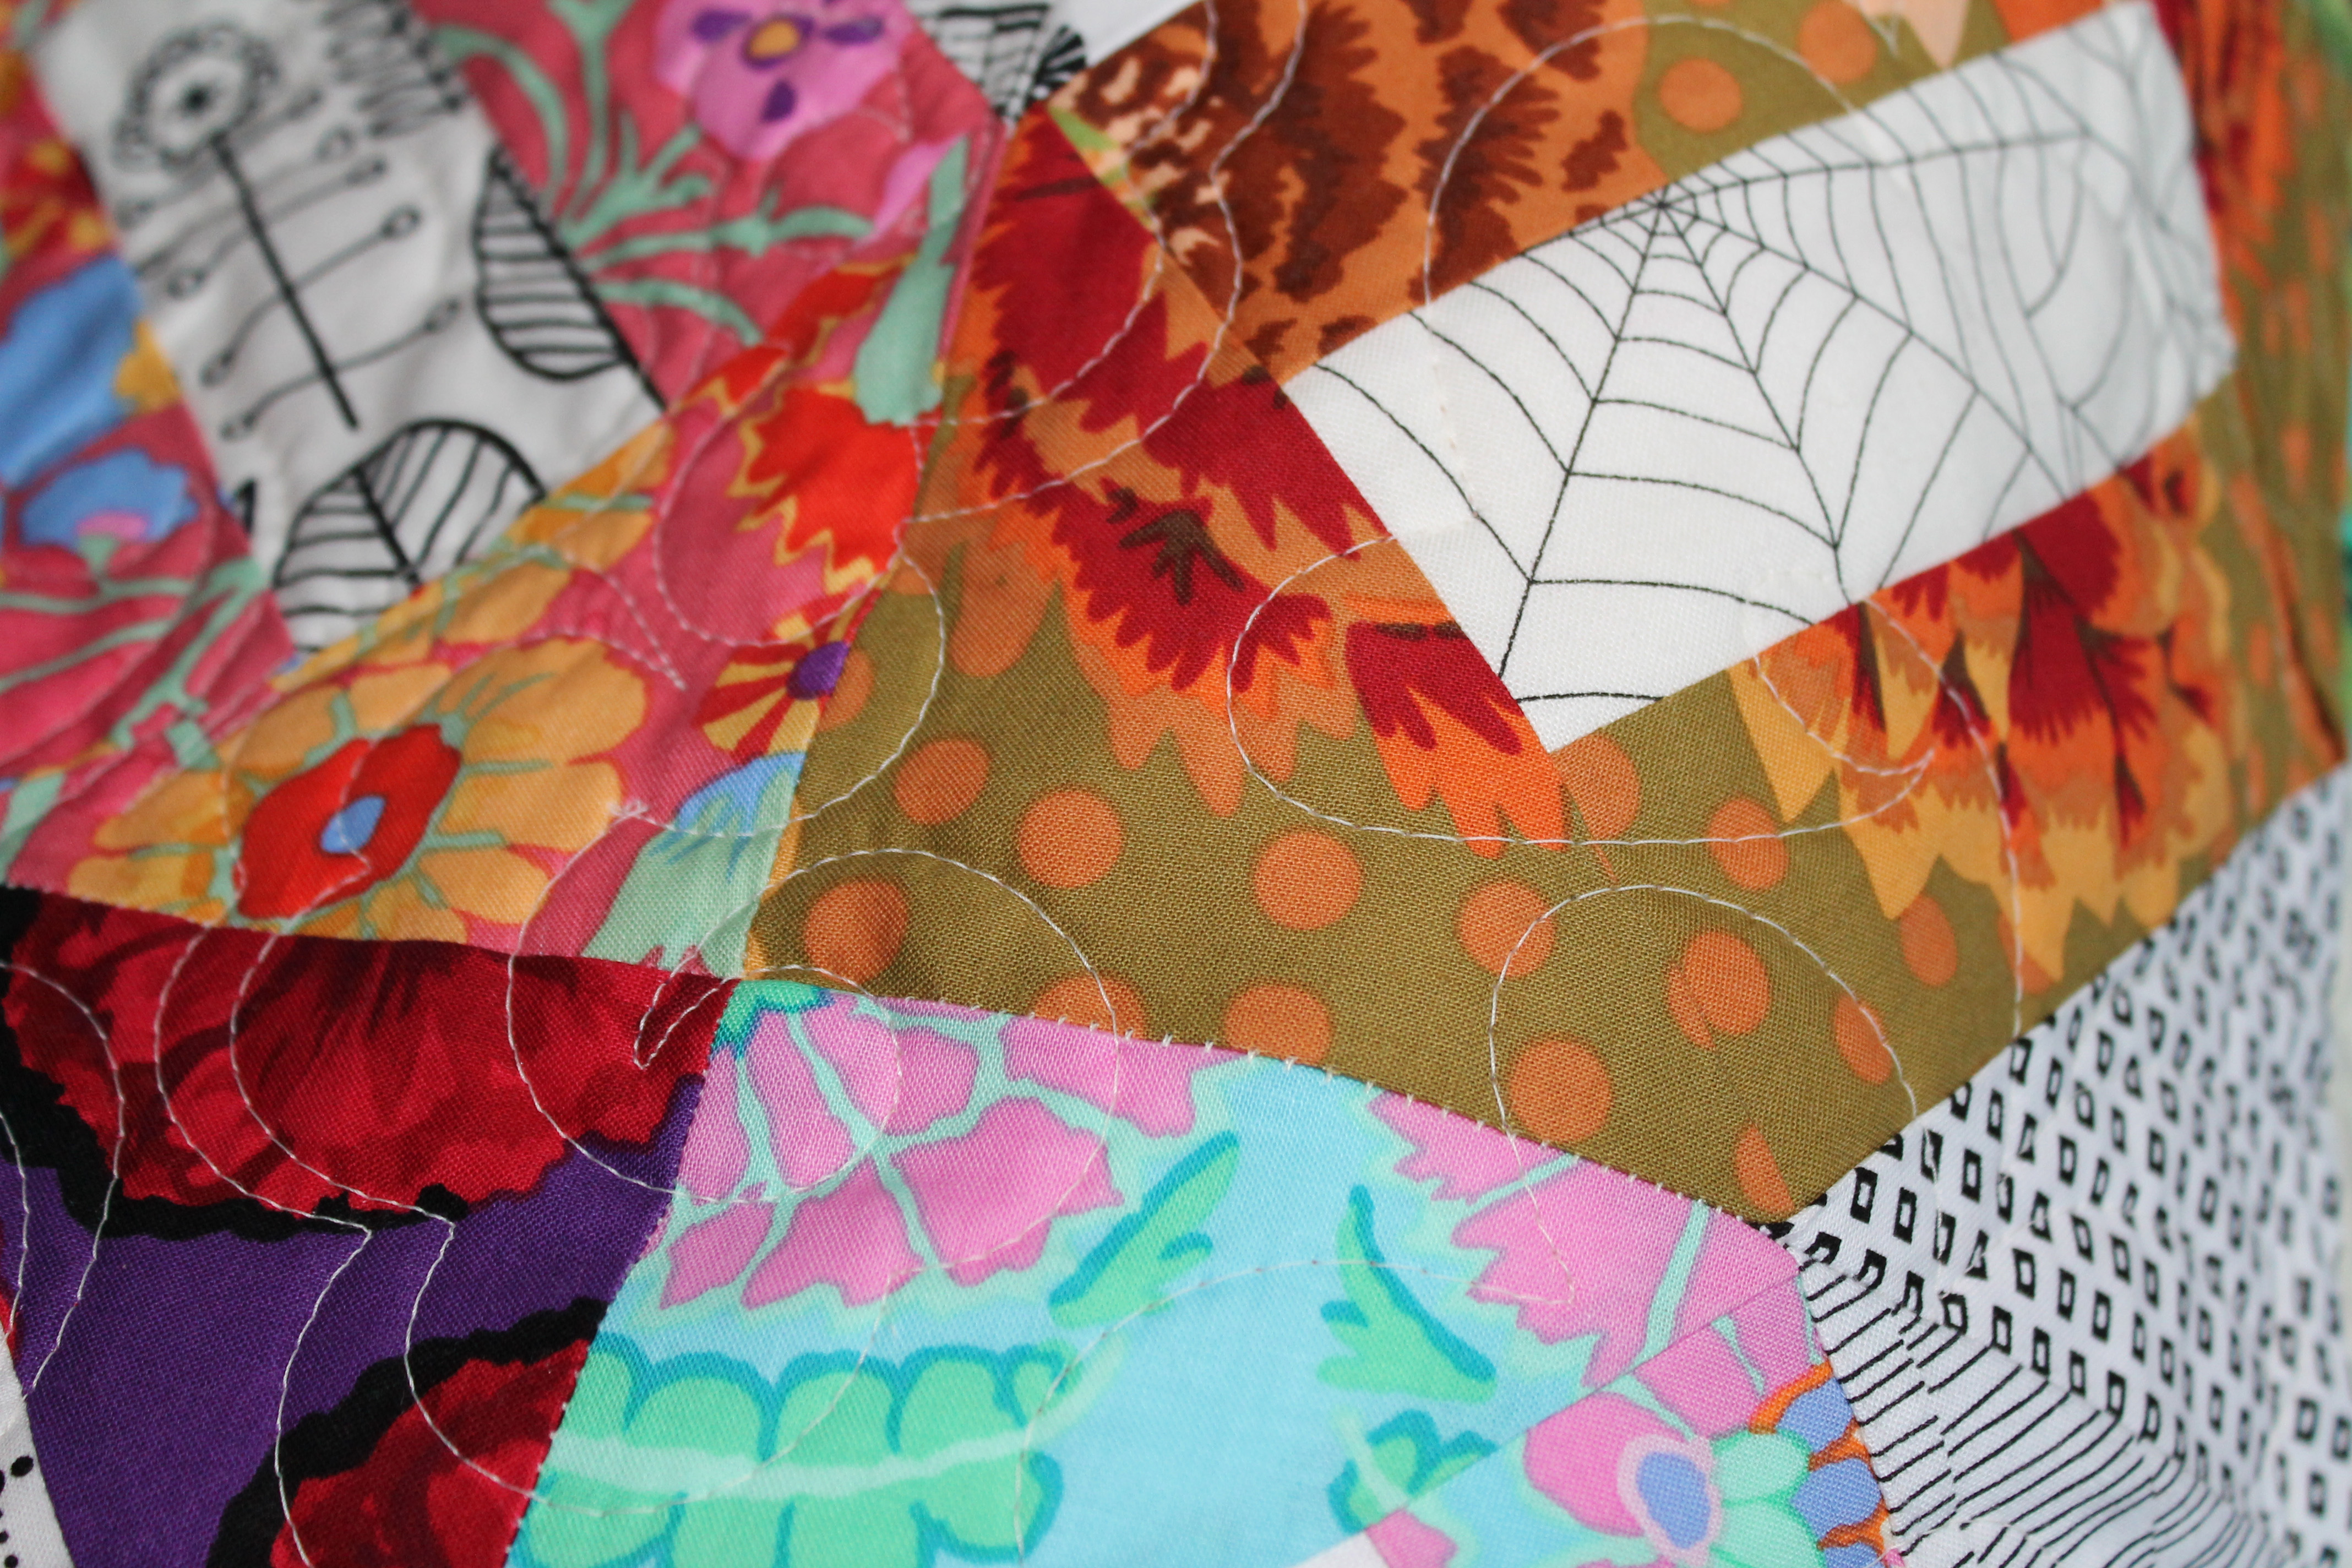
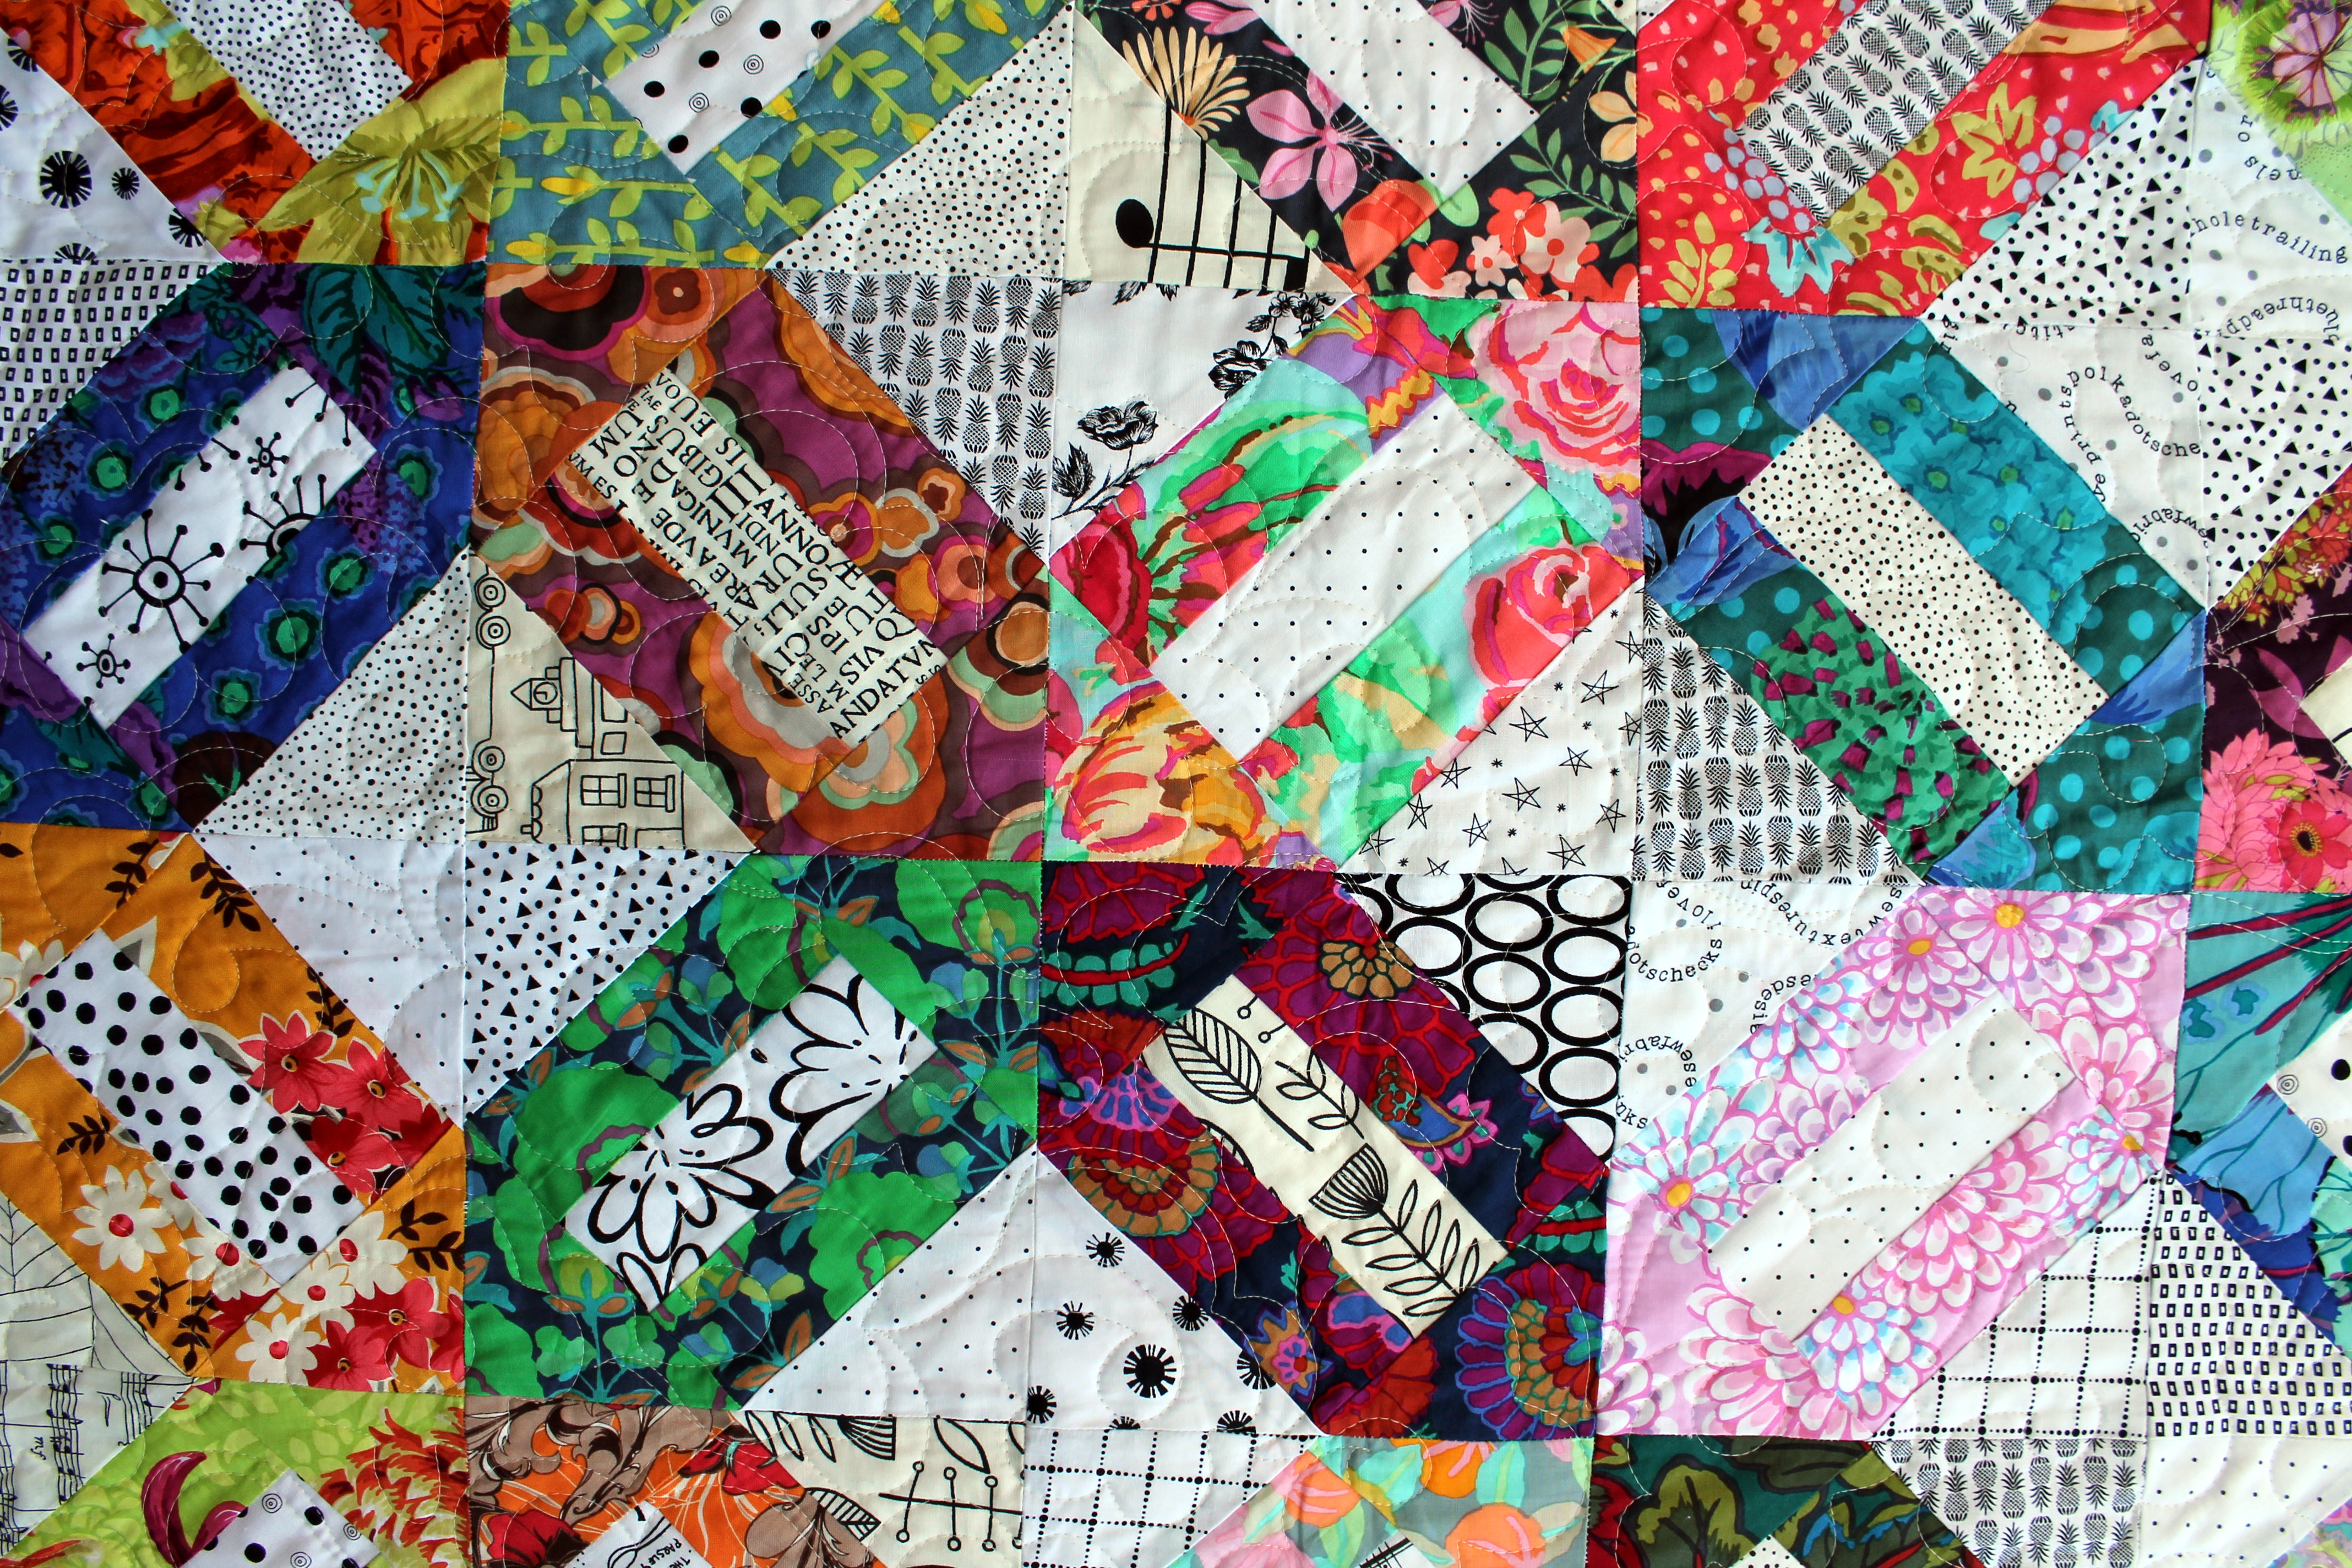
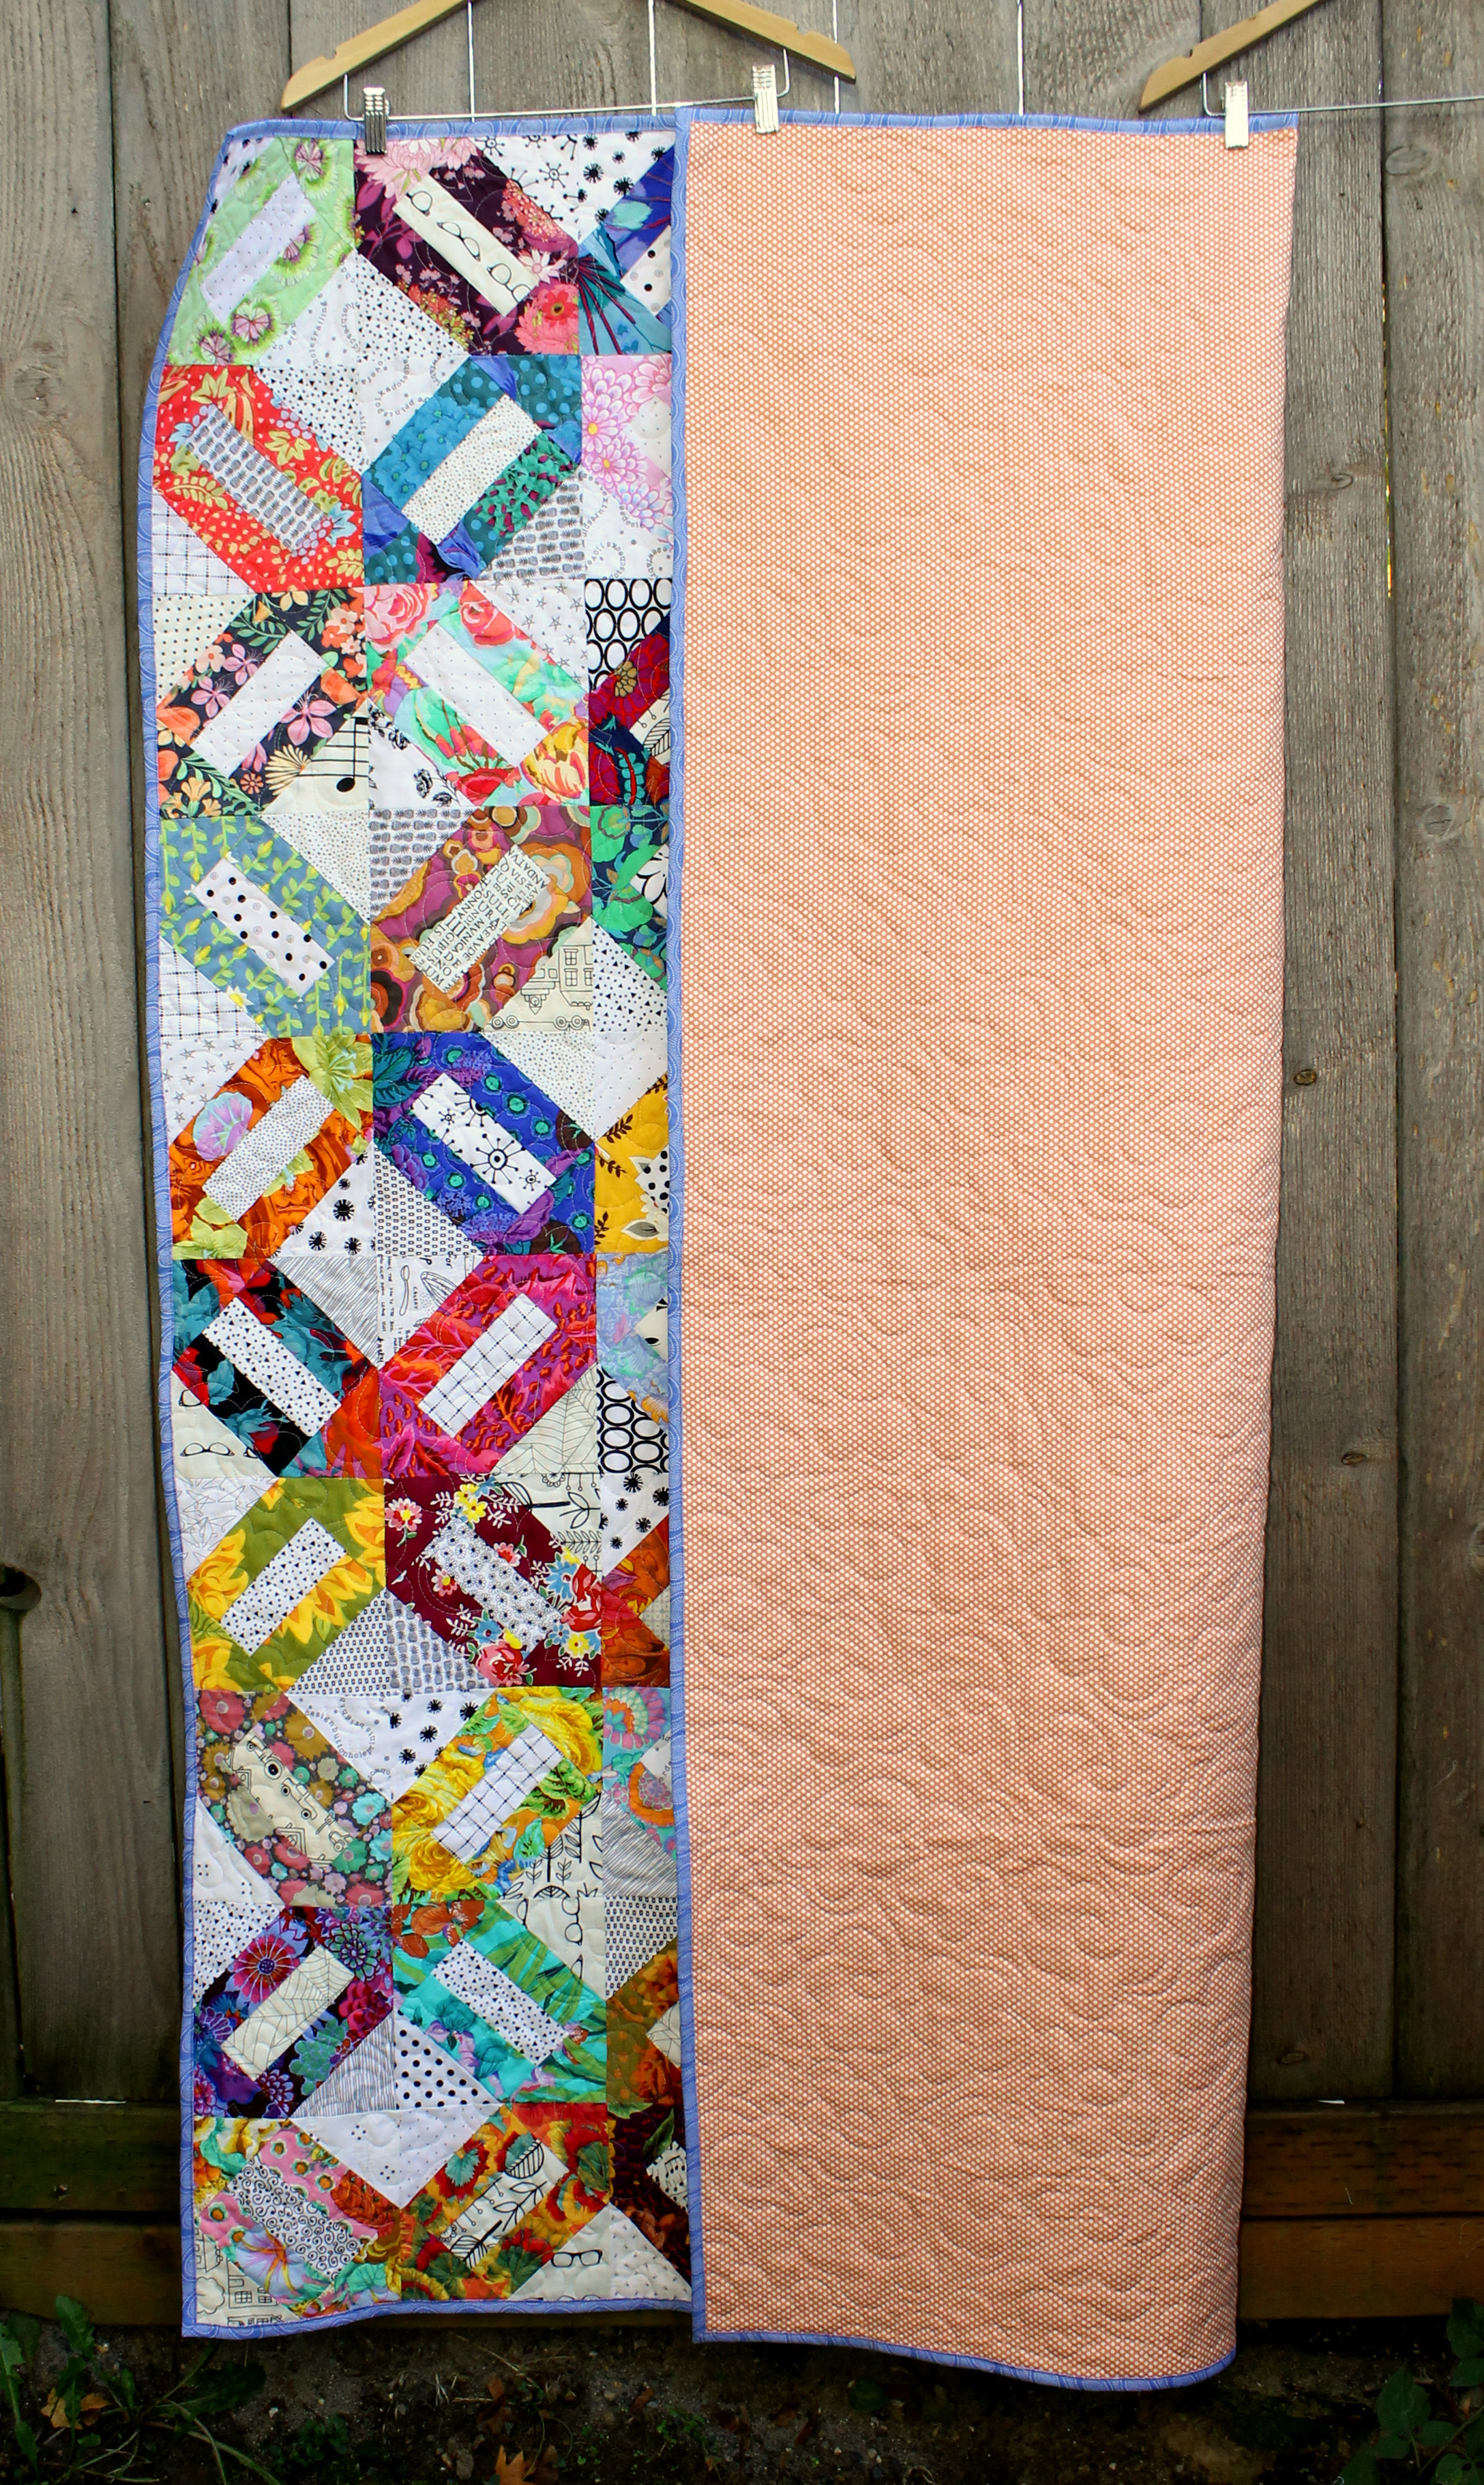
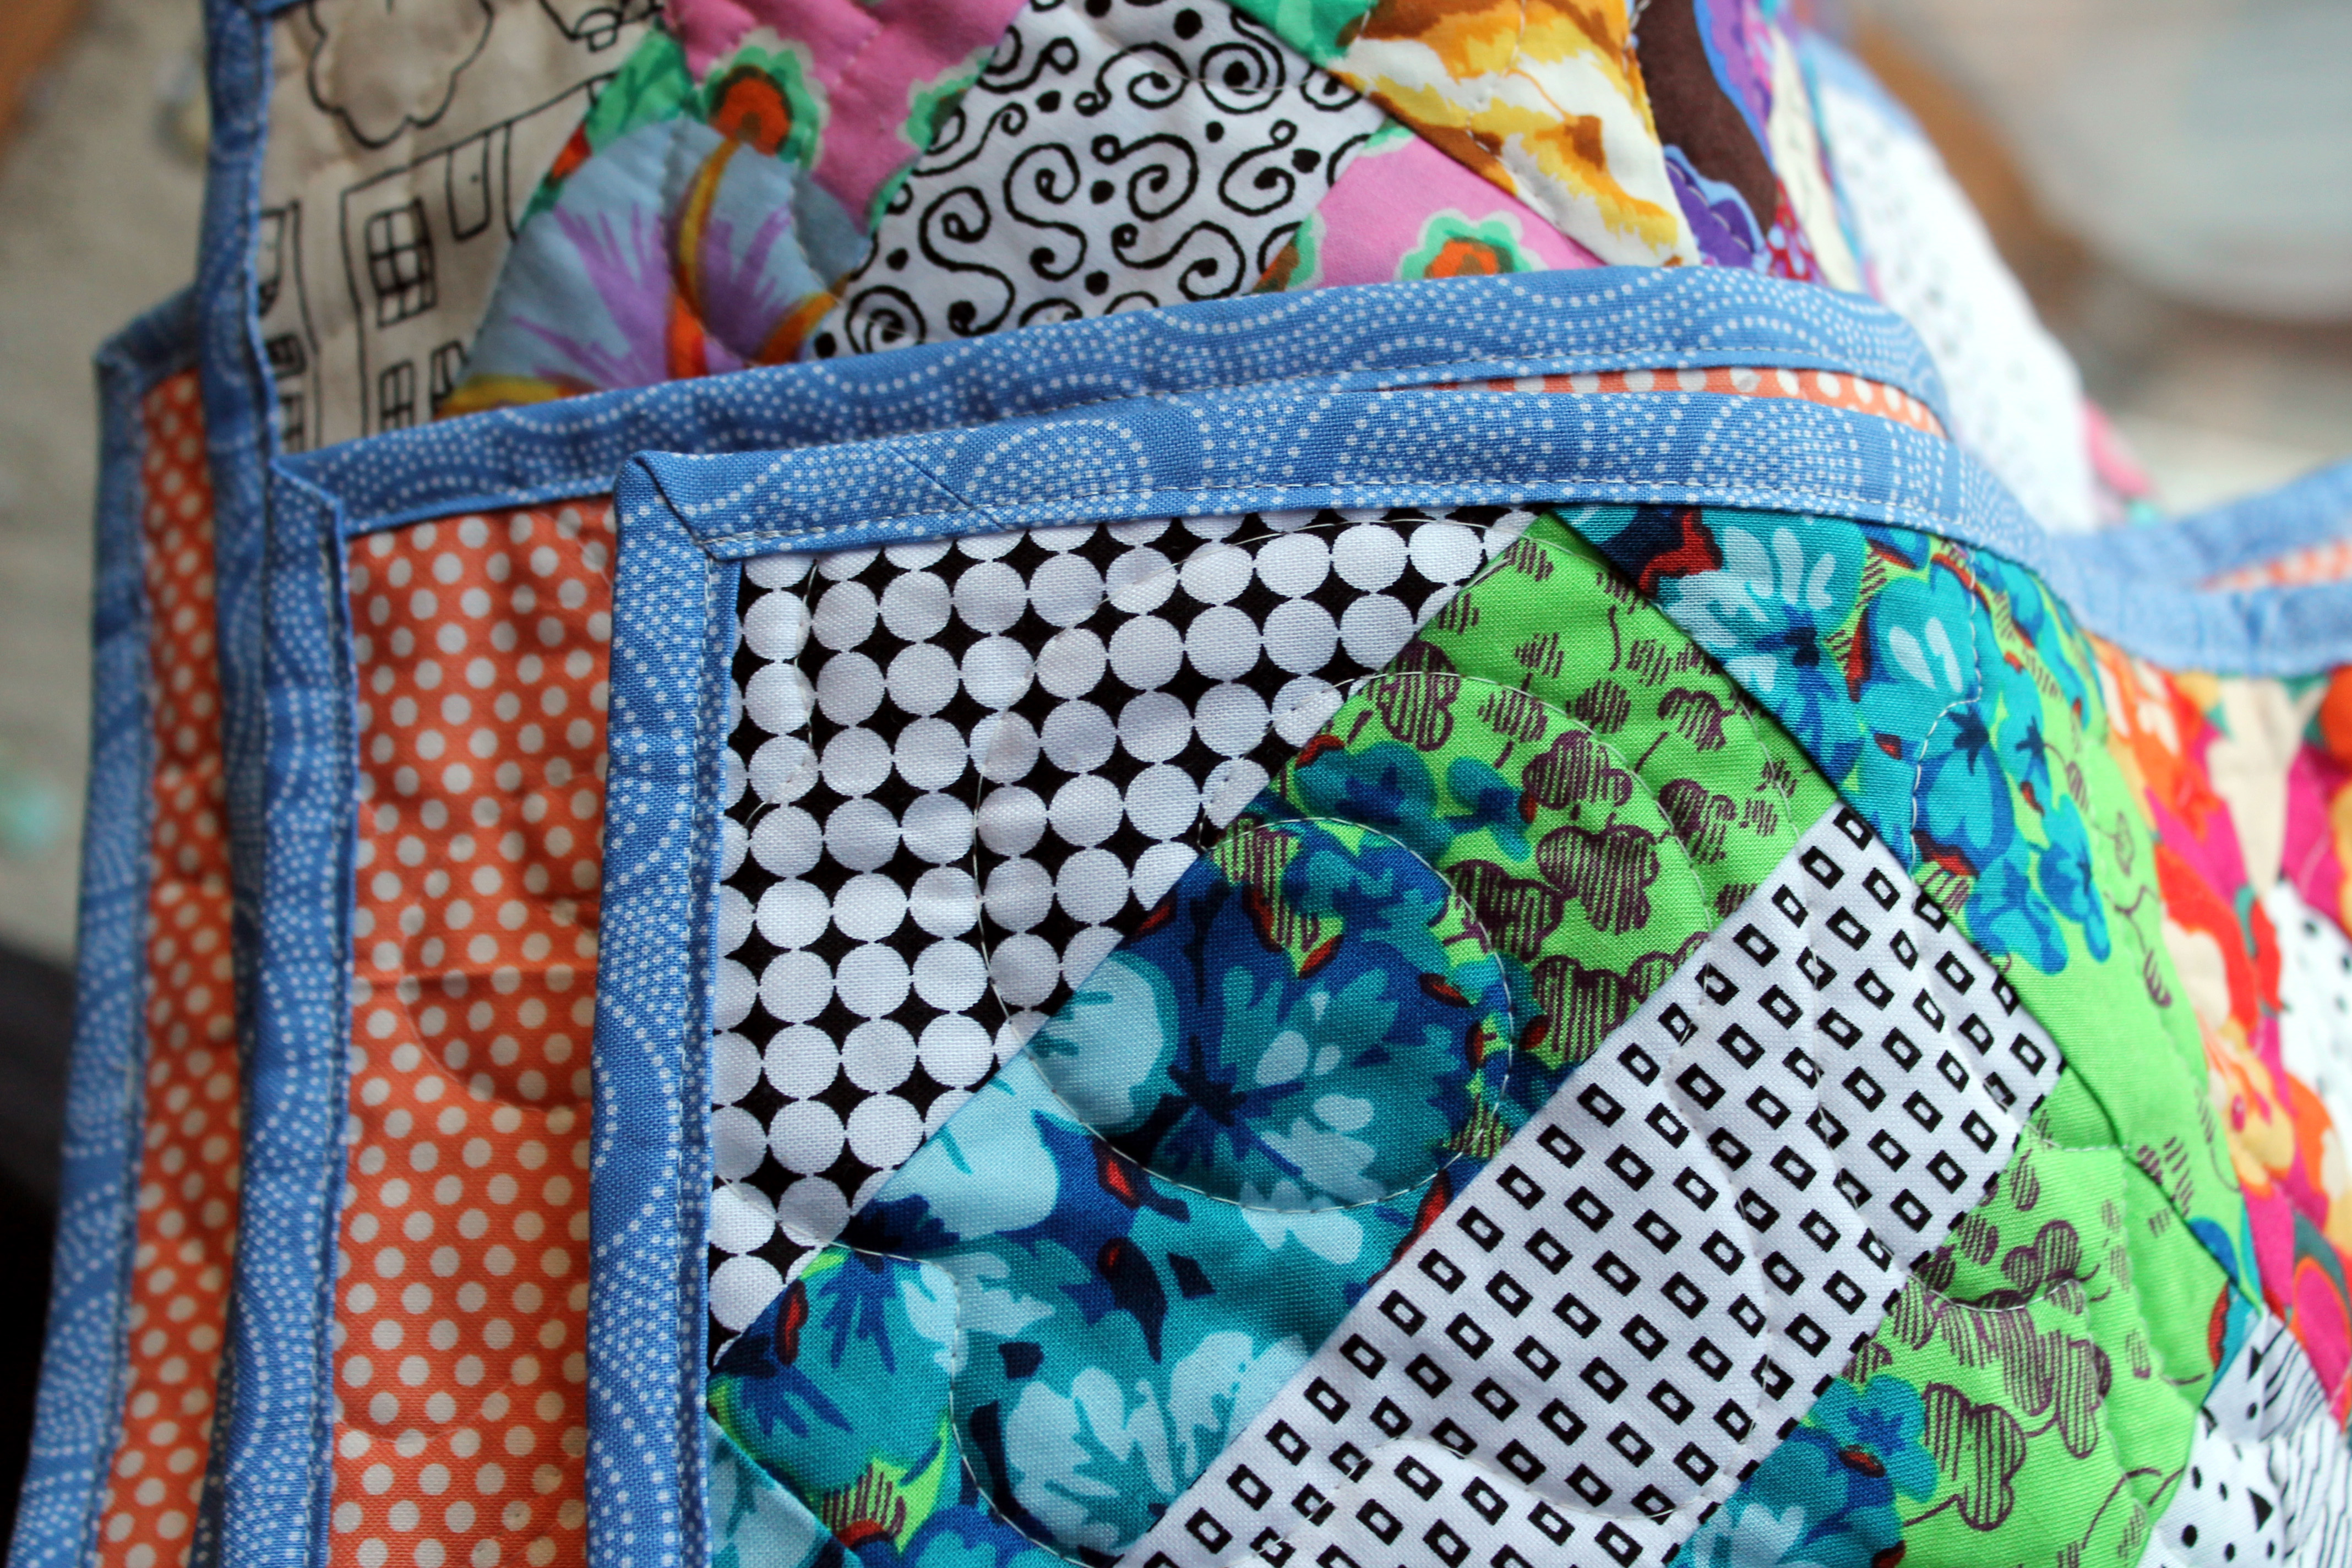
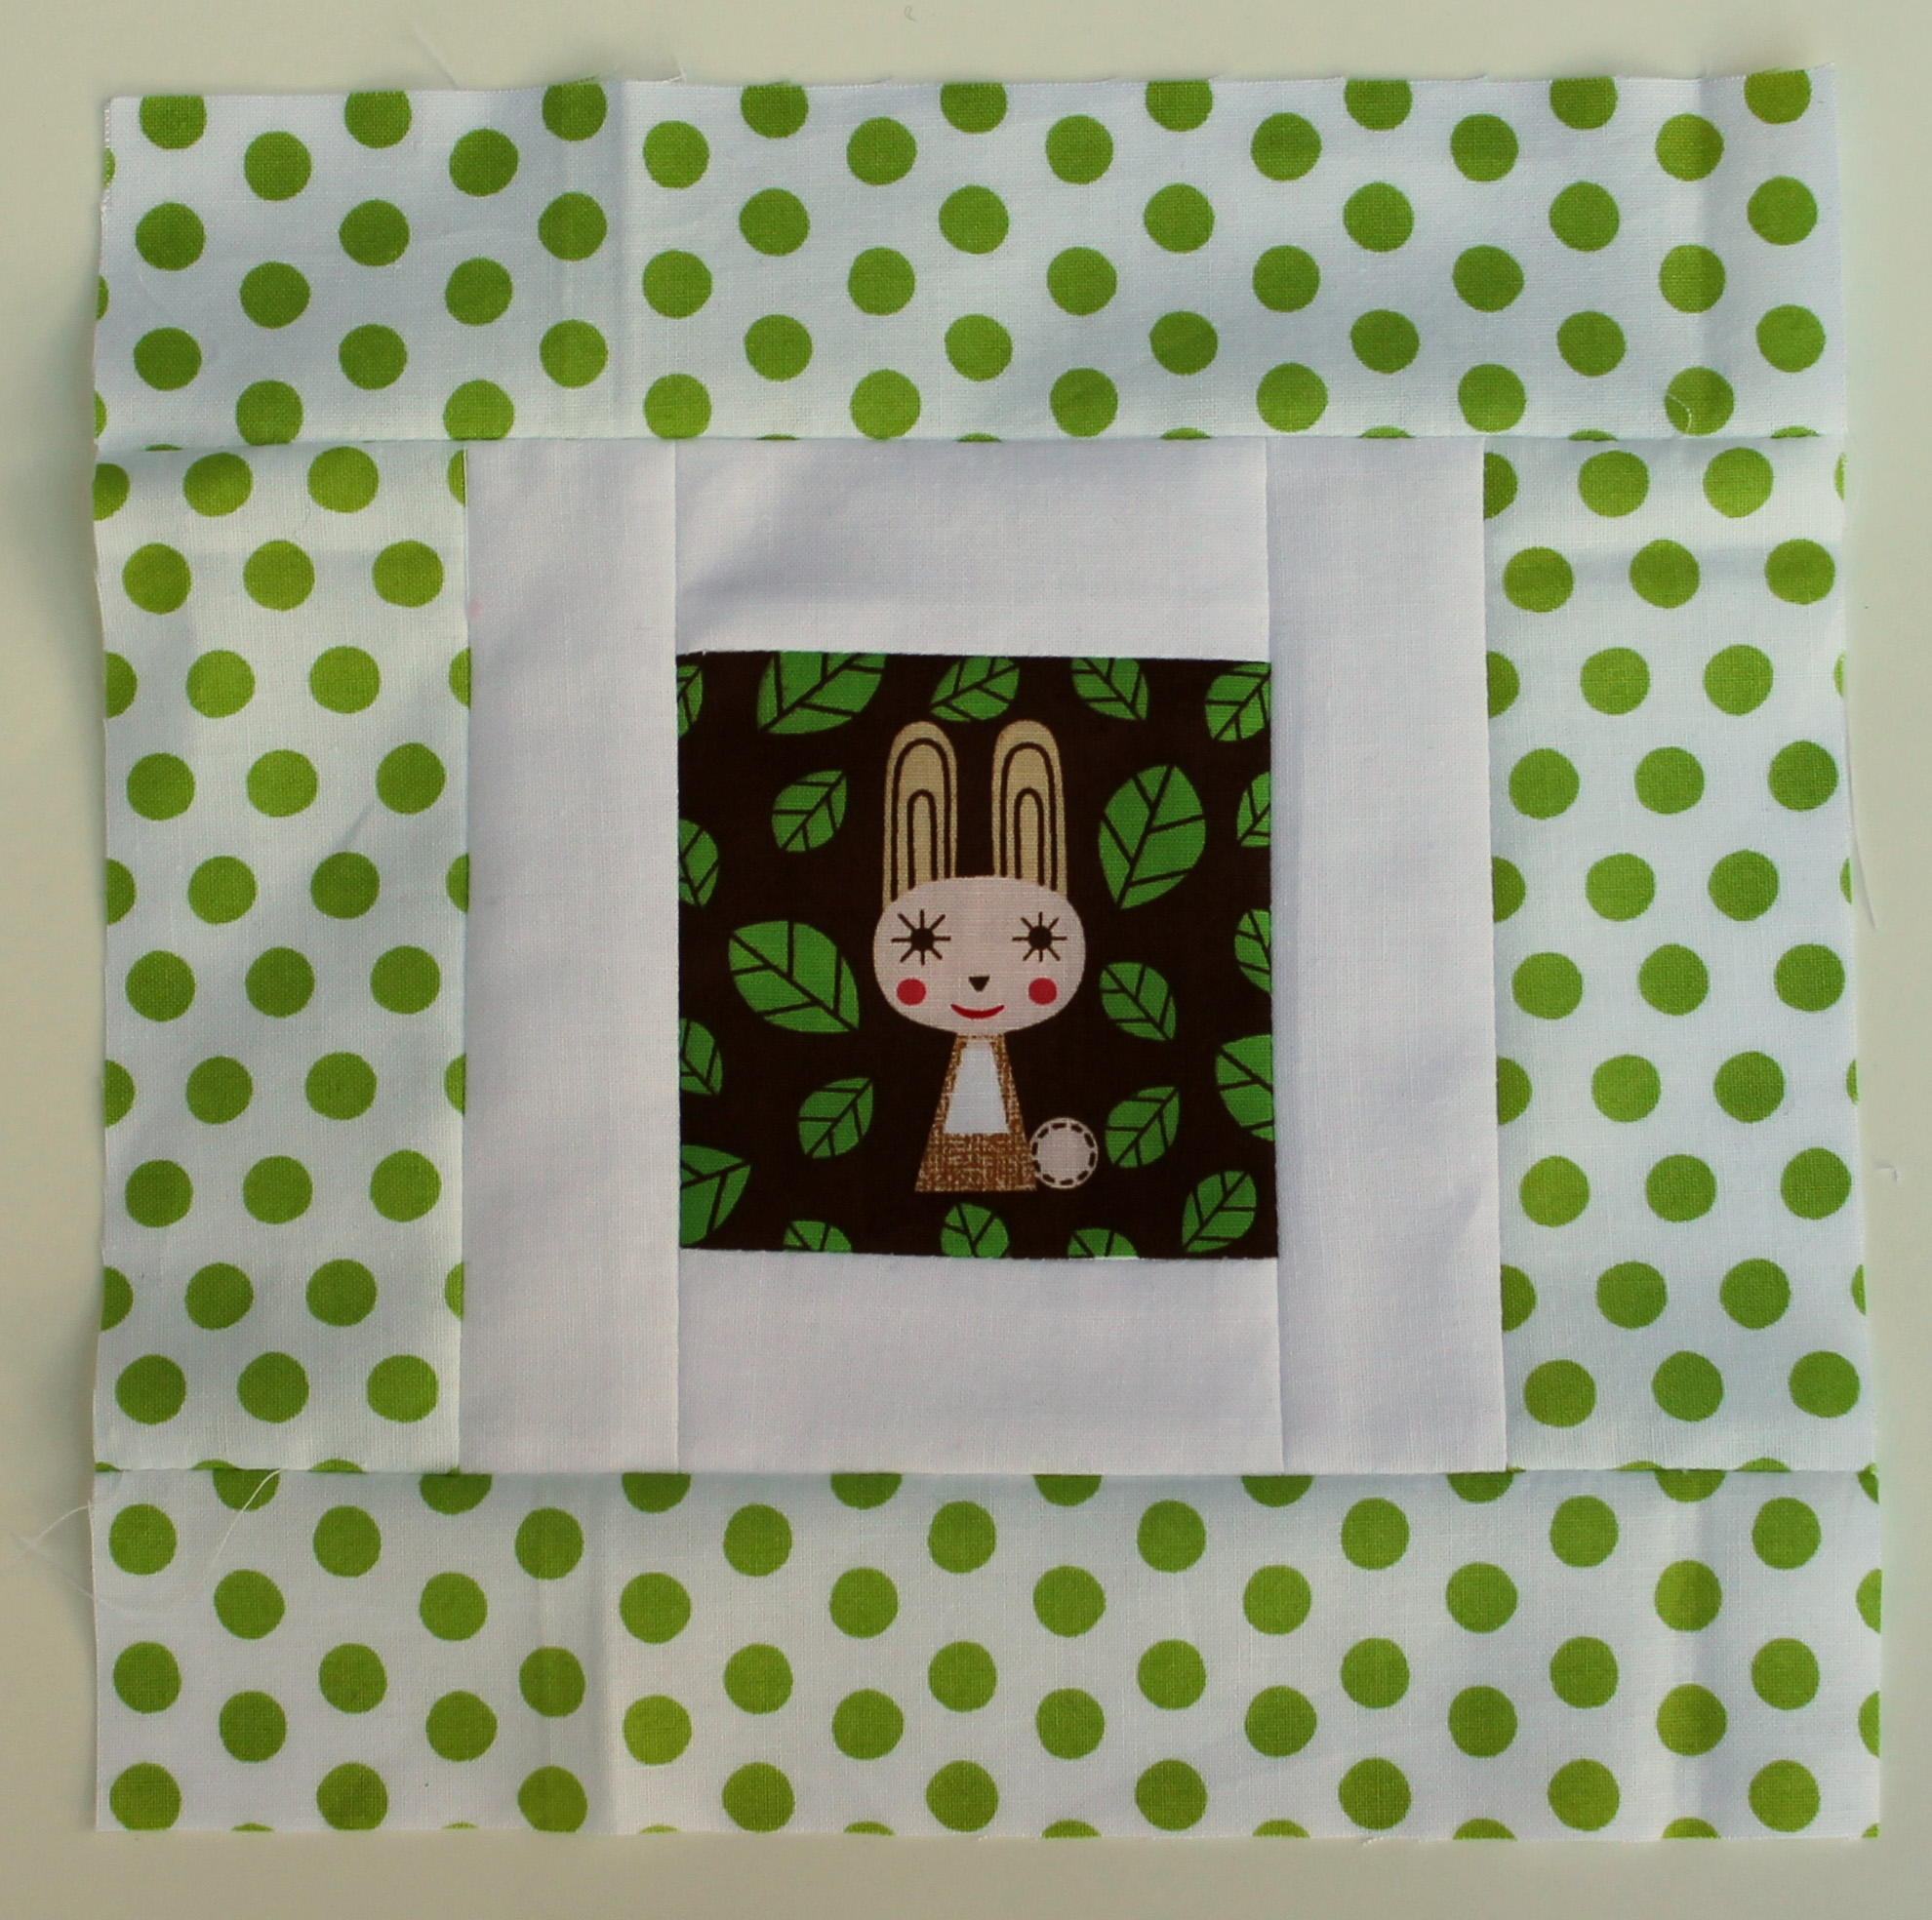
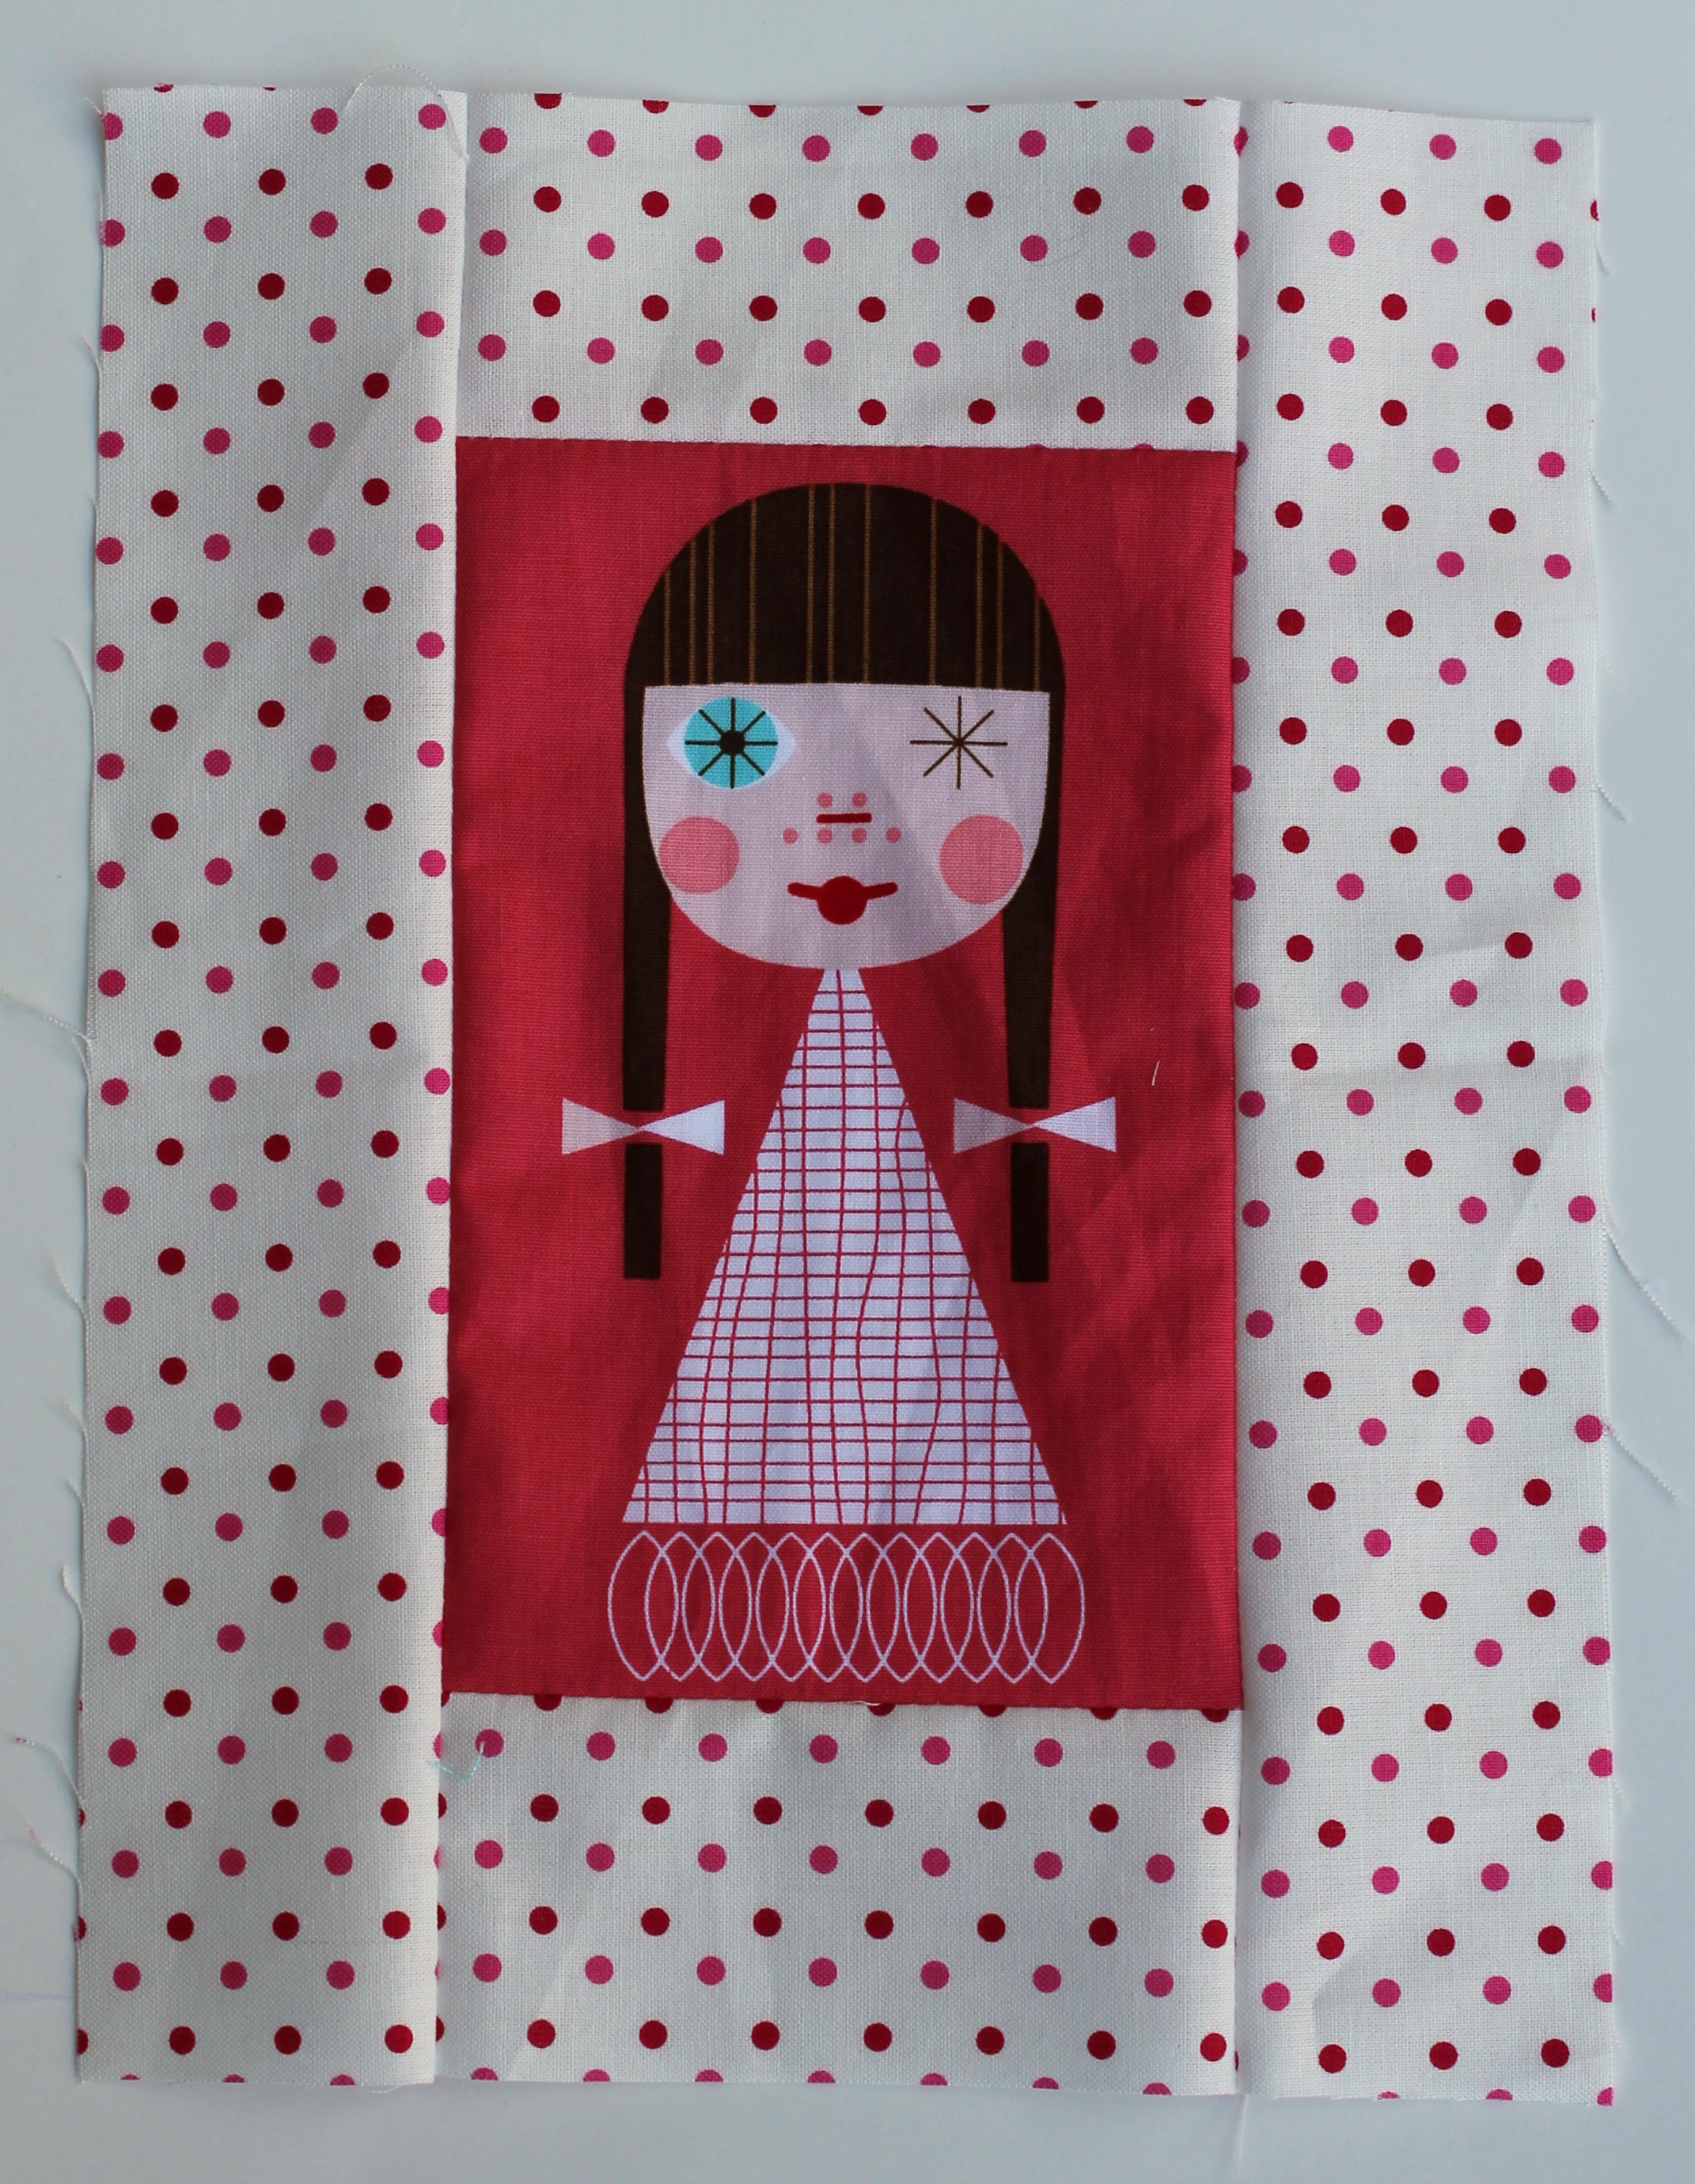
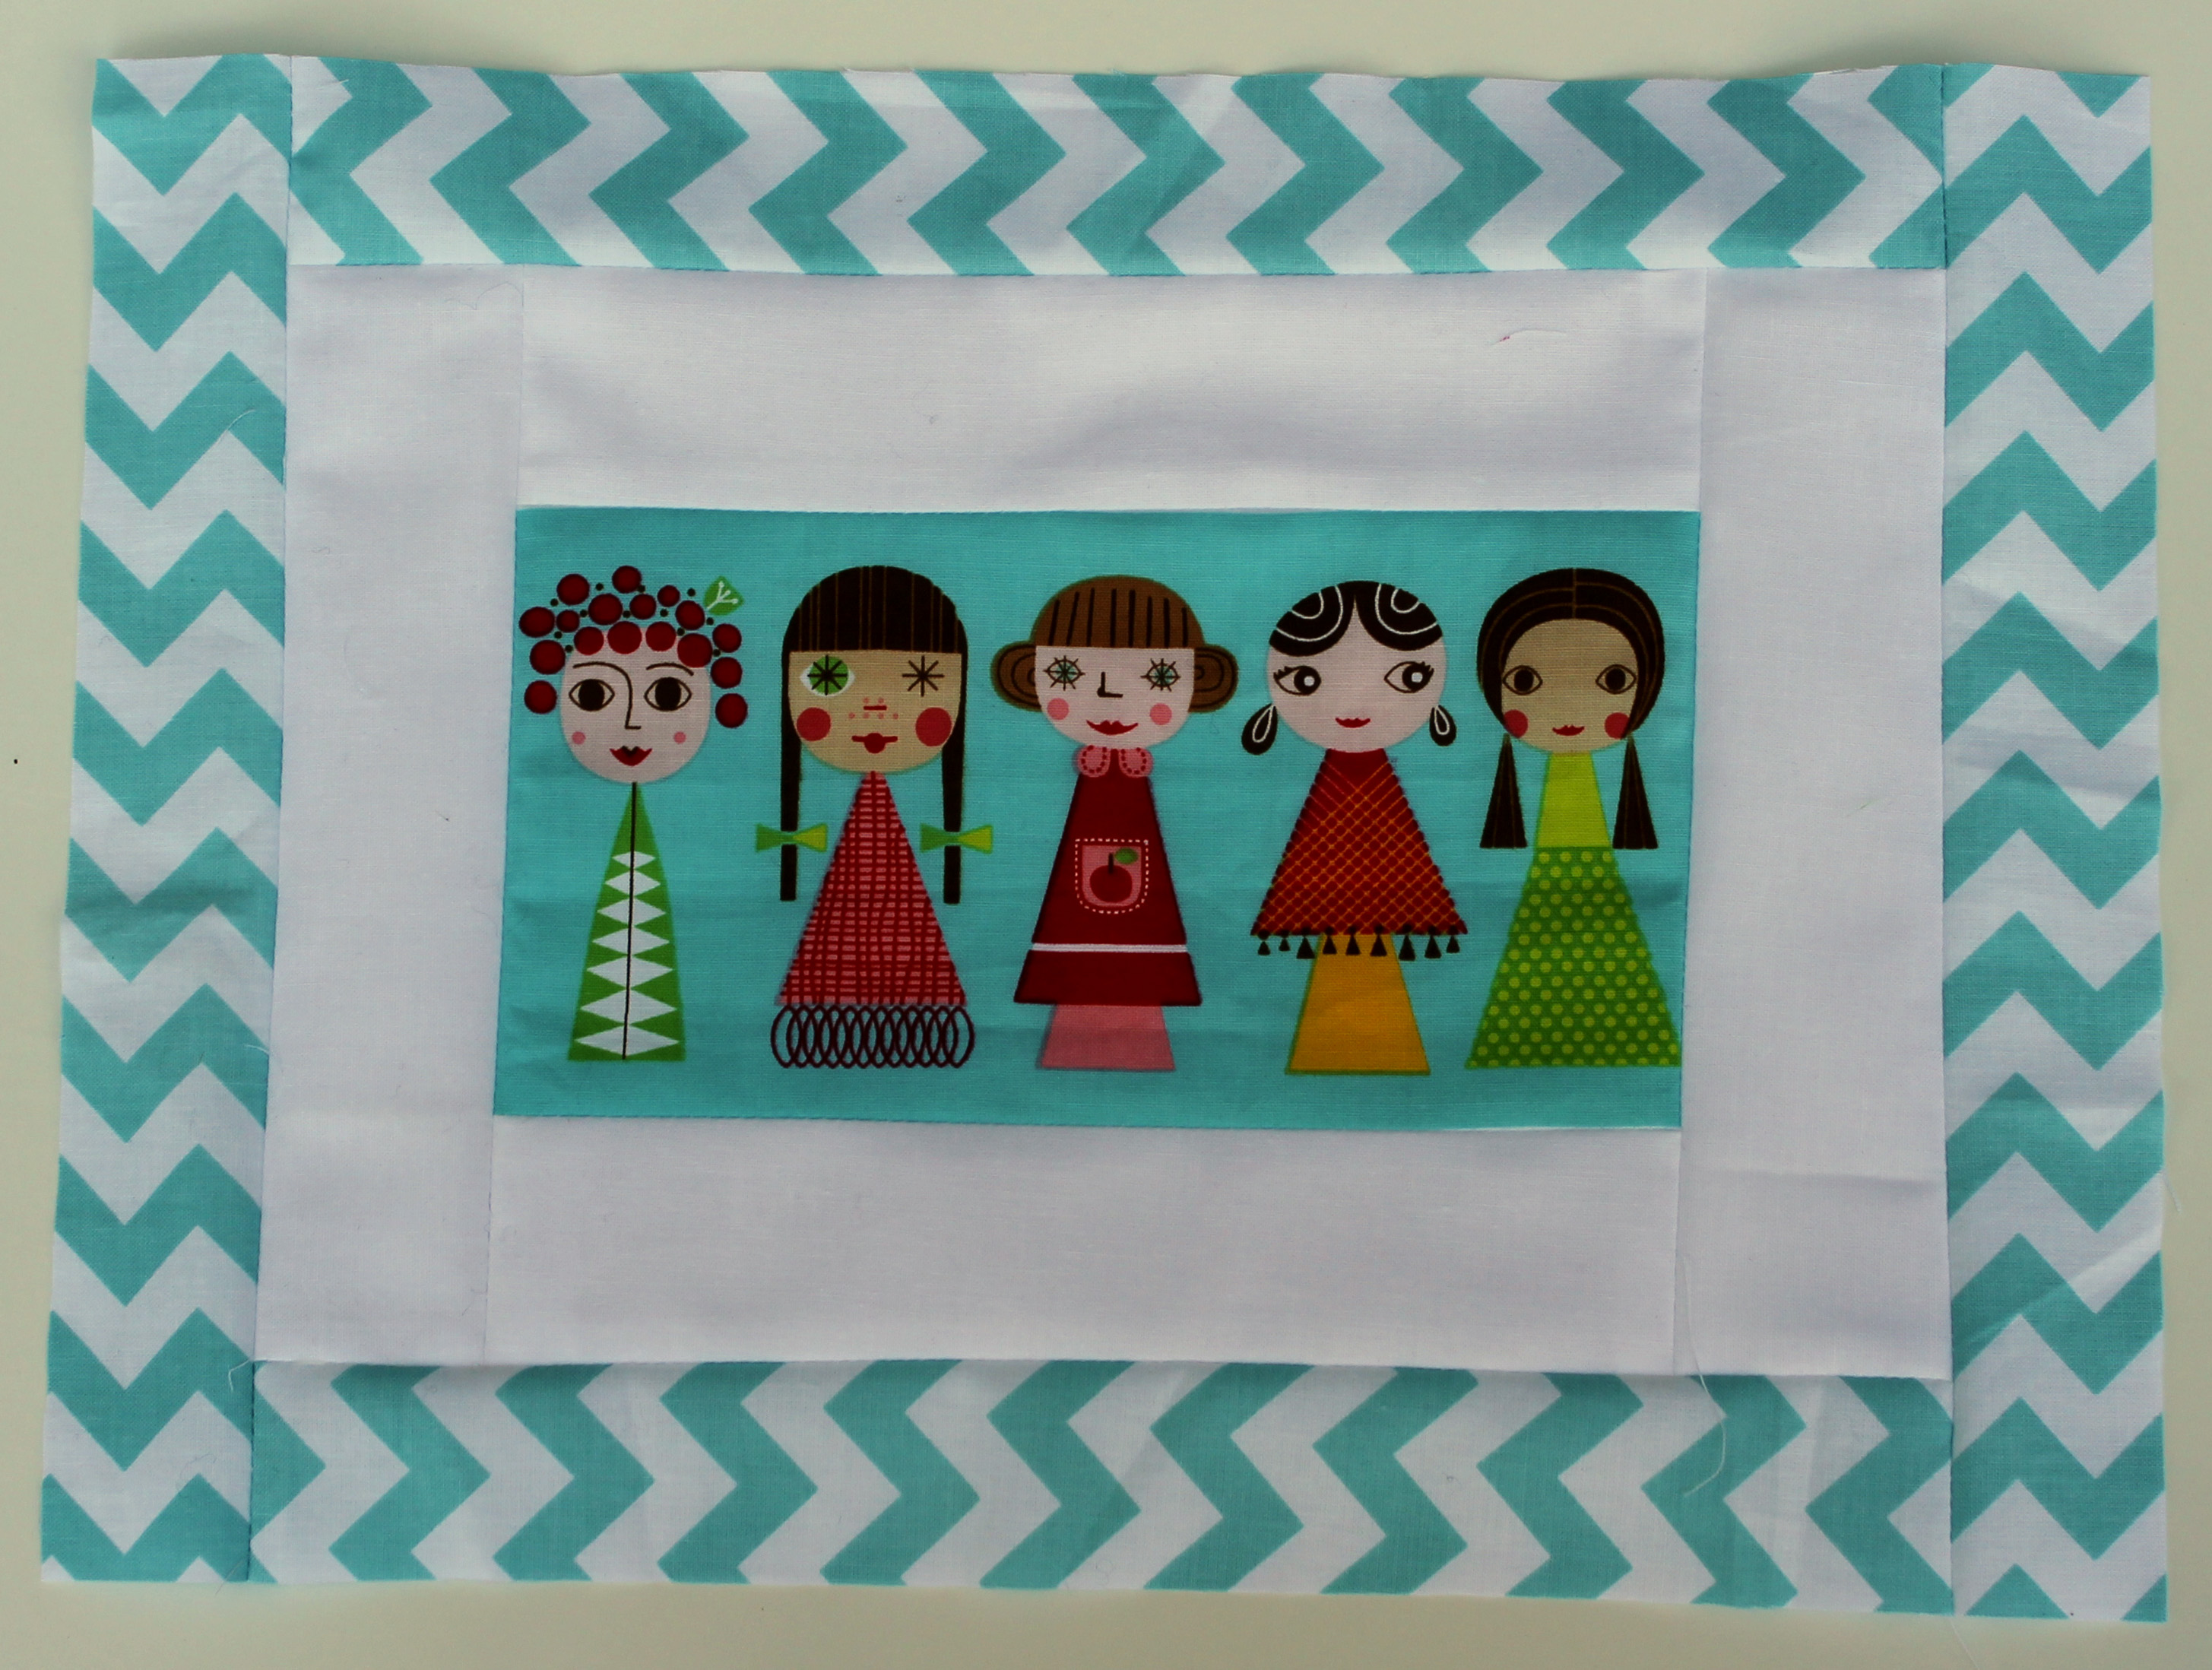
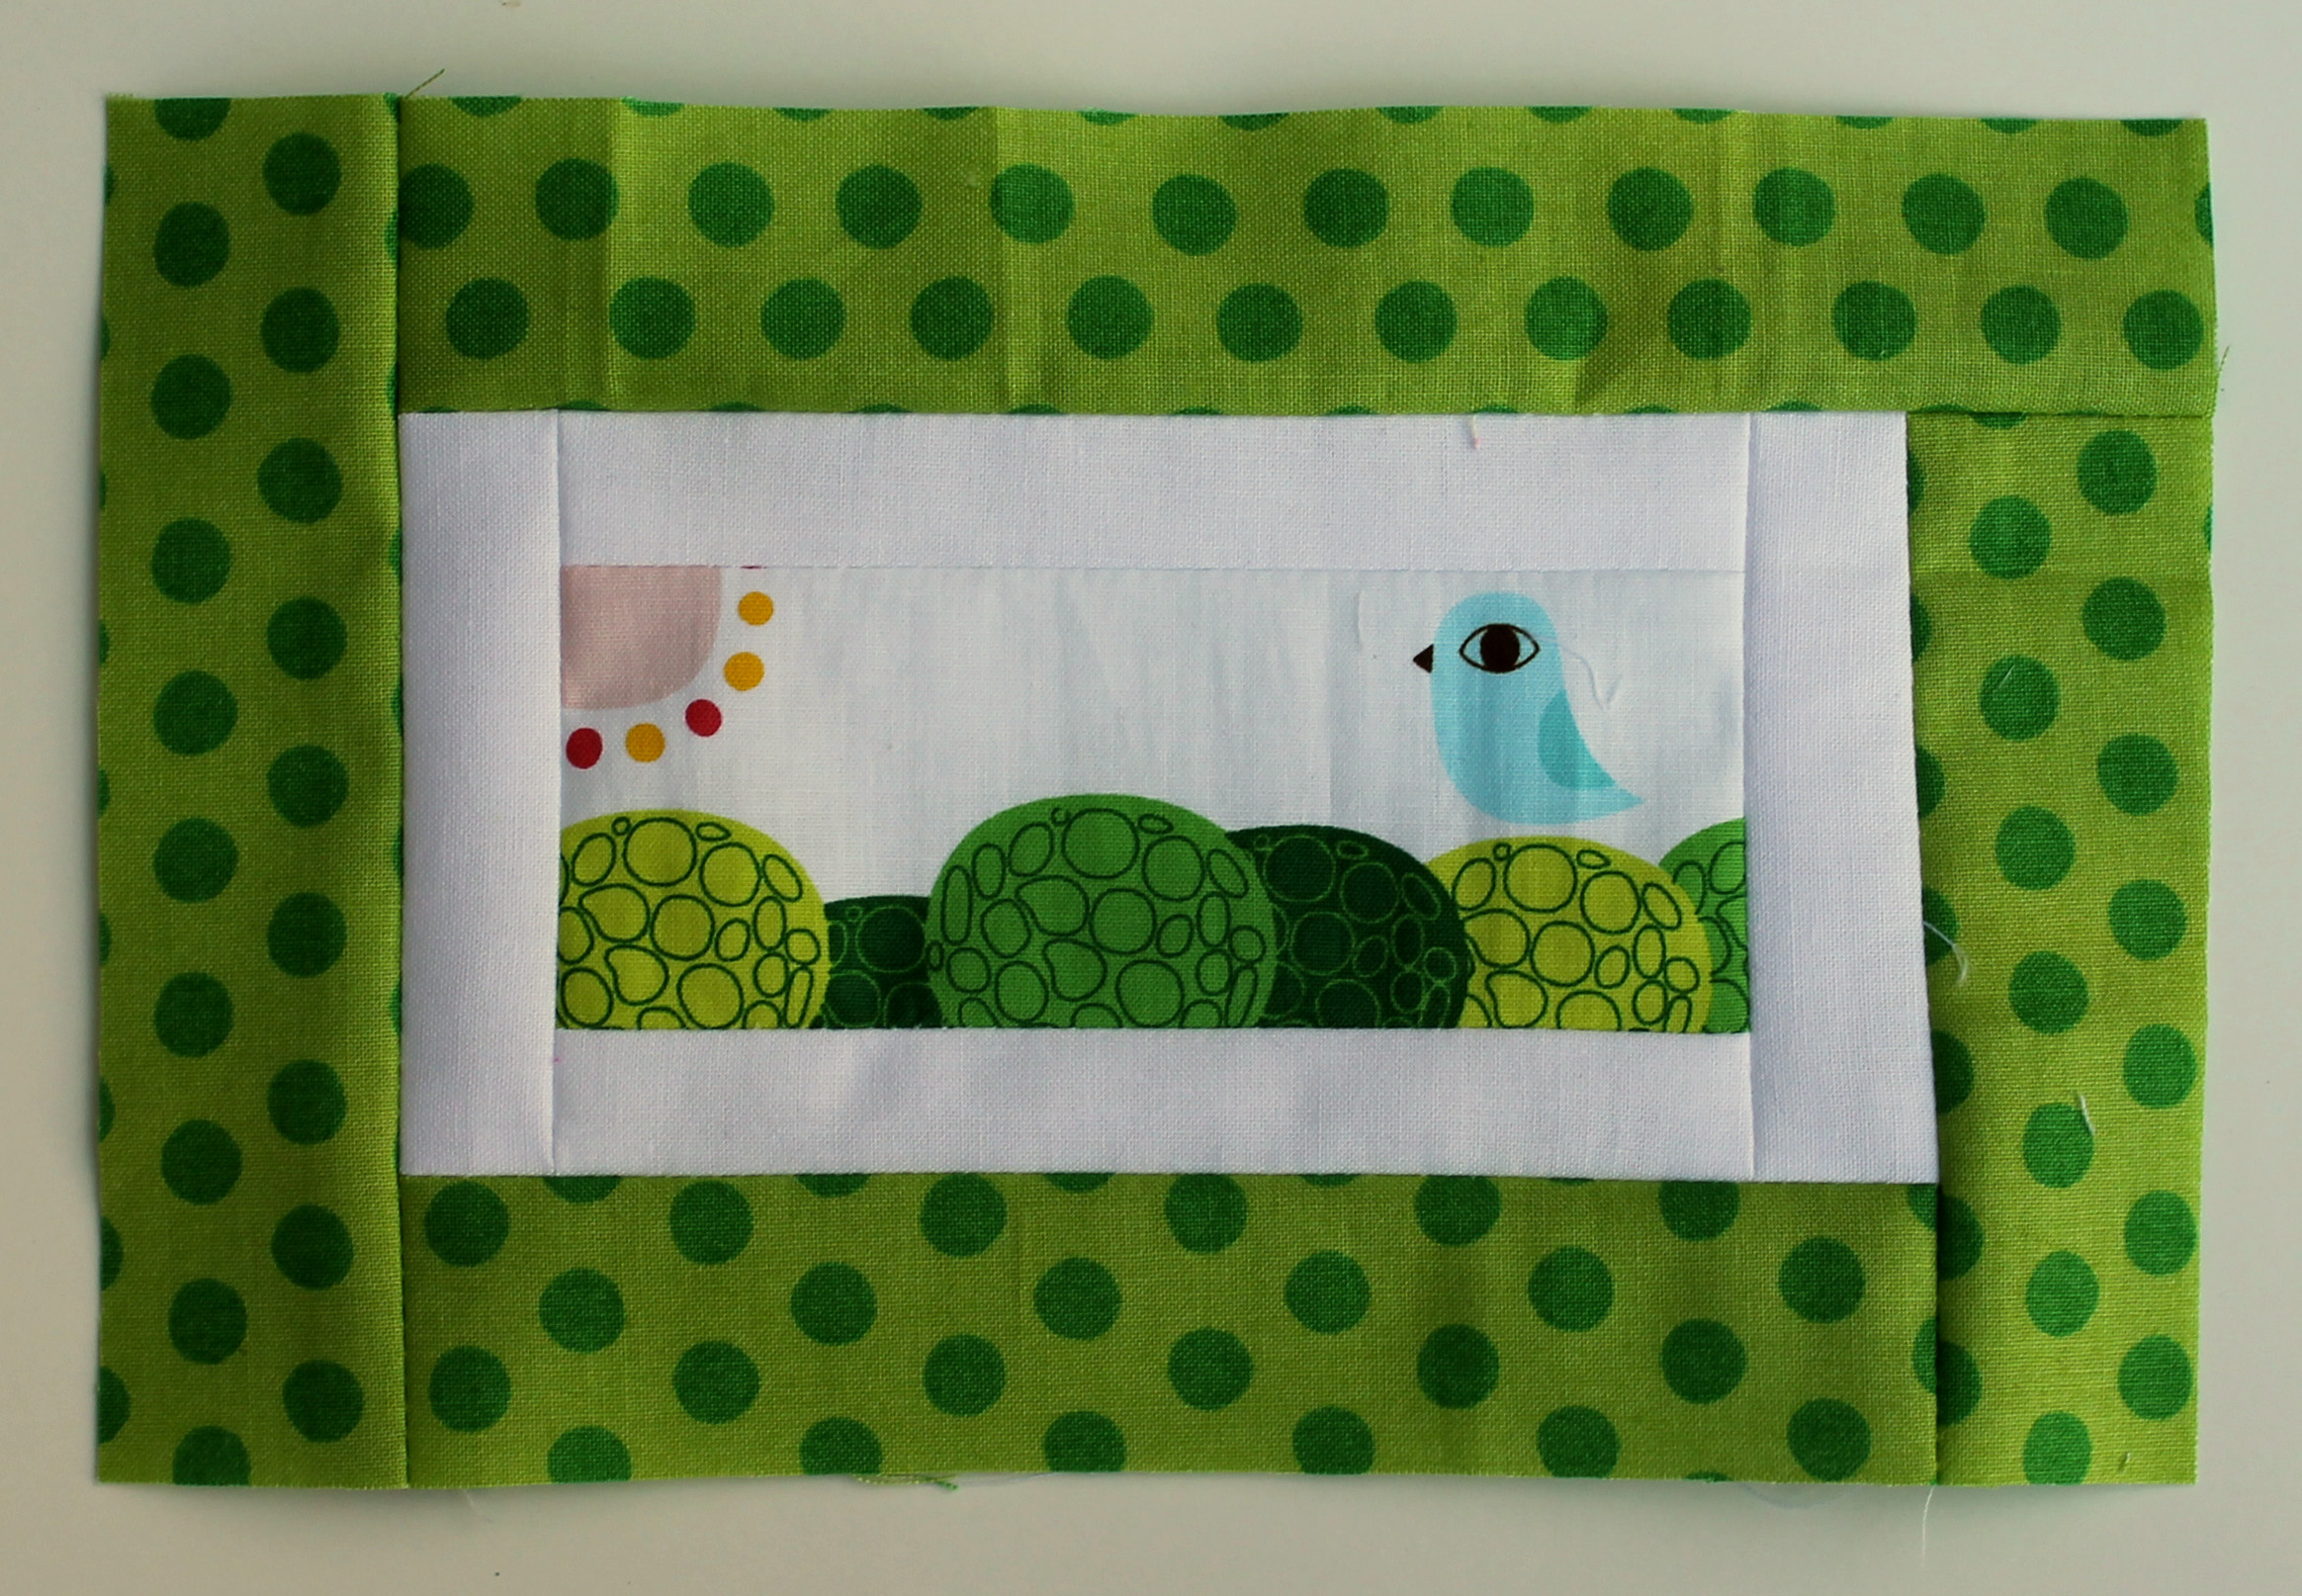
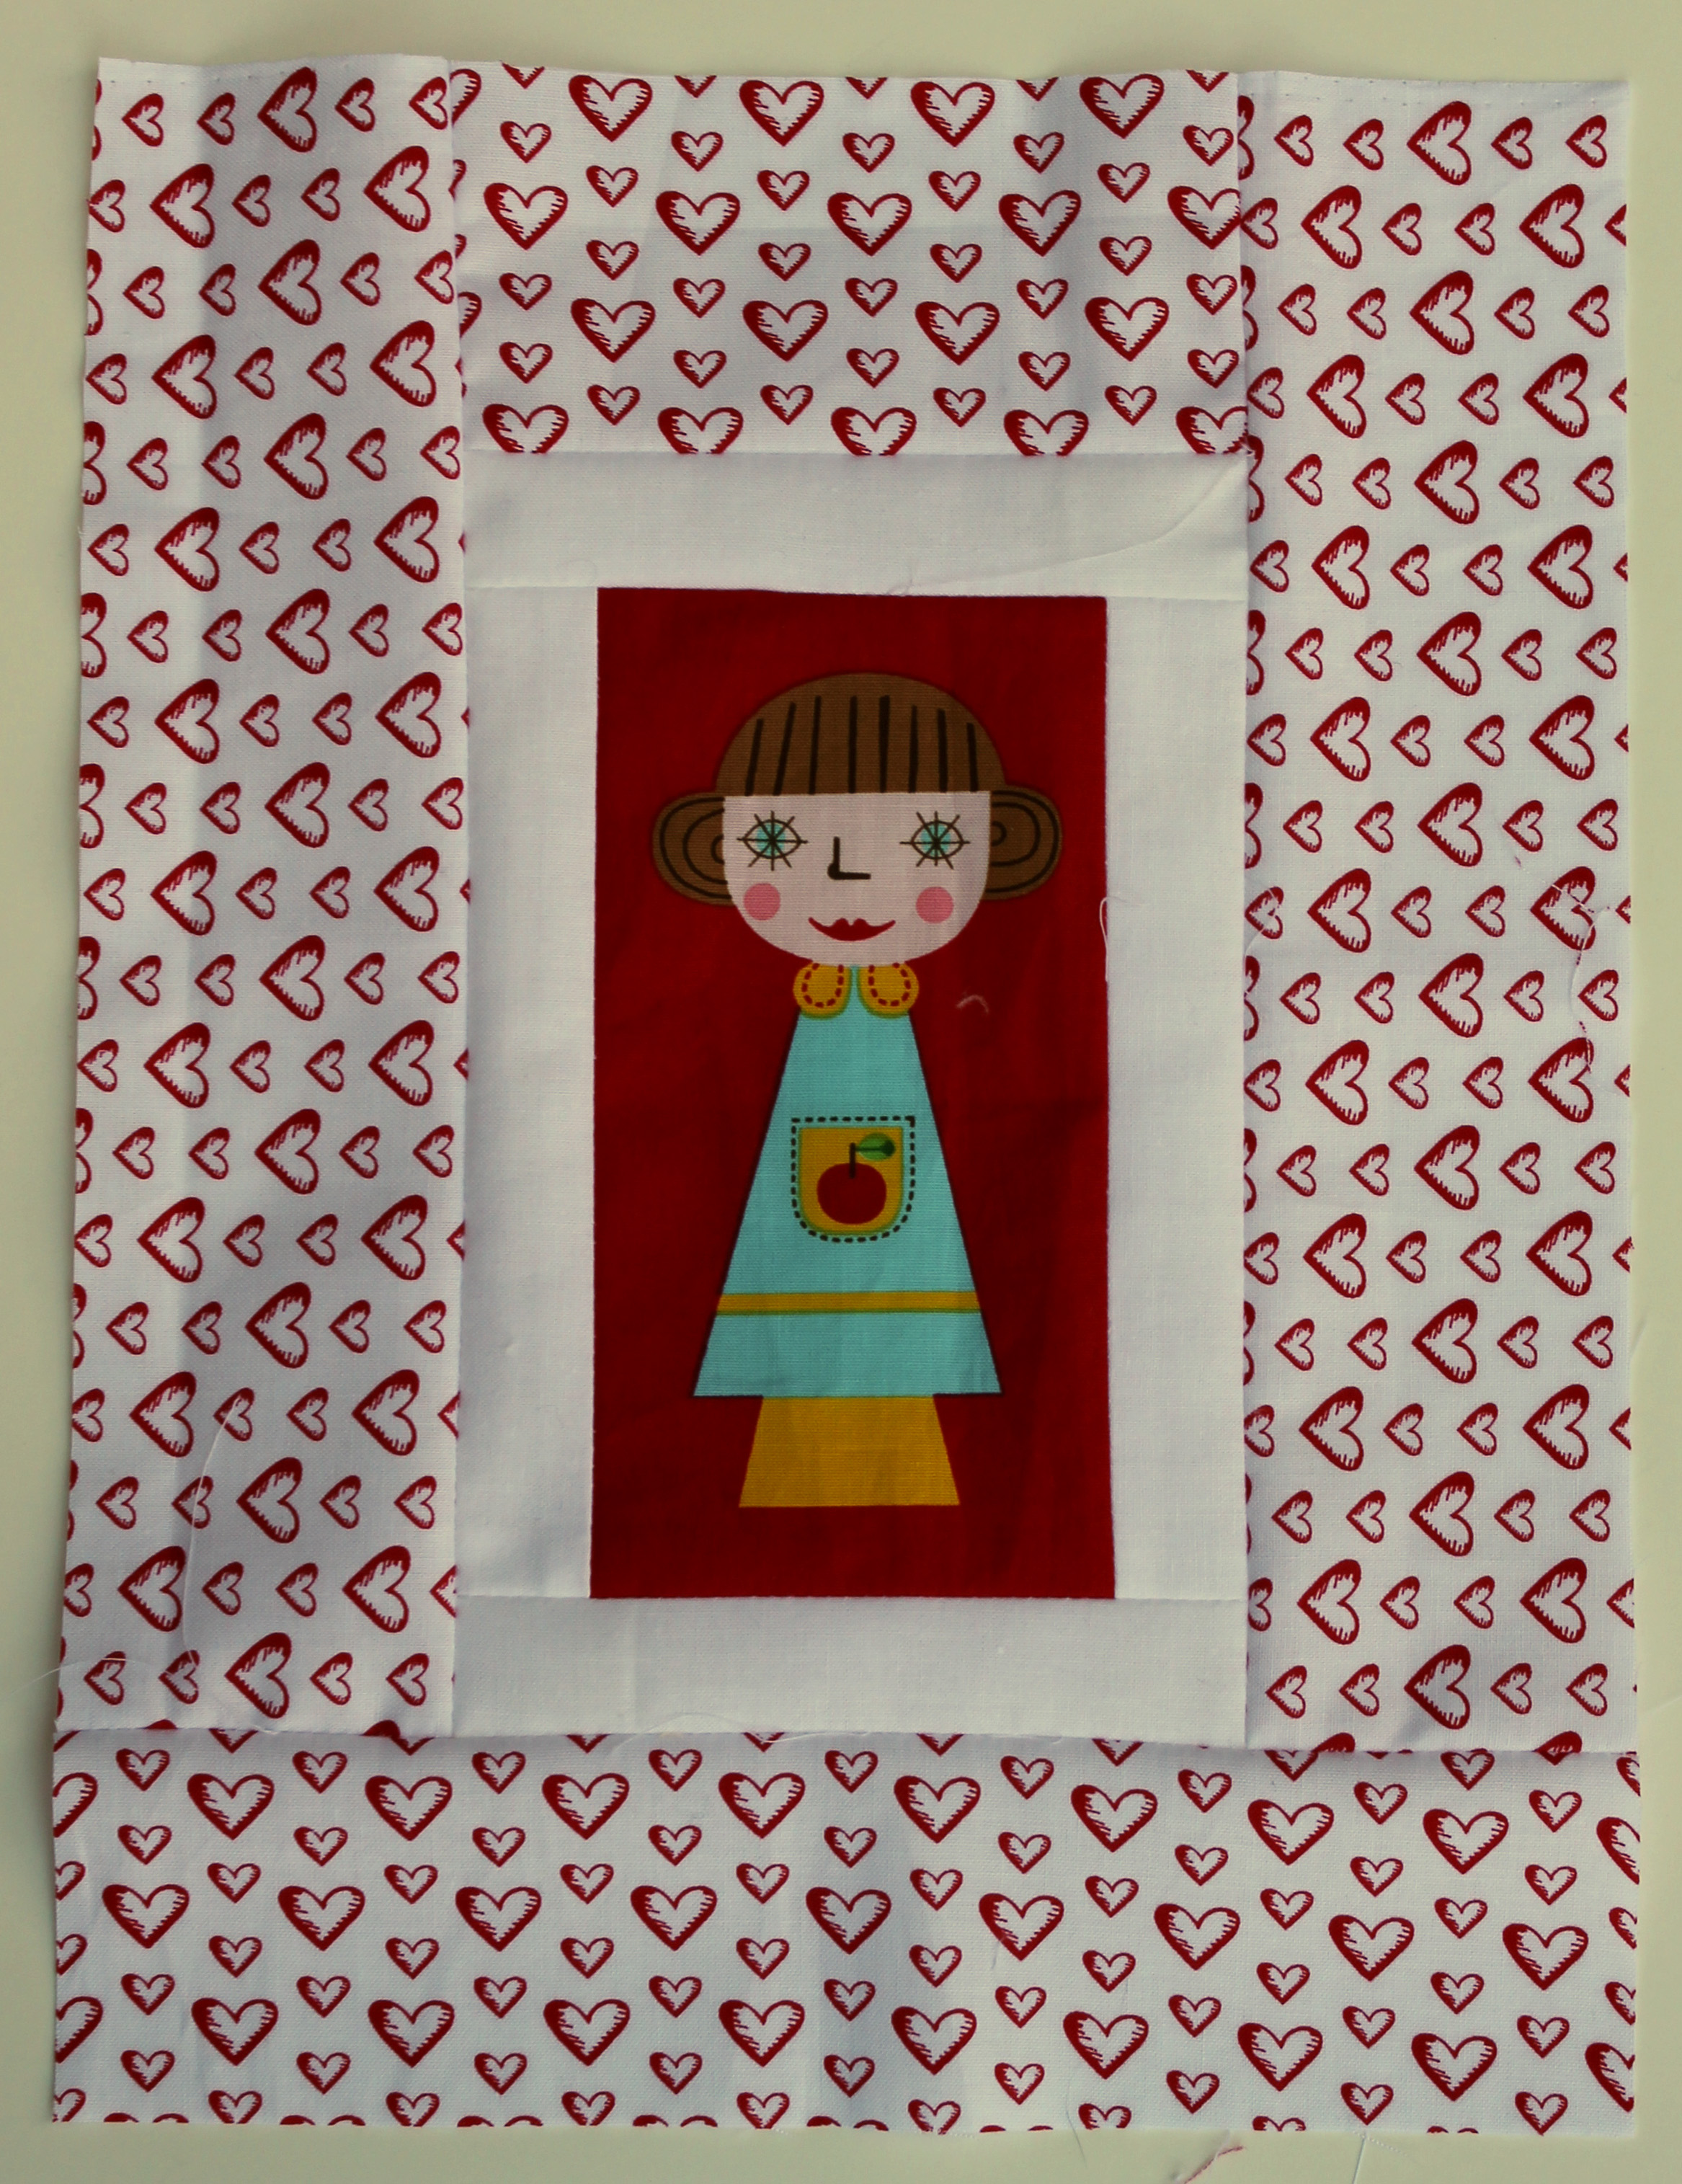
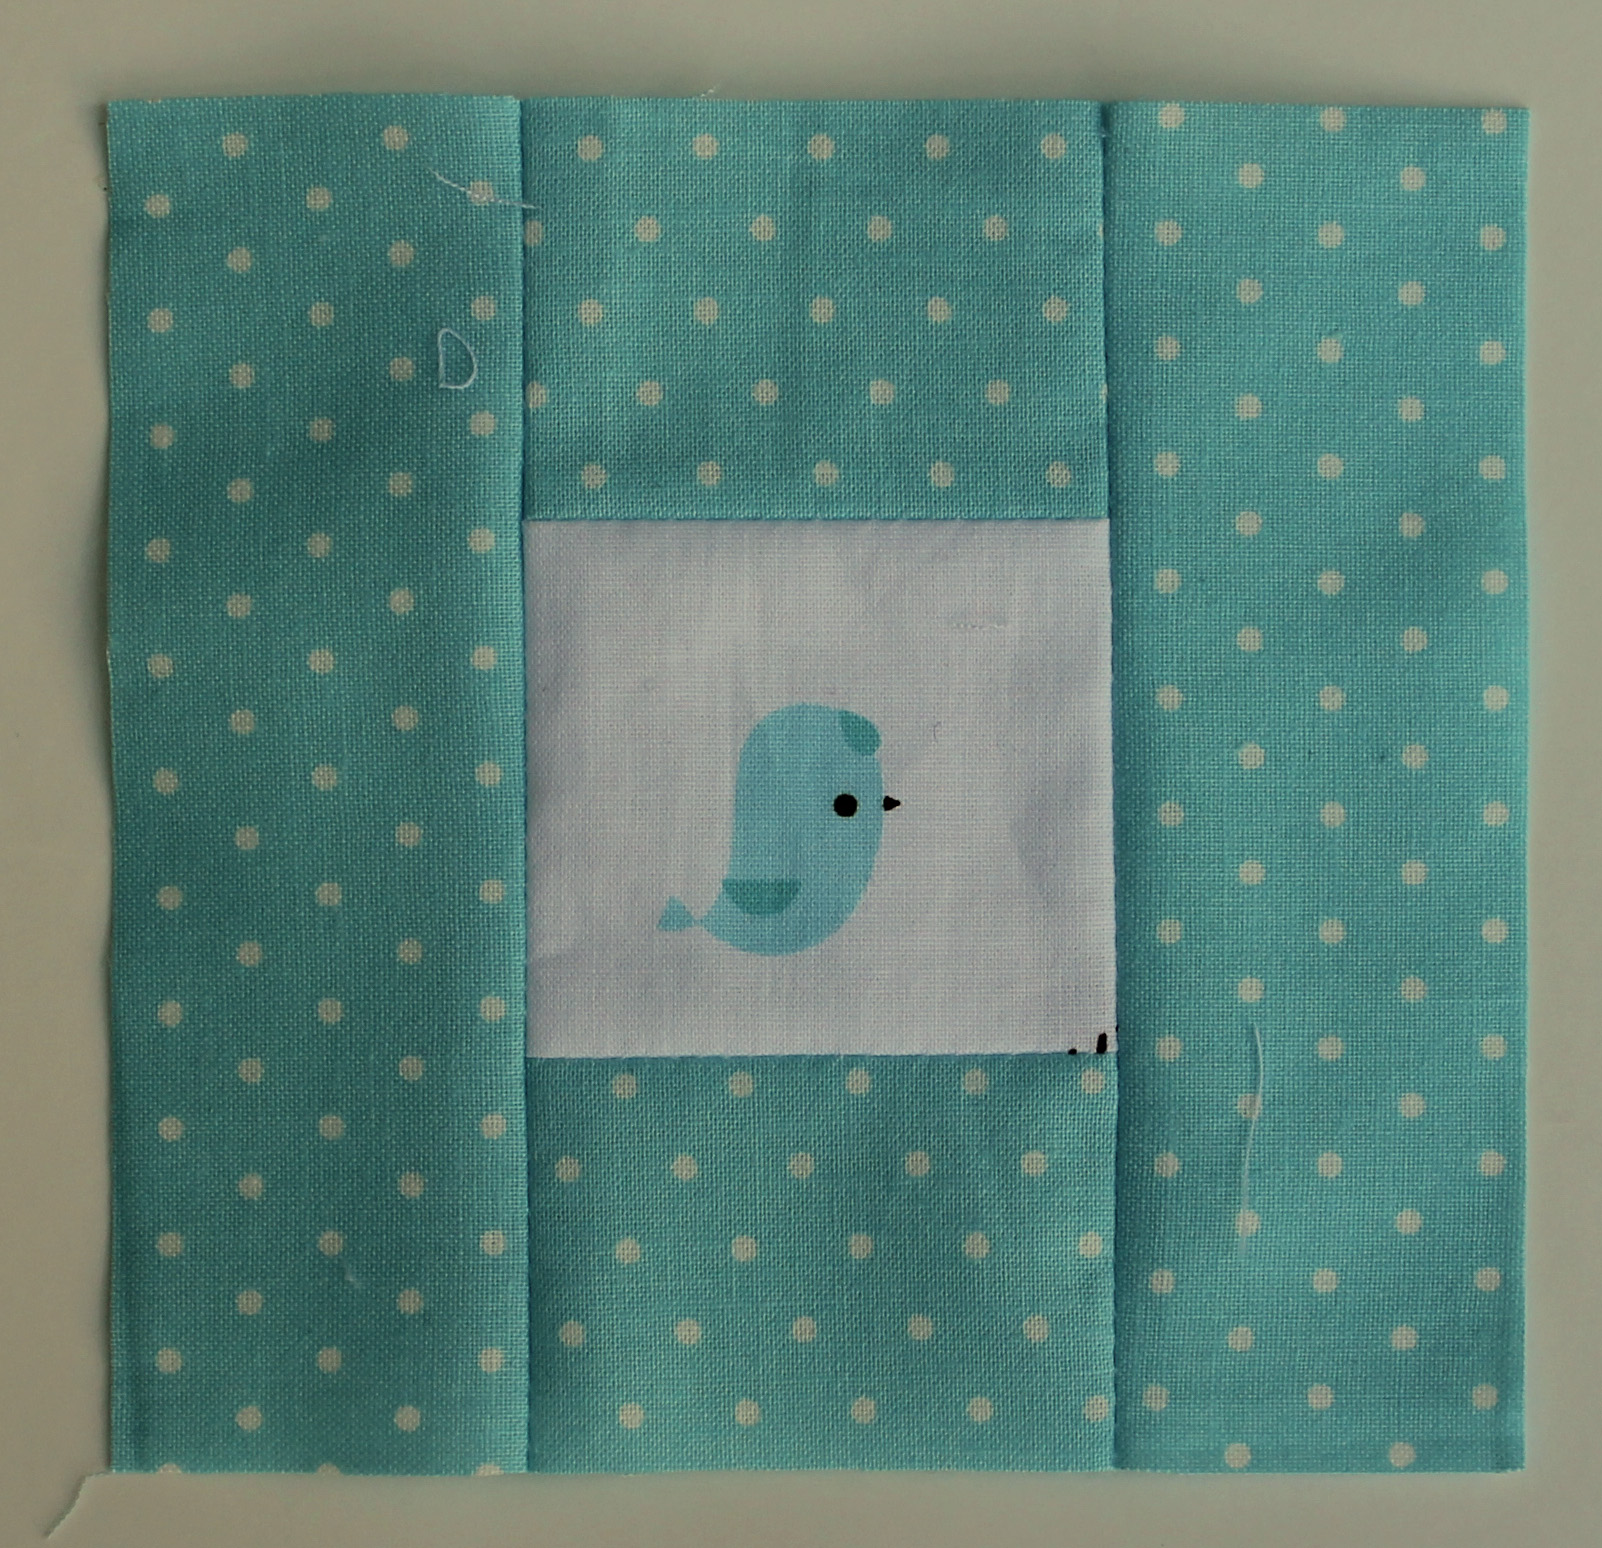
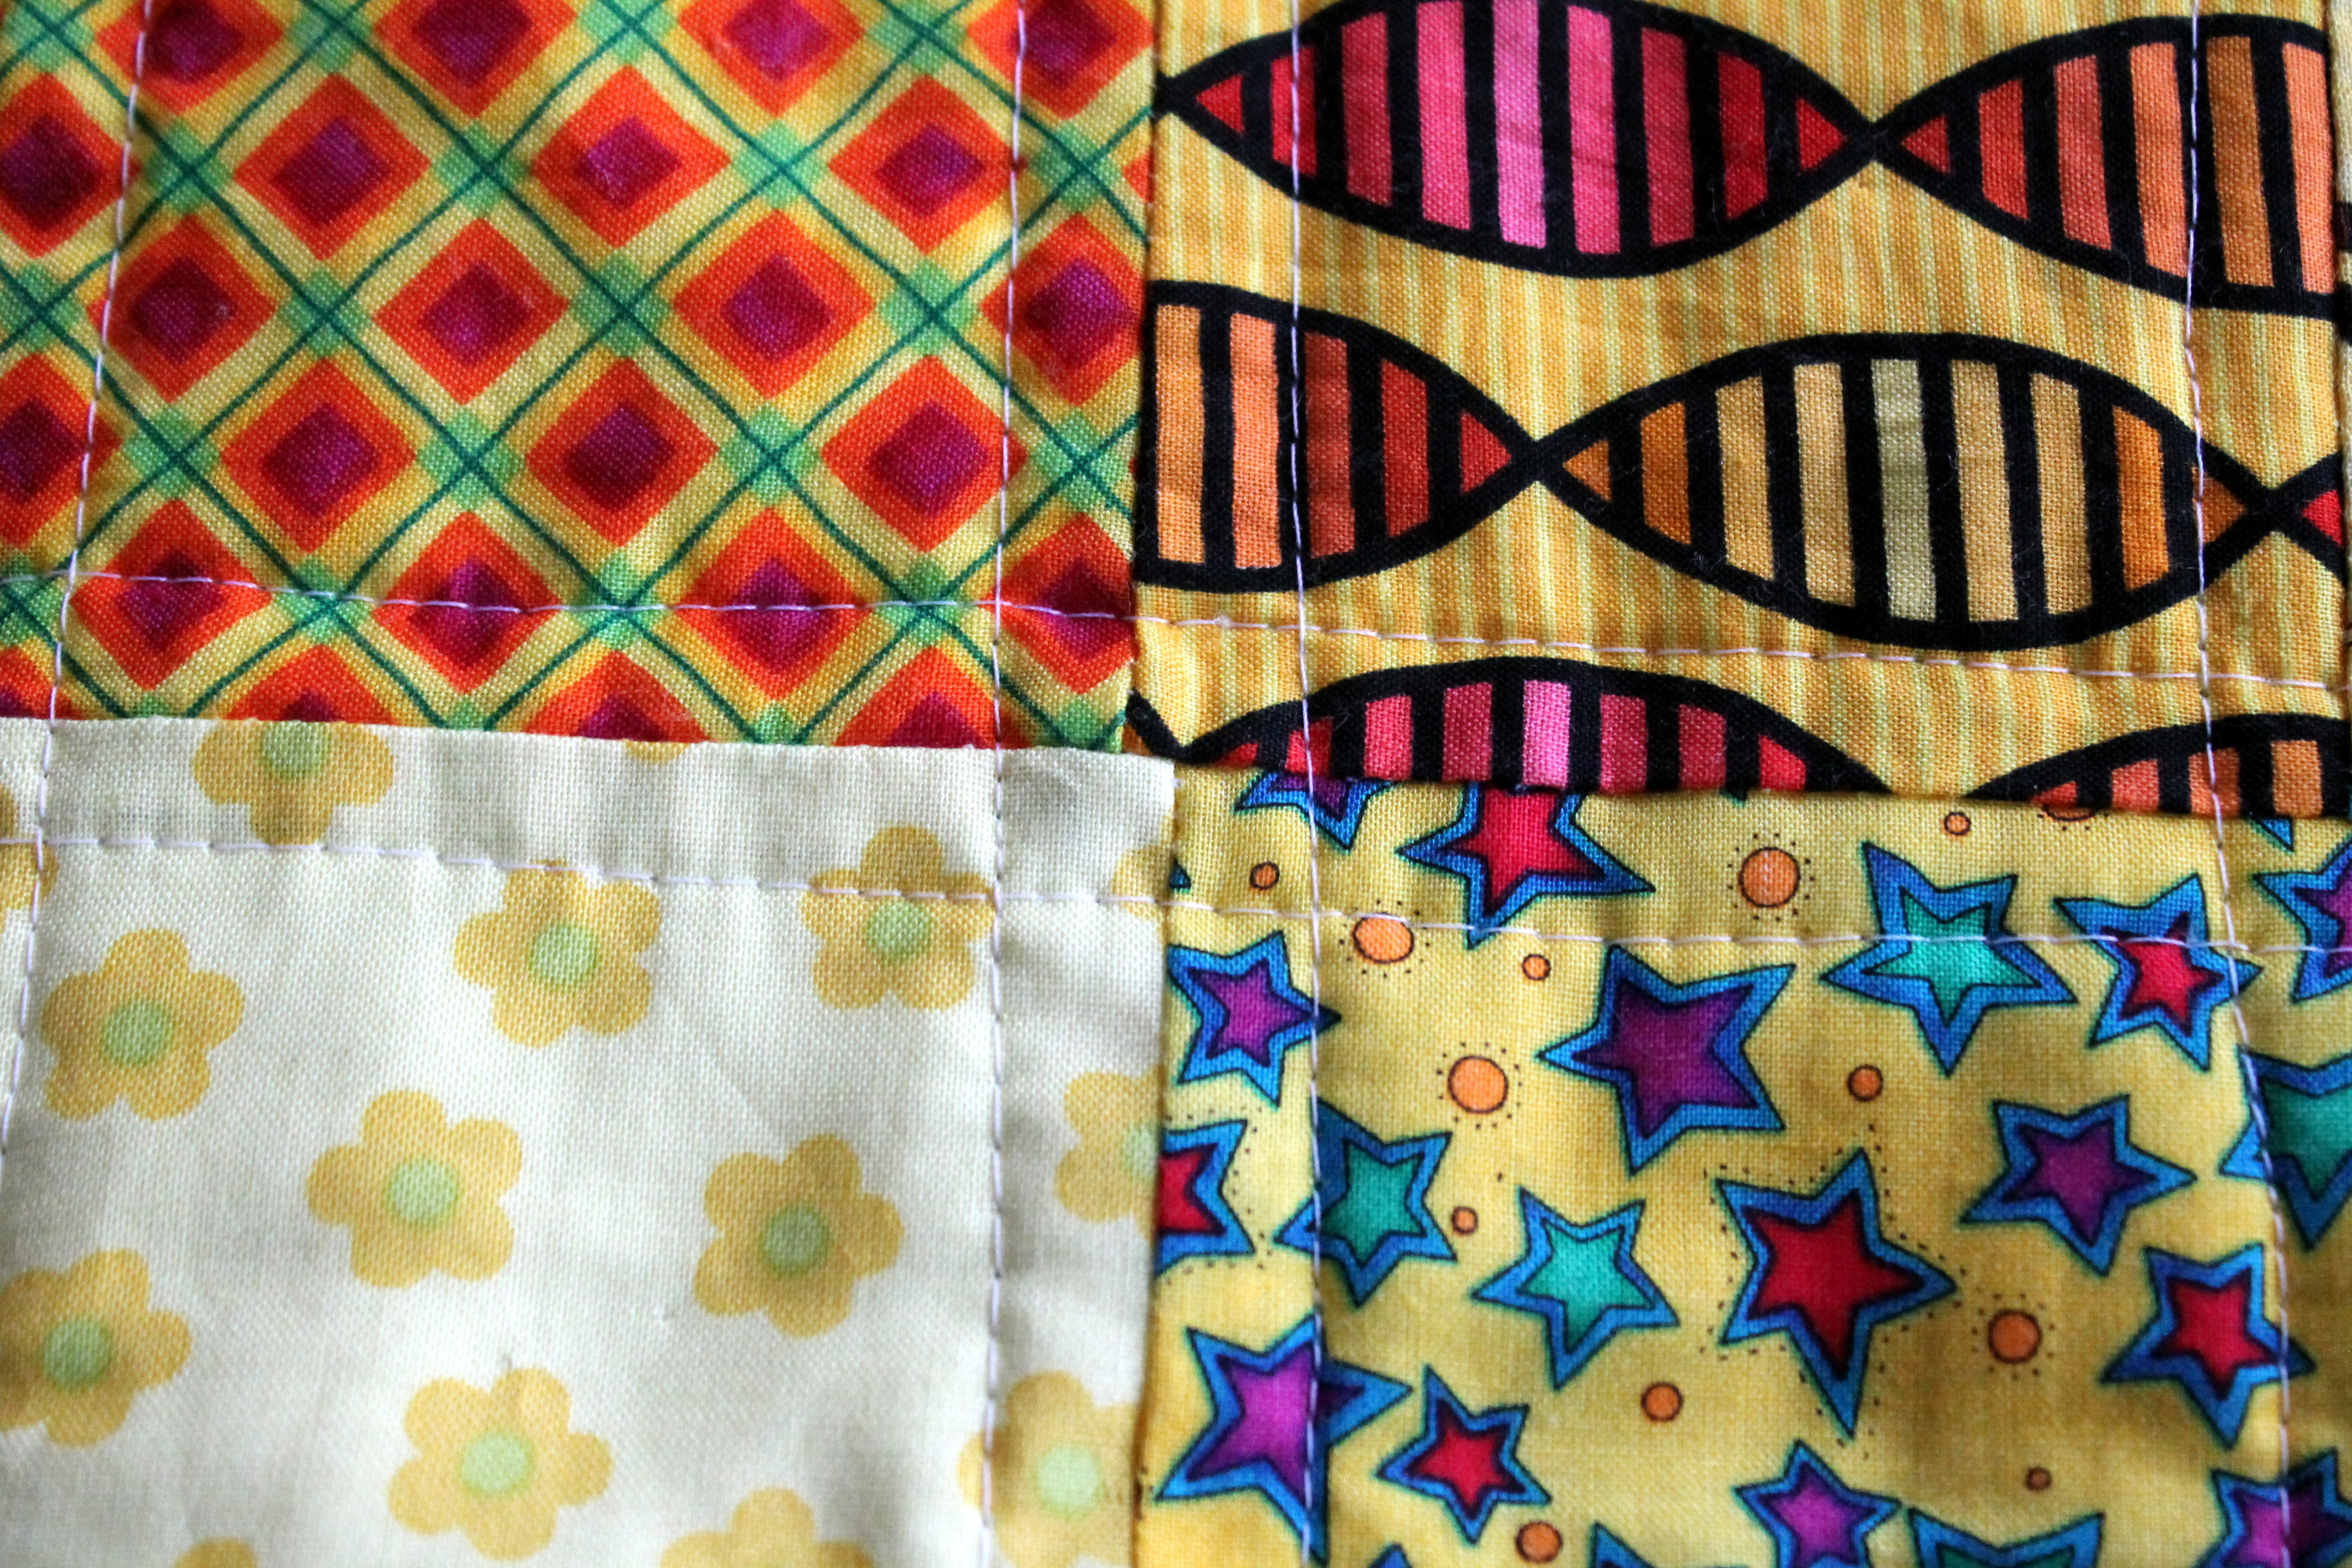
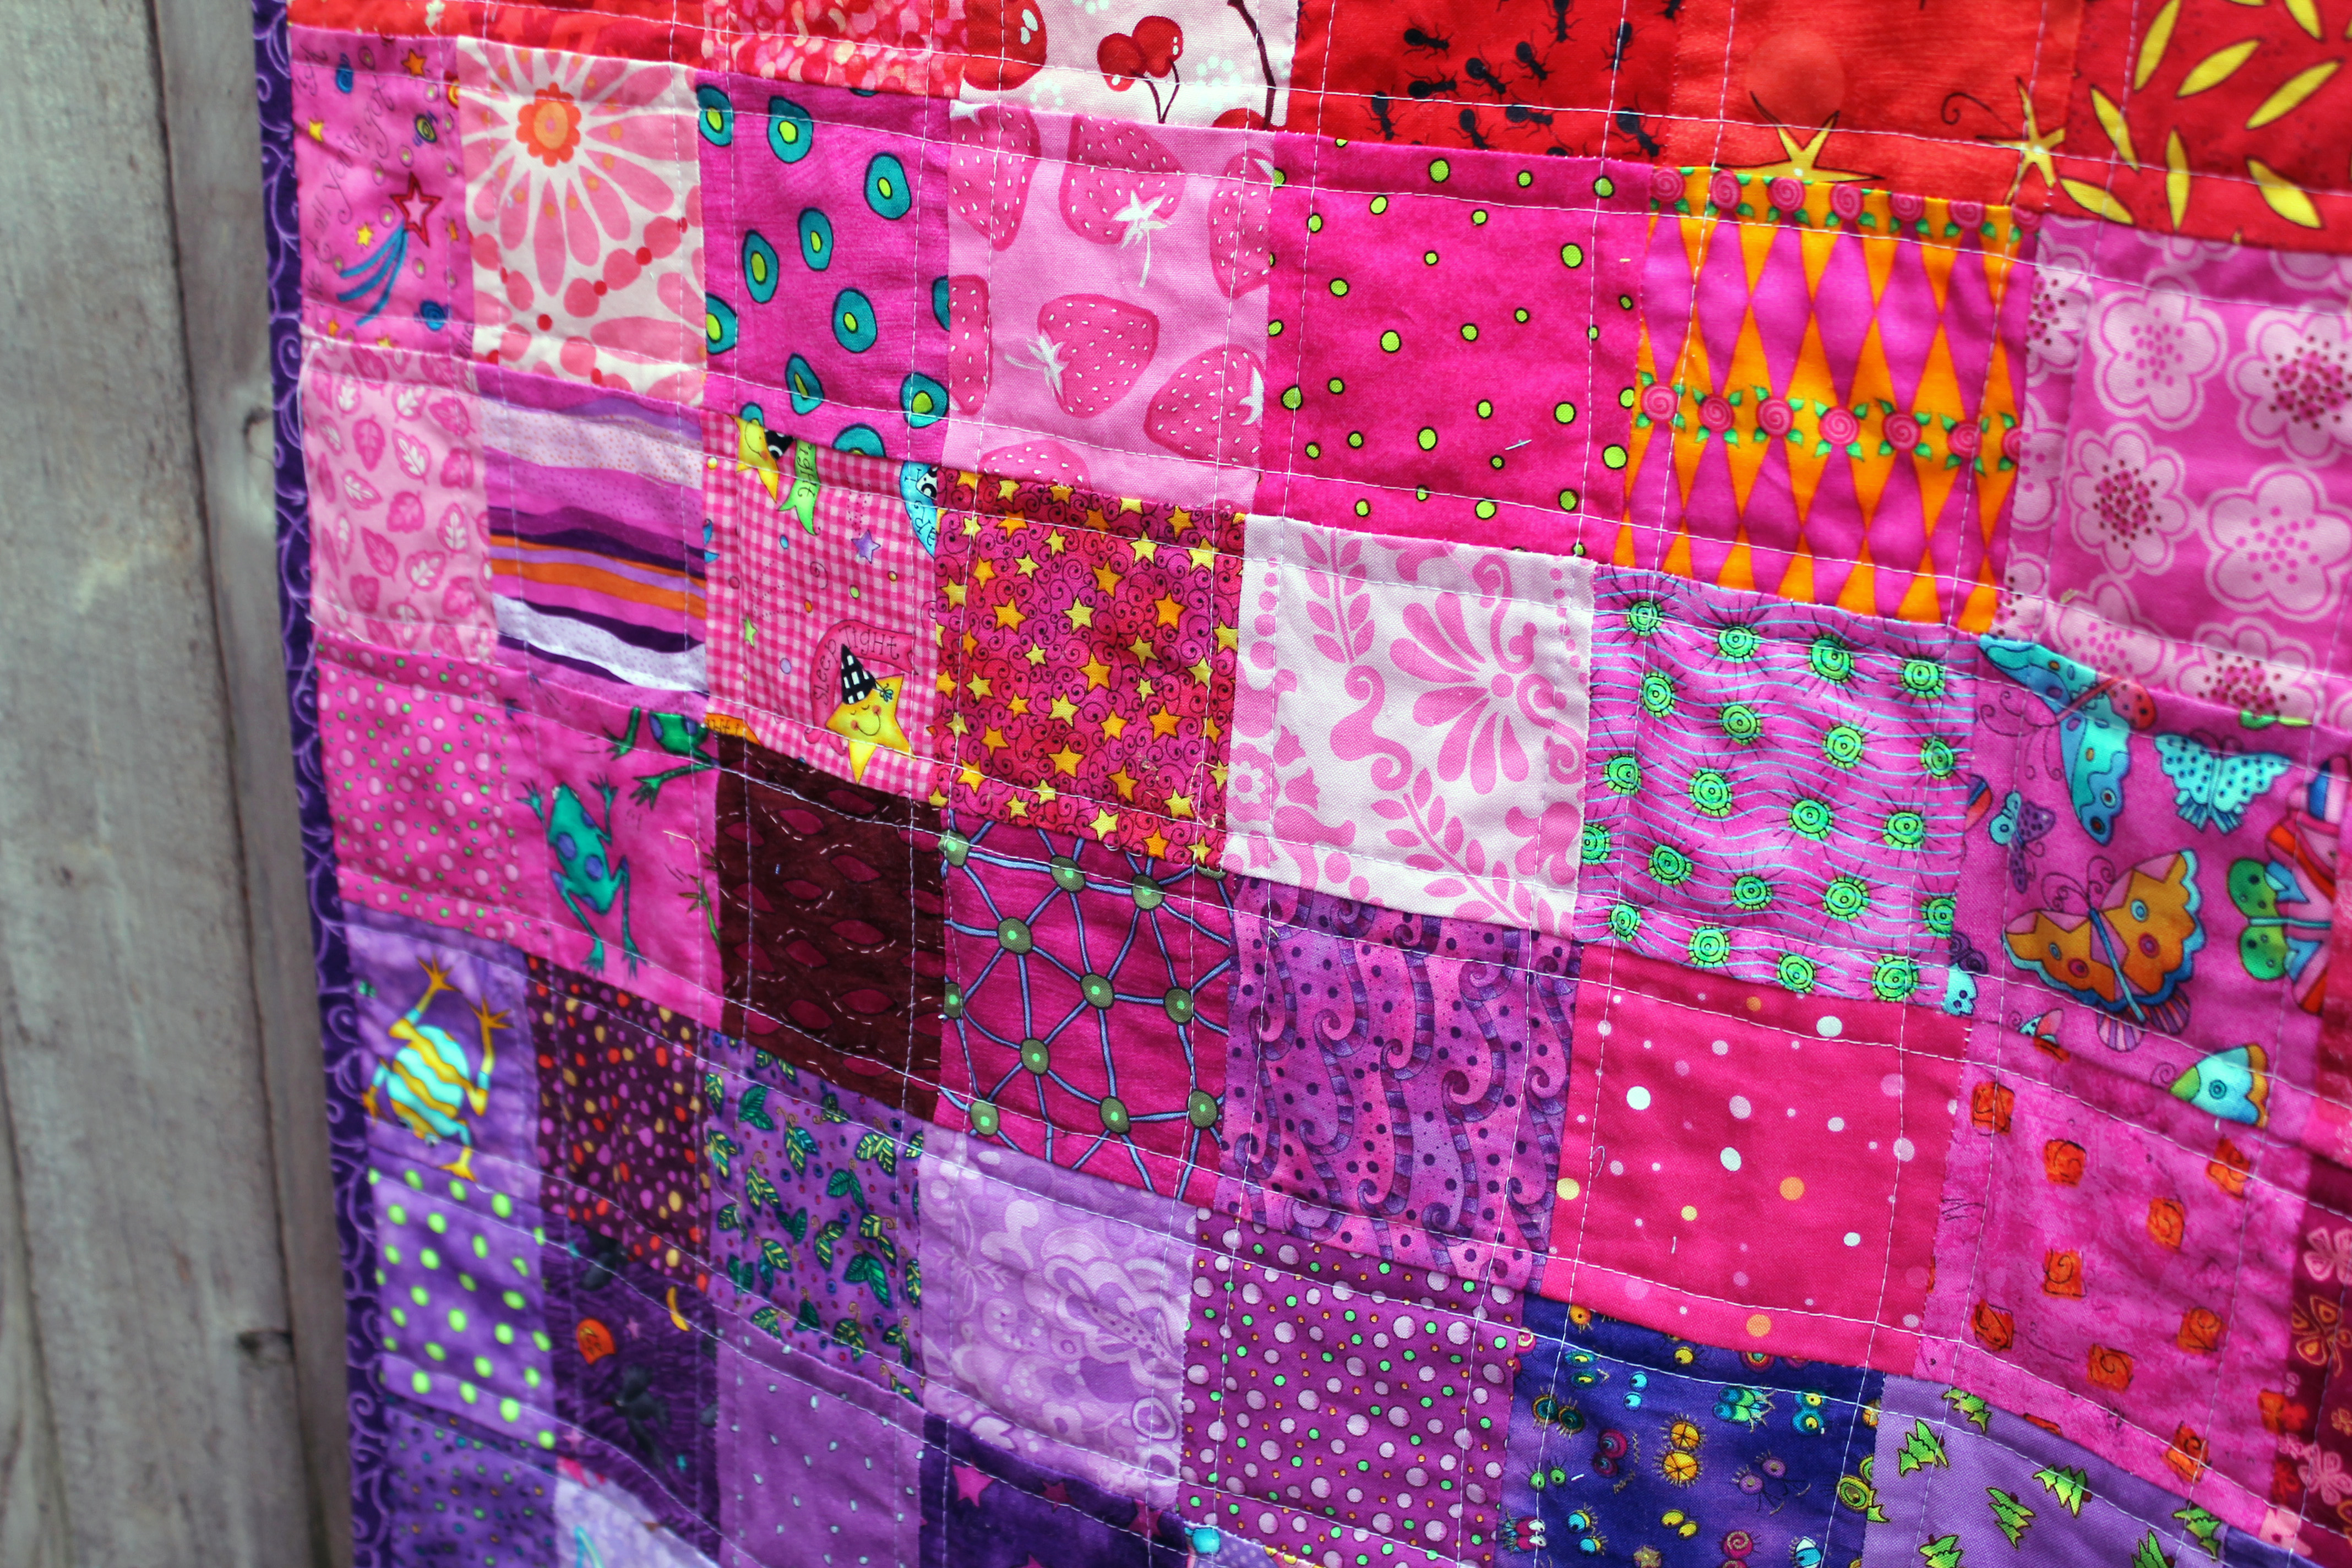
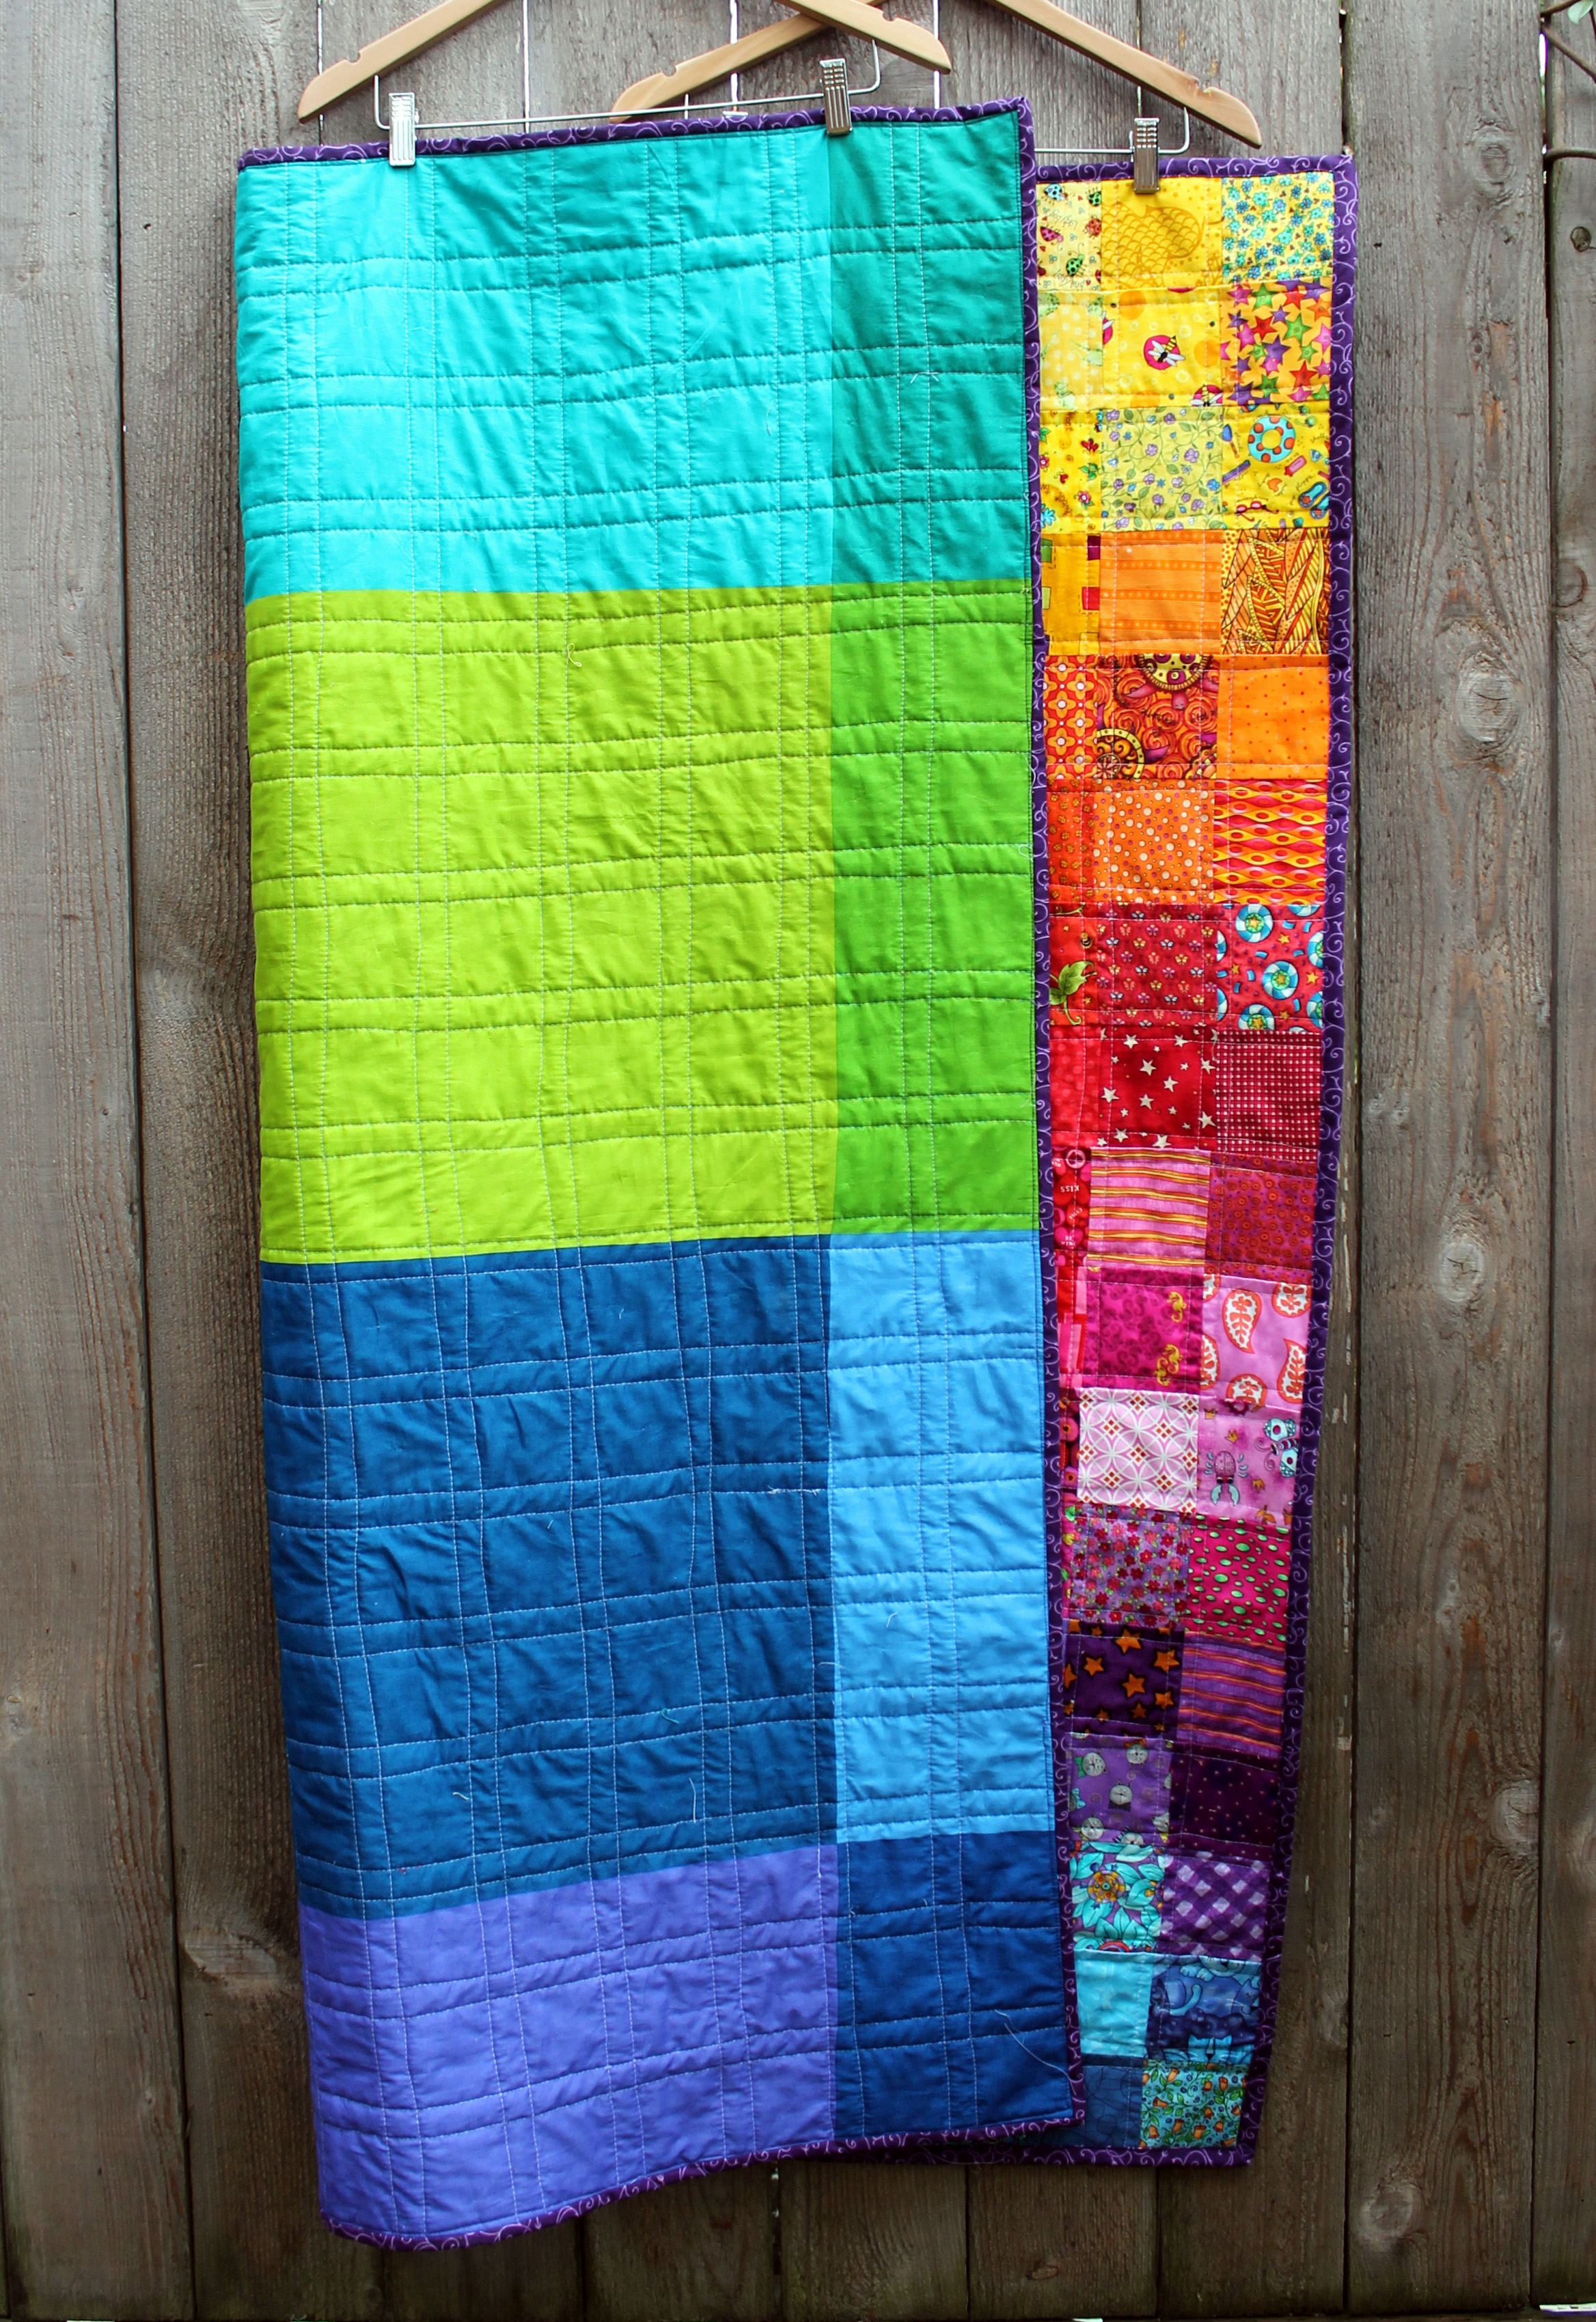
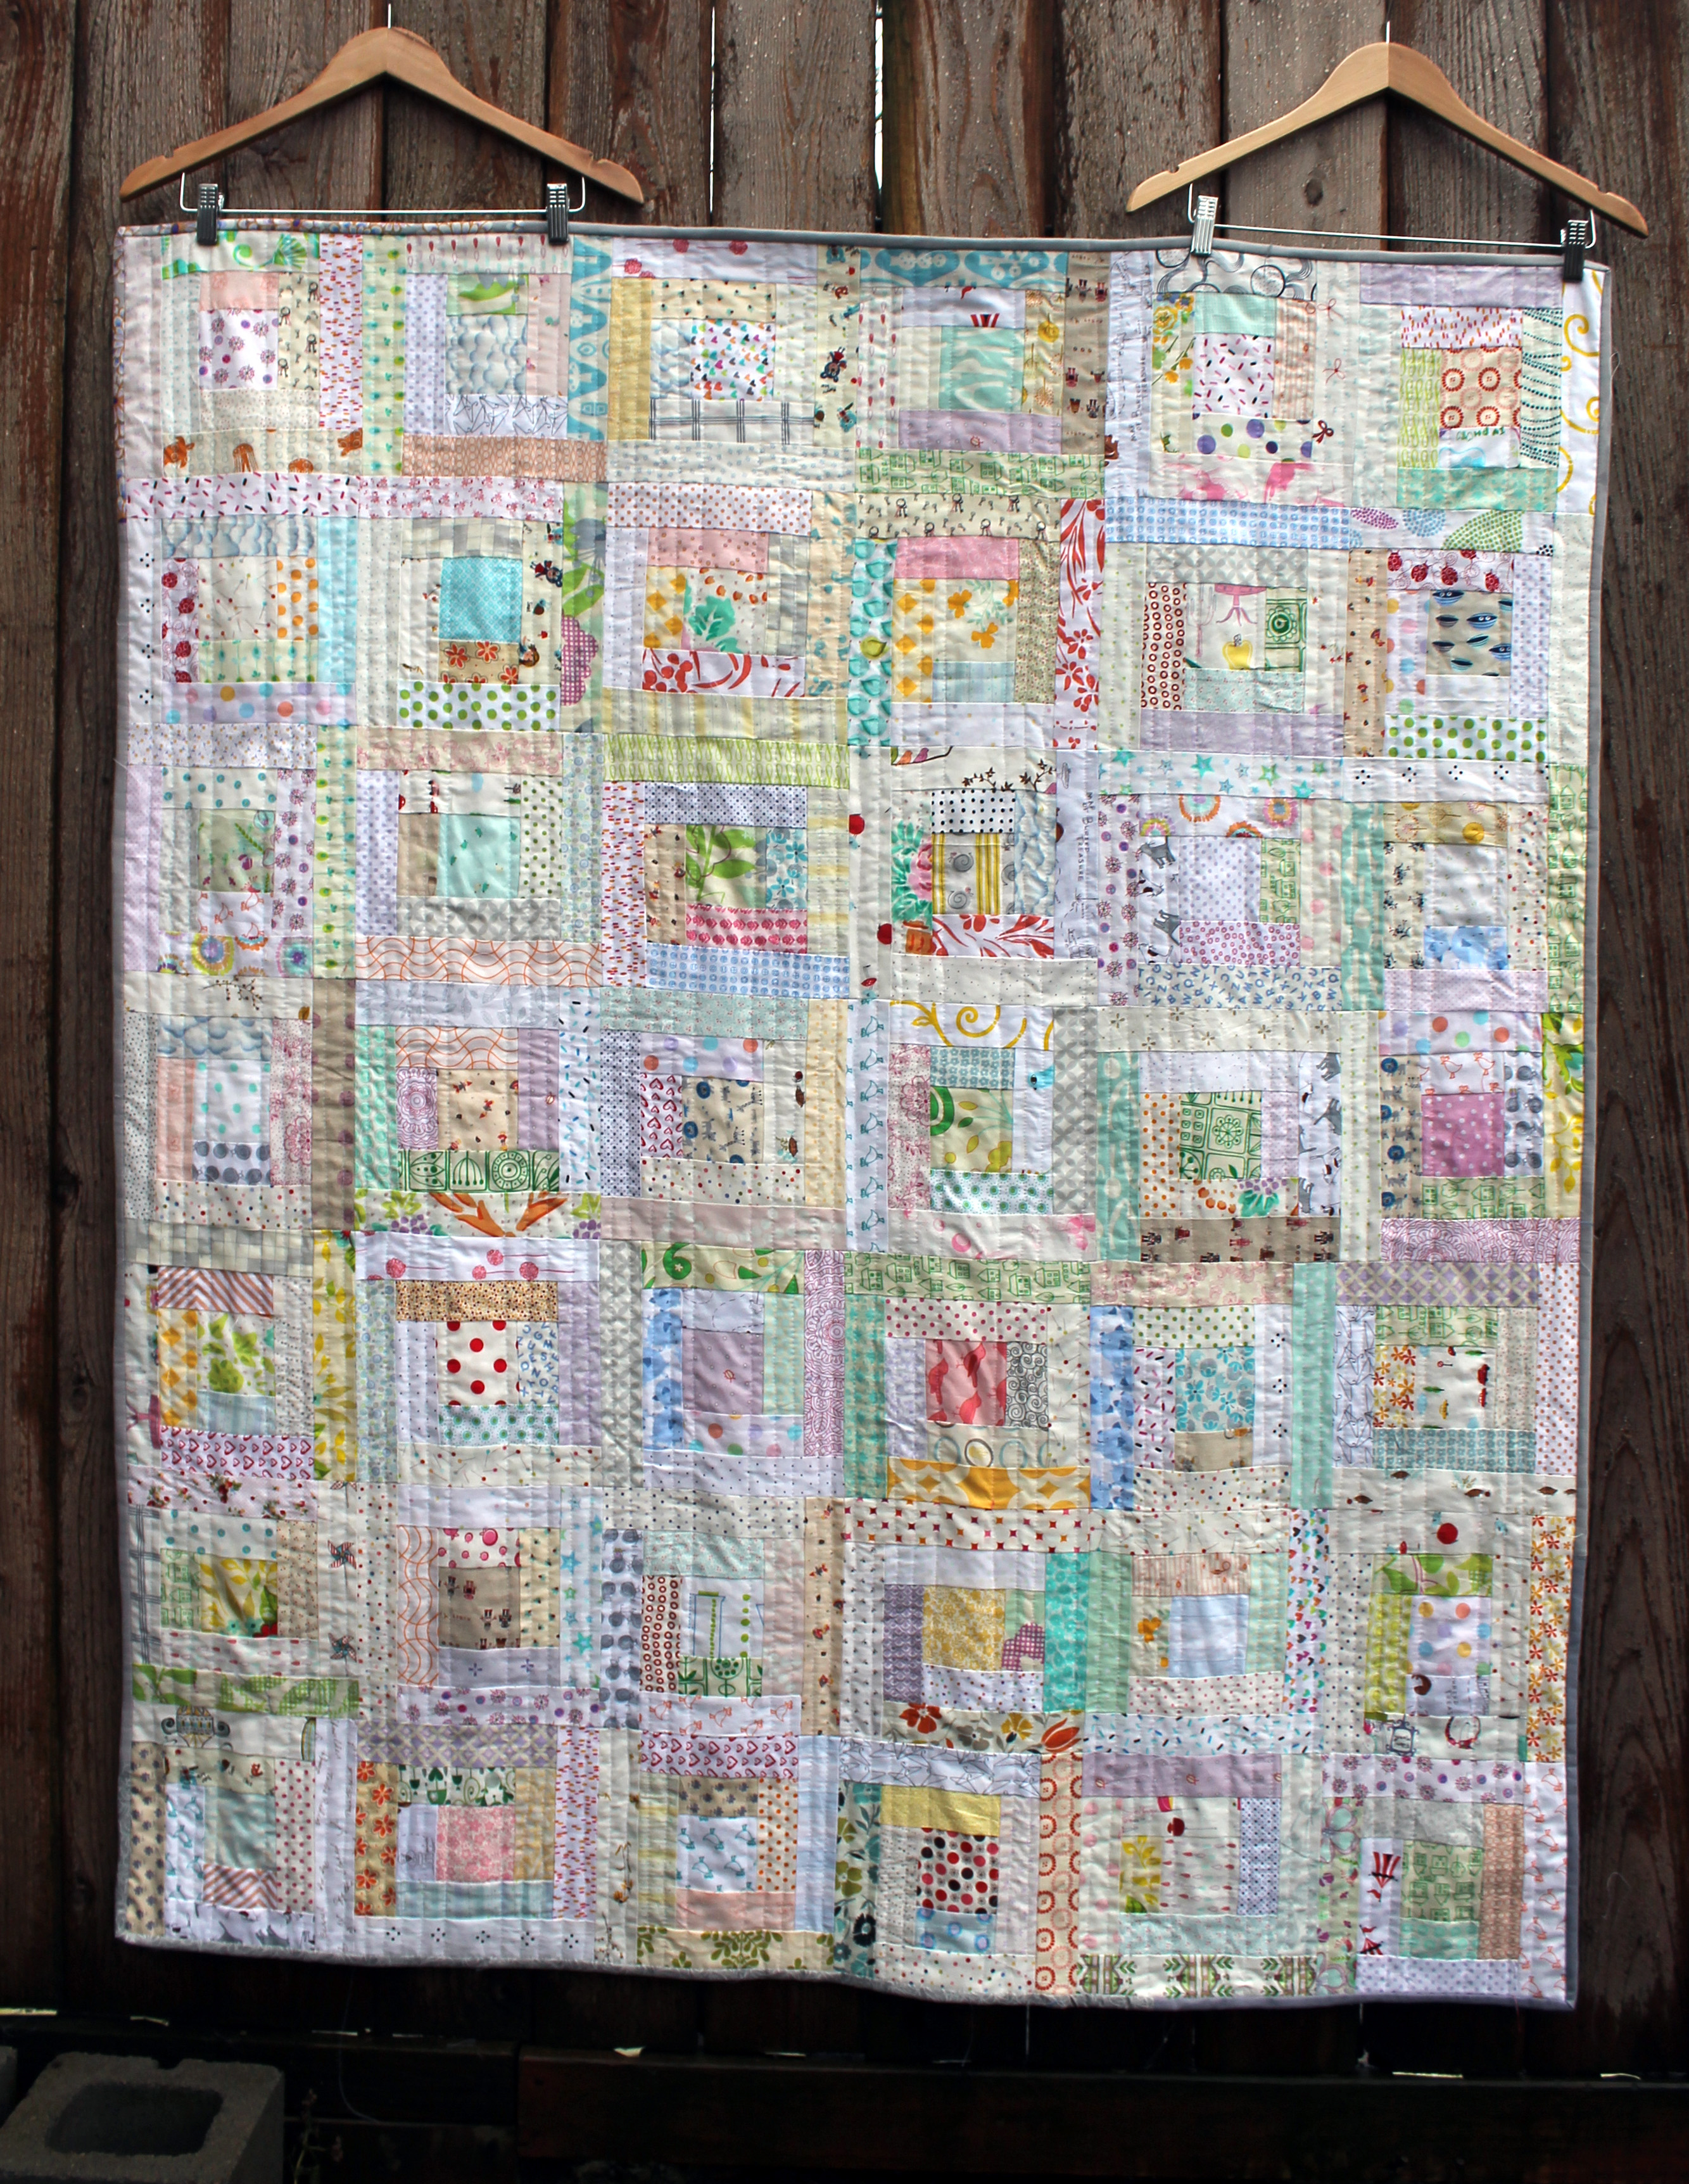
This is the book that introduced me to low volume quilts… and inspired this log cabin quilt in particular.

low volume modern log cabin quilt

Also is in the package is an introduction kit for making 1 inch hexagons –  a packet of 25 plastic templates and a packet of 2 1/2 inch squares of the gorgeous Waterfront Park by Violet Craft.

hexagons

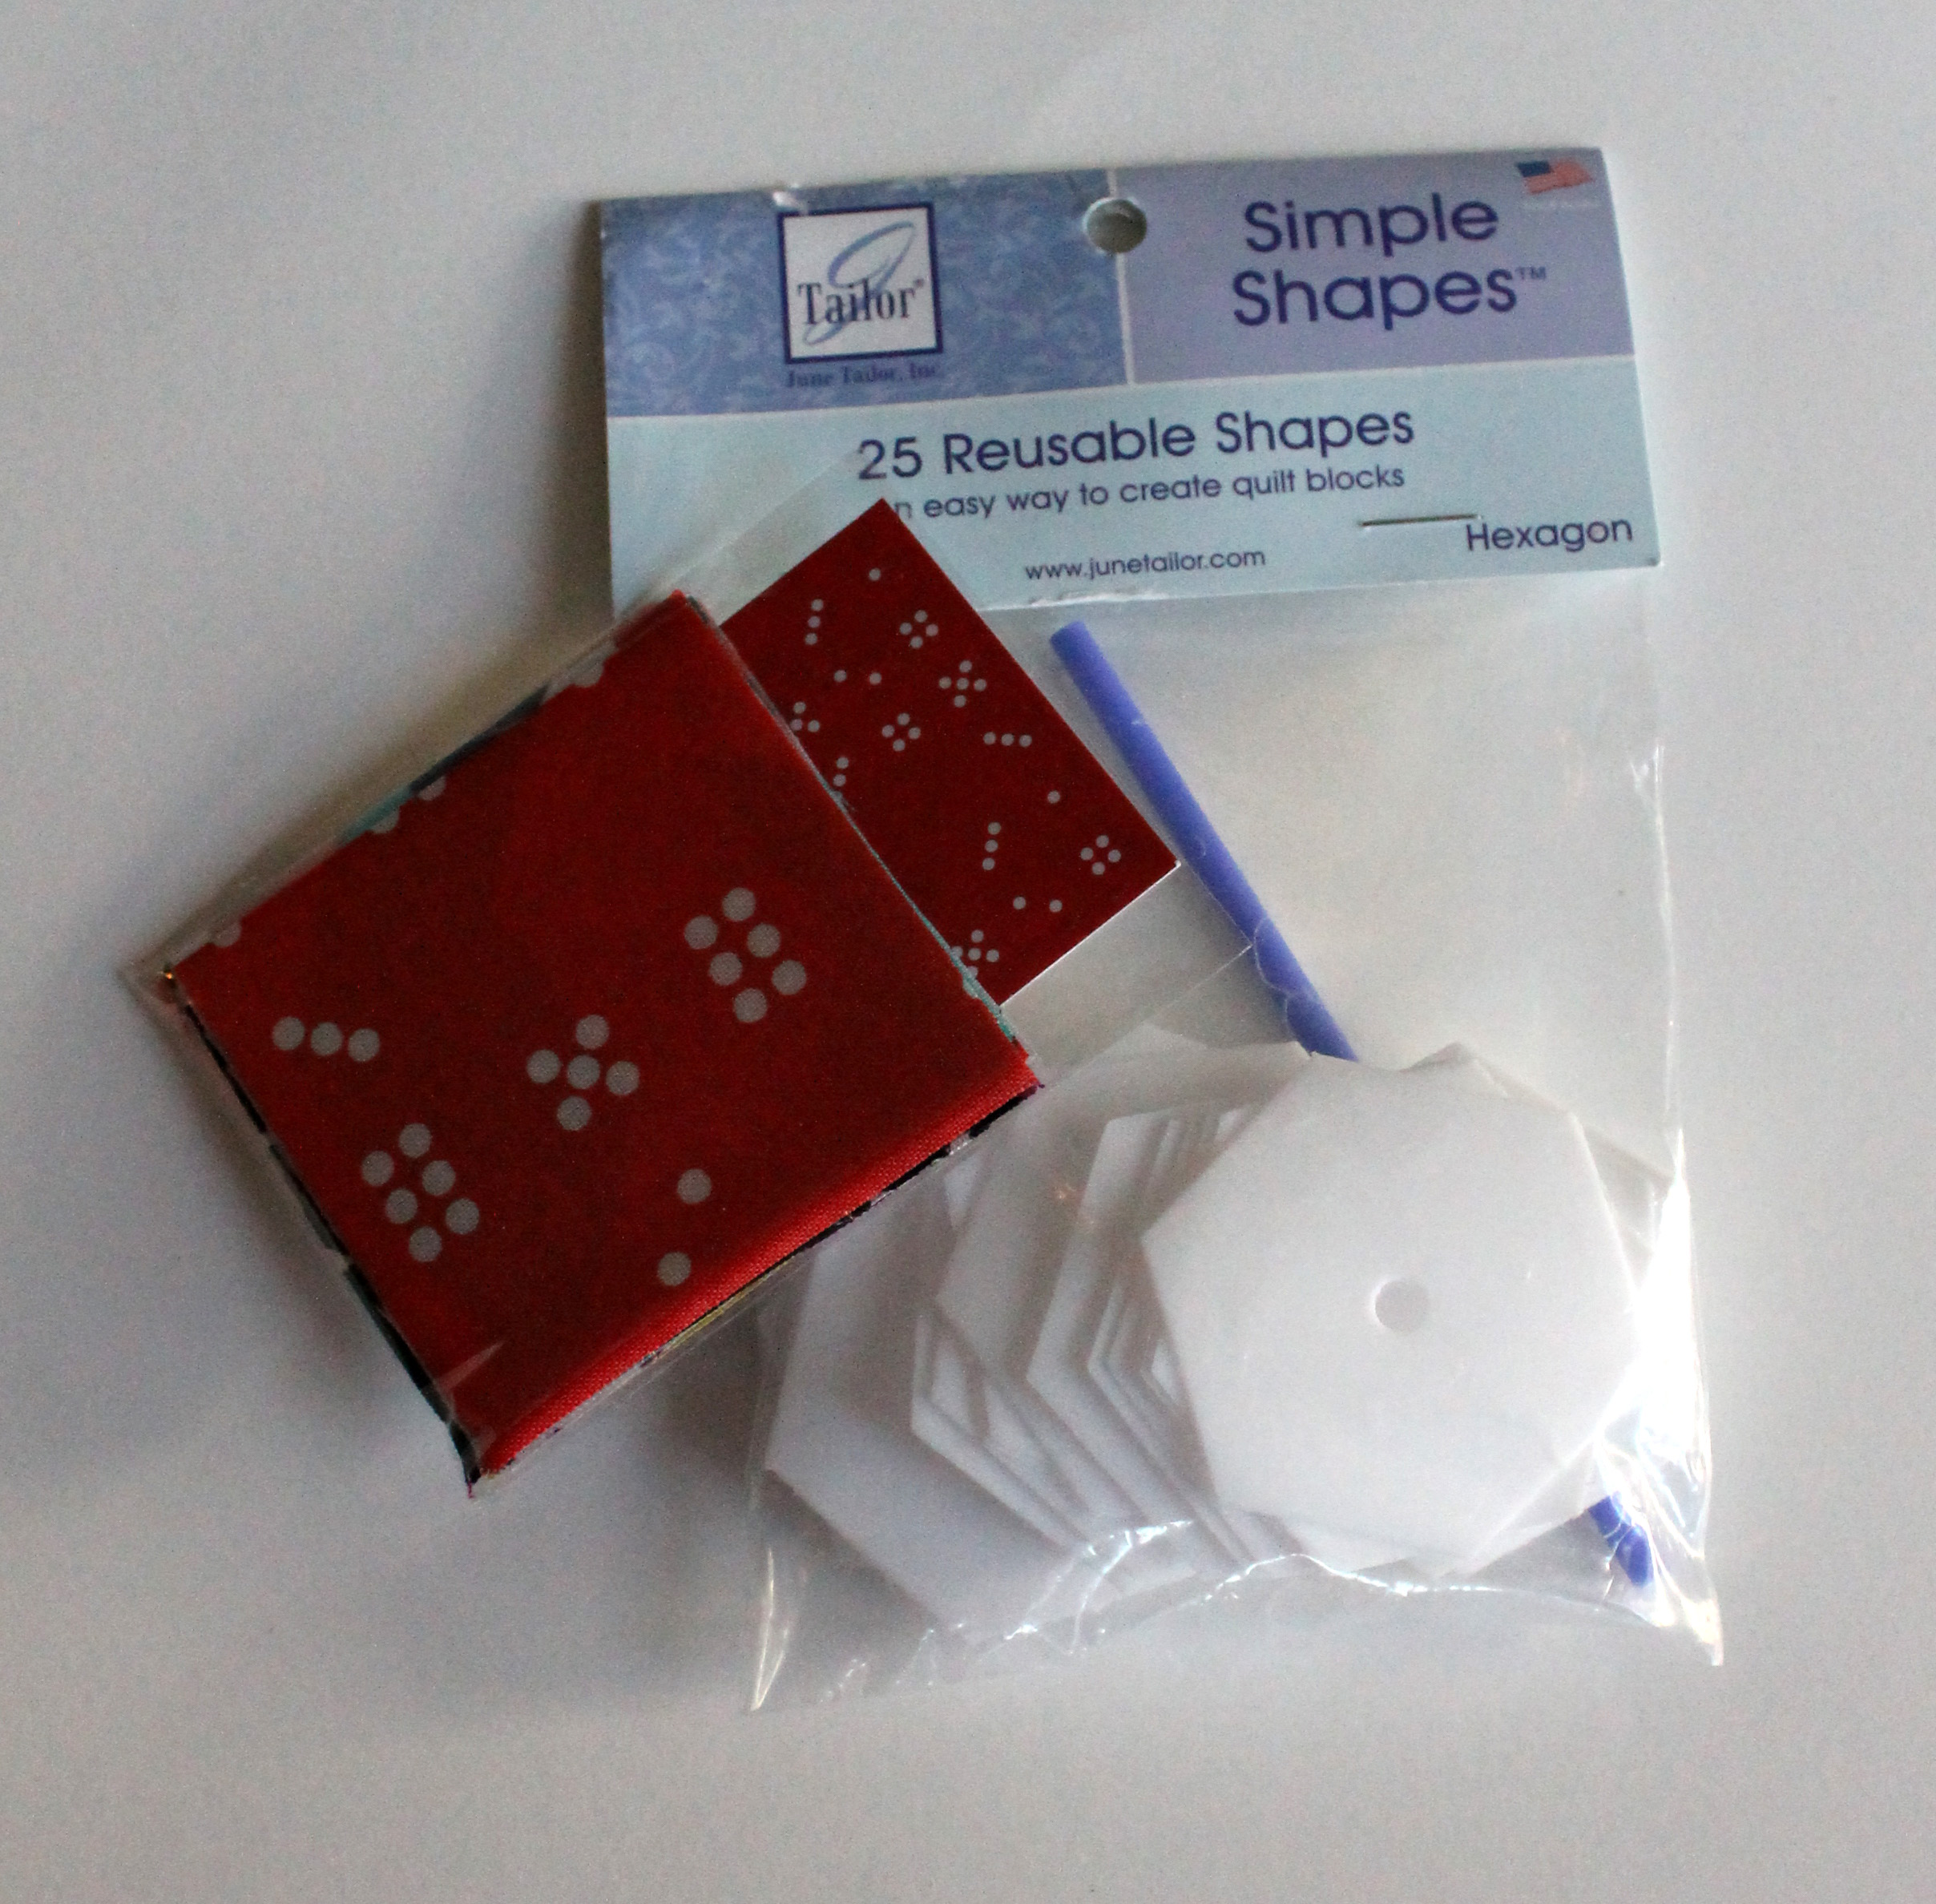
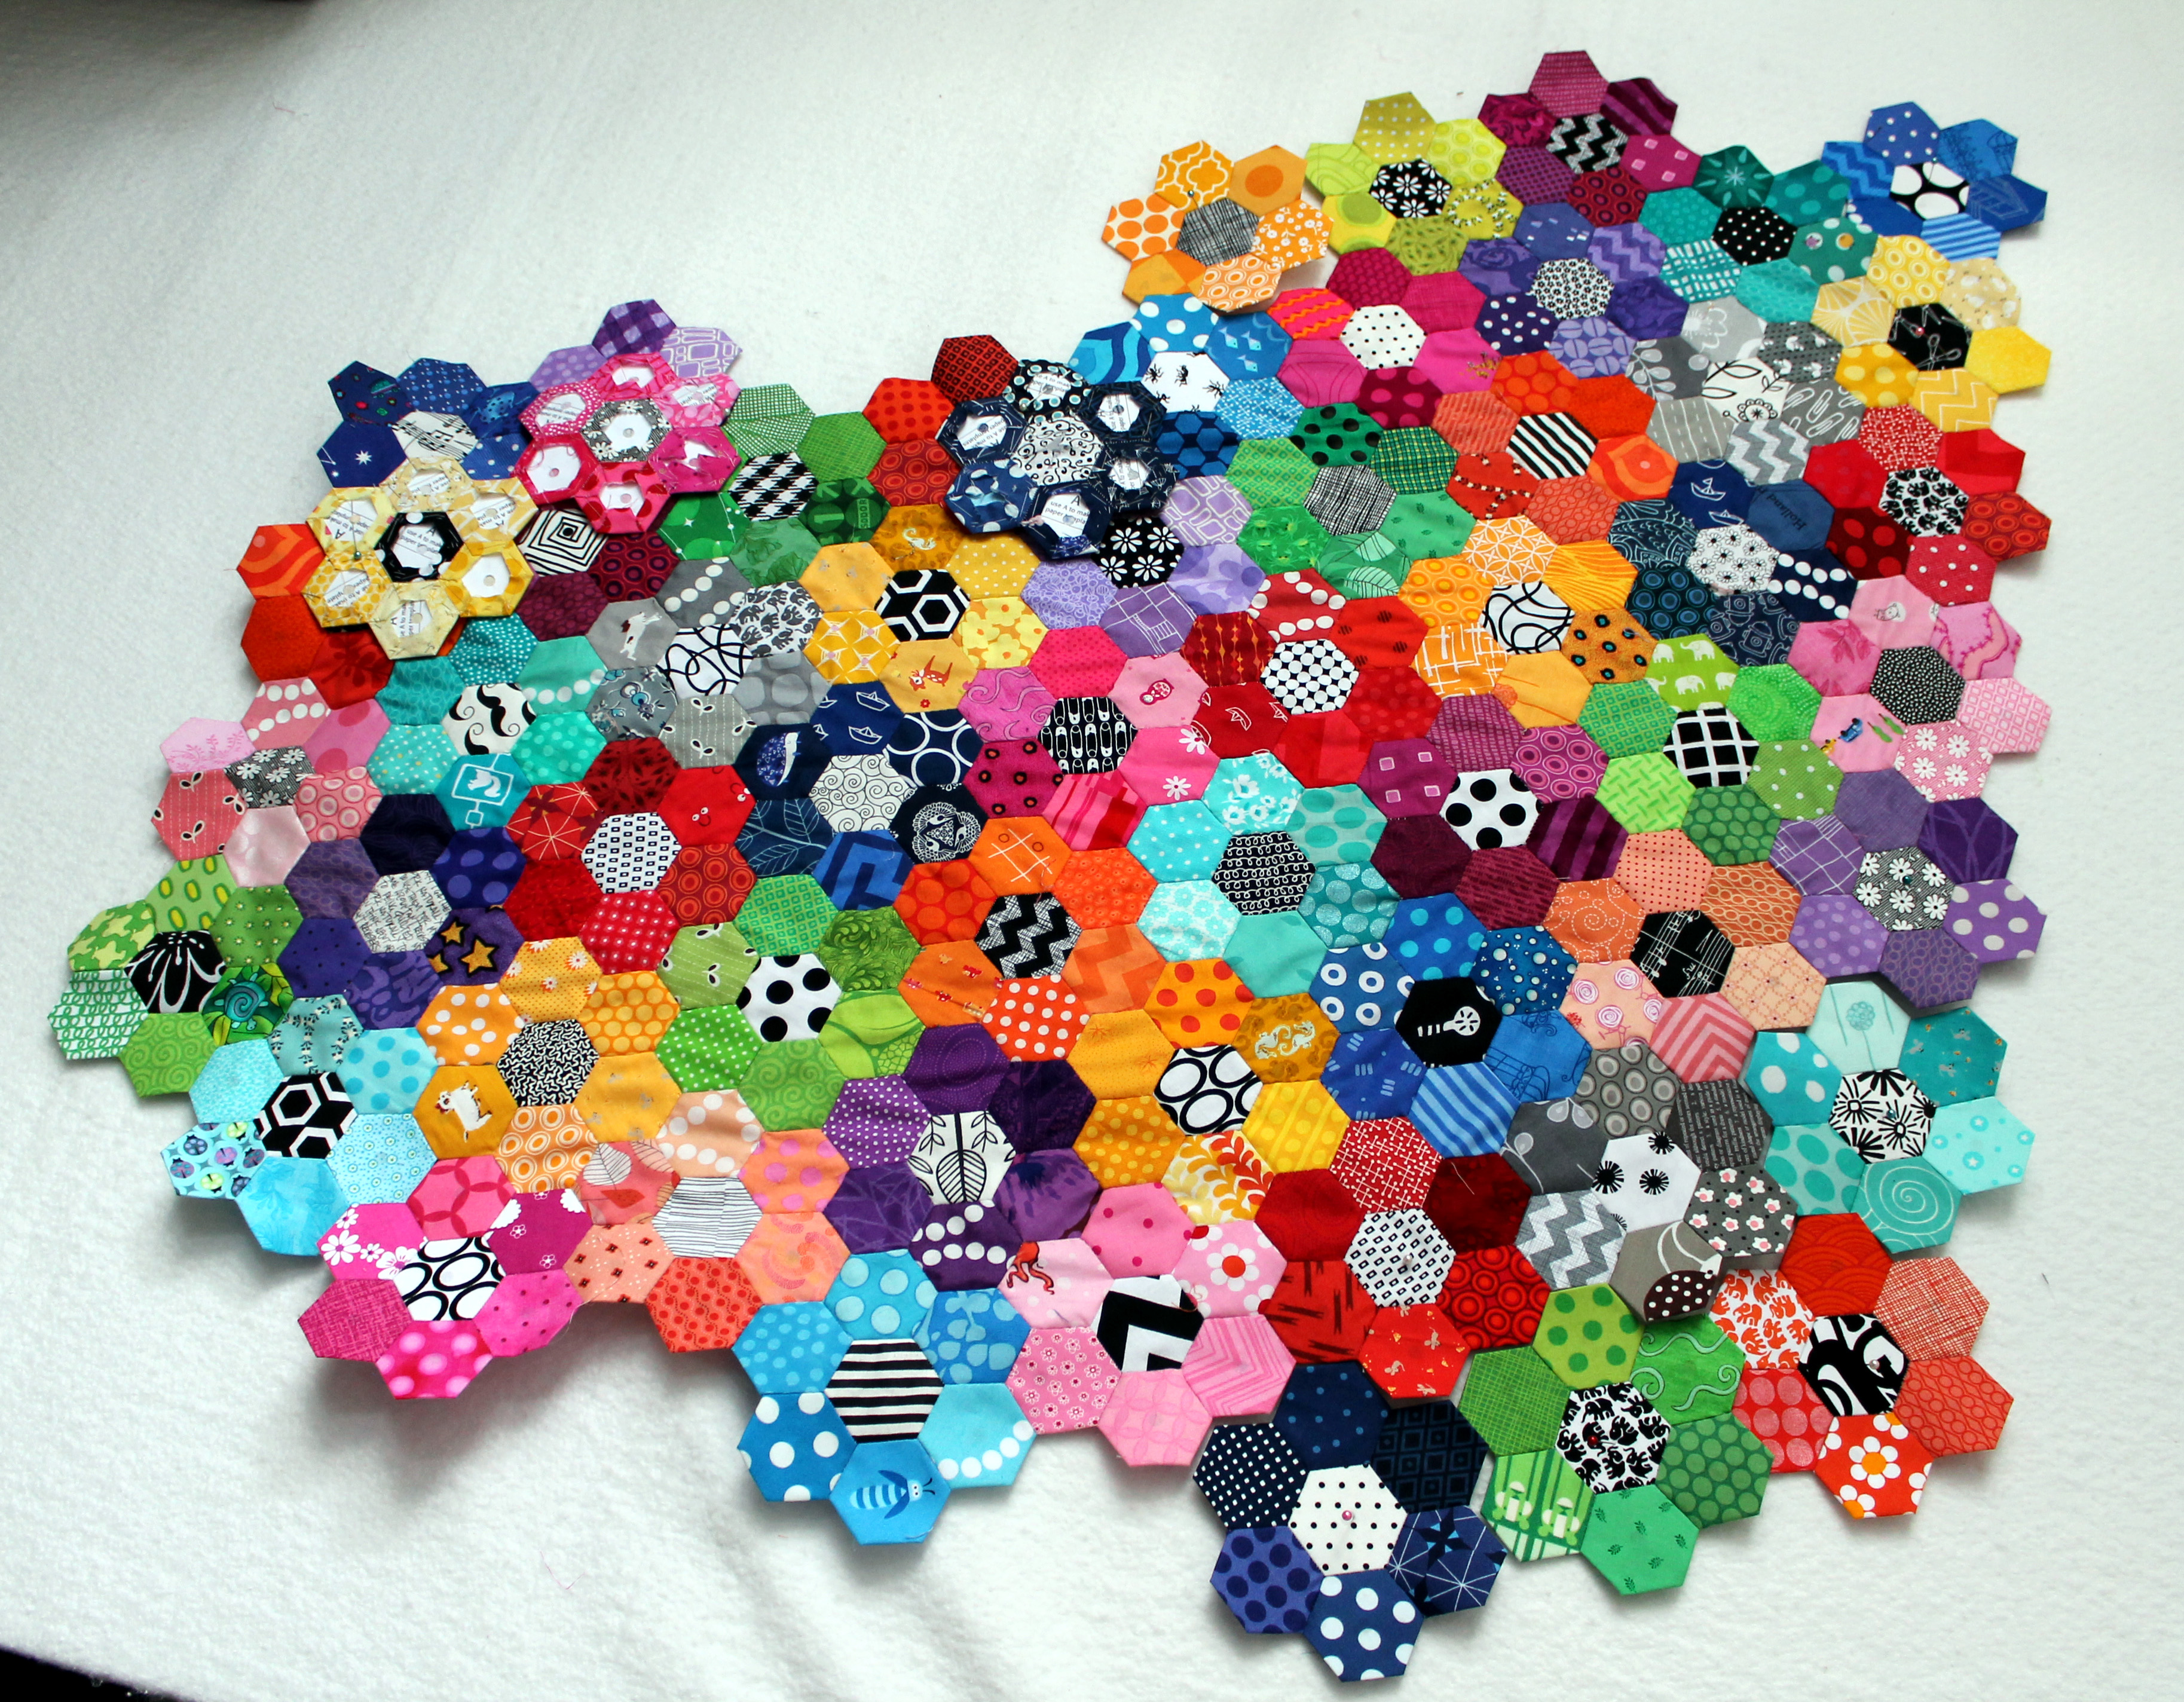
This packet will help you make a start on your own English Paper Pieced (EPP) crazy… I warn you it is addictive.  This part of the giveaway is in honor of my loud obnoxious hexagon work in progress.

hexagon wip 2

And what prize package would be complete without some fabric.  First up is a selection of 10 fat quarters.  Every scrap quilter knows the value of the fat quarter, it is one of the staples of our stash and the best way to get more variety and colour in your collection.

fat quarter bundle

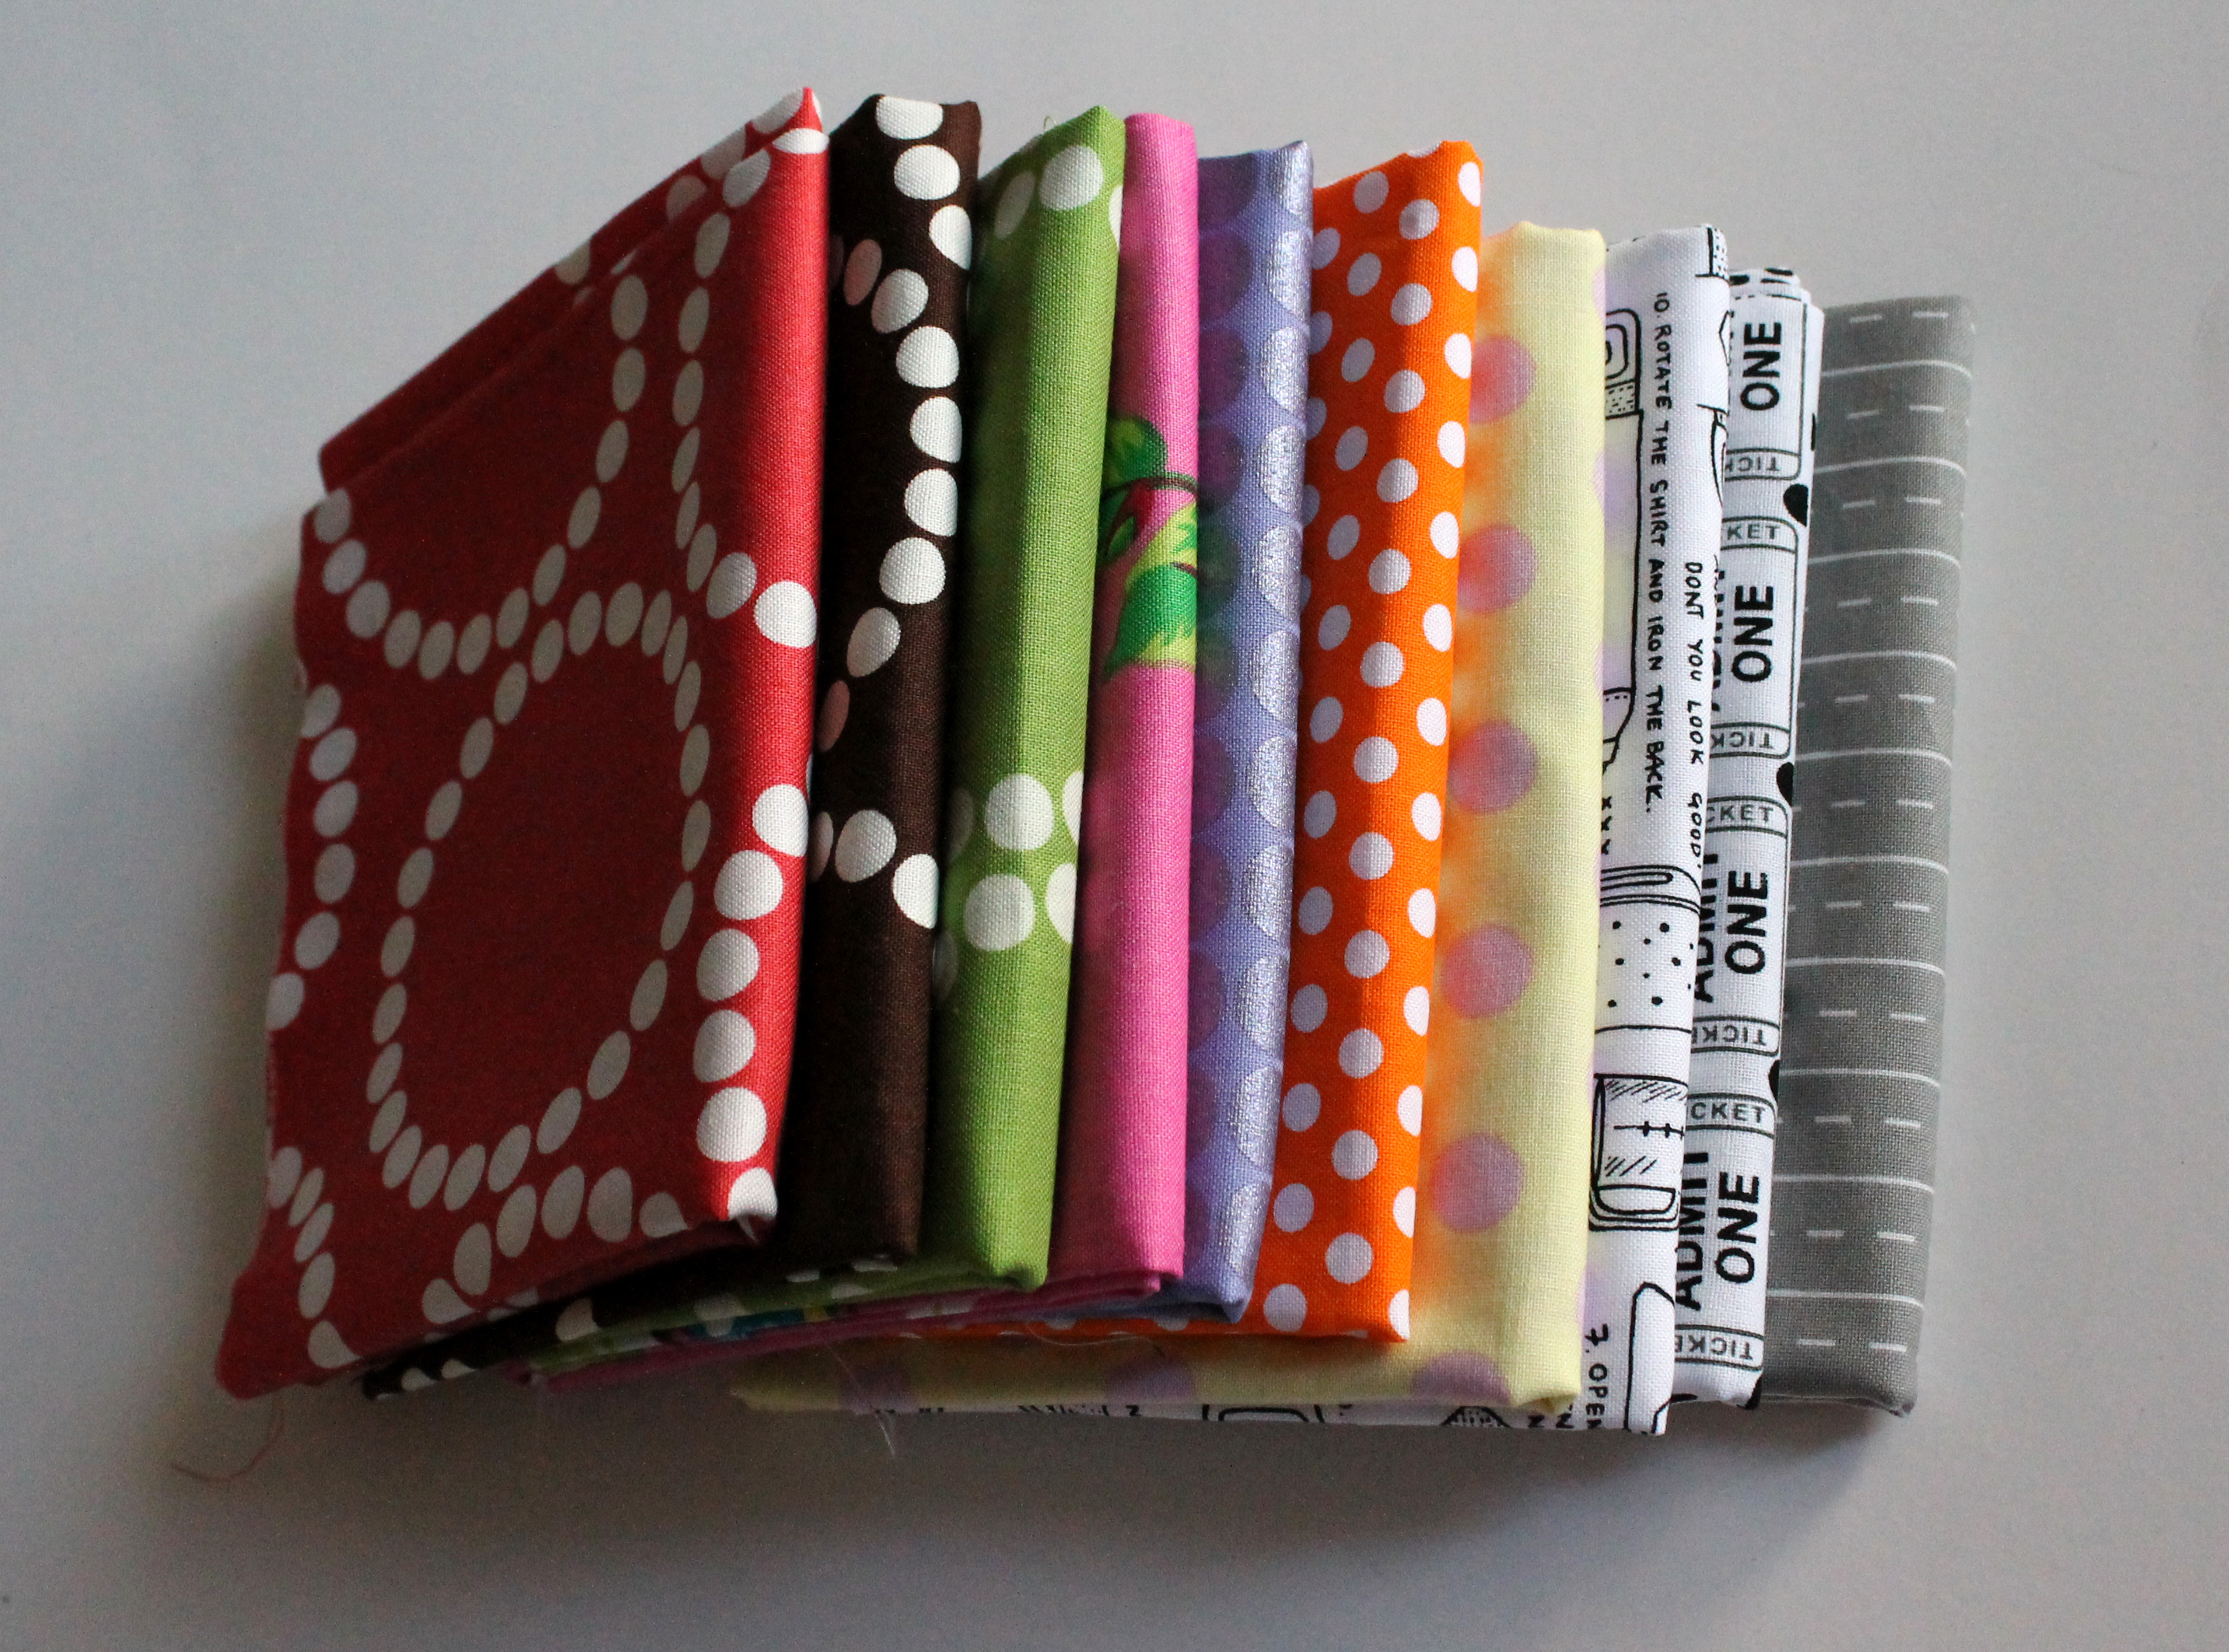
There is of course some of my stash staples… Lizzy House’s “Pearl Bracelets”, a little “Mirror Ball” by Michael Miller and some beloved black and white fabric.

Denyse Schmidt paper pieced flowers
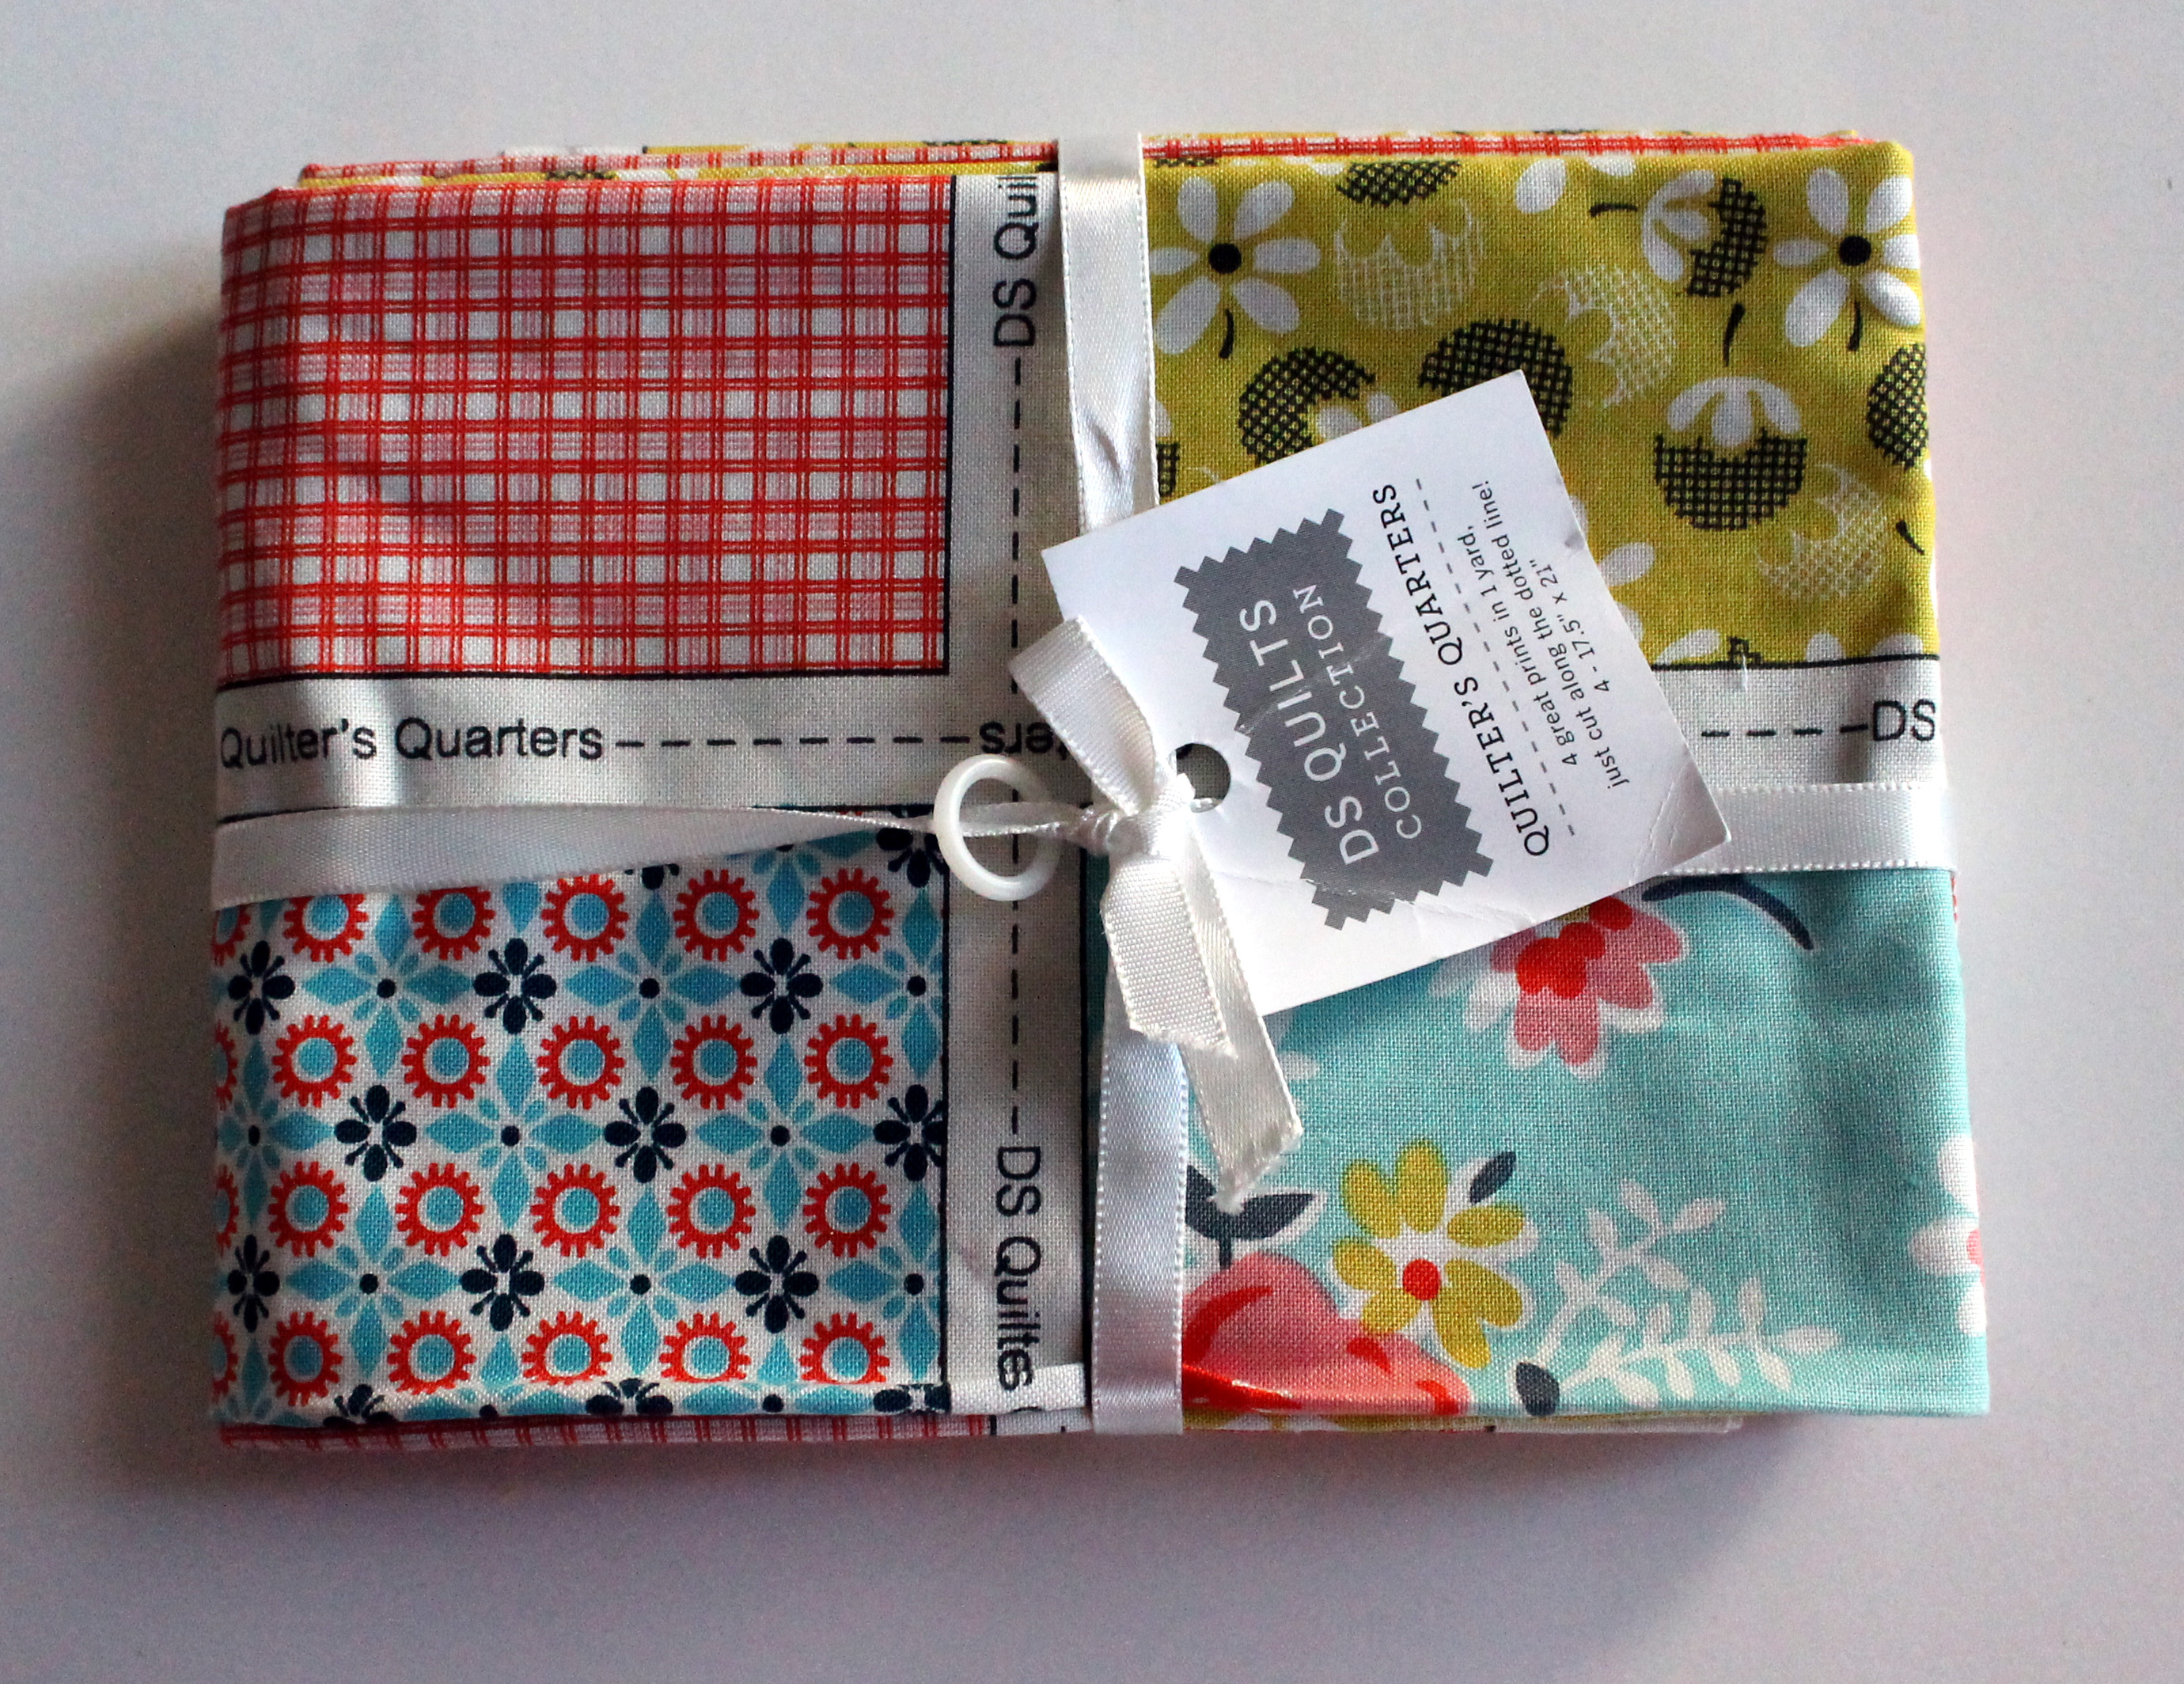
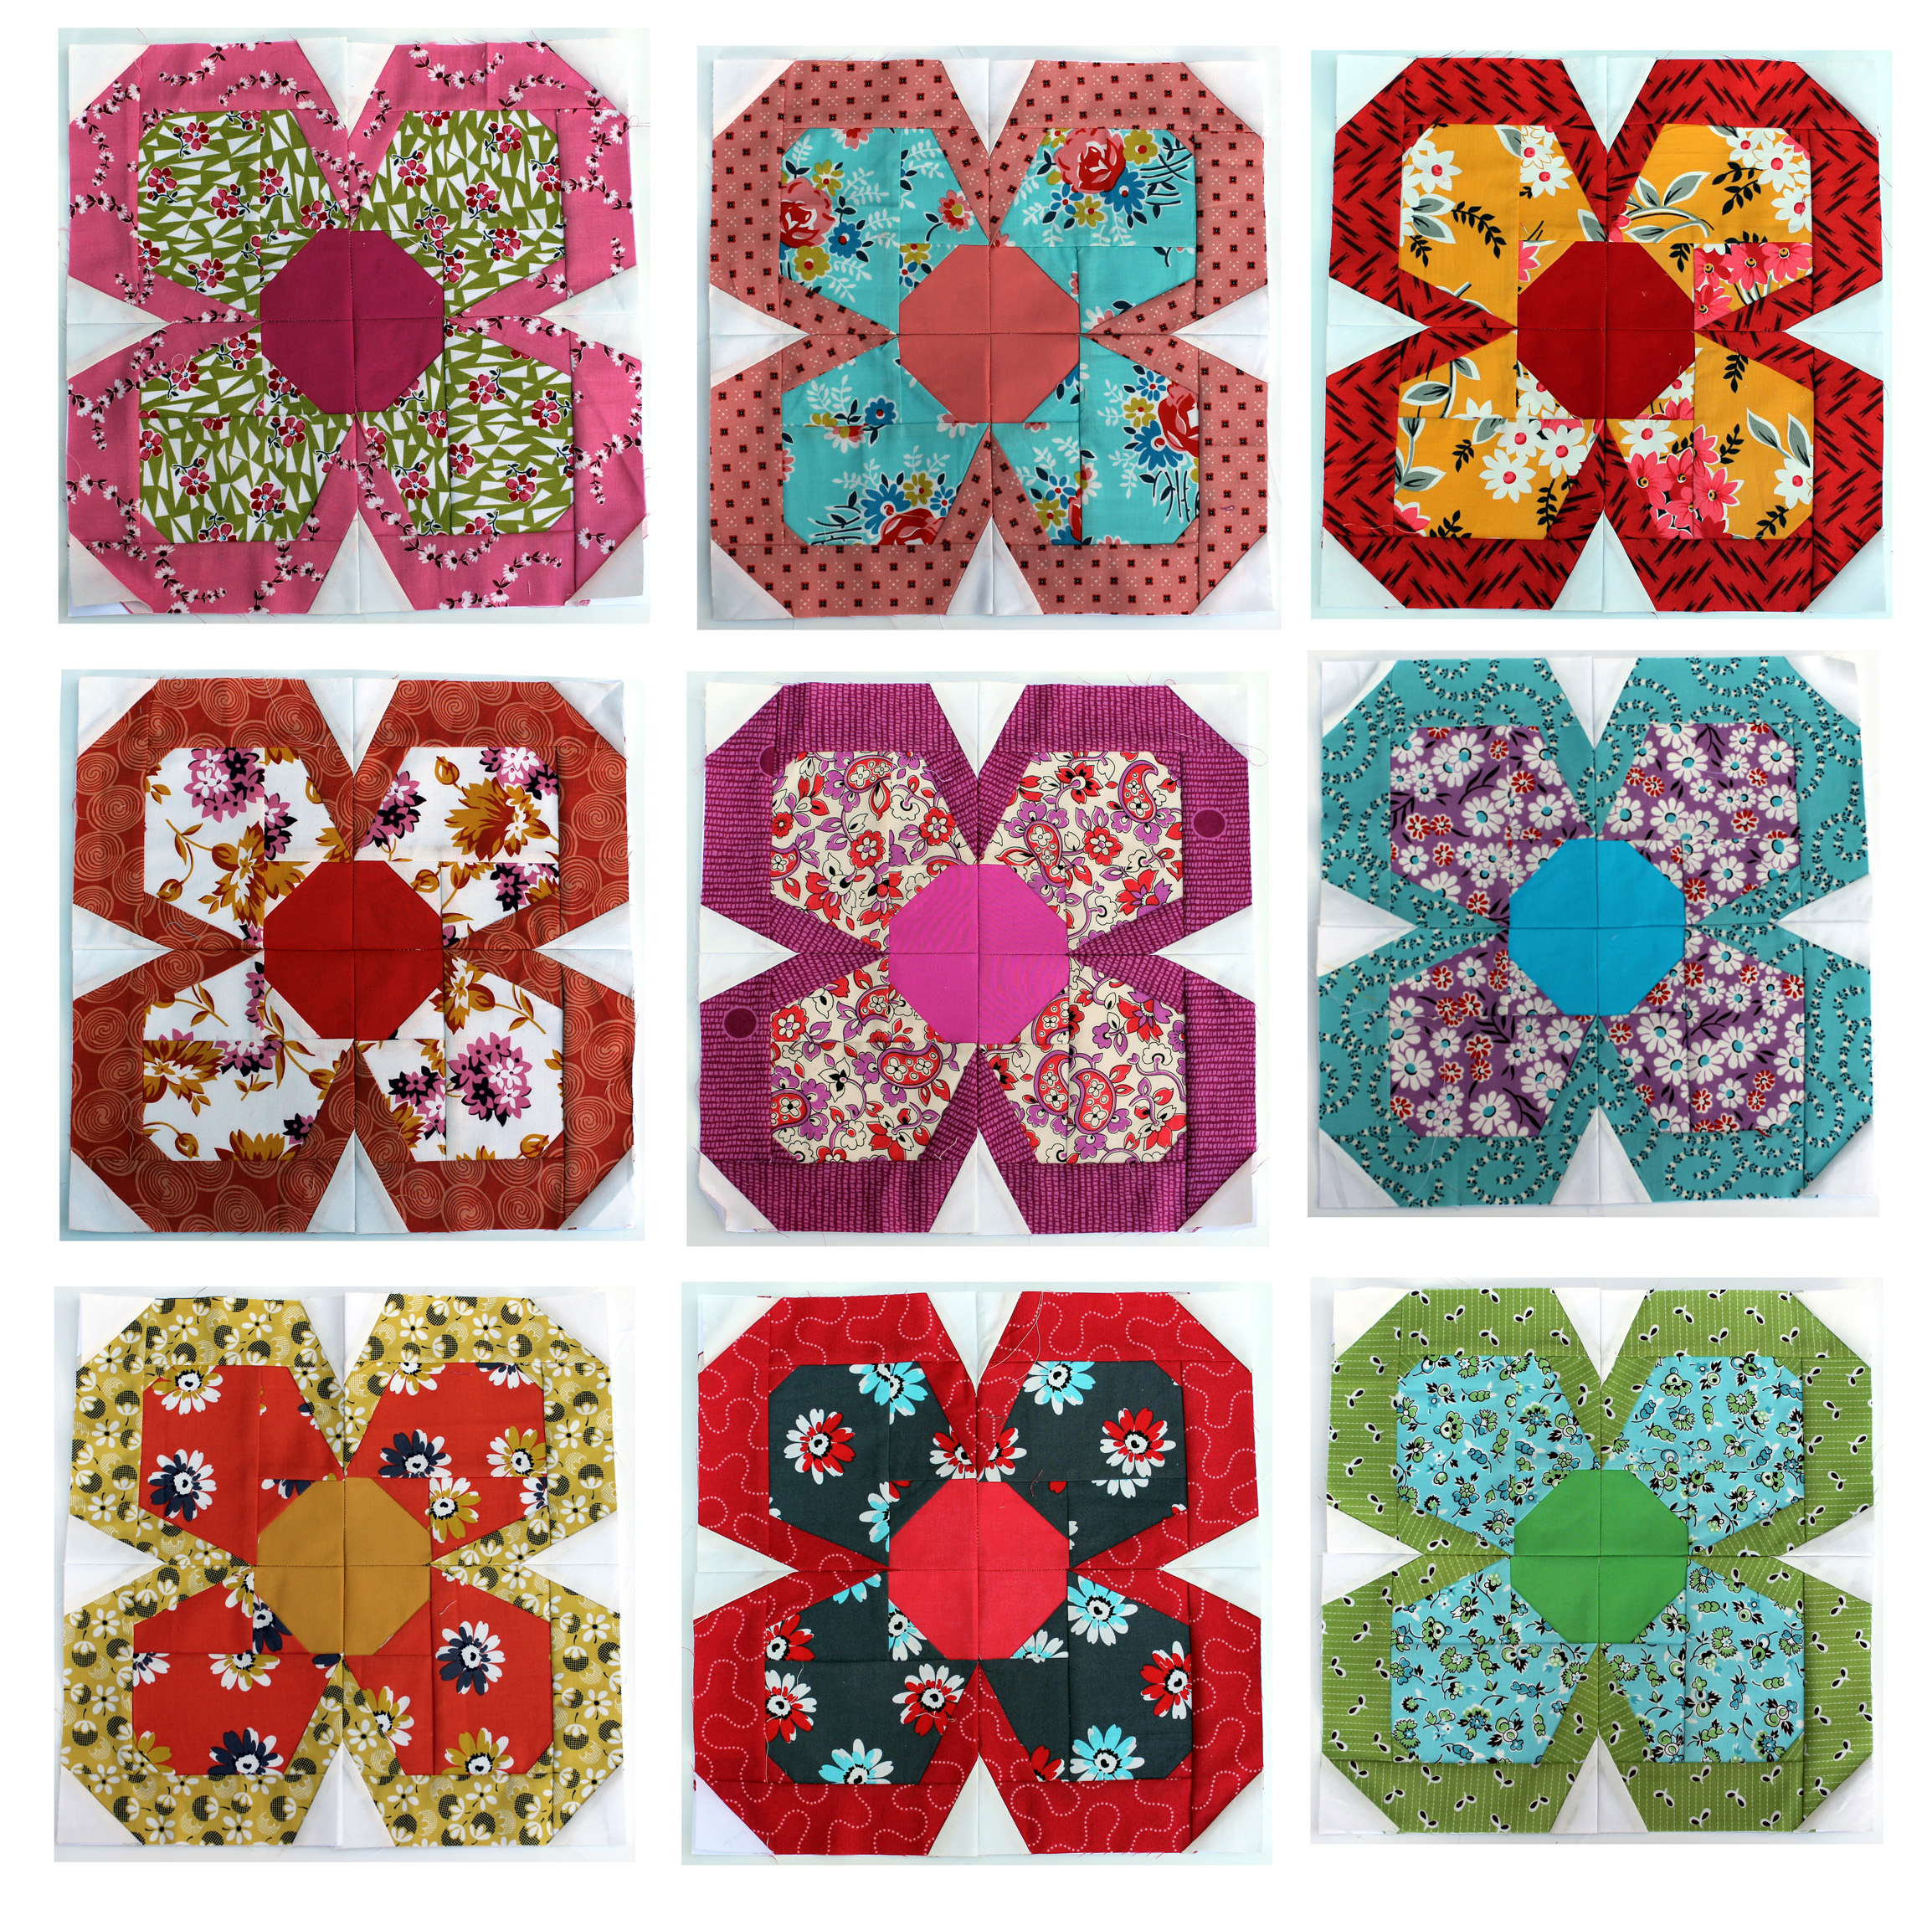
And in honor of my recent Zakka flower quilt  I am also including a Denyse Schmidt fat quarter collection.   I choose my favorite fabric from this release,  I just love the blue floral in this selection.

DS Fat Quarters

Someone will win all this and more…

Prize package

So how do I enter I hear you ask… just leave a comment on this post.  One lucky winner will be picked next Sunday (27th October) and the prize will be dispatched to which ever part of the world the winner is from.

Floral Crackers Fabulous Finish

I was so excited last night when I took deliver of my finished Floral Cracker’s quilt.   The fabulous Rachel from 2nd Avenue Studios had used her amazing long arm/free motion quilting skills to complete this project for me.

modern scrap floral quilt

I meet Rachel through the Portland Modern Quilting Guild and fell in love with her quilts. She does the most amazing wonky scrappy creative quilts.  I was a huge fan and when she offered to quilt Floral Crackers for me I was beyond excited.  Rachel also makes a lot of charity quilts and also does long arming quilting of charity quilts for the Guild.  Basically she is a rock star.

Floral cracker finished quilt detail 3I made the blocks for this quilt months ago using my black and white stash and lots of crazy floral fabrics.  i raided my Kaffe Fassett stash, my Amy Butler stash as well as my friend Lisa’s stash.  You can find my original post about the block, along with pattern links on how to make it here.

Floral cracker quilting motif

Rachel used a wonderful free motion flower pattern for the quilting.  The shape is very  “Kaffe” and mirrors several of the fabrics in the quilt.

Floral Cracker quilting detail

I struggled to get decent pictures that do the quilt and quilting justice.  Why do photos never capture the true beauty of a quilt?

Floral cracker finished quilt detail

To back the quilt, Rachel went with a gorgeous light orange dot solid.  It is the perfect simple accompaniment to the crazy busy front.

Floral Cracker quilt back

Rachel also kindly did the binding for me on this quilt with her new Bernina binding magic thingy…. and I love it almost as much as I love the quilting.  As a nod to me she used Kaffe Fassett’s “Aboriginal Dot” fabric.

Floral Cracker binding detail

I know it is kind of cheating but I am counting this as one of my October Project Linus quilts… I did make the top!

FLORAL CRACKER DETAILS:

Technique:   Paper Piecing

Finished Block size:  7 inches

Quilt size:  56″ x 70″

Some Appleville fun

This week I found in my stash a yard of fabric I bought a year or so ago because I fell in love the artwork on it.  It from Suzy Ultman’s “Appleville” range for Robert Kaufman.

suzy ultman fabric

I often buy fun printed fabric because I love it, but do not really know what I am going to do with it.  I struggled a lot with this fabric in particular because it is blocks of different prints, not an overall pattern.    I know I could have cheated and just used it as part of a backing fabric, but that would not show the fun prints off to their best advantage.

So this week to challenge myself, I pulled the fabric out of my stash, determined to make a quilt out of it.  I cut the individual printed sections of the fabric out and went to work.

modern kids quilt block

I grabbed some Kona white, some graphic bright prints and started playing.

Appleville block 2

As I finish a block it goes up on the design wall with the others.

Appleville block 5

Slowly but surely a quilt top is starting to emerge.

Appleville block 1

The blocks are all different shapes and sizes so the layout will be free form.

Appleville block 6

And there will be a lot of white used as the background fabric.

Appleville block 3

But in the end I hope to have a fun quilt top finished, quilted and bound for Friday.

Wish me luck…


Paper Piecing Monday tips

This week as I put my paper piecing block together, I thought of what I have learnt this year doing these blocks… and thought I would share some of my tips.

So this week I choose another of Julie @ 627Handworks great blocks.  The block, Siouxsie, is one that Julie has put up on Craftsy and is block 13 of her Block Rock’n series.  At a $1.00 for the pattern is it a bargain.  You can also download Julie’s free Block Rock’n blocks at Craftsy as well.

paper pieced scrap star block

Tip #1…   I always download the pattern to my desktop before I print.  This is the best way to guarantee that you are printing to the correct scale.  I had some fun issues printing directly from the website early on in Paper Piecing Monday’s life, which resulted in me have to remake some blocks.  Also make sure that you tick the “print in original size” box in your print dialogue box.

Tip #1a… I use normal photocopy paper for printing my patterns.  It is cheap and easily available.

Tip #2… If the block is complex or I am making it complex, I use coloured pens to mark up my paper pattern.  This way I do not lose track of what colour goes where.

star 11 paper piecing pieces

Tip #3… I always glue down my first piece of fabric.  I go through so much Elmers glue it is not funny.  I find it easier to align the first set of seams with one of the fabric pieces already stuck in place and pins cause fabric bunching which is annoying.

glue stickTip #4…  I am always generous with my seam allowance on my scraps.  I have found it is much easier to work with BIG scraps or pieces of fabric than it is to work with precisely cut pieces of fabric.  In paper piecing you get all sorts of weird shapes and having an abundance of extra fabric means that you can get even the weirdest shapes to work, without having to re-sew the block over and over.

Tip #5… Do all sewing with a small stitch length.  I usually do my paper piecing stitching on a length of 2 – 2 1/2.  This helps make ripping the paper off at the end easier, but also ensures the integrity of the sewing.  Ripping the paper off the block can cause stitches to loosen and the smaller stitches helps with this immensely.

stitch setting

Tip #6…  I use scissors to trim my excess fabric, not a rotary cutter and ruler.  I find it quick and easy – I can do it while still sitting beside my machine.  No one ever sees the backside of the block, so I do not mind if it is a little messy.

trusty scissors

Tip #7…. Your iron is your friend. I iron all my seams/pieces to get them to lie flat.  For this block I sewed the first two fabric pieces together on all the pattern sections and then stood up, ironed all the seams and then sat down and sewed the next fabric piece to the pattern.  For last week’s fox block I used my mini iron to sew as I went.  Whatever way all seams get ironed.

Tip #8… Before I sew together the finished paper pattern pieces, I  rip the paper off any bits of the pattern that are bulky or intersect.  This makes the block less chunky and means my sewing machine is less likely to hiccup when it hits the multiple layers of fabric/paper.  With this pattern the center pieces of the block needed to be pulled.  I leave enough of the paper so that you can still see your sewing lines.

remove paper

Tip #9… Tweezers are an essential paper piecing tool.  When you are removing the paper pattern at the end of the process, the big bits are easy but tweezers are the only way to get those pesky little bits of paper that are hiding in the corner of the block.

tweezer action

Tip #10… If at all possible train your husband, children or friend to help you pull the paper off your finished quilt top.  It really does make life easier.

Rainbow I Spy Quilt done and dusted

Week two of October and I have another quilt finished despite some walking foot hiccups and a Briar Rose obsession.  This week’s Project Linus finish is a little bit of a cheat – I pulled an old unfinished top out of the cupboard and quilted it up.  But it is still a finish and still counts… right?

Rainbow I spy quilt

I made the top for this quilt about 3 years ago and finishing it up was an interesting exercise which showed me how much my piecing has improved.  All over this quilt there are seams that just do not align…

wonky alighnment

A simple square quilt and my edges are squiffy.  I am a little embarrassed but pleased to say that I have got better over the years.  Plus the small mistakes here and there do not detract from the fun of this quilt.

quilt detail

The colours are bright and the fabric is varied.  There is so much to see in this quilt, it is going to make for a wicked game or two of “I Spy”.  And it is was so easy to put together, lots of 4 1/2 inch blocks in a graduating colour scale.

block detail The quilting is simple… more straight lines.  The backing is also simple, another IKEA fabric (part of a 100% cotton duvet cover).

quilt back

All finished off with  some purple binding.

quilt binding

I know this binding is a little crazy but I was out of solid navy fabric, which is my usual go to binding for a rainbow quilt. But now I have excuse to go shopping.  YIPPEE!