Low volume Log cabin finished

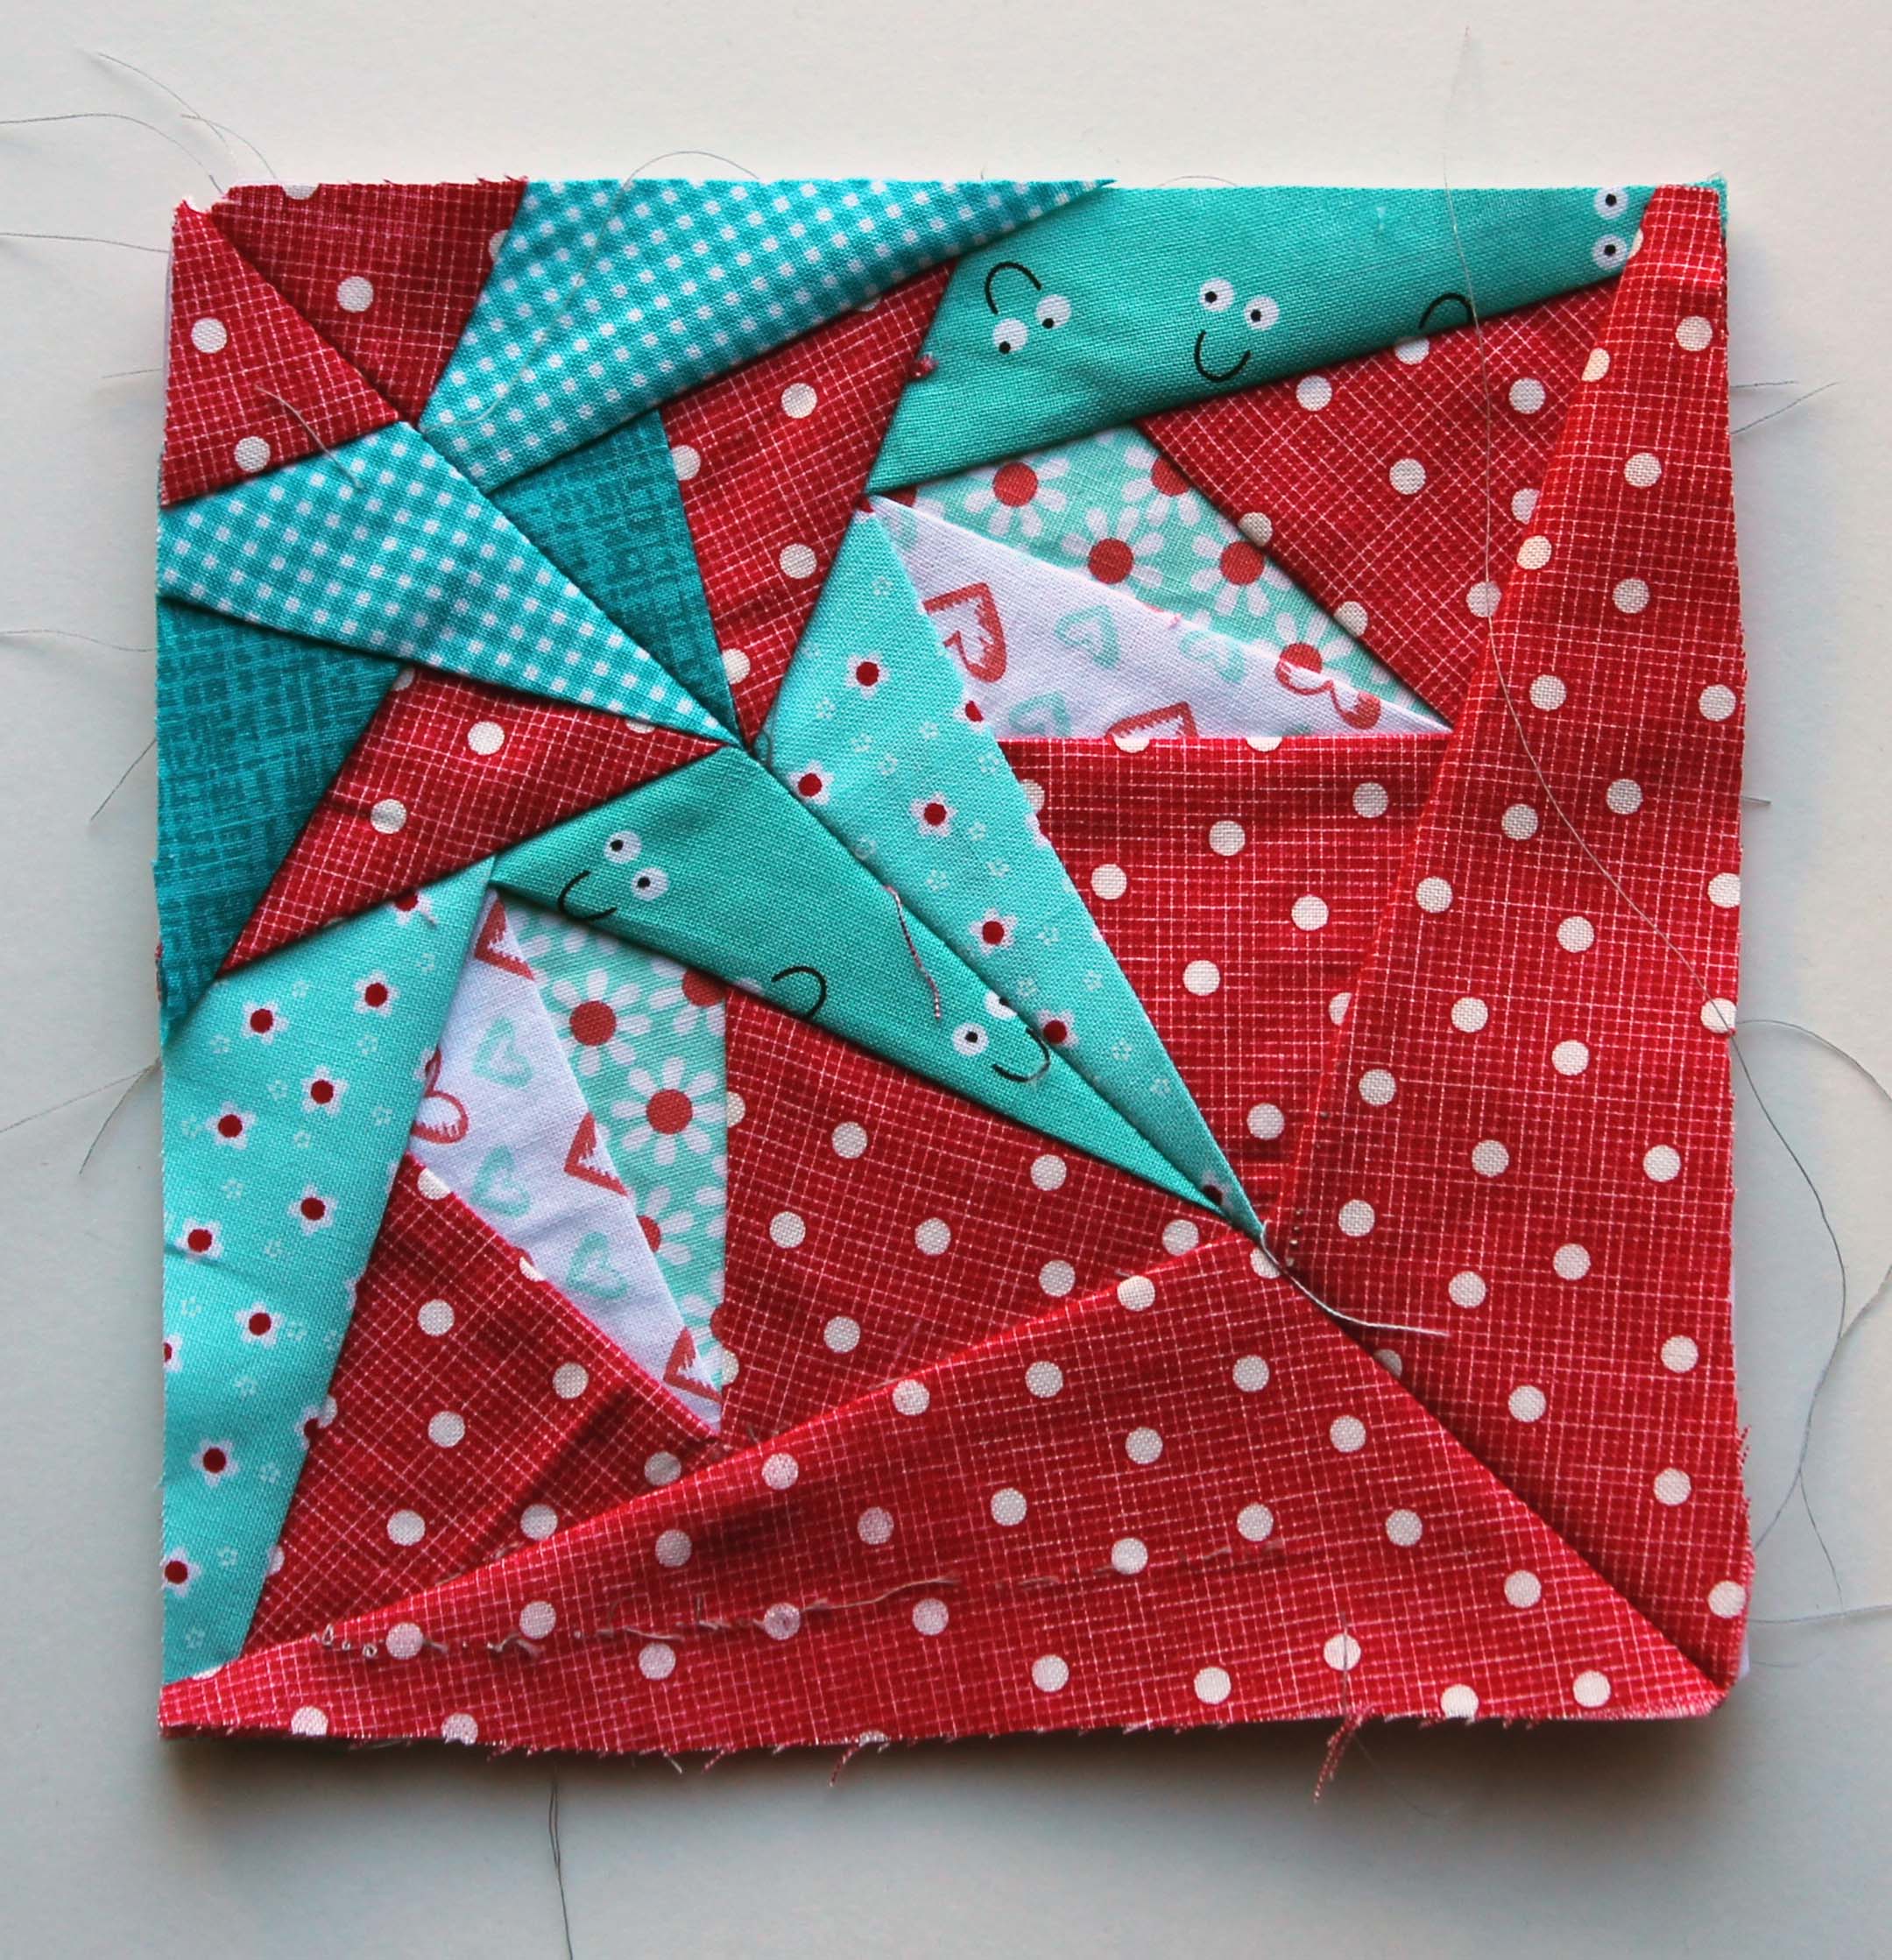
Late last night, while watching fabulously trashy TV, I finally finished up my low volume log cabin quilt.  I am thrilled with the end result, even though I doubted myself a few times during the process.

low volume log cabin quilt
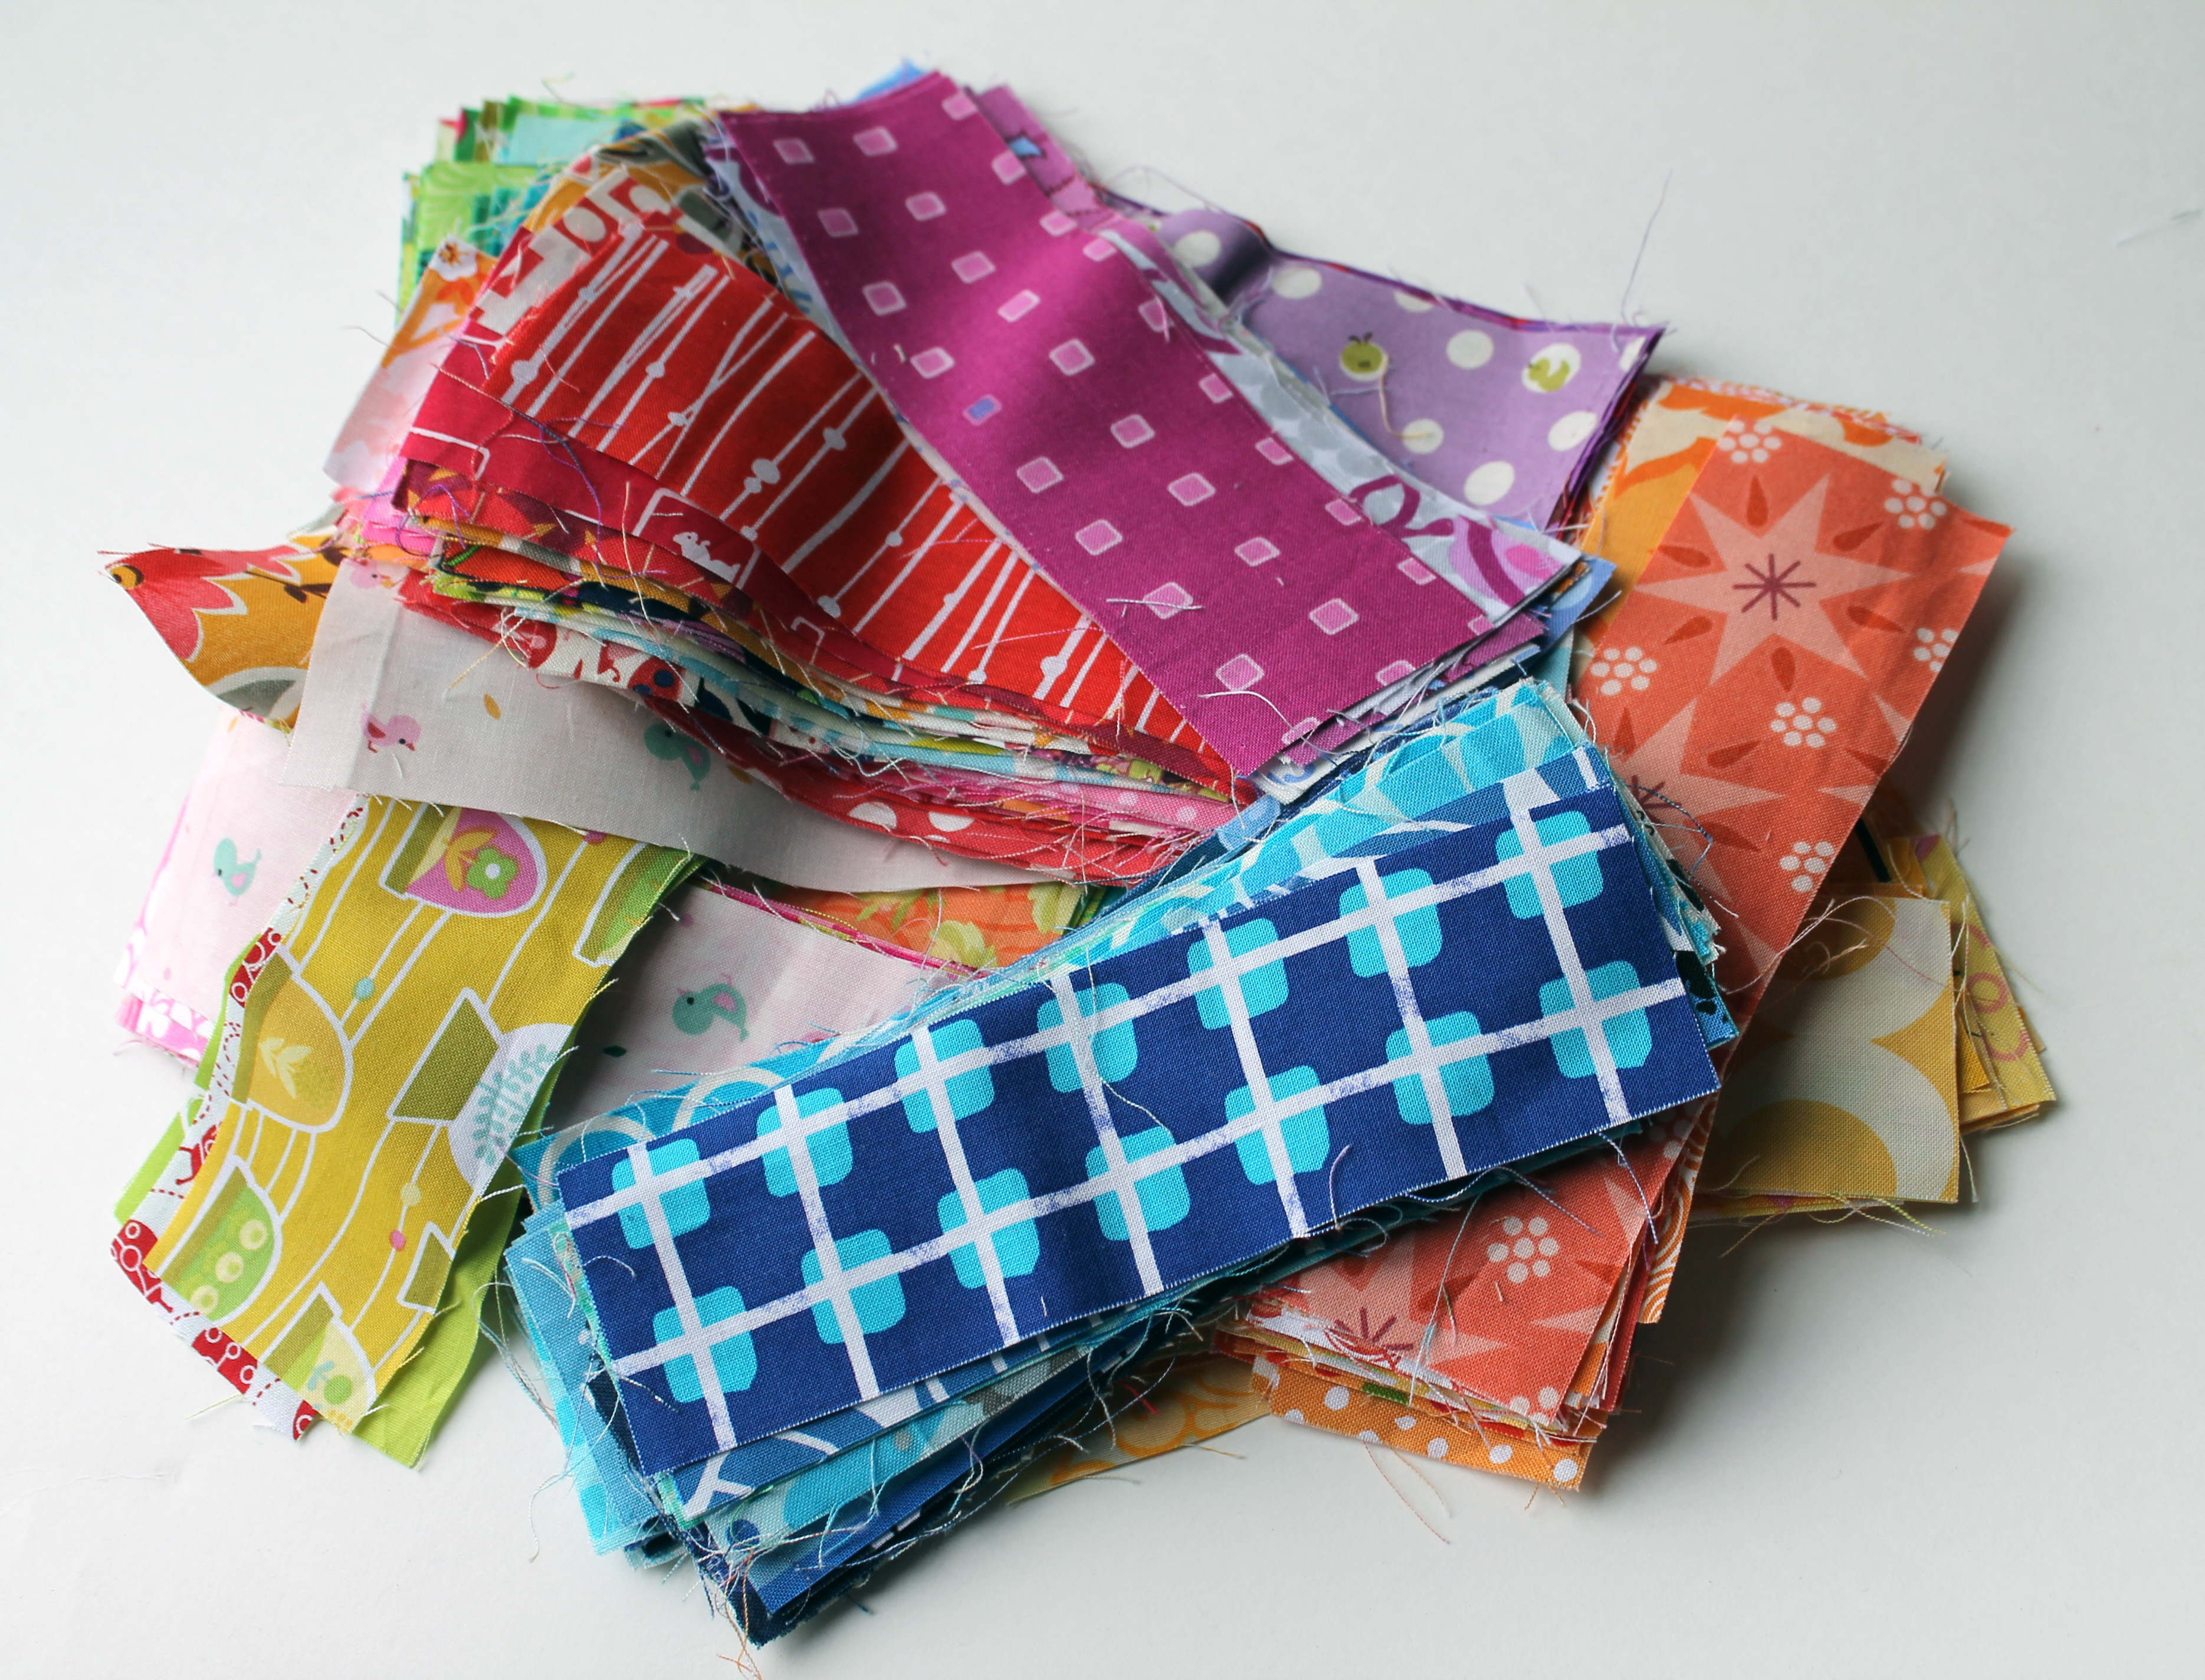
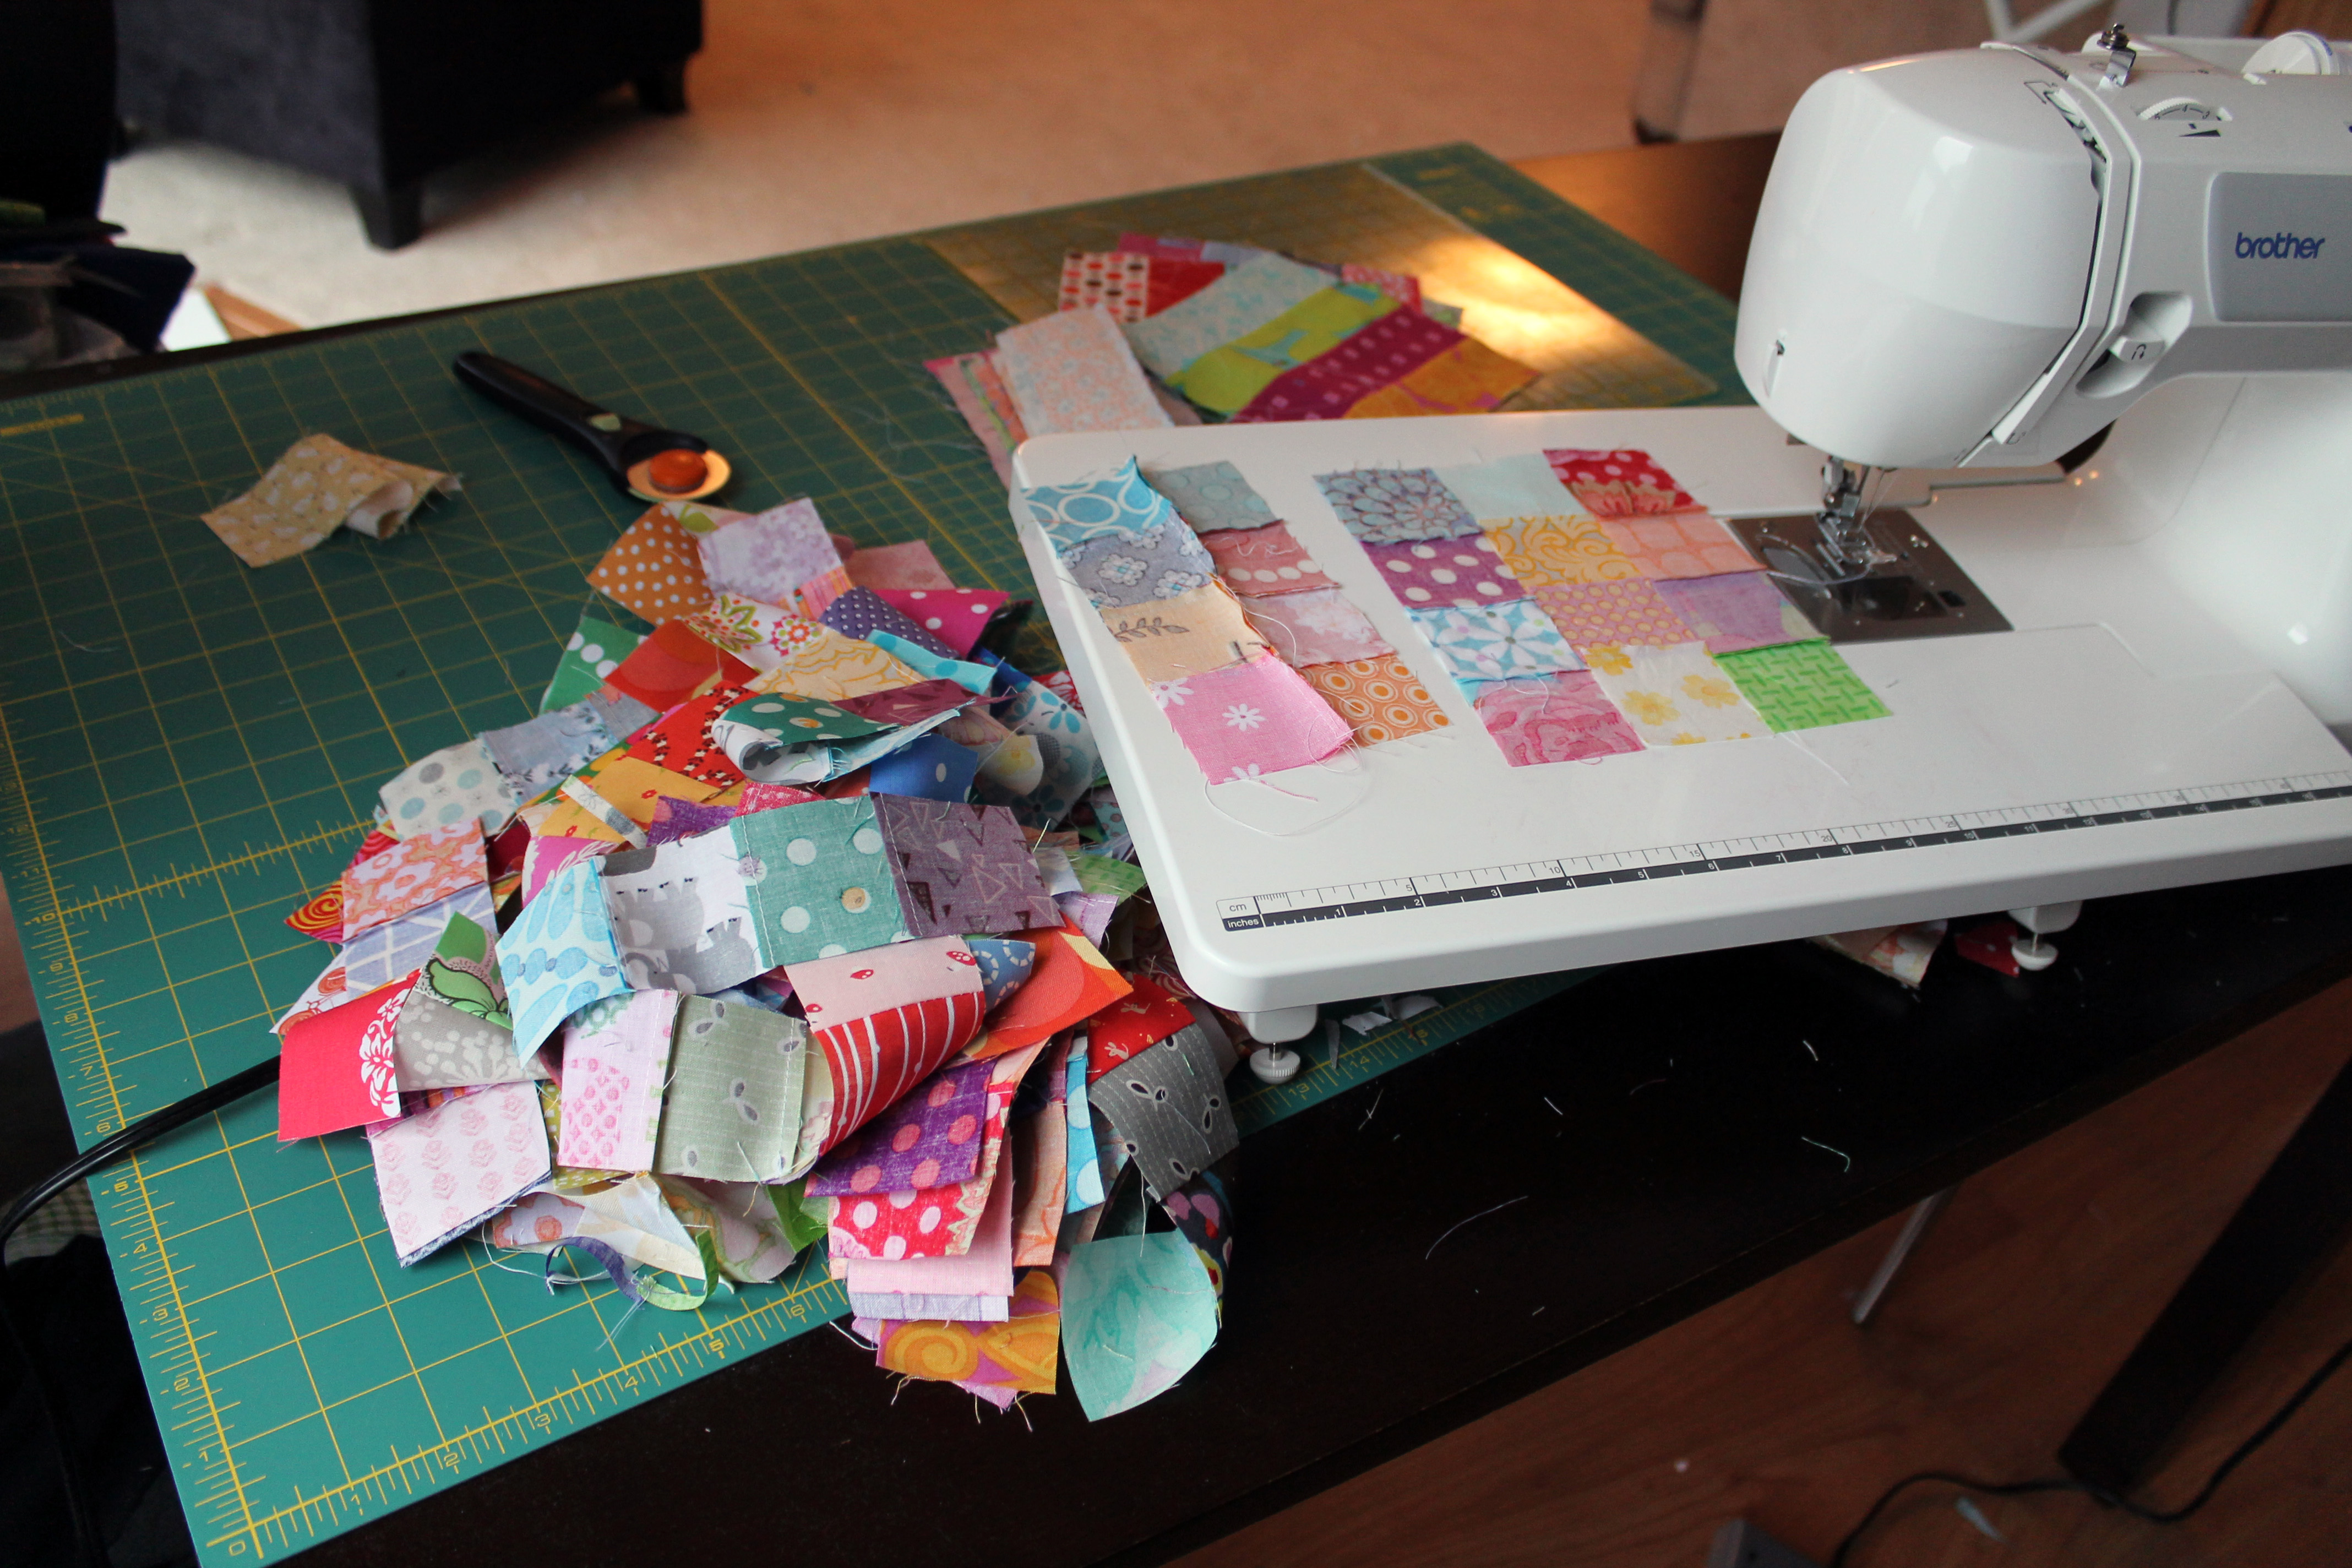
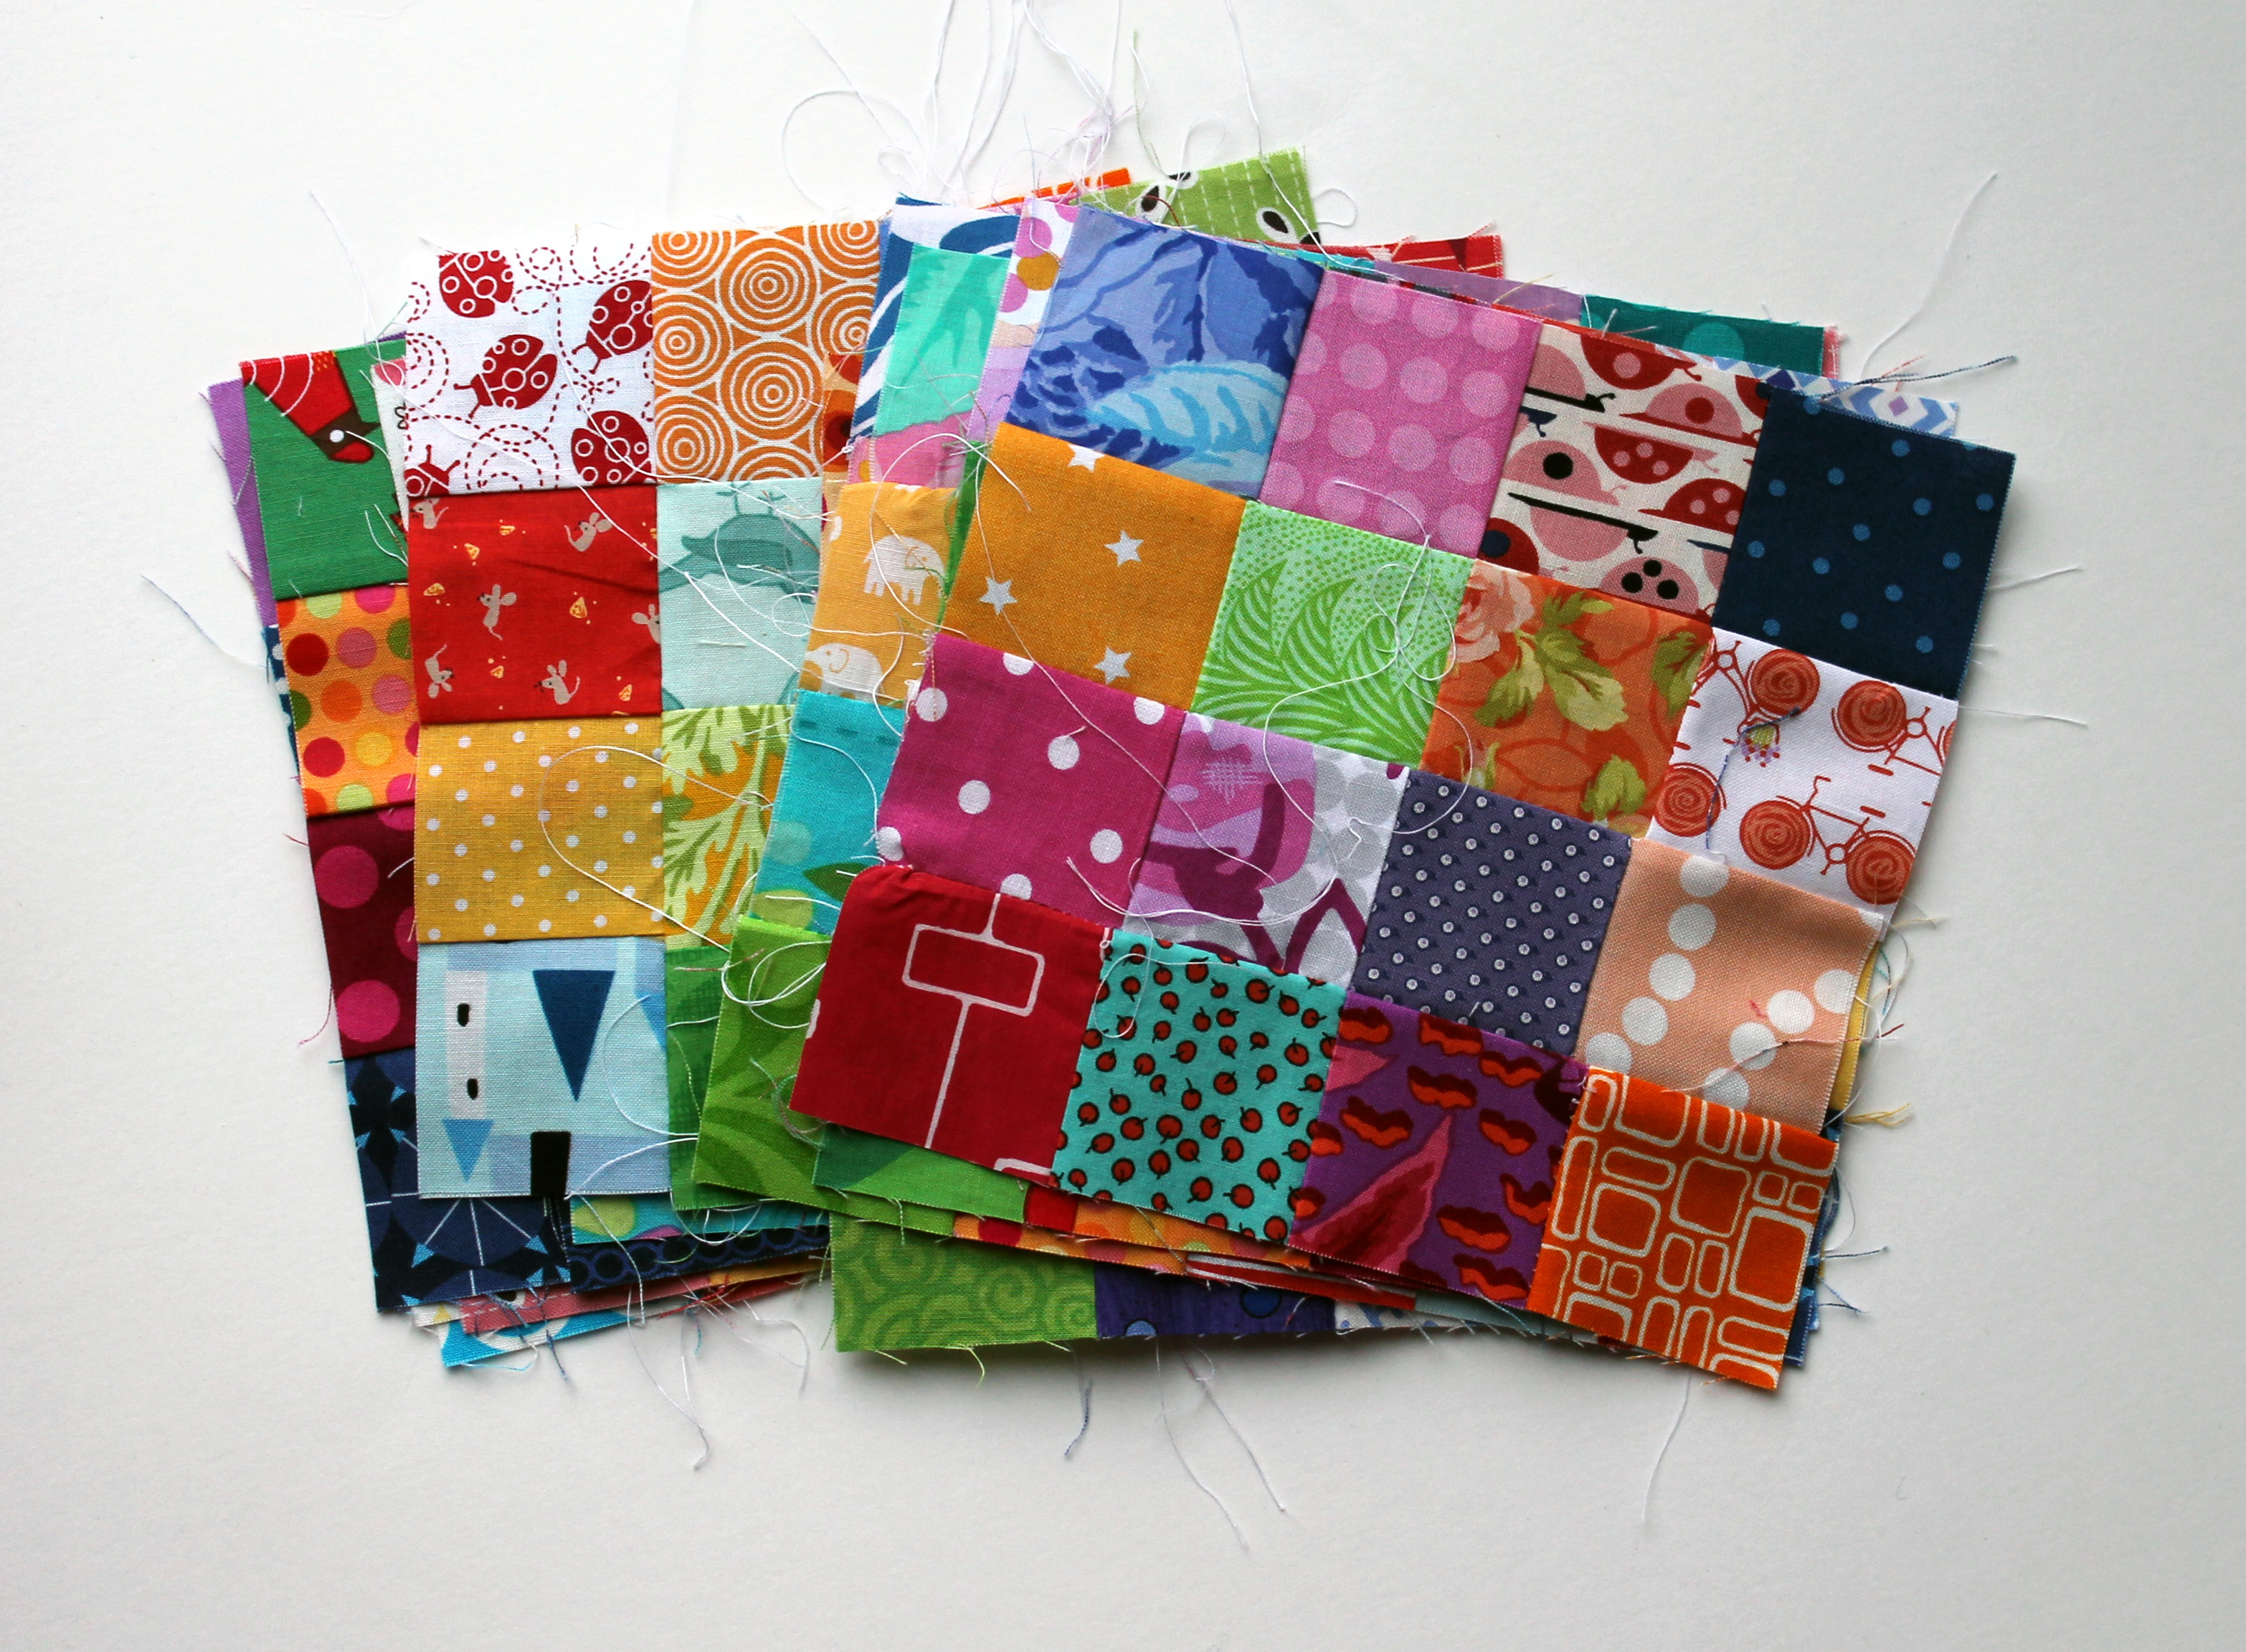
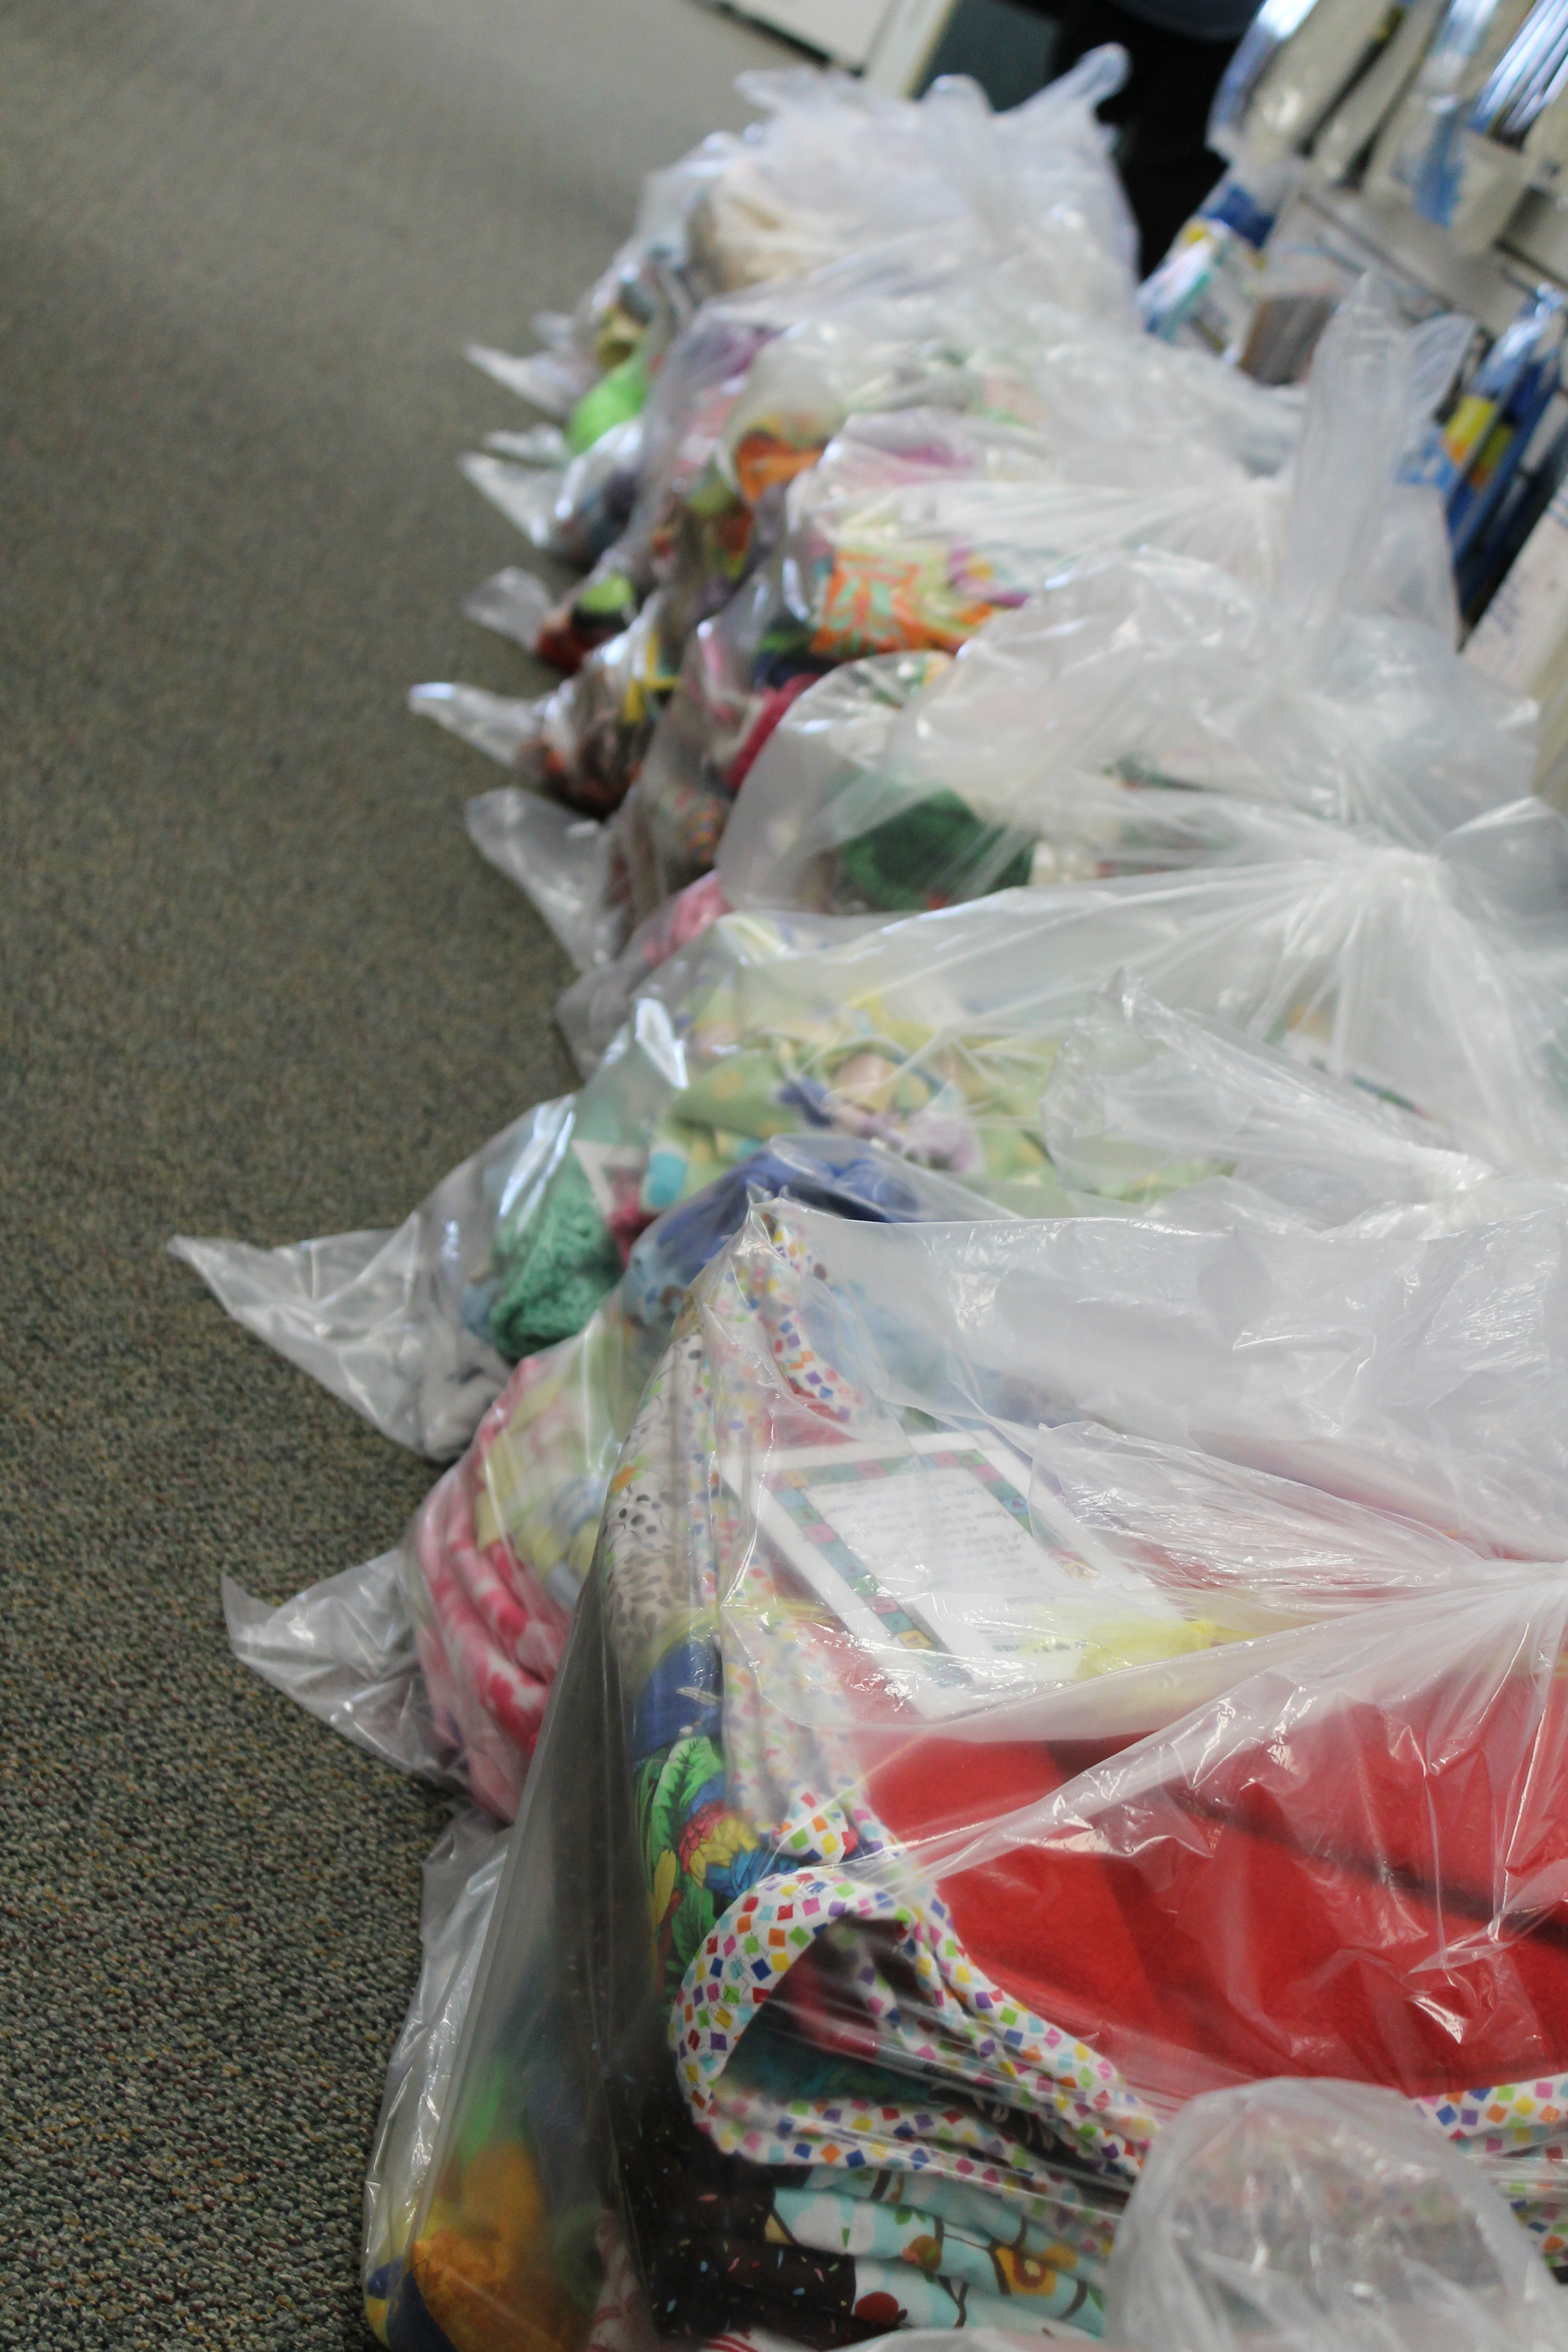
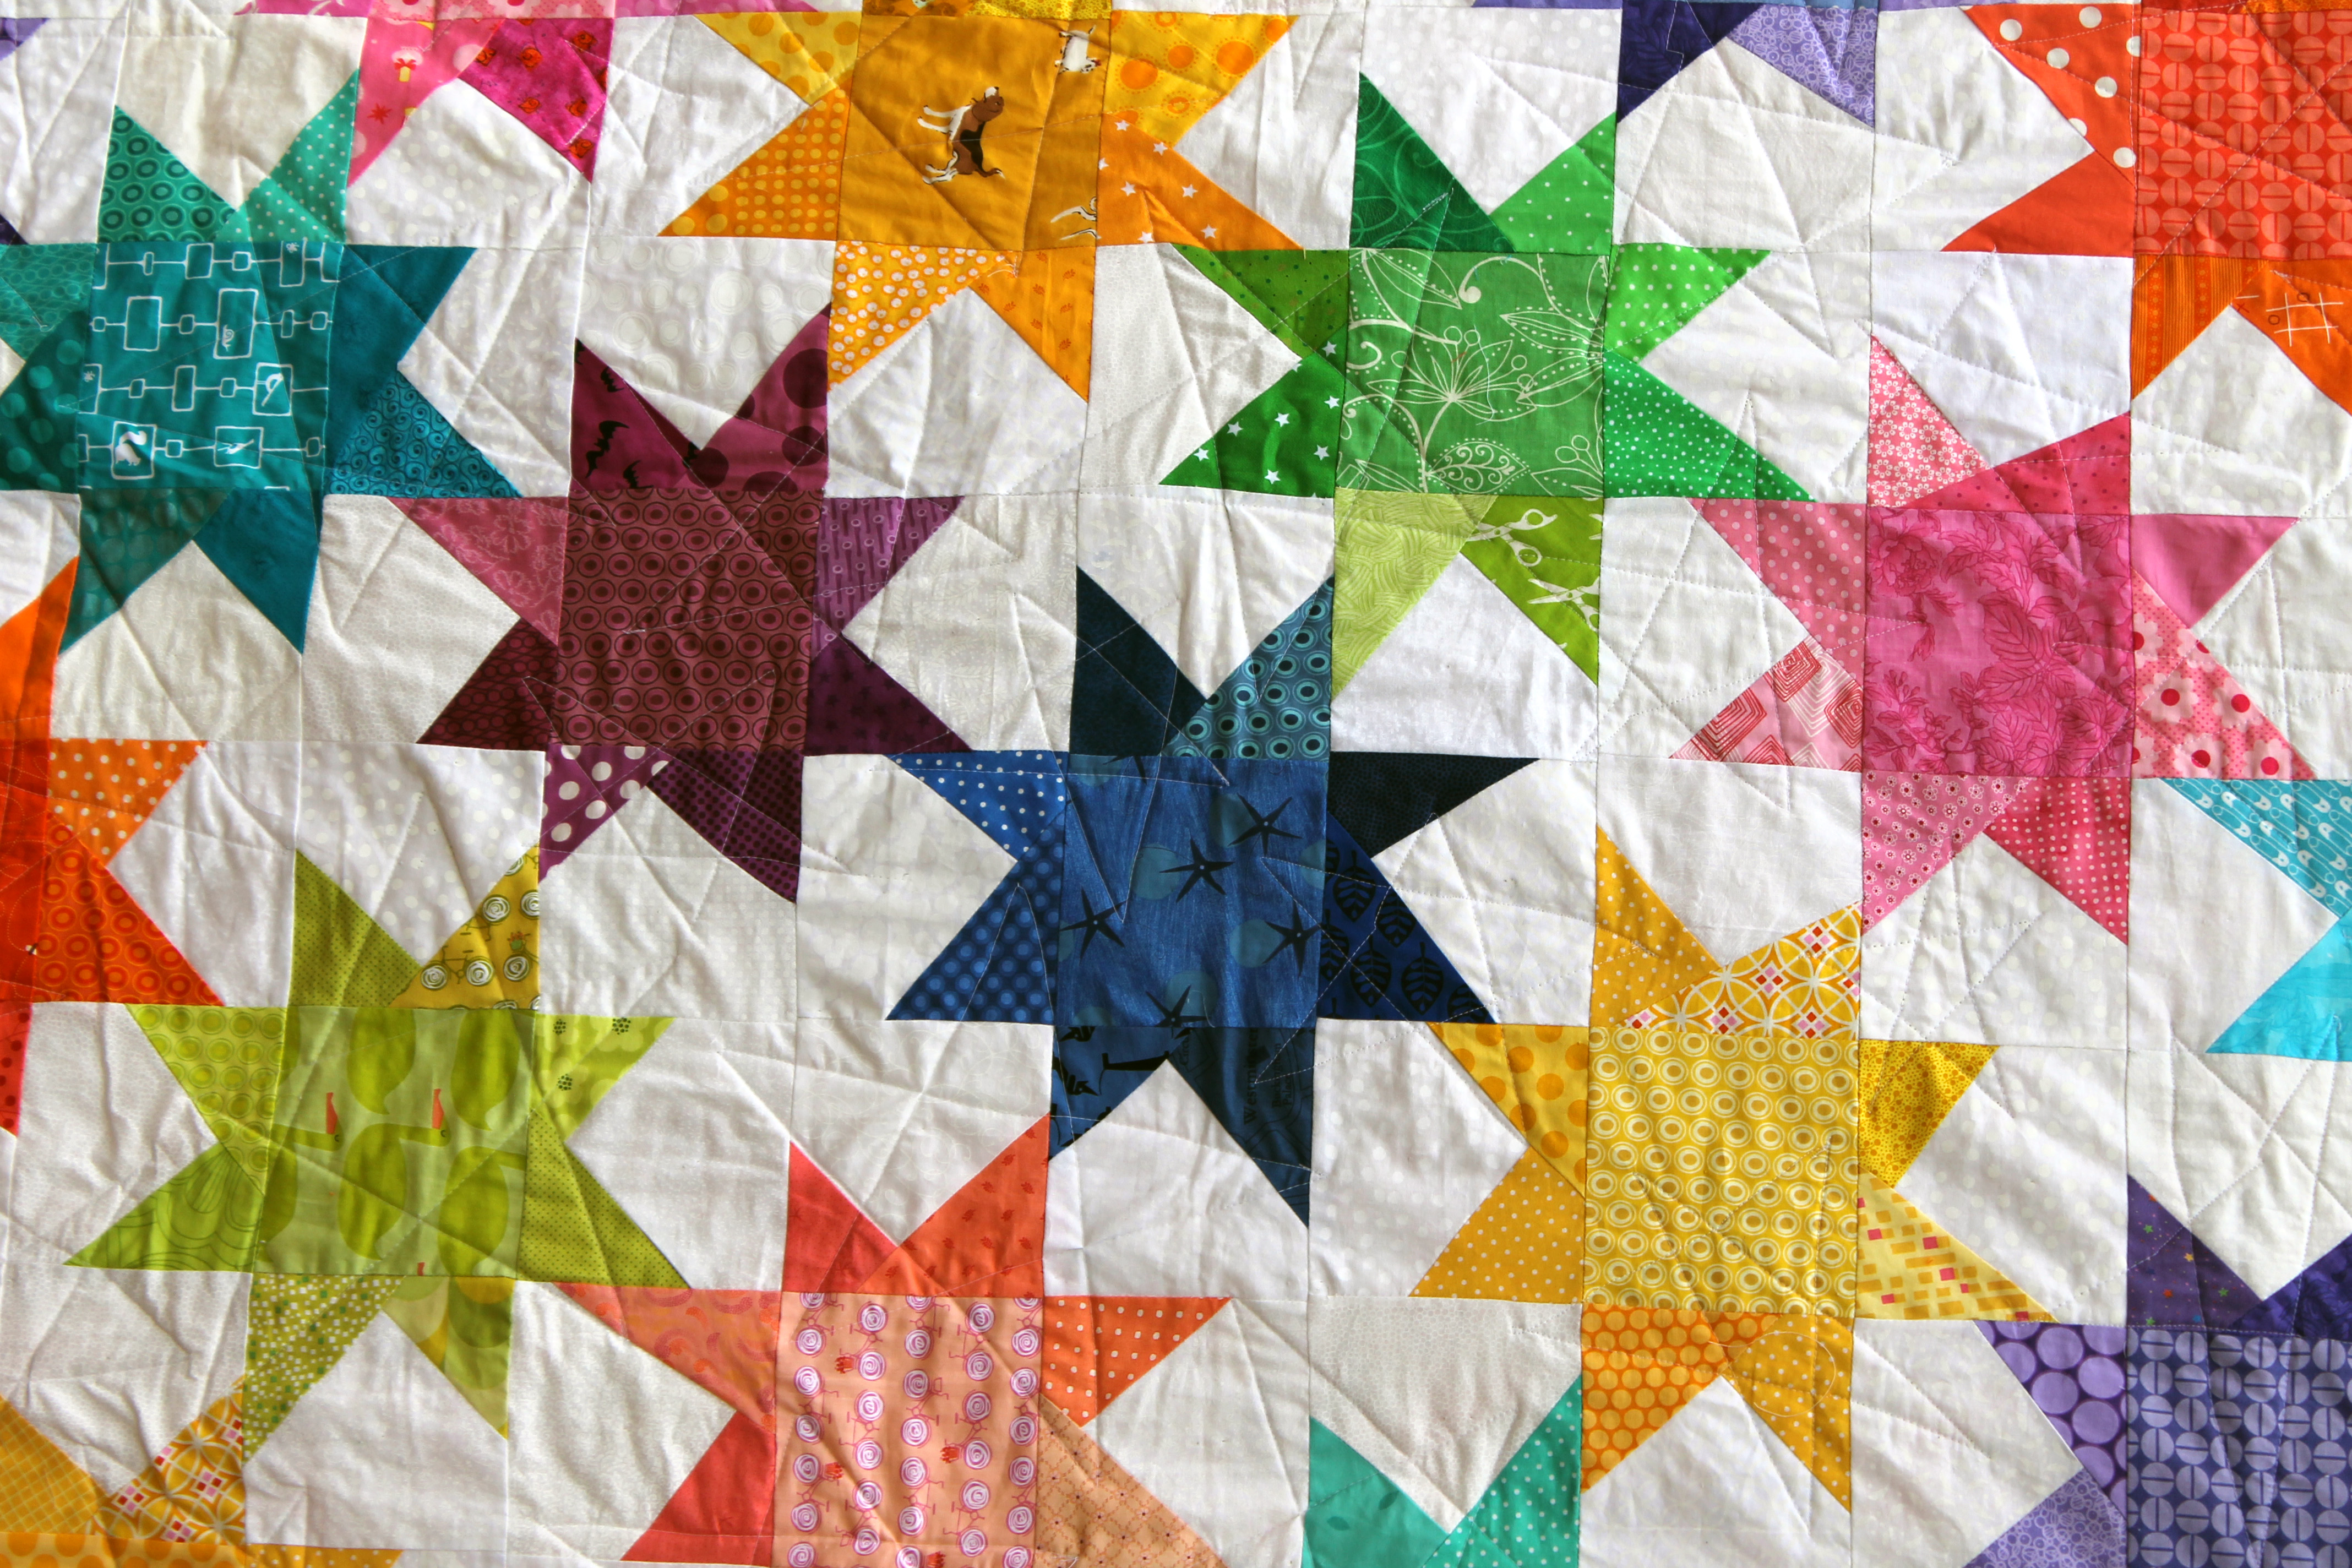
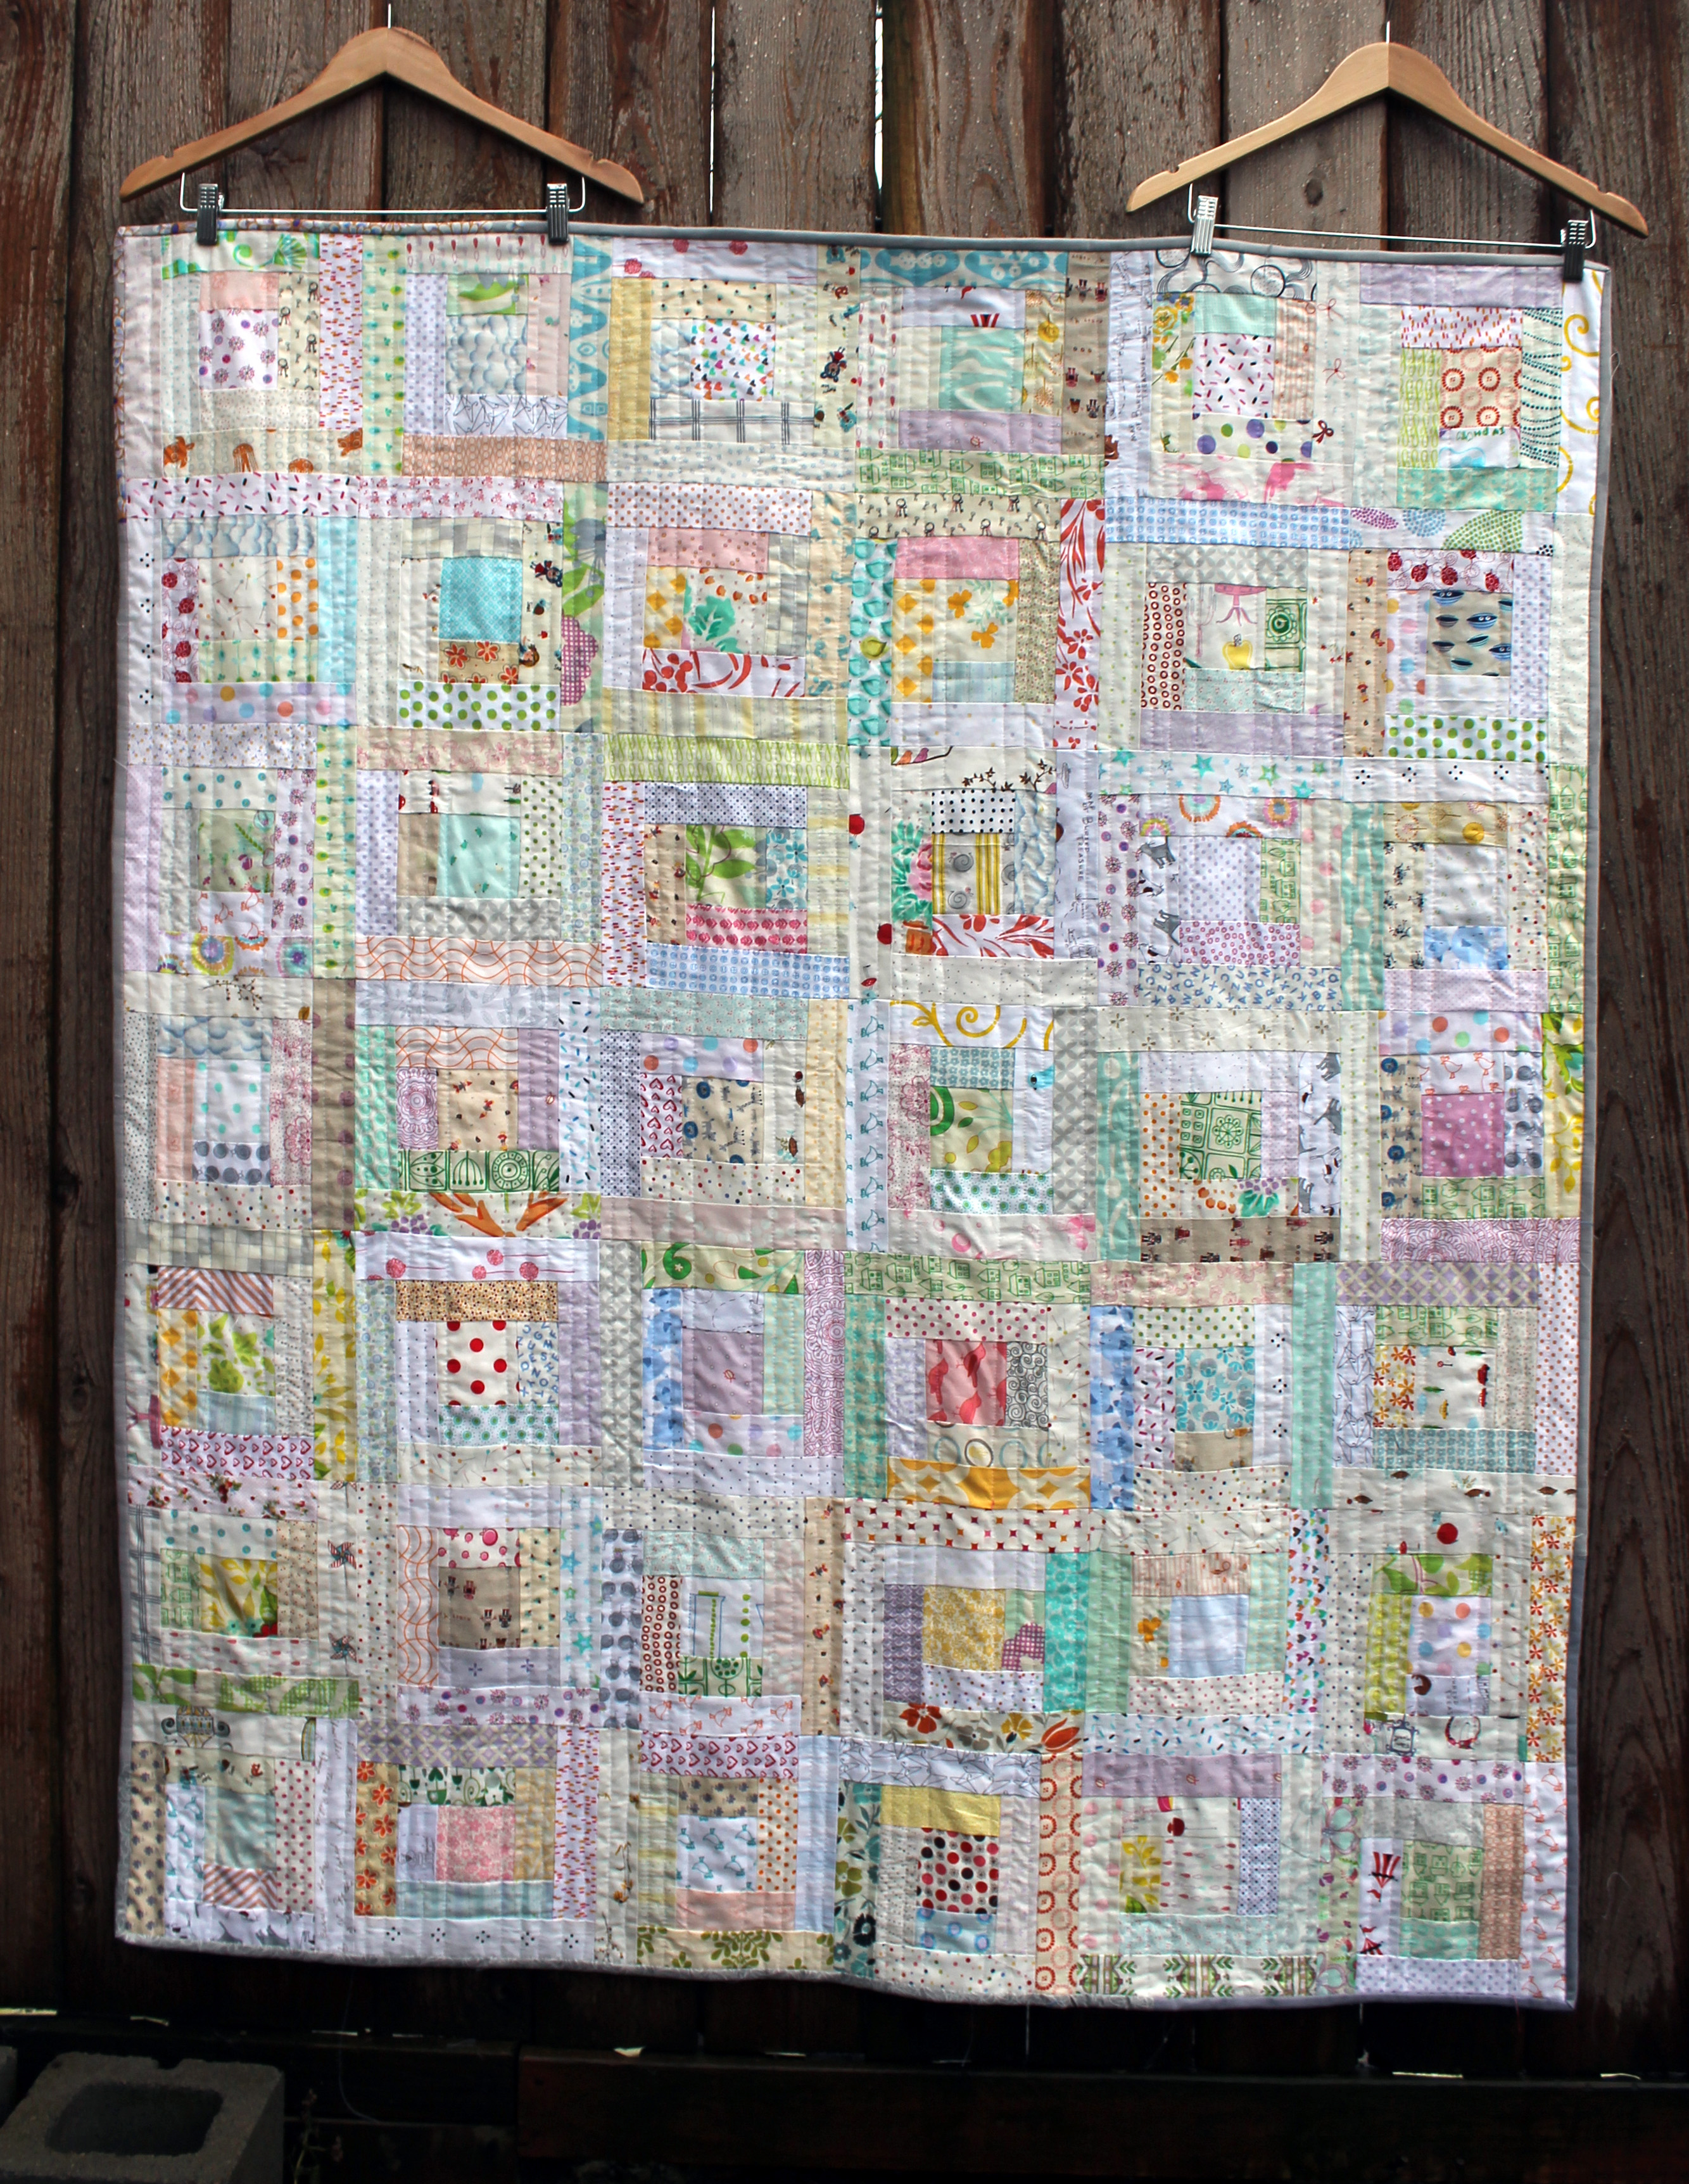
This is my second low volume quilt.  My first one was made up of simple square blocks, this one I decided to do a log cabin block.  My previous post can be found here and here.   I love the log cabin block and was inspired to use this traditional pattern by Susan Beal’s wonderful book Modern Log Cabin Quilting.  This pattern allowed me to really (a) raid my scraps and (b) include an amazing number of fabrics.

finished quilt detail

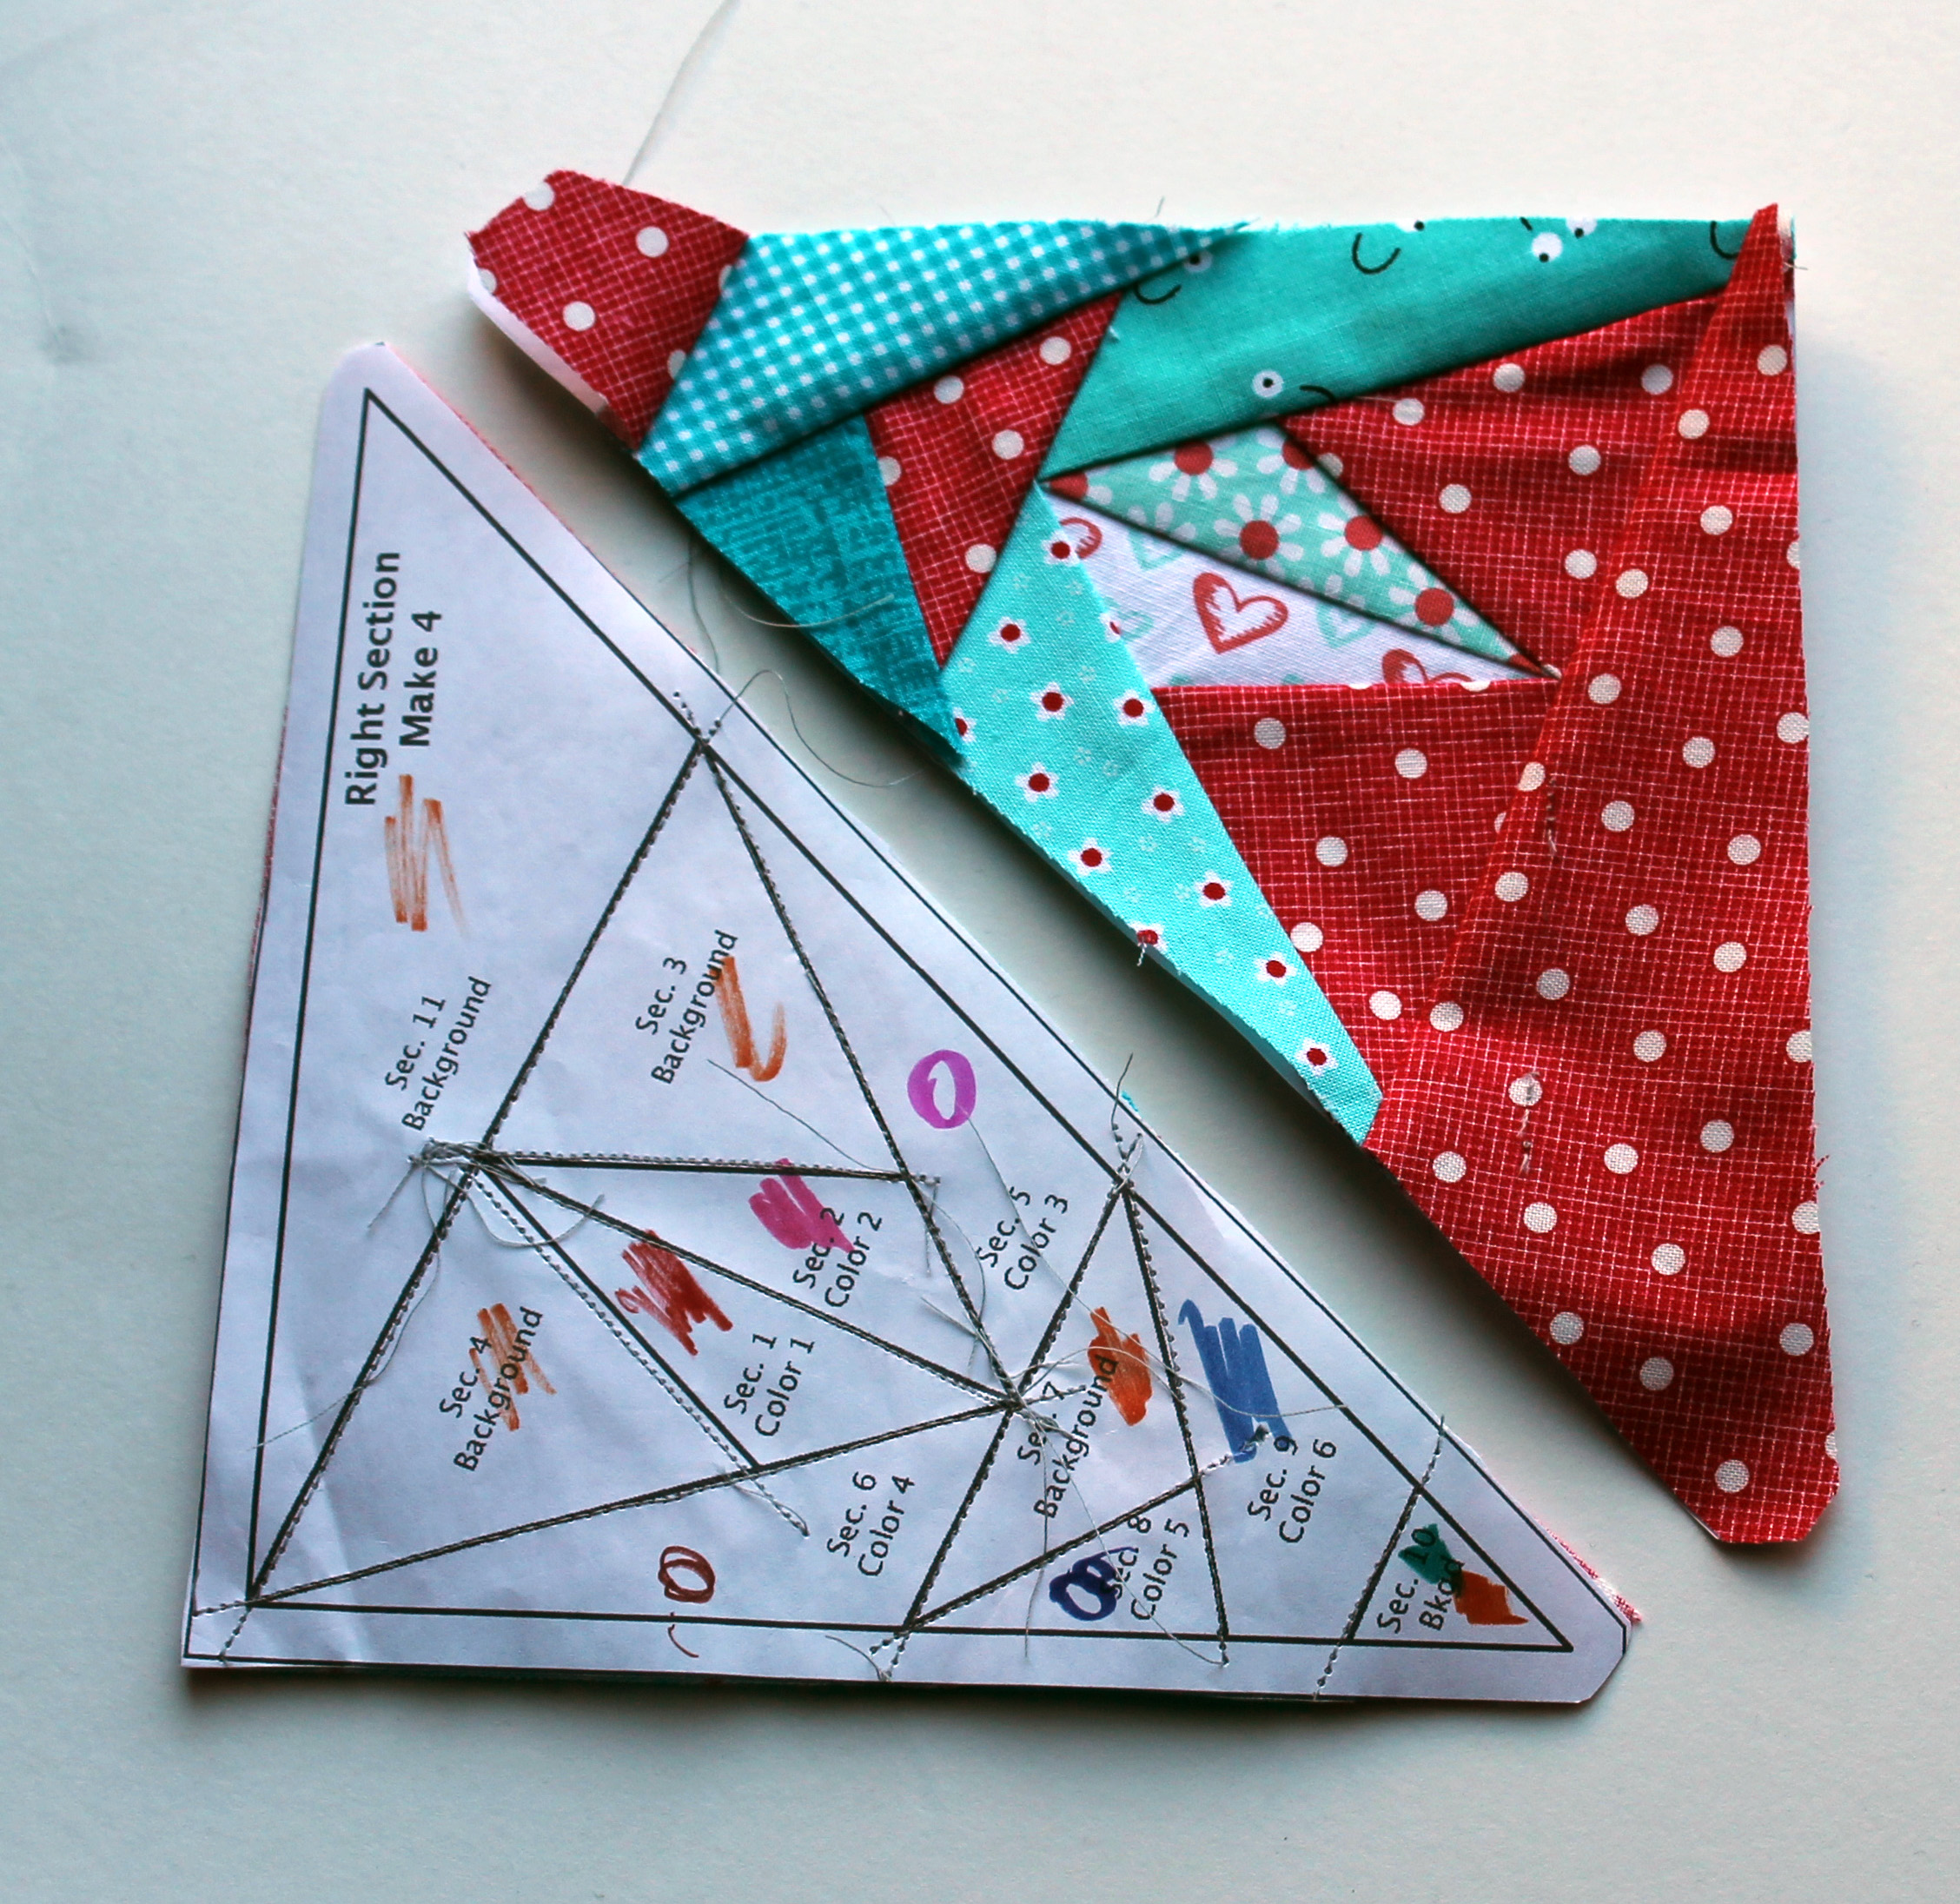
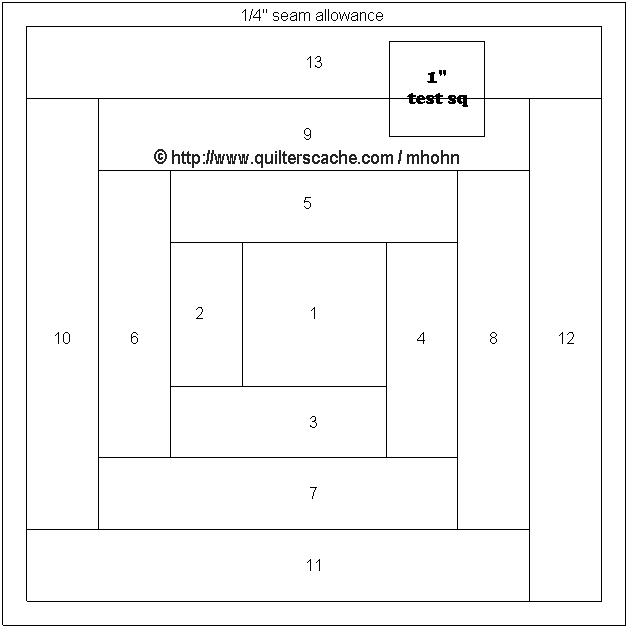
For this quilt I did use a paper piecing pattern and  you can find a similar one here thanks to quilterscache.com.  For non paper piercers Connecting Threads  has a great log cabin tutorial (with videos and all) which can be found here.

log cabin block detail
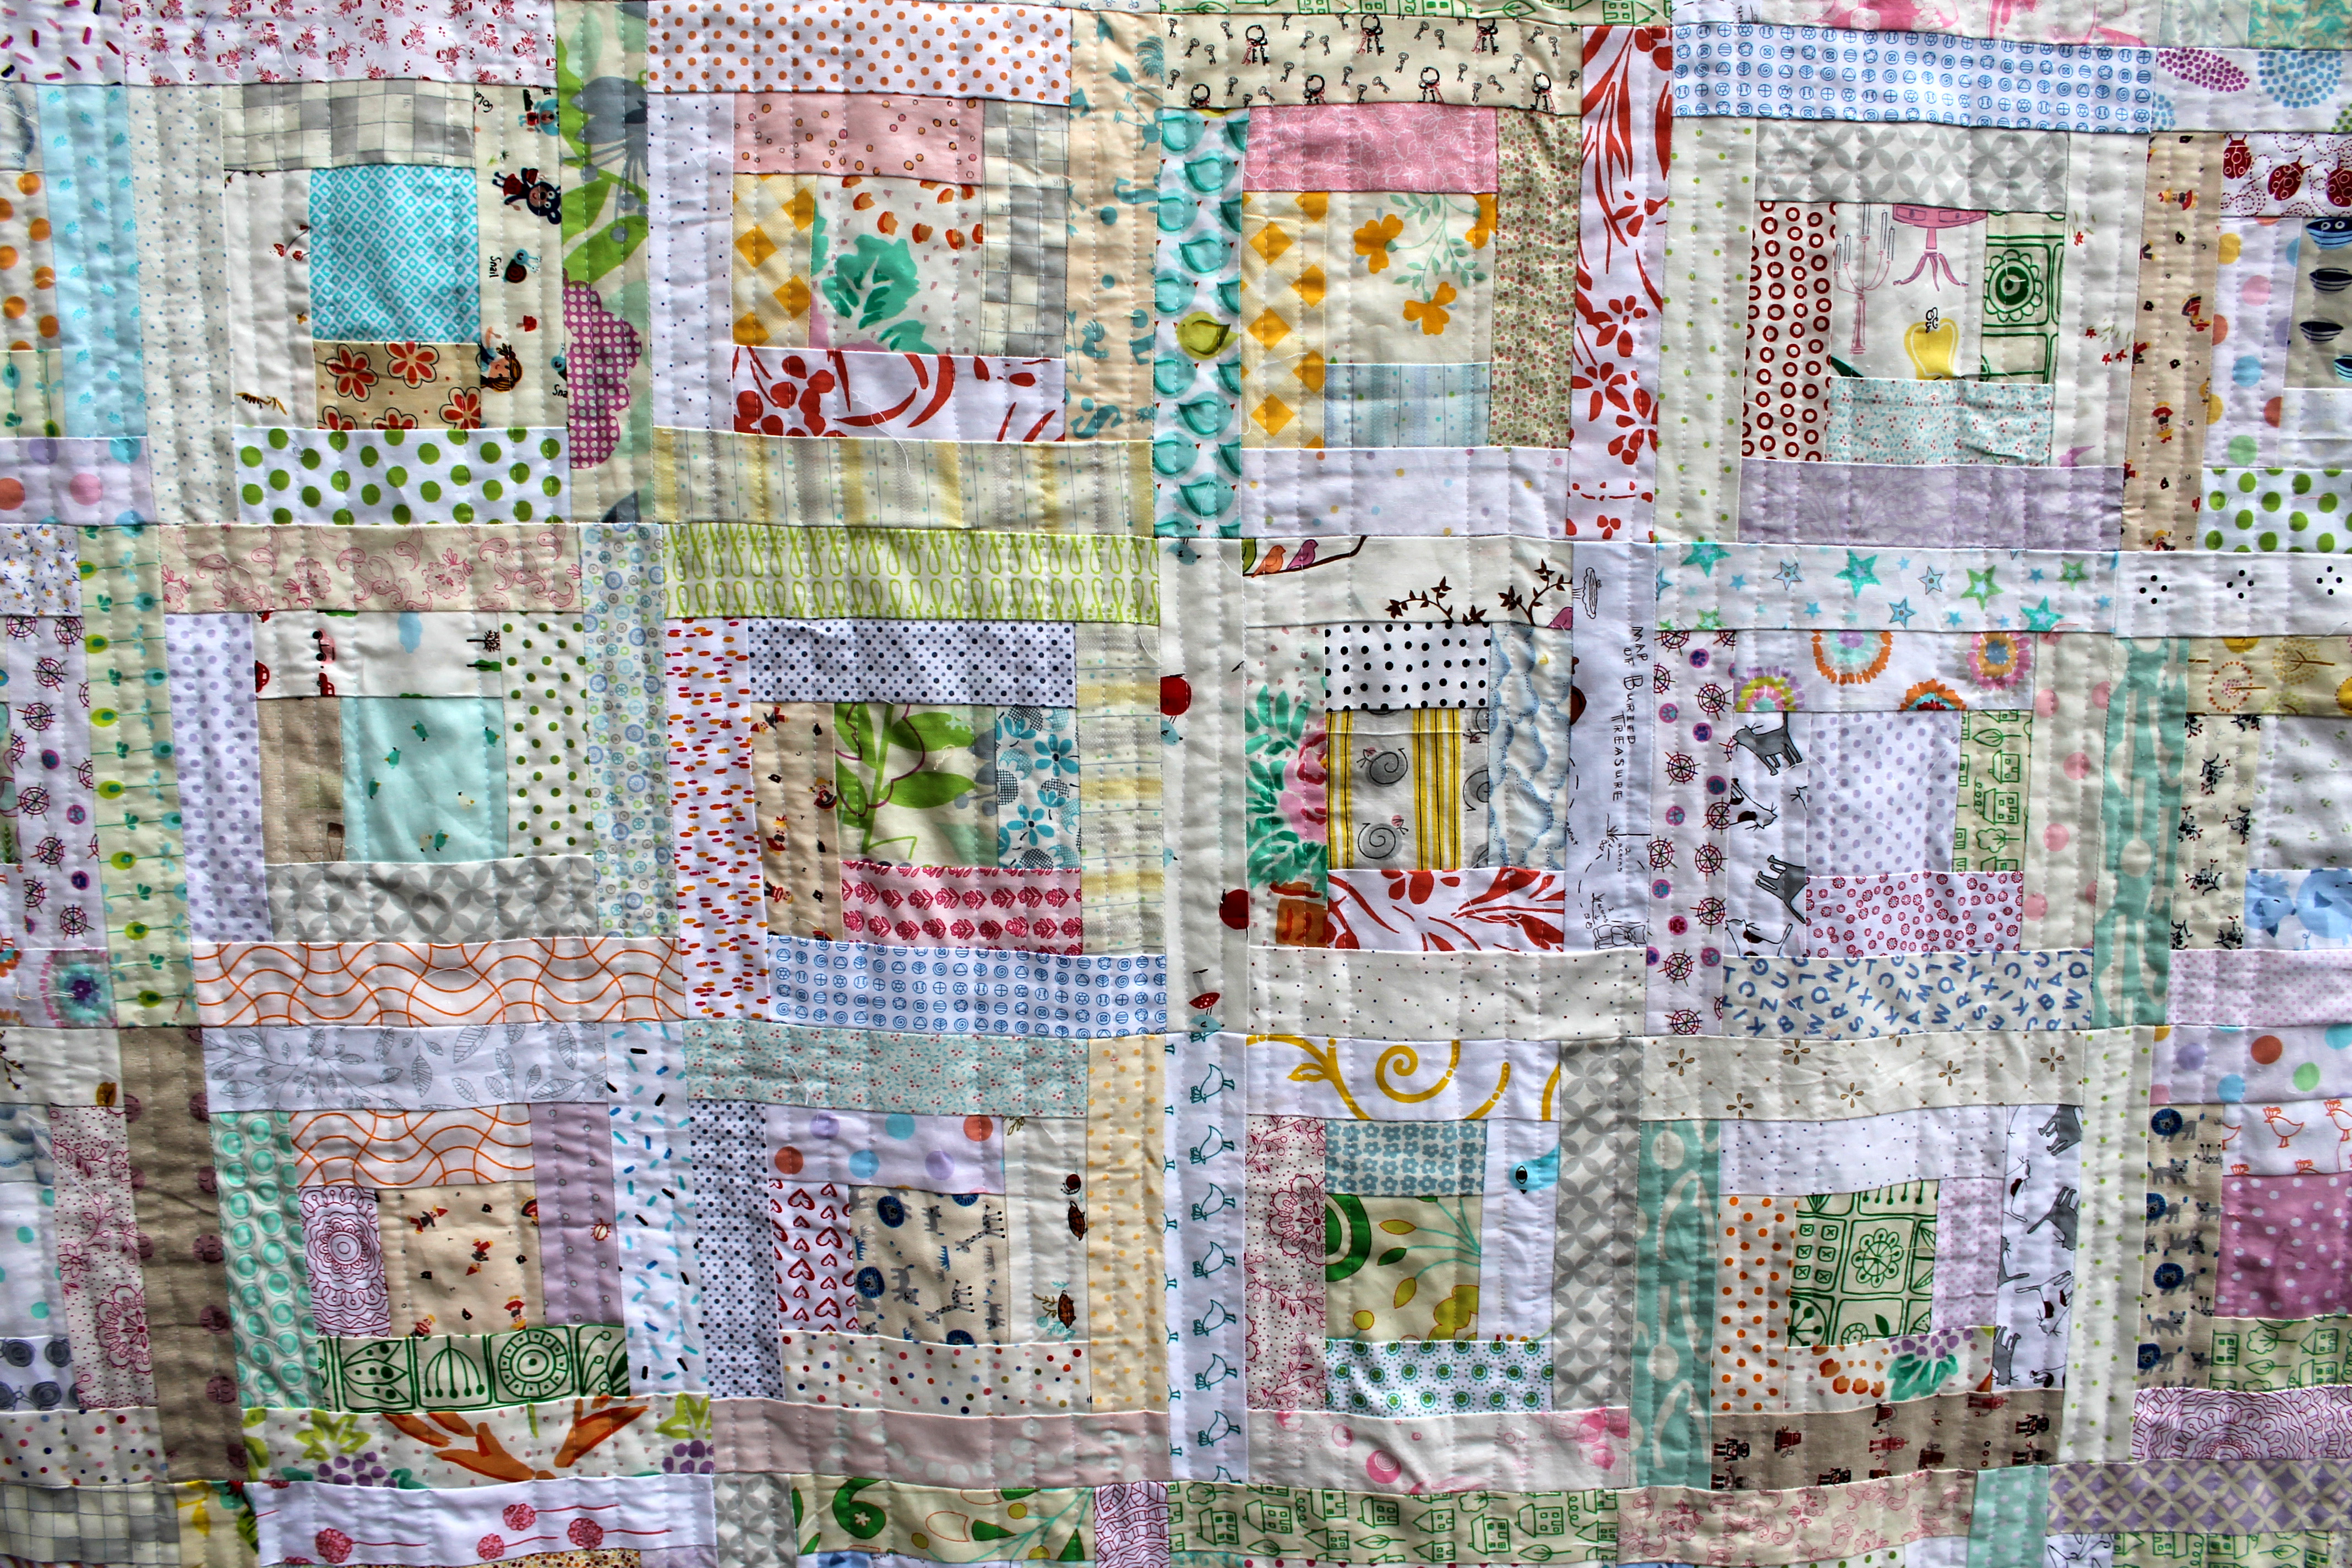
My two low volume quilts have been a challenge for me.  As you can tell from my other quilts I love colour and contrast and with low volume I was well and truly out of my comfort zone.   What was not a challenge, this time, was the quilting.  I decided to just run vertical lines down the quilt, using the block’s lines as a guide for my walking foot.  It was a lot  quilting/stitching (more tthan I usually do), but the end result is what makes me really love this quilt.  I can not wait to see how it puckers after washing!

quilting detail

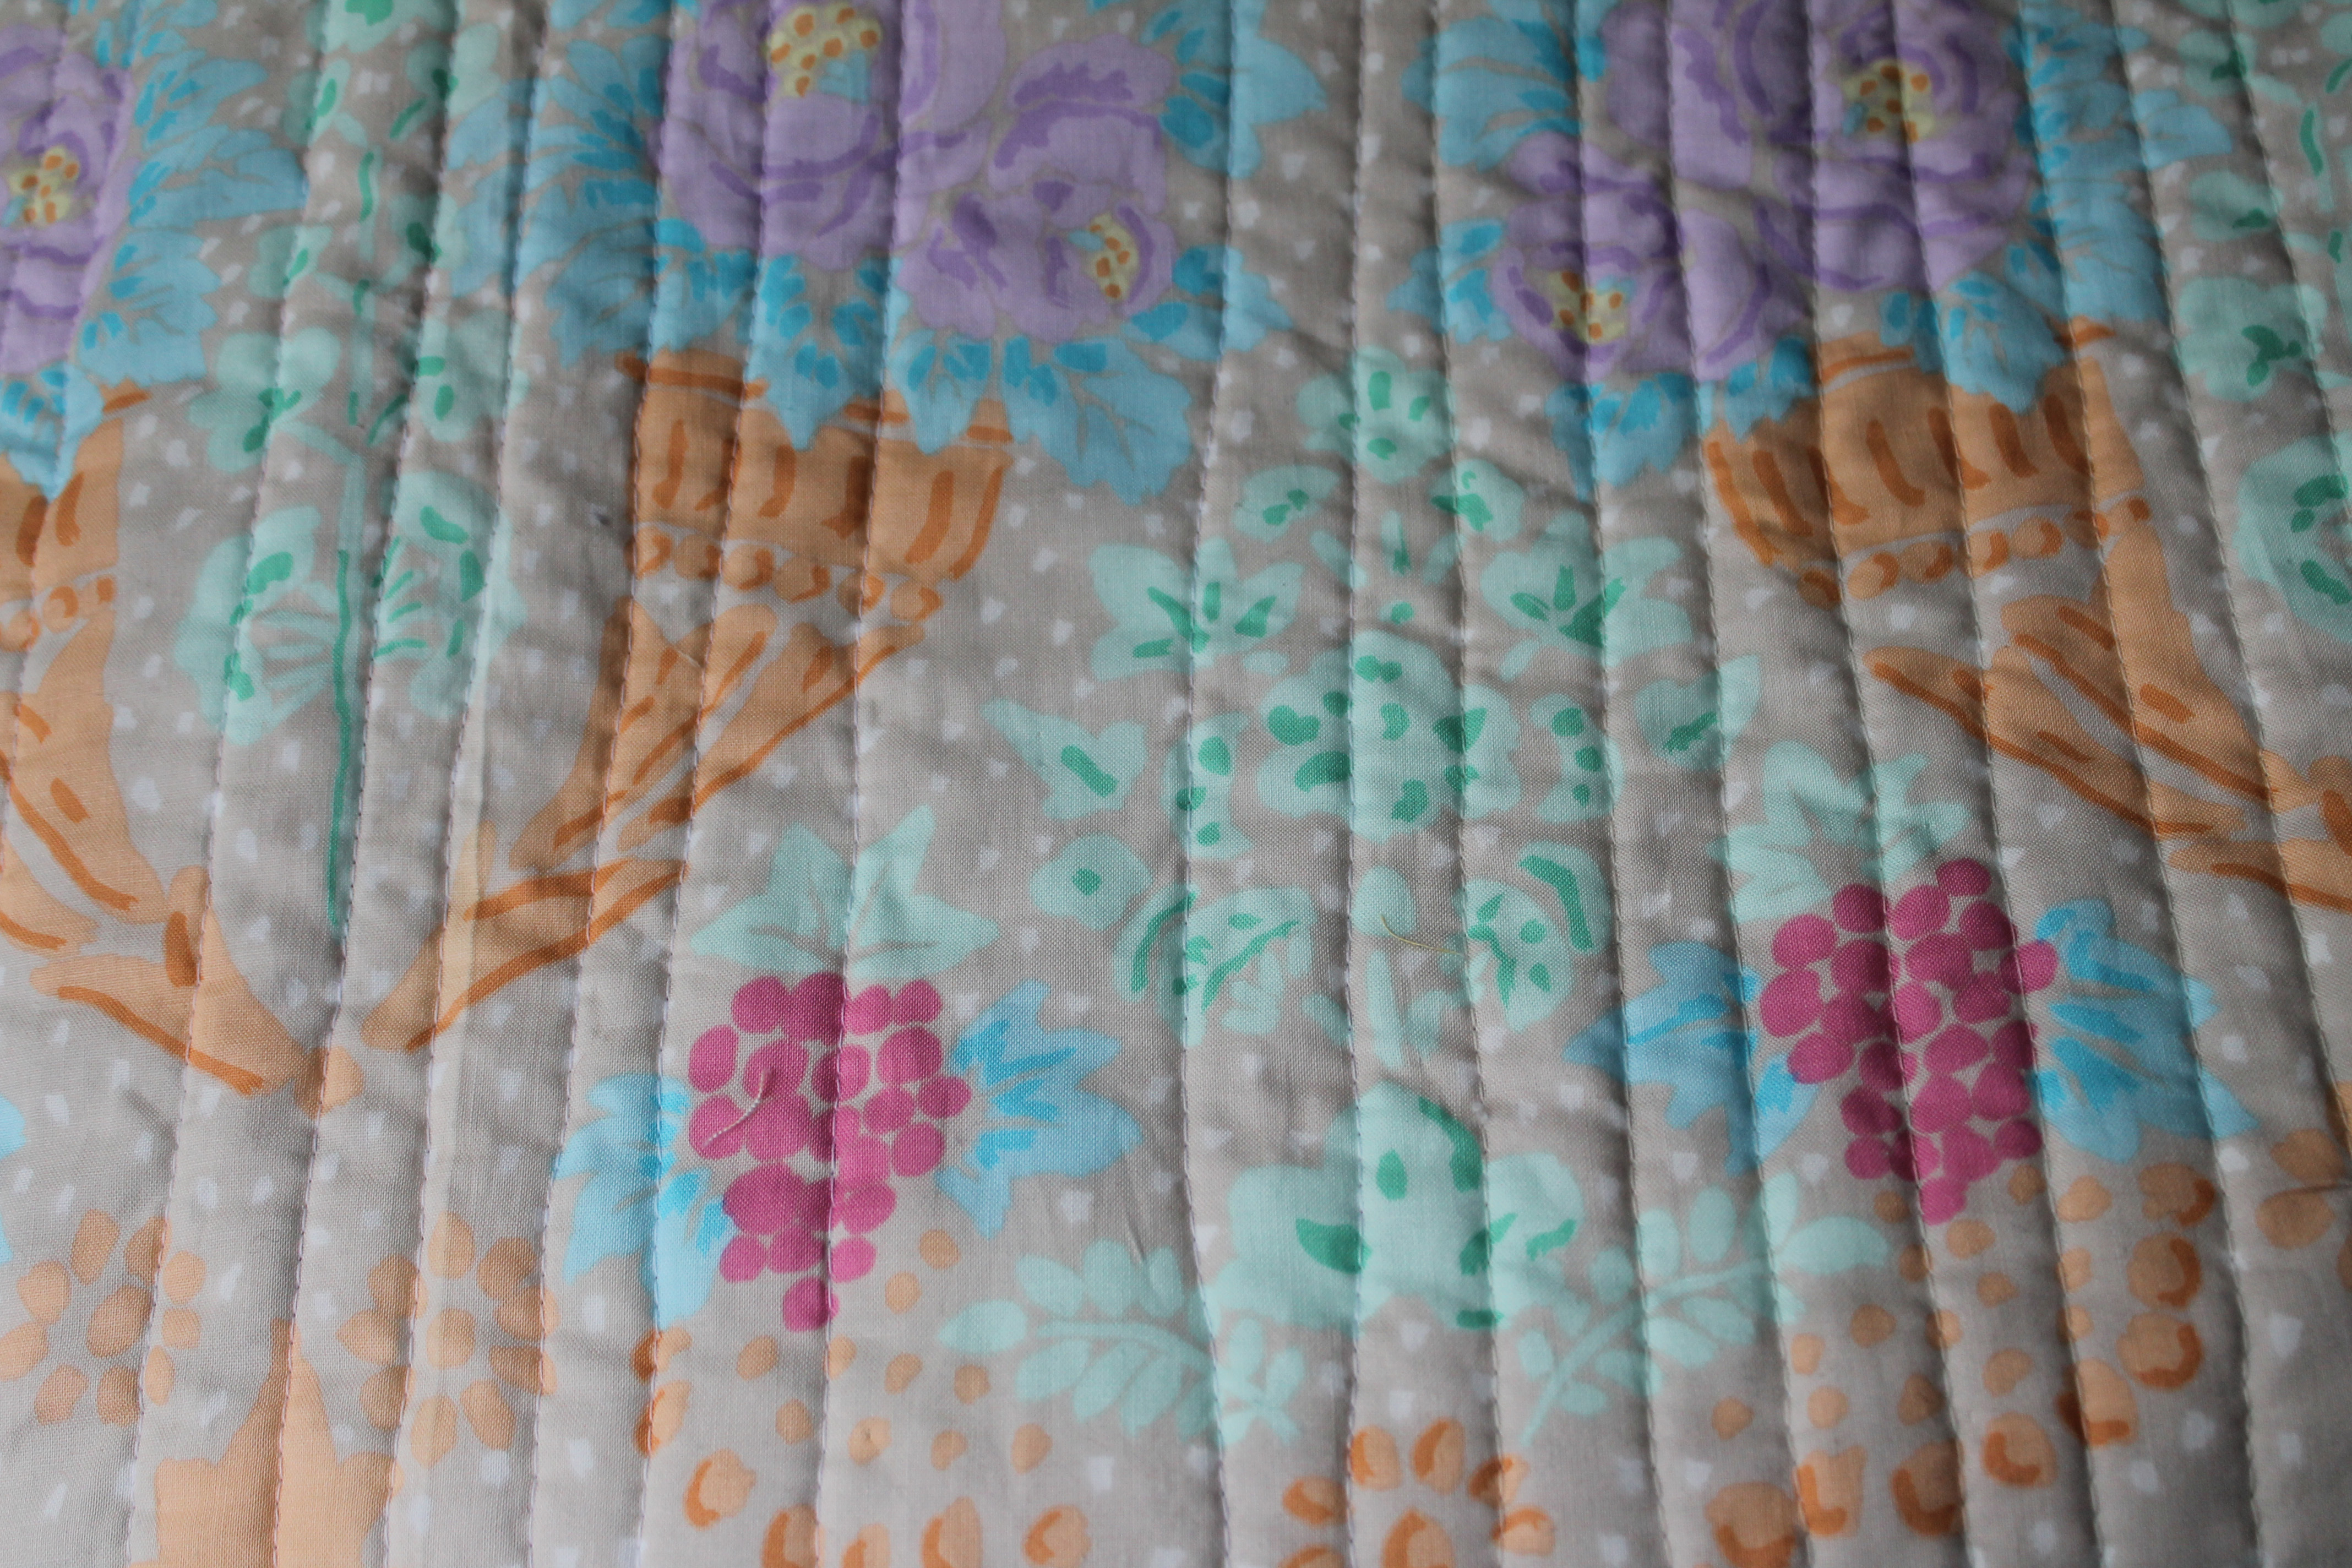
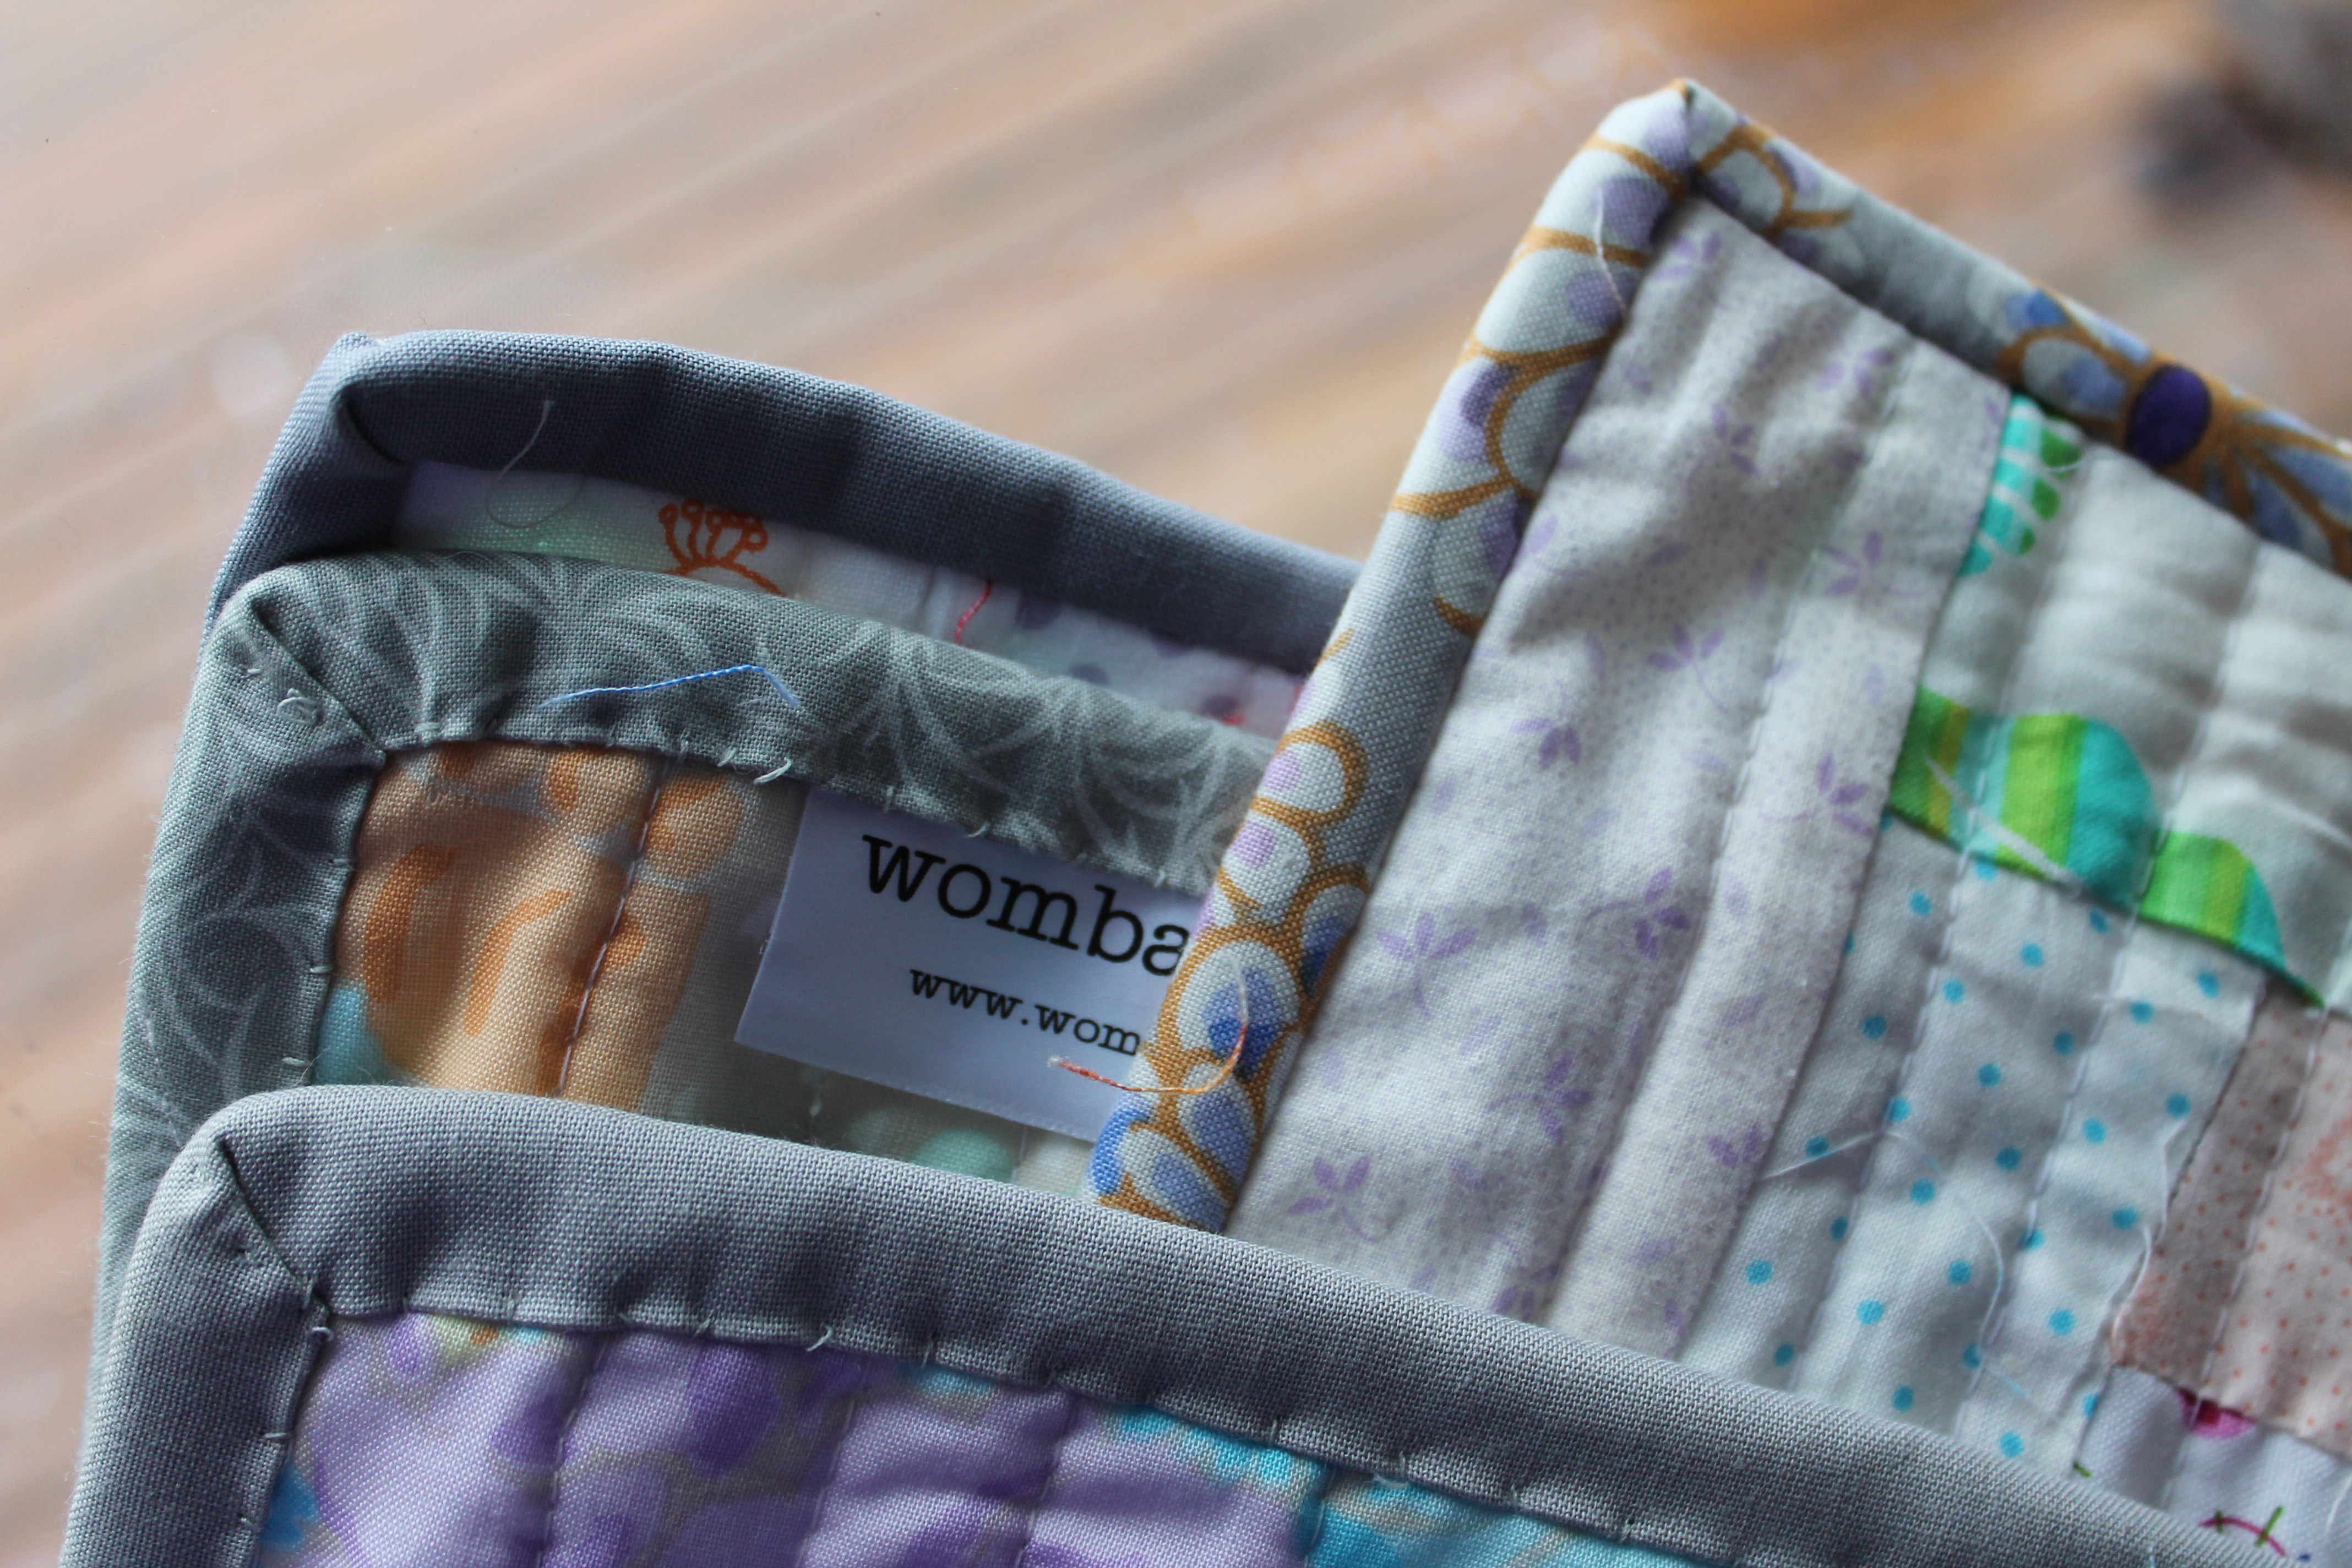
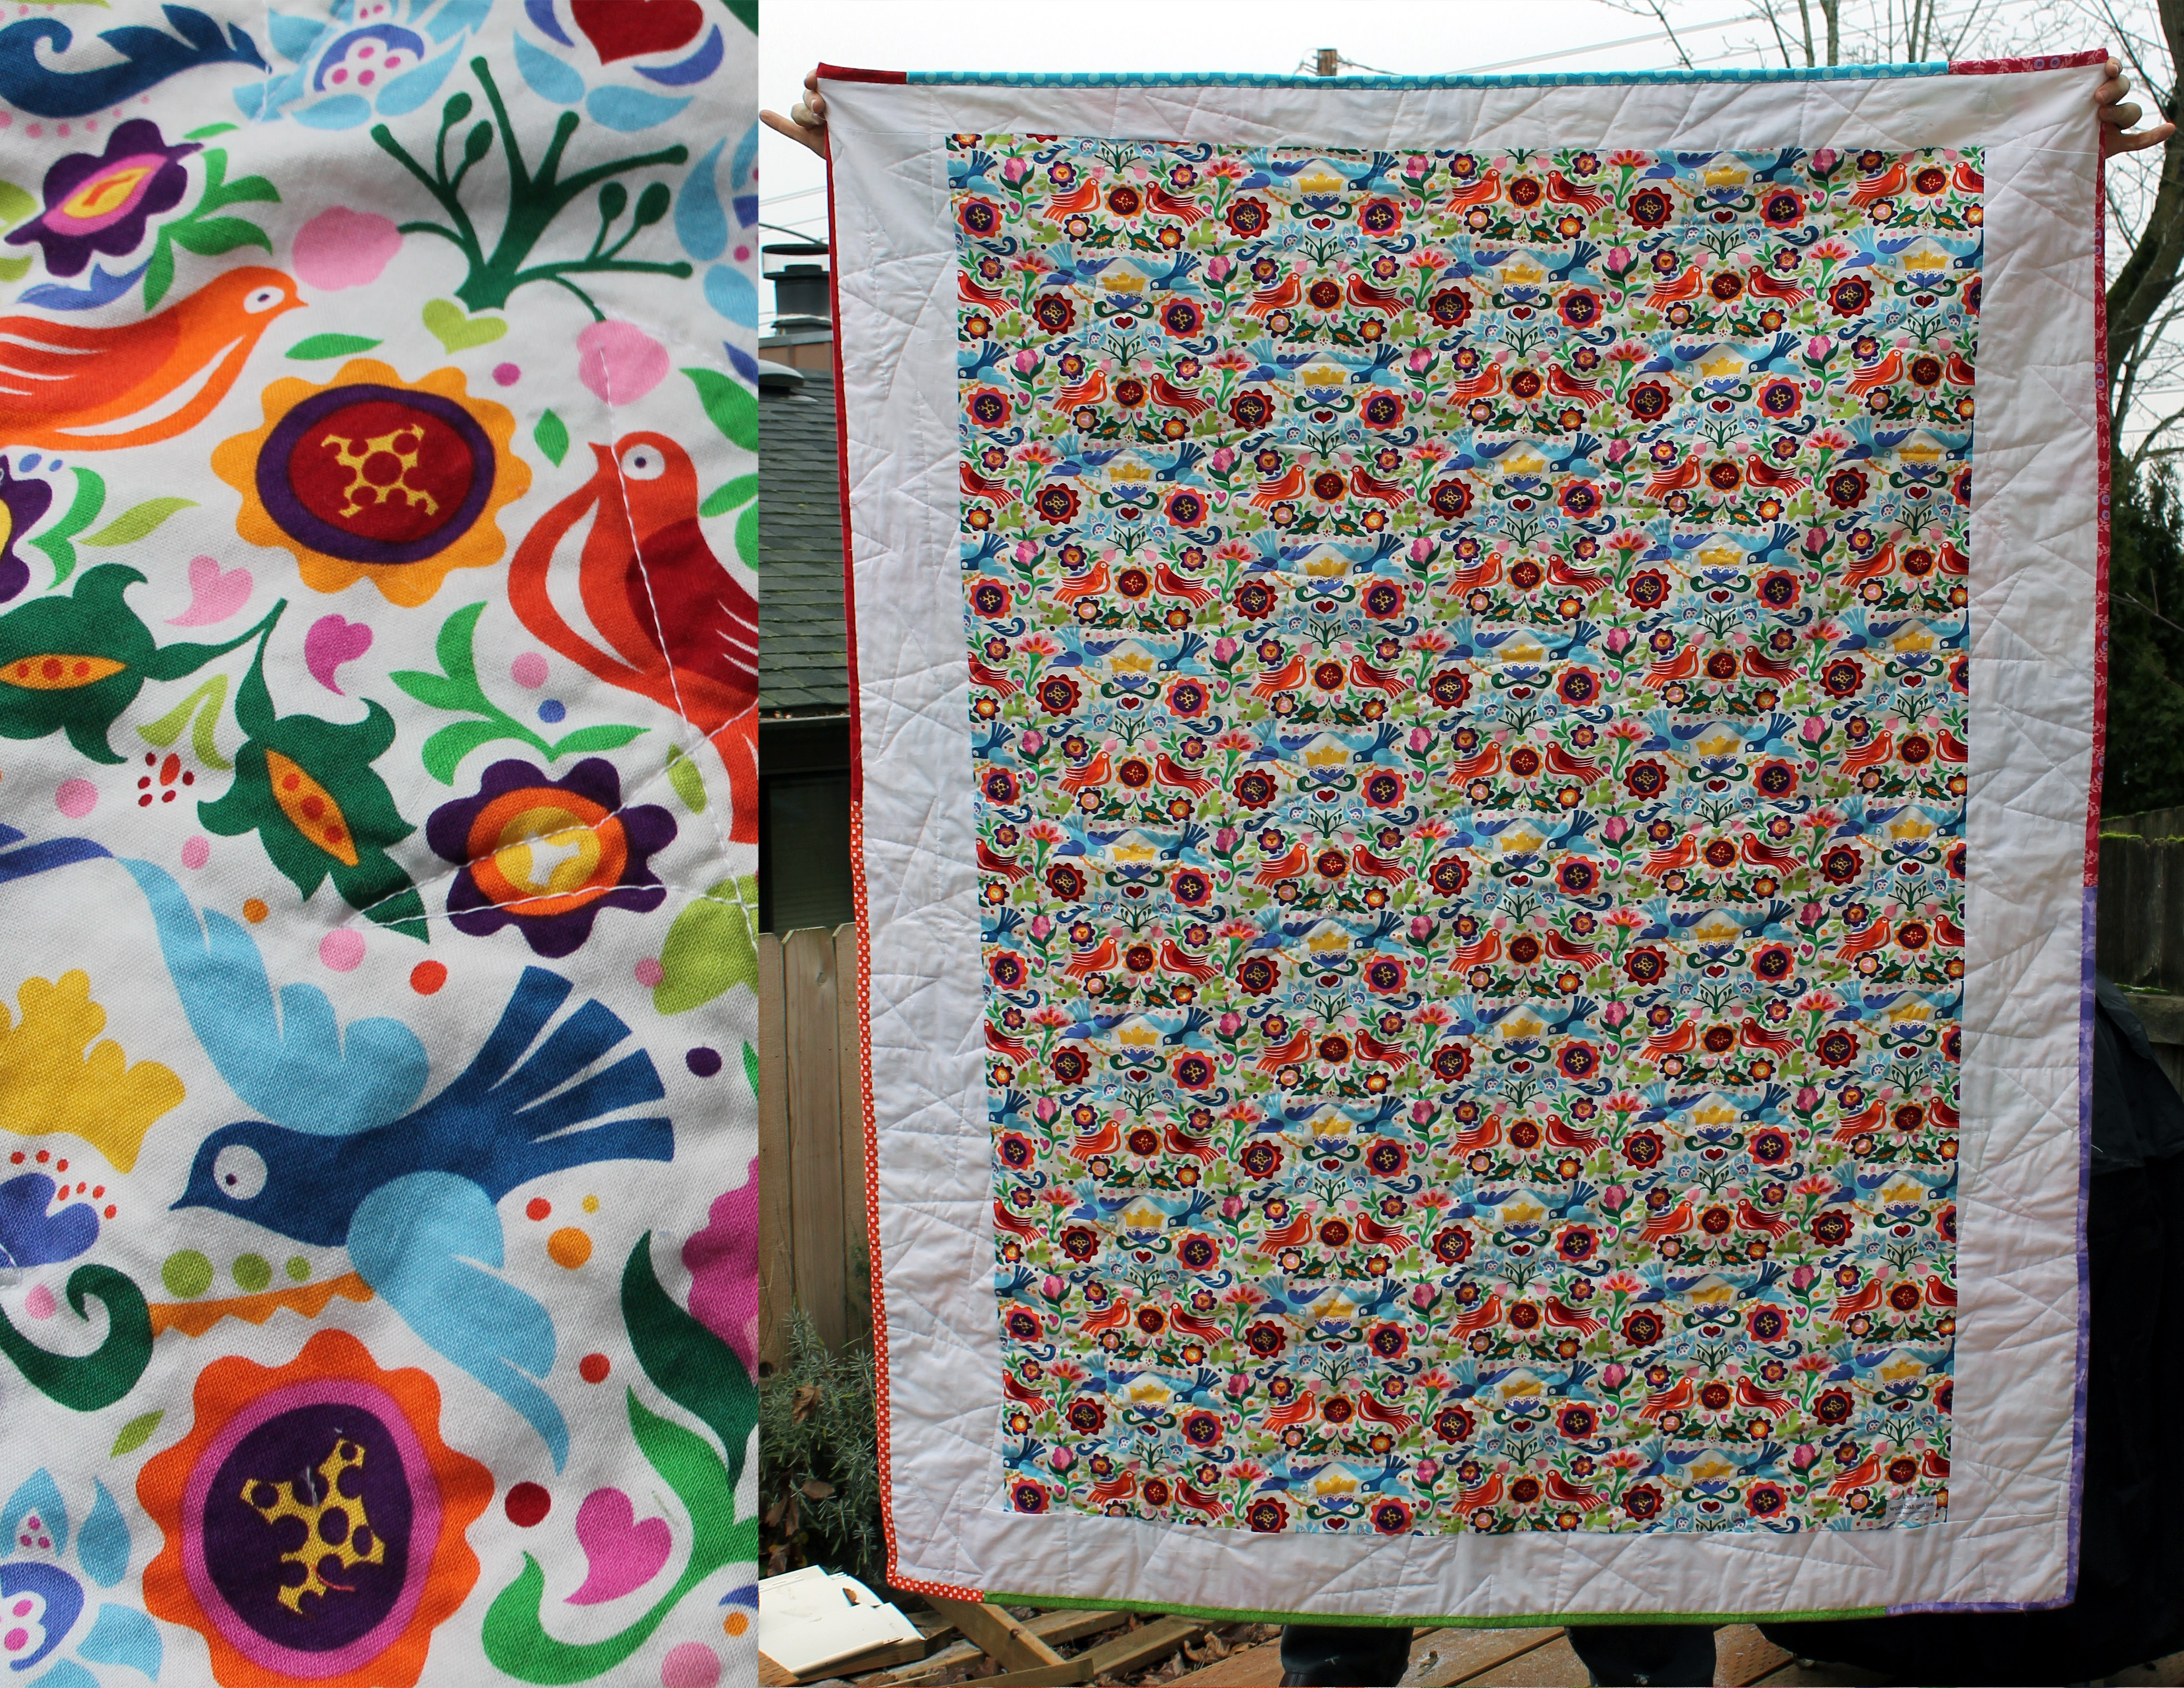
I used a single fabric print for the backing – a charming Kaffe Fassett floral which worked nicely withe the gentle tone of the front of the quilt. I finished the quilt with some scrappy grey binding, just the right colour to bring the whole thing together.

binding detail

Postage stamp quilt madness

This weeks work in progress actually started in April last year when Red Pepper Quilts posted their instructions on how to make a Postage stamp quilt. I had always wanted to make one and so, inspired I spent a couple of months just gradually cutting out 2 x 7 inch strips of fabric.  Every time I made a quilt I would cut some extra strips for my postage stamp quilt.

Fast forward to January 2013.  My pile of cut strips have been staring at me for months, daring me to start the process, so this week I dusted them off and bravely started.

cut fabric

Very quickly I realised that there was a special kind of madness in making a quilt with 1 1/2 inch squares.  MADNESS.  I started by chain piecing  two strips of fabric together , sewing piece after piece.  Then I chain pieced two of my sections together to form a block of 4 strips which were then ironed and cut into 2 inch strips.  Feel free to head here for Red Peppers more detailed/coherent  instructions.

Then the crazy really kicks in… as you now have piles and piles of 2 x 6.5 inch strips which have to be sewn into blocks of 4 strips.  At this point seam allowance becomes crucial and you also give up worrying about colour placement and surrender to the process.

quilting work station

I am currently putting together my blocks, slowly but surely – the direction of your seams is important to make sure that the blocks sit right, which slows the sewing for me.  I have made some progress – 17 blocks done 30+ more to go!!!!  I have been fascinated by how the look of a fabric changes when it is cut into such a small piece.  Patterns are out of context and colours appear that you did not know were there.

quilt blocks in progress

I just keep reminding myself (a) that it will be worth it in the end and (b) I never have to do this again.  To keep myself motivated I did sew a couple of blocks together so I could see the effect.  This quilt is going to make for one crazy game of eye spy.

postage stamp quilt block.

Paper Piecing Monday Part 8

Welcome to another Monday of paper piecing stars.  Another week another red and aqua block for my star sampler.

papaer pieced star 8

This block is of course from Quilting on the Square’s collection.  You can also download this pattern here block5kaleidoscope.

paper piece pattern

This is a really pretty block and I think it would be fun to play with the block pieces.  What else can you do with this part of the block?  I am definitely going to have to play with deconstructing this block, just for fun.

paper pieced block

Project Linus Day

Thursday was the once a month meeting of the Portland chapter of Project Linus (our website is here if you are interested).  We meet on the third Thursday of every month to prepare  quilts for delivery. This month I delivered 5 quilts including my wonky star, and my two flower garden quilts.

quilts deliver to Project Linus

Every month a dedicated group of ladies gather at A Common Thread and spend three plus hours processing 200 + quilts and blankets.

ladies at workEach quilt is checked and sized (baby, child or teen).  A Project Linus label is then sewn one to the back of the quilt/blanket.  Finally the blanket/quilt is tied with ribbon and the size card and a poem is attached.

project linus quilt labels

By end of the day the hallway of the store was full of bags of quilts, all sorted and ready to go out into the community.

bags of quilt

Wonky Star Quilt finished

I finally finished my wonky star quilt. I had blogged about finishing the top a month or so ago and it has taken me a while to actually get it quilted.  I am really pleased with how it turned out.  It is a true scrap quilt using different colour bits and pieces for the stars as well as scraps of tone on tone whites for the background.

finished wonky star quilt

I  ummed and ahhed about how to quilt it.  I started doing a loopy quilting pattern but did not like it so unpicked it all and started again.  I ended up quilting stars all over – no set pattern just big and little stars all over.  I really do have to work on my quilting skills.  I get bored with this part of the process and I must admit I get a little sloppy.

wonky star quilt detail

I backed the quilt with a wonderful Alexander Henry fabric that just really worked with the colours I used.  I framed the fabric I had with a white border which I think works okay. I love the fabric but probably could have found another way to make it work.  I have just discovered Elizabeth Hartman’s FREE Craftsy course on quilt backs which has got me thinking about other ways to back my quilts.  It is a great course and you can find it here.

wonky star quilt back detail copy

I have now washed the quilt and it is ready for delivery to Project Linus.  I post wash all my quilts before I deliver them to PL. I do love the feel and look of the quilt when it has been washed, all soft and puckered. Are you a post or pre washer?

wonky star quilting detail