Quilting with friends

Wednesday I had a wonderful day quilting with some of the members of the Portland Modern Quilt Guild.  We had an incredibly productive day and finished 3 quilt tops and also threw a quilt up on the long arm.

What made the day extra special was that we were working in a space that was displaying a collection of our Medallion quilts…

medallion quilts
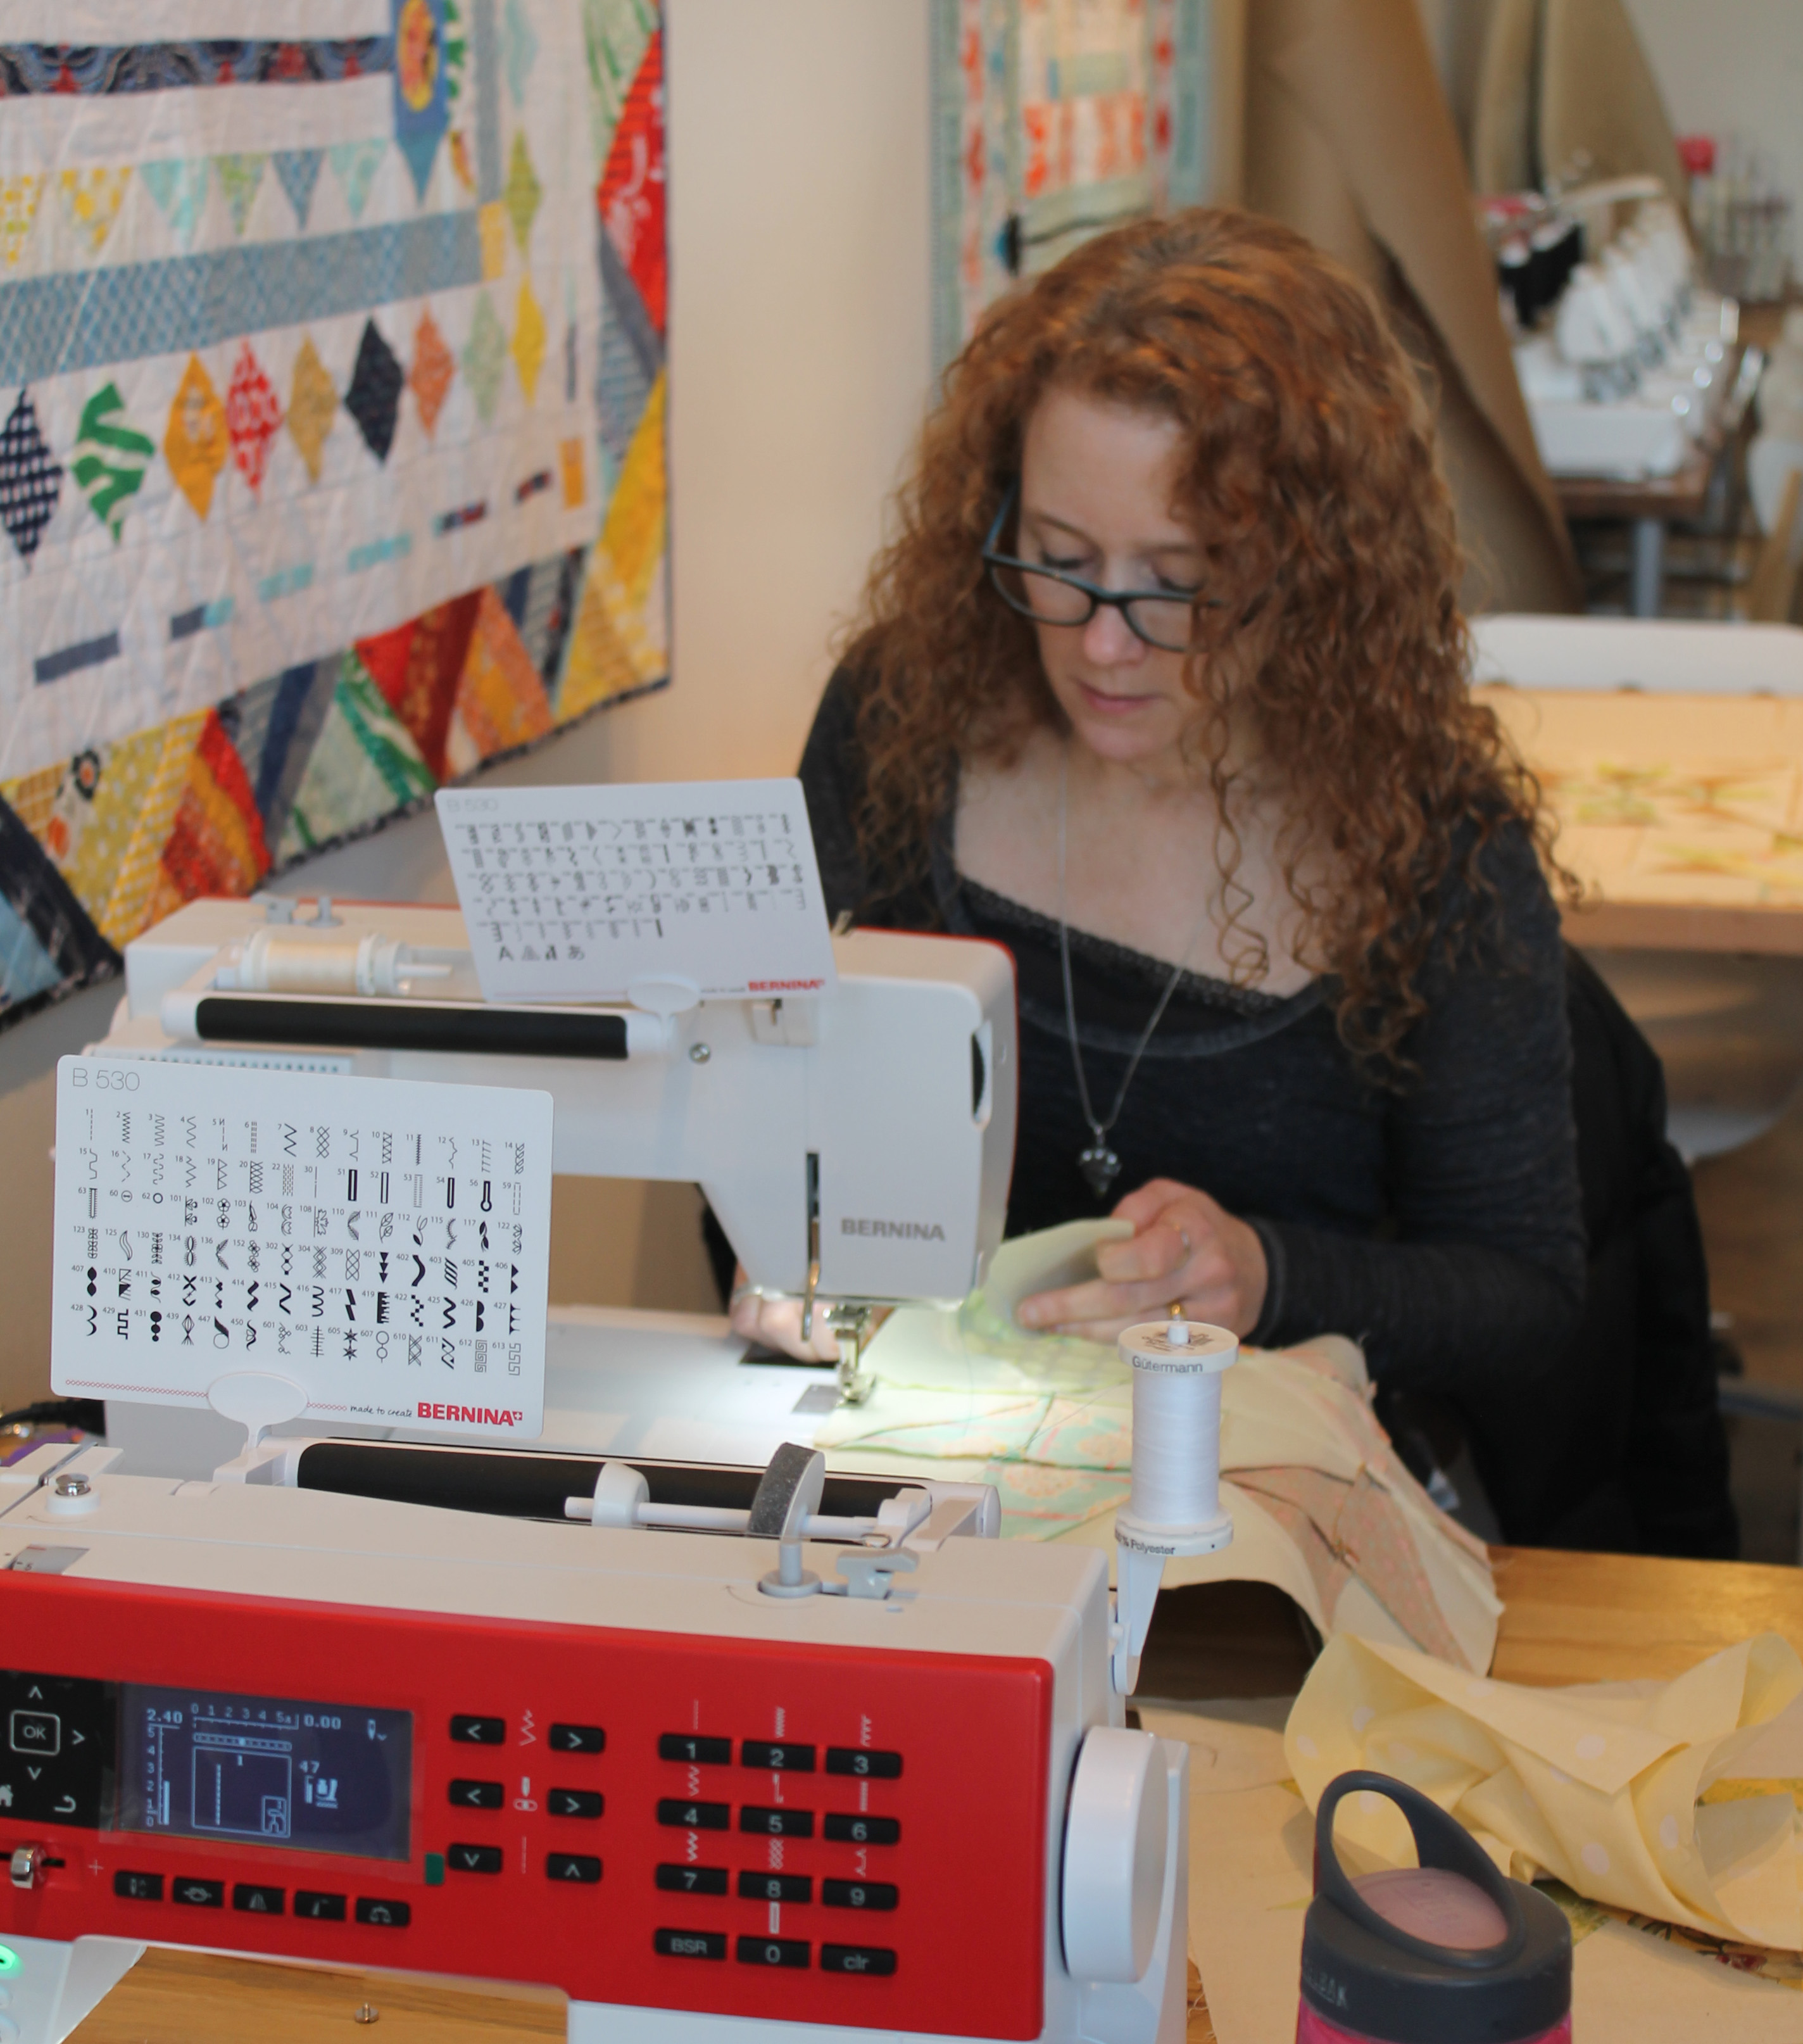
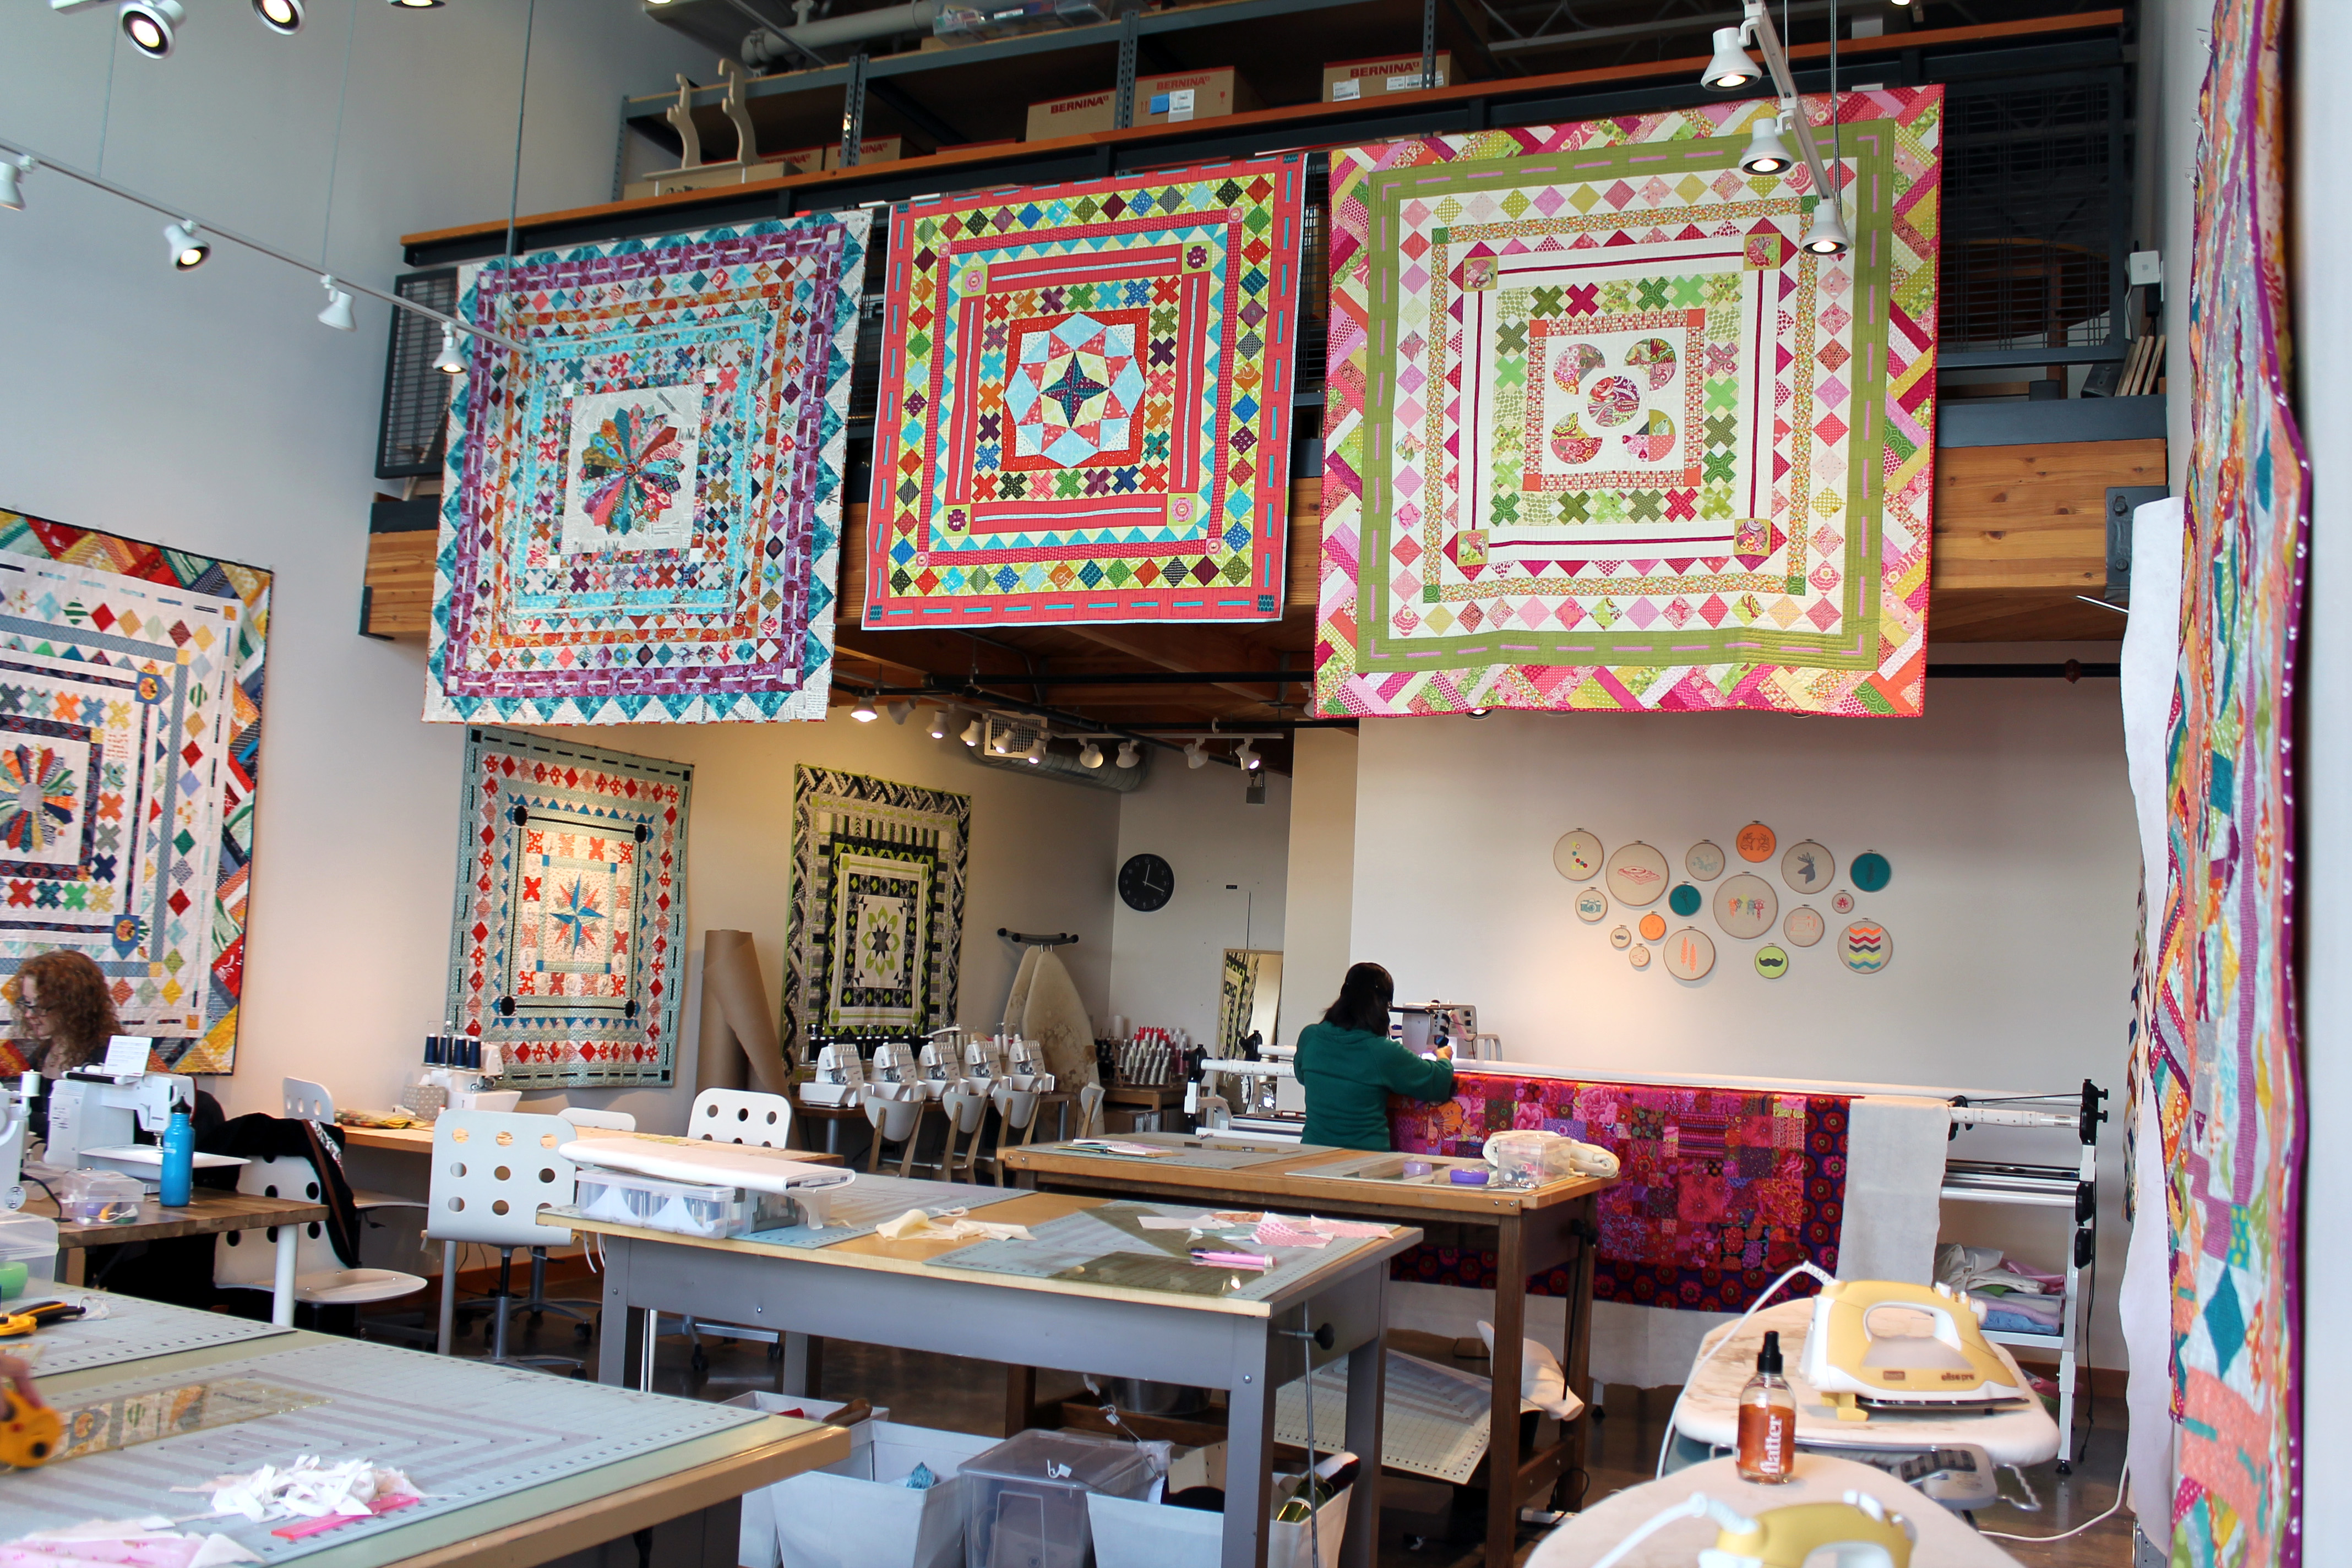
Once a month Modern Domestic hosts our charity sew day.  We get to work in their wonderful space and use the amazing Bernina sewing machines in their work room.  It is always hard for me to go back to my basic Brother machine after a day of luxury sewing on the Bernina!

Sewing on the berninaSo what did we get done I hear you ask….

Kaffe fassett quilt top
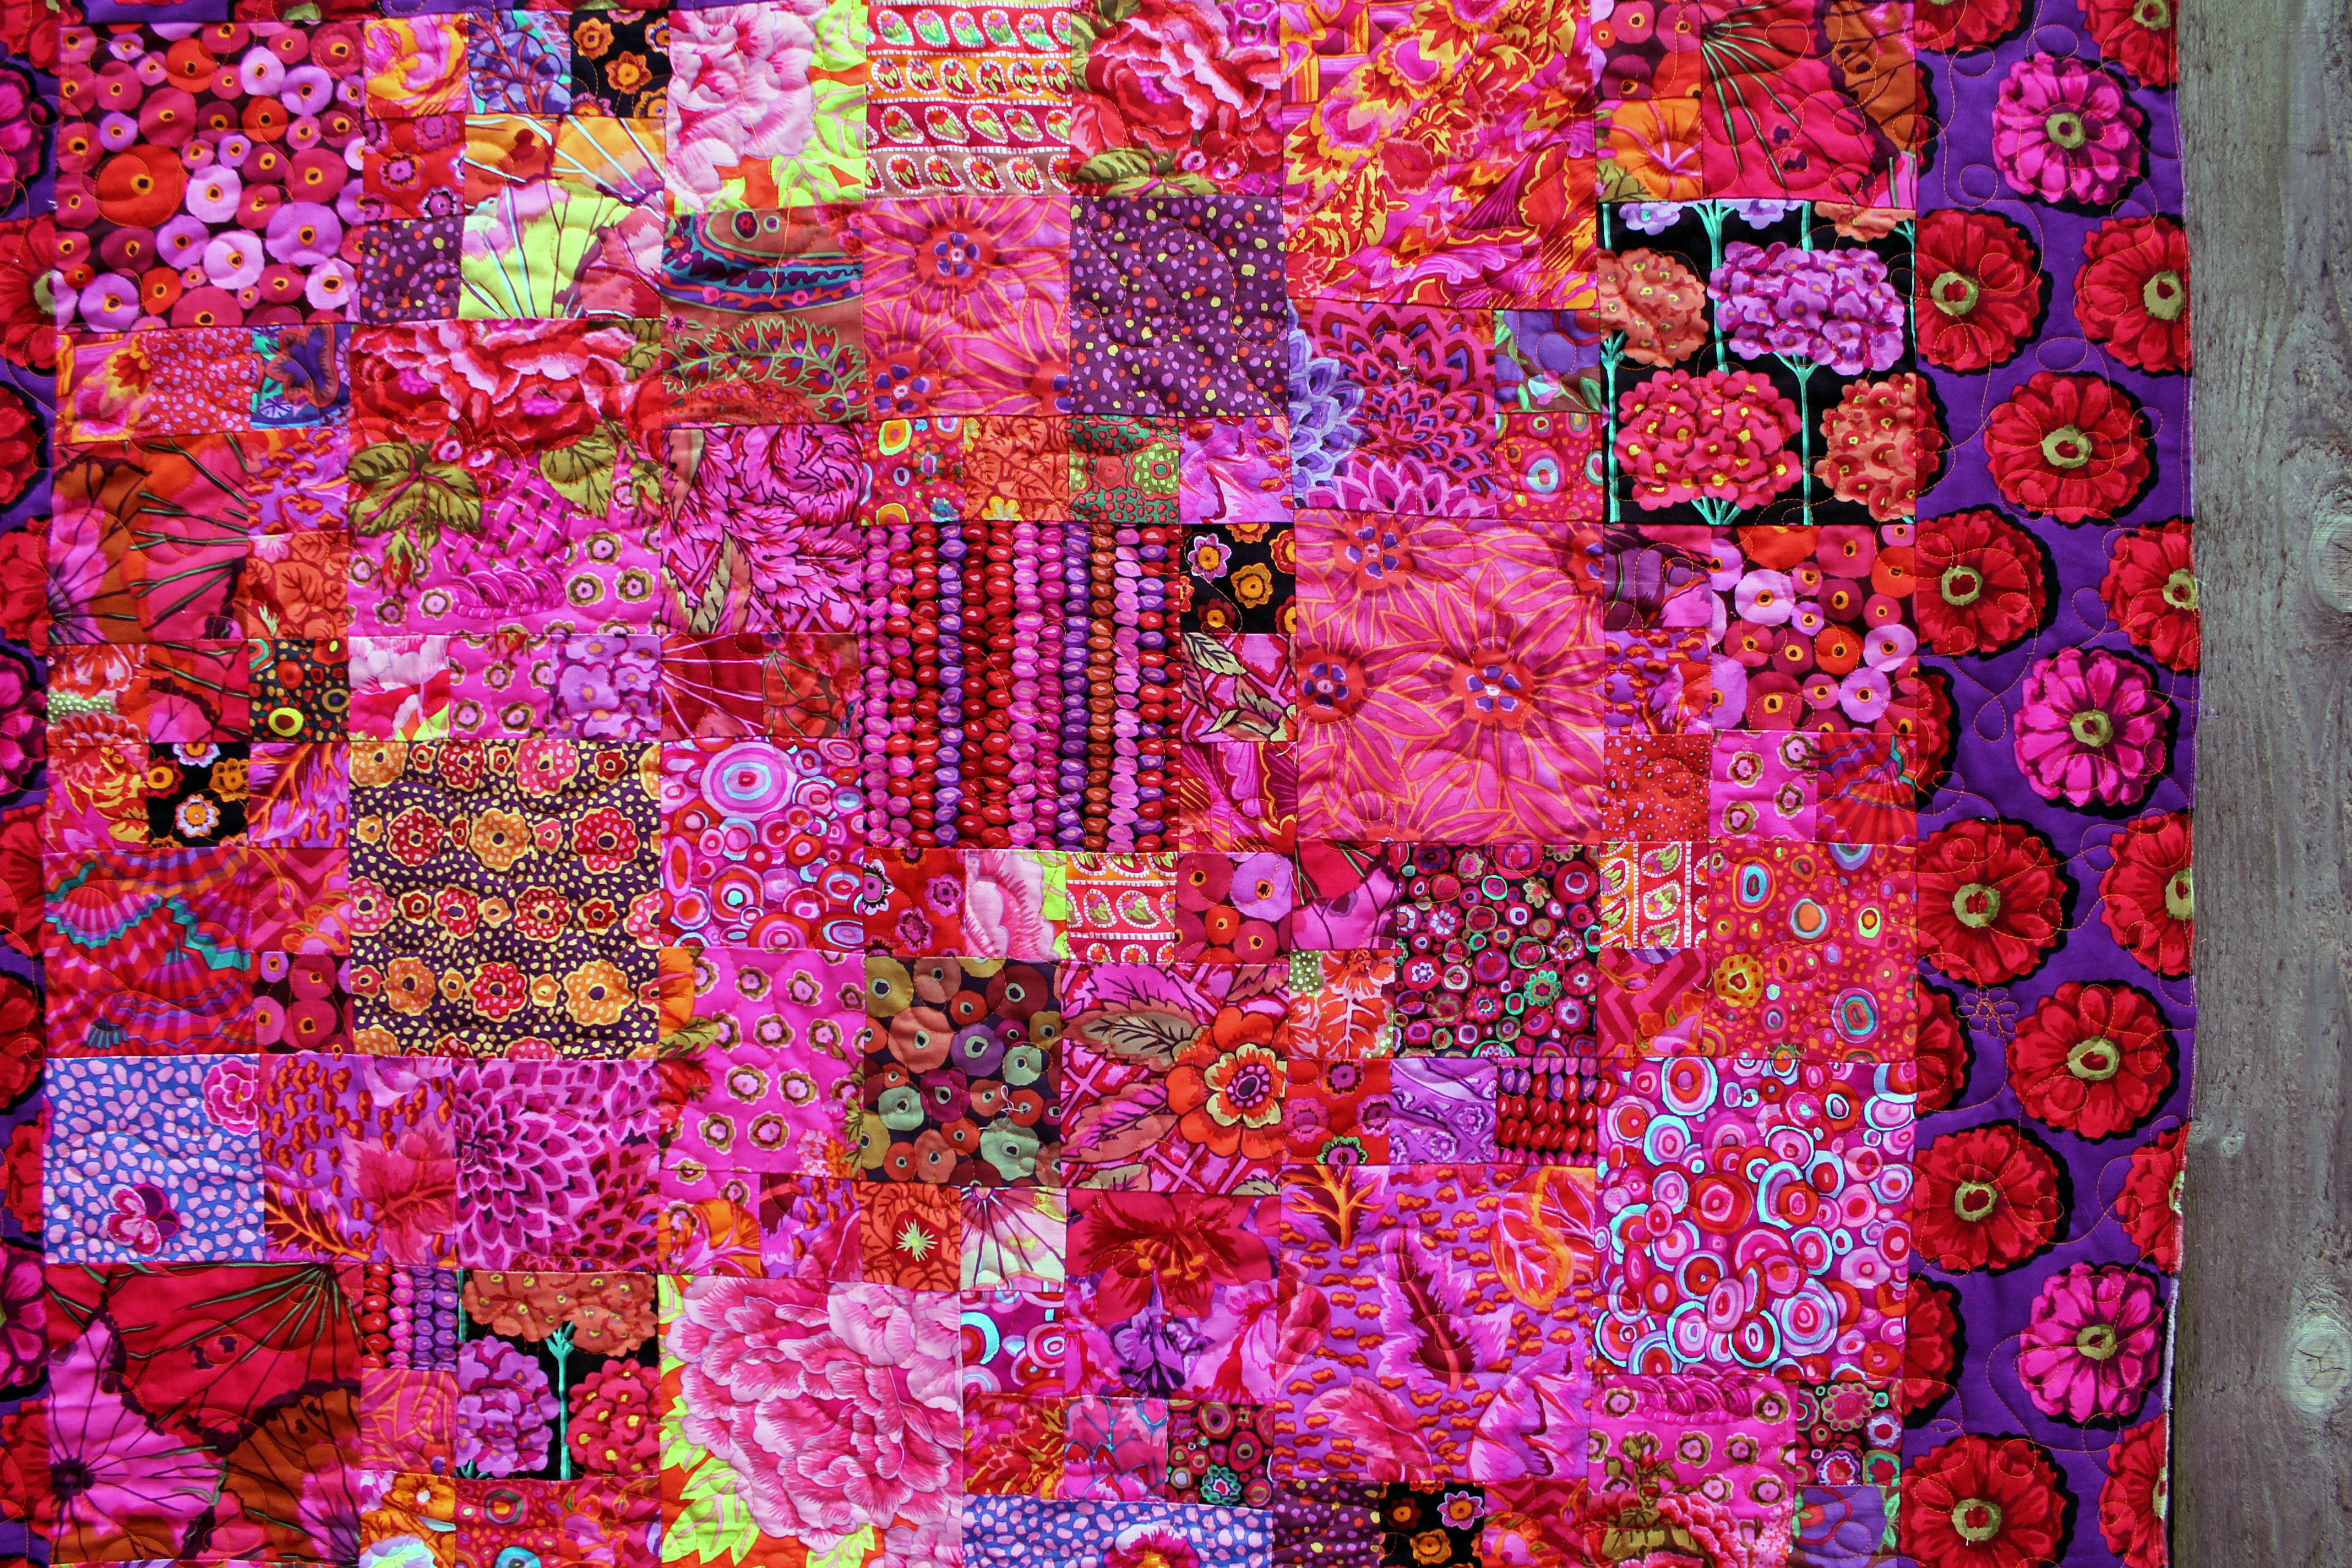
We managed to get this floral beauty quilted on the long-arm machine.

Kaffe fassett detailLots of loops and a couple of flowers were stitched into the top by a number of PMQG members.  It is really fun to have a top that anyone can have a turn on, so we usually use a simple free motion technique and people can embellish if they are so inclined.

quilt detail
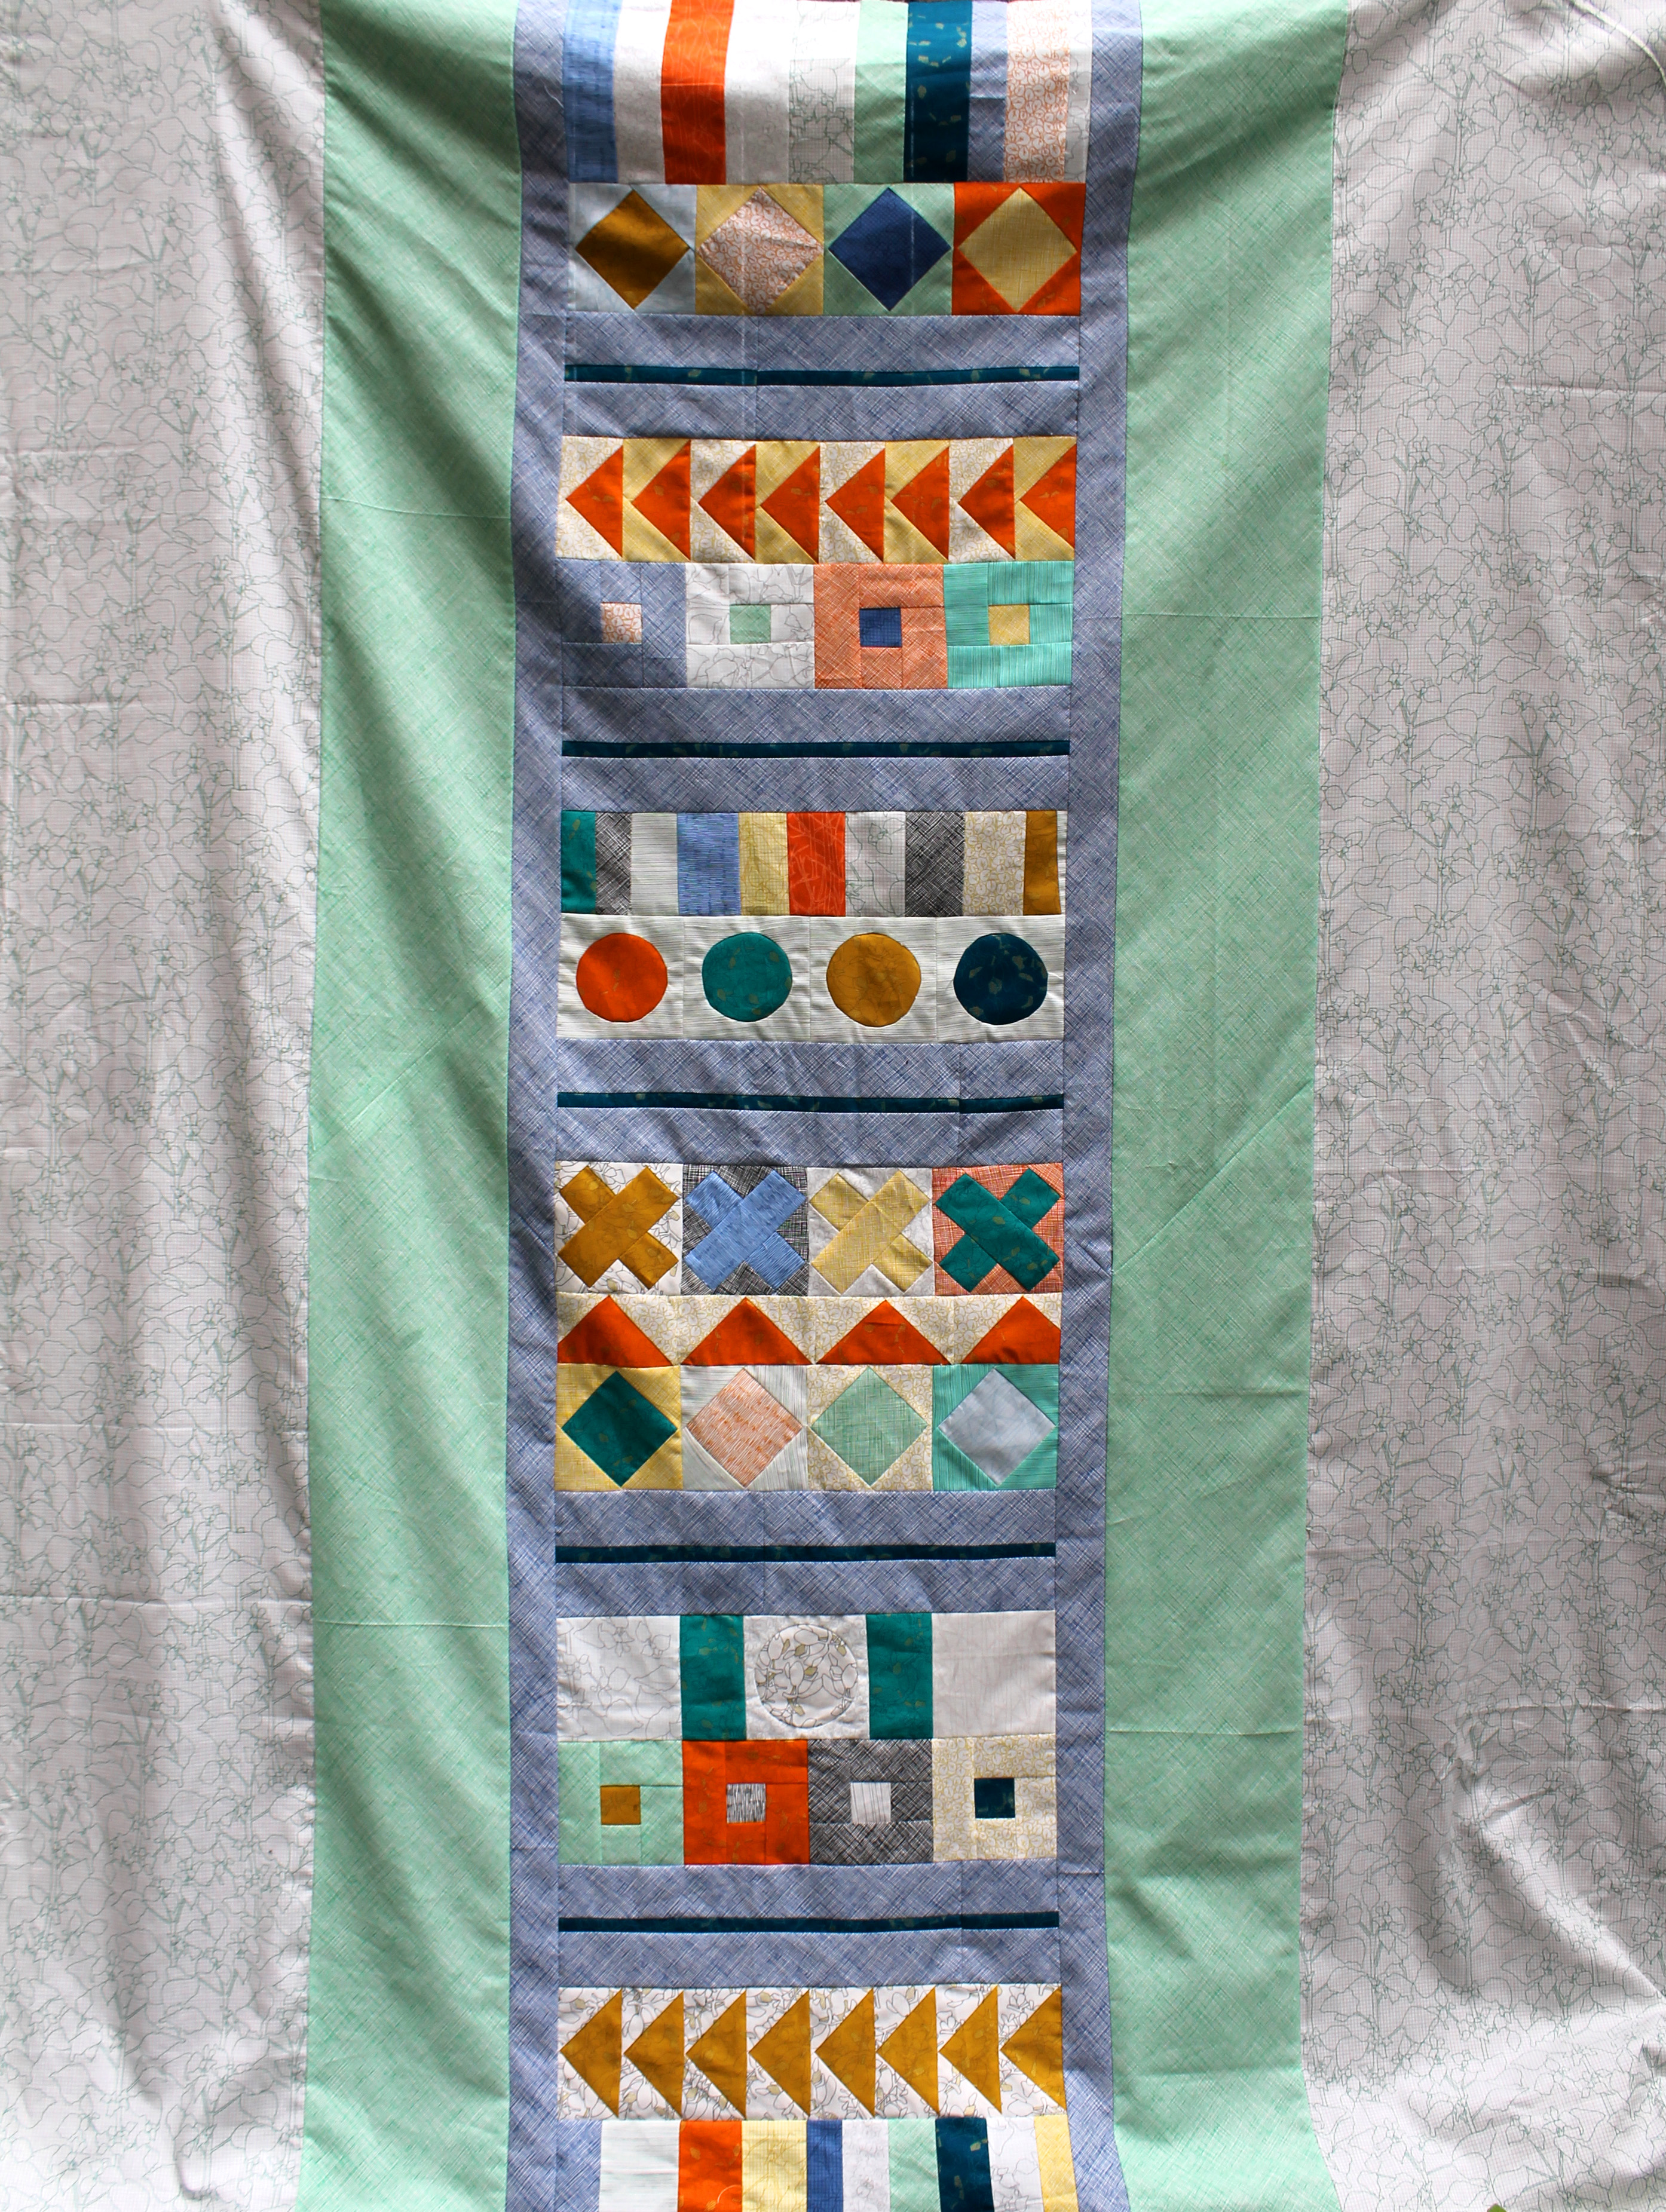
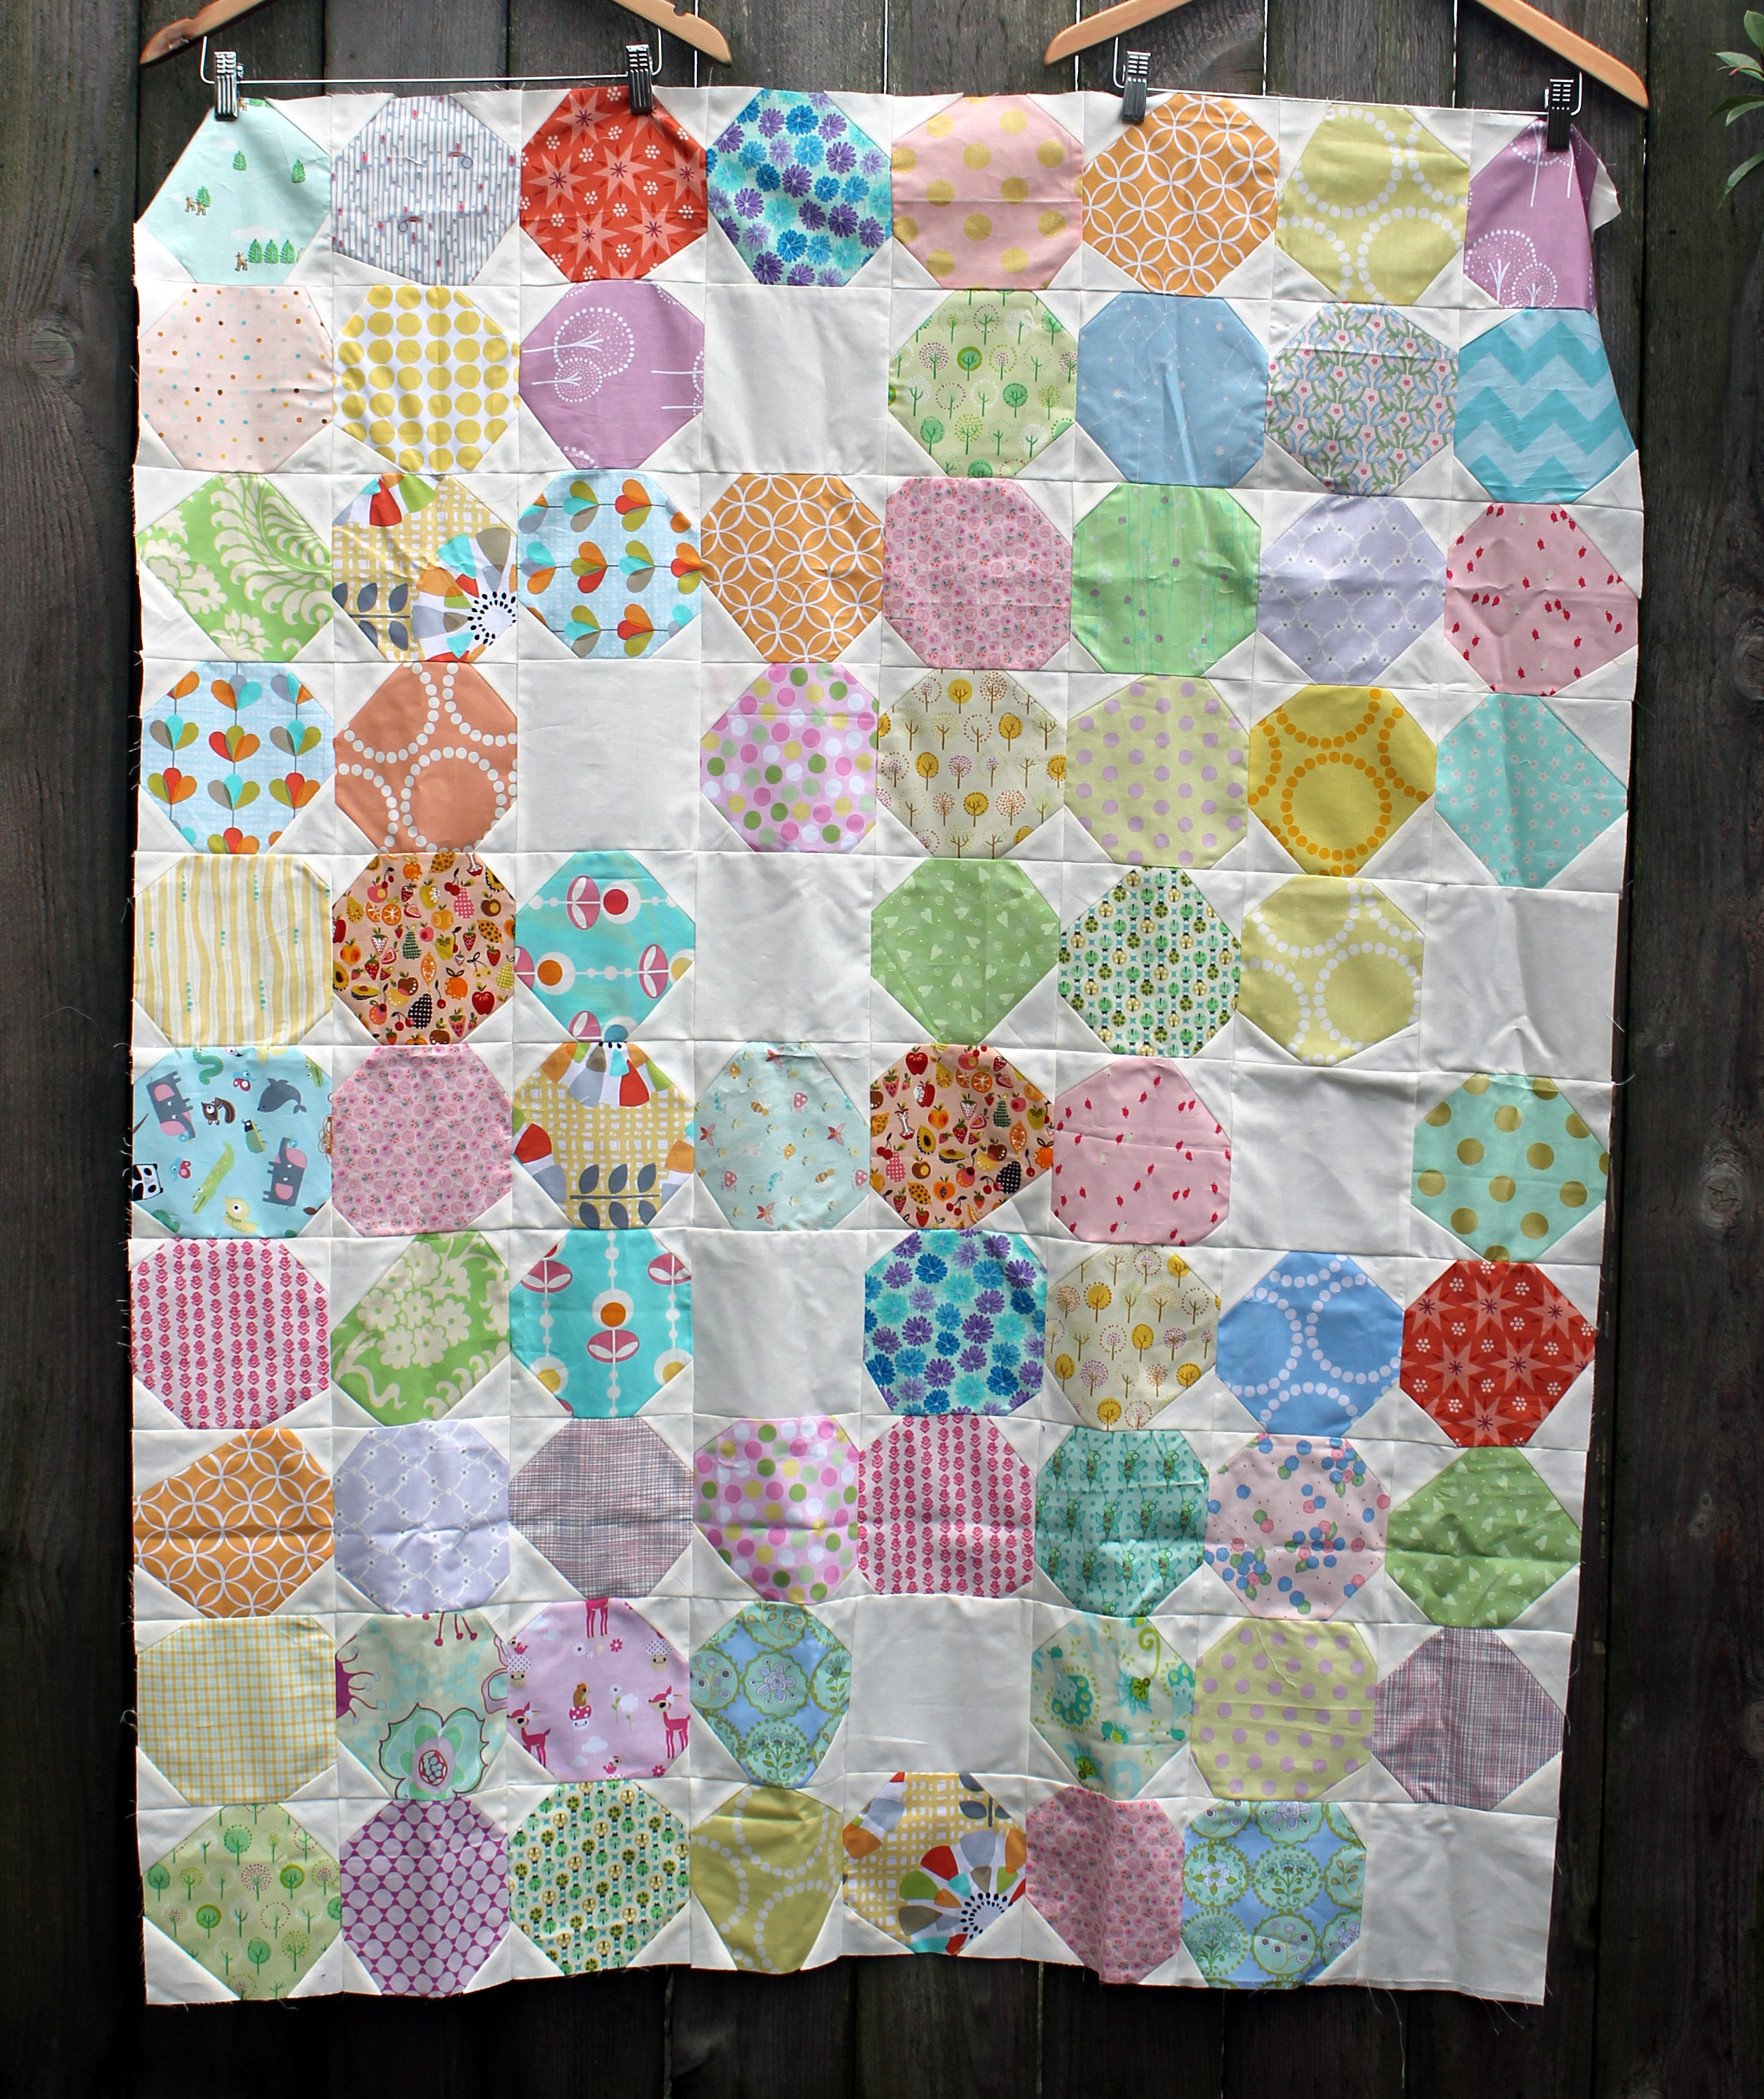
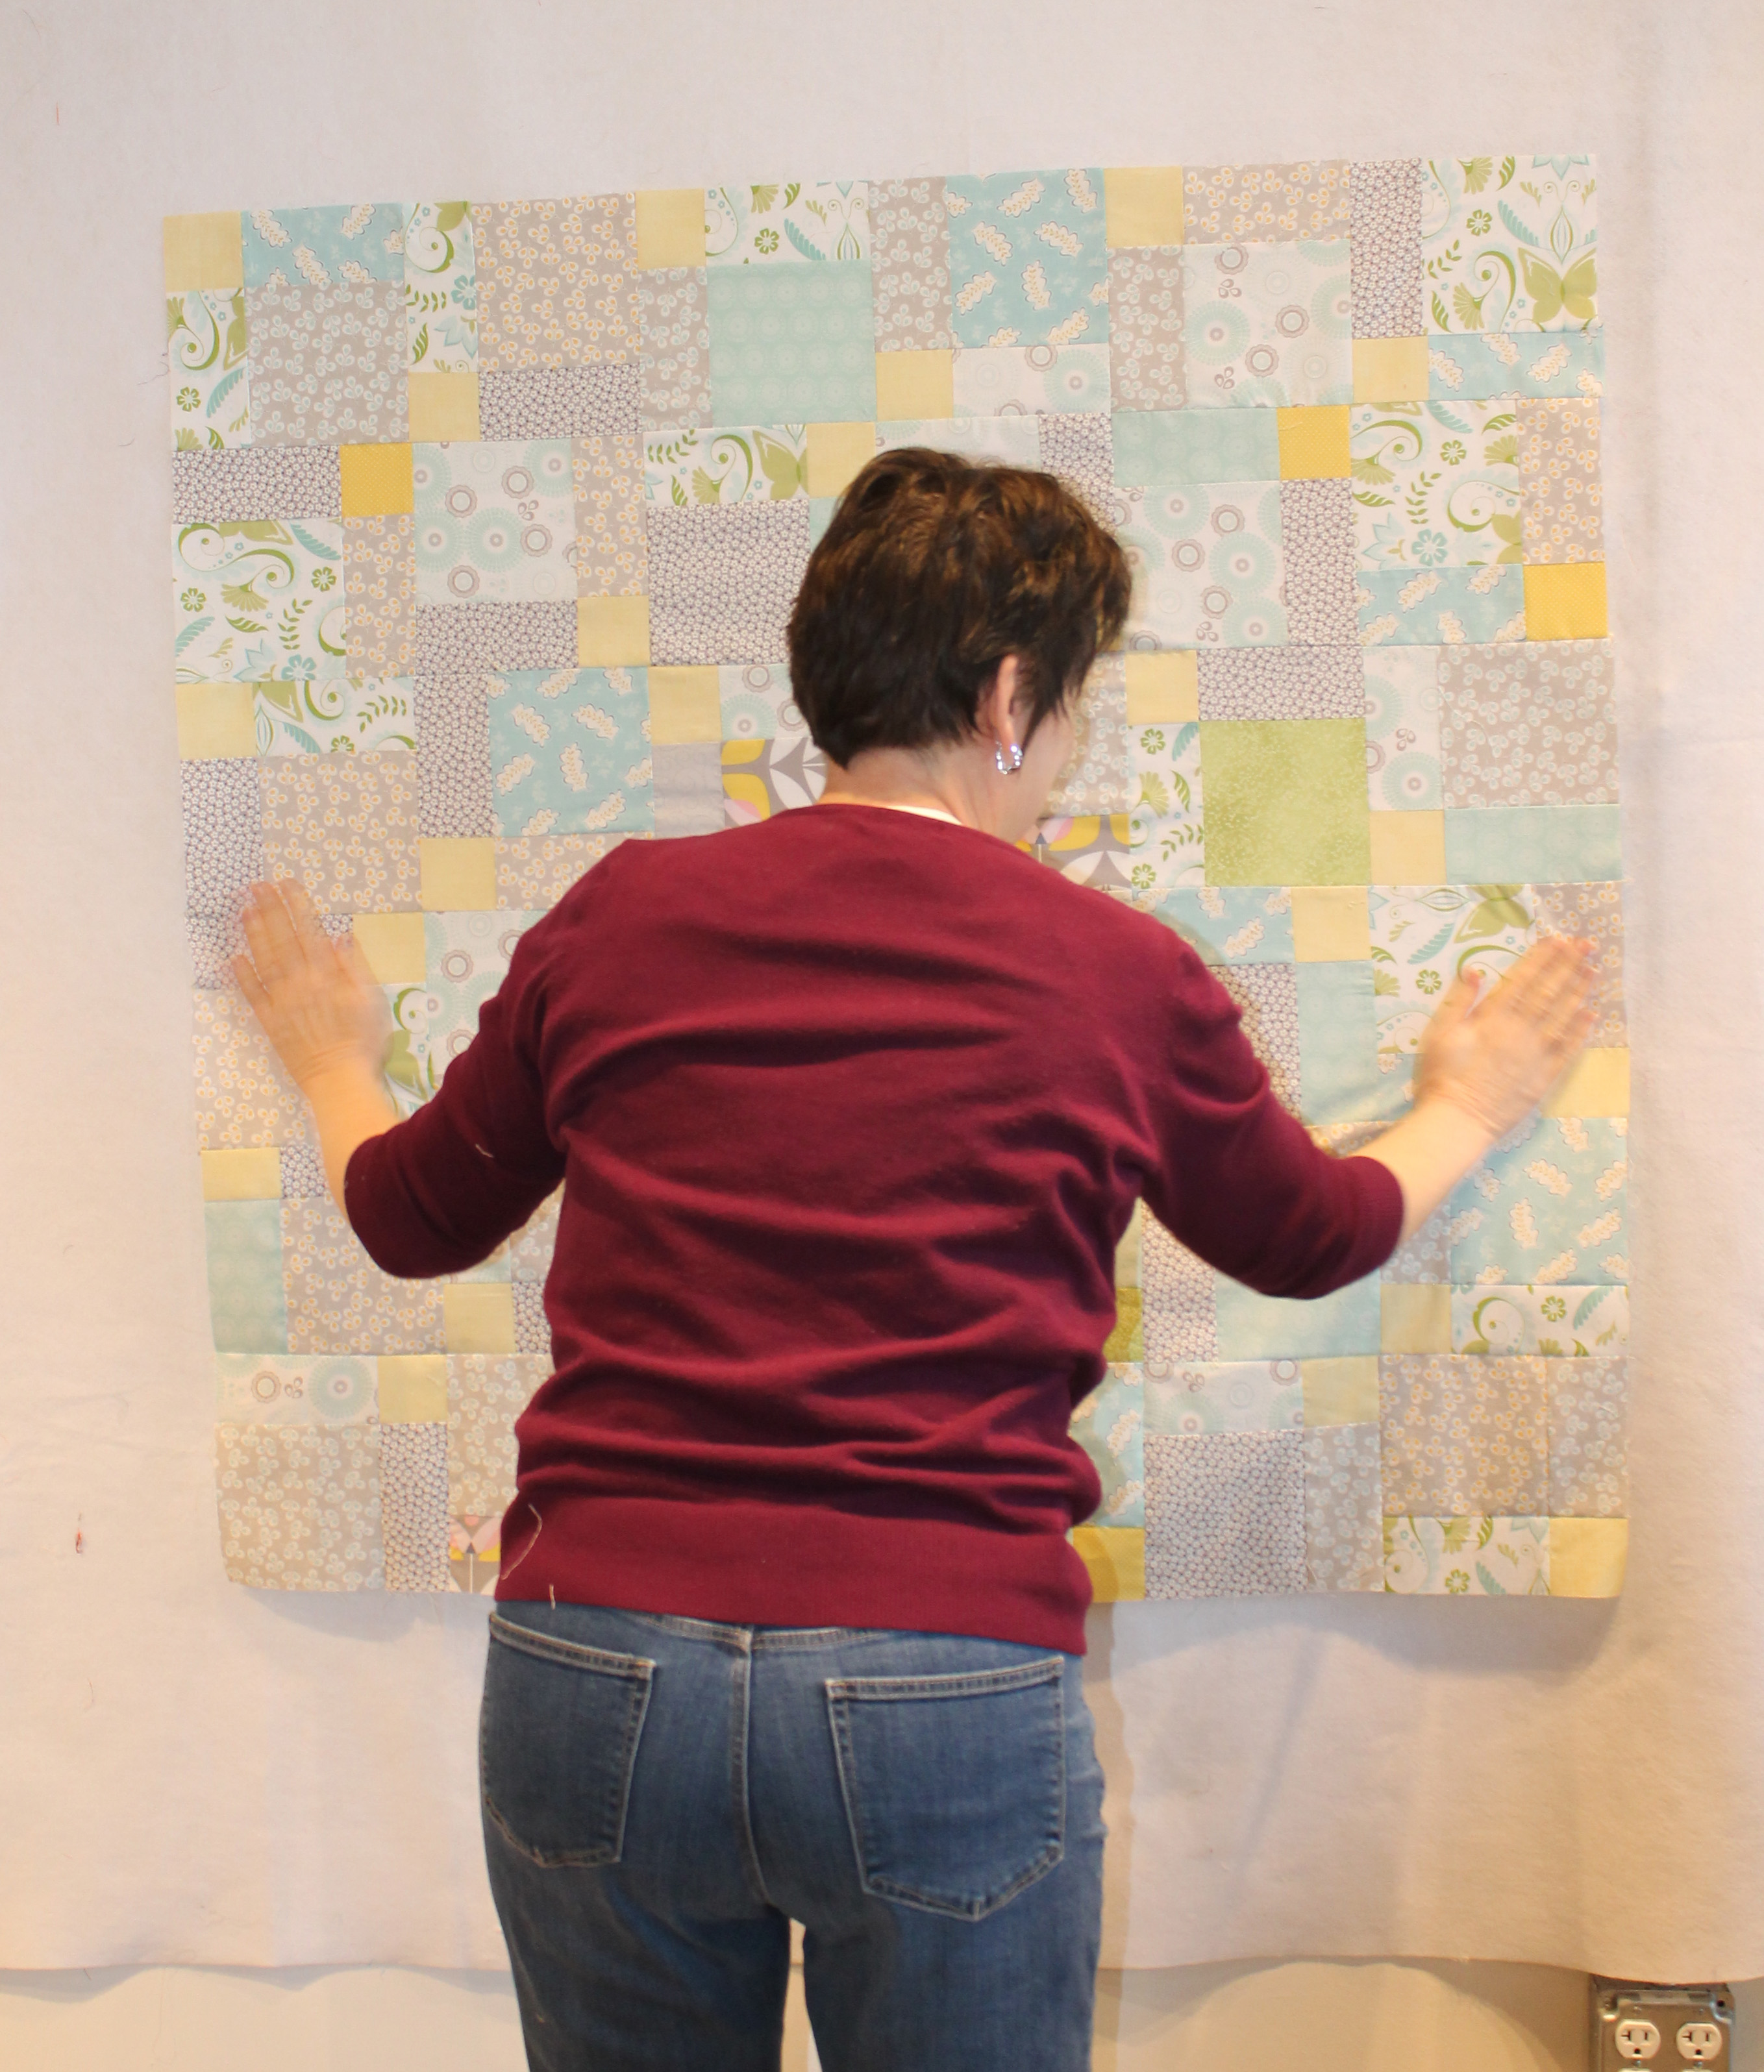
We also made a collection of wonky snowball blocks that became a sweet little quilt top…

snowball quilt top
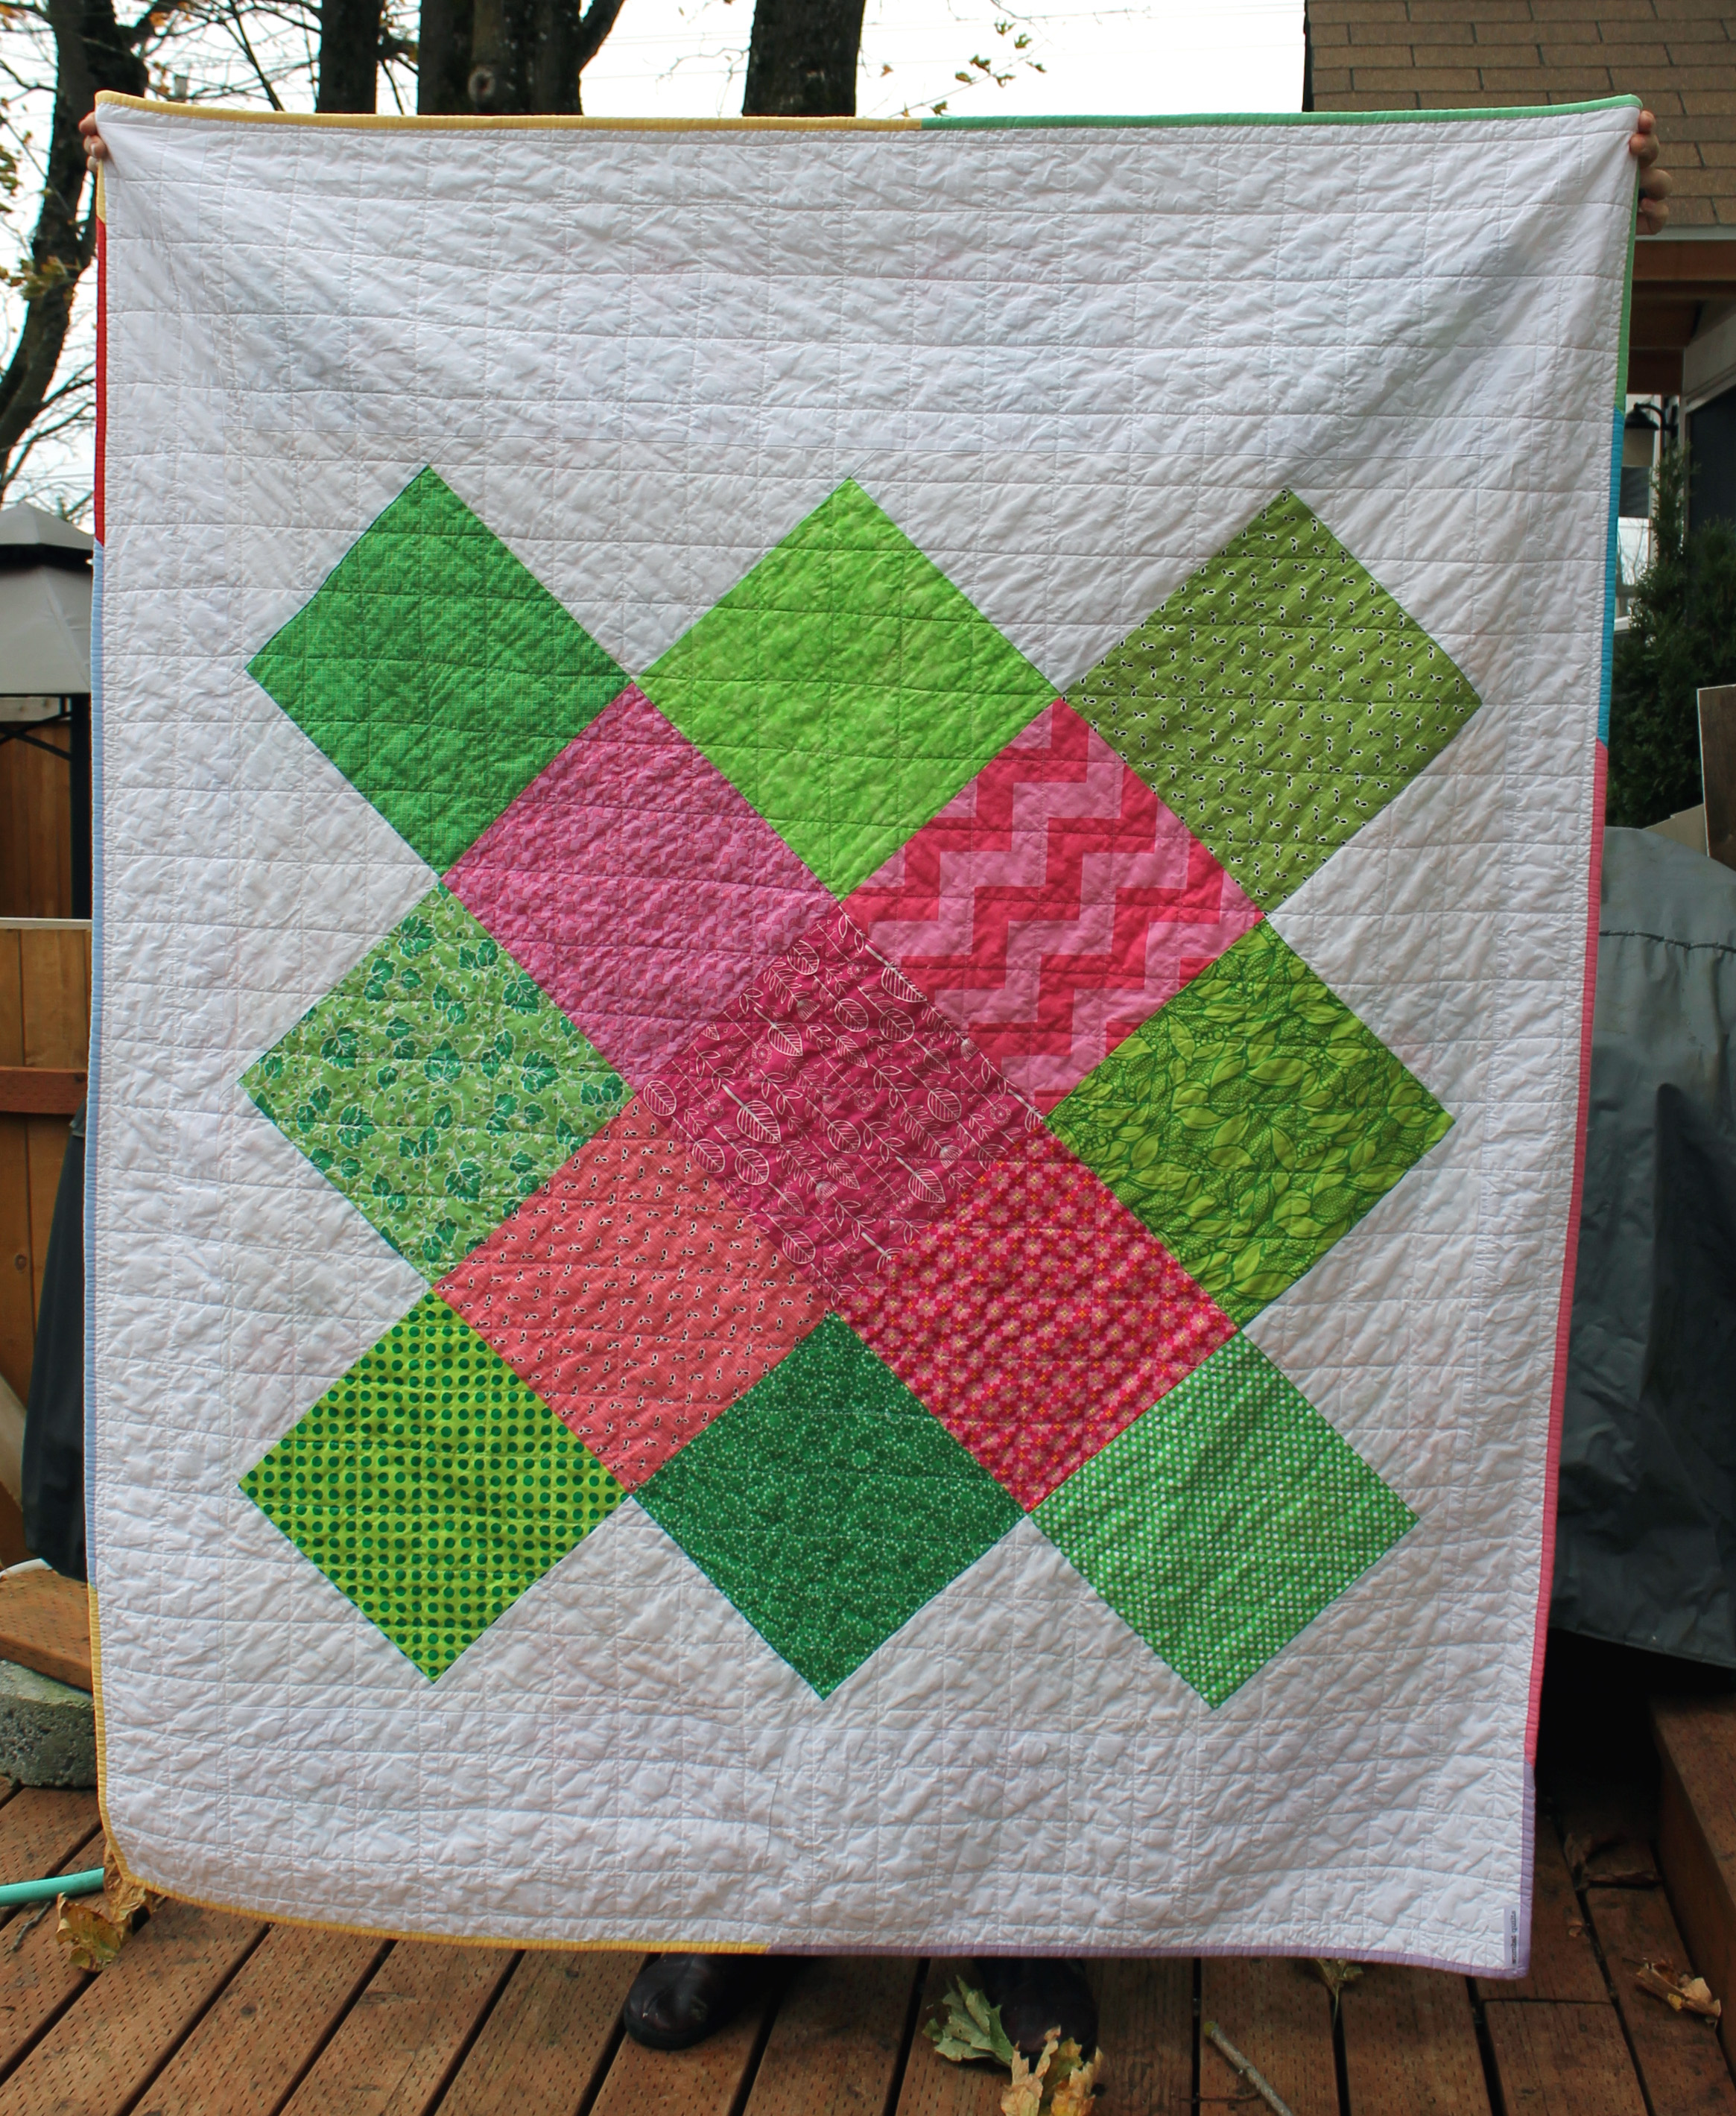
And a couple of orphan blocks also became quilt tops.  Anne made a sweet little disappearing nine patch….

Anne design wall
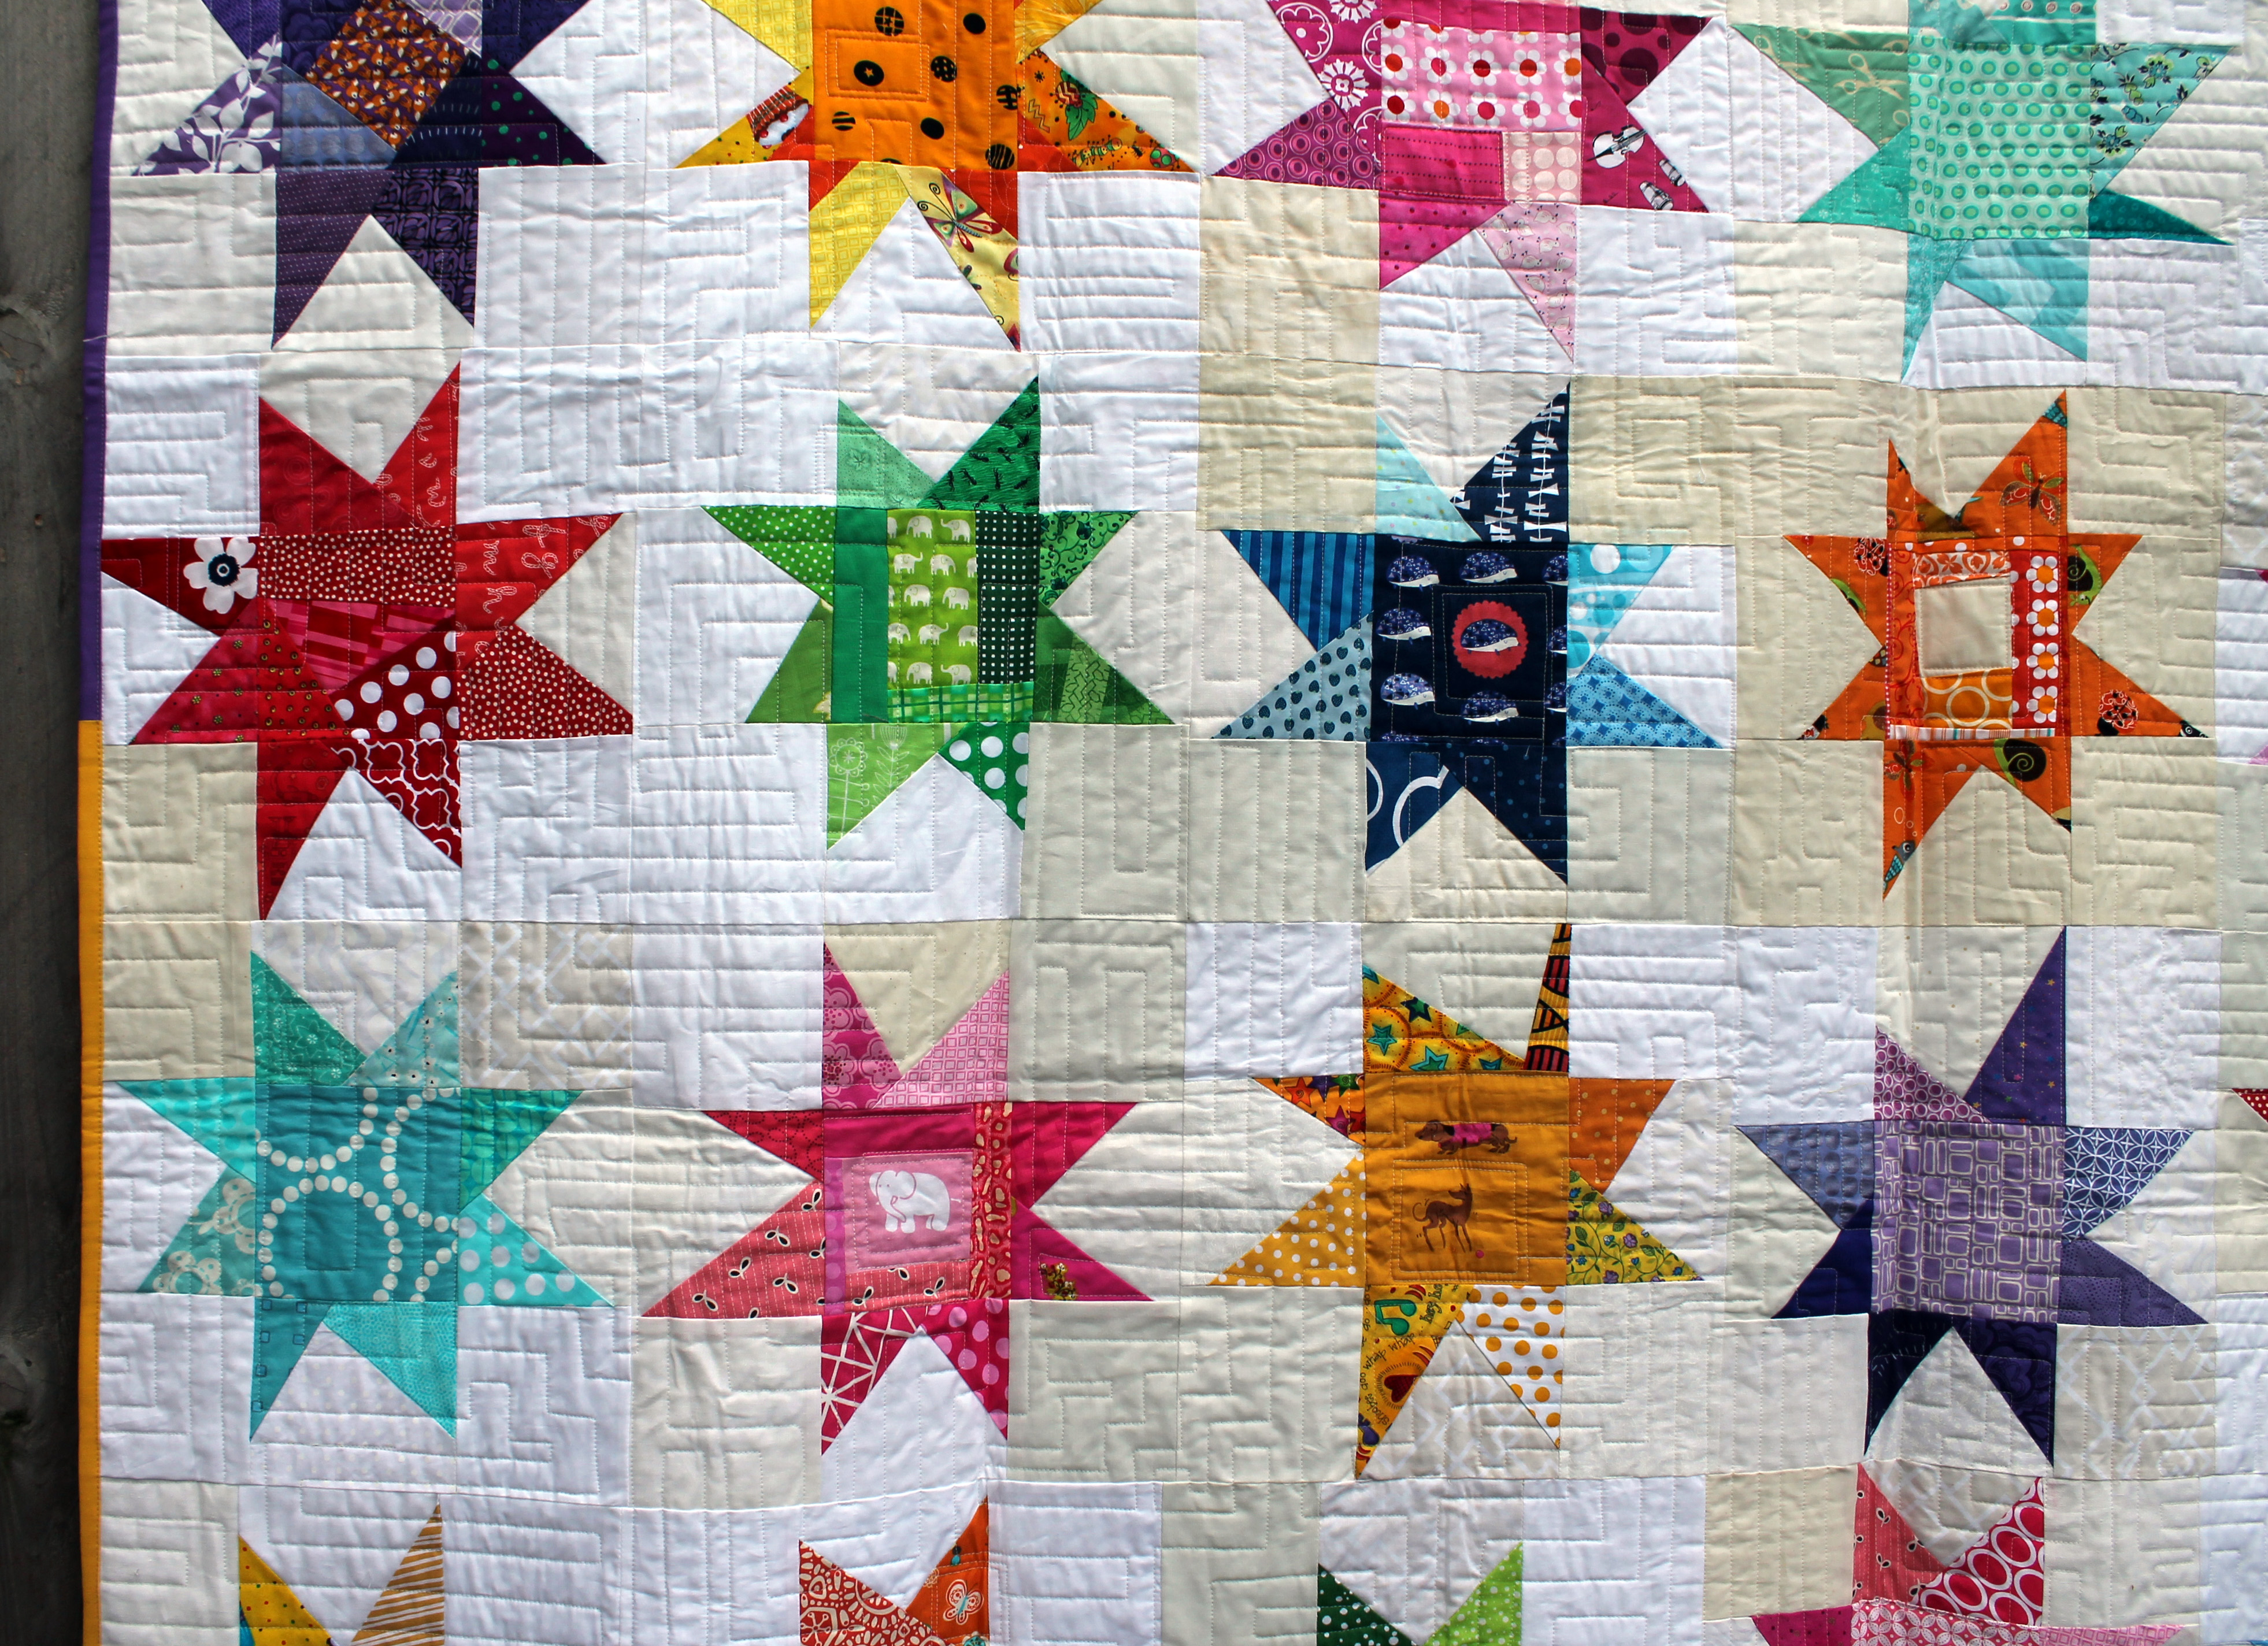
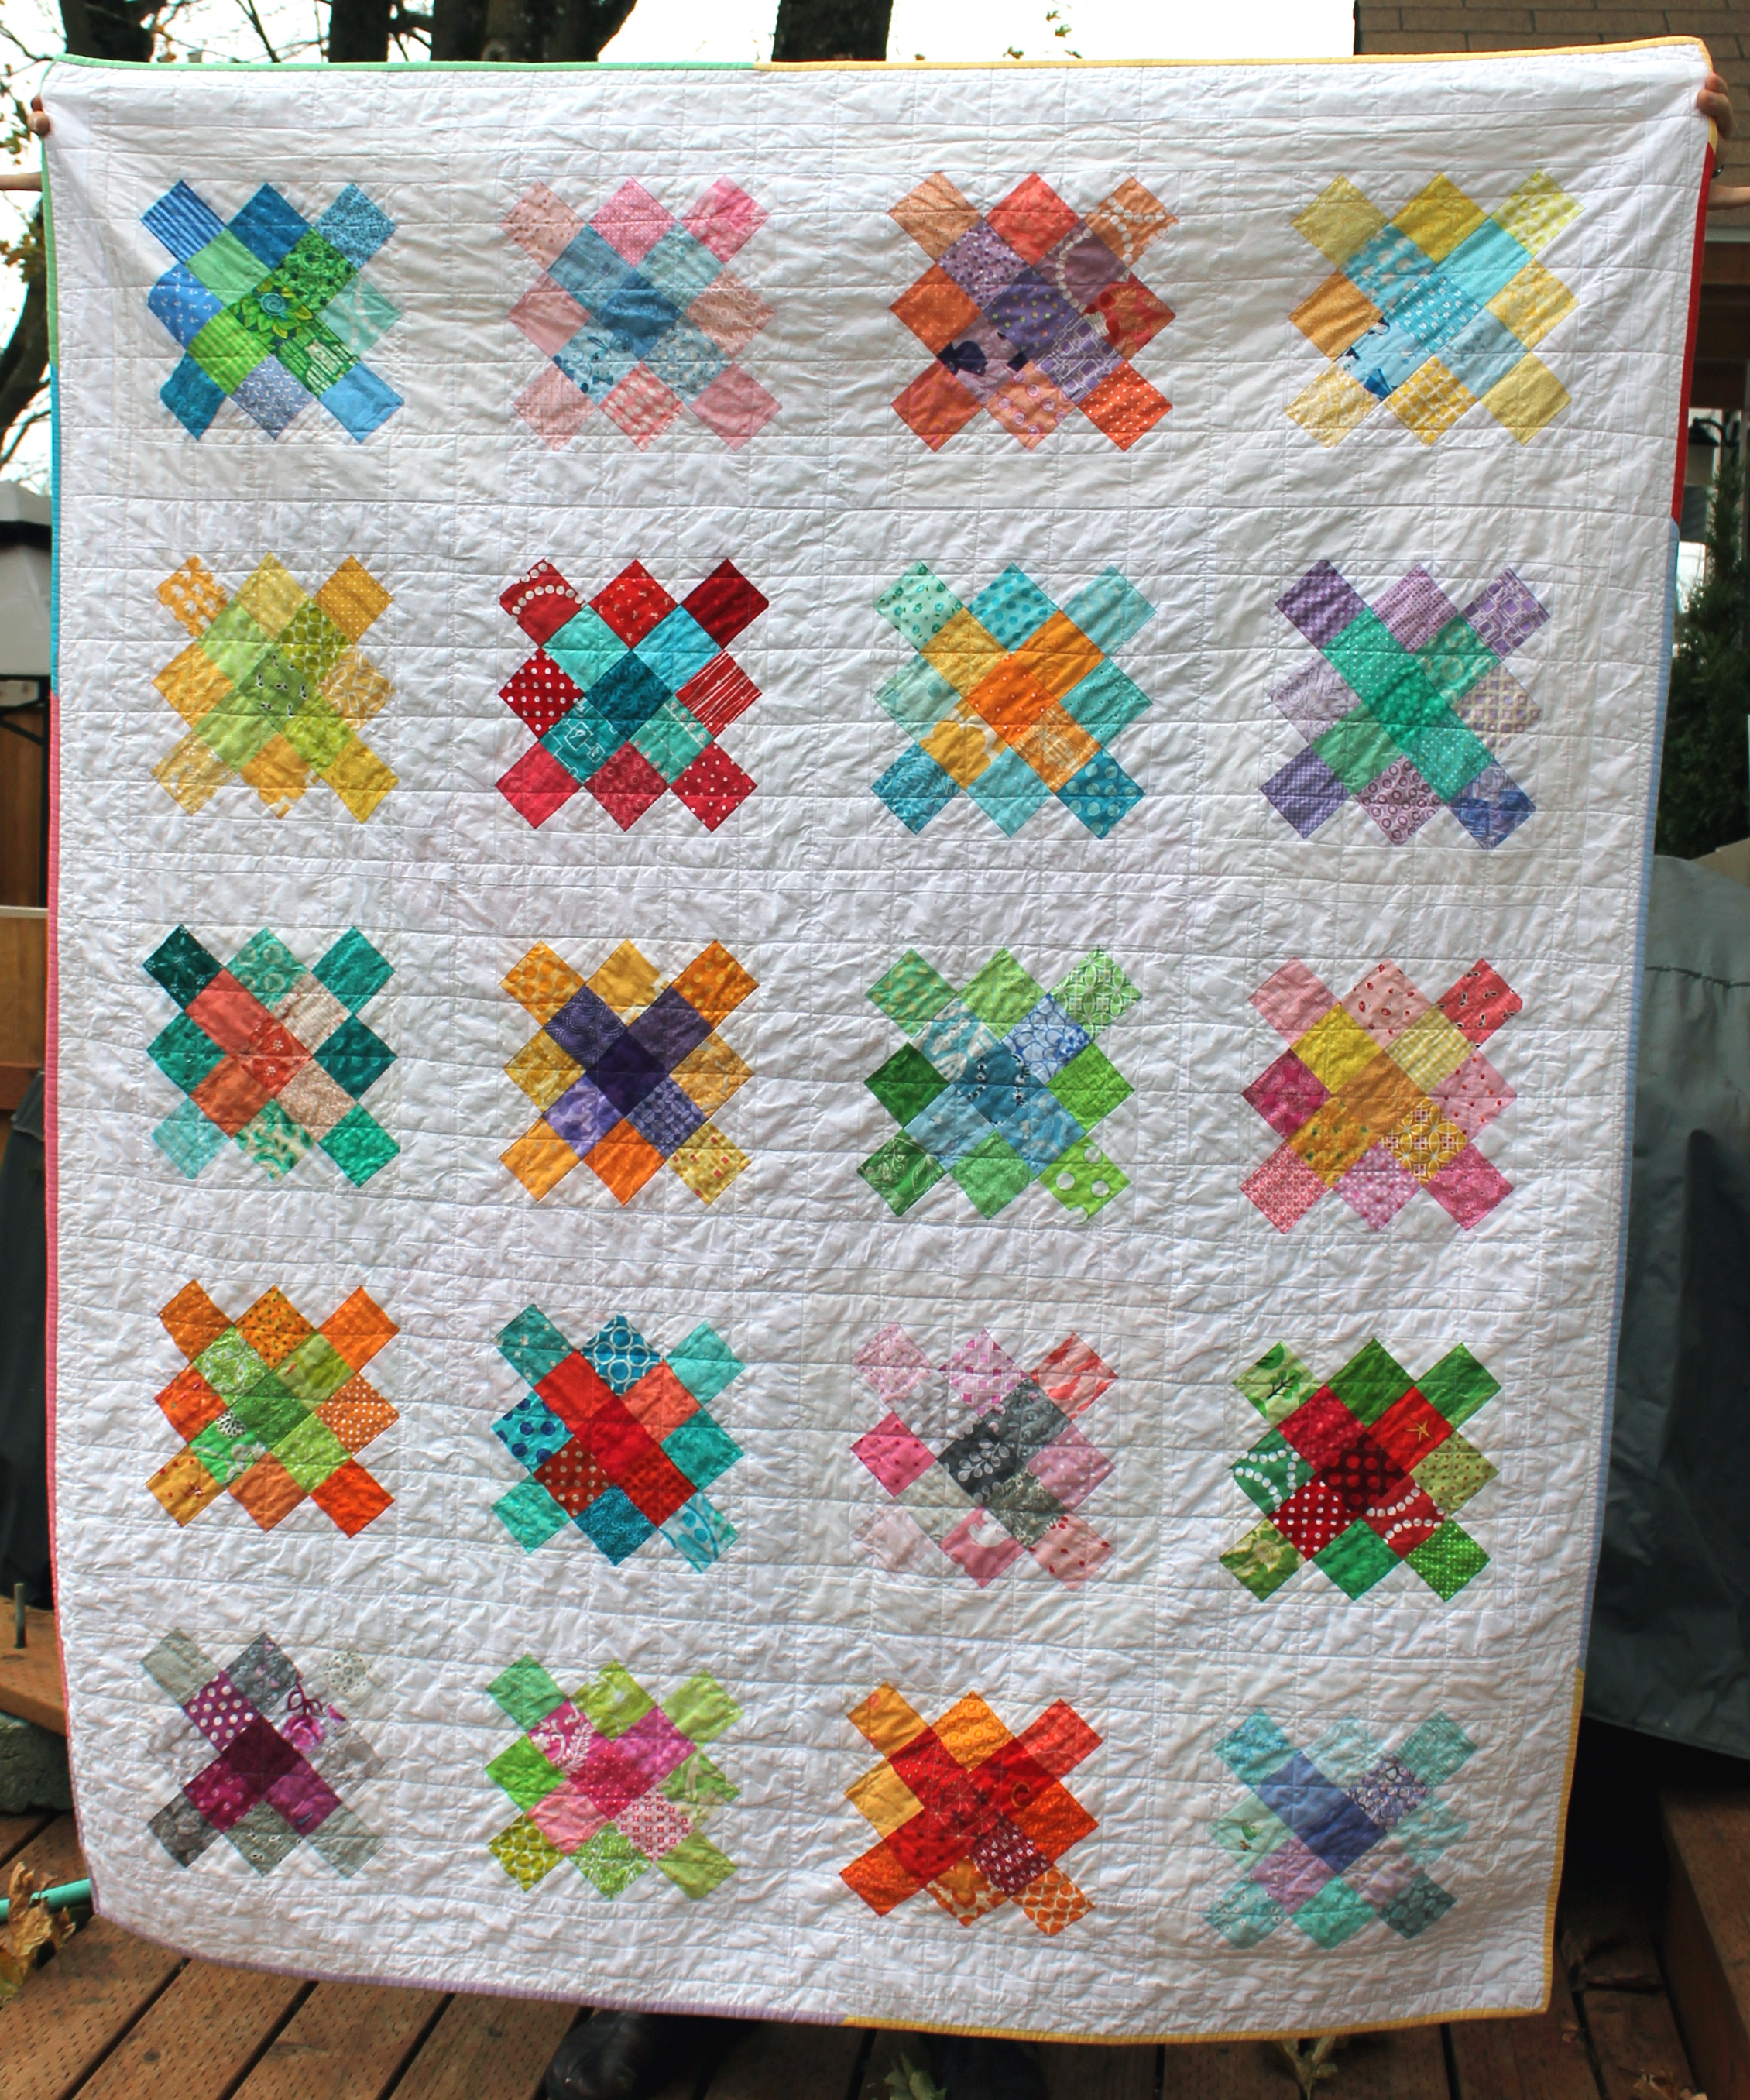
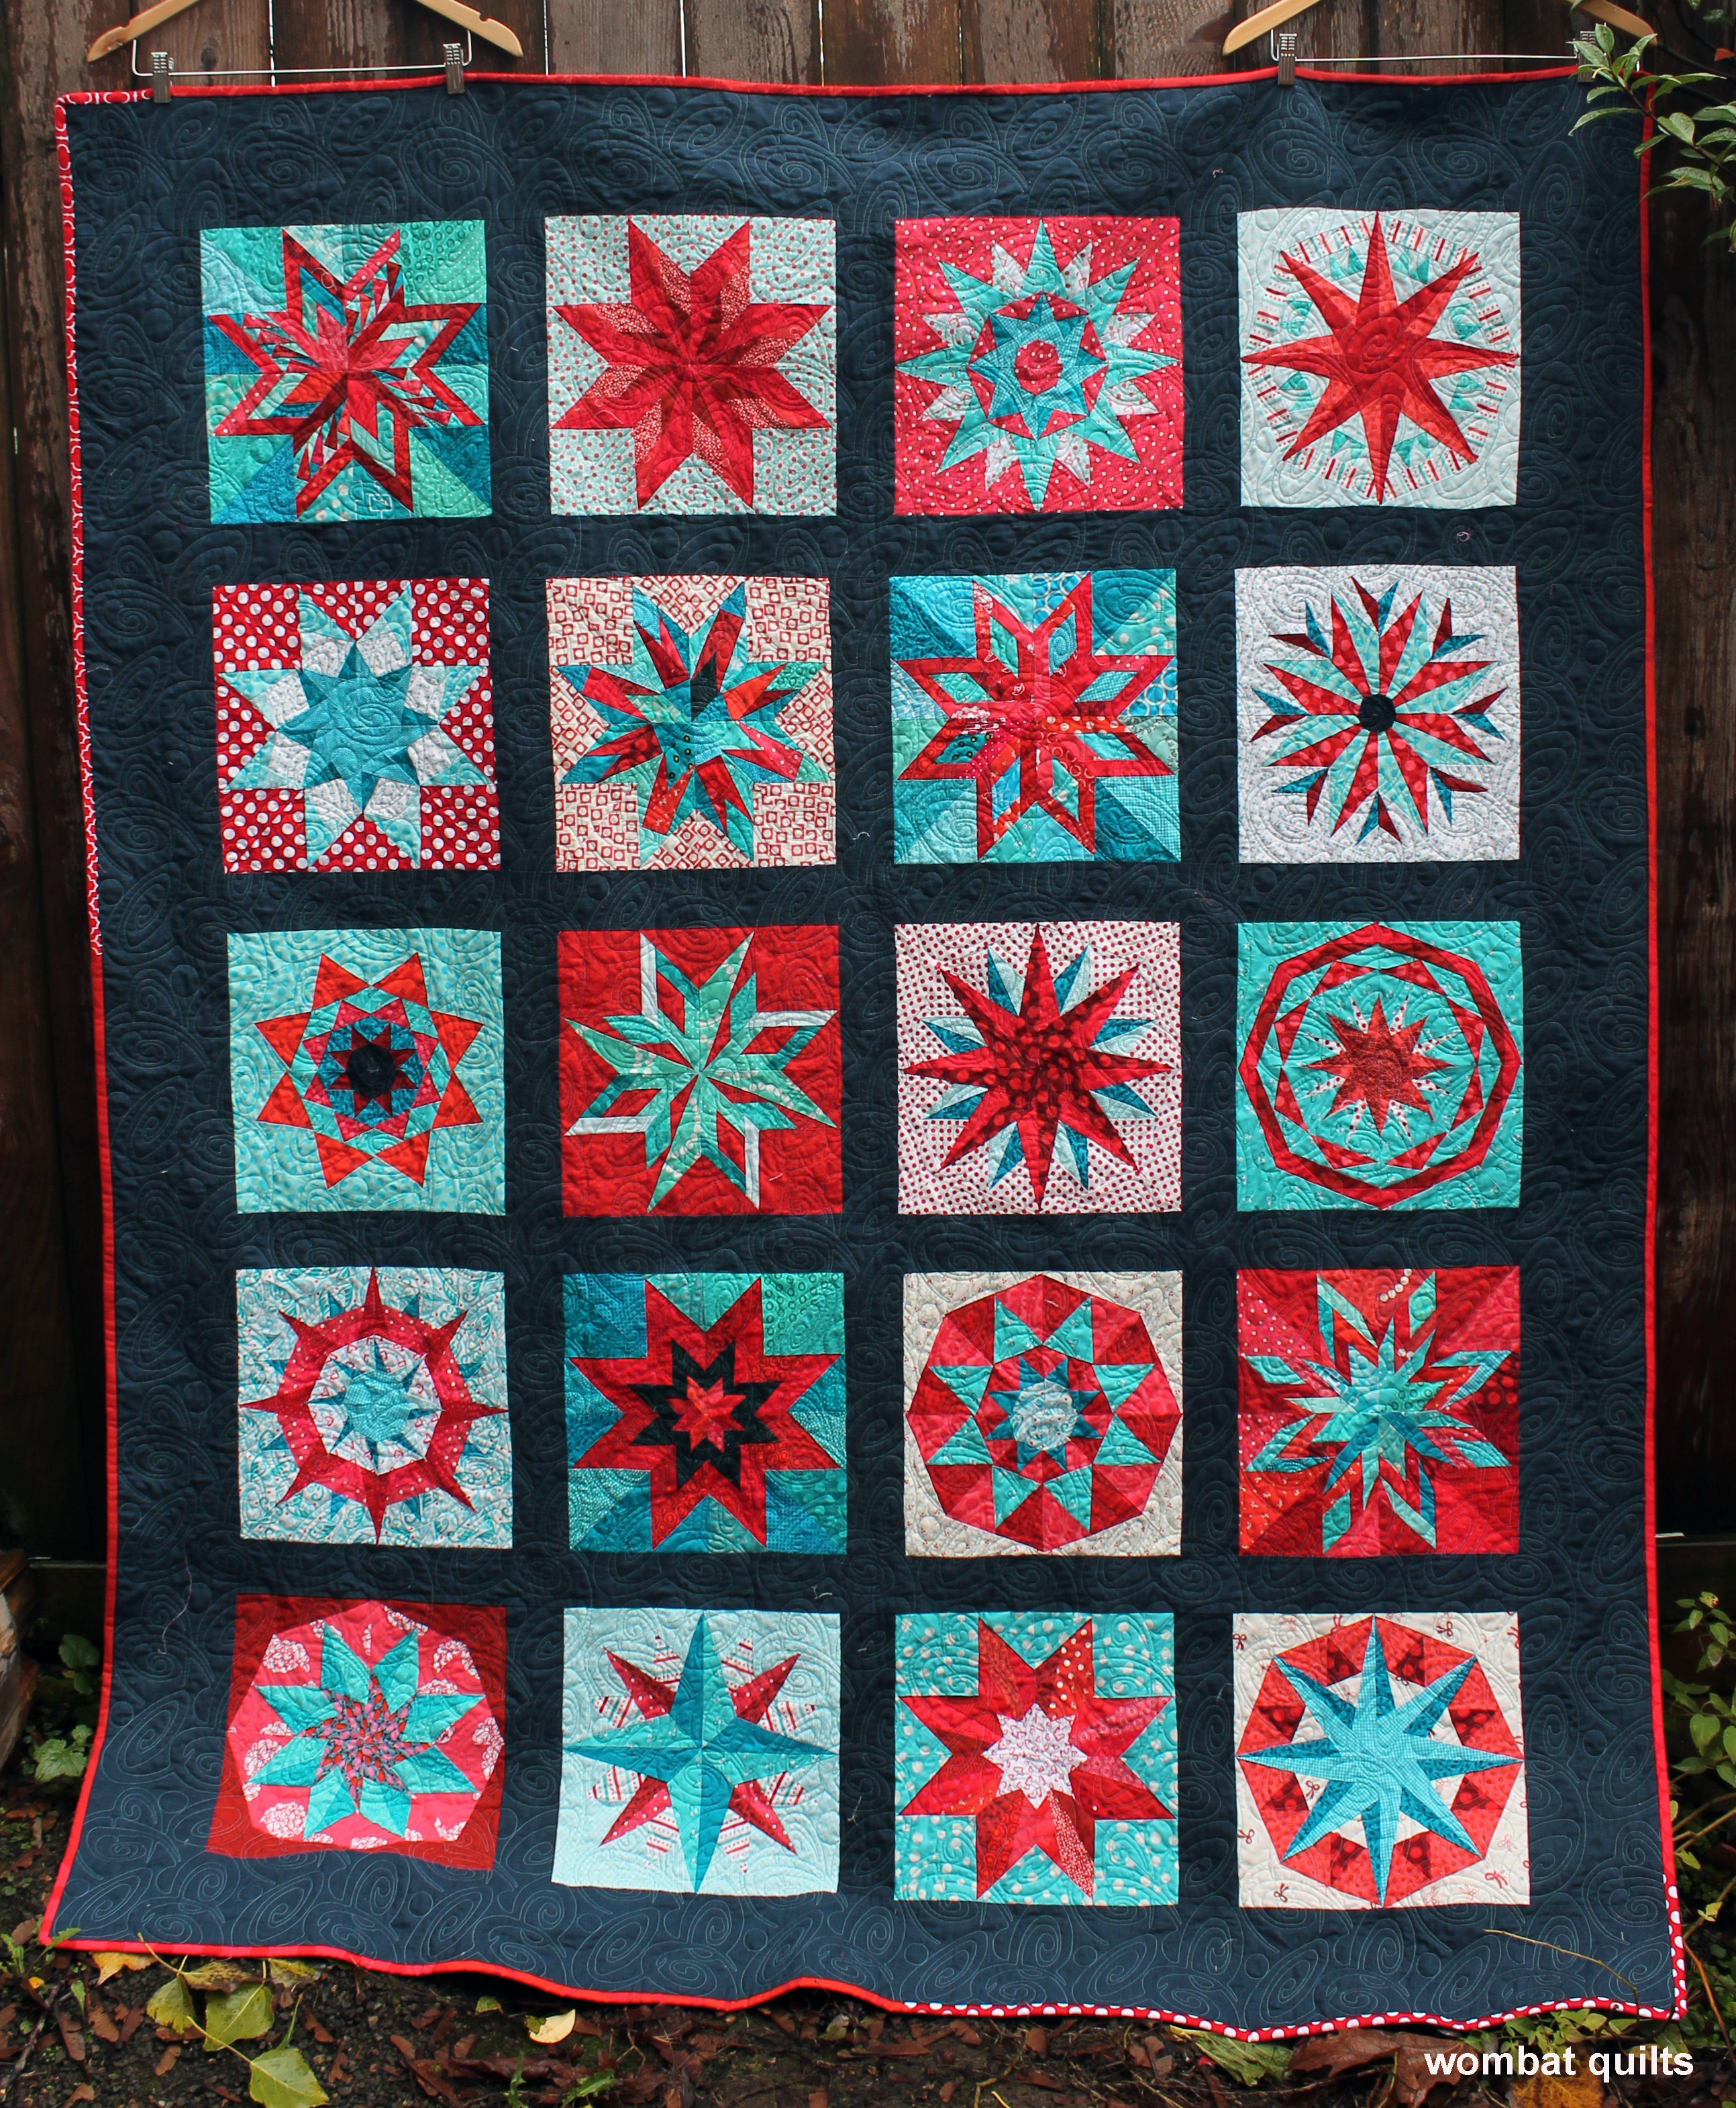
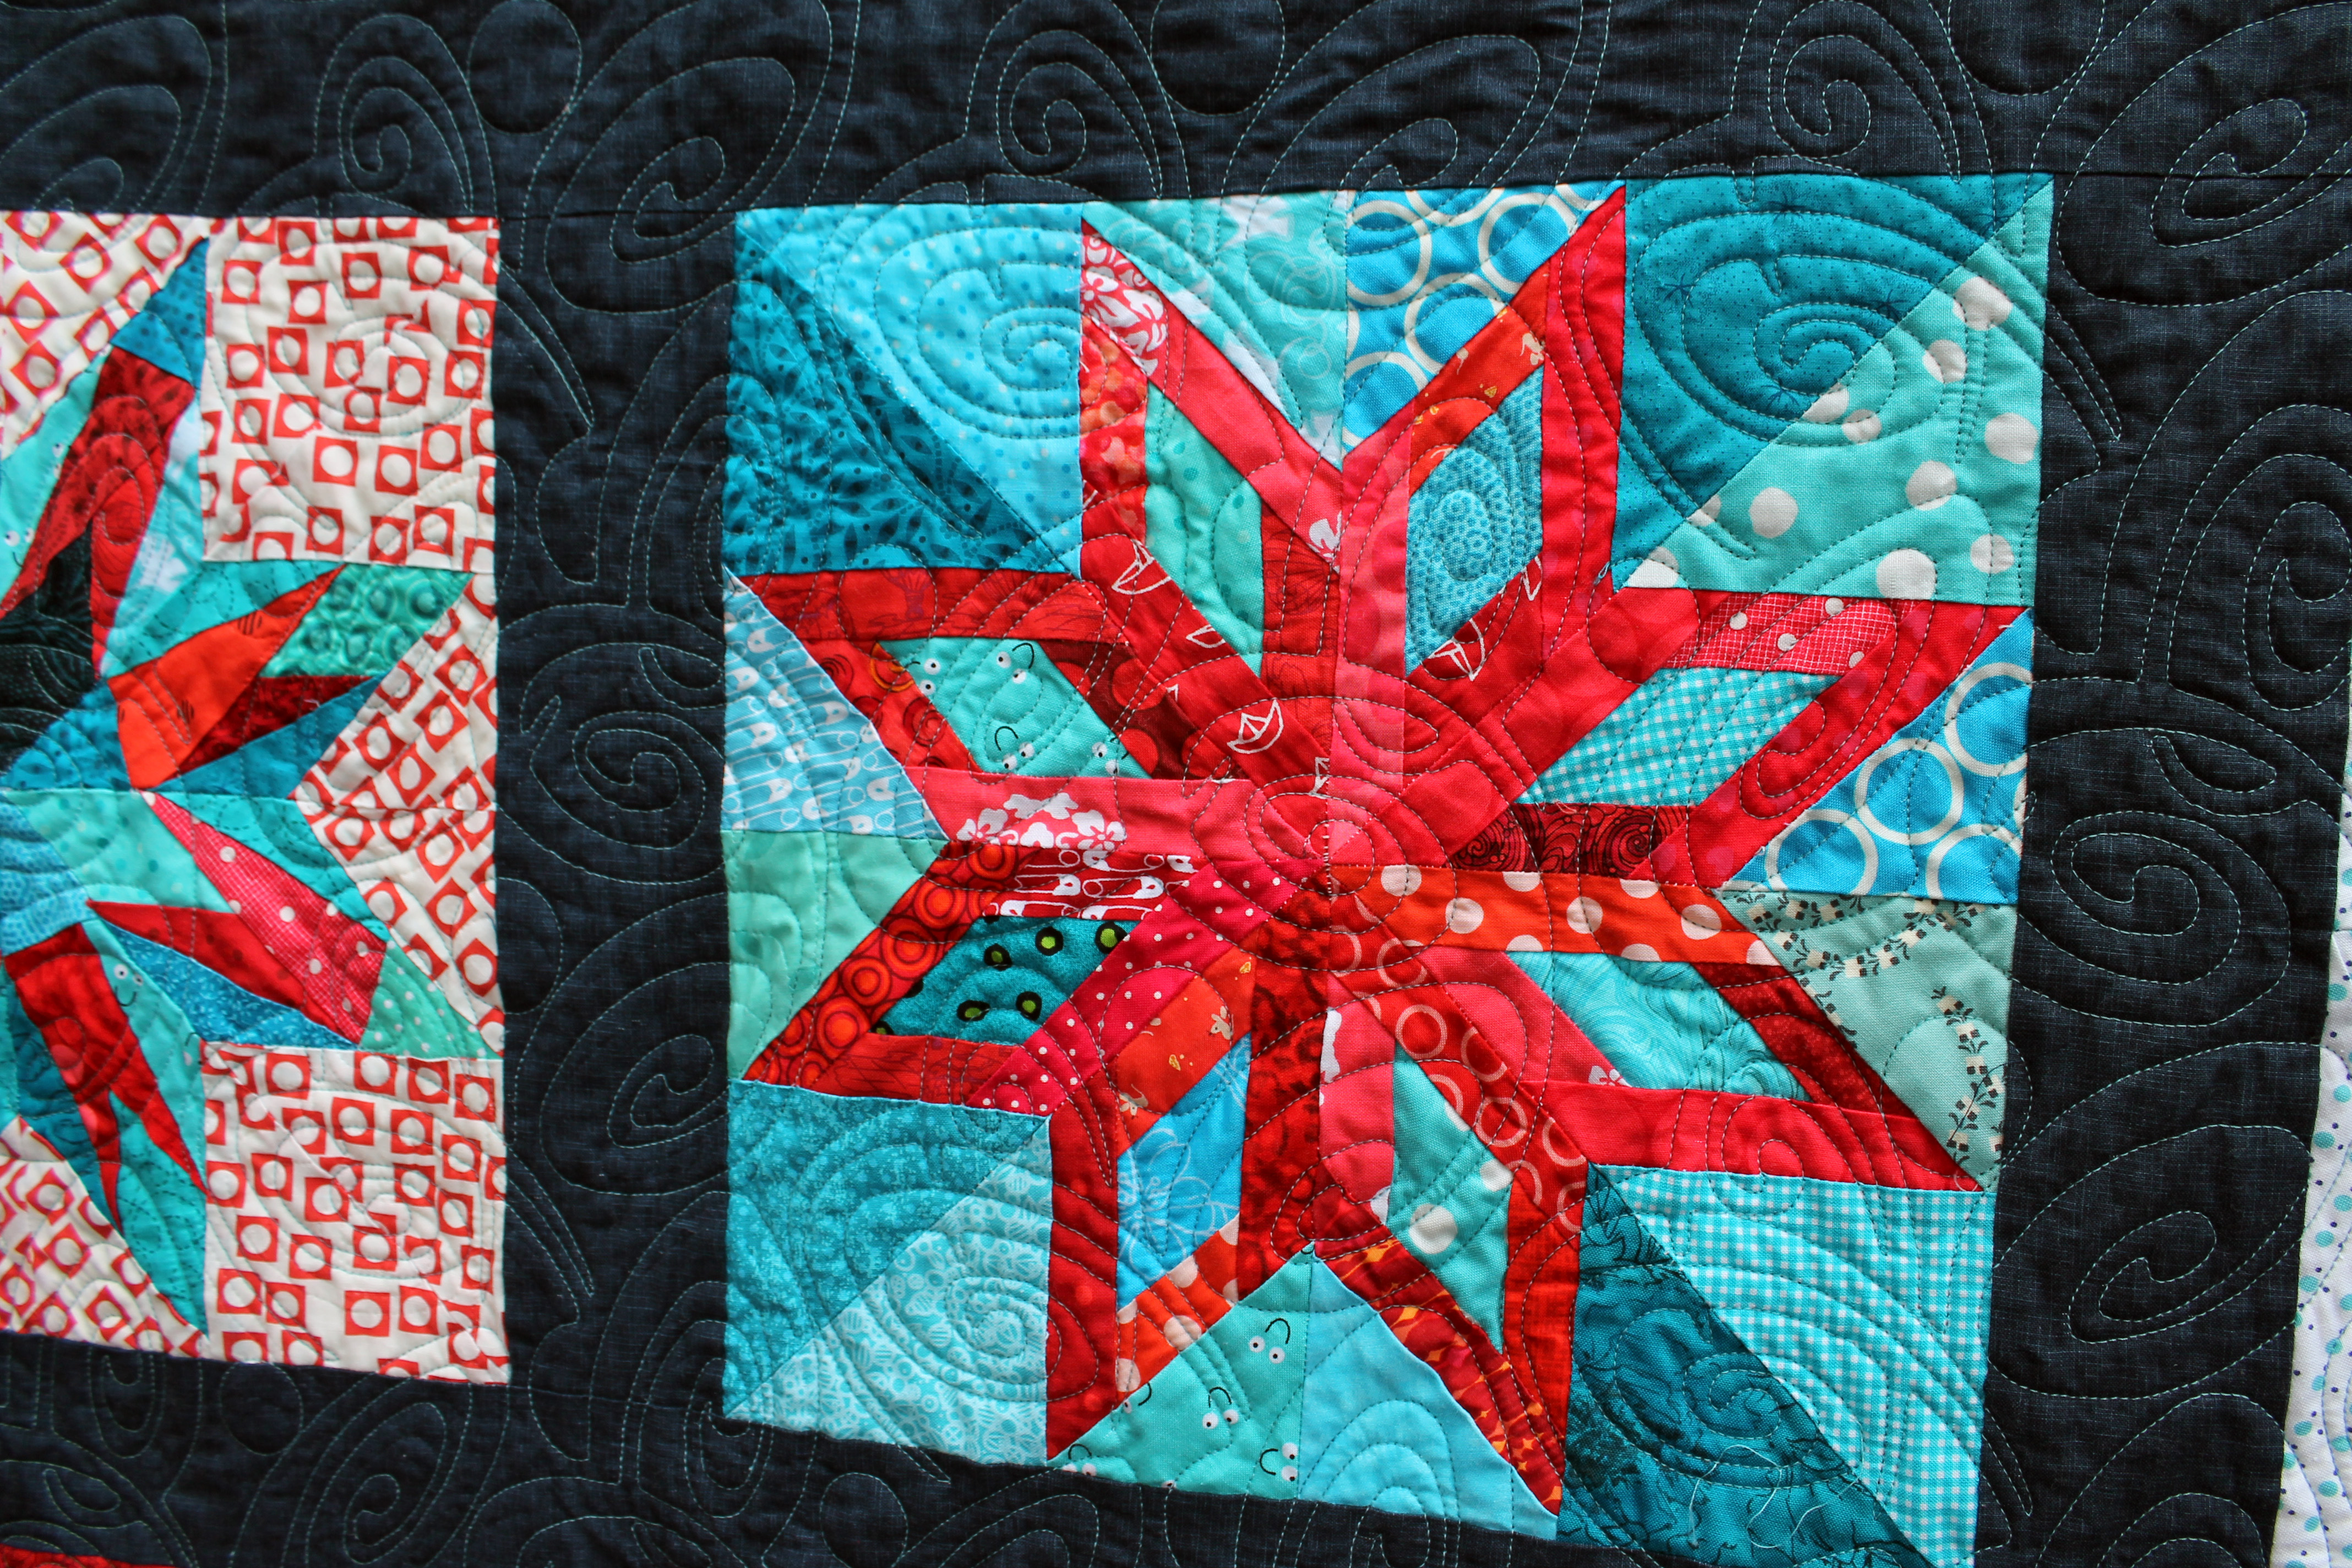
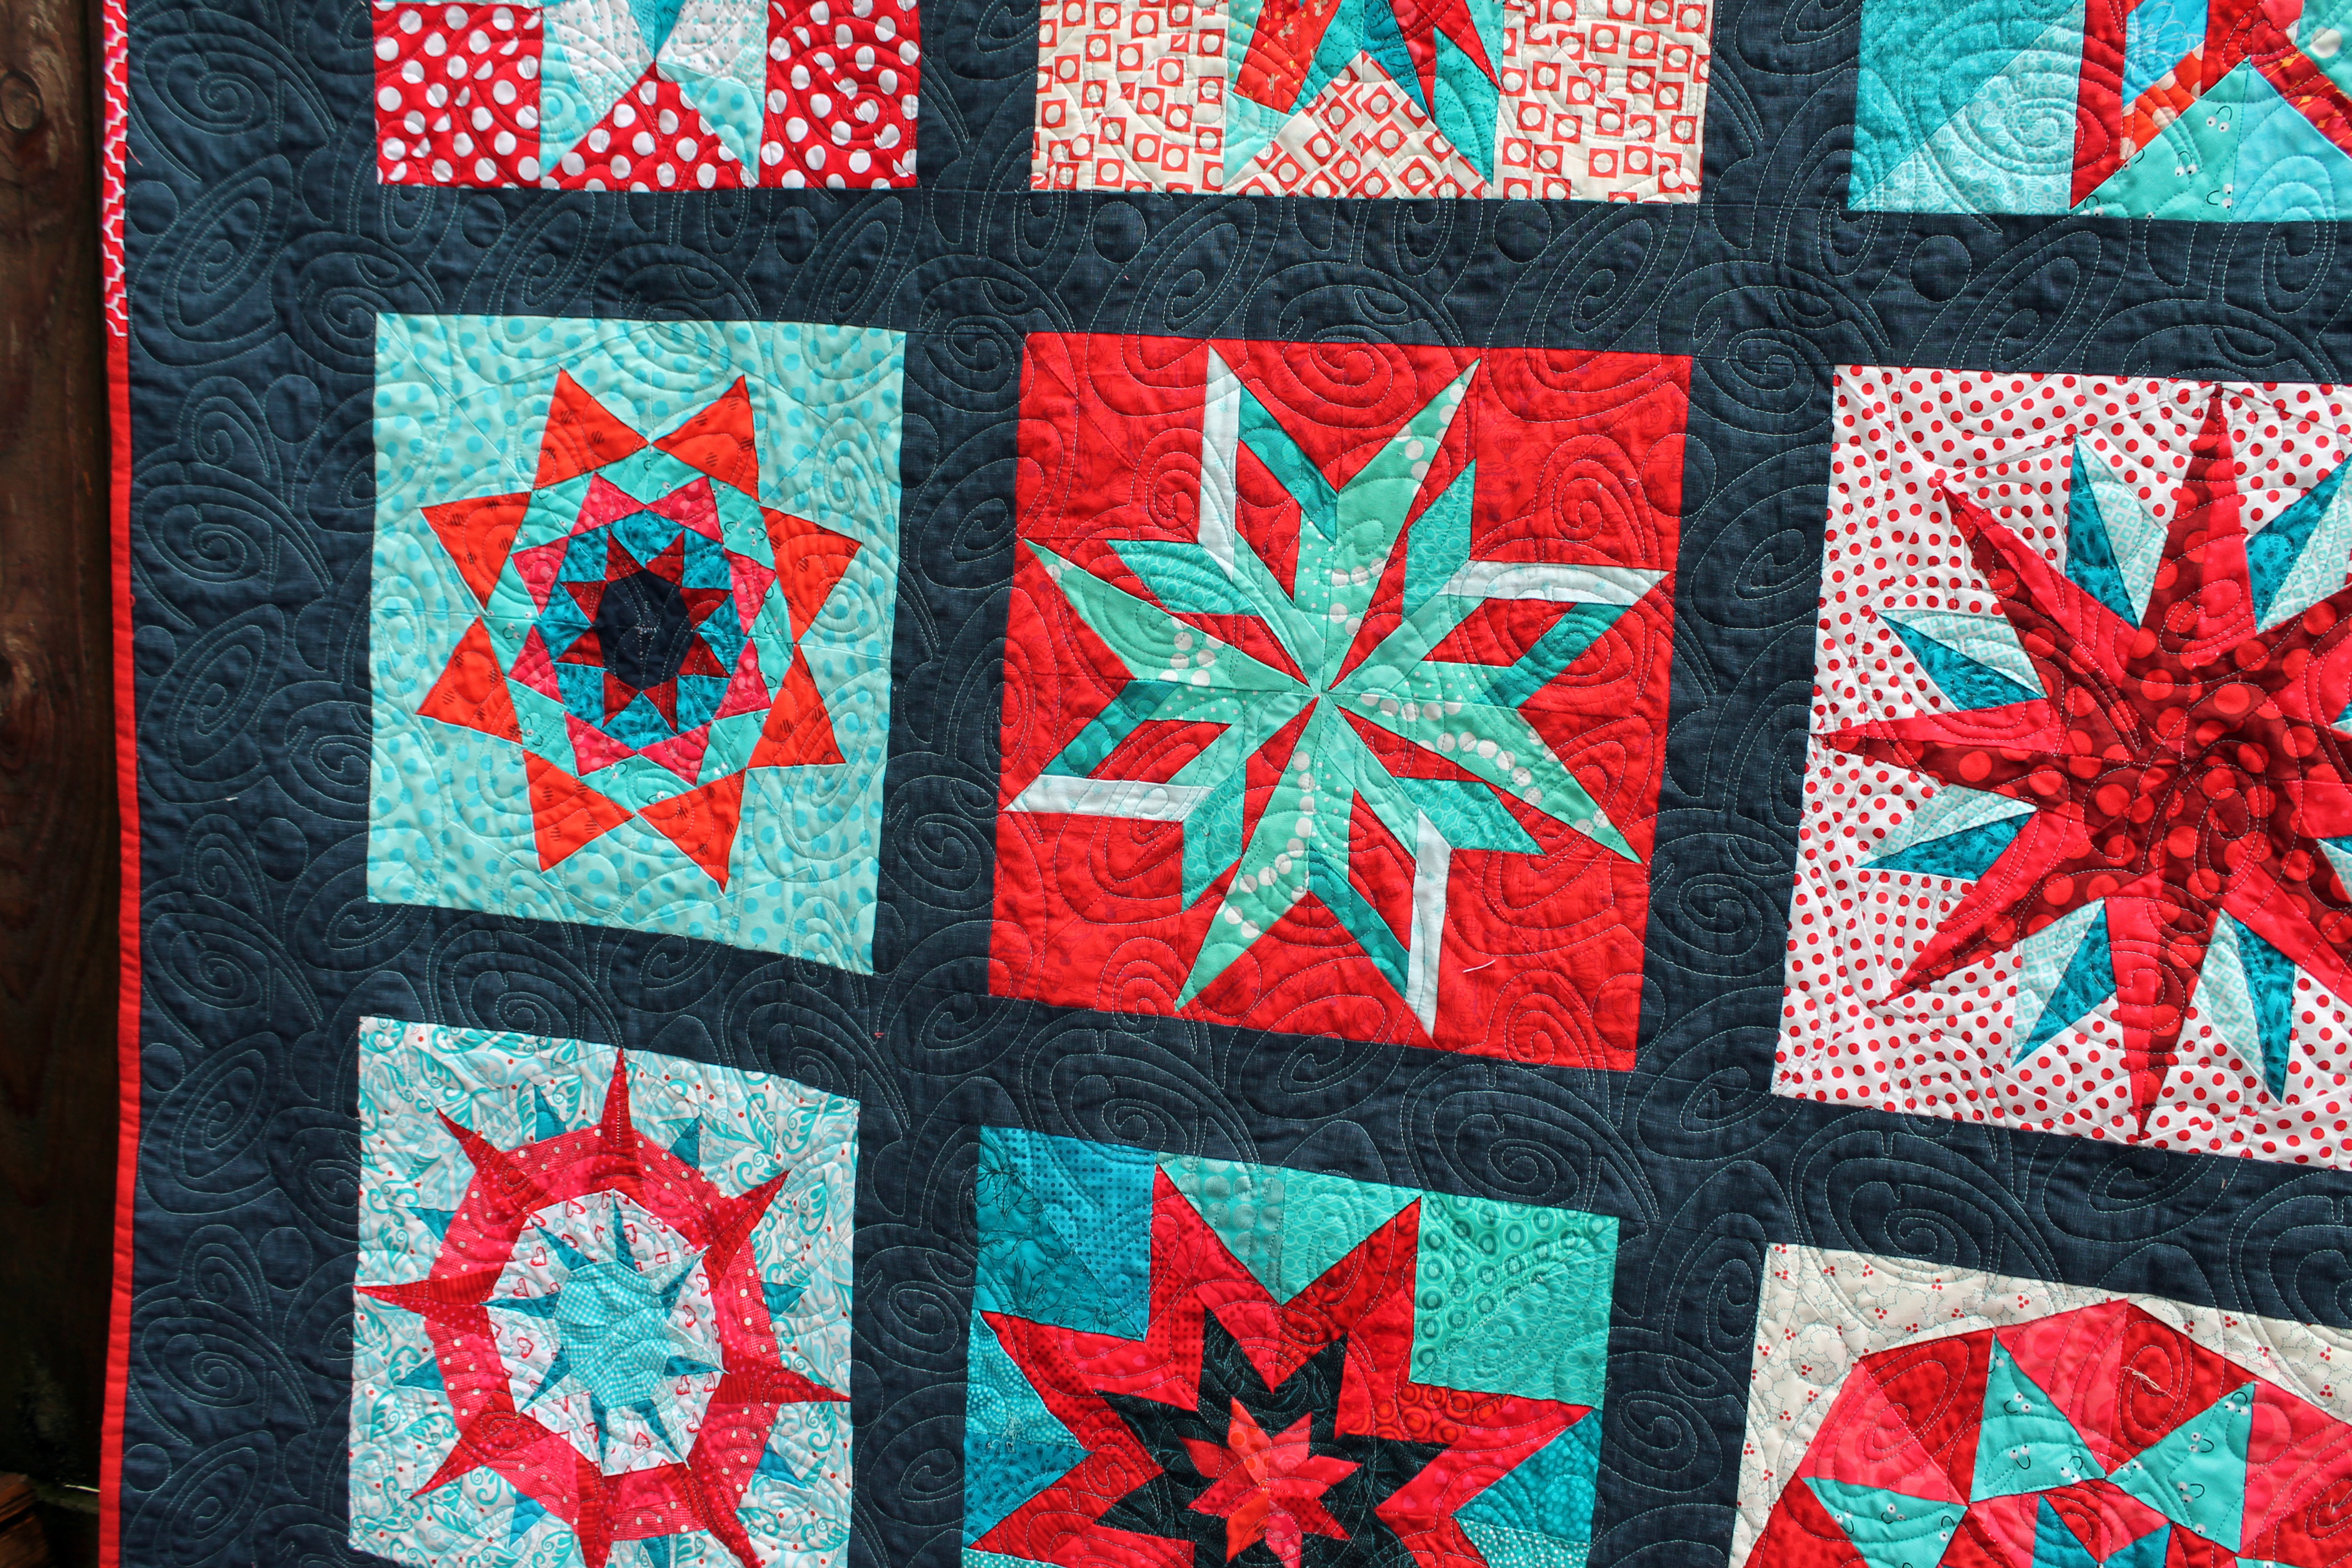
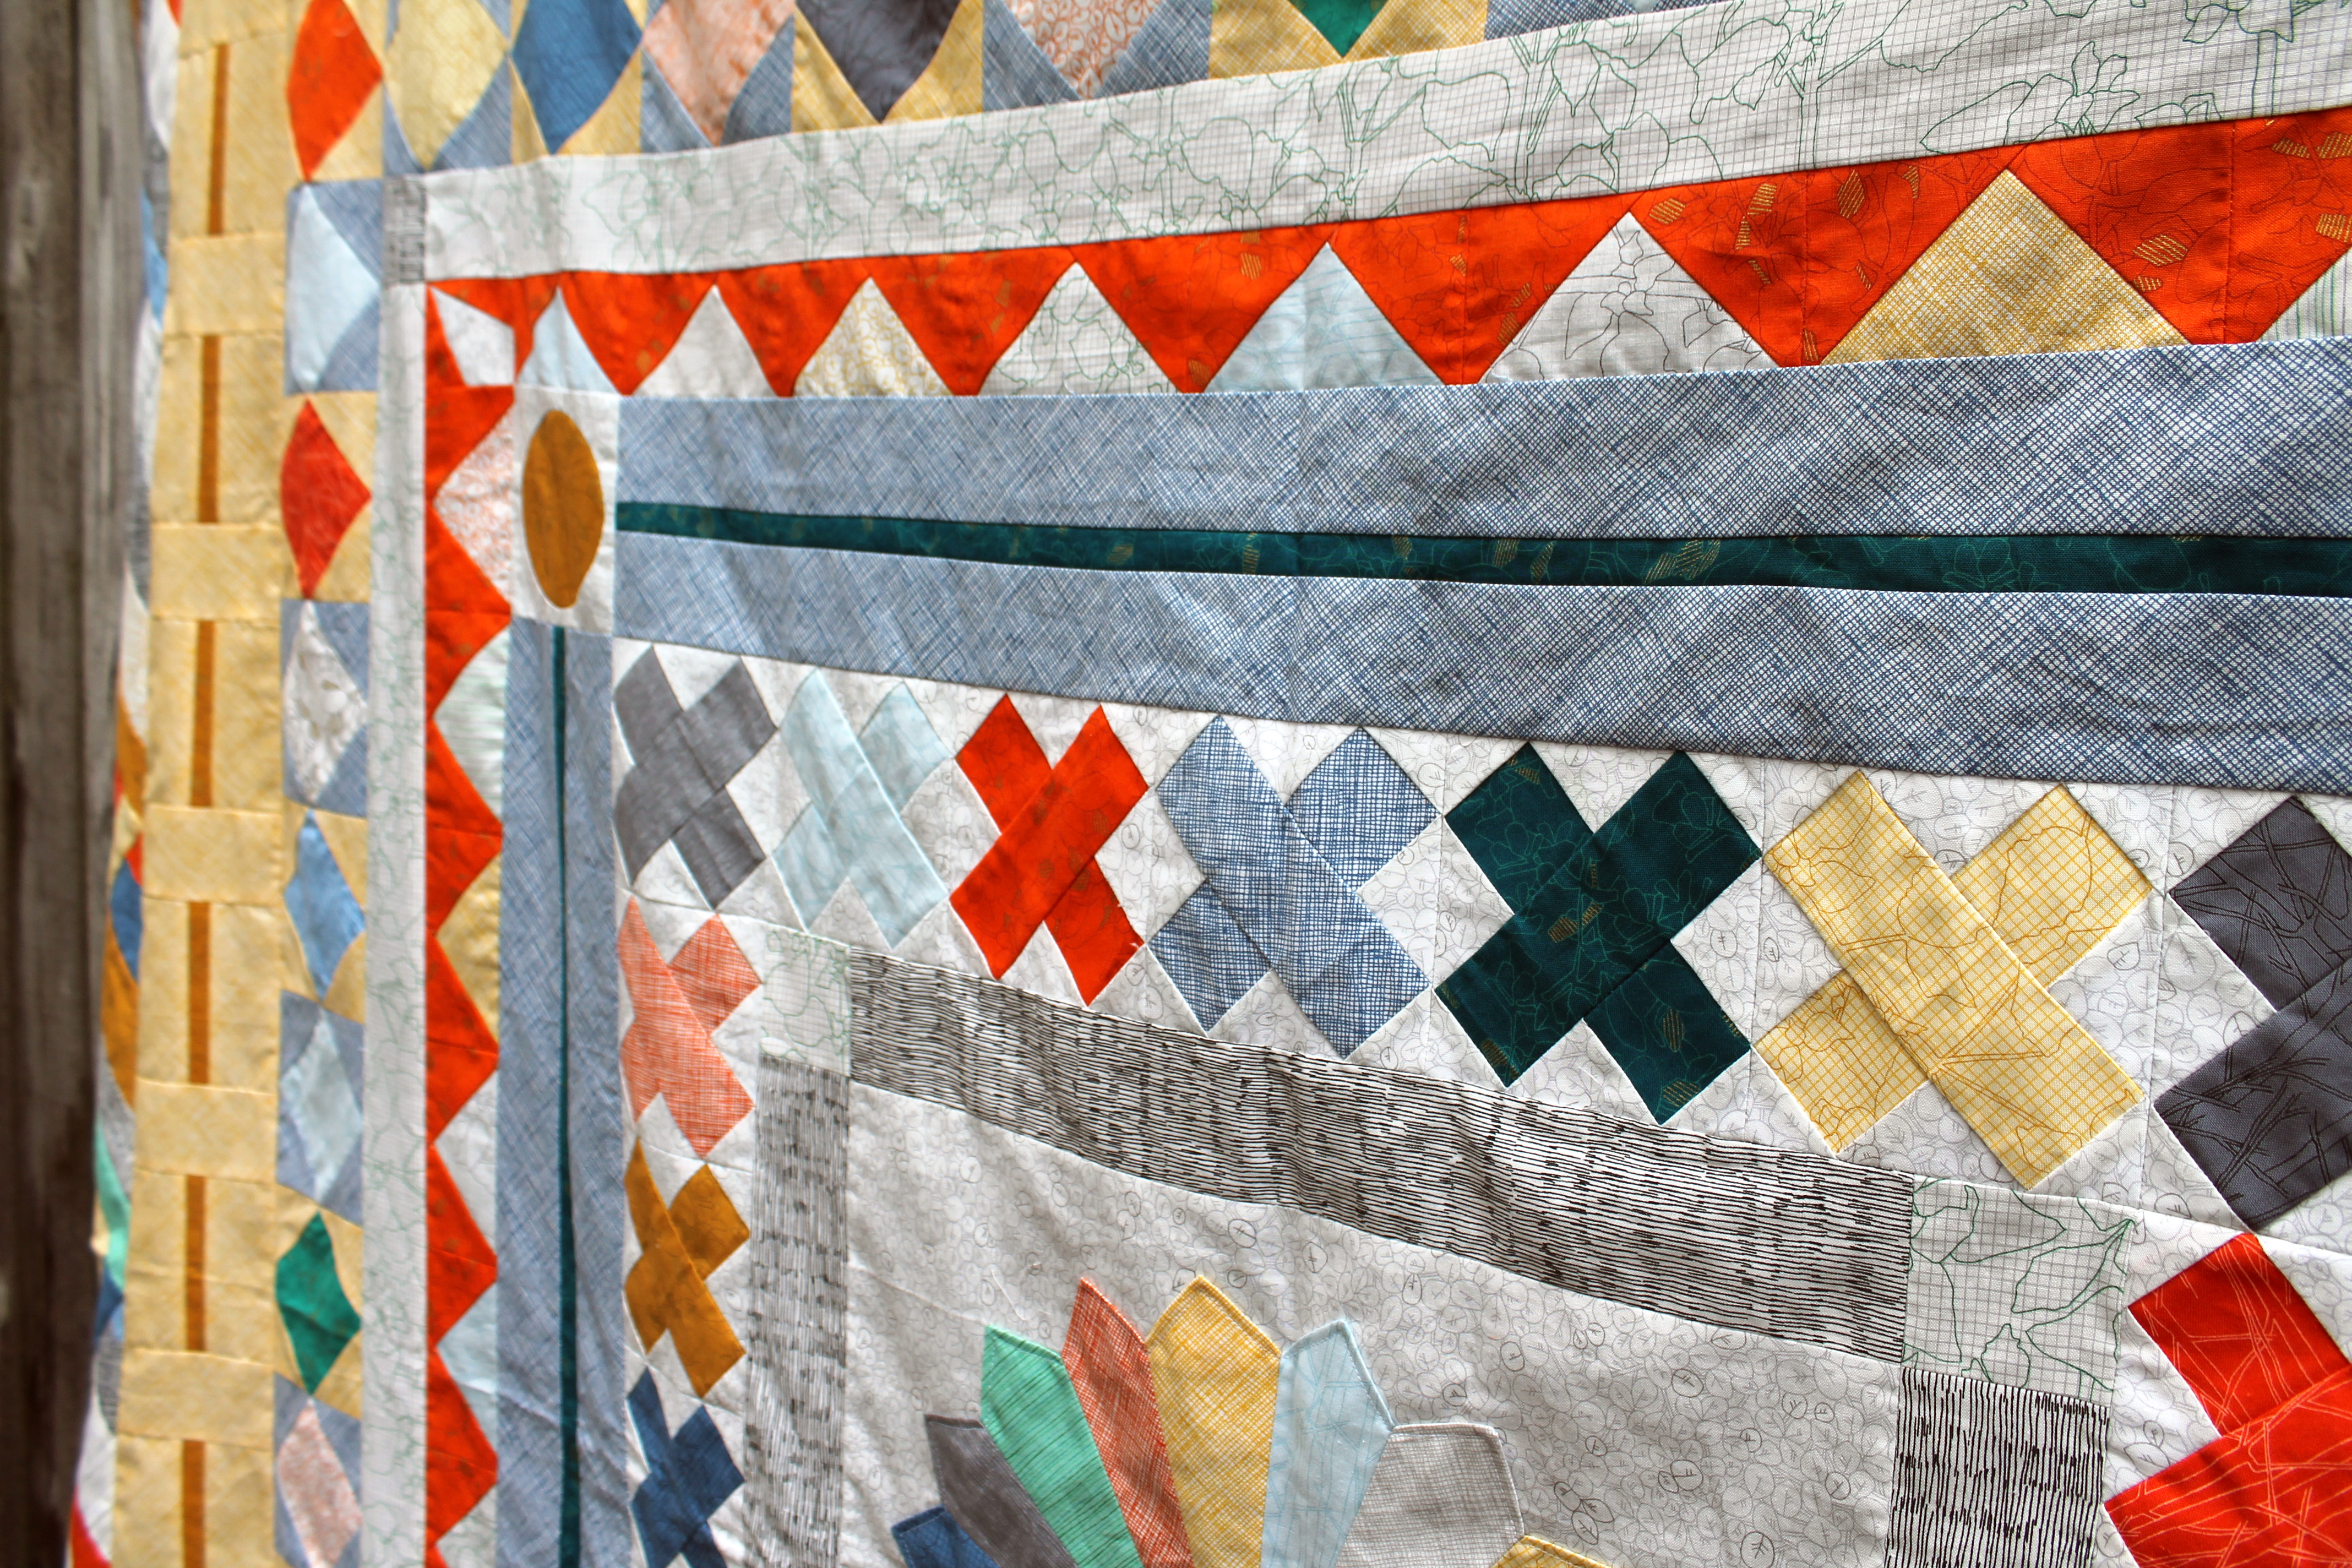
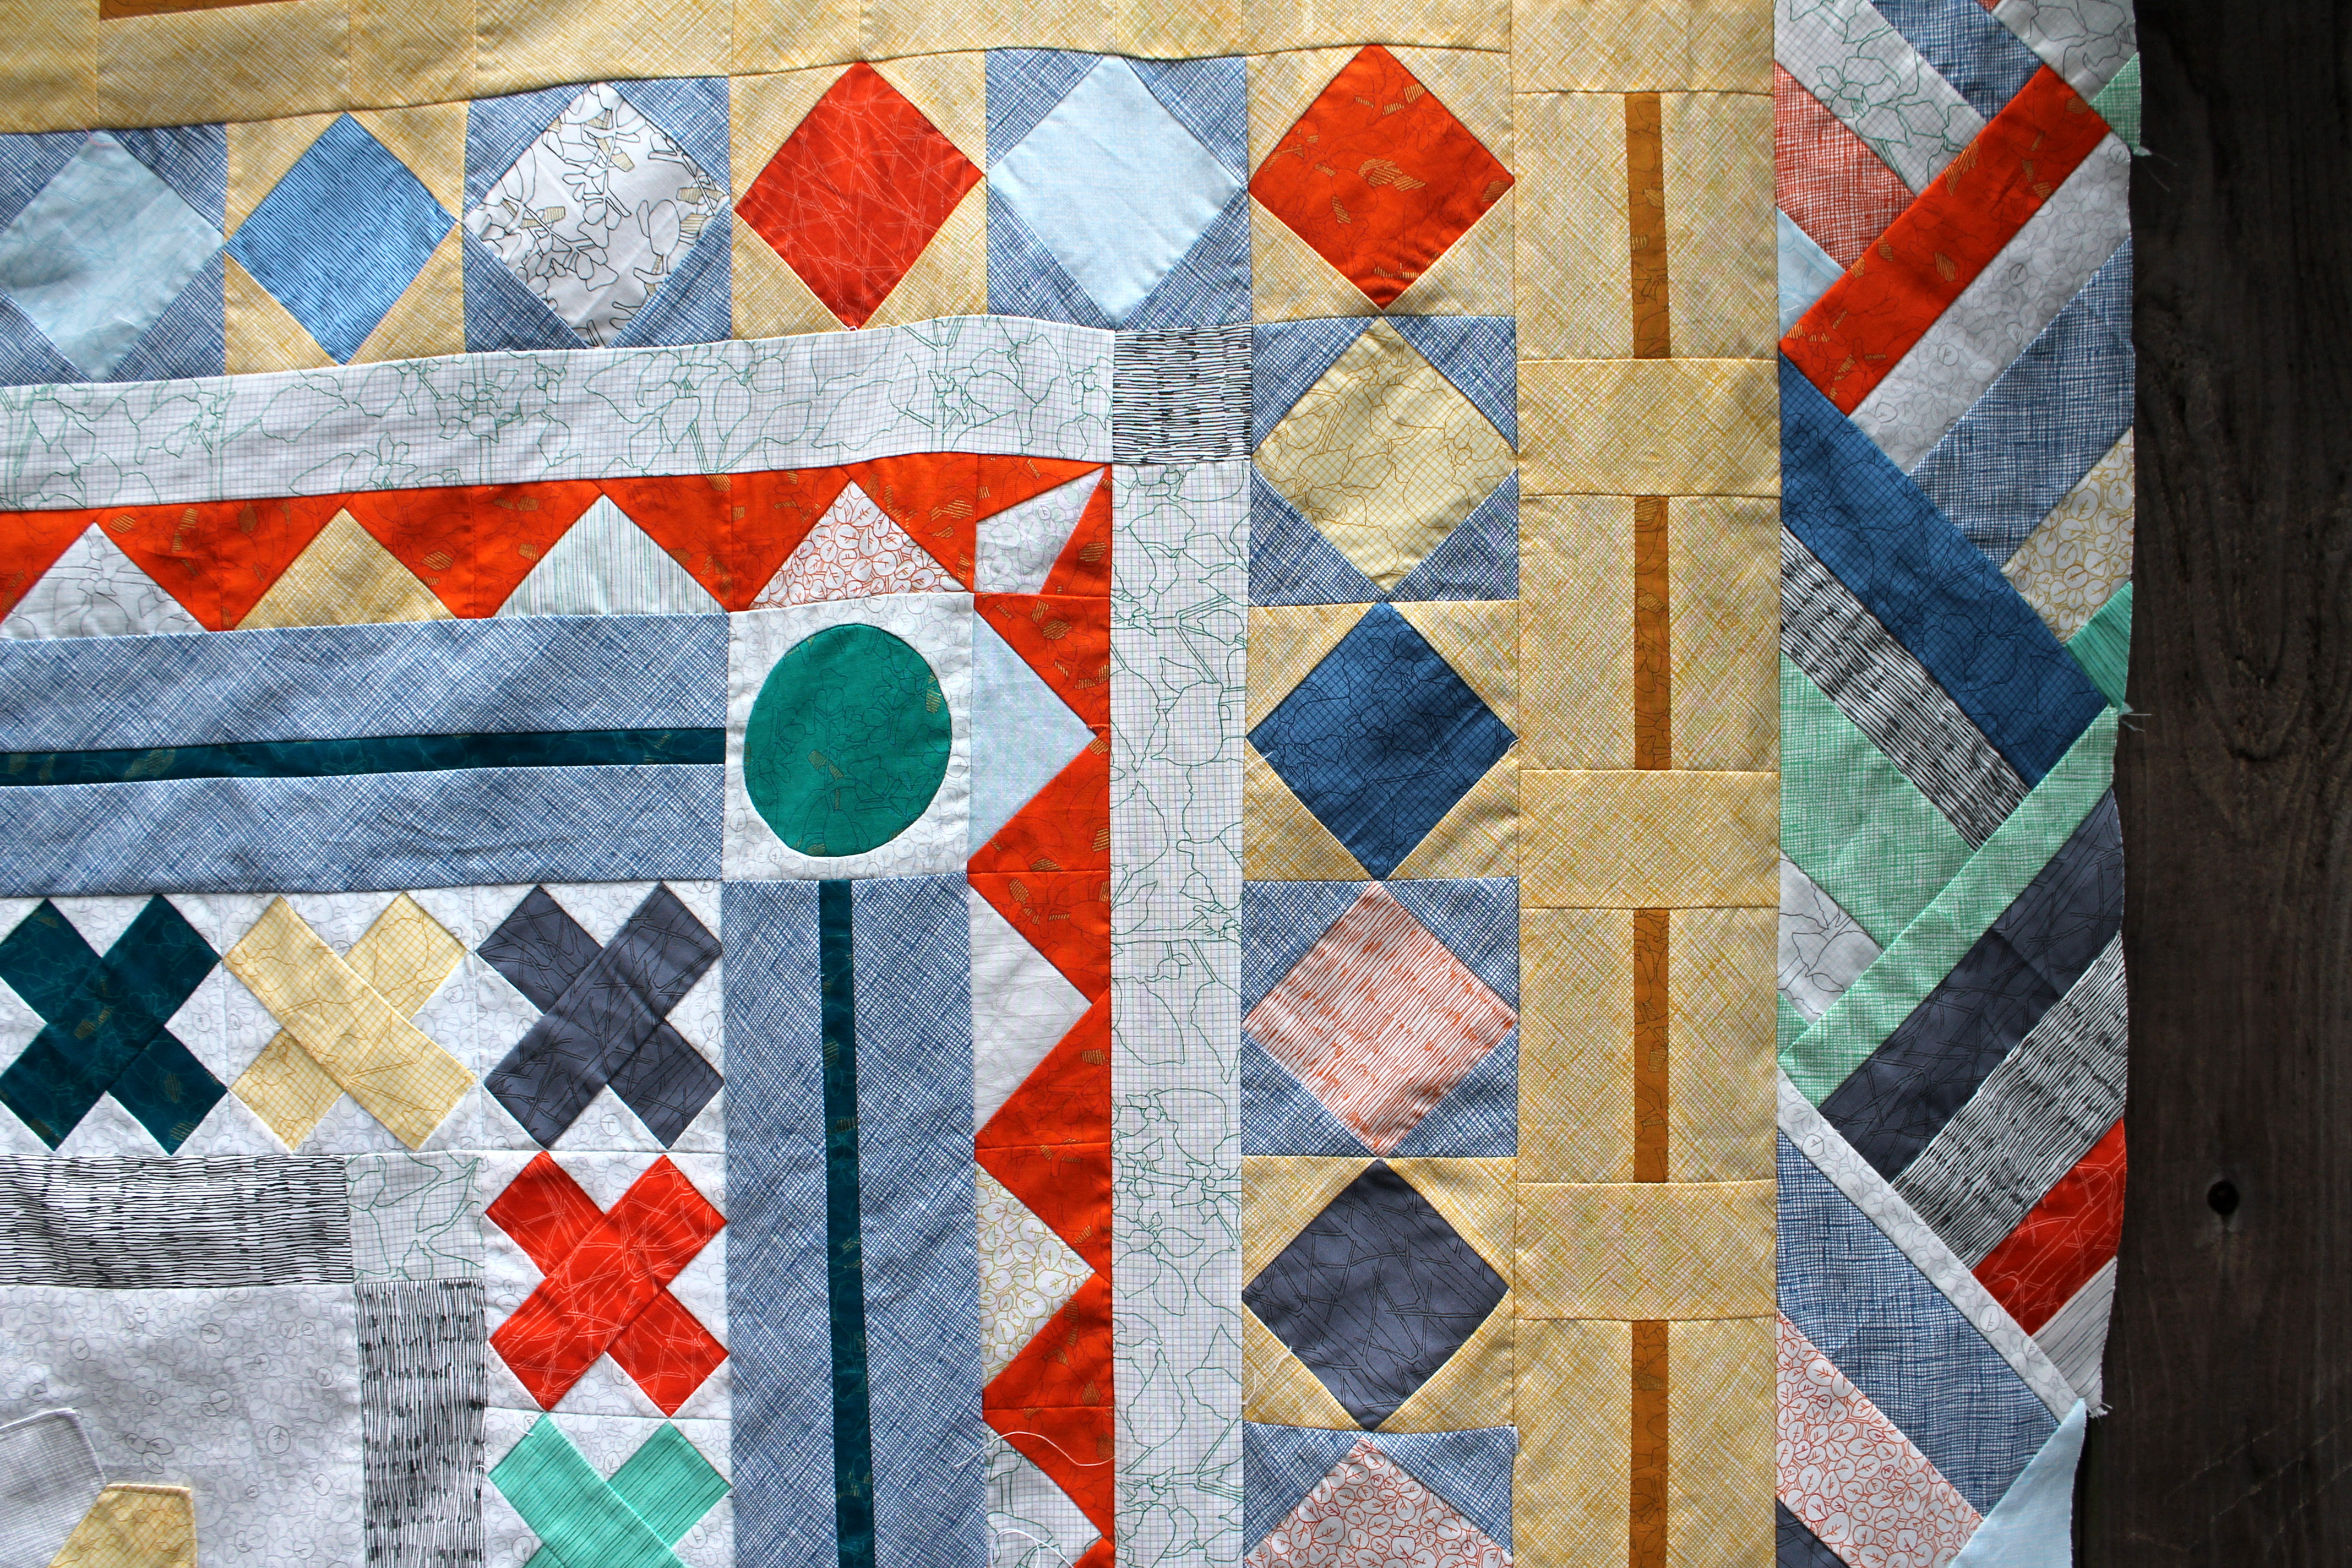
And while we are talking about Charity quilts I wanted to share another quilt that was recently finished…

charity quilt top
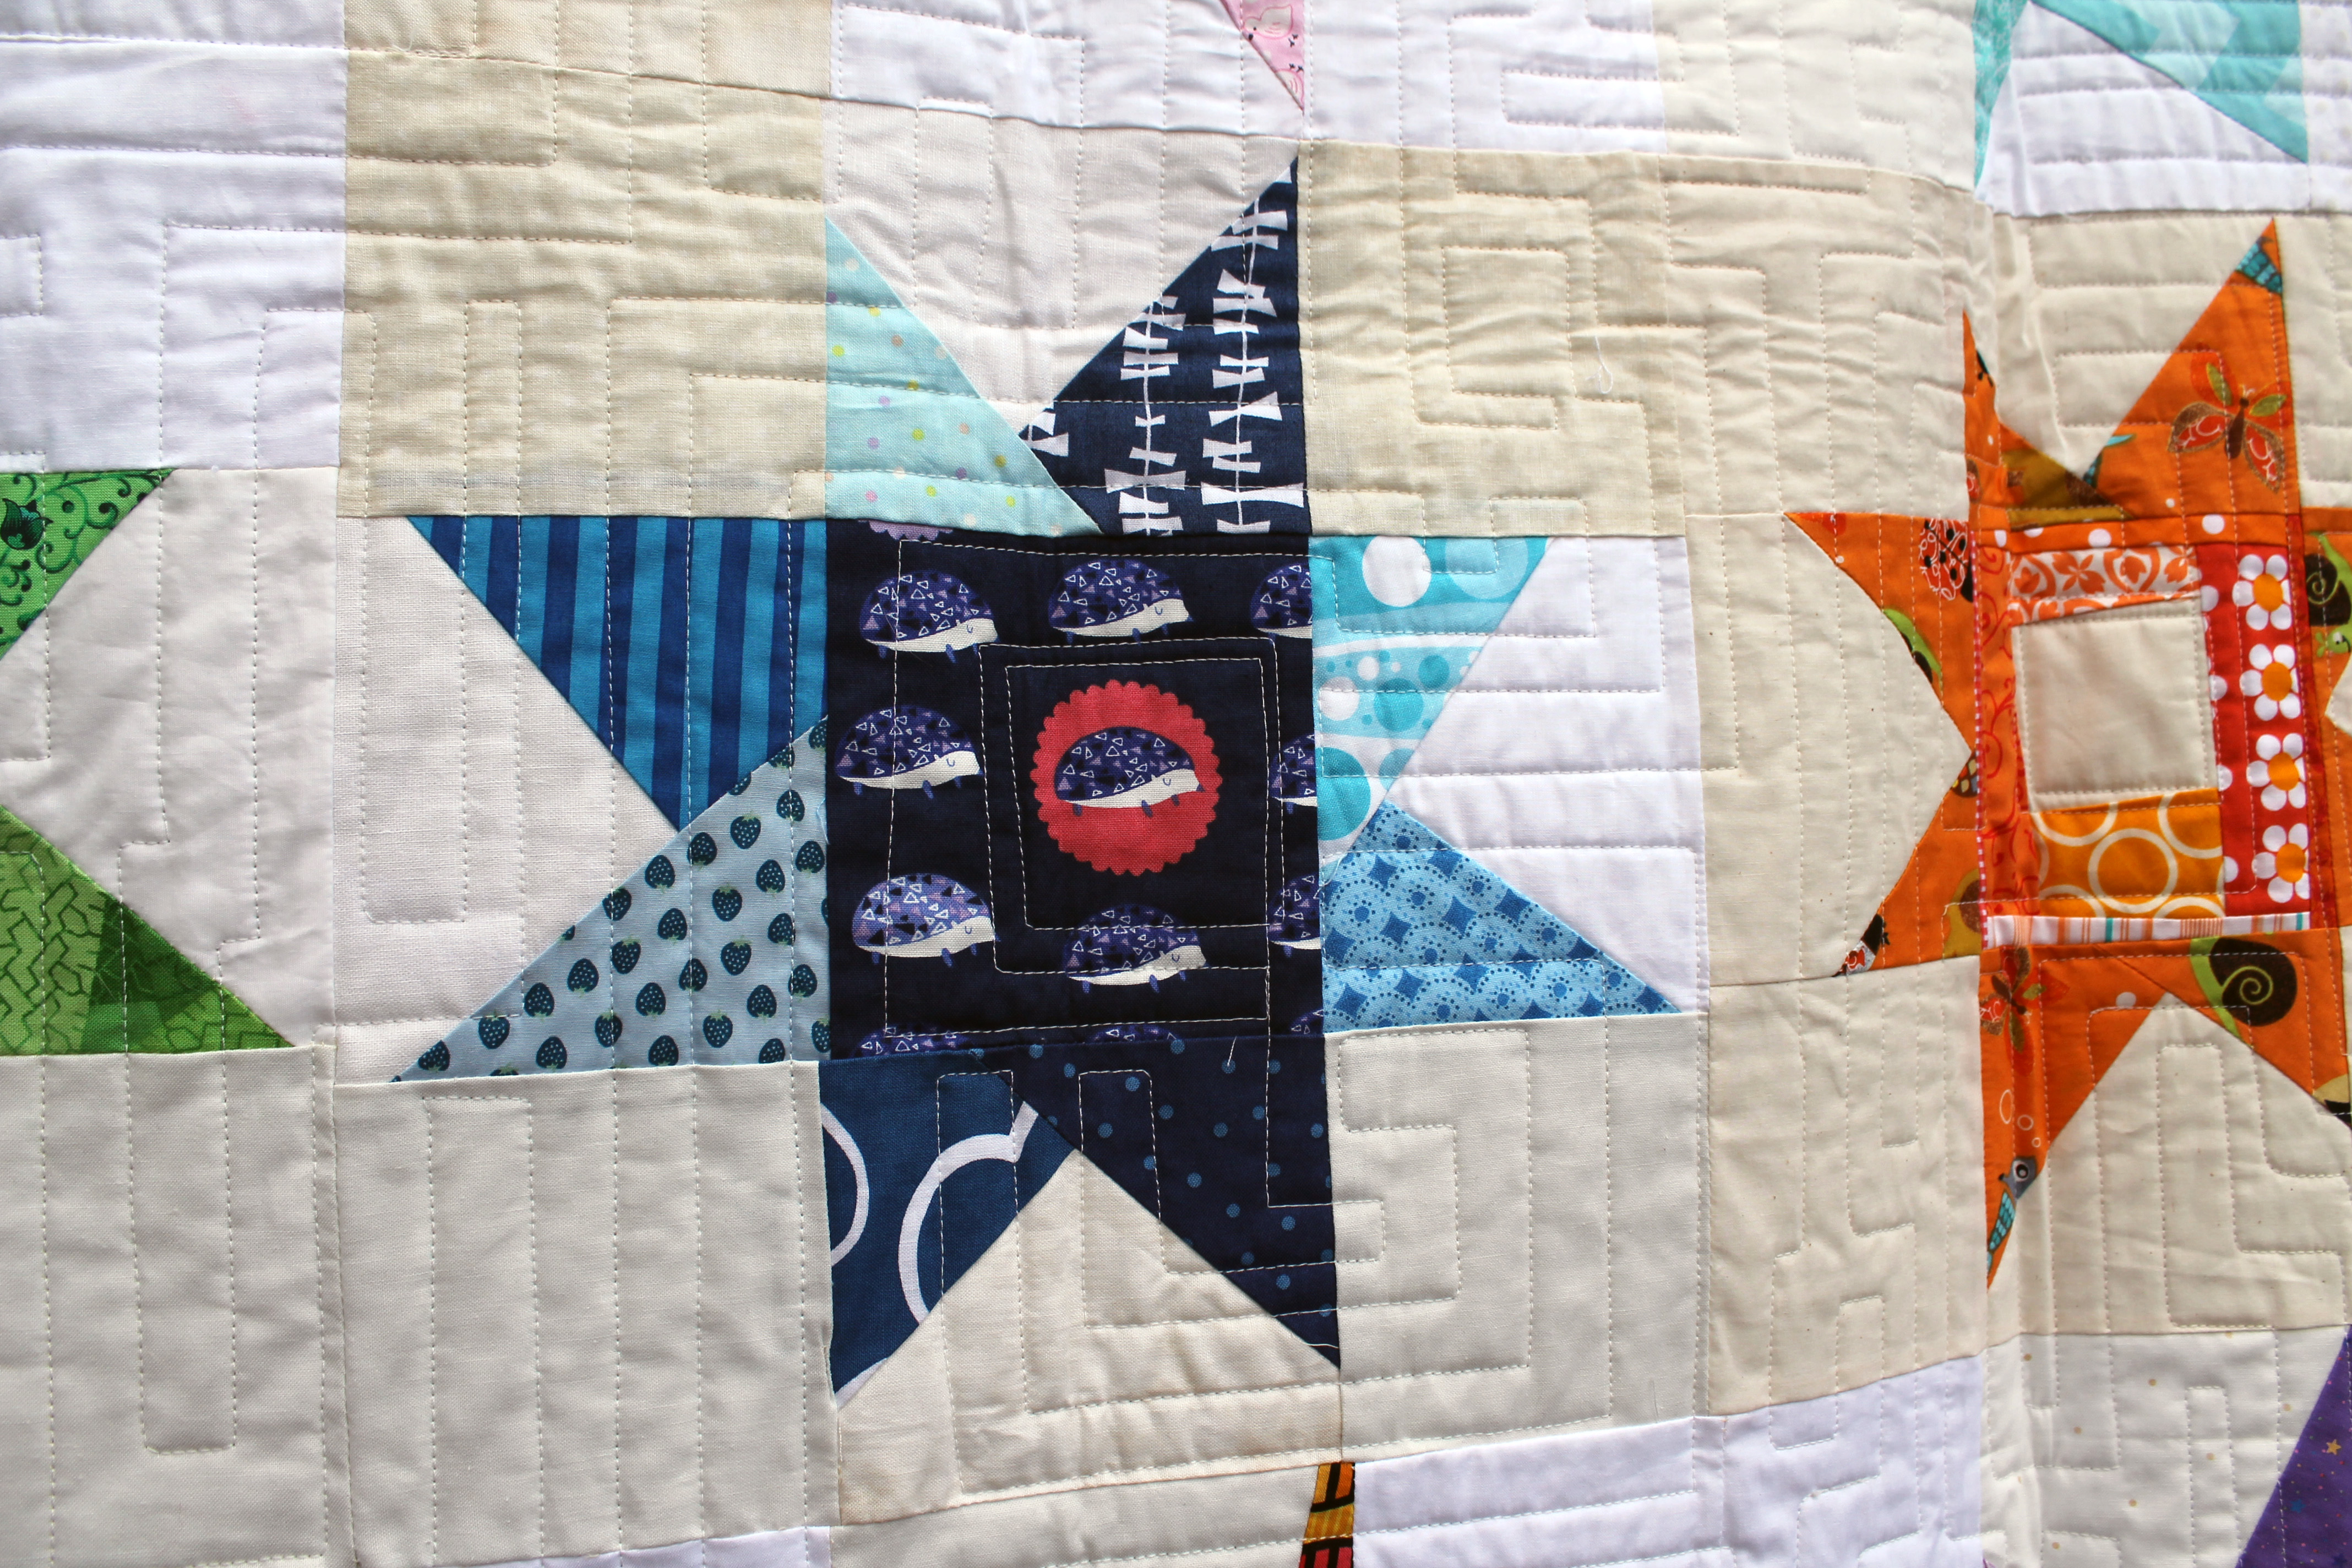
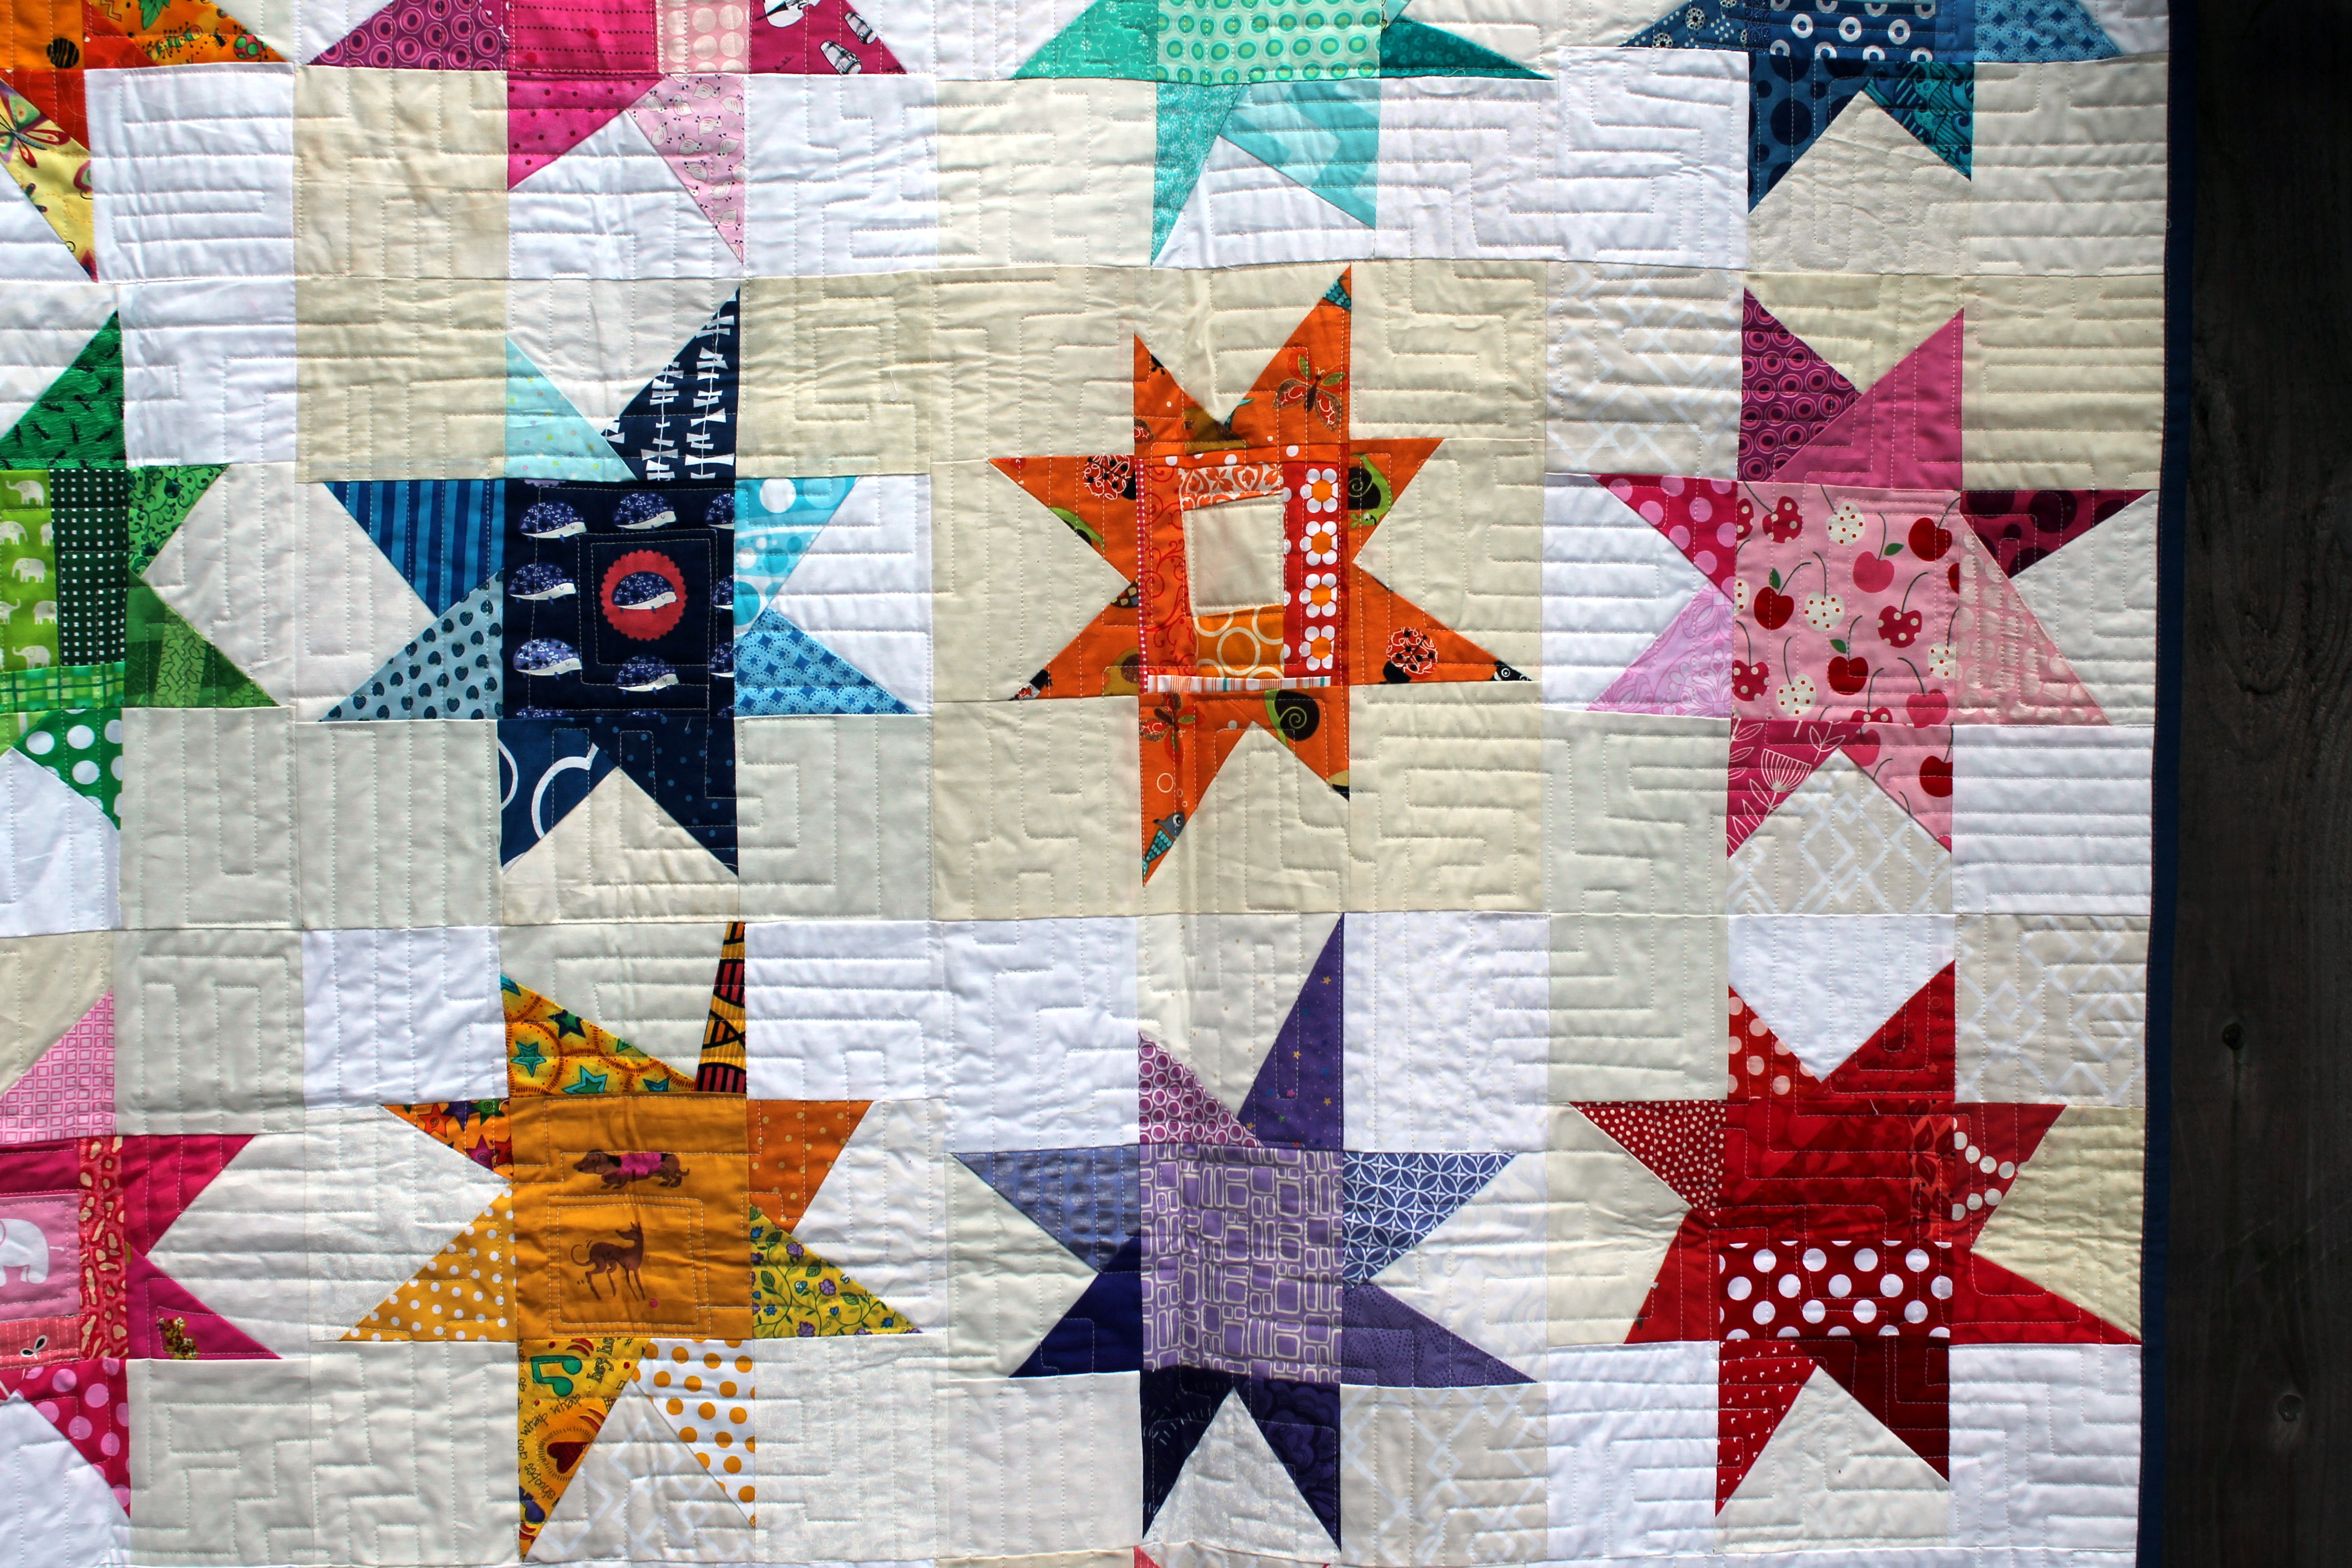
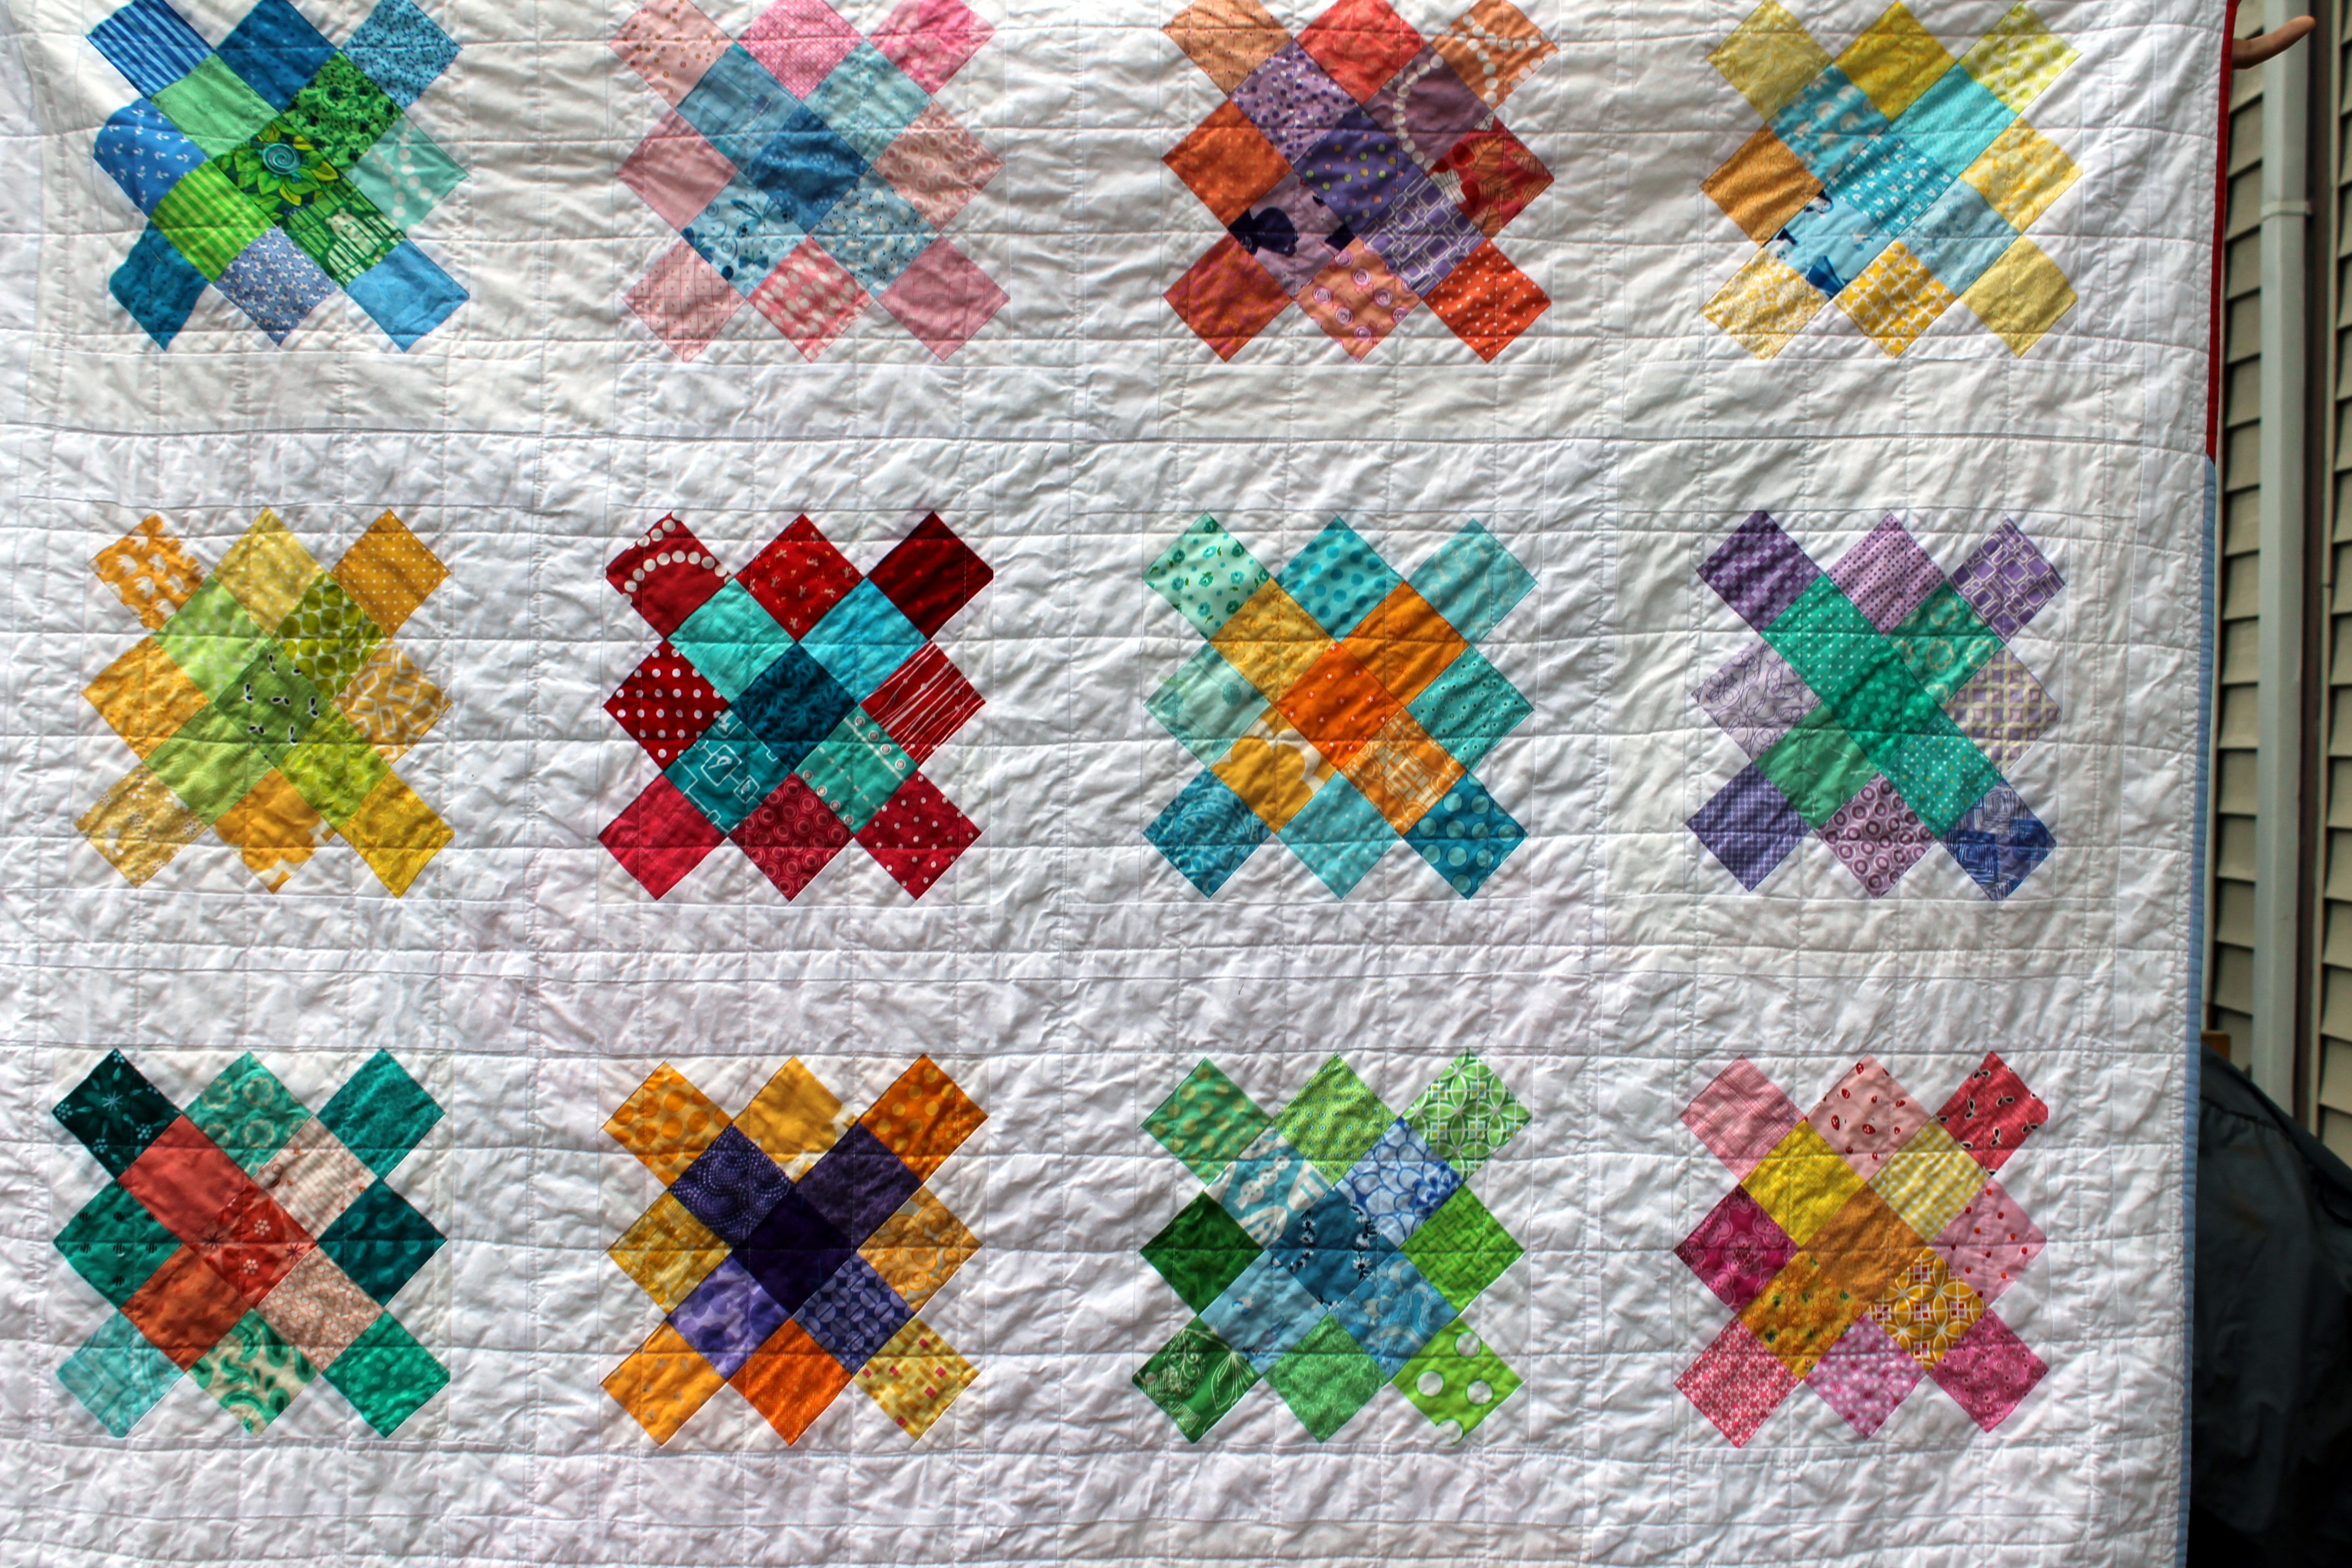
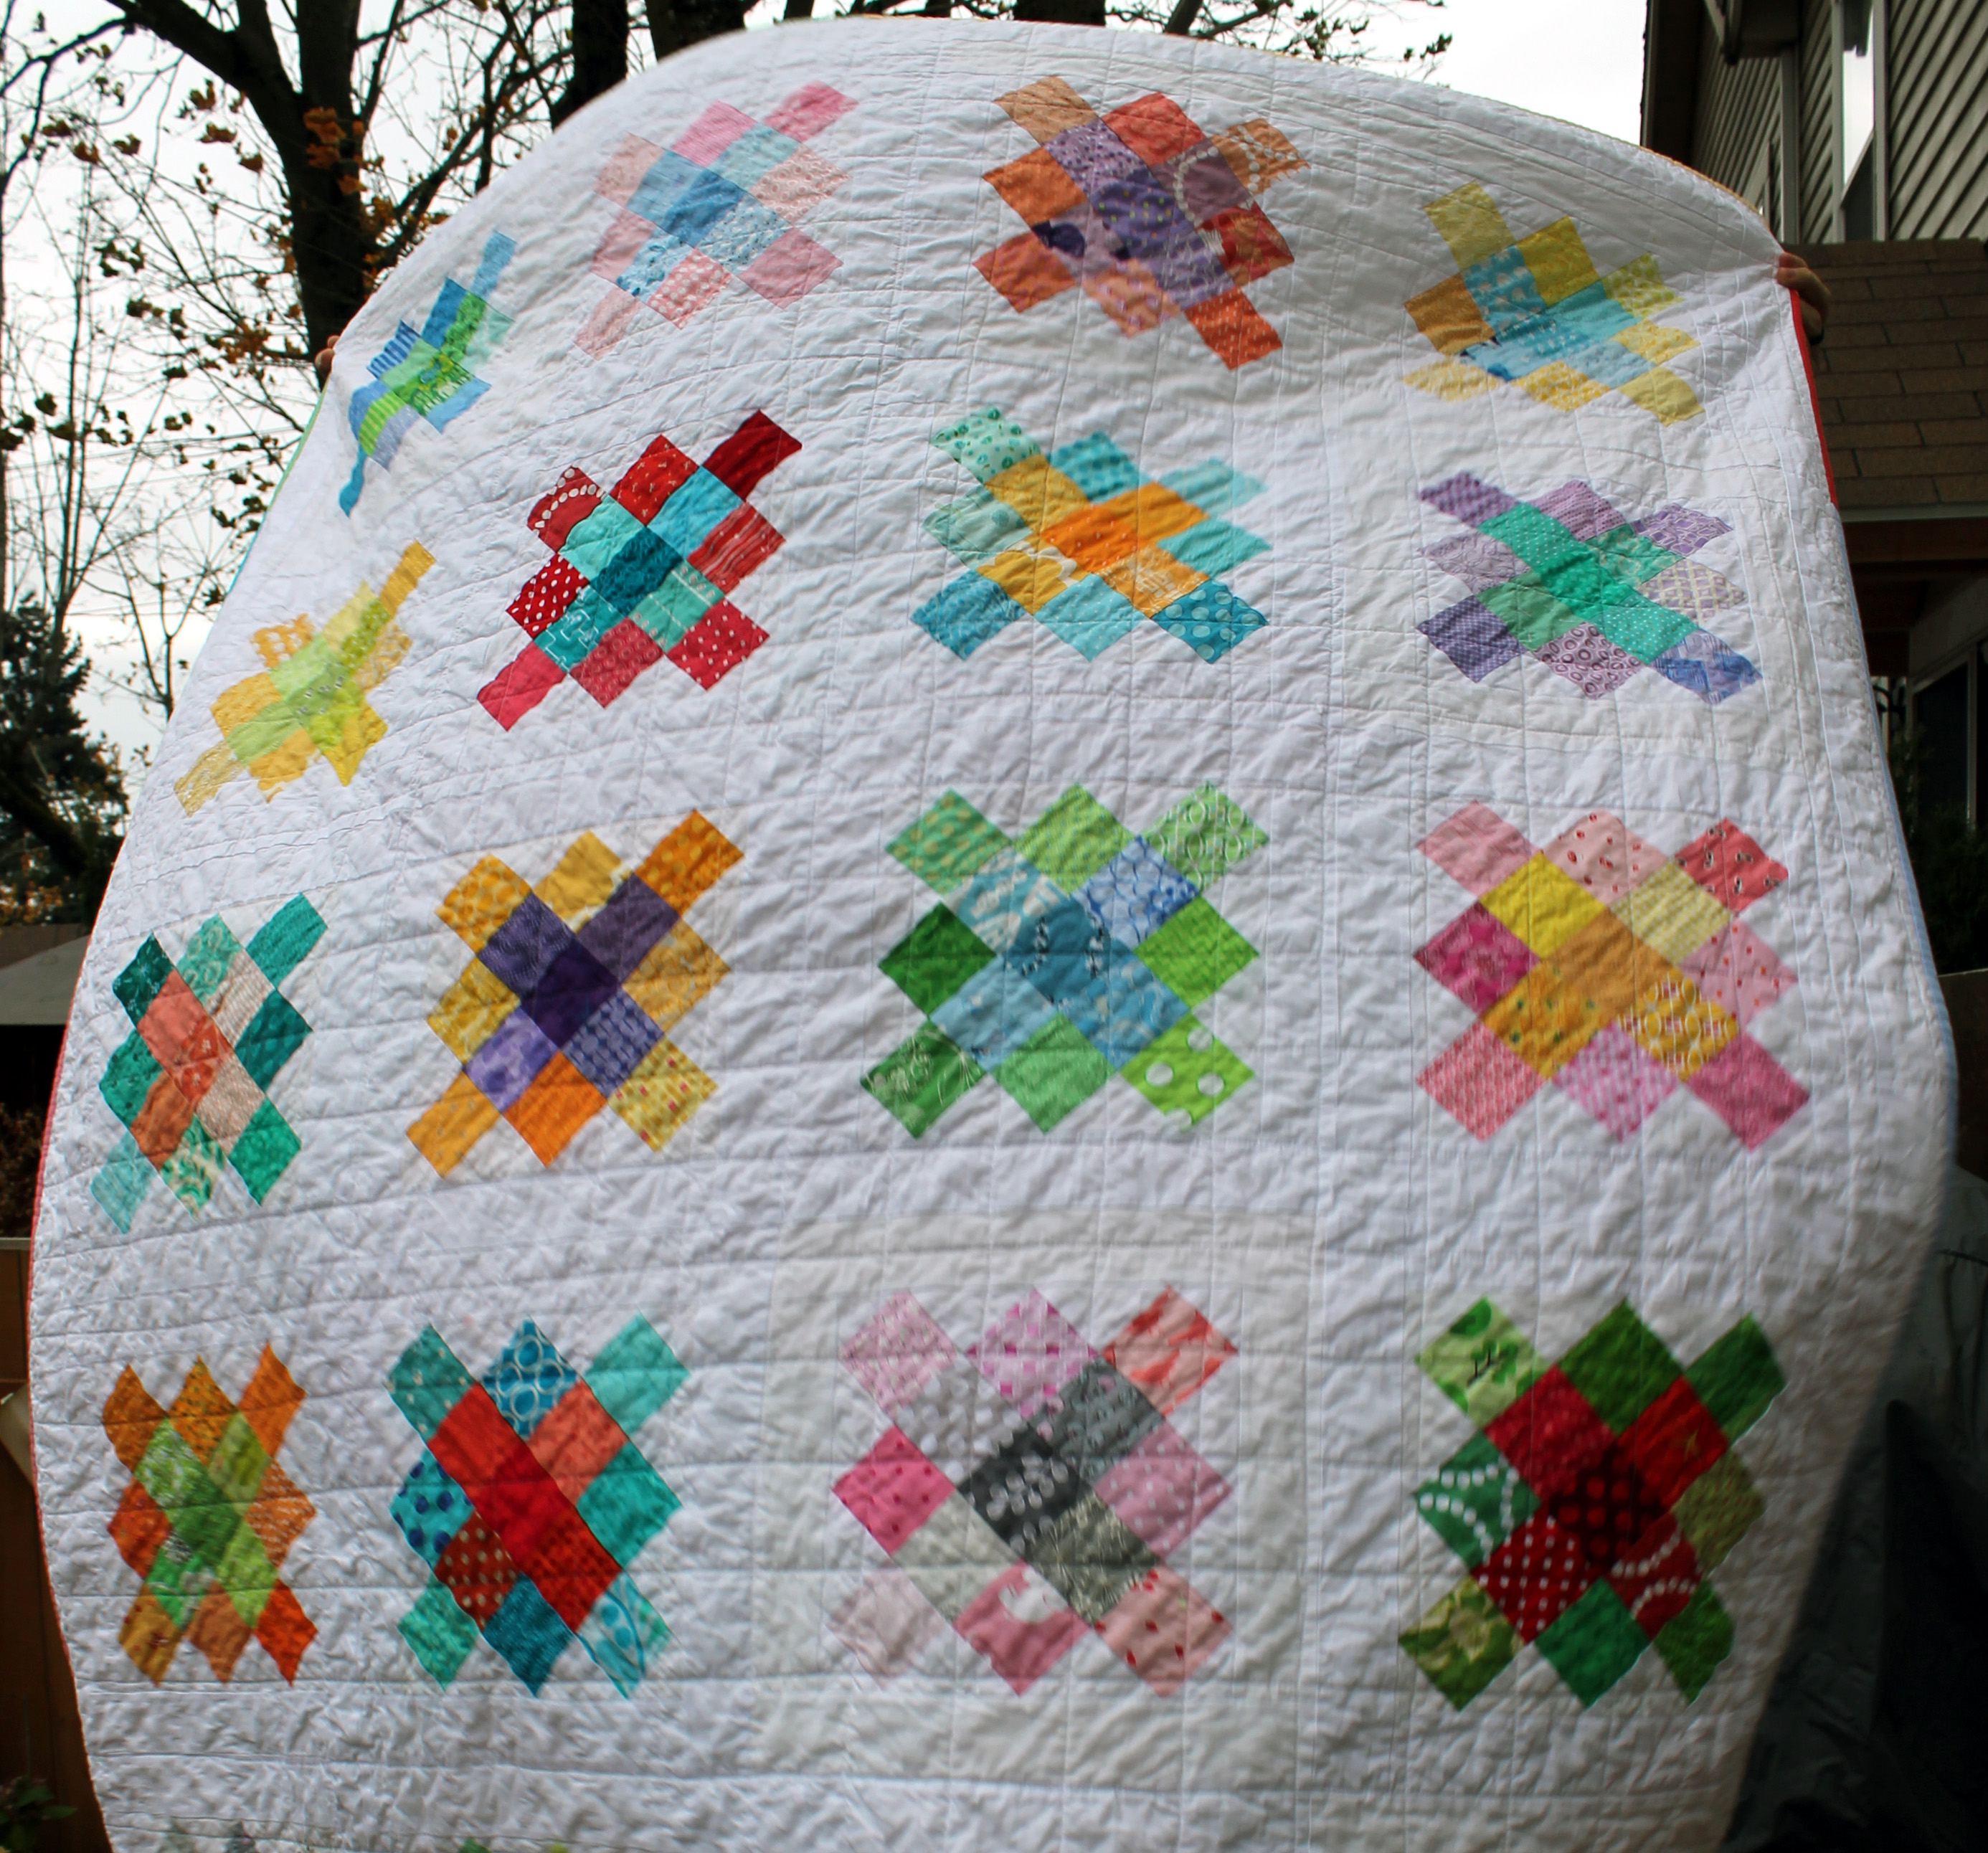
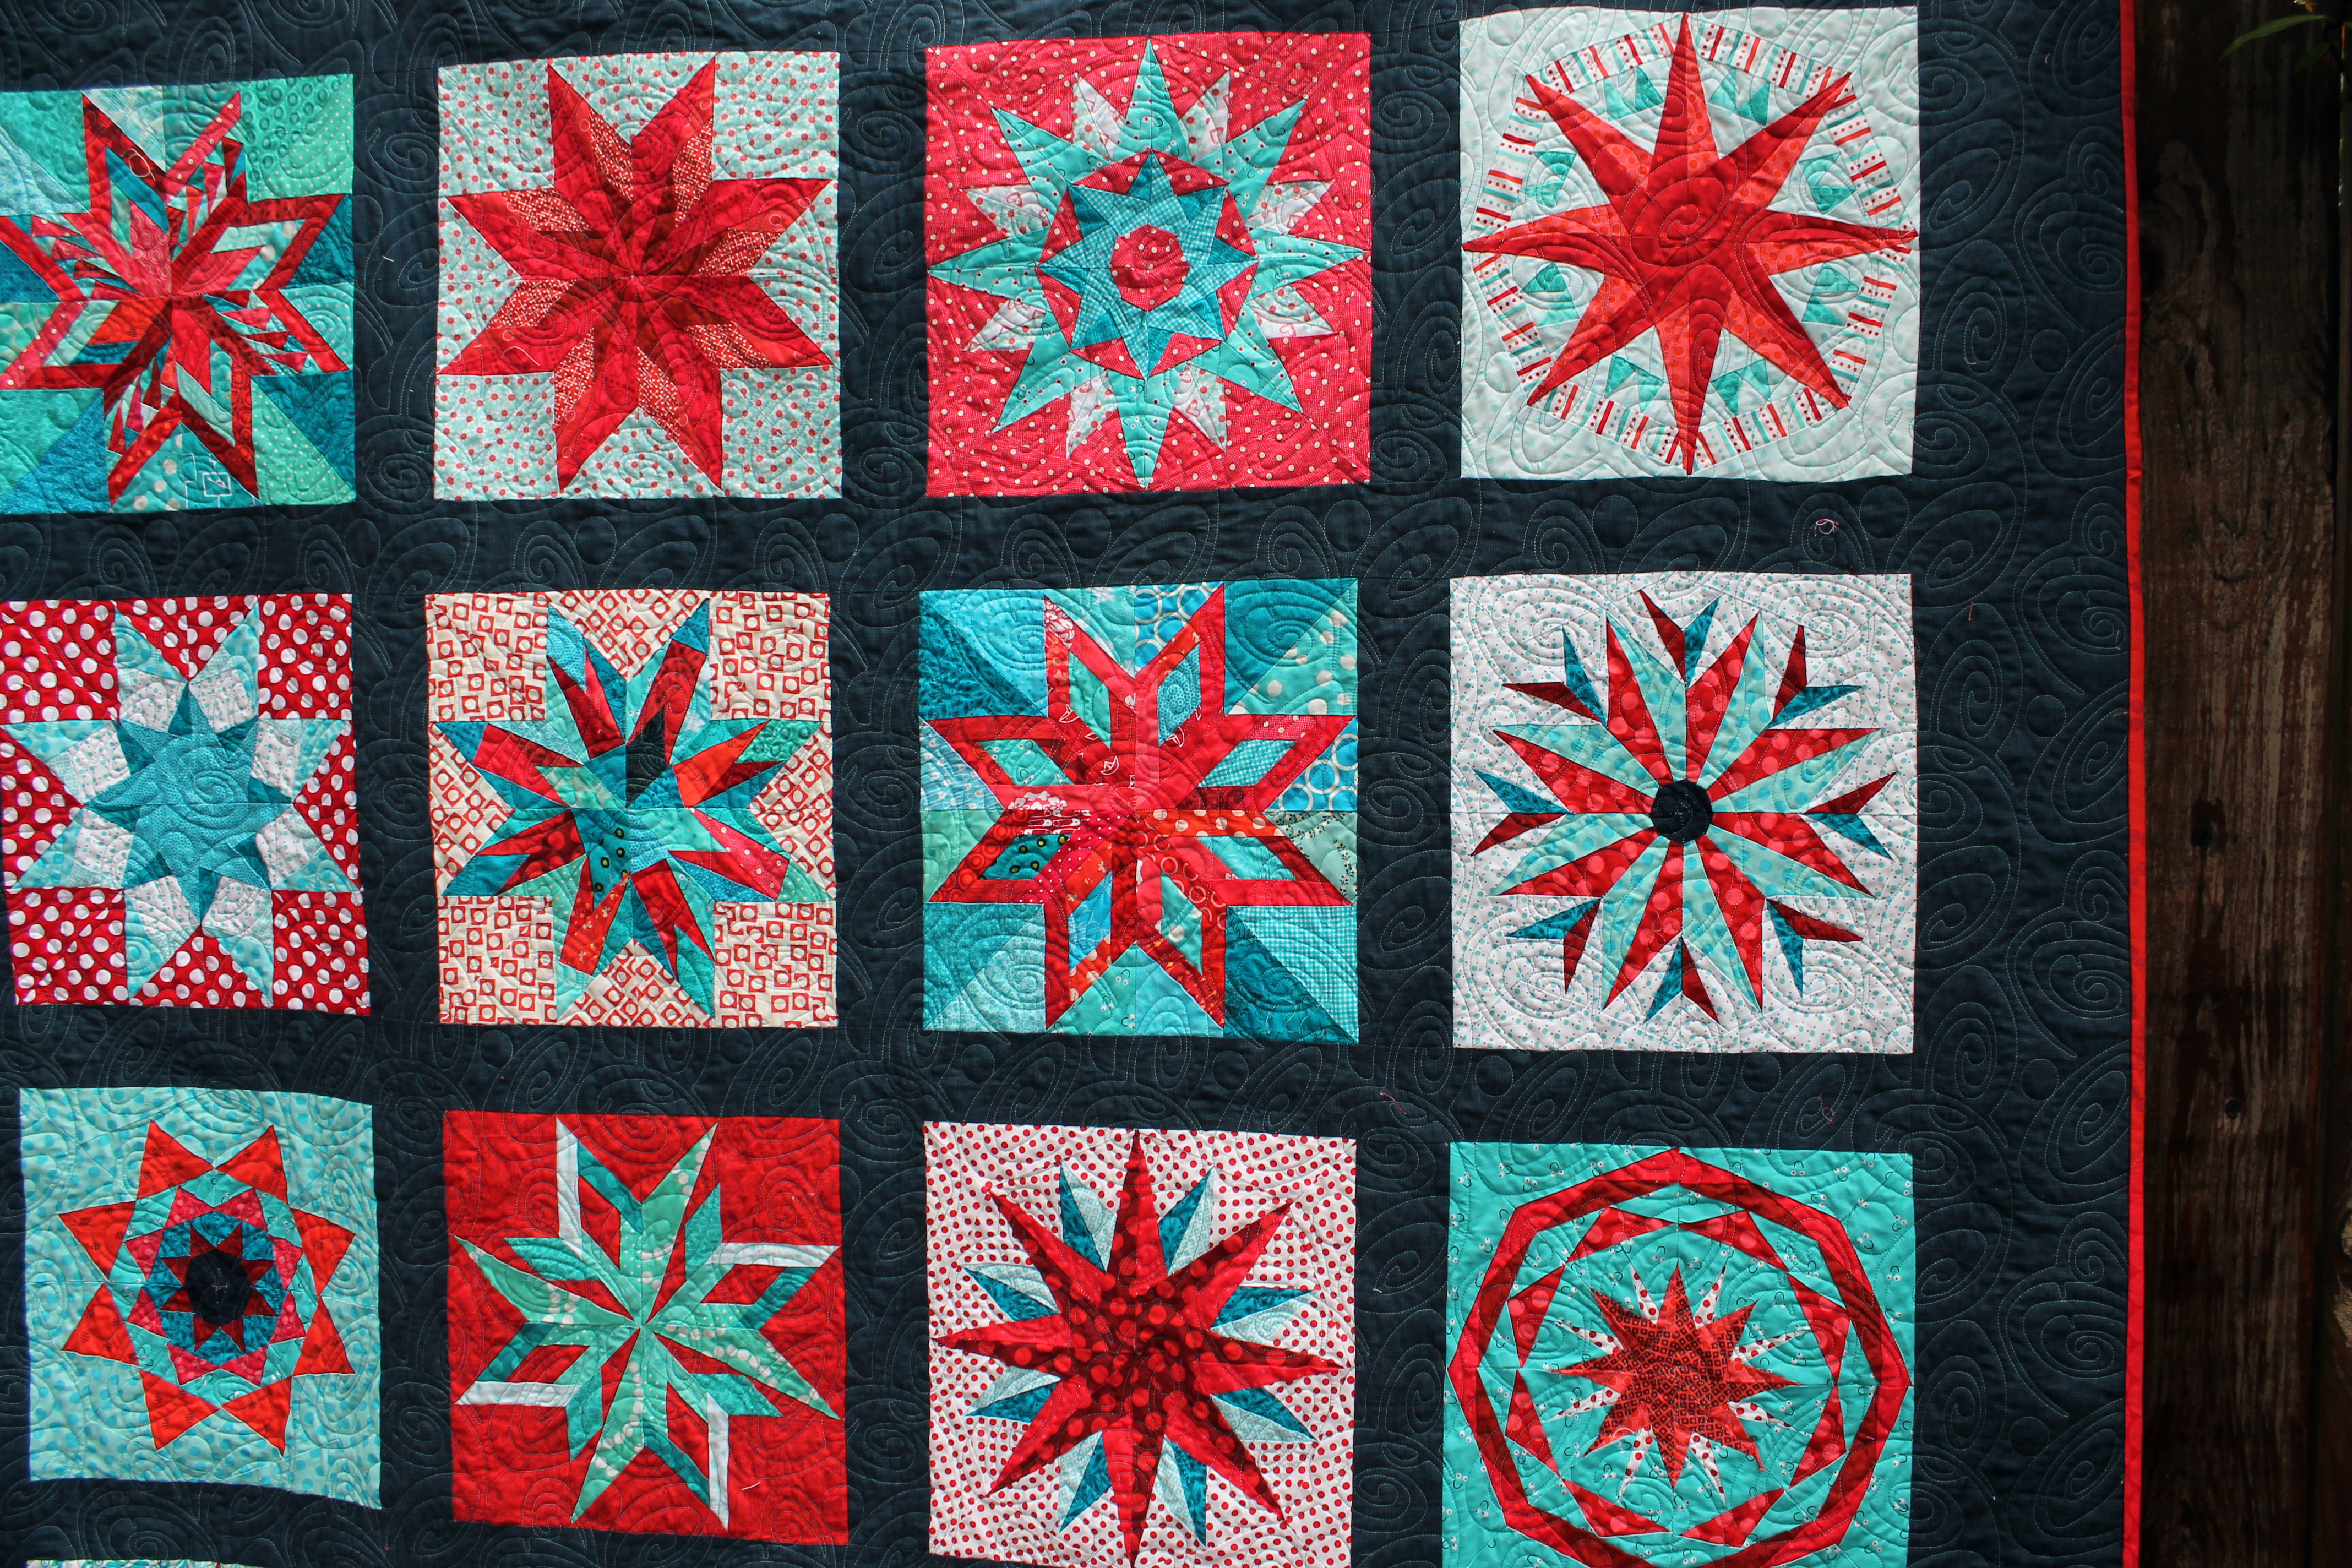
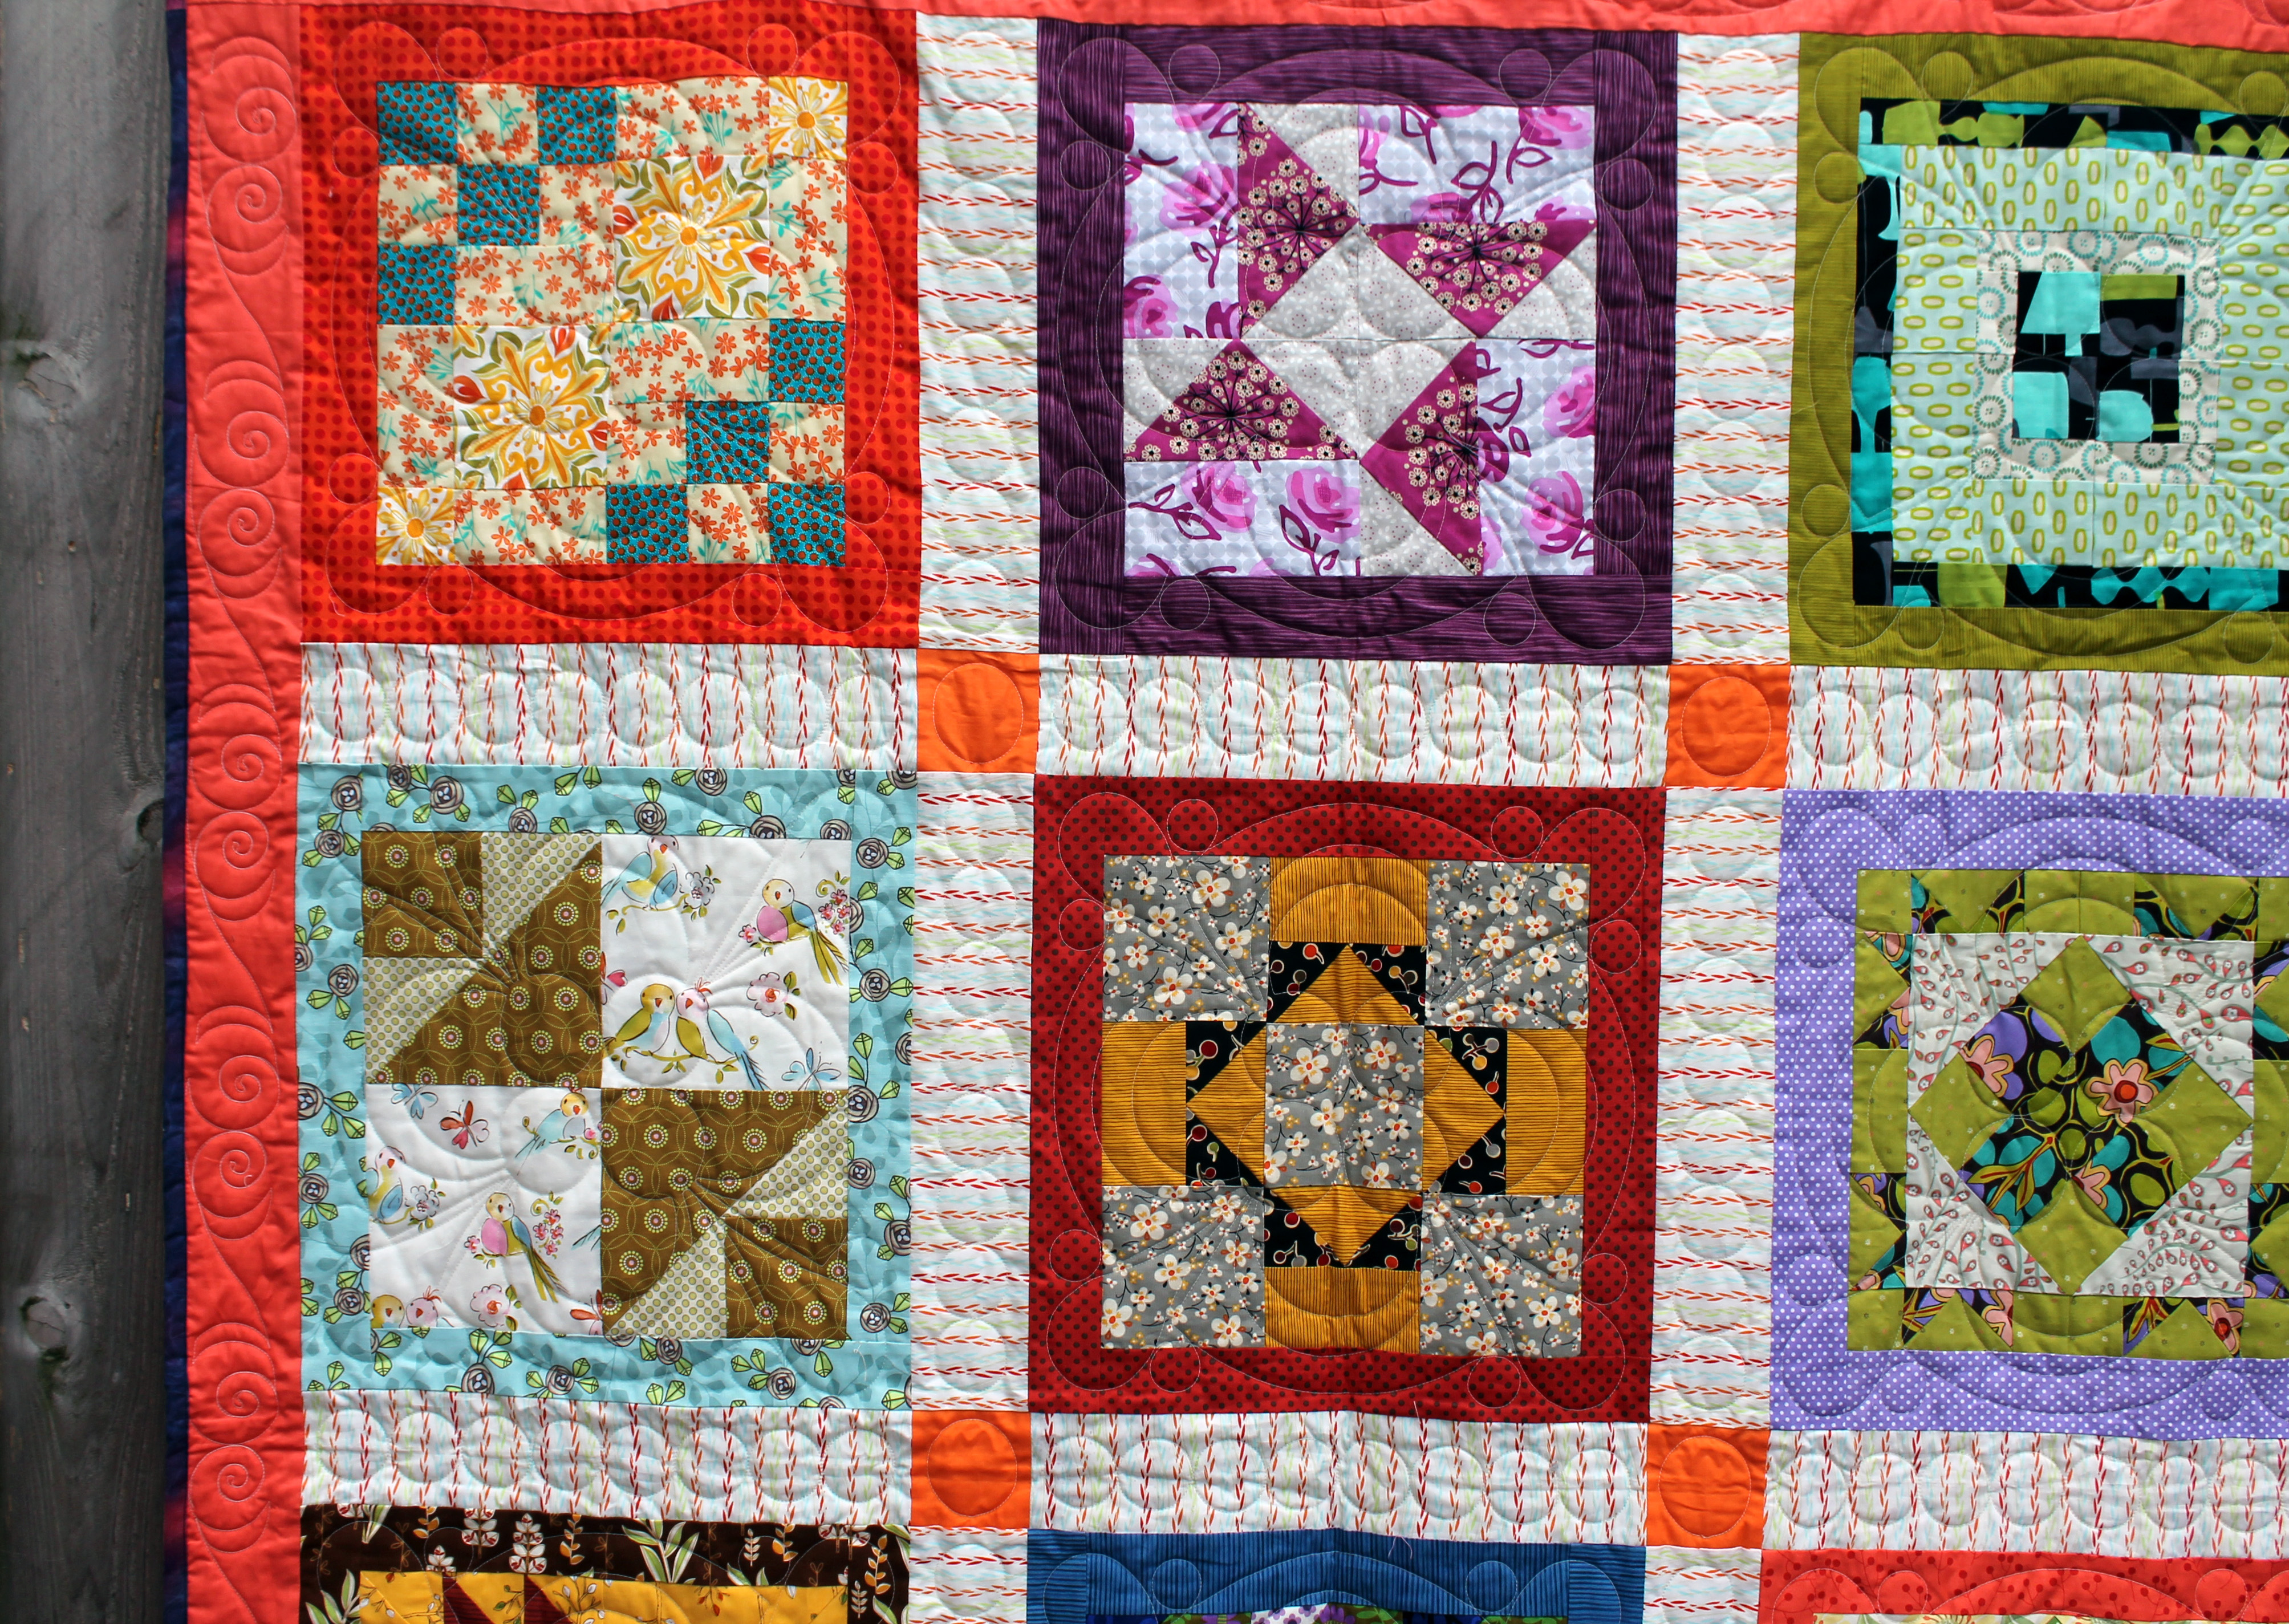
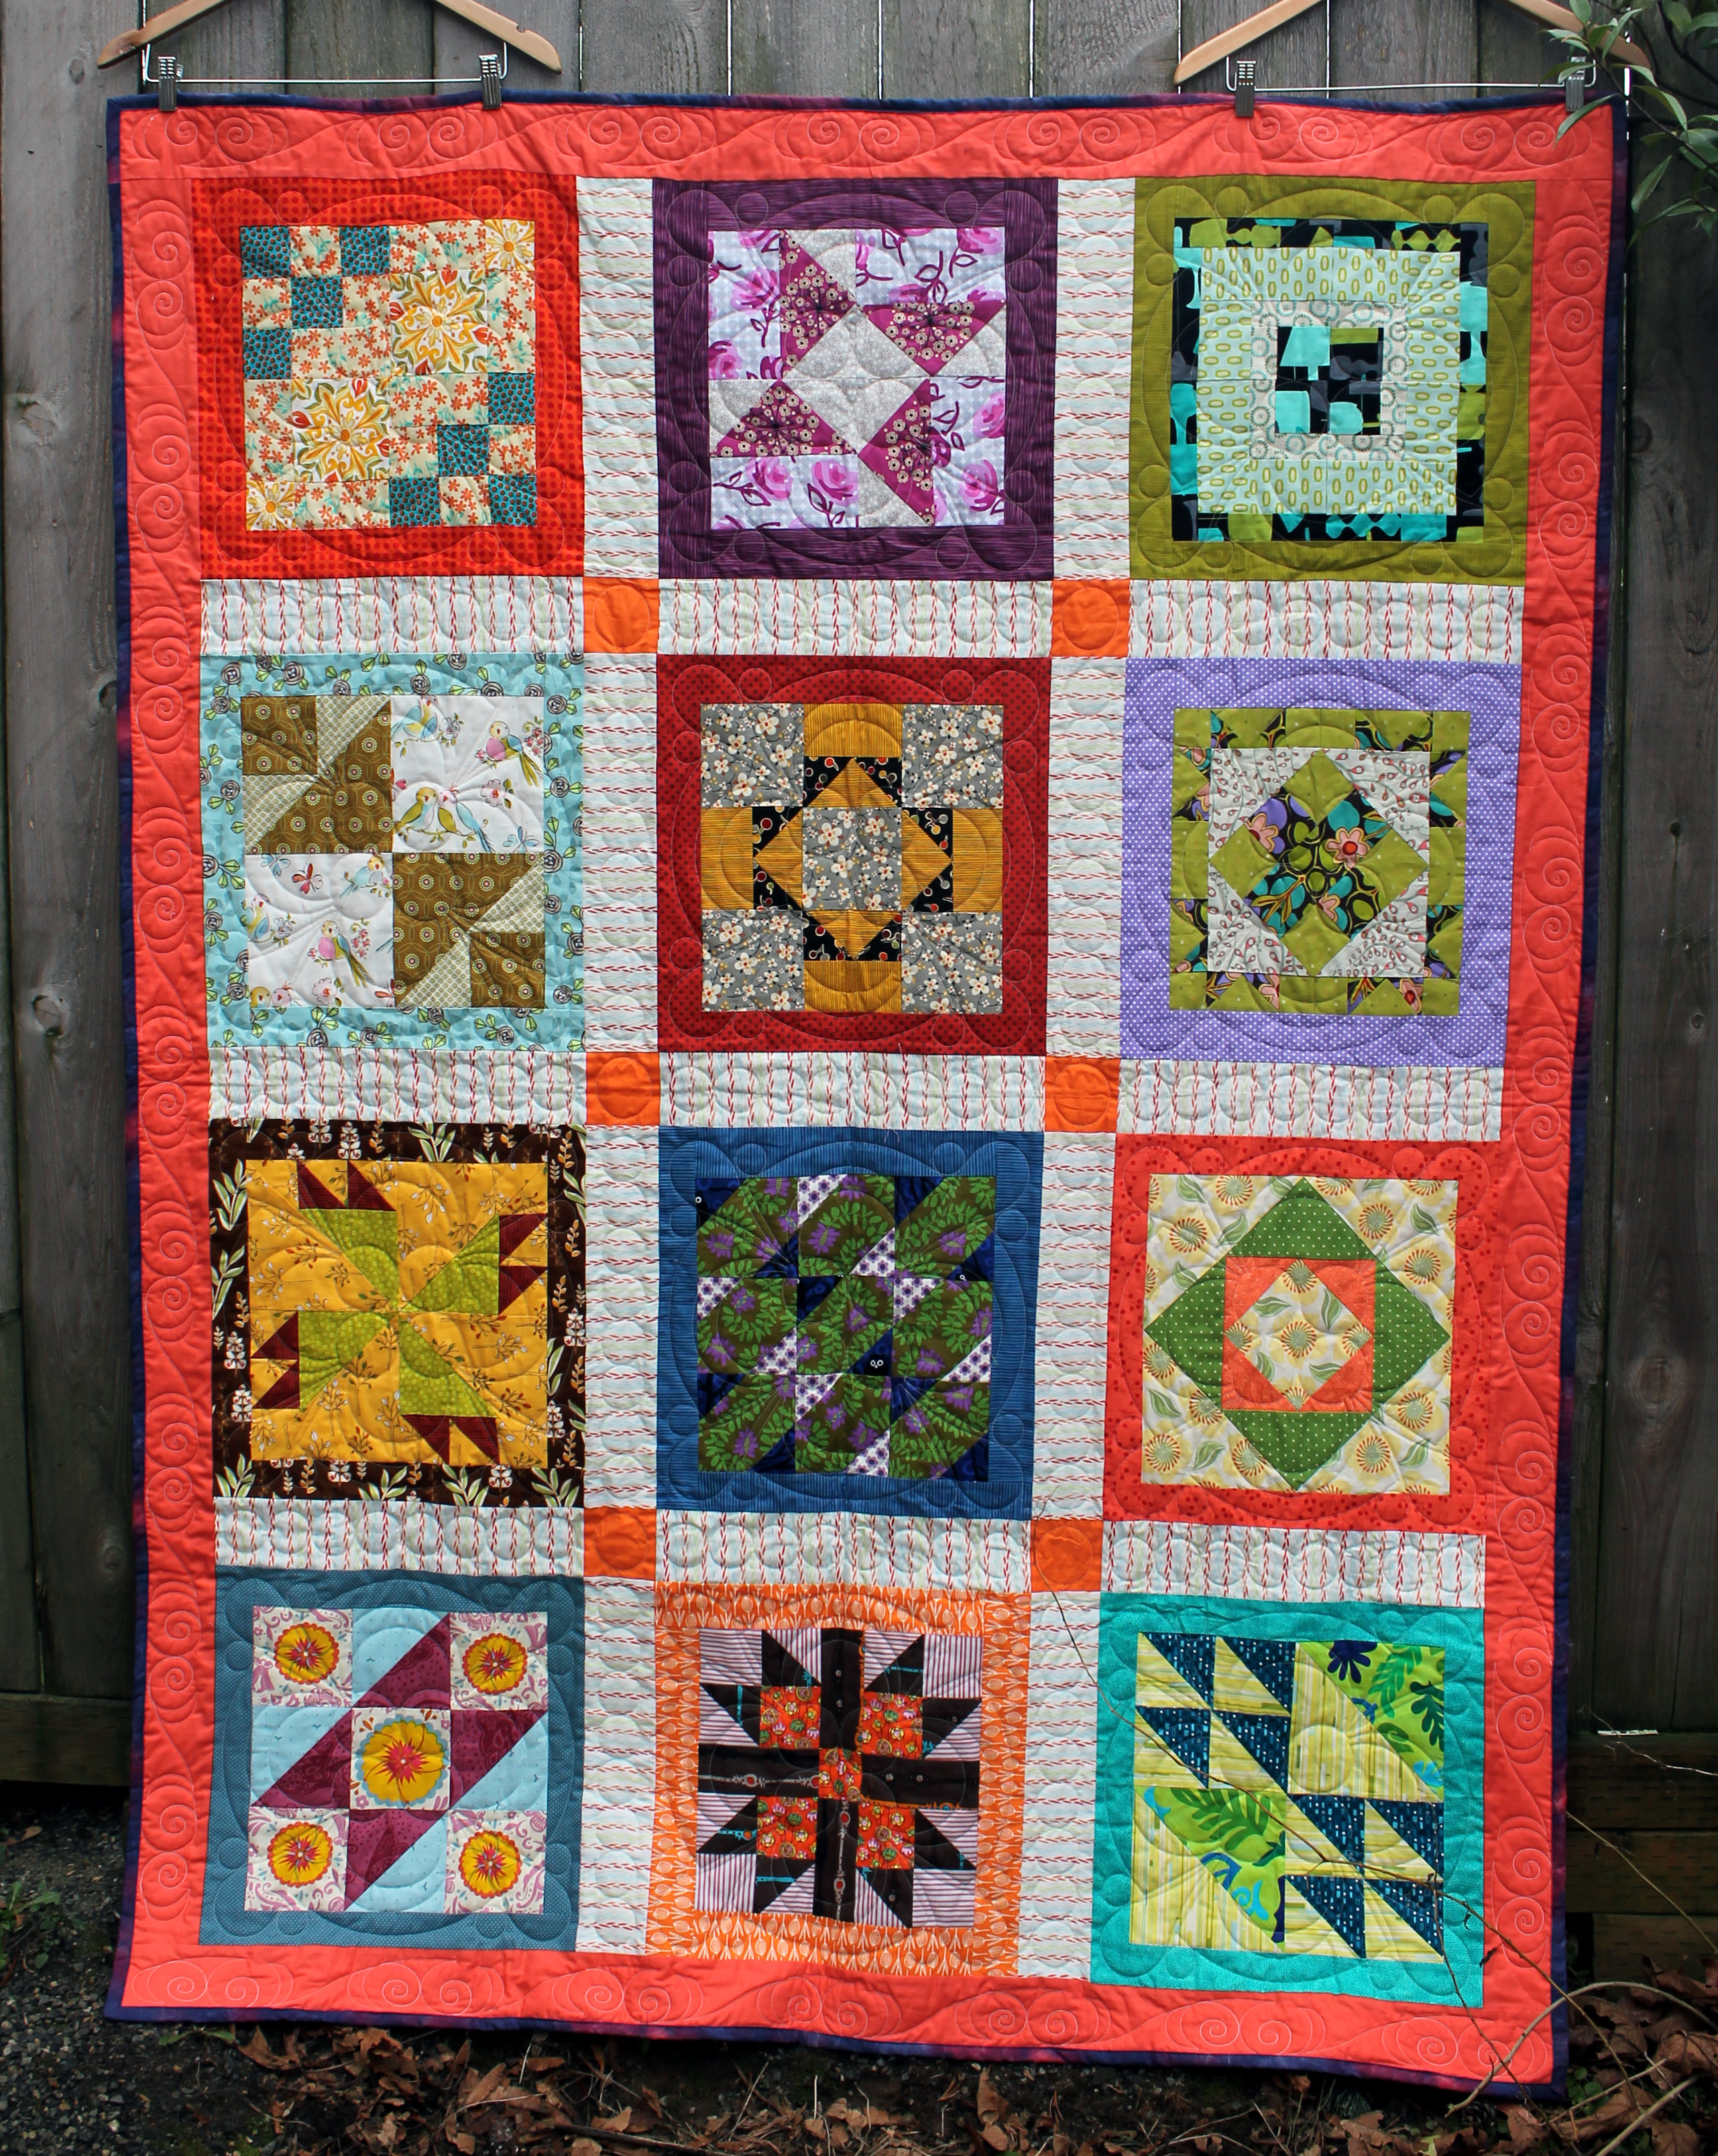
The blocks were orphan blocks donated by the fabulous Elsa Hart, I put the top together and finally the amazing quilting was done by Kazumi Peterson.

charity top detail
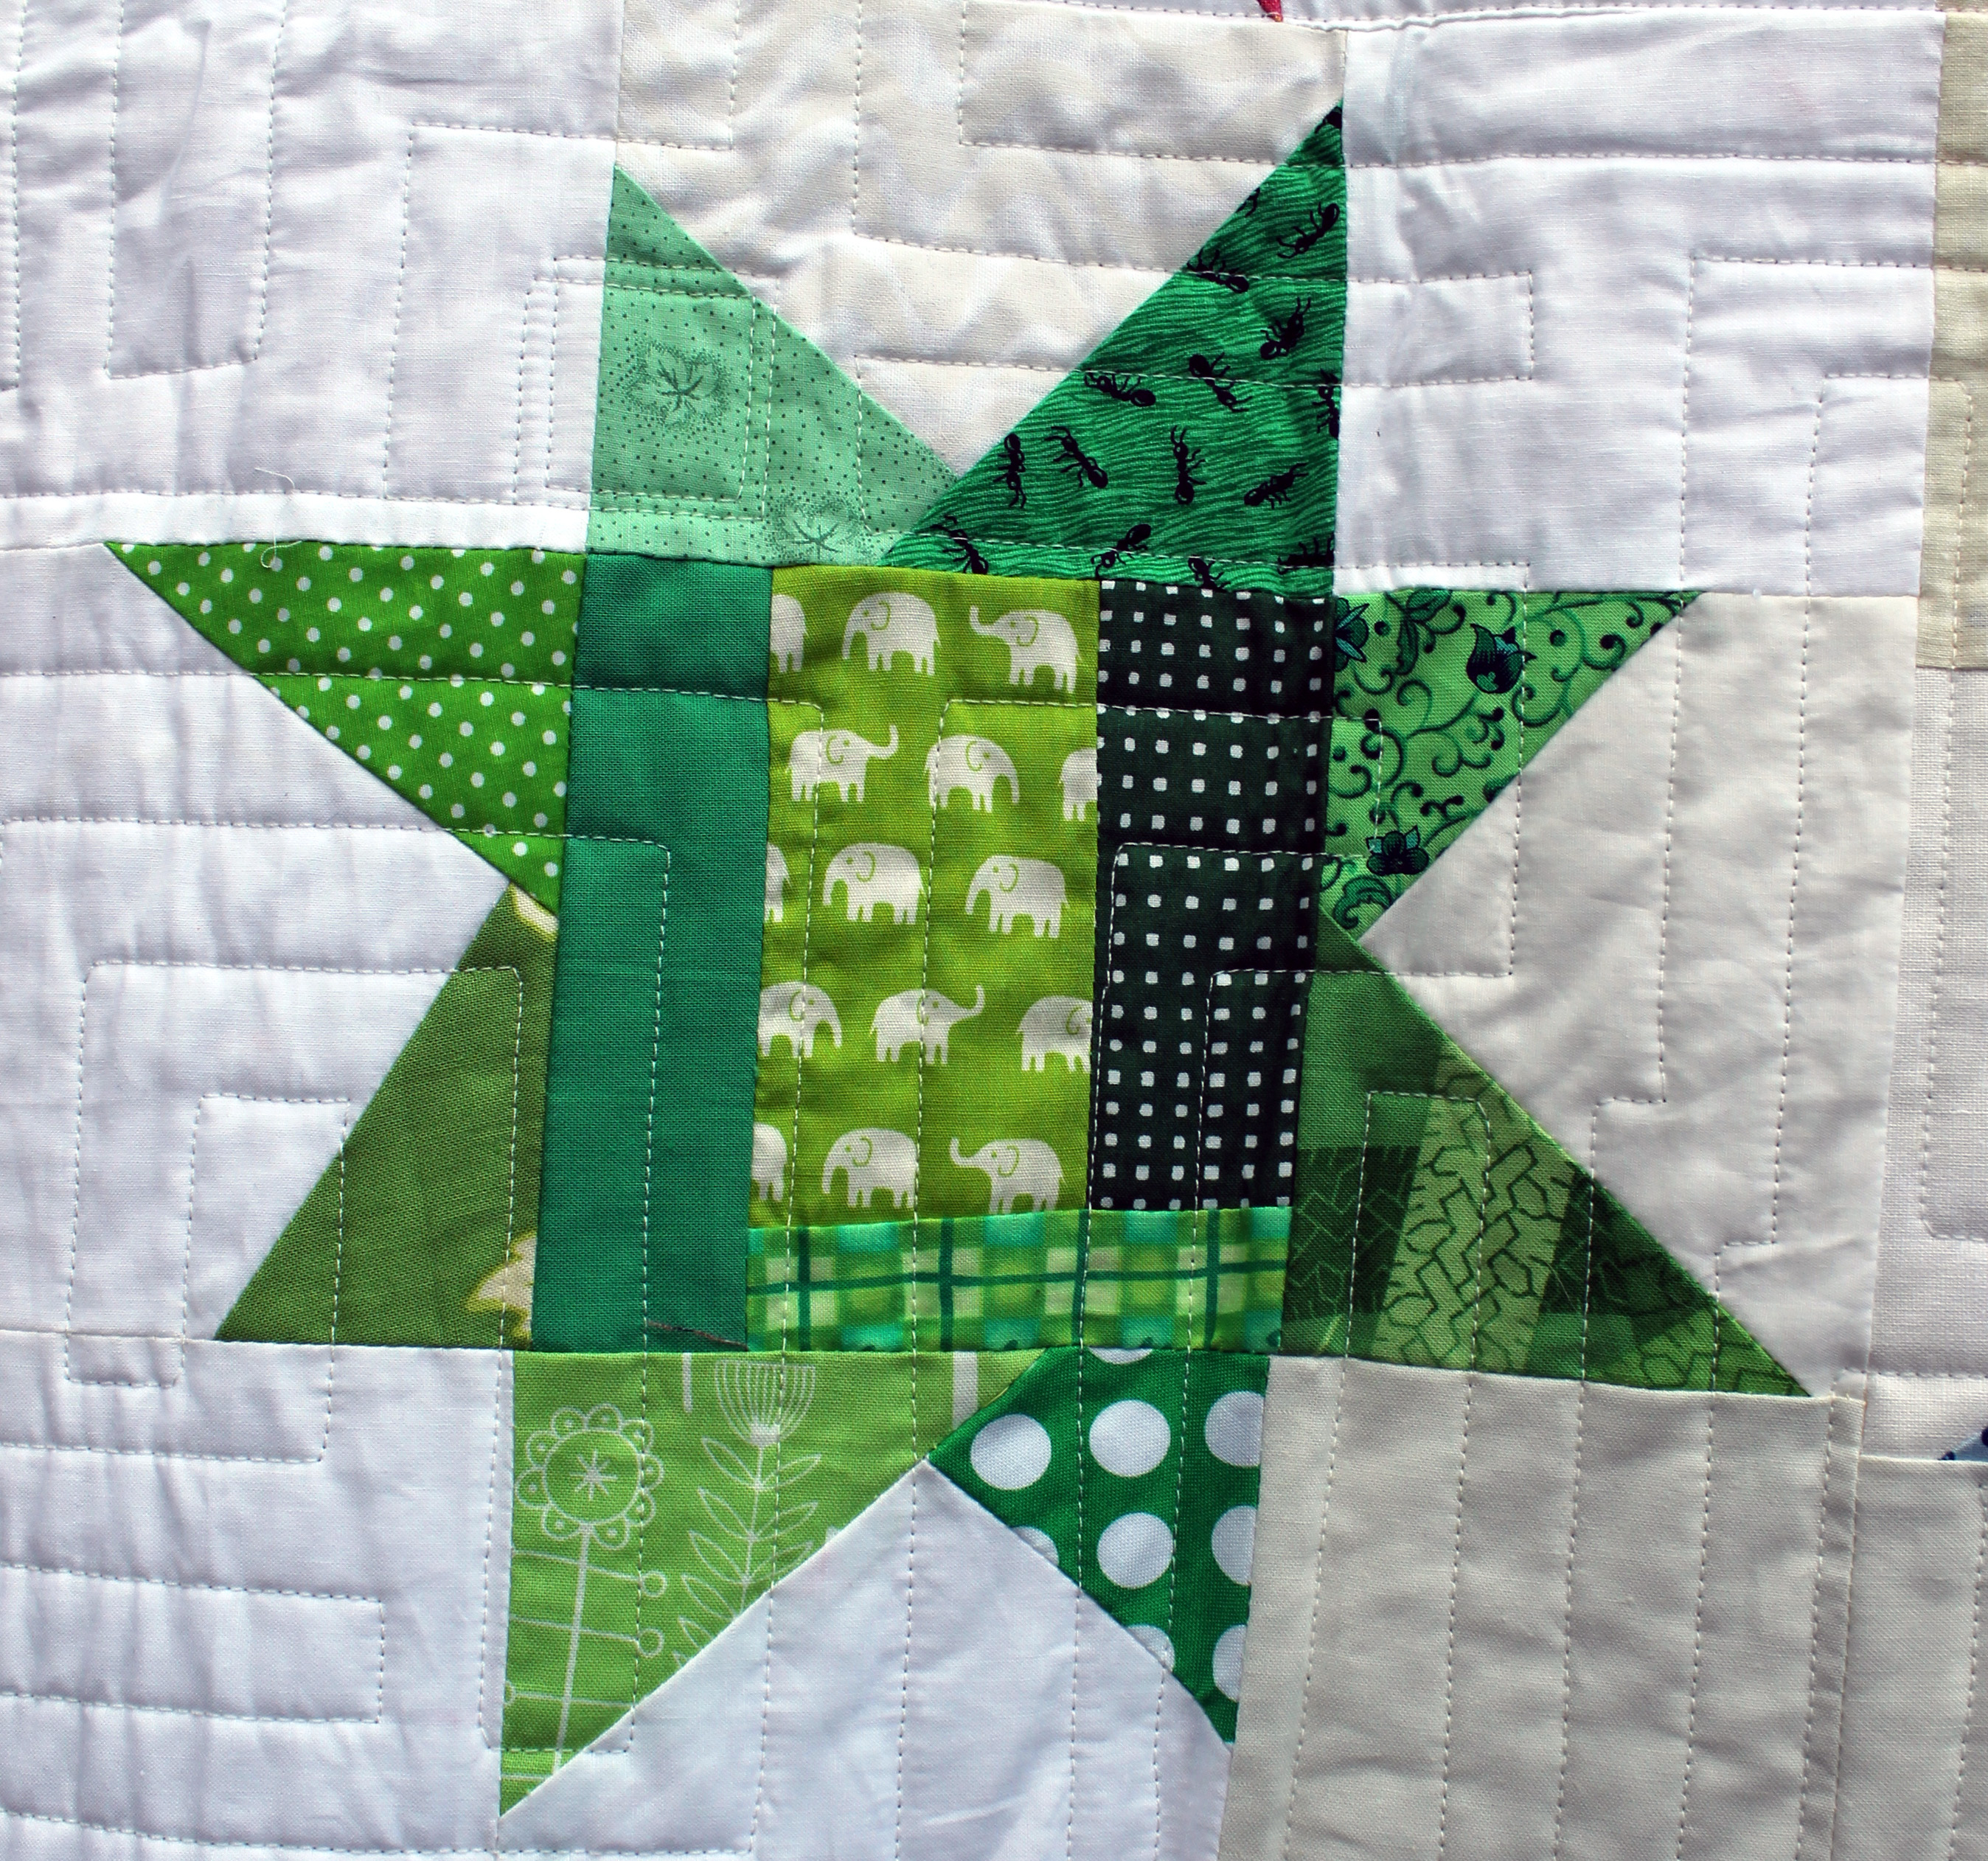
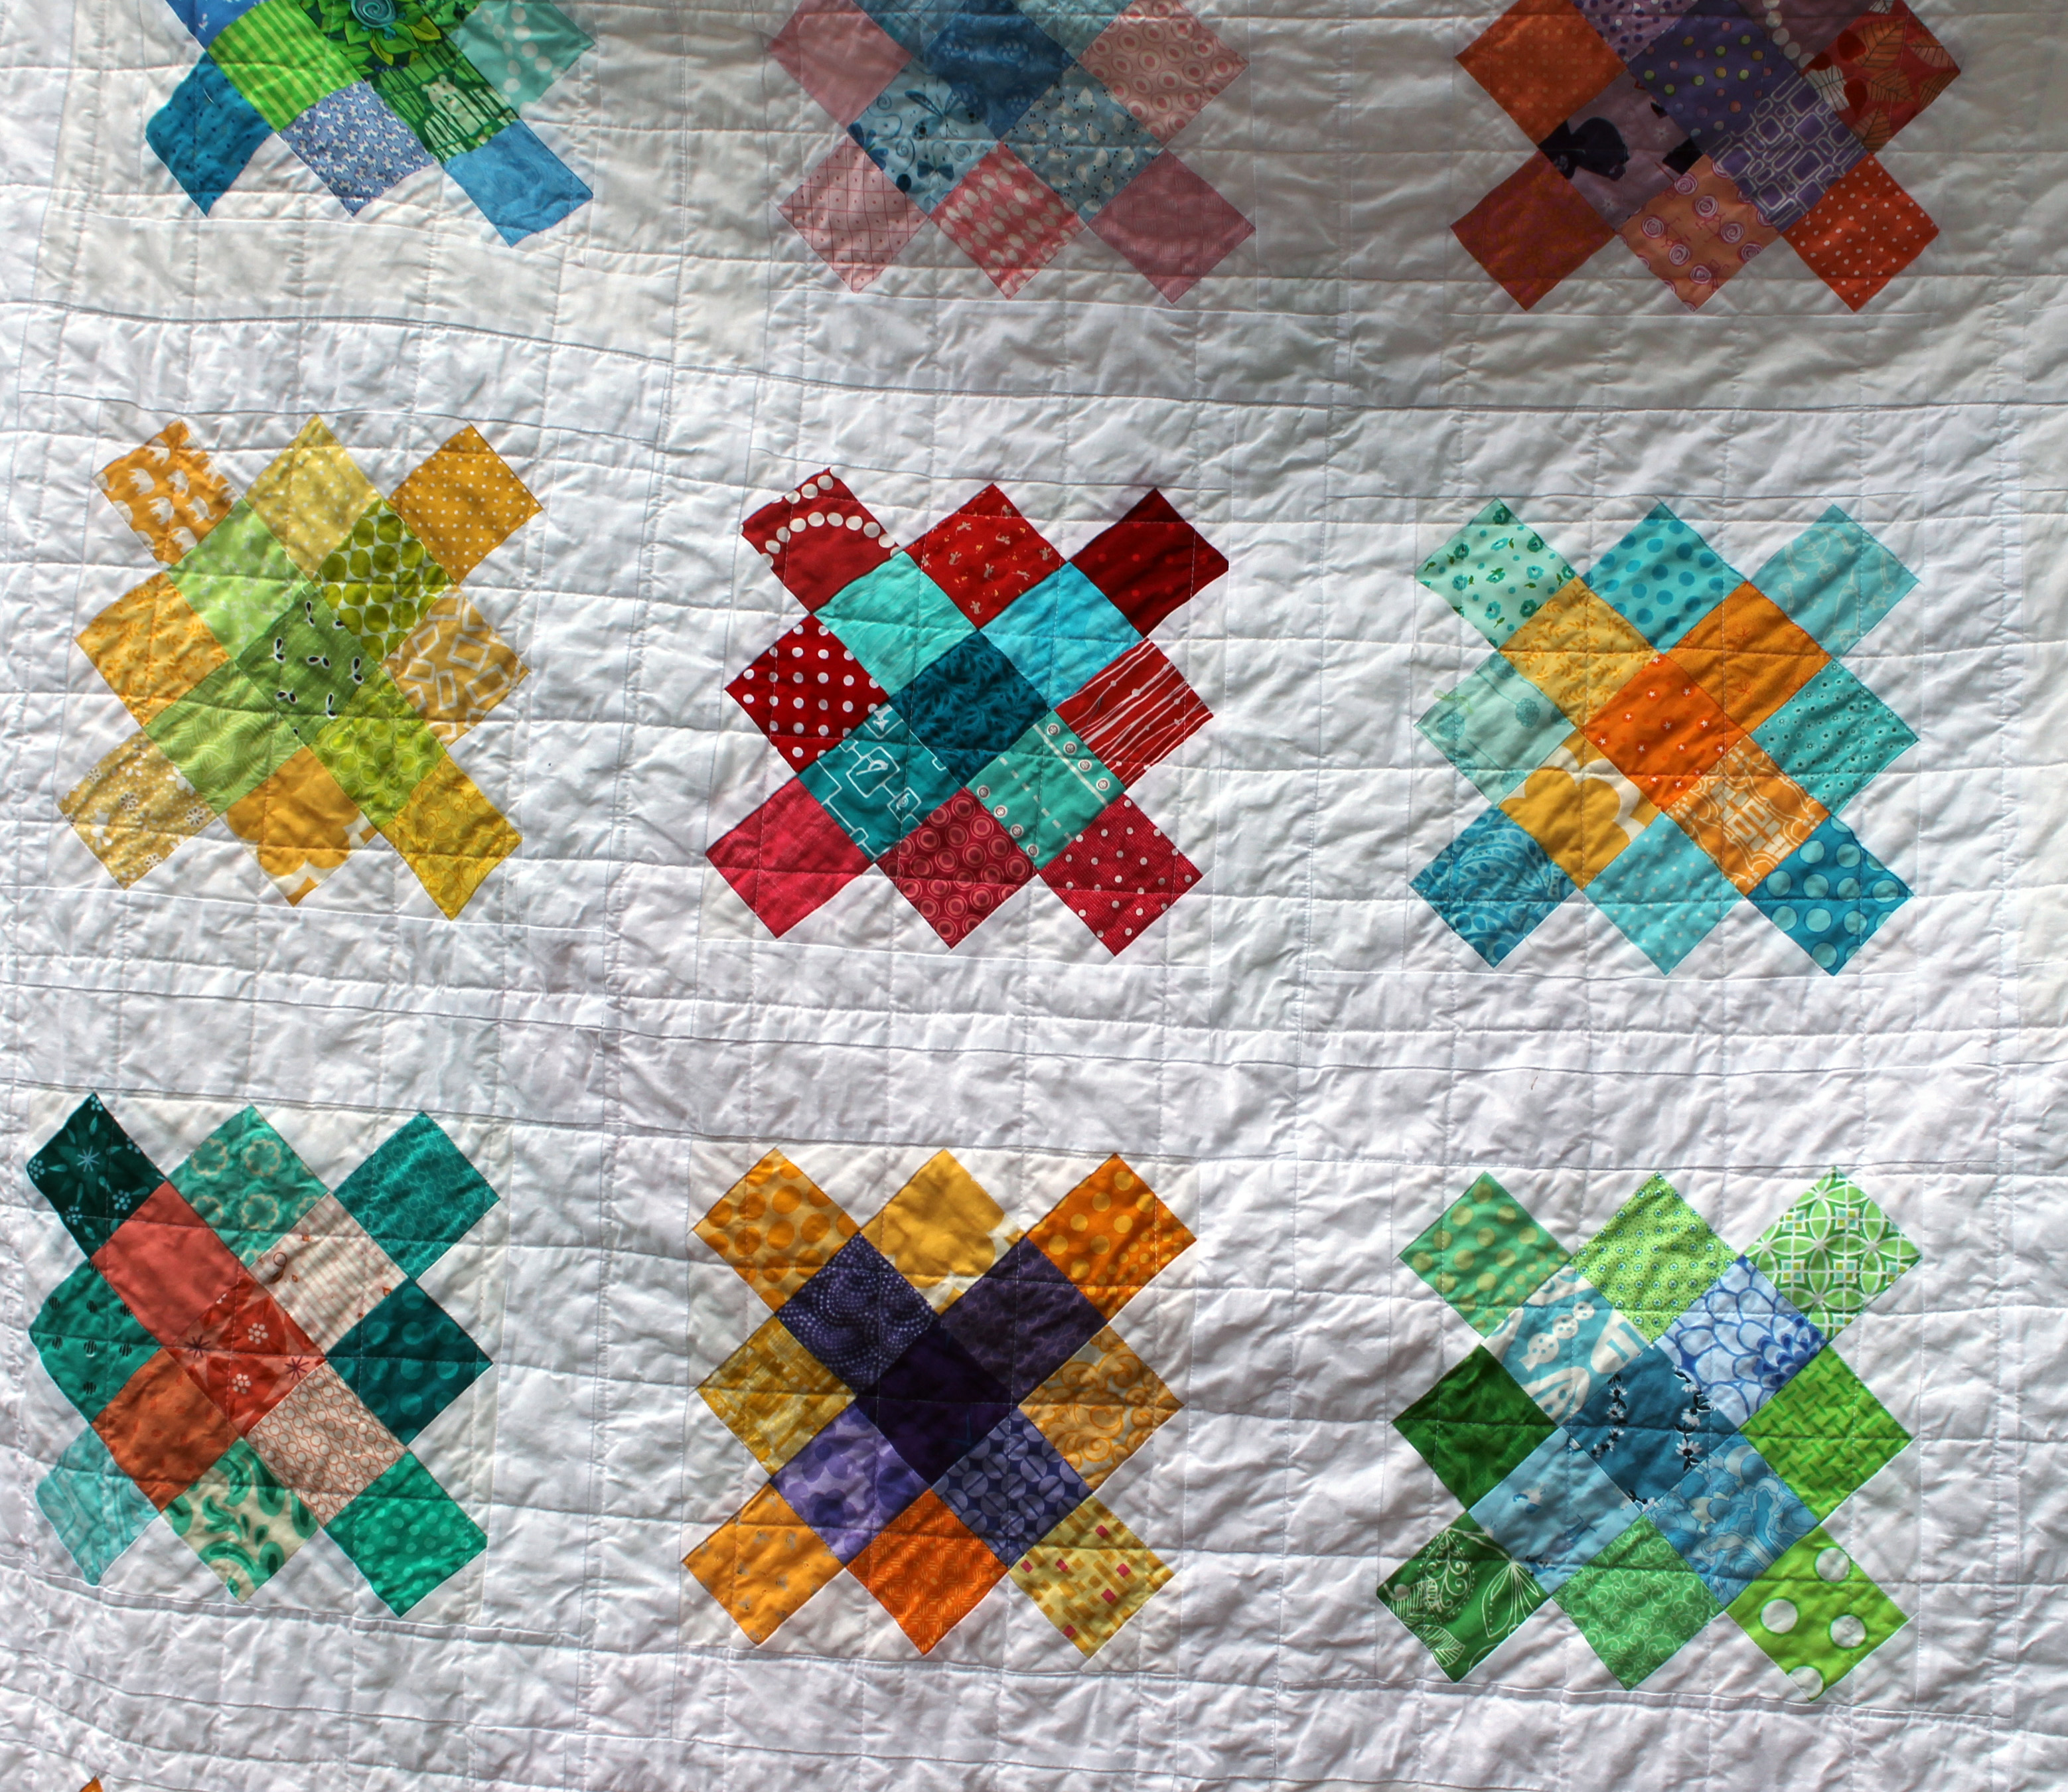
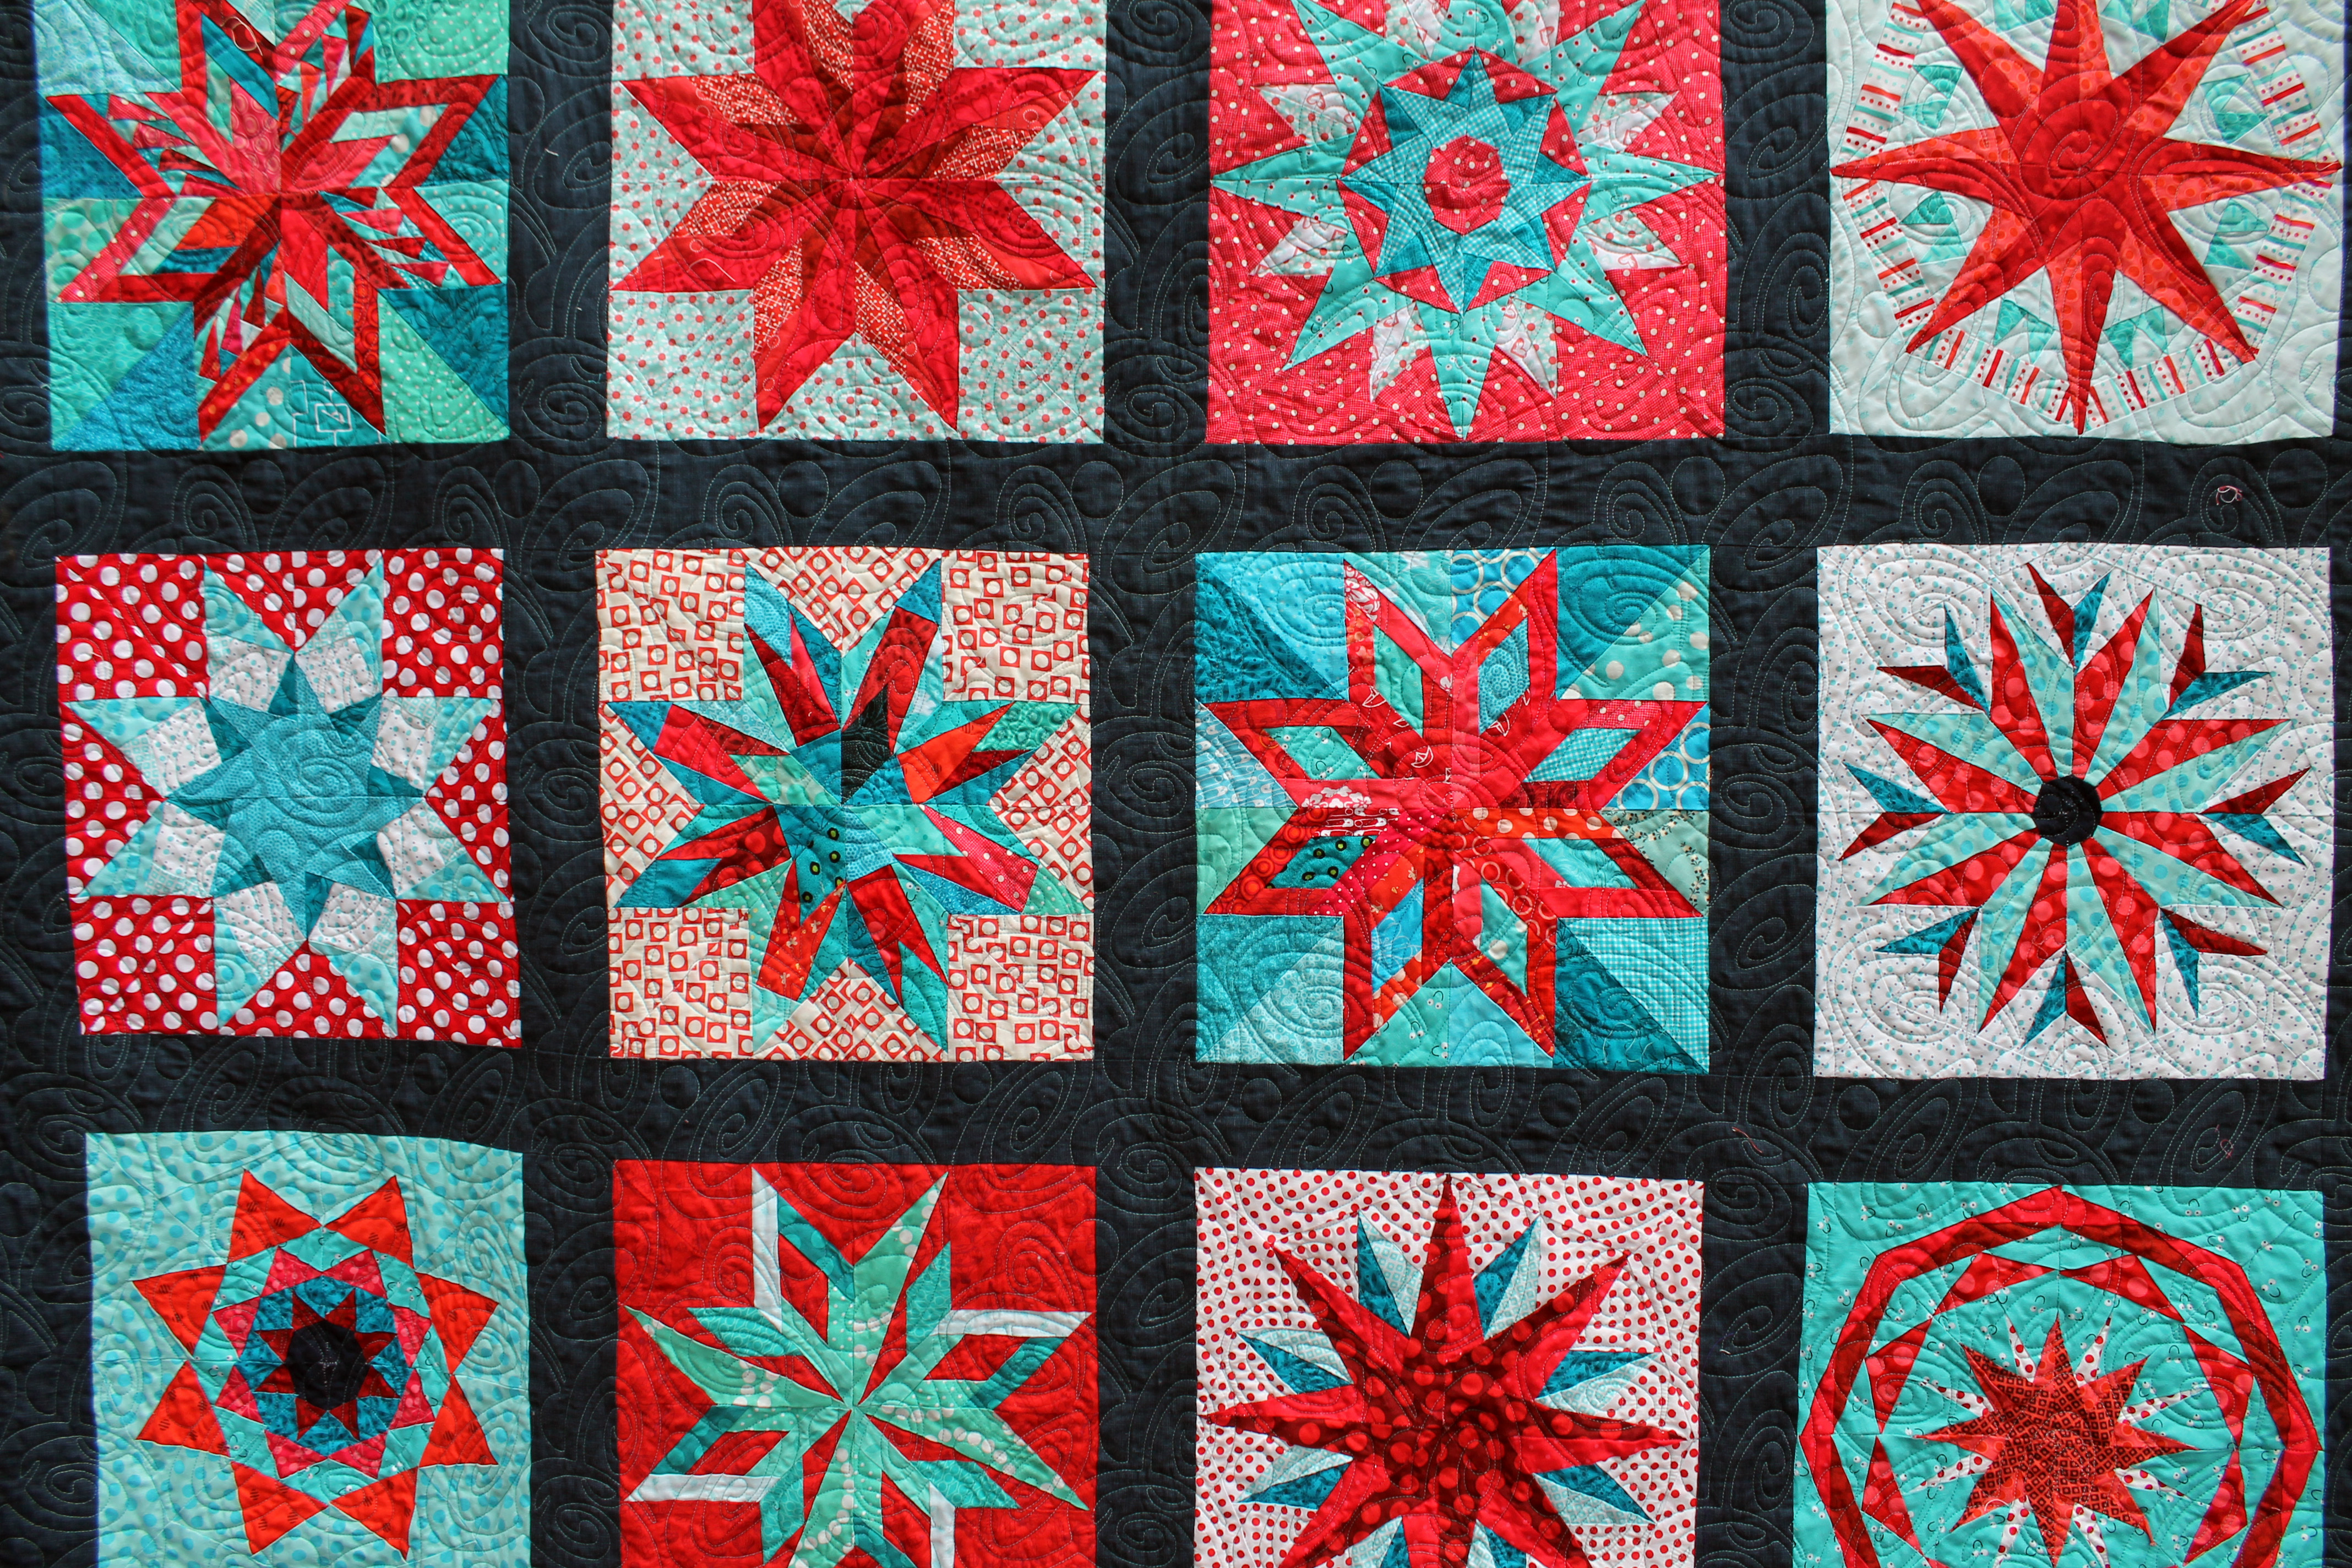
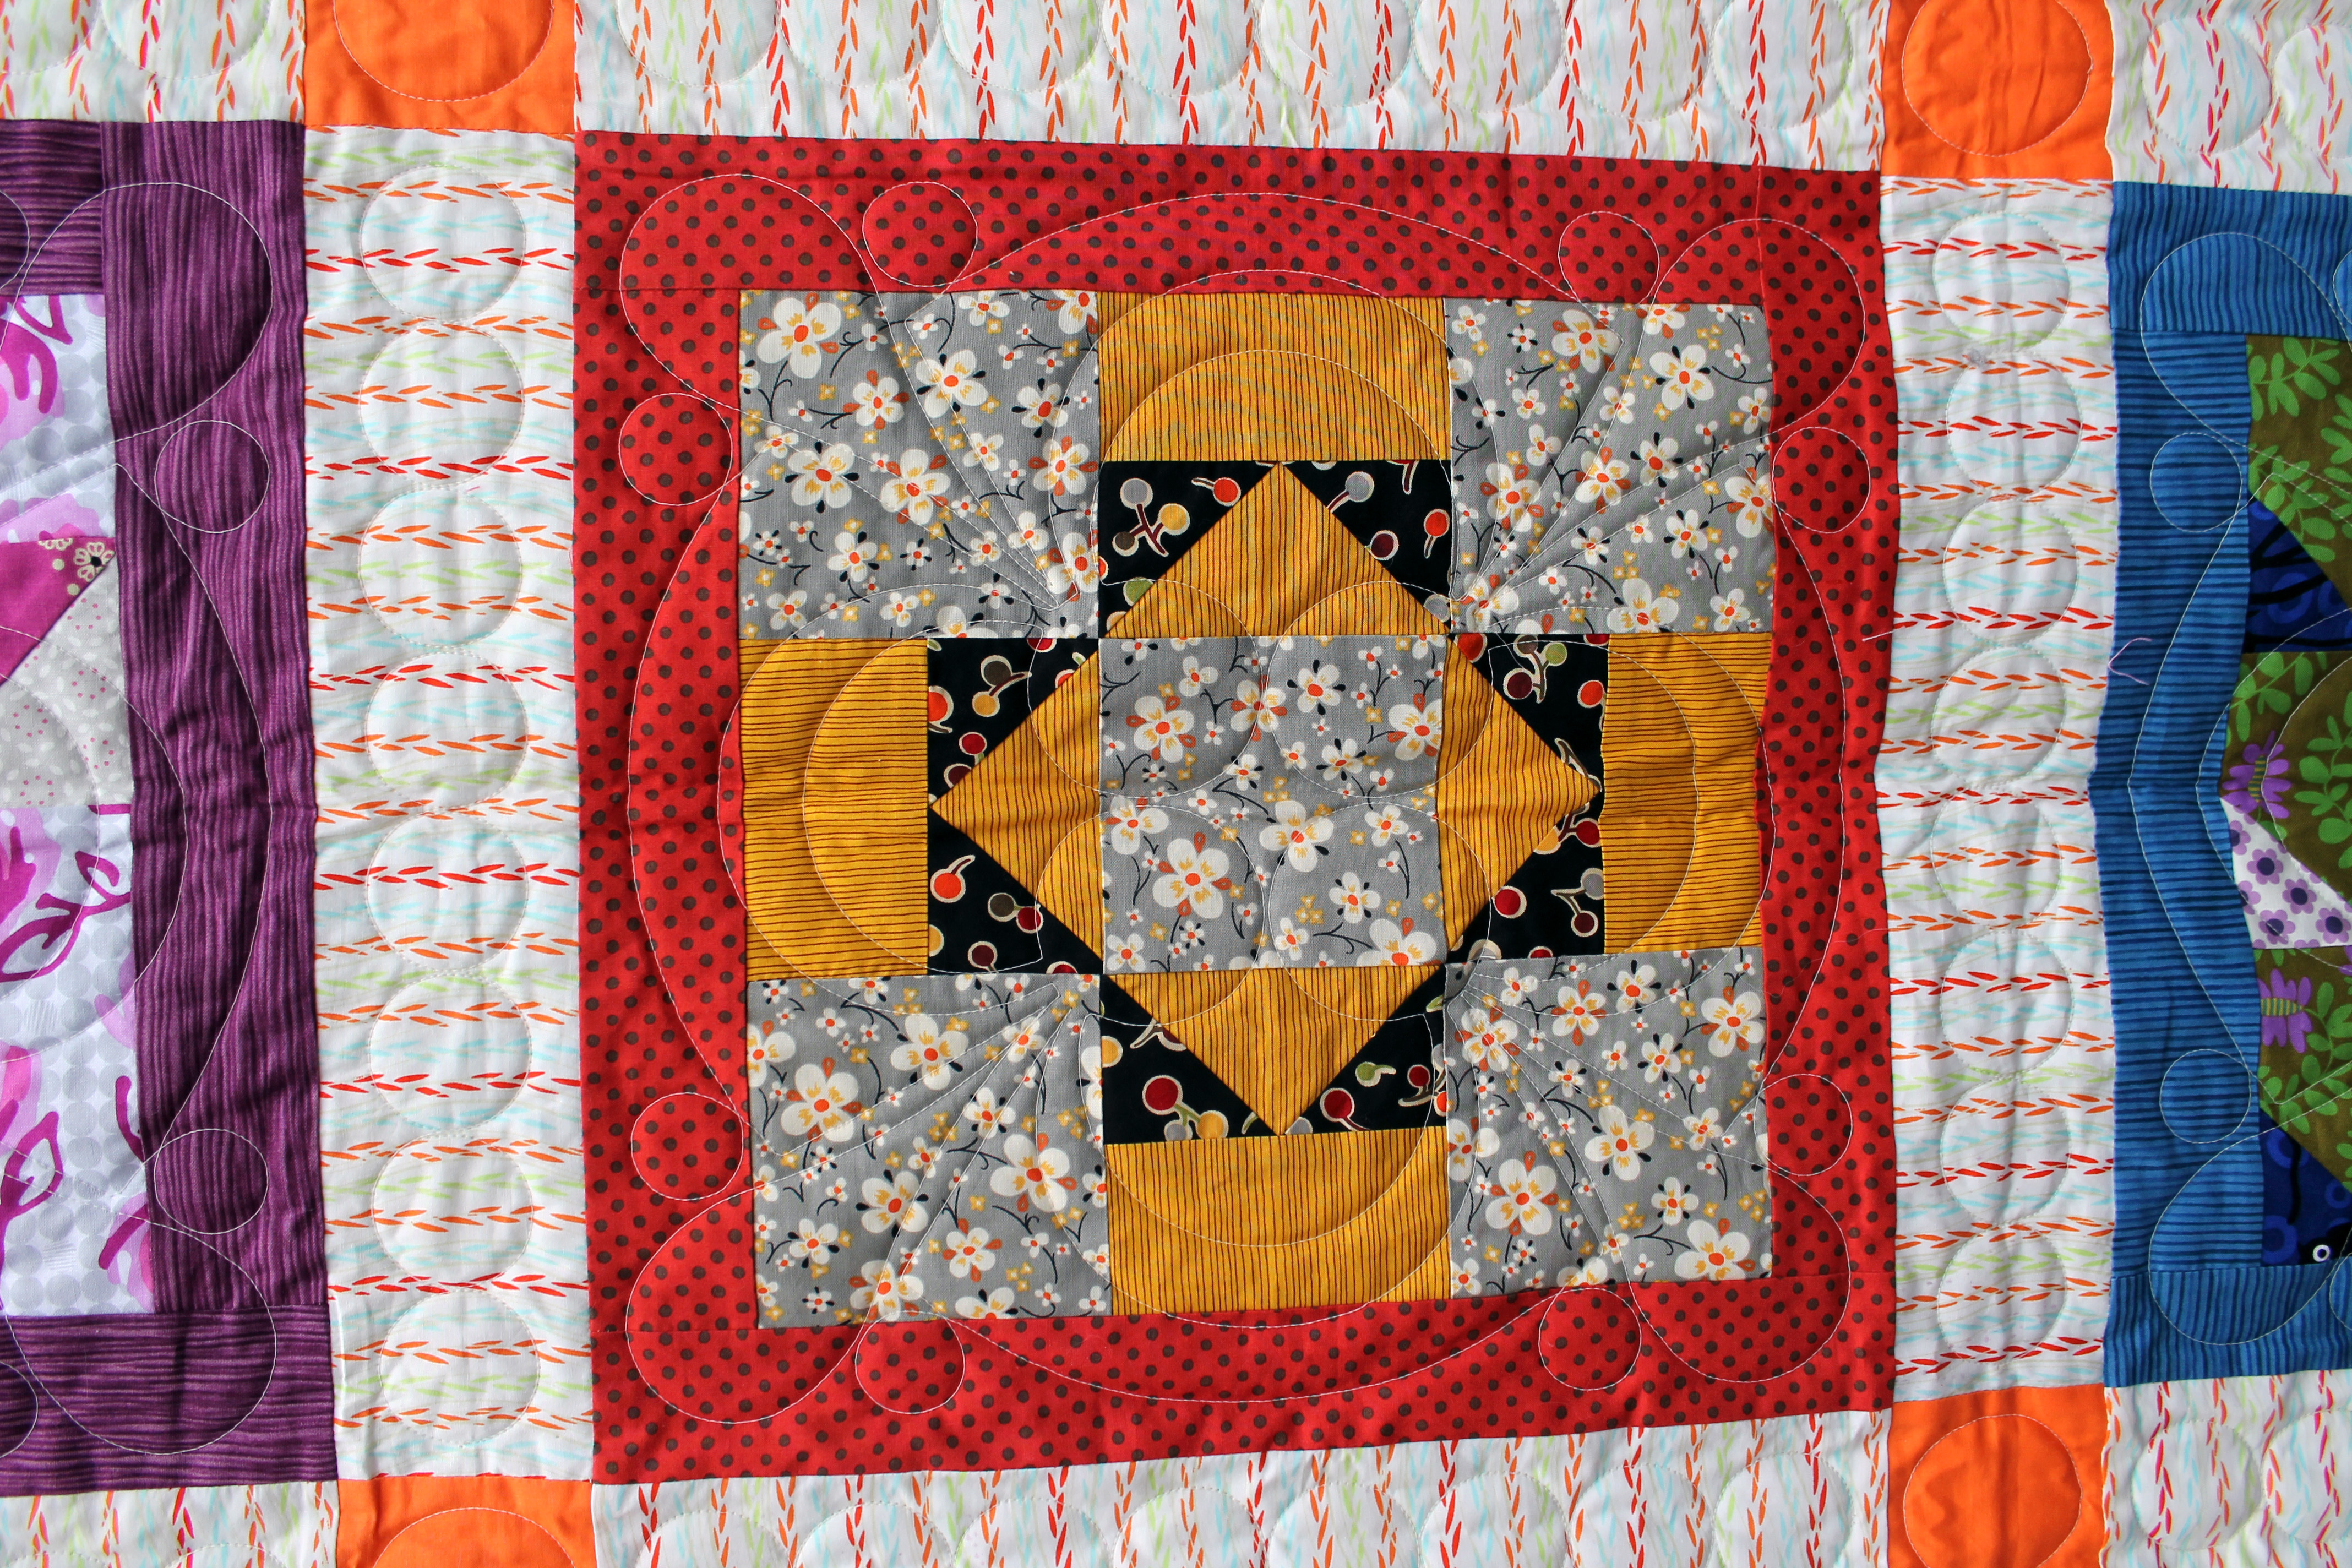
Kazumi quilted this fabulous pattern into ever block with my favorite bubbles pattern in the sashing.  I really love how this quilt turned out and I am realising more and more how important the final quilting process is.

charity quilt detailI know most of you already know this, but for me every time I see a quilt properly quilted I am in awe of what those top stitches bring to a project.  It is spurring me to really tackle my lack of quilting skills this year.

A special QuiltCon reject

I finally got the opportunity this week to photograph the beautiful wonky star quilt that was made last year at my first PMQG Charity Sew Day.

pmqg wonky star charity quiltI originally posted about making these blocks back in February last year and you can find the original post HERE.  I really loved the quilt top but extra love it now that Rachel at 2nd Avenue Studios wove her quilting magic.

quilt detail

Rachel free motion quilted these wonderful wandering lines that fill the scrappy white space fabulous while also highlighting parts of all the blocks.

block detailAll over the quilt there are these little moments where the lines move around the fussy cutting…

green block detail

…and around and through the stars.   The quilting perfectly compliments the scrappy wonky offset stars.

quilt detail 2This quilt is now in our Charity pool and will be used this year…and I am in the process of preparing for the January Charity Sew Day.  Every month PMQG members meet at the wonderful Modern Domestic and make blocks and chat and hang out.  Every month we make a quilt top together, all of them bright and fun and all of them destined to do good in the community.  It is such a good thing.

Finishing the catch ups…

To finish up my catch up posts I have the last quilt I made to take to Australia. The finish was so last minute (binding the day before we flew out!!!)  I did not get a chance to post about this quilt before I left…

granny square quiltThis granny square quilt has been a pile of blocks for nearly two years but finally became a quilt for my darling friend Vicki.    The day before we left I managed to get it bound and washed ready for the quilt suitcase…

granny square quilt detailThere is something wonderfully vintage feeling about this quilt.  I think the post wash crinkle helps…

quilt detailThere are not a lot of photos of this top because (1) I did not finish it in time to do a proper photo shoot and (2) the wind was blowing a gale making photos hard…

wind issuesI did manage to get the husband to help and it is his fingers and feet you can see sticking out from under this quilt.  He did remind me to take a photo of the back of the quilt too… probably because the back was his idea…

quilt backThe conversation went Nick: “it would be cool to do just one big block for the back” Me: “why not”.  And now I will now tell you why not…. the big block was all bias and stretch and a right royal pain the butt.  I now listen to my husbands quilting advice, say “thanks dear” and promptly ignore it…it is easier that way!

rainbow bindingThe quilt was finished off with some Kona solid scrappy binding and delivered to its owner a couple of weeks ago… on a 95 degree day which was a little weird seeing it had been finished off a week earlier on a 38 degree day!

A special finish….

This week I managed to finish up the second quilt I am taking home to Australia…this one is for my mum.
Red star quiltSo my Mum knows that this quilt is heading her way as a birthday present (yes she knows it is coming to her, because I am hopeless with surprises!)… her favorite colours are red and aqua so it is perfect for her…plus this quilt, with its beautiful stars and hours of work needed to go to someone special.

Red star quilt detail

20 paper pieced stars, a couple of yards of Robert Kaufman Quilters Linen, spools and spools of thread and countless yards of red and aqua fabric and we are done.

red star quilting detail

I was smart enough to send this quilt out to be quilted and the fabulous Nancy Stovall did an amazing job.  I actually left the quilting pattern decision up to Nancy and she choose a wonderful swirl that gives great movement to the stars.  I love it.

Red star quilt detail 2

For the back of the quilt I used a bunch of yard and half yard red and aqua prints from my stash. I also embraced the scrappy with the binding, using a variety of red prints to tie the quilt together.

red star binding

As I was binding the quilt I got a chance to look at every star more closely, and reflect on what I have learnt.

quilt detail 1

My first couple of stars were a little rough….I did not use small enough stitch setting on some of them which means that some stitches at the seams are visible.  I also was not as careful with the bulky joins in the some of the stars – I did not iron the seams open properly leaving a bulbous lump in the center of one or two stars.  But 20+ stars in I was a pro – I had embraced scrappy, had finessed my process and was making kick butt stars.

This quilt really does represent a wonderful journey for me… and I am thrilled that my mum will get to keep it.

Quilt Details:

Technique:   Paper piecing
Pattern:  various stars by Carol Doak and Quilting on the Square
Quilting:   Nancy Stovall of Just Quilting
Finish size:  65 x 80 inches

The PMQG Medallion Quilt

This past week has been a full on Portland Modern Quilt Guild week….starting with a fabulous Quilt retreat and ending with a full day of Charity Sewing.

The weekend Retreat was my first quilting retreat… actually it was my first retreat since High School and my first retreat that did not involve religion in some way.  Needless to say it was fabulously, wonderfully unlike any retreat I had done before.  3 days, 30 creative ladies, 1 well stocked candy bar and 4 Mexican Coca Cola’s worth of fun.

work station

During the retreat a number of people were working on finishing up their Medallion Quilts.  It was great fun to see how everyone had interpreted the border patterns.  Every single medallion quilt that PMQG members have made have been so different, it has been a blast watching them all come together.

Each month the new border was announced by showing the Guild Medallion…

PMQG Medallion quilt top

This version of the Medallion was made by this years Guild Officers – Kelly, Mary Ann, Suzanne, Lisa and myself.  We used the full range of Botanics by Carolyn Friedlander which was generously donated to us by Robert Kaufman.

PMQG Medallion detailEach month we choose a border, worked out the maths (the hardest part for me!) and then one of us wrote up the pattern and made the border (most months I did a paper piecing version of the pattern as well)… You can find all the patterns and instruction here if you are interested.

PMQG Medallion detail 2

So when the last border was added it was my turn to take all the left over scraps and yardage and make a back for this beauty.  There were a few extra blocks and bits in the mix and in the end I made this…

quilt backKeeping with the Medallion vibe, and embracing all the leftovers I made a stripped panel for the center of the quilt back.

PMQG quilt back detail 2

The orange flying geese, circles and navy stripes were all left over blocks from my fellow Officers.  The rests of the blocks I made… including some more cross blocks and some square blocks.

PMQG quilt back detail

Left over yardage was then used to get the back to the needed size of 75 x 75 inches.  Now the top and back are off to one of the Guilds many talented long armers for finishing…  after I have removed some paper from the back of it and given it one last press!