Round and Round….

It has been a busy, crazy couple of weeks for me…which can all be summed up by the fact that all the photos I have taken of my quilts and things I have been doing were on a SD card which got corrupted.  I had photos of my quilt at Sisters Outdoor quilt show…photos of my works in progress and photos of the Kids quilt class I taught last week.  All gone.

After lots of tears and maybe a tantrum or two I dusted myself off and decided to let it go… so instead of sharing my recent adventures I am going to share one of my most recent quilt finish…

PMQG Medallion quilt

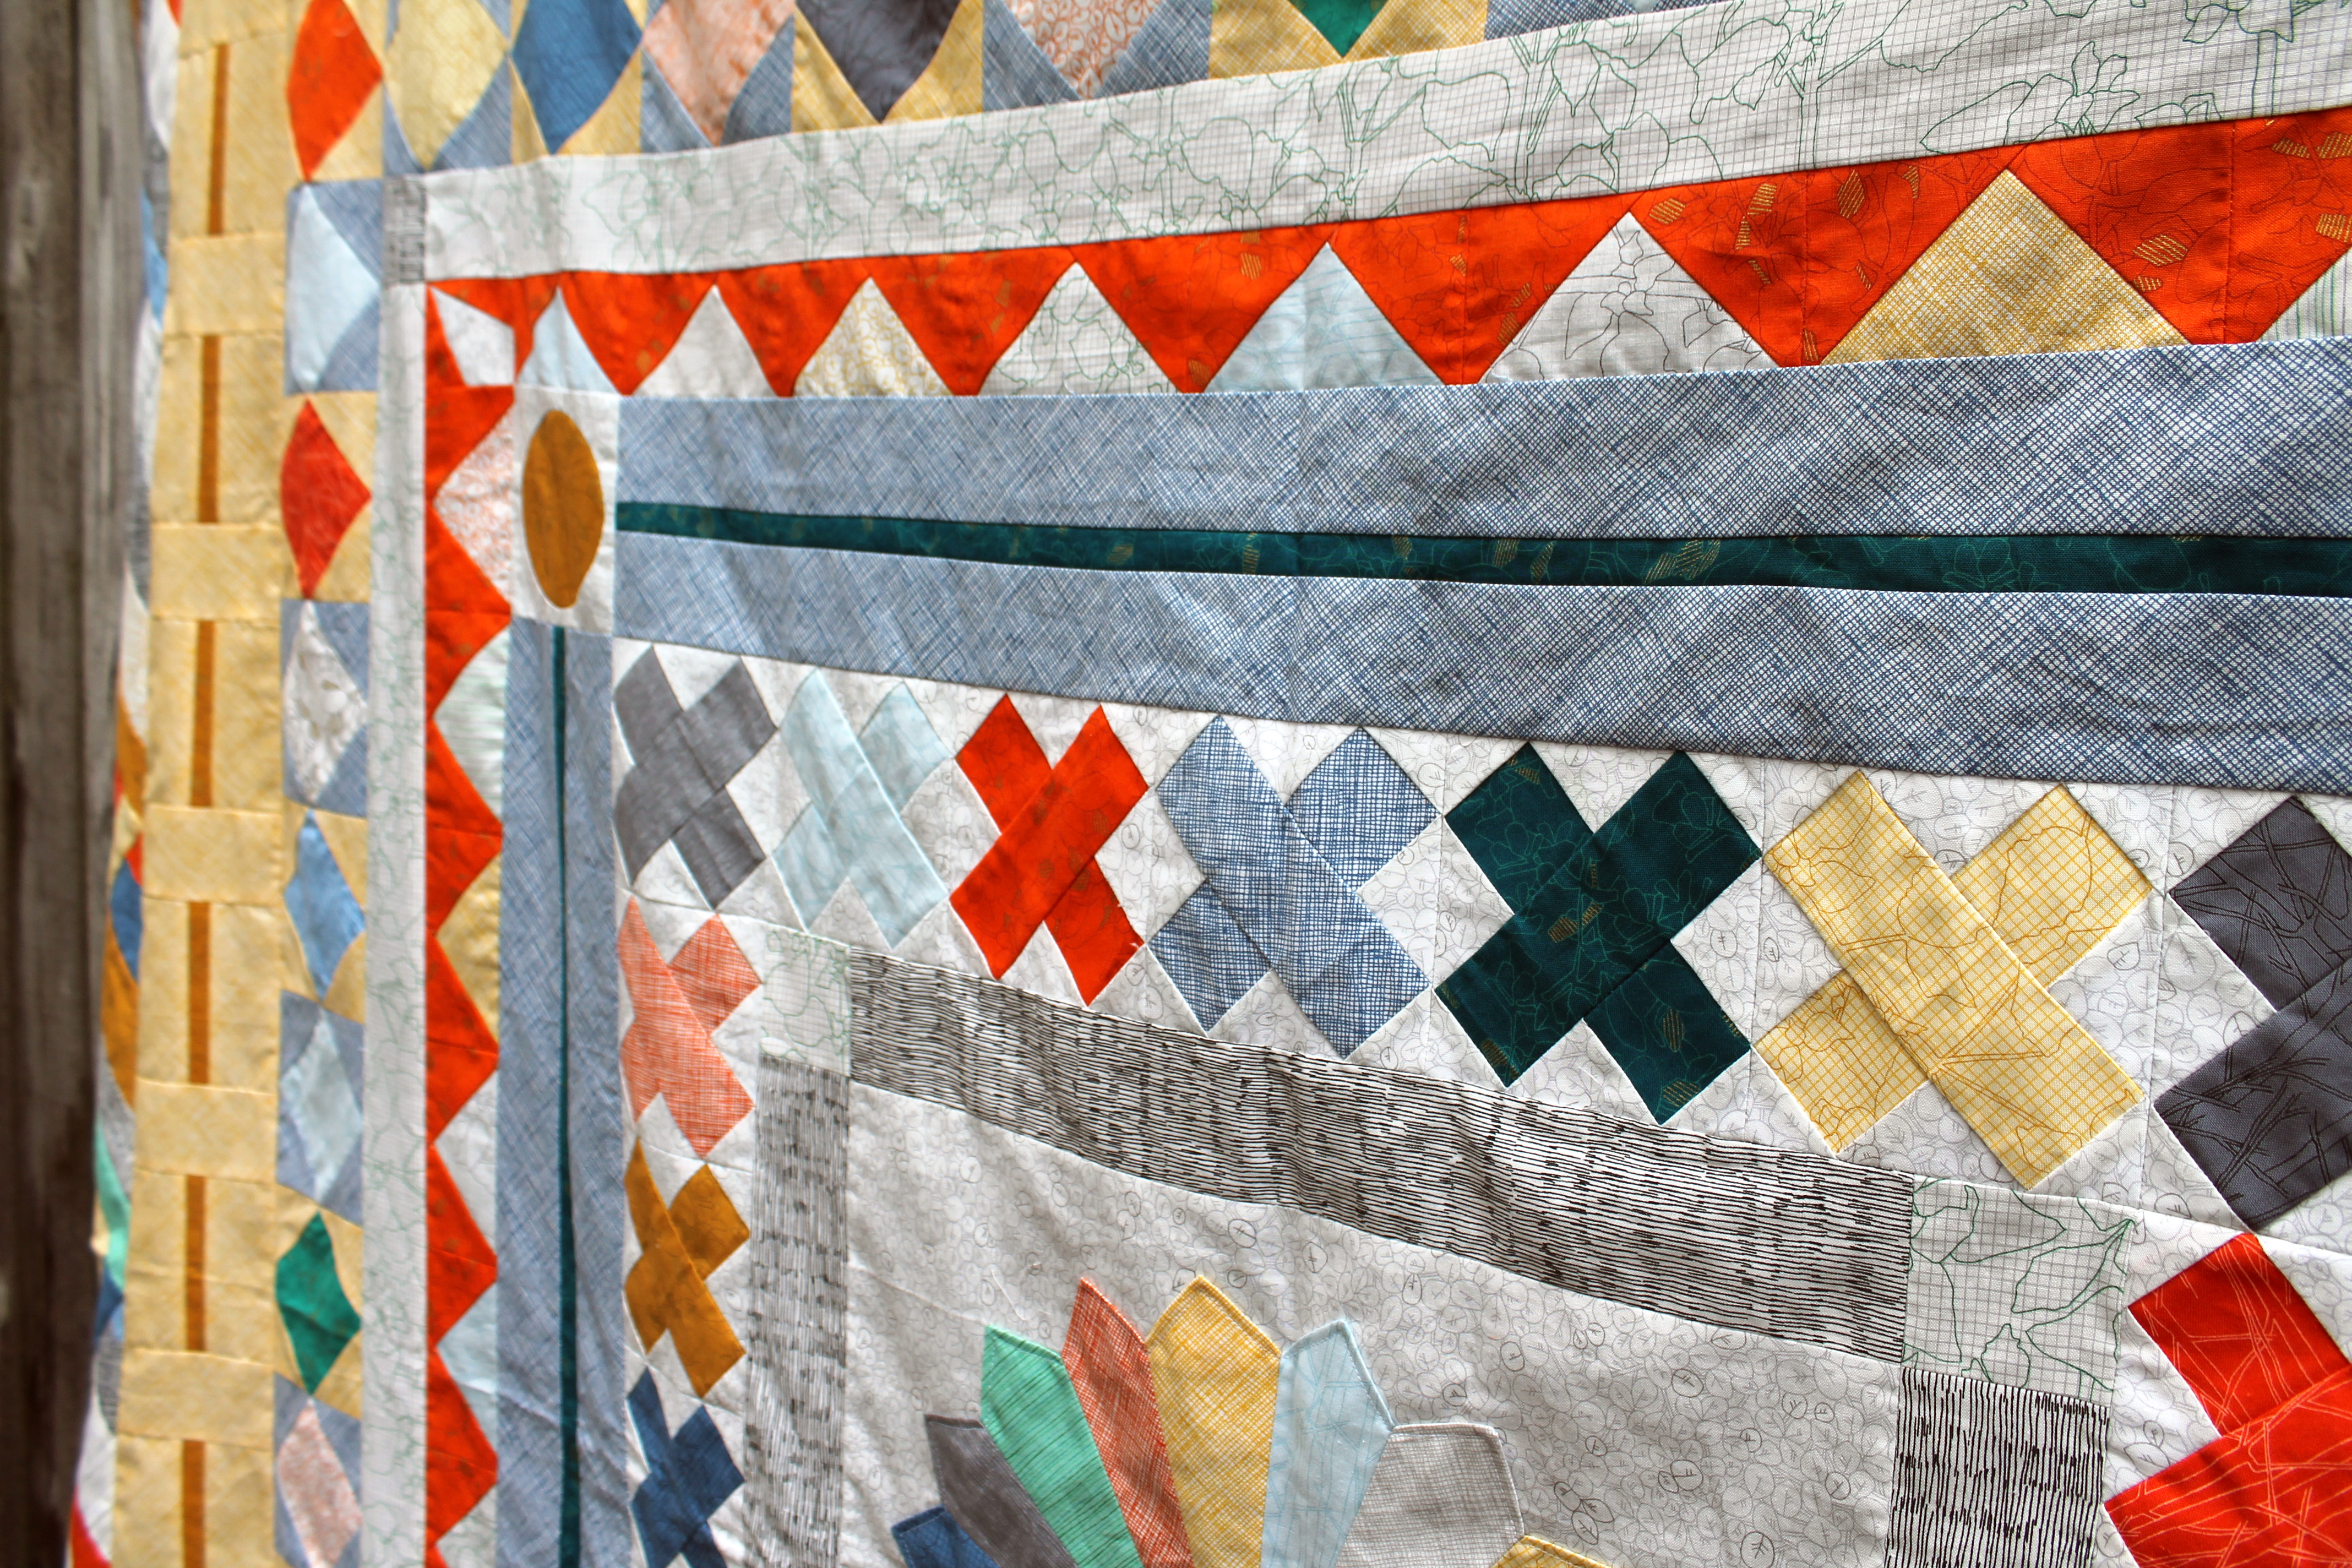
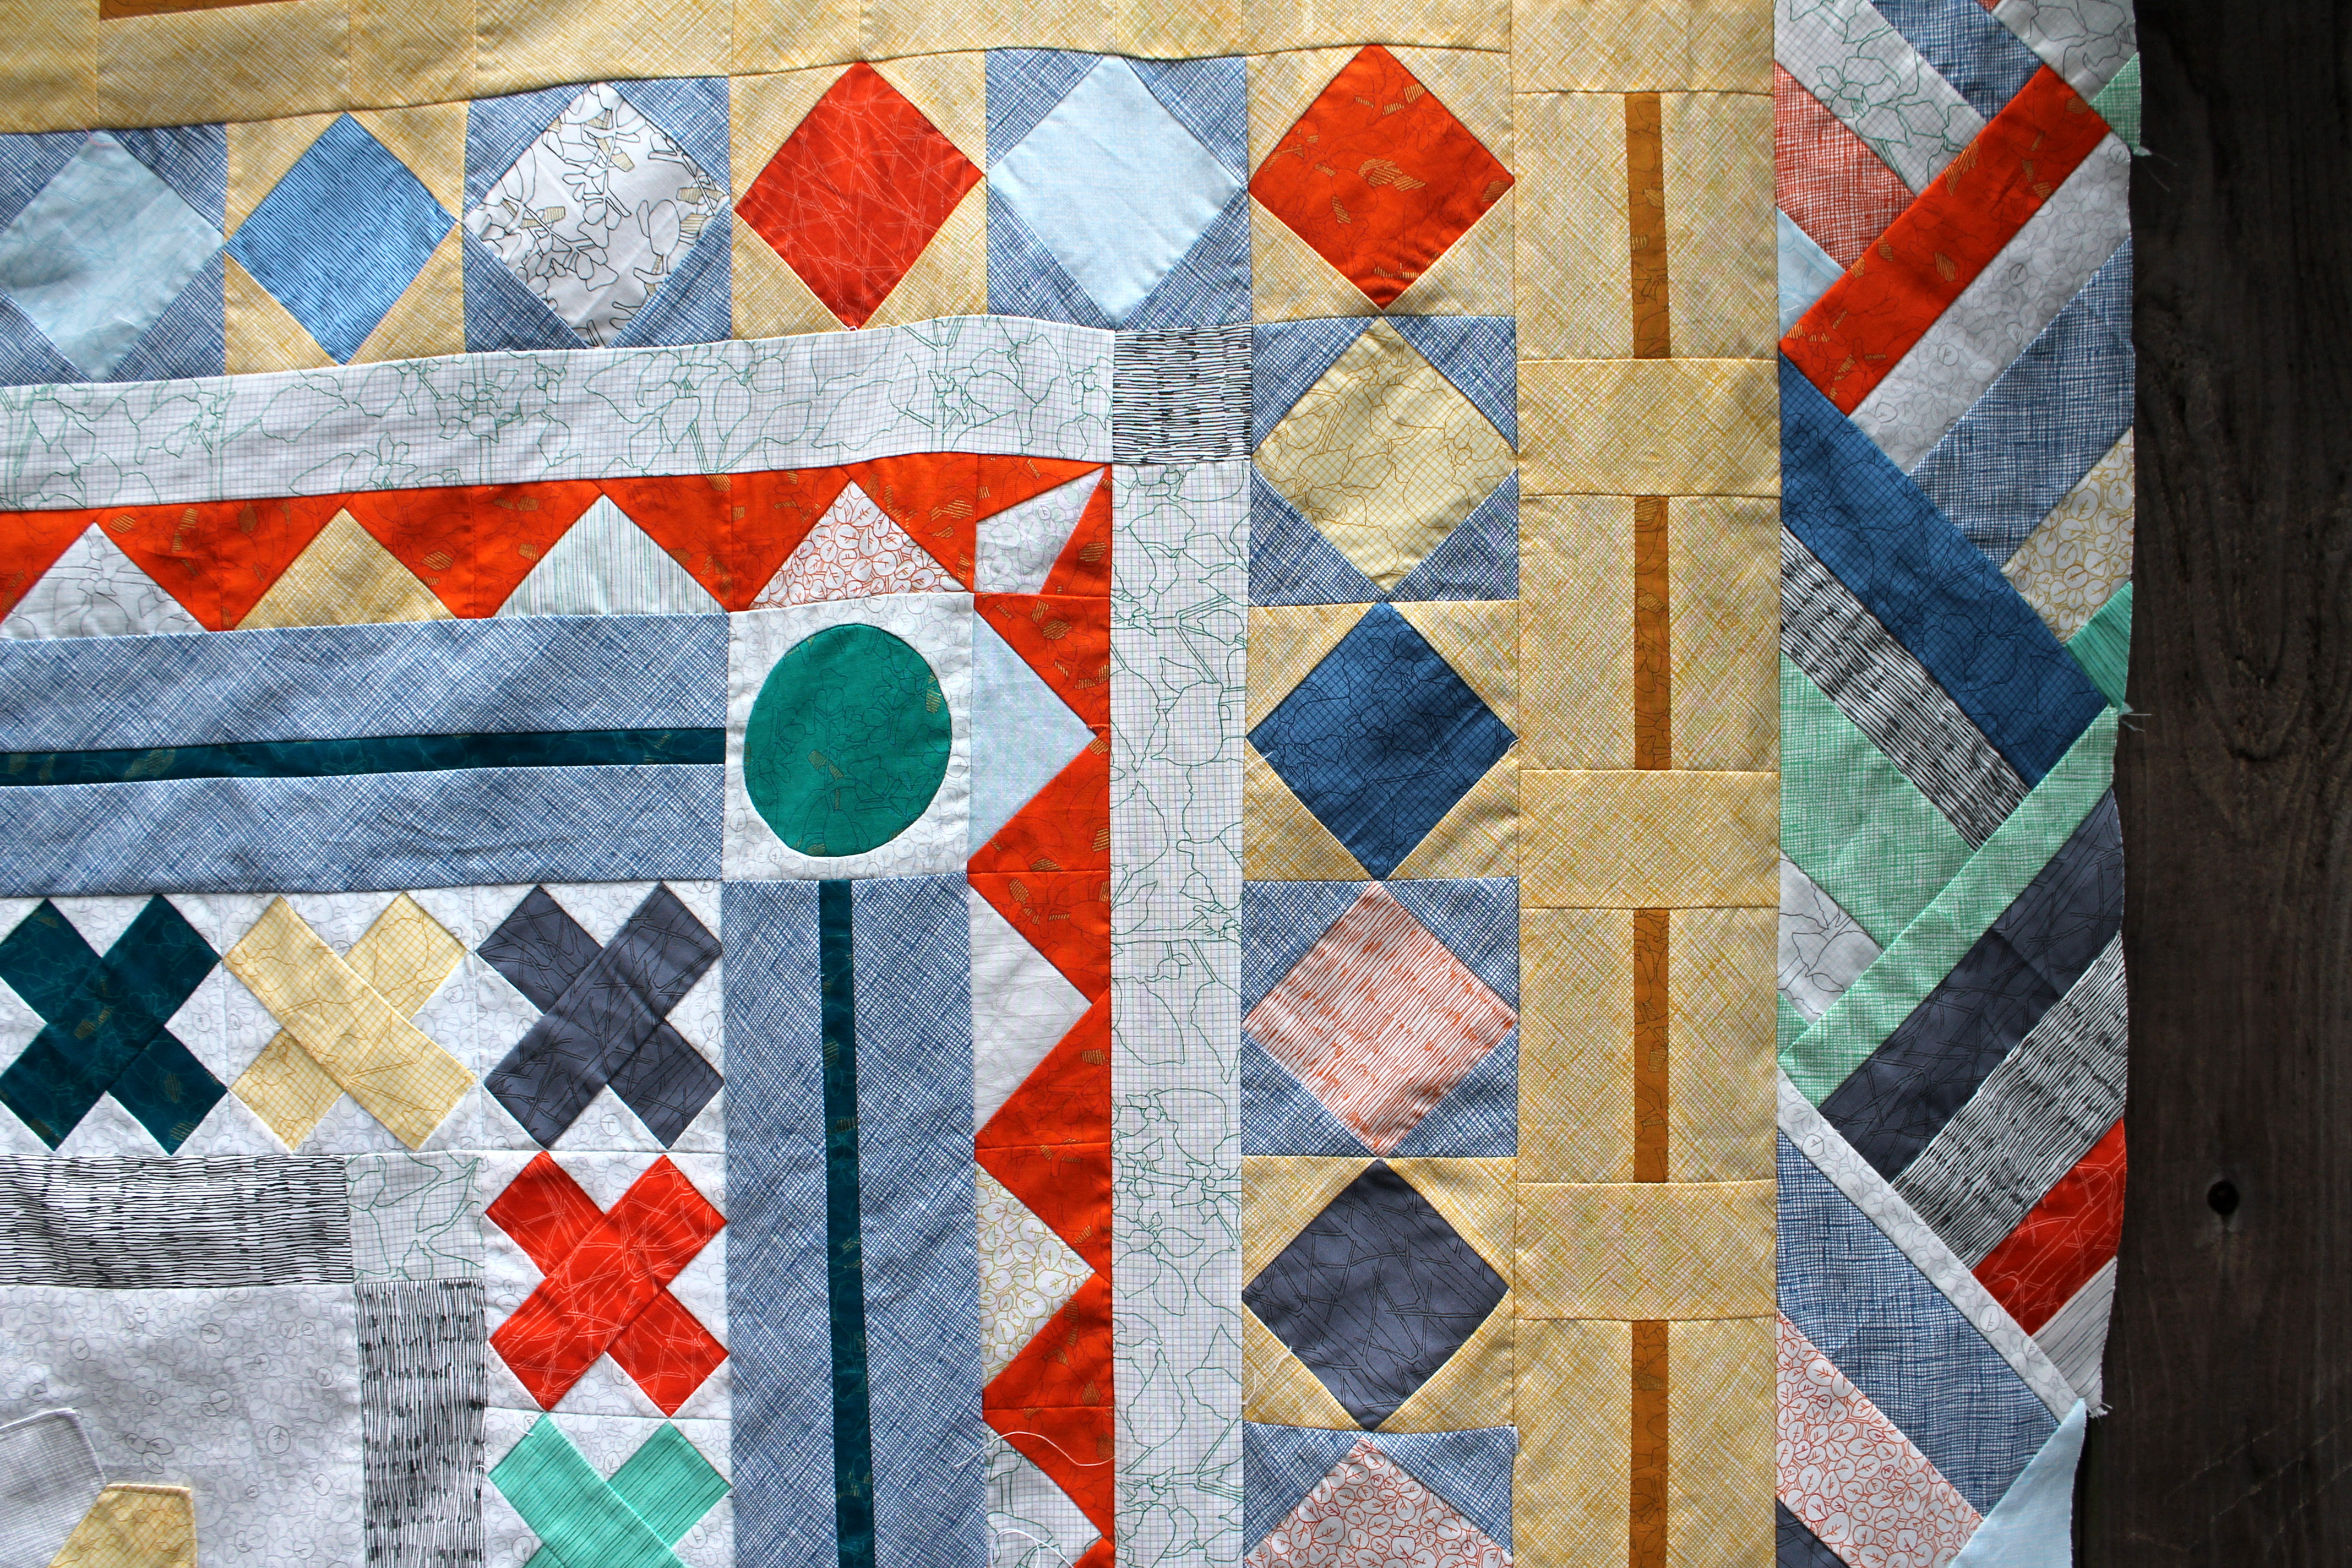
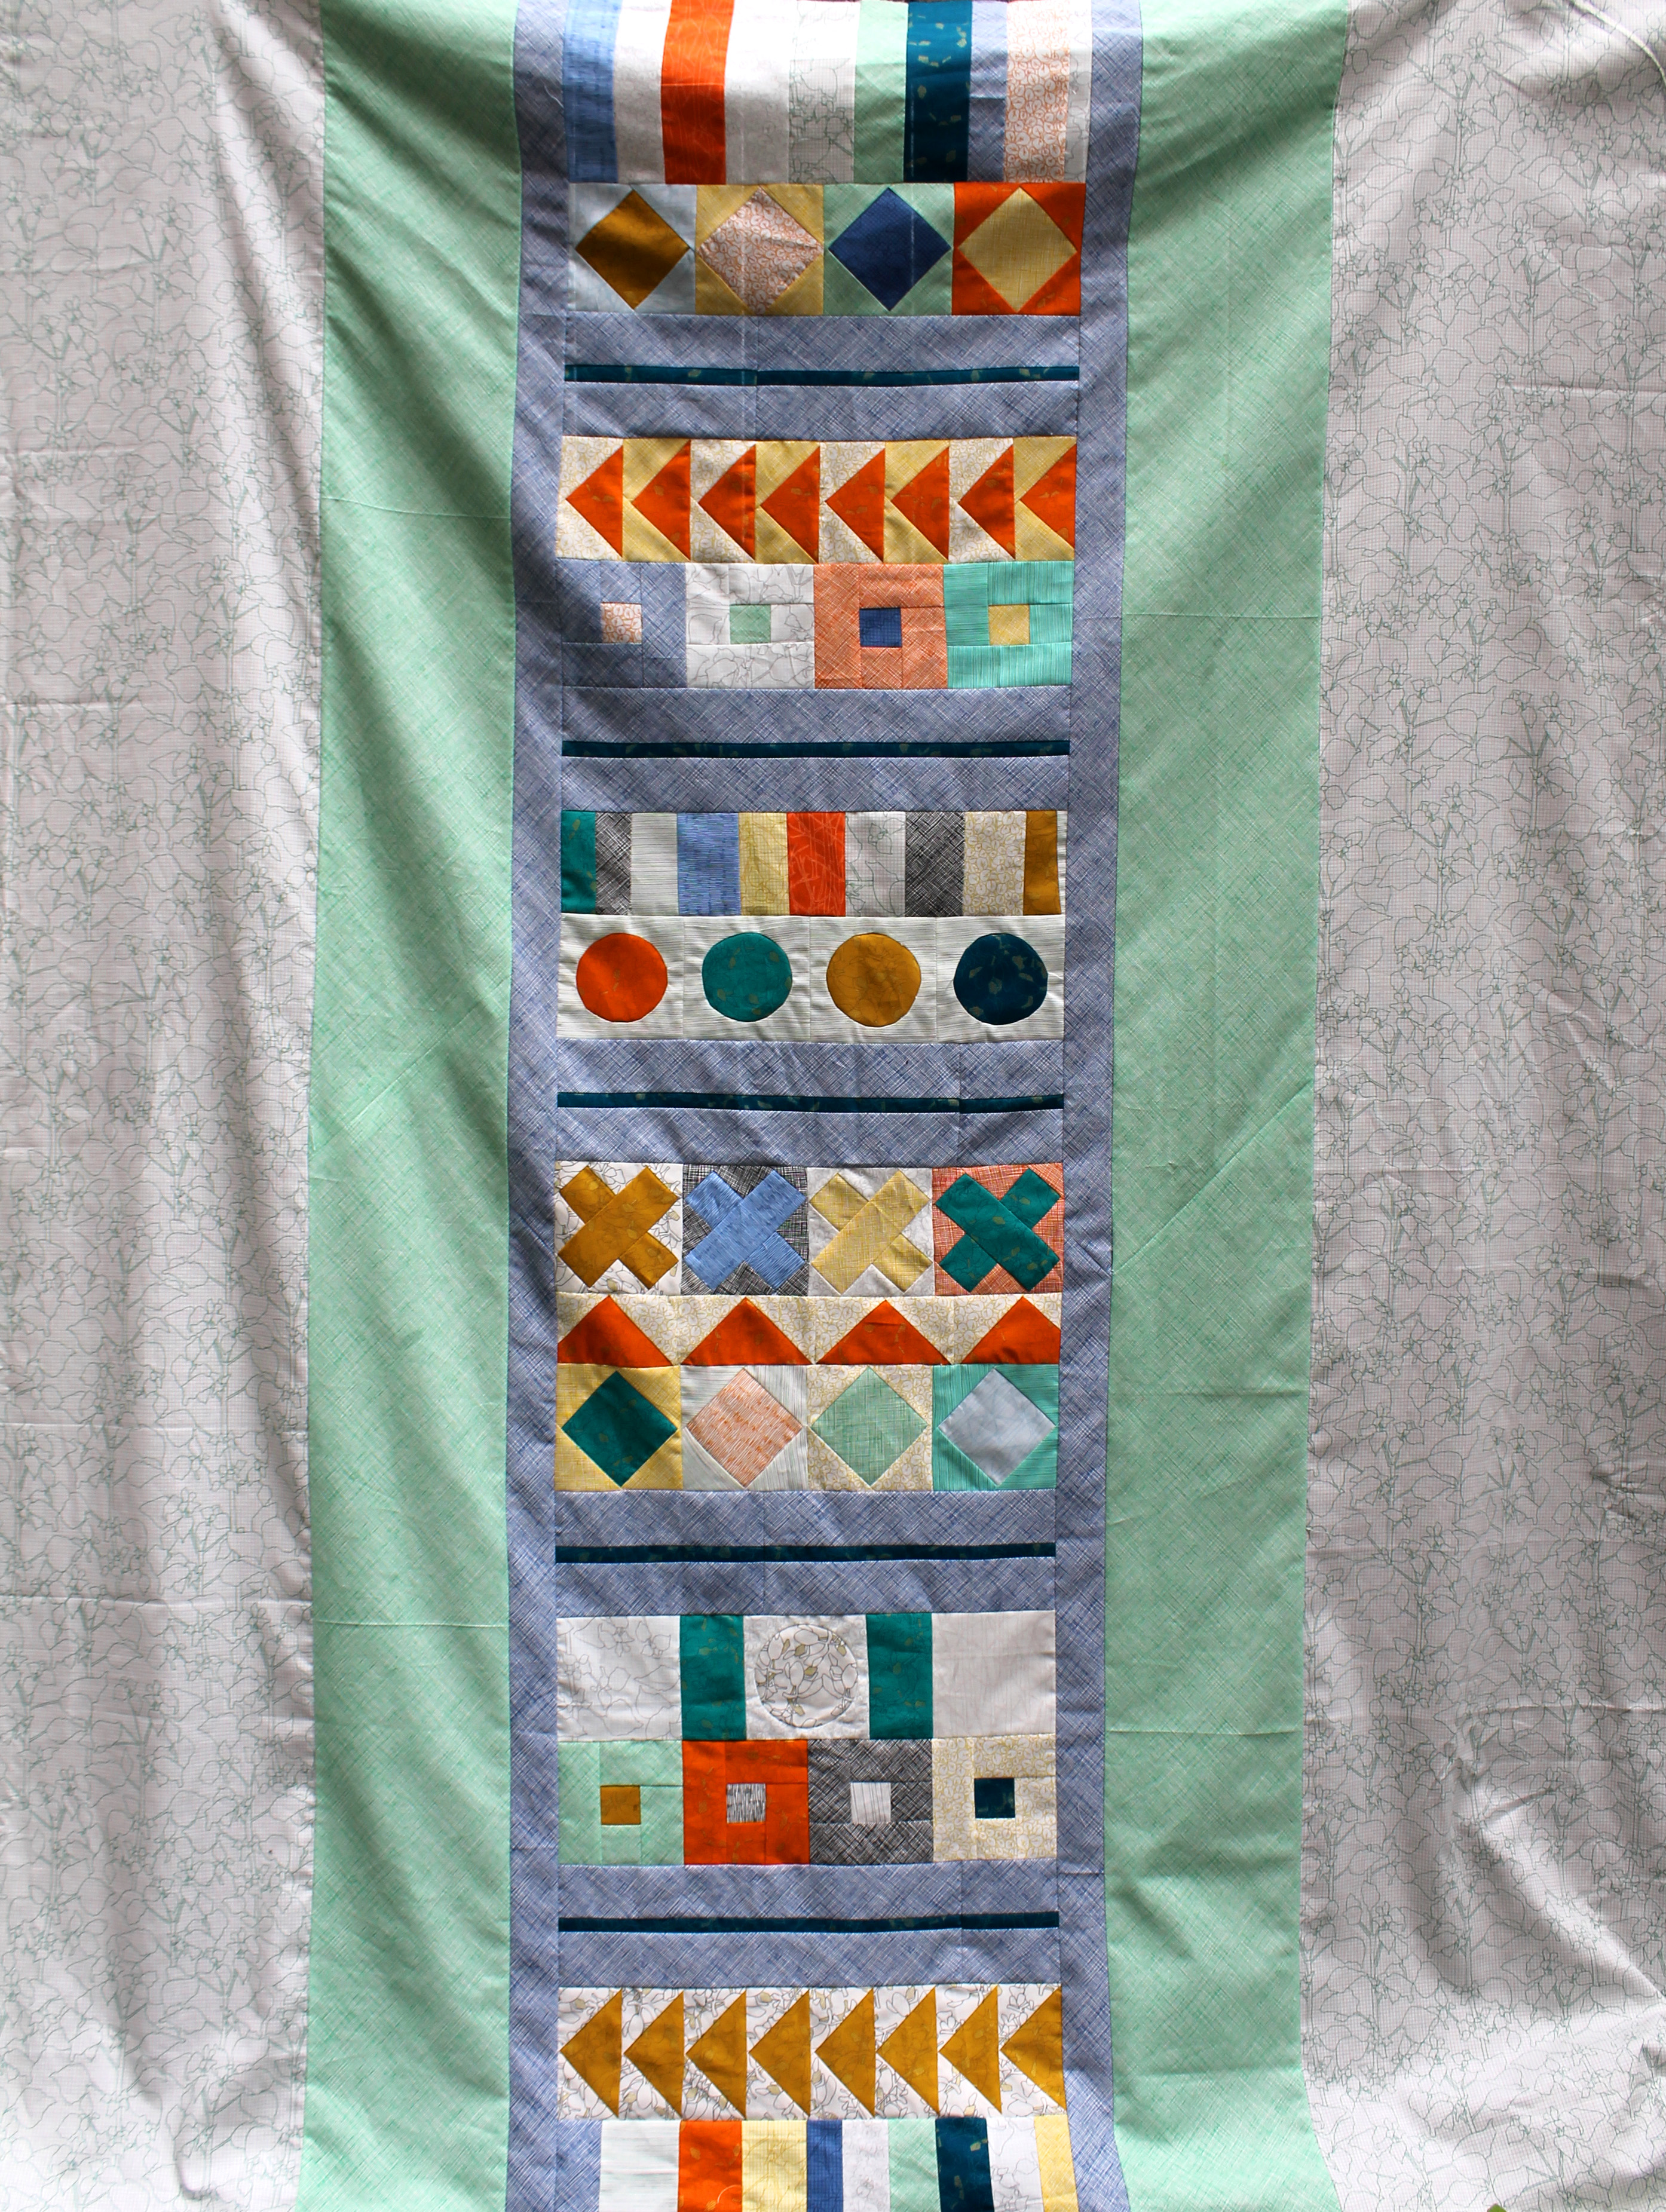
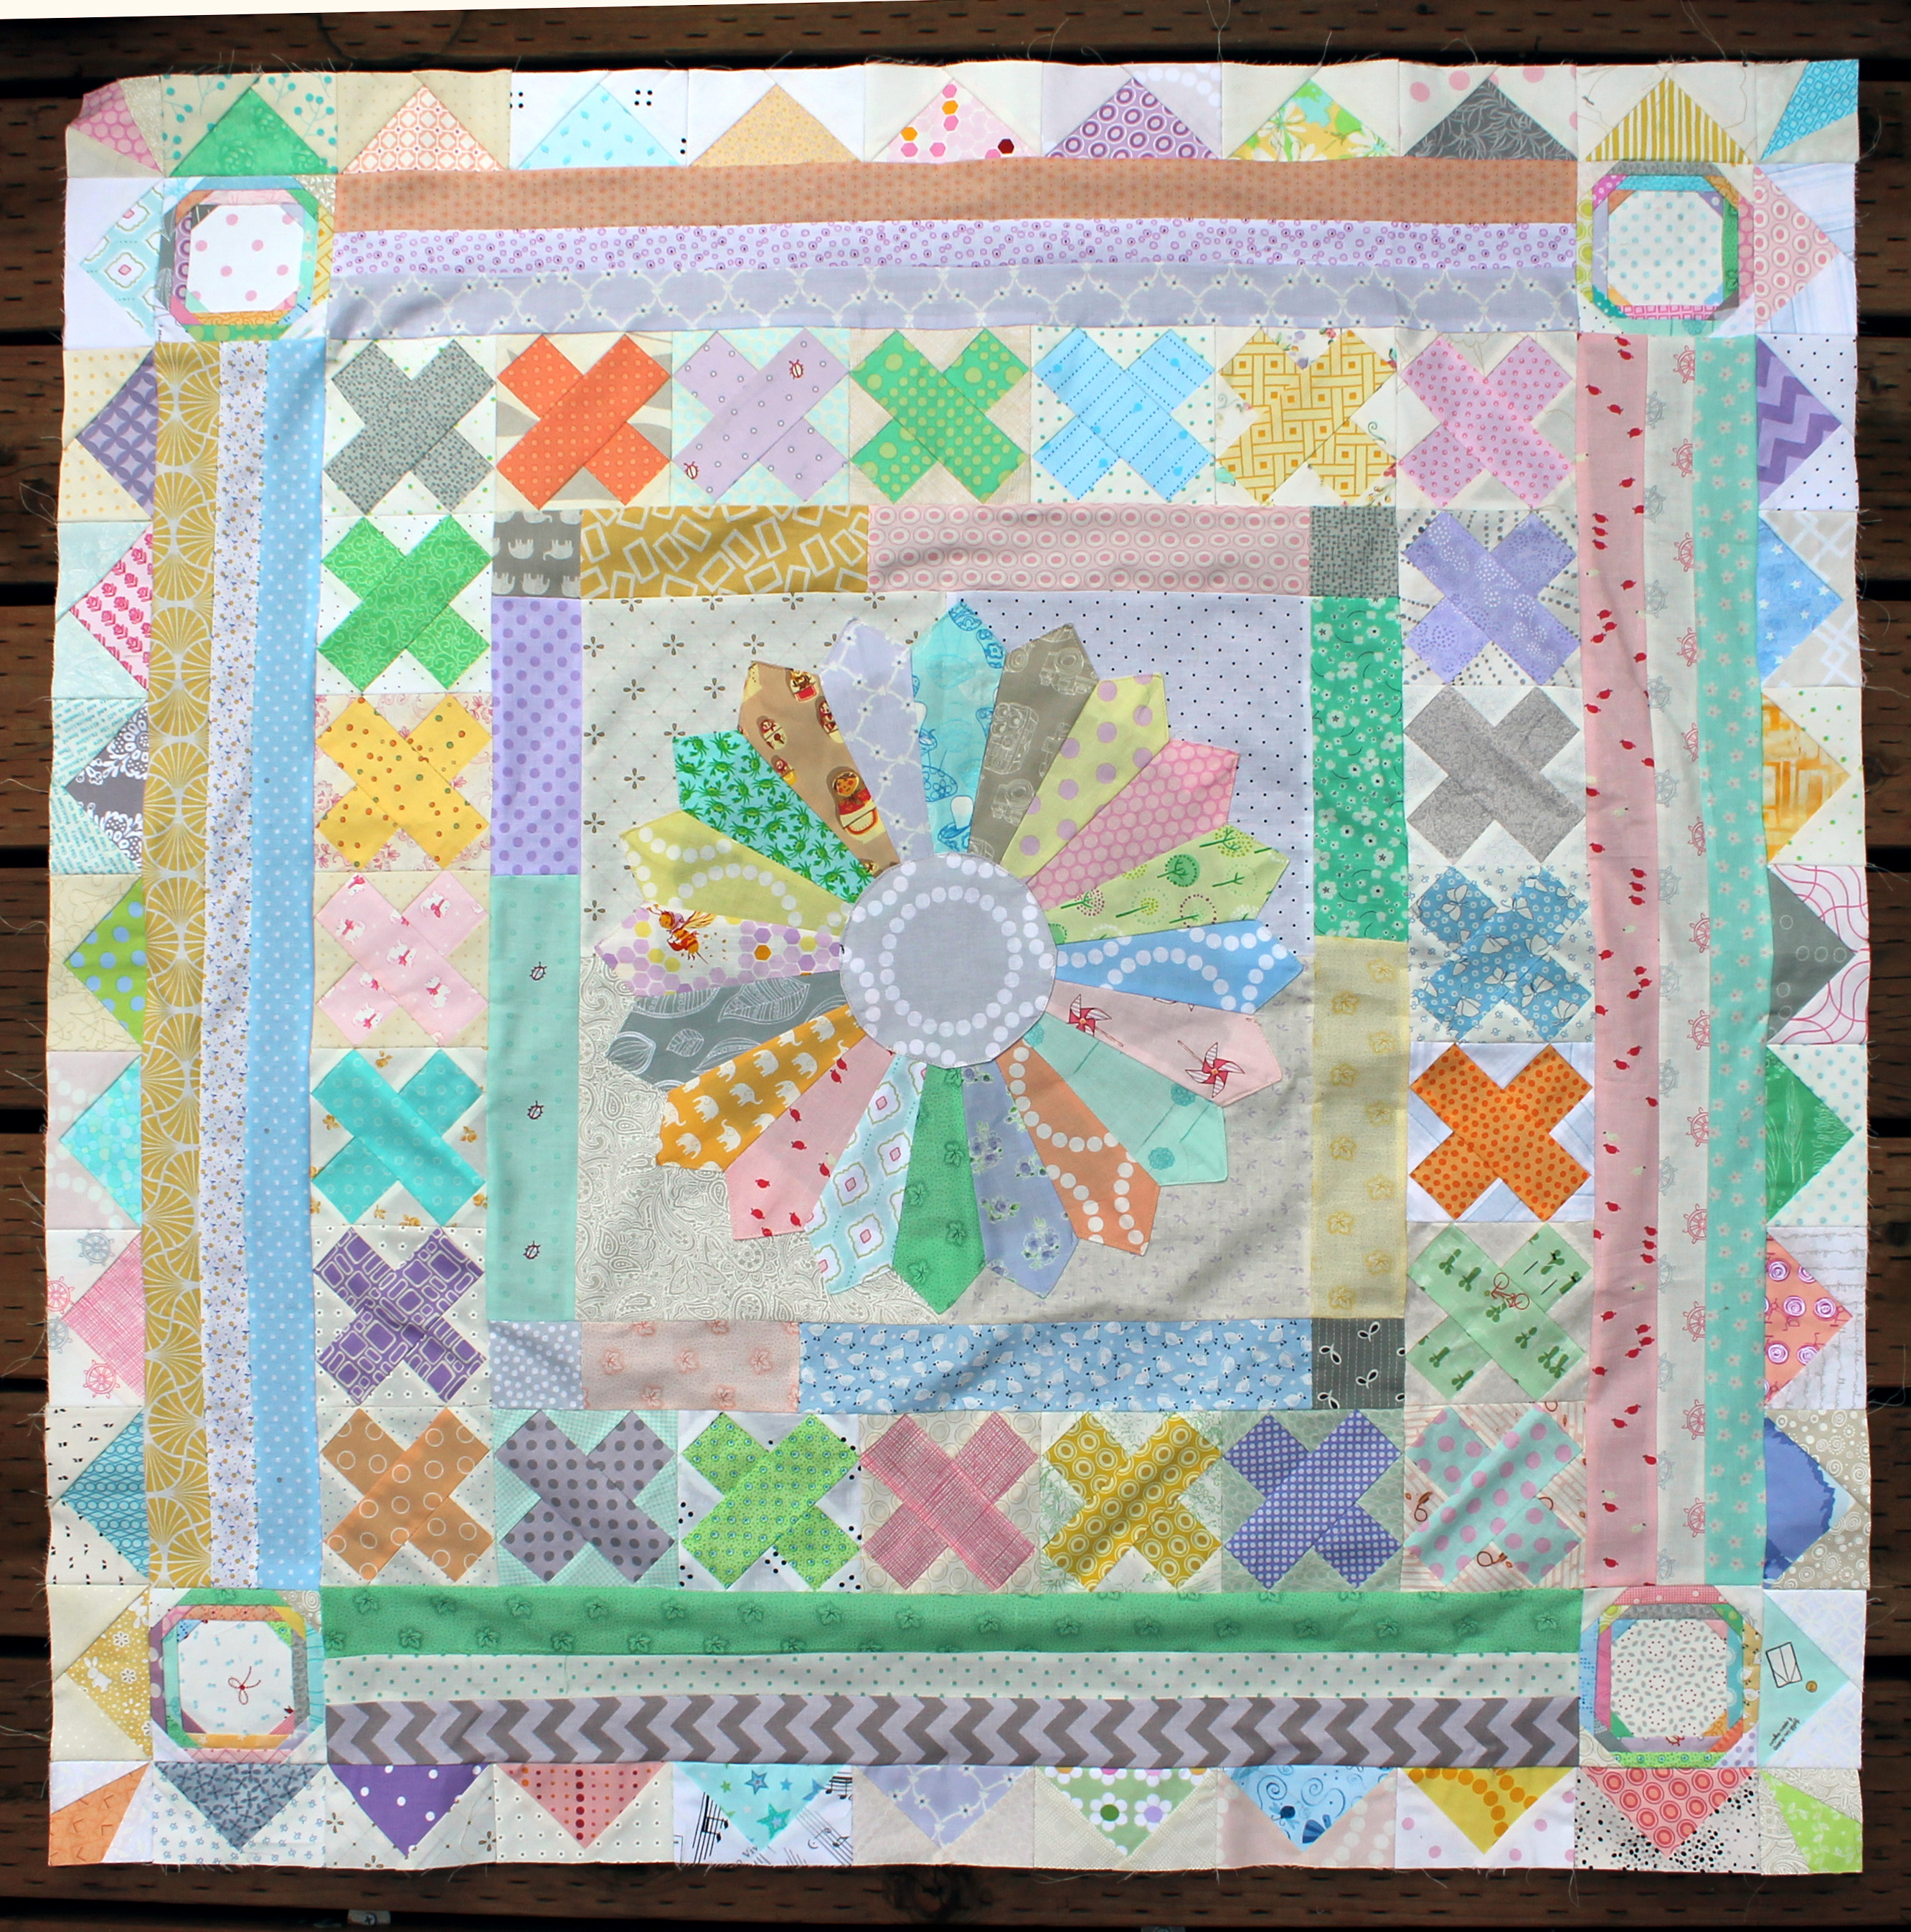
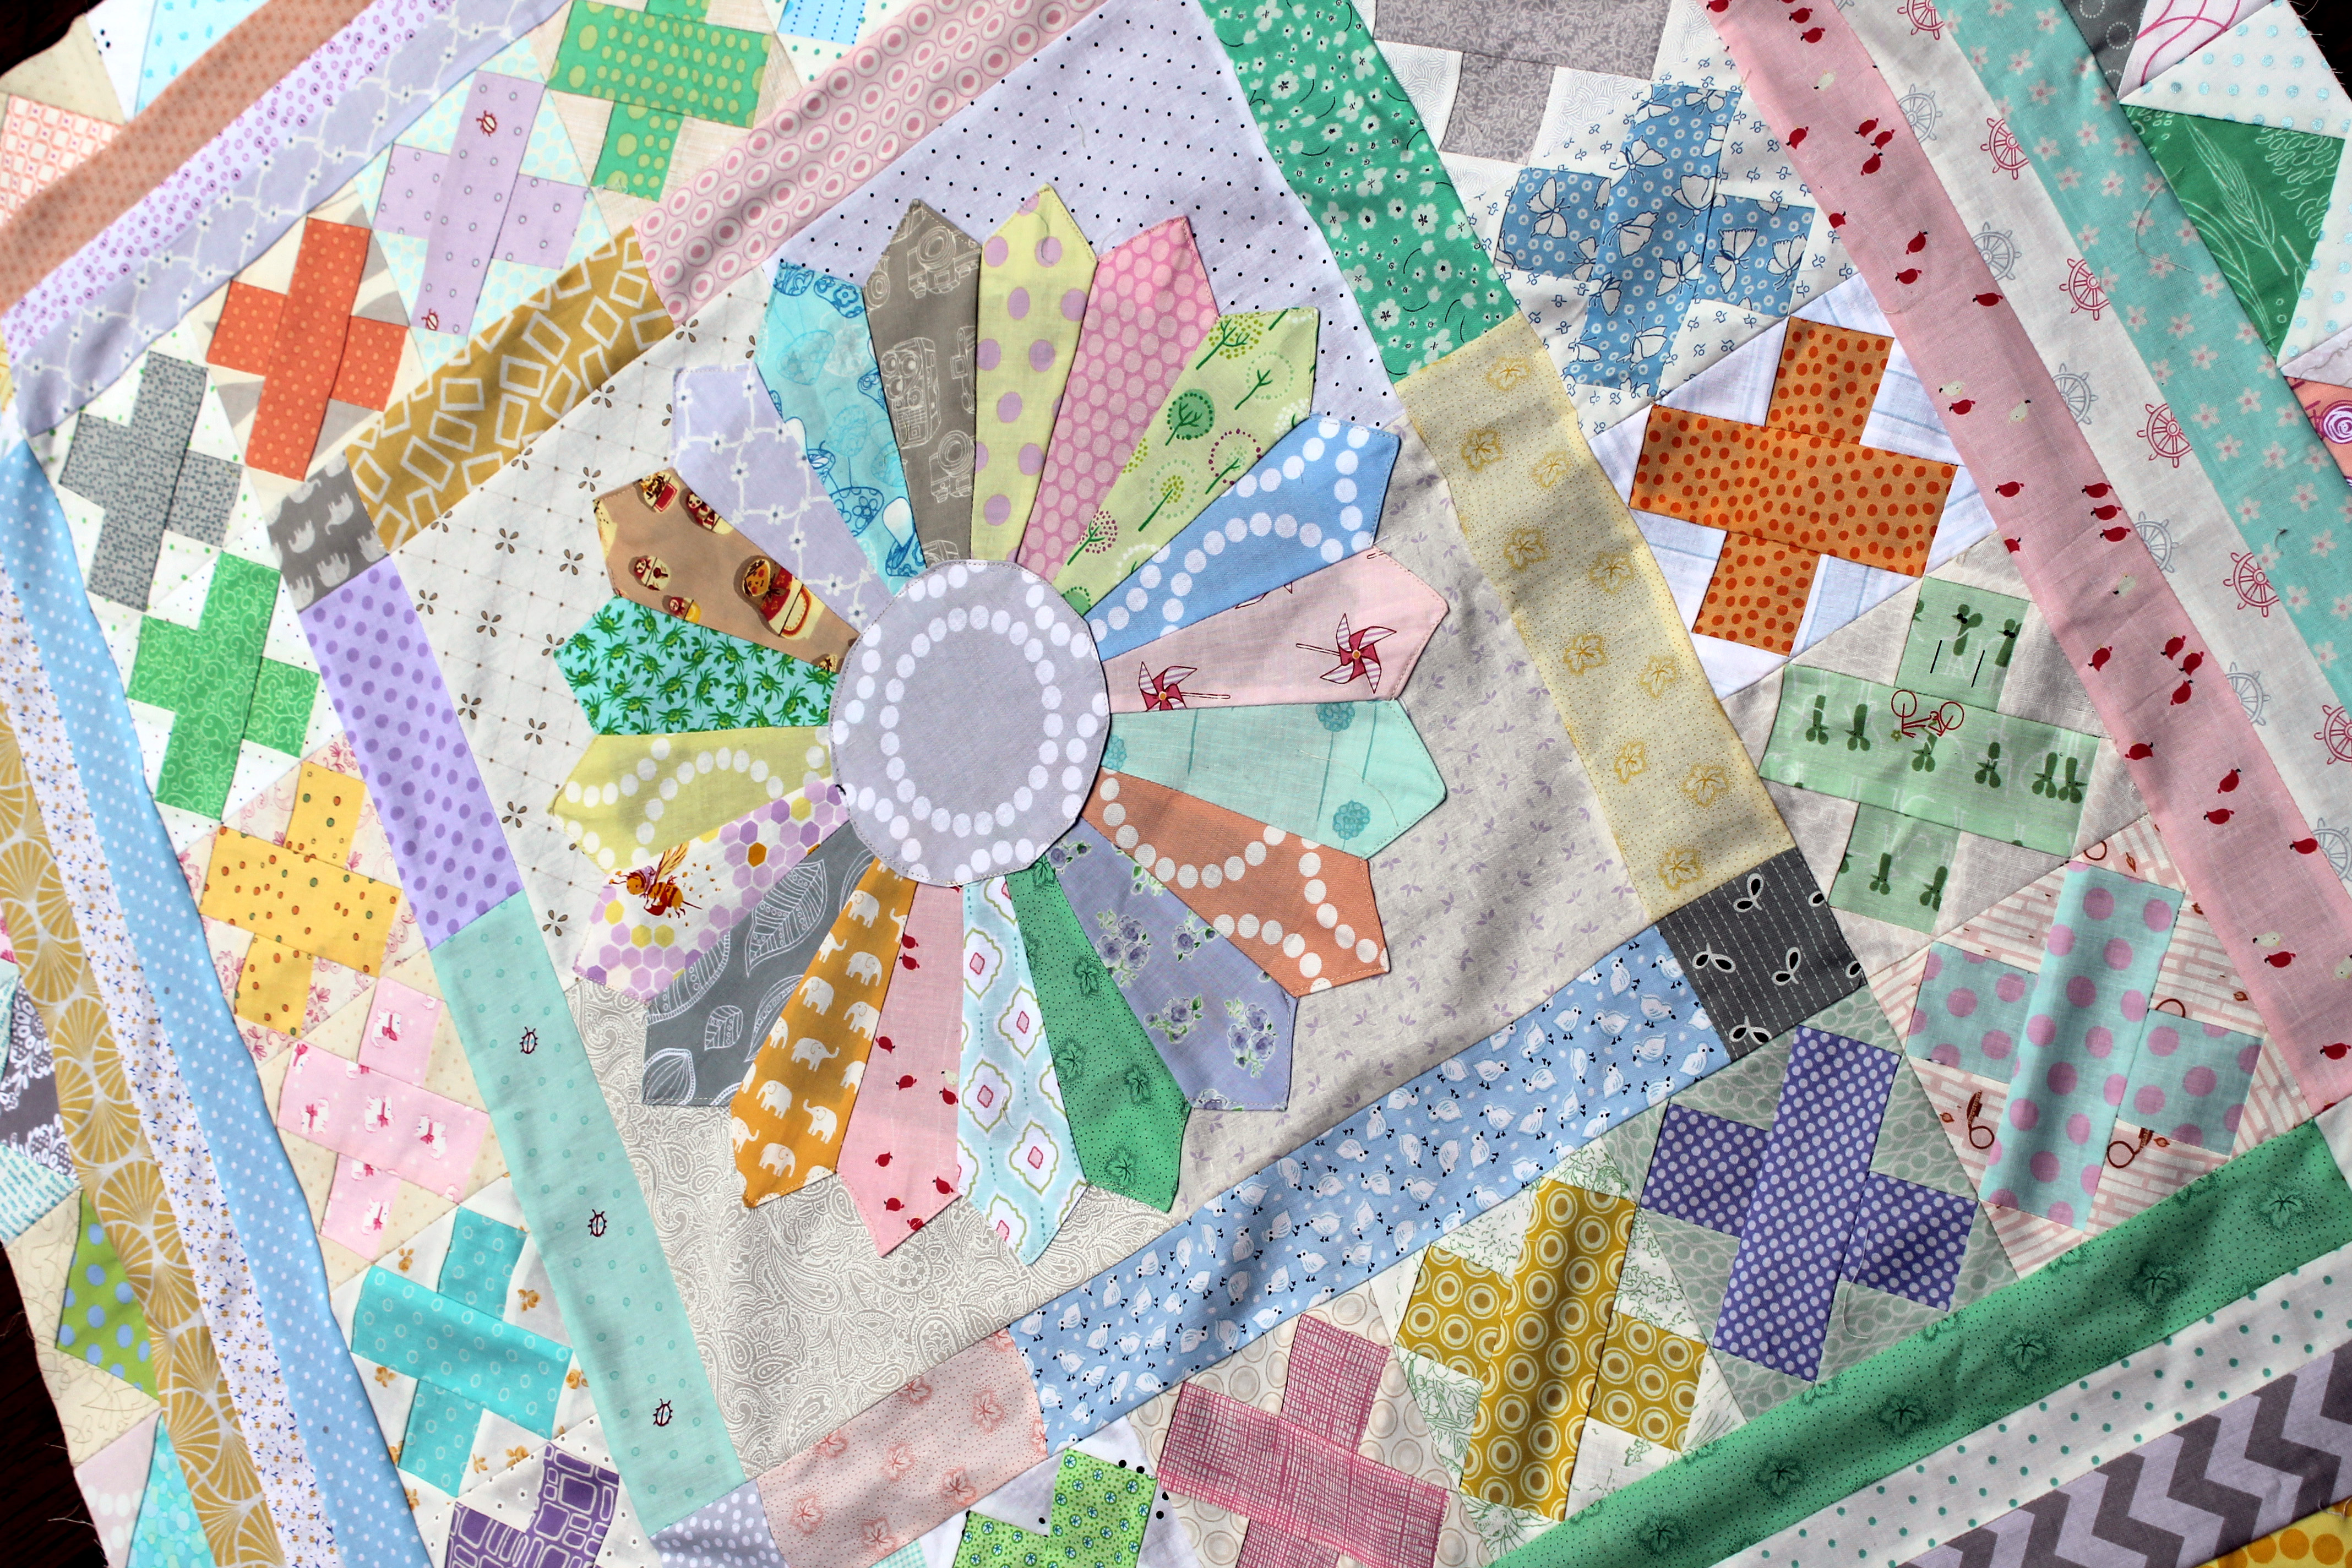
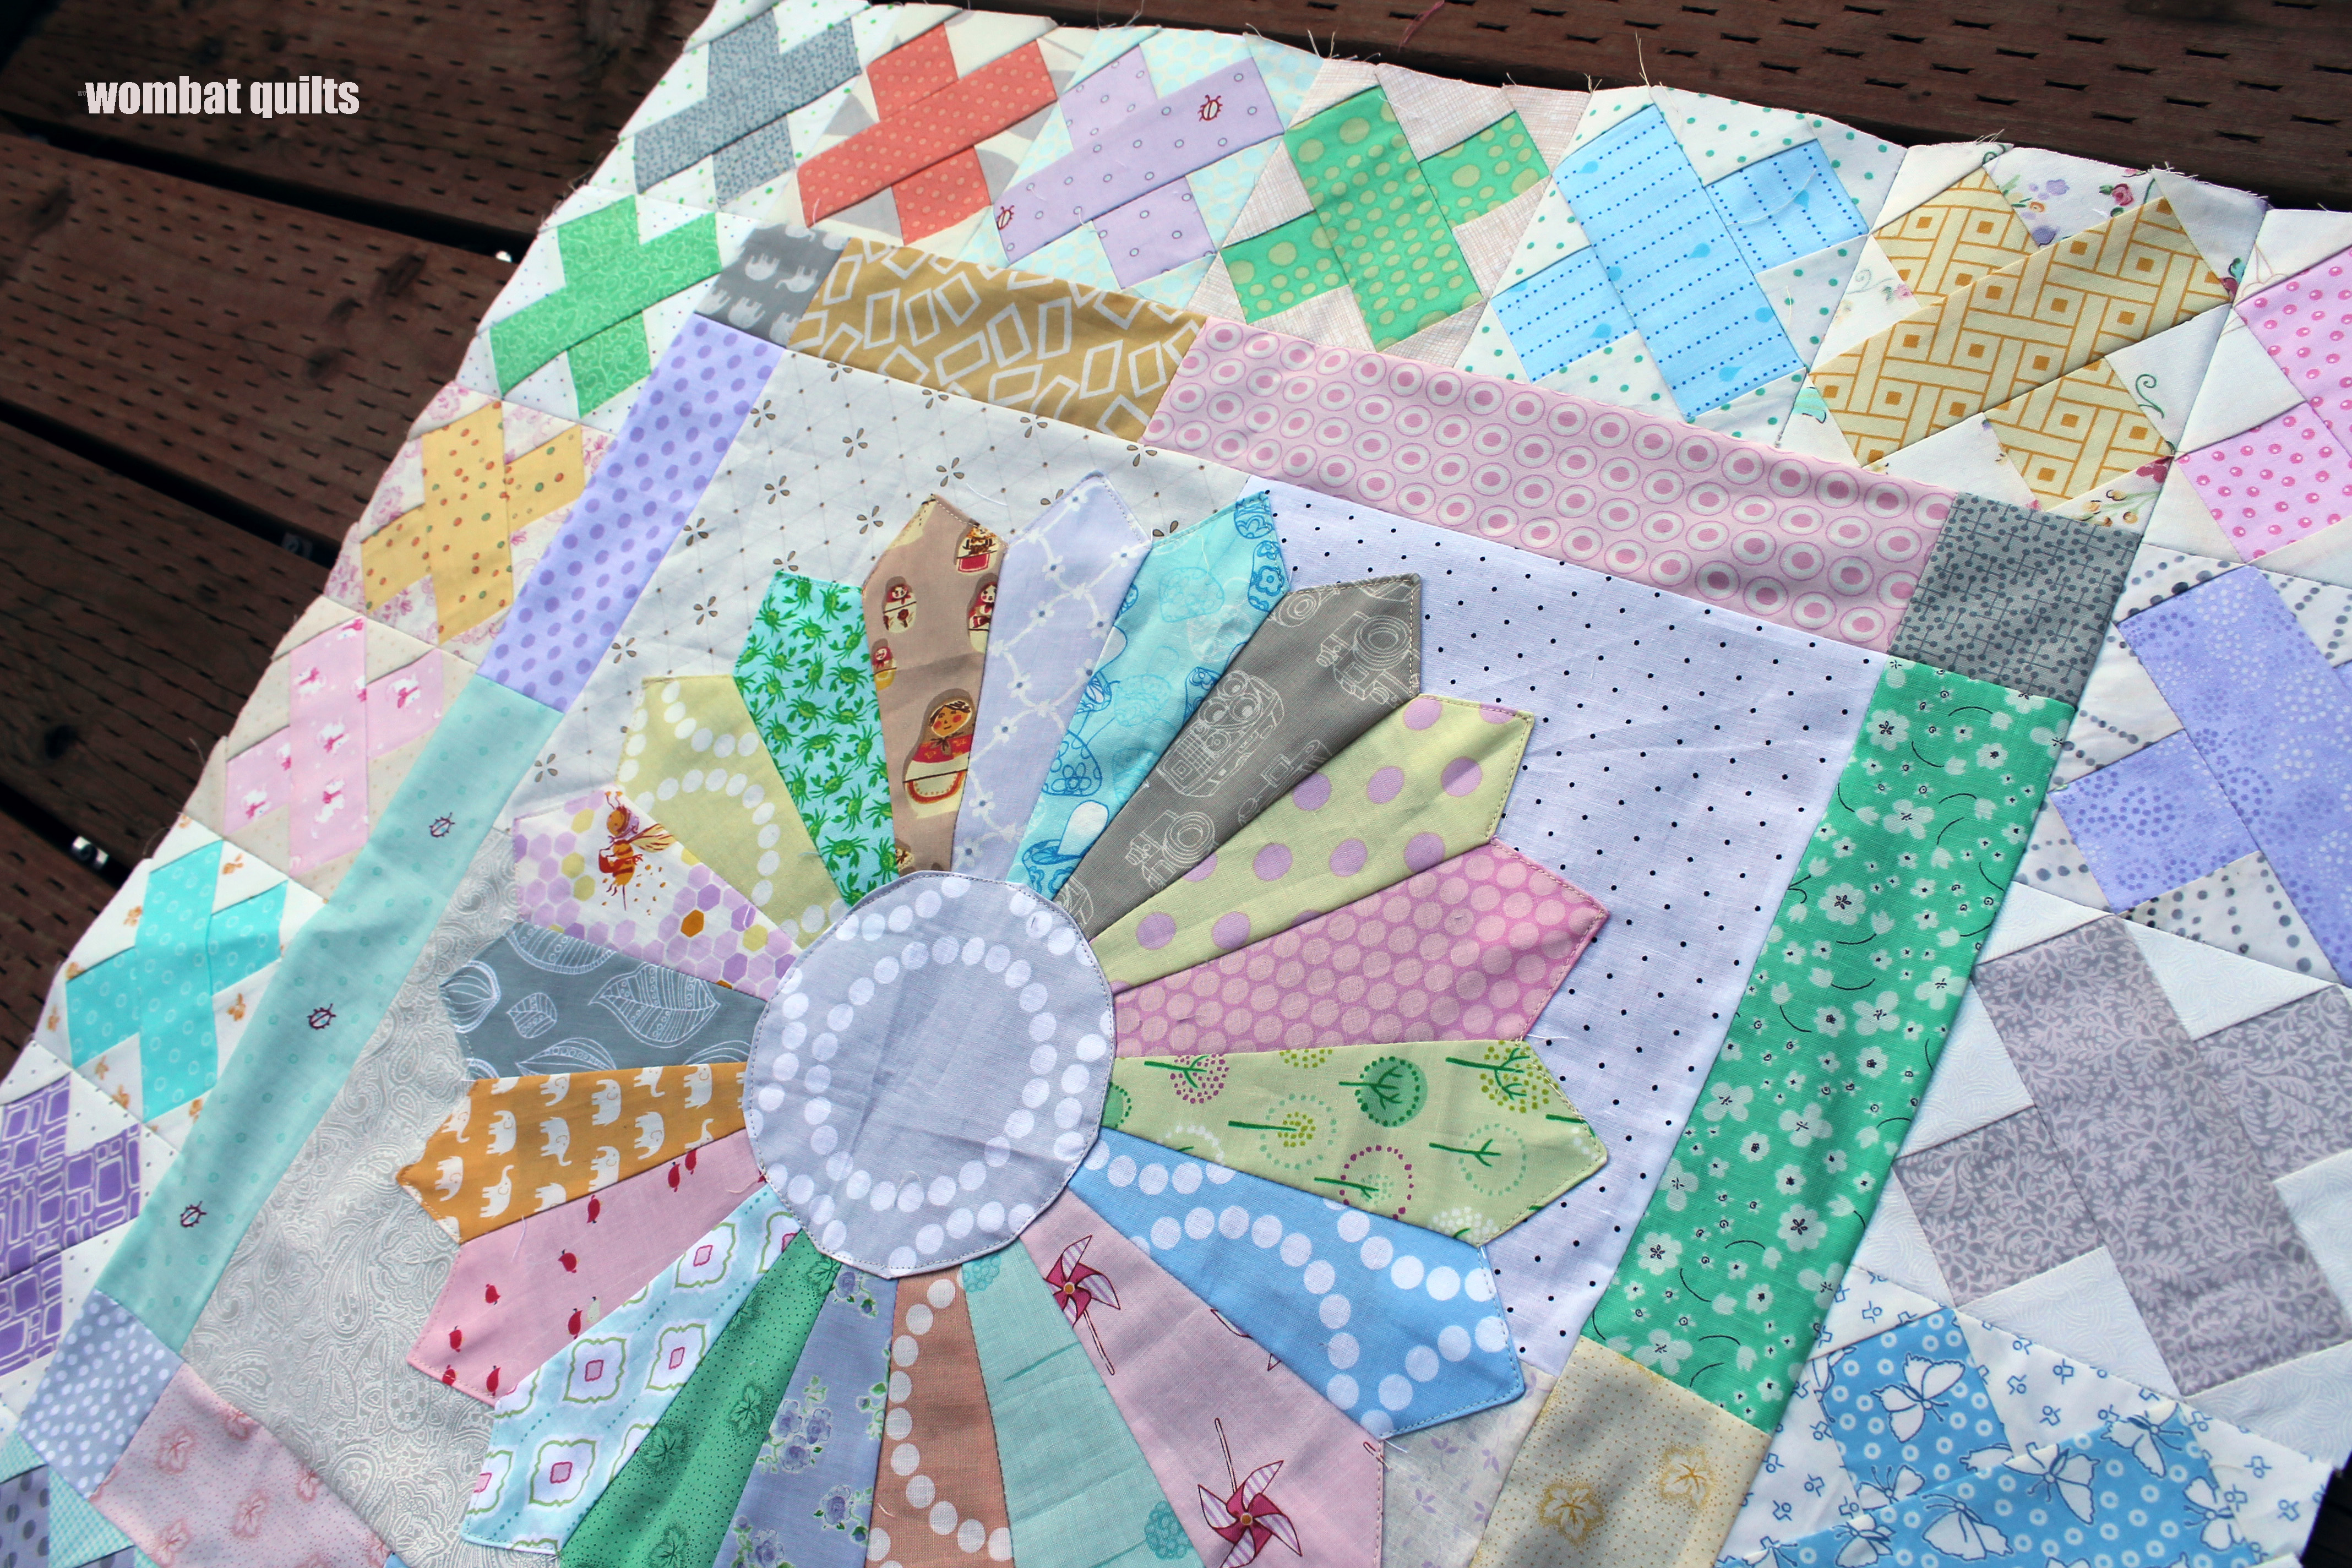
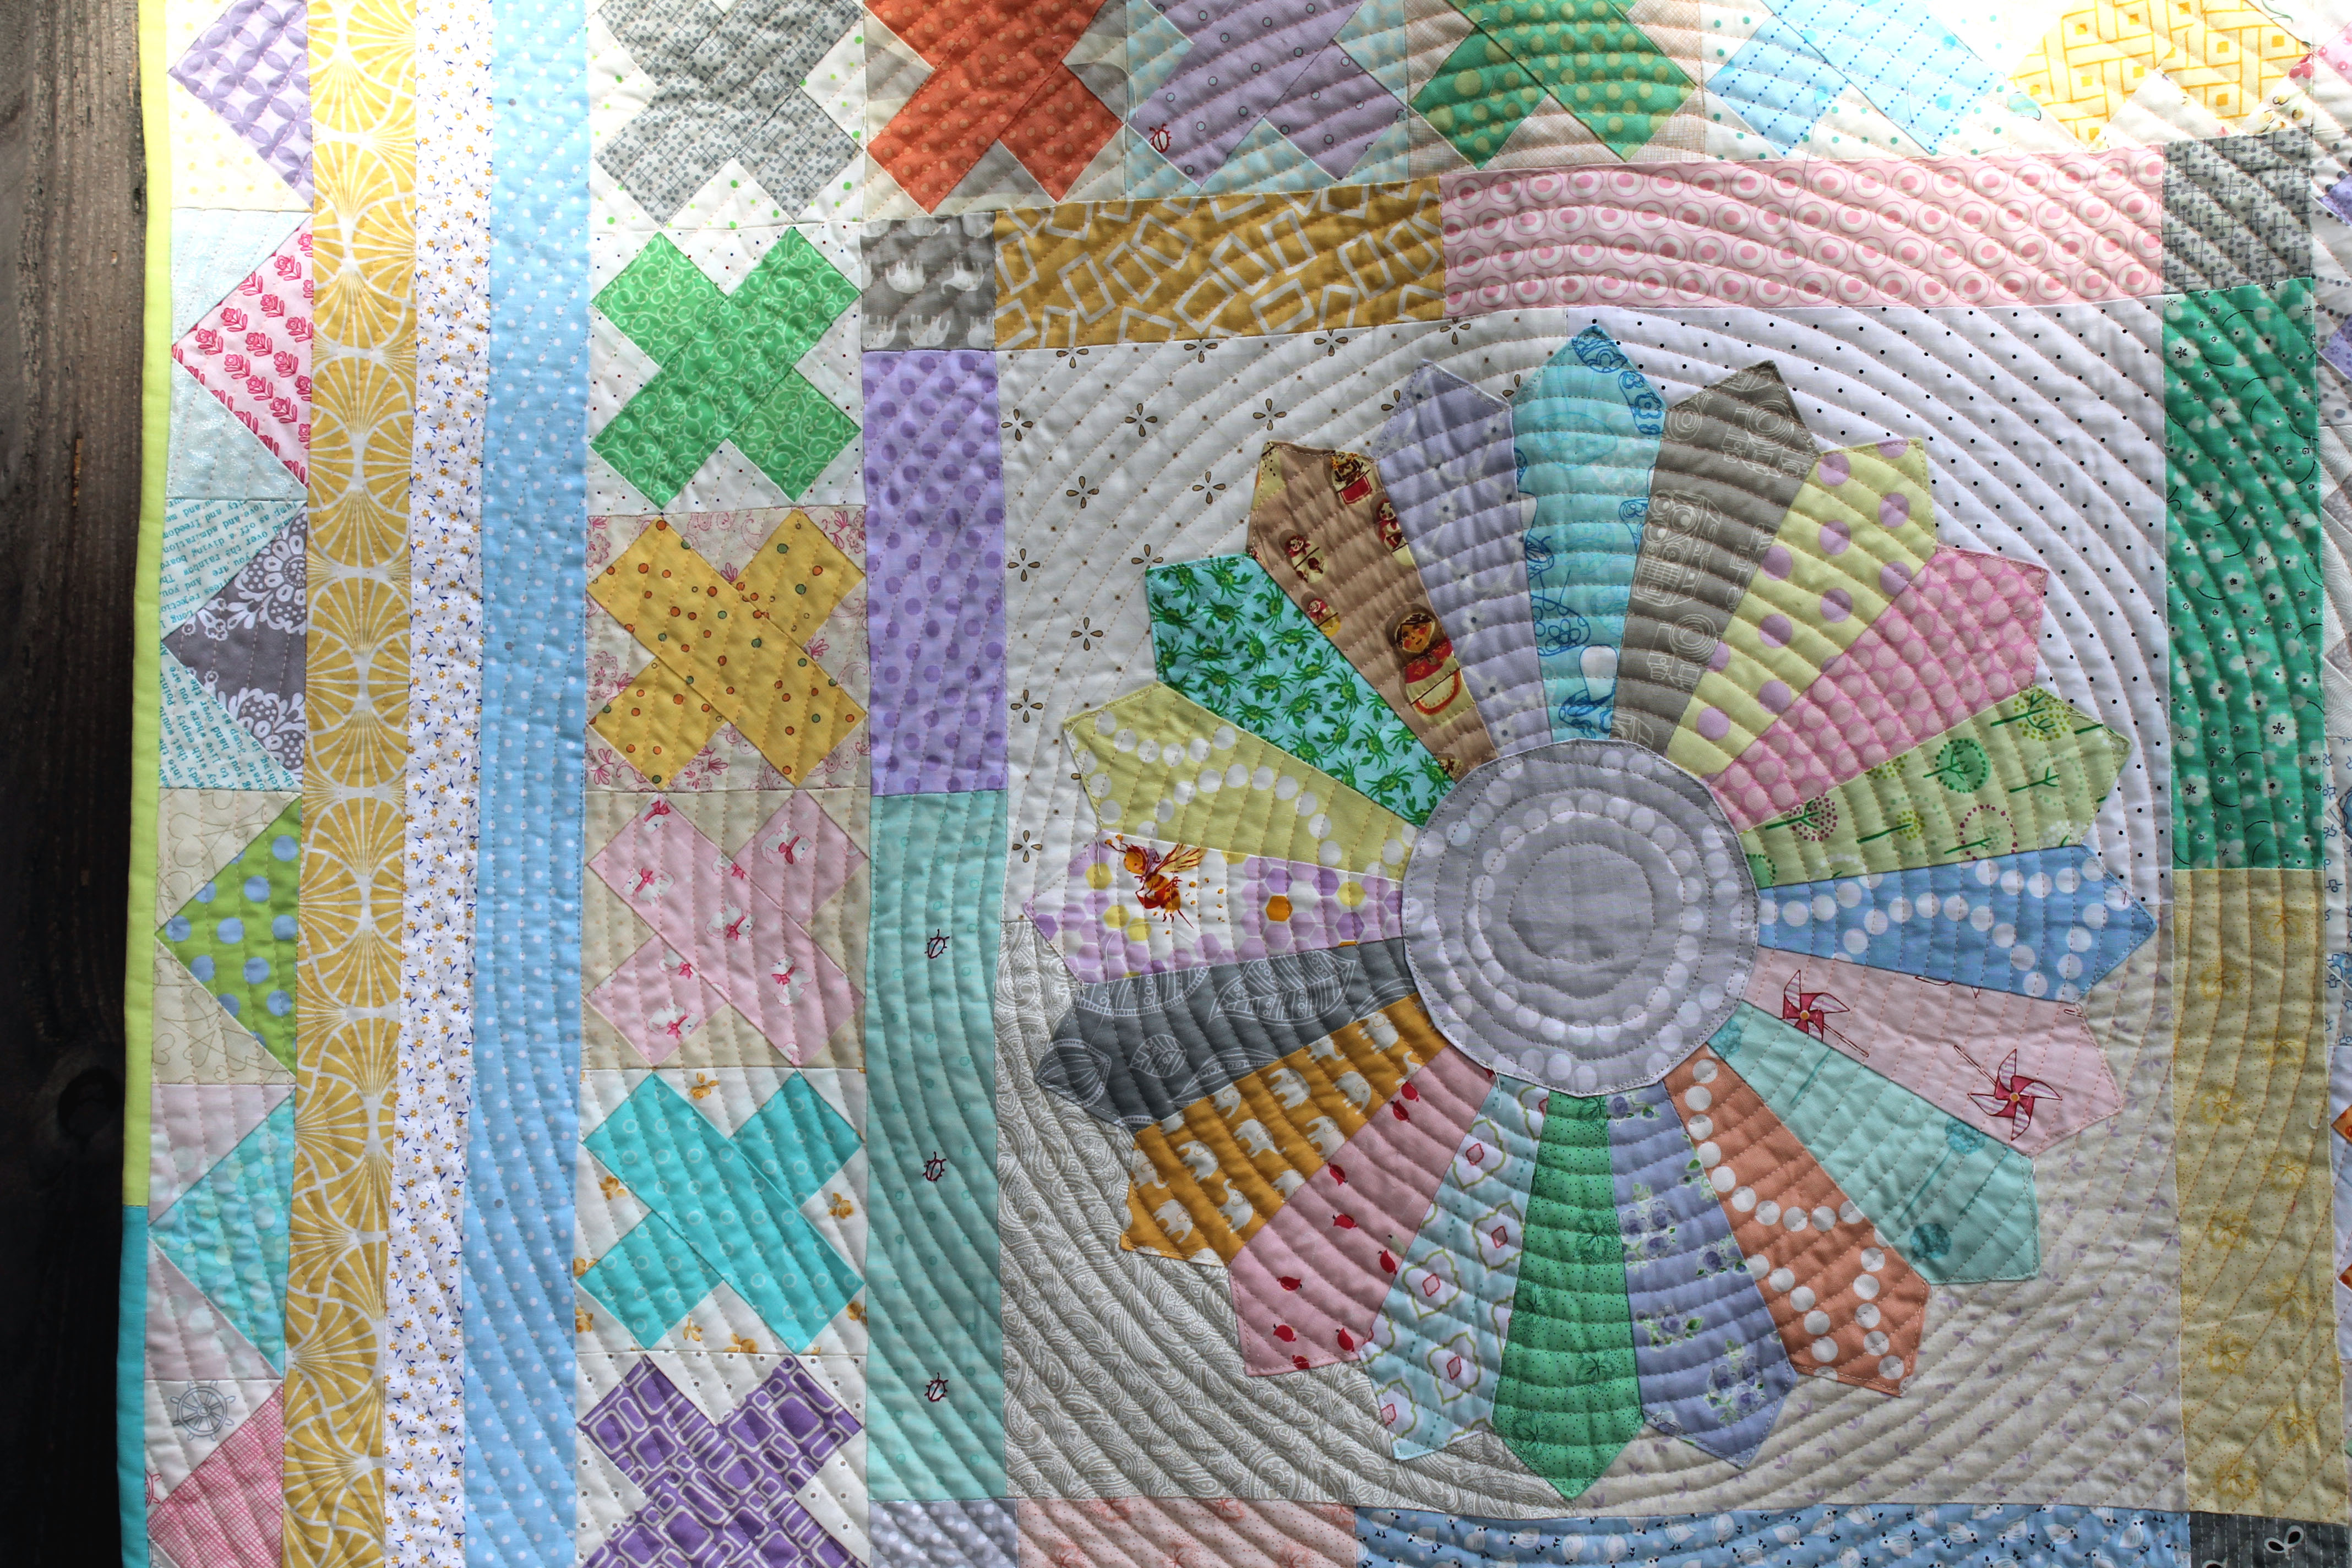
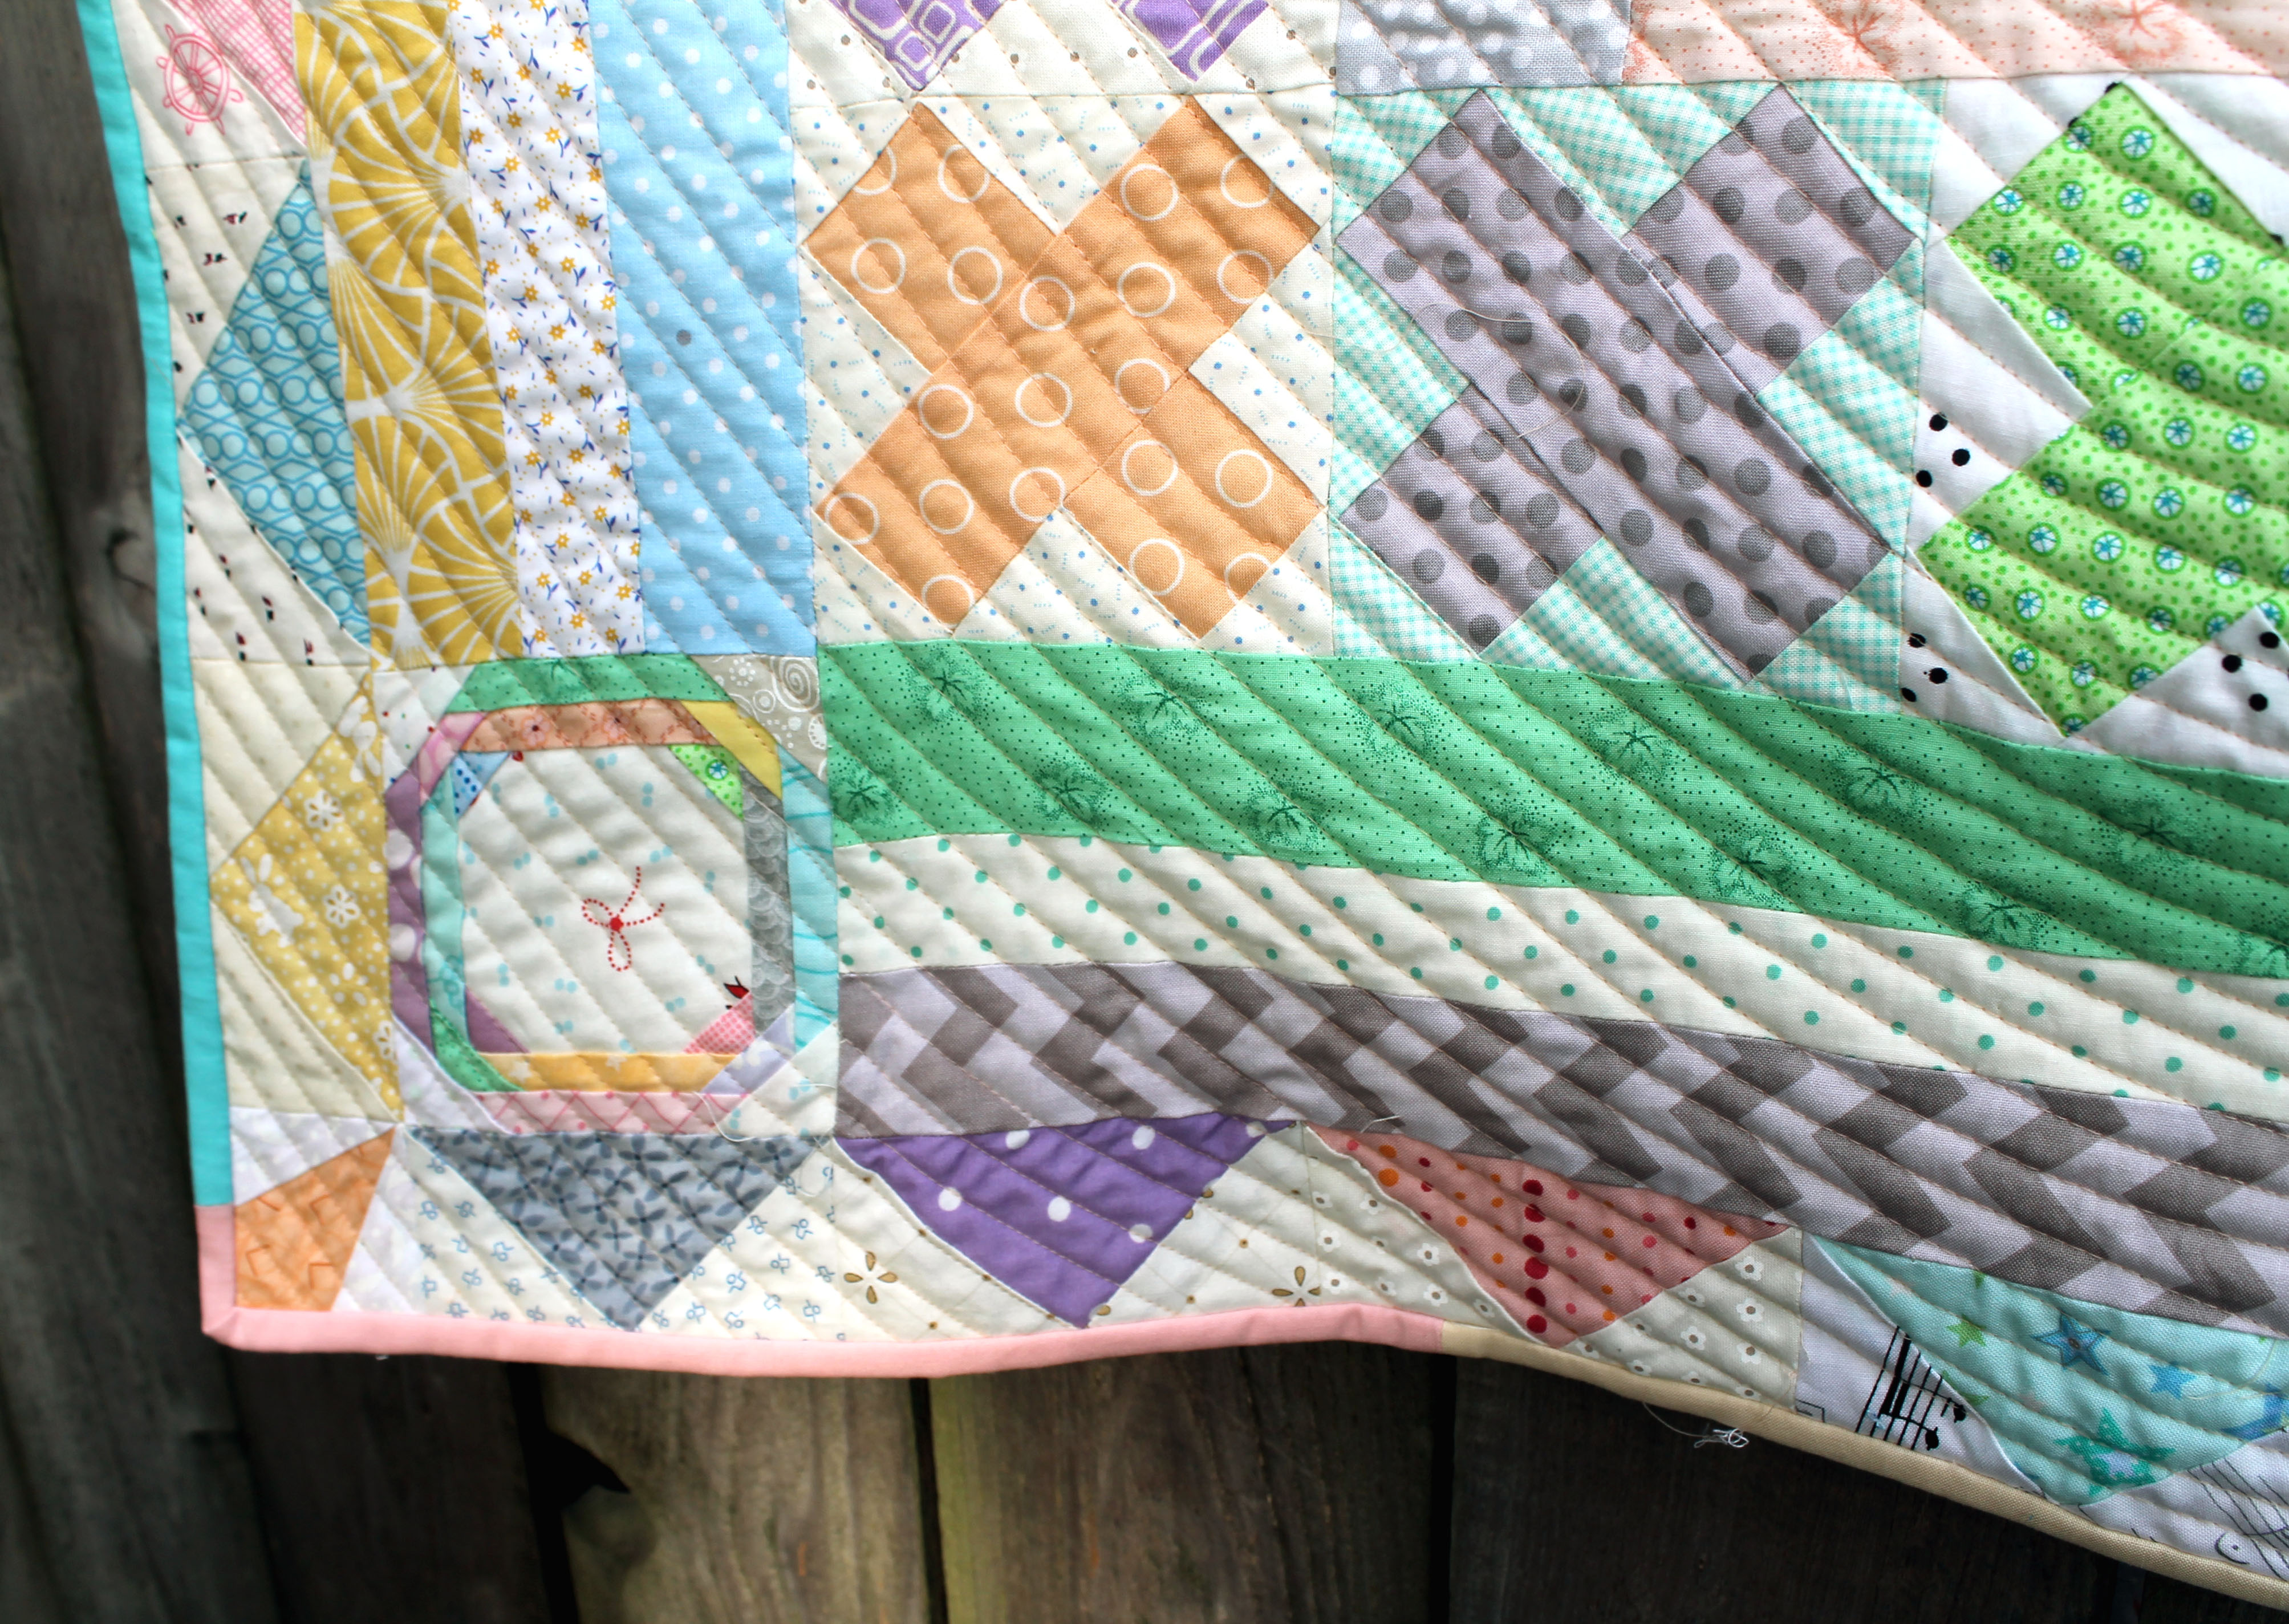
This week I finally finished my Portland Modern Quilt Guild medallion quilt.  Now to t be honest with you I did not do all the borders that I was meant too… partly because I wanted this quilt to be baby size and partly because I got bored with the pastel colour scheme!

Medallion detail 2

If you are interested in the pattern and process you can check out my earlier post about the quilt…which includes links to the free patterns we used.

novelty prints

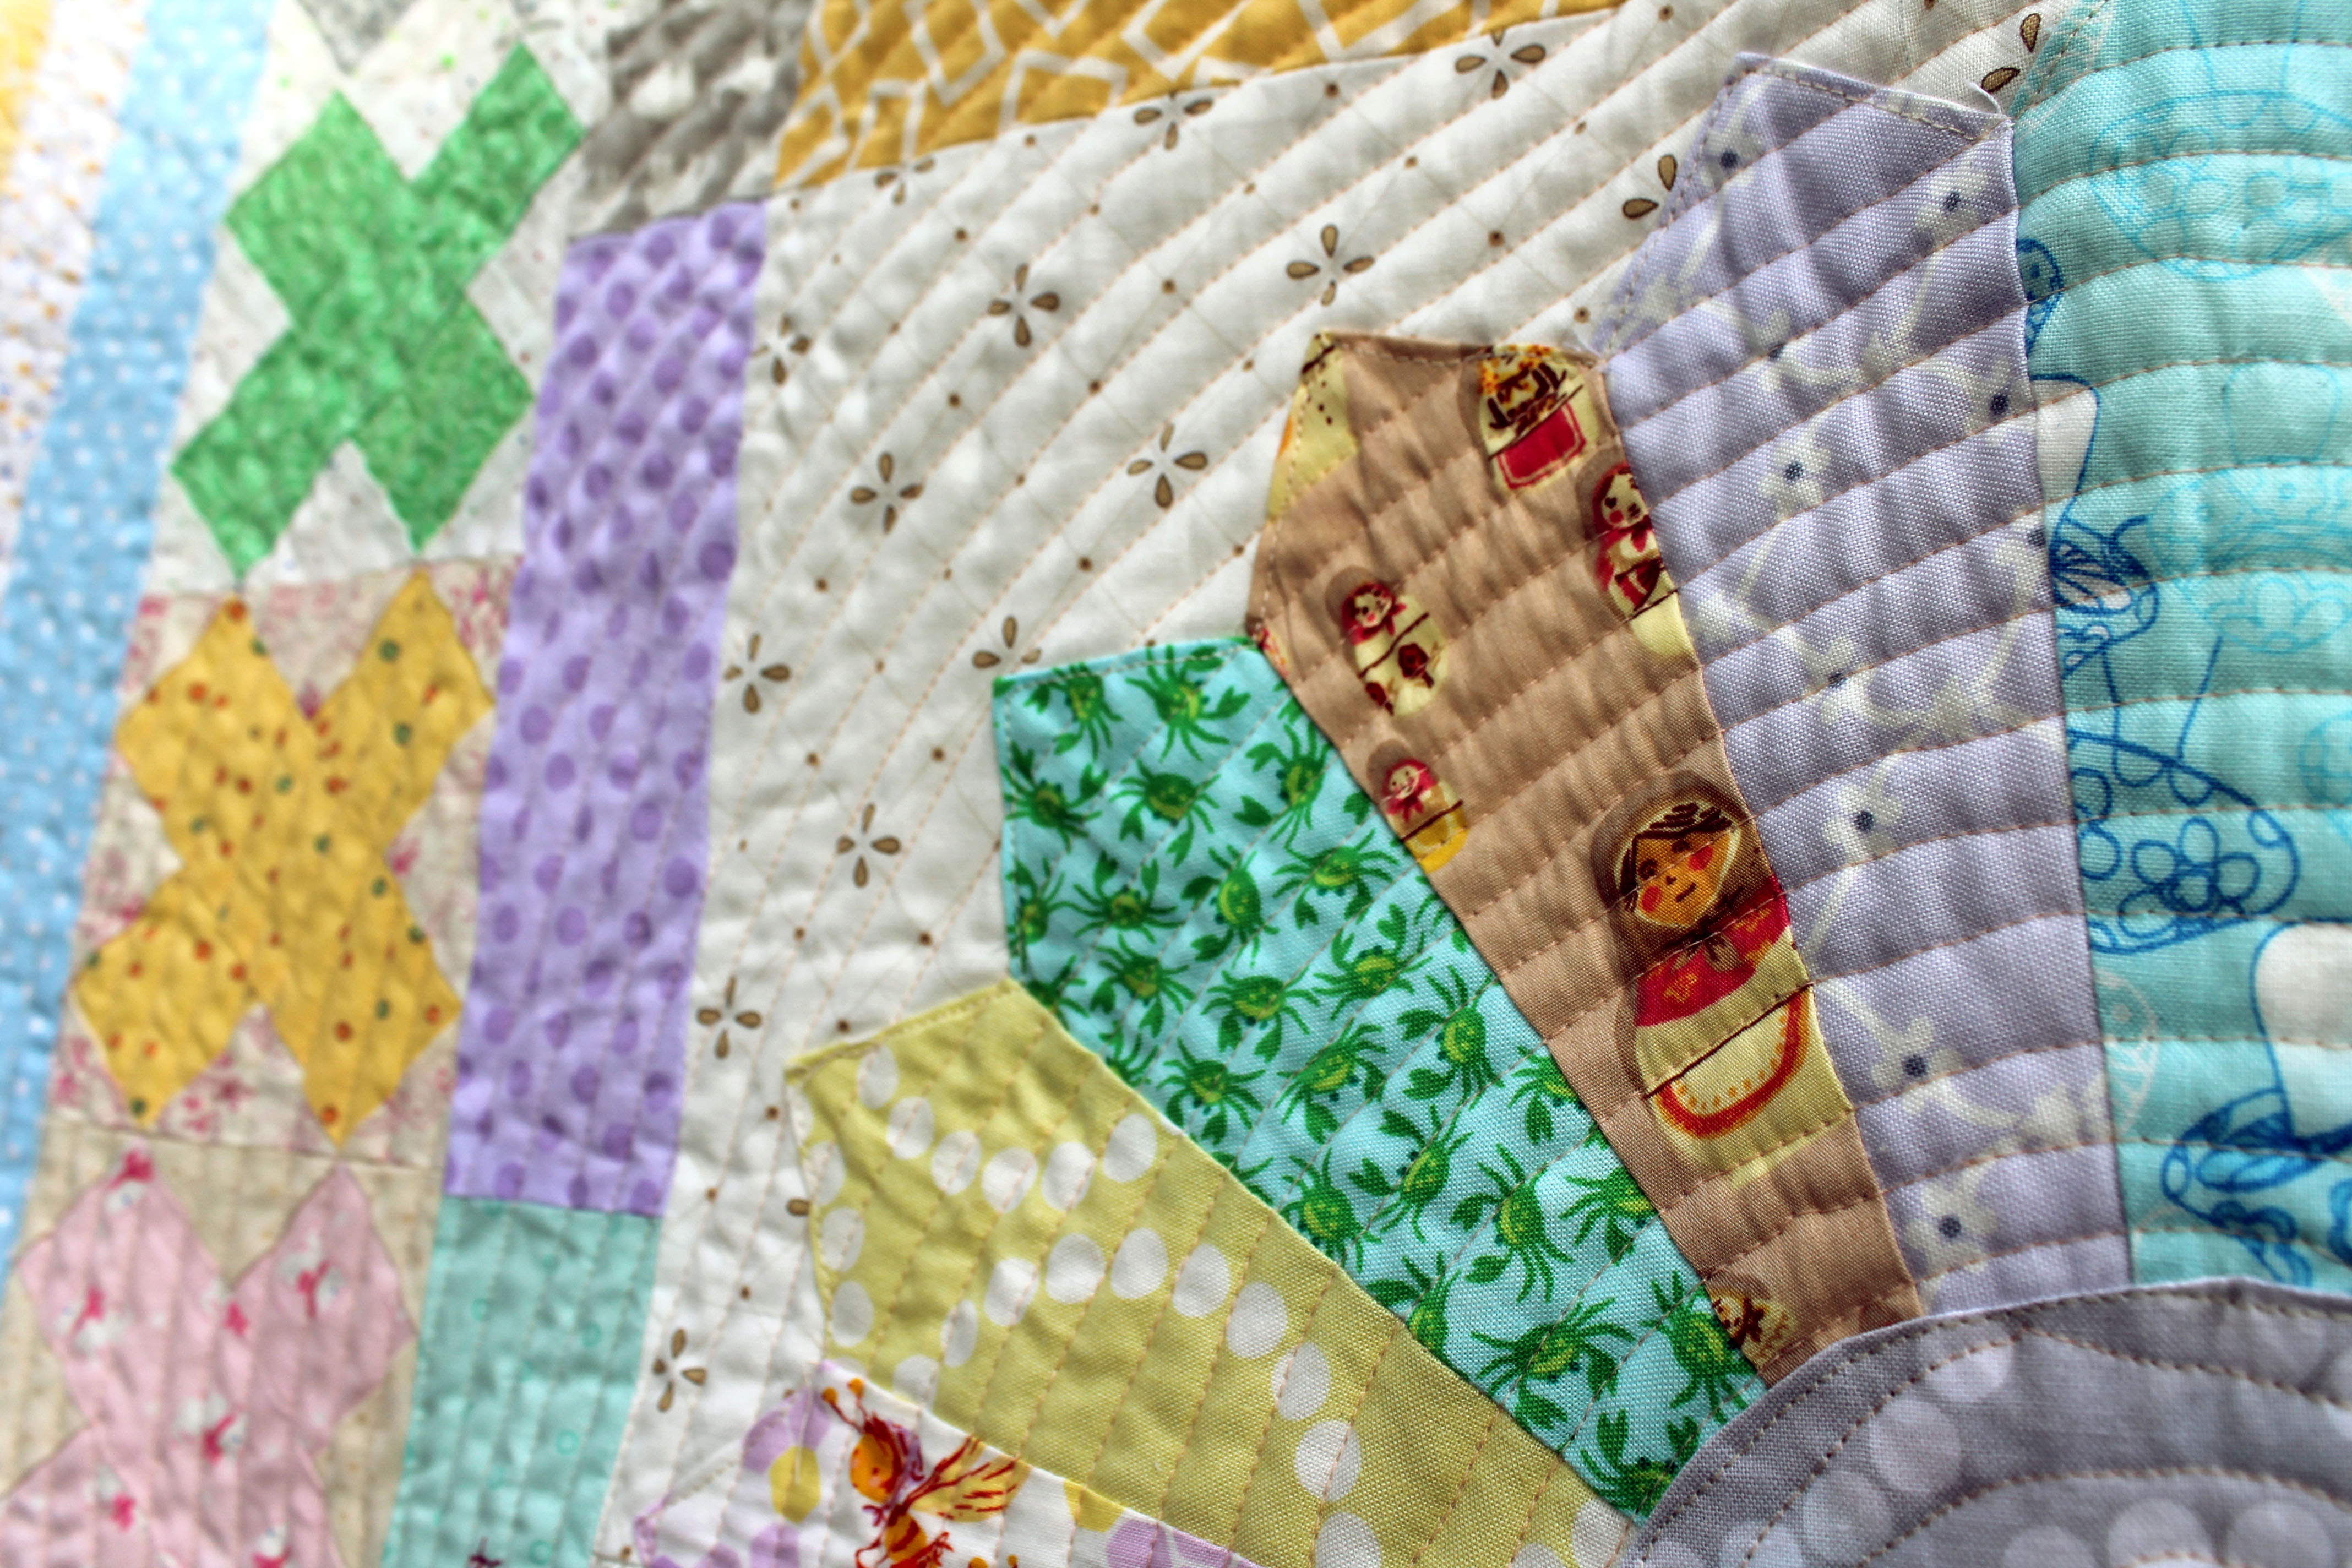
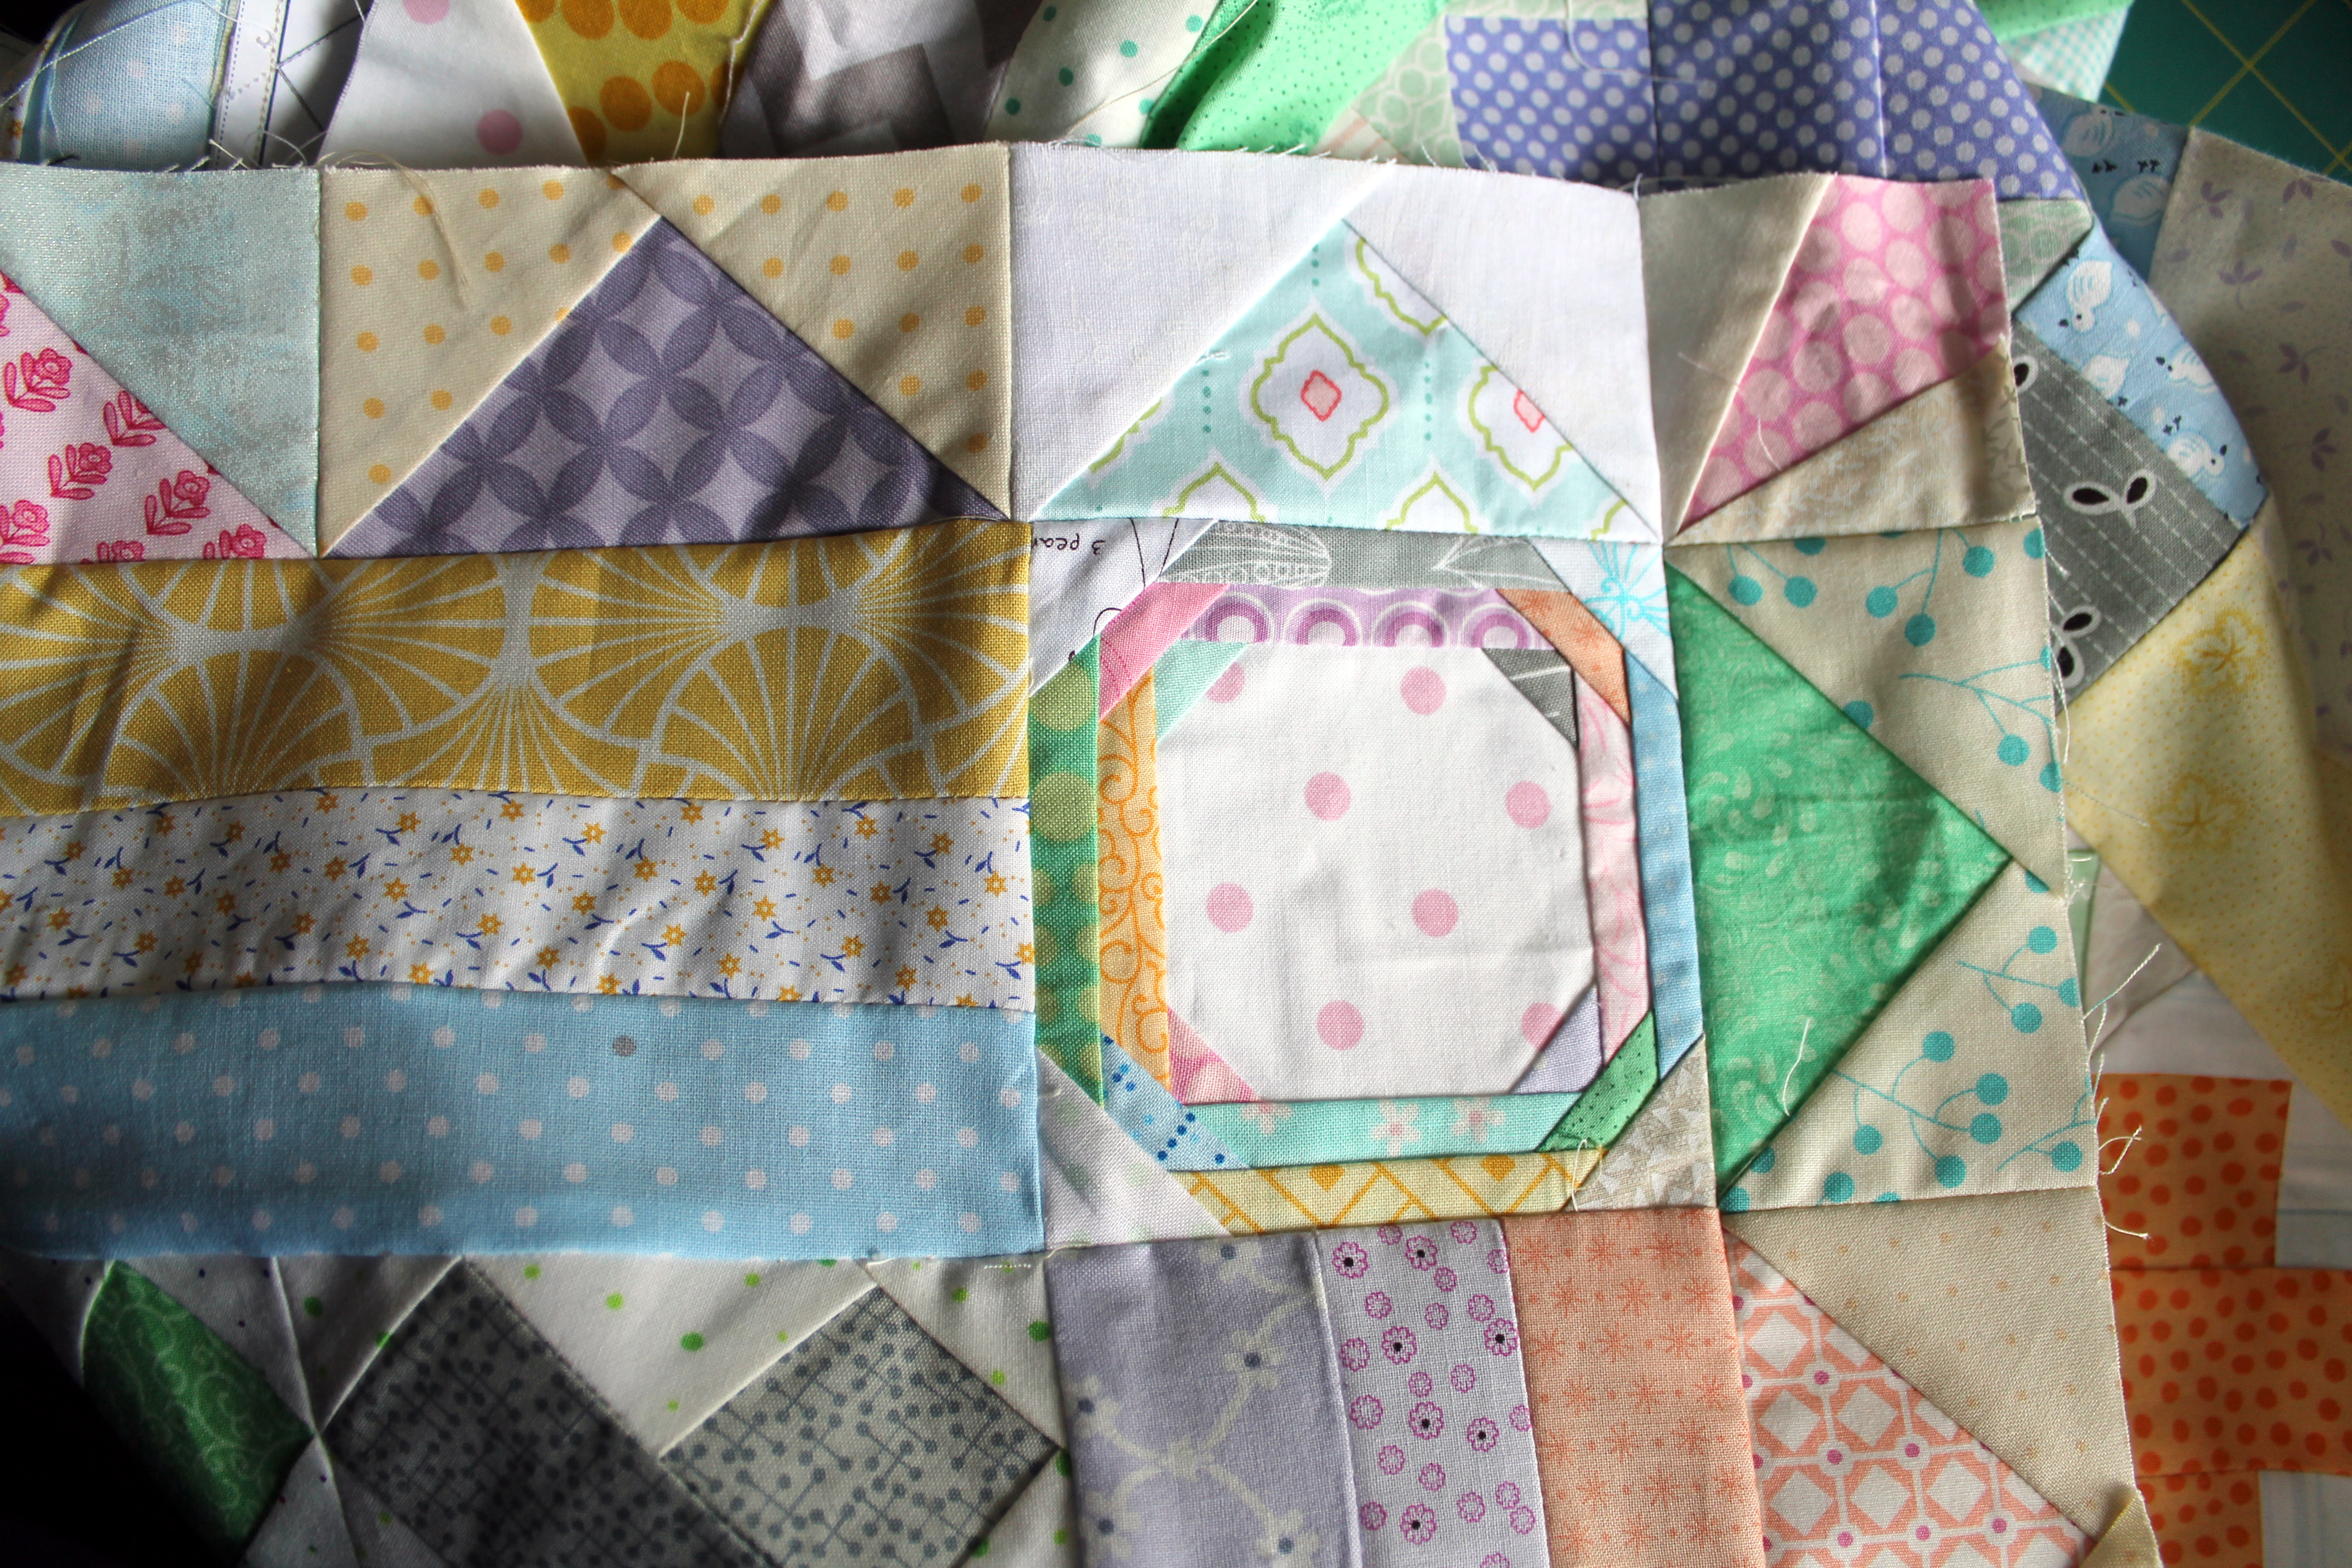
To finish off my quilt I decided to do my first lot of circular quilting… using the walking foot on my new Bernina 550.   I thought that circular quilting would be perfect with this quilt so I started in the center of the quilt and worked my way out.

circular quilting issues

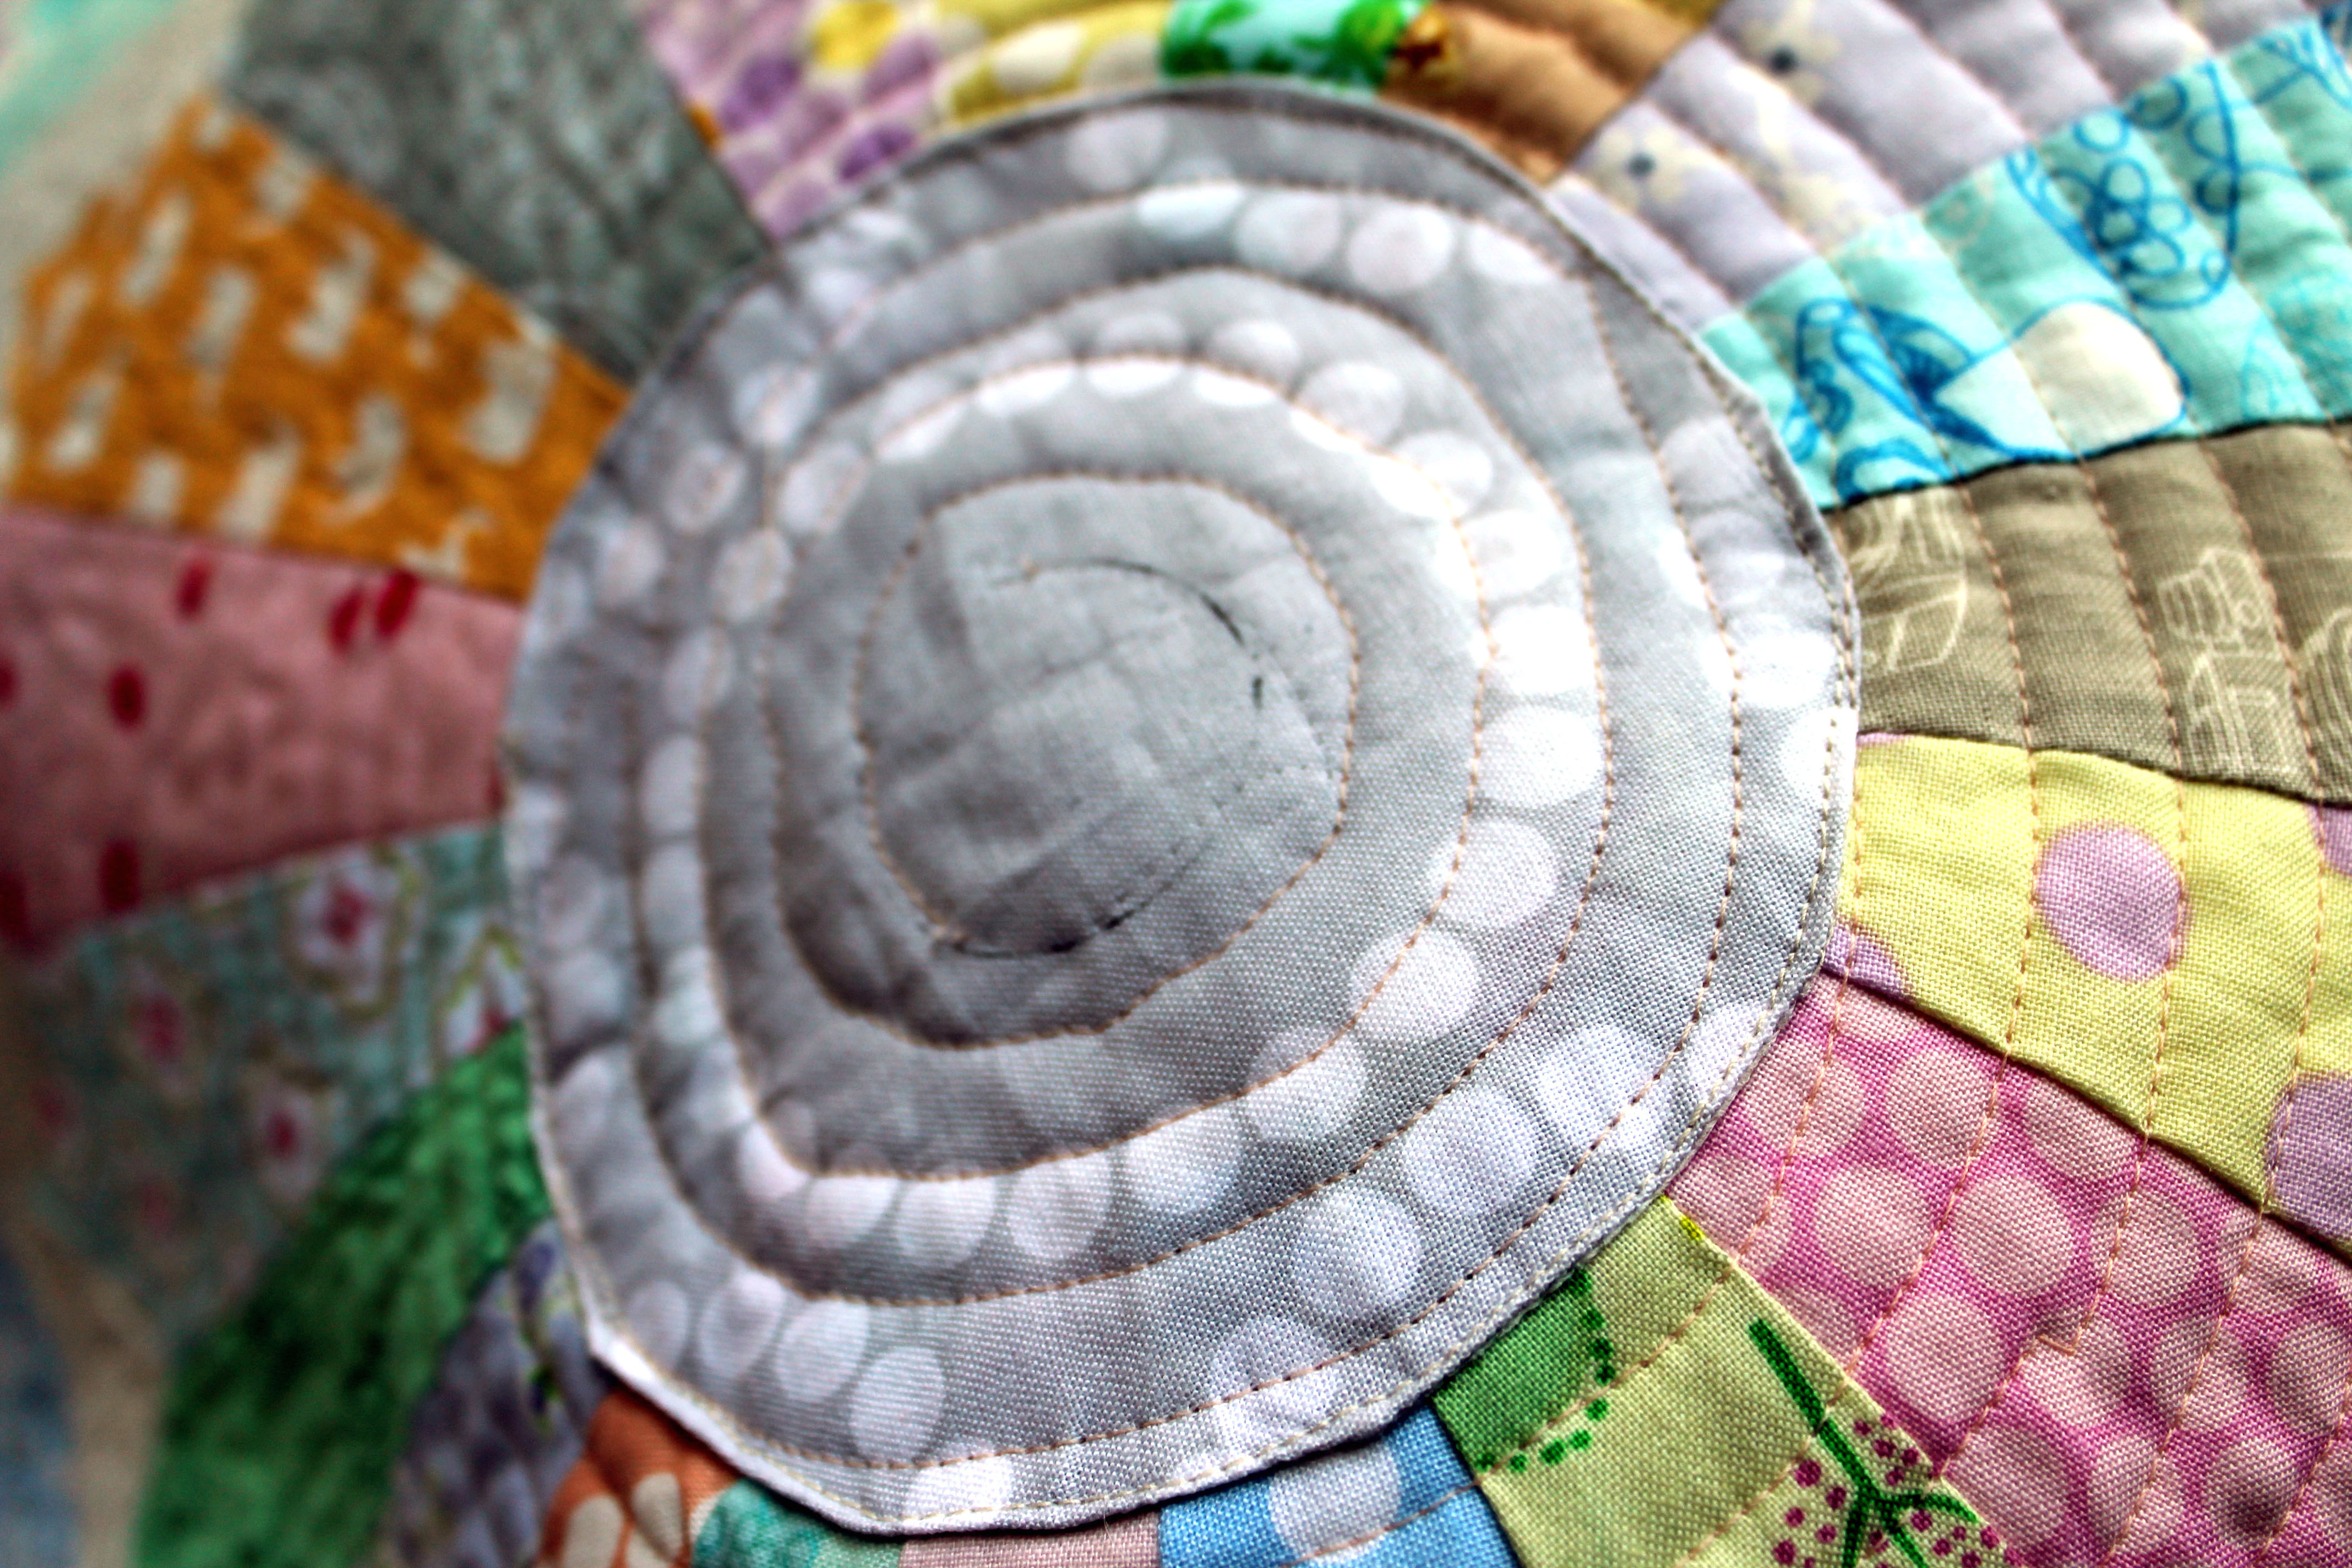
Now if I am honest with you the center quilting was a little tricky.  I took the above photo so you could see just how wonky I was at the start… I did end up unpicking quite a few of my stitches as they were so off kilter and I went back into the center using free motioning quilting (no walking foot) to get the center right.

cronder block

Once I got past the tricky center it was really fun to just keep going round and round and round and round…. it was easy to move my small baby quilt to get a nice rhythm going.  I know there is going to be more circular quilting in my future… I love how the quilt looks and feels with this type of quilting…

binding

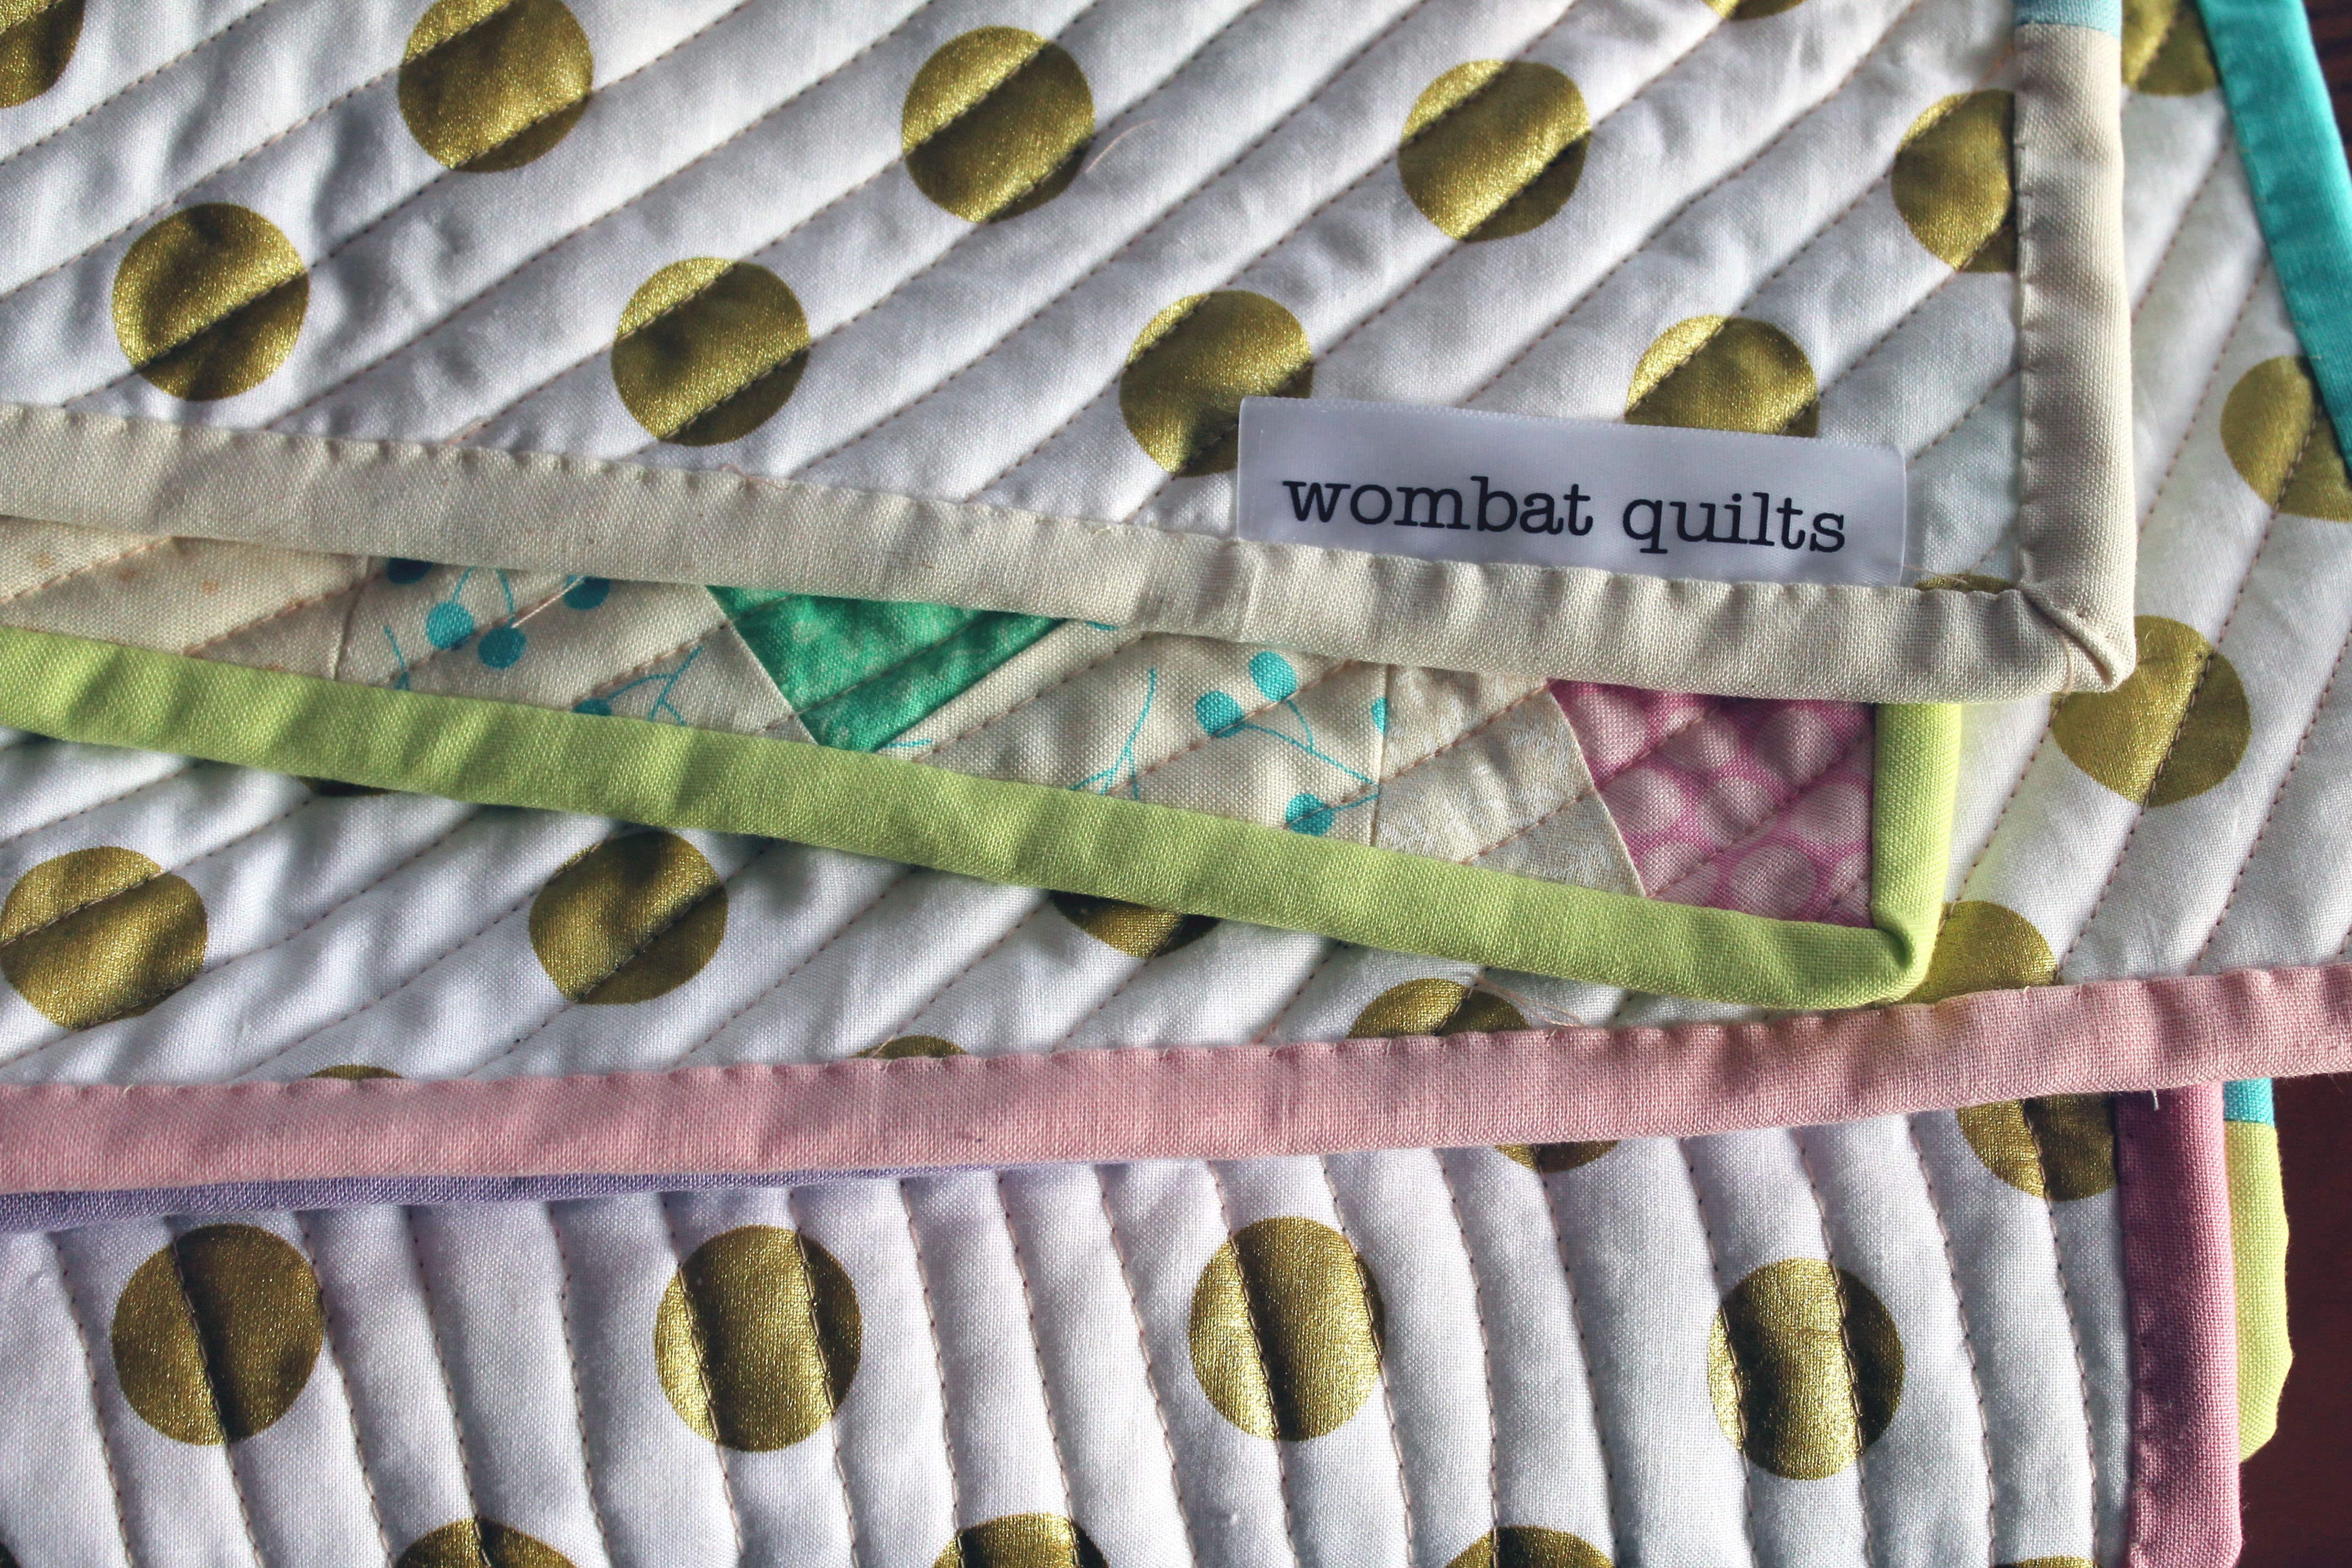
To finish it all off I used a selection of Kona pastel solid scraps to make the binding and hand bound the quilt…. and I was done.  As I was putting the last stitches on the binding the wonderful postman dropped off this for me…

Modern Medallion book

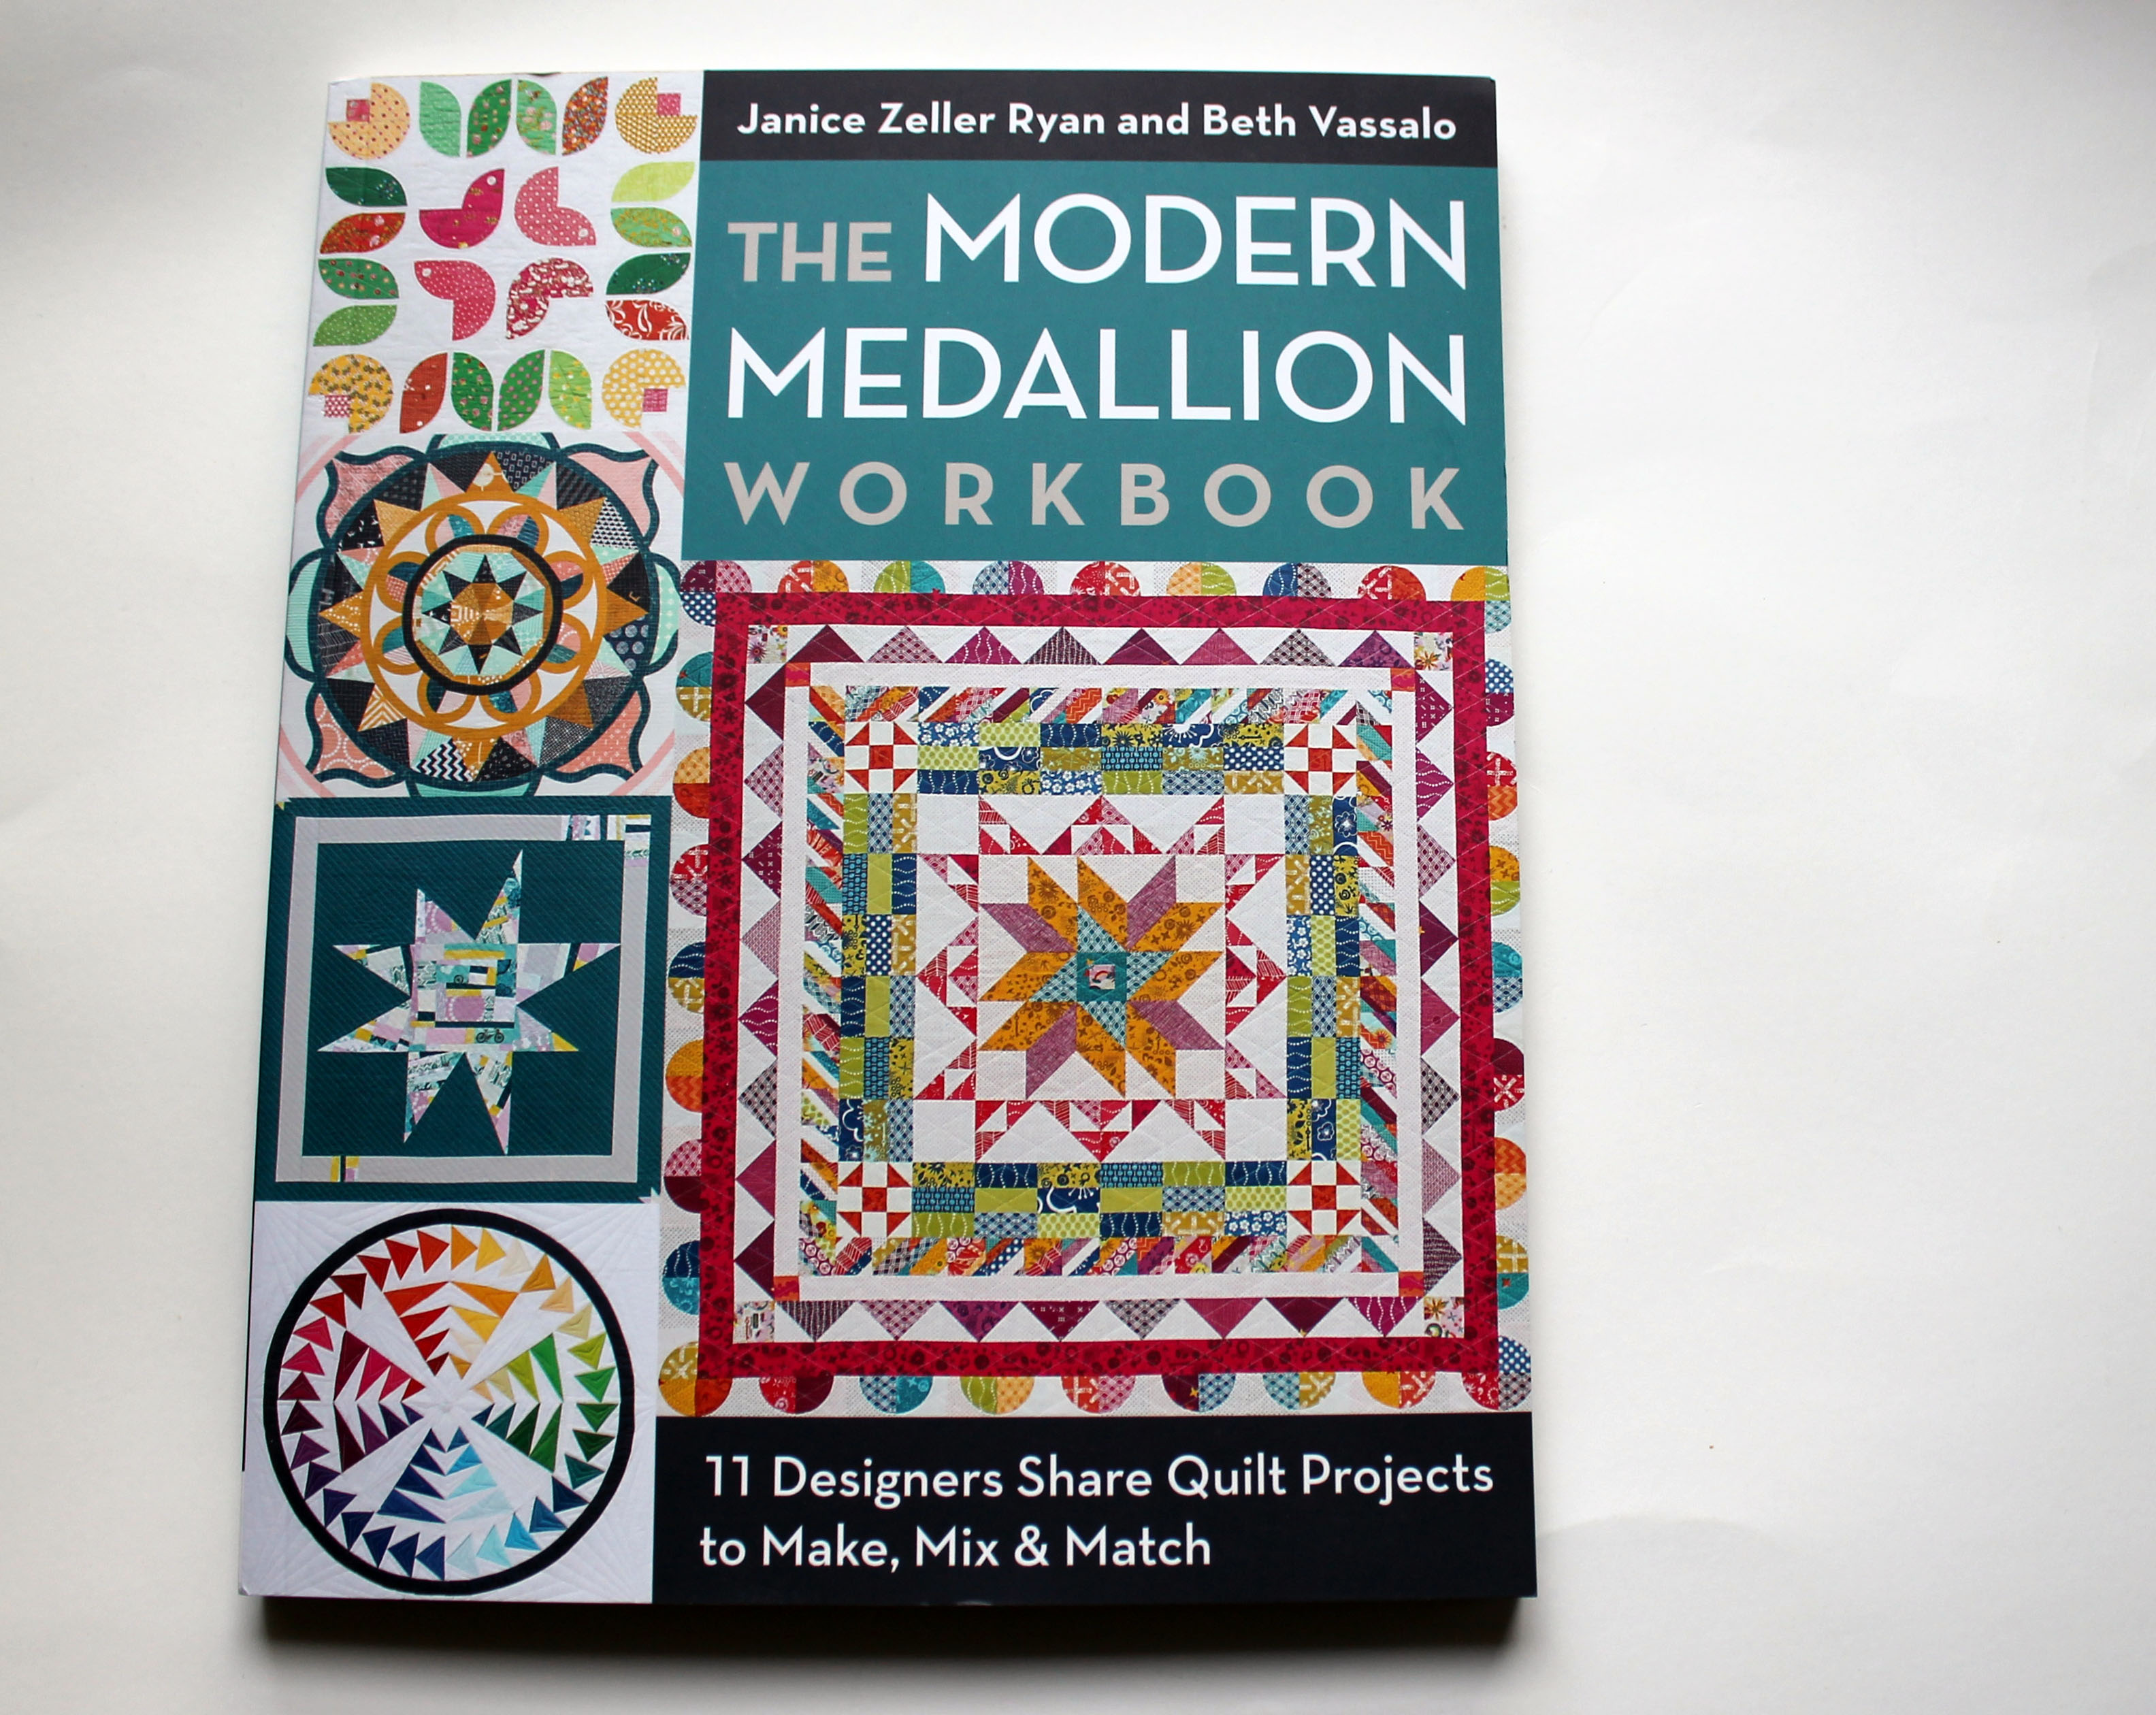
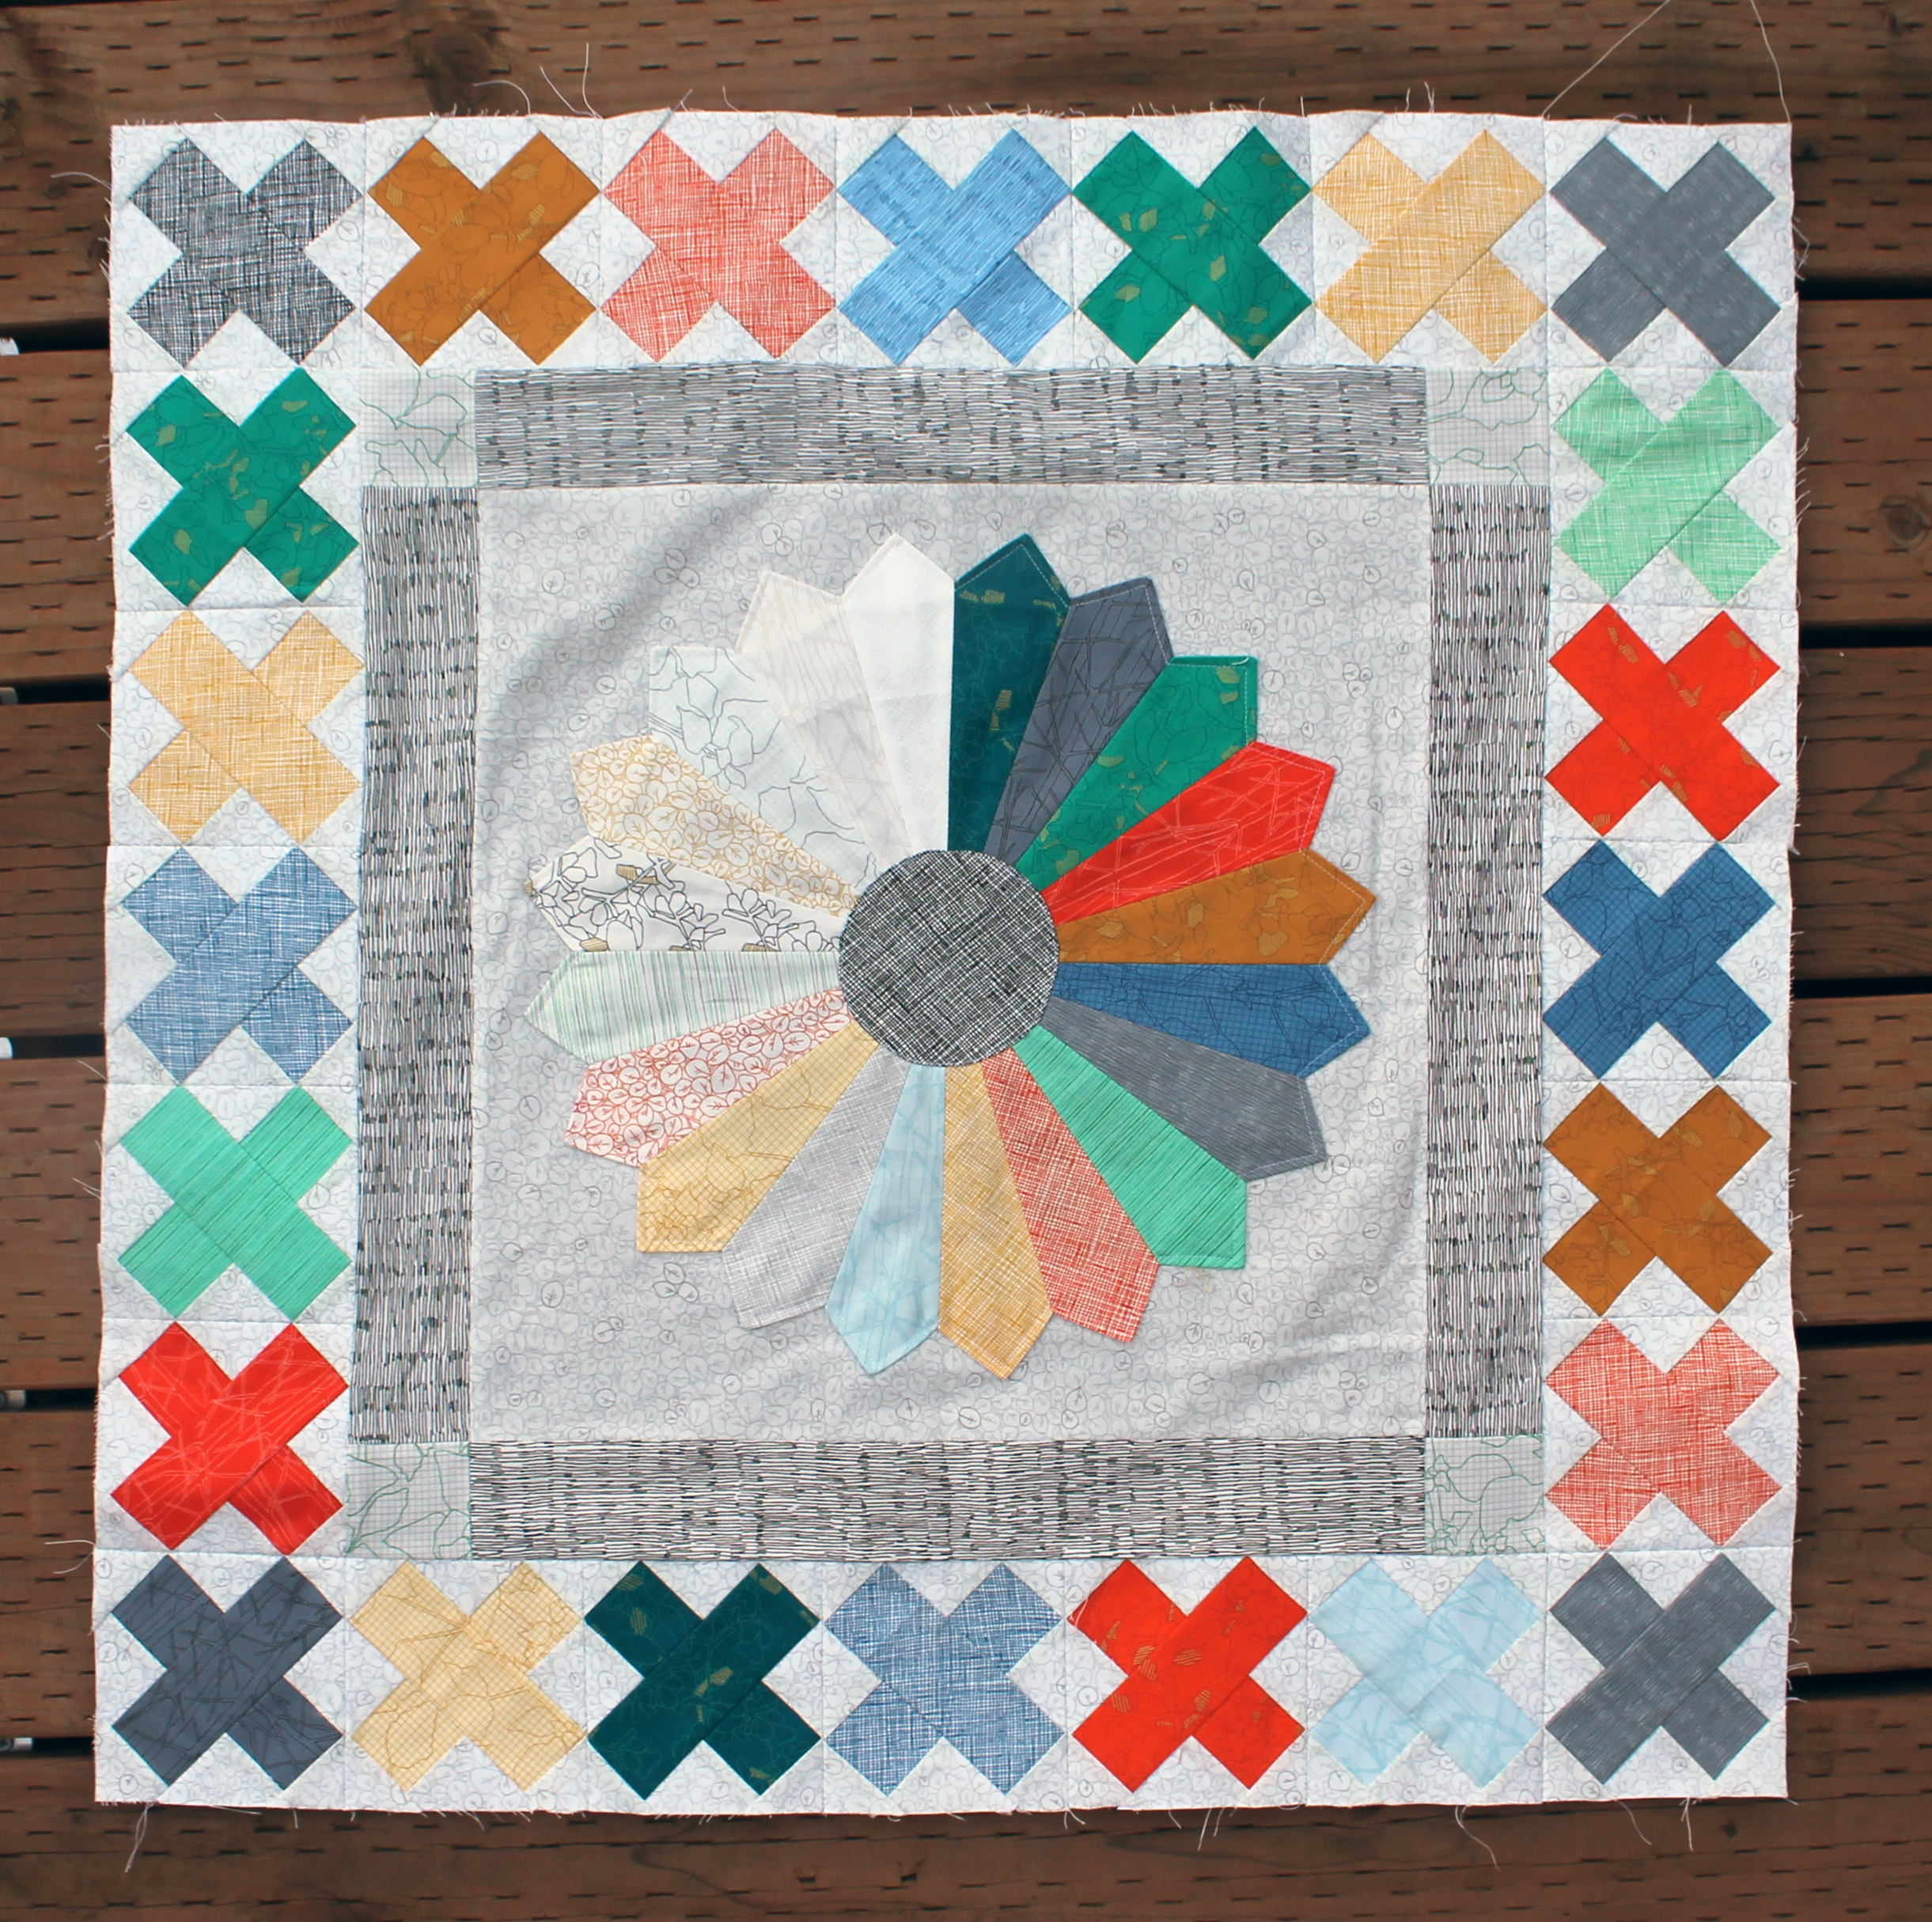
I kid you not, I took delivery of this book just moments after finishing my Medallion and I am now inspired to make another one…. this time not in pastel and this time maybe a little more modern.

Quilt Details:

Pattern:  PMQG Medallion QAL
Fabric:  Pastel and low volume scraps
Finished Size:  40 x 40 inches

The PMQG Medallion Quilt

This past week has been a full on Portland Modern Quilt Guild week….starting with a fabulous Quilt retreat and ending with a full day of Charity Sewing.

The weekend Retreat was my first quilting retreat… actually it was my first retreat since High School and my first retreat that did not involve religion in some way.  Needless to say it was fabulously, wonderfully unlike any retreat I had done before.  3 days, 30 creative ladies, 1 well stocked candy bar and 4 Mexican Coca Cola’s worth of fun.

work station

During the retreat a number of people were working on finishing up their Medallion Quilts.  It was great fun to see how everyone had interpreted the border patterns.  Every single medallion quilt that PMQG members have made have been so different, it has been a blast watching them all come together.

Each month the new border was announced by showing the Guild Medallion…

PMQG Medallion quilt top

This version of the Medallion was made by this years Guild Officers – Kelly, Mary Ann, Suzanne, Lisa and myself.  We used the full range of Botanics by Carolyn Friedlander which was generously donated to us by Robert Kaufman.

PMQG Medallion detailEach month we choose a border, worked out the maths (the hardest part for me!) and then one of us wrote up the pattern and made the border (most months I did a paper piecing version of the pattern as well)… You can find all the patterns and instruction here if you are interested.

PMQG Medallion detail 2

So when the last border was added it was my turn to take all the left over scraps and yardage and make a back for this beauty.  There were a few extra blocks and bits in the mix and in the end I made this…

quilt backKeeping with the Medallion vibe, and embracing all the leftovers I made a stripped panel for the center of the quilt back.

PMQG quilt back detail 2

The orange flying geese, circles and navy stripes were all left over blocks from my fellow Officers.  The rests of the blocks I made… including some more cross blocks and some square blocks.

PMQG quilt back detail

Left over yardage was then used to get the back to the needed size of 75 x 75 inches.  Now the top and back are off to one of the Guilds many talented long armers for finishing…  after I have removed some paper from the back of it and given it one last press!

PMQG Medallion WIP

In the past week I have been working hard to catch up on my Portland Modern Quilt Guild Medallion quilt.  I was officially two borders behind… and now I am all caught up…

PMQG Medallion wipAs an officer” of the Guild this year I was gently persuaded to take part in this Medallion along but really wish I had thought my colour scheme through a bit better.  As my husband loudly stated last week “why on earth are you making a pastel quilt!” .  I have been asking myself that question for a couple of months now!

Medallion detailDon’t get me wrong I am loving the process of making this quilt, I just wish I had thought about the fact I would have to live with pastels for months and months!  But the process…oh I love the process.   Each month another border is added and each month, where possible, I turn the border into a paper piecing pattern.

New border detailsFor this month’s border I made a triangle/flying geese paper pattern (which you can find here PMQG Medallion Border 4 pattern) and the corner-stone pattern as well (you can find that pattern here  PMQG Medallion border 4 cornerstones)

Medallion border detailIf paper piecing does not float your boat but you like the borders, check out the PMQG Medallion site.  My fellow officers have done a great job of explaining how to make the borders with traditional piecing.  You will also find all the directions and measurements for our Medallion if you are interested in playing along.

As it is Wednesday I am of course linking up to Lee at Freshly Pieced for WIP Wednesday.

Lots of X’s

This week my quilting life has been full of just one block – a paper pieced X block of varying sizes.

paper pieced cross blockI made the original block pattern, a 4 inch x 4 inch block,  for the next border on the PMQG medallion quilt.

Botanics fabric lineI used the  PMQG Medallion Border paper piecing pattern to make the border for the group medallion which is taking full advantage of the fabulous Botanics range by Carolyn Friedlander.

bontanics medallion quilt wipDon’t you just love the center Dresden flower – my clever fellow PMQG officer, Kelly of Blue Bird Sews made it.

After finishing the first 24 X blocks for the Guild Medallion I turned around and did another 48 X blocks to make the border on my Medallion….

medallion quilt wipYep you read right… I had to make two lots of cross blocks to get my border done, because I did not measure my paper piecing pattern before I started sewing.  My printer had “scaled to fit” my first set of block so they were just slightly smaller than 4 inches.  Lesson for the day:  always measure your printed pattern before you start work.

For some unknown reason I then thought “wow wouldn’t be fun to try a larger cross with some Lizzy House fabrics” and in a moment of insanity started making these blocks…

Constellation crossesI was at least smart enough to blow the pattern up to 6 x 6 inches and I am liking how this quilt is starting to look.  You can find the pattern for the larger crosses here…  Cross block pattern.

Believe it or not I am contemplating adding some smaller 4 x 4 blocks to my Constellation quilt to bring a nice variety to the top.  If I do not get too sick of these blocks, I will have a wip update in a couple of weeks.