My Michael Miller Challenge Quilt

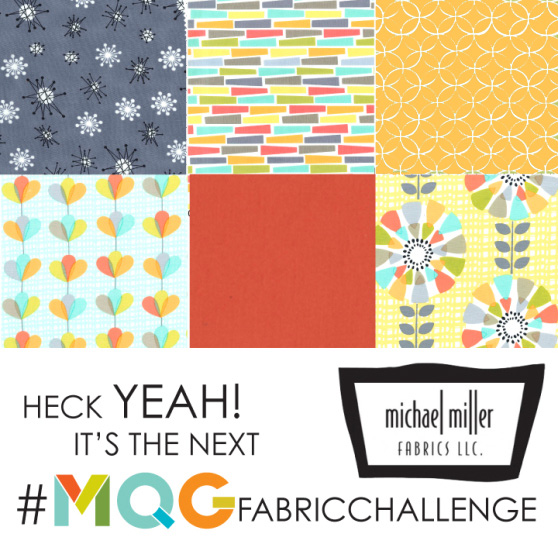
I finally finished my MQG Challenge quilt this week, just inside the deadline.  This is the first of these fabric challenges I have done it was fun to challenge myself to use the fabrics given with only some solids in a supporting role.   The fabrics I started with were:

mmfabricchallengegraphic
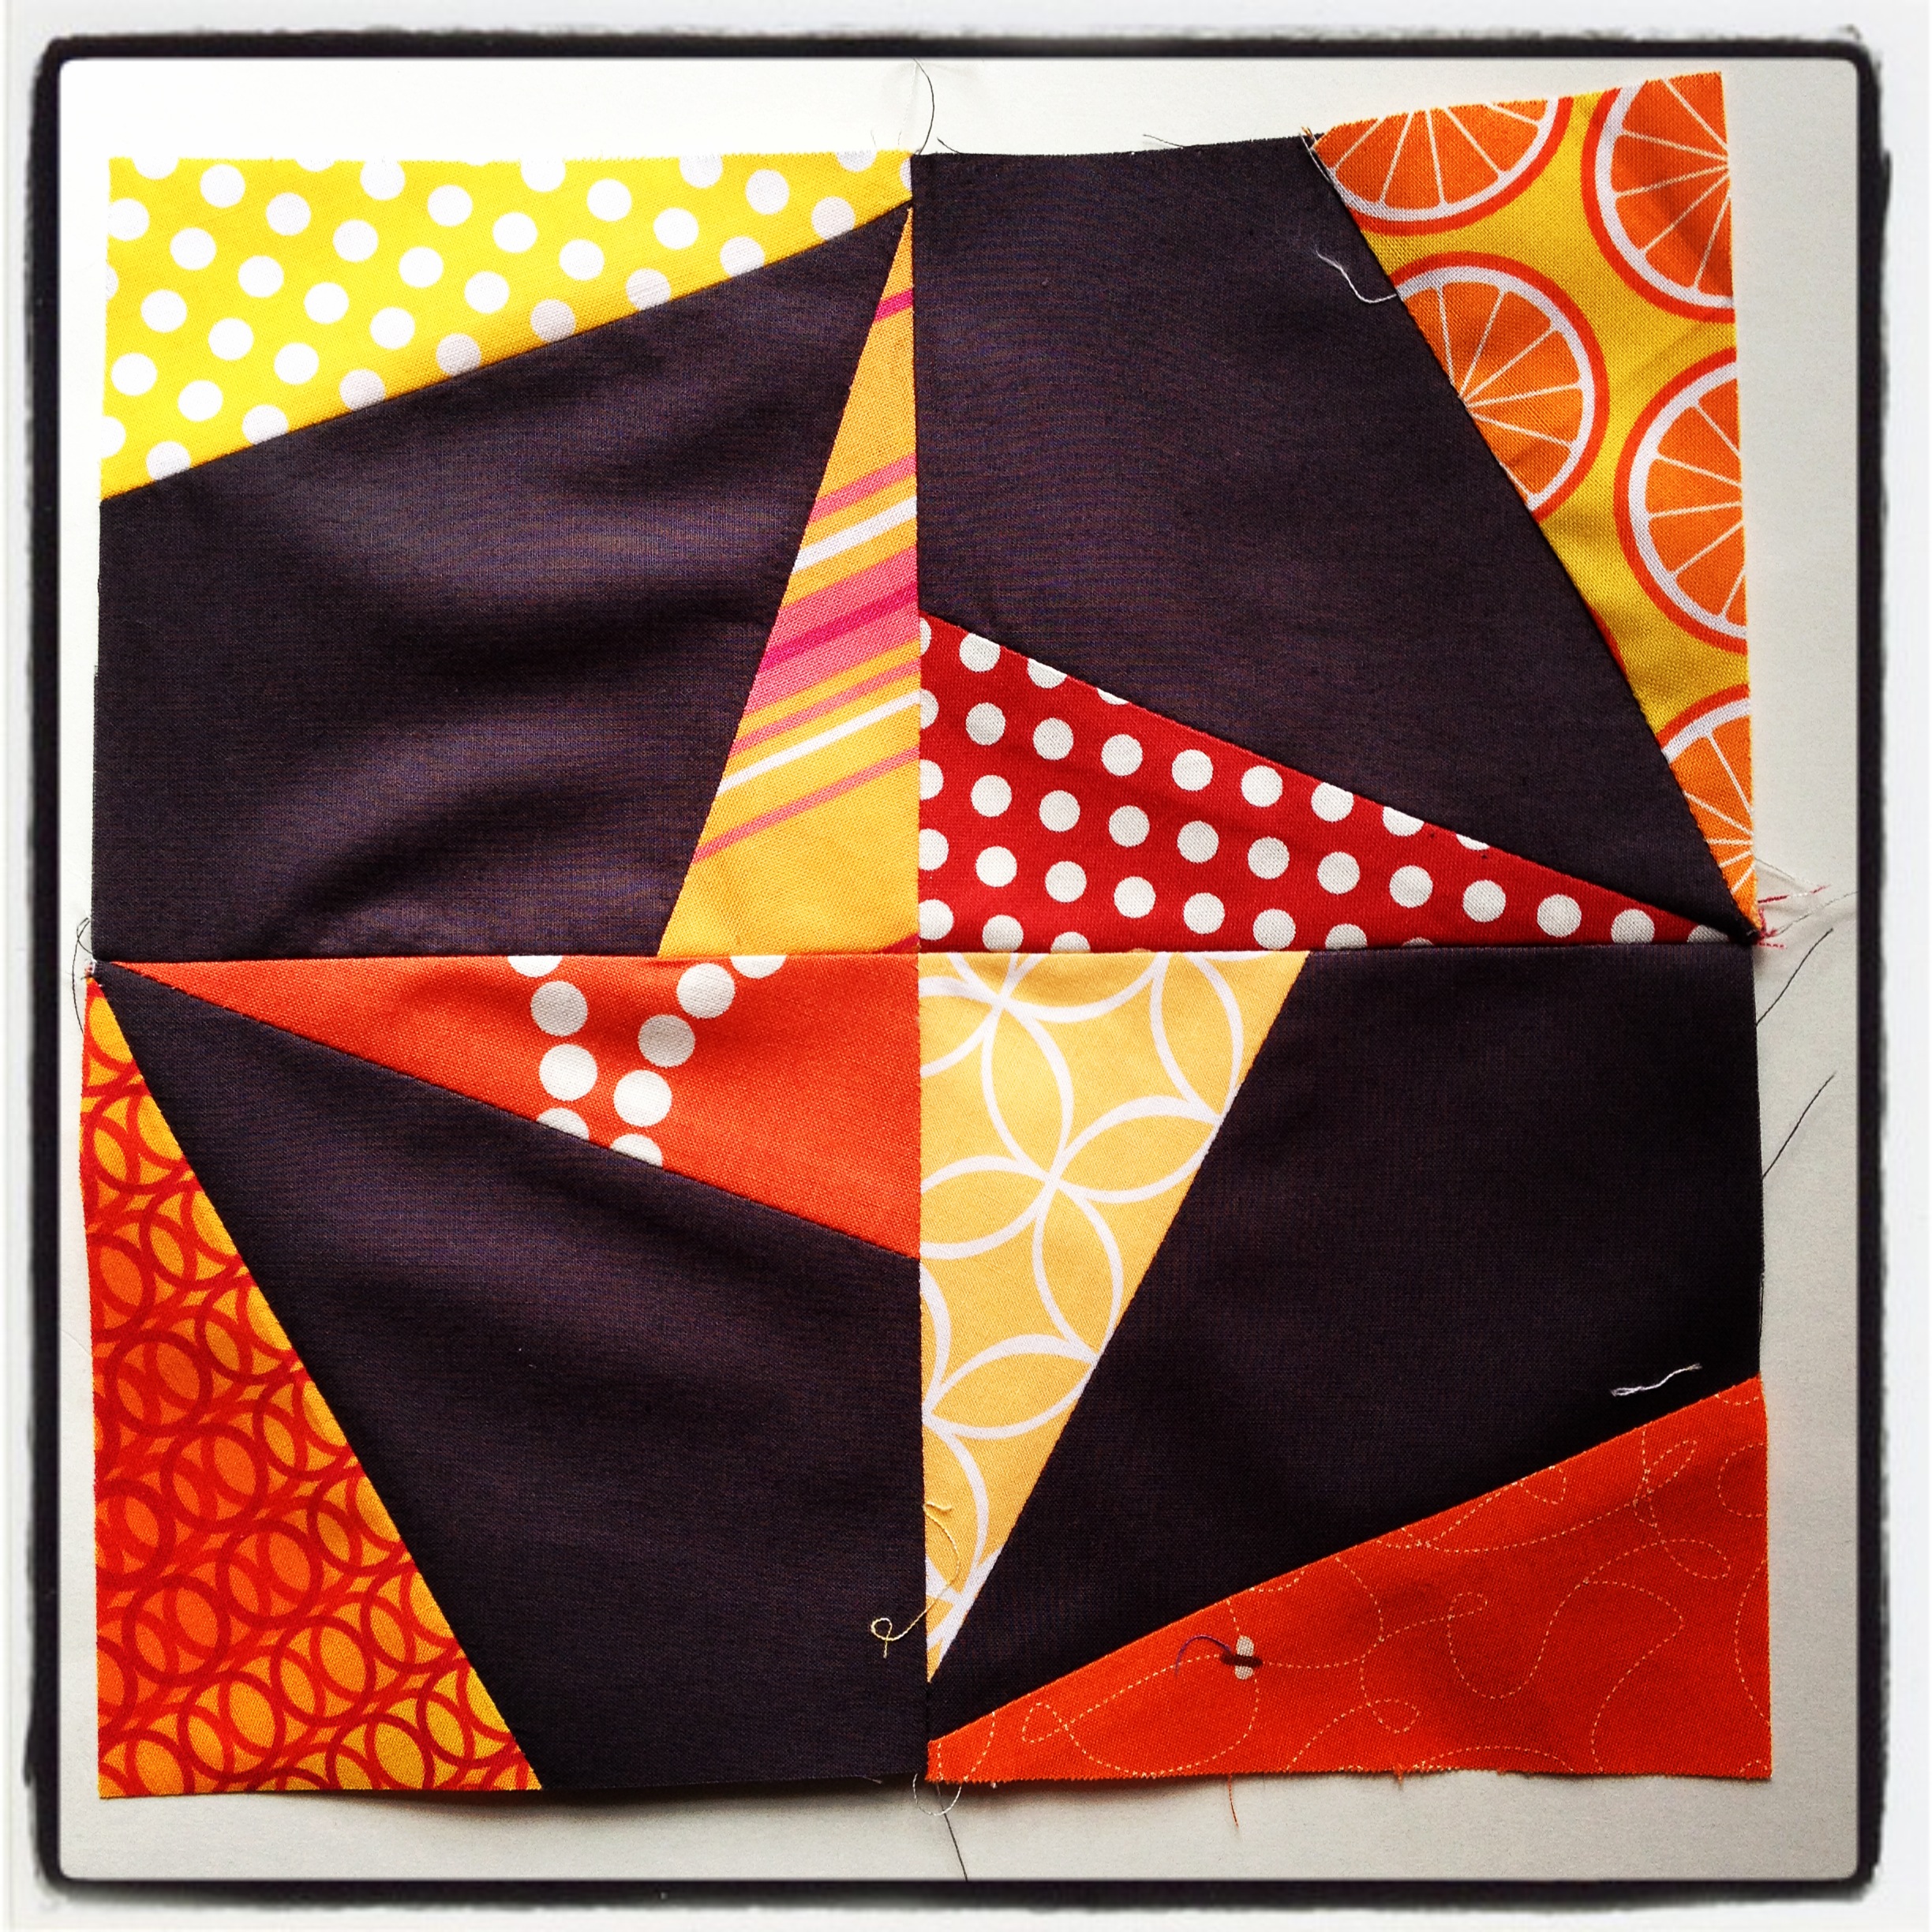
After a month of umming and ahhing I finally settled on a plan… log cabins.  A classic block that I approached in a completely different way (for me anyway).

stain glass top
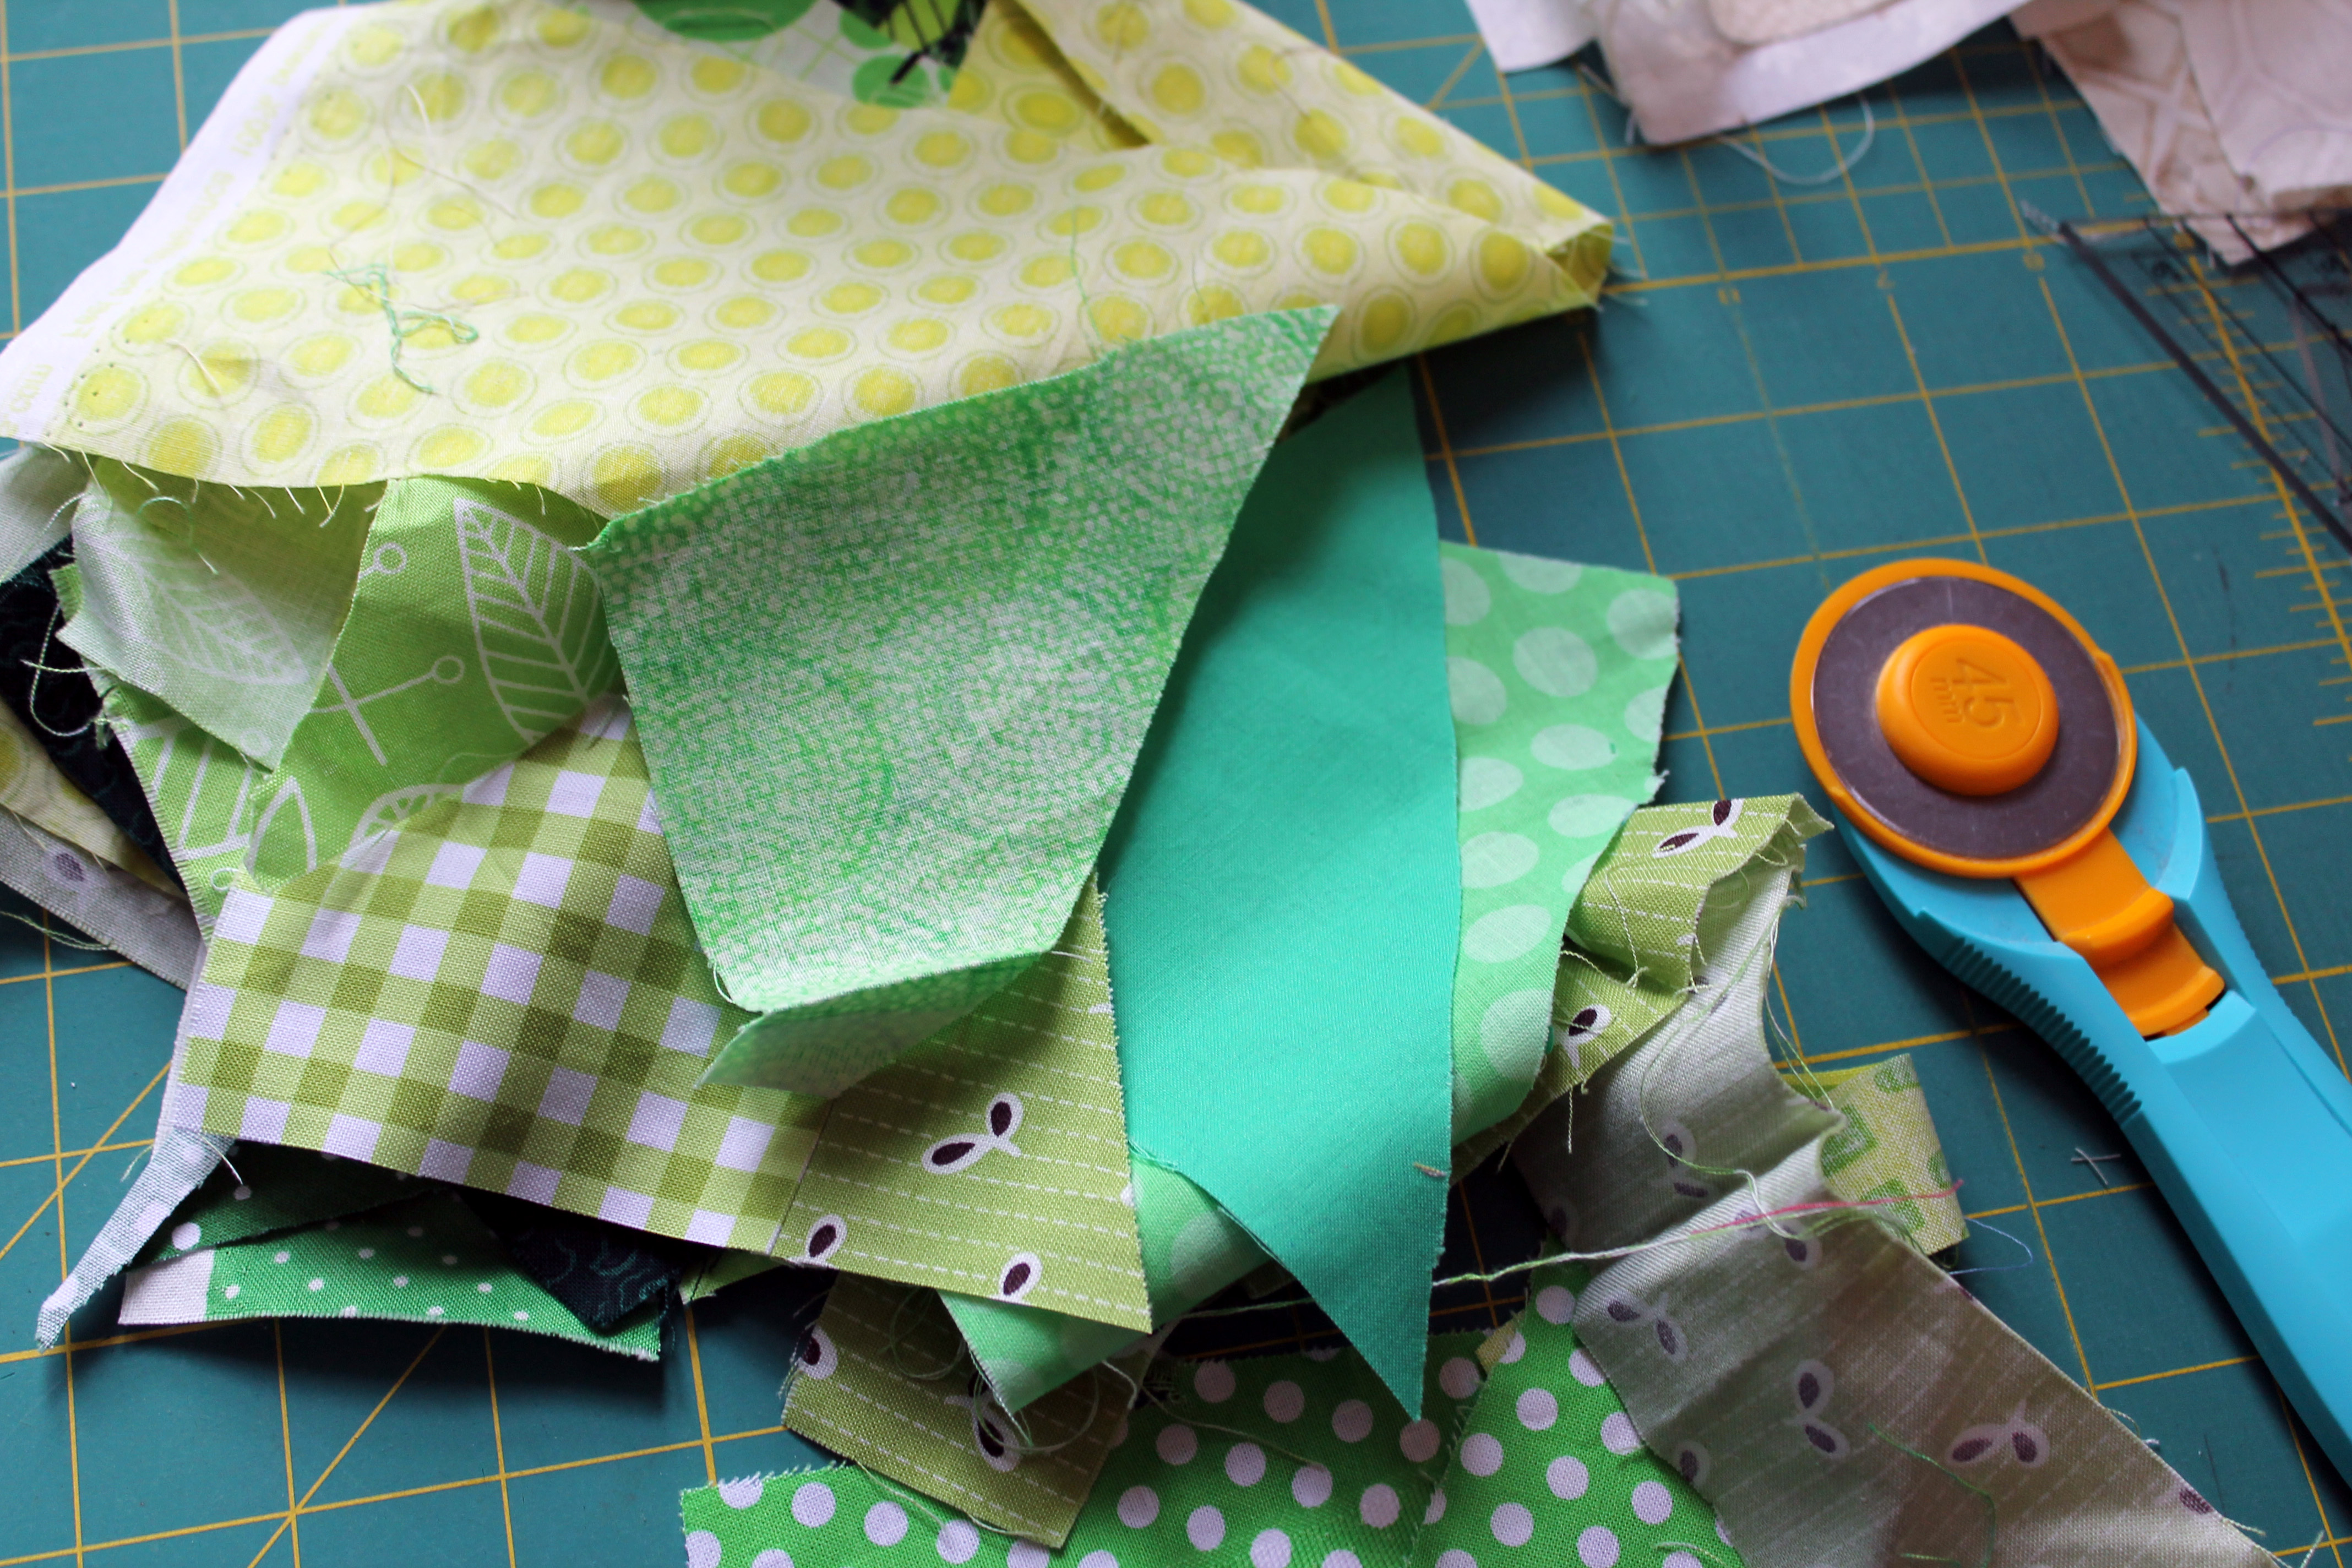
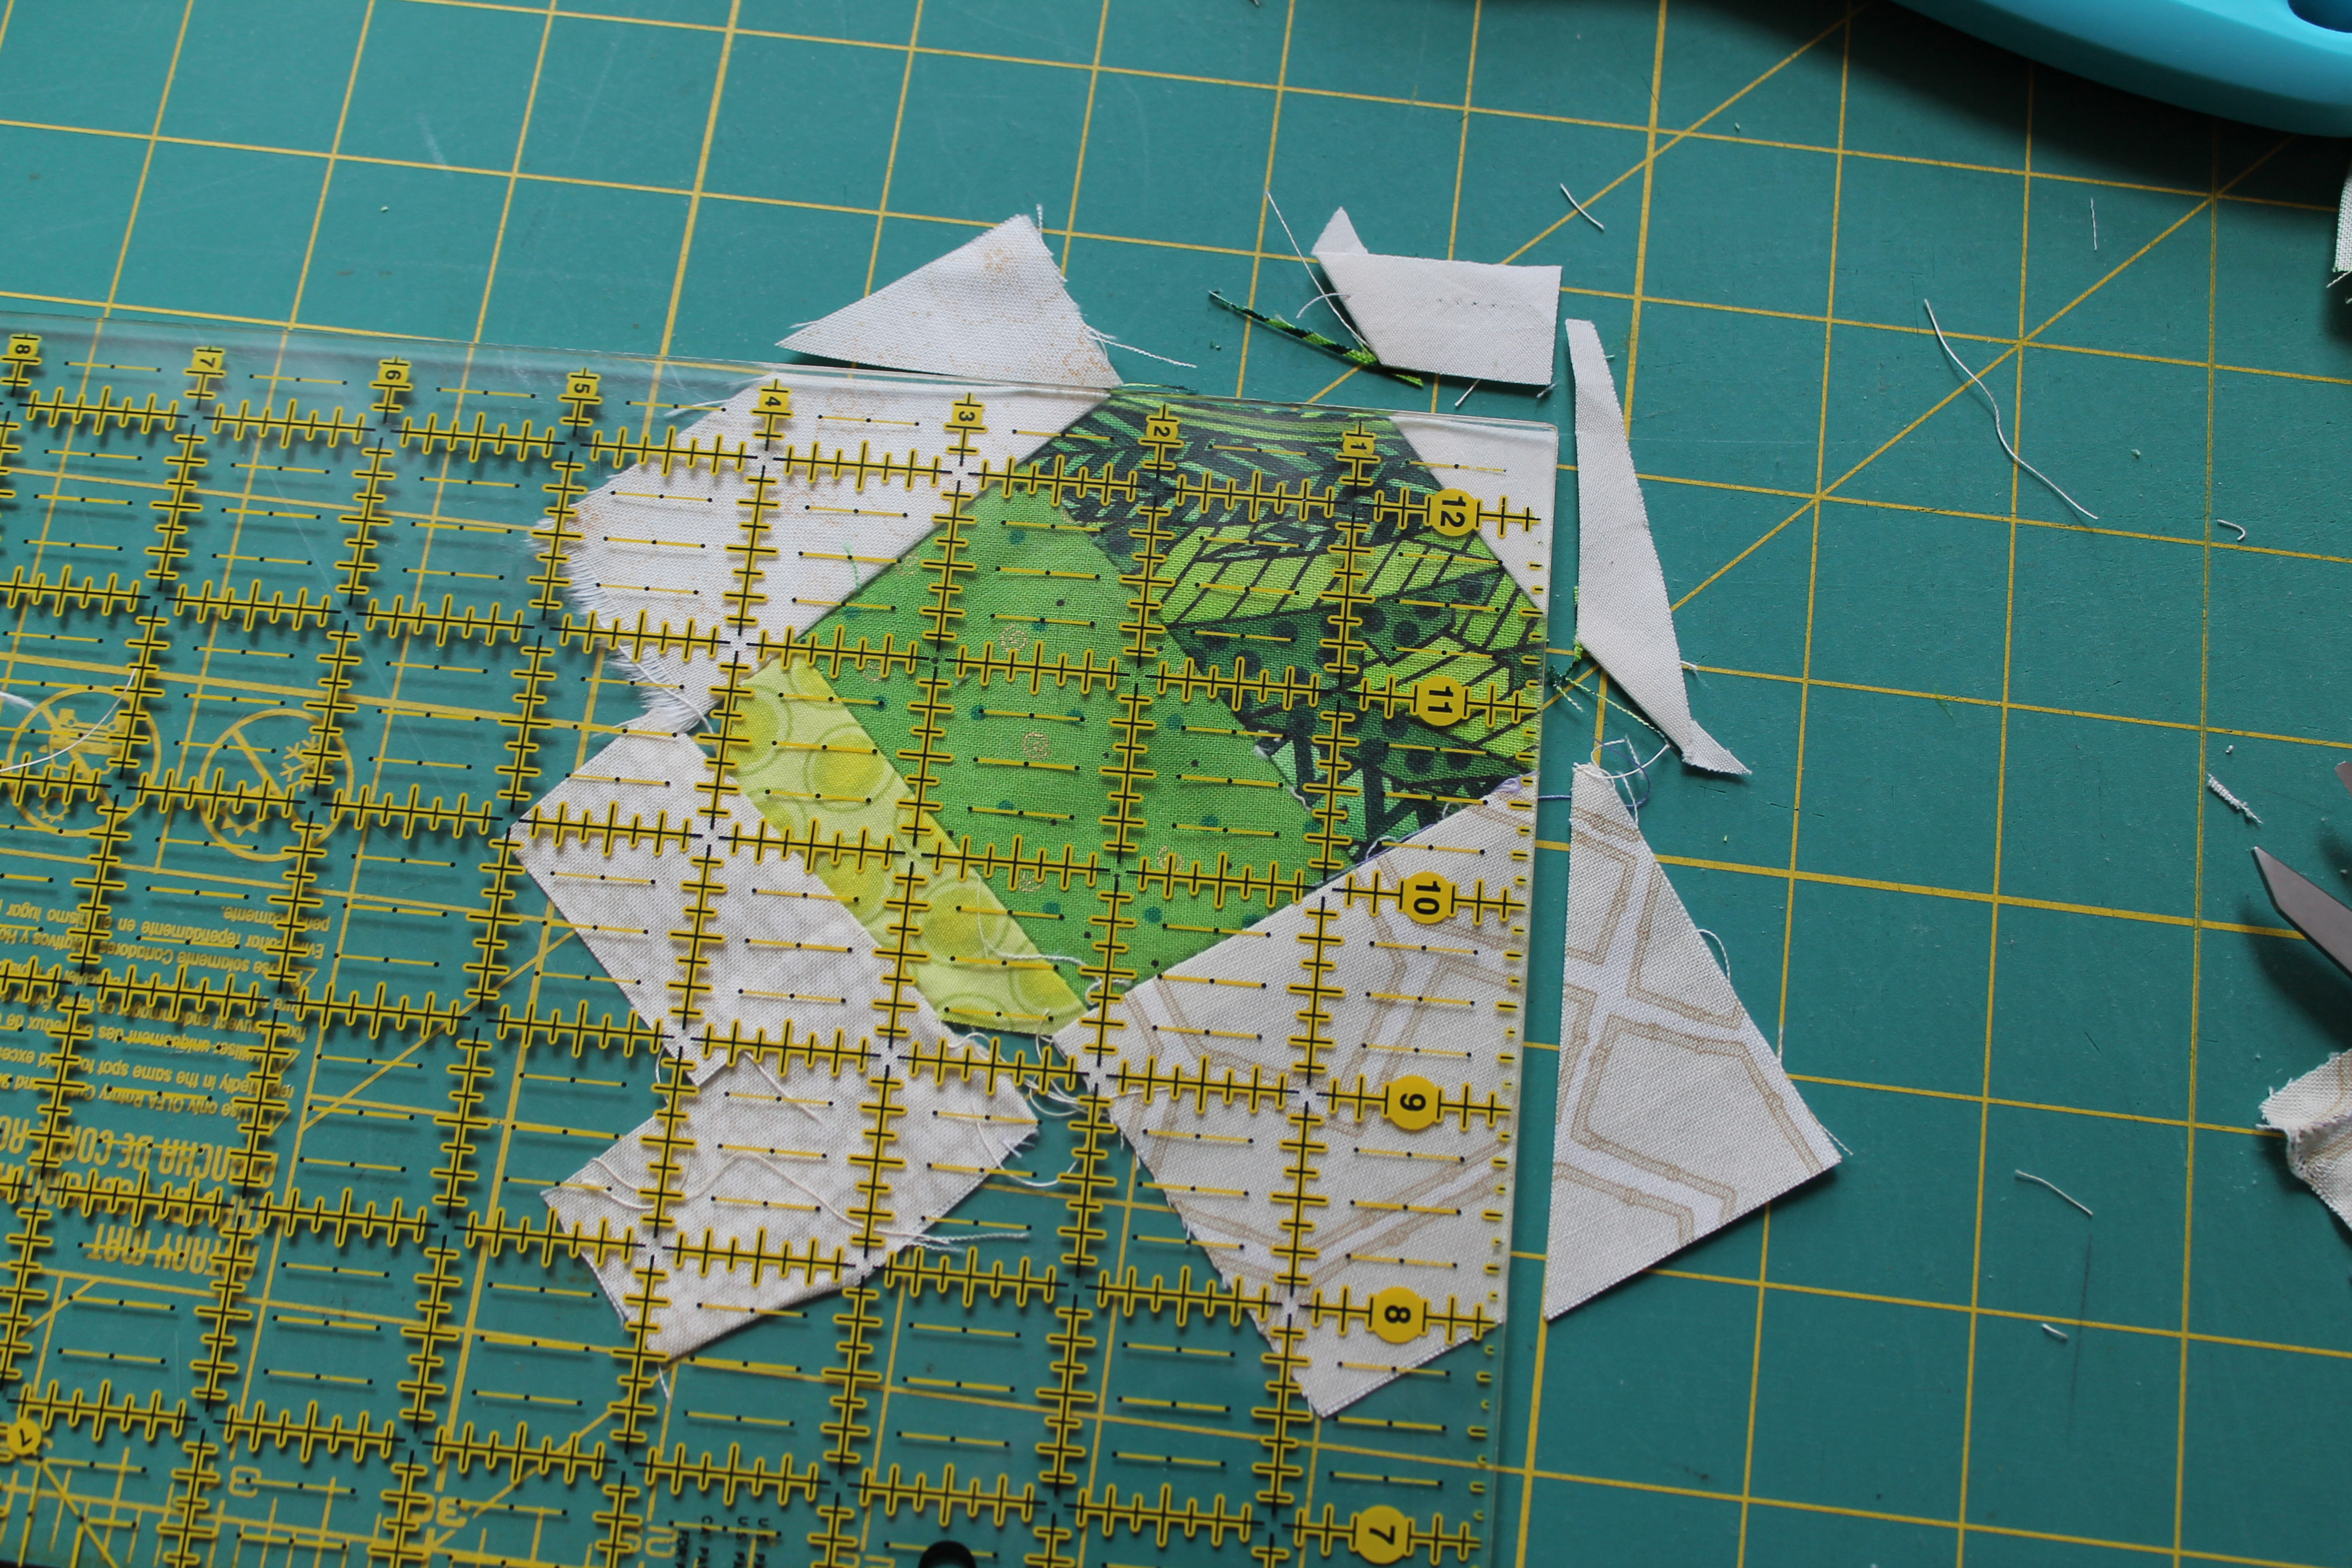
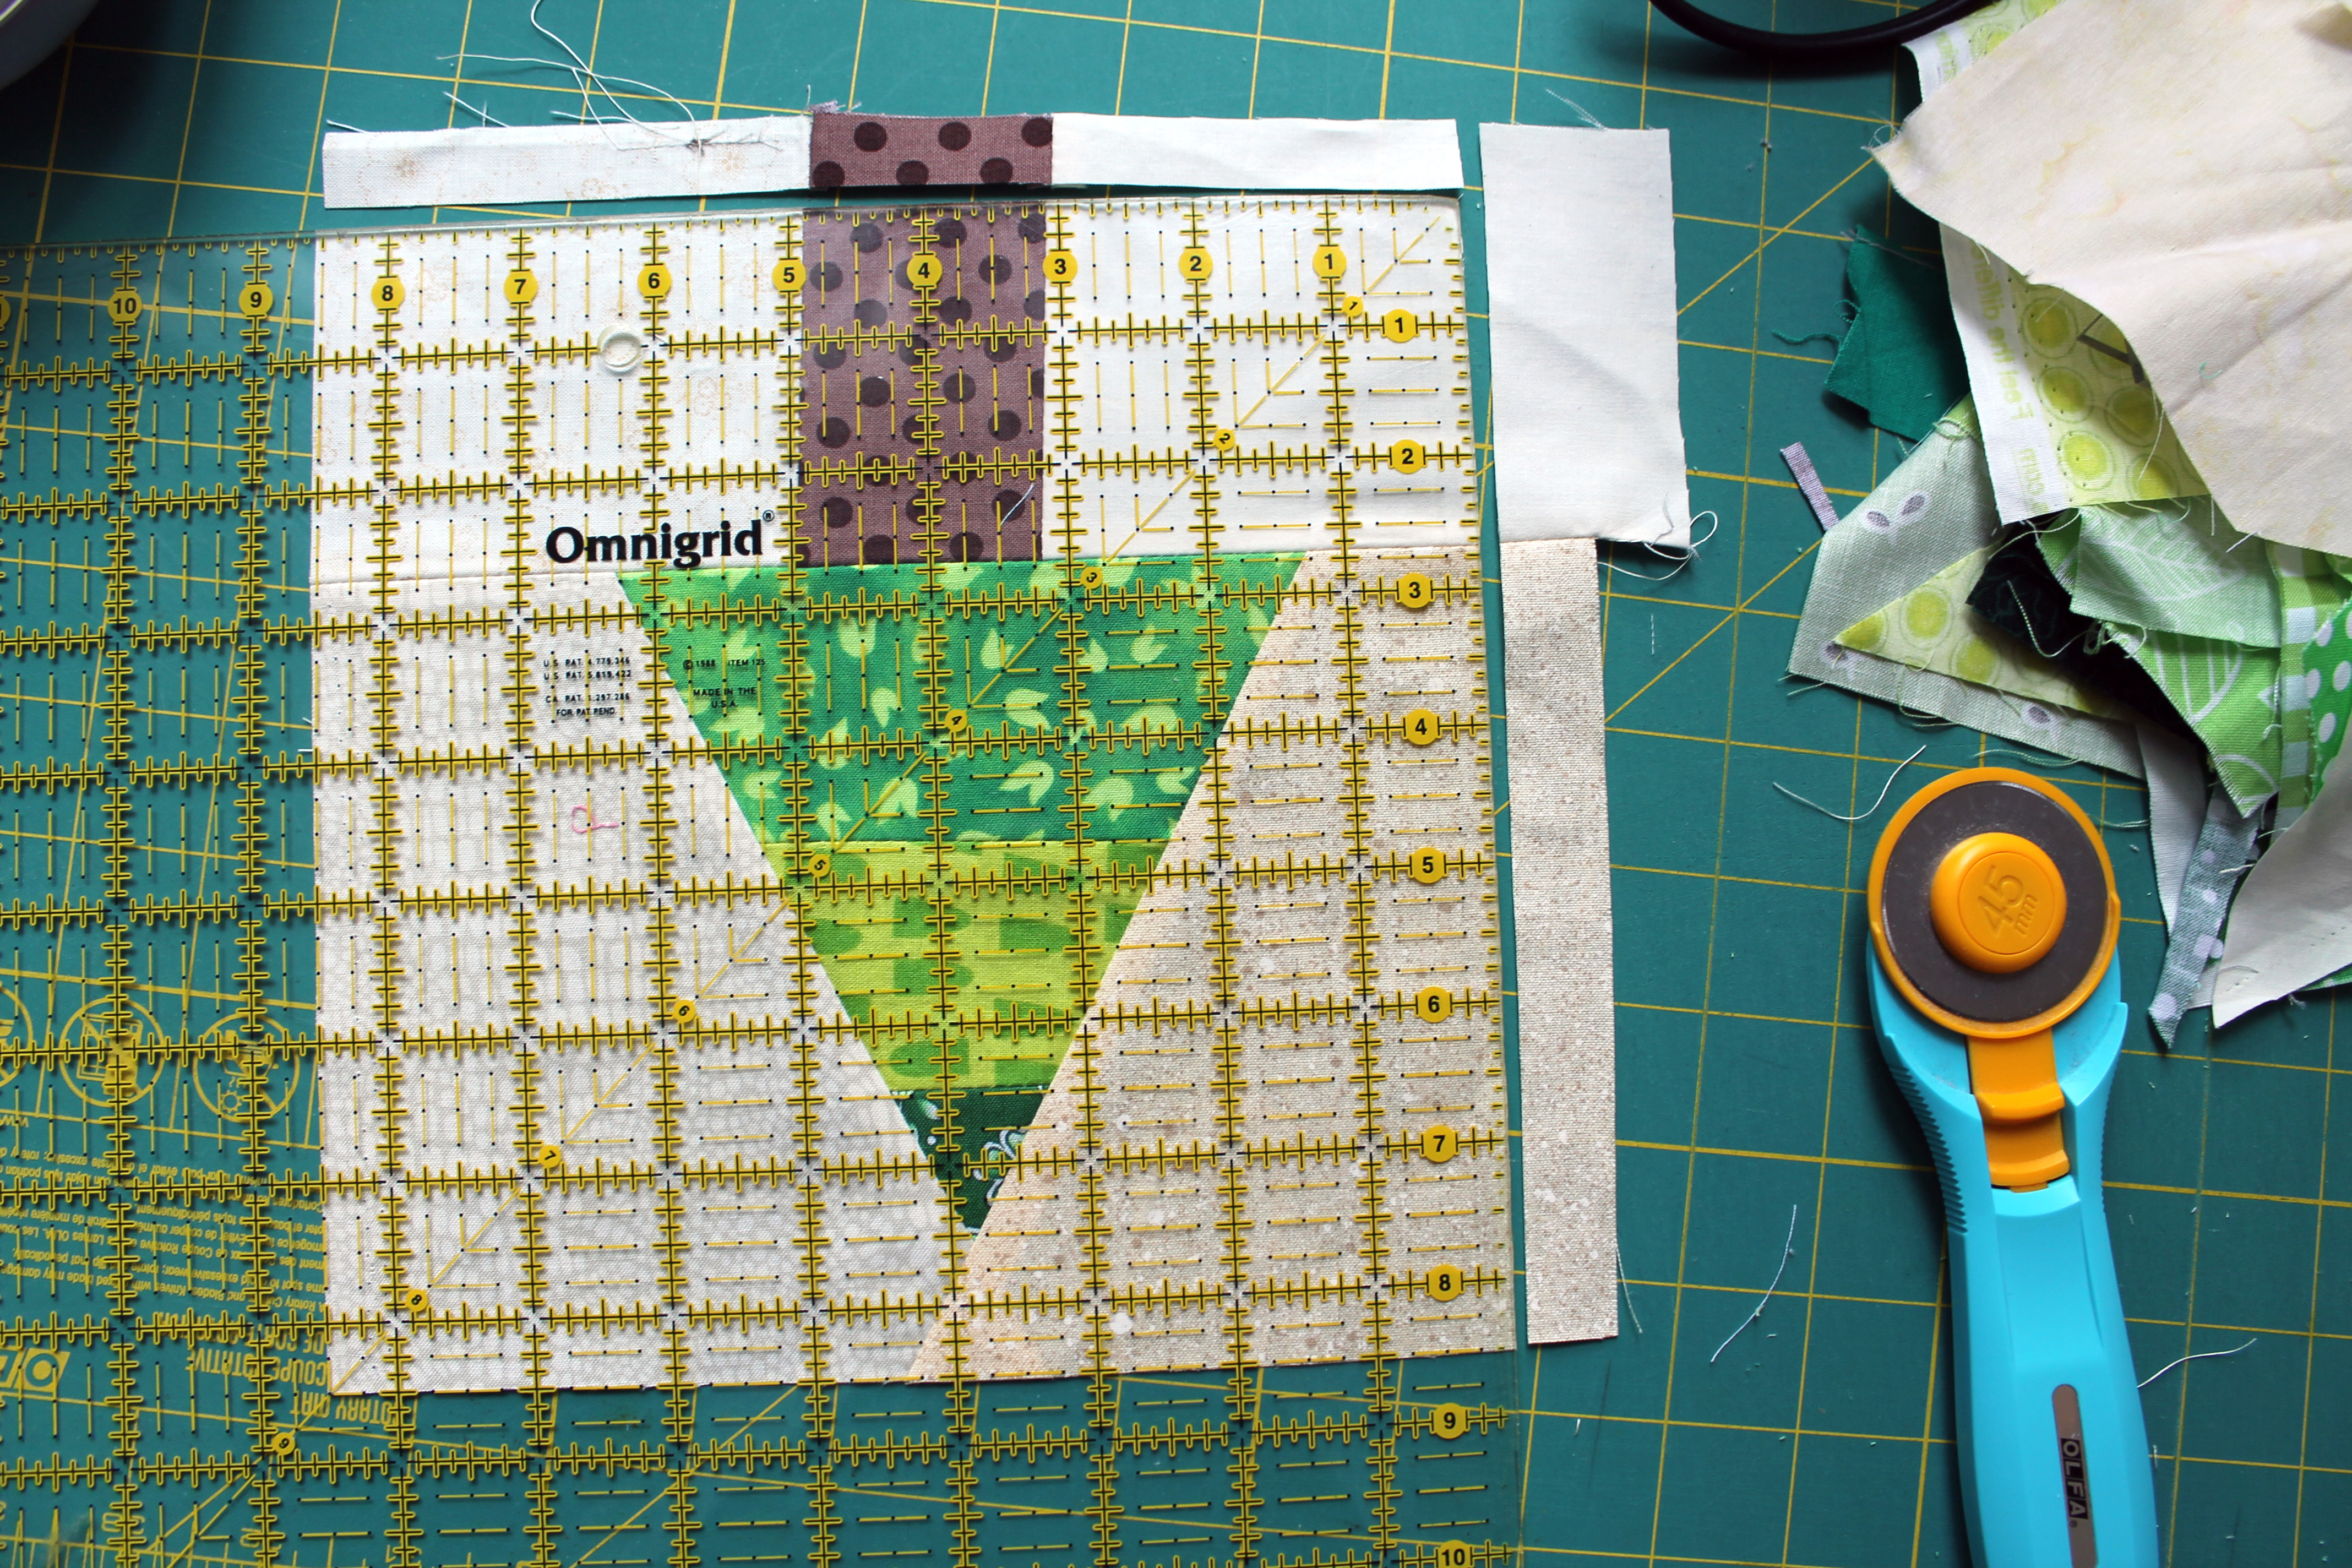
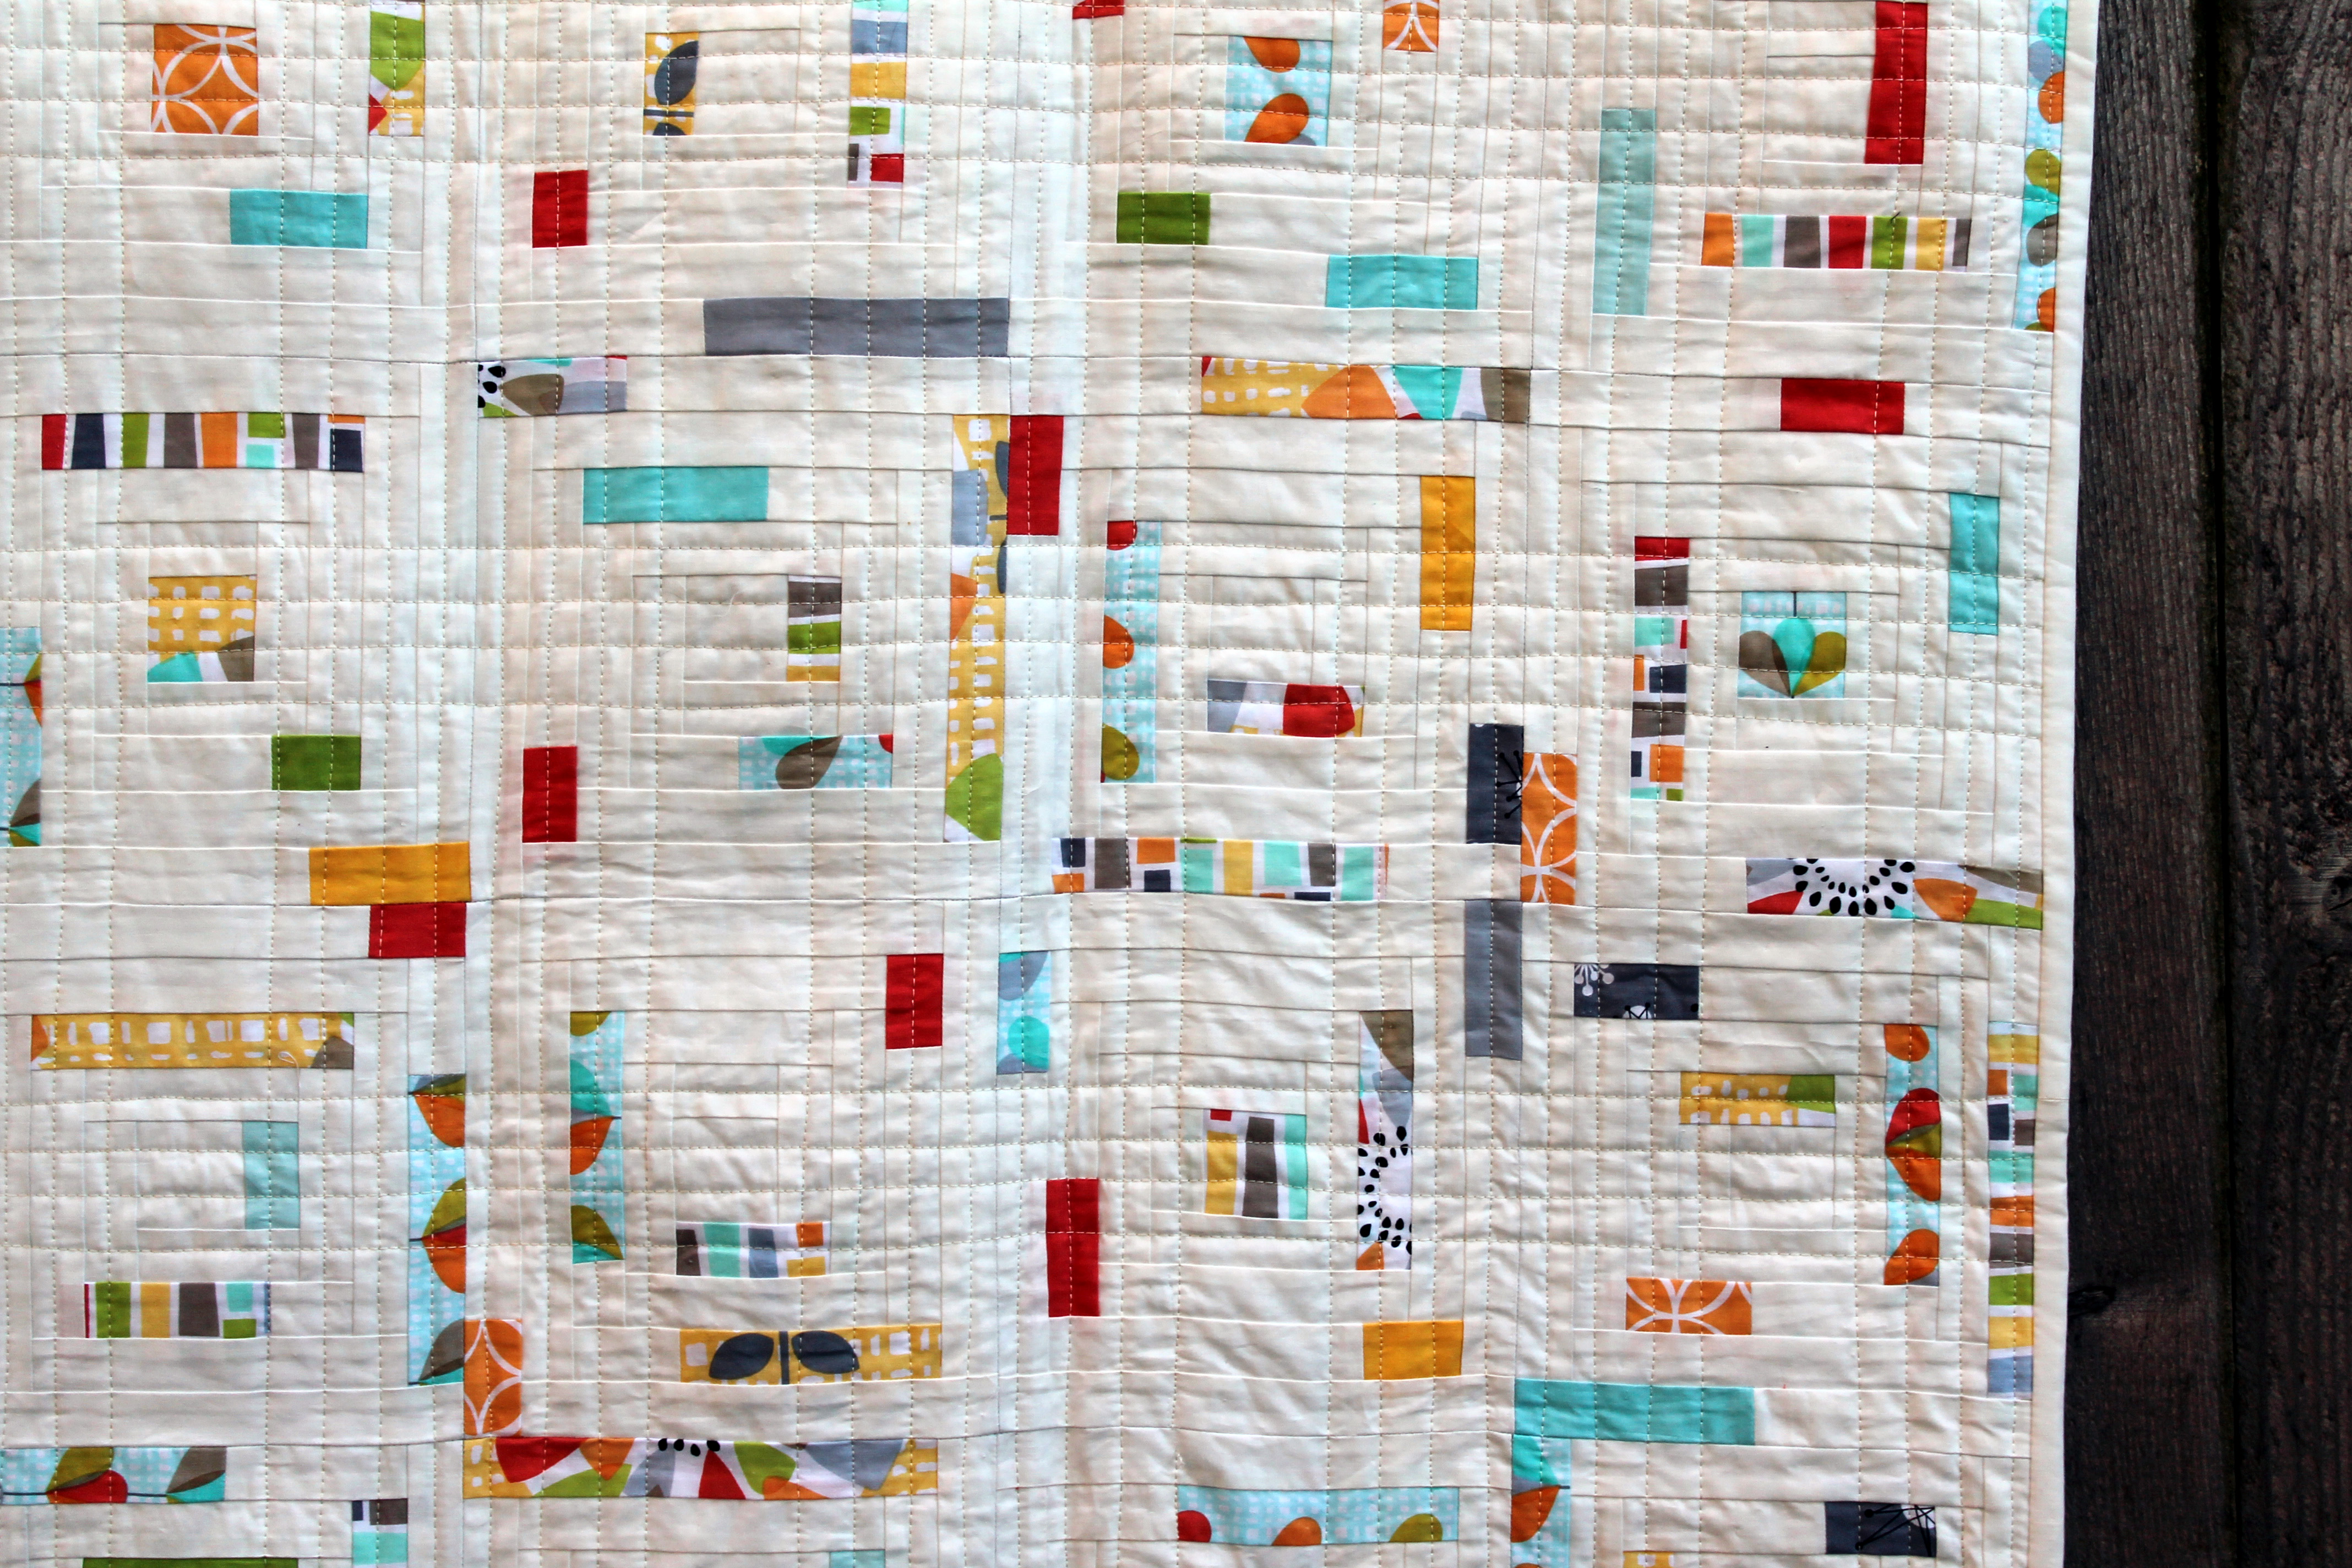
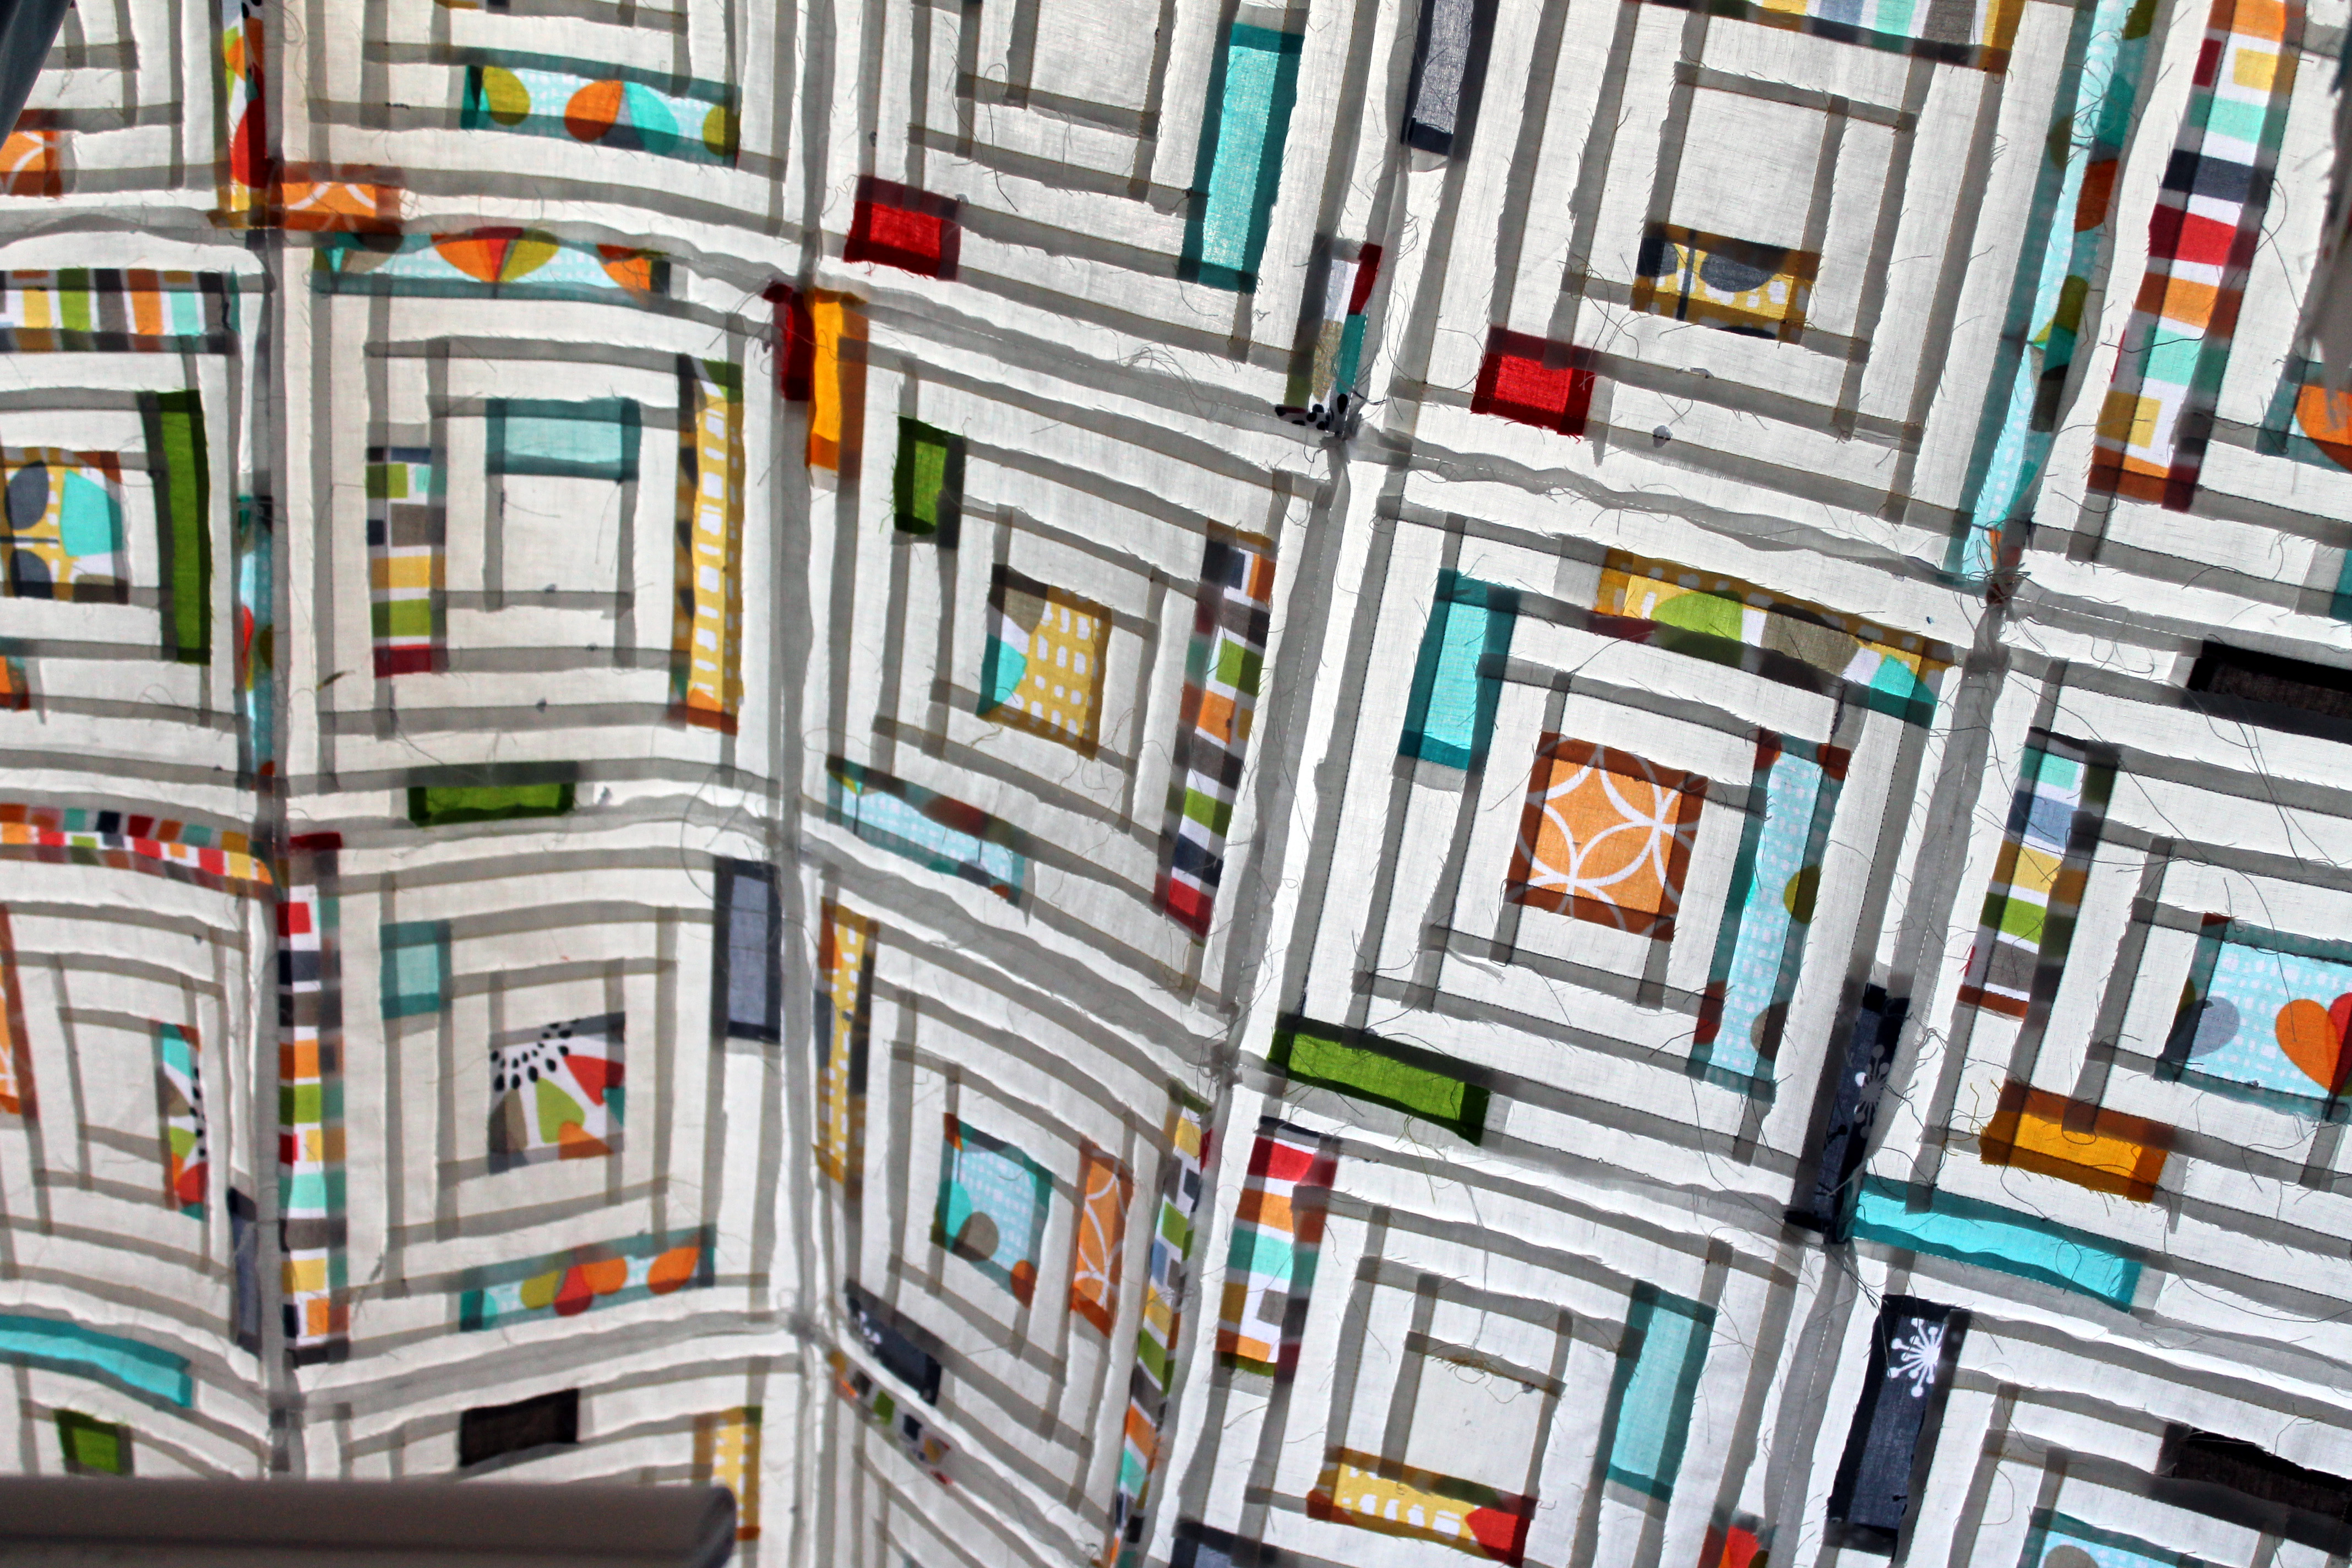
As soon as I started cutting the fabulous challenge fabric into 1 inch strips I saw the patterns and the colours so differently.  With the help of a couple of yards of Couture Cotton in Soft White and smattering of Couture in Breeze, Sun, Apple, Dirt, Spa and Fog the 7 inch log cabins came together.

Miichael Miller challenge quilt copy
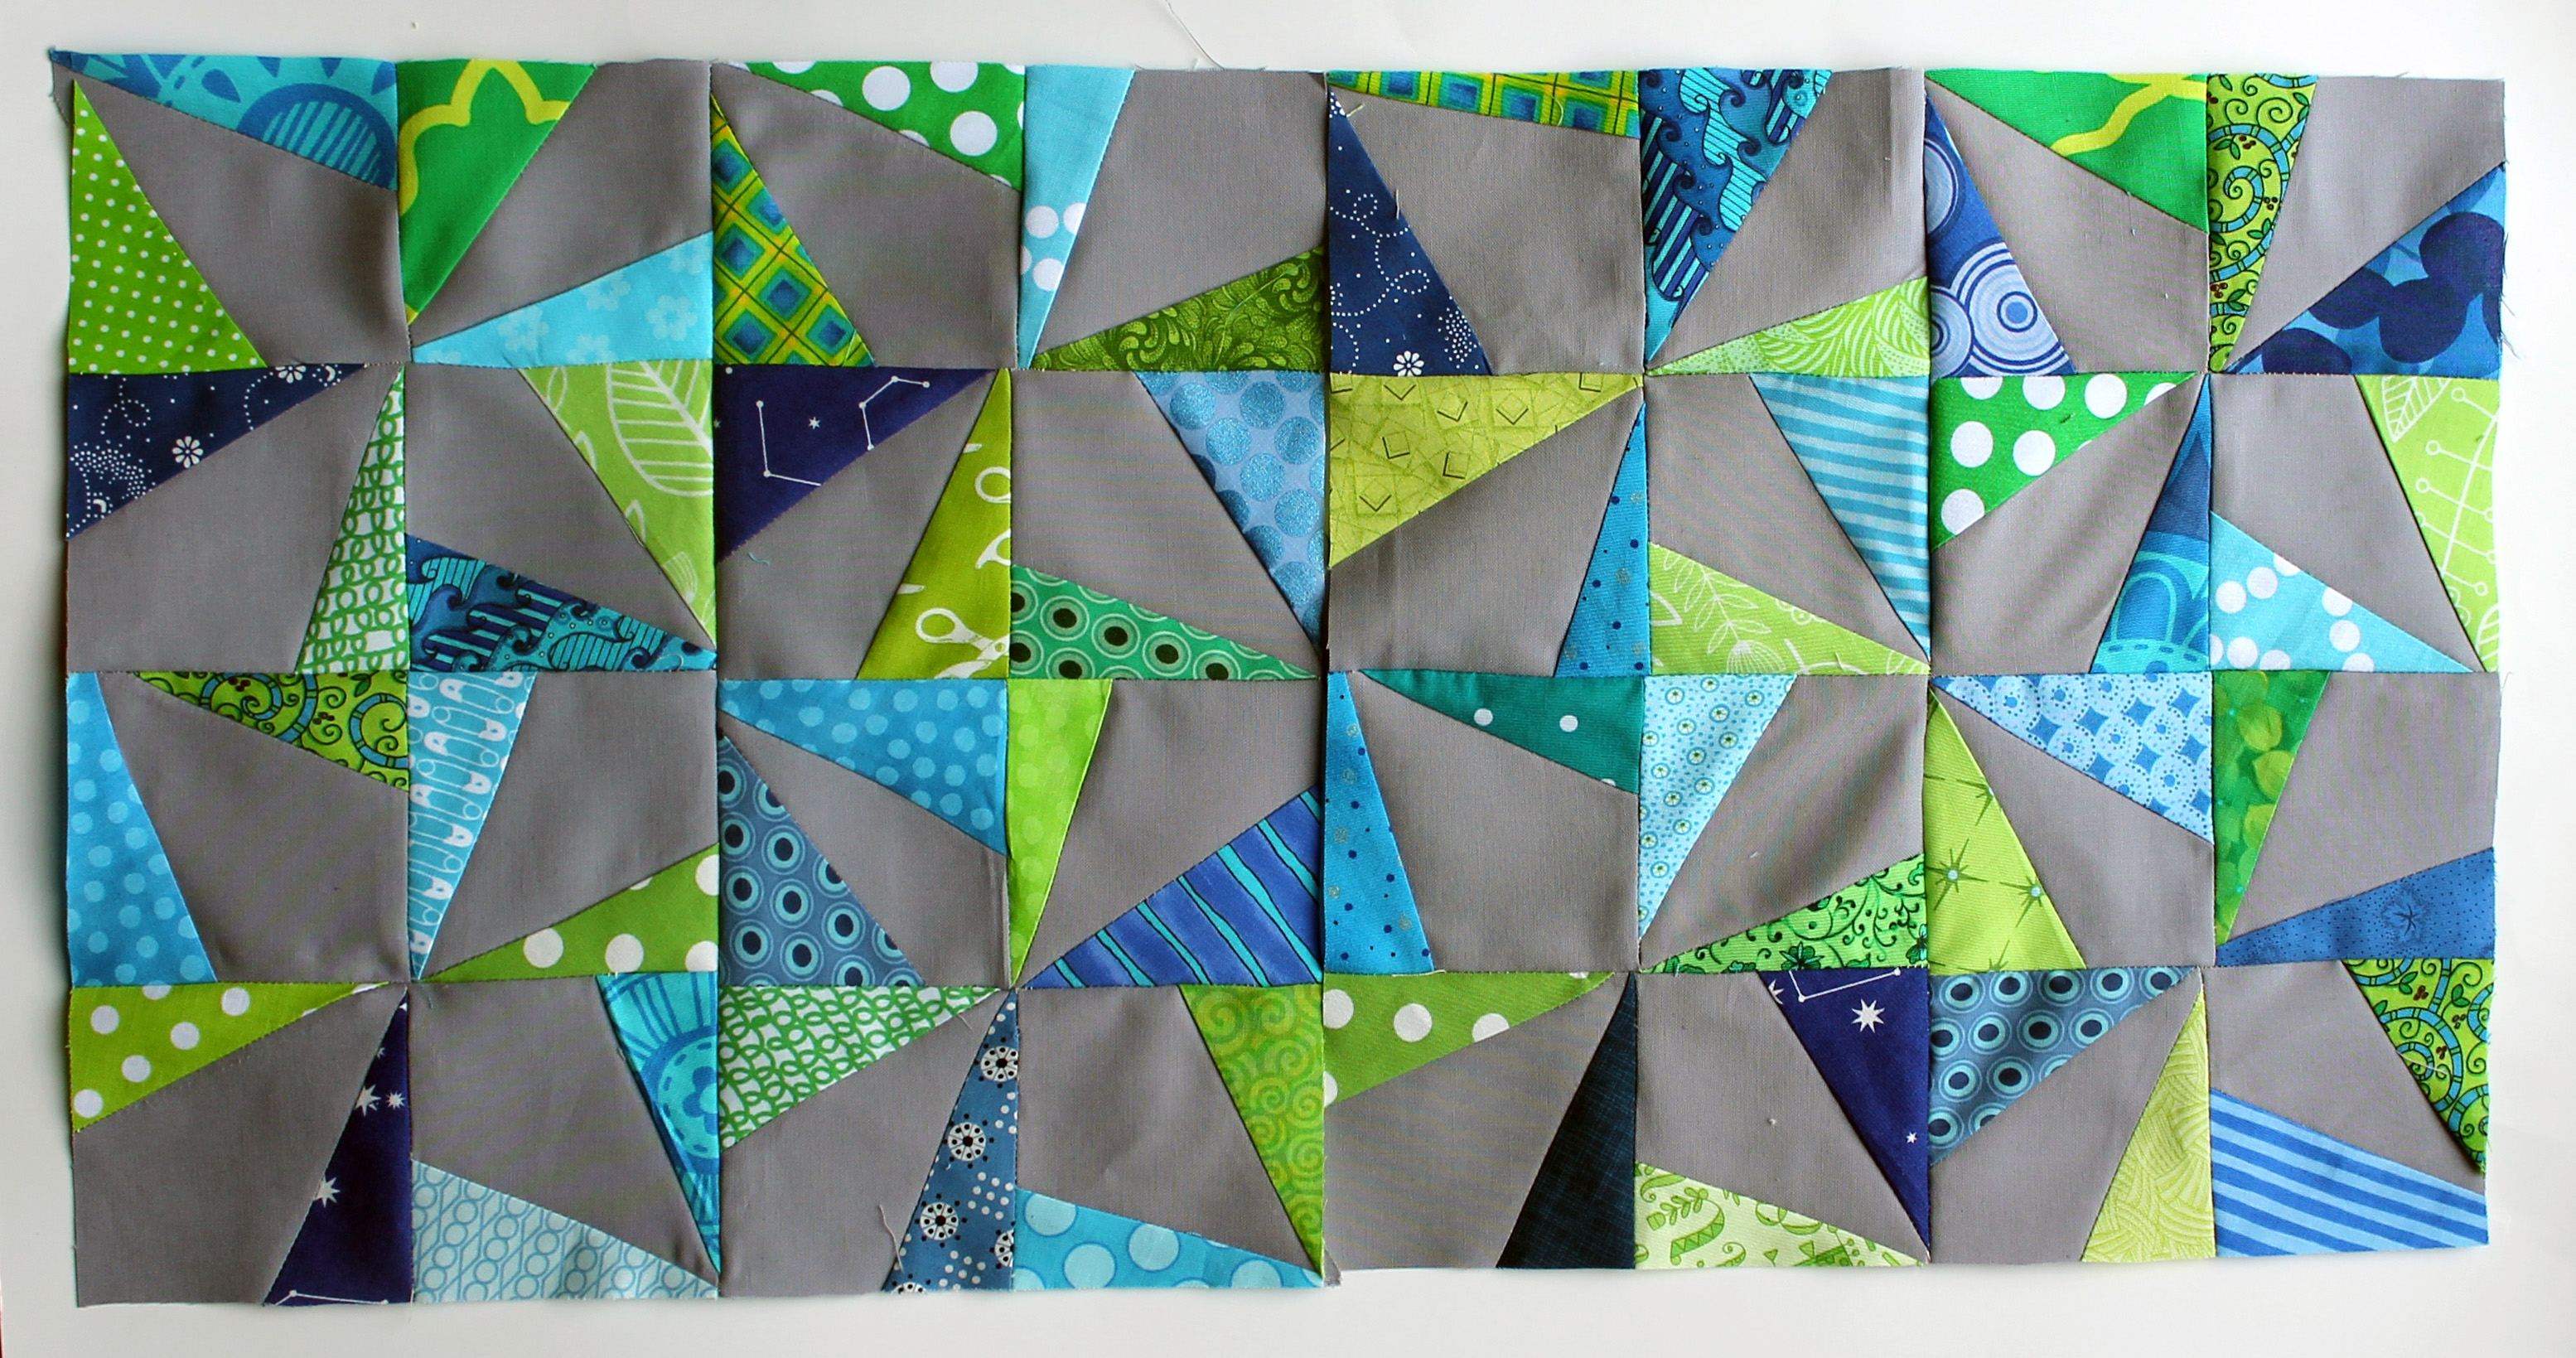
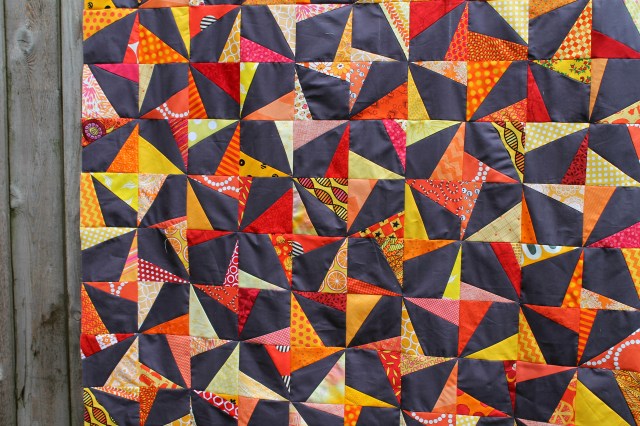
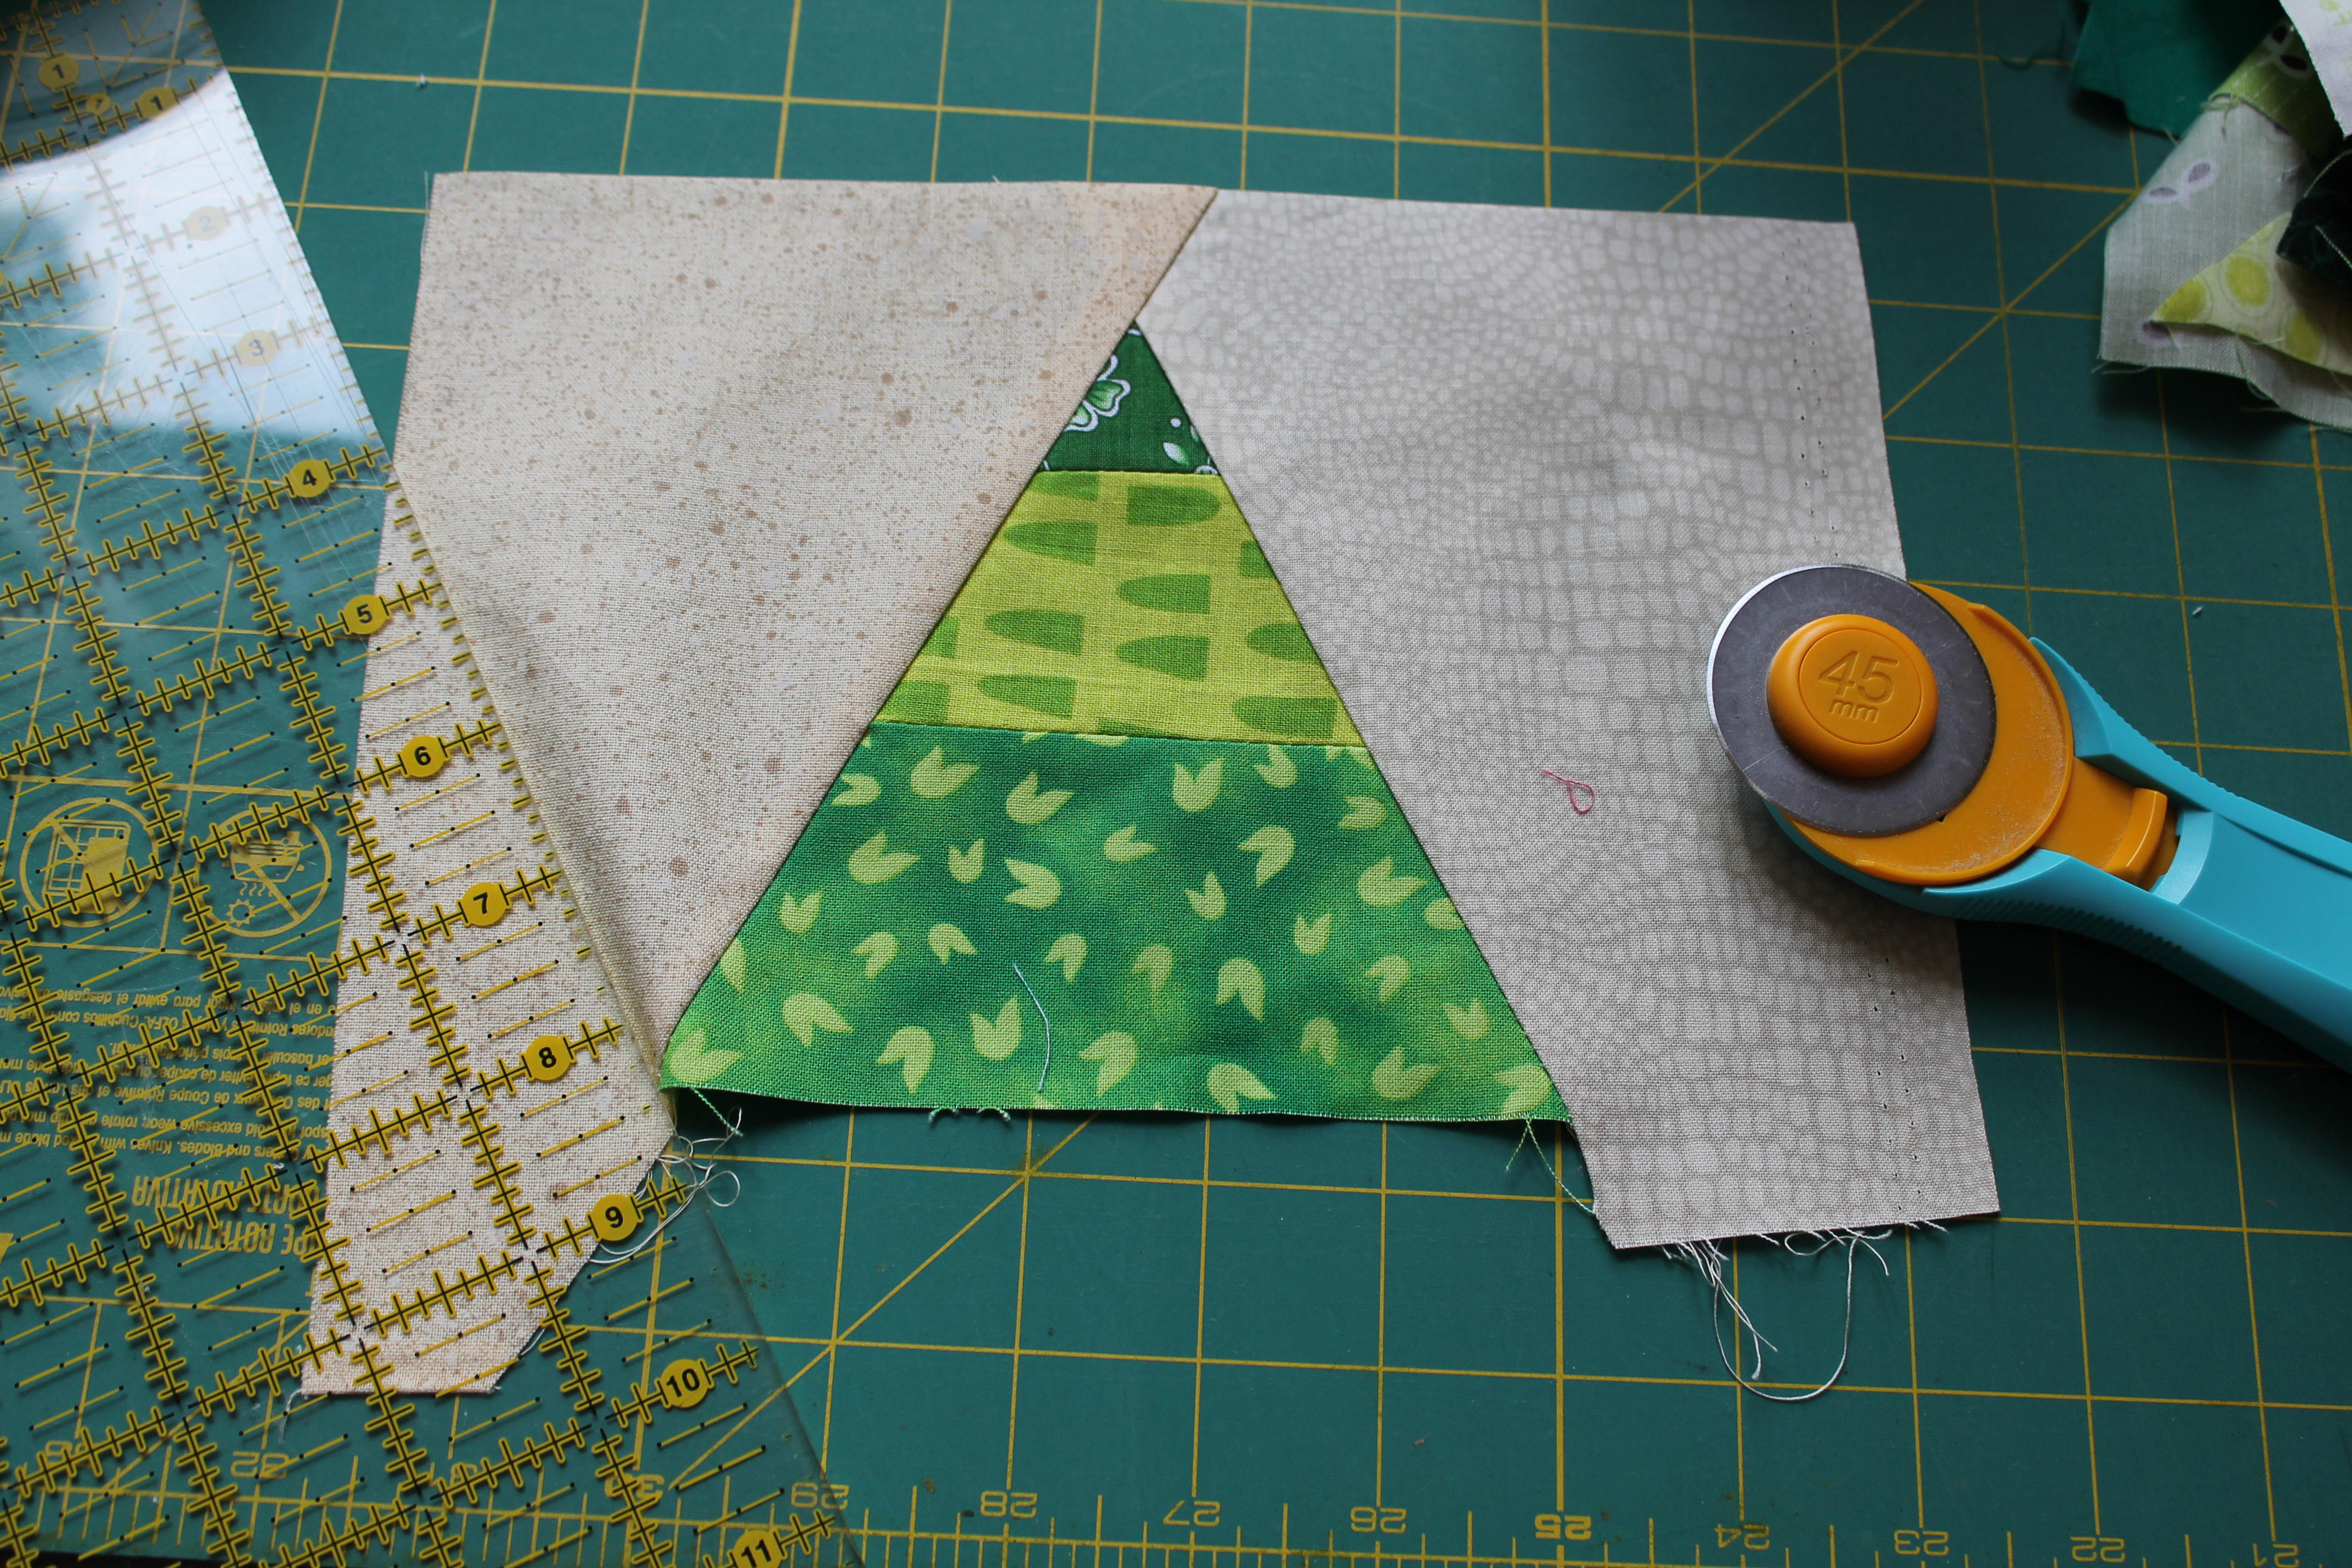
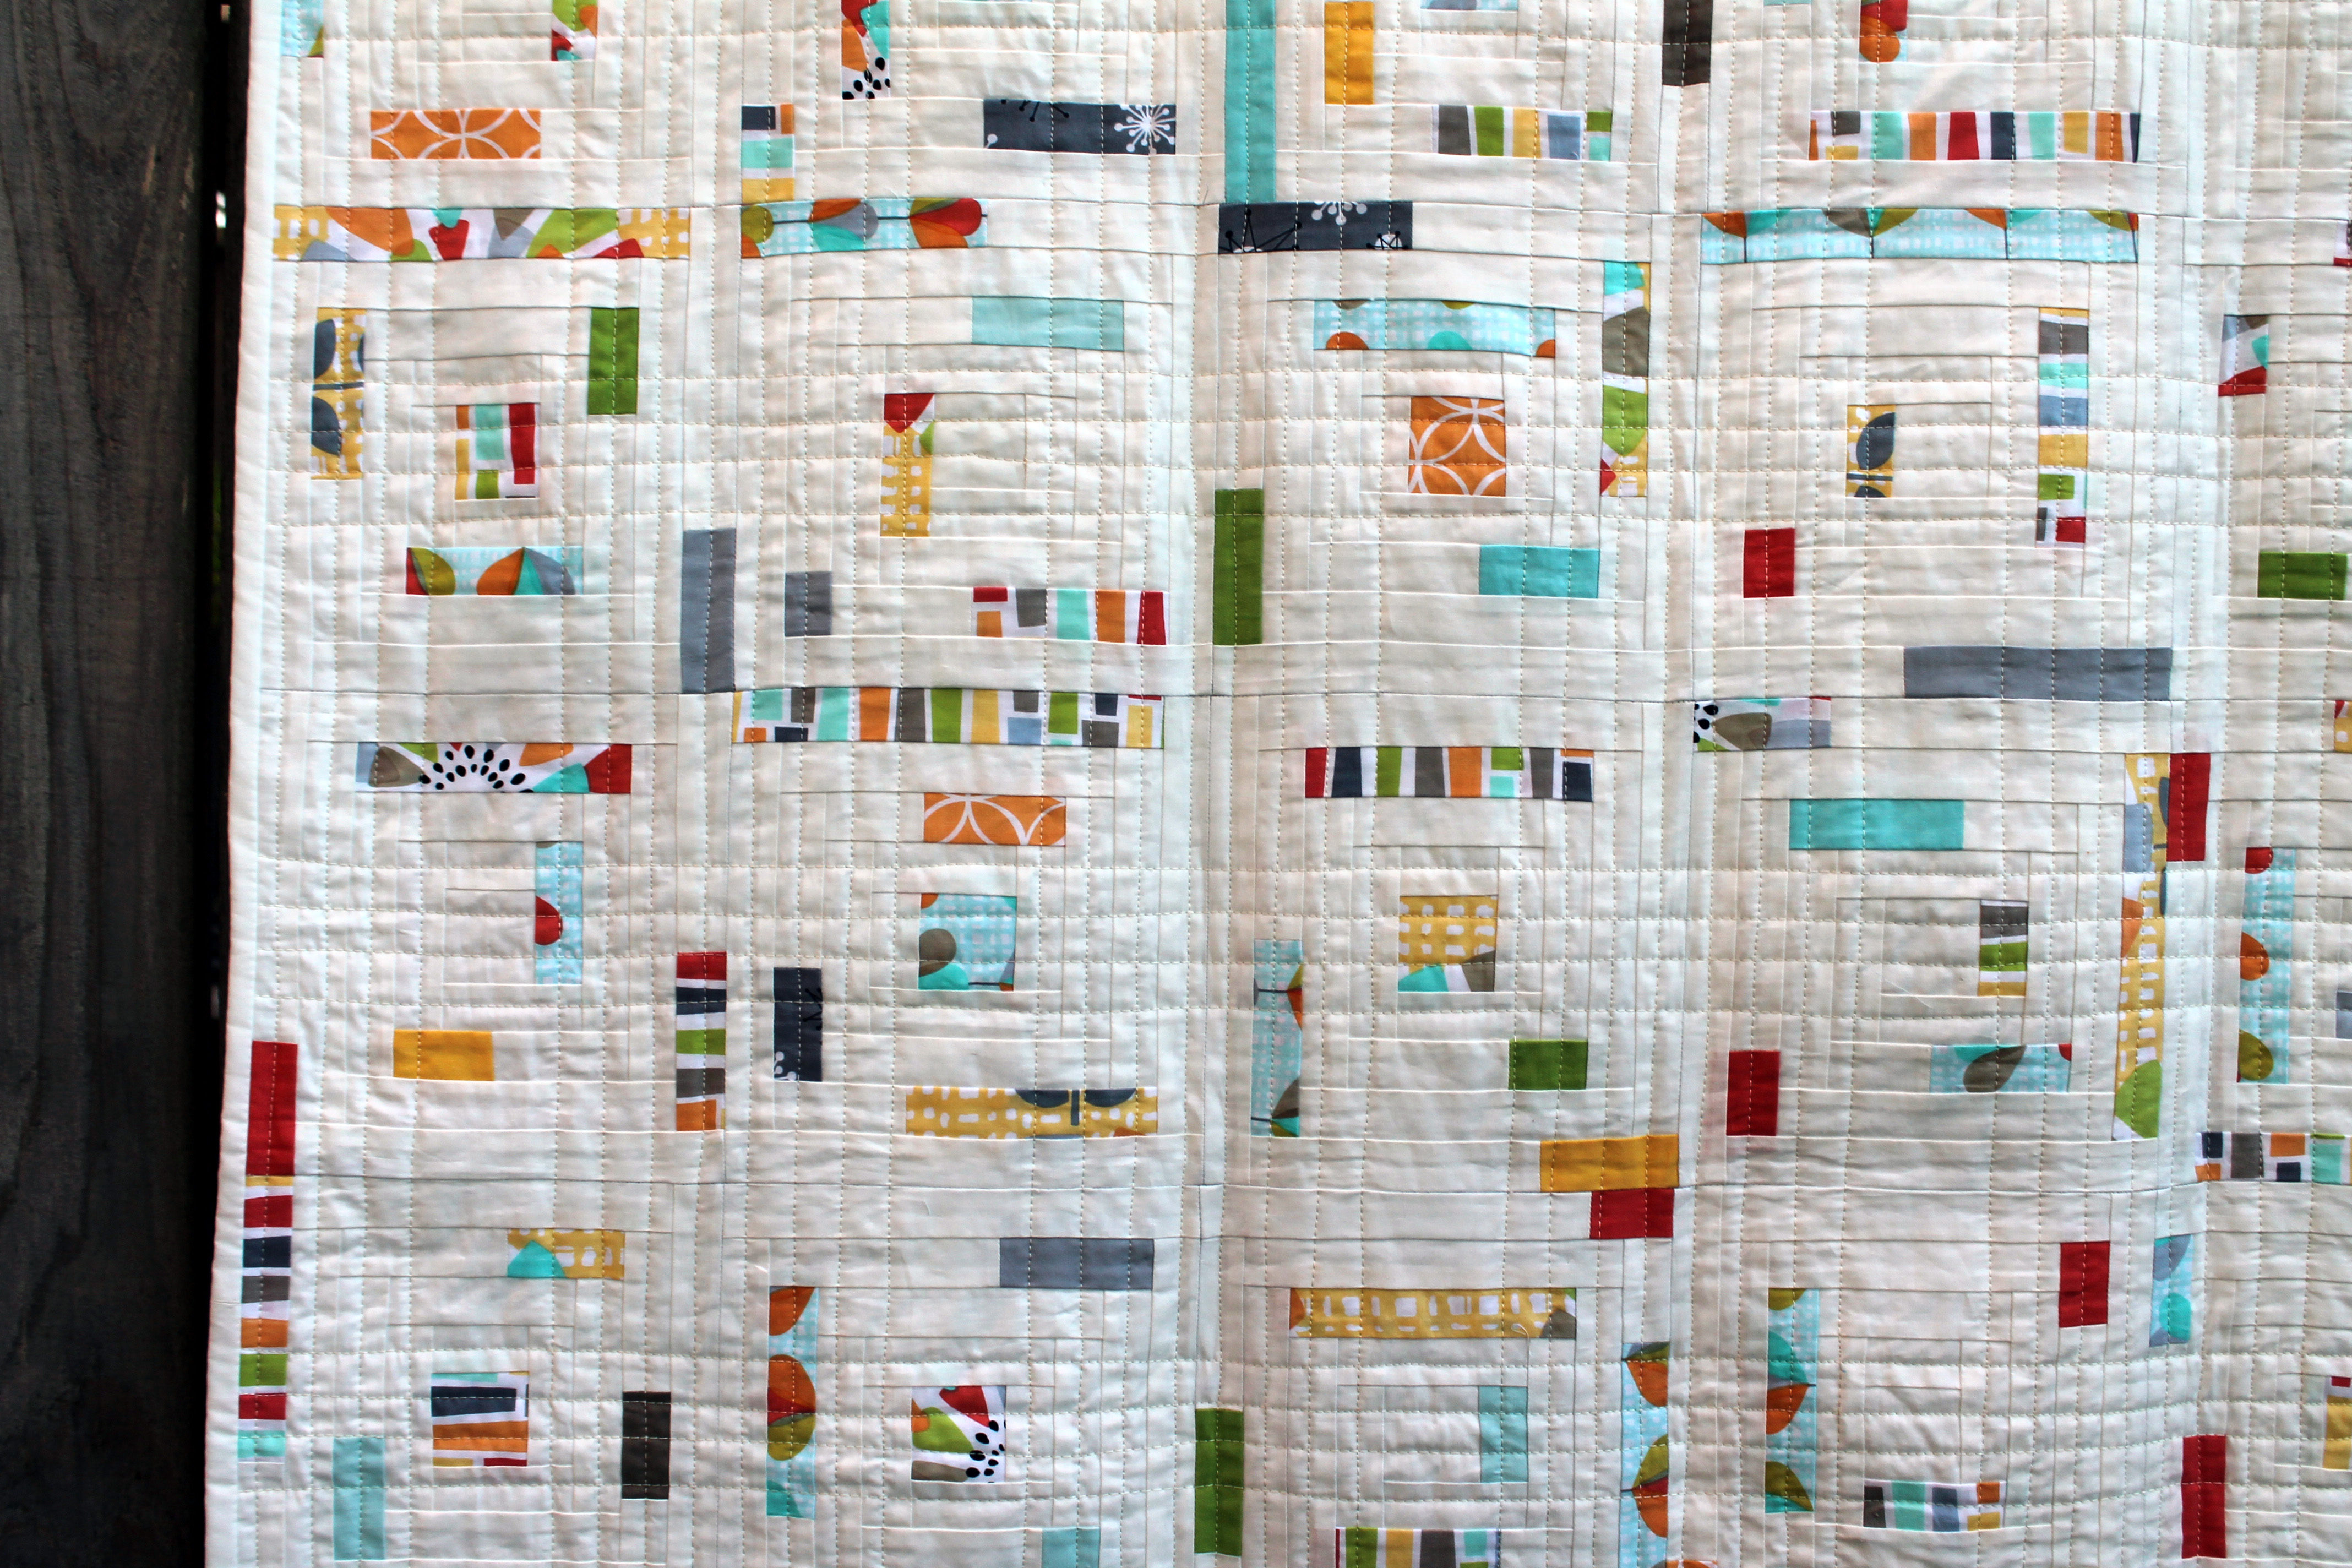
I placed the colour strips randomly around the log cabin., and was not afraid to chop up a log into different colors.

quilt detail
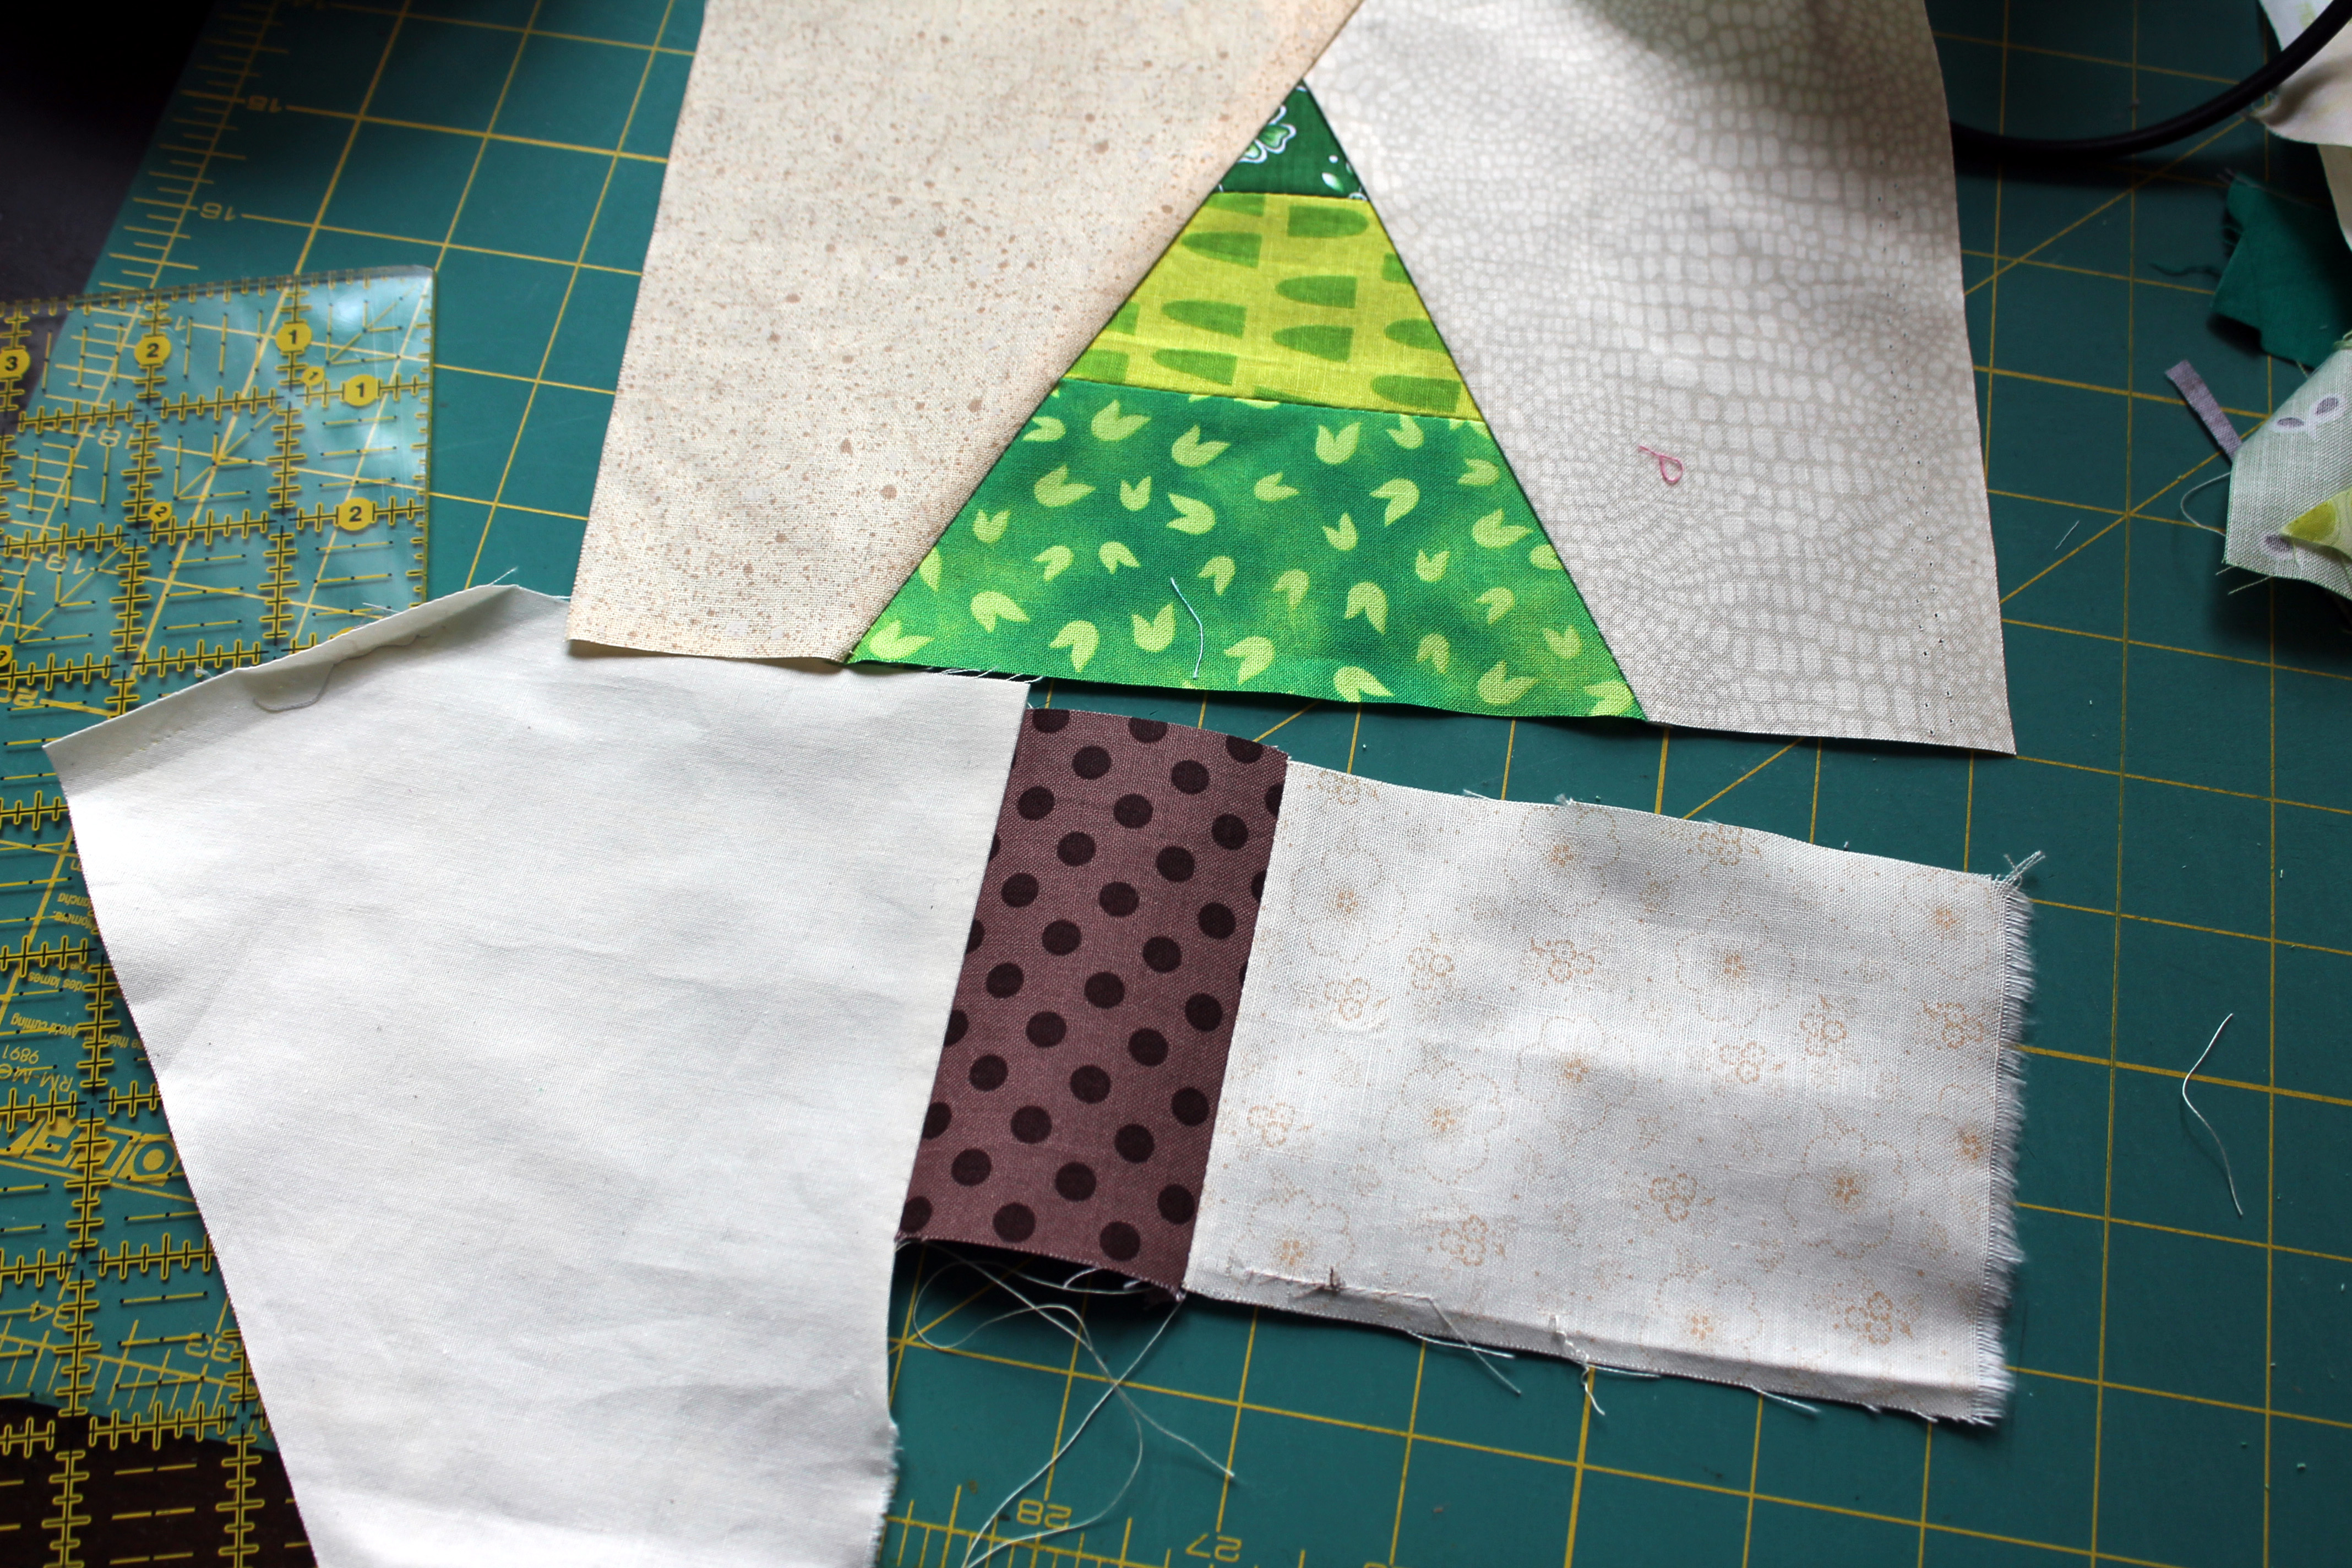
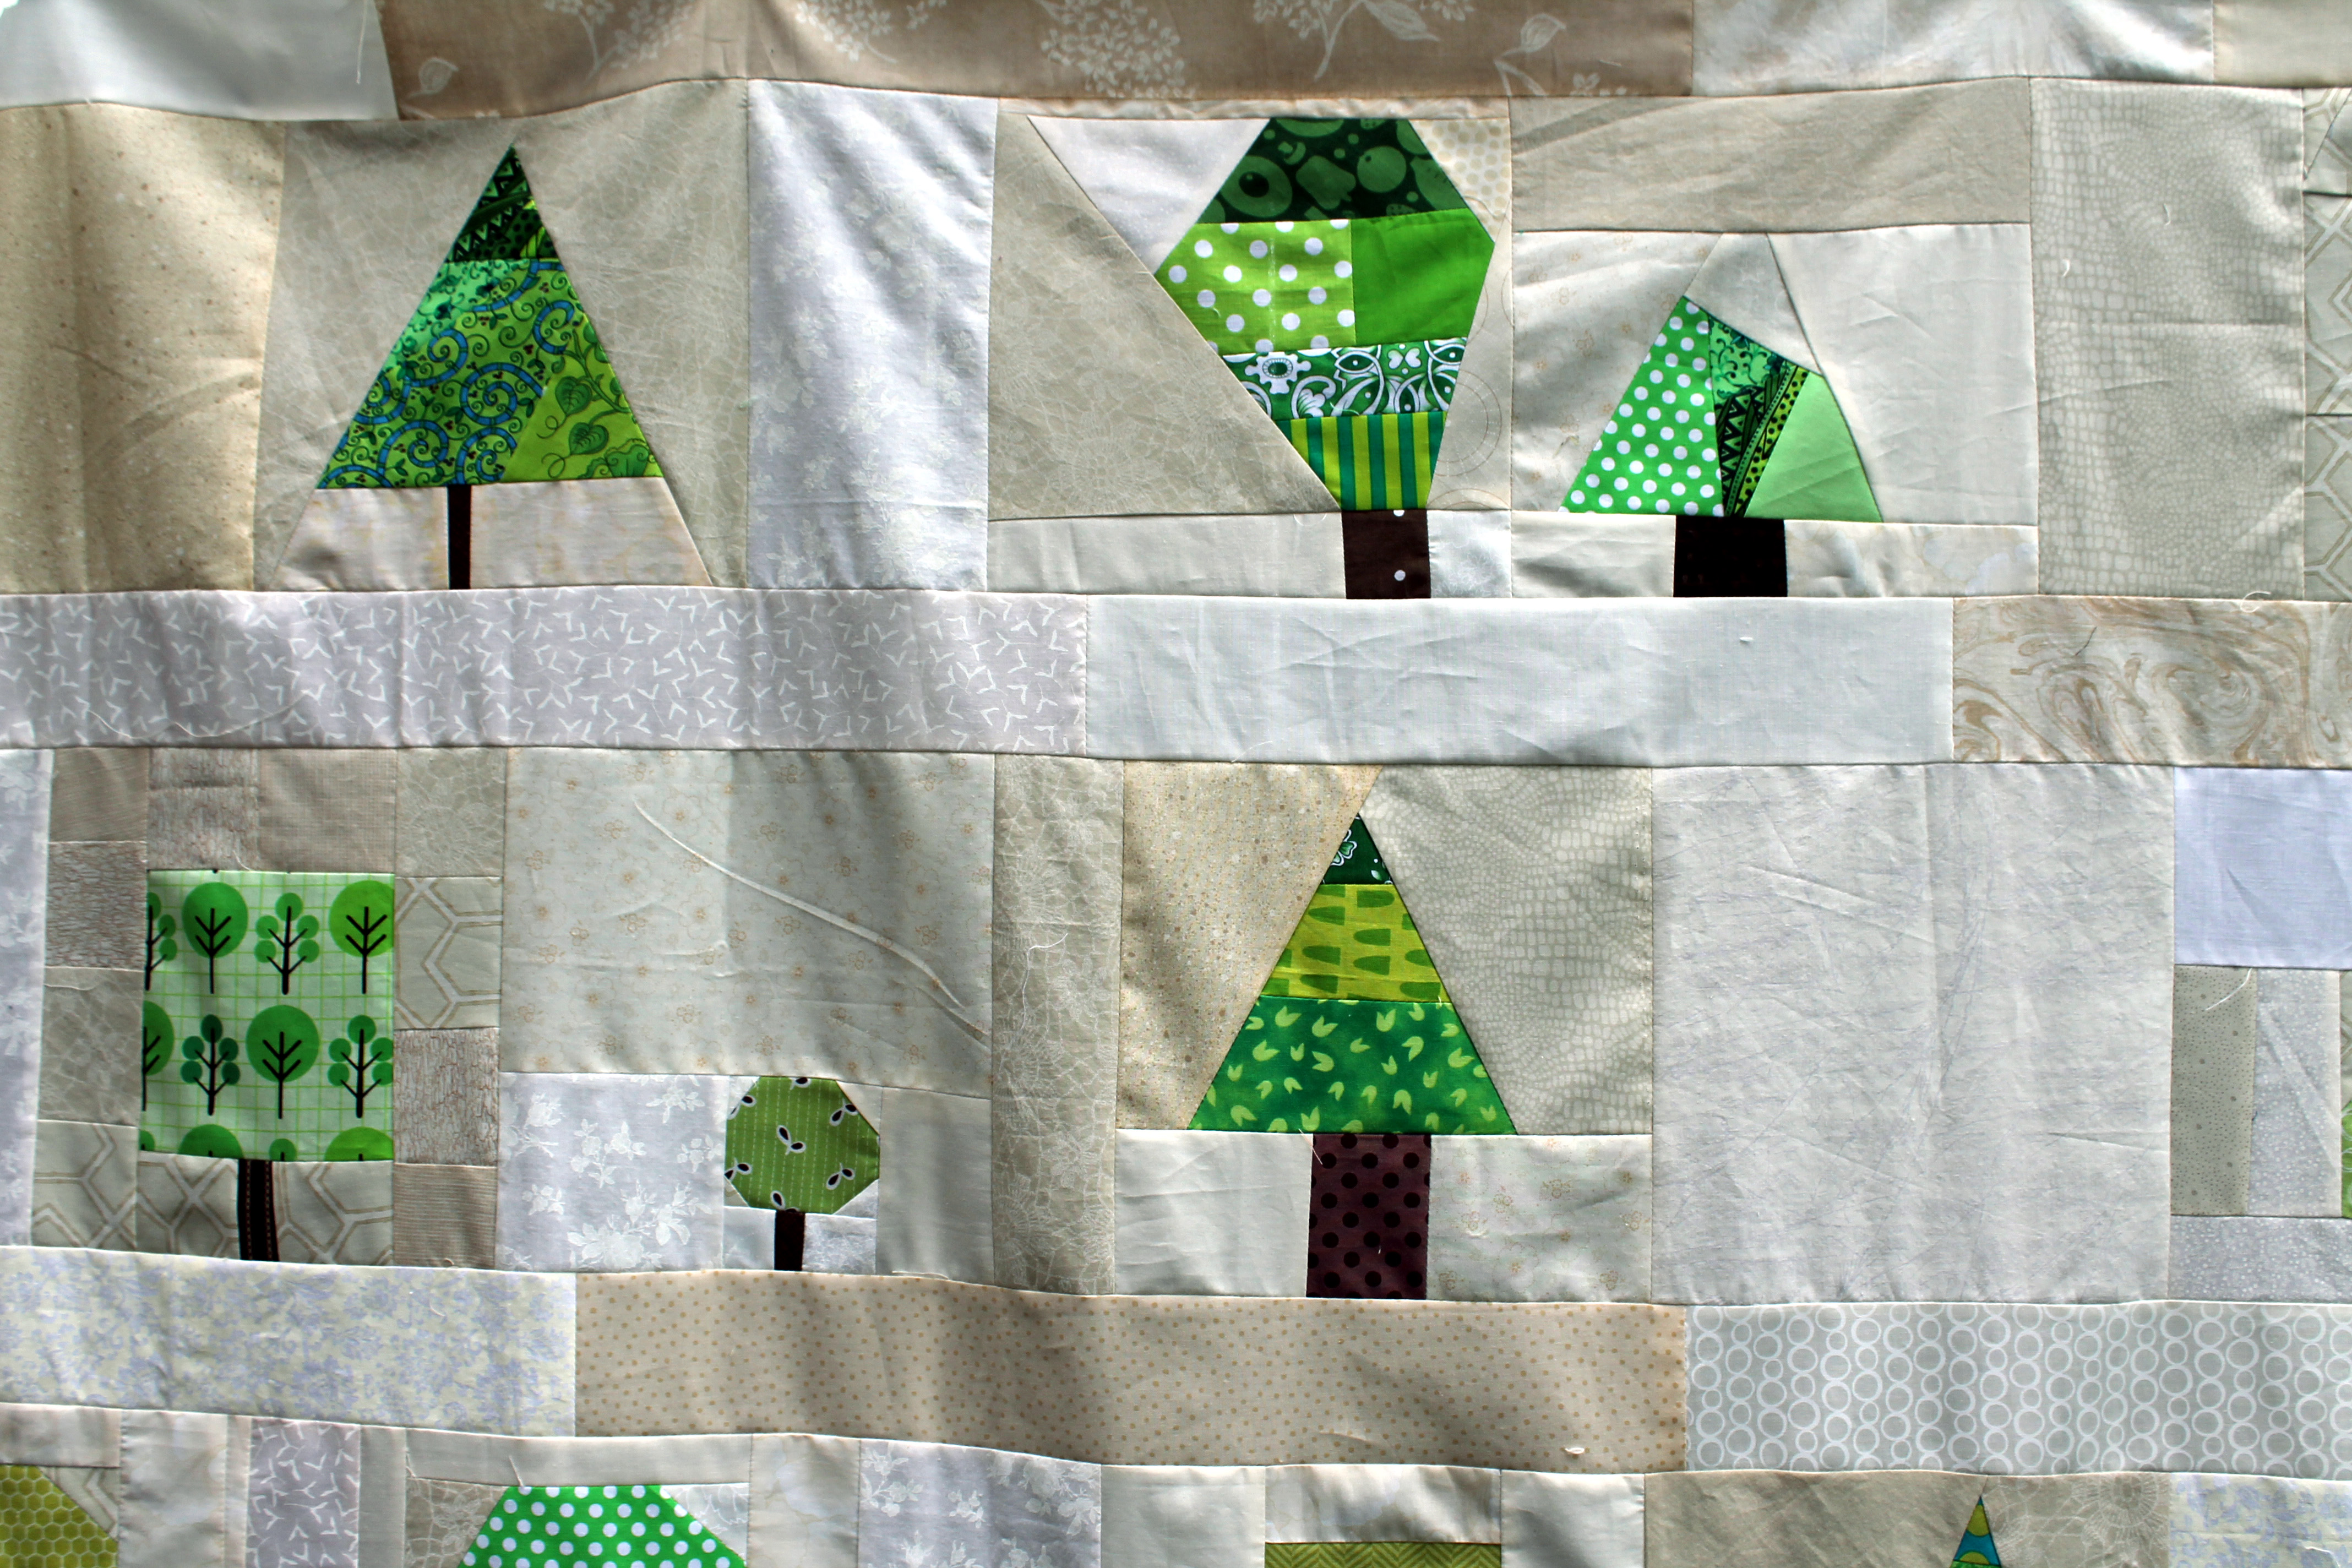
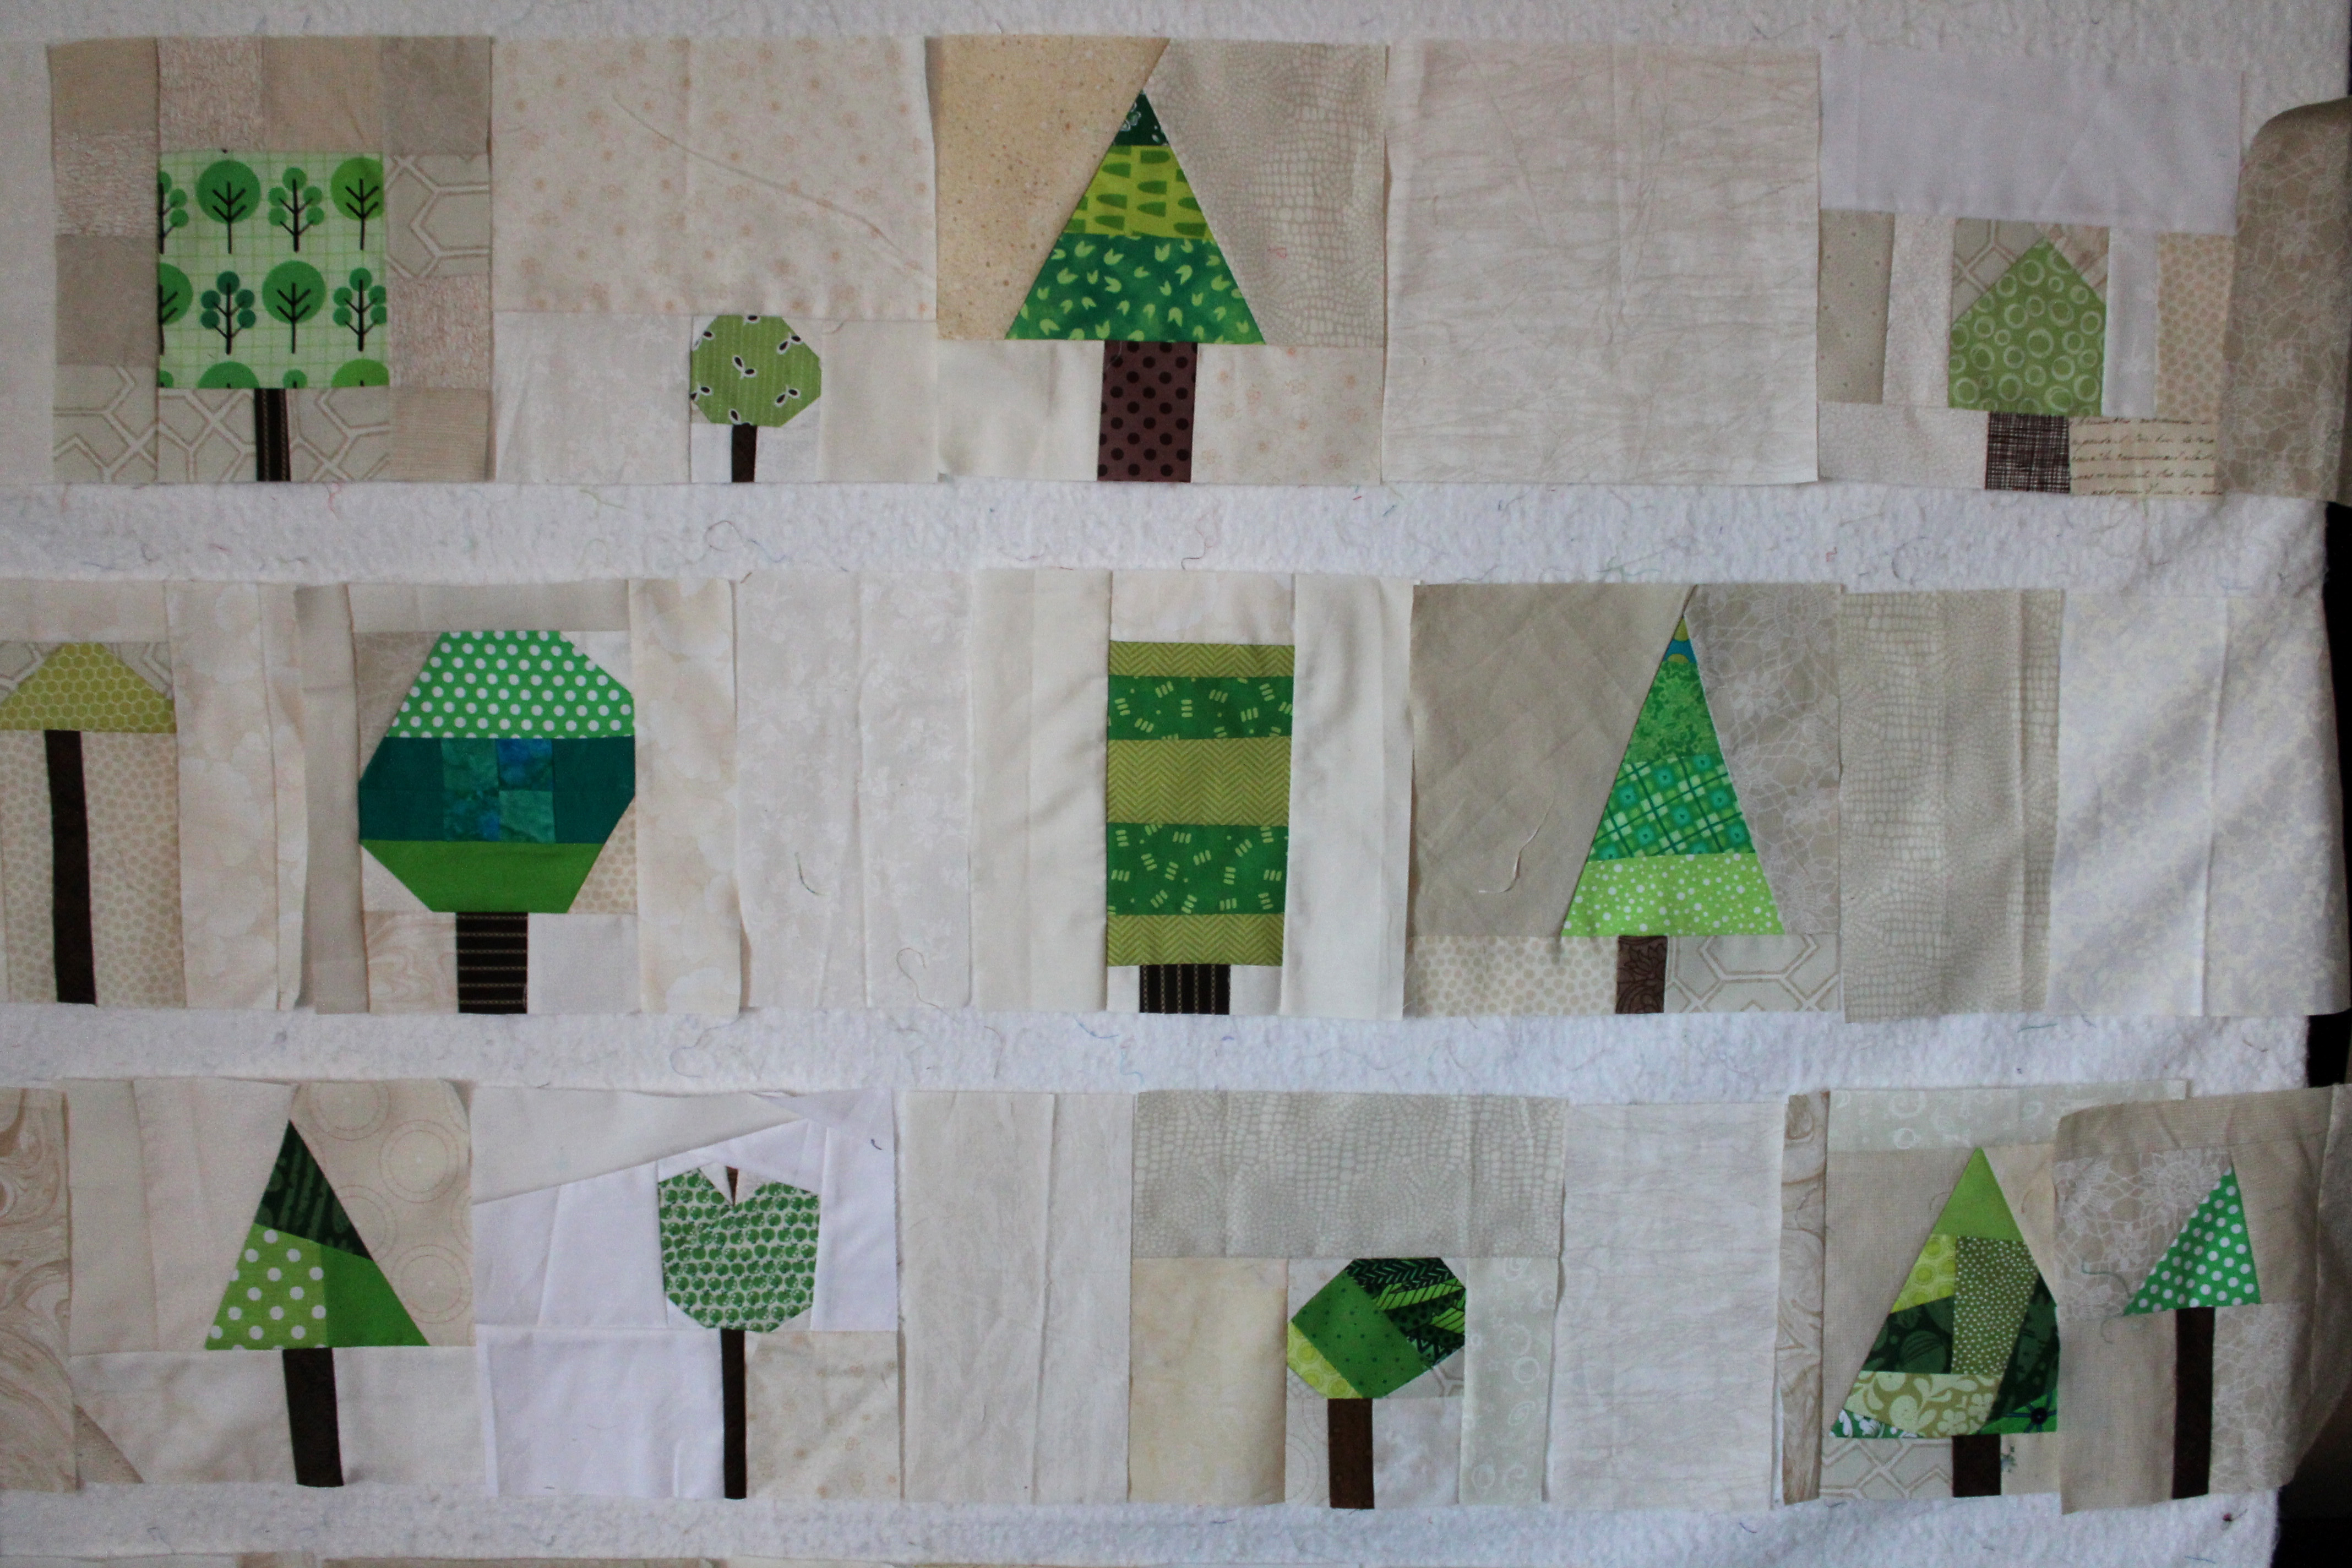
I managed to use every scrap of fabric I could.

quilting detail
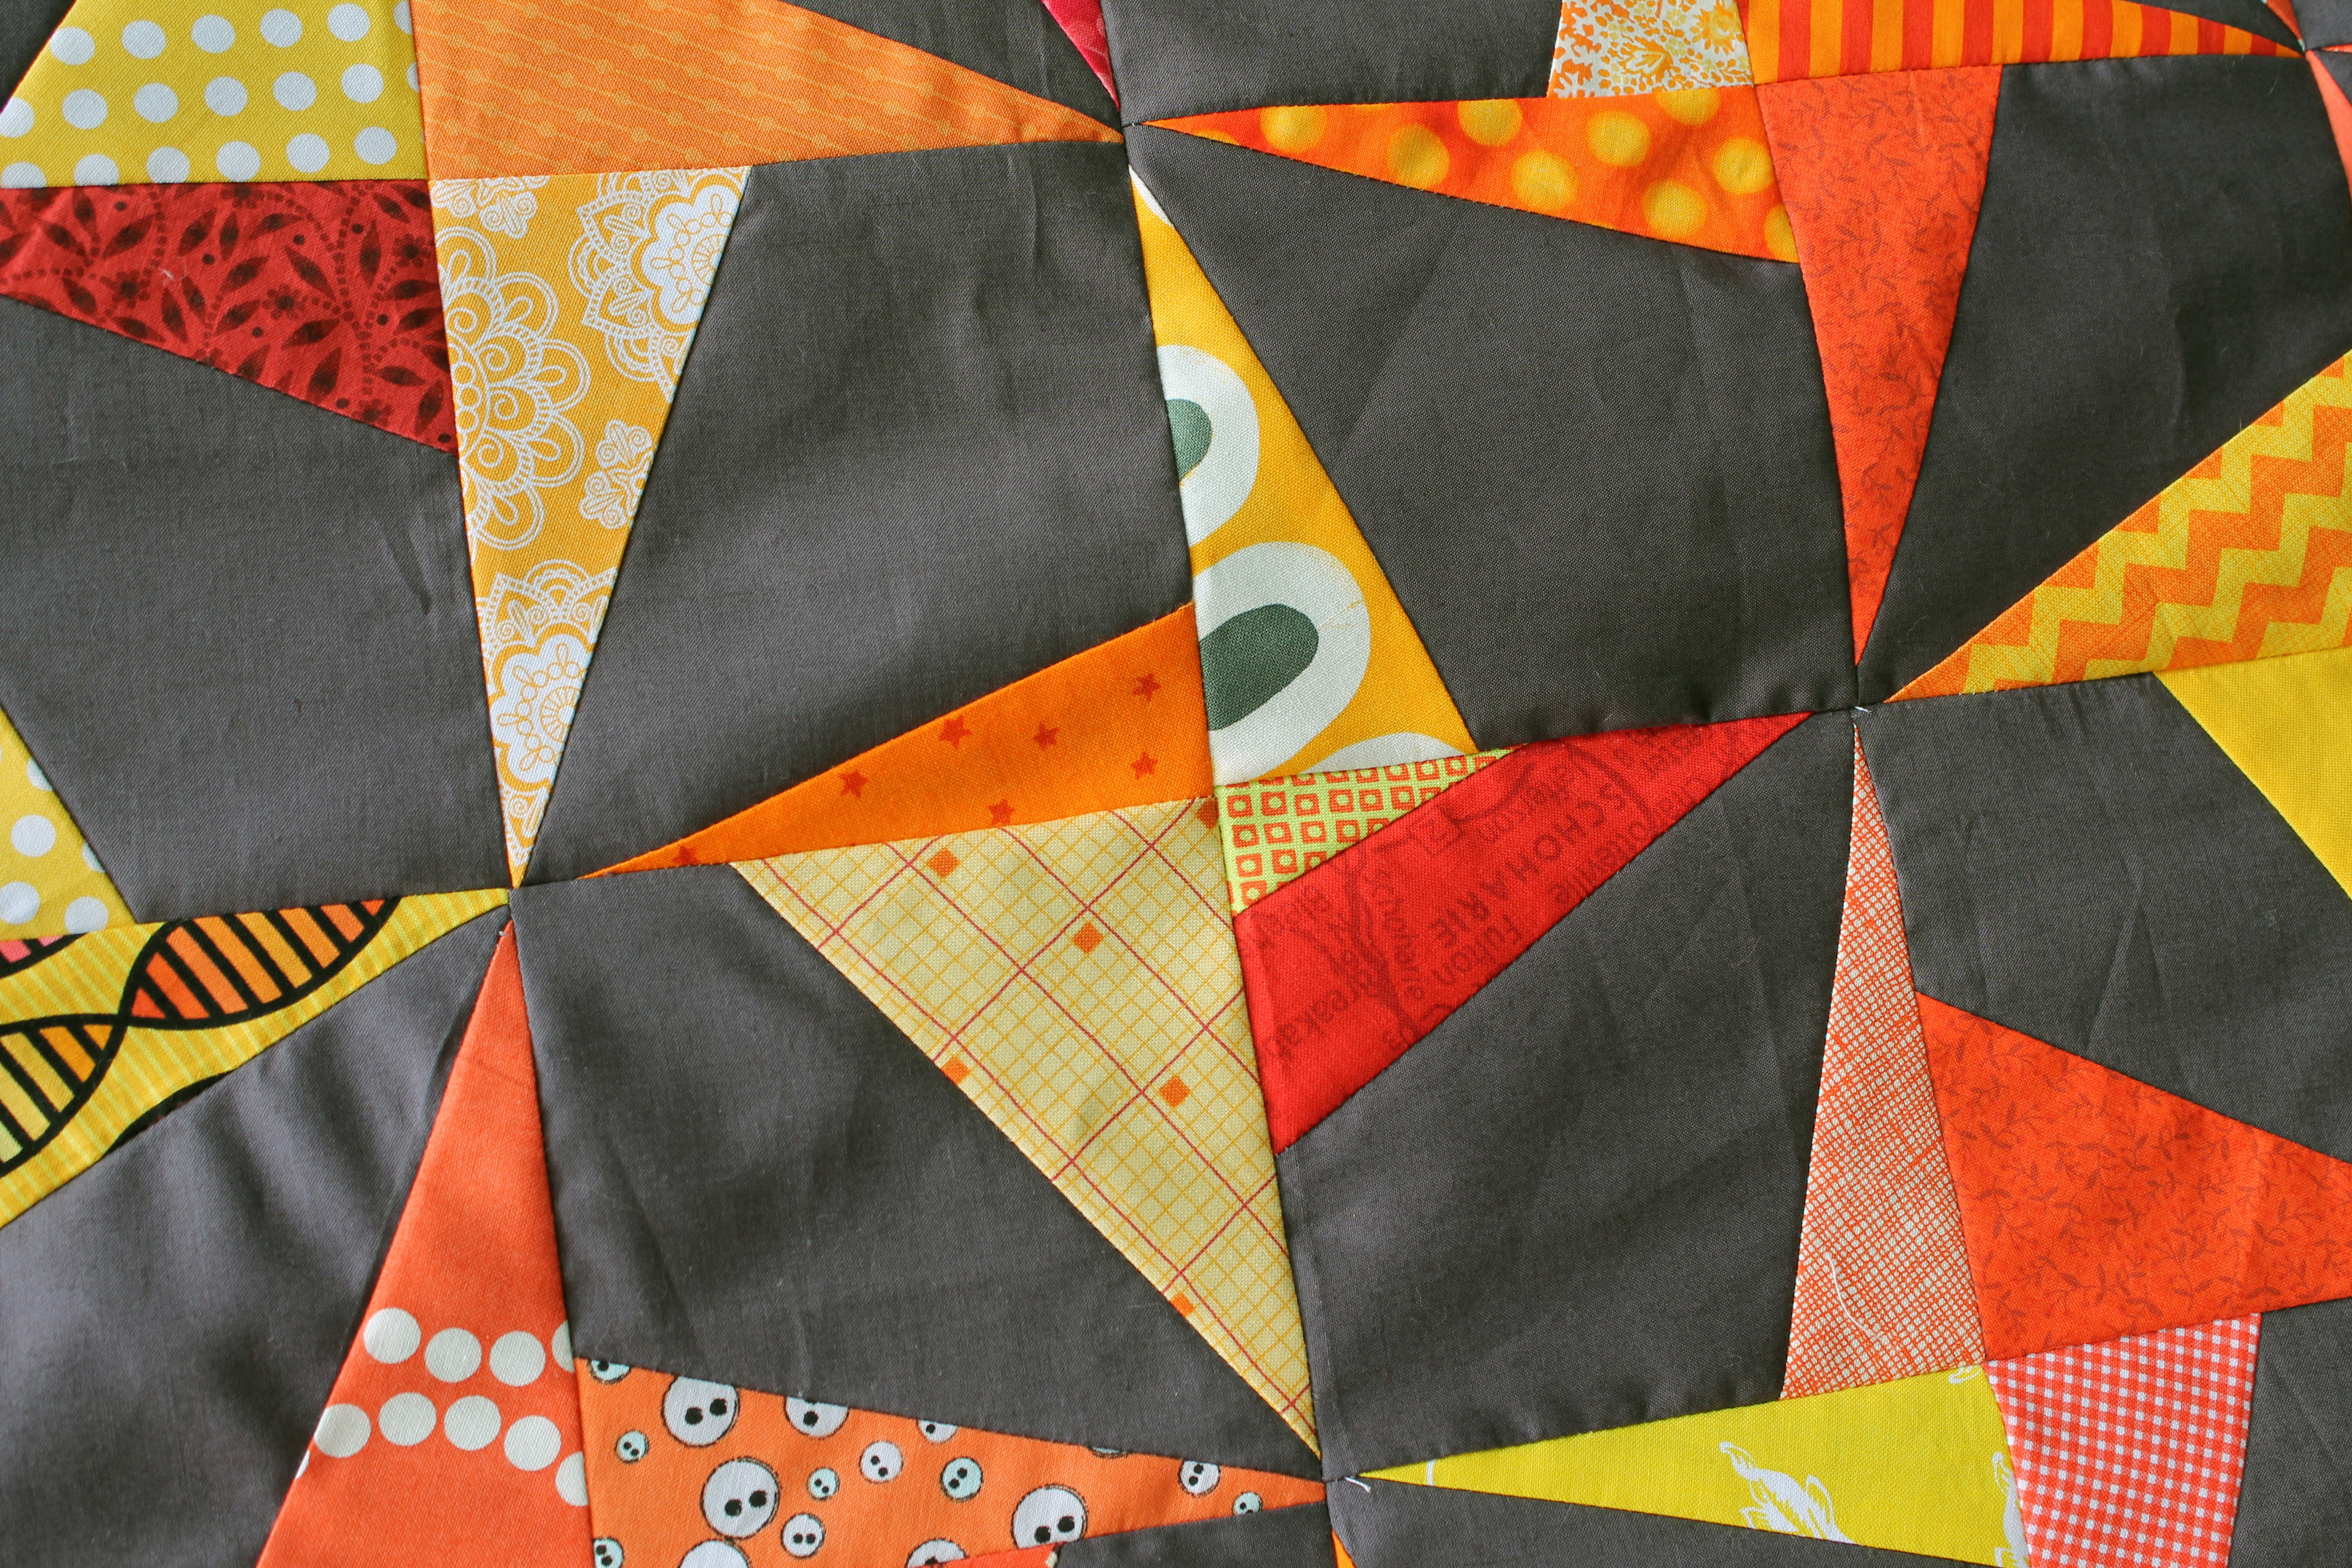
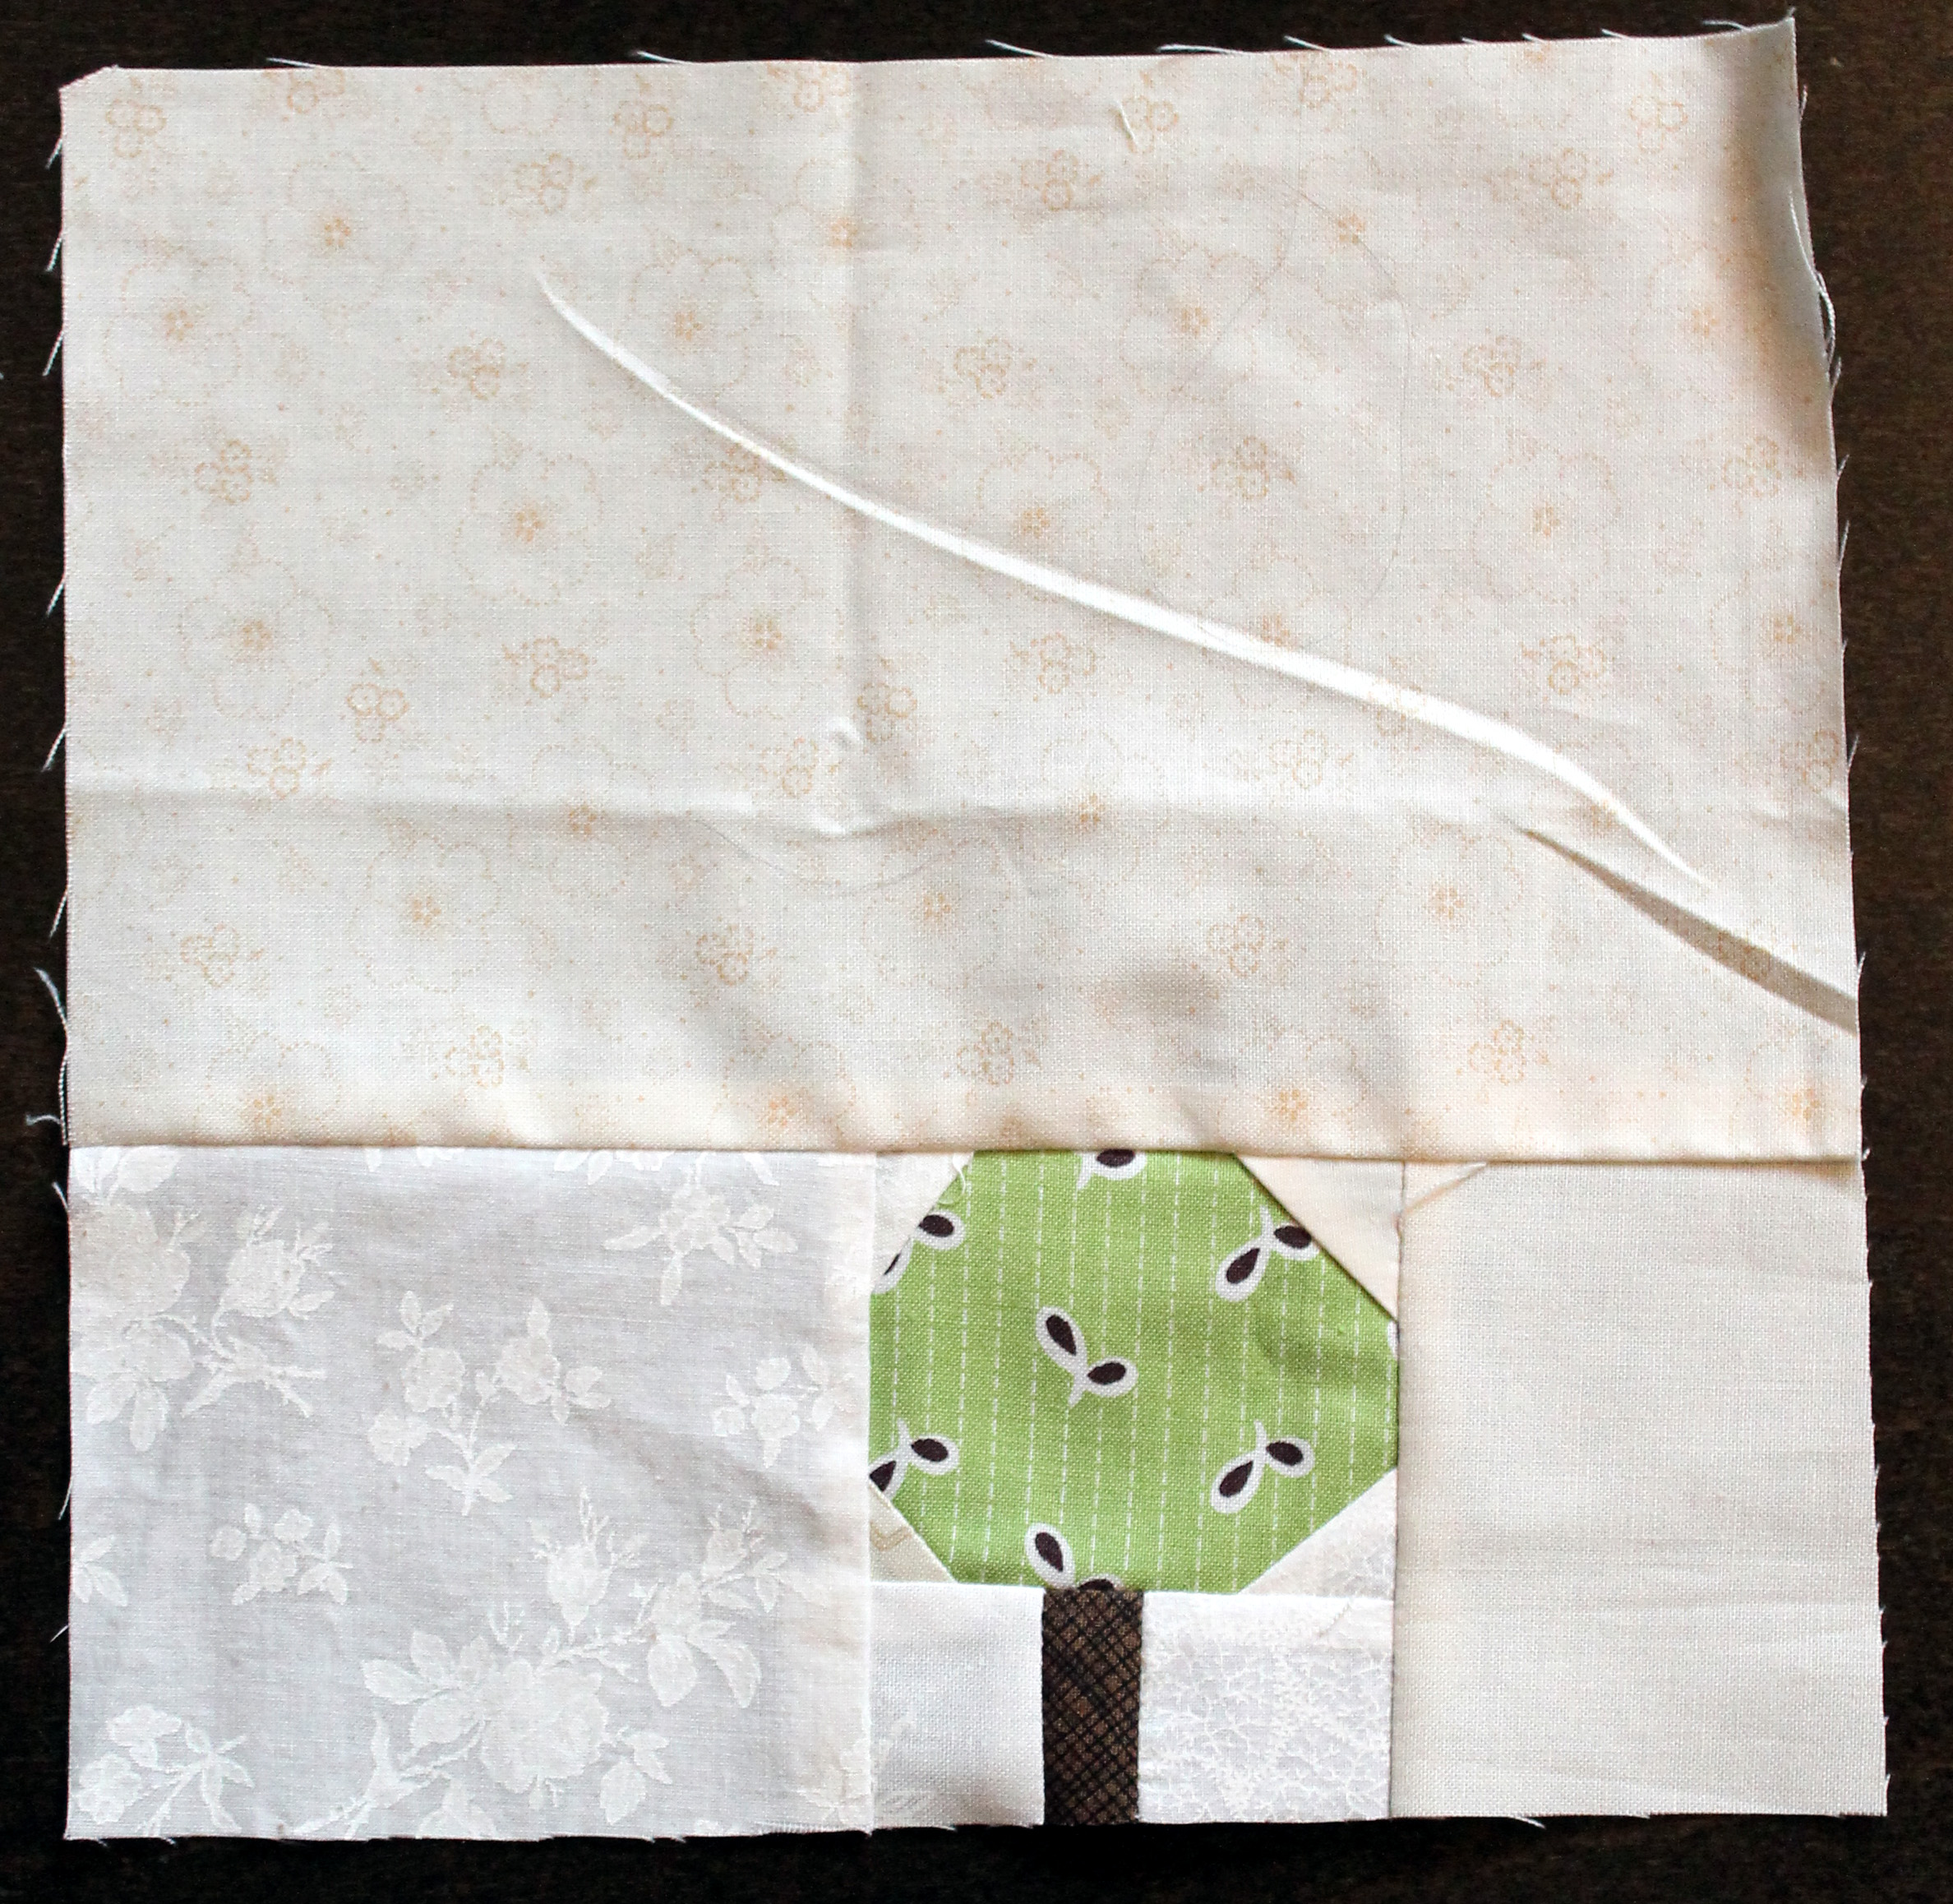
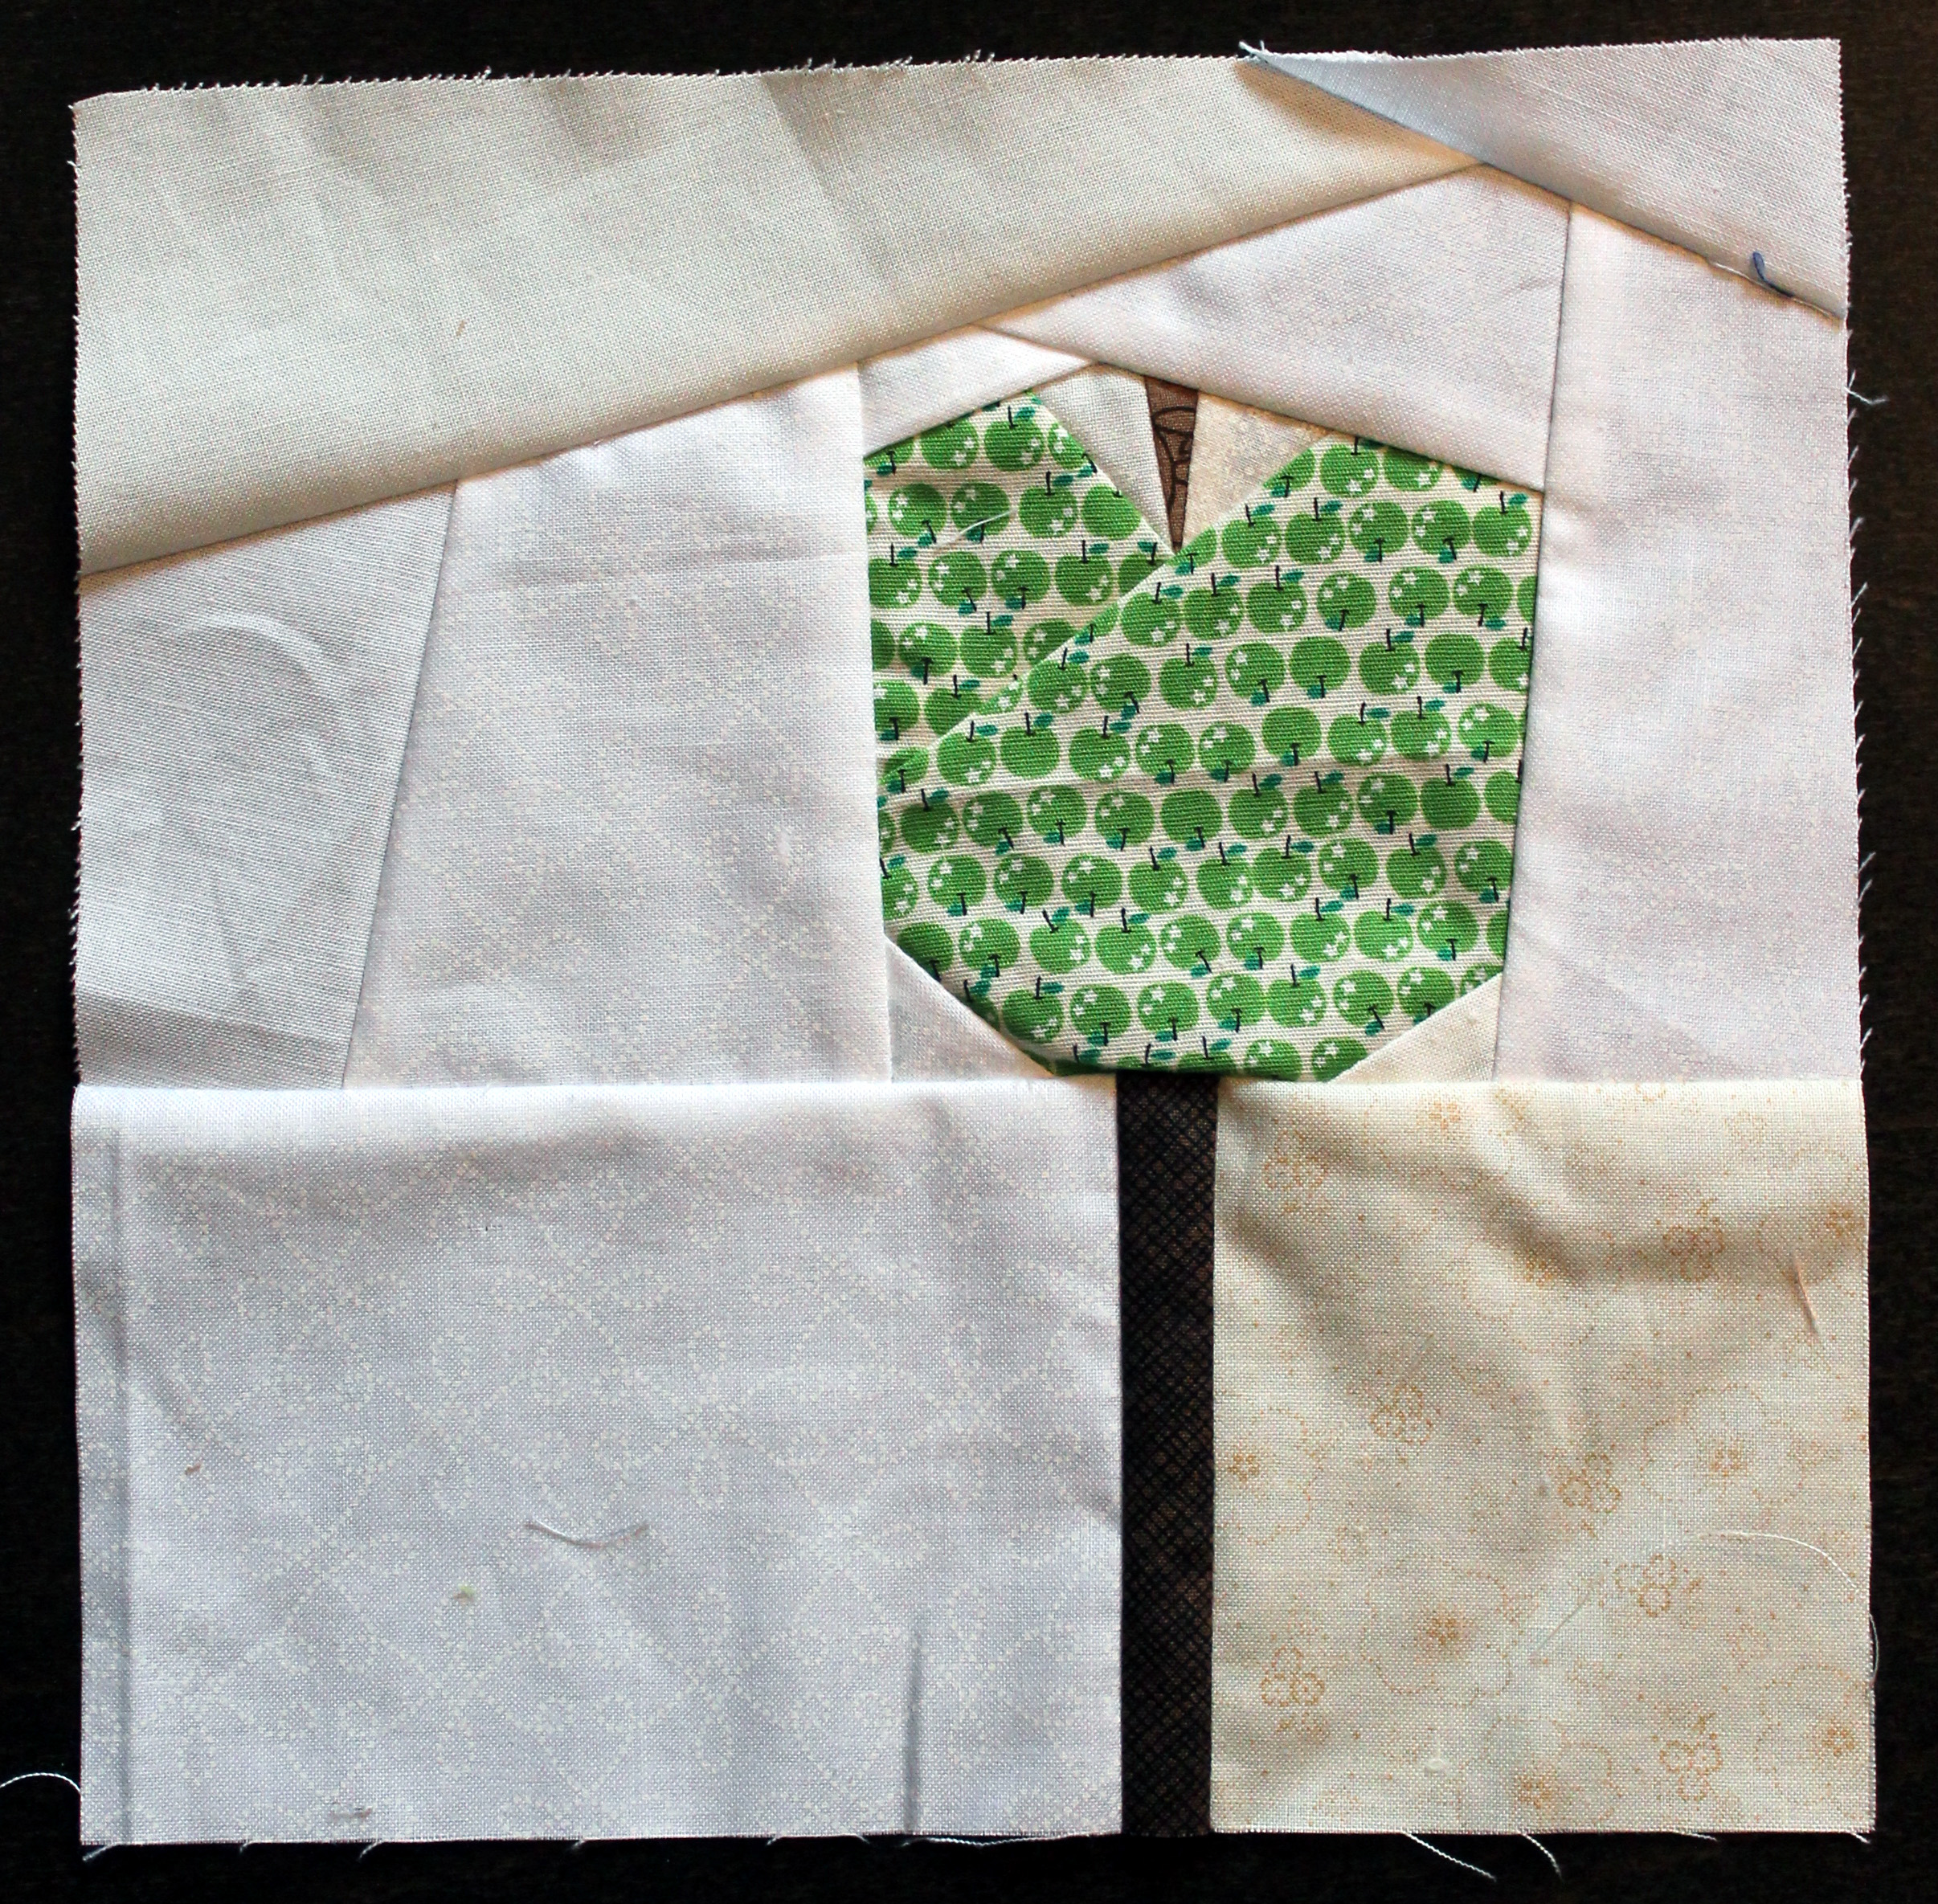
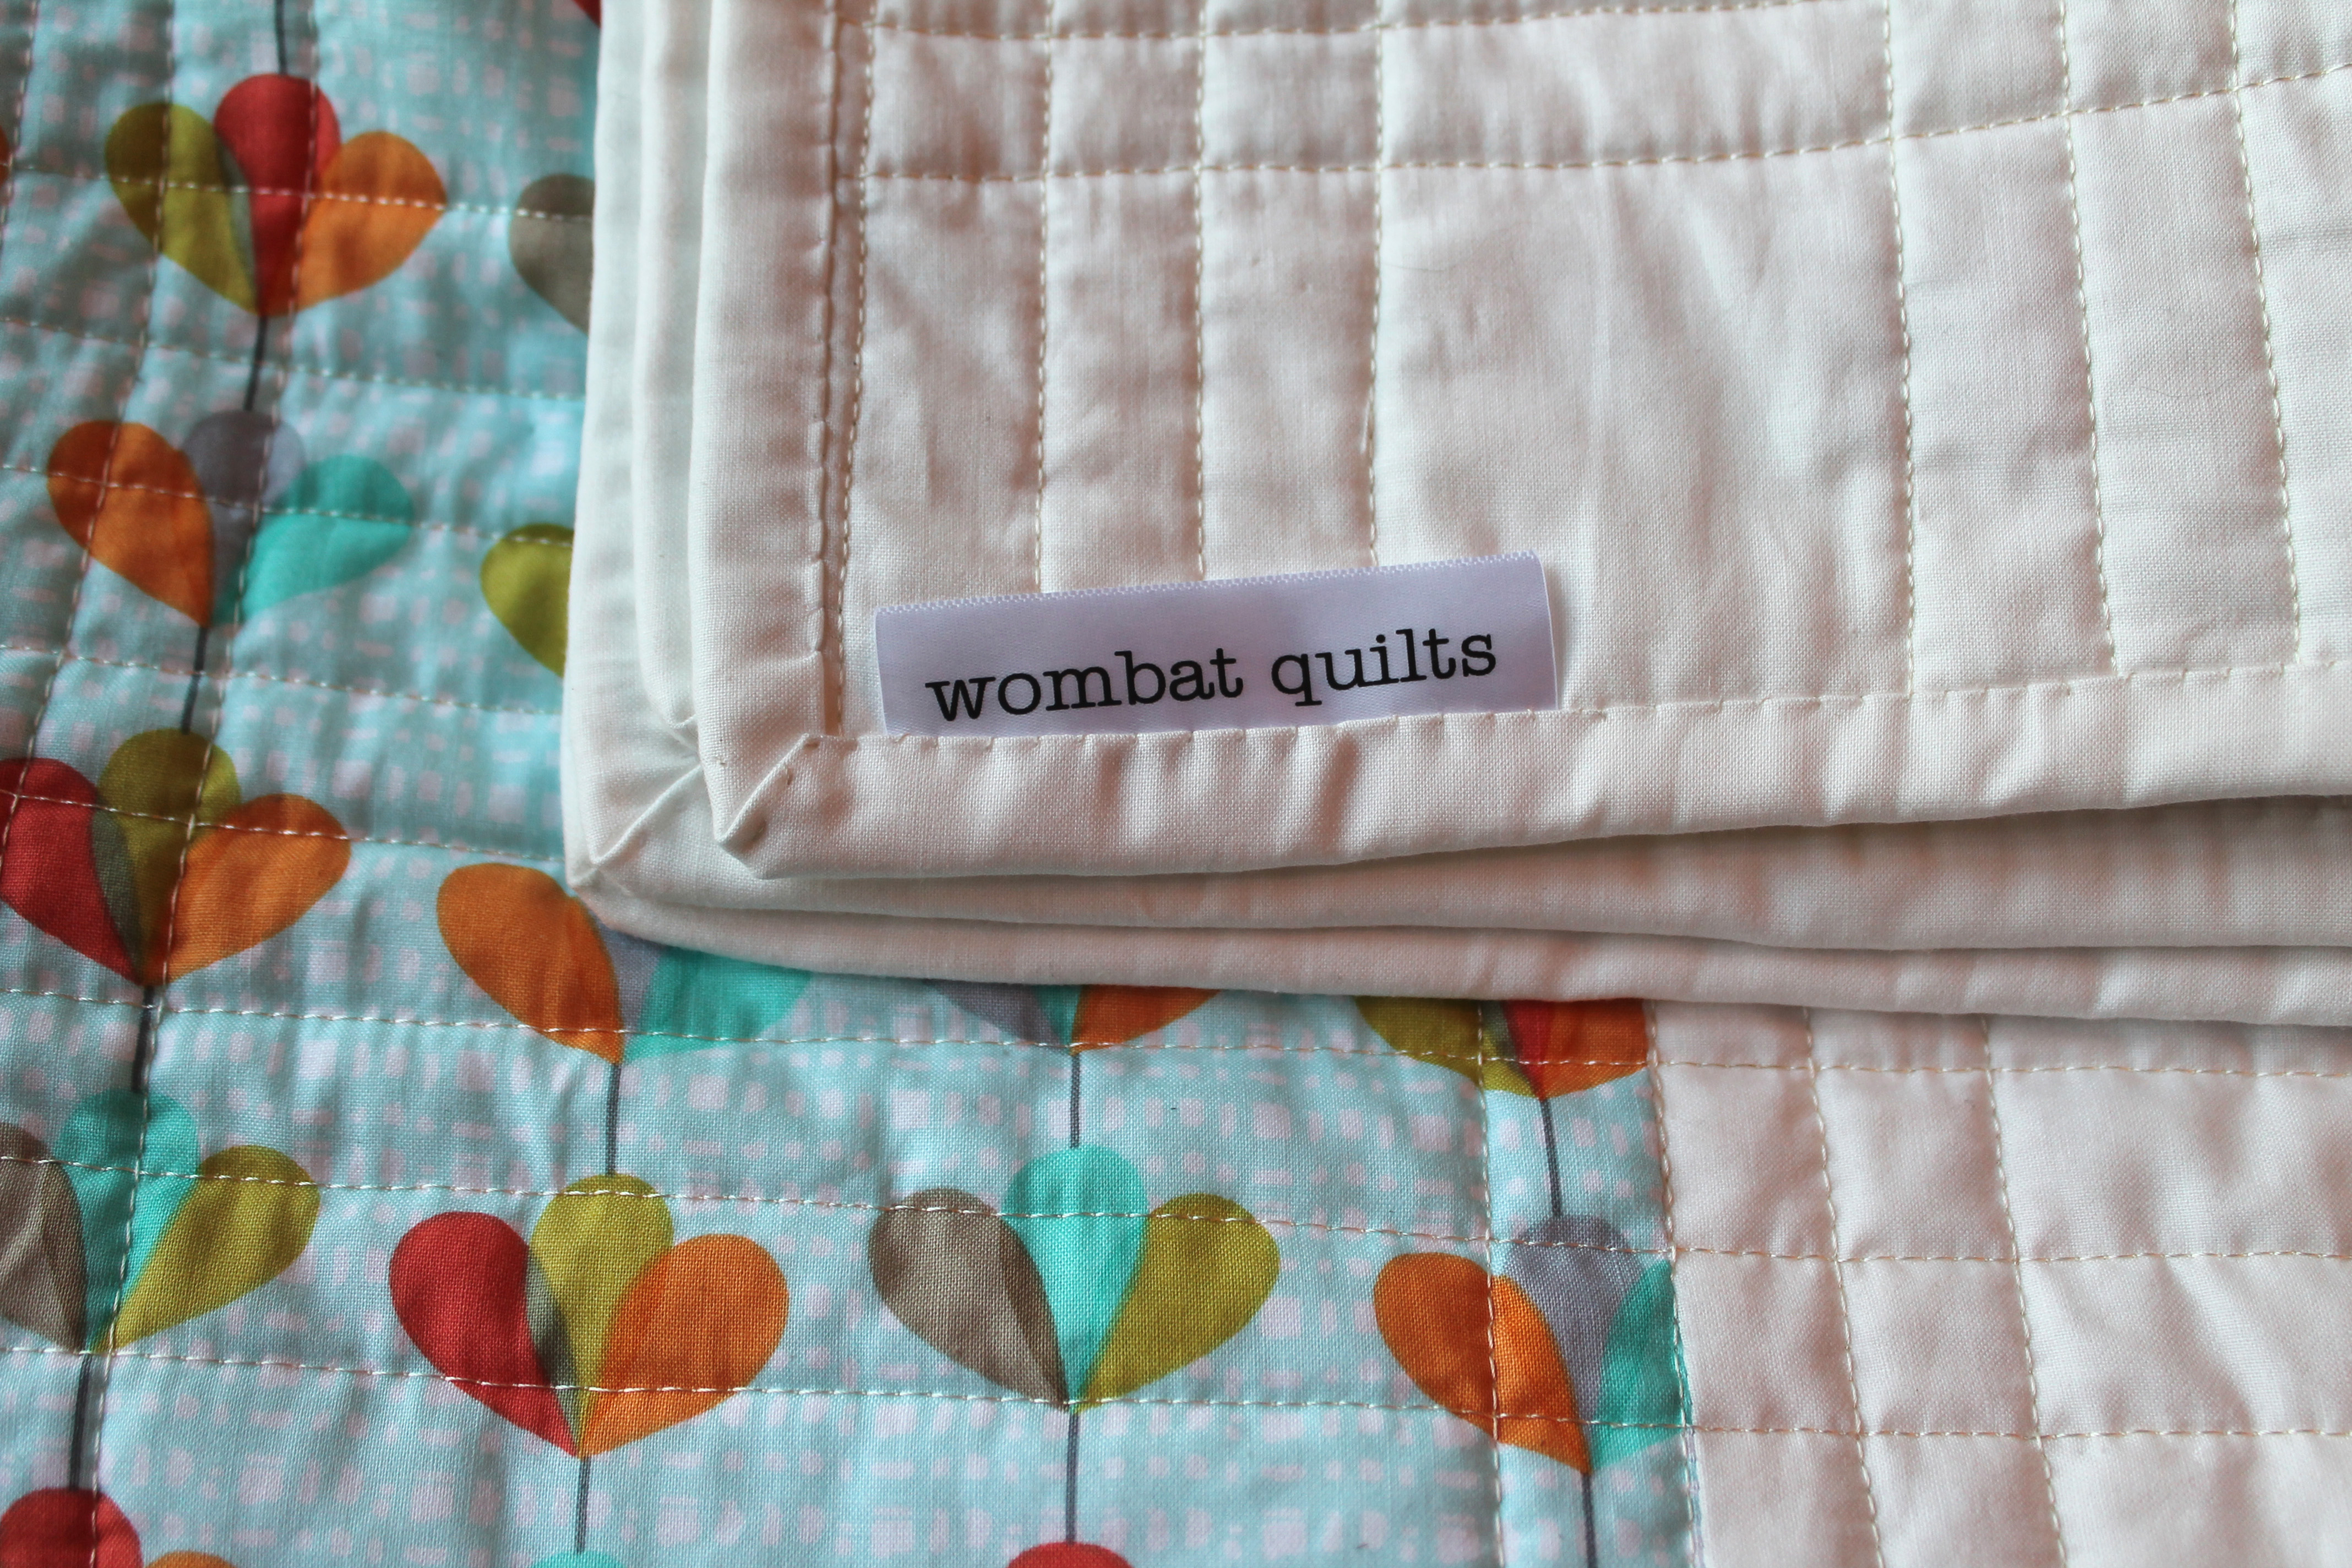
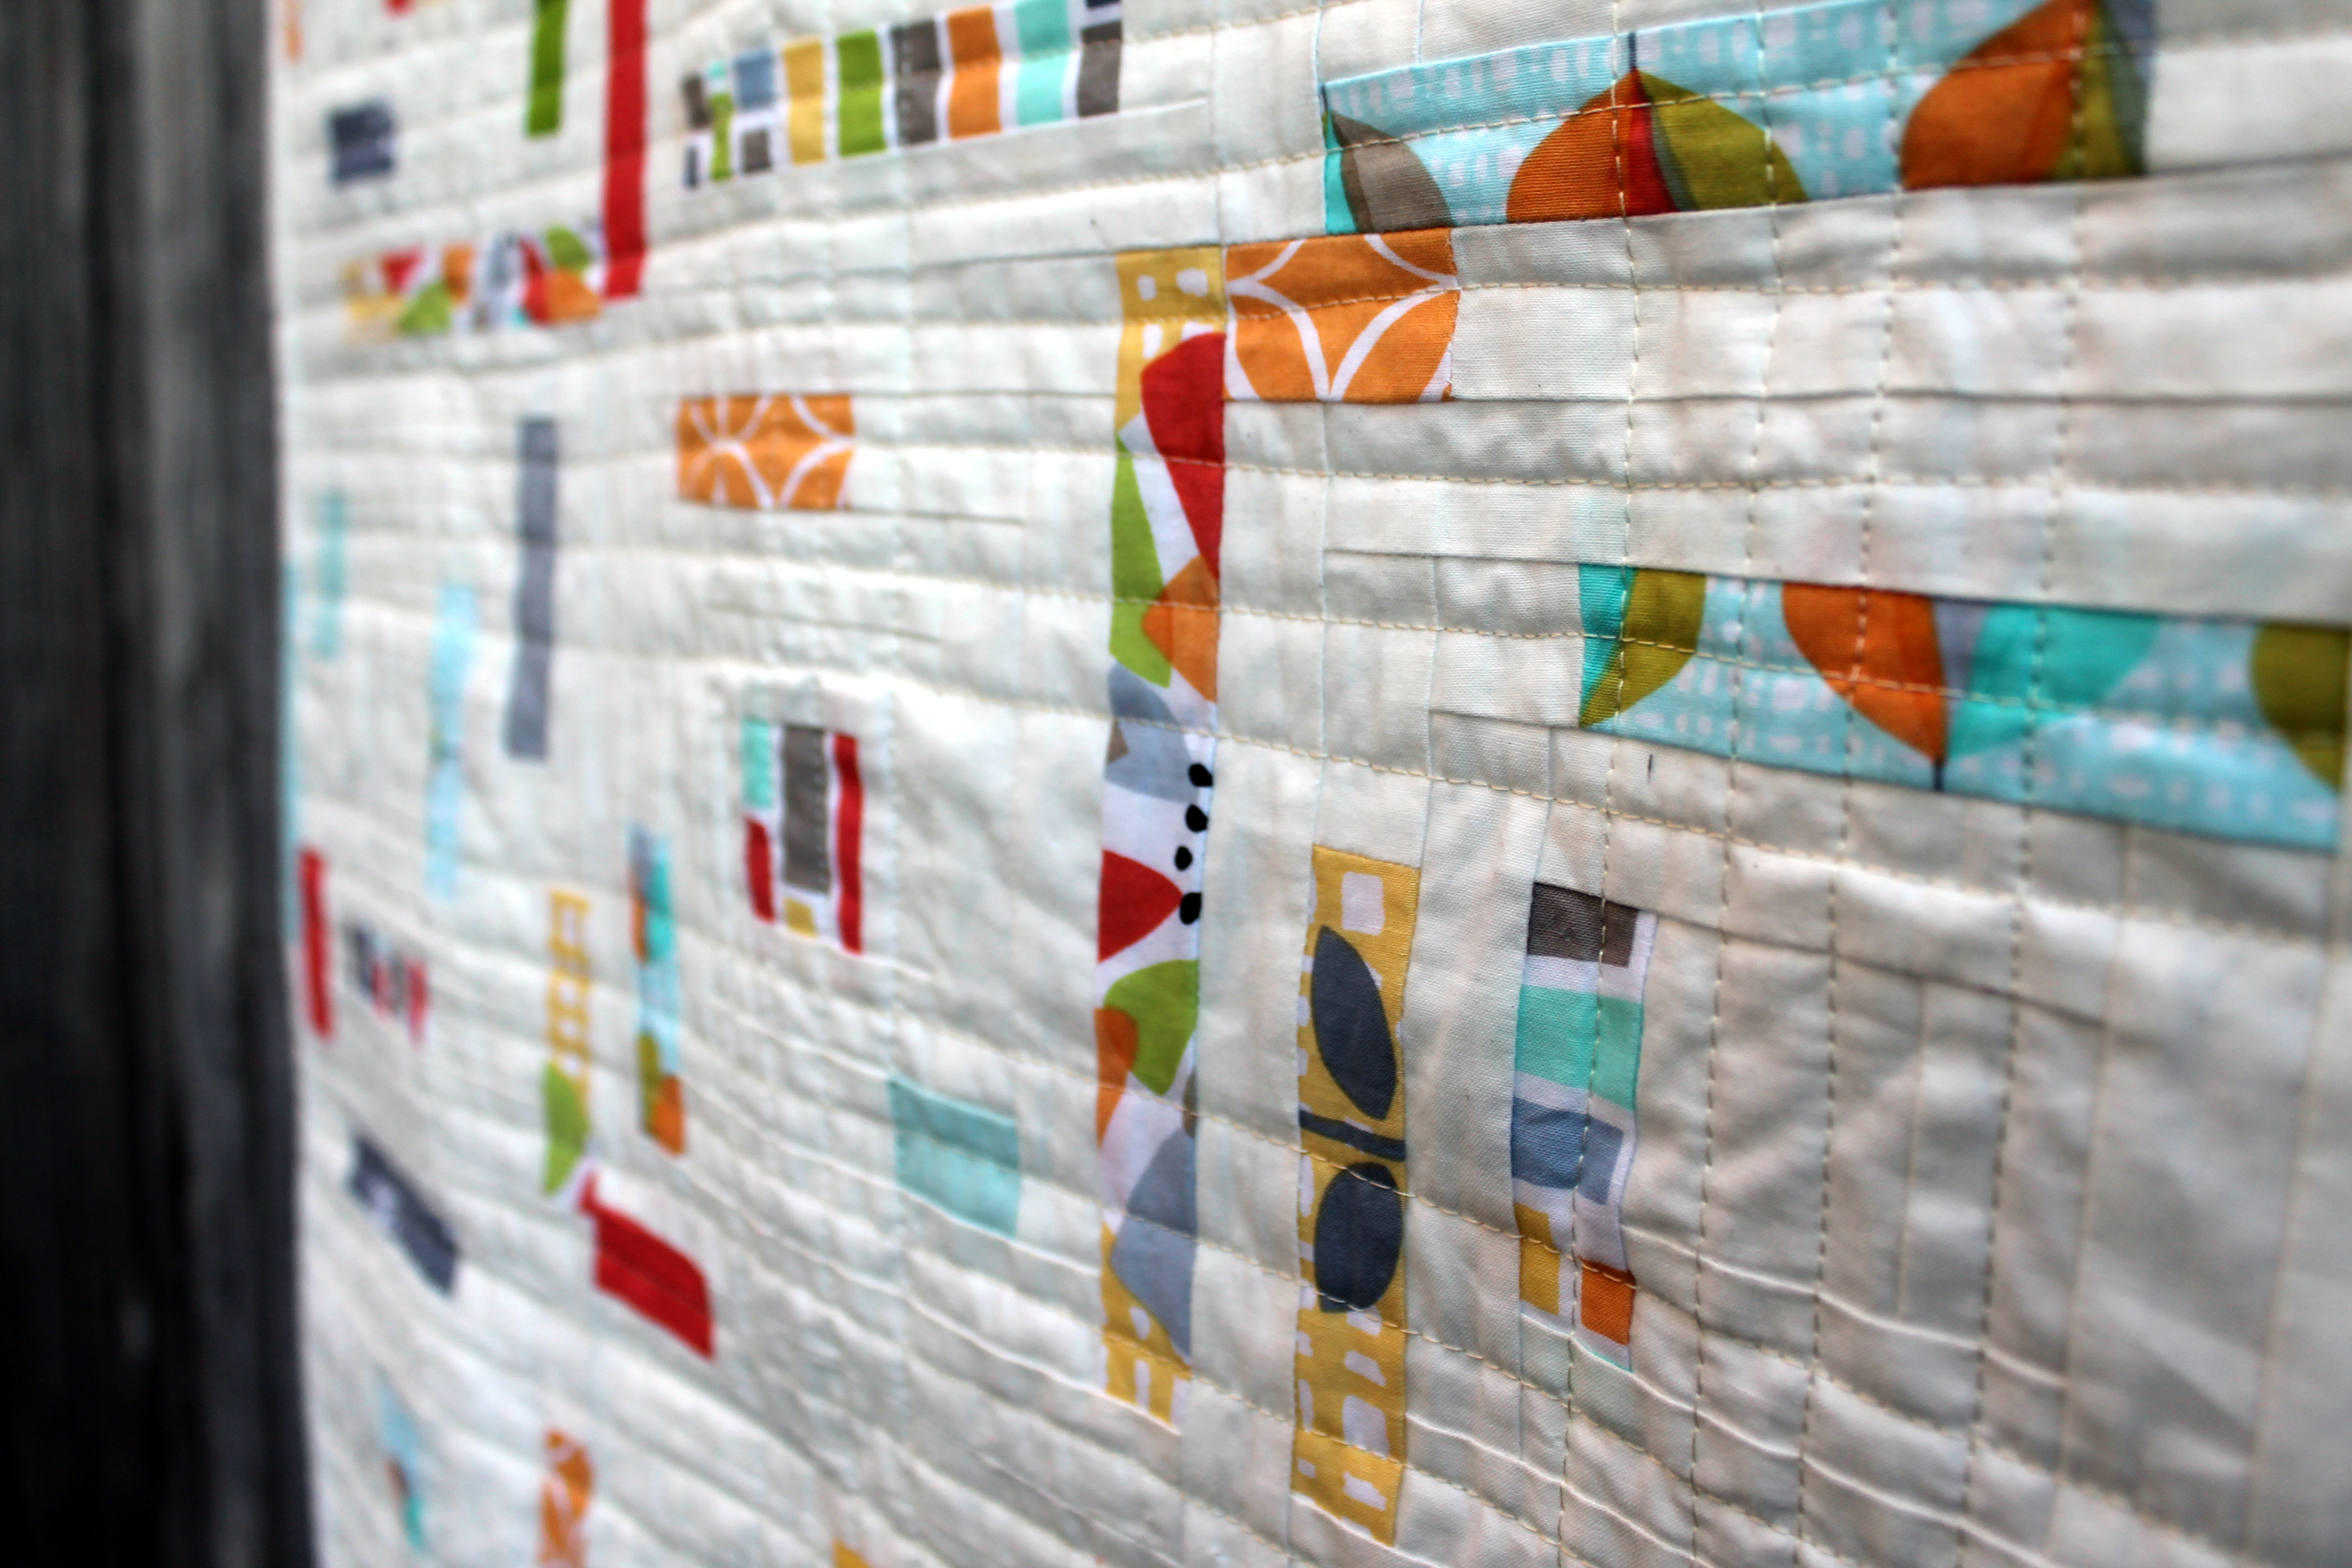
The wonderful flower print in particular was great fun to work with, as every piece was so different.

Michael miller challenge quilt detail 2
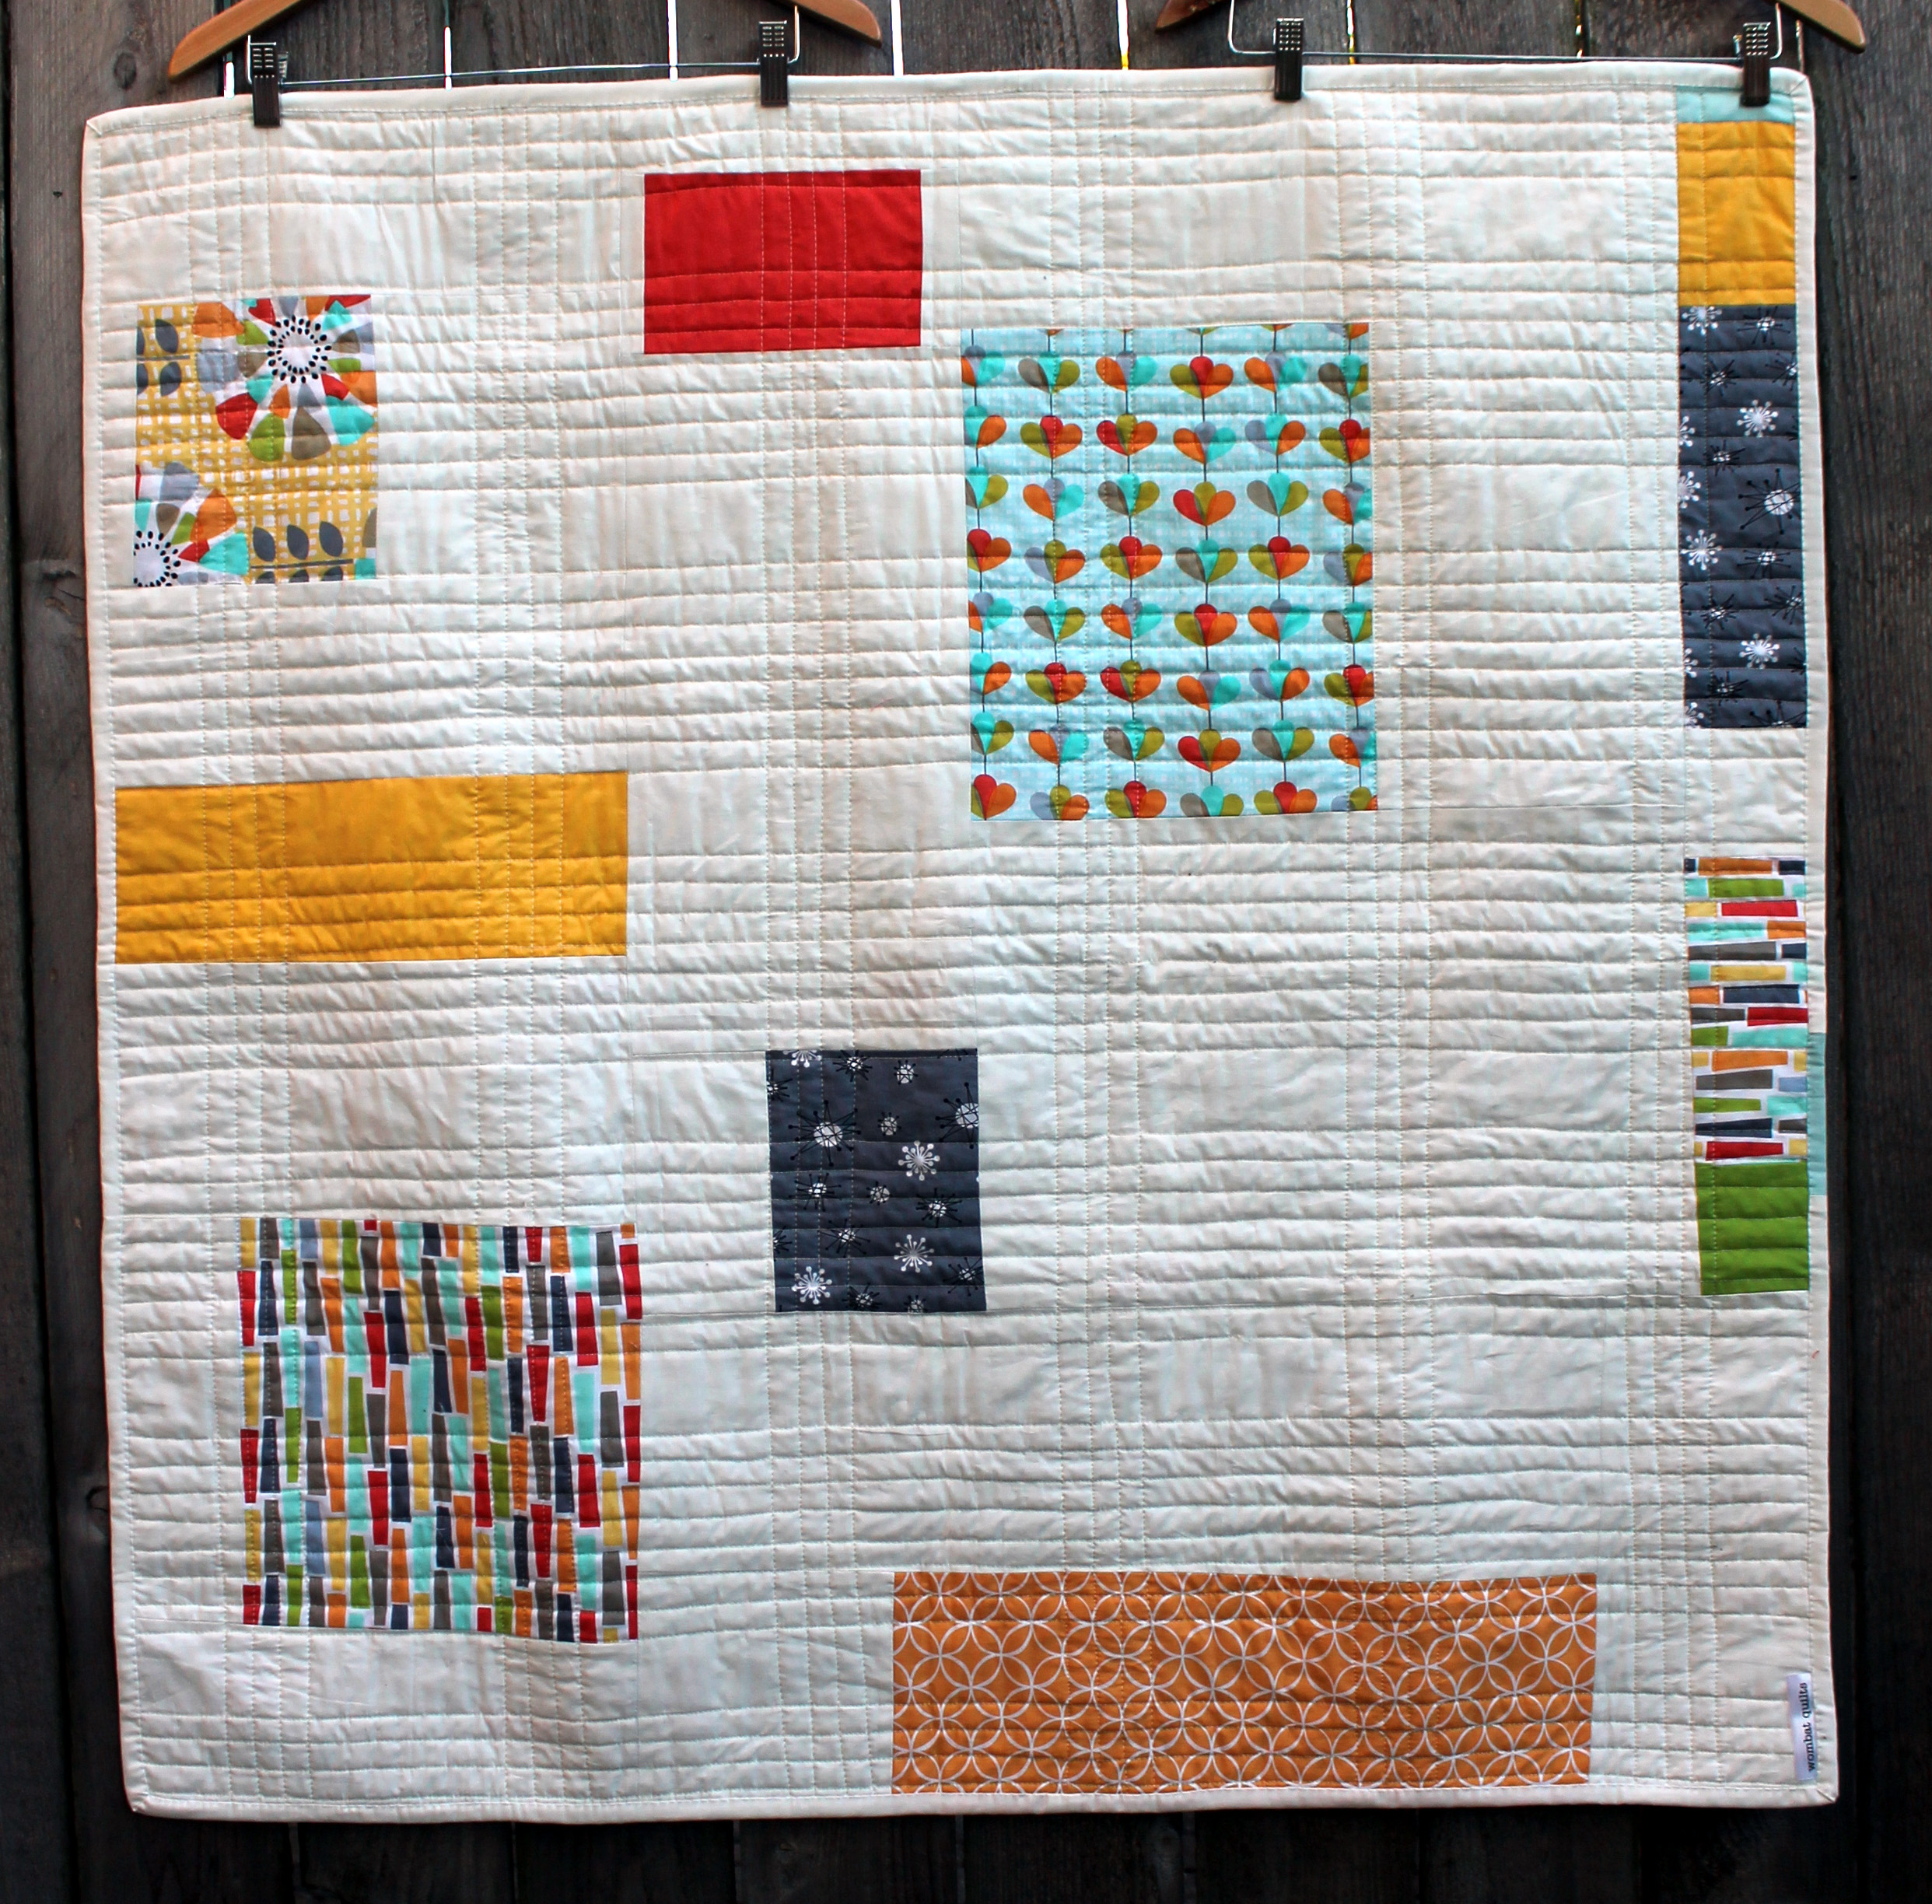
For the back of the quilt I “borrowed” some of a friends extra fabric, as well as some of the scraps left over from my top…

quilt back
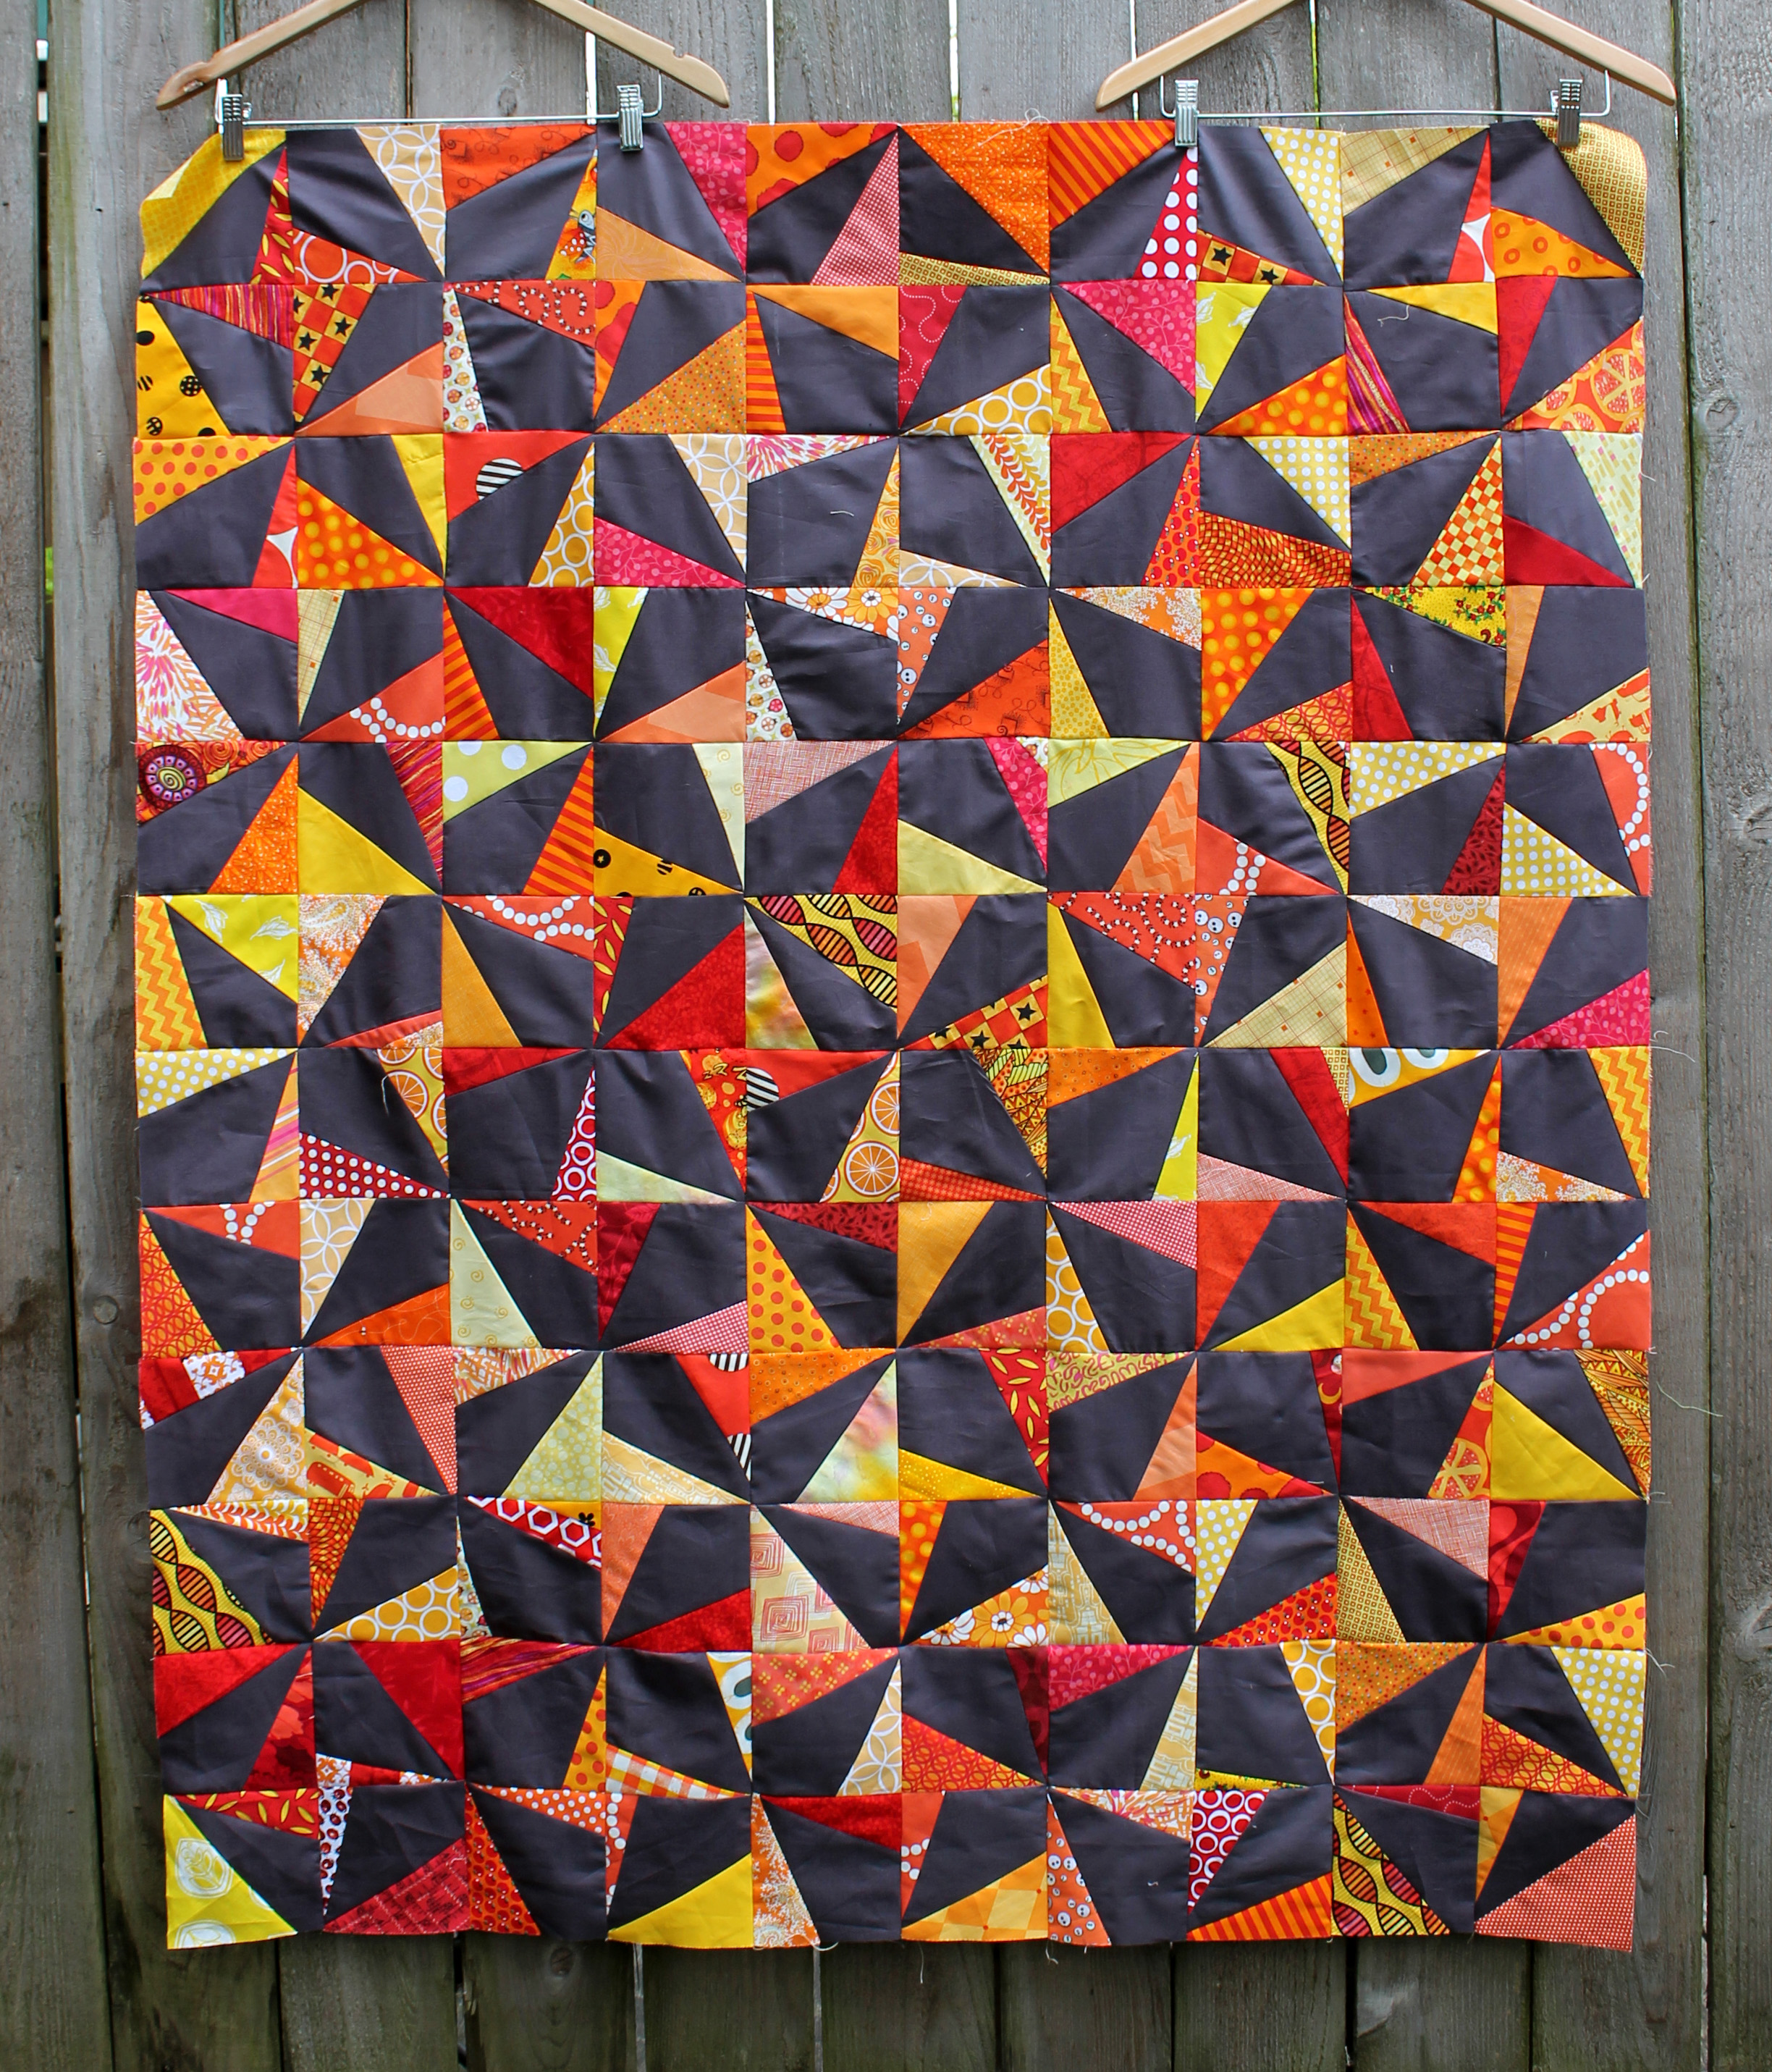
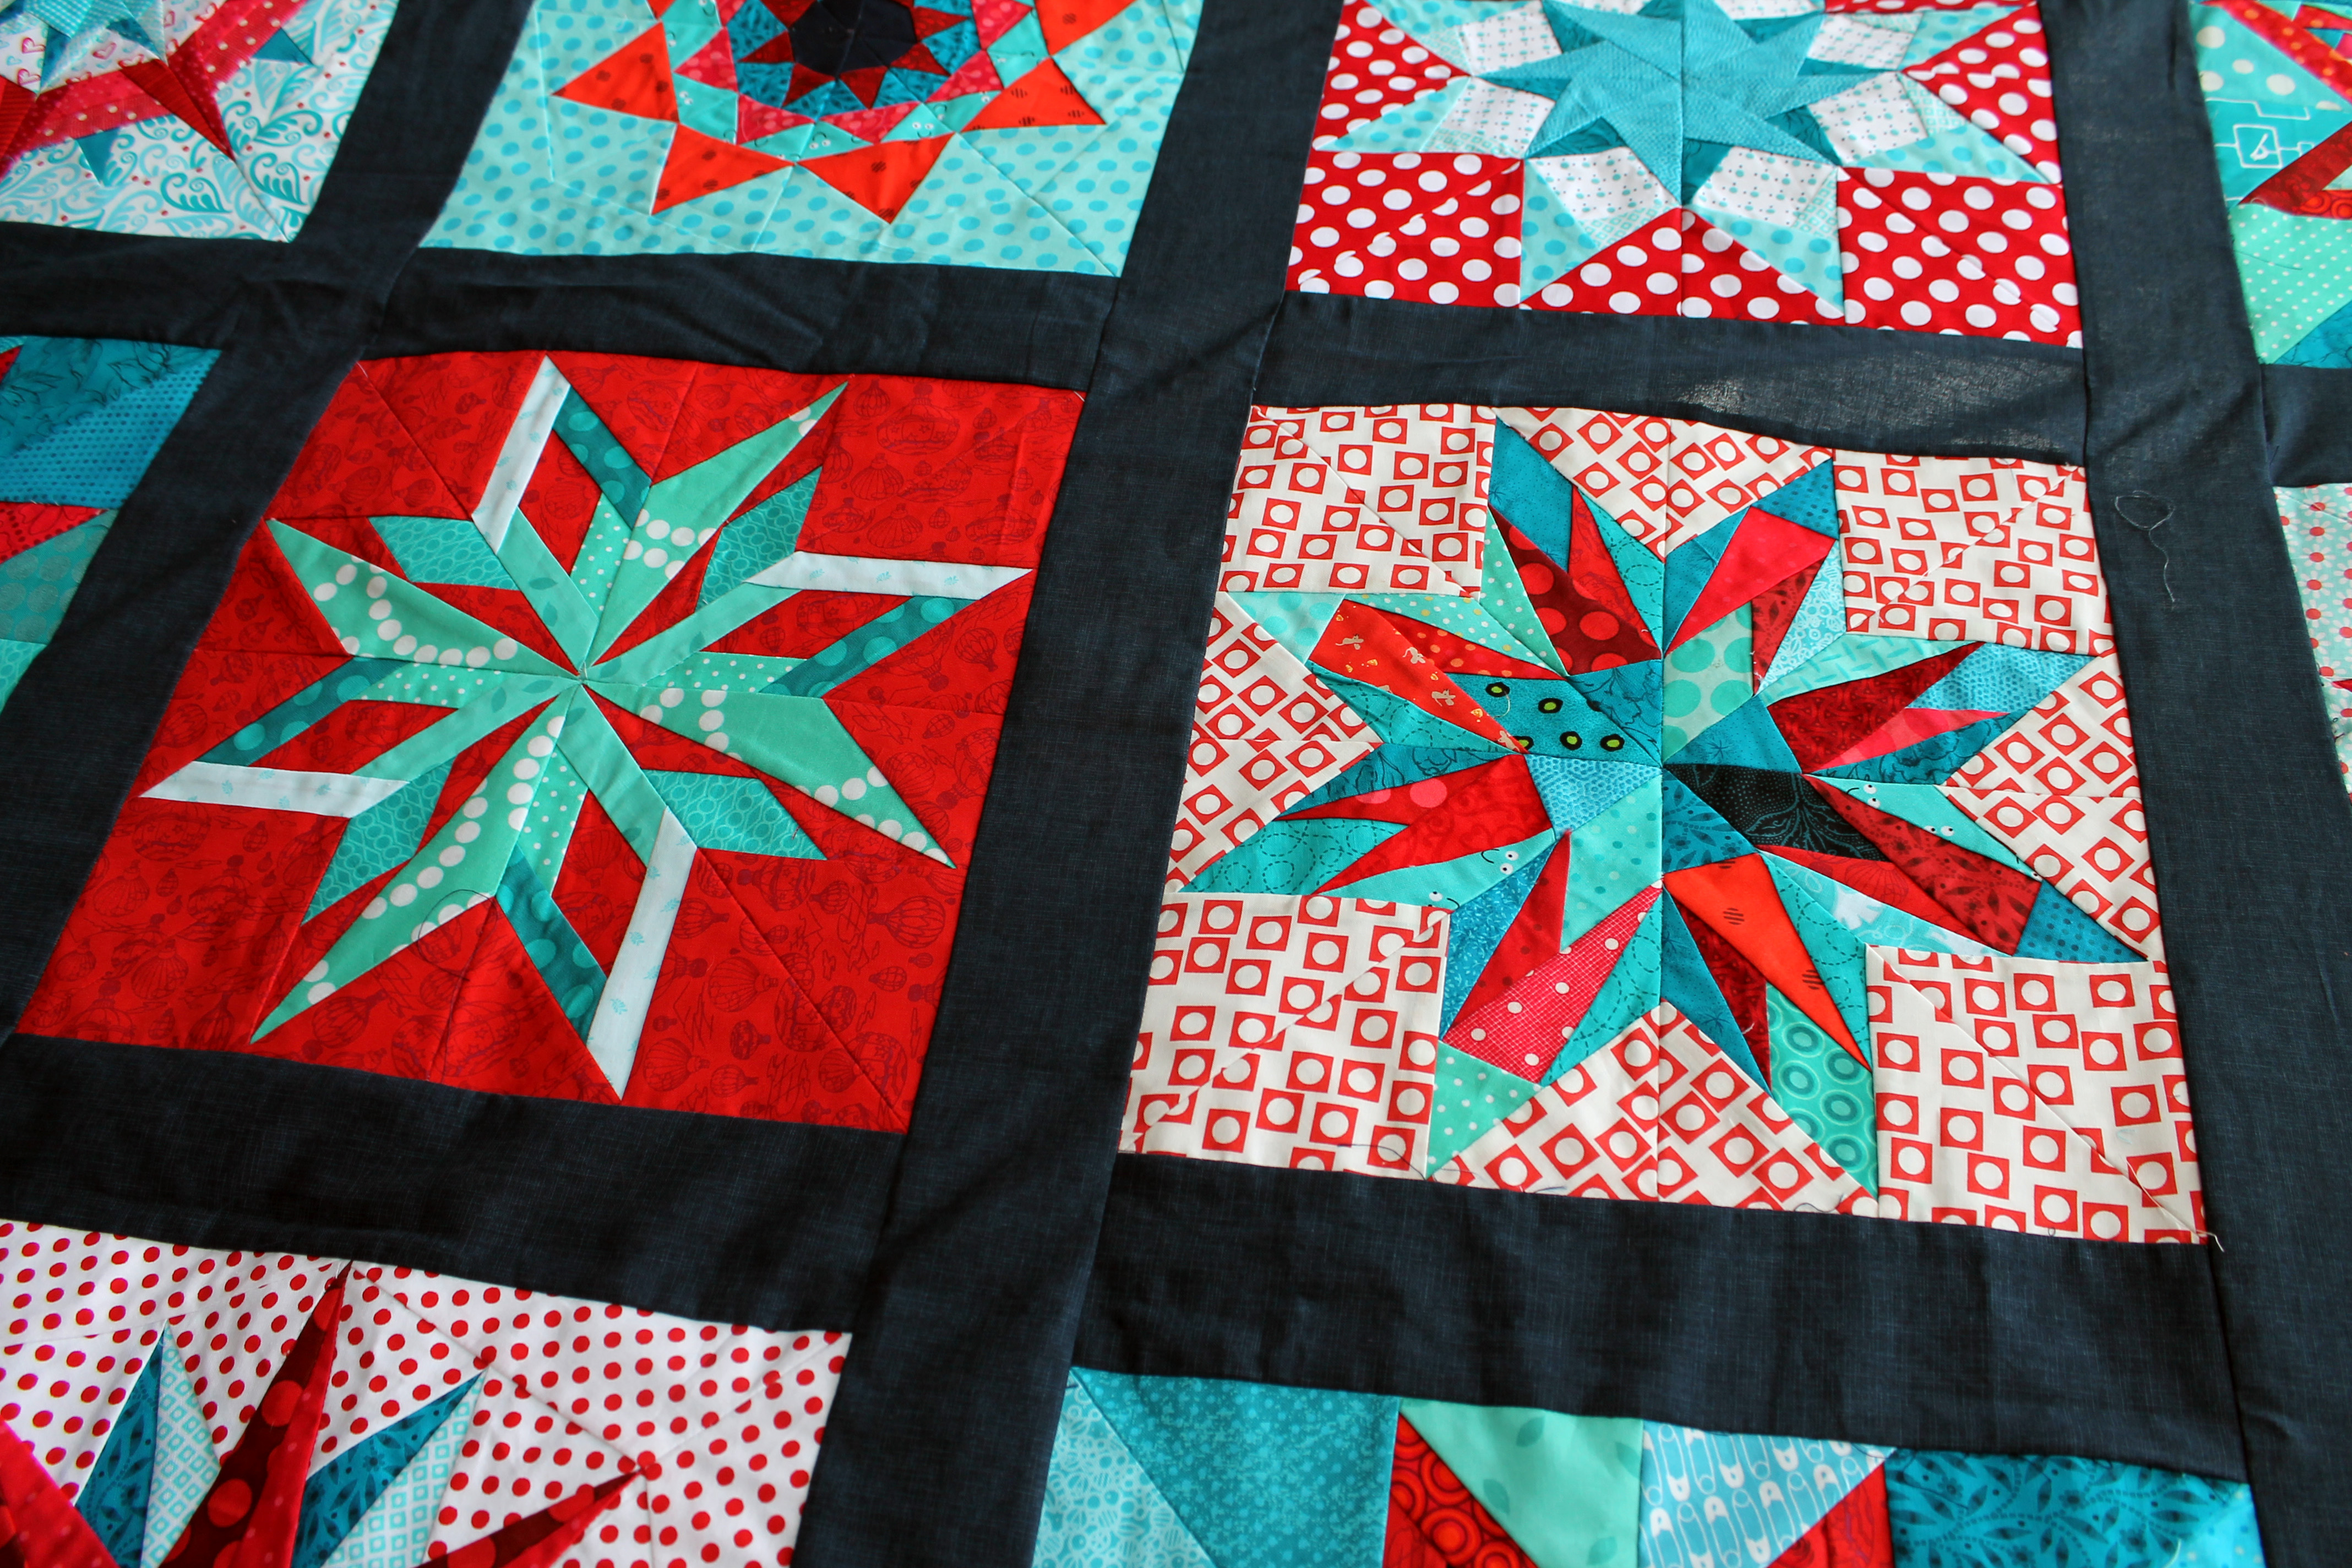
For the quilting I went with straight lines in a plaid formation, dictated by the log cabins.  I used a cream thread and stitched right down the middle of the logs and I love the result.

quilting pattern
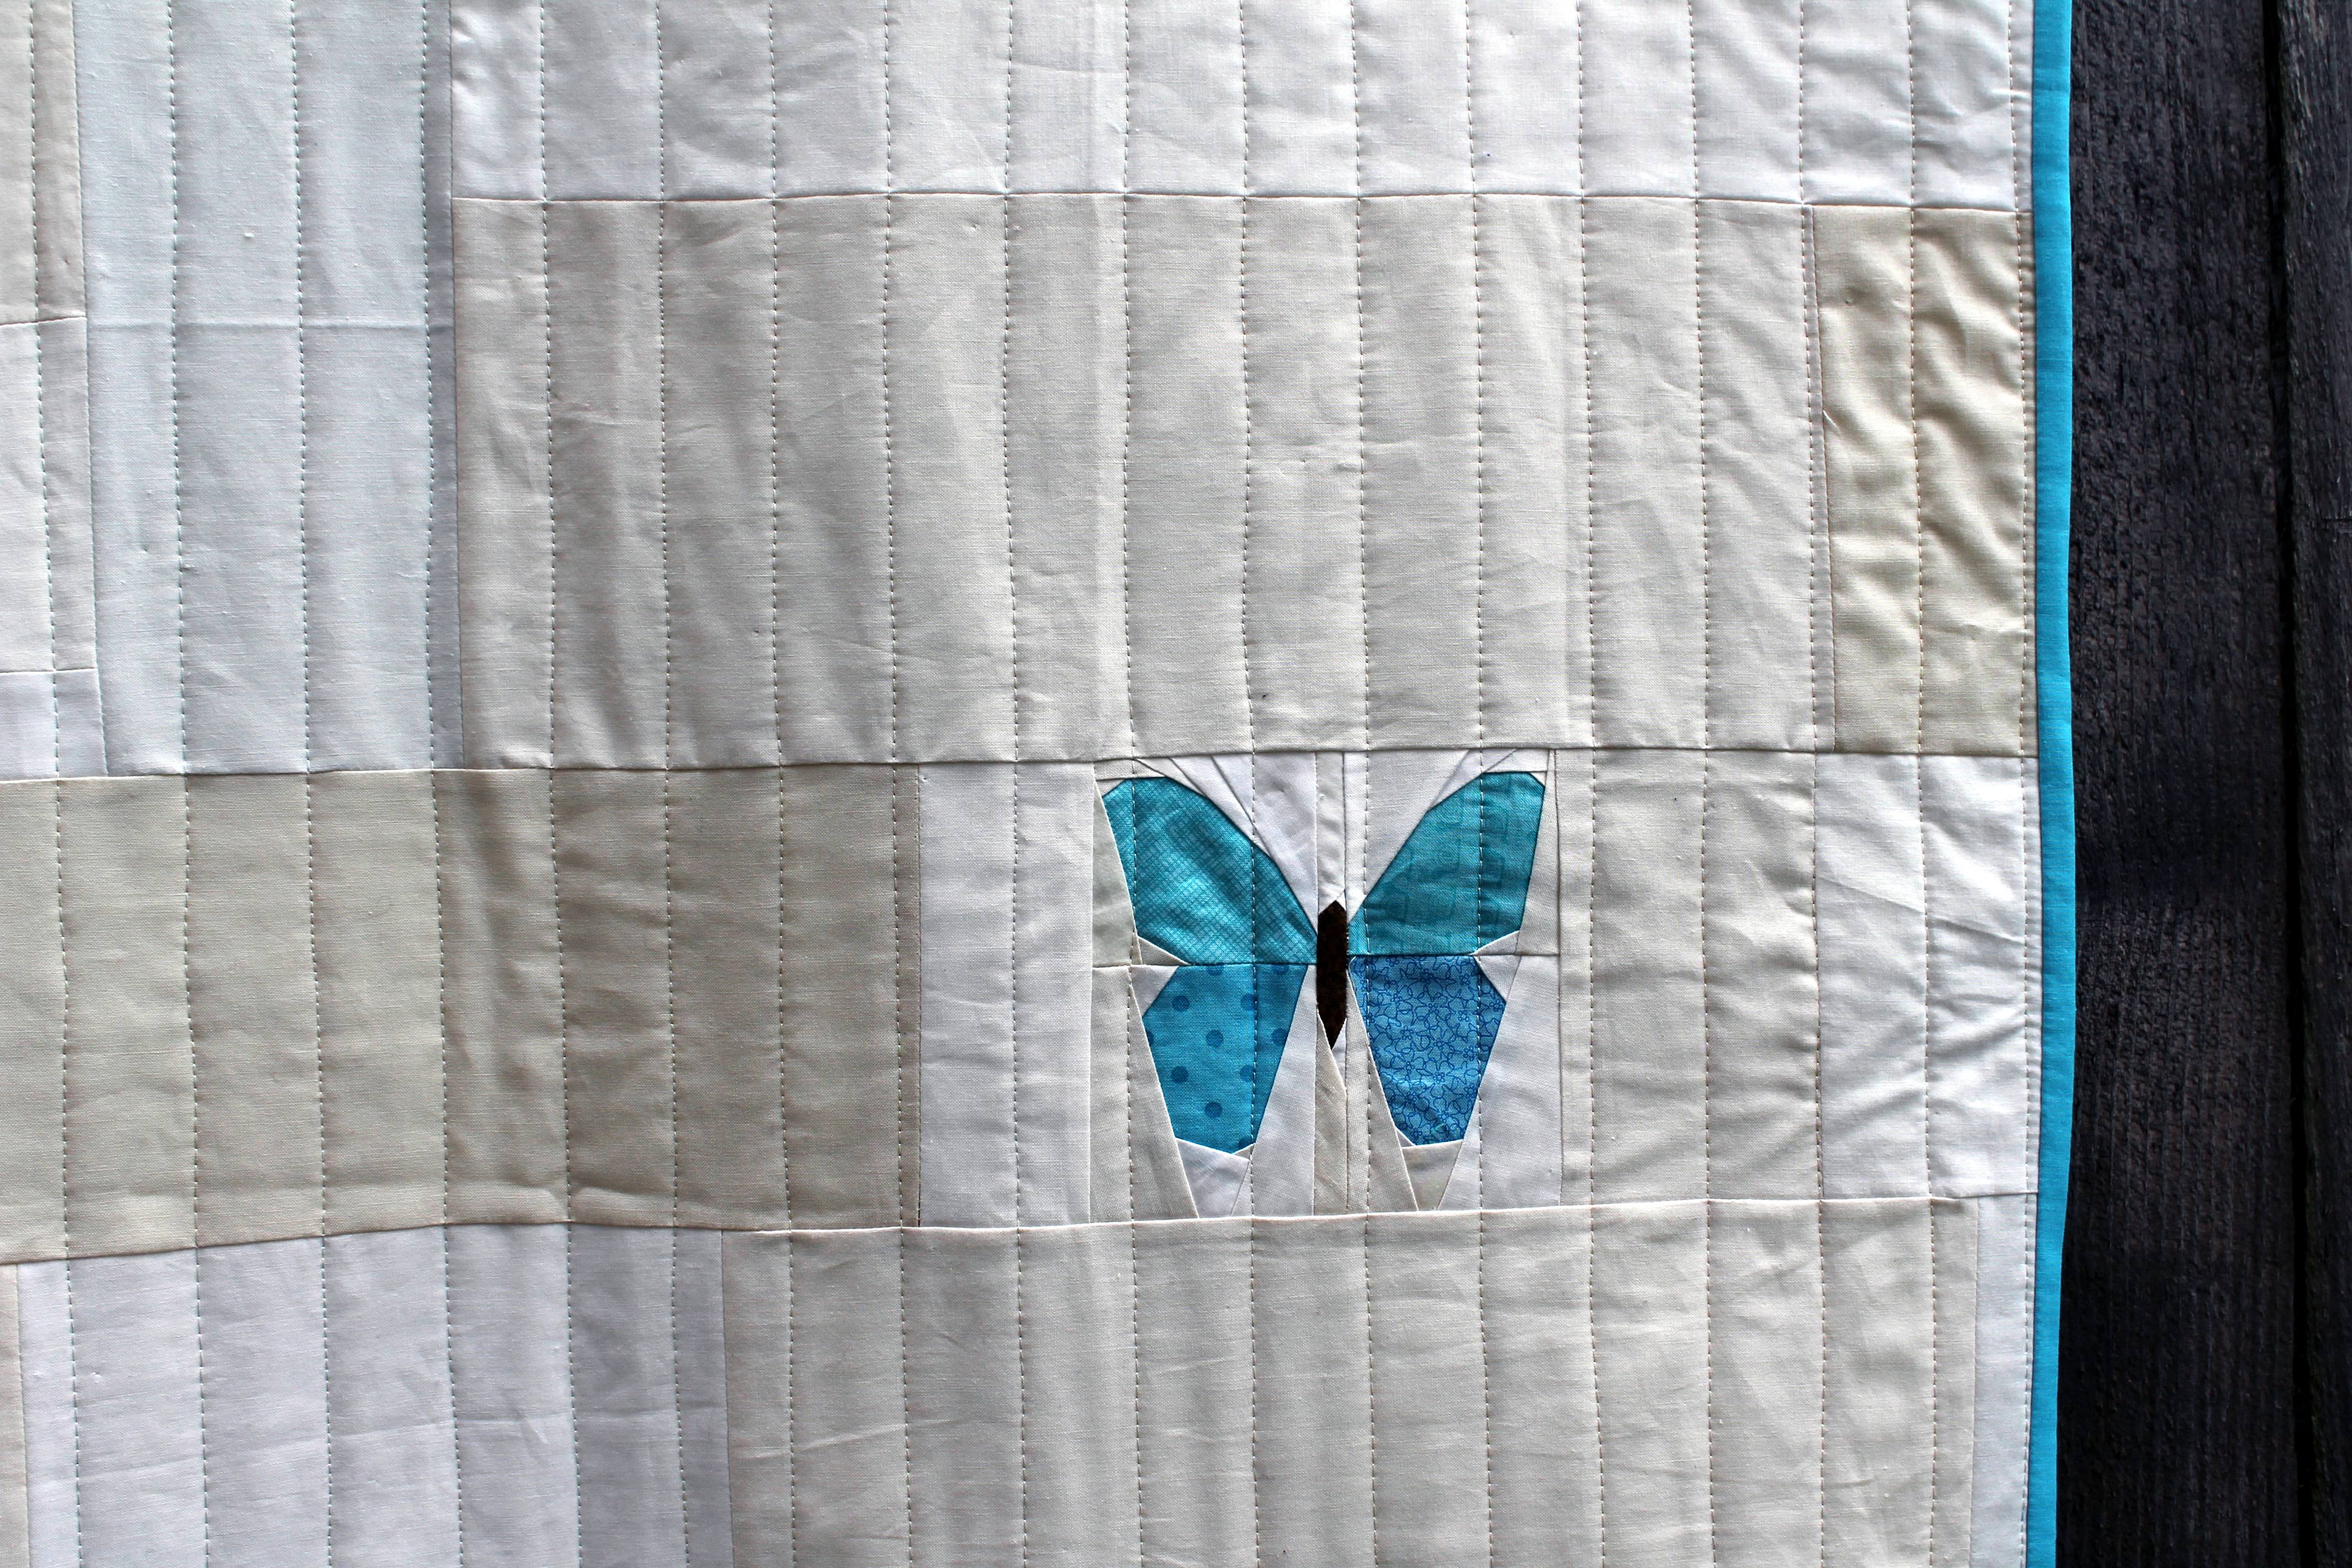
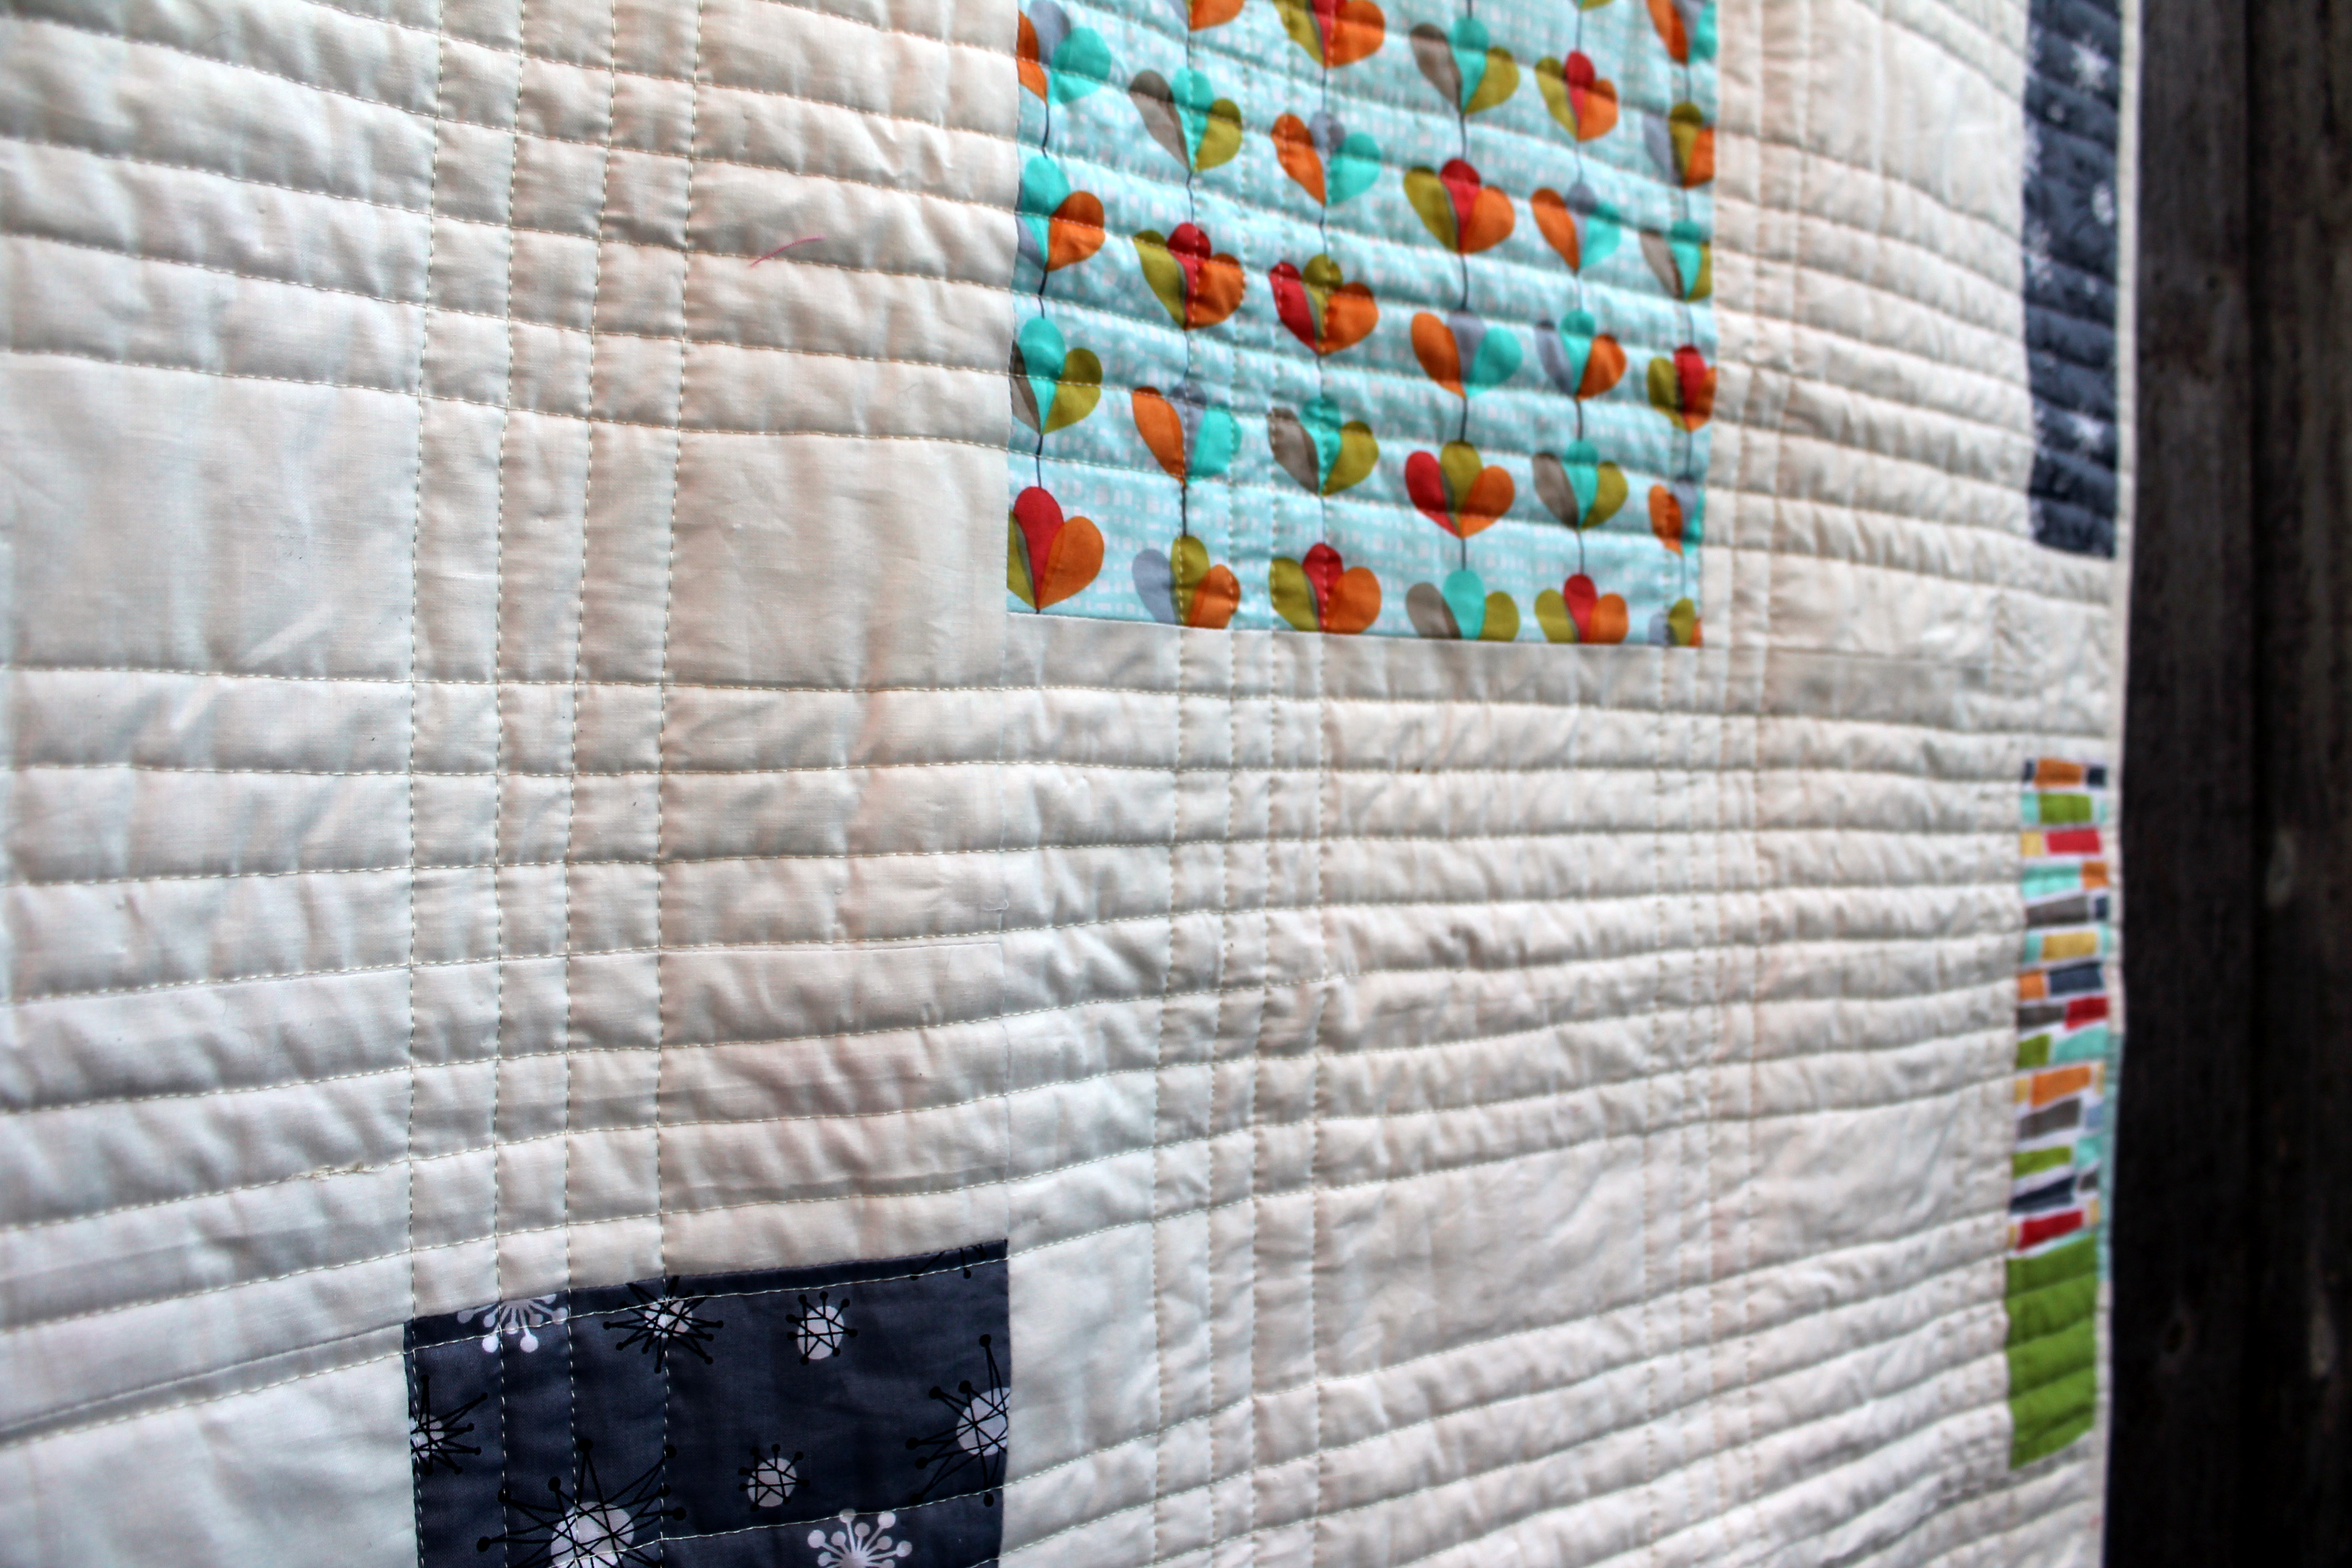
The finishing touch was to add some white binding.  I played with other colours but the white was the least intrusive binding.  There is a small splash of blue amongst the white binding, but you have to really search for it!

binding detail 
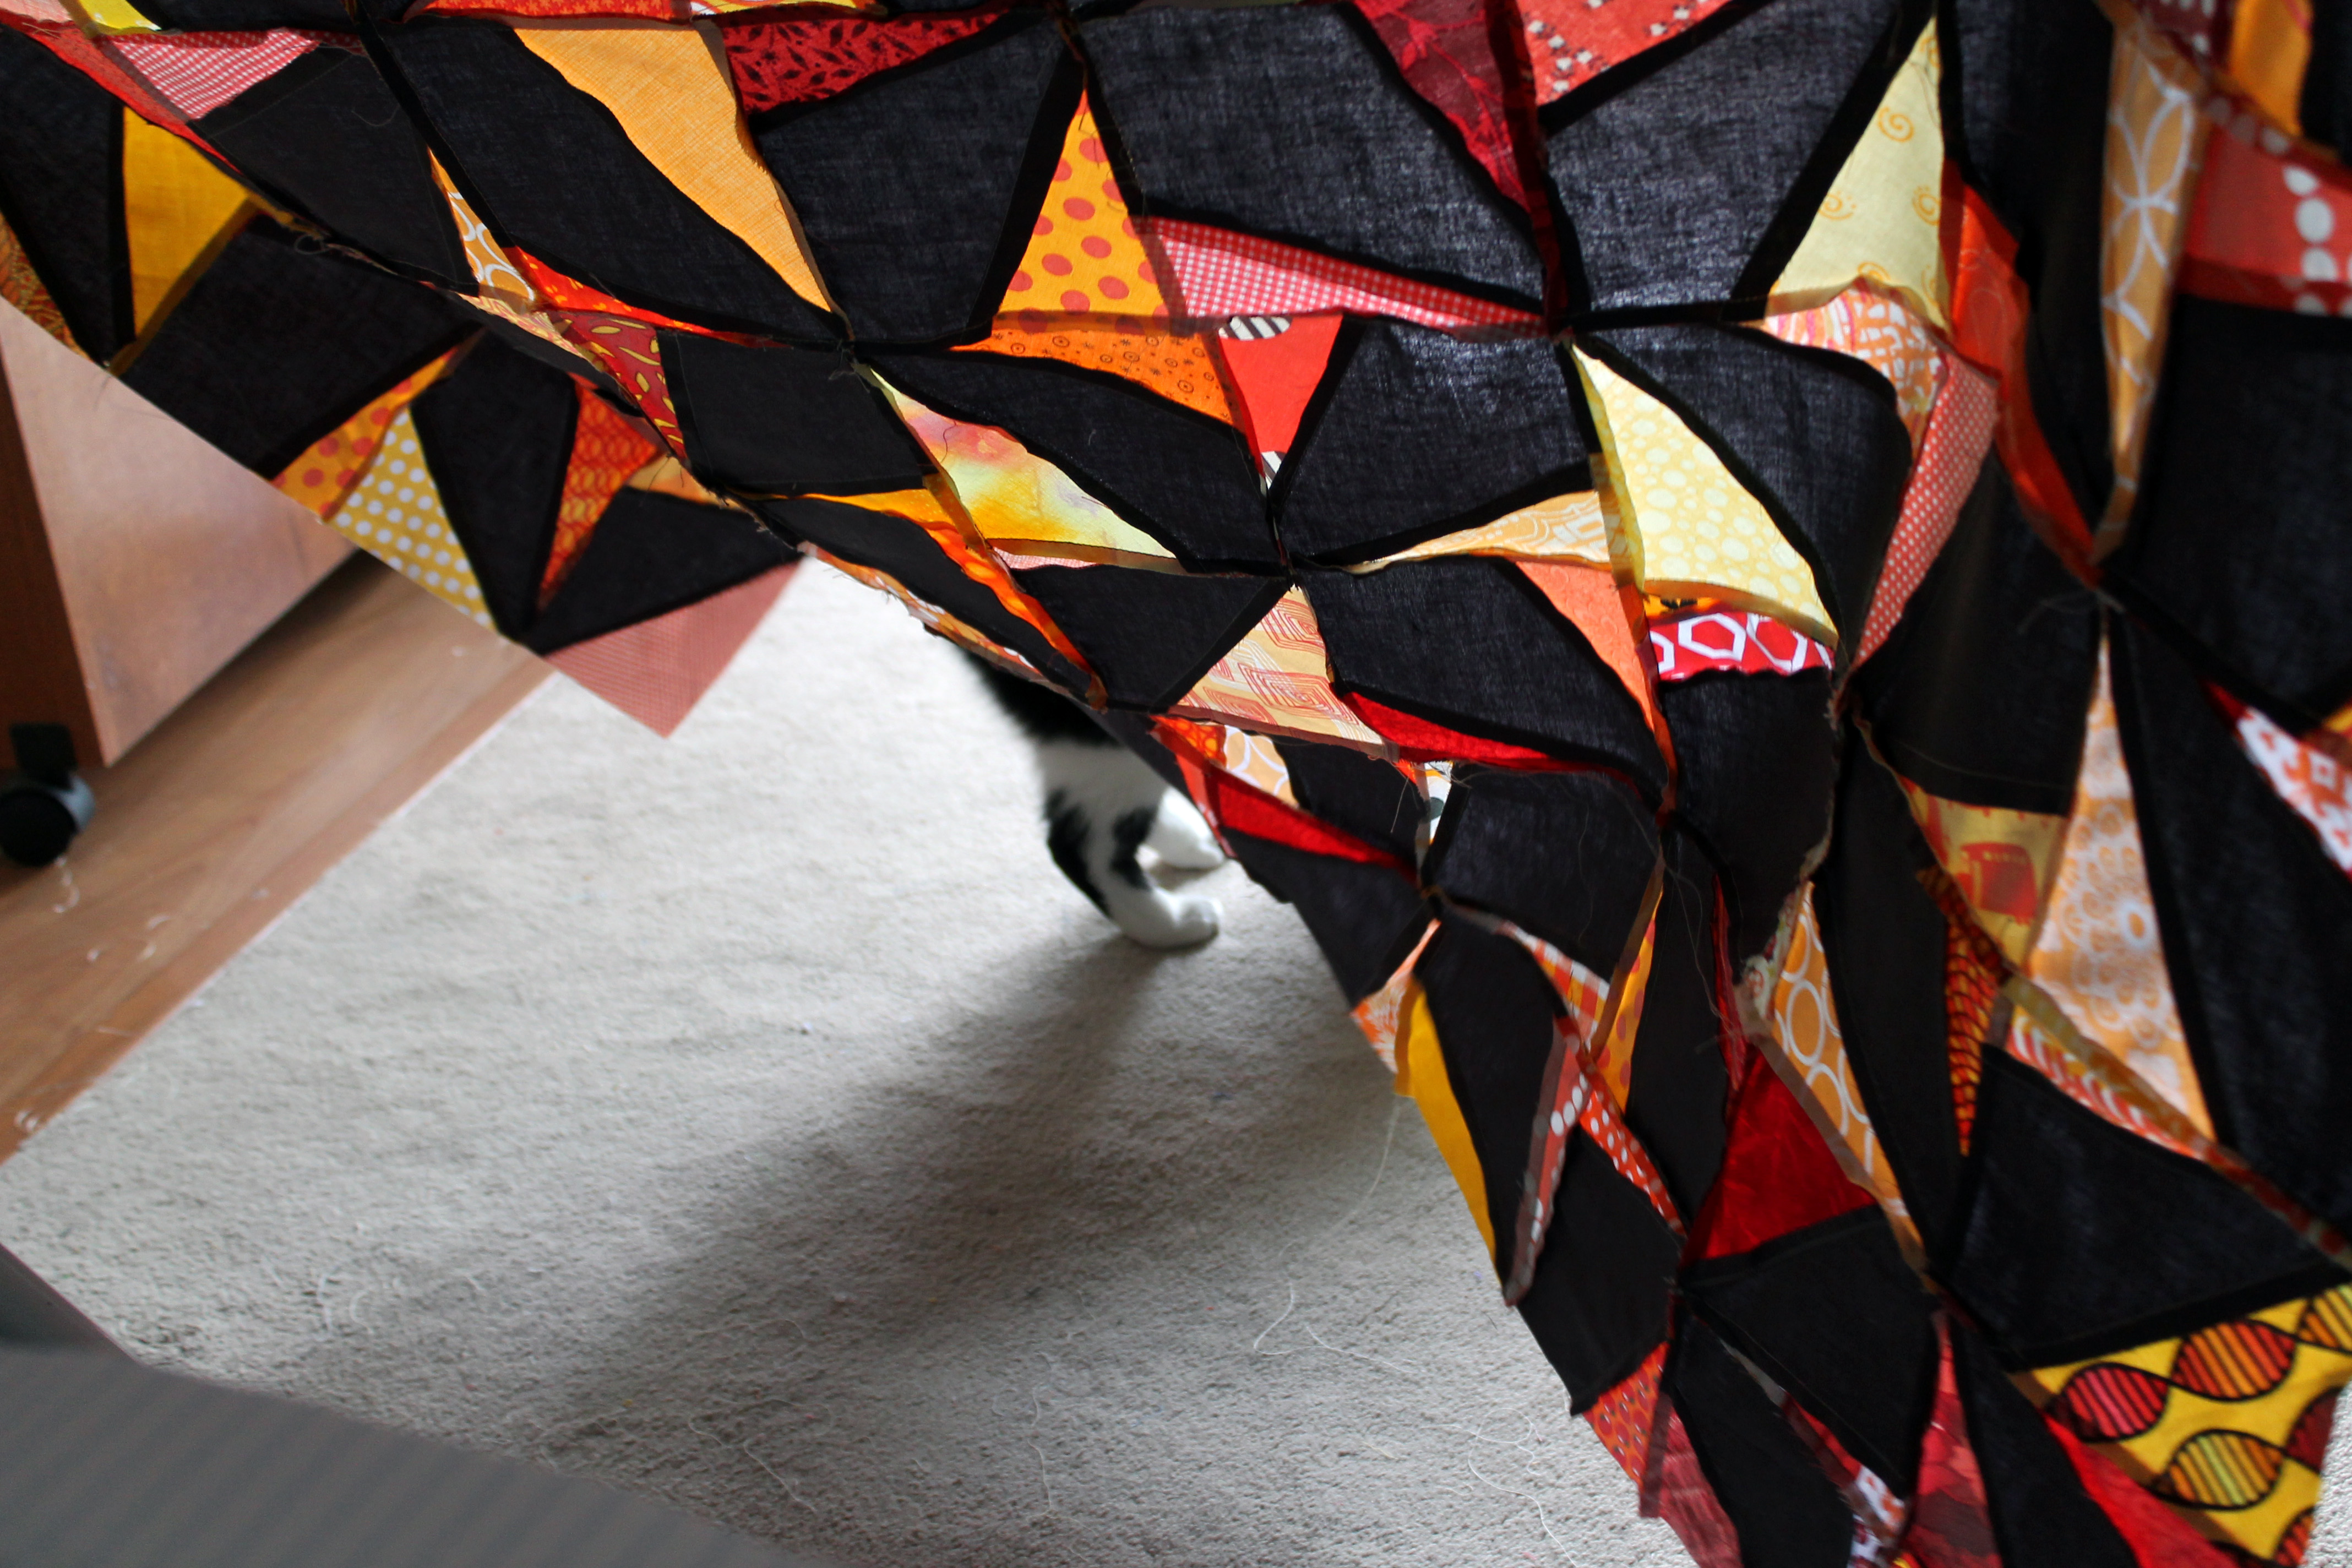
I must admit it was a challenge for me to work with this much white.  I am not particularly neat and if you add to that a black cat and a clumsy husband and you have a recipe for disaster.  Luckily I managed to get it photographed before it got too dirty… about 5 second after the photos were taken it got its first splotch of dirt thanks to the cat!  So the quilt is heading to the washing machine now…

Quilt details:
Name: Chopped petals
Pattern:  7 inch log cabin block
Technique: Paper piecing
Finished size: 42 x 42
Fabric: Michael Miller Petal Pinwheels & Couture cotton

Wonky Pinwheel blocks PMQG style

This week we had another Portland Modern Quilt Guild Charity Sew day…and this time I had everyone making wonky pinwheels…loud, wonky, scrappy, fun pinwheels…

photoWe started with a stack of Riley Blake solid grey squares and a huge pile of orange, yellow and red scraps.  You may be having a feeling of deja vu because  a couple of months ago I made a version of these blocks for Do.Good.Stitches.

Pinwheel blocks Both these blocks used the fabulous tutorial from Greenleaf Goods but for the Charity Sew Day I went with 5 inch base block rather than 4 inch.  After a day of sewing, our small but productive team had 30 pinwheel blocks, each measuring 9 1/2 inches, done and dusted.

I then took them all home and sewed them together to make this…

easy wonky quiltSo many fun fabrics were used… all warm and bright.  This is such a fabulous quilt to make if you want to use those piles of scraps you have accumulated…

wonky pinwheel block close upOur finished quilt measures 45 inches x 54 inches and will now head out to be quilted and bound before heading to our Charity for this quarter, Raphael House.

wonky pinwheel quilt top close up

I am also pleased to say the cat has inspected the quilt top and deigned that it is acceptable..

kitty inspected


Look what I have finally got done…

… yes I finally got my red and aqua stars into a presentable form… a finished quilt top….I can hear the gasps of surprise from here…

paper pieced star quilt topThese stars were the product of my first Paper Piecing Monday adventures.  I loved putting them together each week, challenging myself to make some complex and amazing stars.

Star quilt detailSome of the stars were free patterns from Quilting on the Square (you can find the links to the specific patterns under my Free Paper Piecing Patterns tabs) and others were from Carol Doak’s book 50 Fabulous Paper Pieced Stars.

star detail 2So in the end I had 20 amazing 12 inch paper pieced stars and no real plan what to do with them.  After an online survey last year, it was decided that navy sashing did the best job of showing off each and every star to its best, so a plan was hatched. Fast forward a few months (possibly more) and after auditioning a few navy fabrics and ended up using Robert Kaufman’s Quilters Linen in navy. It was perfect the job.

star quilt top detailSo now all that is left is to remove the paper… which will be quite a task as some of these suckers are really complex…

paper to rip offThen it is off to a long armer for quilting.  At no point did I contemplate ruining this gorgeous quilt top with my quilting.  It deserves the best…plus the finished quilt is going to my Mum so I want it to be amazing.

A Wonky Tree Forest…and tutorial

A few weeks ago I forced everyone at the PMQG Charity Sew day to make wonky trees.  We had a large amount of green, brown and cream fabrics donated to the Guild and as soon as I saw the fabric I knew that we MUST make trees.

There were only two rules…. the finished block had to be 8 1/2 inches square and it had have a tree in it.  What follows is the basic instructions I gave at the start of the day…

Wonky Tree Block Instructions:

Step One…. grab all your green scraps…and some of your brown scraps and either some white/cream solid or a collection of cream scraps.

start with a pile of scrapsStep Two... sew a selection of your scraps together to make a rectangle of green goodness… this is going to be your tree top so make it as big or as small as you want you tree to be.

Step Three… trim said rectangle to your desired shape.  For some of our trees we used a triangle ruler…

Making the leavesand for others we just made wonky oval shapes by trimming the corners of our rectangle and adding some corner background fabric….

Trim folageStep Four…. add pieces of your background fabric around your tree top to make the it square and trim the bottom of your tree top so that it is straight…

Tree & skyNote:  You do not have to worry too much about making sure that the “sky” (background fabric) around the tree is as big as your finished block size as you have the ability to add a border to the block as needed.  With the smaller trees we made the tree block up and then sashed the block out to the 8 1/2 inch square finished size (see Step Six and a half).

Step Five… Build the tree trunk by cutting a small piece of brown scrap fabric to make a suitable sized tree trunk.  Remember this is wonky quilting so it can be as fat or as thin or as tall or short as you want.  Sew two pieces of your background fabric to your brown strip, making sure your finished trunk piece is at least as wide as your tree top piece. Make sure that you trim the top of the tree trunk so that it is straight.

Tree trunkStep Six… align the trunk to your tree top and sew the two pieces together.

Step Six and a half… if you have made a small tree sash your tree block to make it the correct size.

small treeStep Seven…. Trim your block to size, we went with 8 1/2 inch square.  Note: that the tree trunk ends at the bottom of the block, with no extra background fabric at the bottom.   I found that having all the trunks at the bottom of the block made the overall look of the pieced quilt cleaner and more uniformed.

Trim blockAnd voila you have a wonky tree block….

Tree treeAt the end of our day of sewing we had a veritable forest of different type of trees.  Everyone embraced the wonky and the freedom to do whatever took their fancy. My favorite creation of the day was the Apple Tree…

Apple treeIt was so much fun putting the final quilt top together, there were so many fabulous blocks to choose from and I spent a good hour or so re-arranging the forest on my design wall.

Tree wipWhen piecing the top together I used cream scraps cut into 8 1/2 square blocks and 4 1/2 x 8/12 inch strips to space out the trees.  From playing with the layout on the design wall I knew I did not want to put all the trees together in one clump.  I then added a 3 inch sashing of cream scraps between each row of trees.

Finished quilt topI am so pleased with how this top turned out.  There is a sense of fun and silliness to the trees…everyone did such a stellar job and no two trees are alike.

lots of different trees

Now our forest is being handed off to one of the Guild’s talented longarmers for quilting.  I can not wait to see how they handle this one.

Gator Quilt Paper Piecing Monday

A few months ago I agreed to test a paper piecing pattern for Louise at I’m Feeling Crafty.   I was thrilled when Louise sent thru the most darling Alligator pattern, in three different sizes no less.

To test the pattern I decided to make the smallest version of the Alligator, my theory being that the smallest patterns are most of the time the fiddliest/hardest to make.

putting all the pieces together 2This pattern does have a few parts to it, but Louise’s instructions are easy to follow and the design makes assemble straight forward.  I used the pin method to make sure that my points aligned, and it worked perfectly.  When I was done with my small Gator I had a block measuring 9 x 21 inches.

The three different sized patterns Louise’s includes are designed to make this lovely quilt…

AlligatorQuilt+pattern+Cover-smBut I wanted to shake things up a little, so I put the Gator up on my design wall and started playing… a butterfly and some scrappy cream solids later I had a finished baby quilt.

modern baby quiltMy Alligator is definitely the star of the show…

the gatorbutton eyes, and all…

buttons for eyesFor the butterfly I used a paper piecing pattern I found on Craftsy.  It adds such whimsy to the quilt I think.

quilt detailTo finish things off I used a yard of Michael Miller fabric I had hidden in my stash for the backing…

quilt backingI did some straight line quilting with some kitty help… yep you warmed me last week this would happen and it did!

Kitty helpAnd finally some Kona solids, in blue and brown for the binding…

binding detailUsing the small Gator pattern this quilt ended up at 35 x 39 inches.  Next time I think I will use the medium Gator pattern and add more butterflies.  It is such a great block I will definitely be using it again.

You can find Louise’s pattern for sale on Craftsy and if you want some Gator inspiration, check out the other testers work on the …

BlogHopButton

June 9th- I’m Feelin’ Crafty

June 11th- A Quilter’s Table

June 13th- Marci Girl Designs

June 14th- I’m Feelin’ Crafty– showing off other Testers work!

June 16th- Wombat Quilts

June 17th- Wholesome Midwestern

June 18th- Shaffer Sisters

June 19th- Crafty Shenanigans

June 20th- I’m Feelin’ Crafty