November is once again my turn to set a block for Do Good Stitches Hope circle. As always I procrastinated and pontificated and finally landed on this block….

I decided to call it the Splodge block. It is an improv log cabin…with most of the precision coming from choosing your fabrics carefully and not from cutting. Here are the steps to making this block…
STEP ONE:
Pull out all your blue, grey and white scraps.

STEP TWO:
Sort your colored scraps. This is a really important step in all scrap quilts and I am going to give you some guidelines for these blocks. This quilt is based on a cool palette and to make the block work you need to weed out some of your scrap because they will muddy the block.
BLUES: For the blues you are going to need dark, medium and light scraps… but in fabrics that are blenders, tone on tones or solids. Any fabric that has colors other than blue needs to go. That means…

You can see from my test block that I still used novelty prints, it is just they were cool prints with no extraneous colors.
GREYS: For your grey you are going to use the same principle as blue – tone on tone or blenders and no extra colors. But with grey there is one extra step.
Did you know that not all grey are the same and that grey fabrics have an undertone to them? This is a color cast that makes grey take on the hue of another color.

Grey can have a blue, green, orange or purple undertone. For this project we want to have cool greys in our block… we want to avoid using the warmer grey because it will muddy the block. A piece or two of the warm grey will not hurt but we want to mainly use the cool grey – the ones with a green, blue or purple undertone.

WHITE: The final pile of scraps to sort is your whites. We are looking for bright whites – solid or prints. In my blocks I have used a few white fabrics that have a bright white background with a cream print on them which have worked well… but we want to avoid cream fabrics if we can. Cream is a warm version of white and can again add warmth to a block if too much of it is used. A random piece is okay though.

You should end up with a curated pile of scraps that you can work with to make these blocks.
STEP THREE:
Start making your improv log cabins. The center of your log cabin is going to be your darkest navy blue fabric.
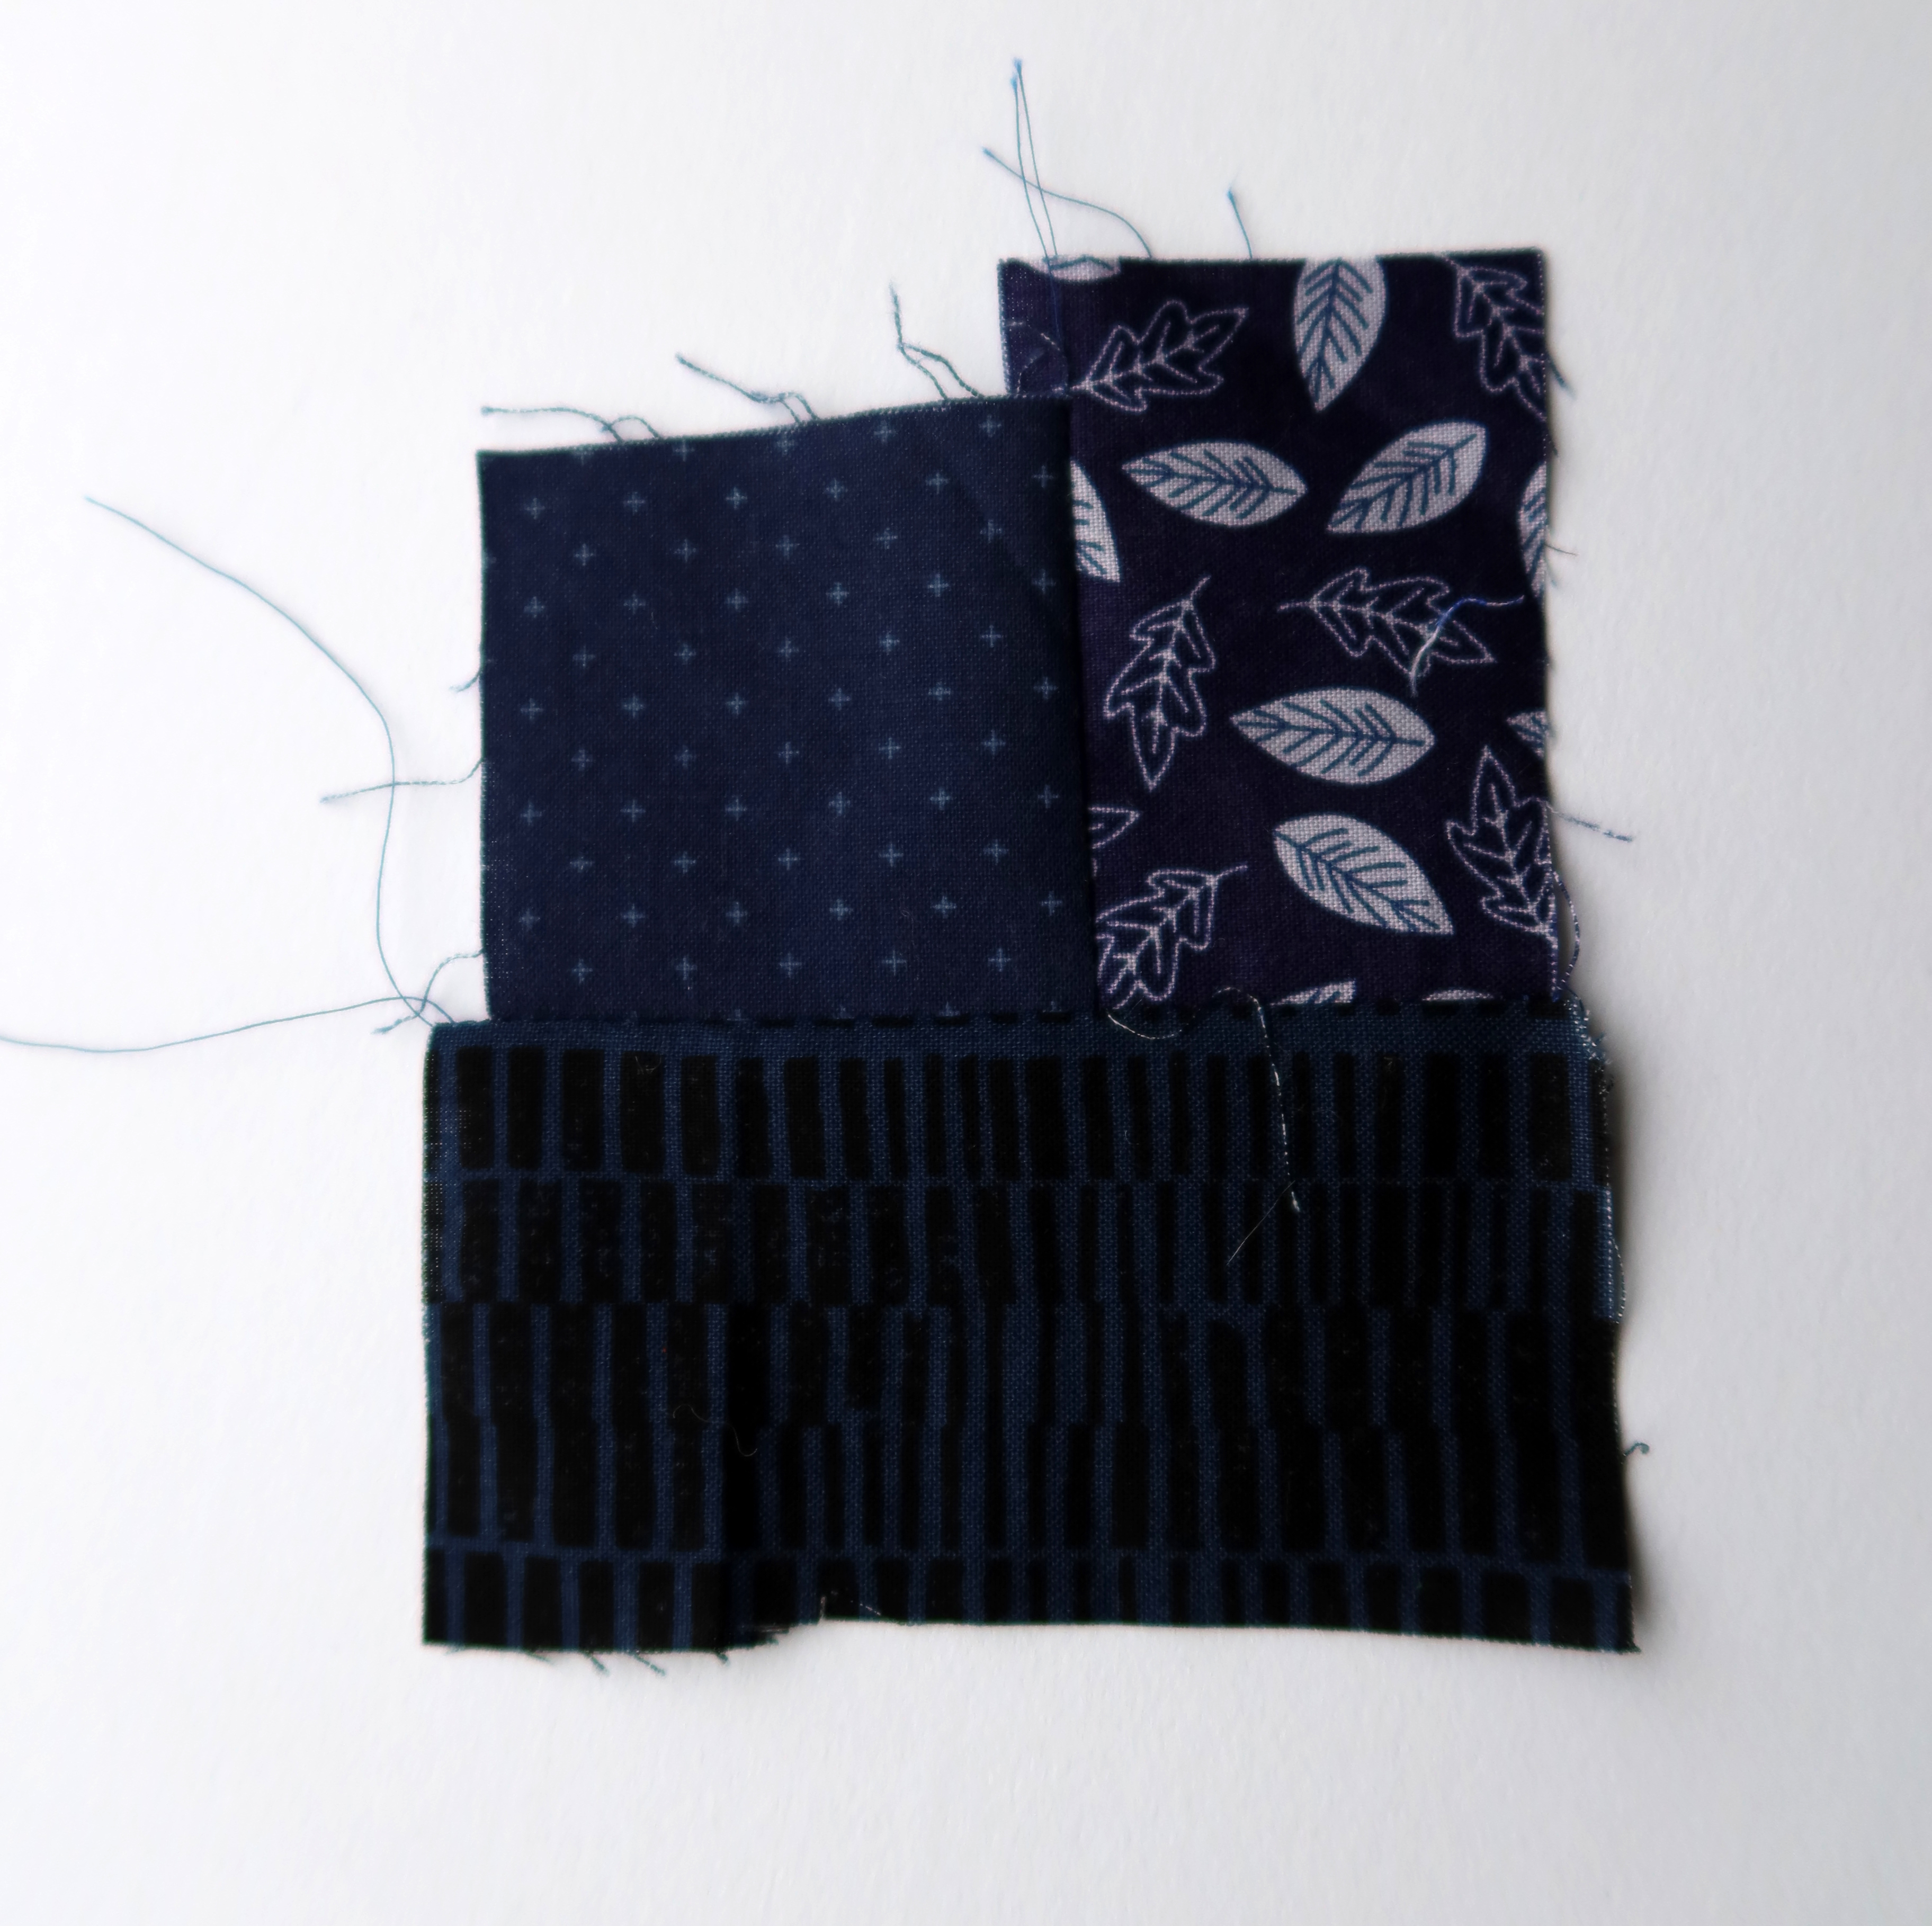
You can tell from this photo that I do not pretrim anything…. if I need to cut a piece of fabric smaller I use my scissors.
STEP FOUR:
Keep building outward using lighter blues and greys as you move out from the center. Once the log cabin has started I do press as I add new pieces and I do trim the block….

…and when I say trim I mean I use a rotary blade and ruler to get a straight edge but I do not square anything up or check that anything is even. I just want a straight edge to sew my next strip too.
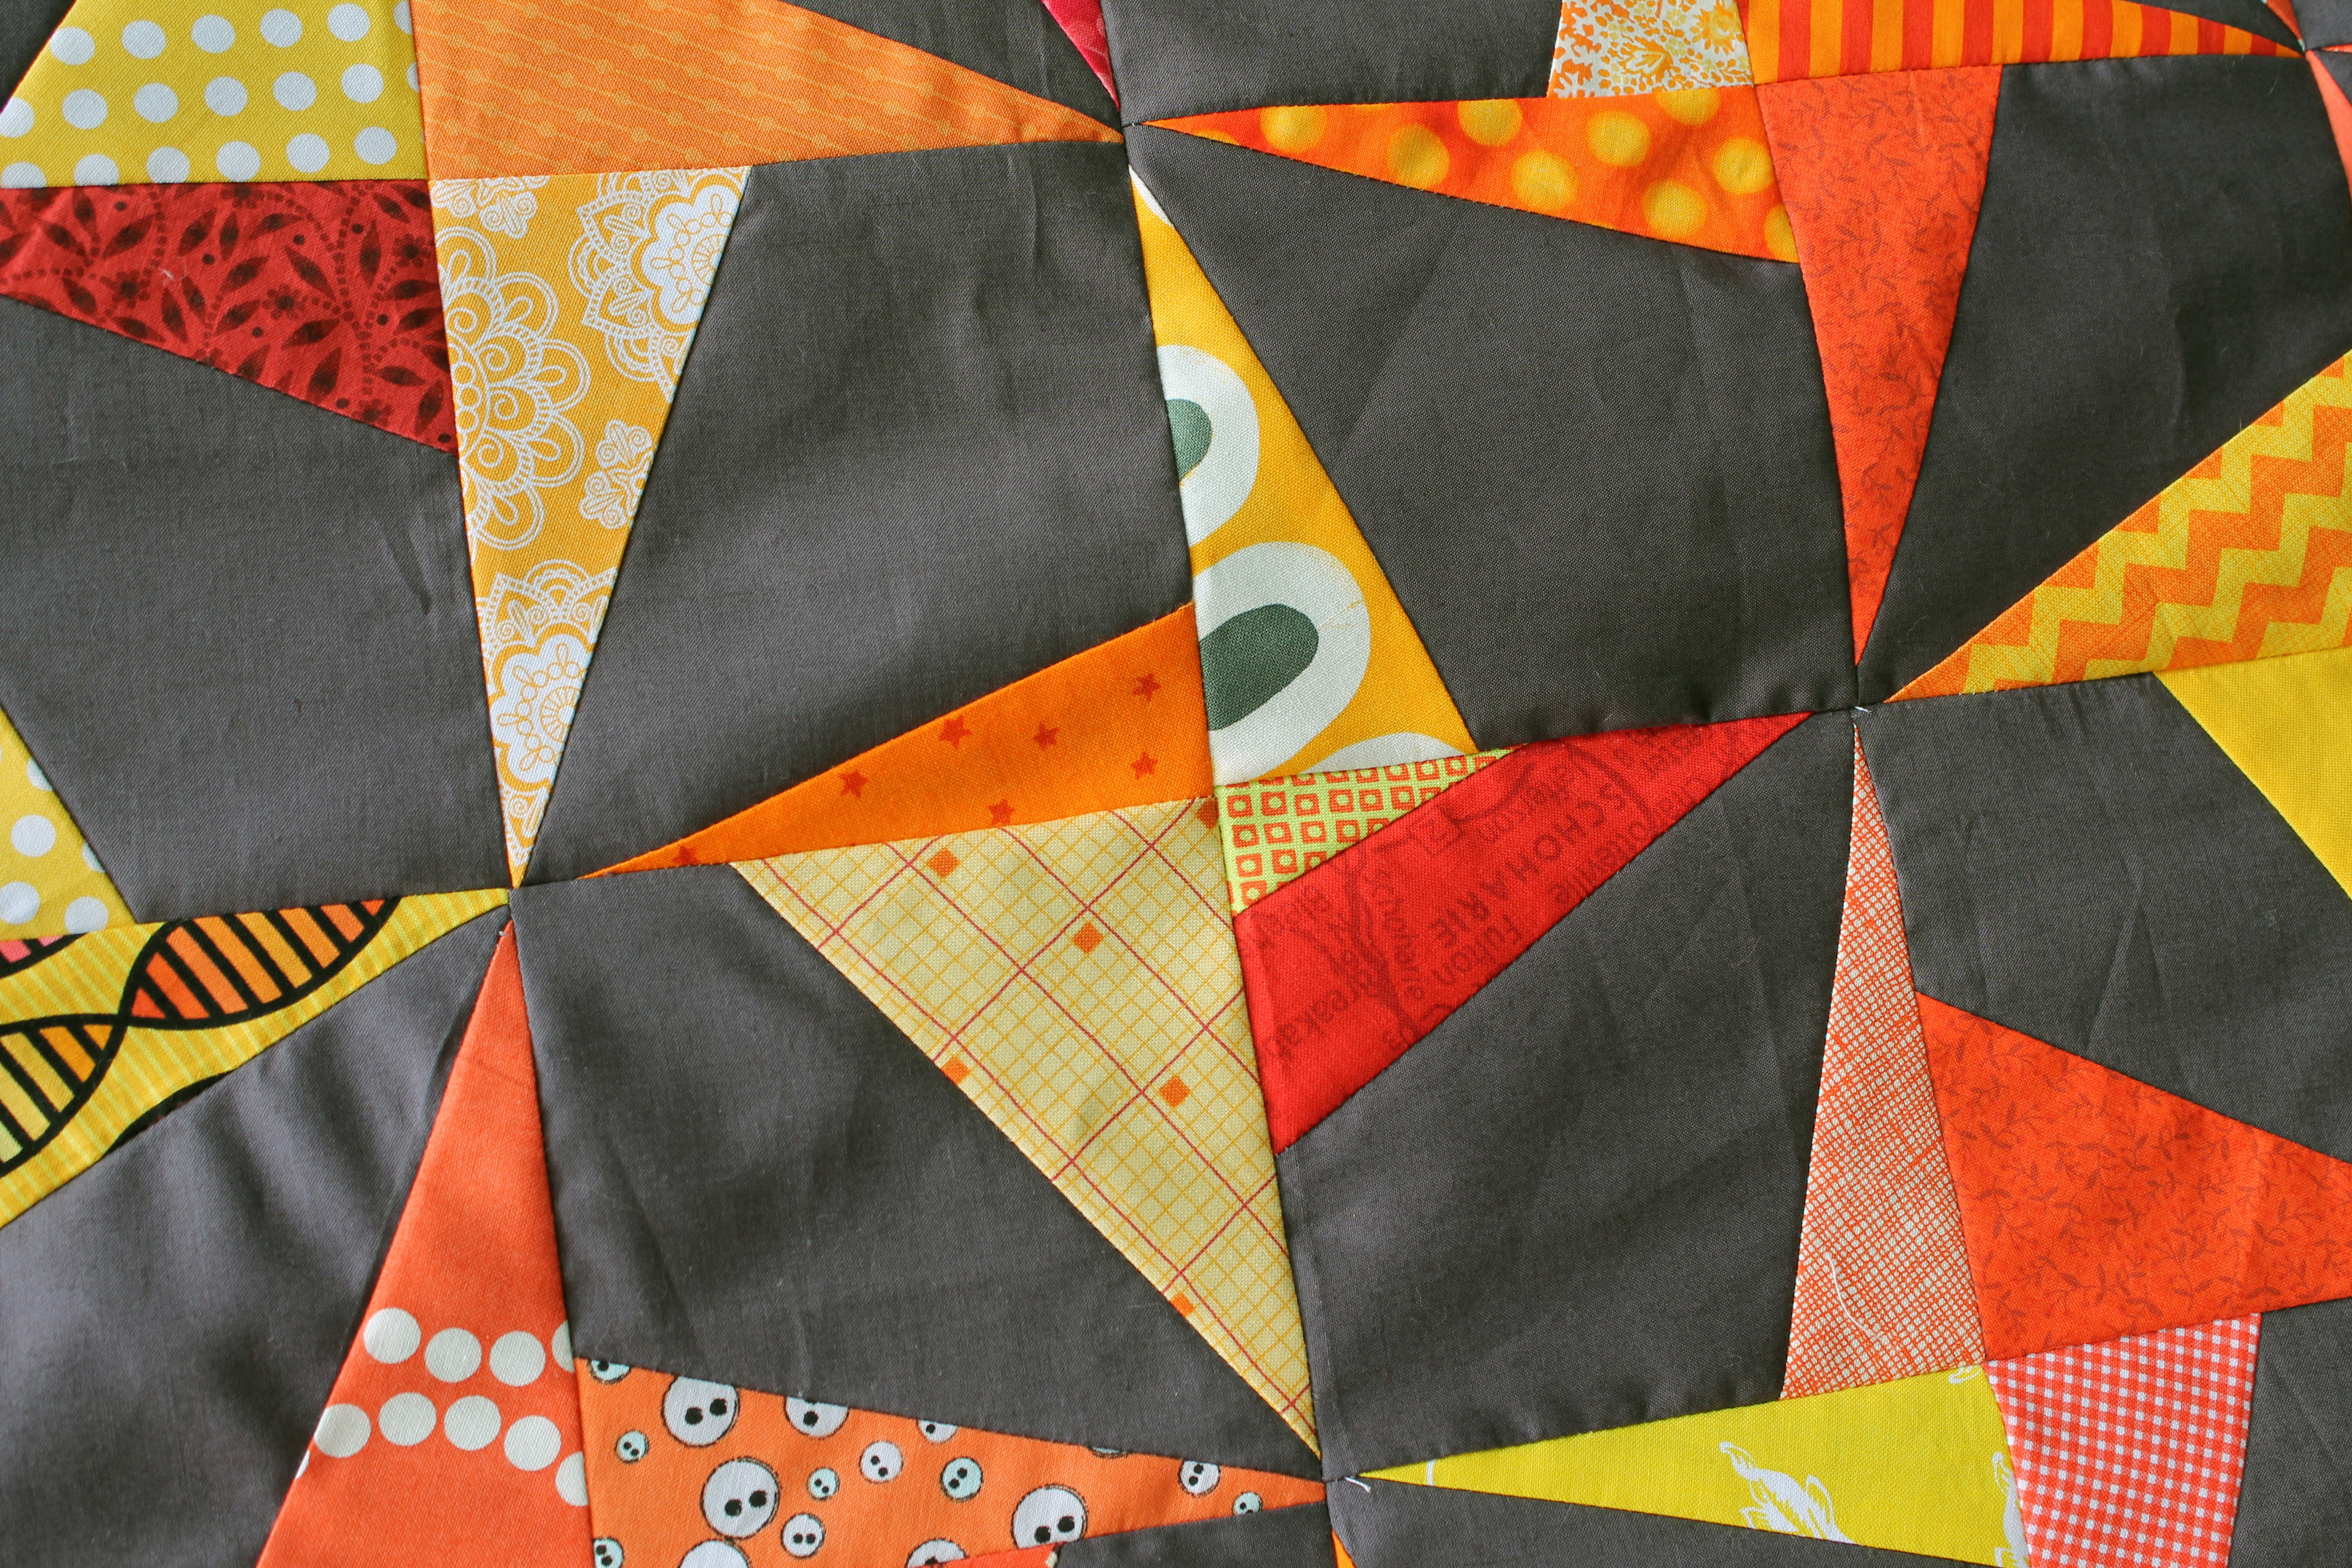
As you progress, I encourage you to make “logs” for your log cabin by sewing smaller pieces of fabric together to make your own strips.
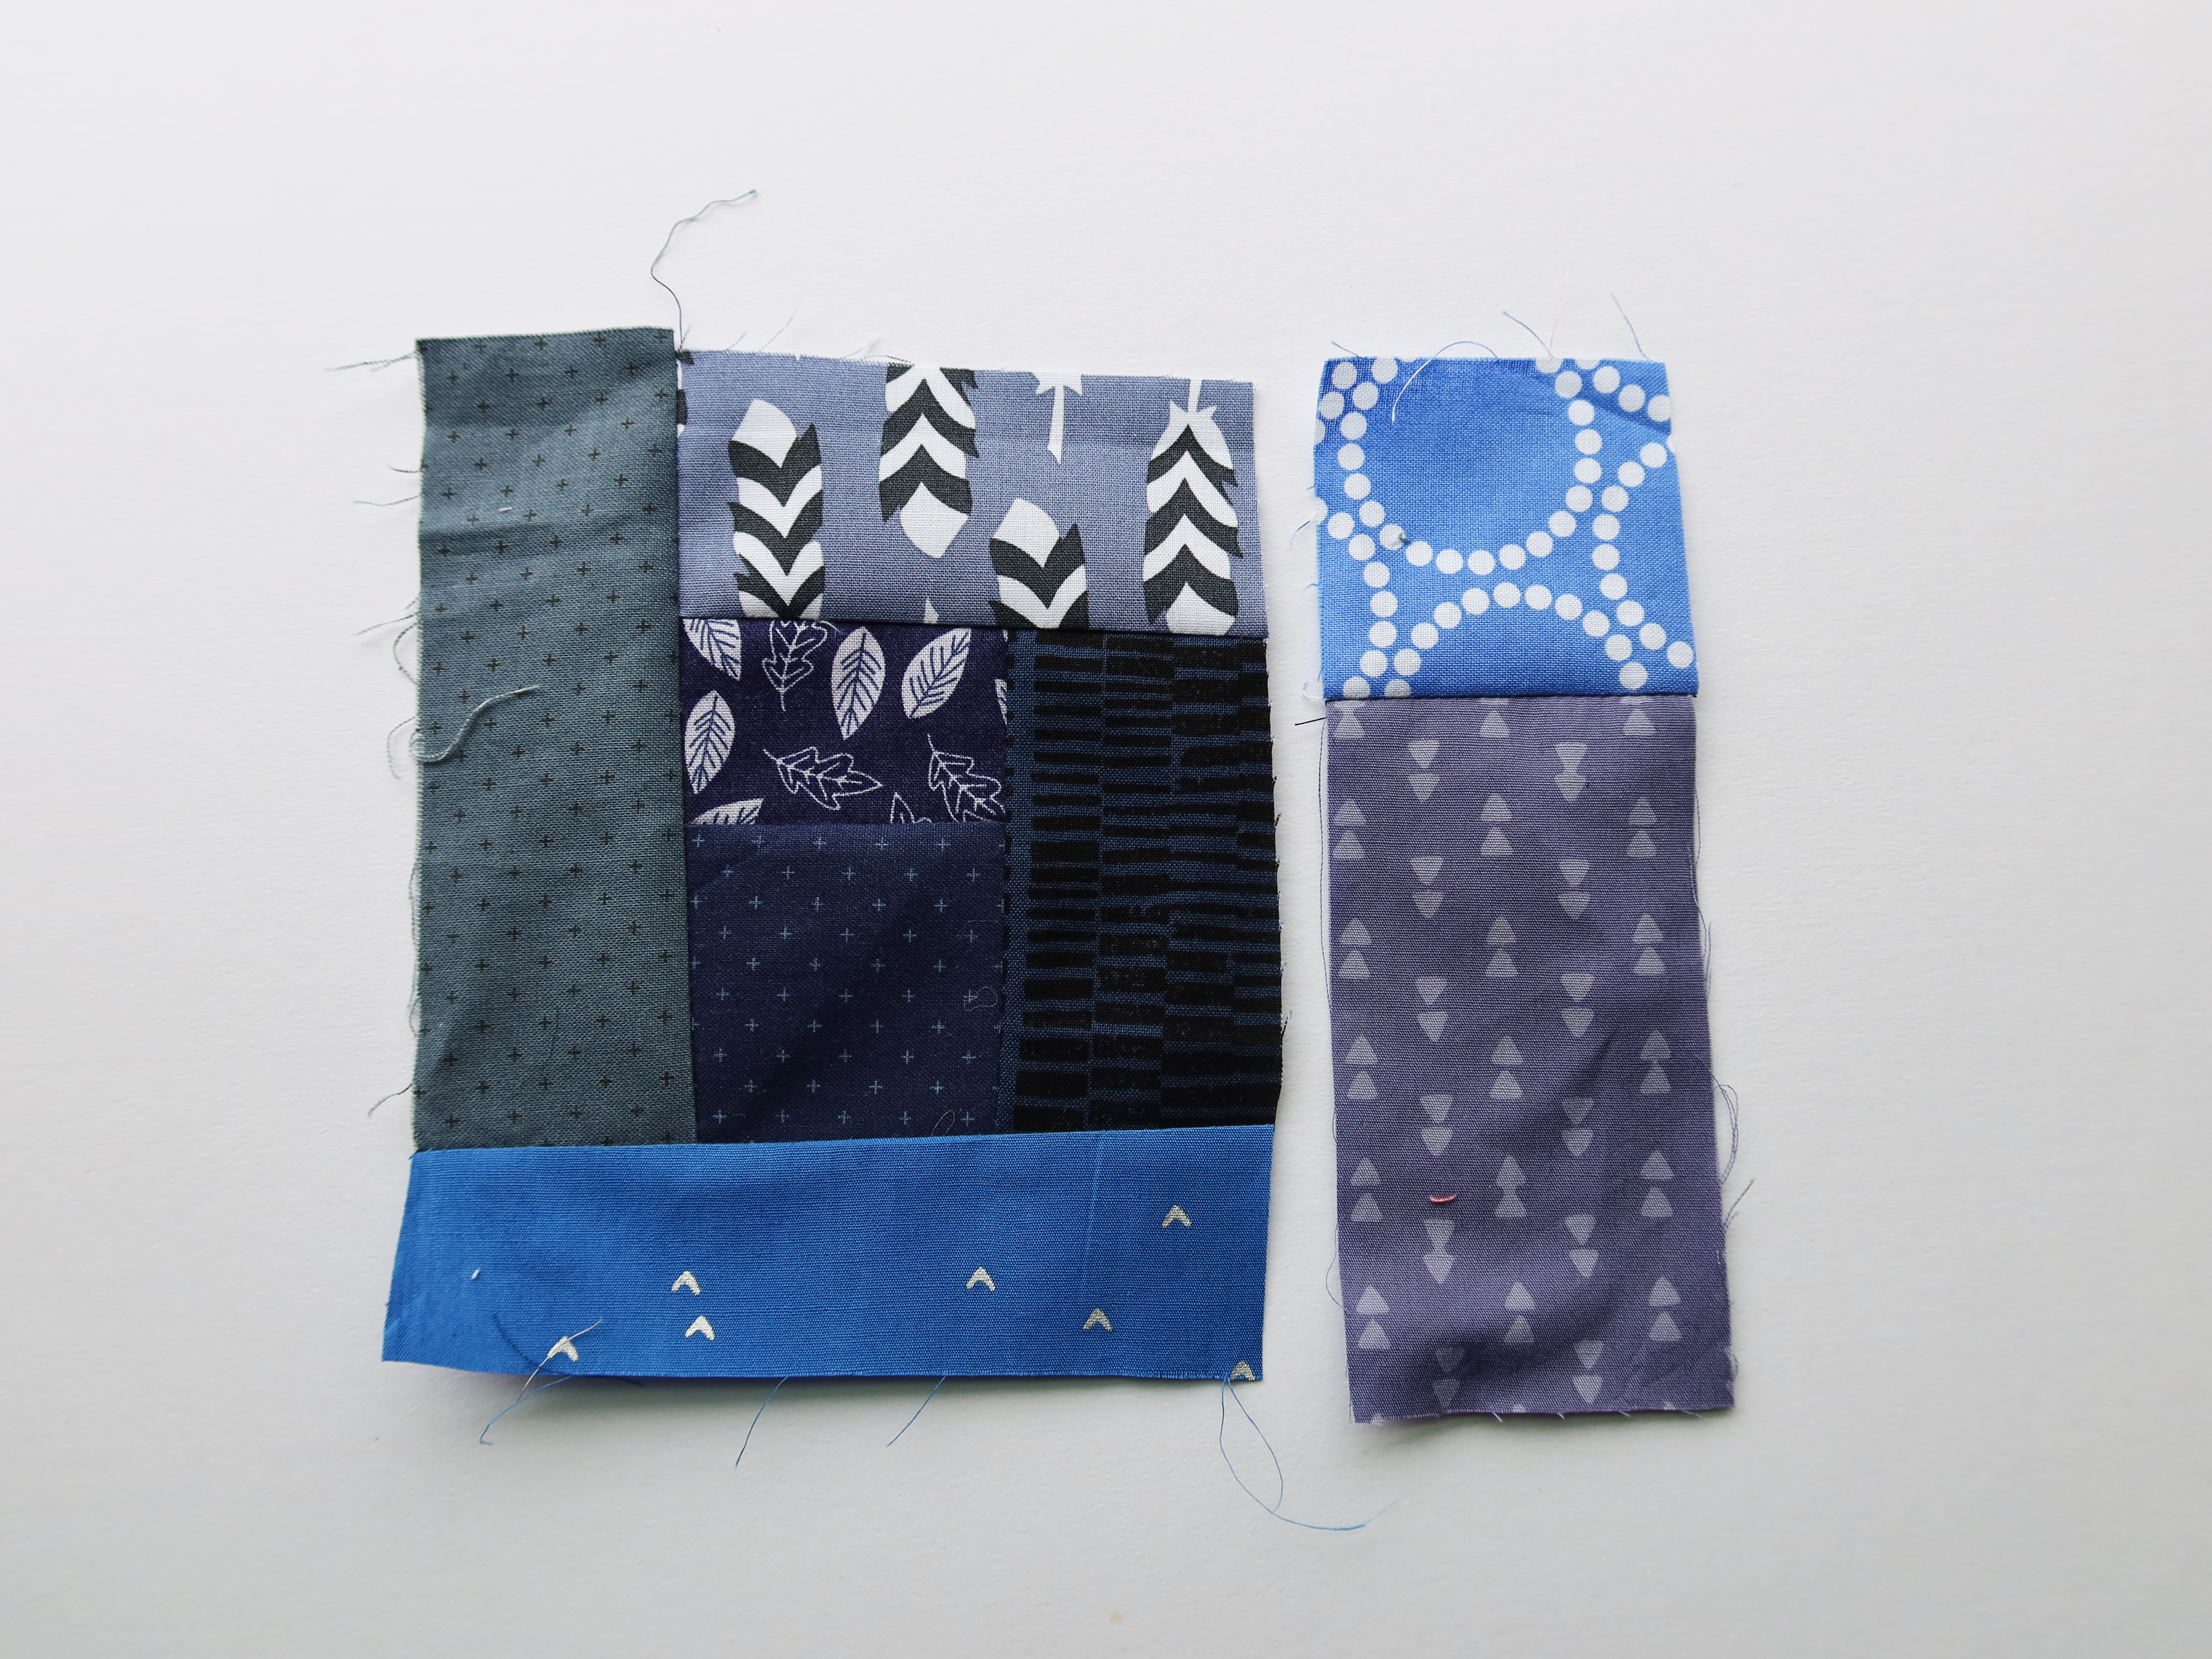
These custom made strips are a great way to break up the traditional log cabin structure and give the block a more improv feel. They are also how the block becomes a splodge of color and not just a square of color.
STEP FIVE:
Keep building your log cabin out until you have a piece that is just larger than 12 1/2 inches square. You want to make sure the your last logs are white and/or light grey…you need a white frame around your splodge.
Once you have a large enough improv log cabin give it a final press and if you have starch (eg. Best Press) use it liberally at this stage to get your block to lay as flat as you can.
STEP SIX:
Using your 12 1/2 inch ruler trim your block to it’s finished size.
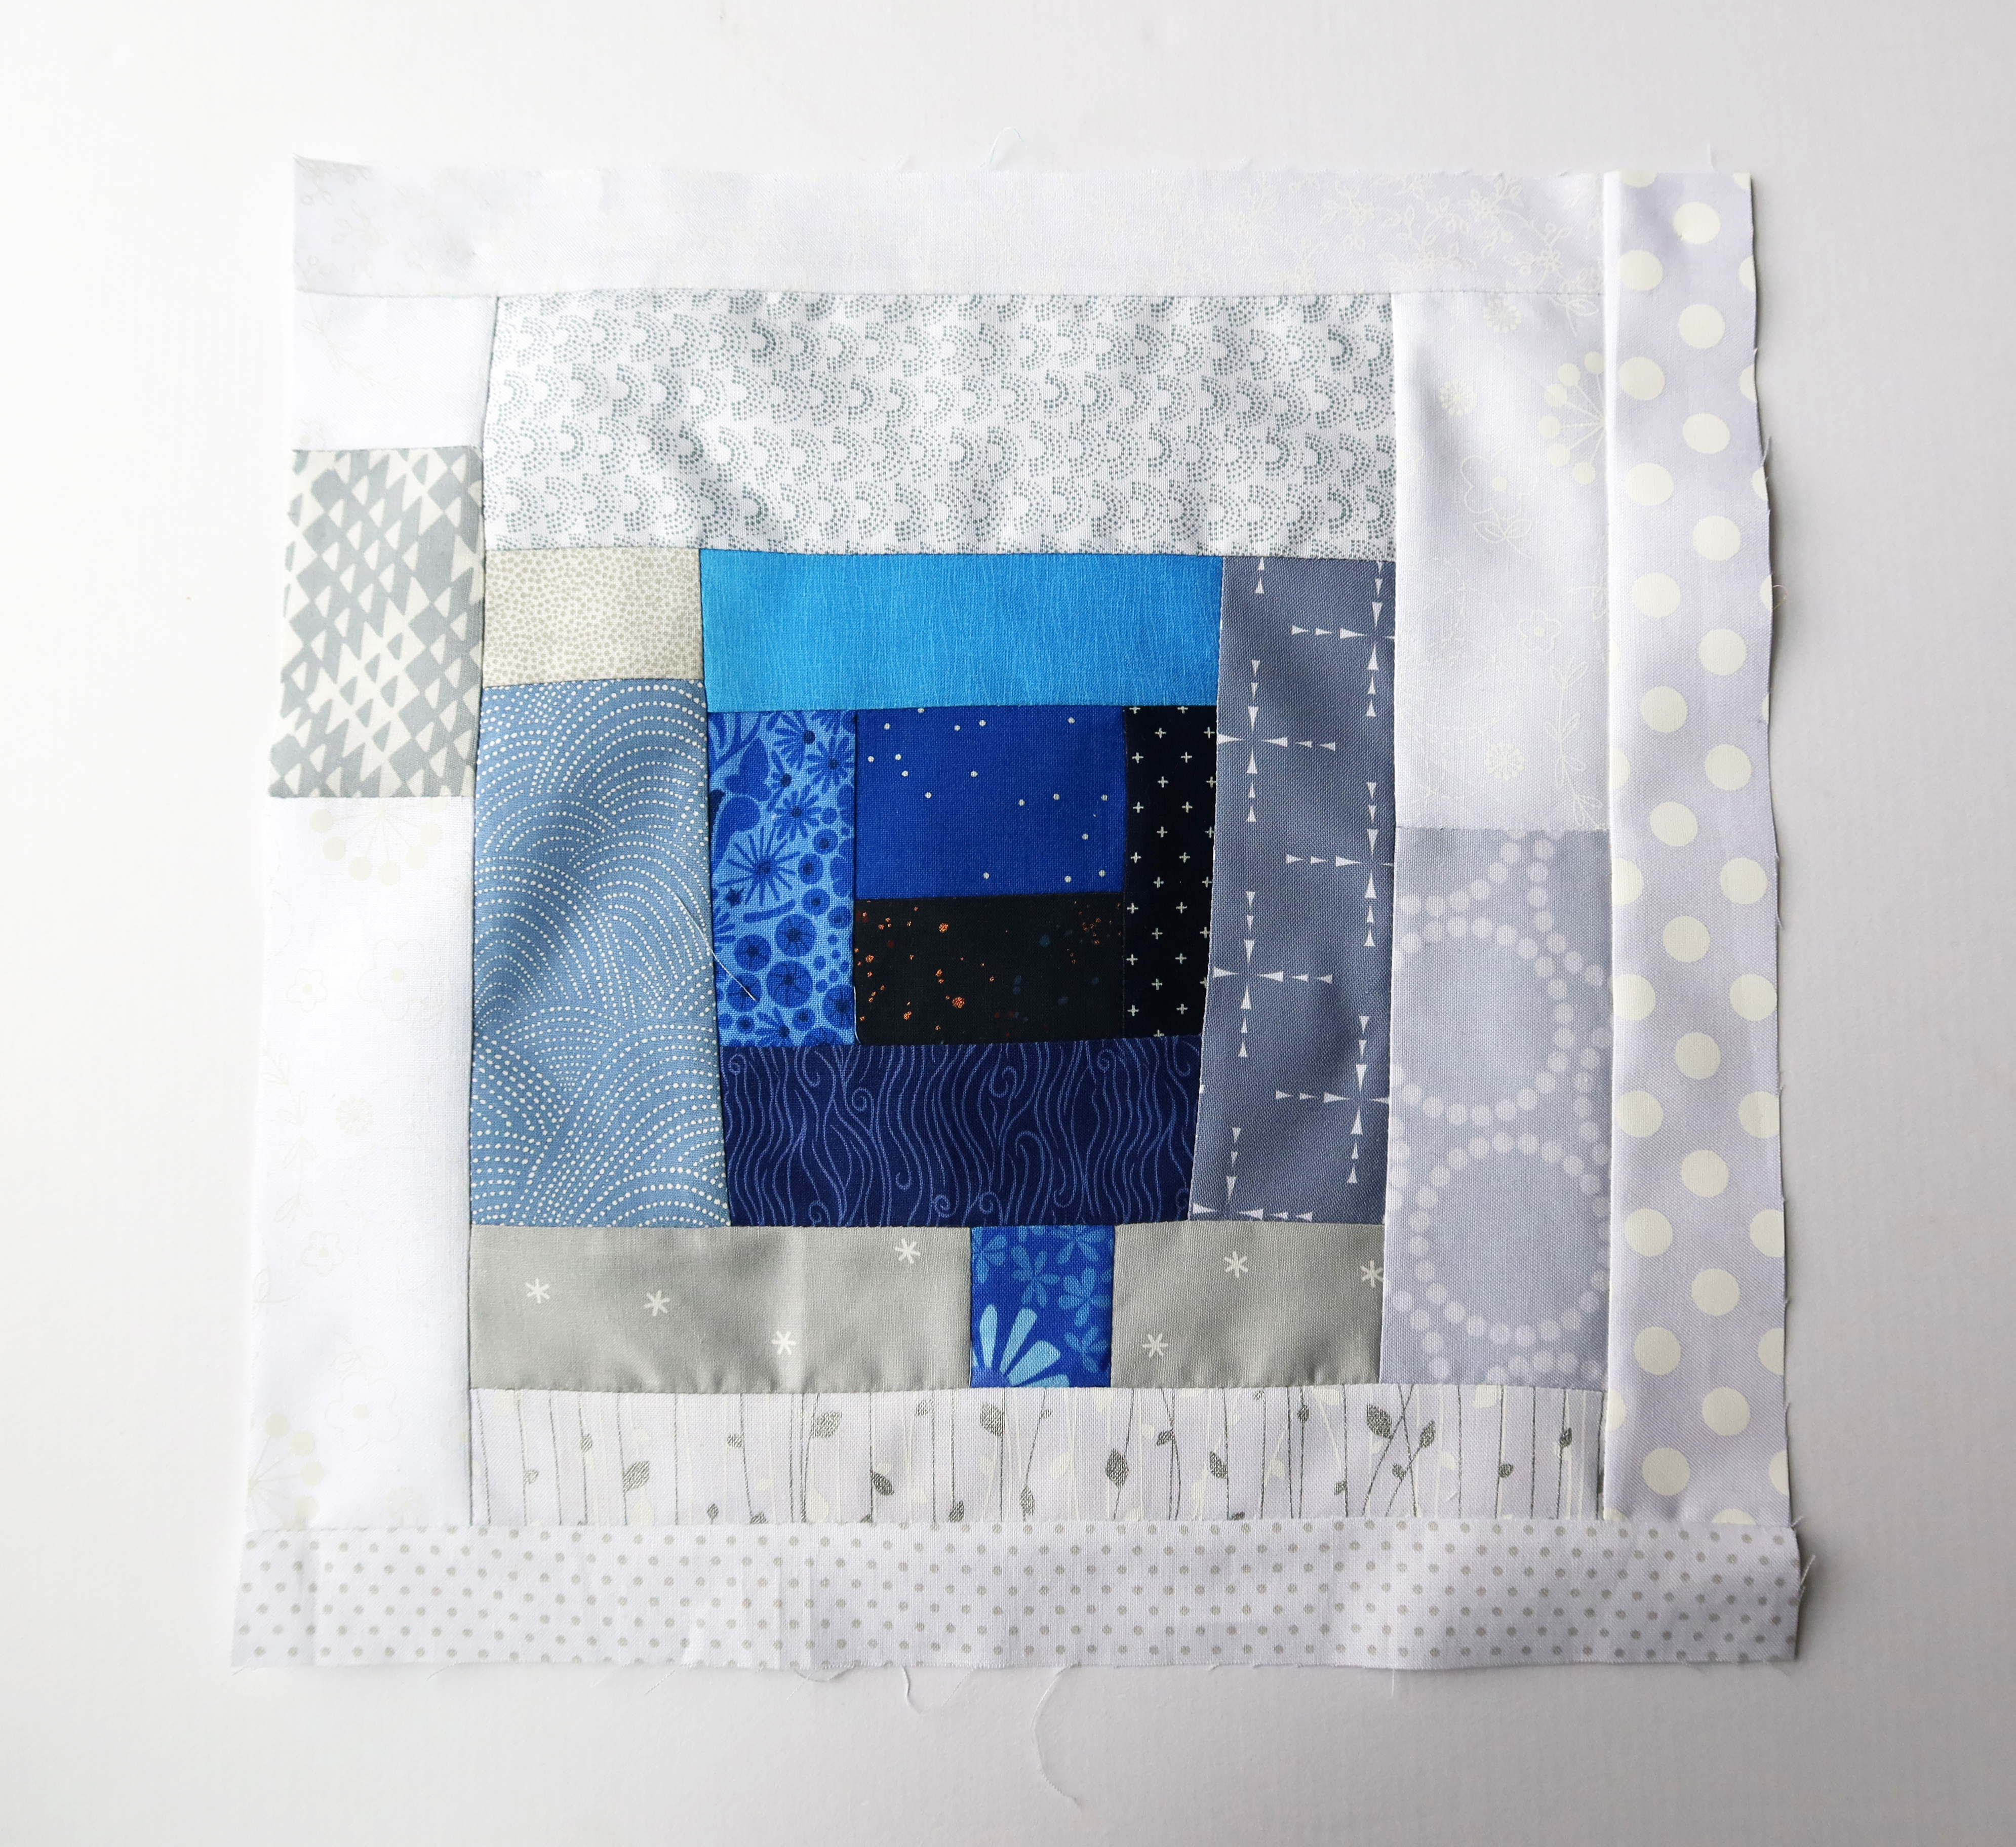
Note your splodge does not need to big. In my first block the blue splodge took up most of the block…while in this block there is a smaller lot of blue. You can make your splodge as big as you want….have fun….let go….play.
FINALLY:
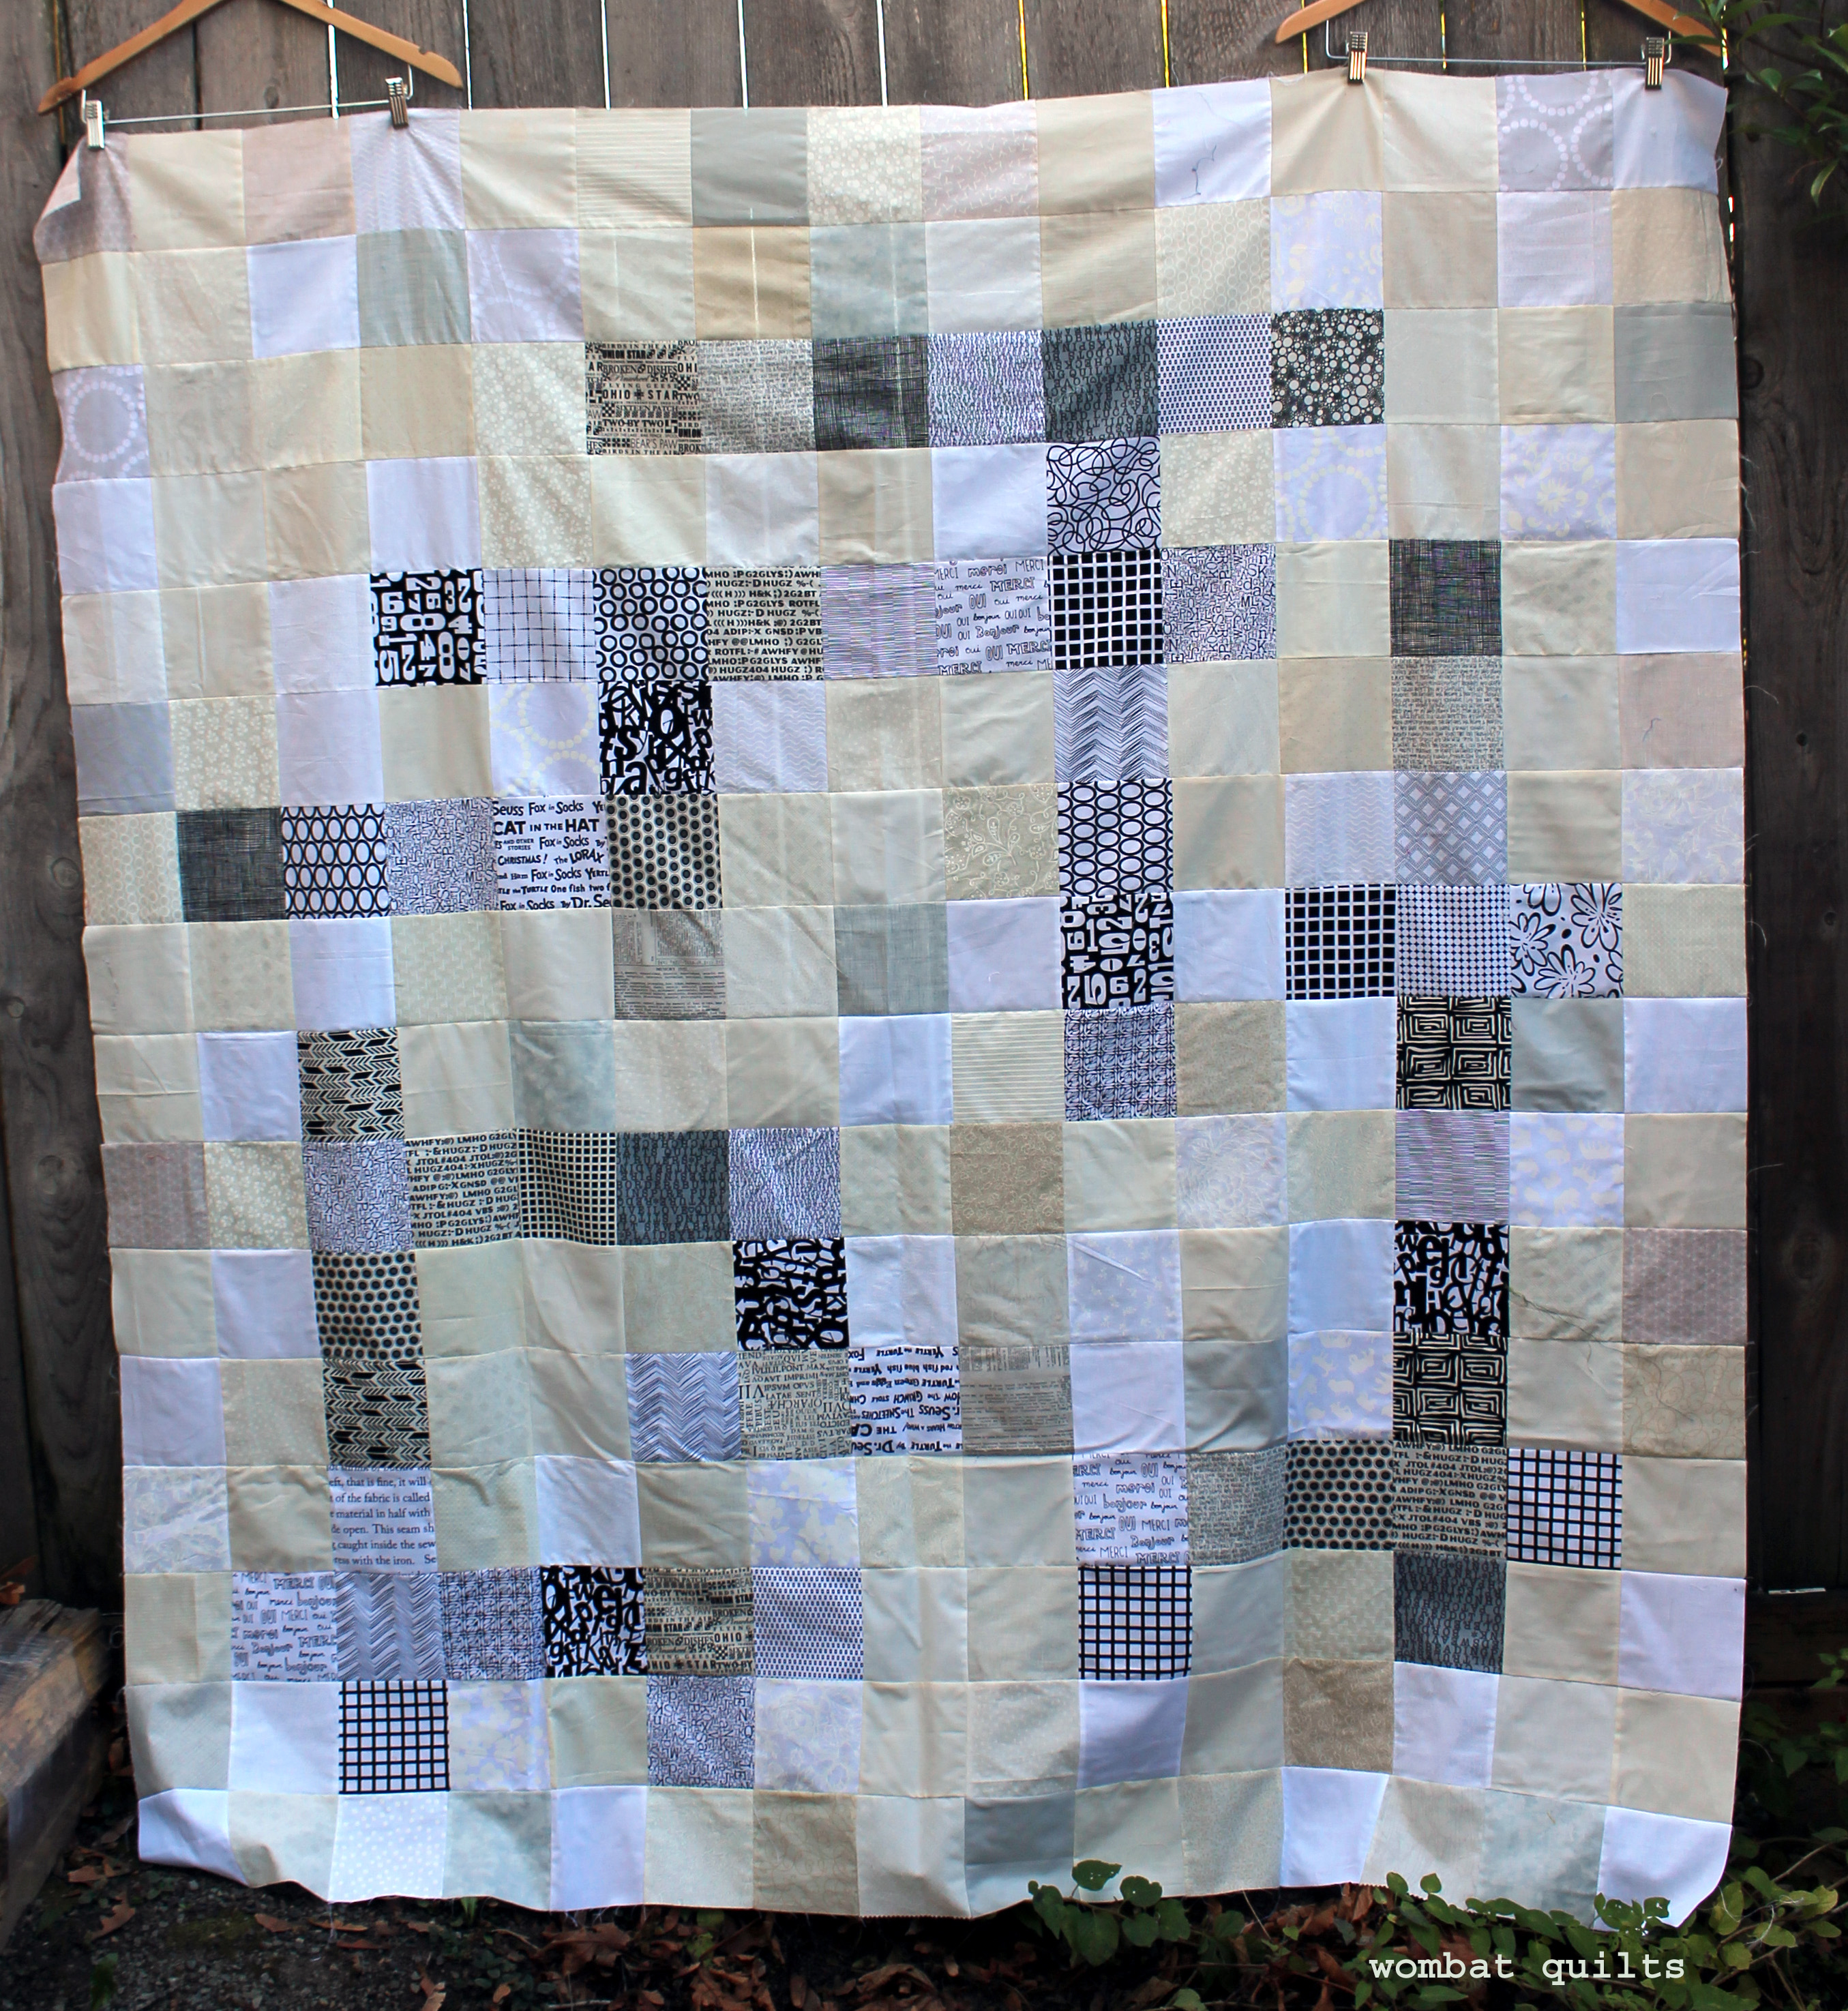
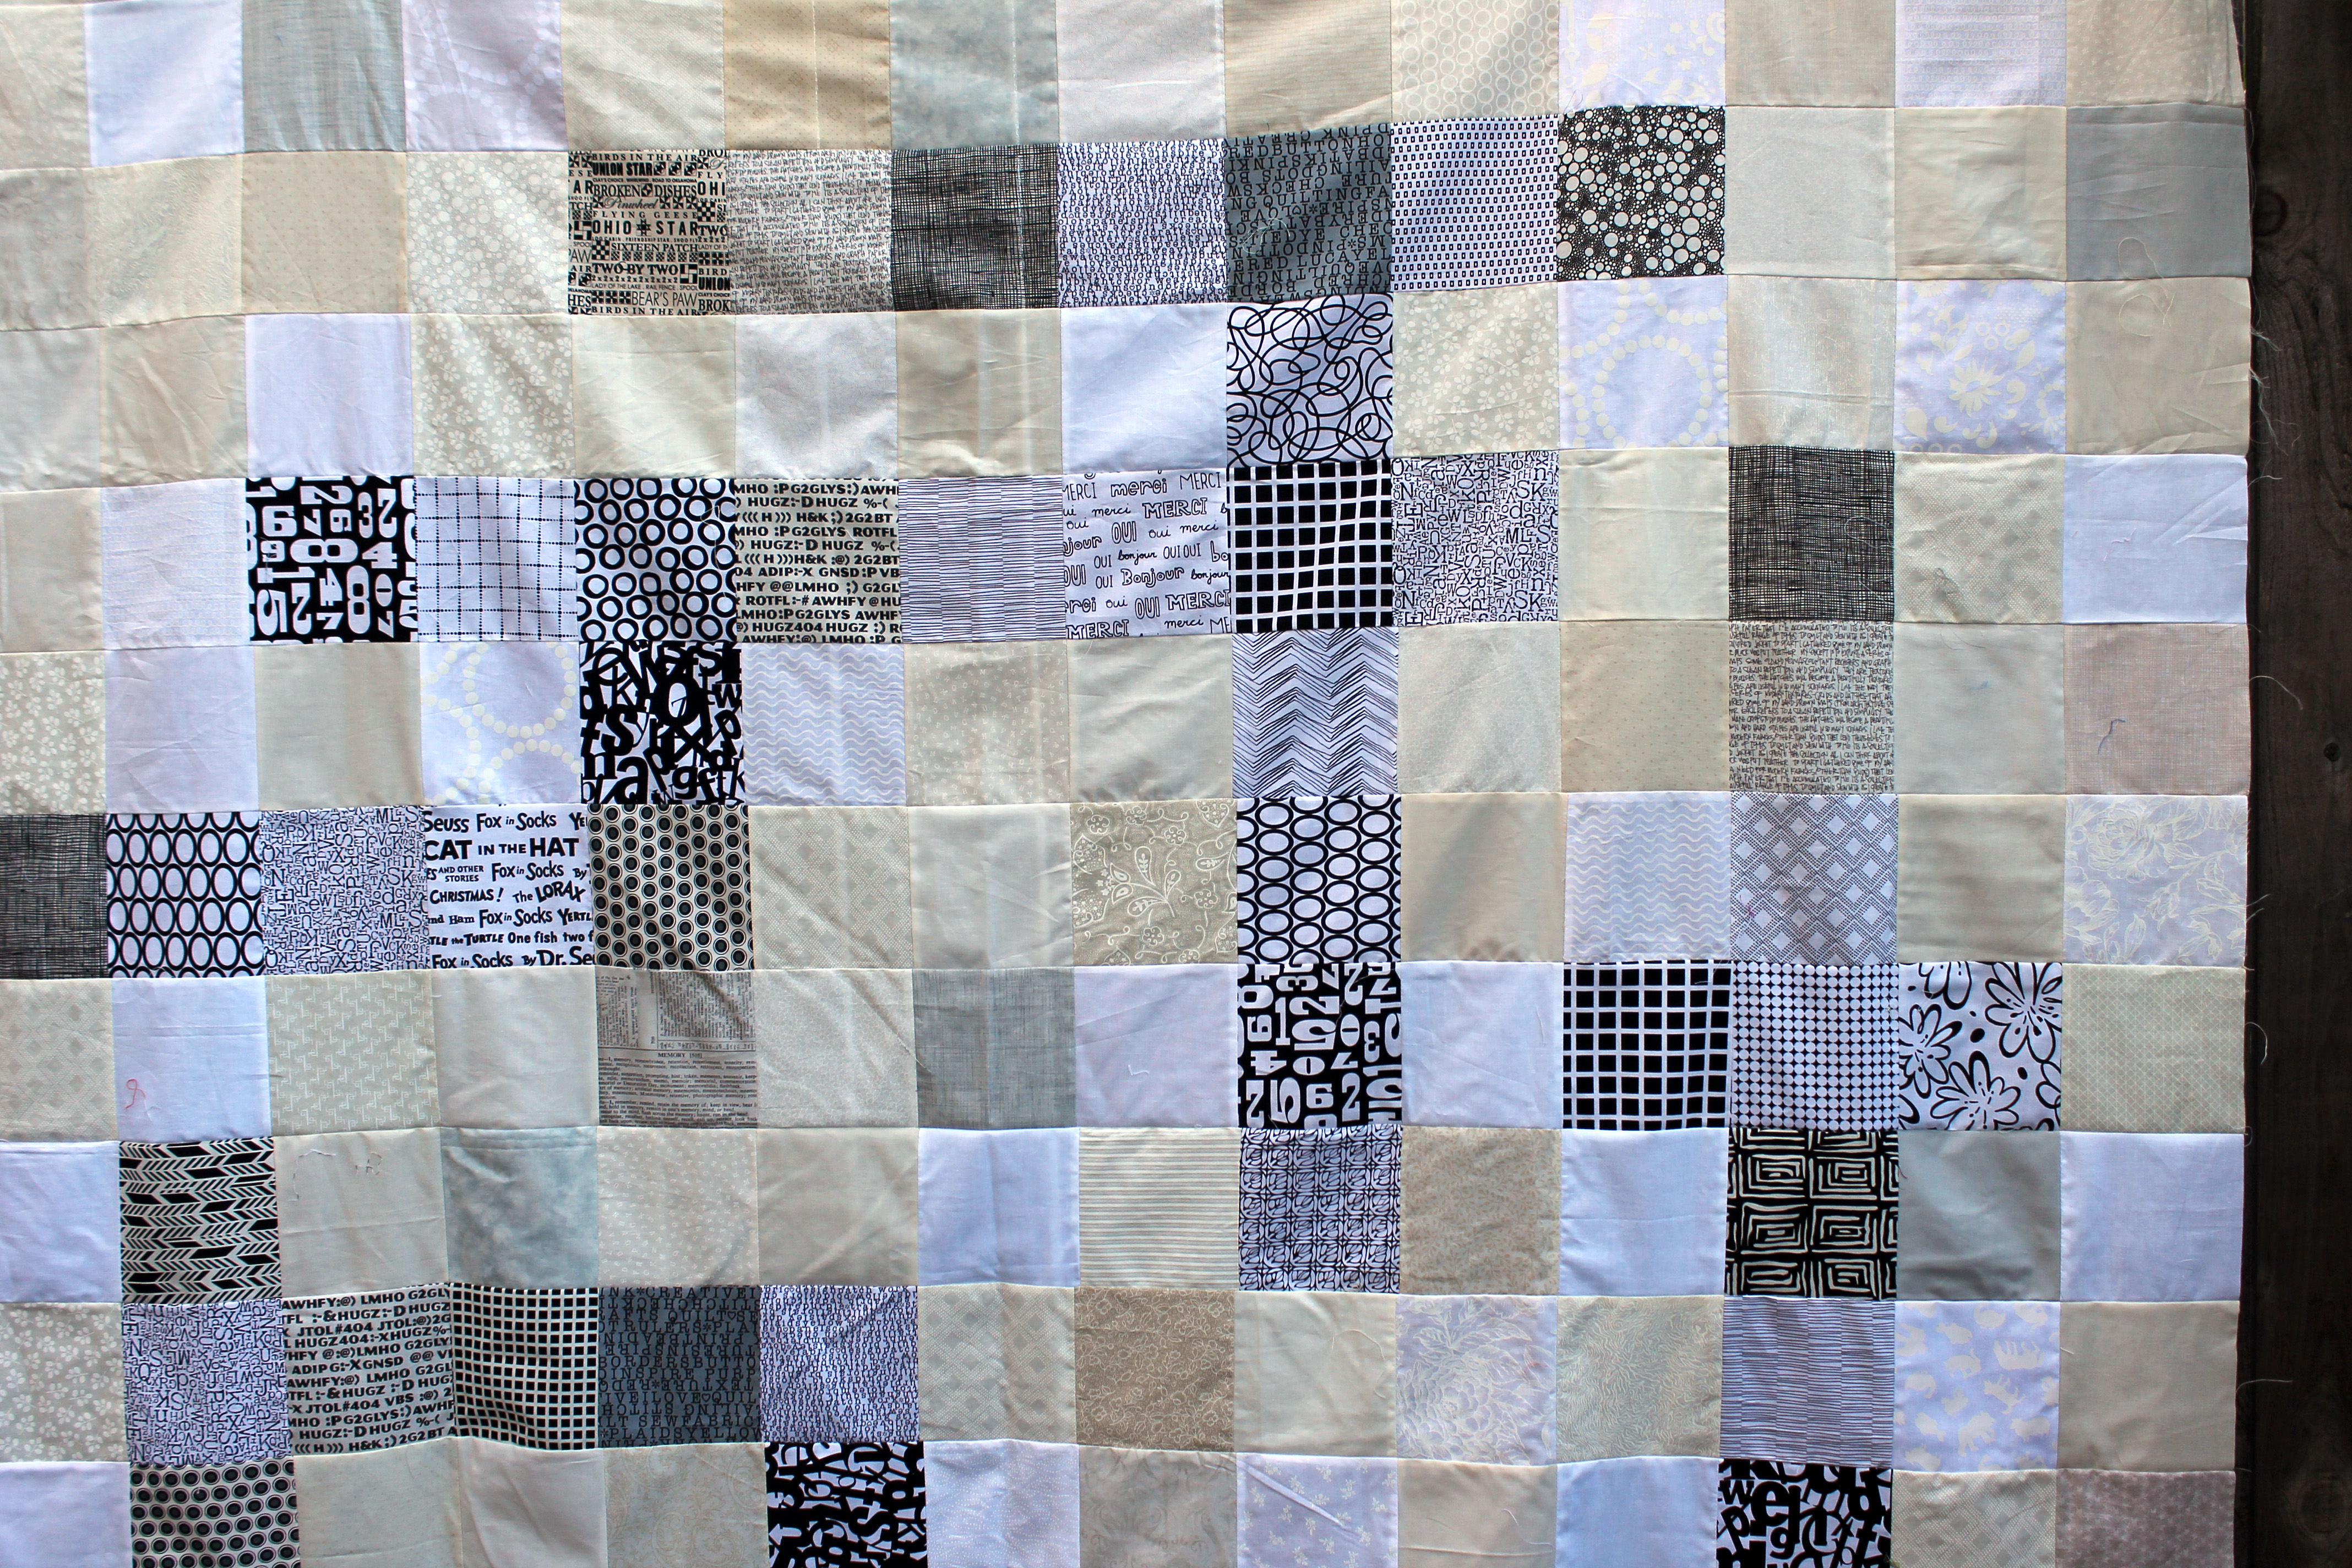
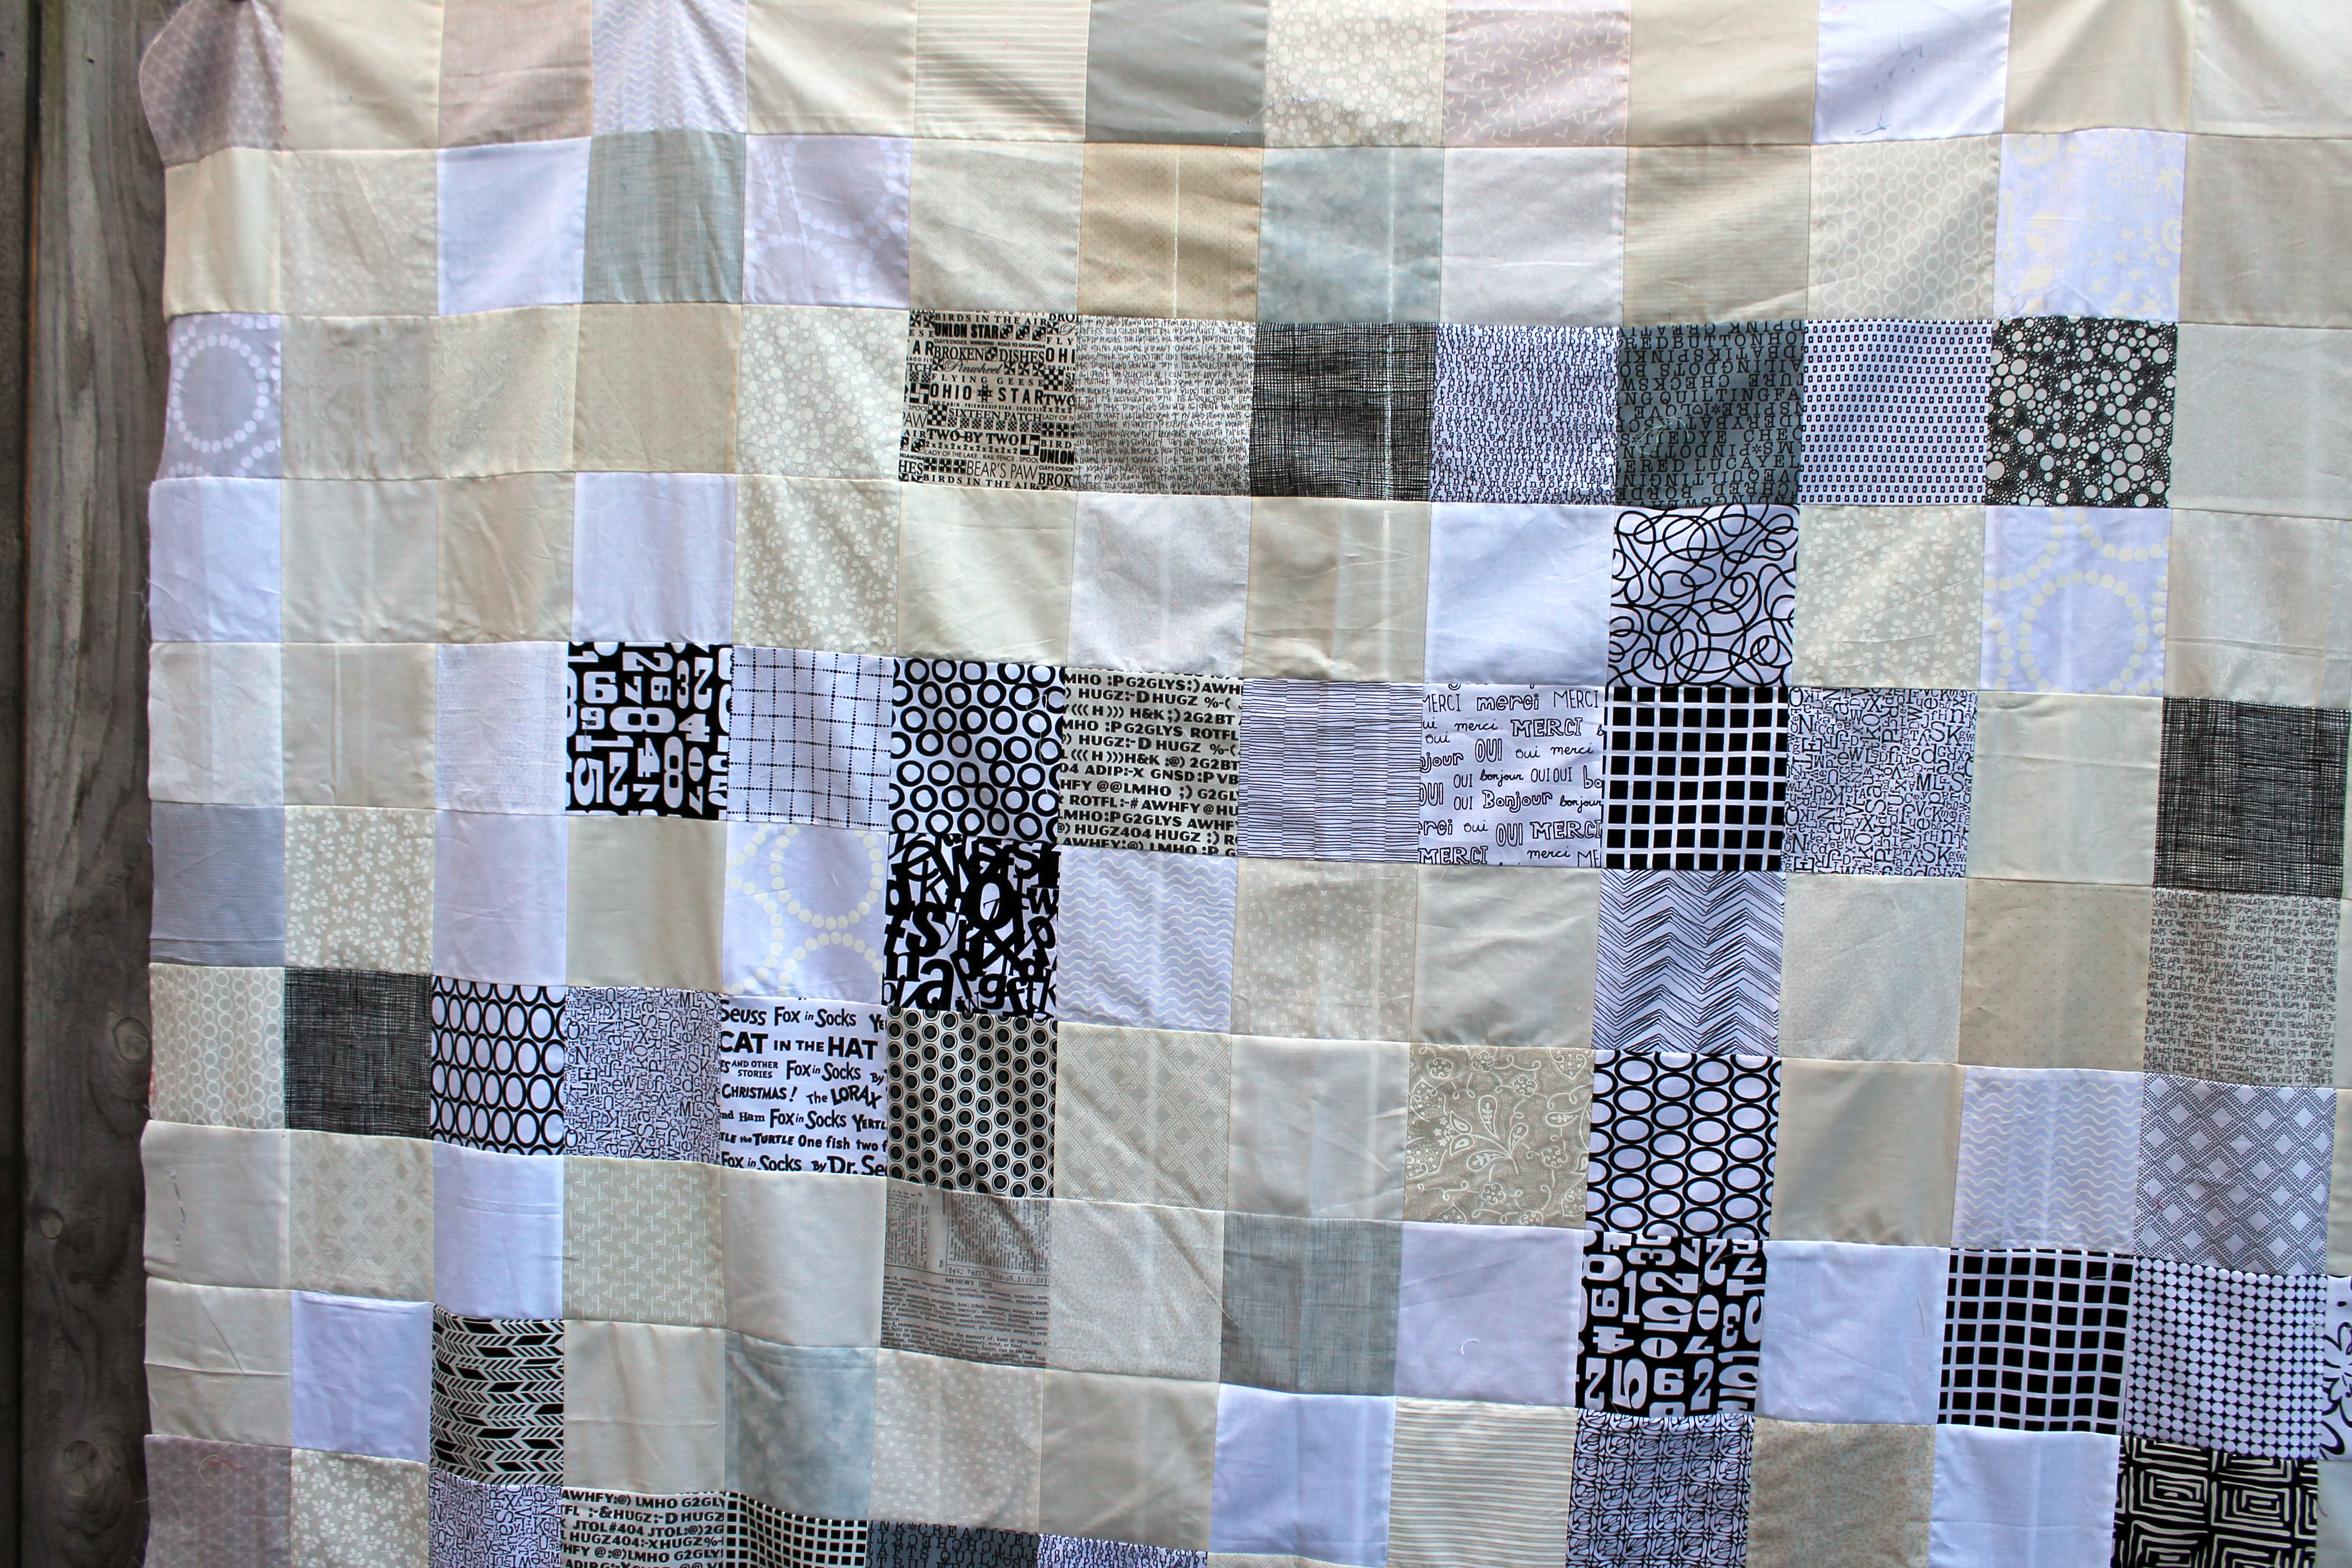
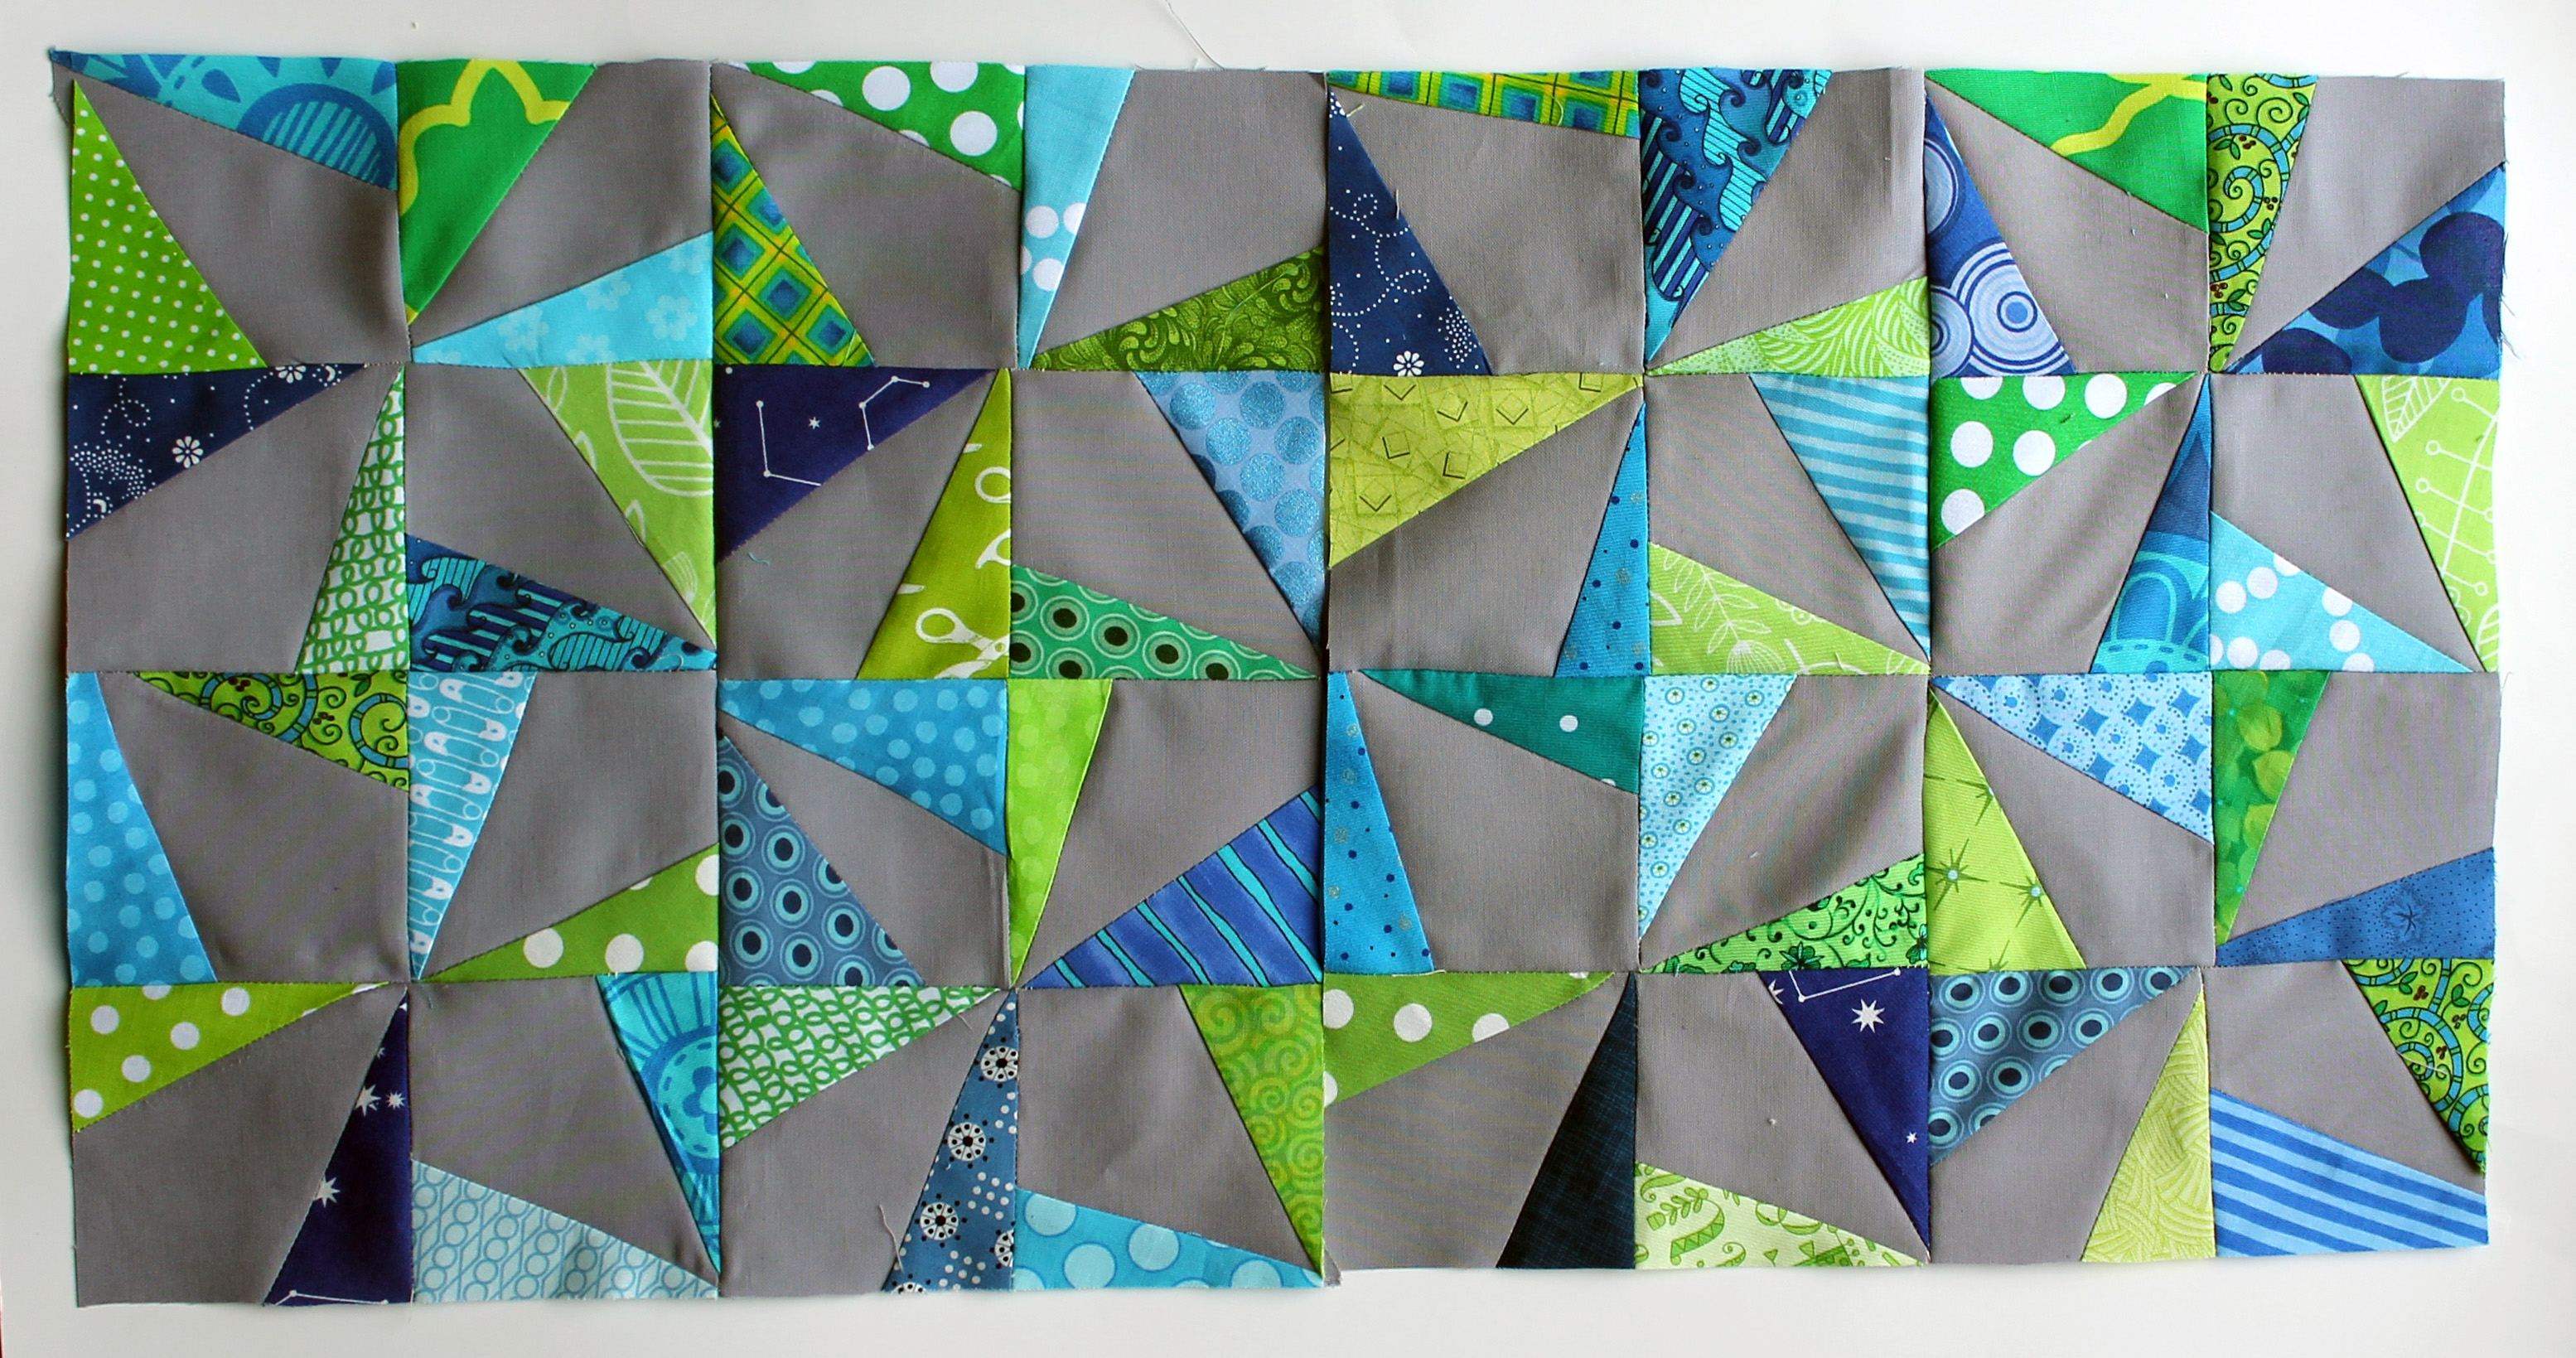
When I go to put this quilt together I decided I wanted to use filler blocks to give the splodges room to breath. These filler blocks are being made using just light grey and white fabric with the occasional blue or darker grey spot.
They are 12 1/2 inch by 6 1/2 inches unfinished and will allow me to layout the finished quilt in a irregular pattern…. the splodges will not all be neatly lined up but rather scattered around the quilt.
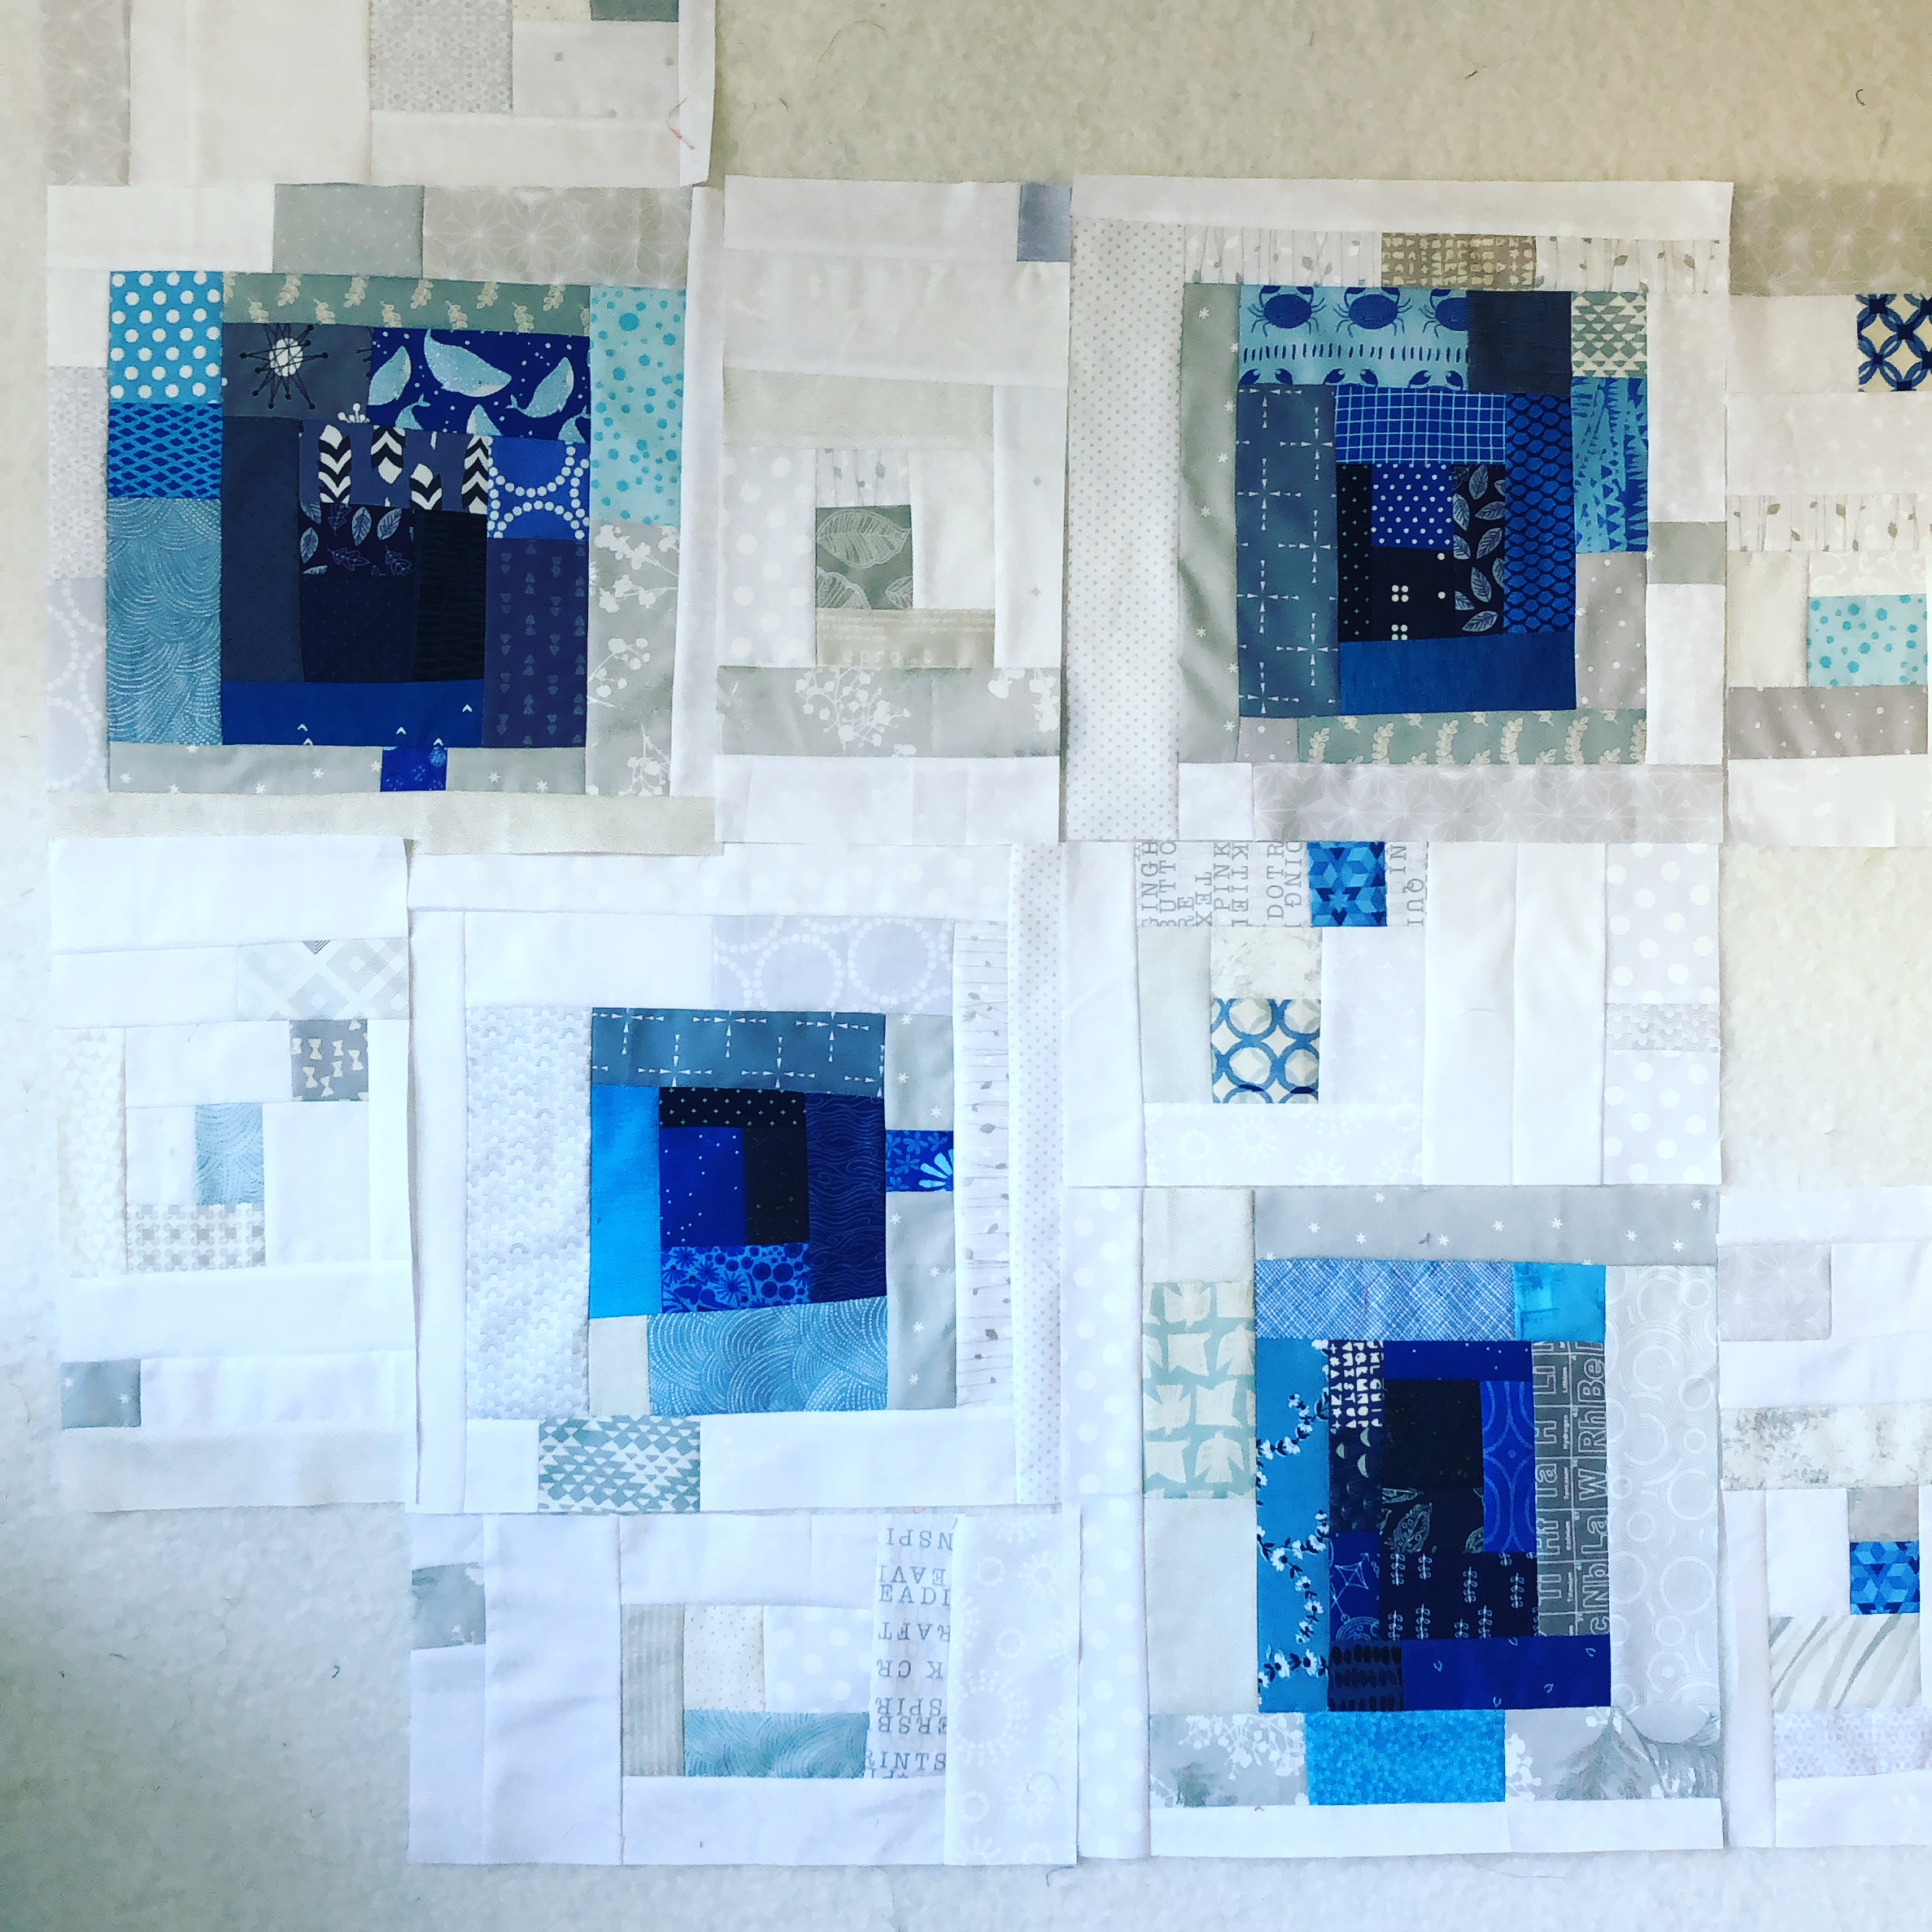
So there you have it… the splodge block. I am looking forward to seeing how my fellow DGS peeps interpret the splodge…and really looking forward to putting this quilt together.