Back to School Blog Hop – Paper Piecing edition

Today it is my turn on the Back to School Blog Hop and today I wanted to talk about an under rated paper piecing tool – coloured pencils.

coloured pencils

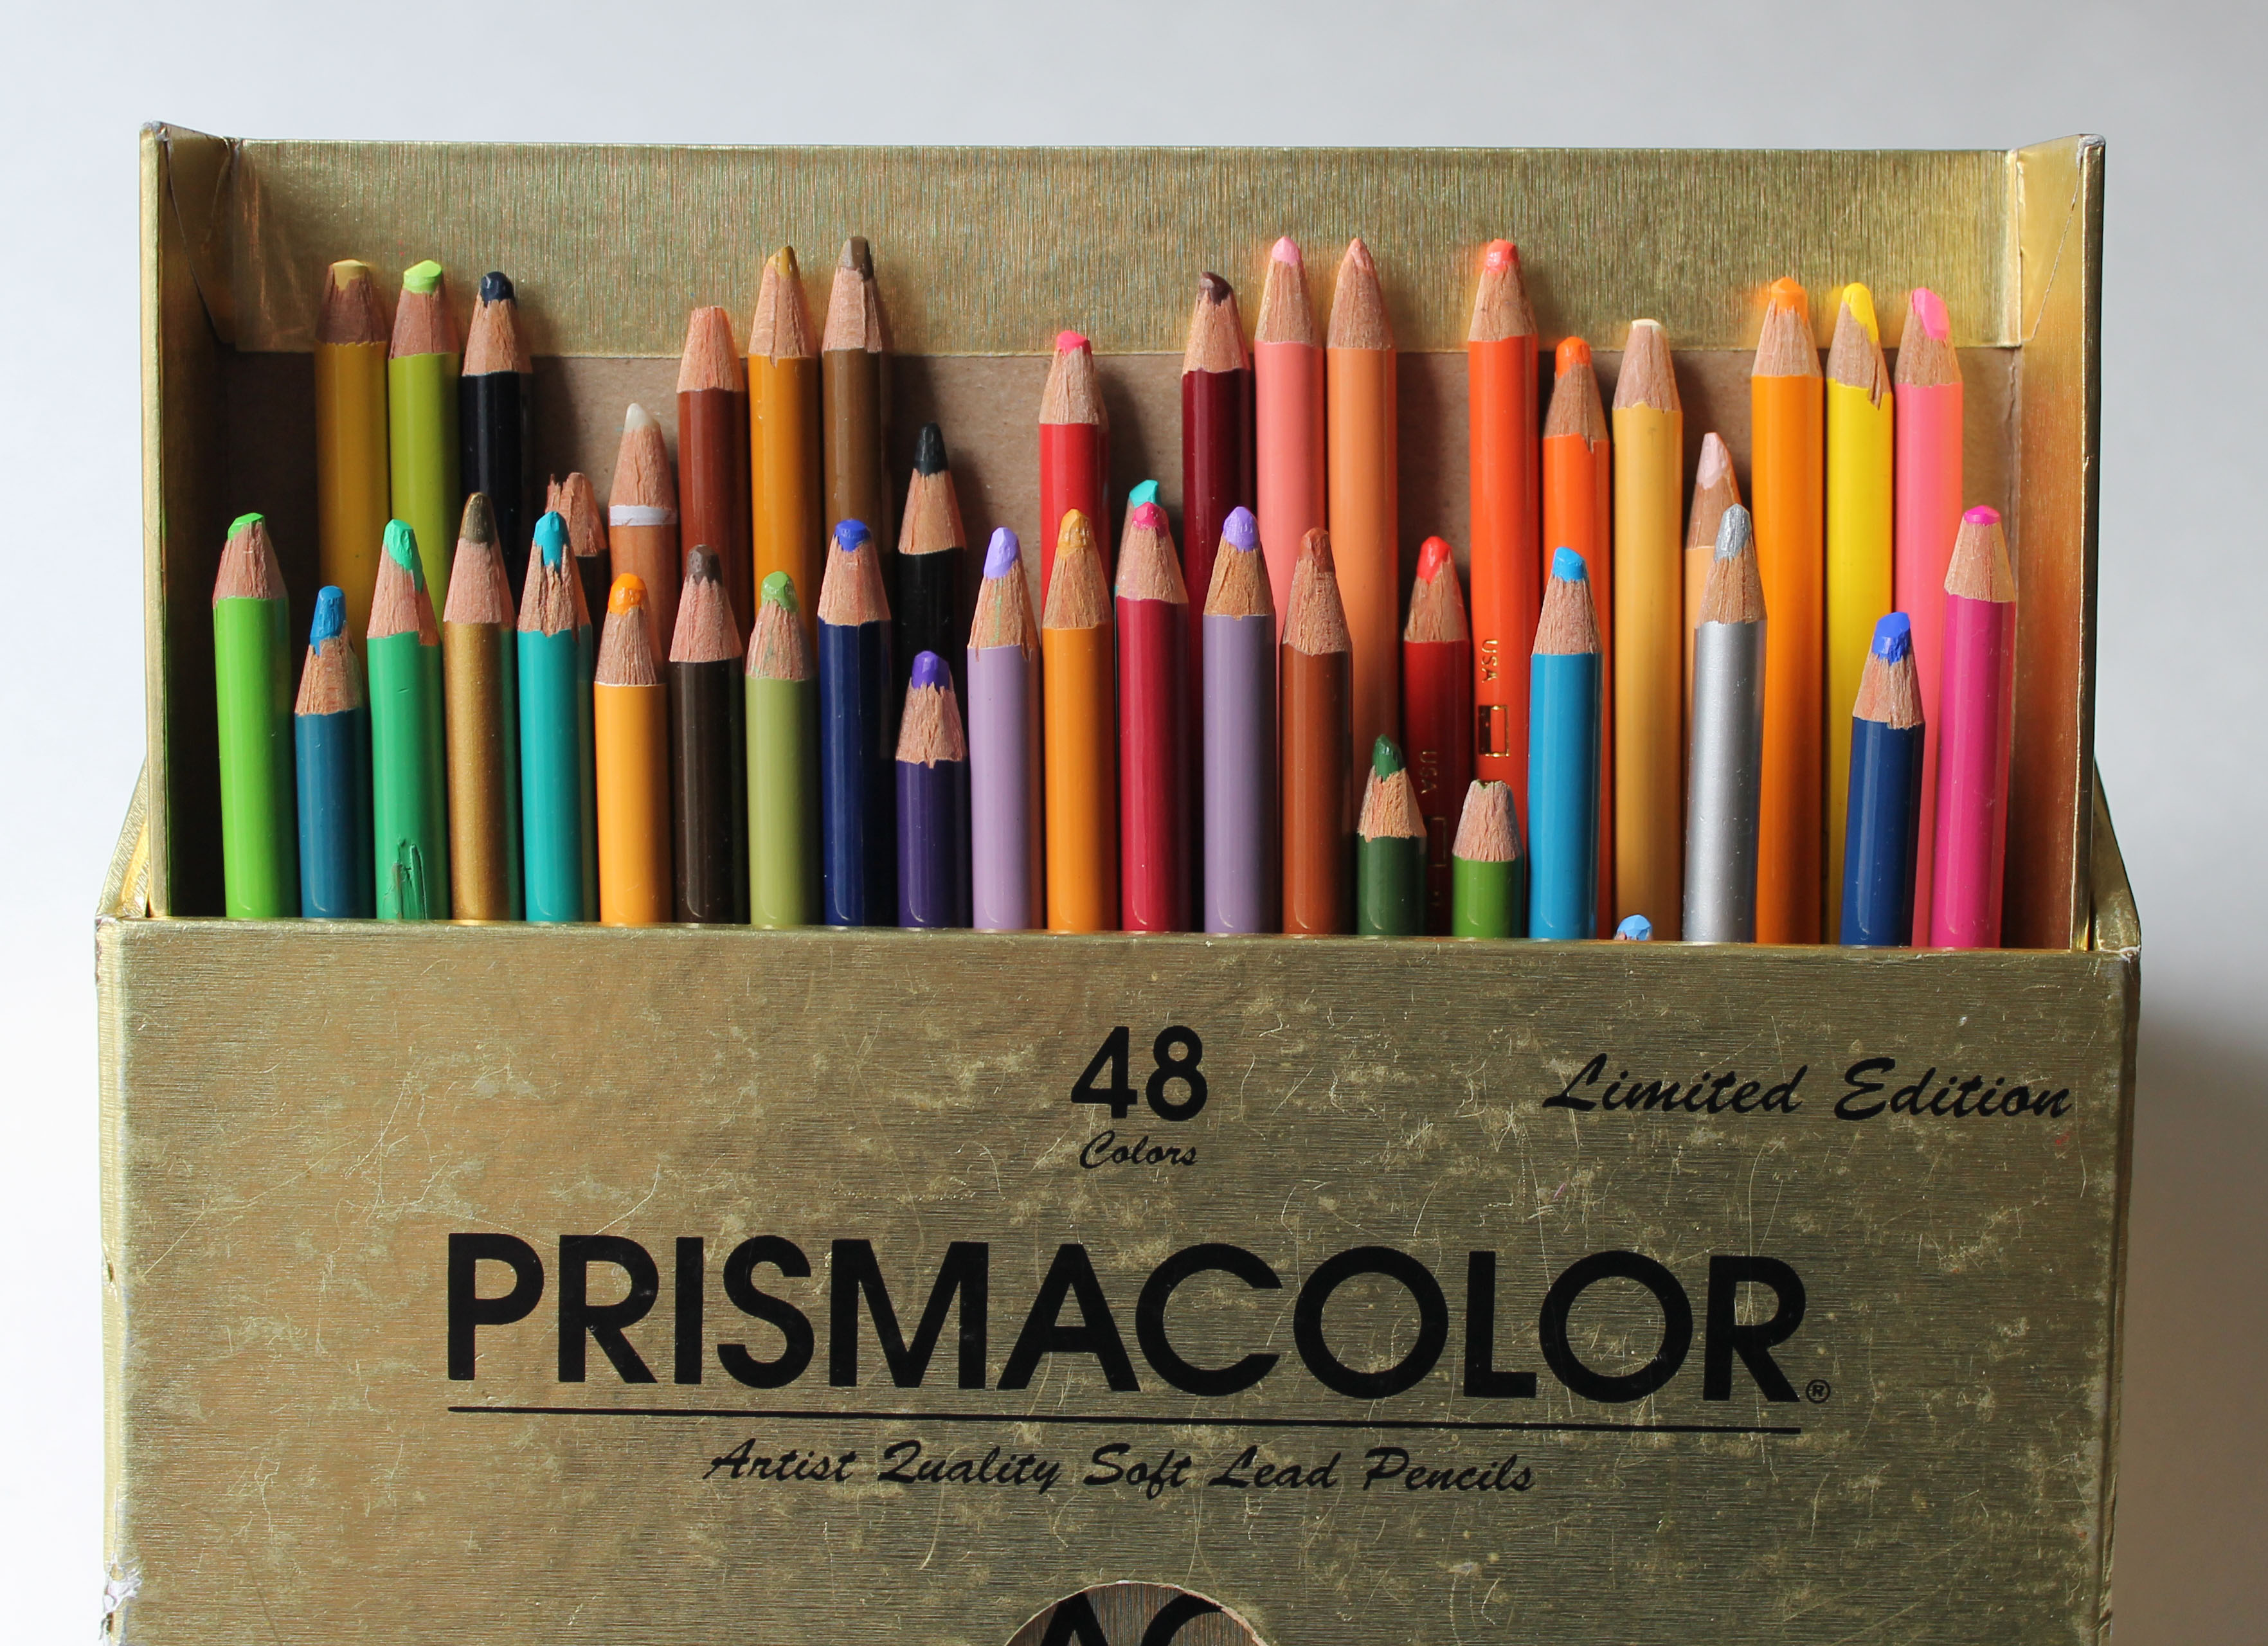
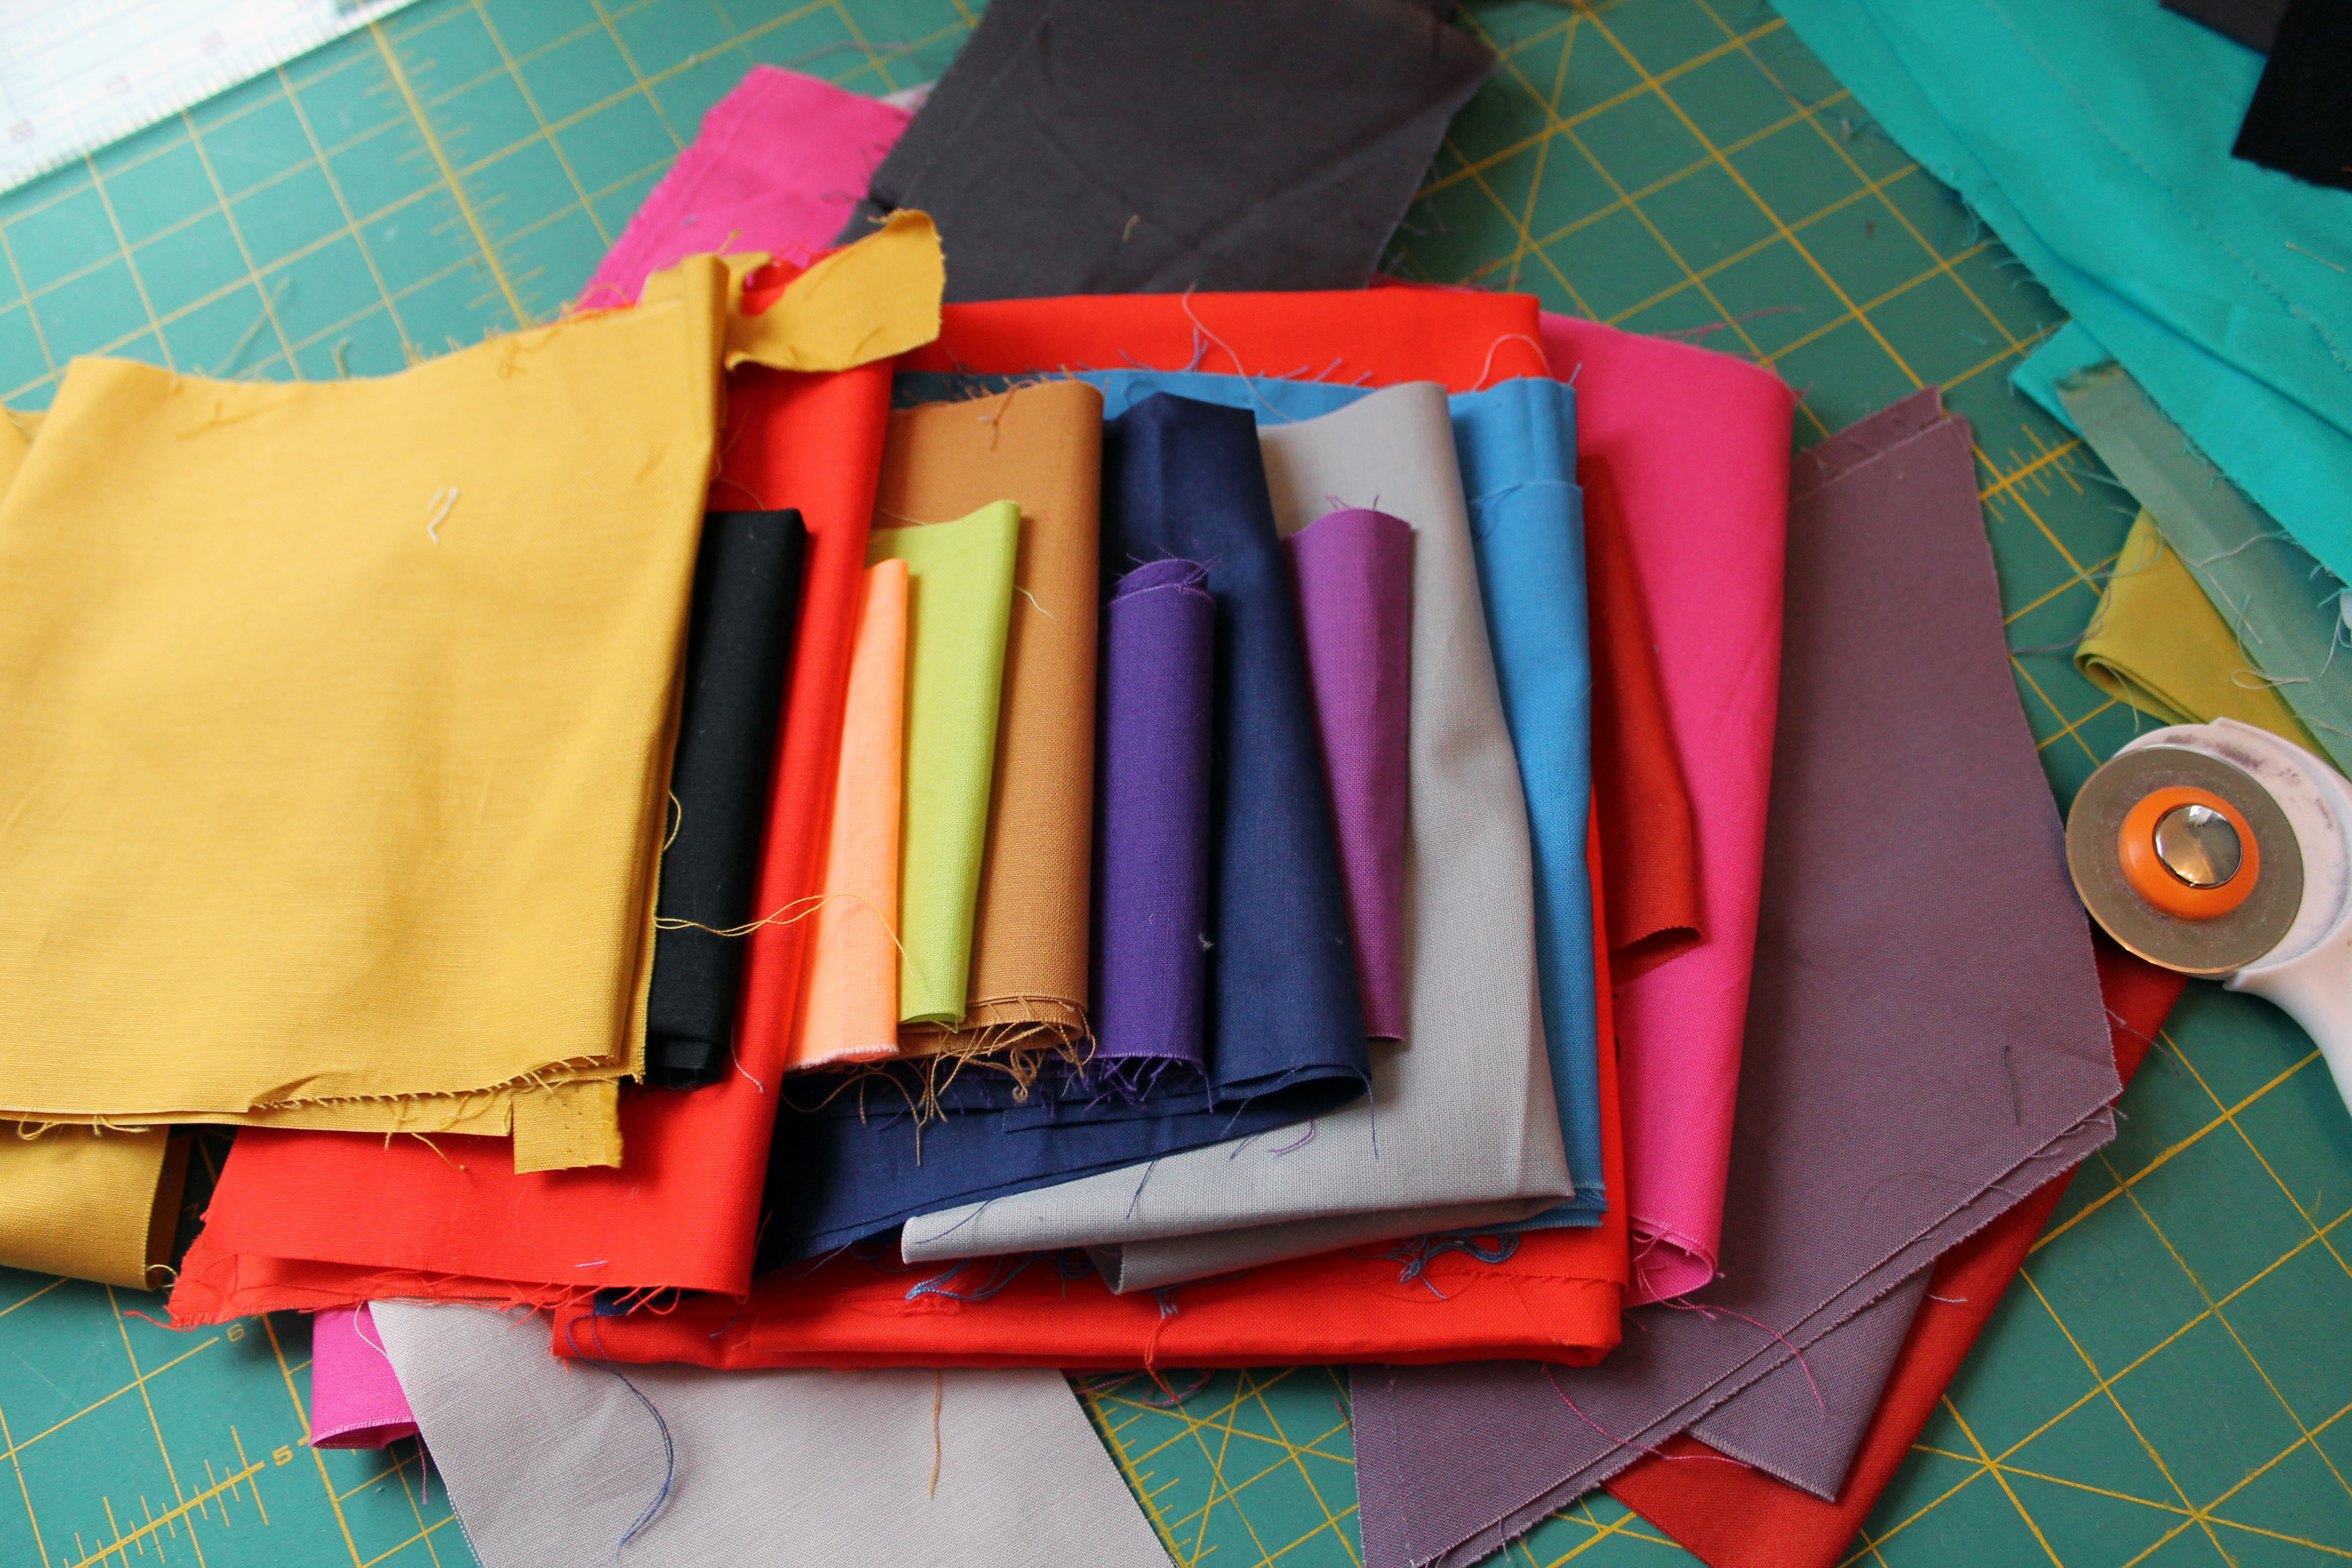
As you can tell my pencil set is well used.  Most quilters will pull out colour pencils to colour in pattern sheets or maybe sketch out block ideas, but as a paper piecer I use mine all the time to colour code my patterns.

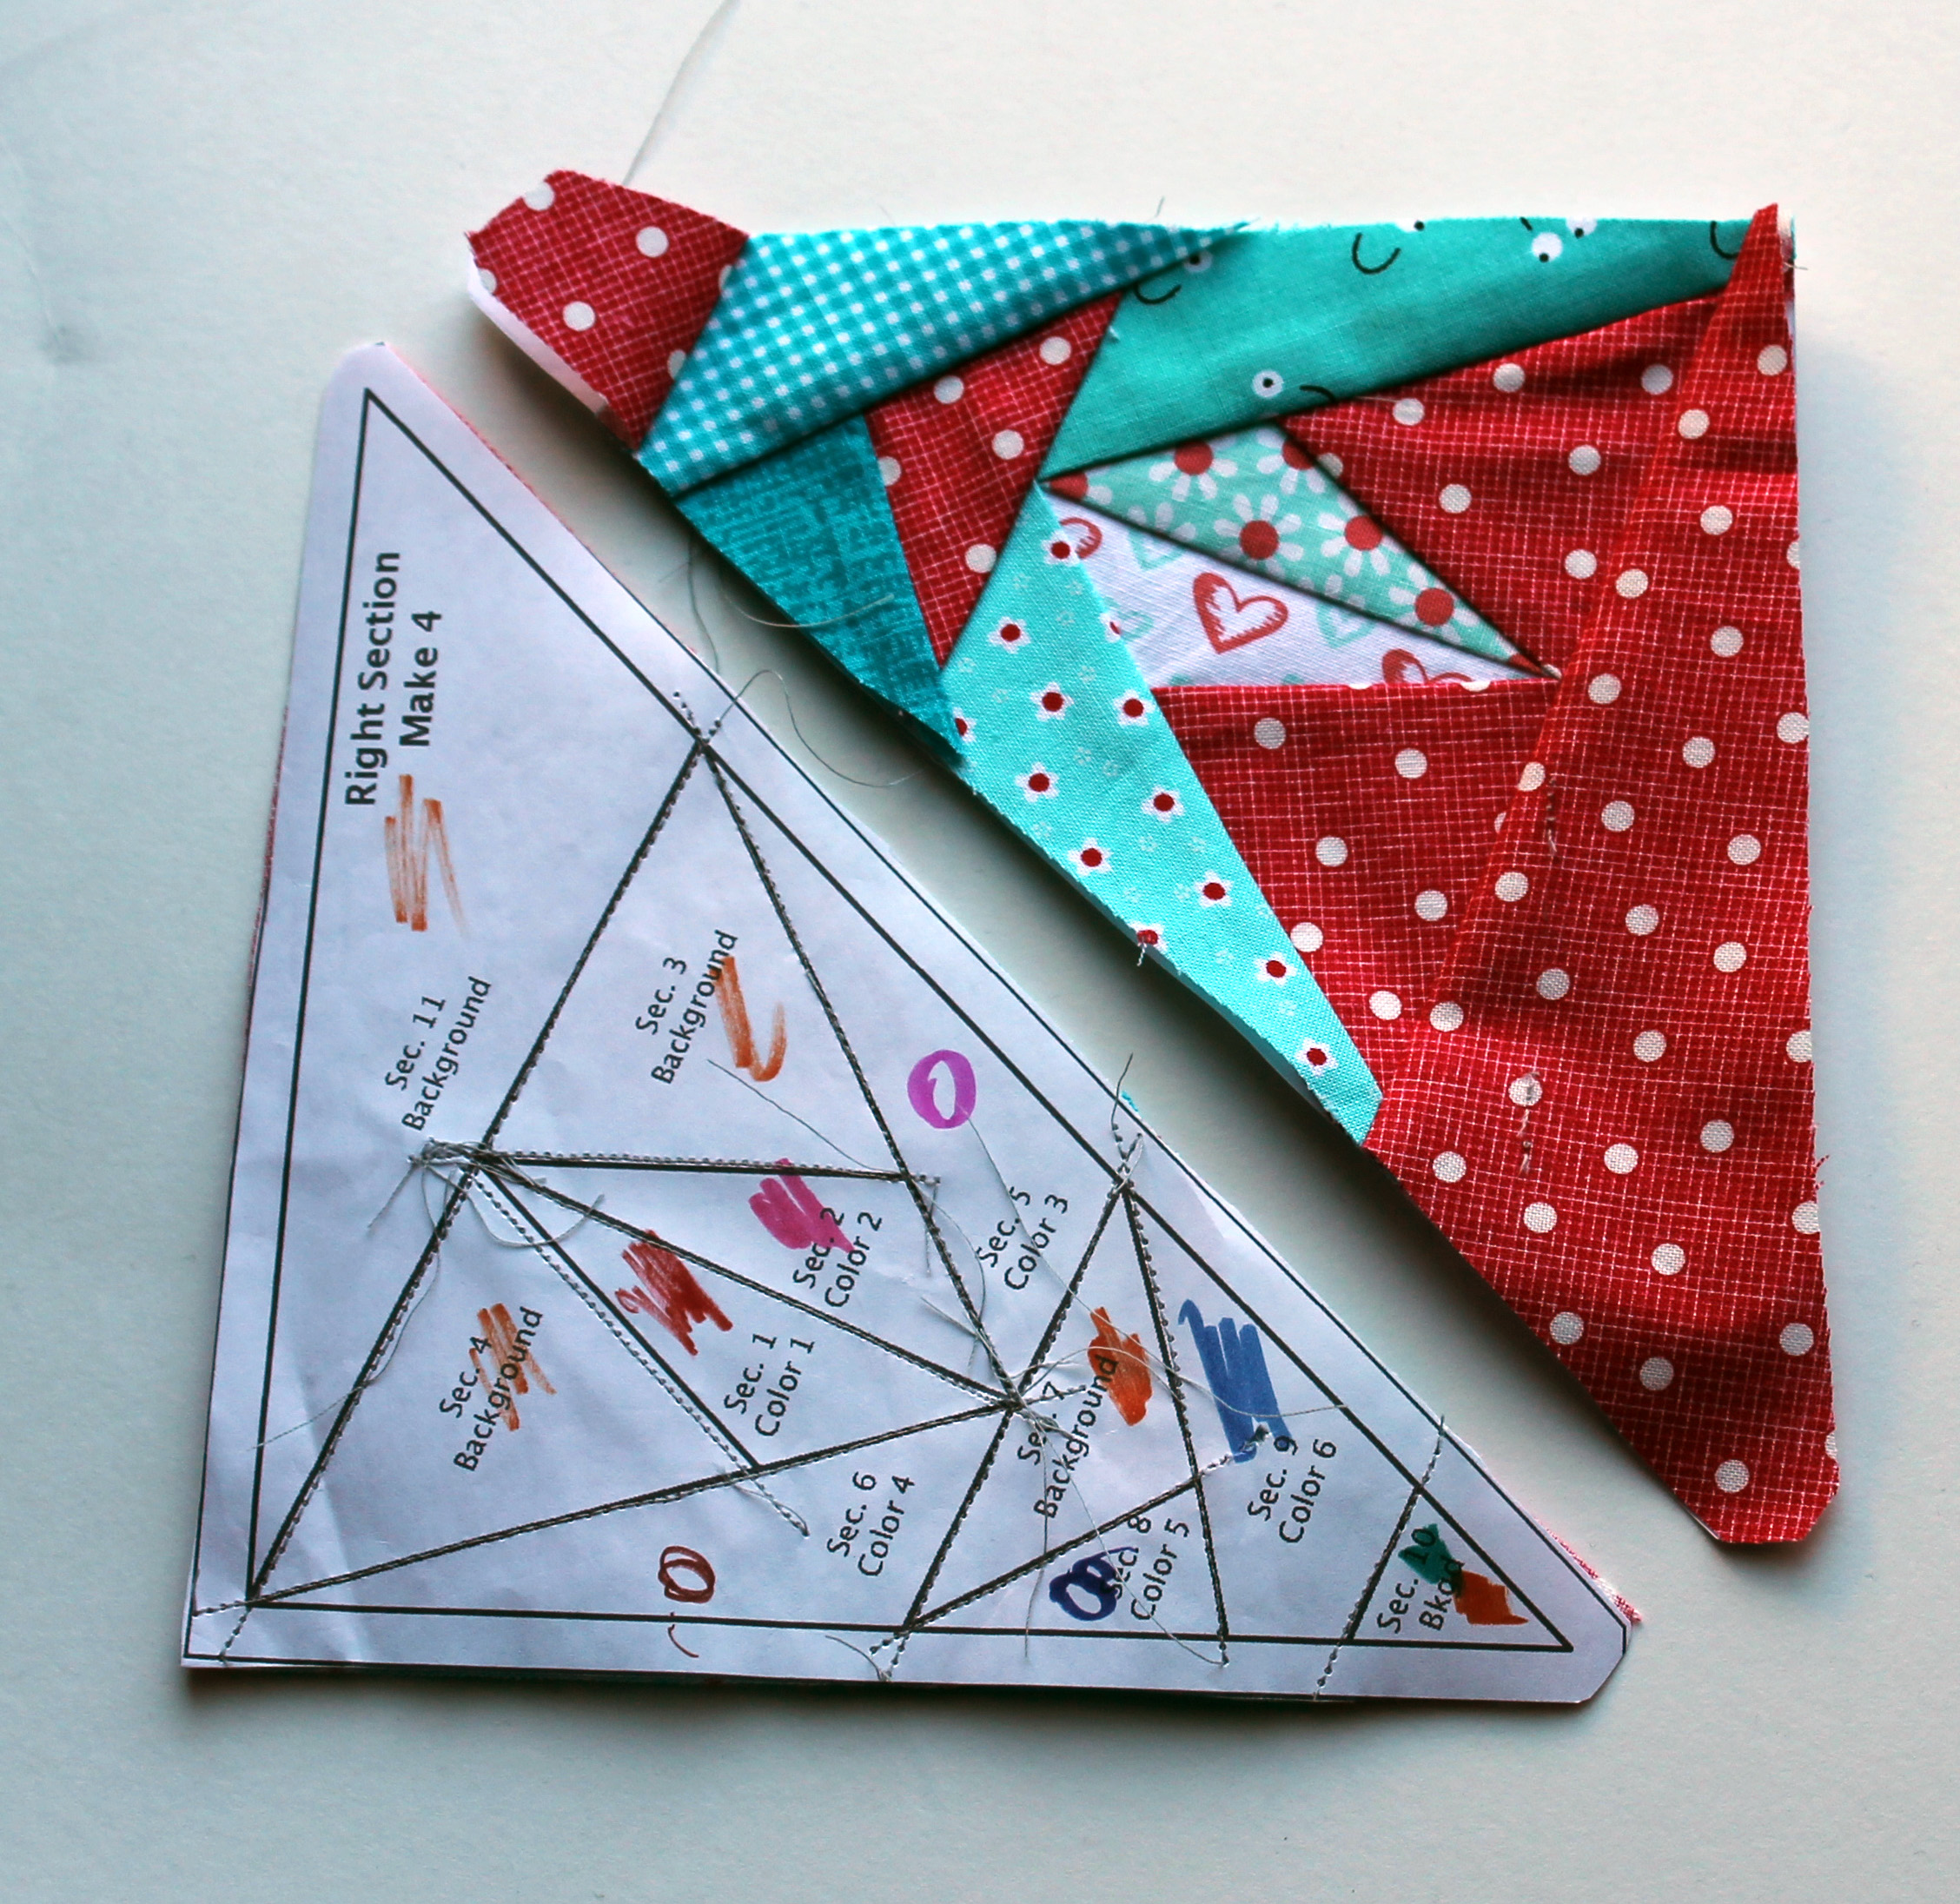
Not all paper piece patterns need to be colour coded… simple patterns can be easily followed without coding help…but with more complex paper piecing patterns, a splash of color can save on the unpicking and hair pulling when you are sewing a pattern.

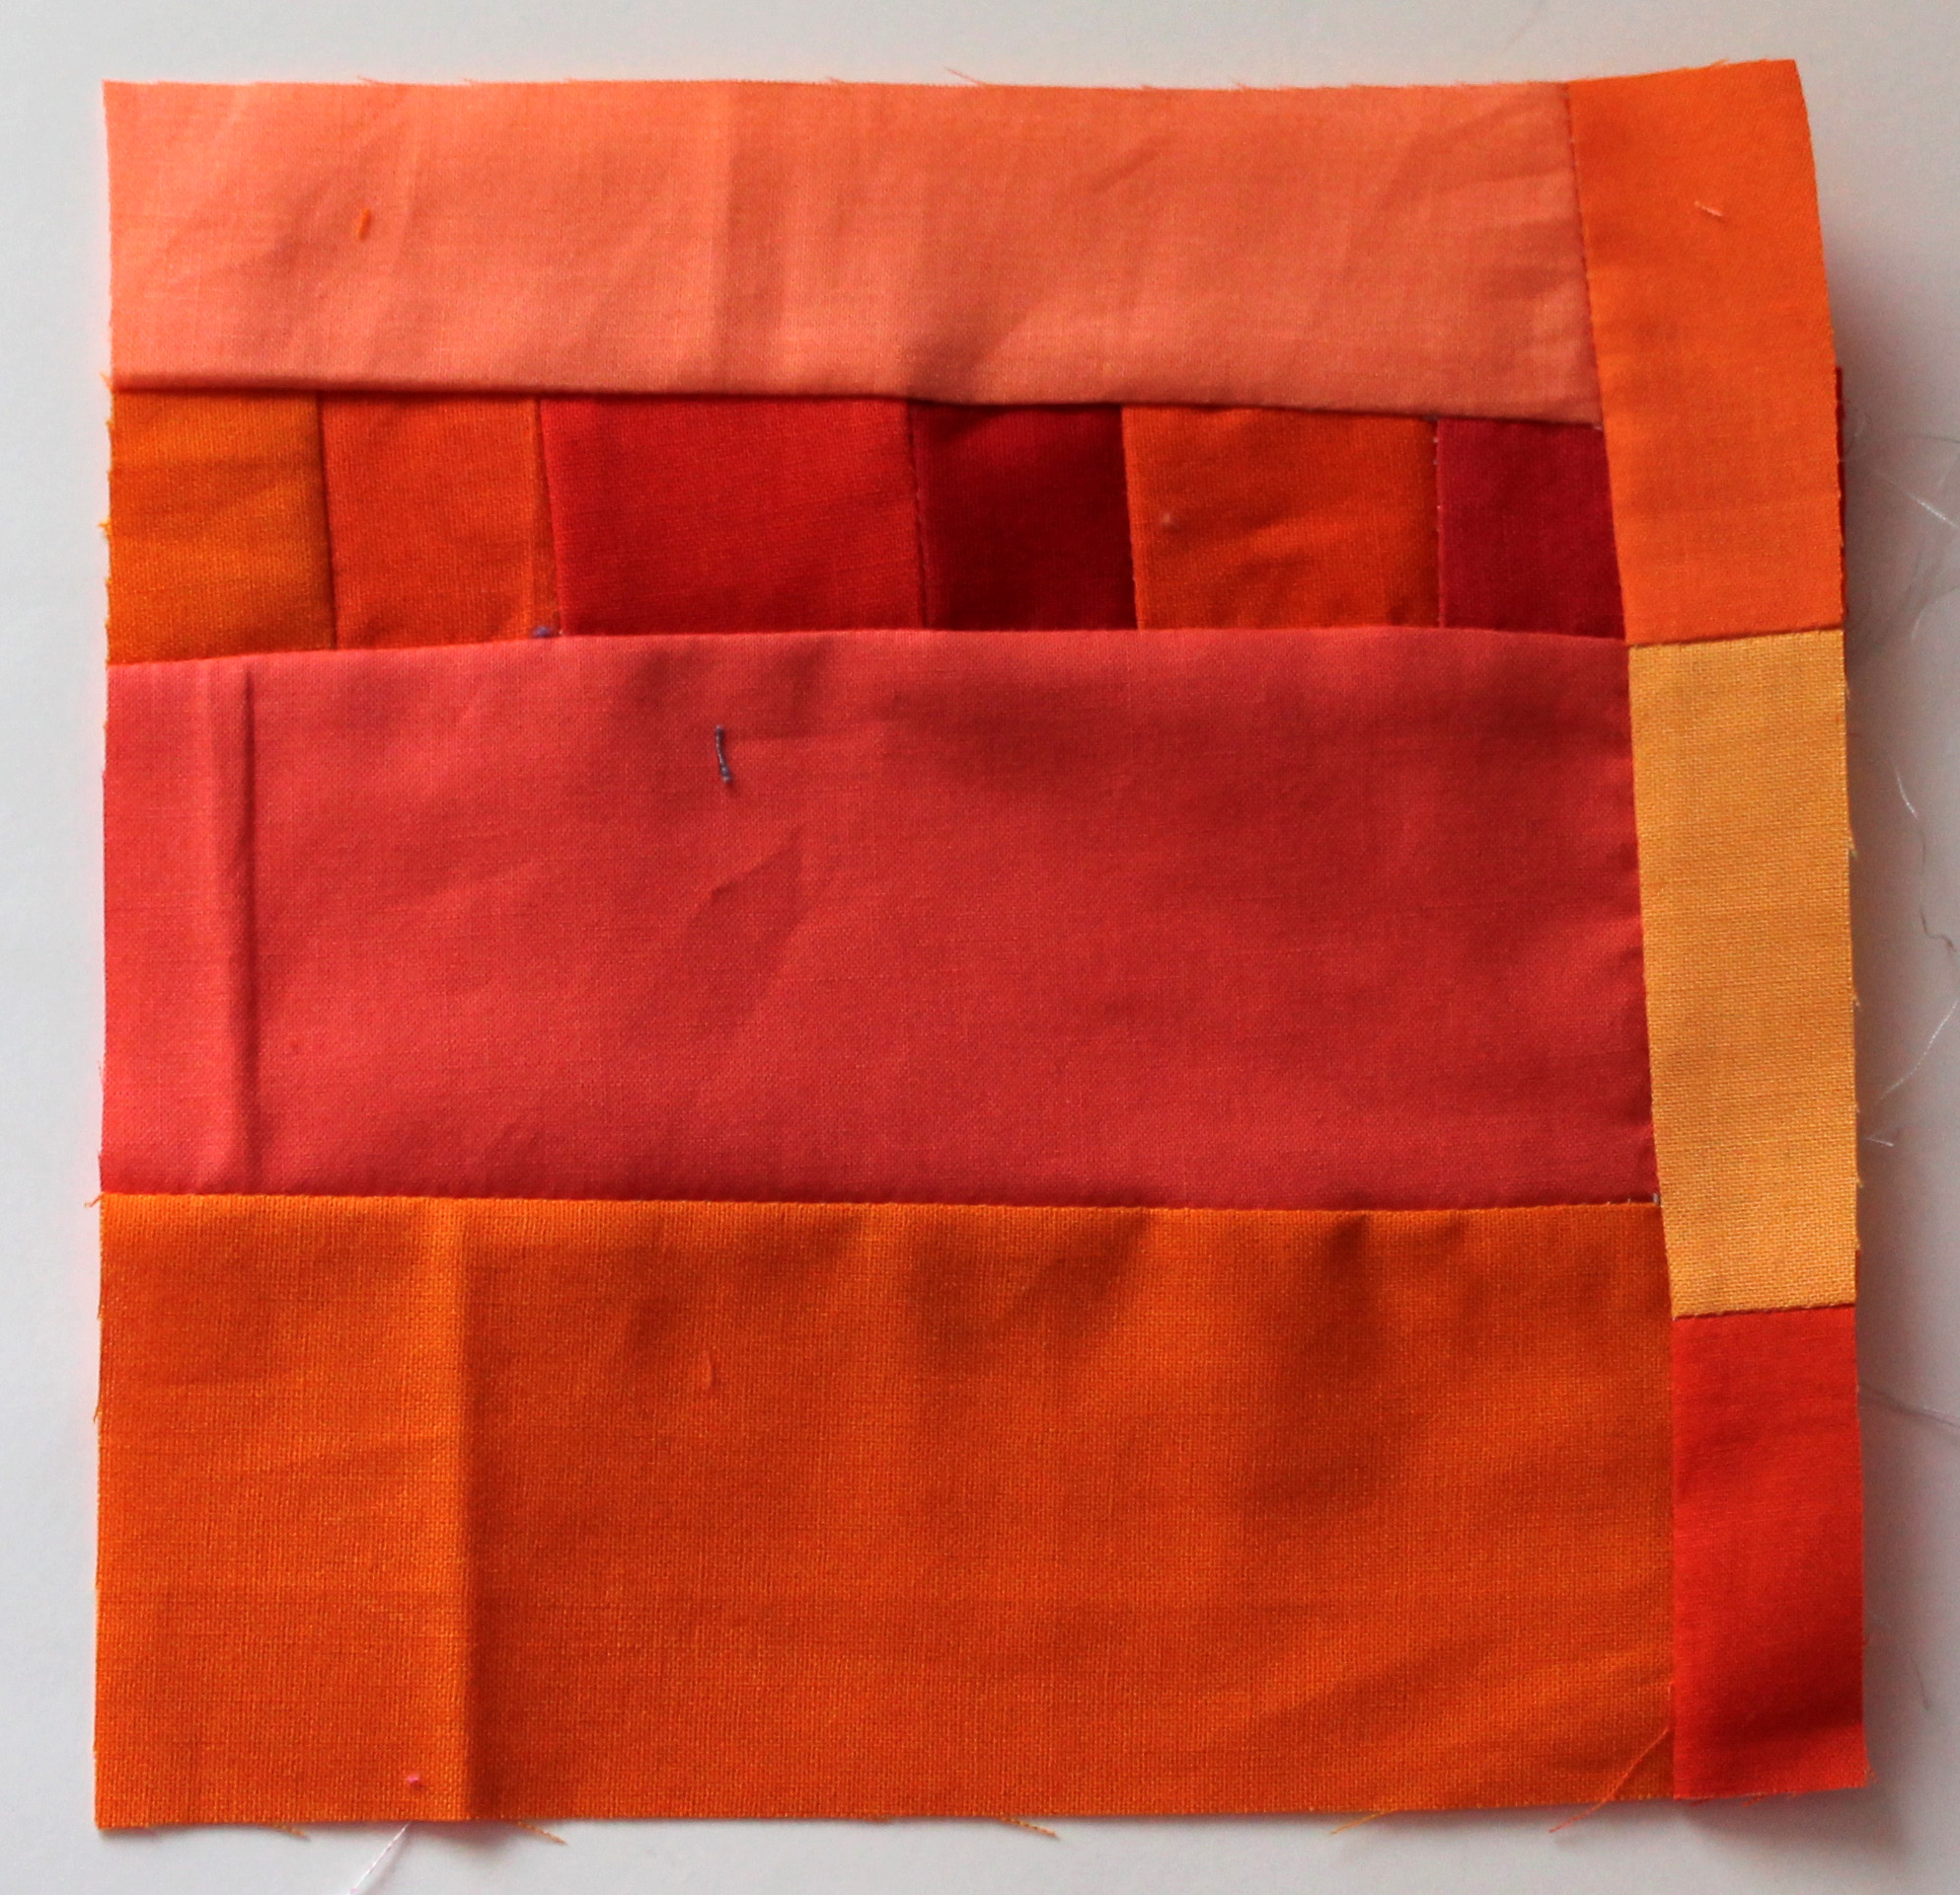
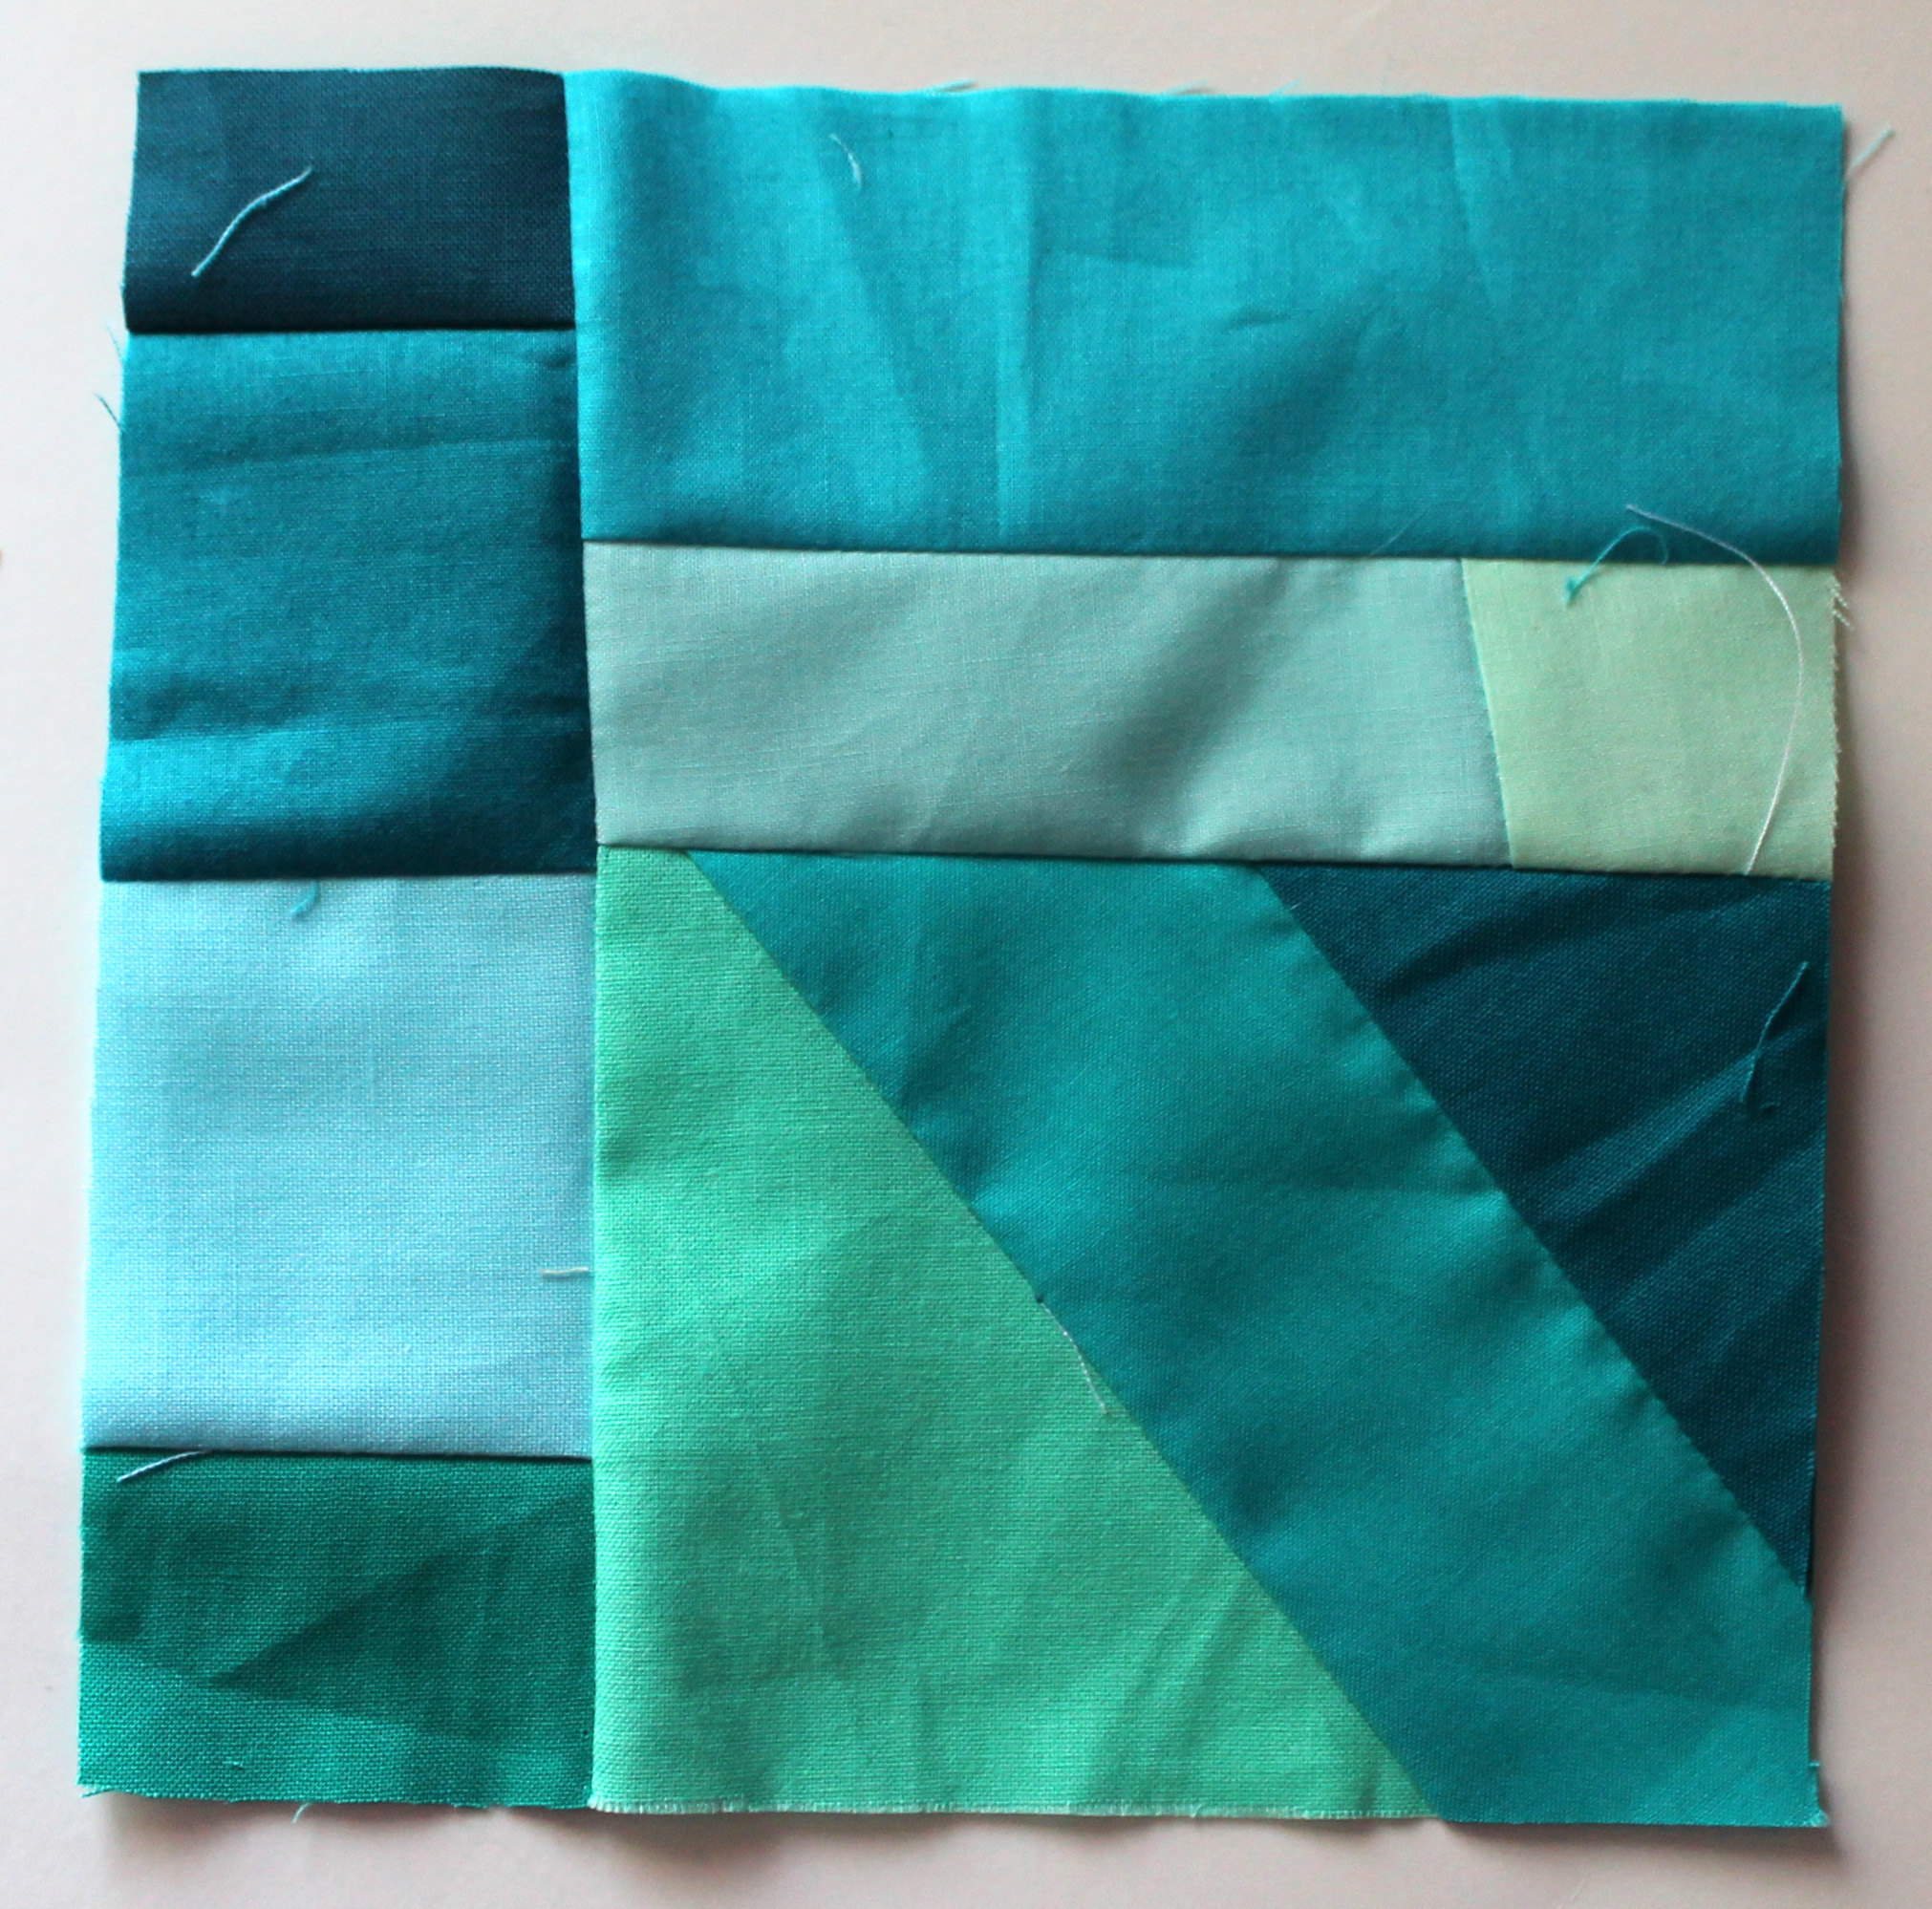
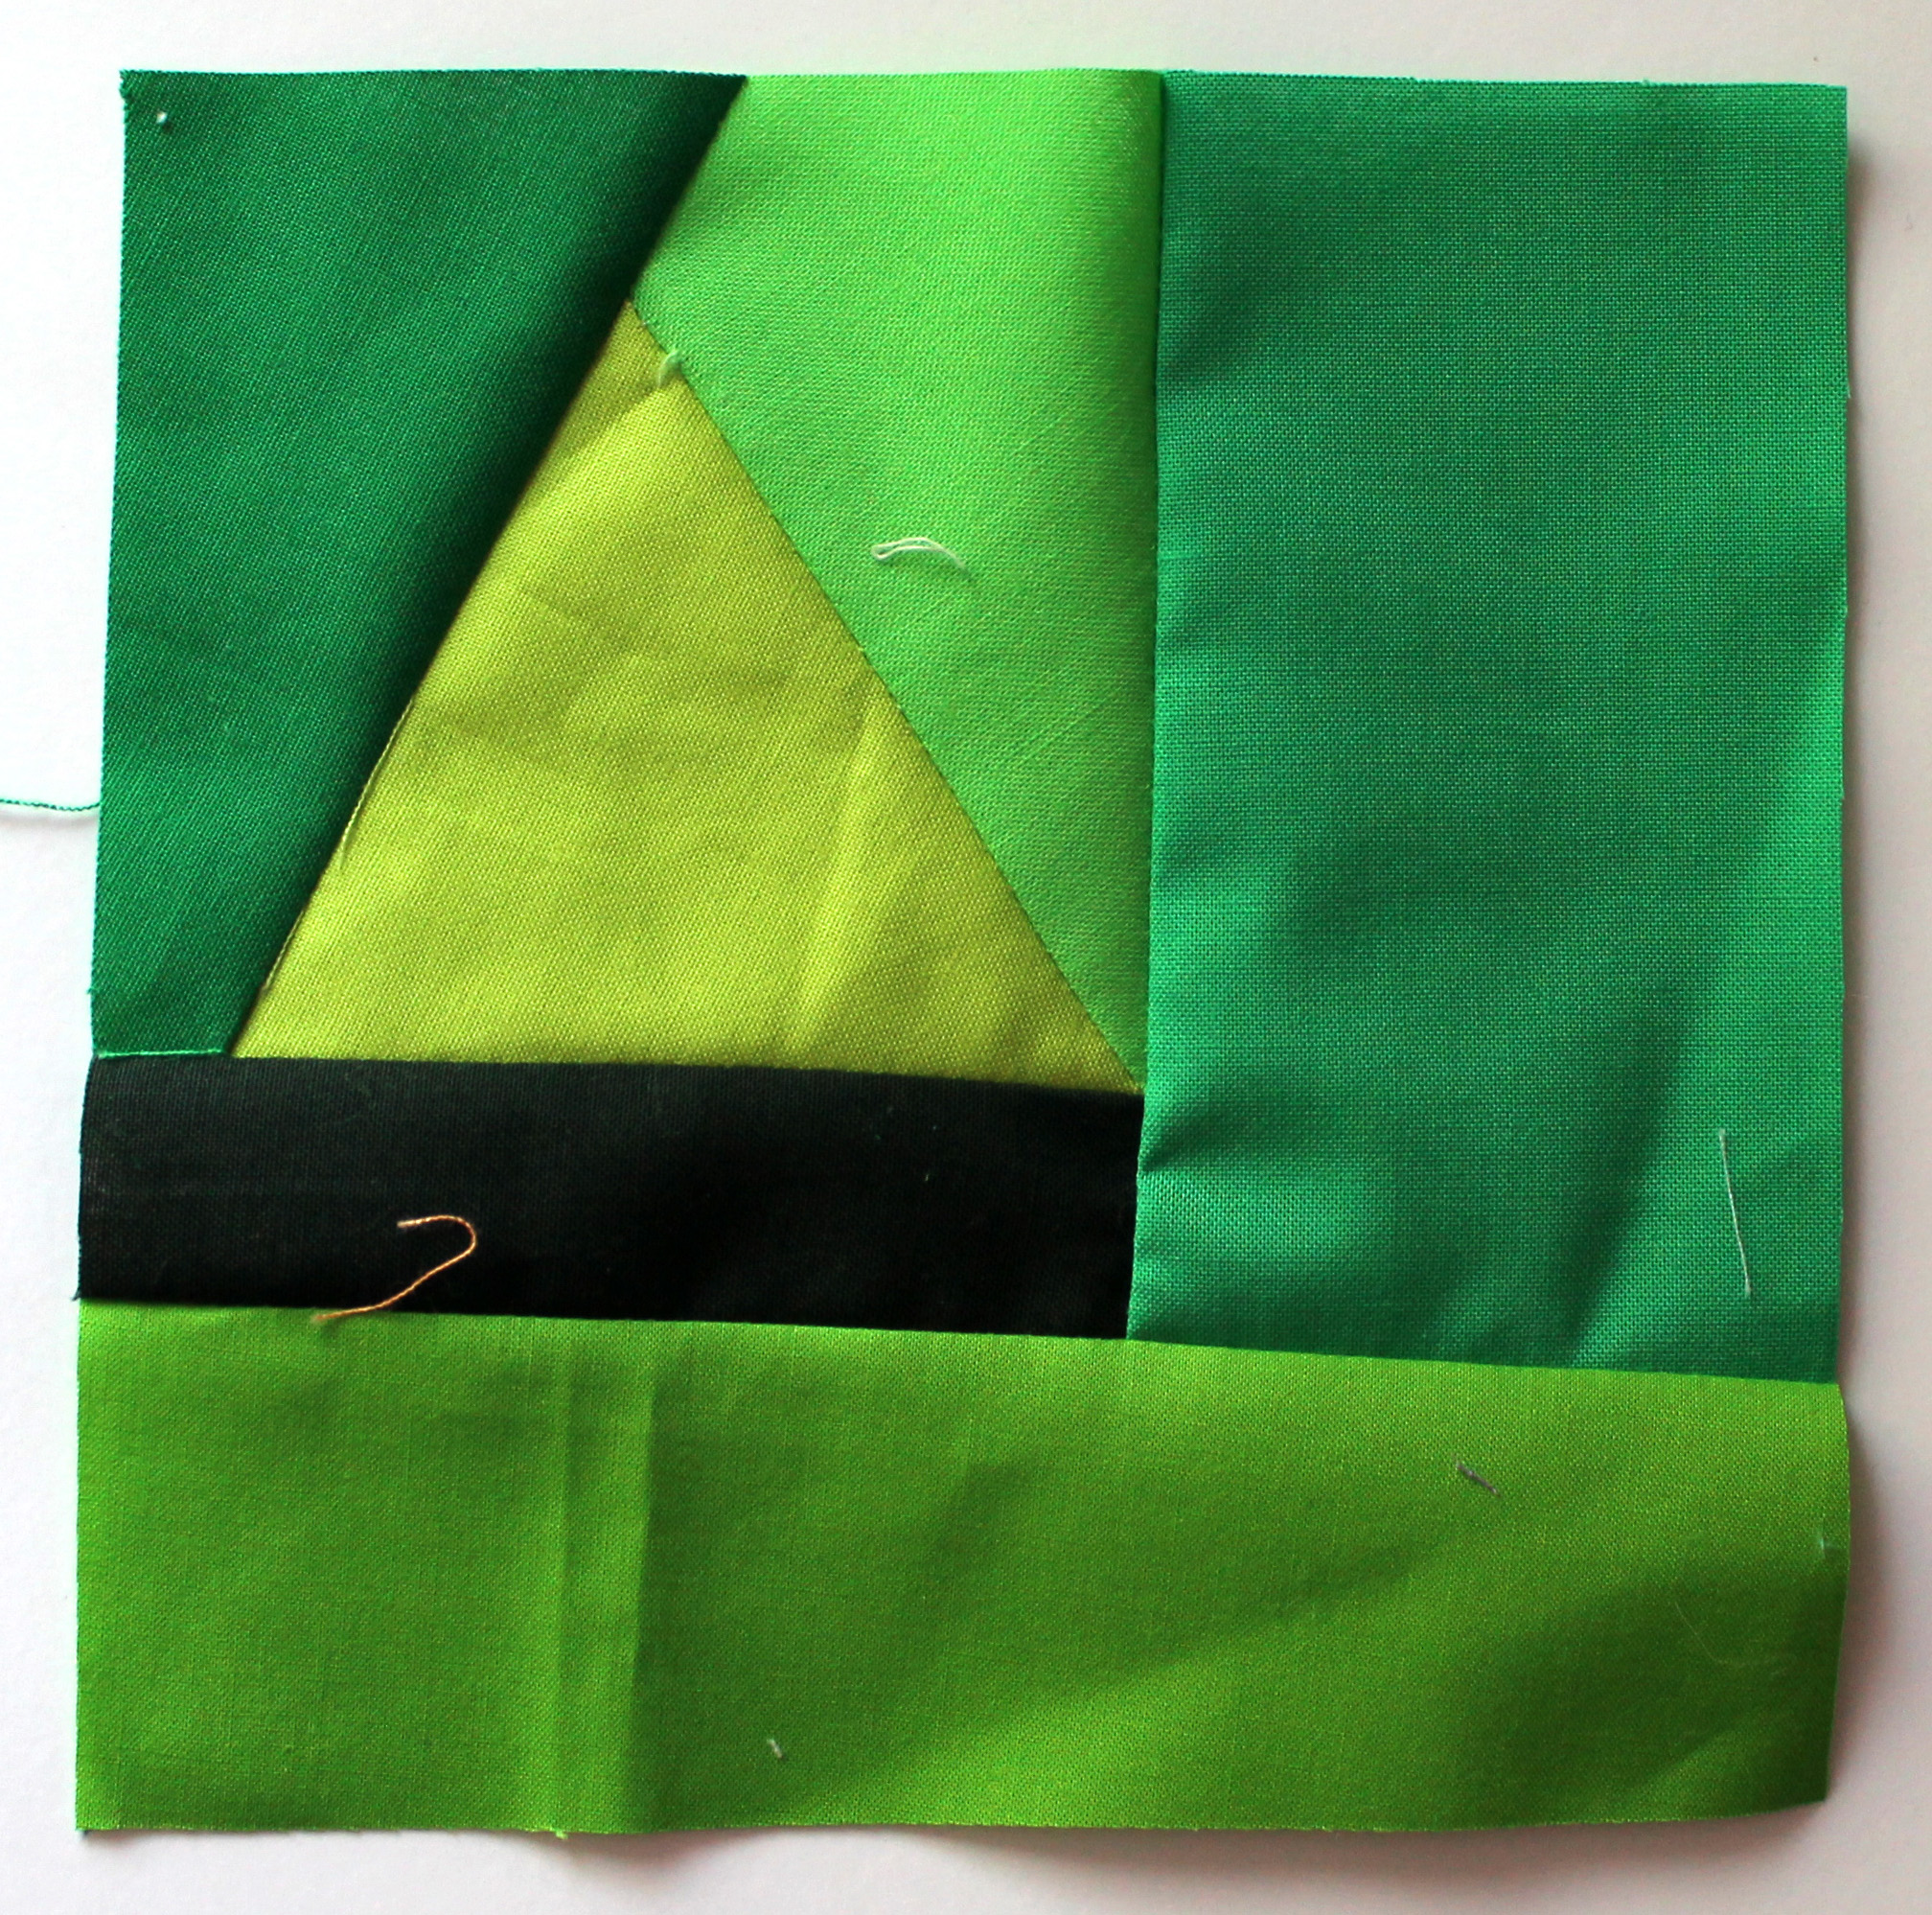
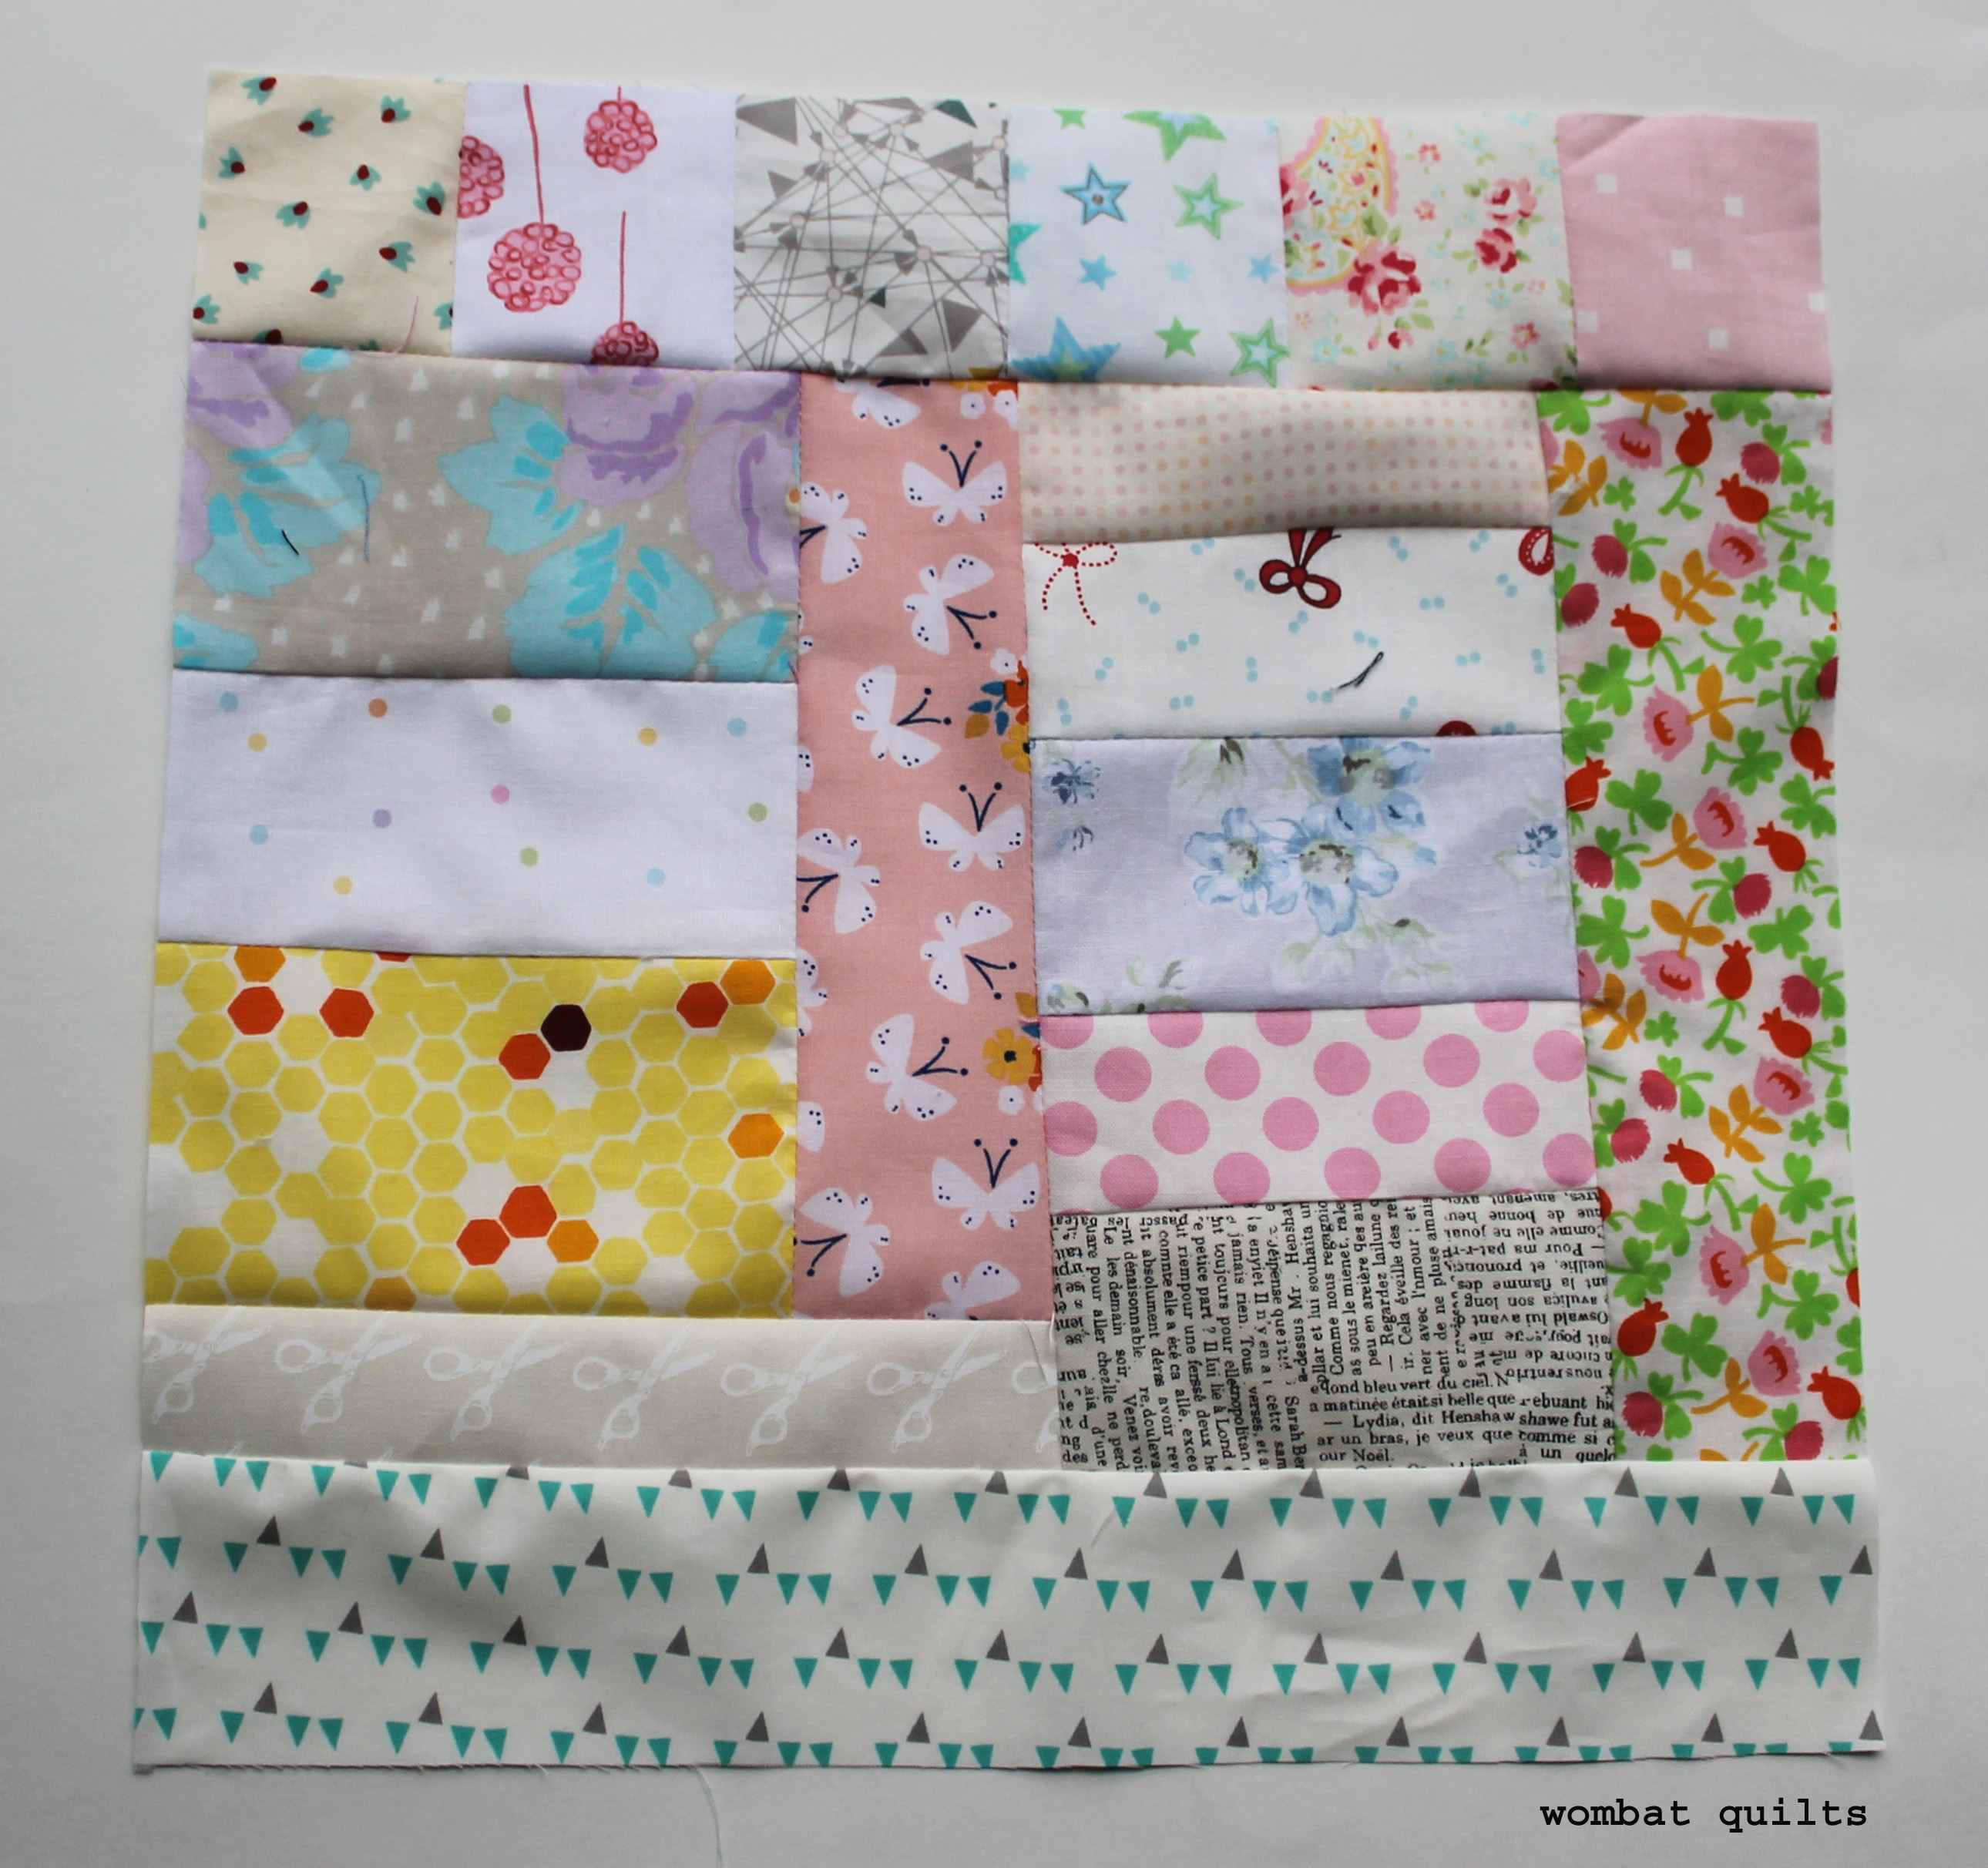
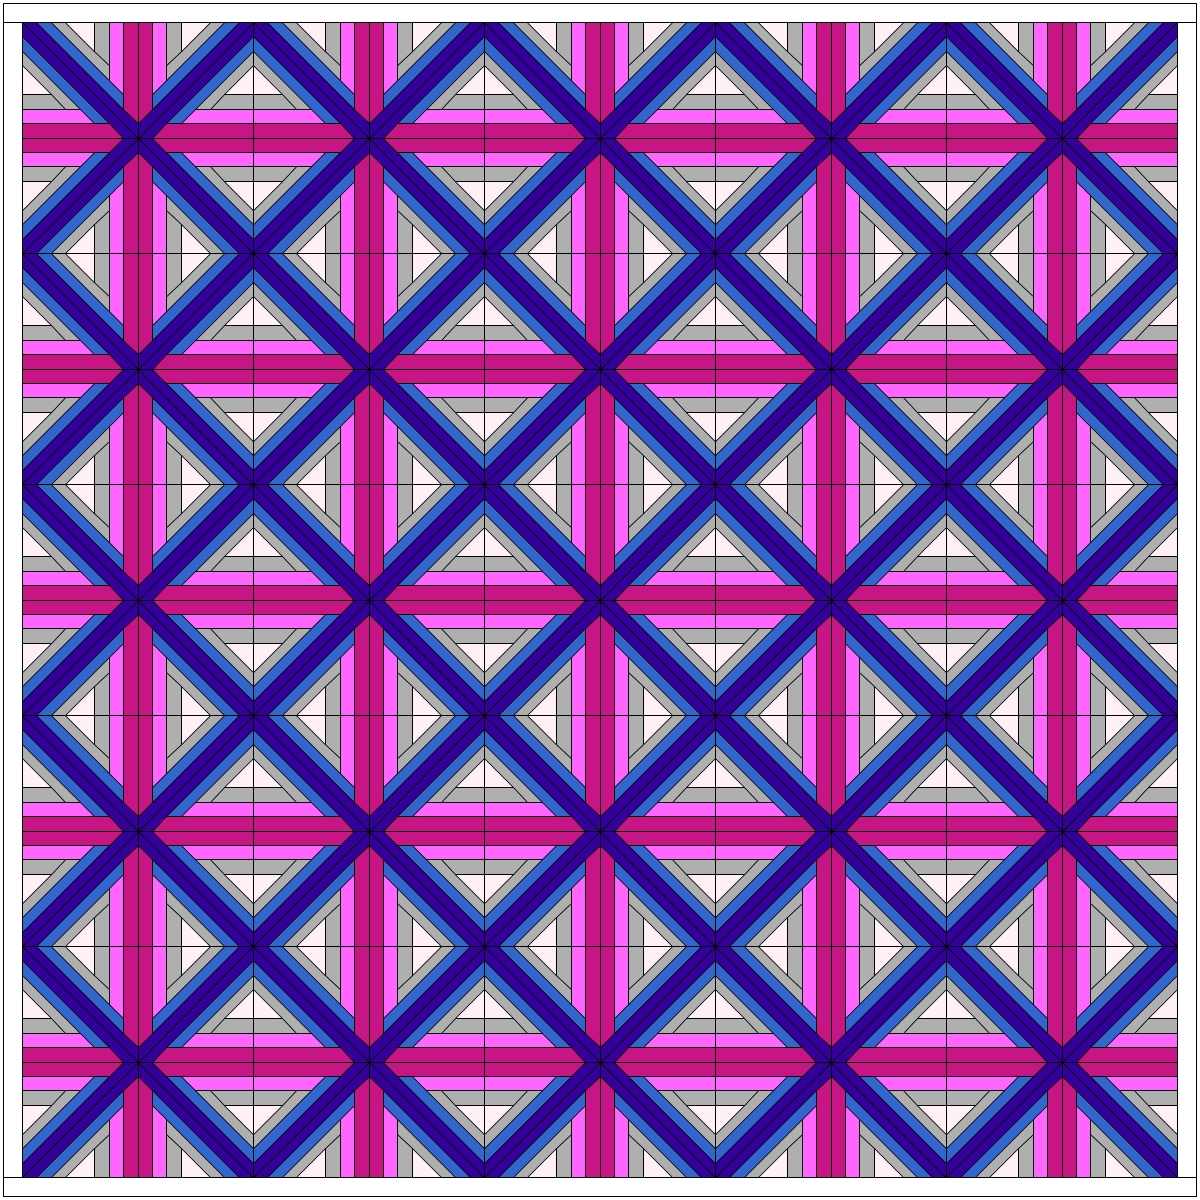
For example this block is little complex…

Cross plus extra block

For this pattern I used EQ to play with colour placement, but coloured pencils and paper work just as well, particularly if a colouring sheet has been provided…..

lattice quilt

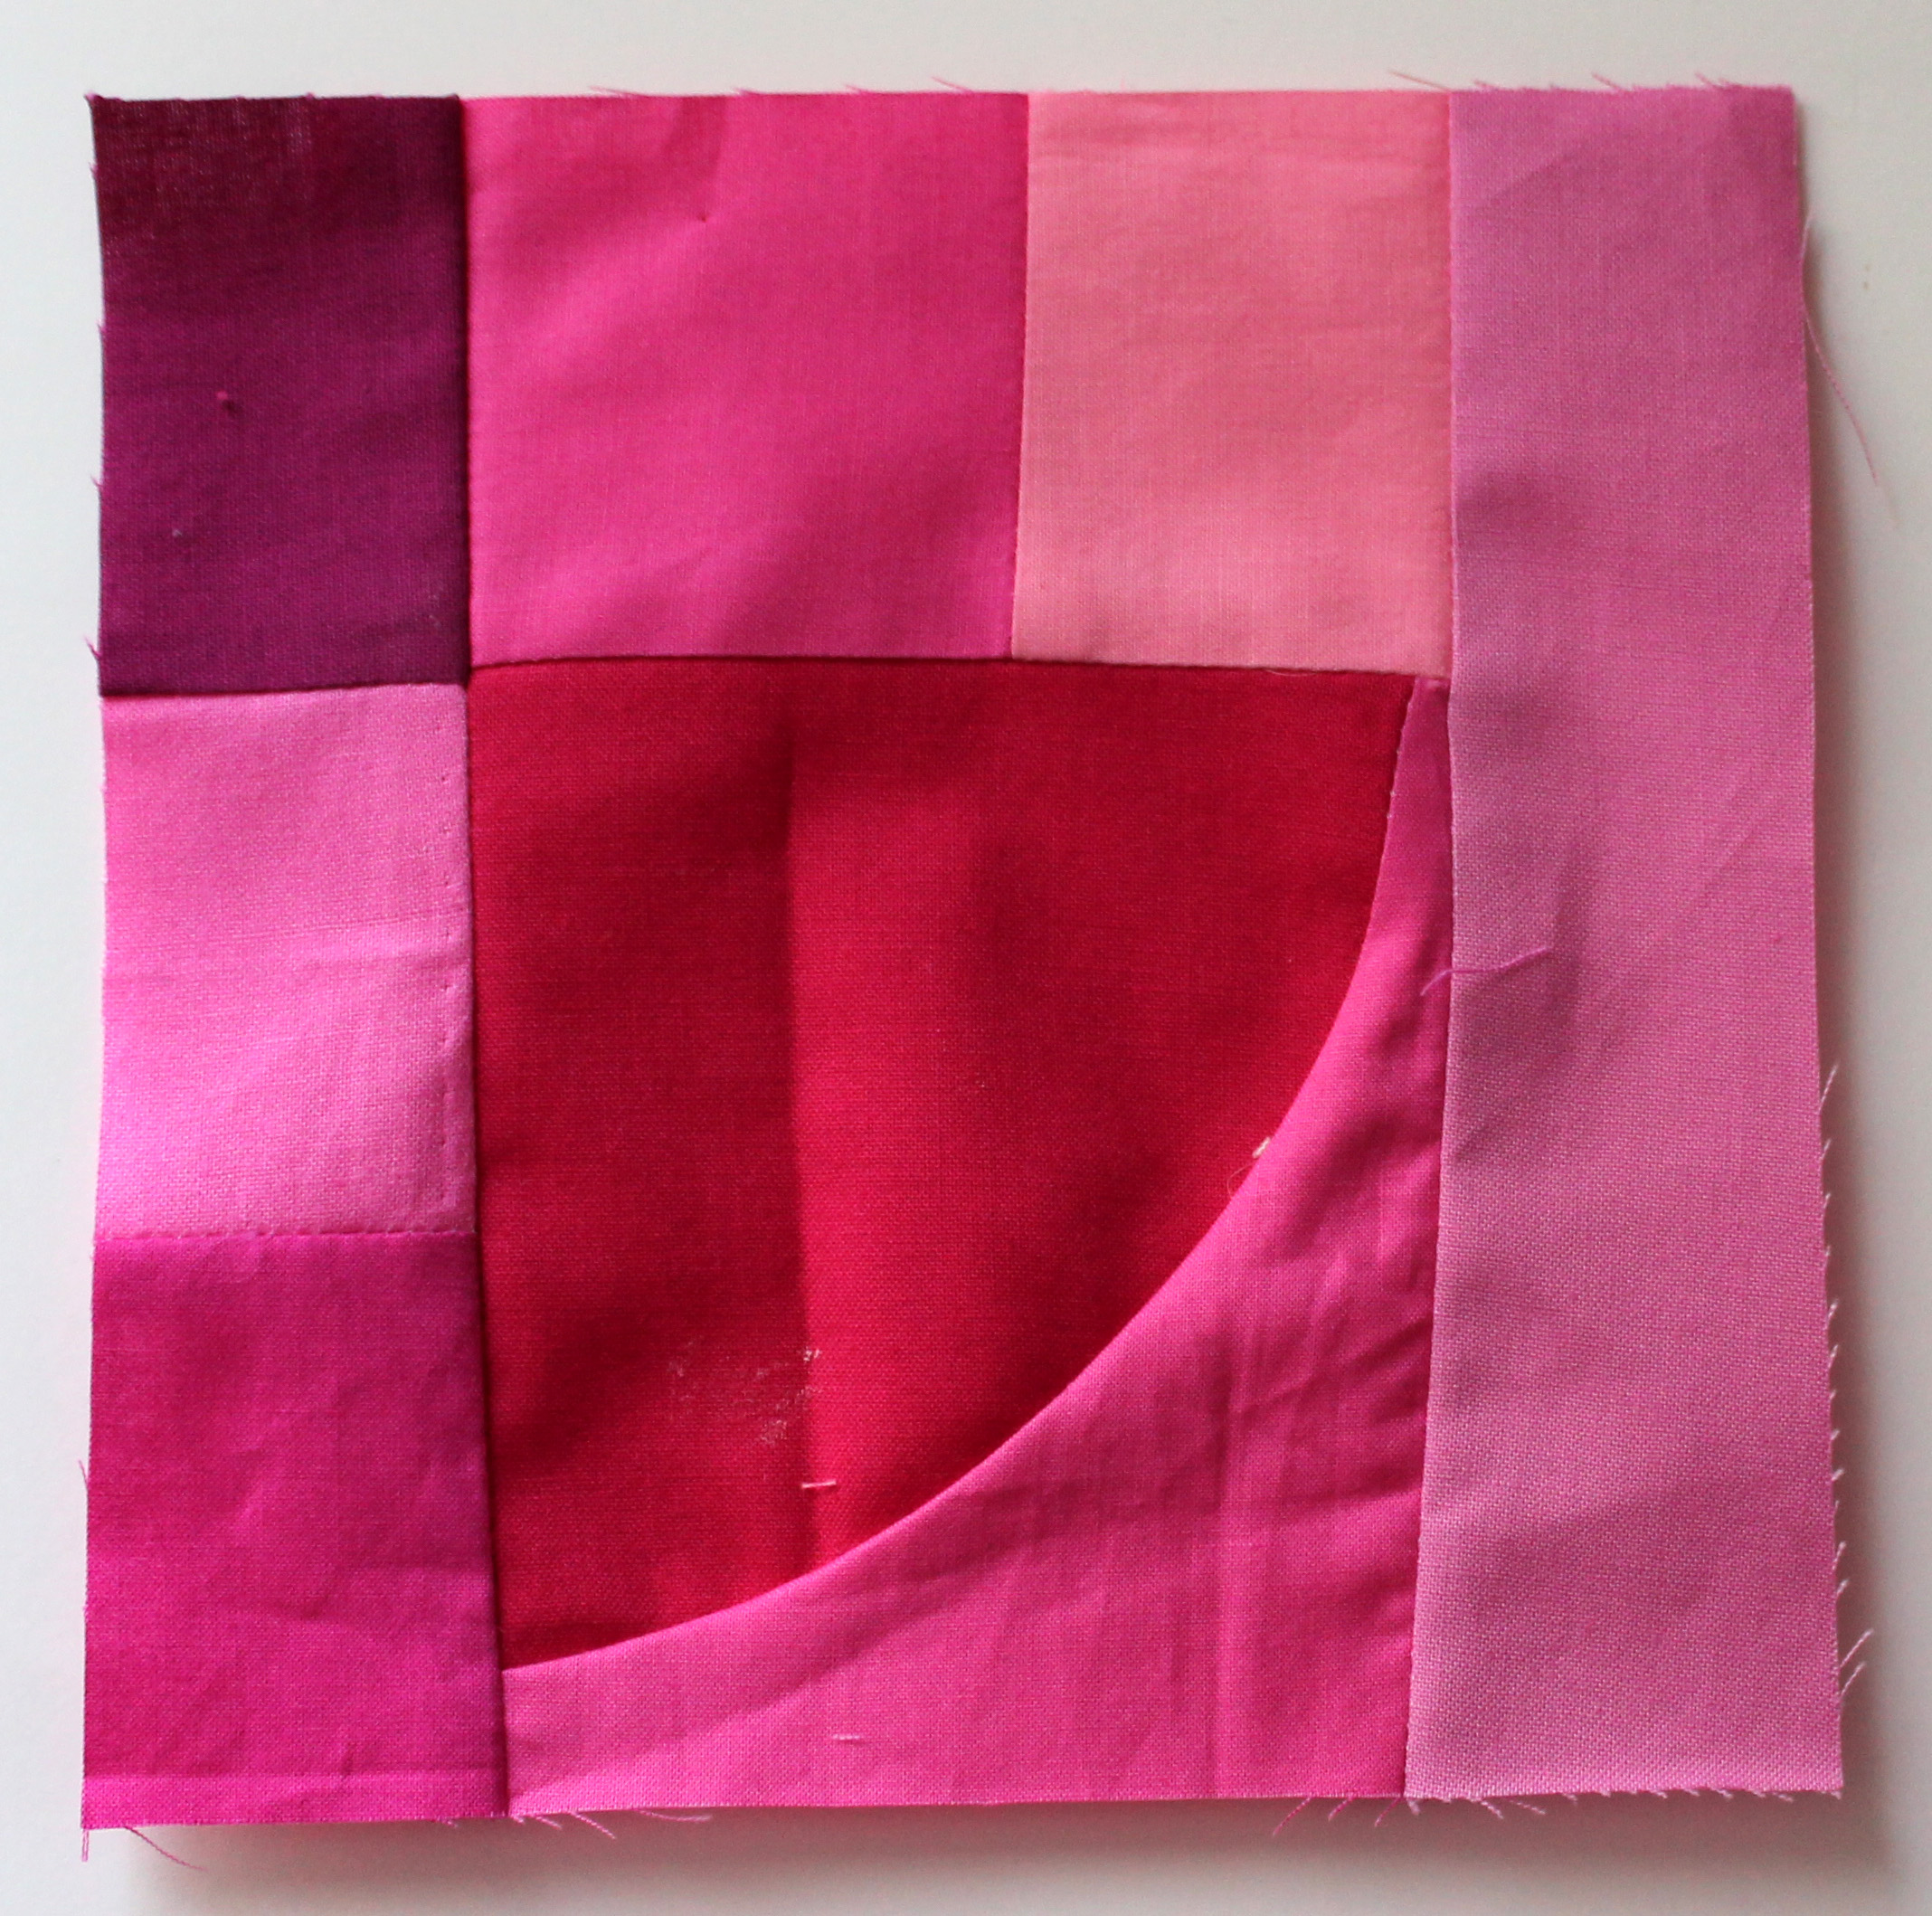
So before I started sewing it I pulled out my coloured pencils and scribbled away, marking the pattern with the predetermined colours I am using.

colour coding

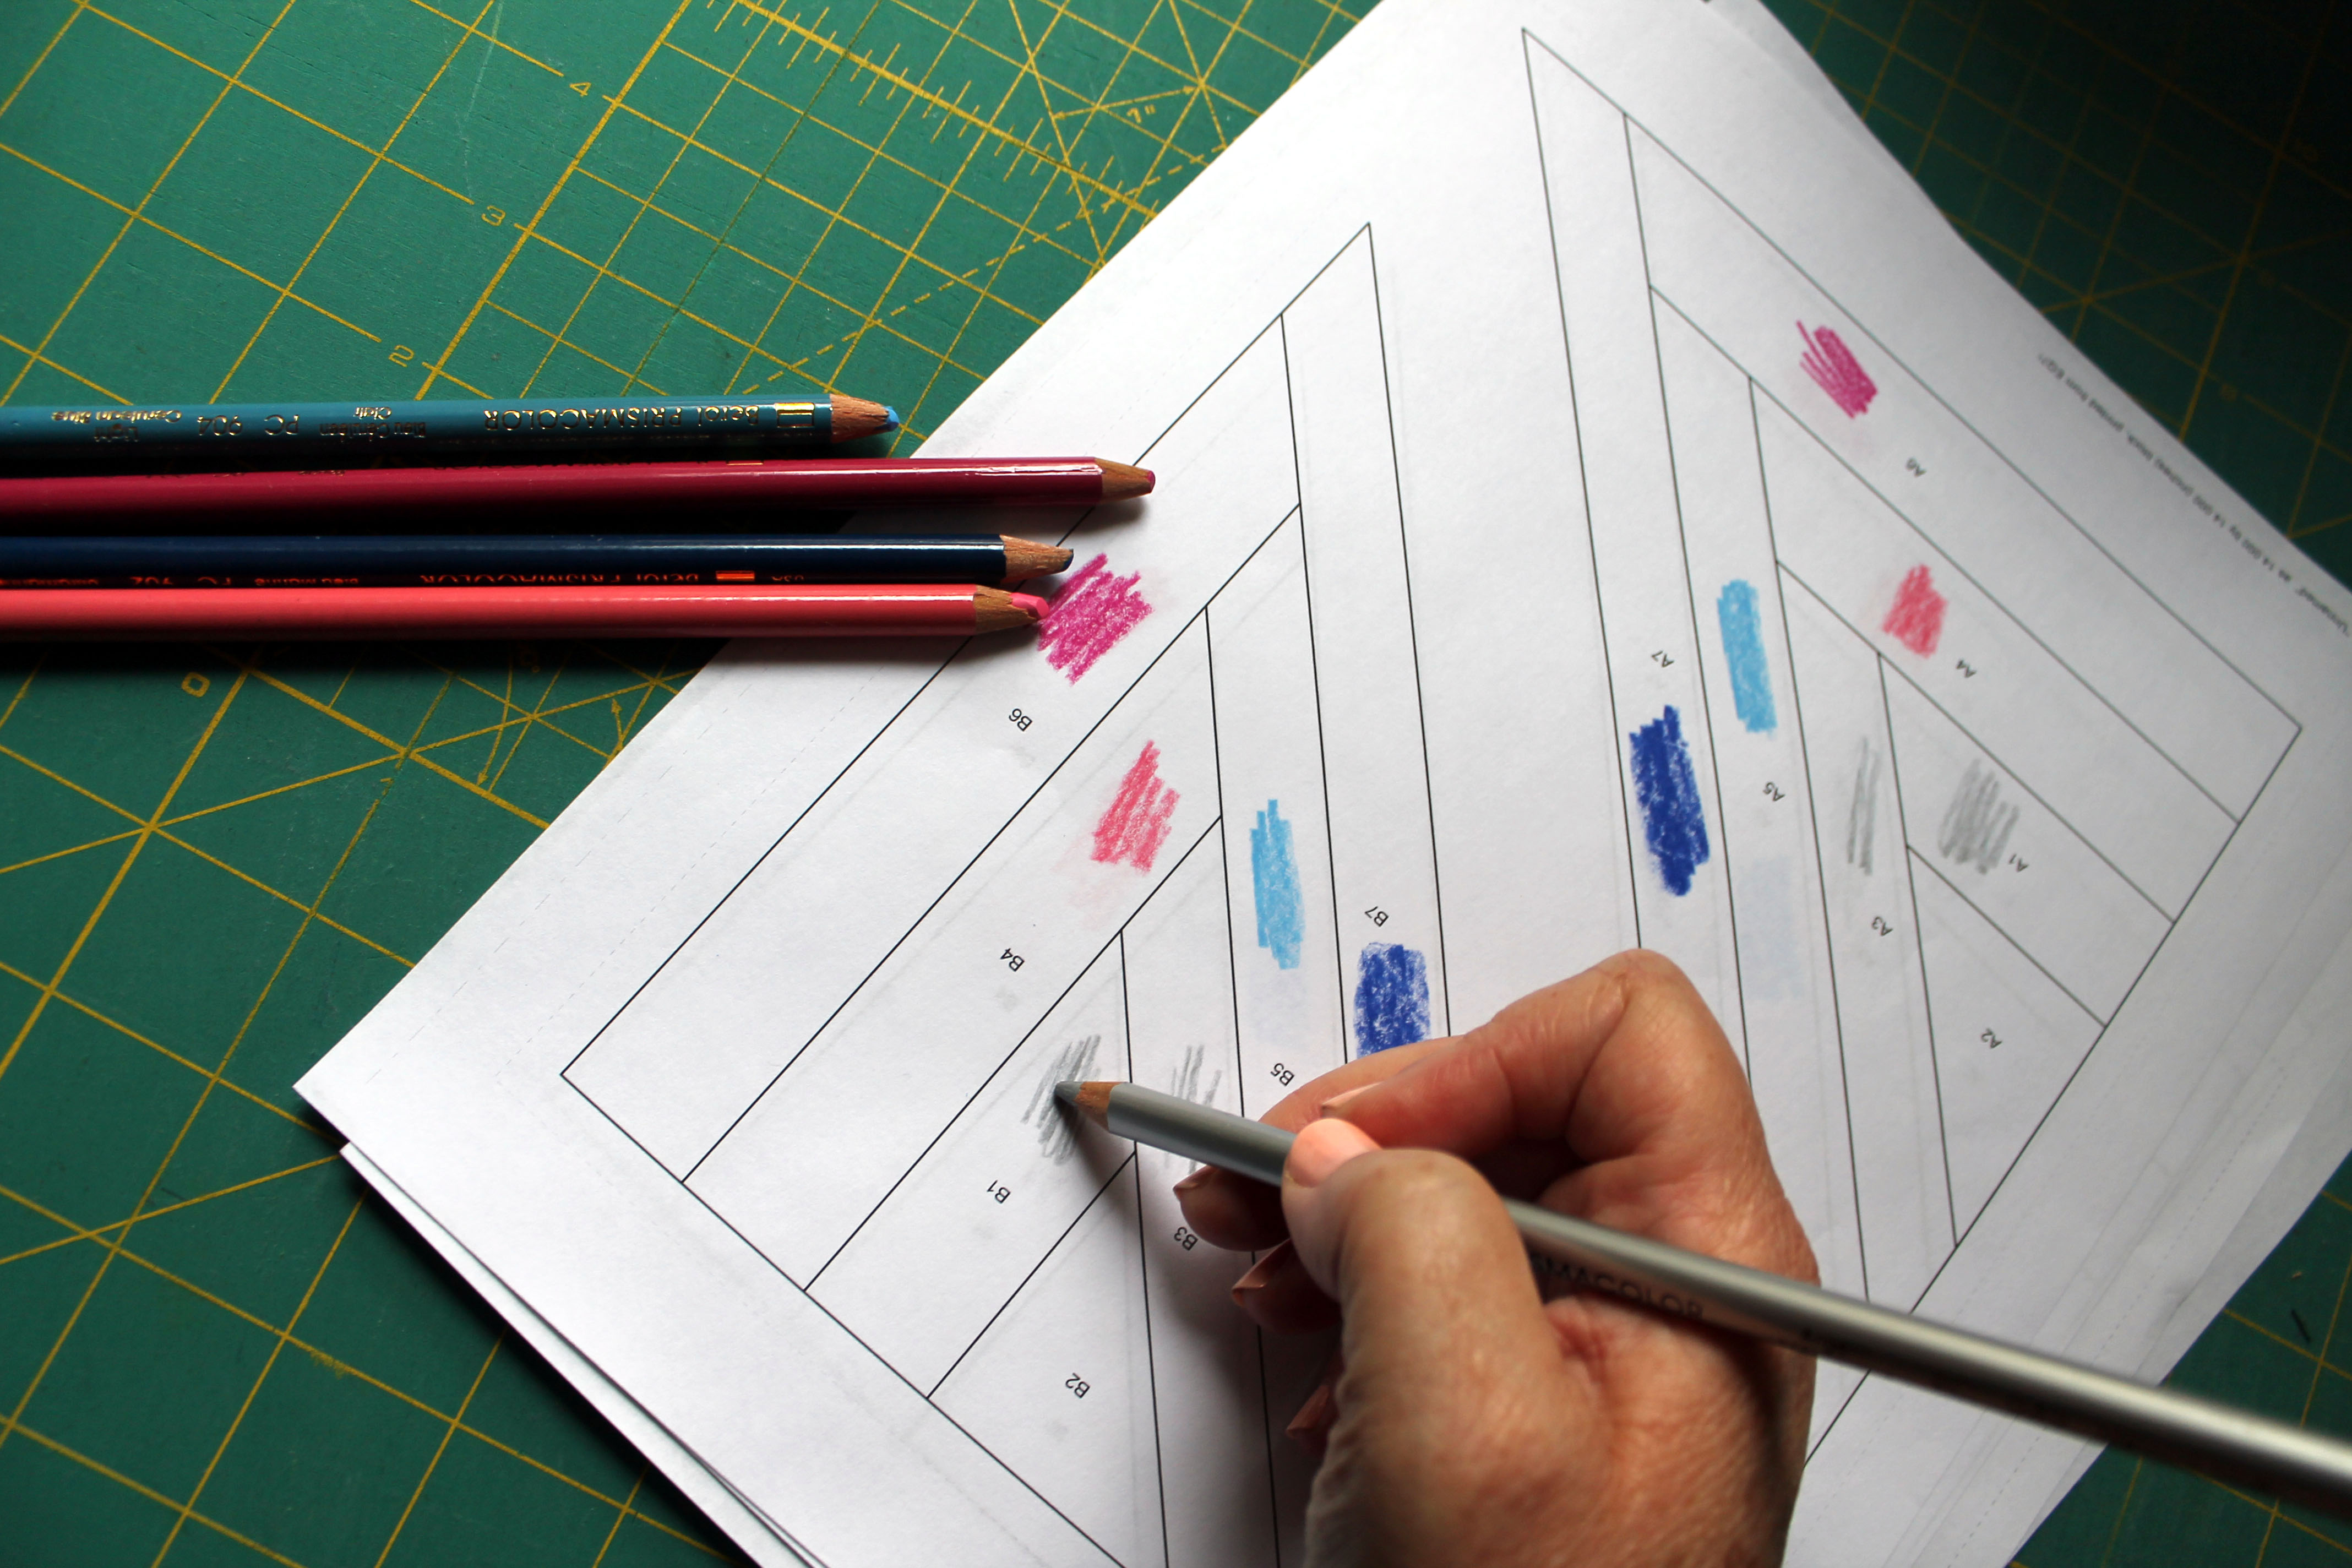
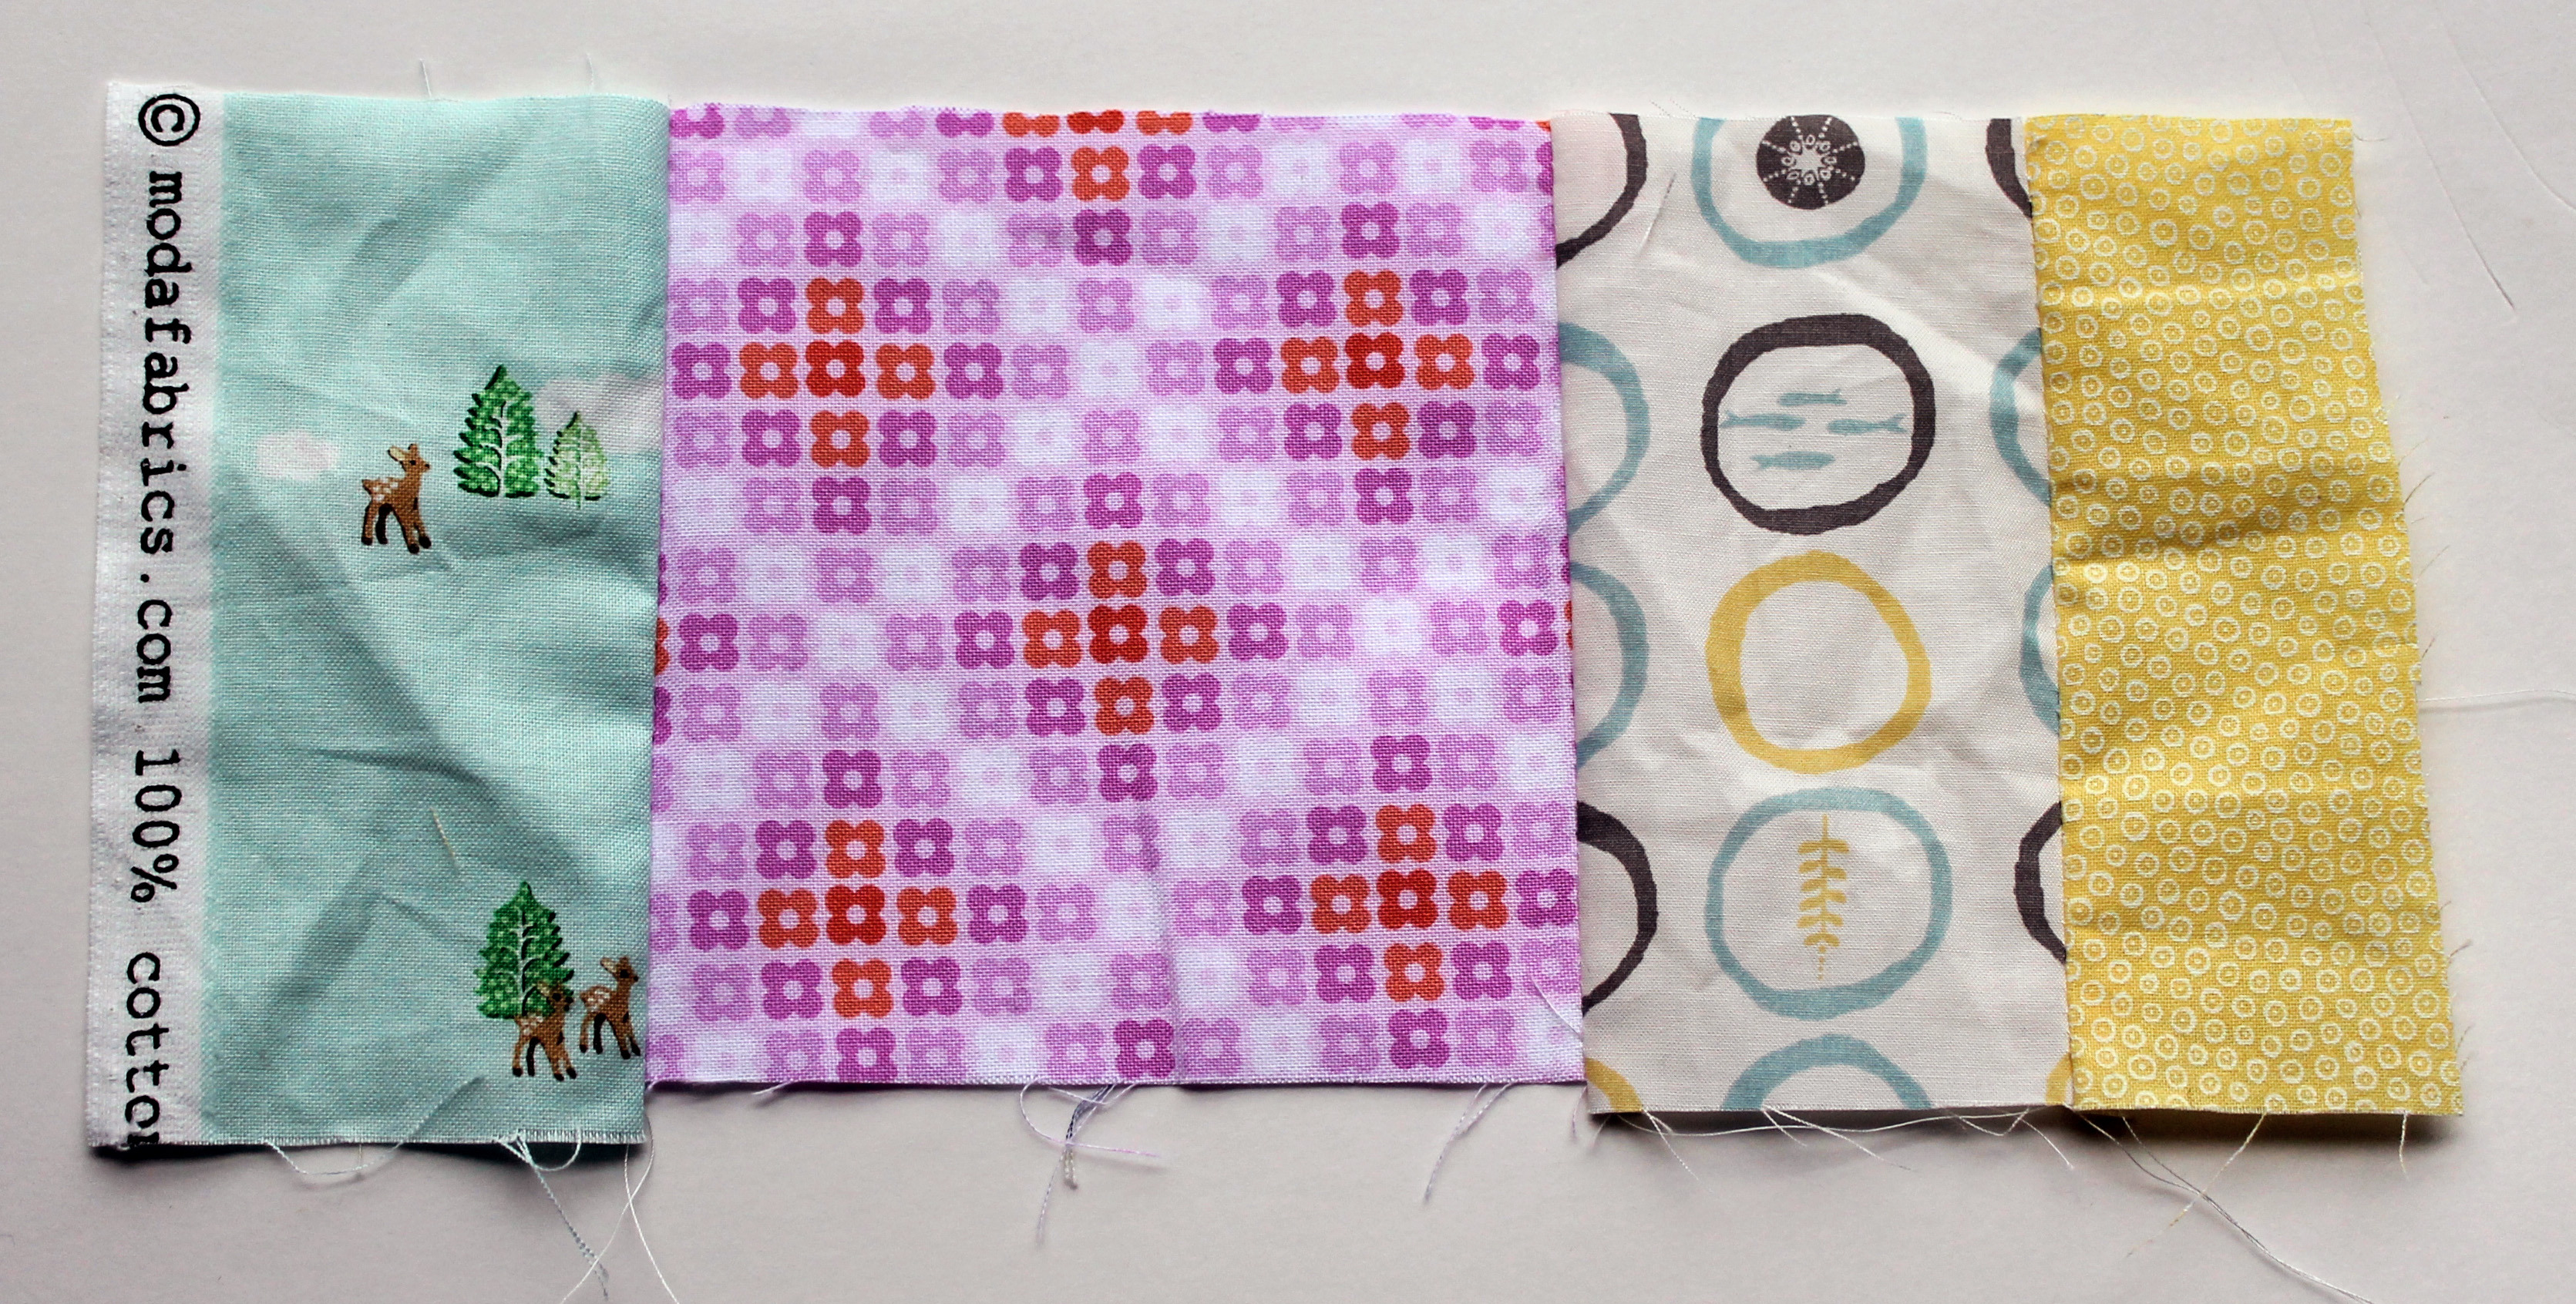
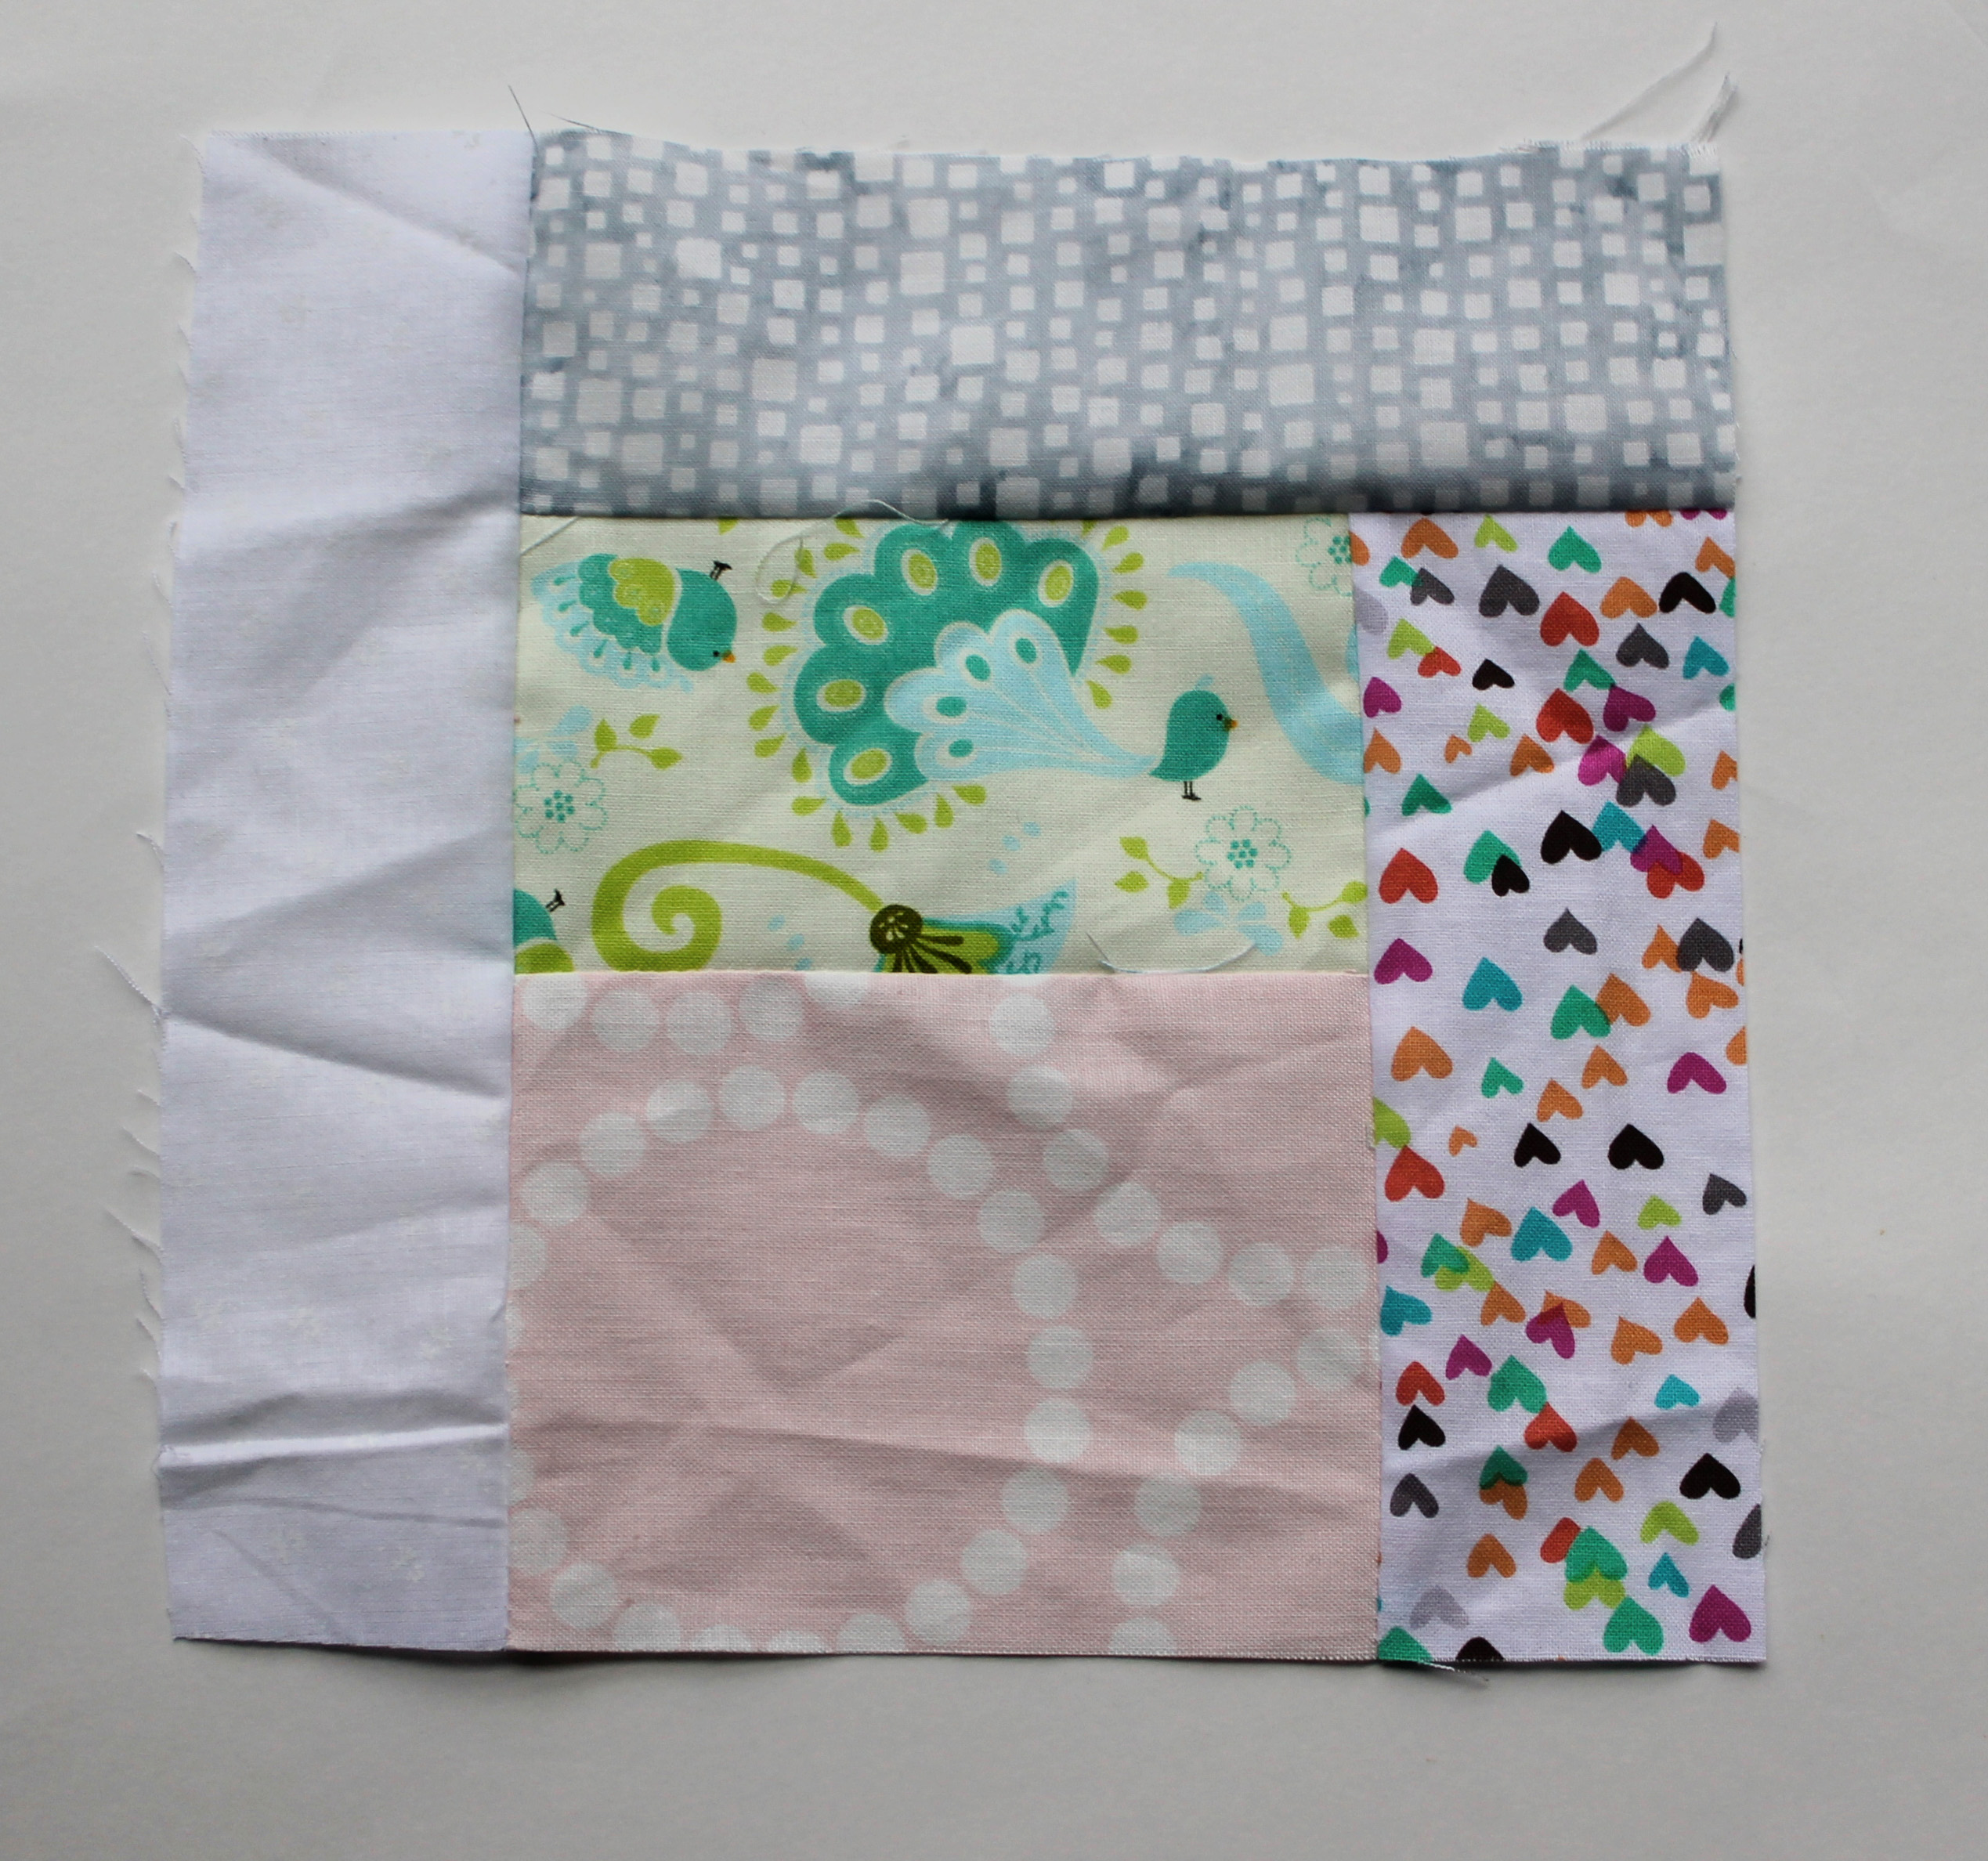
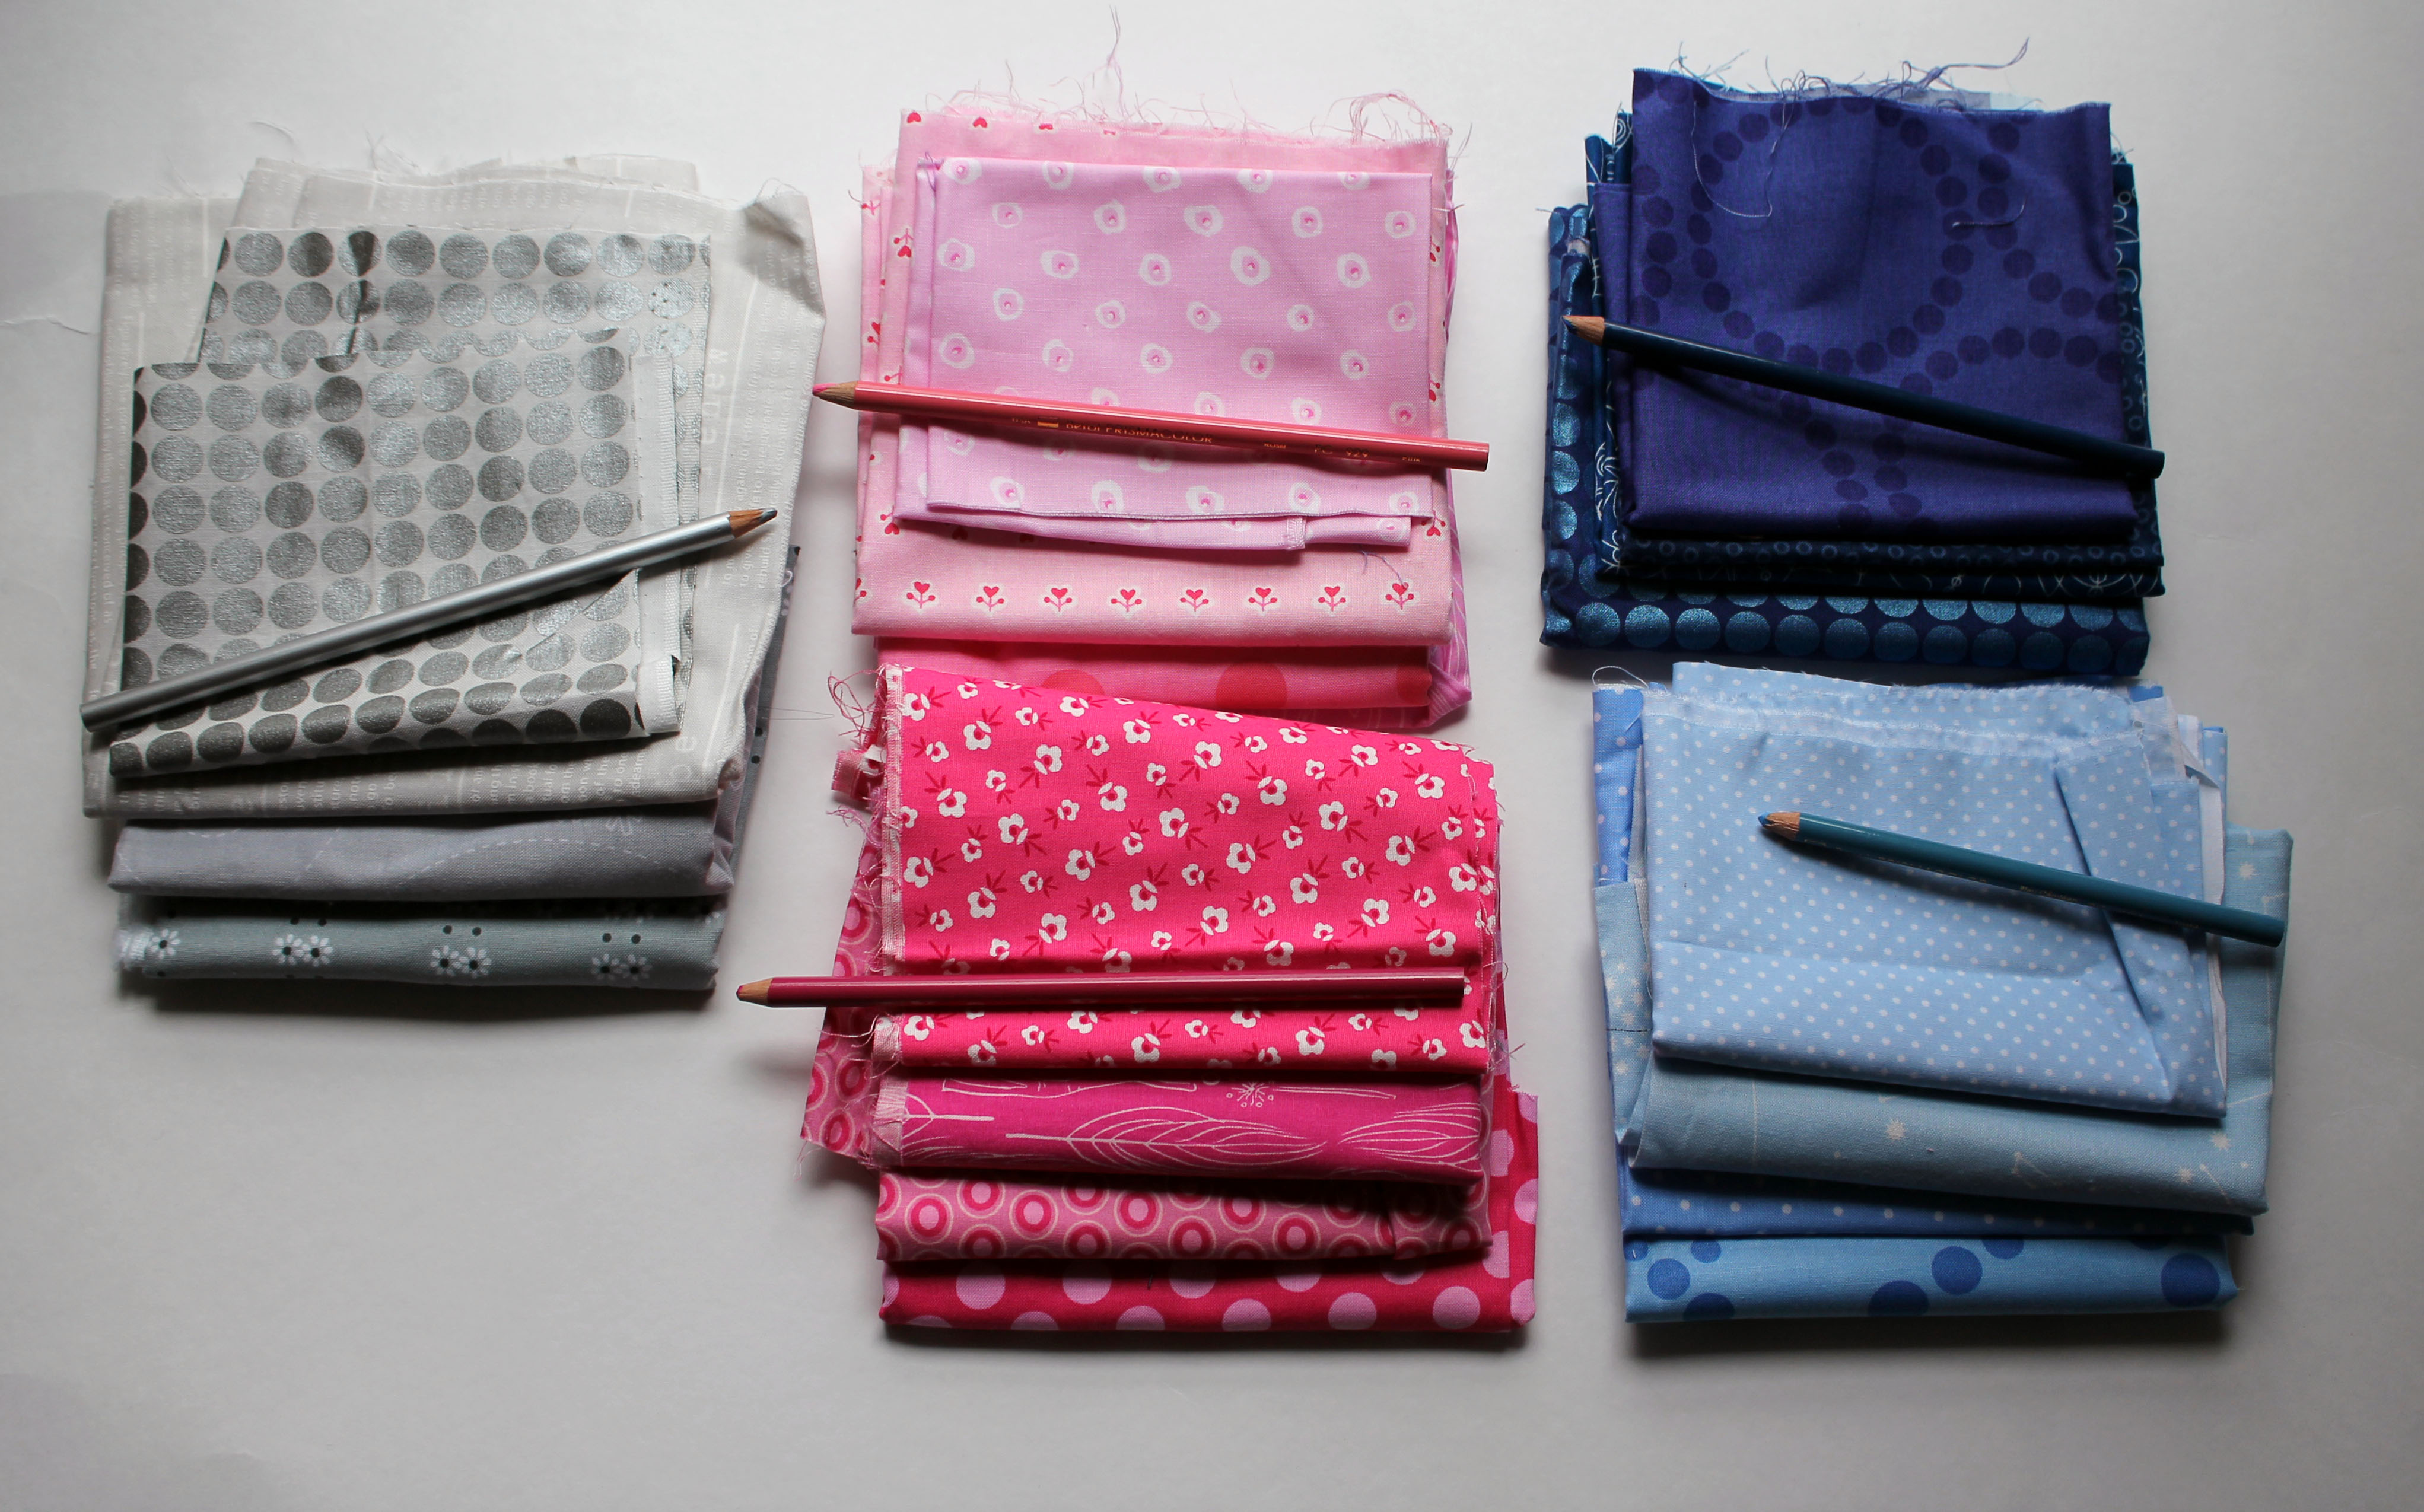
I choose colours from my pencil box that corresponded to the coloured fabrics I was using for the block….

pencil to fabric

So that the coding made sense to me as I sewed….

block pieces

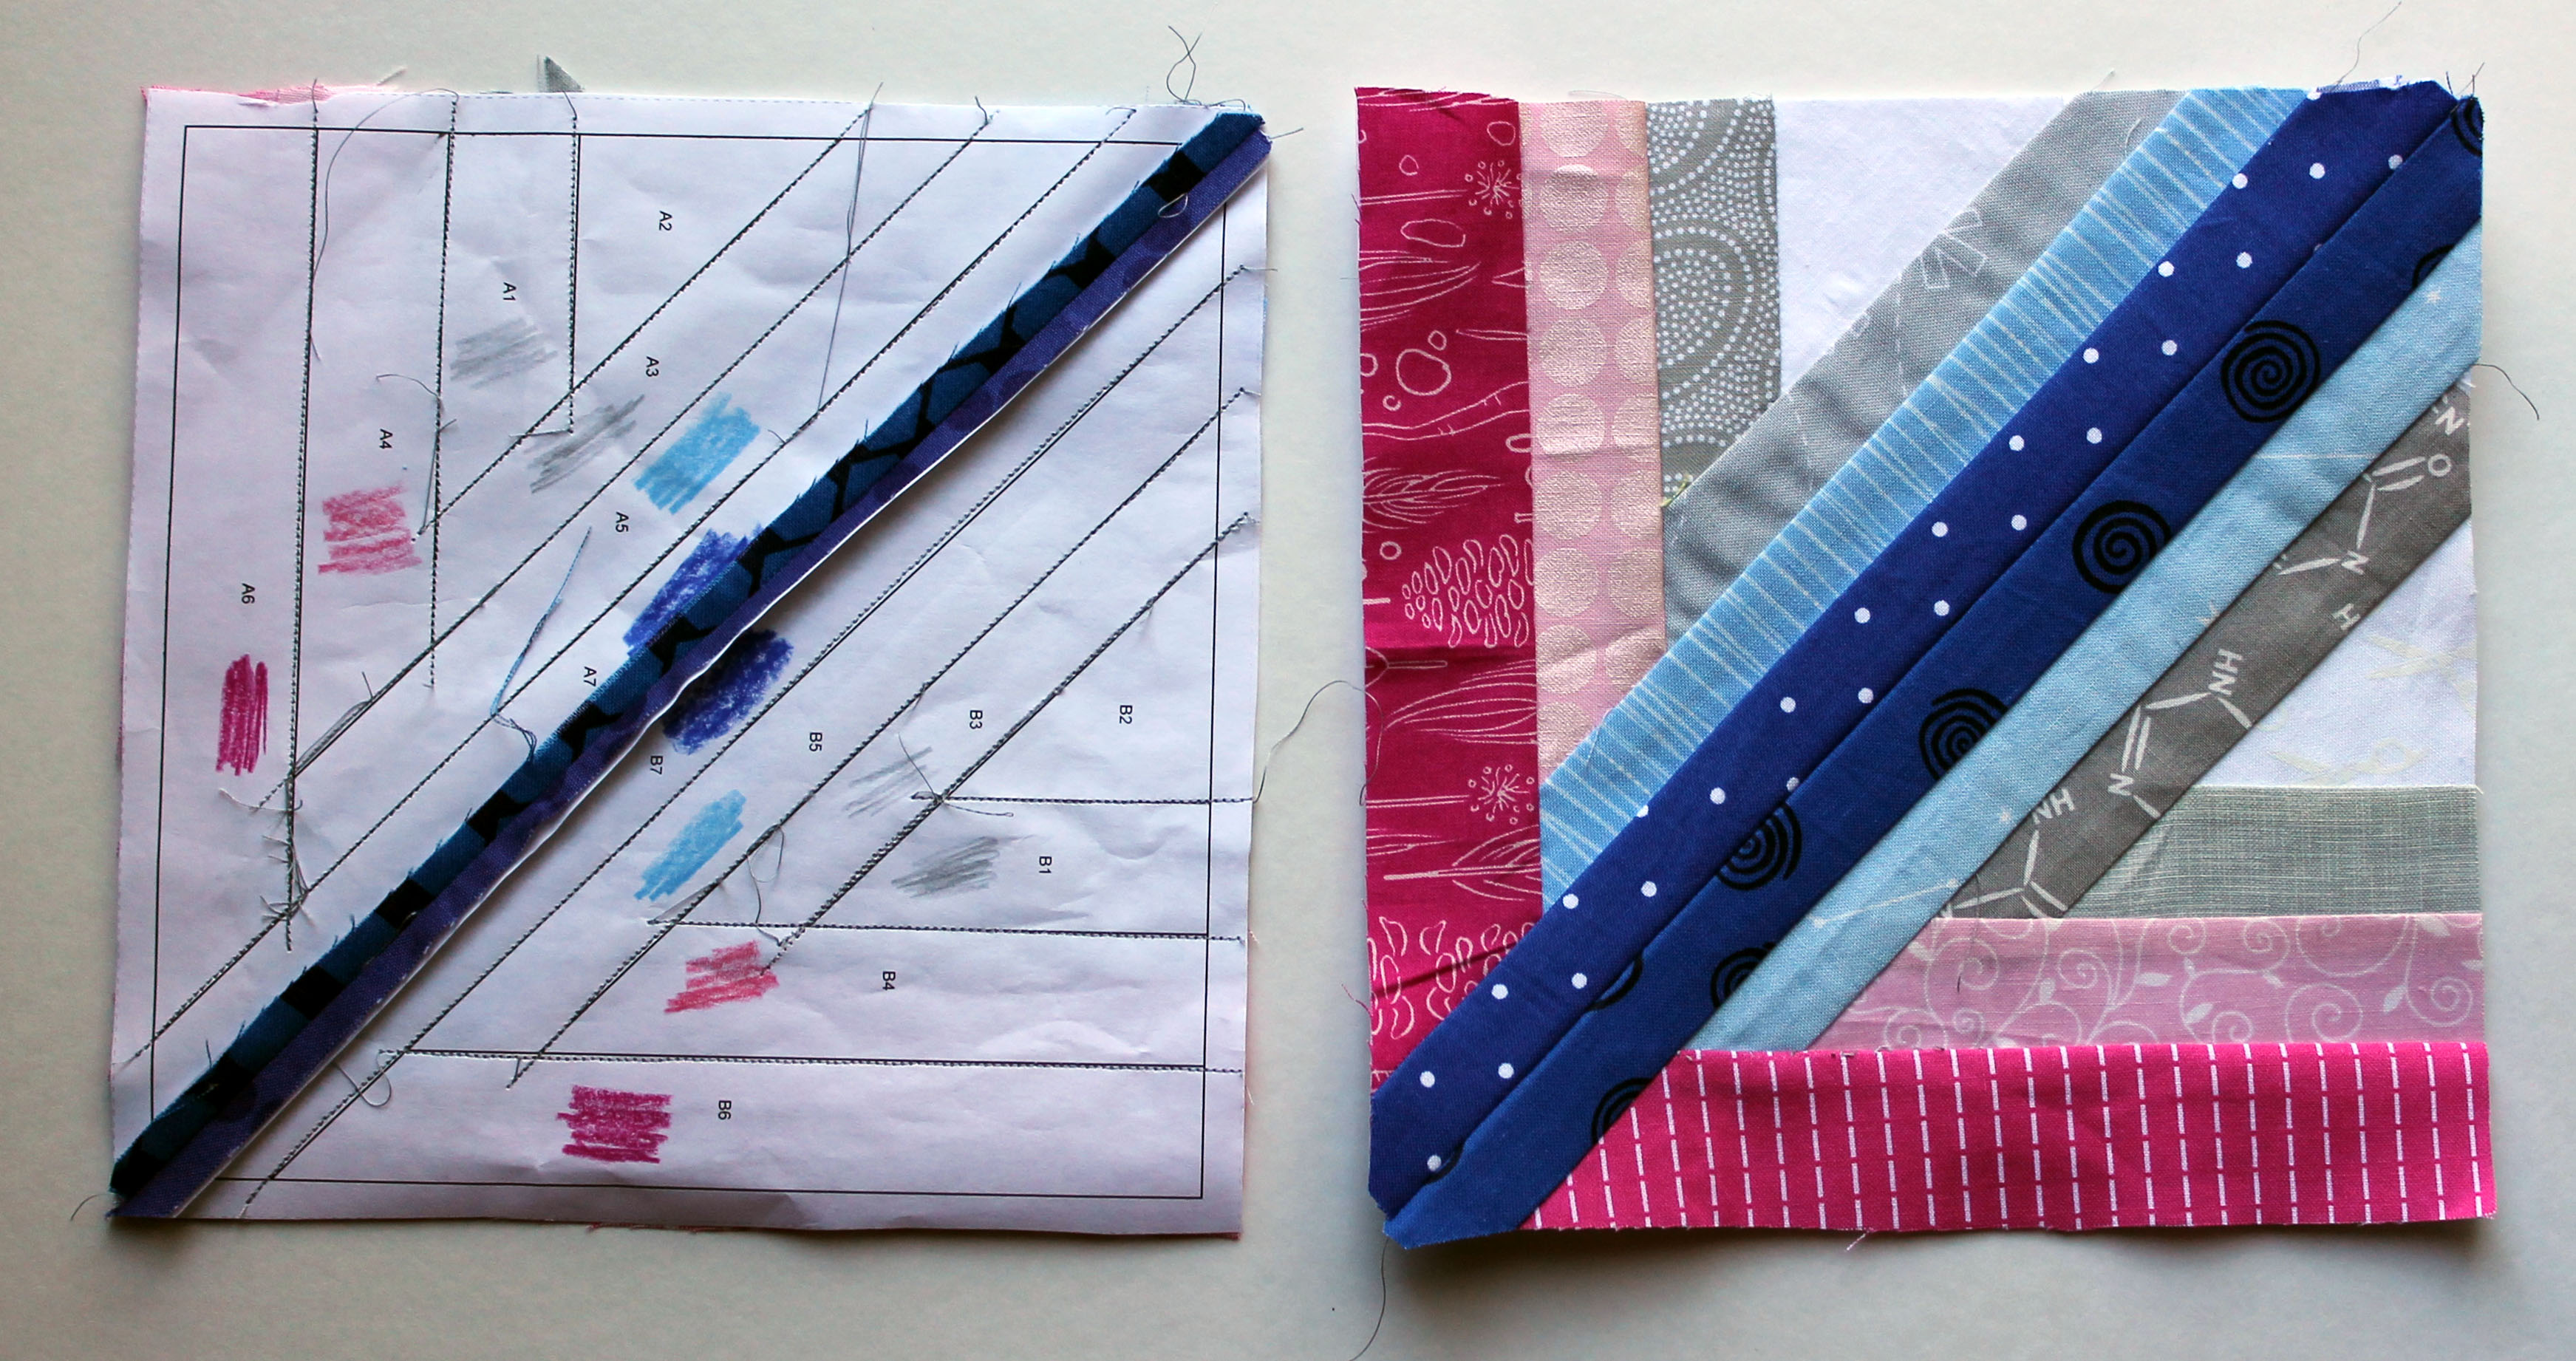
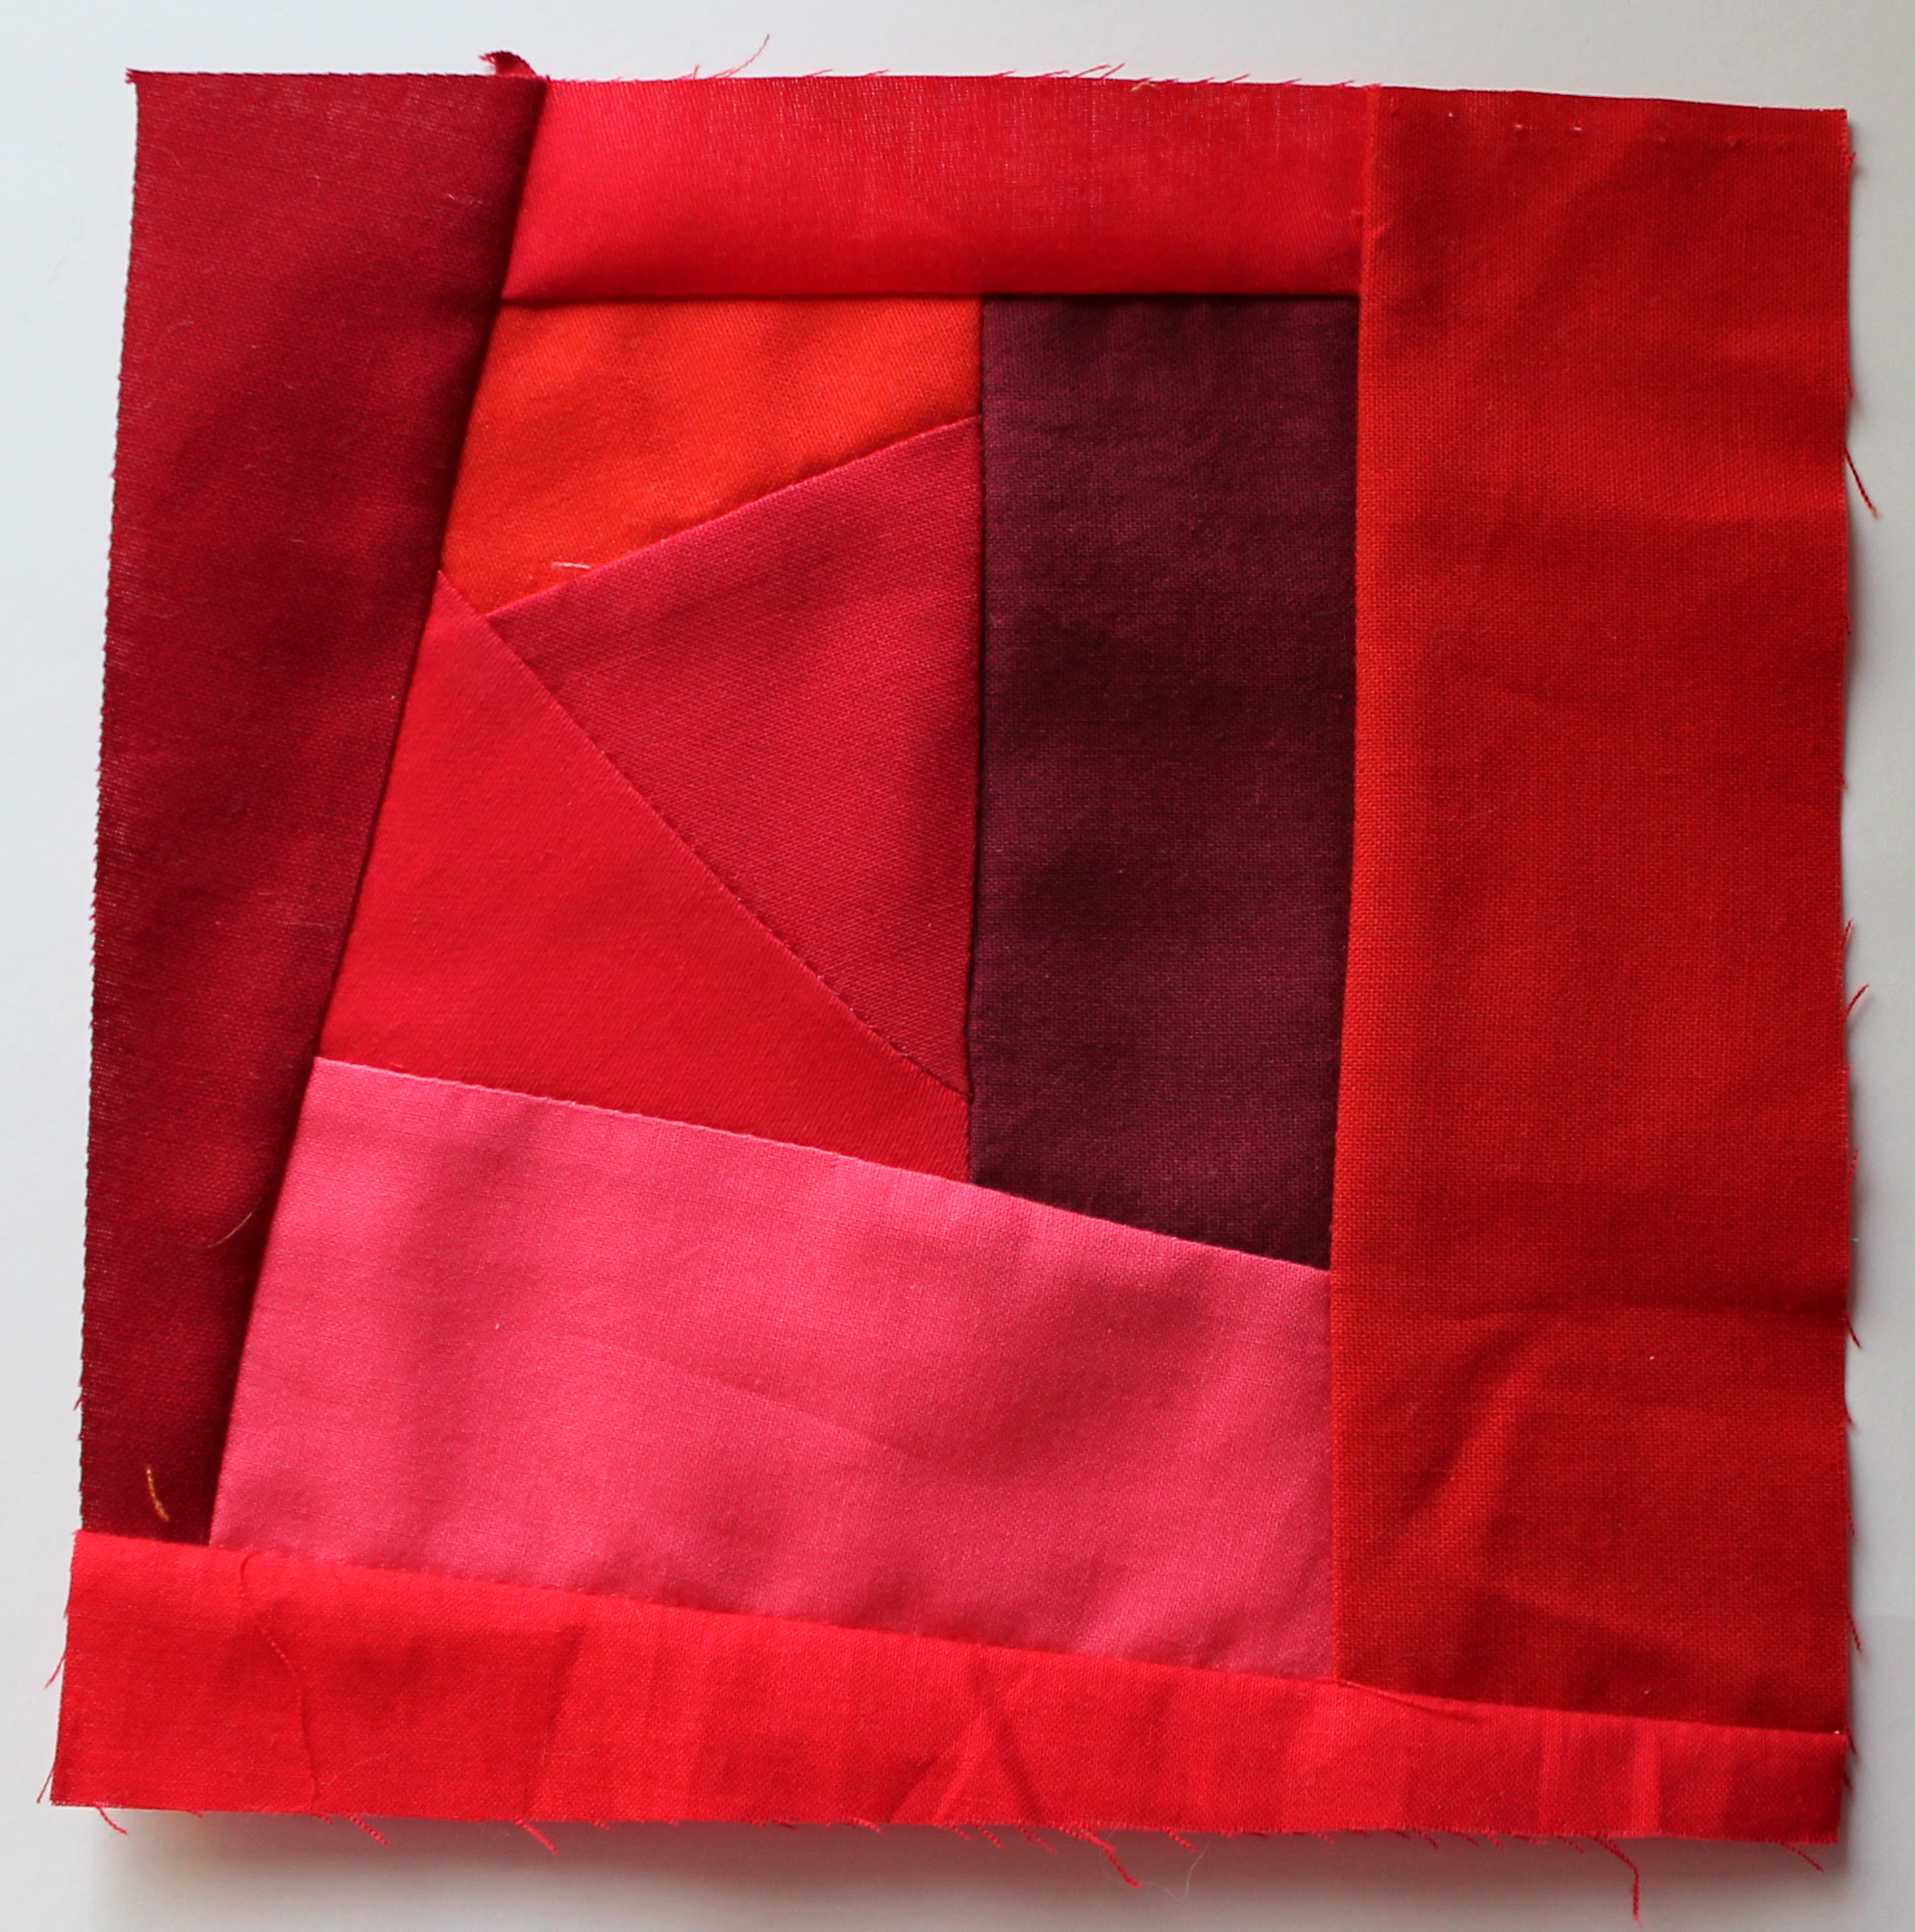
I regularly use this process for my paper piecing blocks… and will use symbols if I am using more than one type of fabric in the same colour range… remember the code just has to make sense to you…

paper piece pattern

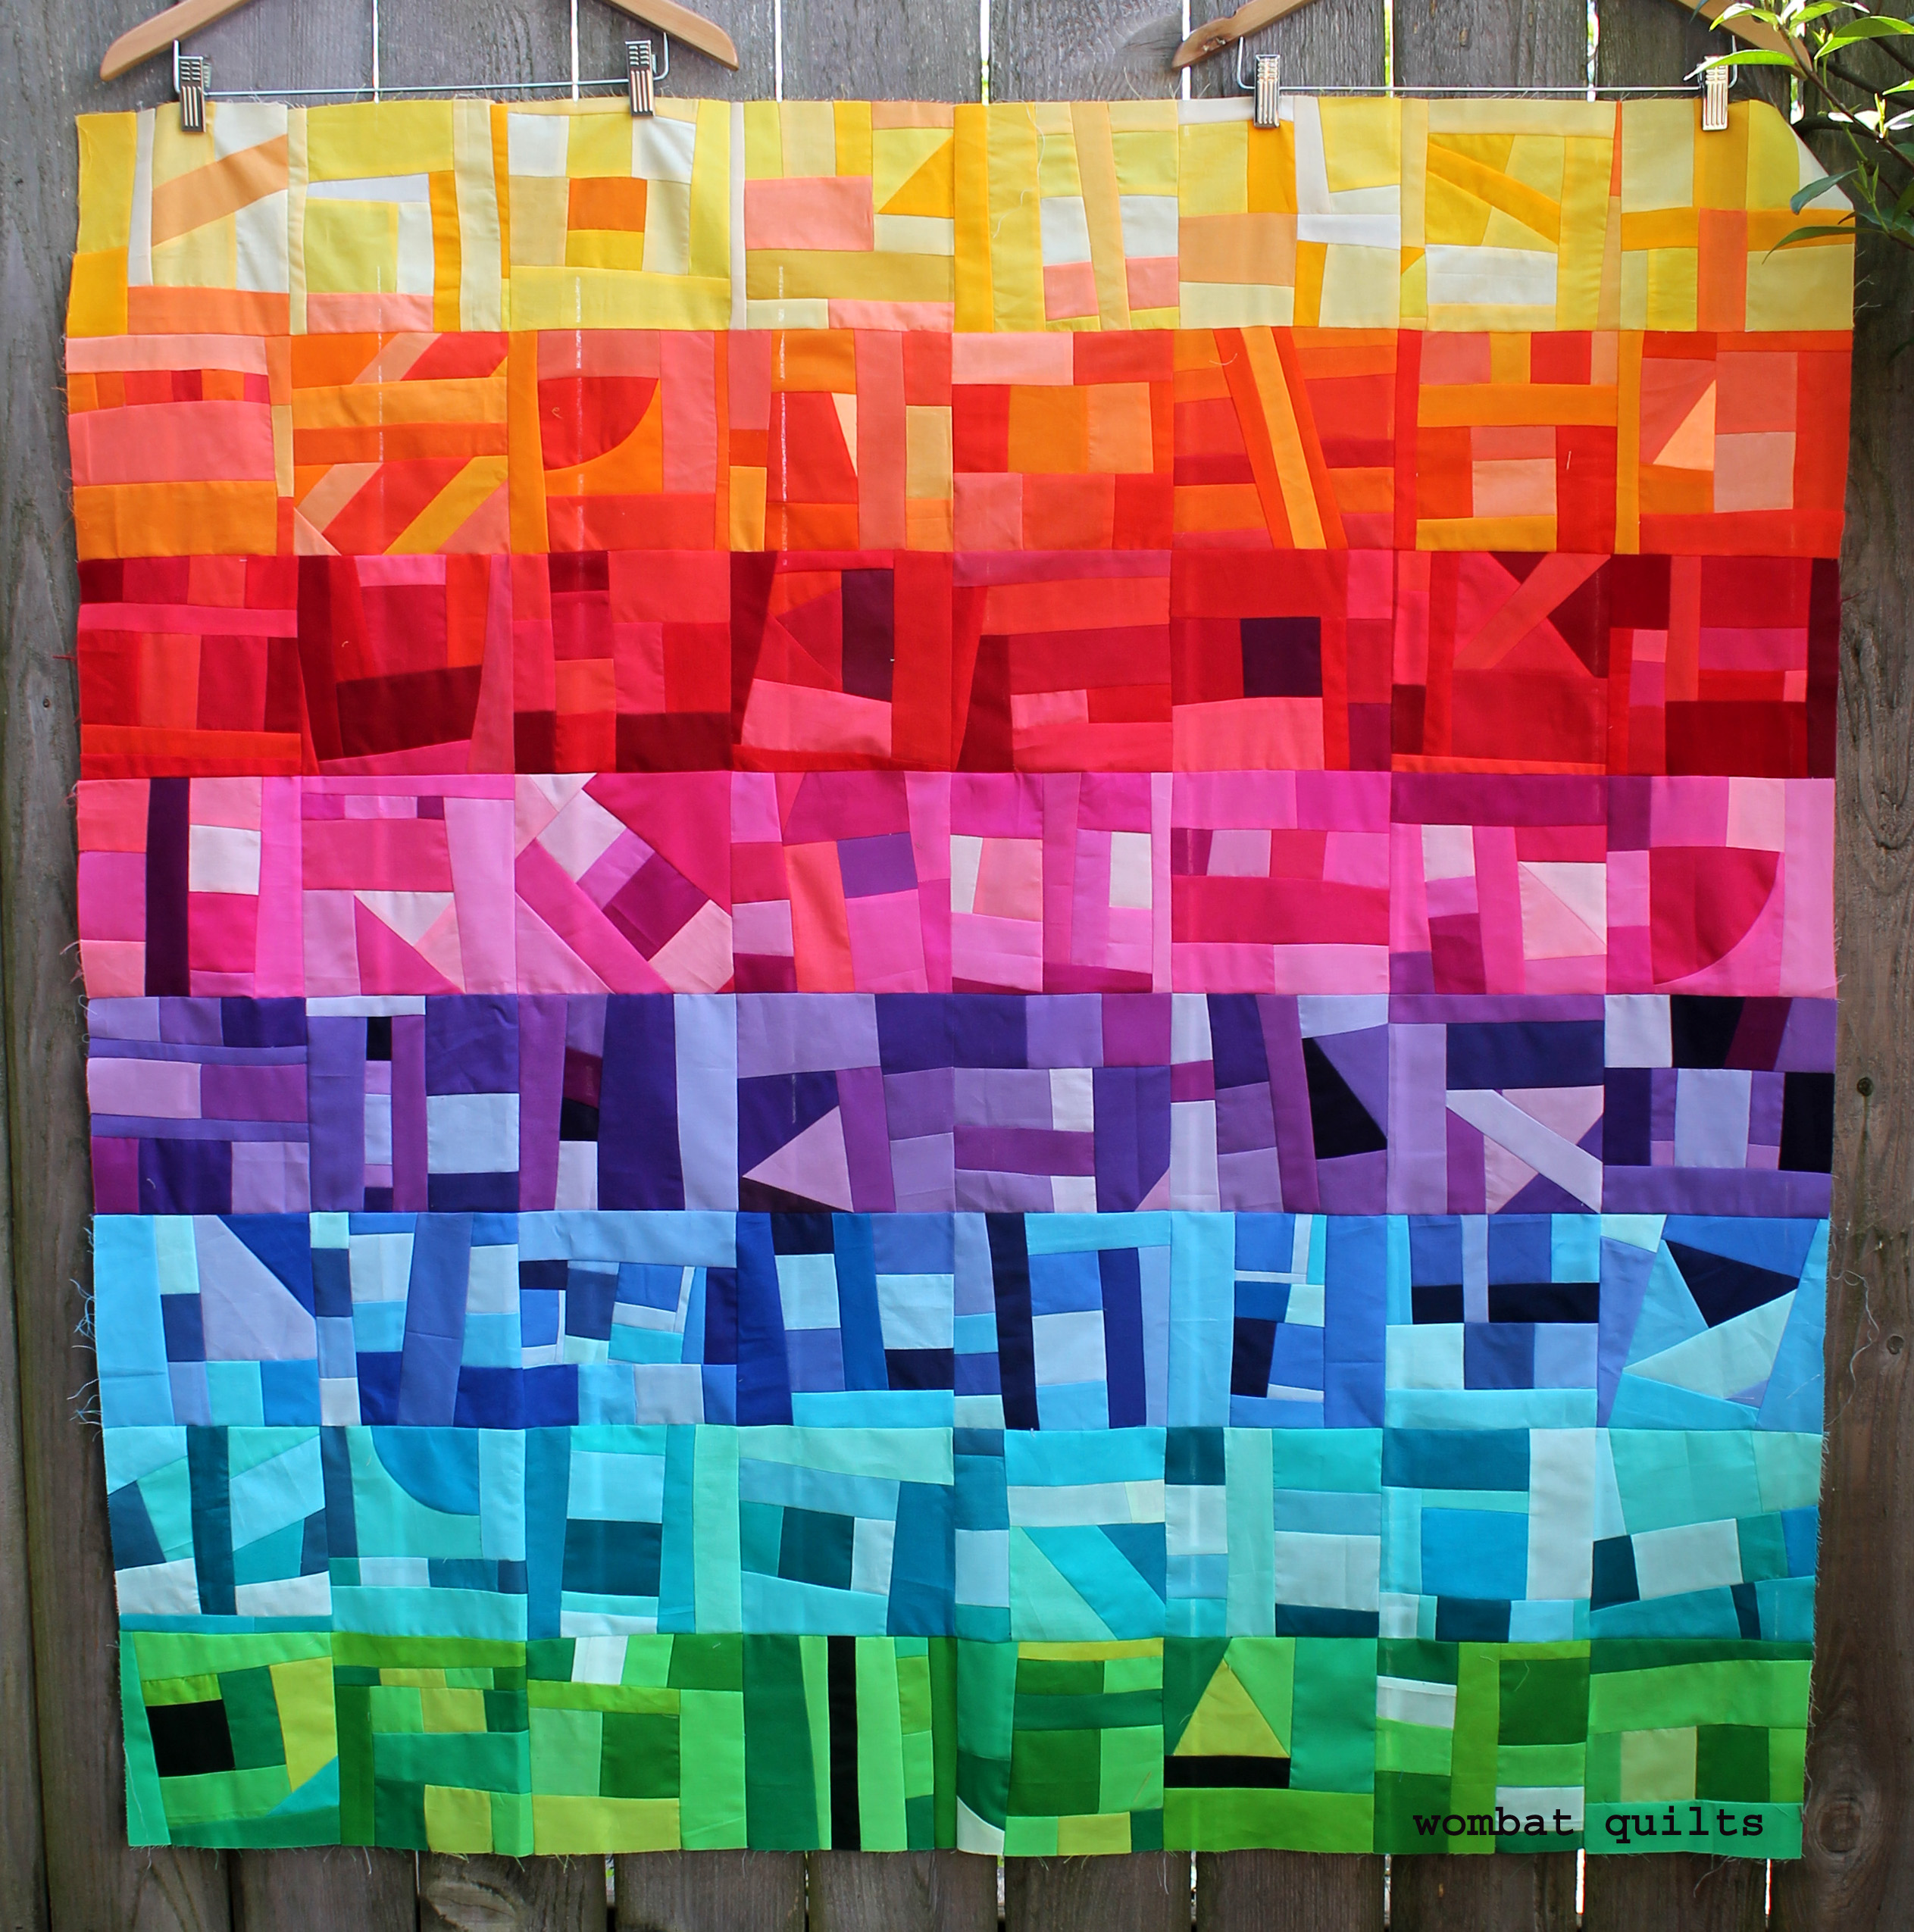
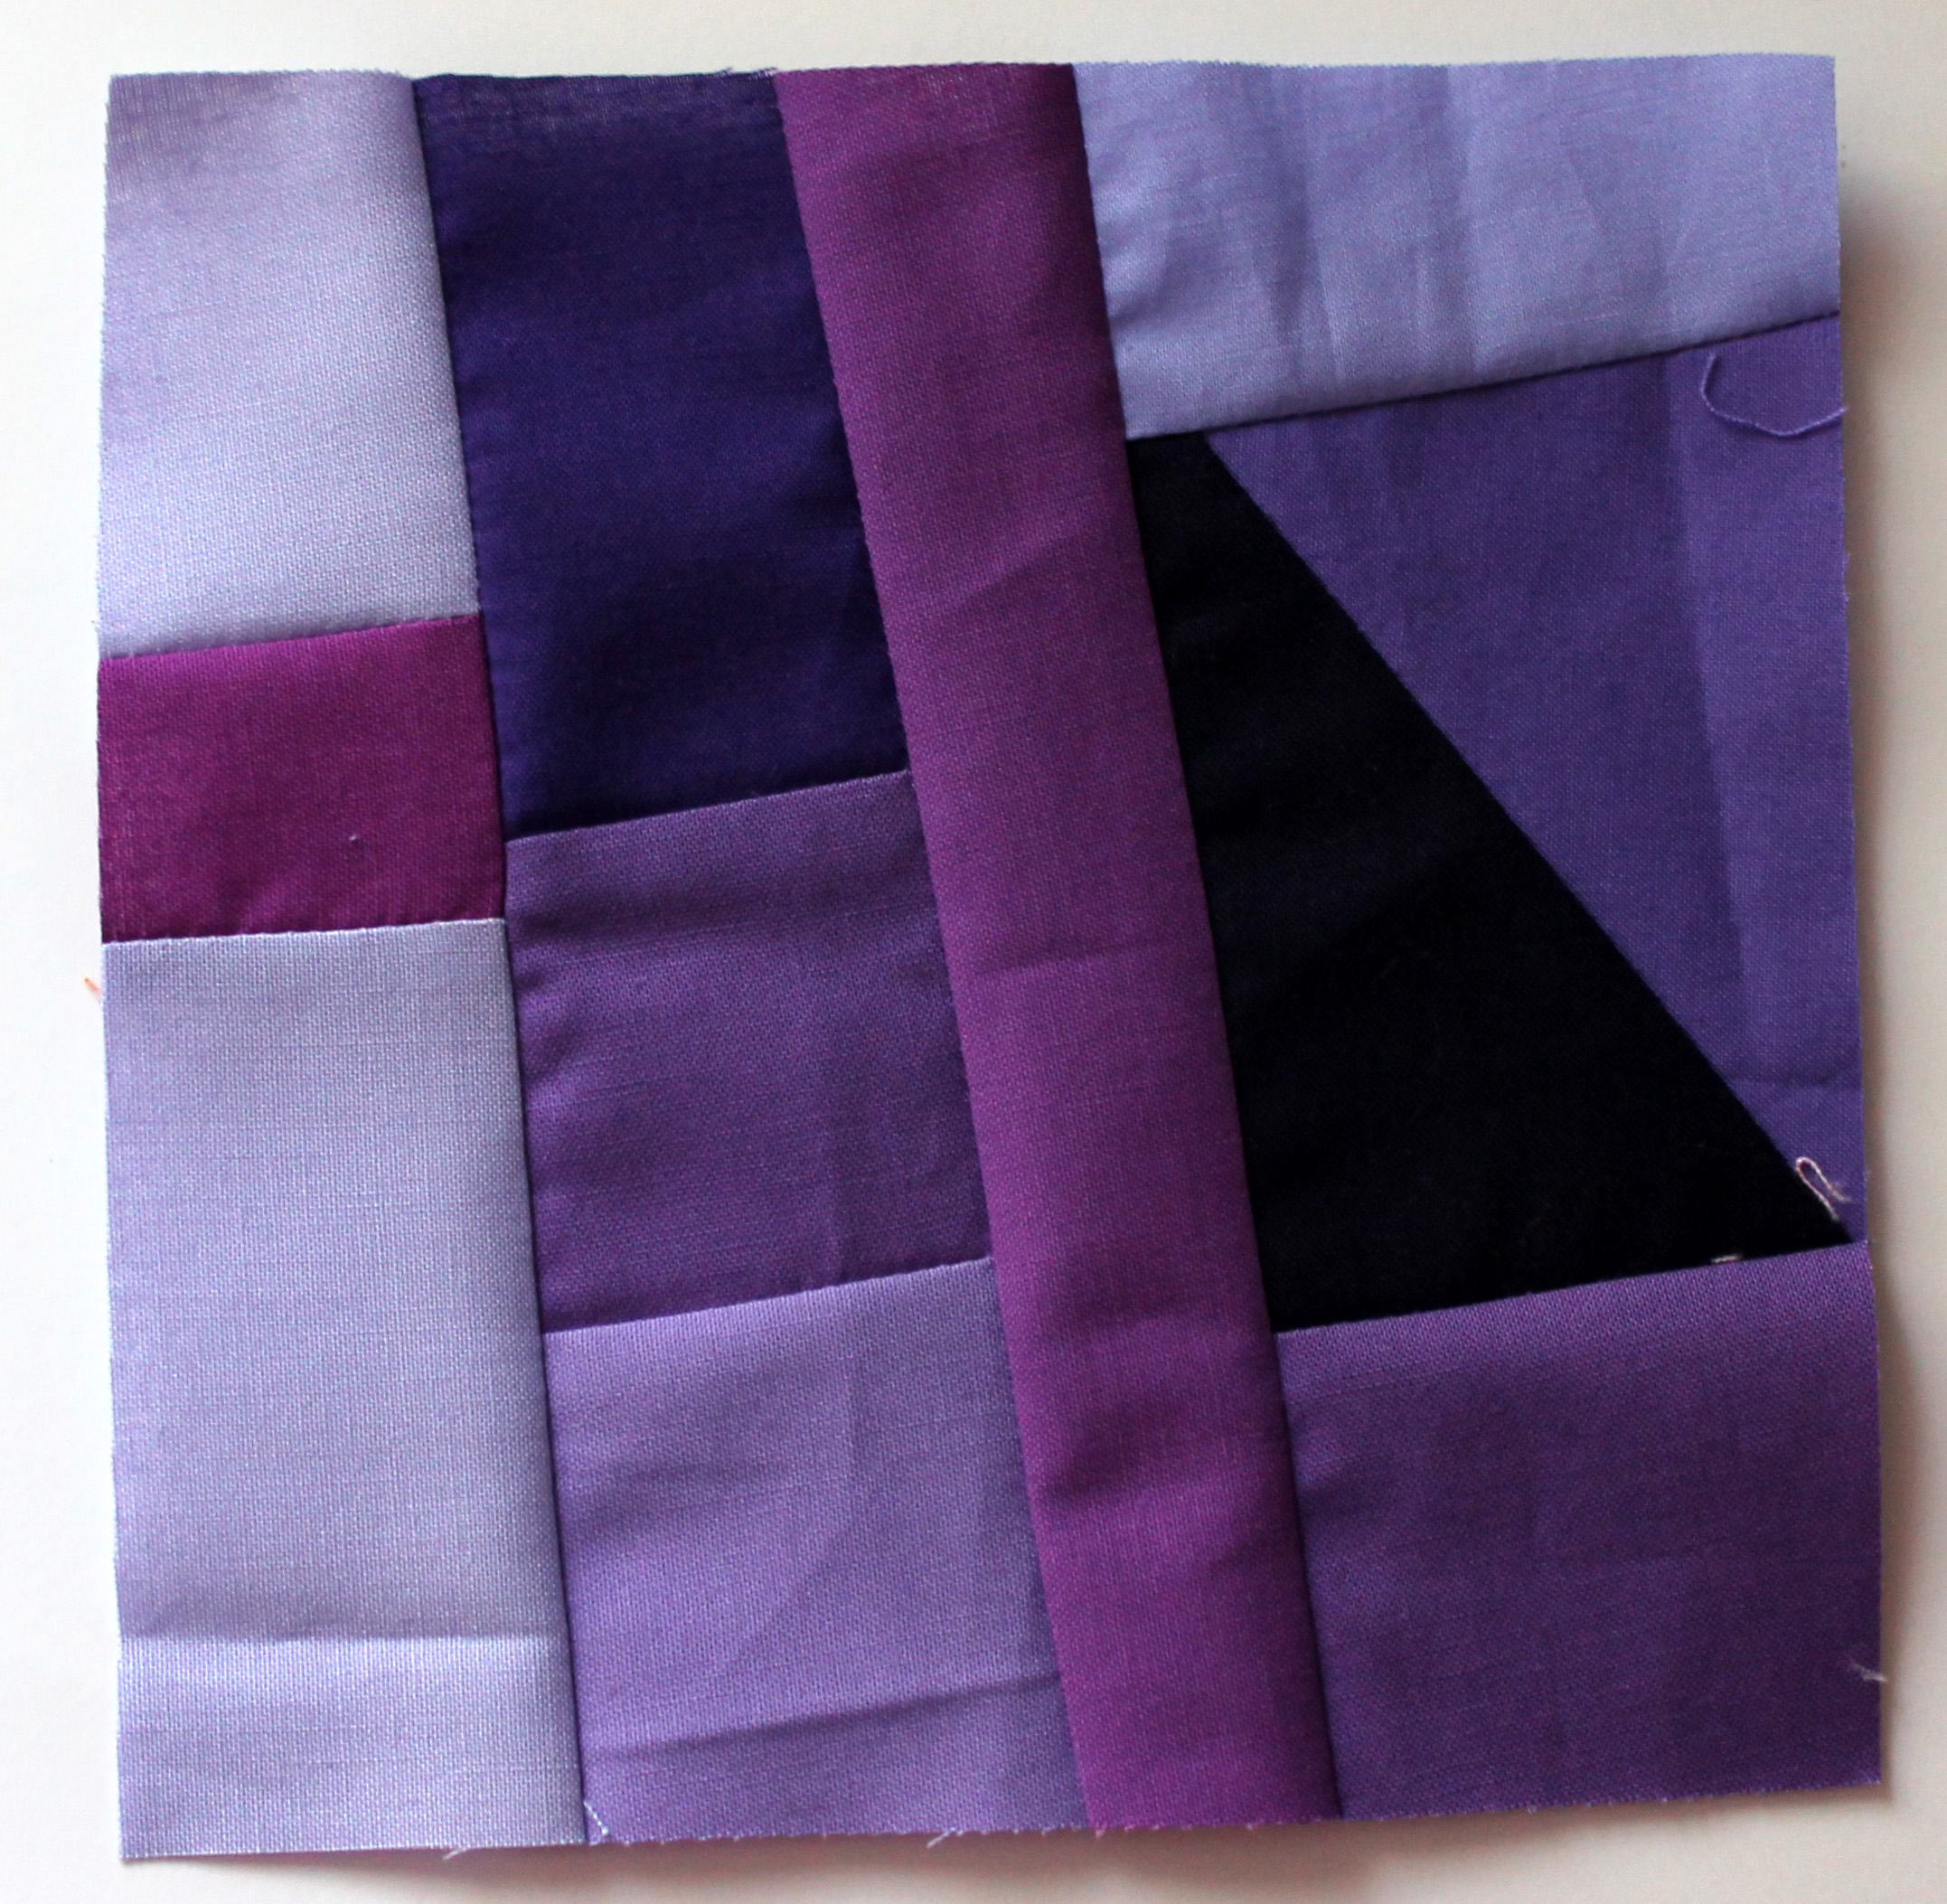
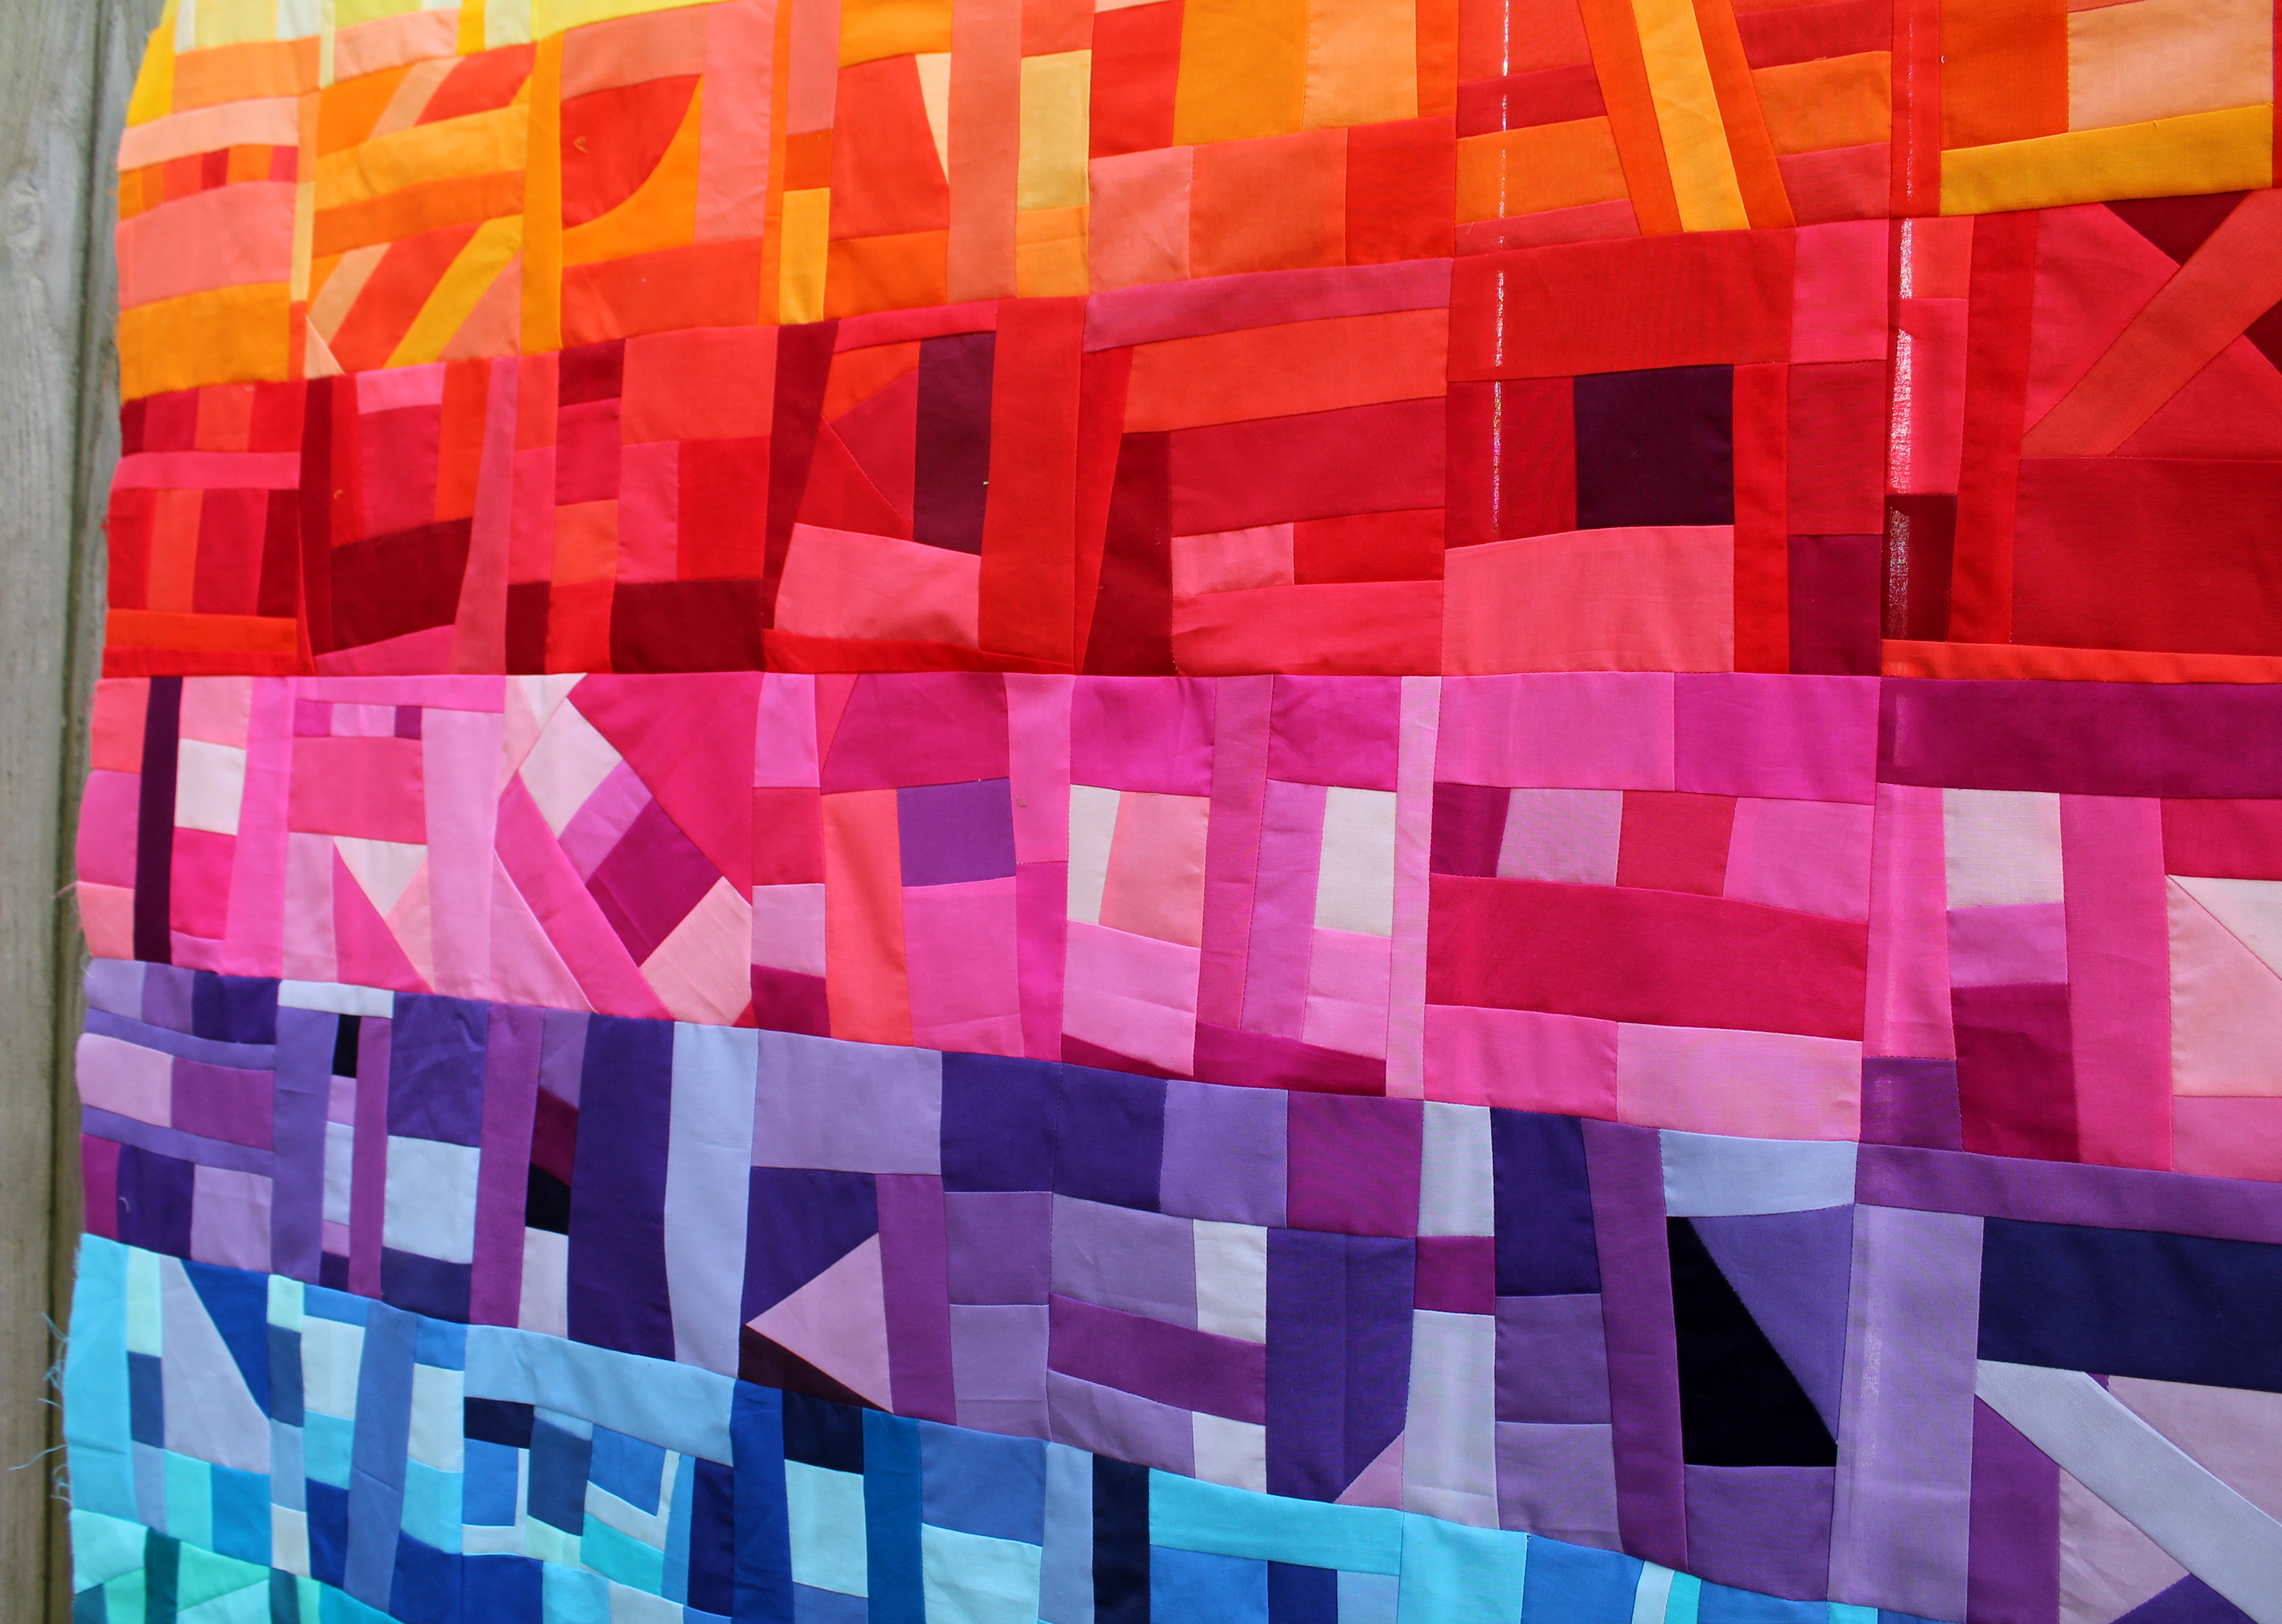
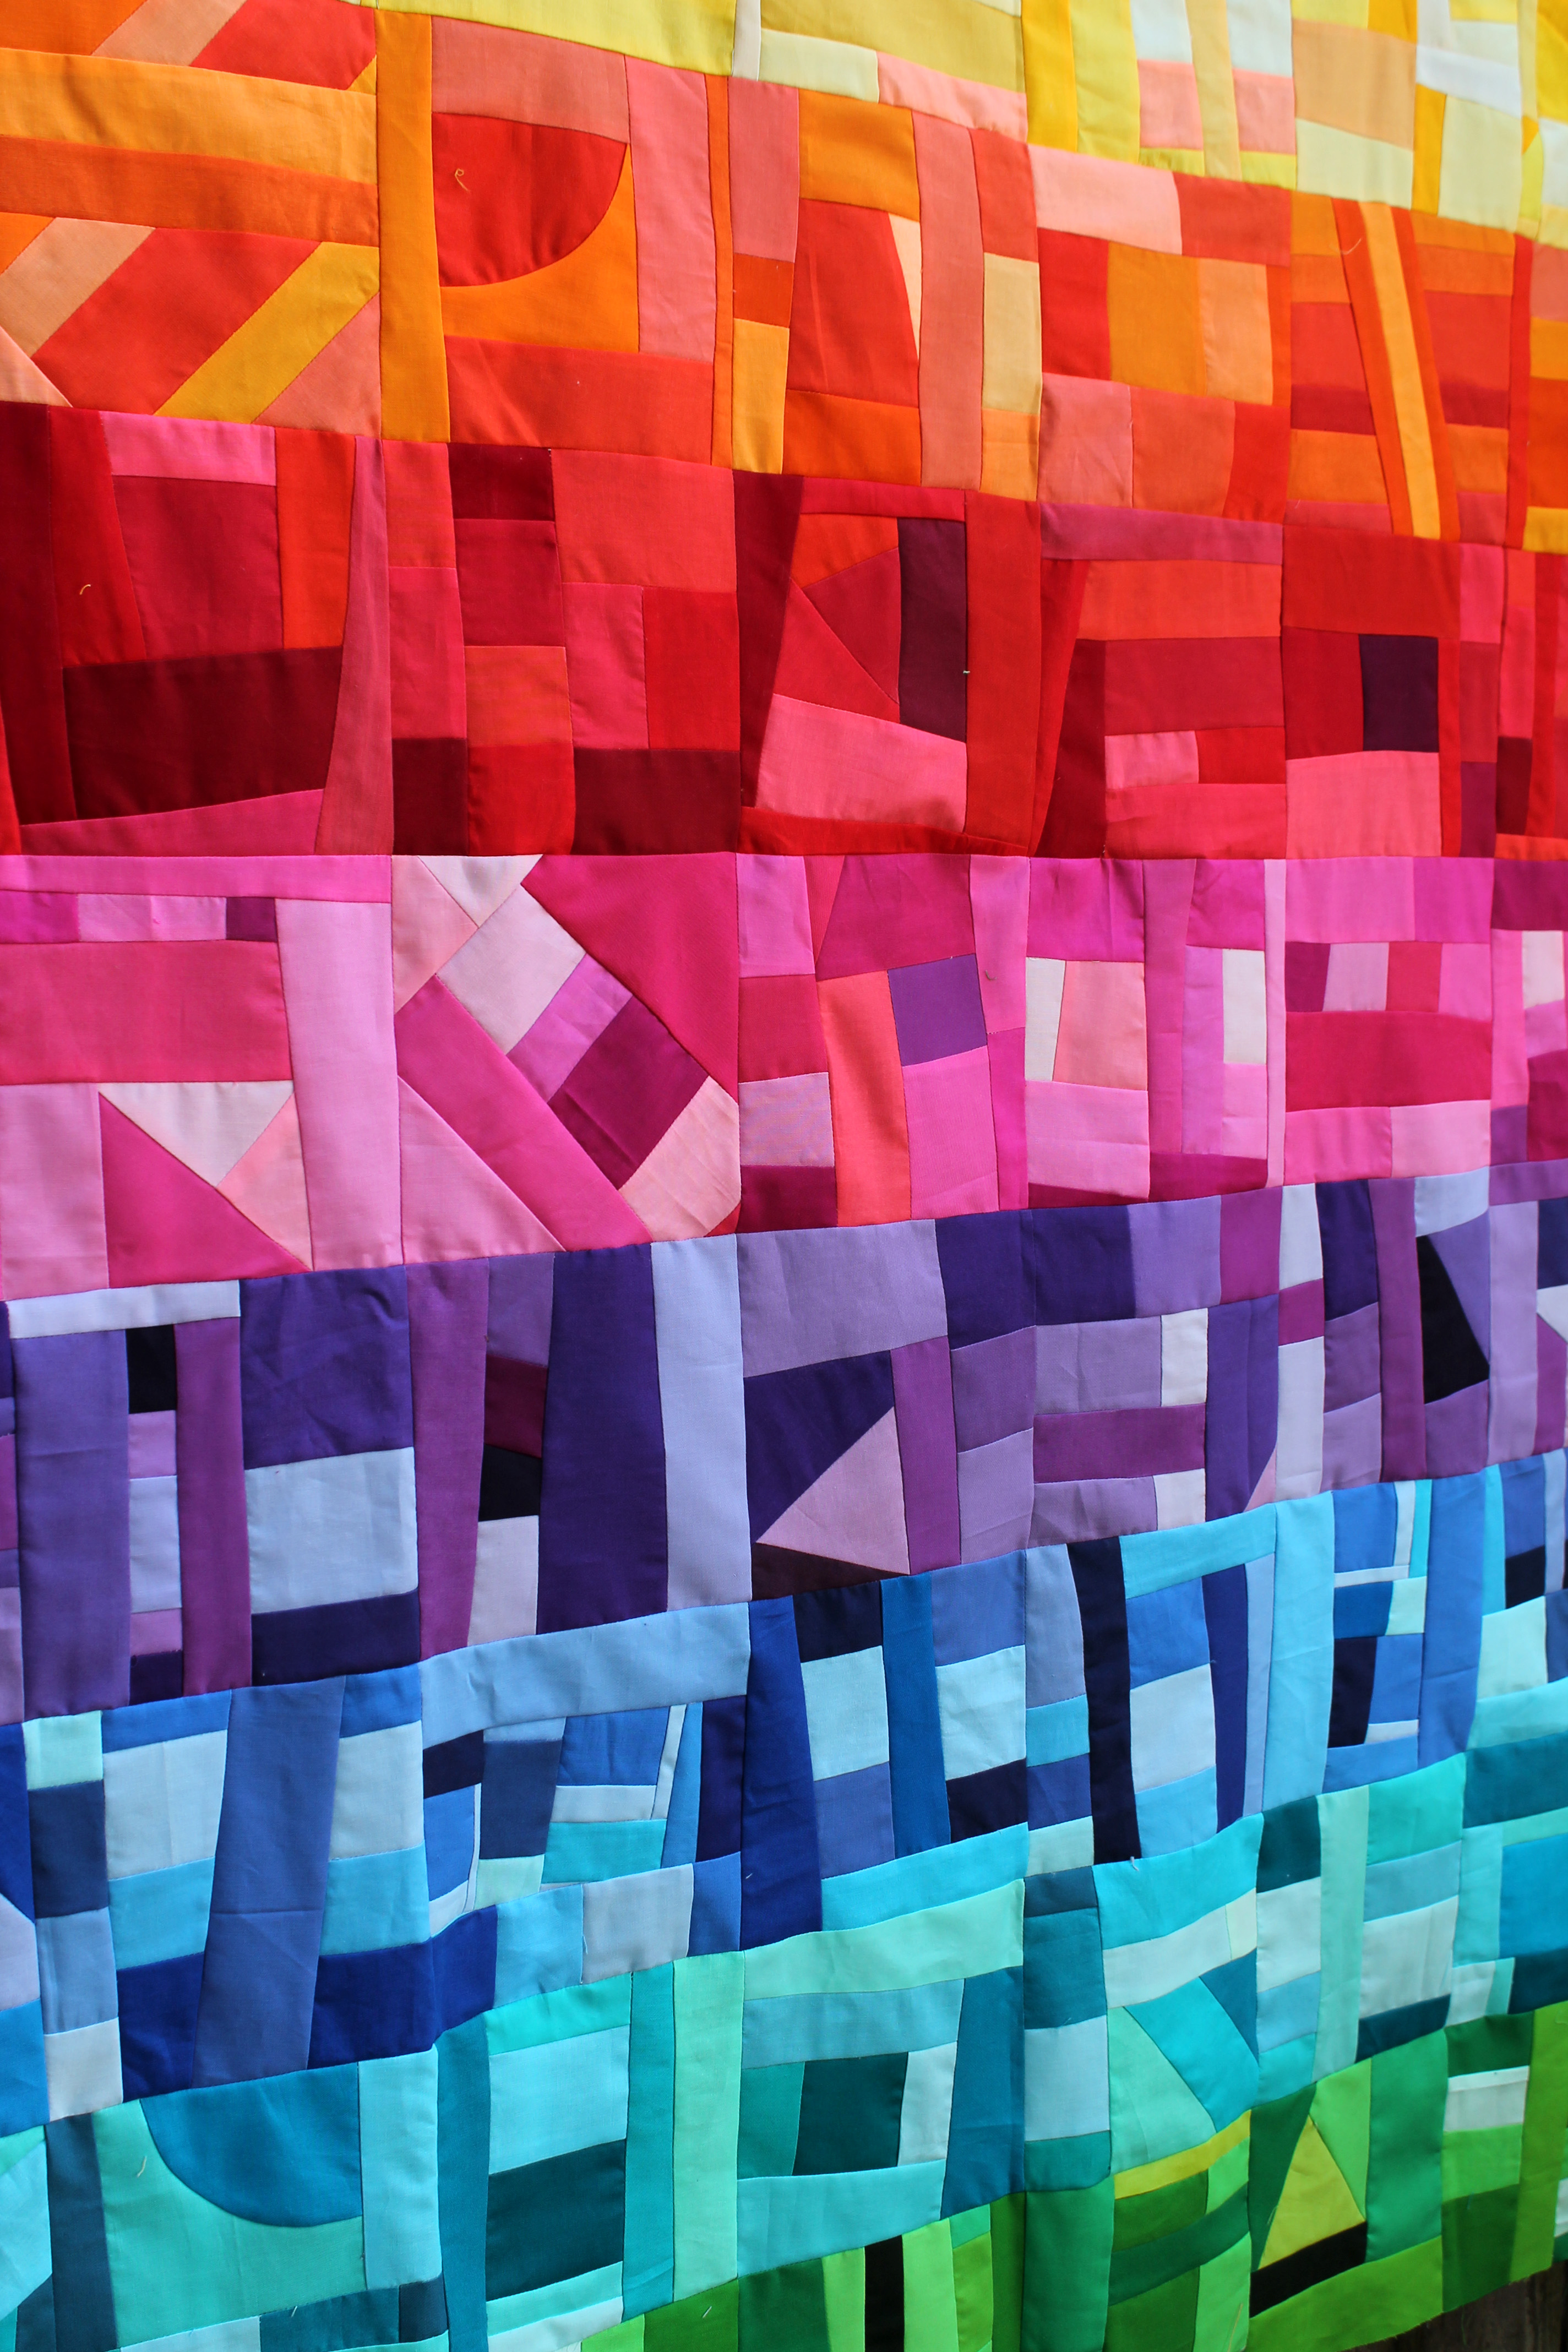
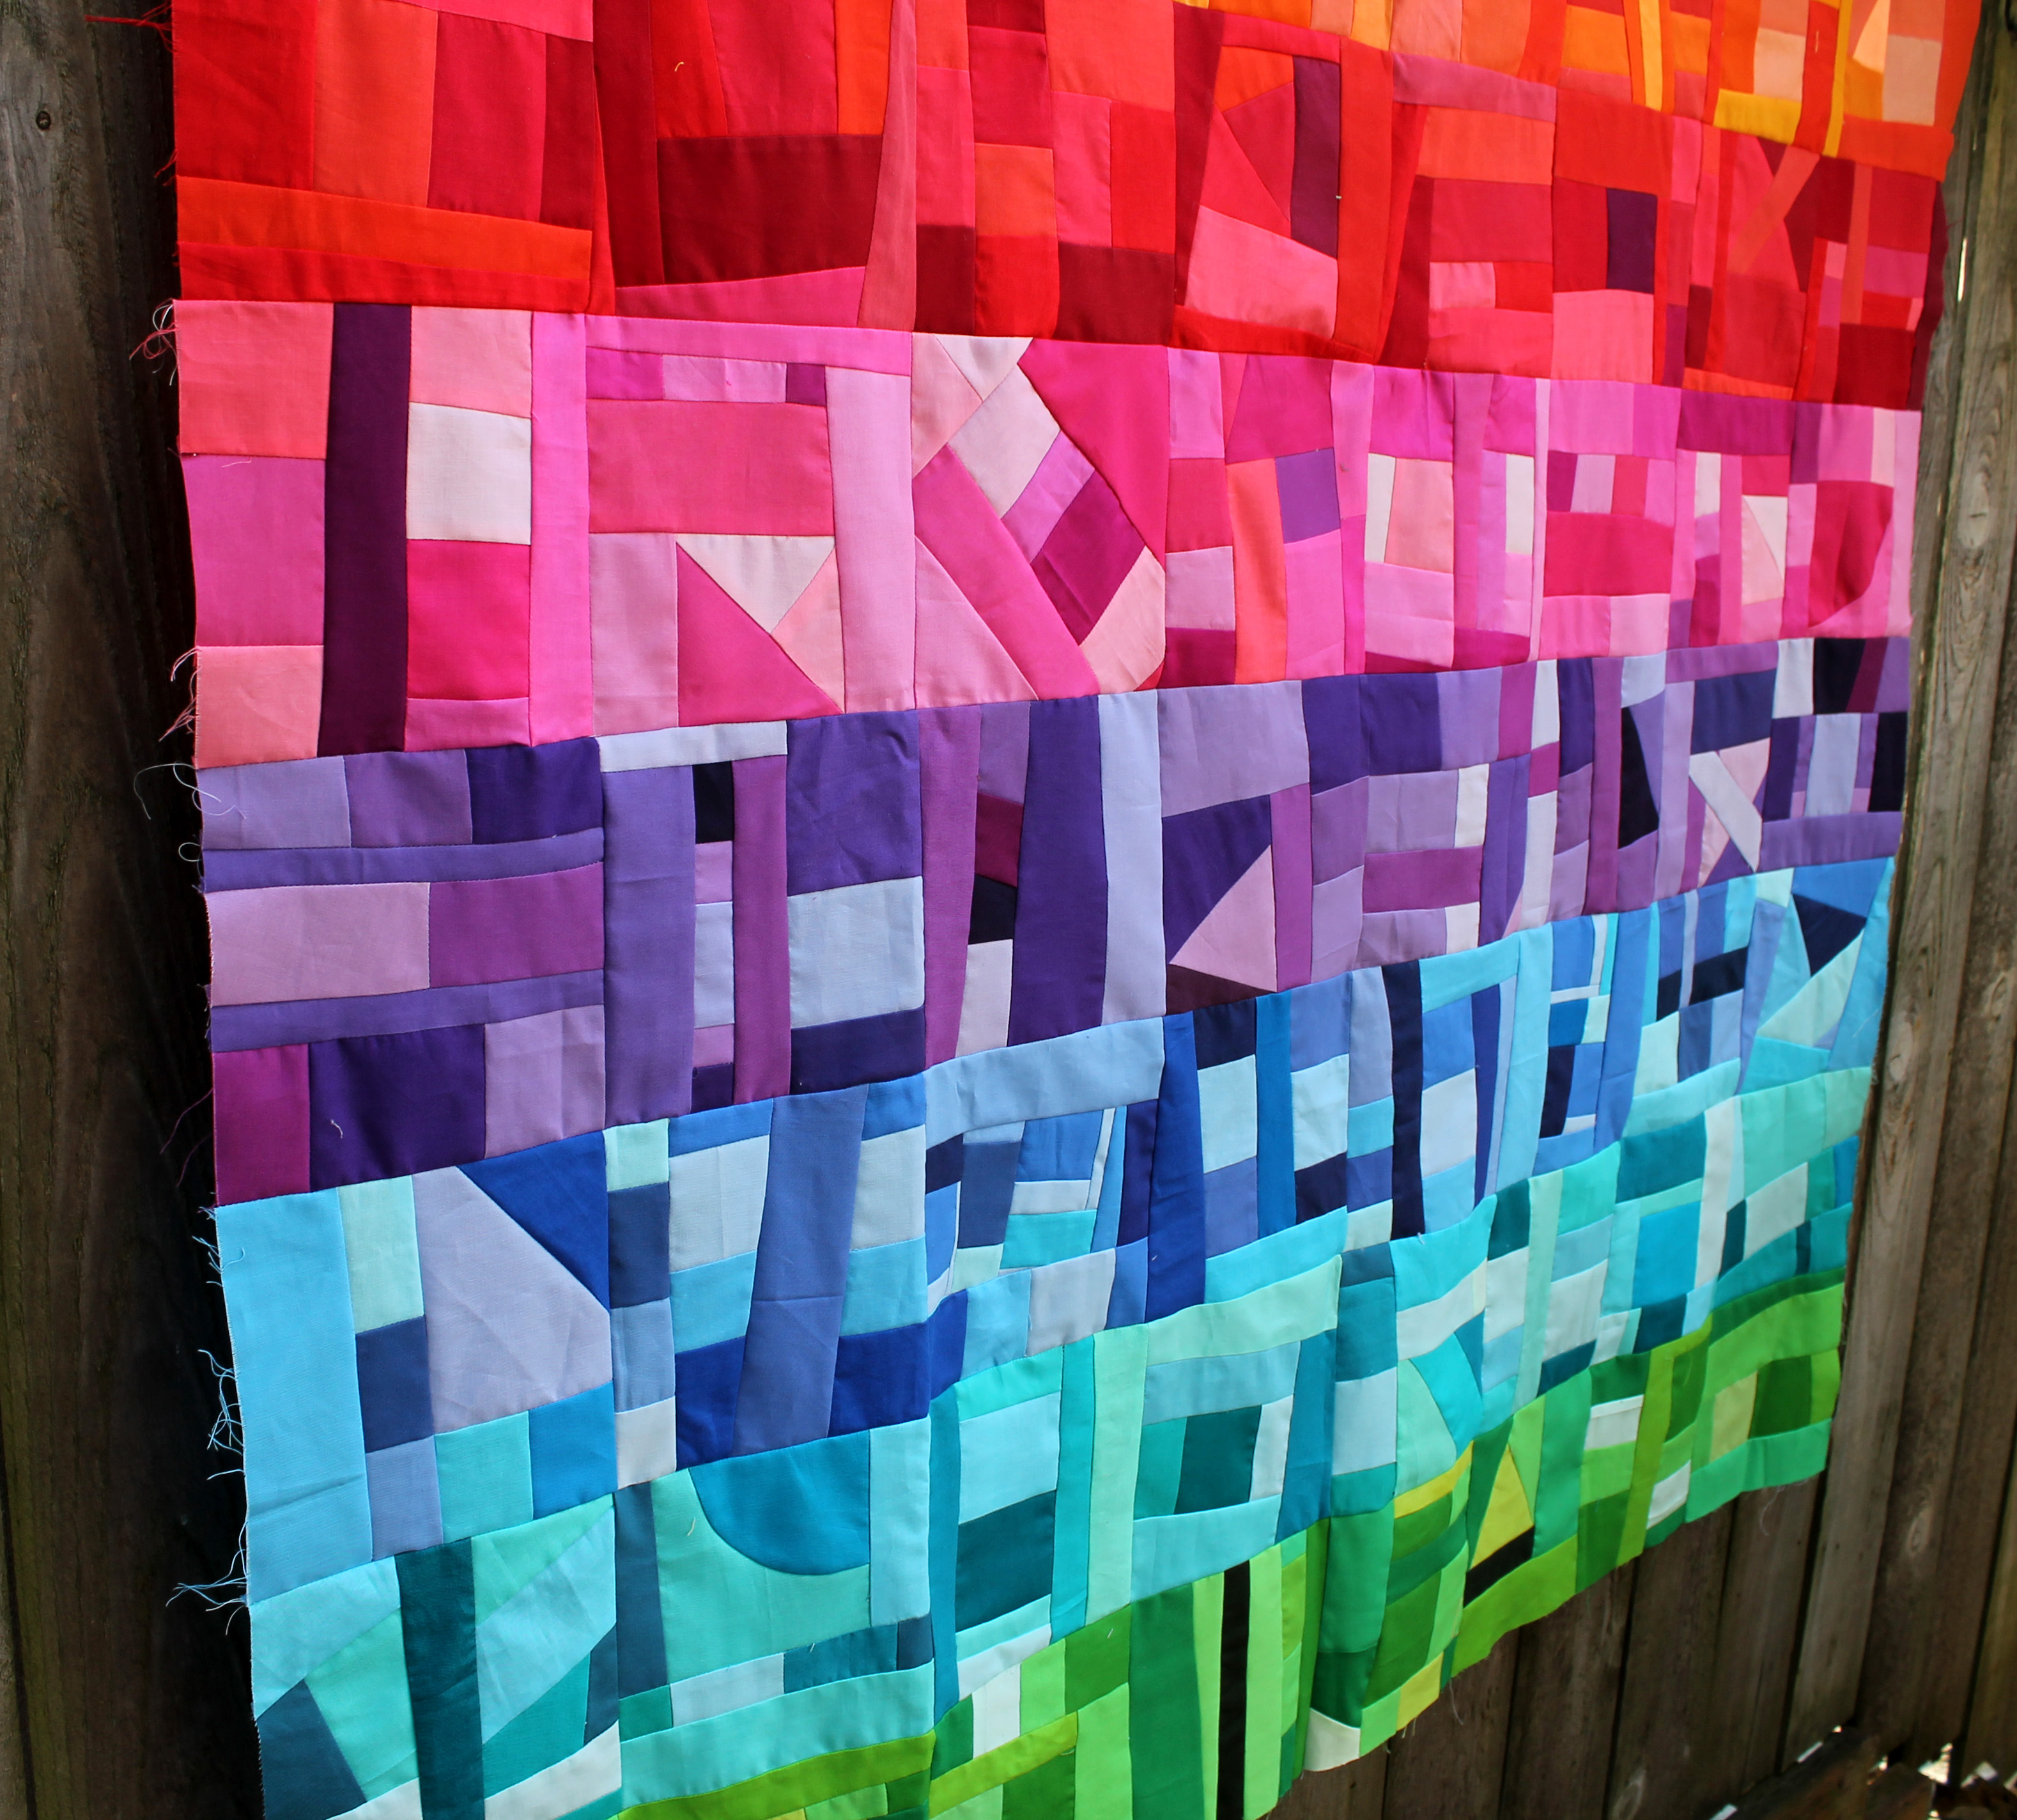
When making my Cross Star quilt colour coding with pencils became an integral part of the quilt making process as I had to work out how each block fitted into the overall quilt pattern.

cross block wip

So next time you are paper piecing, dust off those colour pencils, do a little colouring in and make the paper piecing process a little easier.  And if you want to play with this block, I have included a colouring page in the pattern PDF… Cross Plus extra block.docx

But before then, check out the rest of the super awesome Blog Hoppers for their tips:
Sept 1: Peta Minerof-Bartos of PetaQuilts
Sept 2: Cheryl Sleboda of Muppin.com
Sept 3: Teresa Coates of Crinkle Dreams
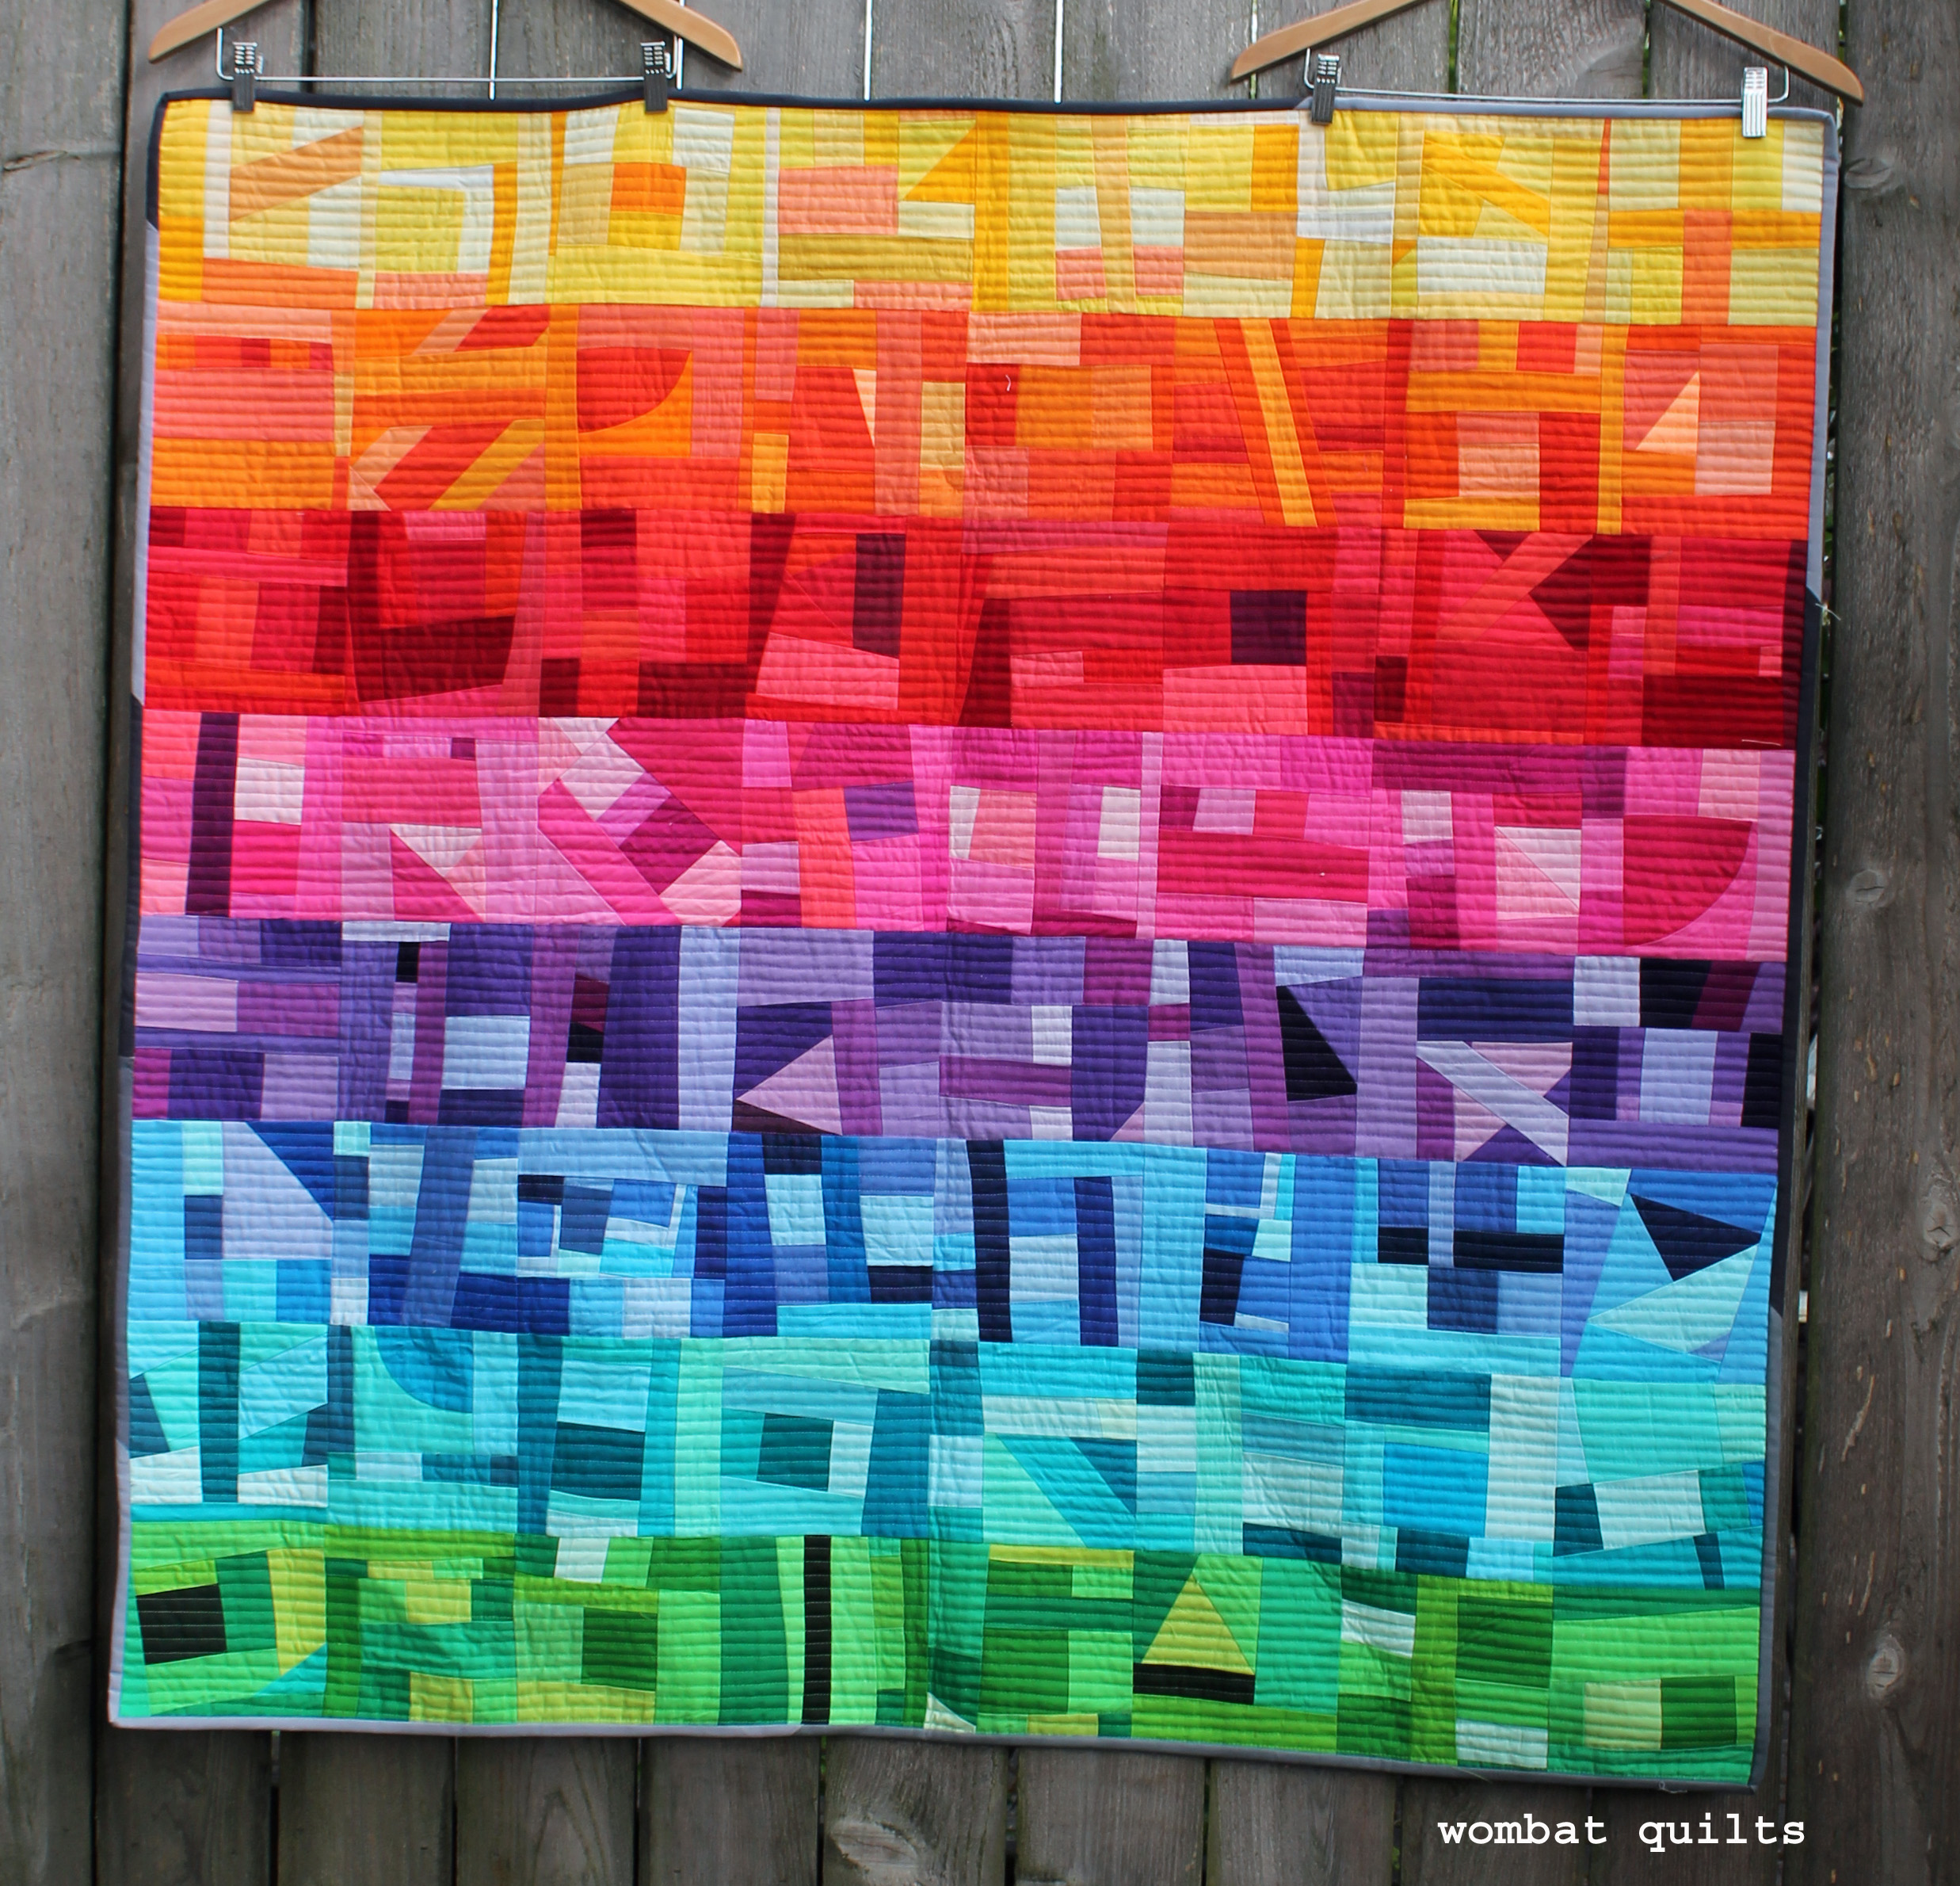
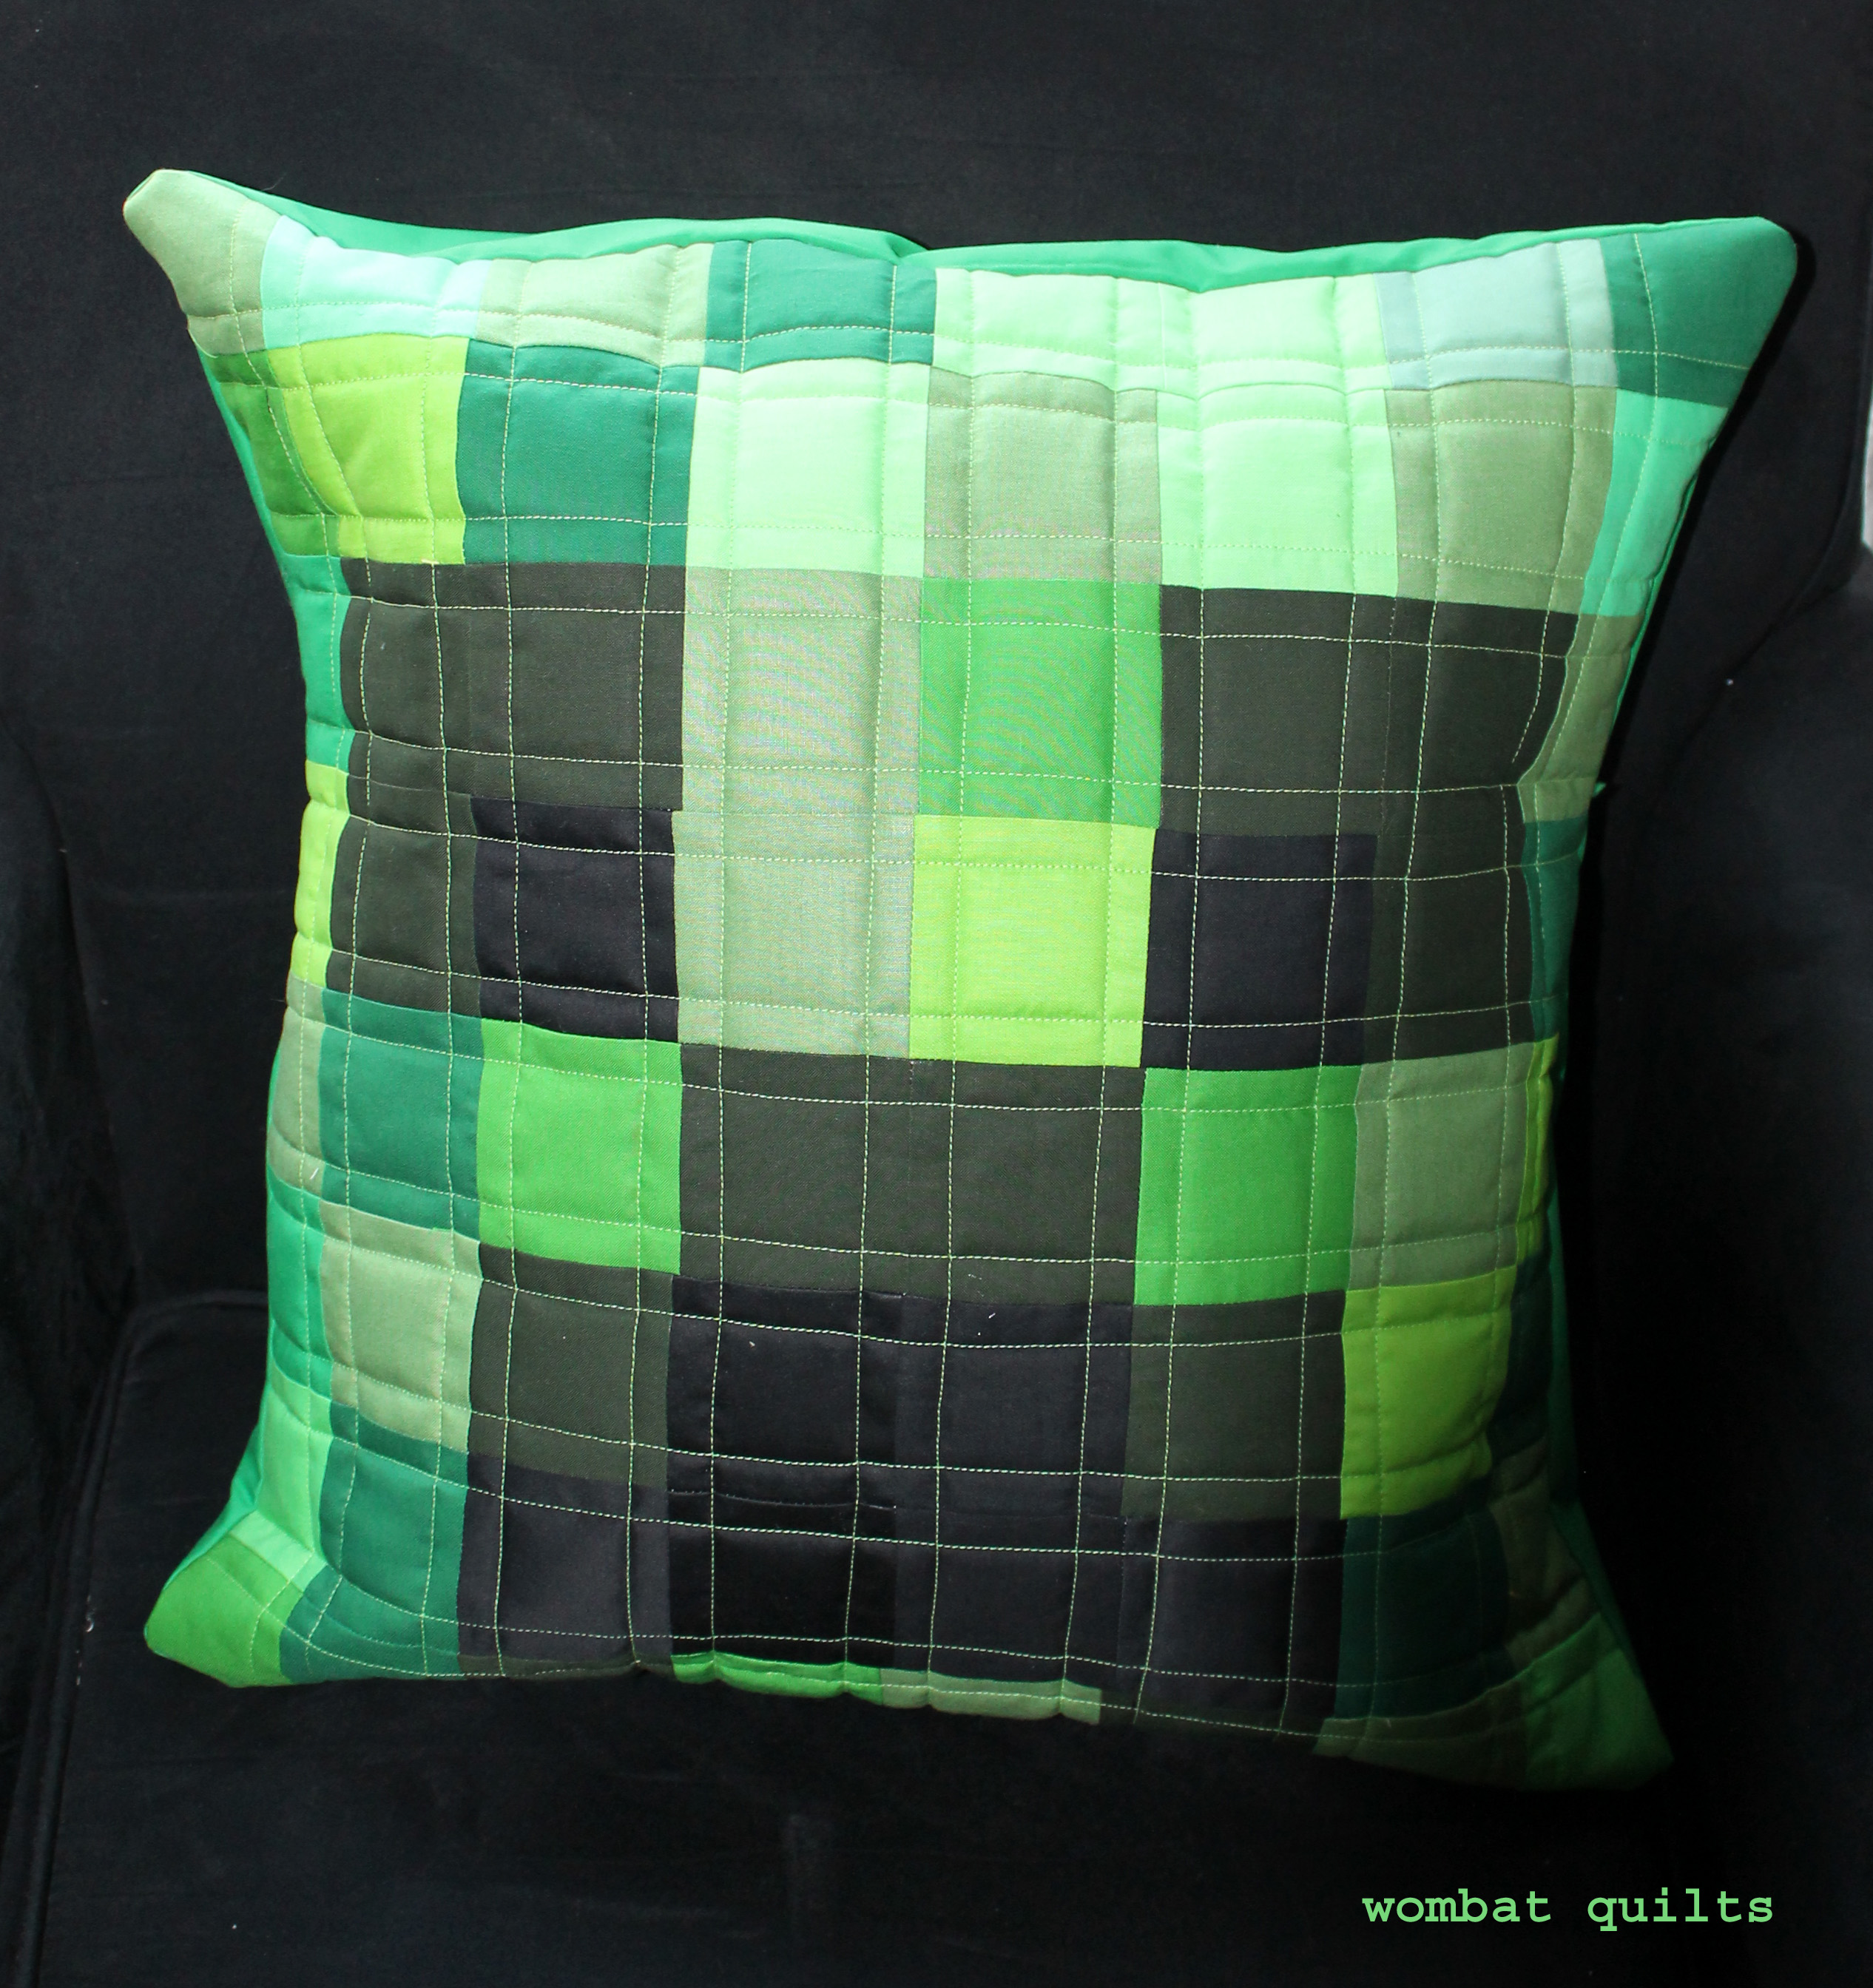
Sept 4: Cath Hall of Wombat Quilts
Sept 5: Sam Hunter of Hunter’s Design Studio
Sept 6: Melanie McNeil of Catbird Quilt Studio
Sept 7: Mandy Leins of Mandalei Quilts 
Sept 8: Rose Hughes of Rose Hughes
Sept 9: Megan Dougherty of The Bitchy Stitcher
Sept 10: Lynn Krawczyk of Smudged Design Studio
Sept 11: Susan Beal of West Coast Crafty
Sept 12: Sarah Lawson of Sew Sweetness
Sept 13: Jane Victoria of Jolly and Delilah
Sept 14: Jemelia Hilfiger of Je’s Bend
Sept 15: Ebony Love of LoveBug Studios
Sept 16: Misty Cole of Daily Design Wall
Sept 17: Kim Lapacek of Persimon Dreams
Sept 18: Christina Cameli of A Few Scraps
Sept 19: Bill Volckening of WonkyWorld
Sept 20: Jessica Darling of Jessica Darling
Sept 21: Debbie Kleve Birkebile of Mountain Trail Quilt Treasures
Sept 22: Heather Kinion of Heather K is a Quilter
Sept 23: Michelle Freedman of Design Camp PDX
Sept 24: Kathy Mathews of Chicago Now Quilting Sewing Creation
Sept 25: Jane Shallala Davidson of Quilt Jane
Sept 27: Cristy Fincher of Purple Daisies Quilting
Sept 28: Catherine Redford of Catherine Redford
Sept 29: Amalia Teresa Parra Morusiewicz of Fun From A to Z
Sept 30: Victoria Findlay Wolfe of Victoria Findlay Wolfe Quilts
October 1: Tracy Mooney of 3LittleBrds
October 2: Trish Frankland, guest posting on Persimon Dreams
October 3: Flaun Cline of I Plead Quilty

Rainbow Crazy

This week I finished up my Rainbow Improv quilt just in time to ship it to Sisters for their quilt show next month….there is nothing like an impending deadline to get you working hard!

rainbow improv quiltI started this quilt a little while ago, making the blocks in between some complex paper piecing projects.  It was so much fun to do something so free from rules and constraints.  You can read more about the process on my original post

quilt detail 2I just used a rainbow of solid fabric scraps and played with colour.  I must admit I did not know what the end product would look like, I just enjoyed the process of making the blocks.

quilt detail 3Because this quilt was going to Sister’s I wanted to do something modern for the quilting, but I did not want to distract from the blocks too much.  In the end I went with my beloved straight line stitches but used a rainbow selection of thread for the quilting.

threadEach row of blocks got their own colour, which was so much fun to do.

straight line quiltingI just used my walking foot as my line guide…I did contemplate marking up the quilt top but this was so much easier and worked out perfectly… I got 16 lines of stitches per row and only went a little off course, one or two times.

improv quilt backFor the back of the quilt I went with a patchwork of solid Kona greys (Ash, Charcoal and Medium Grey), which was perfect for highlighting the change in the thread colour.  If you look closely you can see the rainbow effect of the quilting.

quilting detailThe final touch was some scrappy grey binding, a label and I was done.

bindingI am so thrilled with how this quilt turned out.  It is so different from what I usually do, but was just so much fun to make…

Quilt Details:

Blocks:  6 inch improv blocks
Fabric:  Variety of solids – Kona, Michael Miller, American Made and Bella.
Finished size:  48 x 48 inches

A little bit of Improv fun…

Over the last month or so I have been slowly making a quilt top, using nothing but my solid scraps.  This week I finally finished sewing it all together to make this piece of modern crazy….

modern improv quilt It all started when I began cutting up my solid scraps into useable squares…

my 5 inch block collection

I was left with a pile of long strips, small square and random shapes.  As a scrap quilter I could not just throw them away, so I started making Improv blocks.

improv orange blockMy first step was to sew lots of the small little bits together to make bigger units.

aqua improv blockIf I found a curved piece in amongst the scraps I used it…

improv pink 2The same with triangles (there was no shape biased here!)…

red improv blockI was not afraid to slash through a block and add extra bits…

purple improv block And I always made sure that there was tonal variation in the blocks…

green improv blockI worked colour by colour….first I pulled out all my yellow scraps and made blocks….then my orange…then my red etc.  Working row by row, colour by colour I could make sure that there was some flow between each line of blocks…

improv quilt detail 3My blocks finished at 6 inches square and not one of them is even remotely like the another.  I found an amazing freedom in making this quilt….there was no pattern to follow, no measuring or pre-cutting to do.

quilt detail 1 When I needed a break from paper piecing or just wanted to do something quick and creative I grabbed a handful of scraps and made some blocks.

quilt detail 2So much fun…I can highly recommend this process… it is perfect for letting go and just playing.  There is no right or wrong, just colour and creating and fun.

How do you solve a problem like….

Scraps…bits of left over fabrics?  As you can tell from my blocks and quilts I fully embrace scraps and scrap quilting.  I revel in fat quarters and 1/8th yard cuts…but sometimes it all gets a little too much.

I hit critical point about two weeks ago when I could not find a fat quarter of fabric, that I knew I had.  My scrap bins were over flowing and my fabric had invaded every room in the house.  This was the trigger point to start trying to get things under control…and my first step was to grab all the little bits and pieces of solid fabrics I had to try and wrangle them into a manageable form.

solid fabric scrapsI ironed them and then set about cutting the pieces into squares….

my block sizesI settled on 3, 4 and 5 inch squares.  For each scrap piece I start cutting 5 inch squares (if the piece is big enough) and cut as many as I can from the scrap.  I then cut what is left into either 3 or 4 inch squares.    At the end of my first round of cutting I had this nice stash of 5 inch squares…

my 5 inch block collectionThe little strips and bits I have left over I would usually just throw but I have been bagging them up and keeping them for another project that I am working.

small scrapsI selected the size of my blocks after much consideration.  I chose 5 inch blocks because I use this size regularly, particularly when I am doing quick wonky star quilts.  The 4 inch blocks I find handy for making half square triangles and the 3 inch blocks are a size that is called for all the time when making Bee blocks.

After all my good cutting work I put some of the 3 inch squares to use to make my husband this….

creeper pillowYep I made him a Creeper pillow.    I used Slightly Off Quilter’s free quilt pattern for this pillow… LINK.  This is actually the first in a series of Minecraft** pillows I will be making for my darling husband…all using the 3 inch solid fabric squares.

pillow detail The pillow finishes at 20 inches square and I used a cheap and cheerful IKEA pillow form.  I did use a high loft batting (extra plush) to quilt the top, to make up for the less puff pillow form.

Now it is back to ironing and cutting and cleaning.  I need to get some sort of order restored to the house… if you need me I will be in the spare room tackling my other scraps…

** Minecraft is a computer game that involves exploring, mining,  gathering resources, crafting, and combat. There are no goals as such and players are free to explore the world and do what they want.

A little creative play…

After weeks and weeks of working on just old WIP’s I found I was going slightly crazy. It initially seemed like a good idea to spend January and February finishing up old projects and not starting anything new but this week I discovered the down side…I was bored and creatively stunted.

My solution was to pull out my large pile of low volume scraps…

scrap pileand to start making some improv blocks…

low volume improv blockI love how freeing this process is. I usually start by sewing similarly sized pieces together into strips of various sizes…

improv processI then just go with the flow…I will grab a piece of fabric I like or a colour I want to use….

improv process 2The joy of these blocks is that anything goes.  My finished blocks are 12 inch (12 1/2 with seam allowance) but they can be any size you want.  There is no right or wrong way to do things with these blocks….  there is no measuring, no patterns just play….pretty pretty play.

low volume improv wipI am now heading back to finish up quilting another WIP…but when I need a break I will be making some more of these fun blocks.    So how do you get your creative groove going when you are in a rut?