Full circle finish…

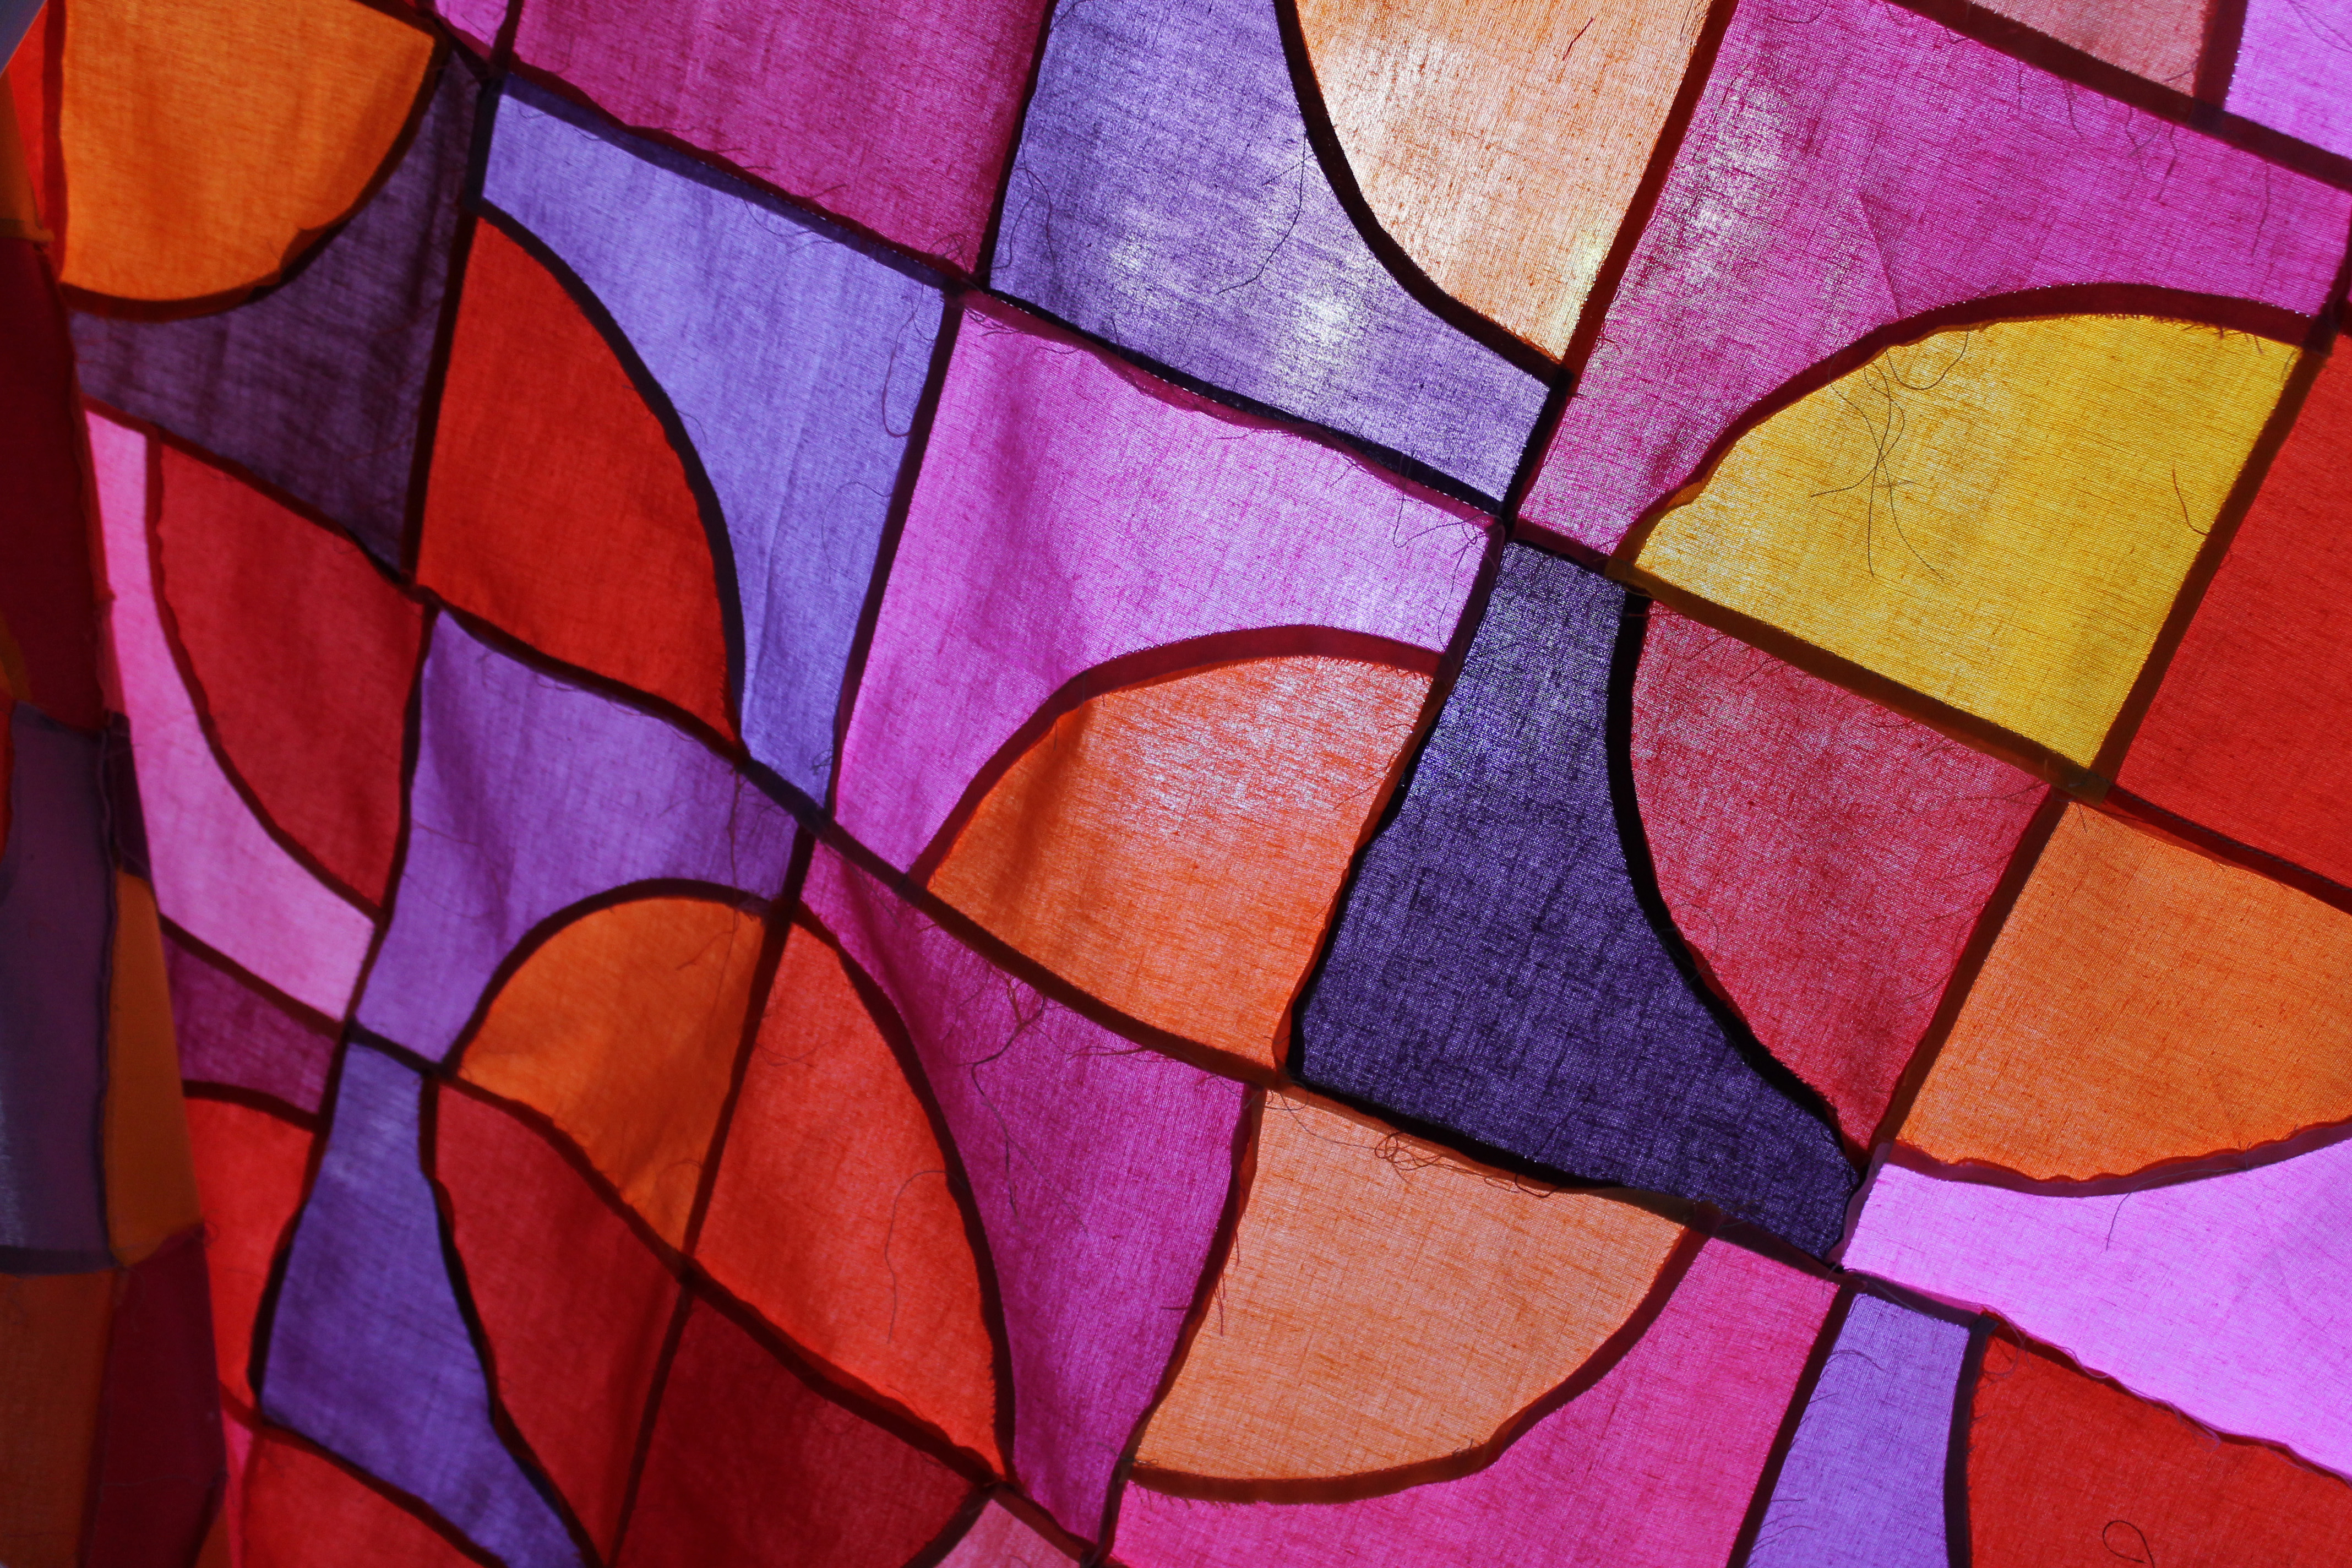
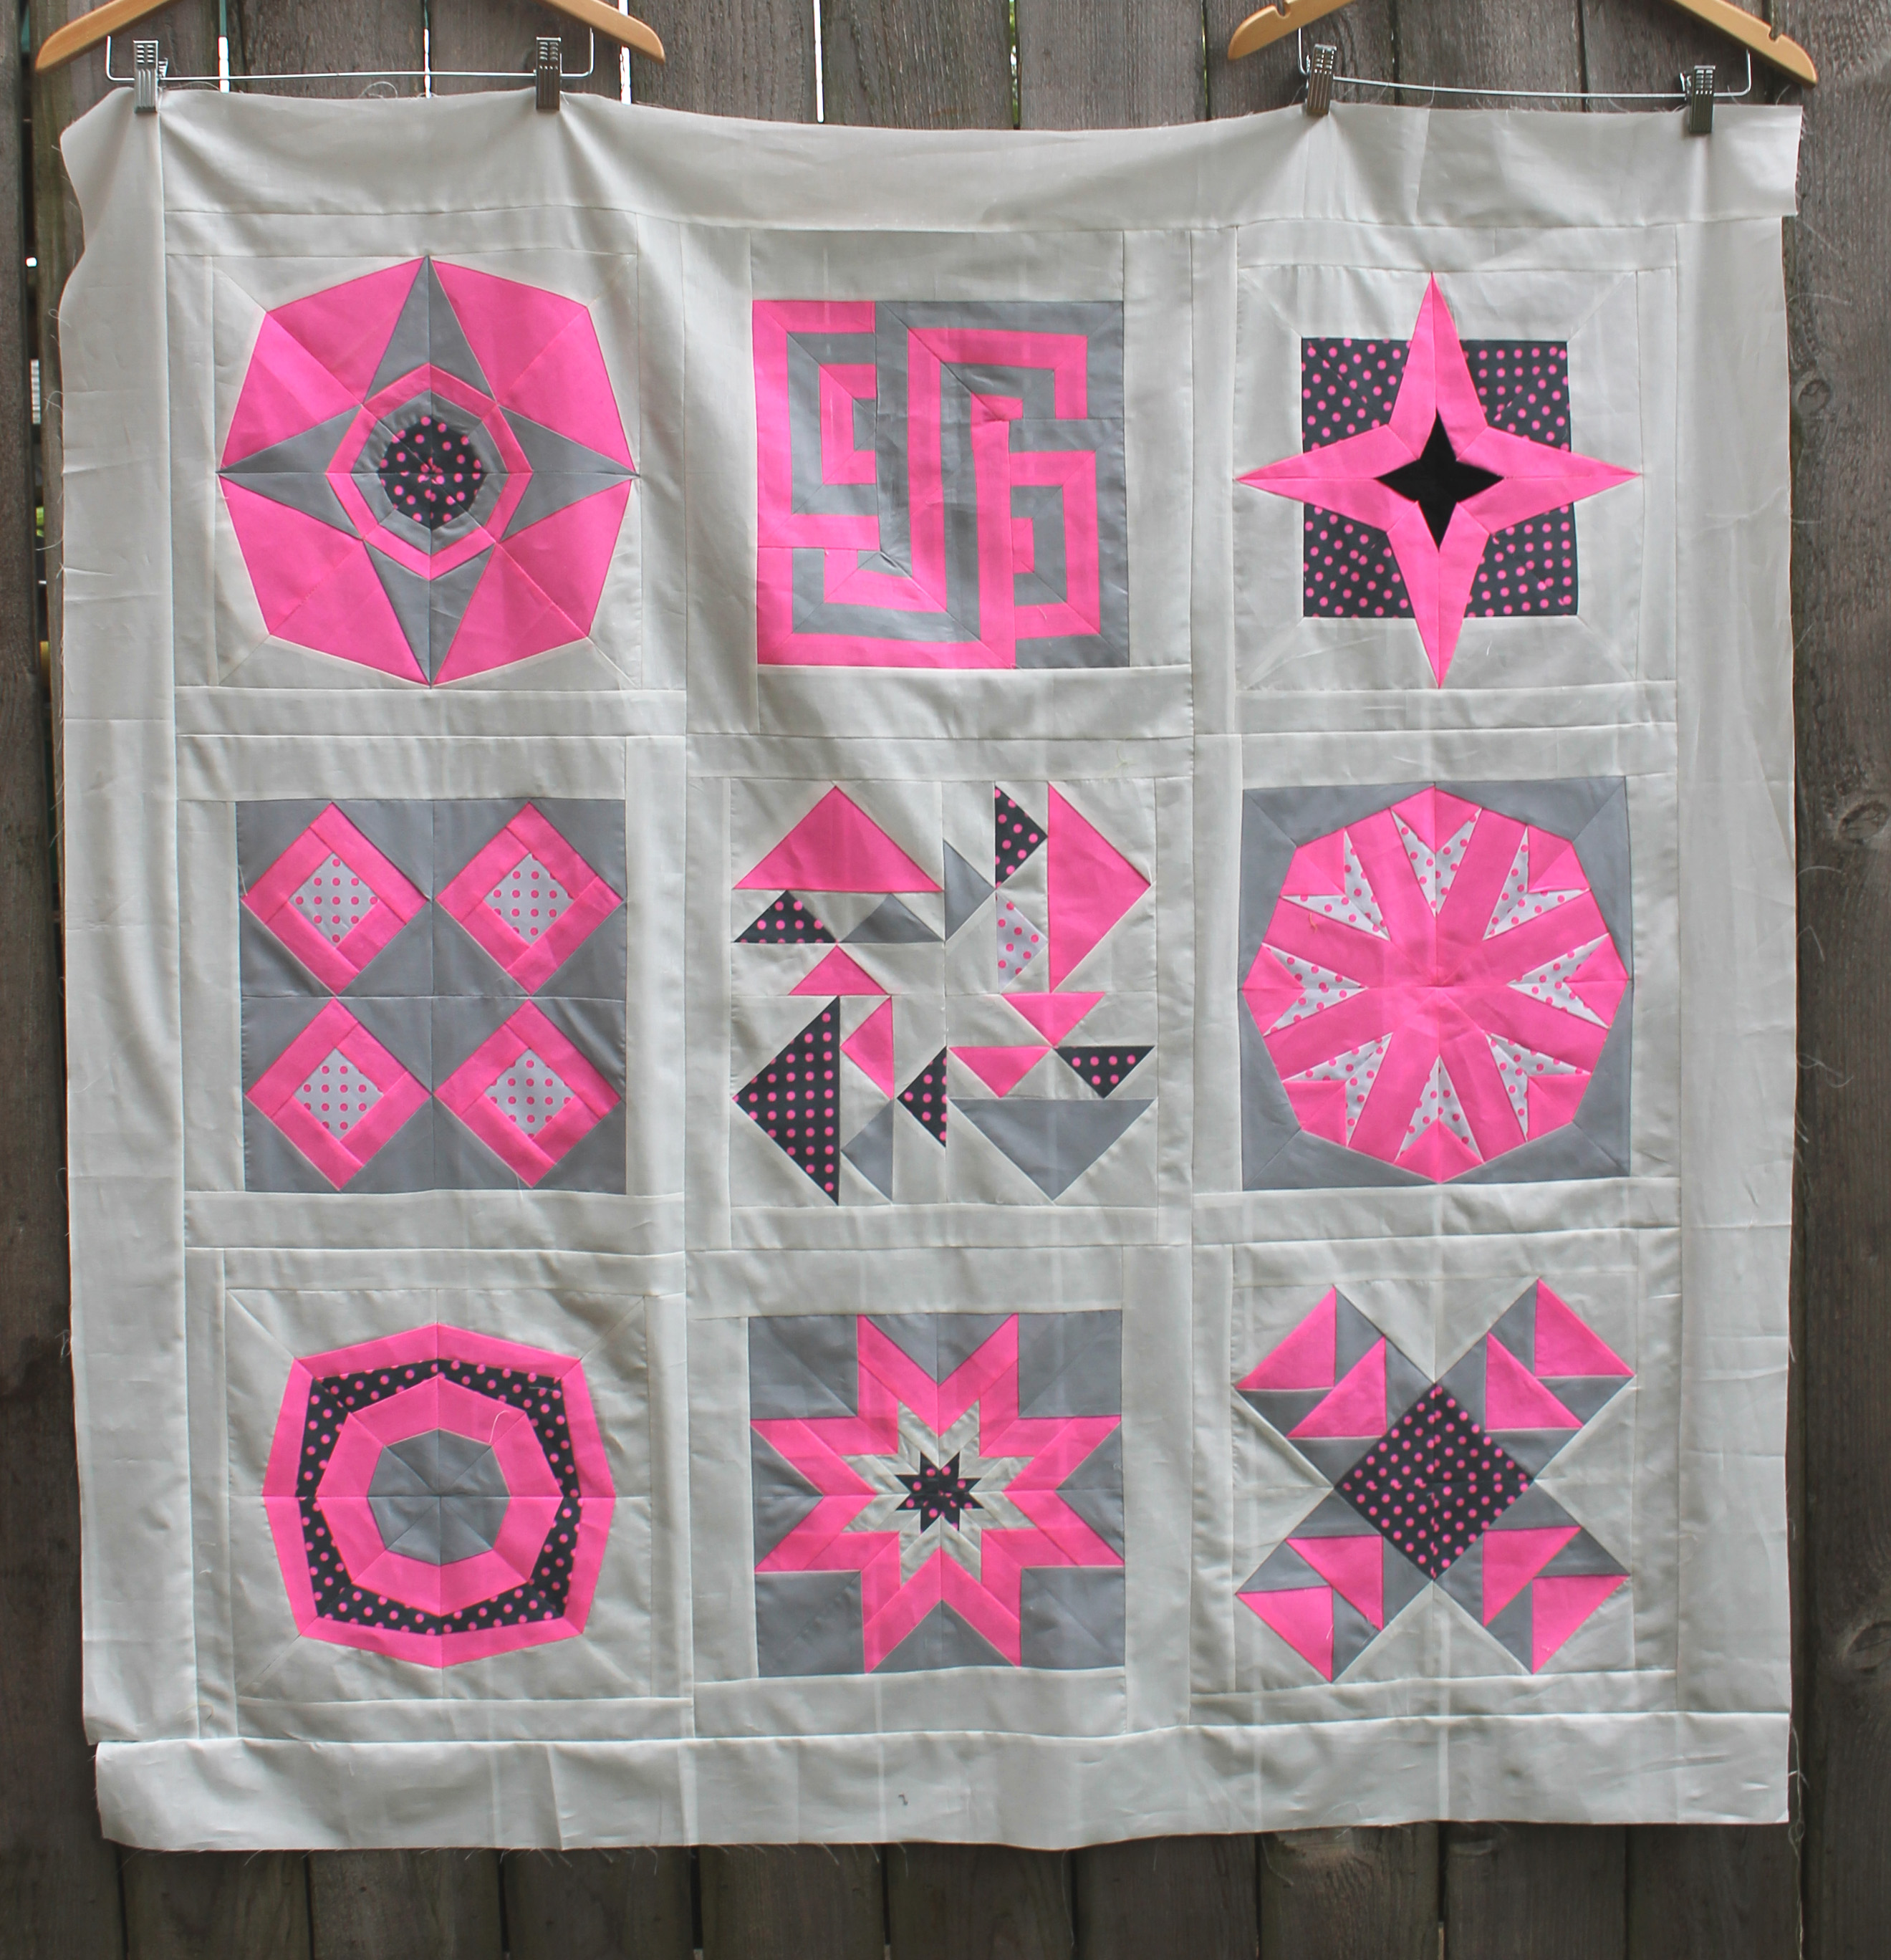
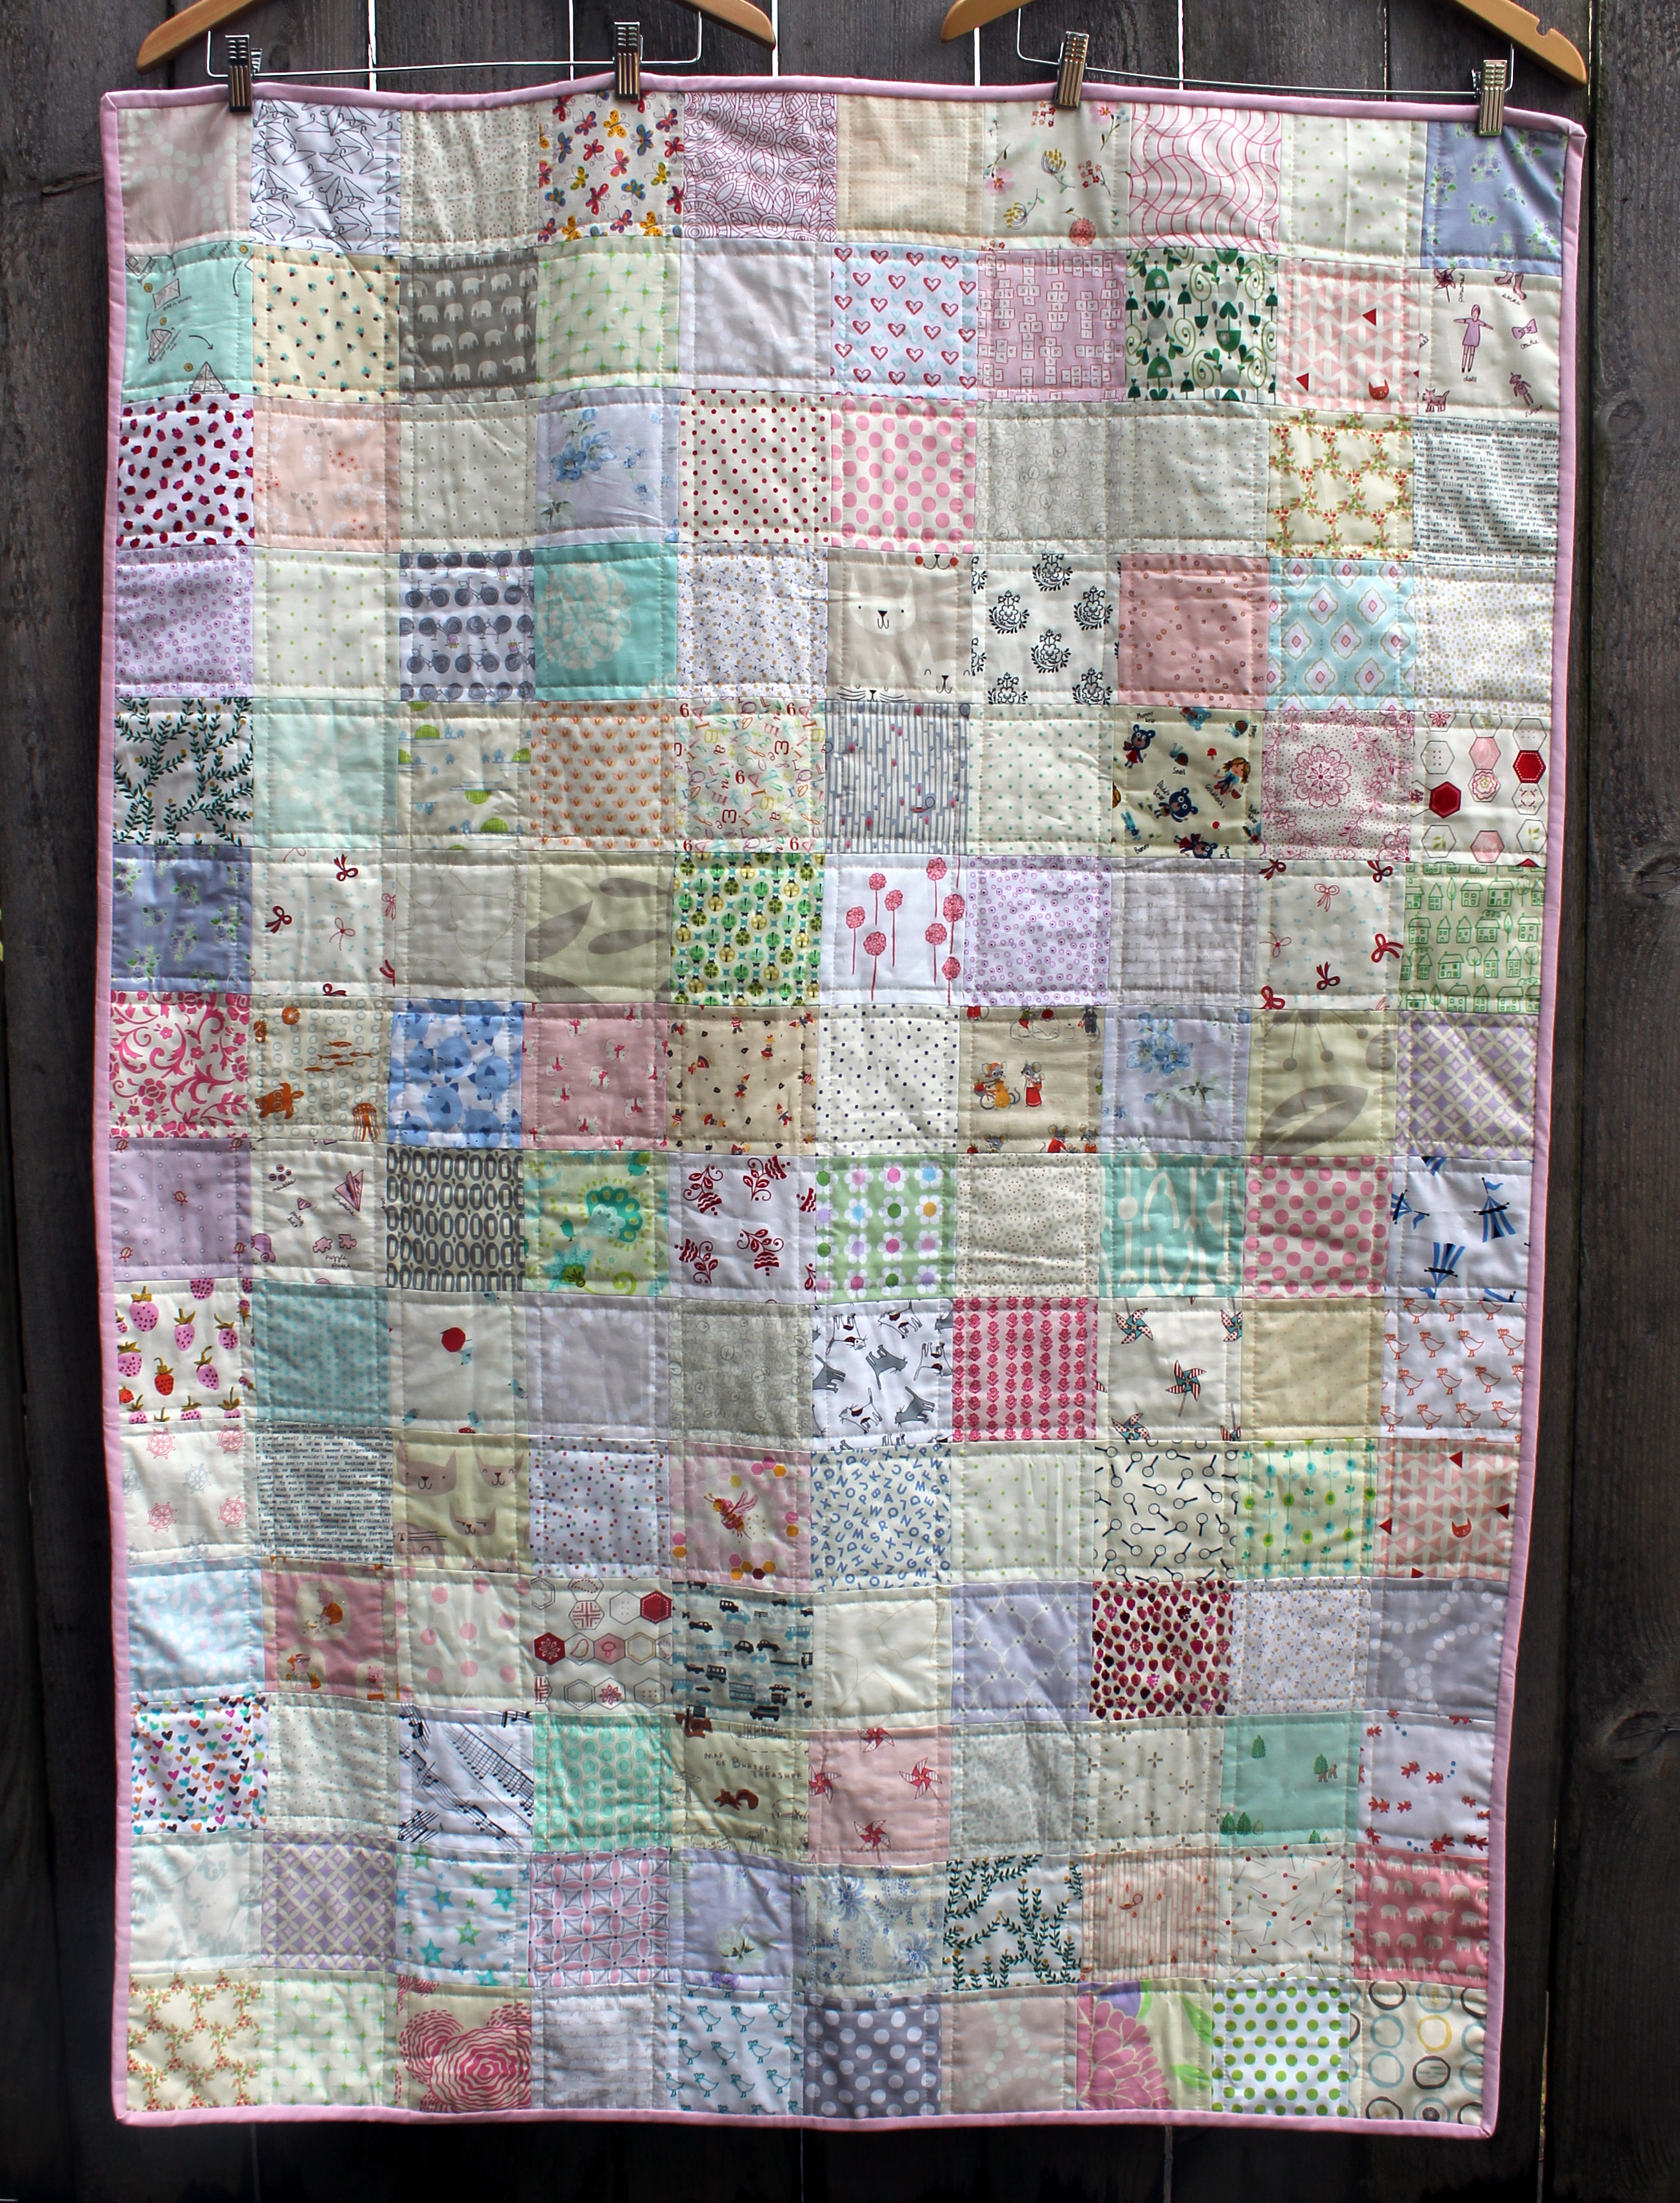
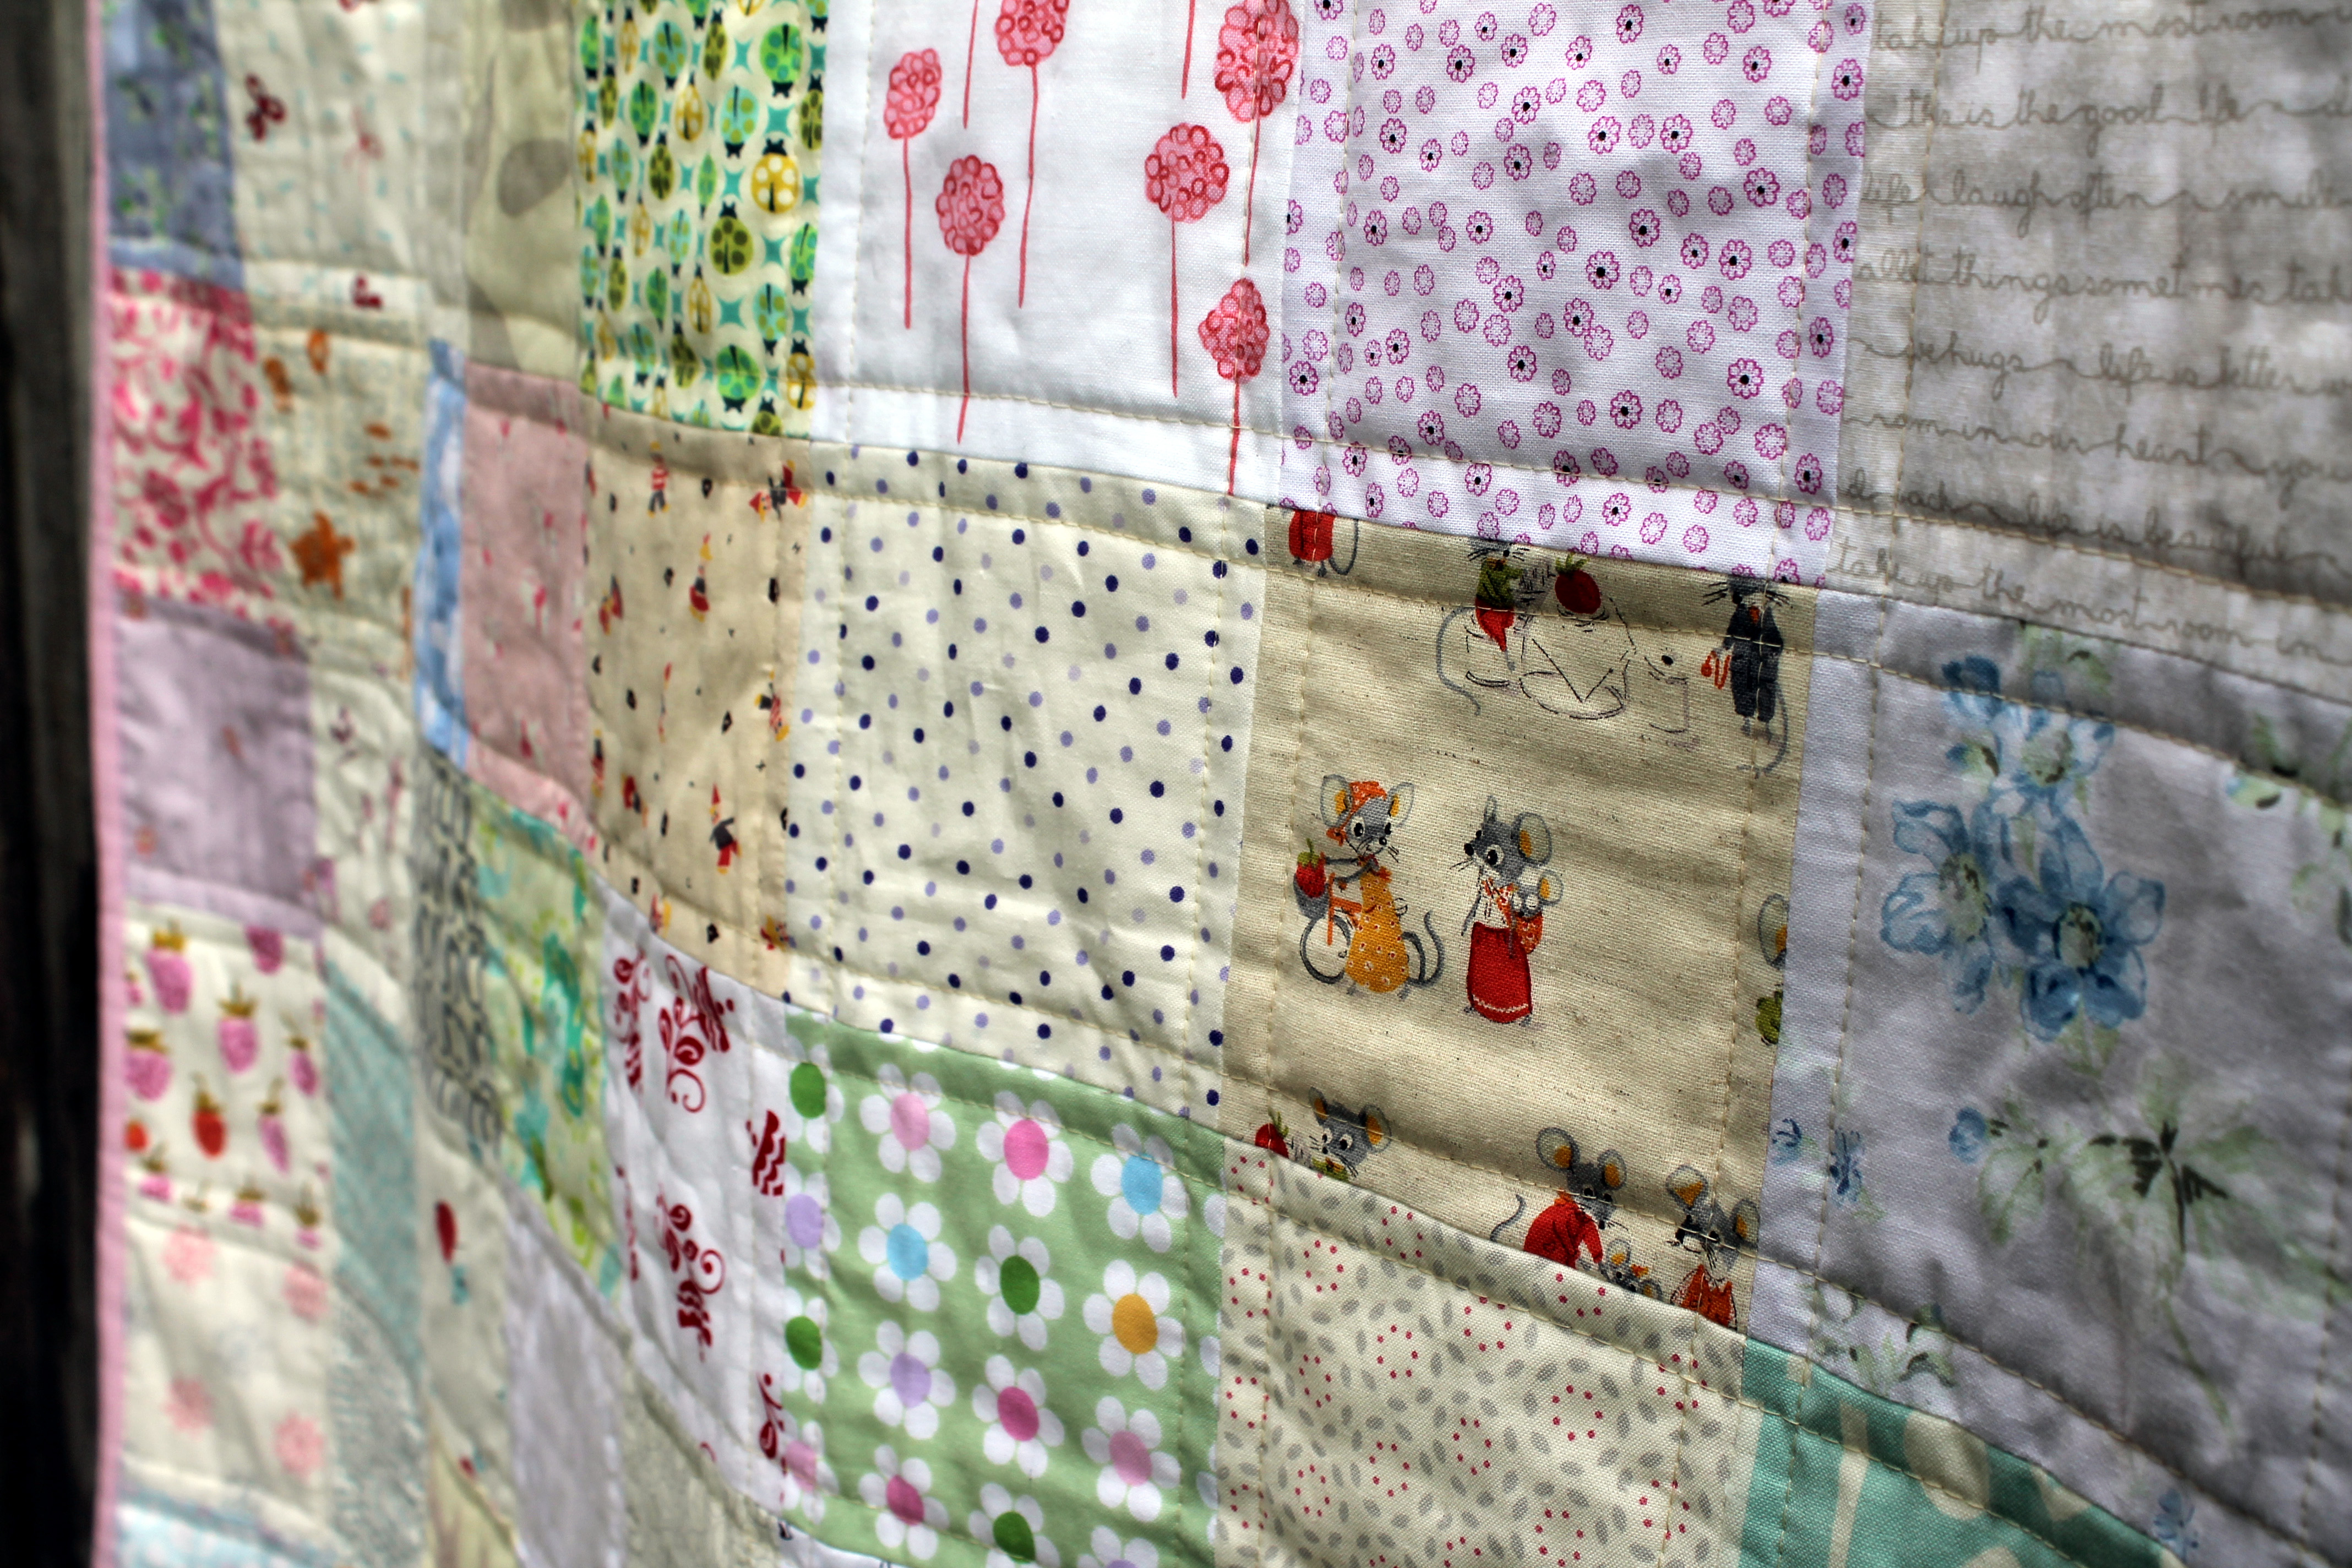
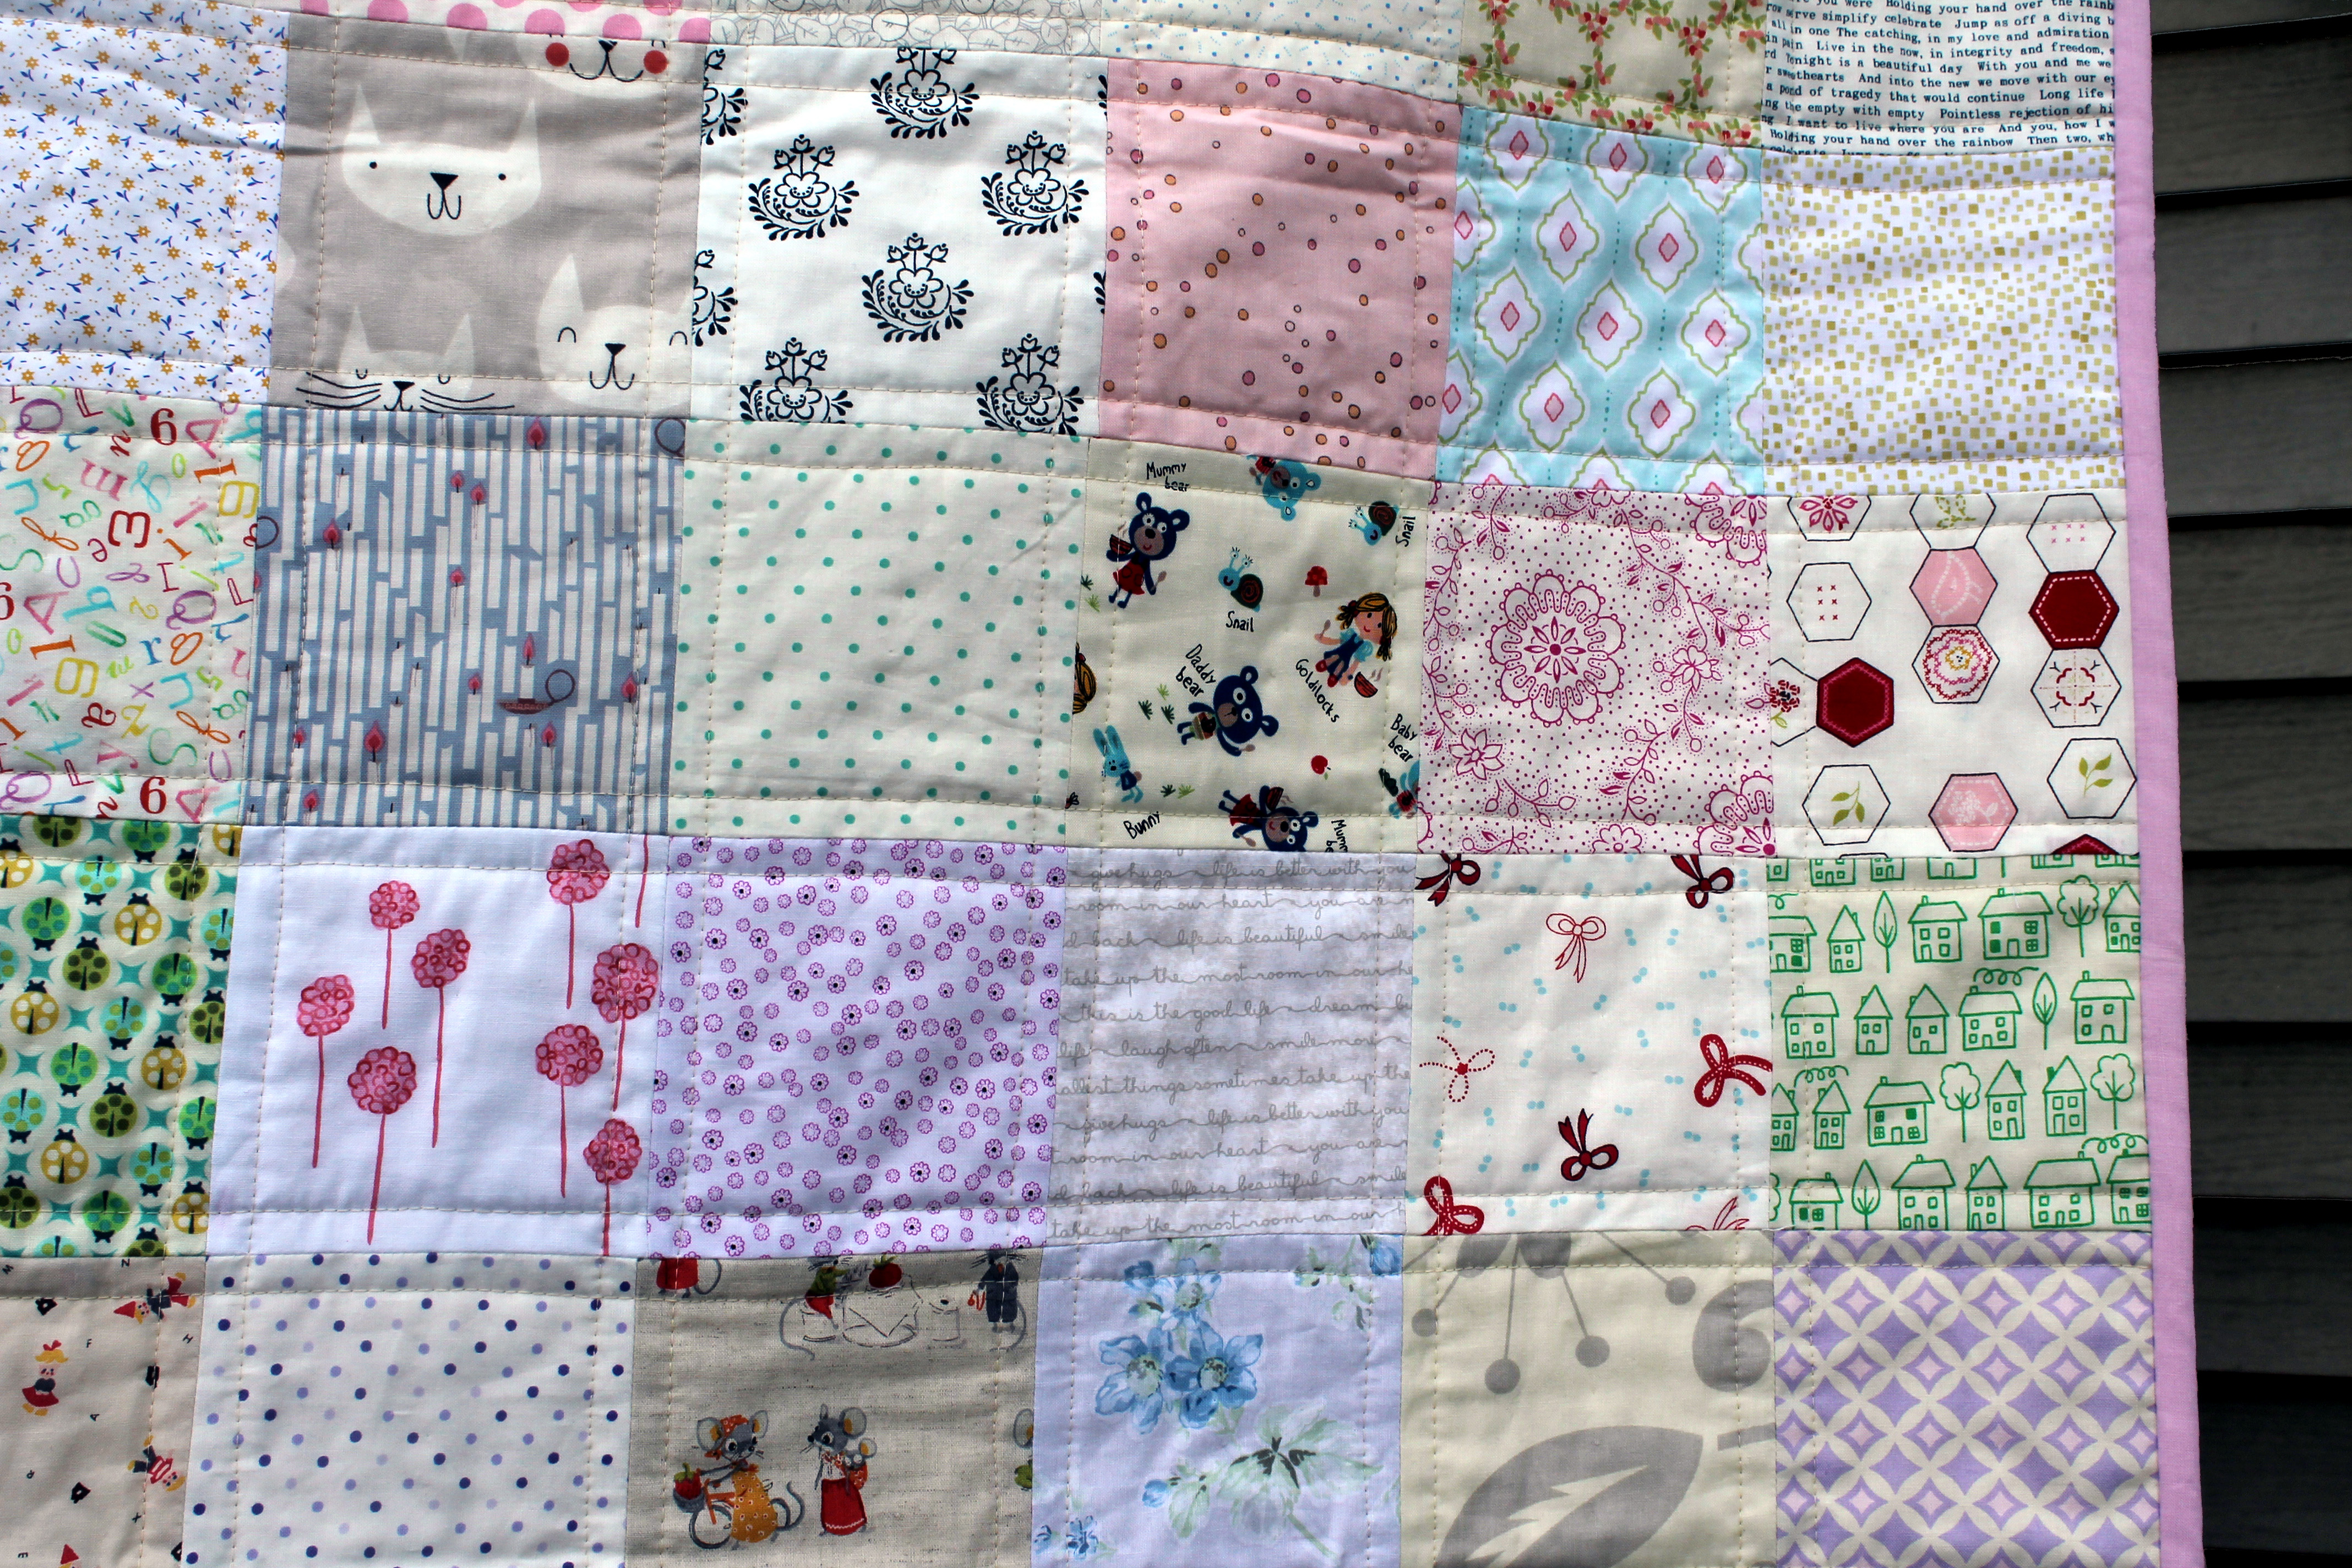
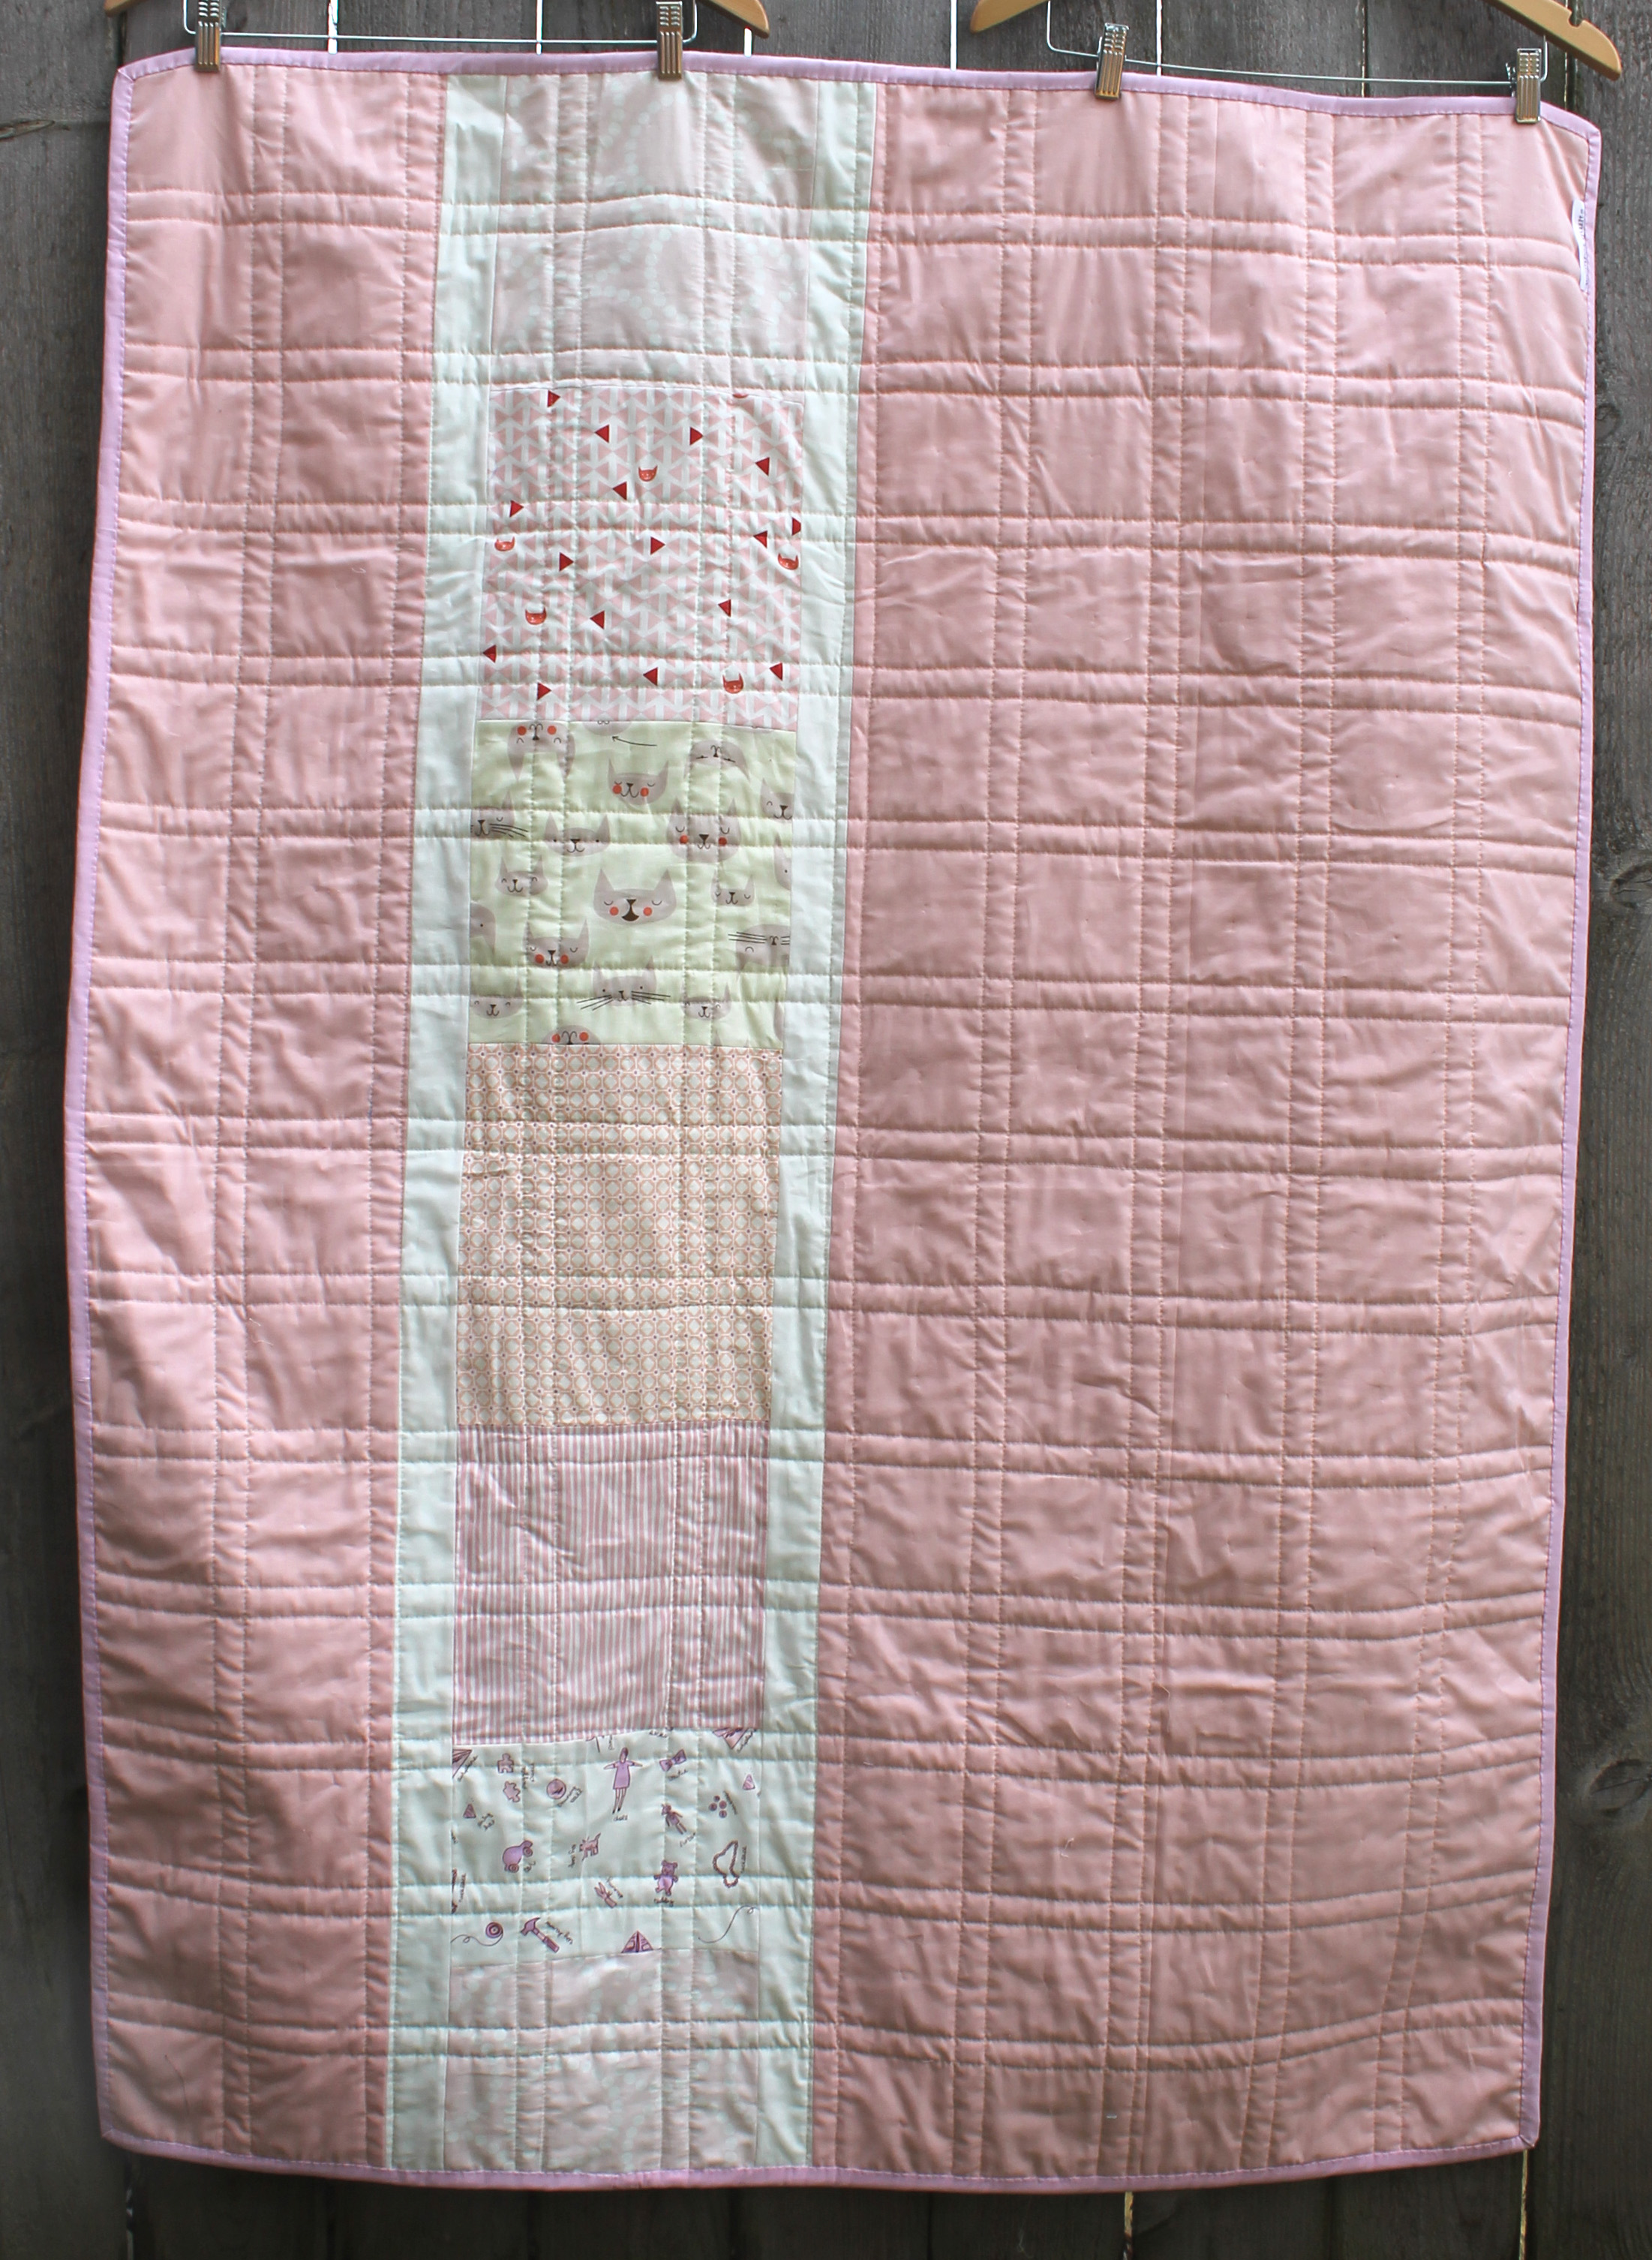
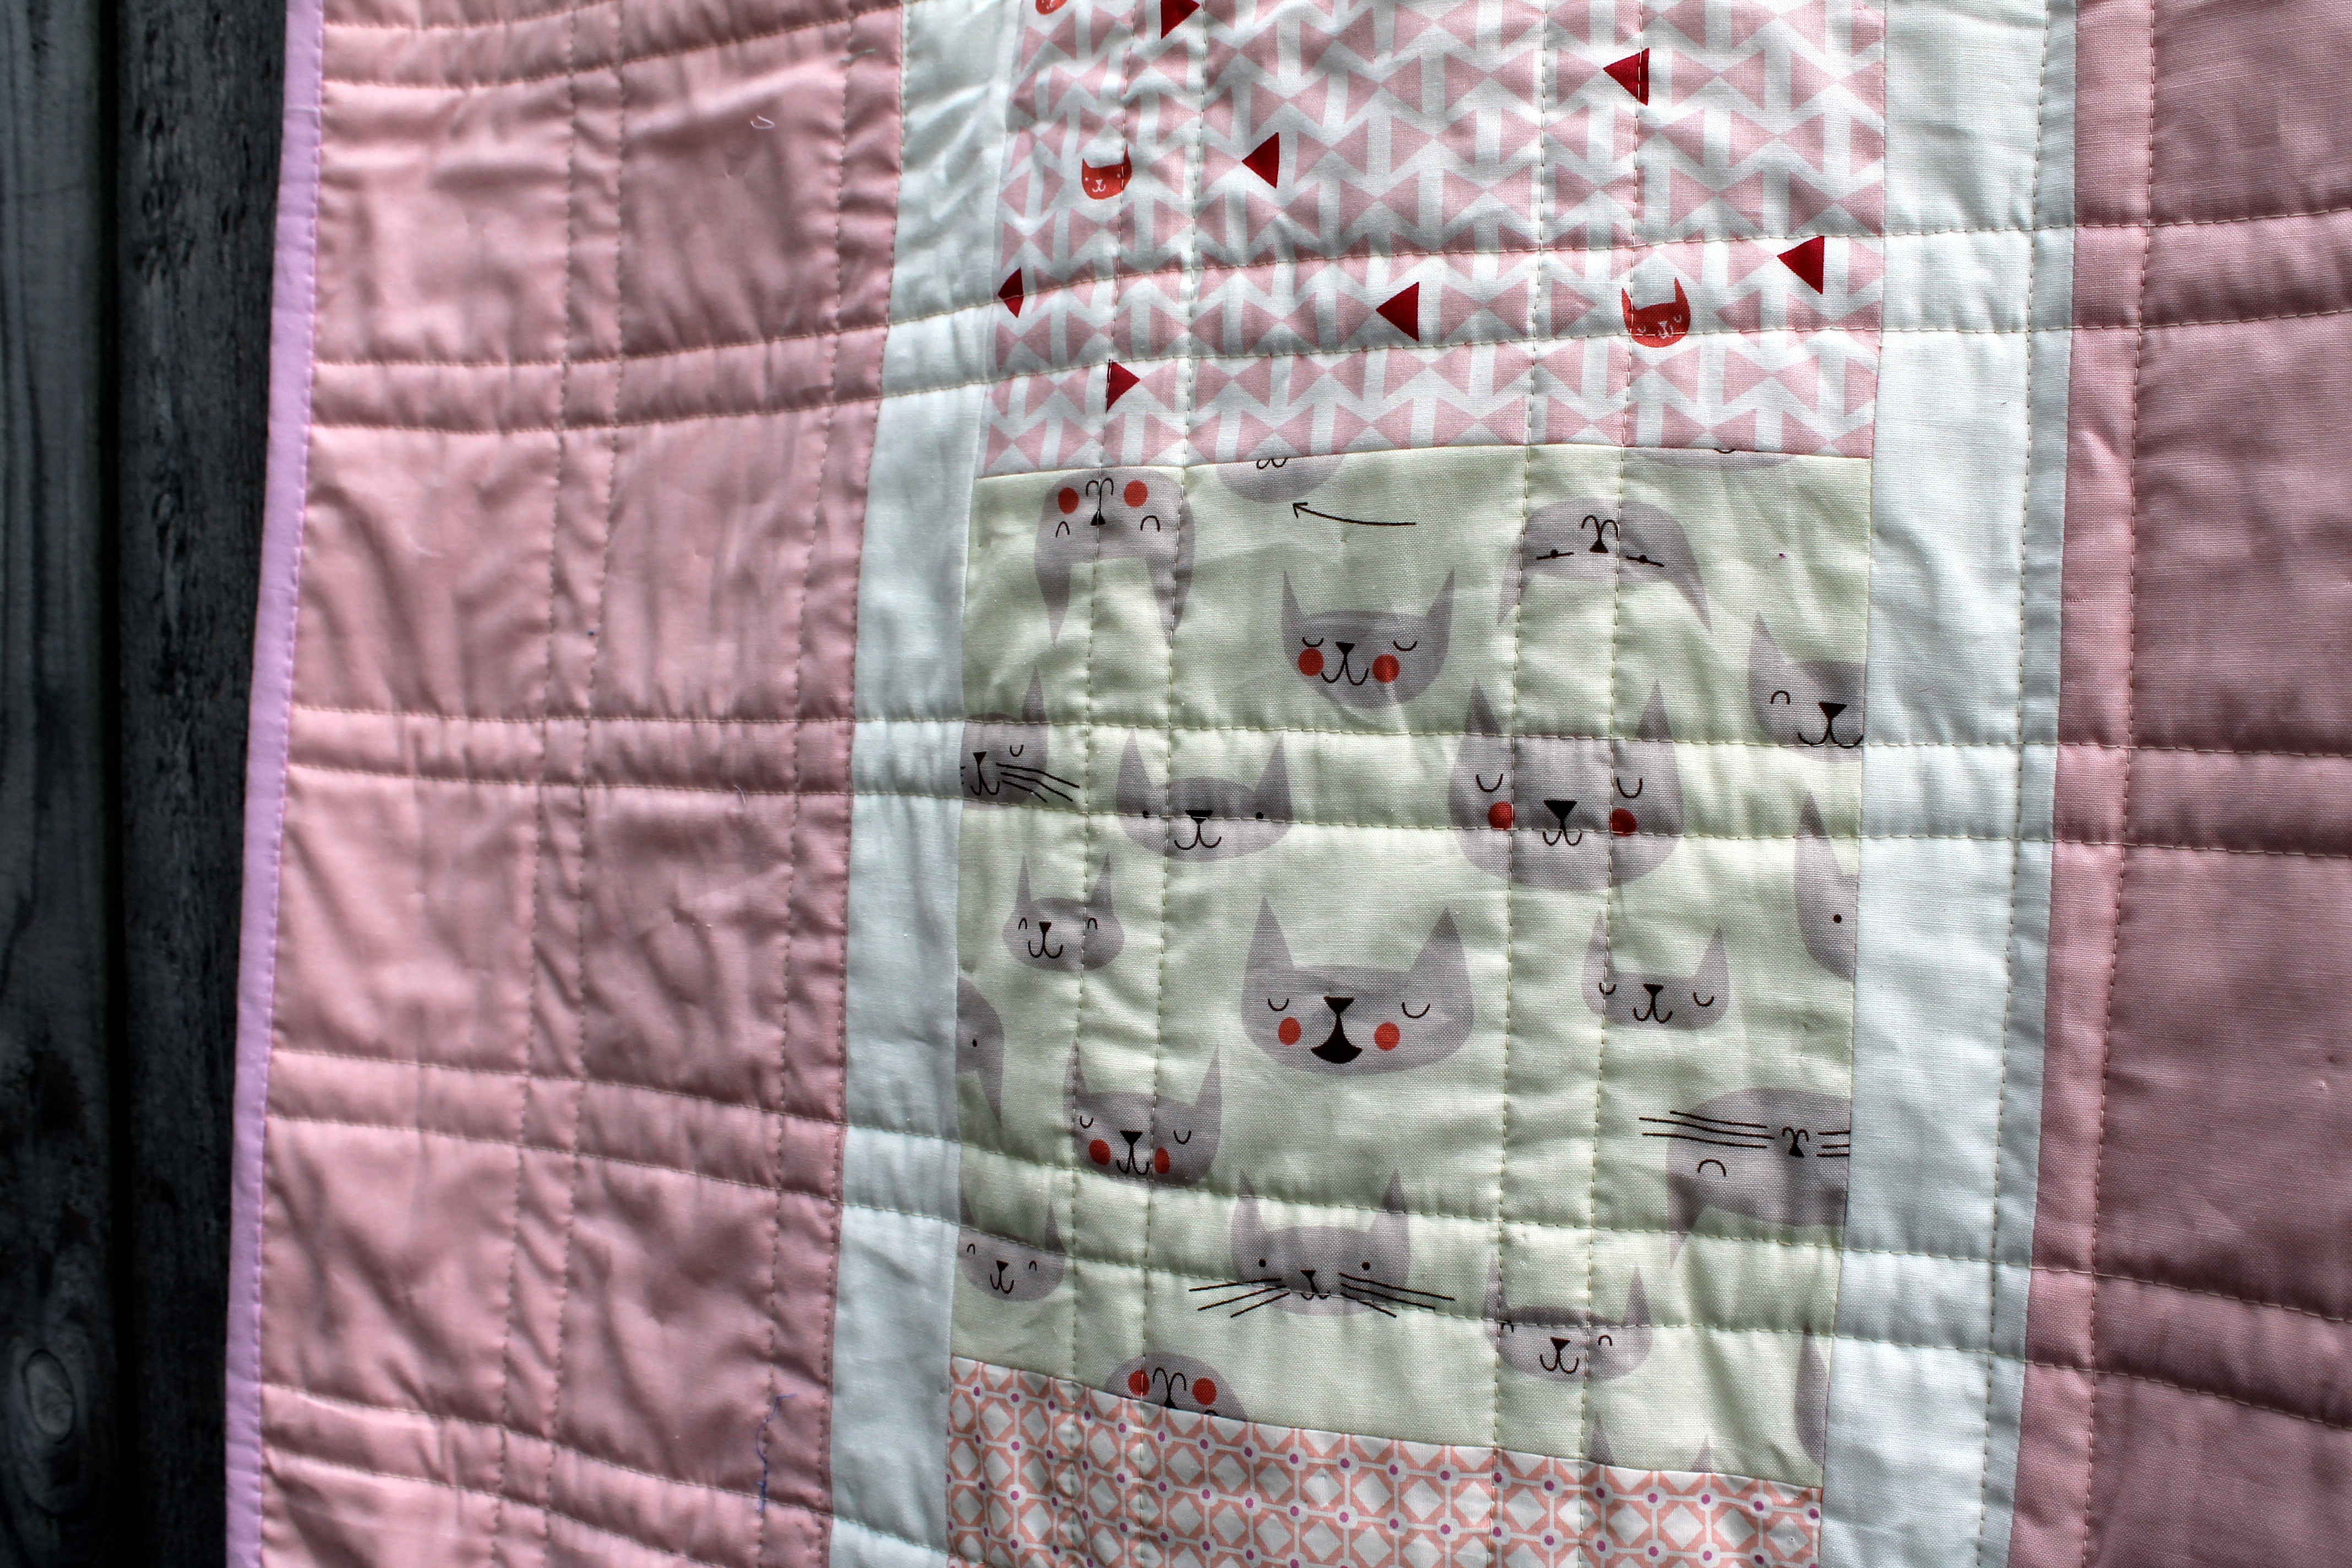
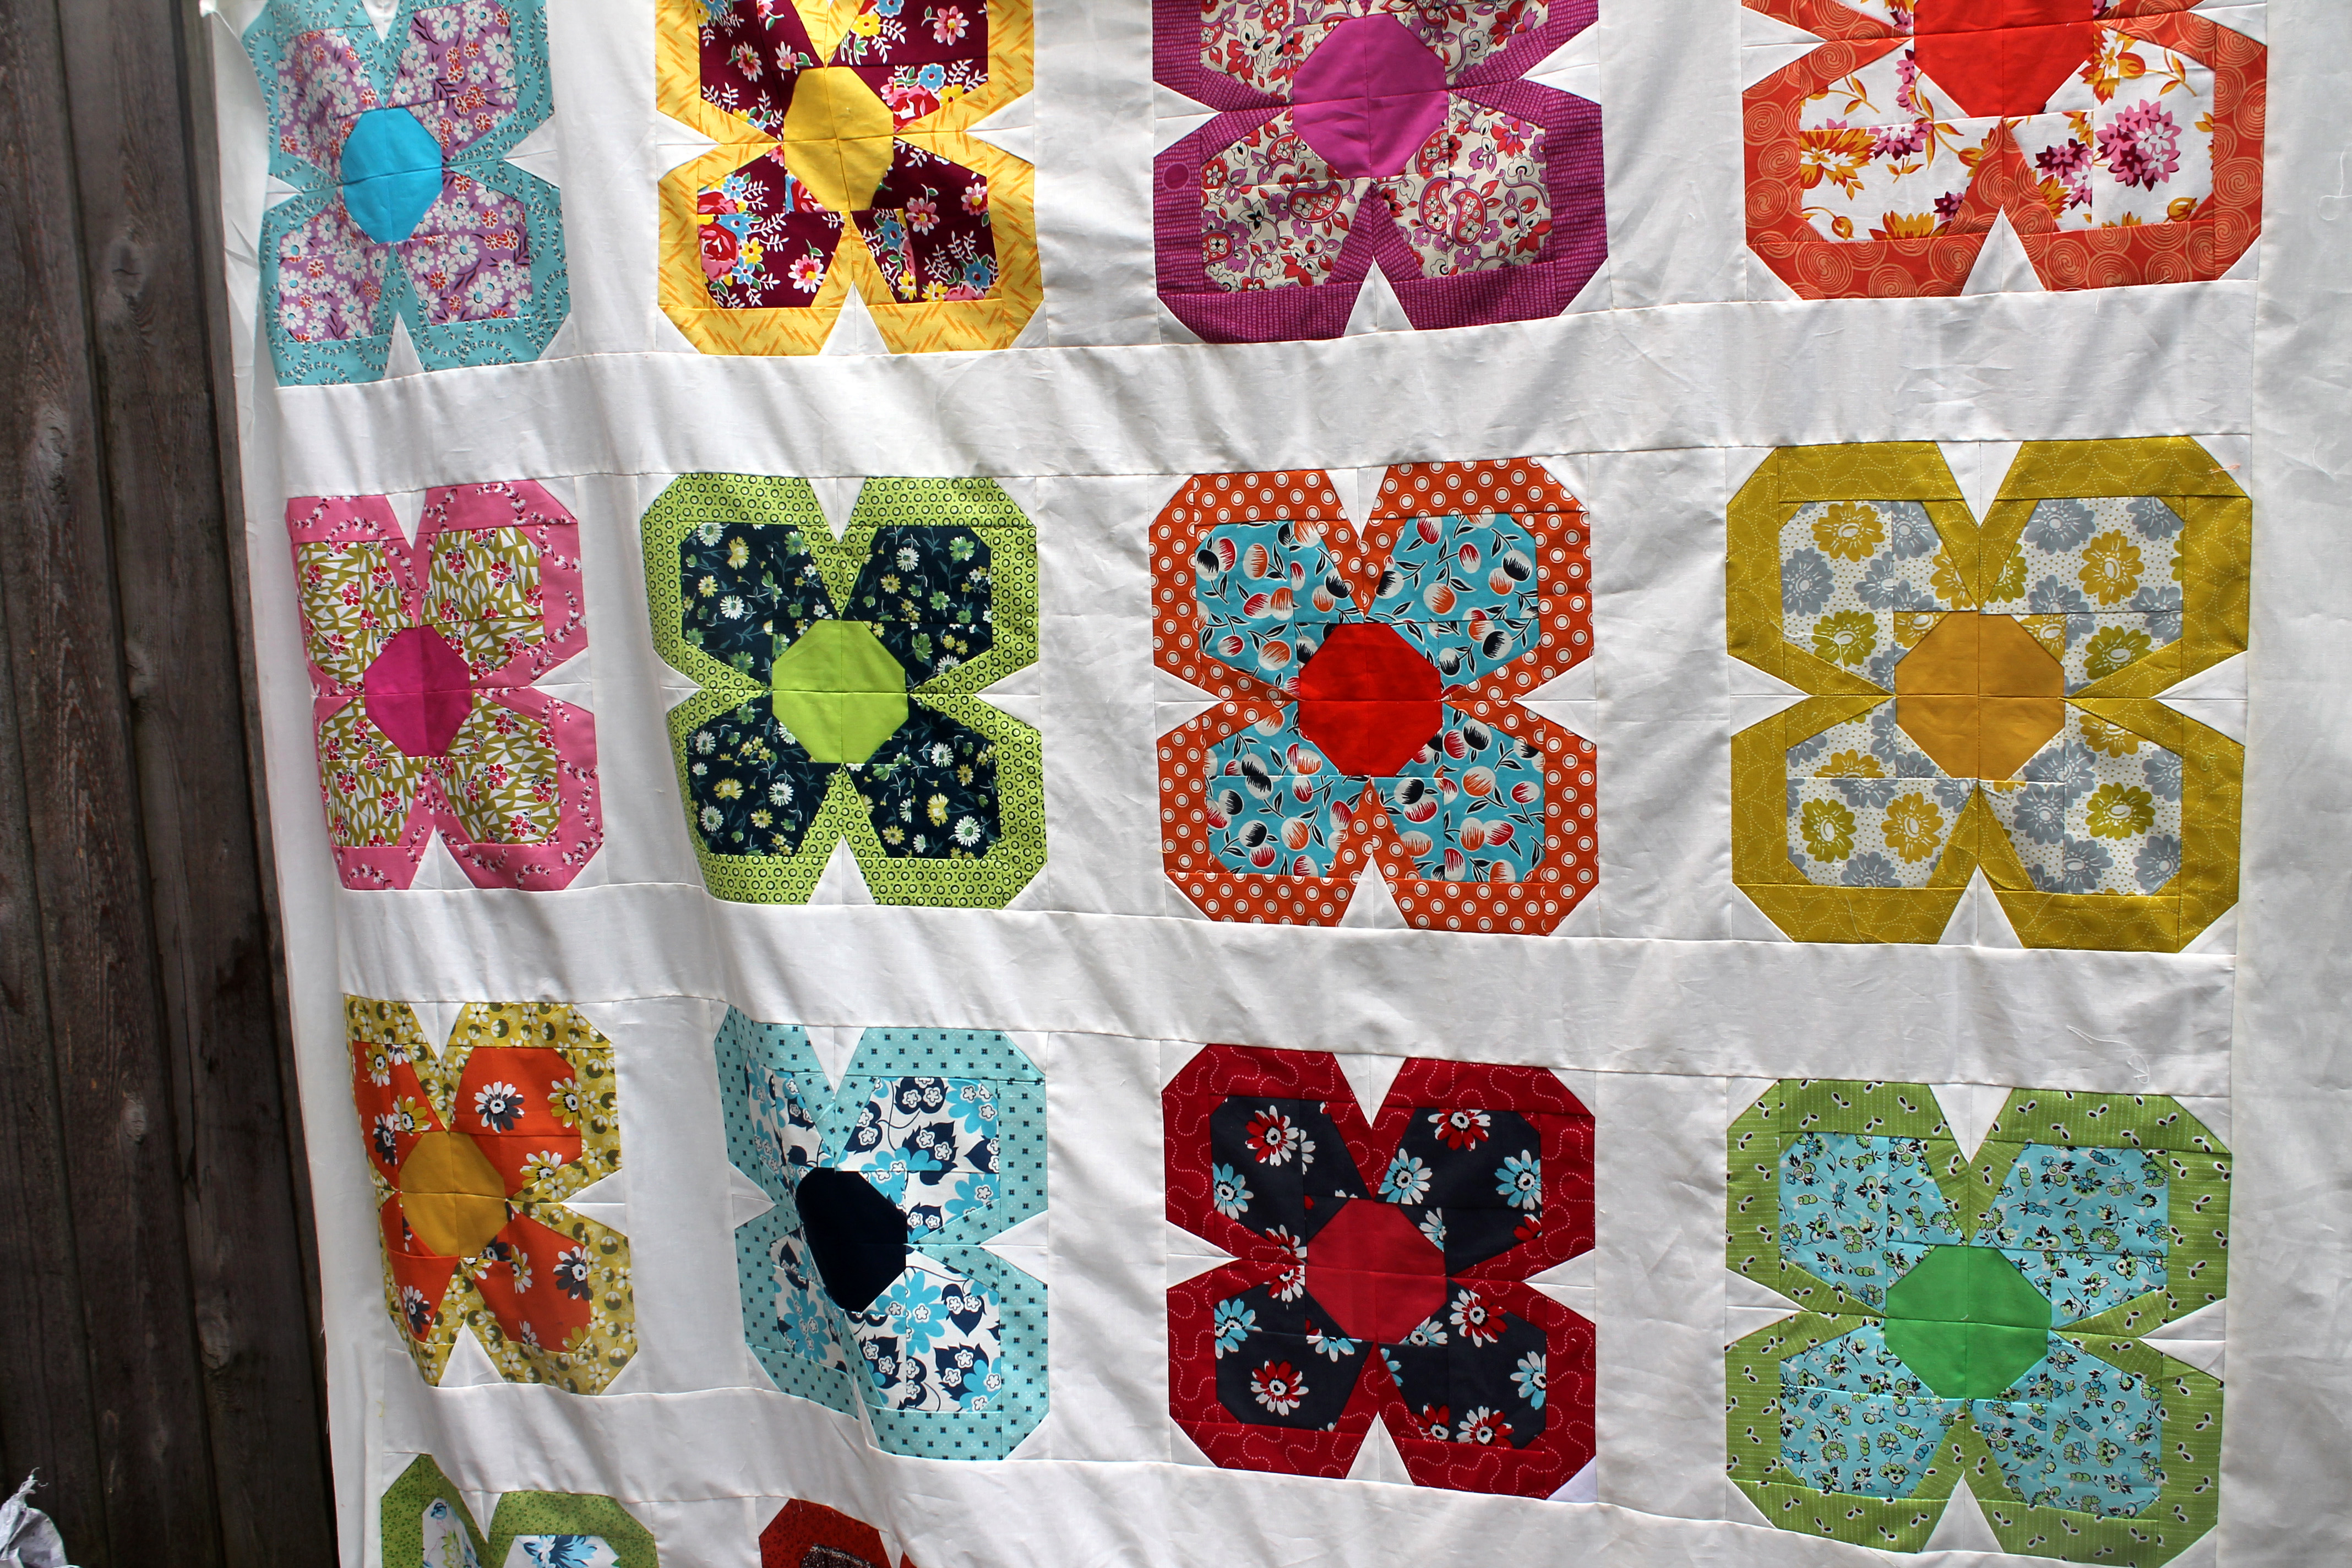
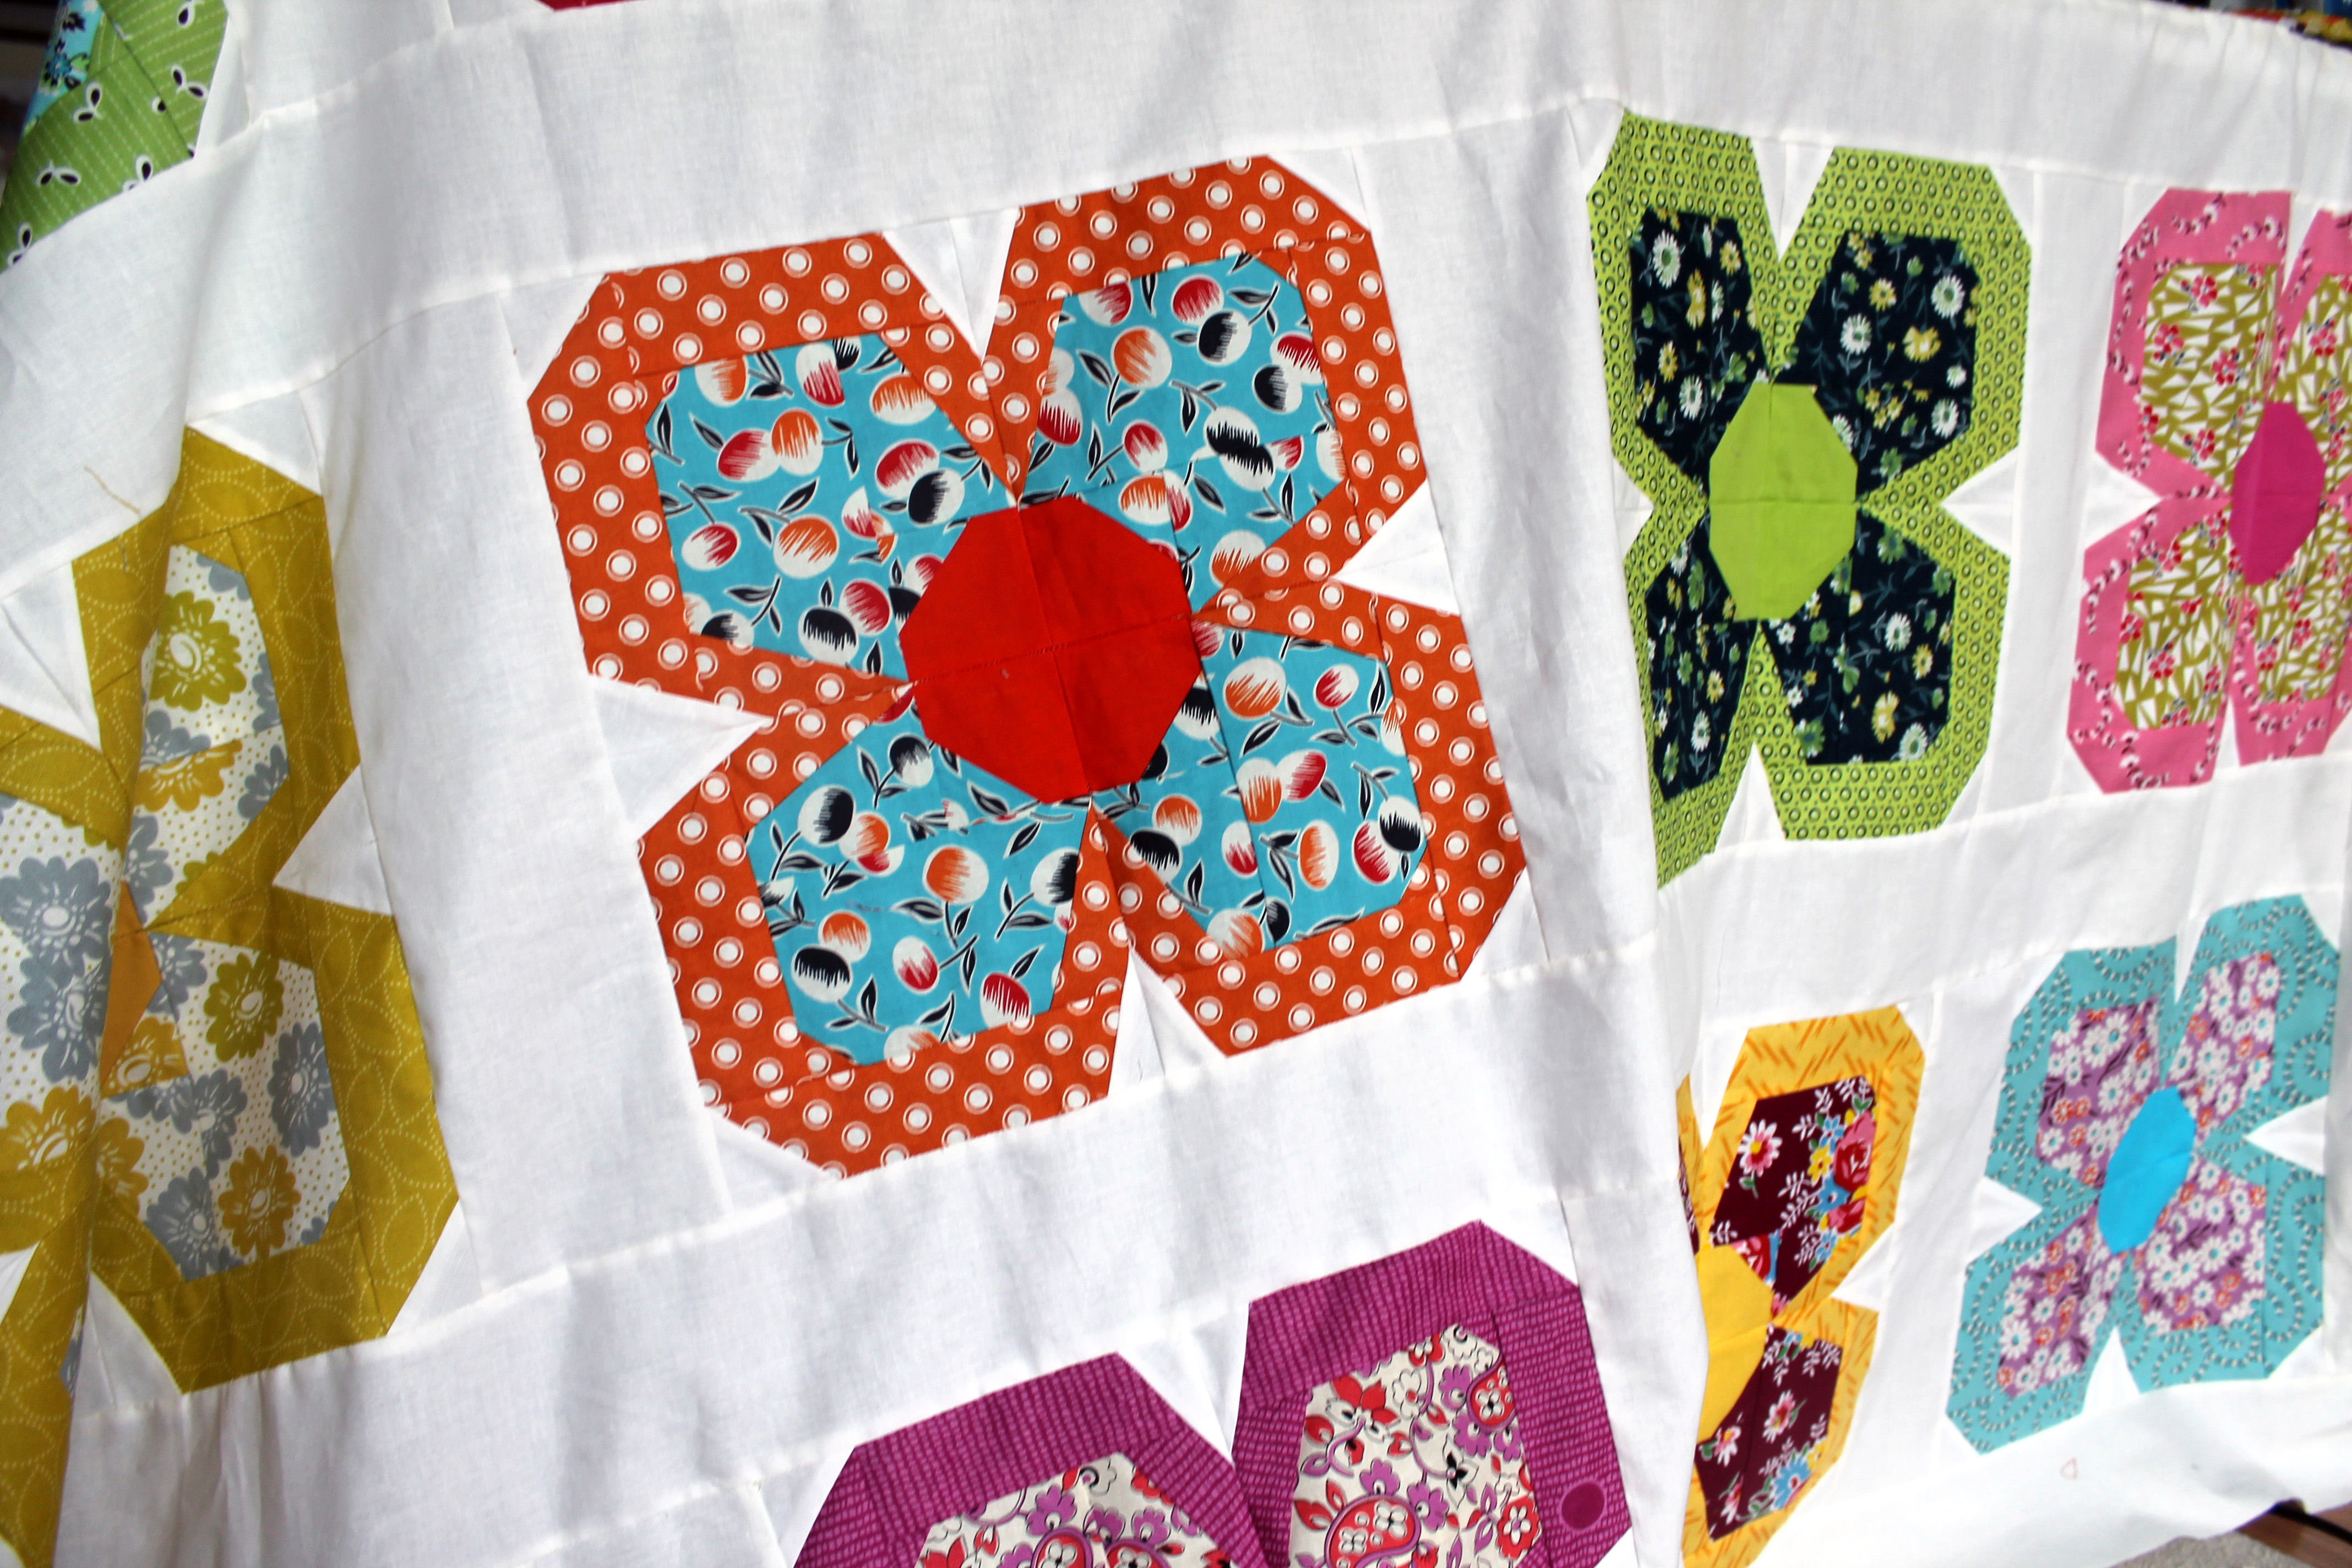
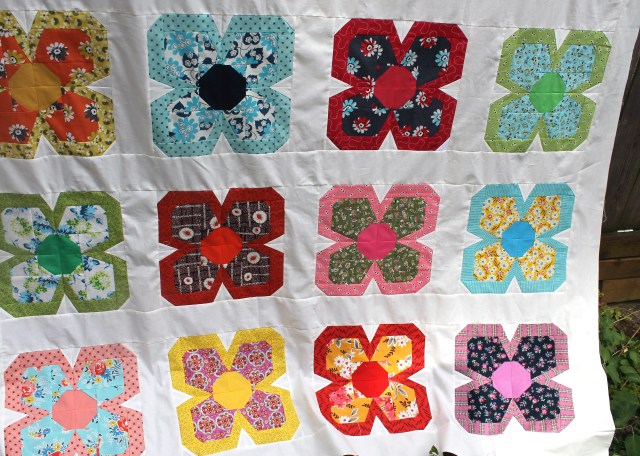
I am pleased to finally share with you my finished circle top…

Finished circle top

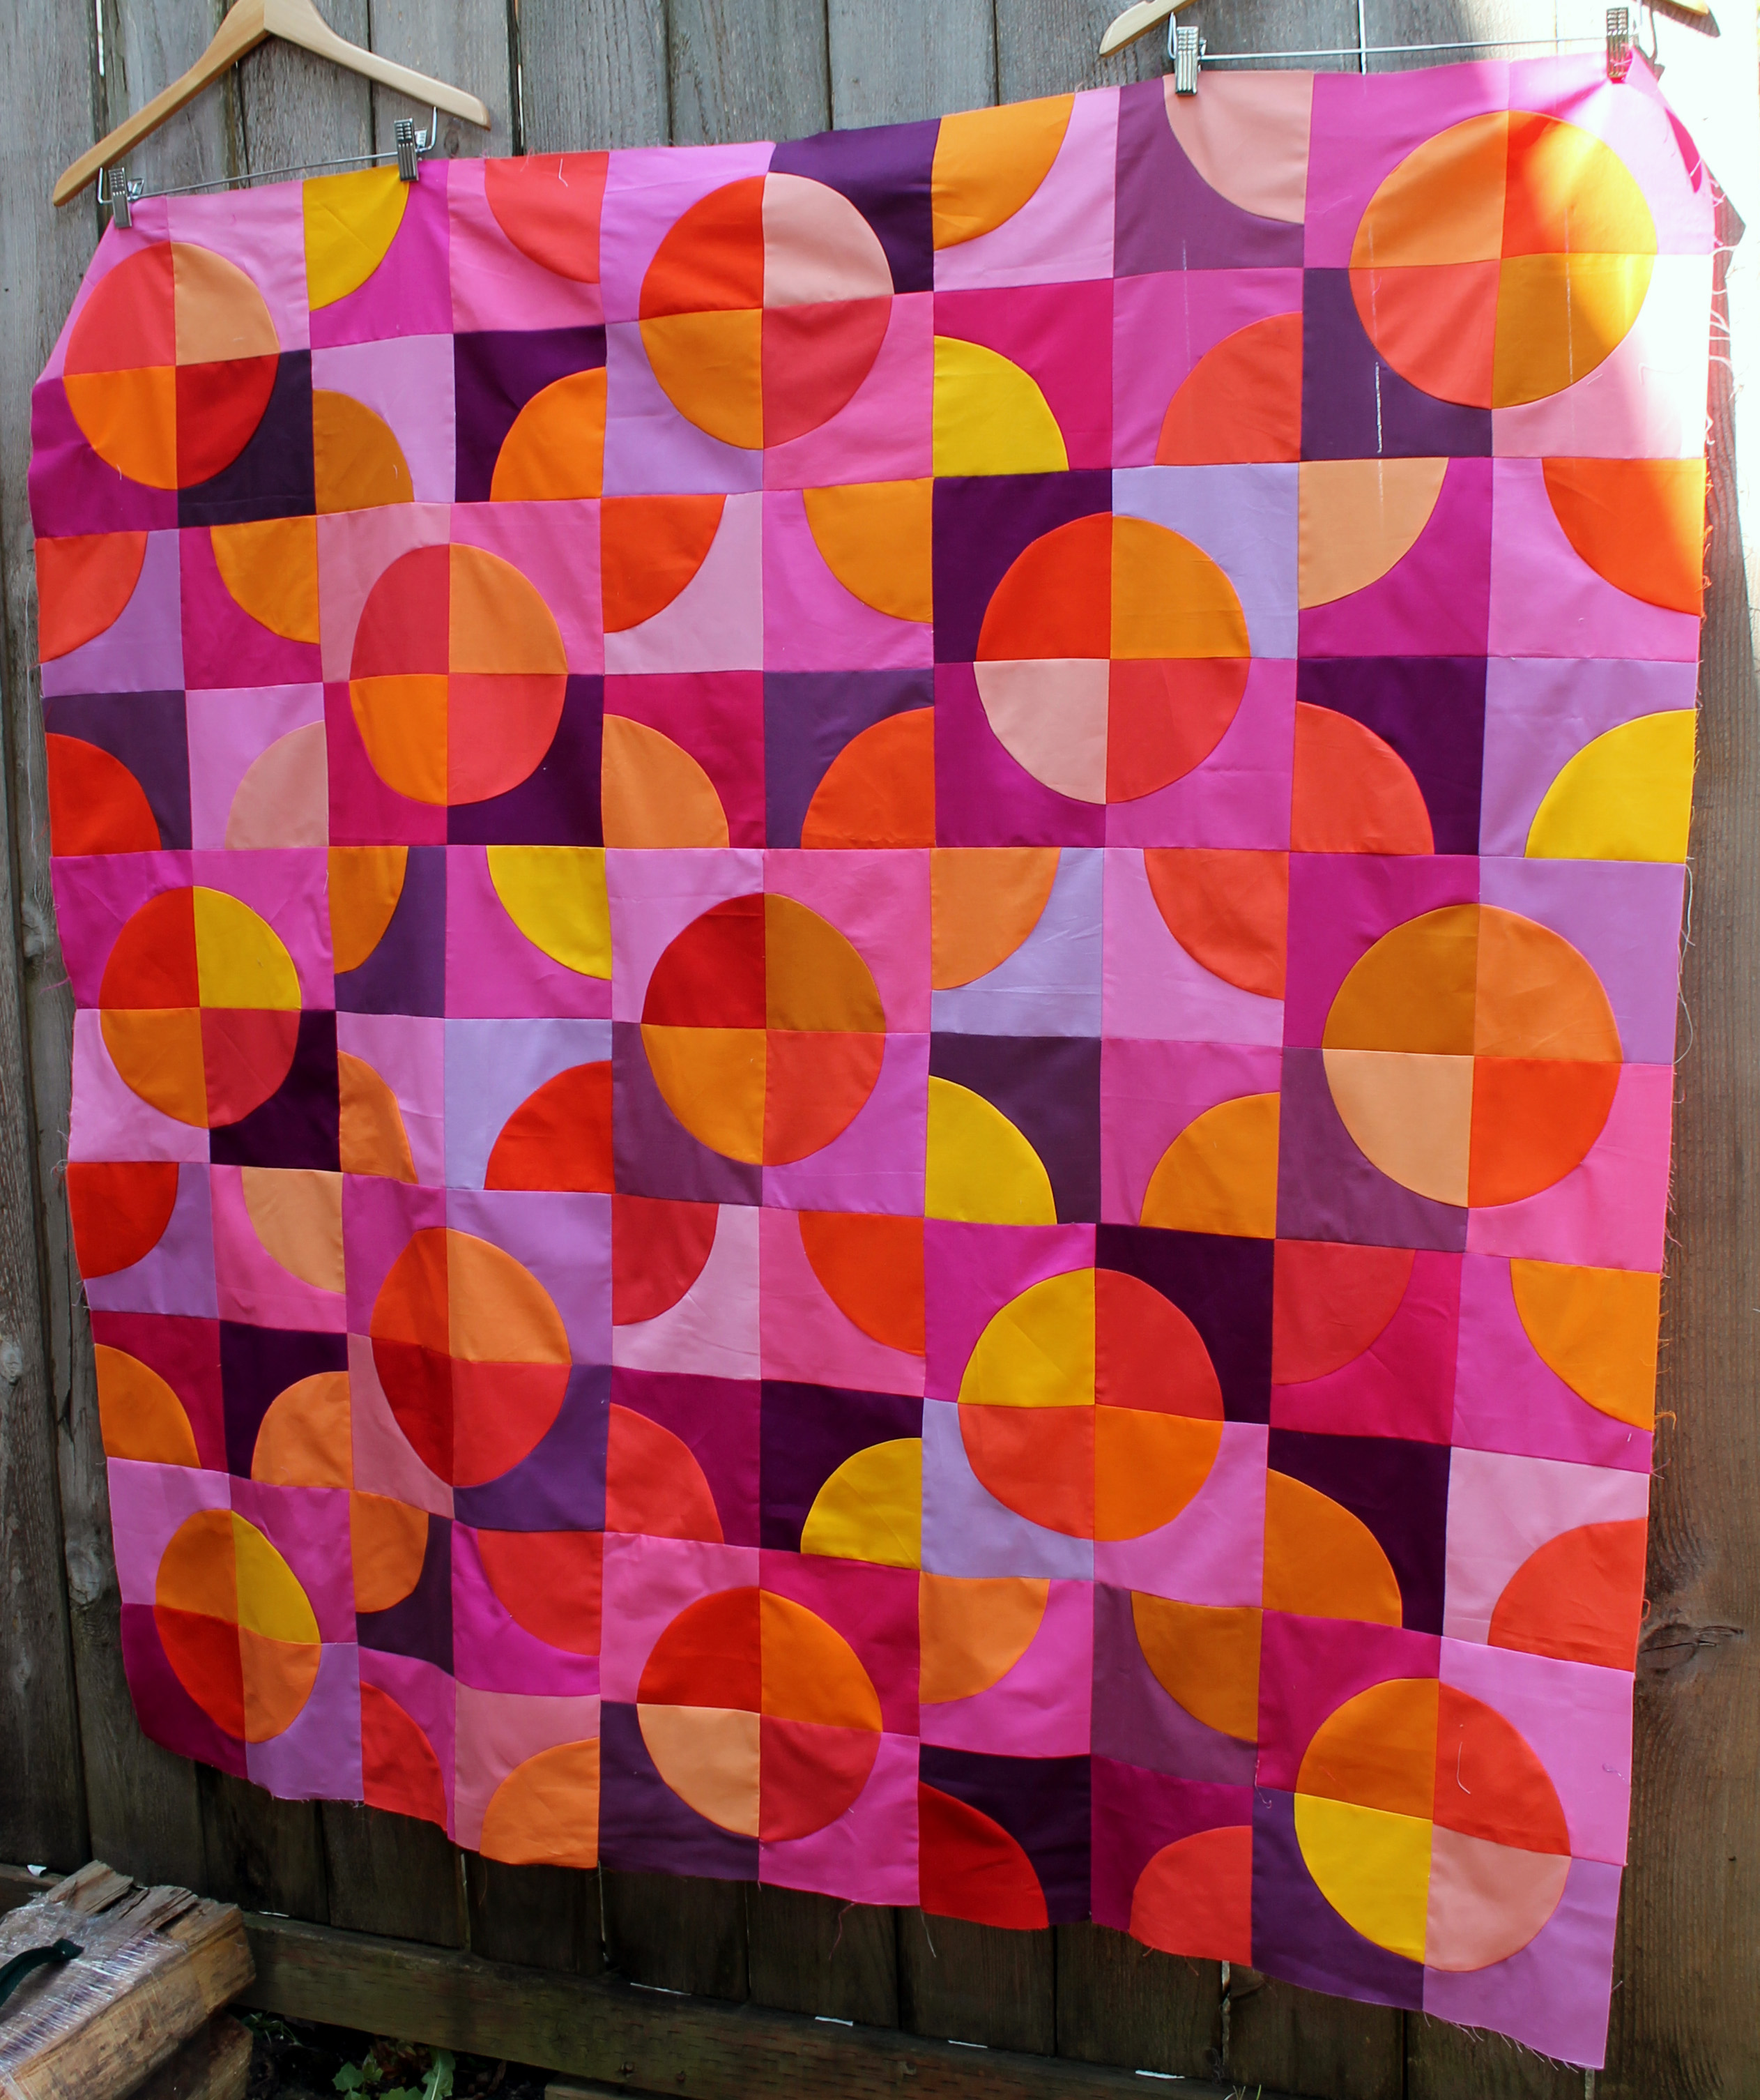
I can not believe how easy this top was to put together and how much fun I had doing it.  After years and years of avoiding curves I am thrilled to be able to add a whole new list of quilts to my “must do” list.

curve top detail

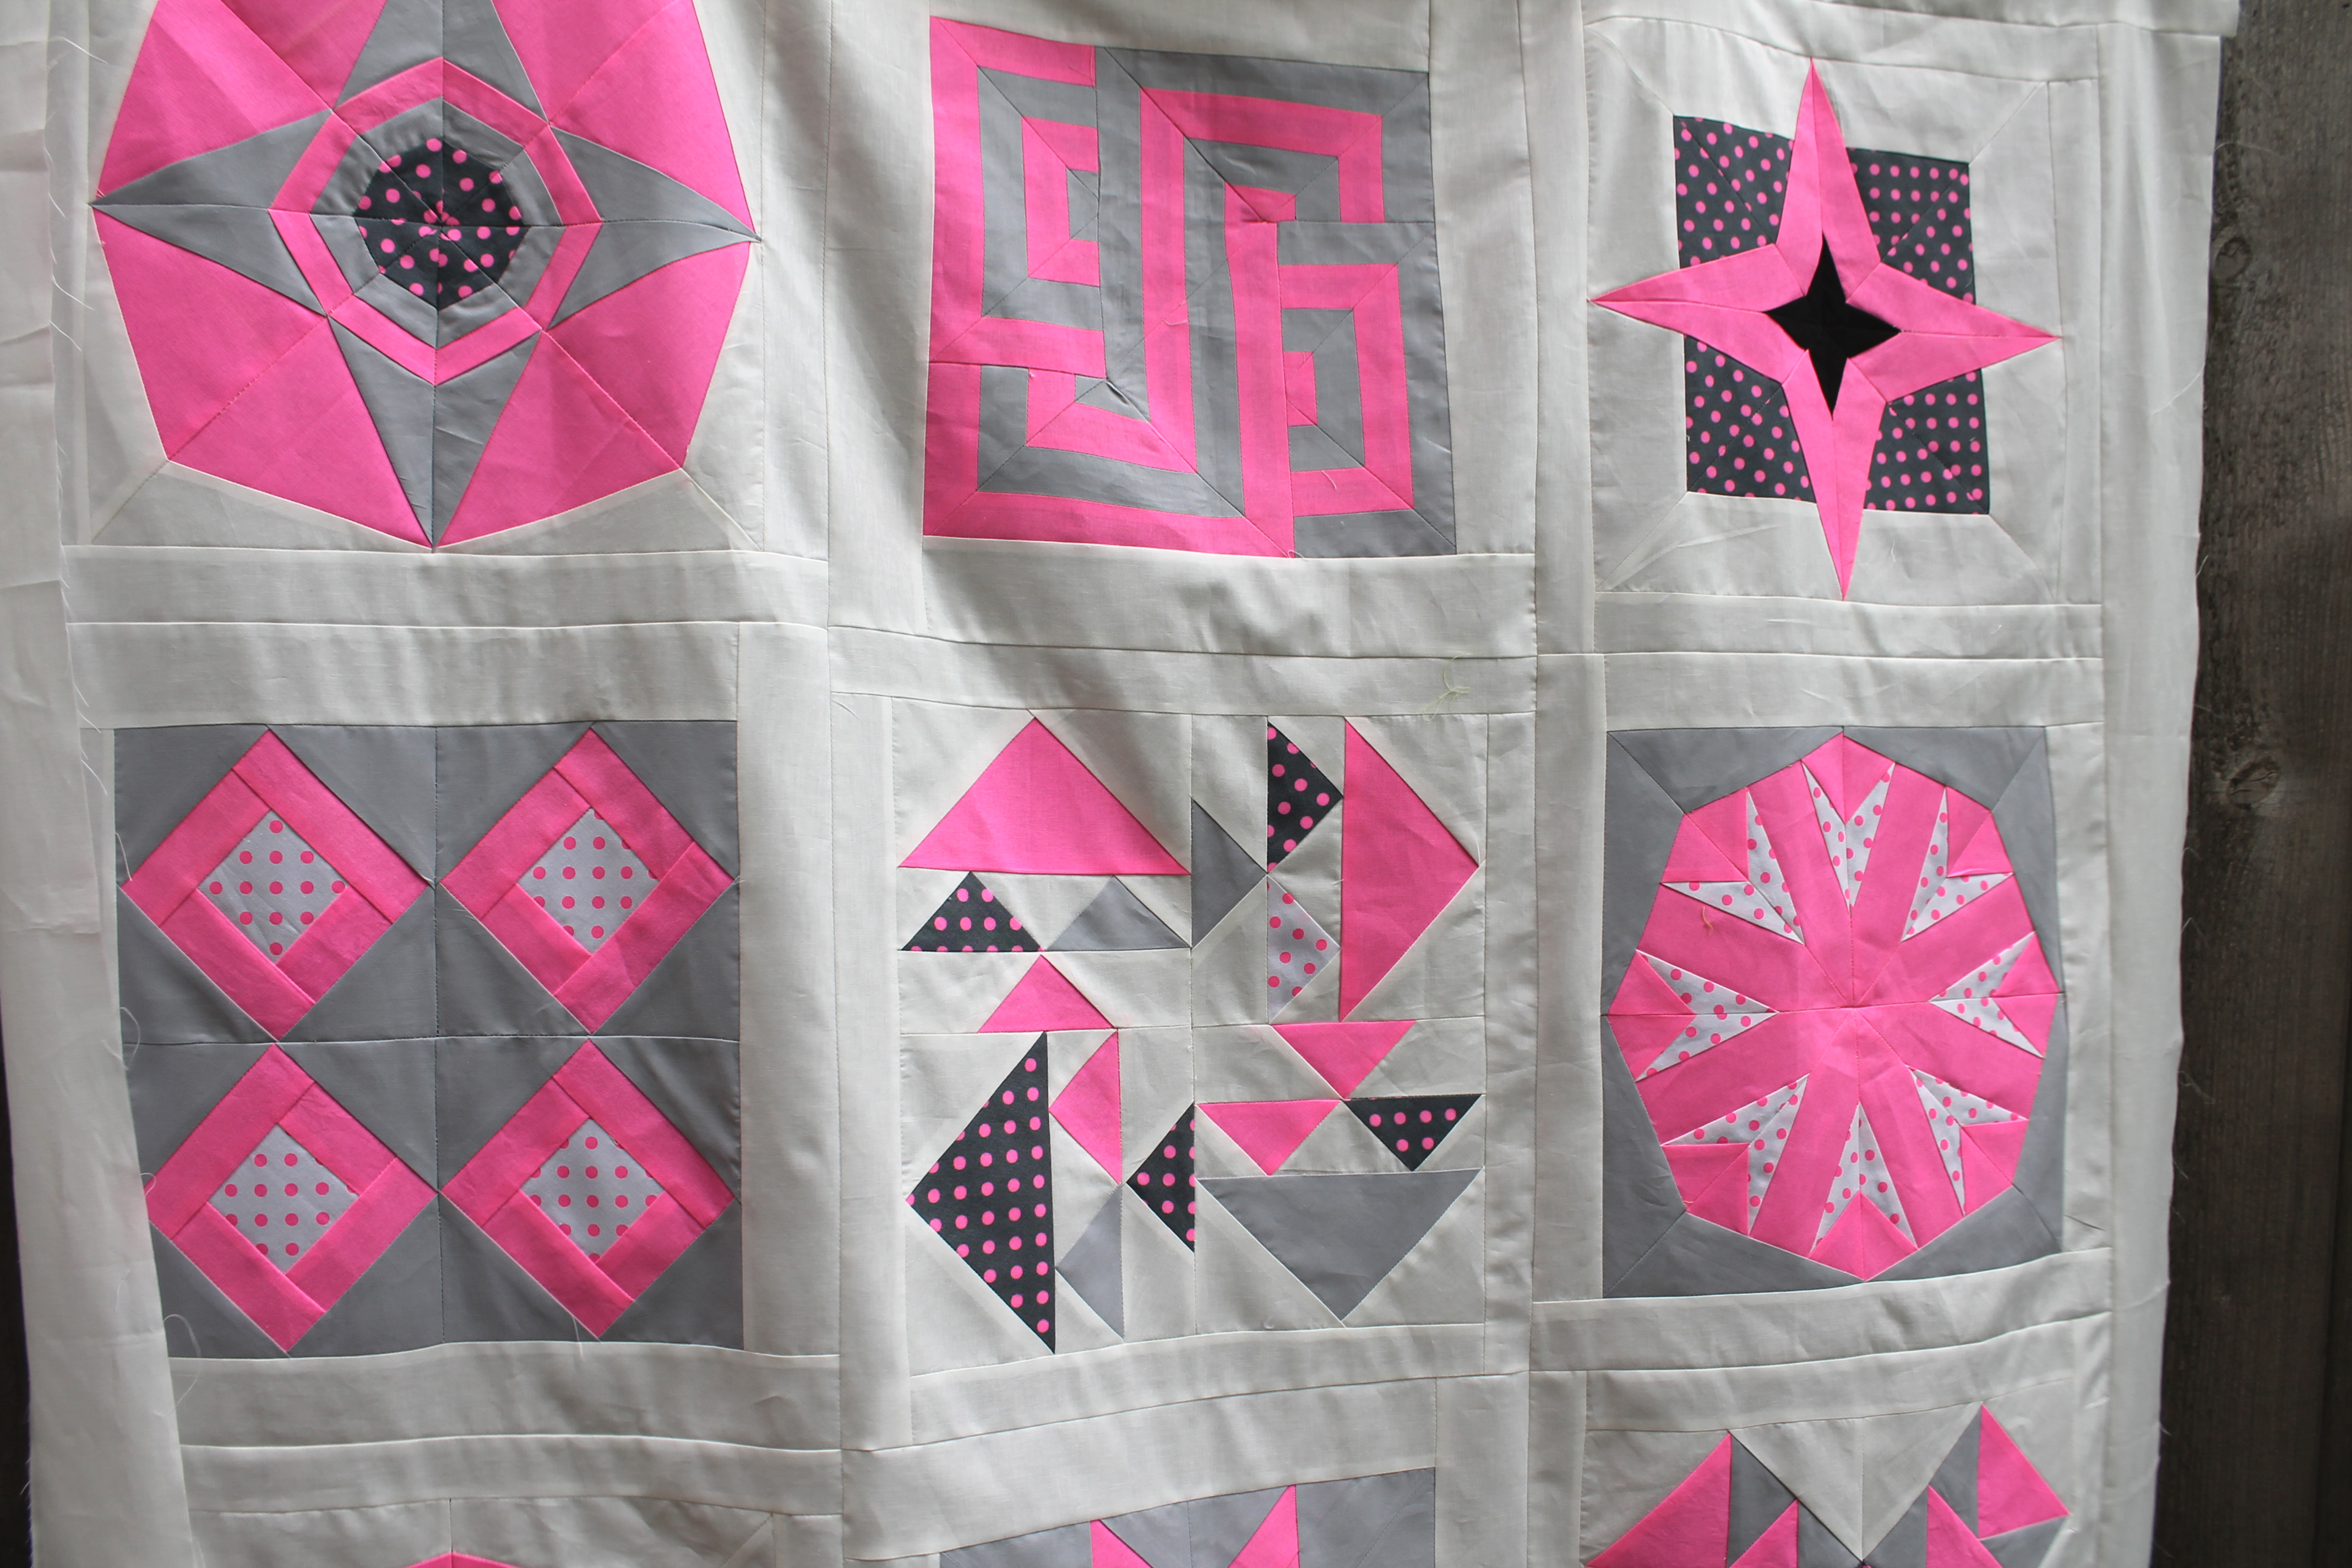
In my original post about this quilt I talked about the two different templates I used to make the curved blocks. There were some of questions about the EZ circle template so I thought I would take the opportunity to talk briefly about that process a little more…

stainglass quilt

For the following example I made a 6 inch Drunkard Path block… so to start I cut out a 5 inch square of my circle fabric and a 6 1/2 inch square of my back ground fabric.

To cut the circle out I aligned my 5 inch square to the bottom line of the ruler marked “Fabric fold line” and to the middle arrows of the ruler.

EZ align
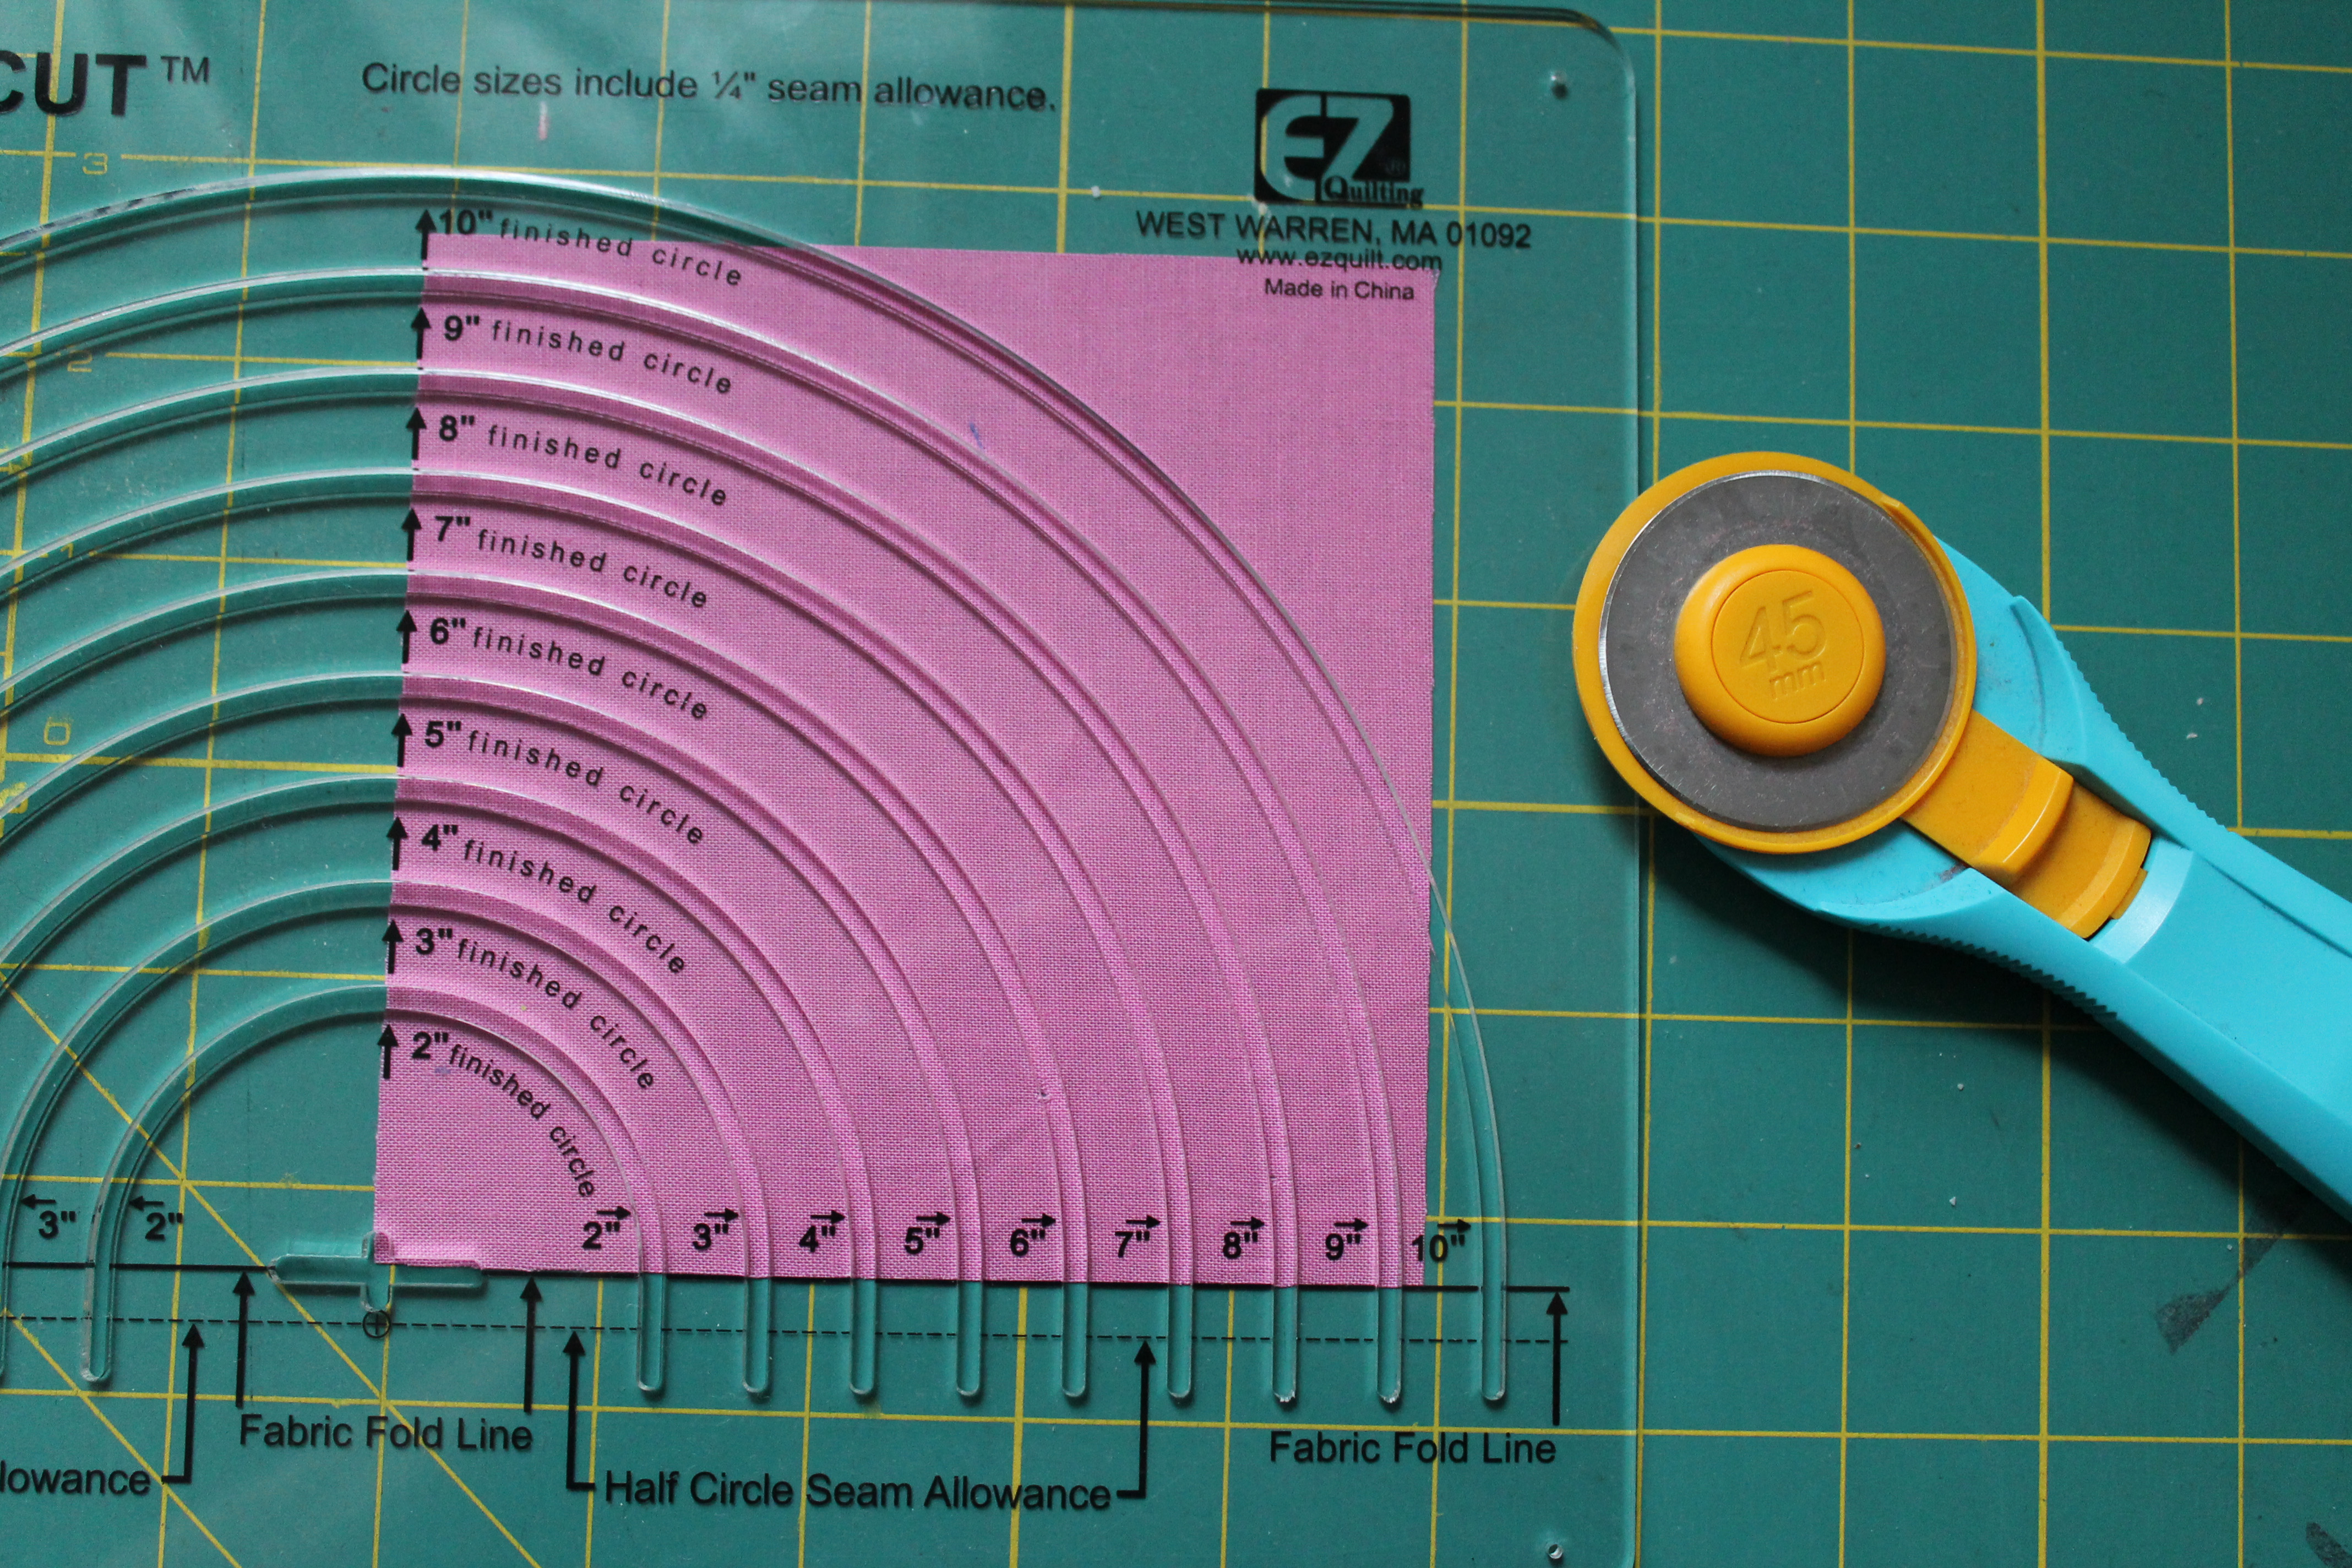
I then ran my rotary cutter along the inside of the “8” finished circle” grove.  If you want to make a complete square with this ruler you cut a 10 inch square of fabric and fold it in half length wise and width wise so you end up with a 5 inch square of folded material.  You follow the above steps, making sure that the folded sides of the material align with the “fabric fold line” marks on the ruler.

EZ circle cut
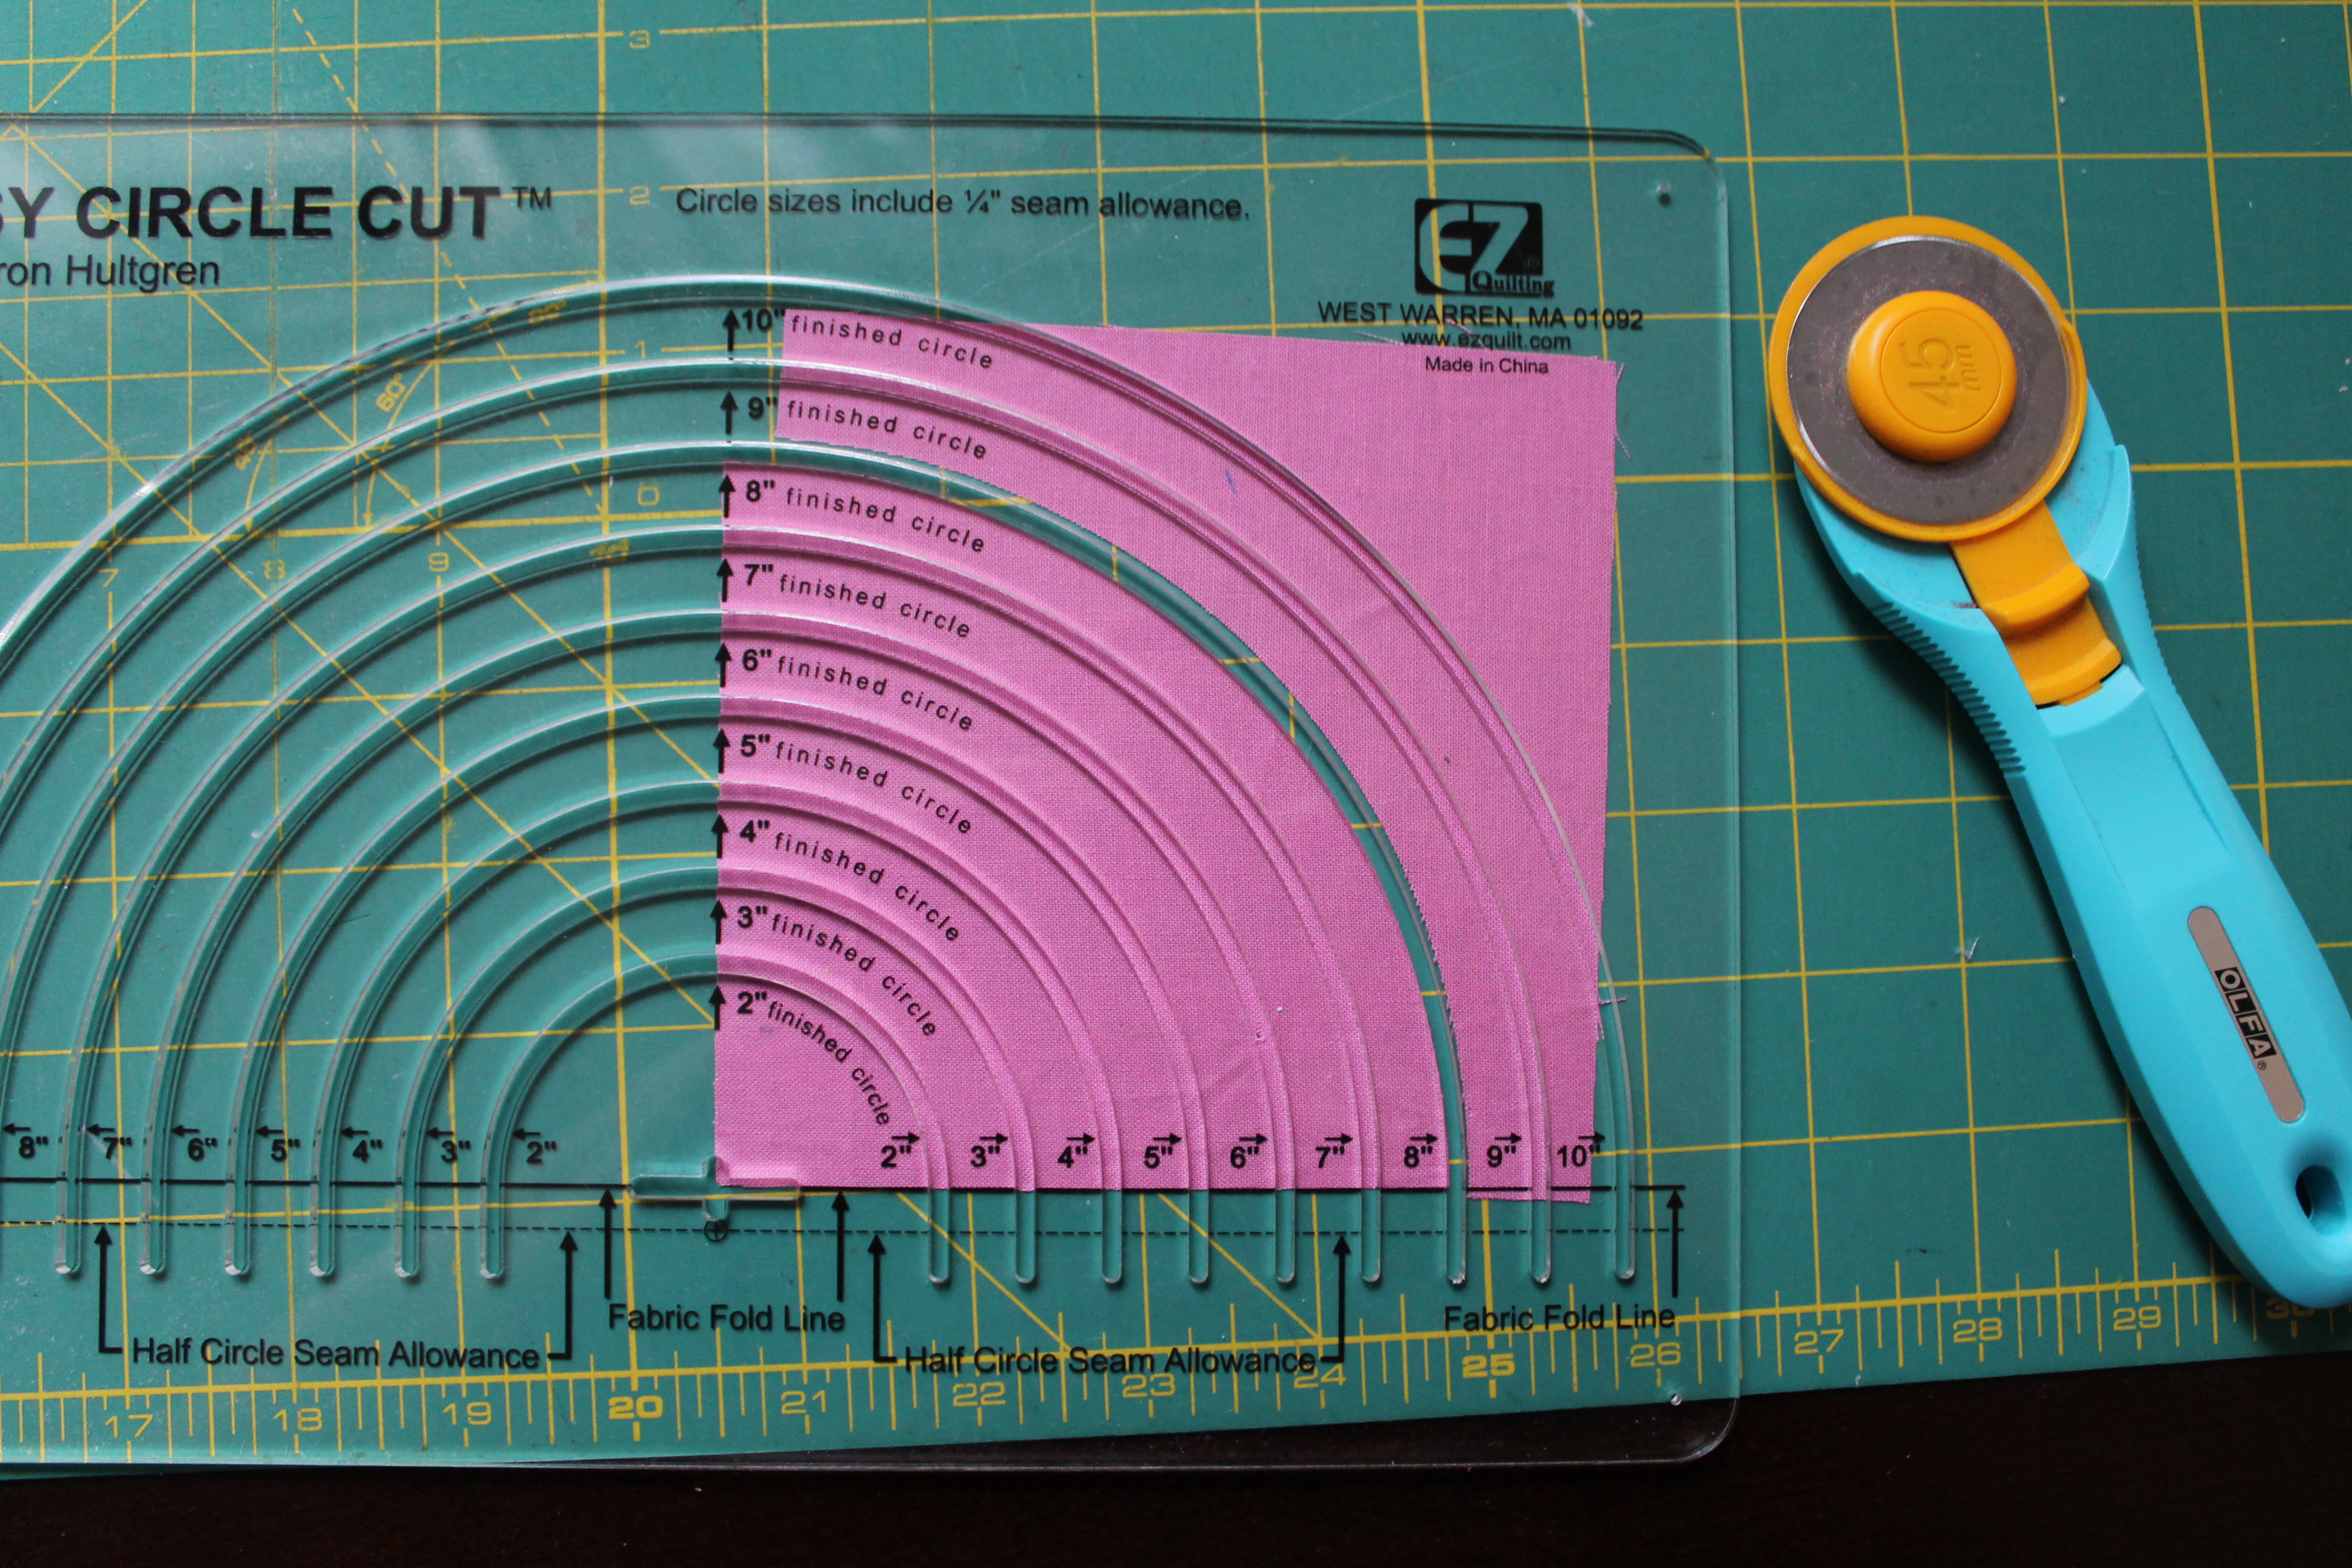
You now have your inner curve… so onto your outer piece.  For this piece I choose to cut a 6 1/2 inch square but you this ruler gives you some great creative choices here.  If you want less background in your block you could go down to a 5 1/2 inch square or if you wanted more back ground you can increase your back ground square as you want.

EZ background cut
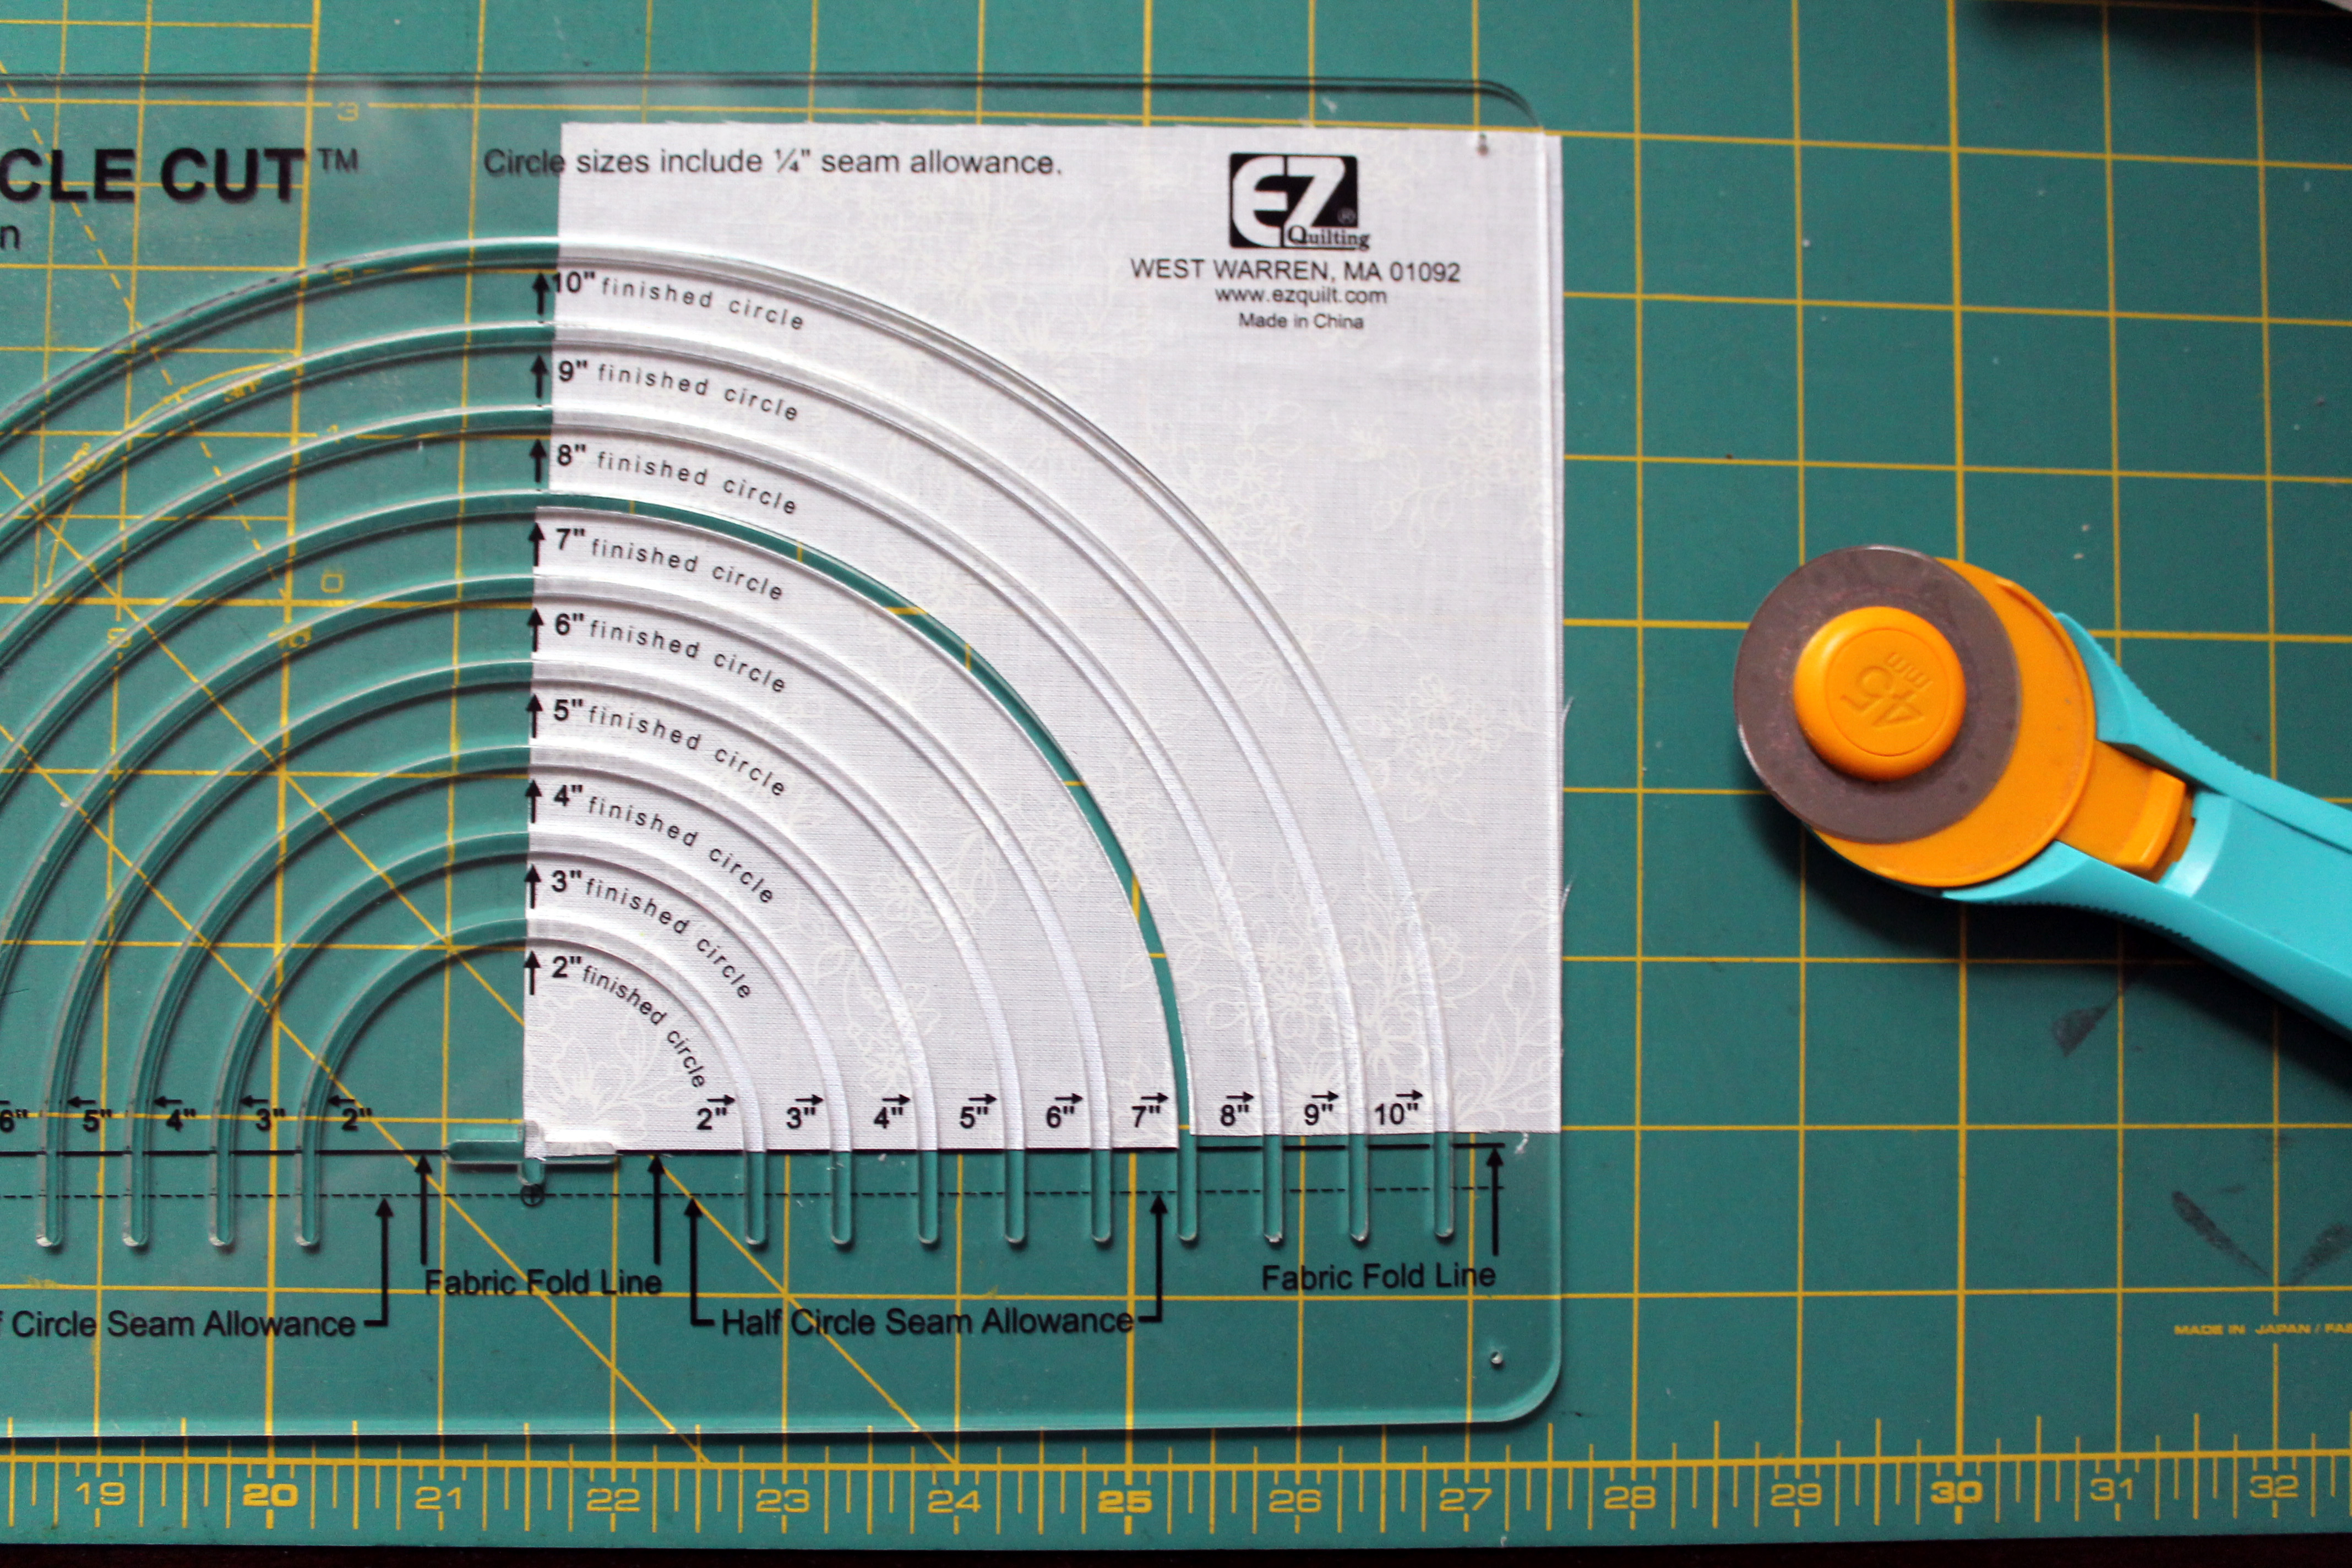
You are aligning your background square as you did your inner circle square but this time you are cutting on the curve 1 inch less than your circle curve.  For me this meant I cut on the 7″ finished circle line.  Again if you want to make a circle using this ruler, make your background piece double the size (in this case my background piece would be 13 inches square) and fold your fabric before cutting.

EZ overlap
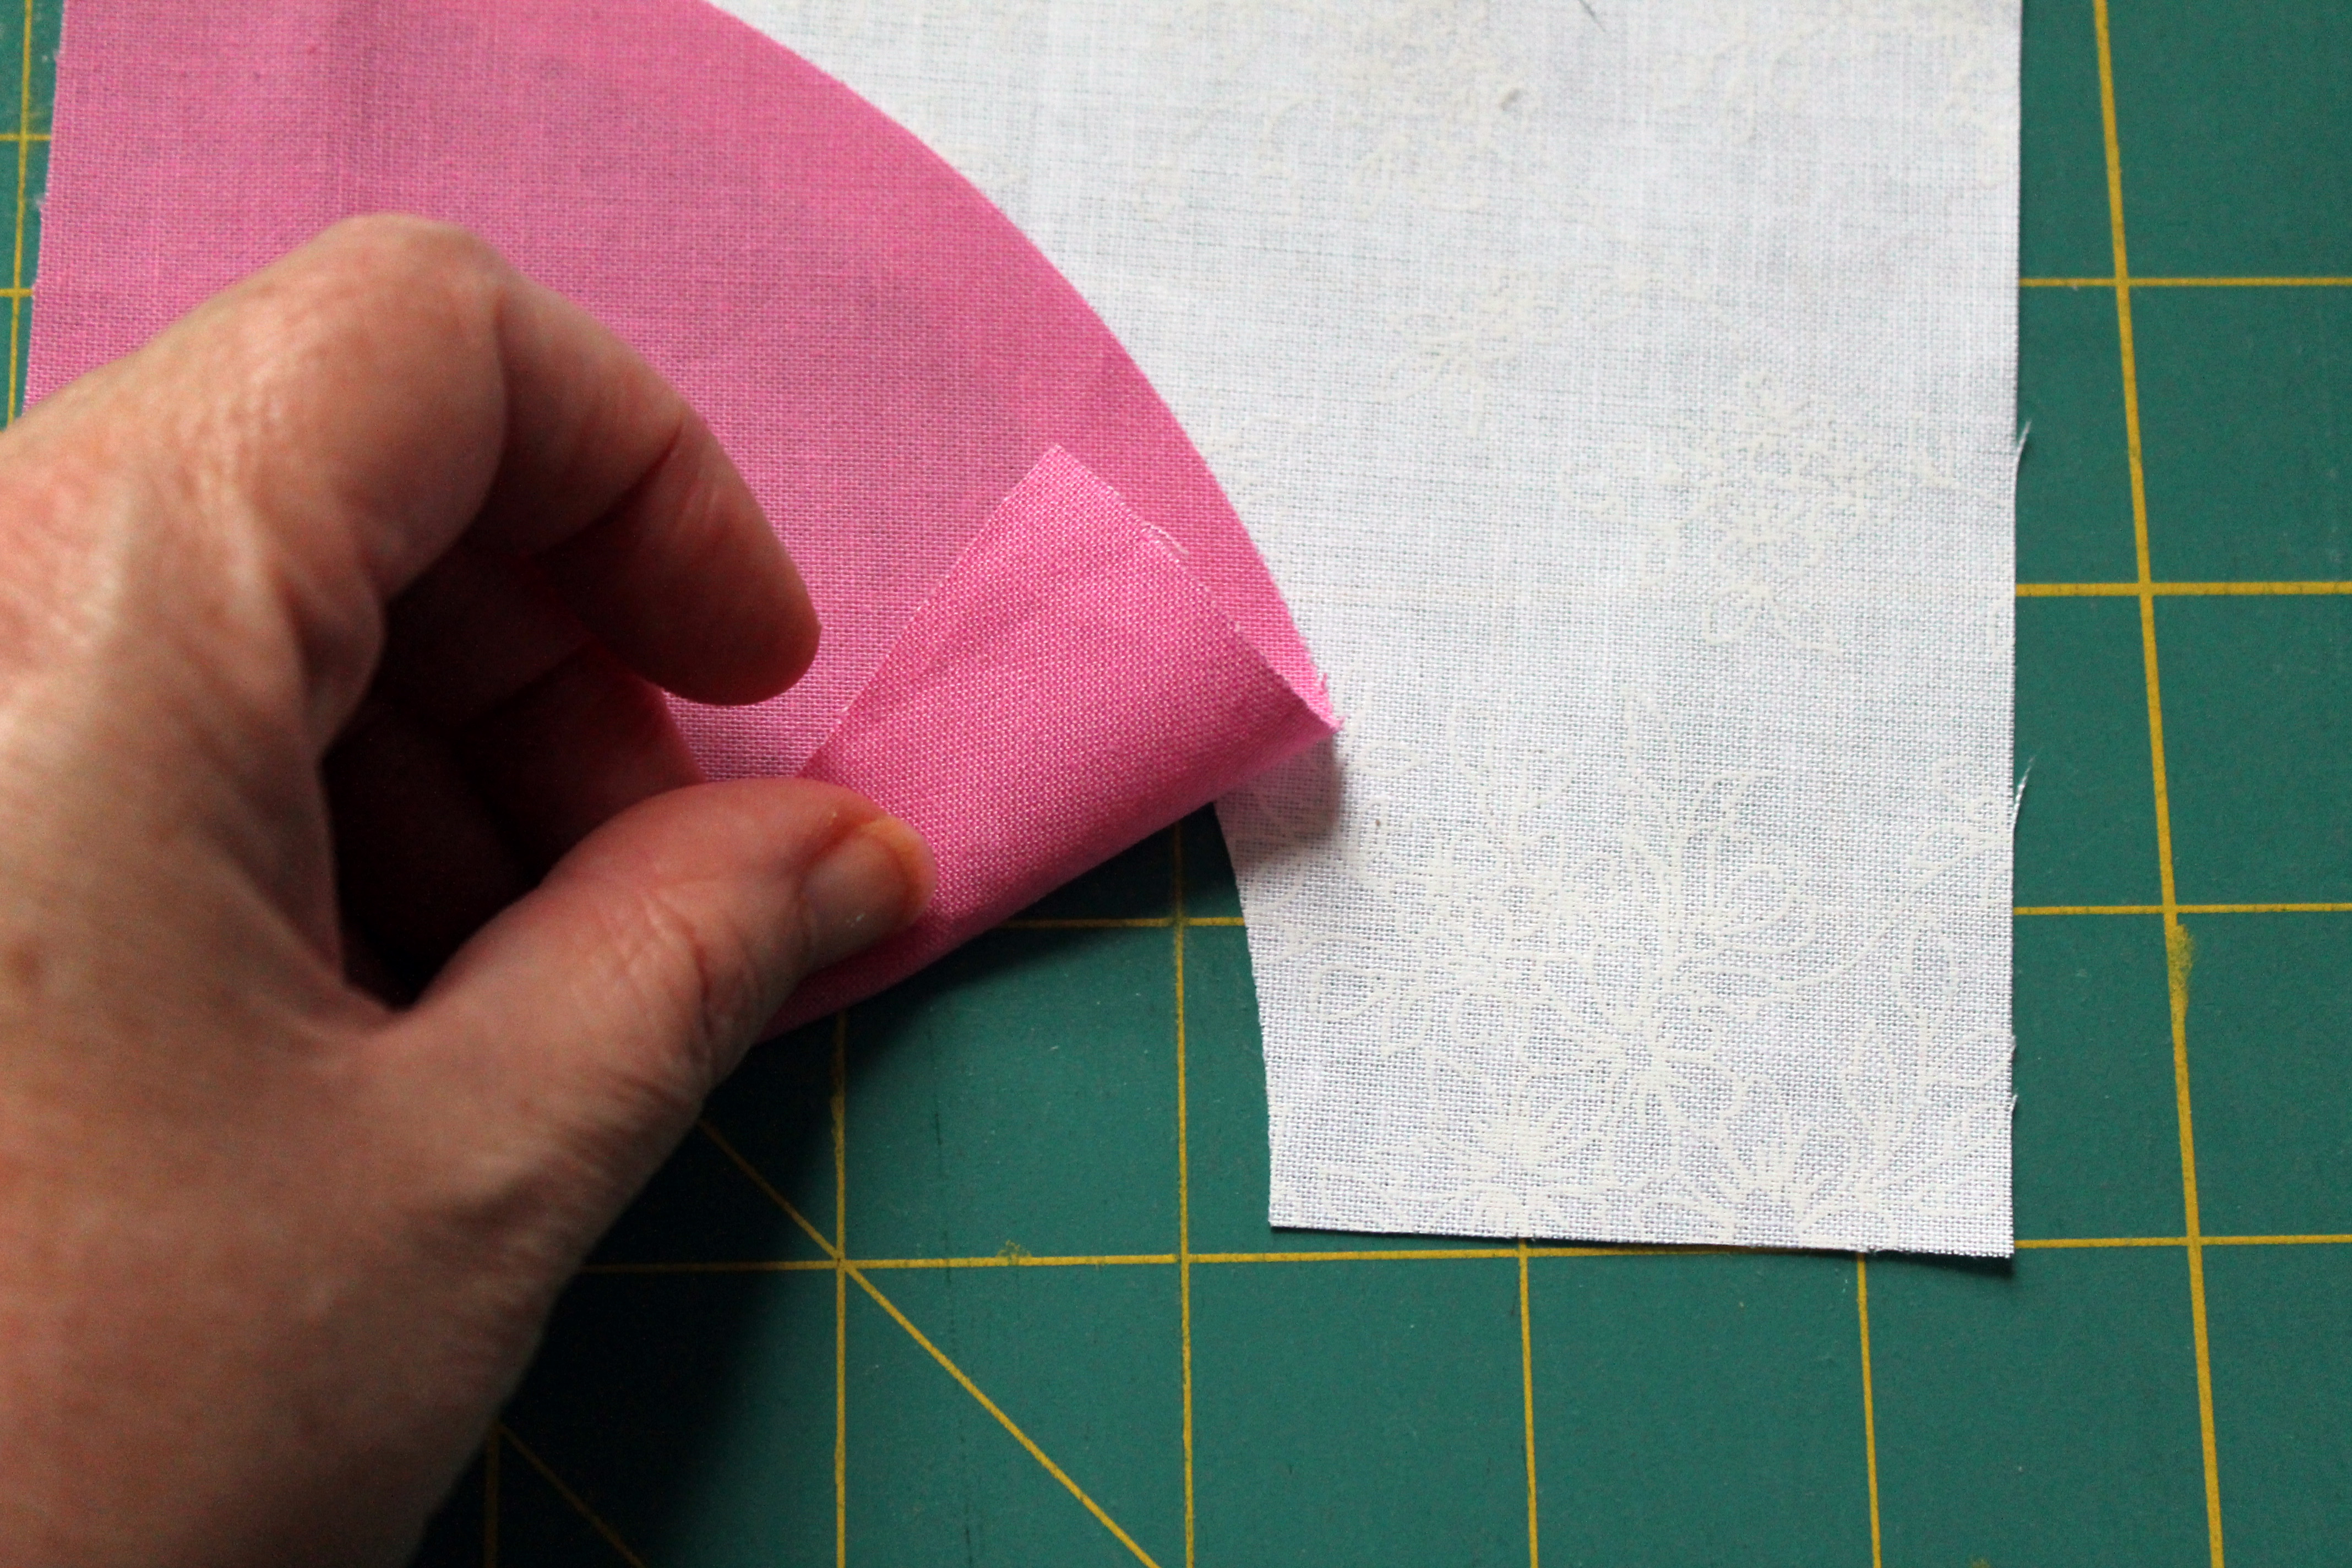
Cutting the background on the ruler curve 1 inch less than your inner circle give you the seam allowance overlap you need.  You are now ready to sew your curved pieces together.

quilt top detail 2
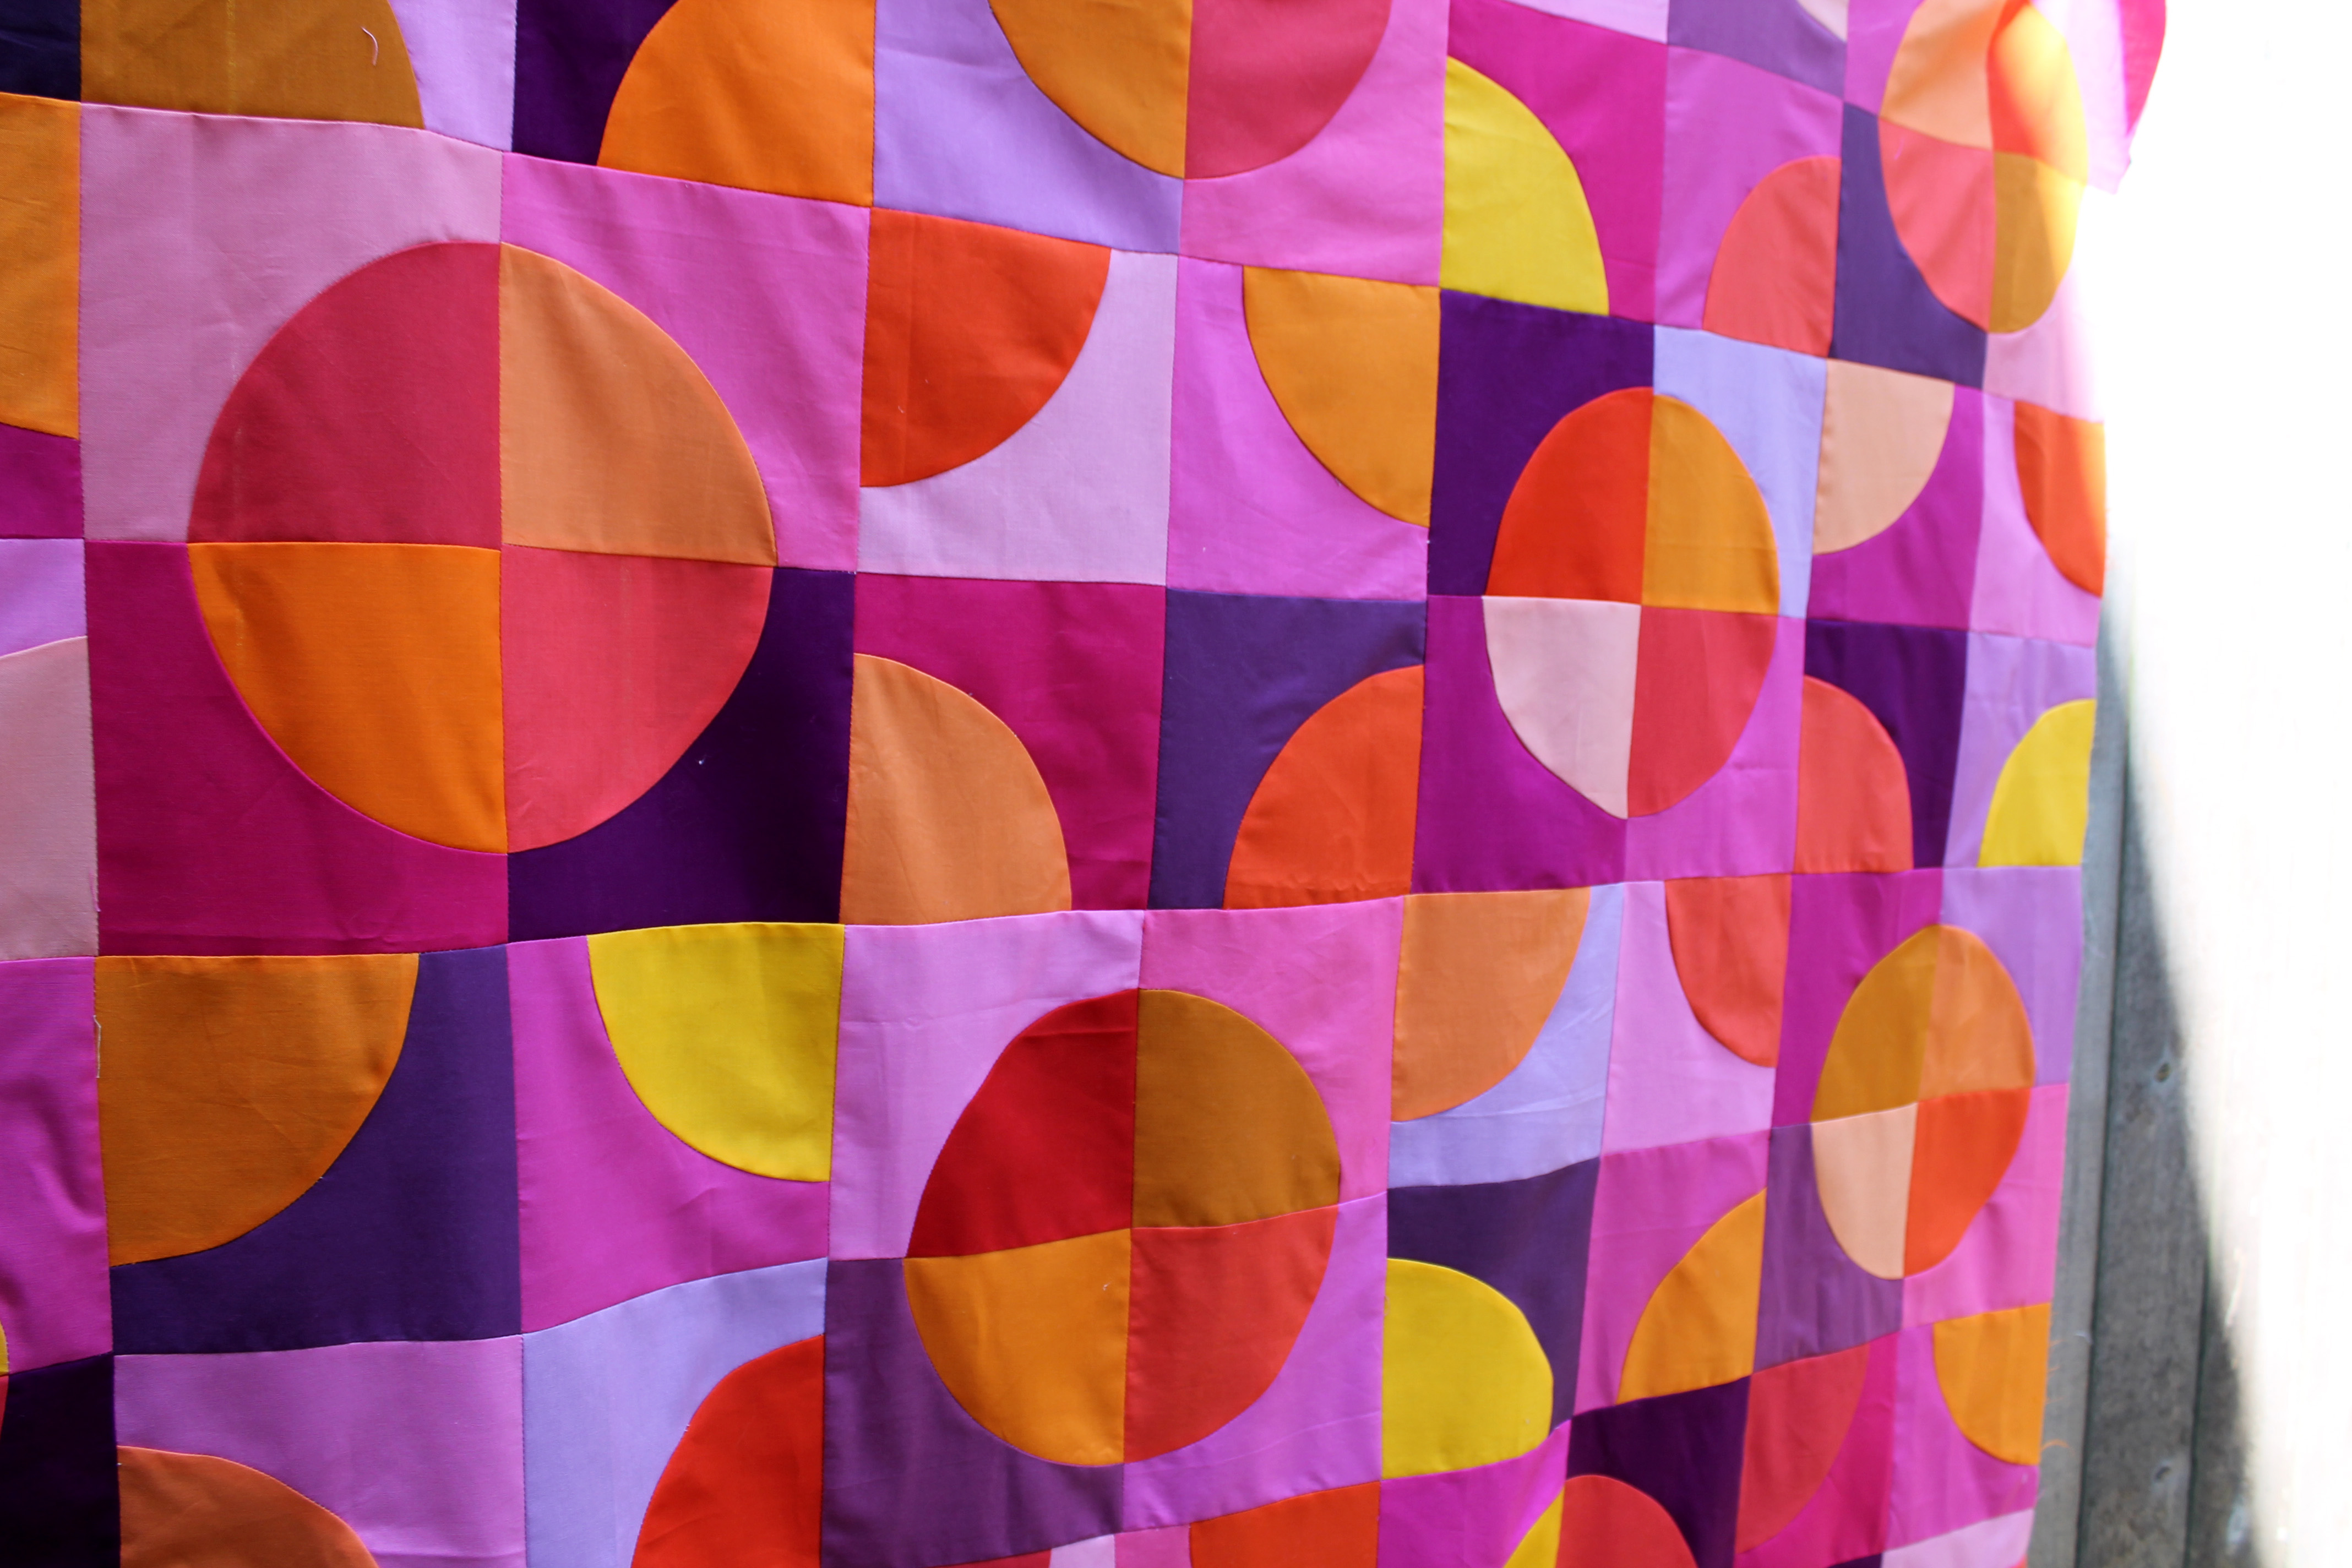
For the blocks of my Acidic Curve quilt I cut a 9 inch curve and then had a 6 inch background block with a curve cut out using the 8″ mark on the ruler.  This gave me a finished circle block of 11 inches to work with.orange circle block 
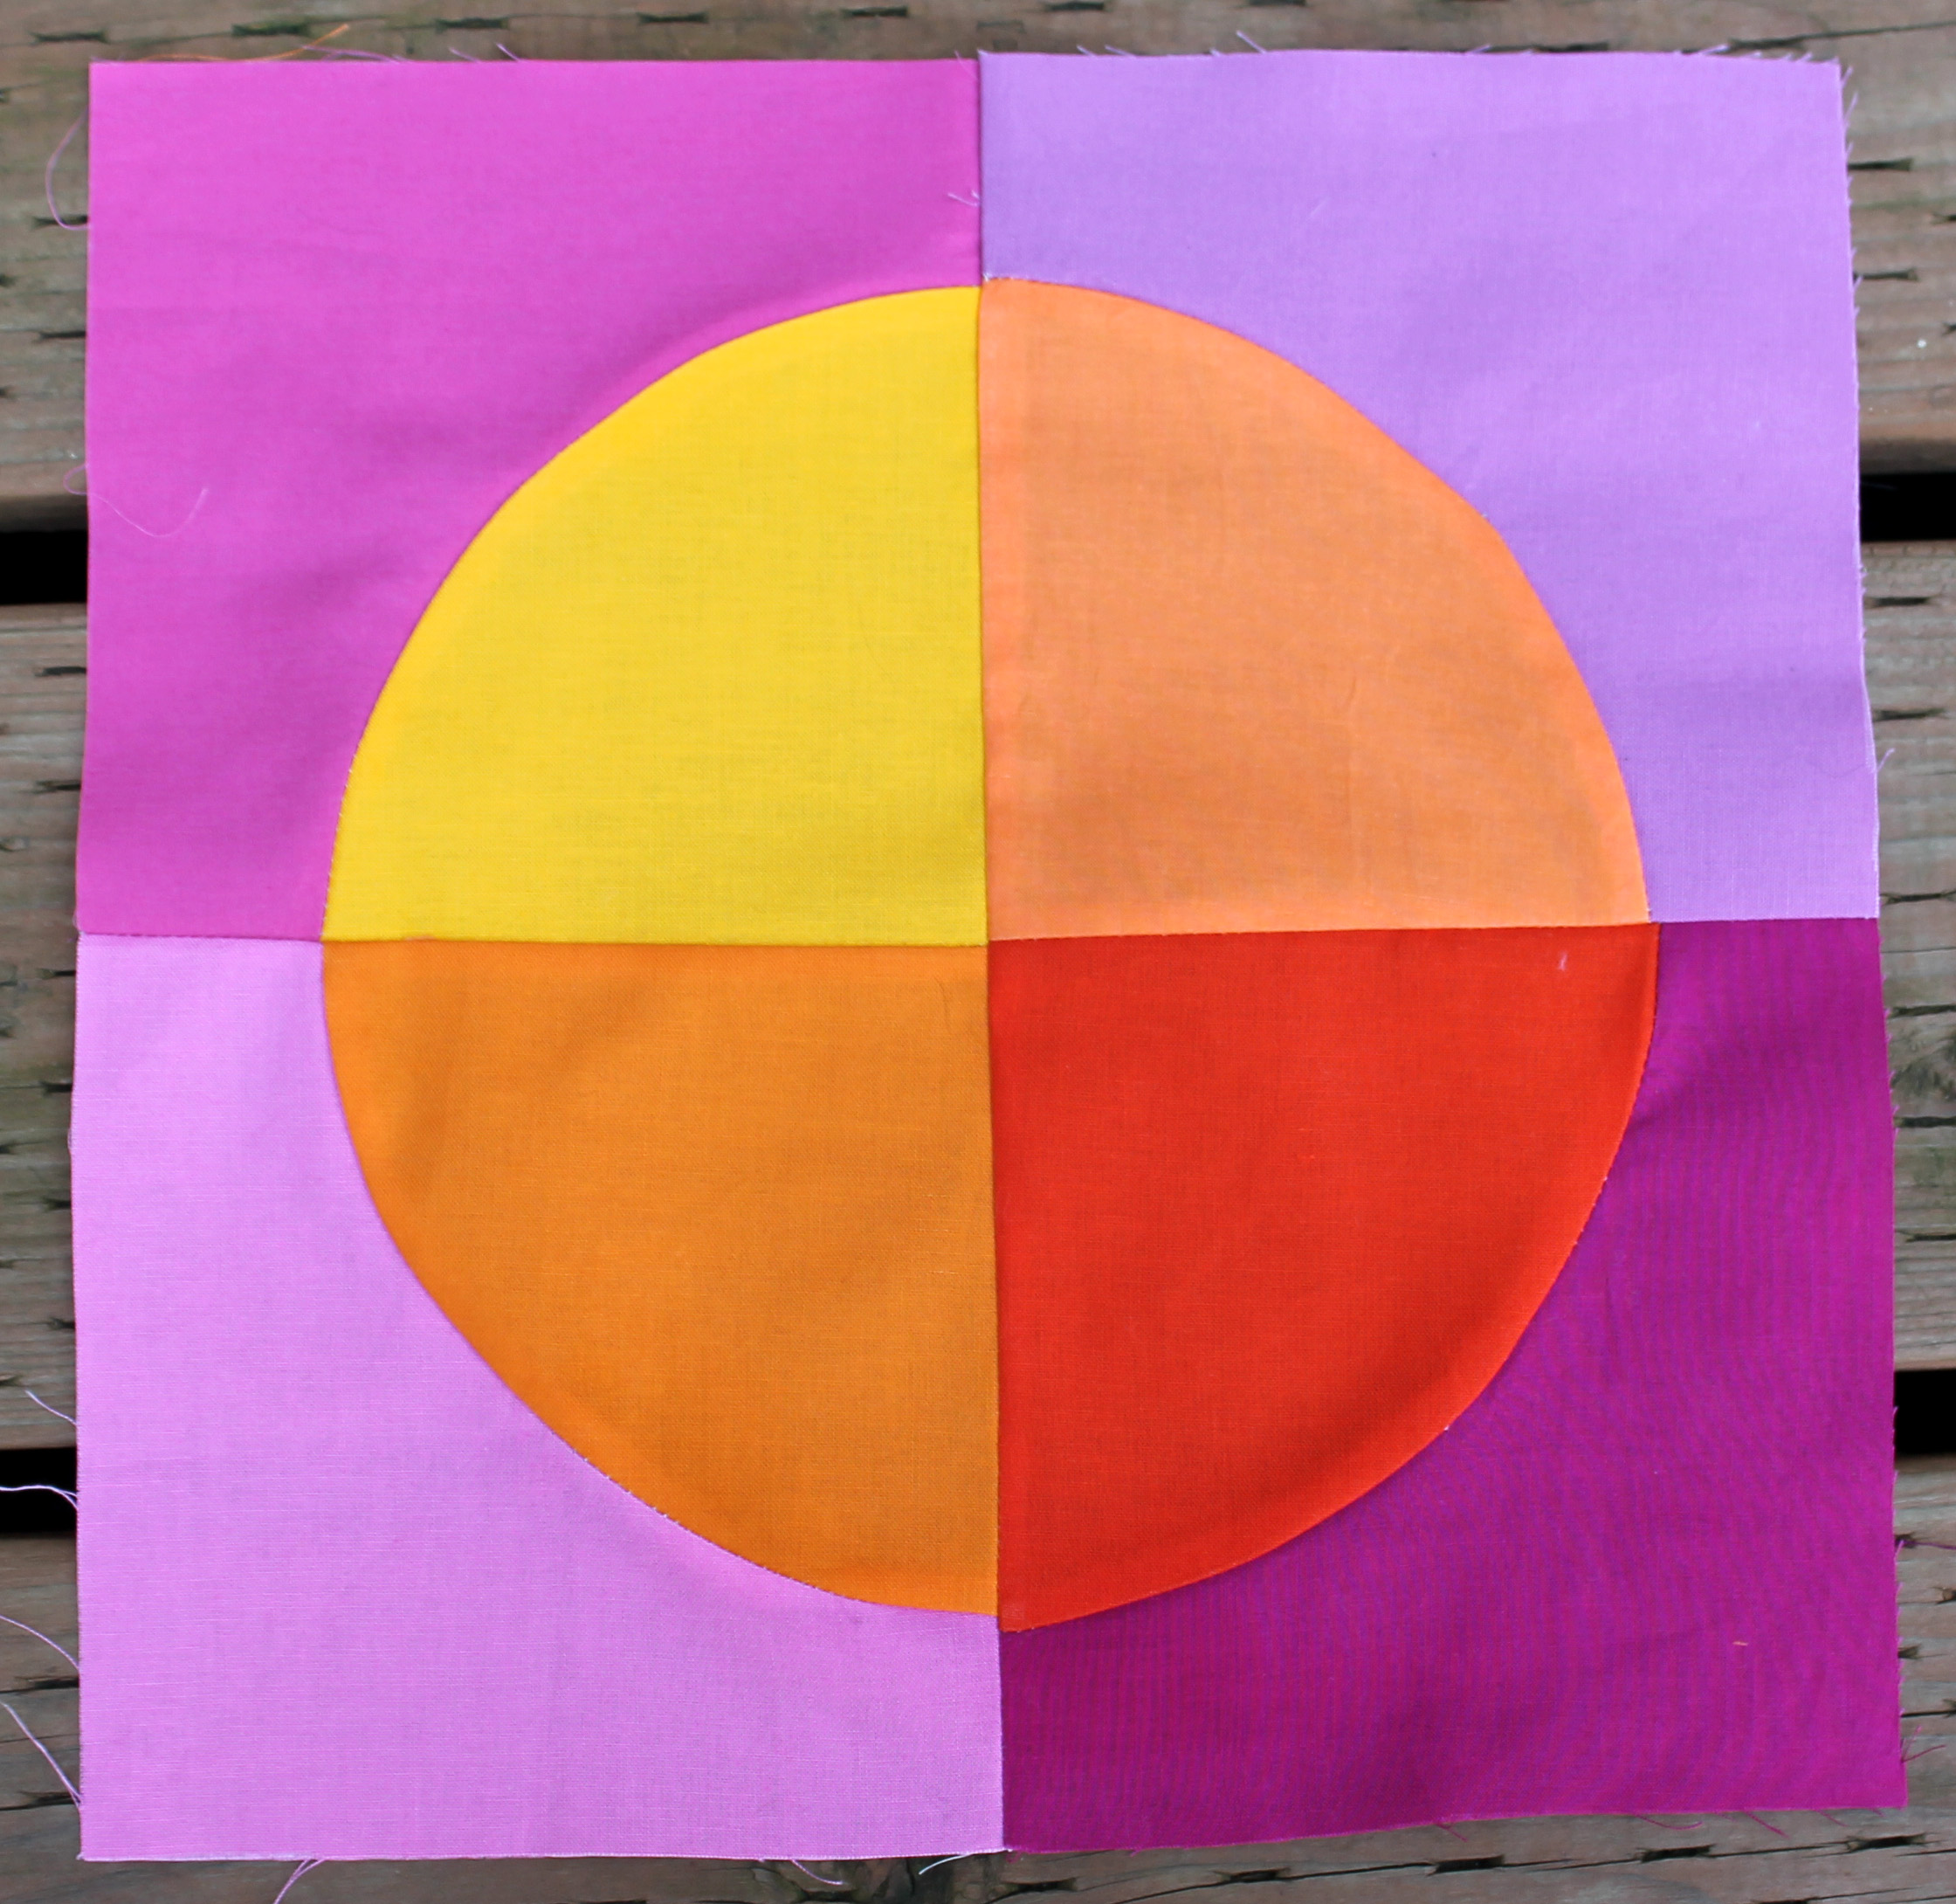
Hopefully I have not confused you too much… but I can definitely recommend the EZ ruler. I am finding it is giving me great creative choices for the curved blocks I am making, though the biggest curve I can make with it is a 10 inch finished circle.

The comfort of Quilting

** warning things are about to get a little personal in a very un-Australian way

As I pondered the quilting I had been doing this week I realised that it had been exactly a year since my quilting was rudely interrupted by some Emergency surgery.  This time last year I had posted my Icky Thump block on Monday….

Paper pieced blockand was working on my Tula Pink blocks when I realised something was not quite right.  You see I had recently found out  I was pregnant which was an incredible shock, as I had assumed that being over 40 was a great form of birth control.  Boy was I wrong.

Anyway a call to my doctor and a quick conversation about what my body was doing ended with her saying “go to the Emergency Room now, I will meet you there”.   Slightly freaked out,  I managed to grab my hexagon travel kit, my keys, my purse and my husband (in that order) and headed out the door.

Well it transpired that my pregnancy was ectopic and after some emergency surgery I found myself sore, confused and chock full of hormones… and this is where the quilting comes in.

Over the last year quilting has been my life line.  When I could not move after the surgery I made hexagons like crazy…. I do not do well with doing nothing and hexagons were something that kept me busy, kept me from going crazy.

hexagon flowers modern brightThen as I slowly recovered I found I could do small stints at the sewing machine.  I designed a quilt block and slowly set about making it piece by piece.

cross block wipMy damaged body meant that I could take the time to carefully select the scraps and fabric for this quilt.  To spend so much time designing and making this quilt top was a gift and a luxury.  I have not finished this quilt yet… the completed  top has been sitting in the cupboard  but I have not been emotionally ready to deal with the baggage attached to it.   Soon I will be strong enough.

As time went on and my body healed, quilting commitments kept my mind from wondering and my feelings from overwhelming me.  I signed up for fussy cut swaps…

fussy cut swapand quilted container swaps…

Finsihed quilted bucketI tested paper piecing patterns, joined Quilting Bees and threw myself into the Let’s Get Acquainted Blog Hop.  I kept quilting….kept posting…kept busy.

quilt block mosaicIt has been 12 months of ups and downs.  As an British/Australian hybrid I struggle to share personal stuff.  Sharing does not come naturally to me  – as my best friend Margaret told me recently “it takes you a while to let people in…. usually 2 to 3 years” – but somehow on this anniversary it seemed important to let you know what quilting, has meant to me over the last 12 months.  I survived one stitch at a time, pushed forward by the lovely comments left about my work and the support of the wonderful online quilting community.

And to my online friends, who had no idea this was going on, but who supported my quilting and my creativity during this time a very big thank you.  To Ashley, Marie, Amy, Michelle, Nicole, Sarah, Susan, Kate, Mel, Julie, Laura, Stephanie, Renee, Cari, Amanda… extra special thanks for your constant comments and support over the last 12 months.

Okay soppy emotional stuff is now over…. it will be back to normal programming by Friday… promise.

Neon overload

This week I managed to finish my Neon pink quilt top…finally.

neon quilt topI must admit I procrastinated lots and lots about how to get the different sized blocks to work.  Finally two of my fellow PMQG partners in crime suggested the same solution… border the blocks with white and then cut them down to the same size.  Michelle and Kimberly’s genius idea saved my head from exploding from a math over exertion.

Neon quilt detail 3This quilt started life as two orphan blocks from a PMQG Michael Miller challenge last year – an 11 inch star block and an 11 inch modern line block.  They were too fabulous not to do something with… and so I made some supporting blocks.

Neon star blockYou can find paper piecing patterns for most of these blocks under the “free paper piecing patterns” tab if you are interested.  .

quilt top detailThe fabric used is all Michael Miller… the Neon range in pink, with Cotton Couture in Soft White and my new go to grey Fog.   The grey really does a wonderful job of toning down the Neon overload!


Some low volume fun…

I have just manage to finish up one of two low volume quilts I have been commissioned to make… despite the universe conspiring against me getting a finish for Friday.

low volume quiltRecently I was asked to make two low volume quilts for some adorable twin toddlers… with the instructions to make sure there was lots of pink, green and purple and only a small hint of yellow or orange, if necessary.

low volume quilt detail eOkay I found it necessary to use a hint of orange just to include these adorable Heather Ross mice but other than that I stuck to the instructions.

low volume quilt detail bPulling the fabric stack was fun – the first round  was only fabrics with a white/cream background and then I went back and pulled out a couple of soft pastels.  I find low volume quilts some of the easiest to pull fabric for, because you are using fabric that reads as light but are not worrying too much about scale or style.

low volume quilt detail aAnd when in doubt there is always the quick trick of photographing your fabric and turning the photo black and white to see how the fabric reads.  I usually do this step when I have the blocks up on the design wall and always end up rearranging the blocks and sometimes removing a fabric or two altogether.

black & white fabric I of course had a fun time putting in as many novelty prints as I could…. because what kid quilt is completely without the ability to play “I Spy”.

low volume quilt backFor the back of the quilts I fully embraced pink… choosing some of my favorite fabrics to highlight, namely some Lizzy House “Catnap”.

low volume quilt backing detailI kept the quilting simple and went with a soft pink binding, in a shade just a little different from the backing solid and chose to attach the binding by hand.  I love the hand-made touch that hand binding gives to a quilt… those little stitches let the recipient know that the quilt was made with love.

low volume quilt bindingNow all I have to do is finish up the binding on the second quilt and they will be ready to send to their new owners.


Zakka Flower top…

…is done.  It took a lot of unpicking and sewing but it is finally finished.

zakka flower quilt topThis is one of the biggest quilt tops I have made, finishing at 70 inches x 85 inches.  I was struggling a little to wrangle it through the sewing machine at the end.

Zakka flower quilt top detail 2I actually struggled quite a bit with finishing this top because in the cold and flu haze of a couple of weeks ago, I decided to take the paper off the blocks BEFORE I sashed them.  Silly silly silly move.

Zakka flower quilt top detail 3It meant I had to unpick the sashing a couple of times to get the blocks to align properly.  But half a ton of Best Press, a trip to the store to pick up more Kona Snow and lots and lots of pinning later I got it all done.

Zakka flower detail
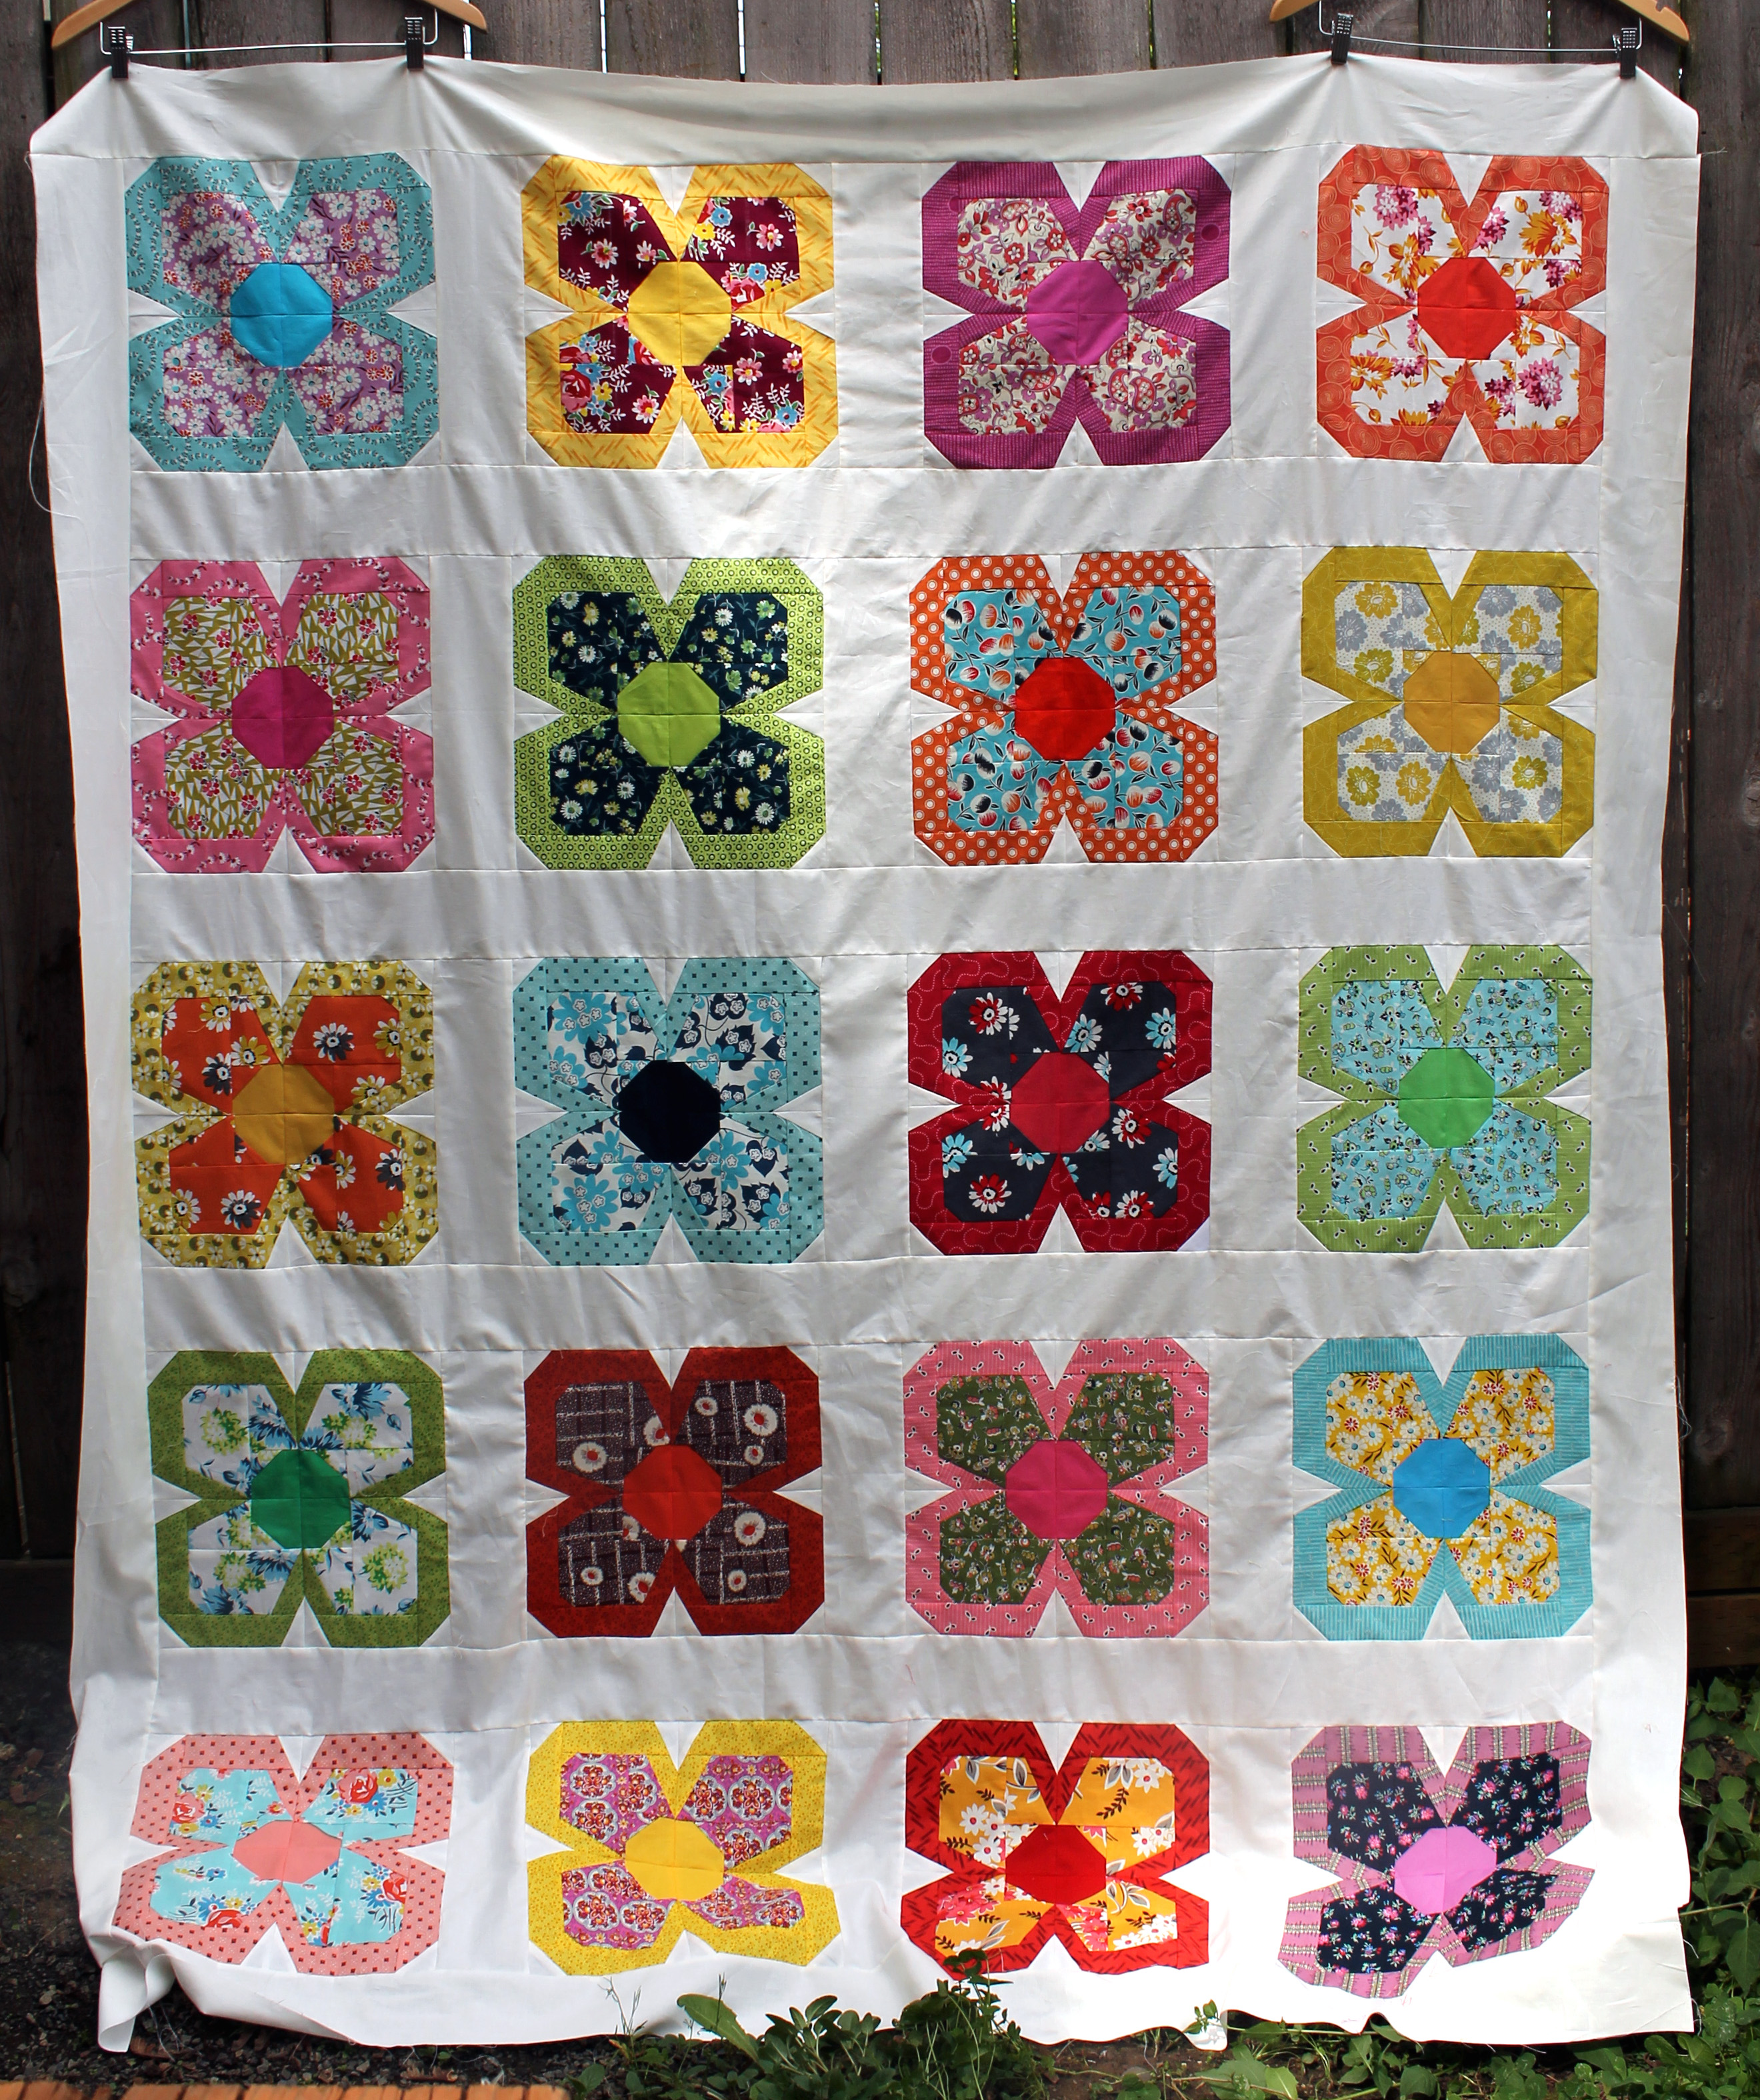
That just leaves making the back, basting and quilting to do… but I think I am going to take a break before I attempt the next steps.  I need to get my head around dealing with a quilt this big… any advice or tips would be greatly appreciated.