Postage stamp quilt madness

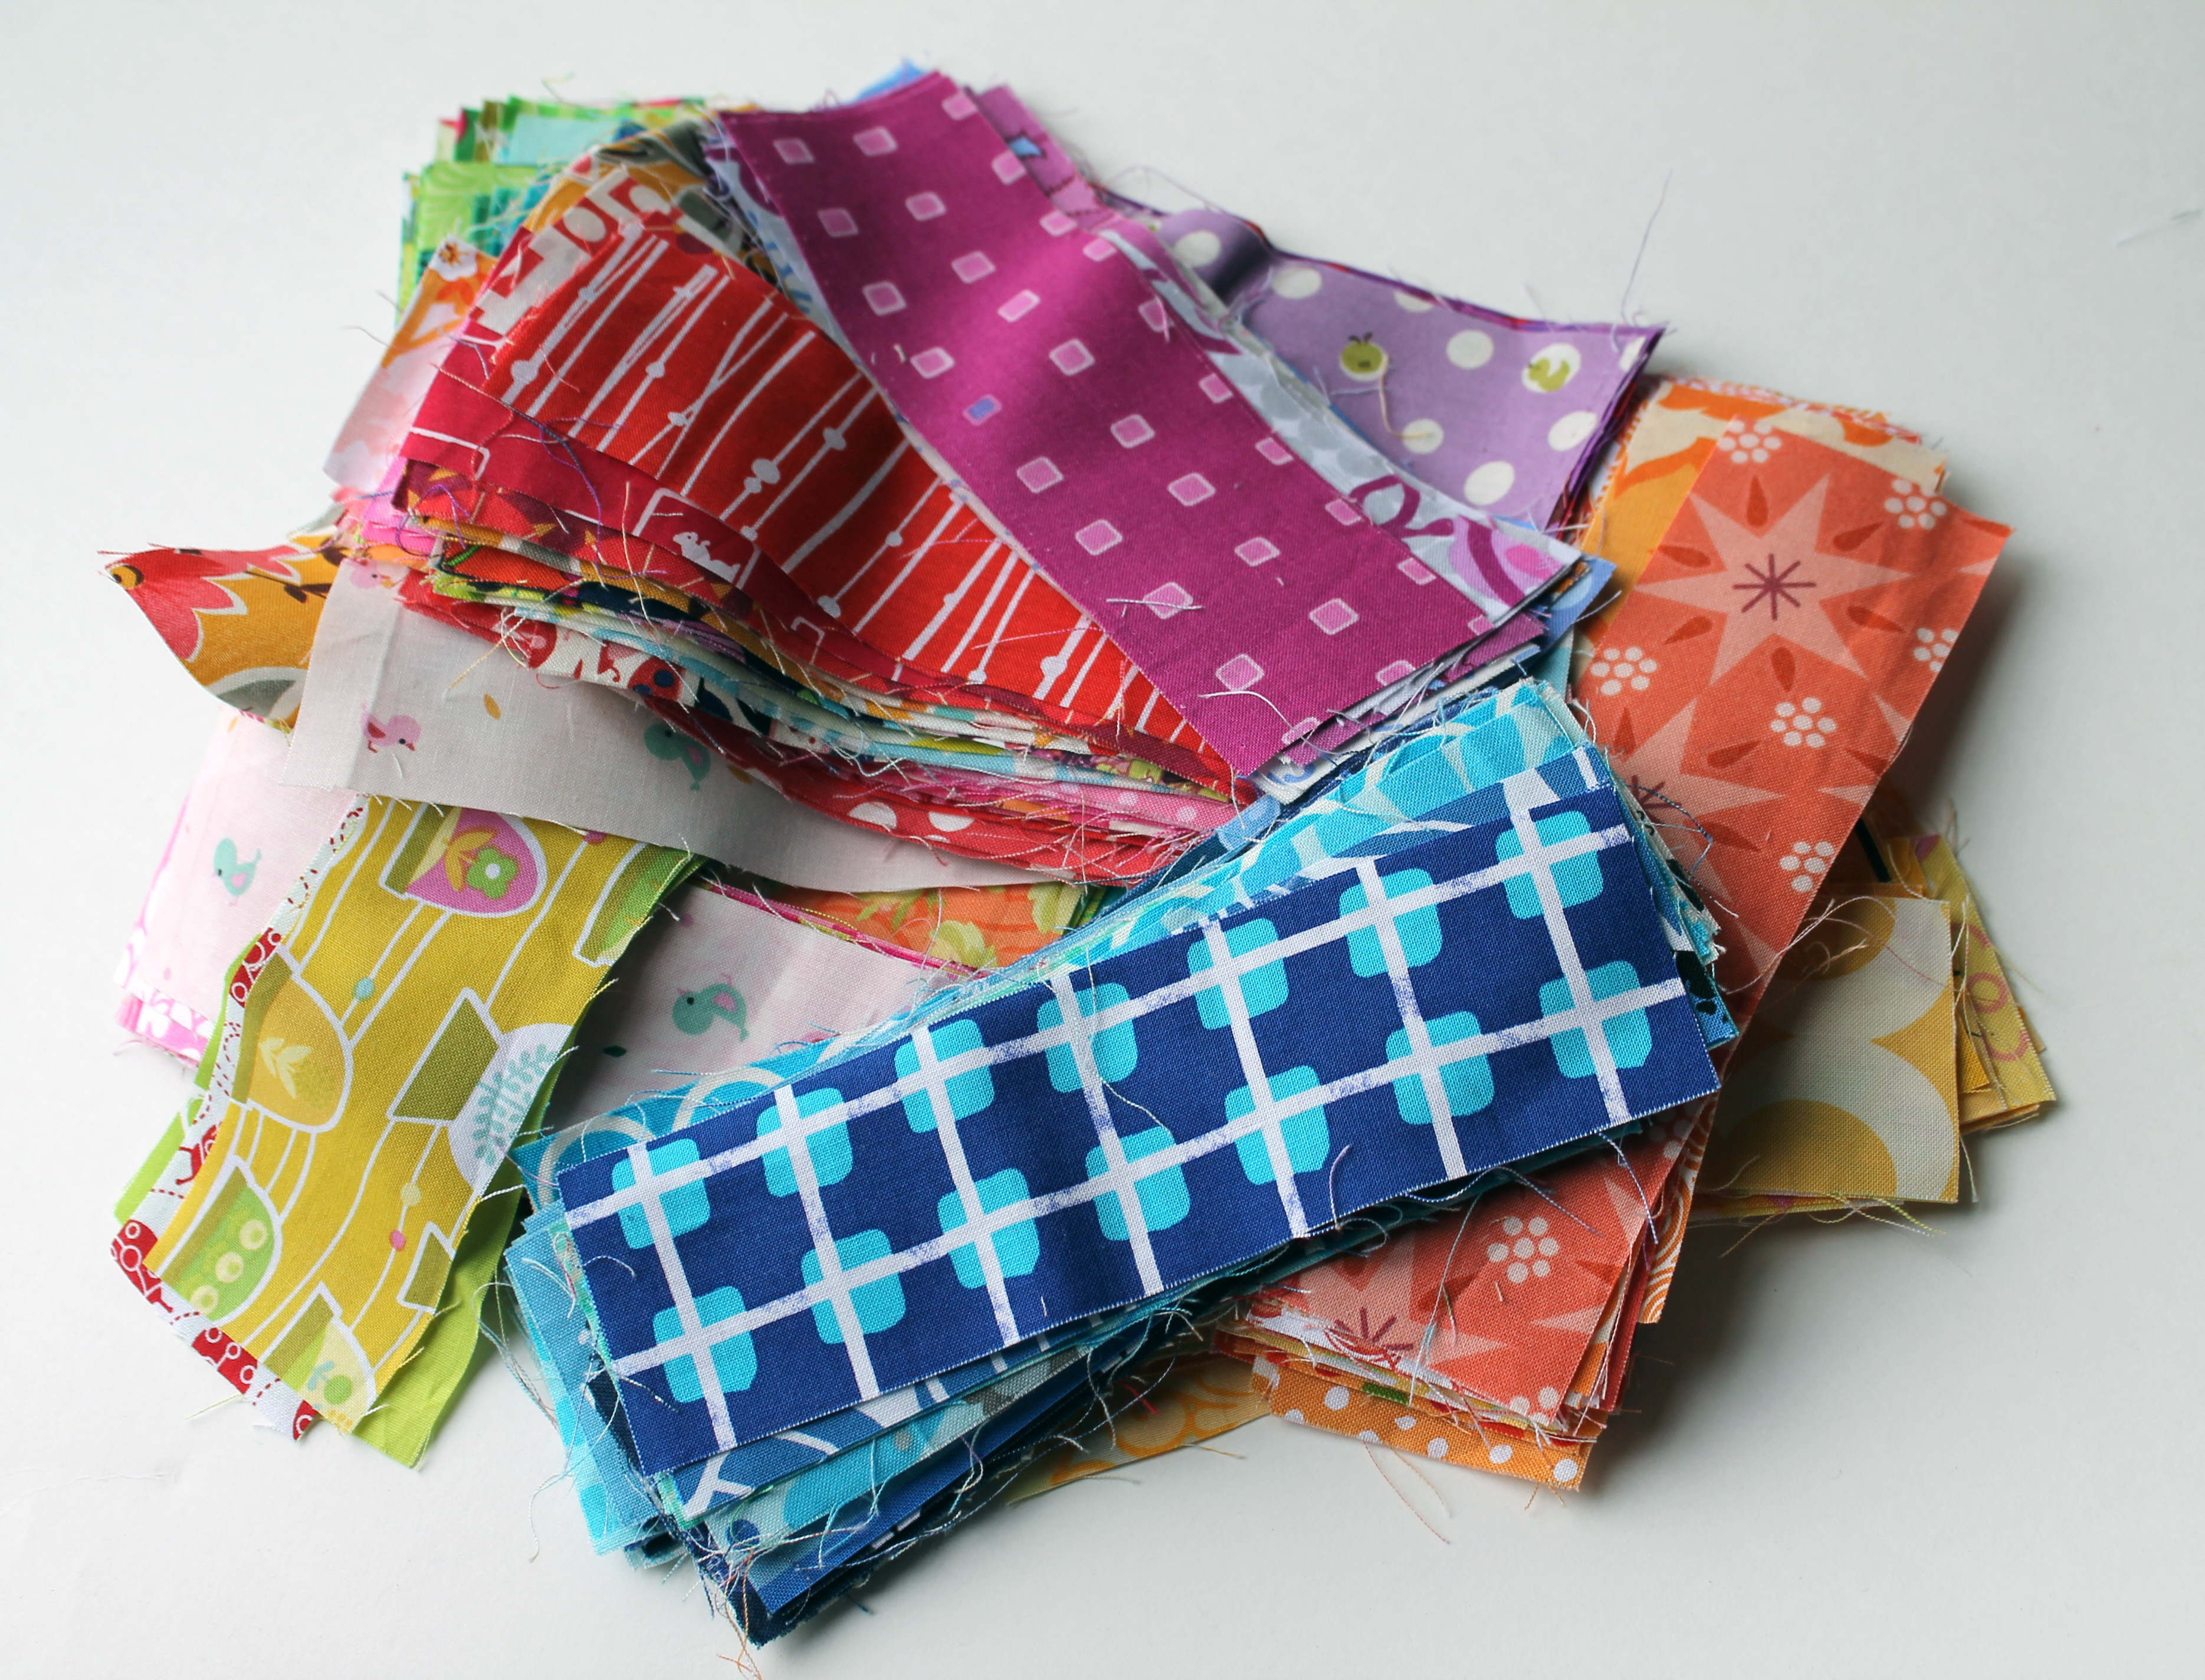
This weeks work in progress actually started in April last year when Red Pepper Quilts posted their instructions on how to make a Postage stamp quilt. I had always wanted to make one and so, inspired I spent a couple of months just gradually cutting out 2 x 7 inch strips of fabric.  Every time I made a quilt I would cut some extra strips for my postage stamp quilt.

Fast forward to January 2013.  My pile of cut strips have been staring at me for months, daring me to start the process, so this week I dusted them off and bravely started.

cut fabric

Very quickly I realised that there was a special kind of madness in making a quilt with 1 1/2 inch squares.  MADNESS.  I started by chain piecing  two strips of fabric together , sewing piece after piece.  Then I chain pieced two of my sections together to form a block of 4 strips which were then ironed and cut into 2 inch strips.  Feel free to head here for Red Peppers more detailed/coherent  instructions.

Then the crazy really kicks in… as you now have piles and piles of 2 x 6.5 inch strips which have to be sewn into blocks of 4 strips.  At this point seam allowance becomes crucial and you also give up worrying about colour placement and surrender to the process.

quilting work station

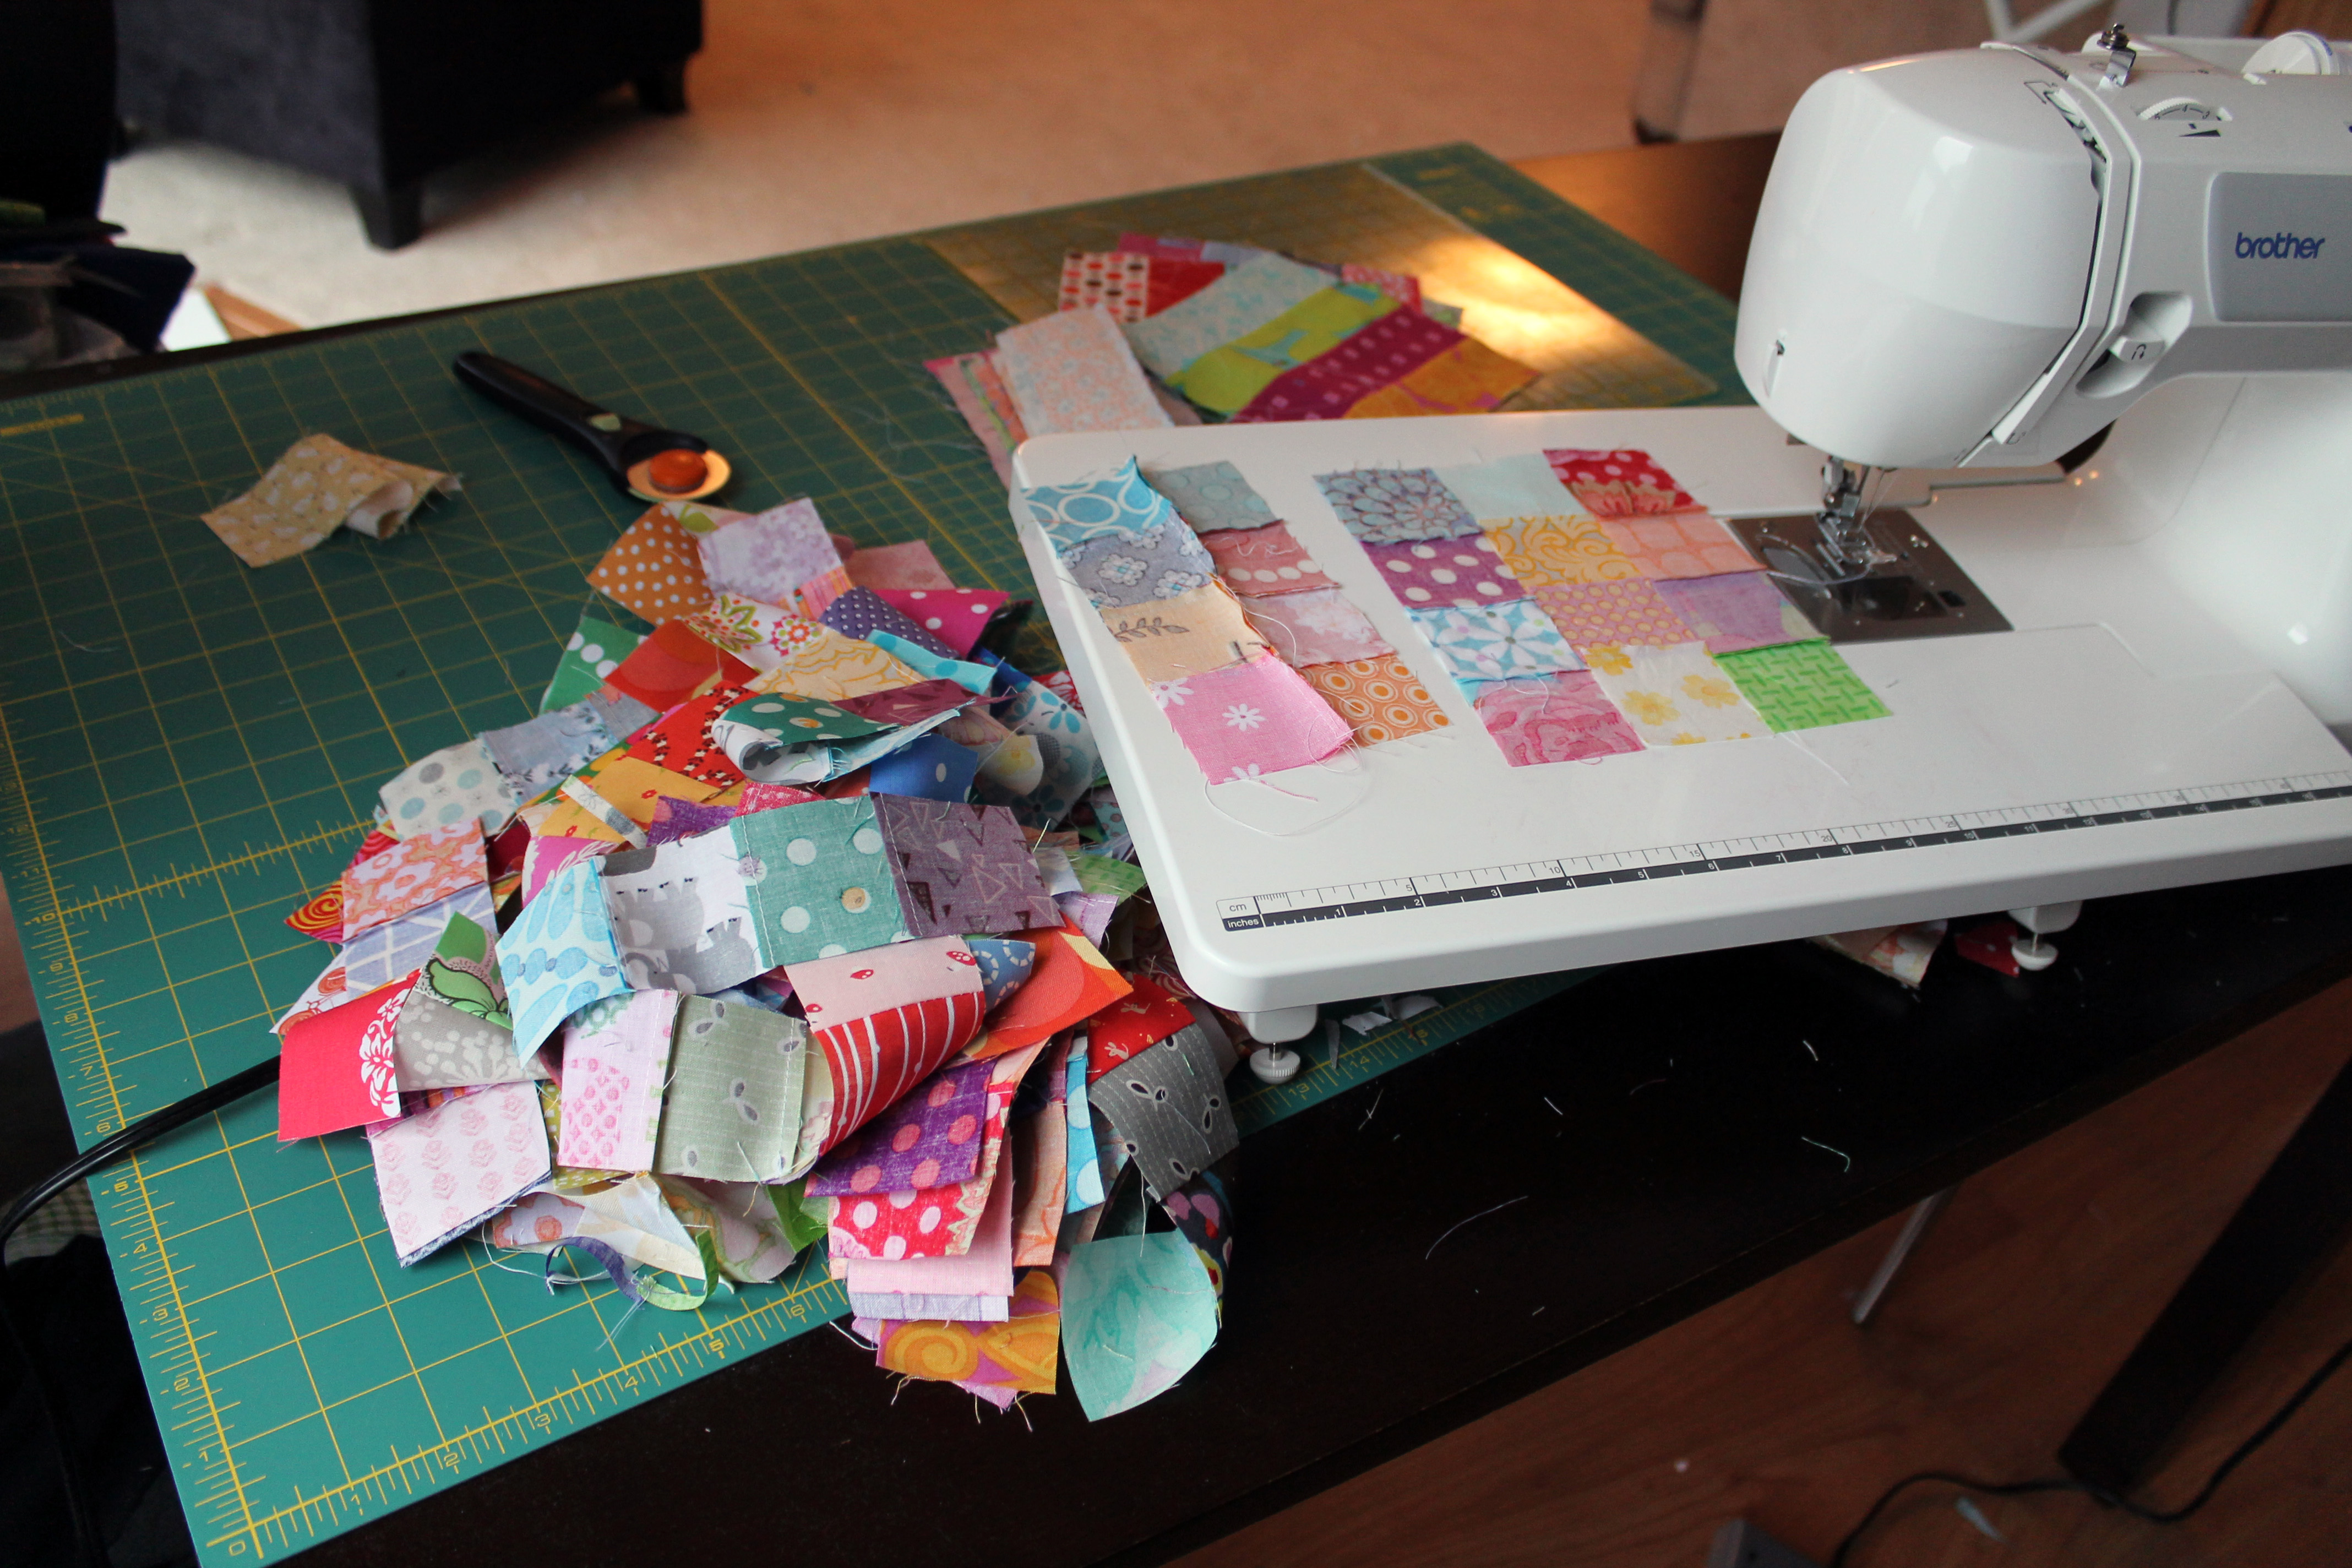
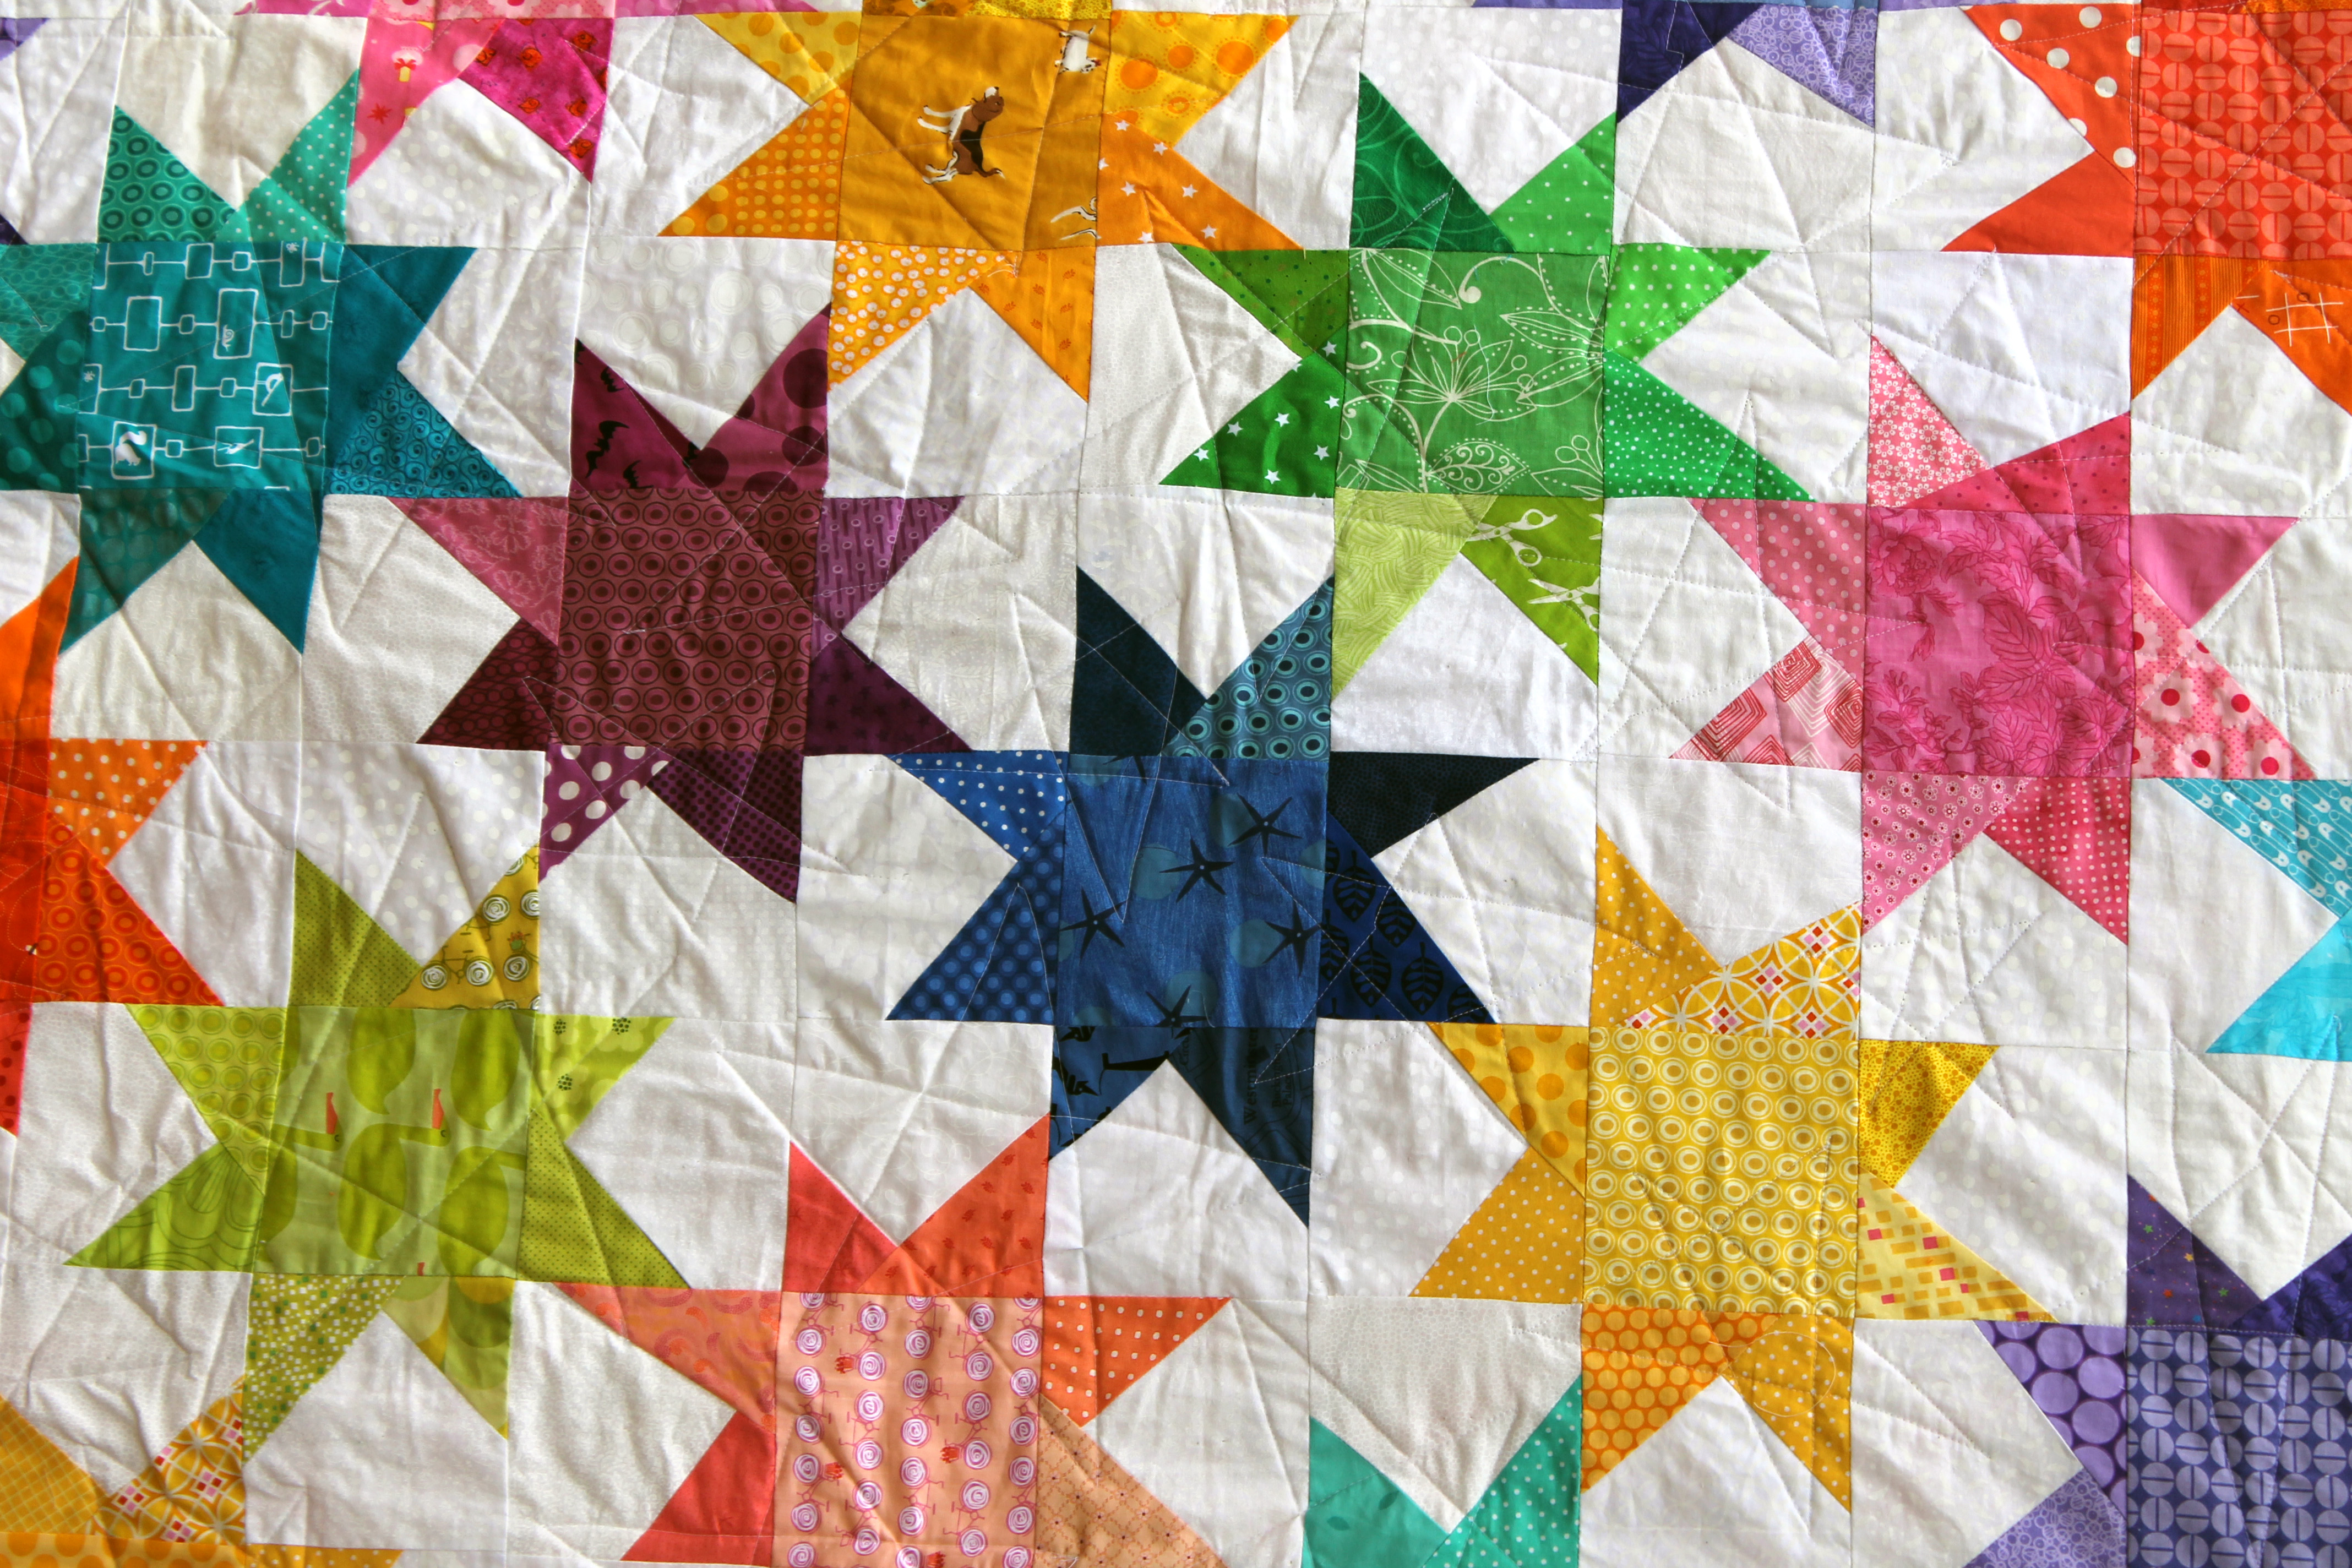
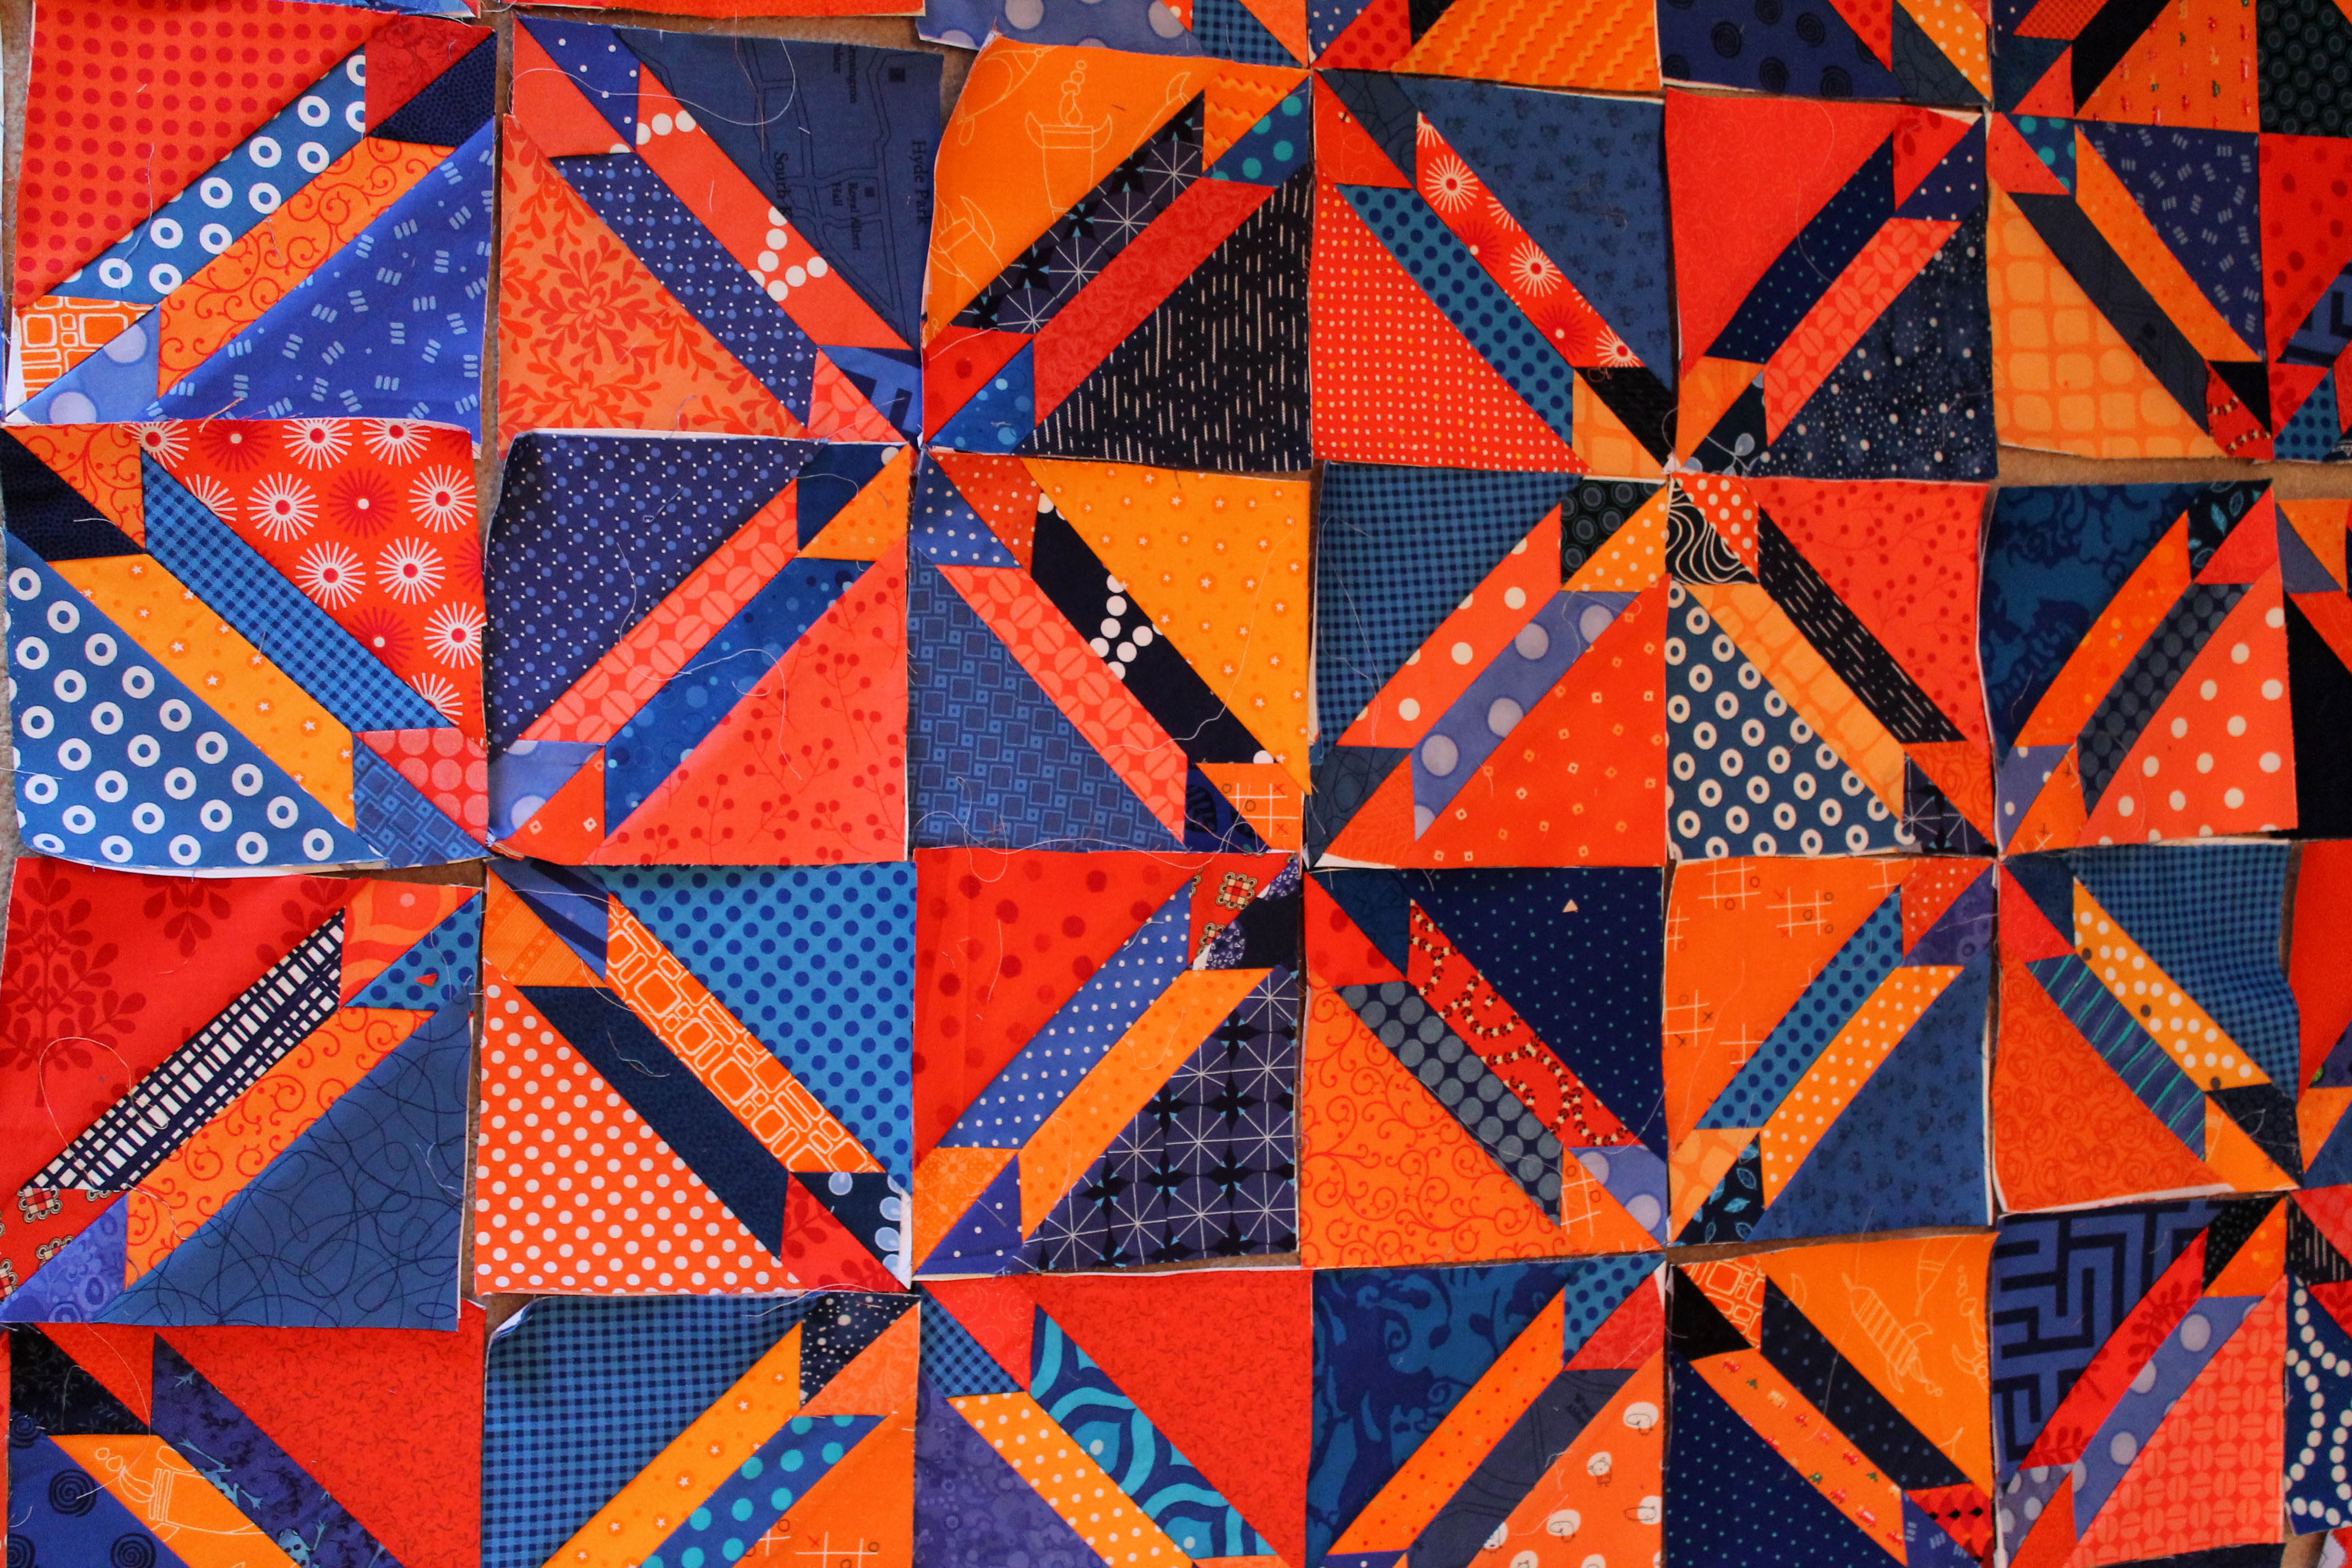
I am currently putting together my blocks, slowly but surely – the direction of your seams is important to make sure that the blocks sit right, which slows the sewing for me.  I have made some progress – 17 blocks done 30+ more to go!!!!  I have been fascinated by how the look of a fabric changes when it is cut into such a small piece.  Patterns are out of context and colours appear that you did not know were there.

quilt blocks in progress

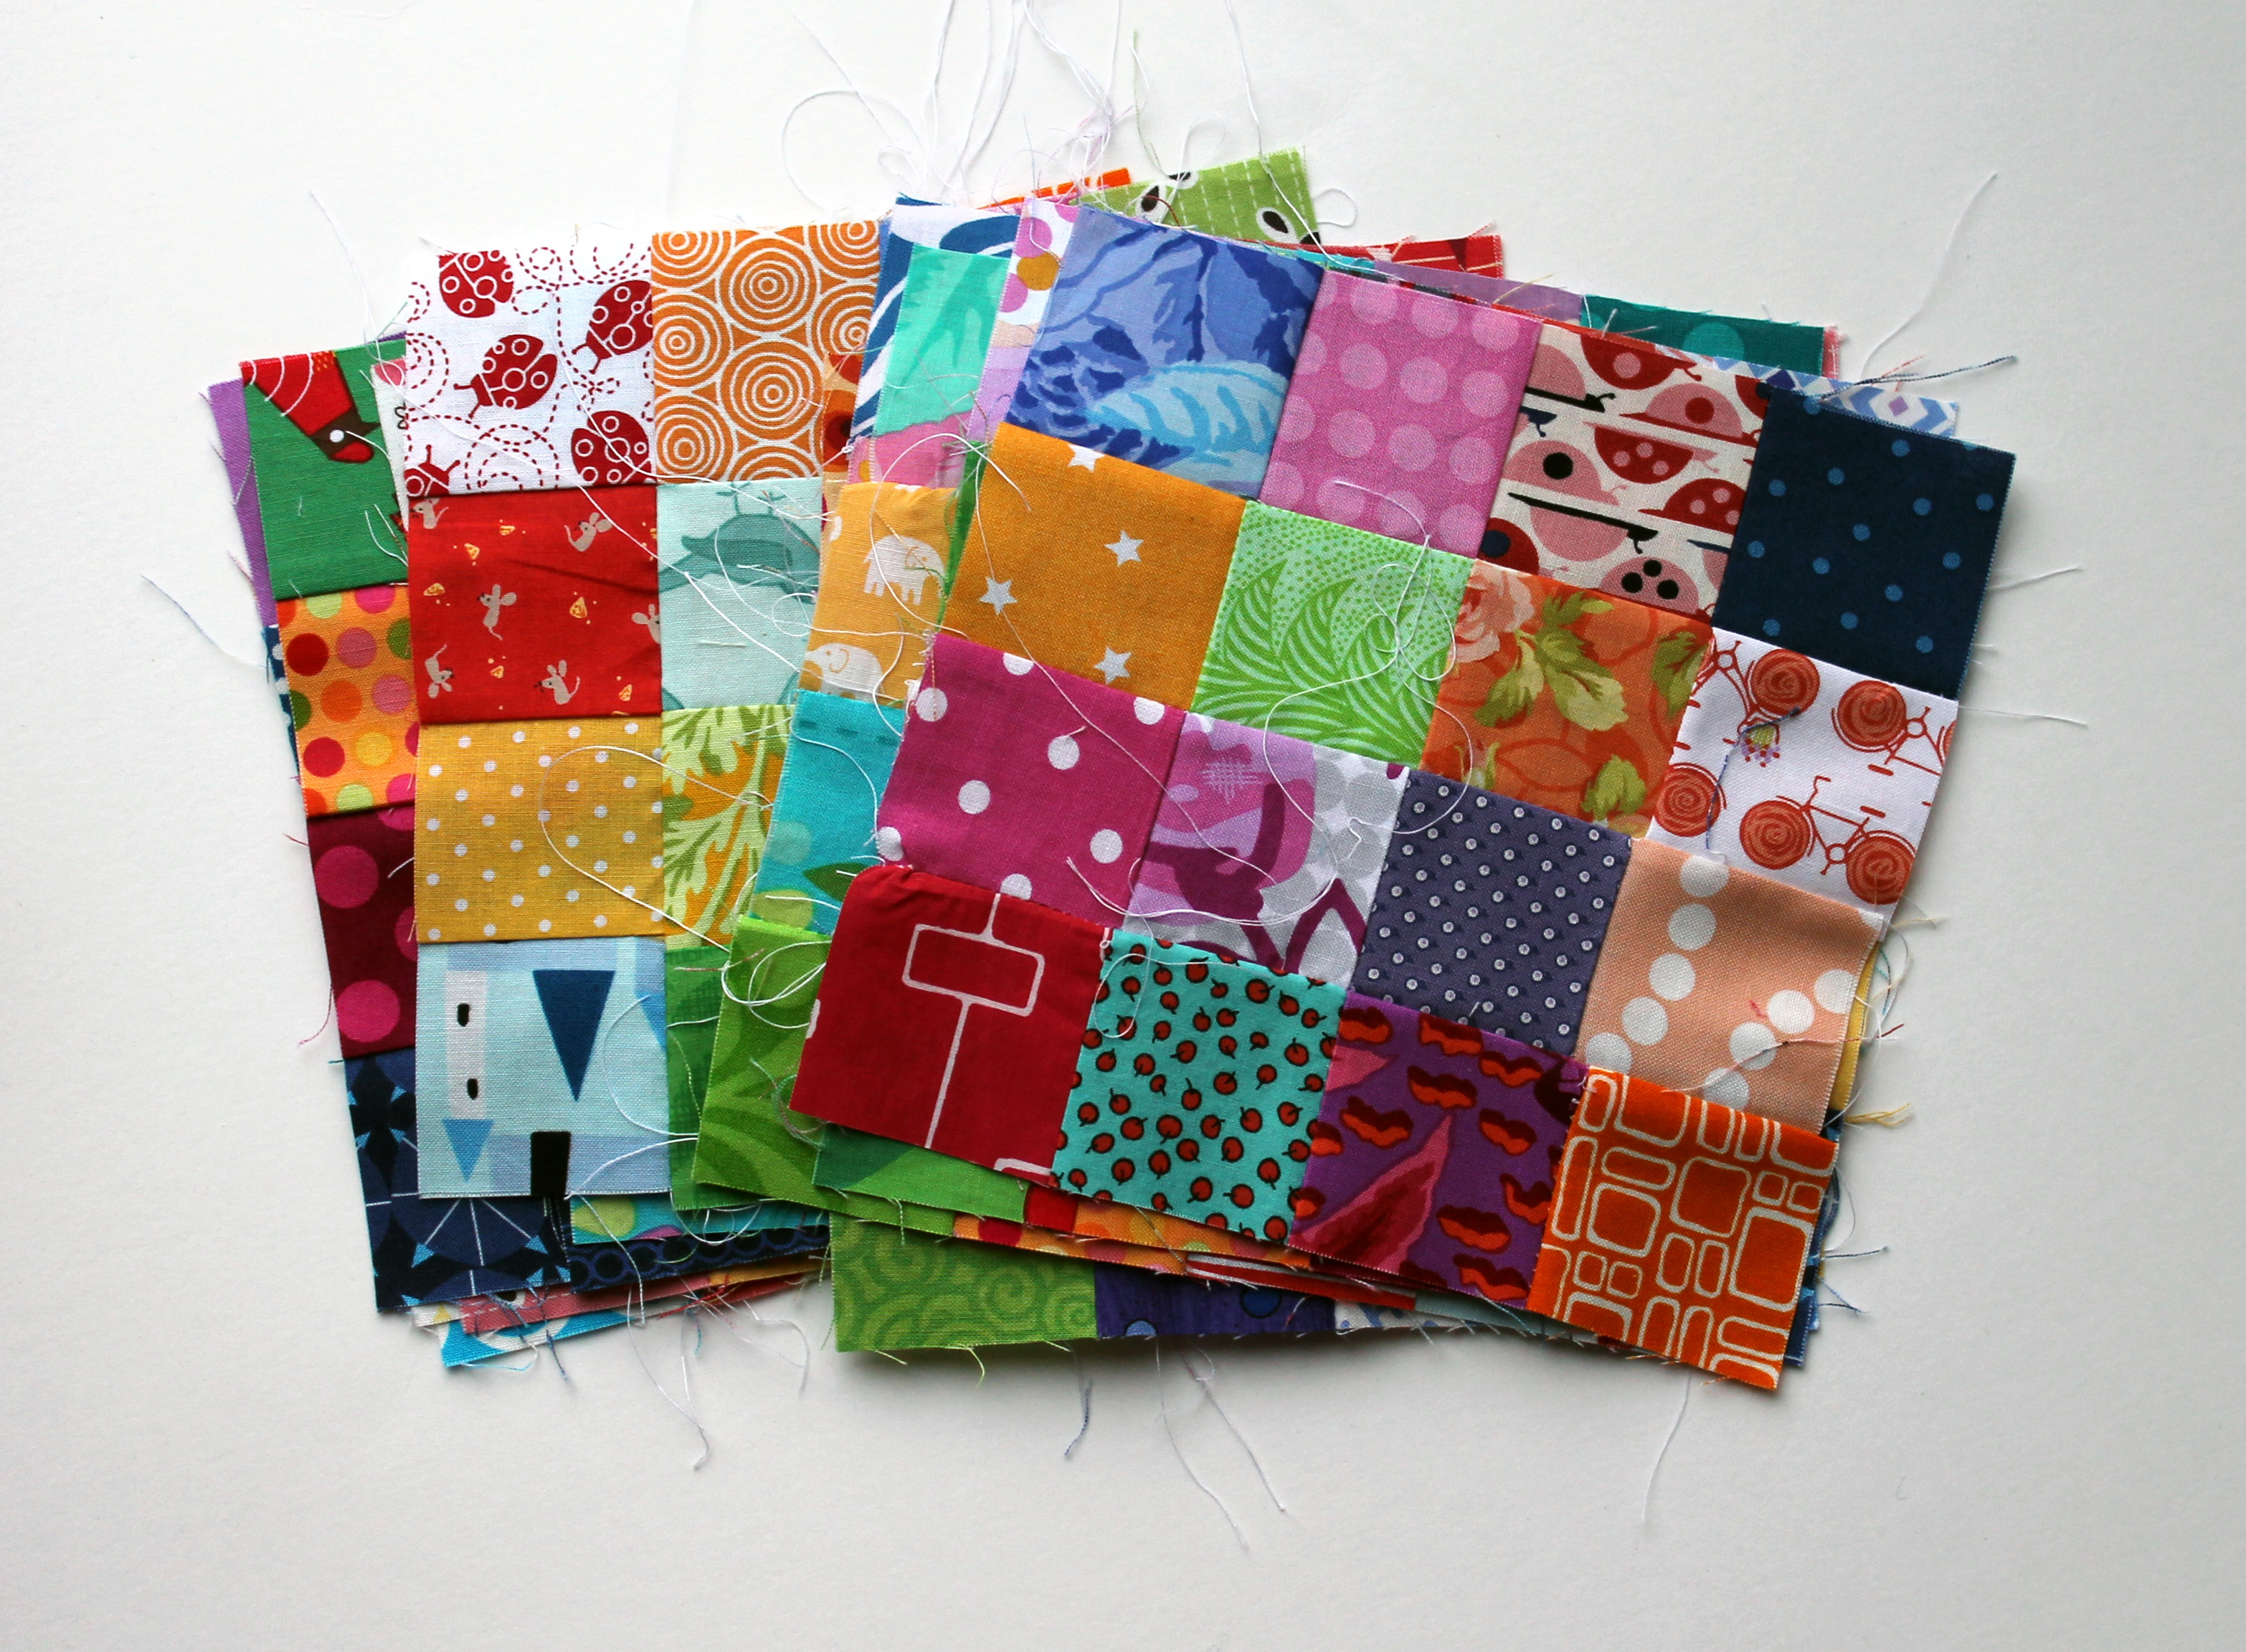
I just keep reminding myself (a) that it will be worth it in the end and (b) I never have to do this again.  To keep myself motivated I did sew a couple of blocks together so I could see the effect.  This quilt is going to make for one crazy game of eye spy.

postage stamp quilt block.

Wonky Star Quilt finished

I finally finished my wonky star quilt. I had blogged about finishing the top a month or so ago and it has taken me a while to actually get it quilted.  I am really pleased with how it turned out.  It is a true scrap quilt using different colour bits and pieces for the stars as well as scraps of tone on tone whites for the background.

finished wonky star quilt

I  ummed and ahhed about how to quilt it.  I started doing a loopy quilting pattern but did not like it so unpicked it all and started again.  I ended up quilting stars all over – no set pattern just big and little stars all over.  I really do have to work on my quilting skills.  I get bored with this part of the process and I must admit I get a little sloppy.

wonky star quilt detail

I backed the quilt with a wonderful Alexander Henry fabric that just really worked with the colours I used.  I framed the fabric I had with a white border which I think works okay. I love the fabric but probably could have found another way to make it work.  I have just discovered Elizabeth Hartman’s FREE Craftsy course on quilt backs which has got me thinking about other ways to back my quilts.  It is a great course and you can find it here.

wonky star quilt back detail copy

I have now washed the quilt and it is ready for delivery to Project Linus.  I post wash all my quilts before I deliver them to PL. I do love the feel and look of the quilt when it has been washed, all soft and puckered. Are you a post or pre washer?

wonky star quilting detail

Night & Day quilt – Work in Progress Wednesday

Having just finished my gretchen block quilt top I decided that I wanted to do another modern take on a traditional quilt block.  I settled on making the night & day quilt block using a grey and green color palette.

day & night finished quilt block

I am doing another paper piecing scrap quilt.  I am really enjoying paper piecing again after 4 years of not doing even one foundation block/paper pattern.  You can find  quiltcache’s version of the Night and Day pattern here

paper piecing patten

I am only a day into this quilt and have already made a few blocks and a lot of mess.  My work station is awash with grey and green fabric and my husband is now pulling grey thread off his shirts rather than the white he usually has to contend with.

quilt work in progress.

I am really excited about how this quilt looks, even at this early stage.  I am going to work hard to get it finished in the next week or so and promise to post the final quilt when it is done.

Gretchen blocks – work in progress Wednesday

At Project Linus there is a constant need for boys quilts and every now and then I make a conscious effort to make boy appropriate quilts.  I must admit my fabric stash is full of wonderful florals, pinks, princesses, mermaids and other girlcentric fabric.  I do try to make a lot of my quilts gender neutral – not too many flowers, appropriate backing fabric and minimal pink.

This week I  pulled blues and oranges from the my stash and also raided my scrap boxes for little bits and pieces to make a quilt just for the boys.  I kept the florals to a bare minimum.

gretchen blocks

After some pondering I decided to make a gretchen block quilt (partly because I love the irony of making a boys quilt using a girl named block and partly because it is a cool block). The gretchen block is an easy, traditional quilt pattern and Seven Stitches has a great tutorial on making it  here.  I actually went the paper piecing route and Quilterscache has a great paper pattern you can find here.

block pile

I have a pile of blocks made and a pile still to make.   I have been playing with the layout of the blocks and looking at what size I want to make the finished quilt.  Although this is a traditional quilt block, my interpretation is definitely modern.

layoutI am loving how the pattern and colours work together and the scraps seem to add a really fun element to the quilt.  I am excited to see how it all comes together.

Flower Garden quilt finished

If have finally finished my Flower Garden quilt.  The quilt may look familiar as I use the unfinished quilt top to as my blog header, but here it is all completed….

finished quilt

There is an element of crazy to this quilt.  I really wanted to just use all my bright floral fabrics in one simple quilt.   The end result is loud, crazy, fun and bright.  I LOVE IT.

quilt detail

I kept the quilting simple and straight and made the back from left over fabric, scraps and fat quarters.  The back is almost as fun as the front!

quilt back

This quilt is also bound for Project Linus and I know without a doubt that some kid is going to love it as much as I do.