A fabulous finish for Friday…

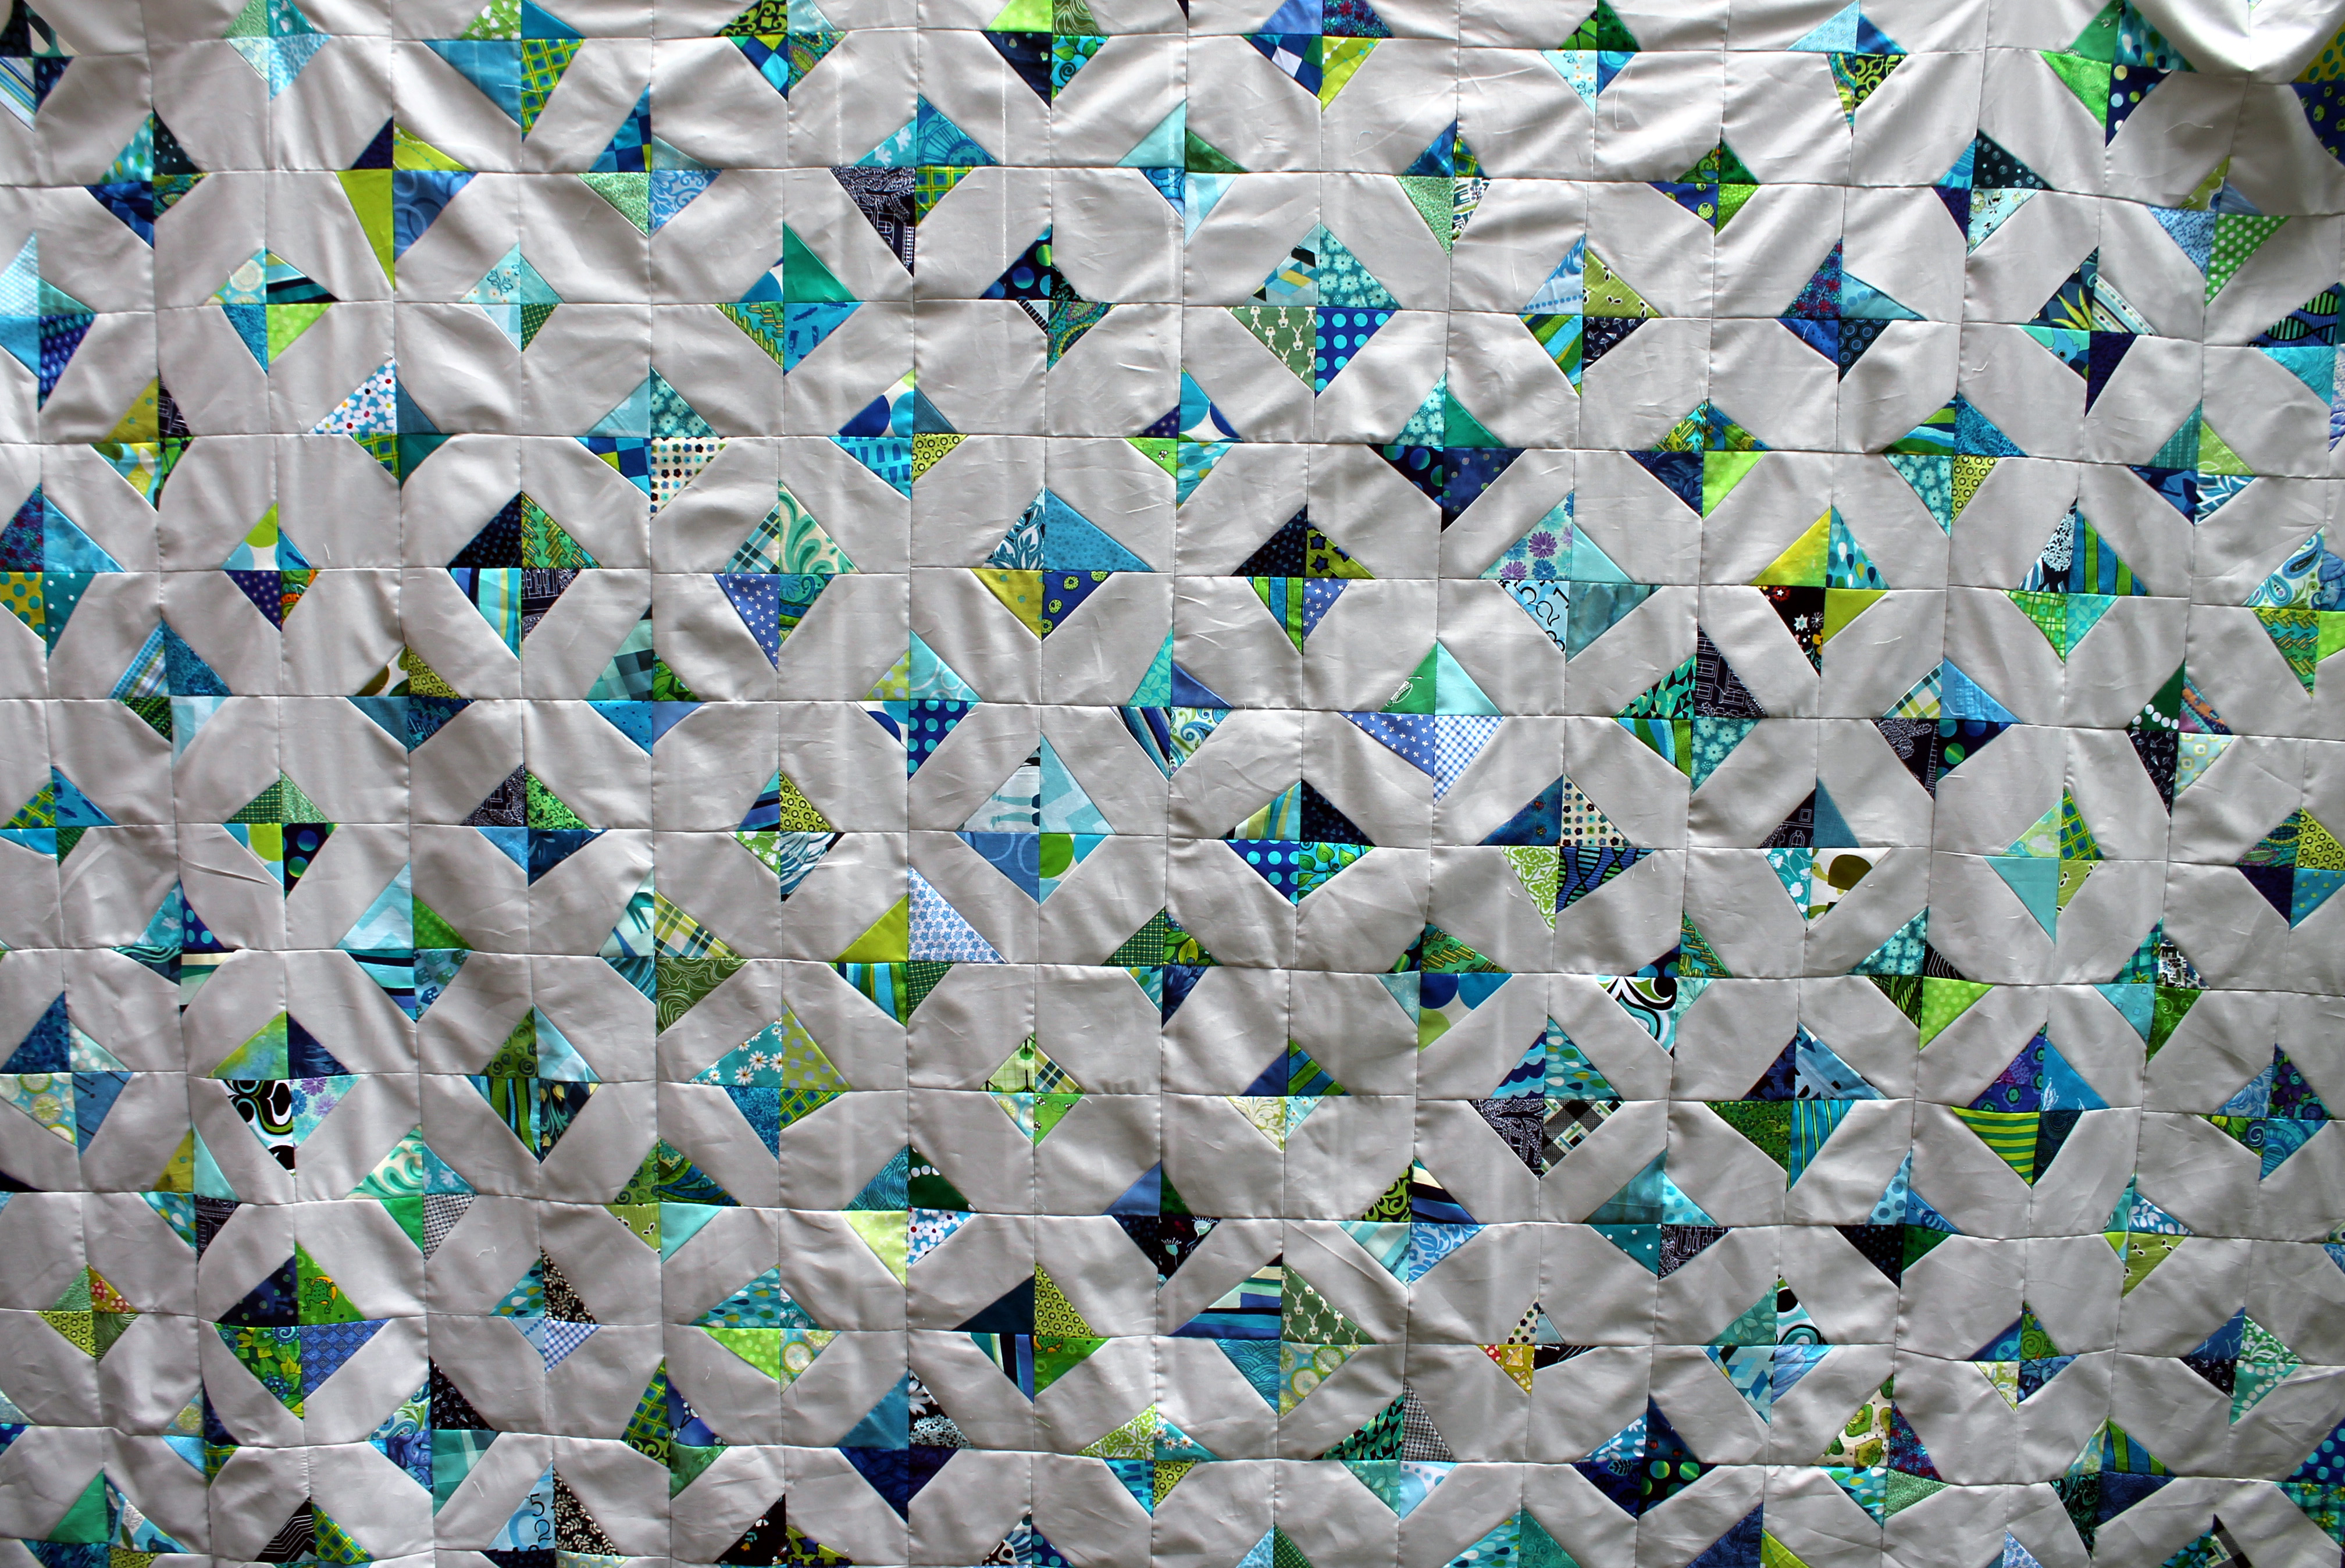
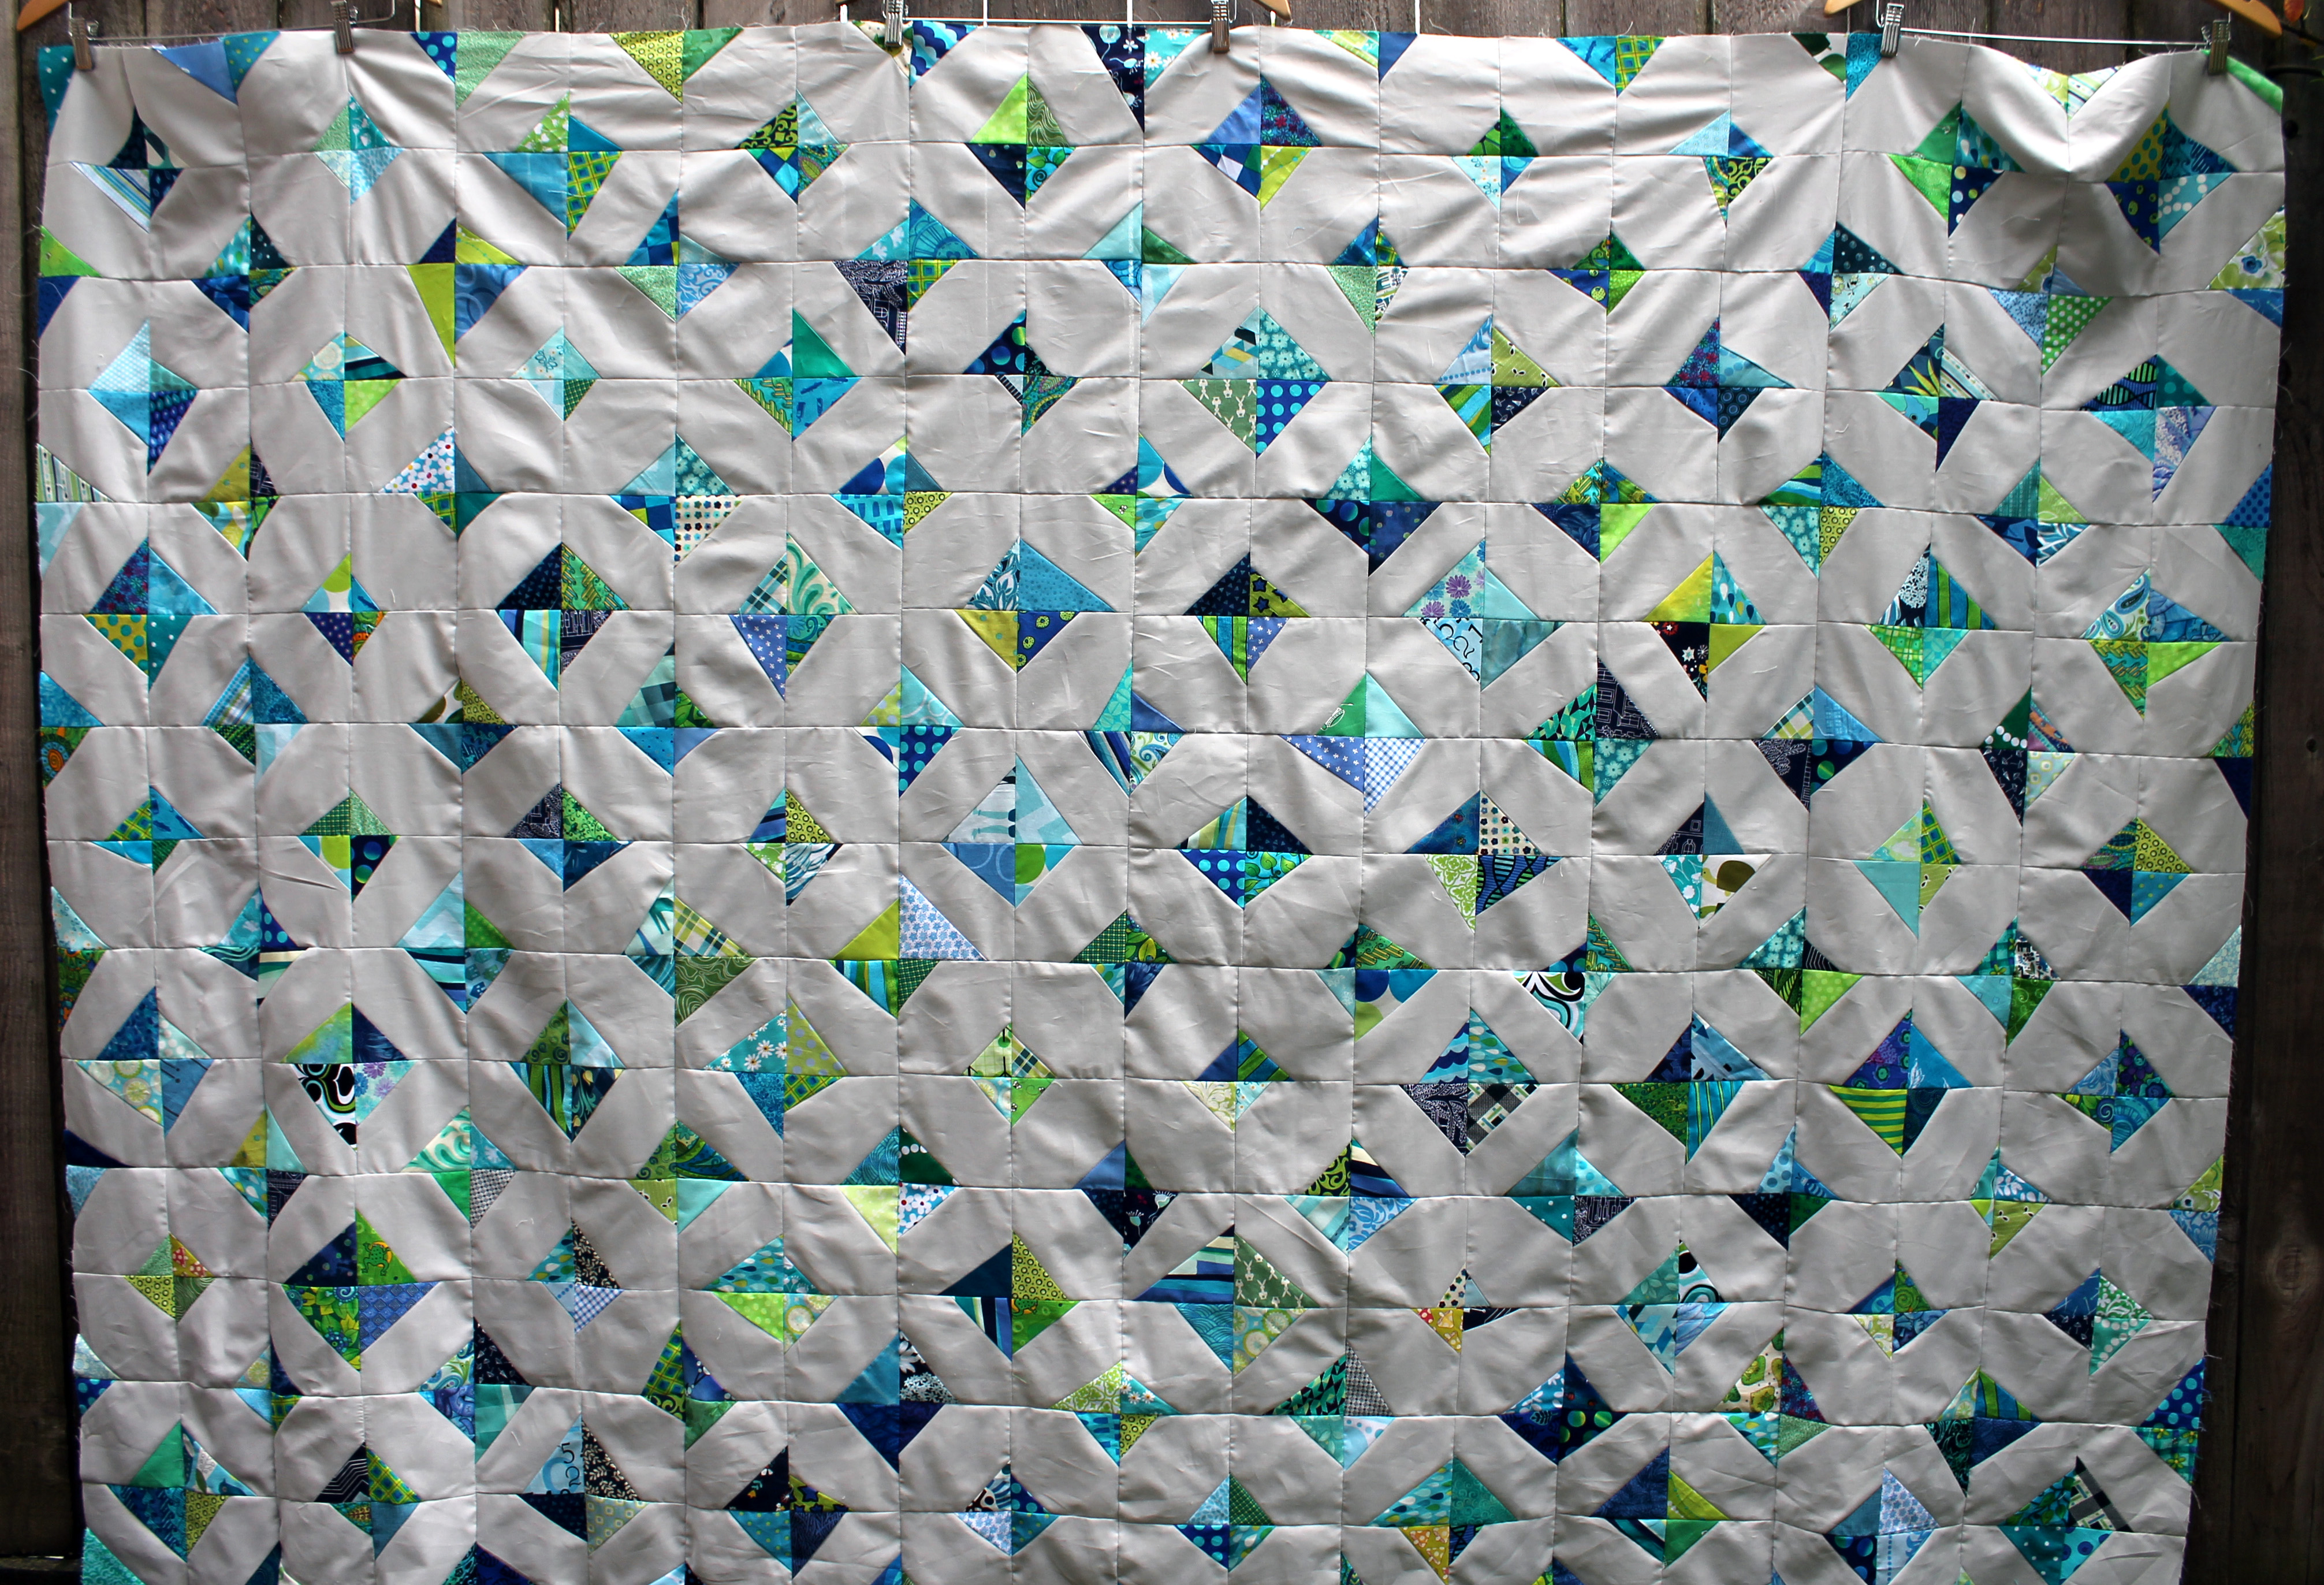
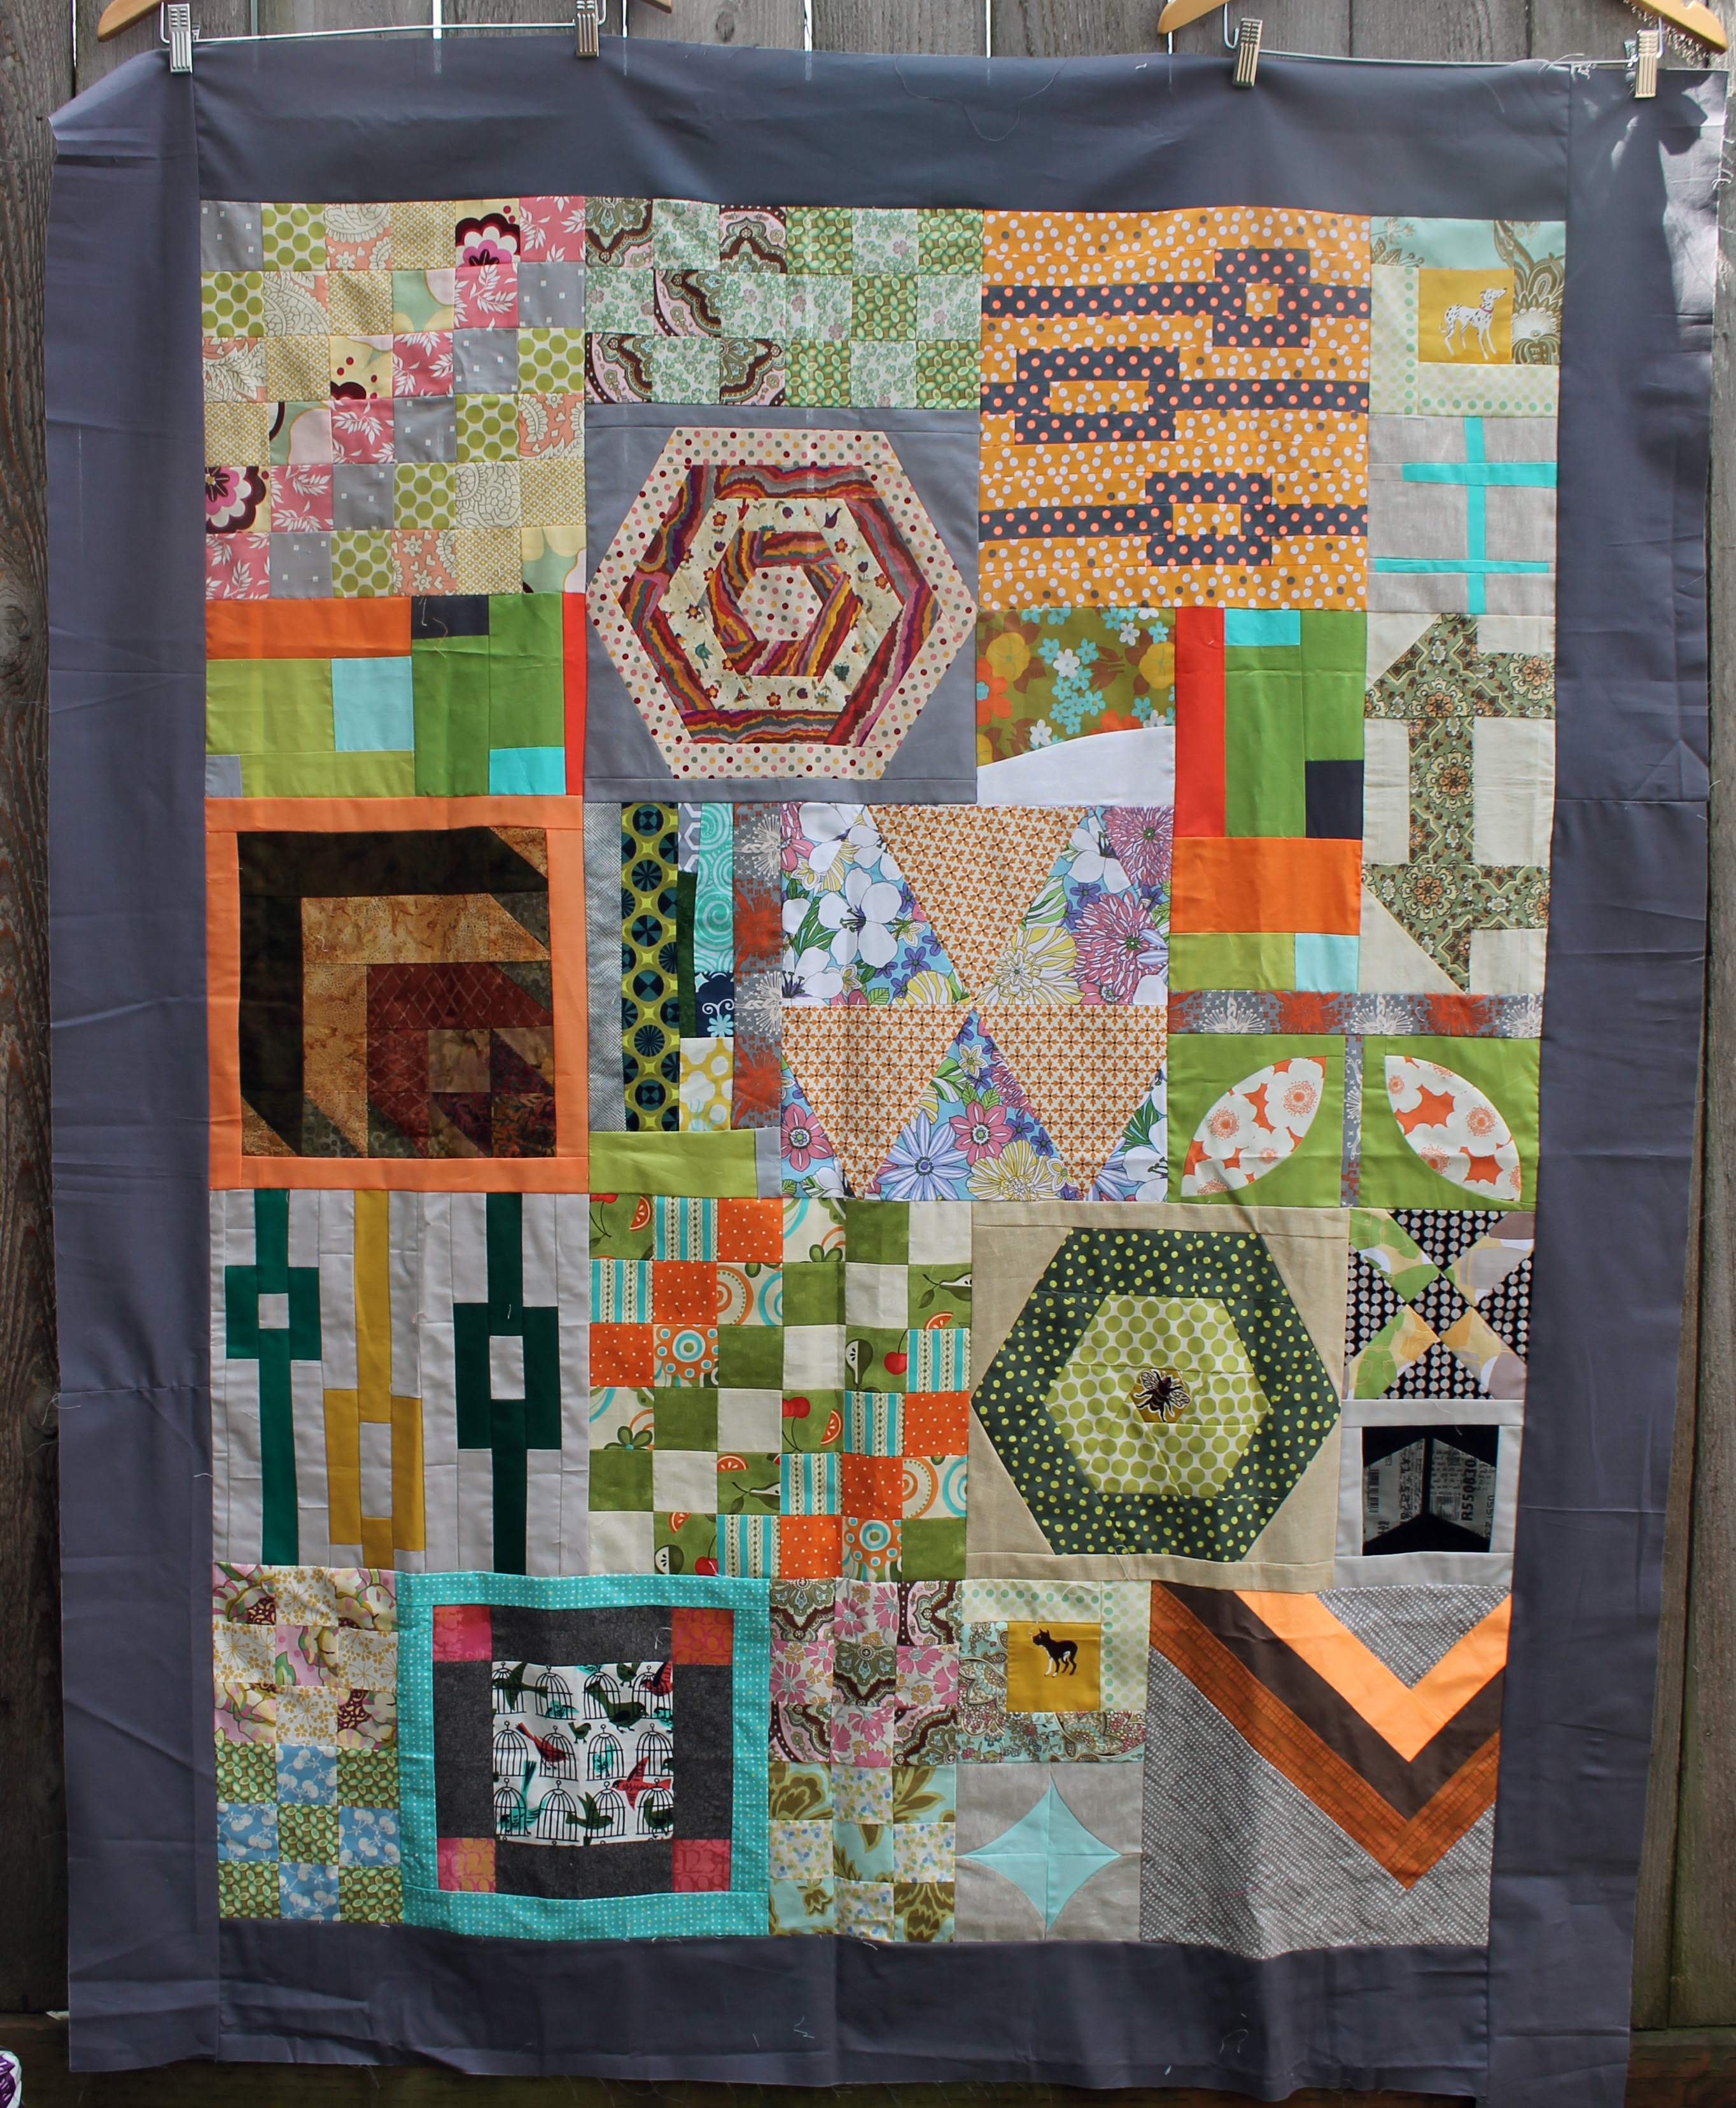
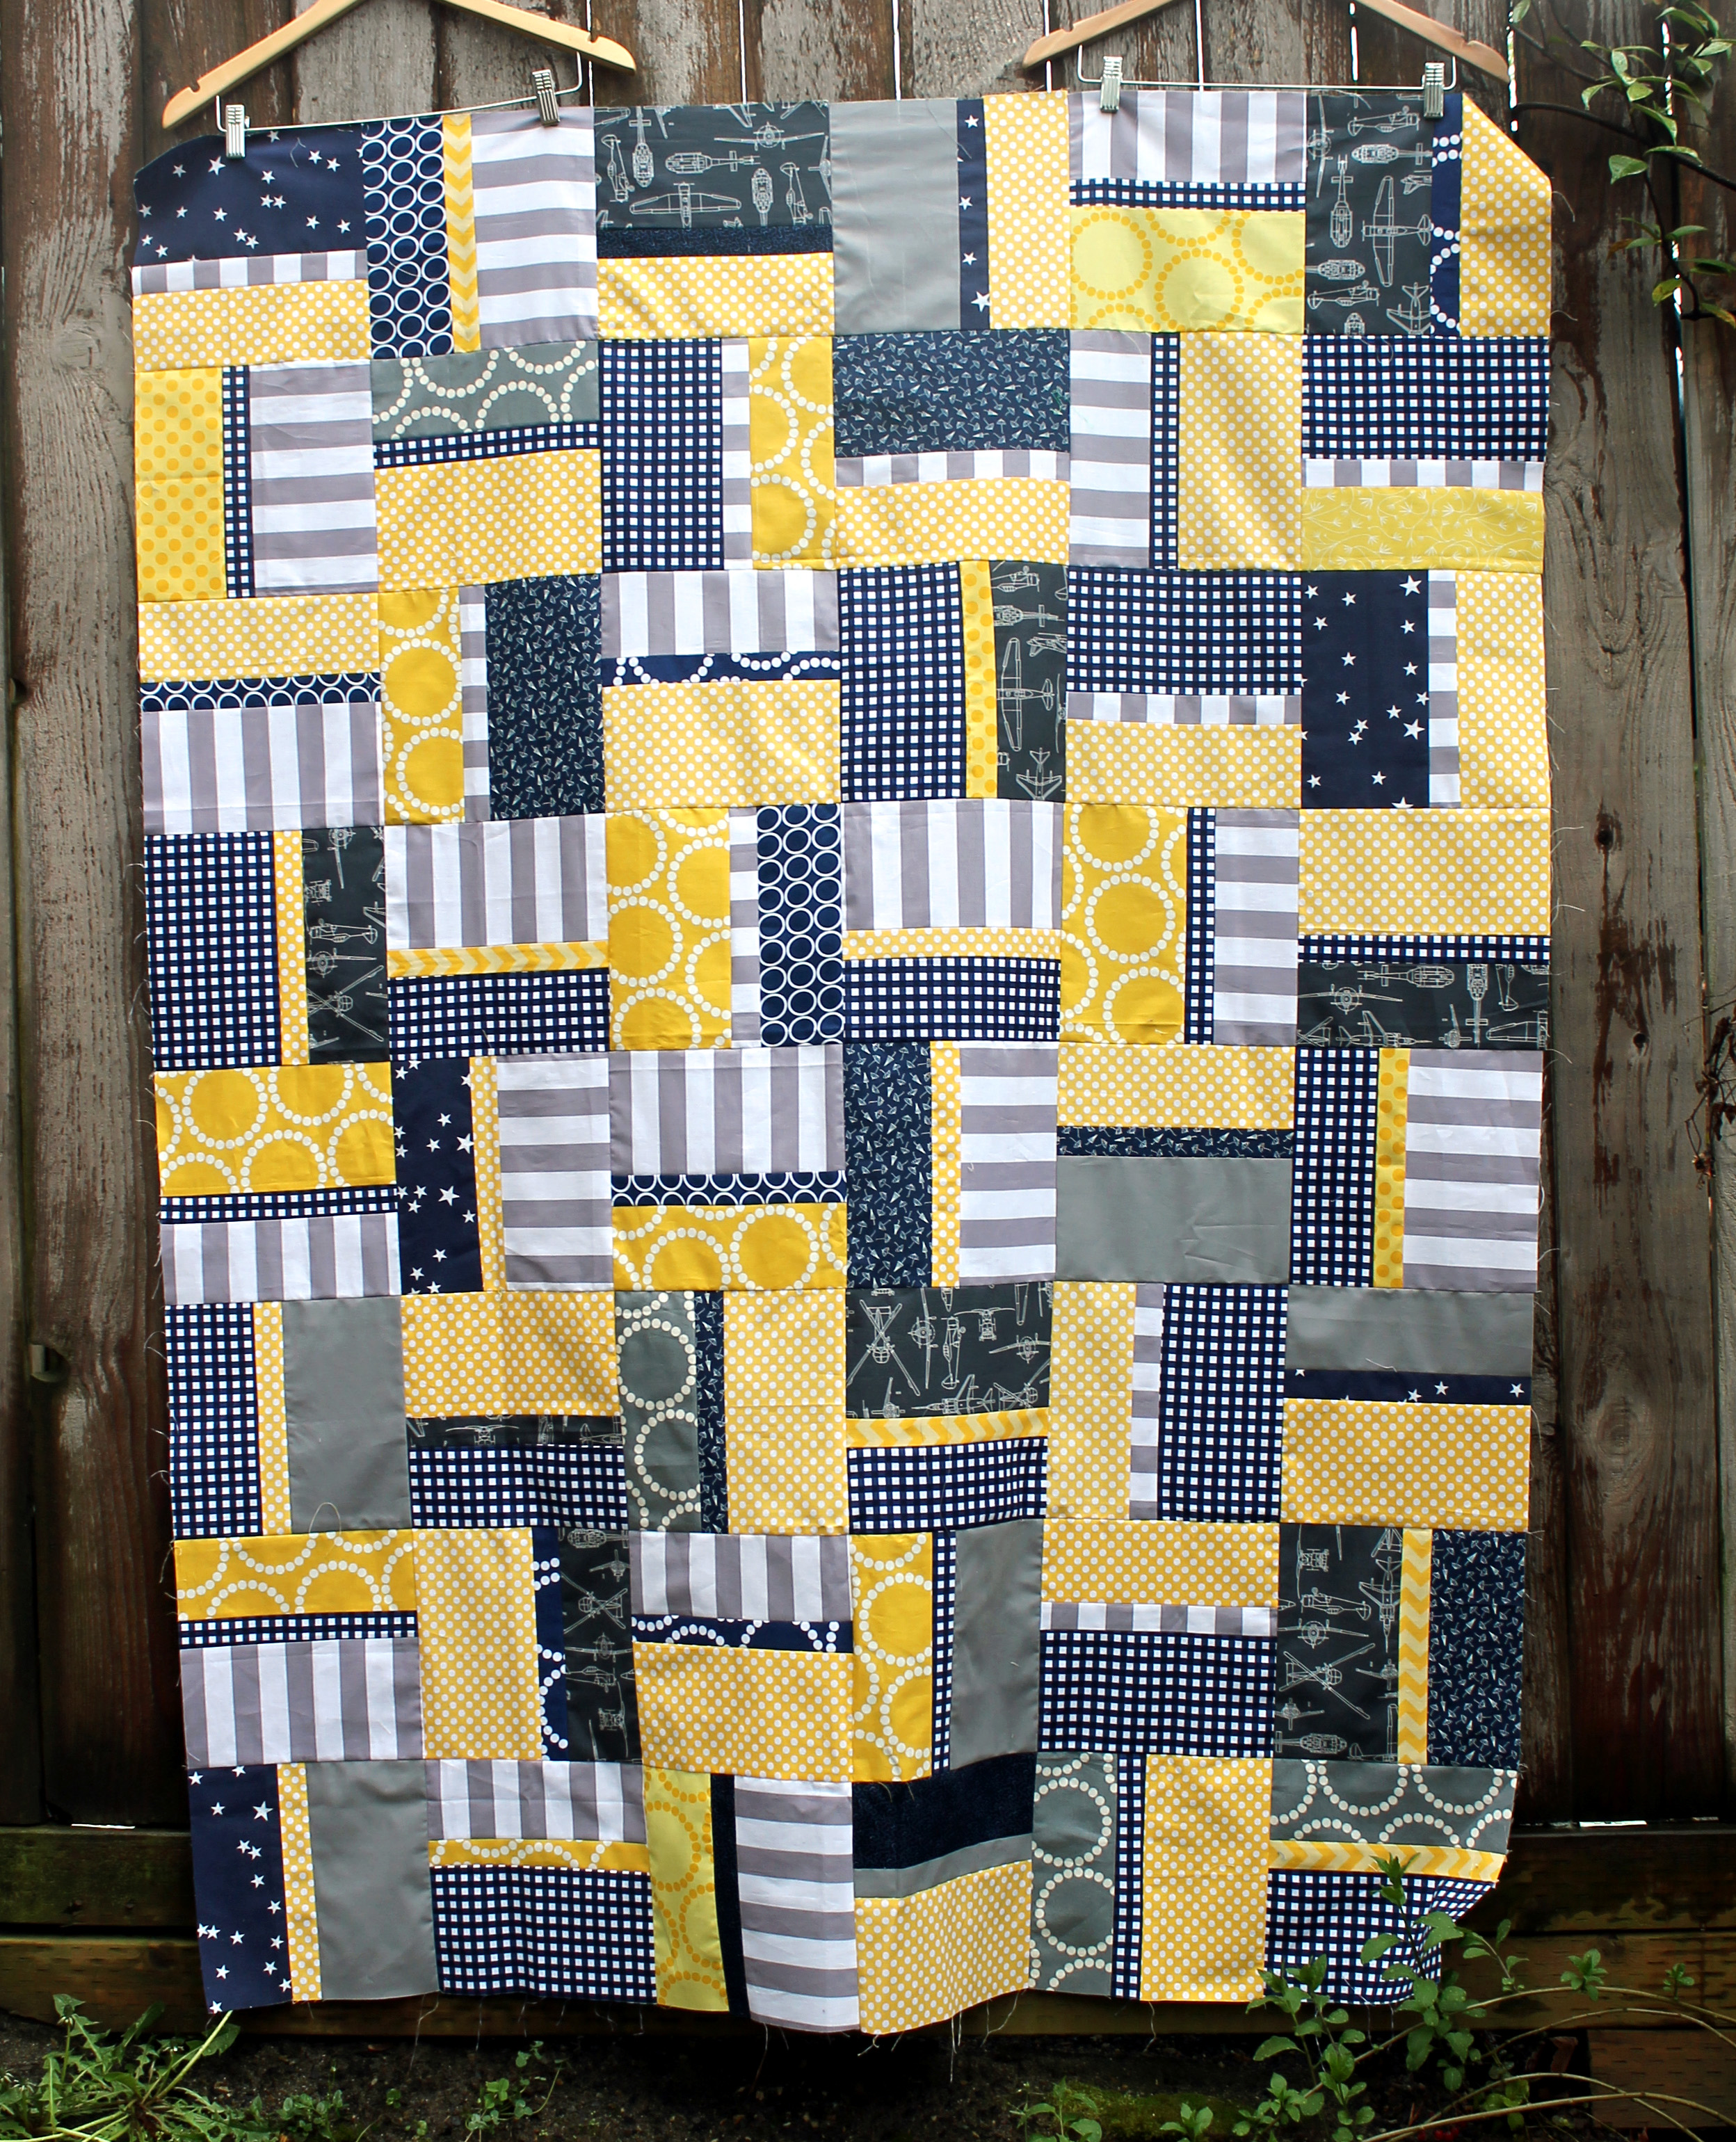
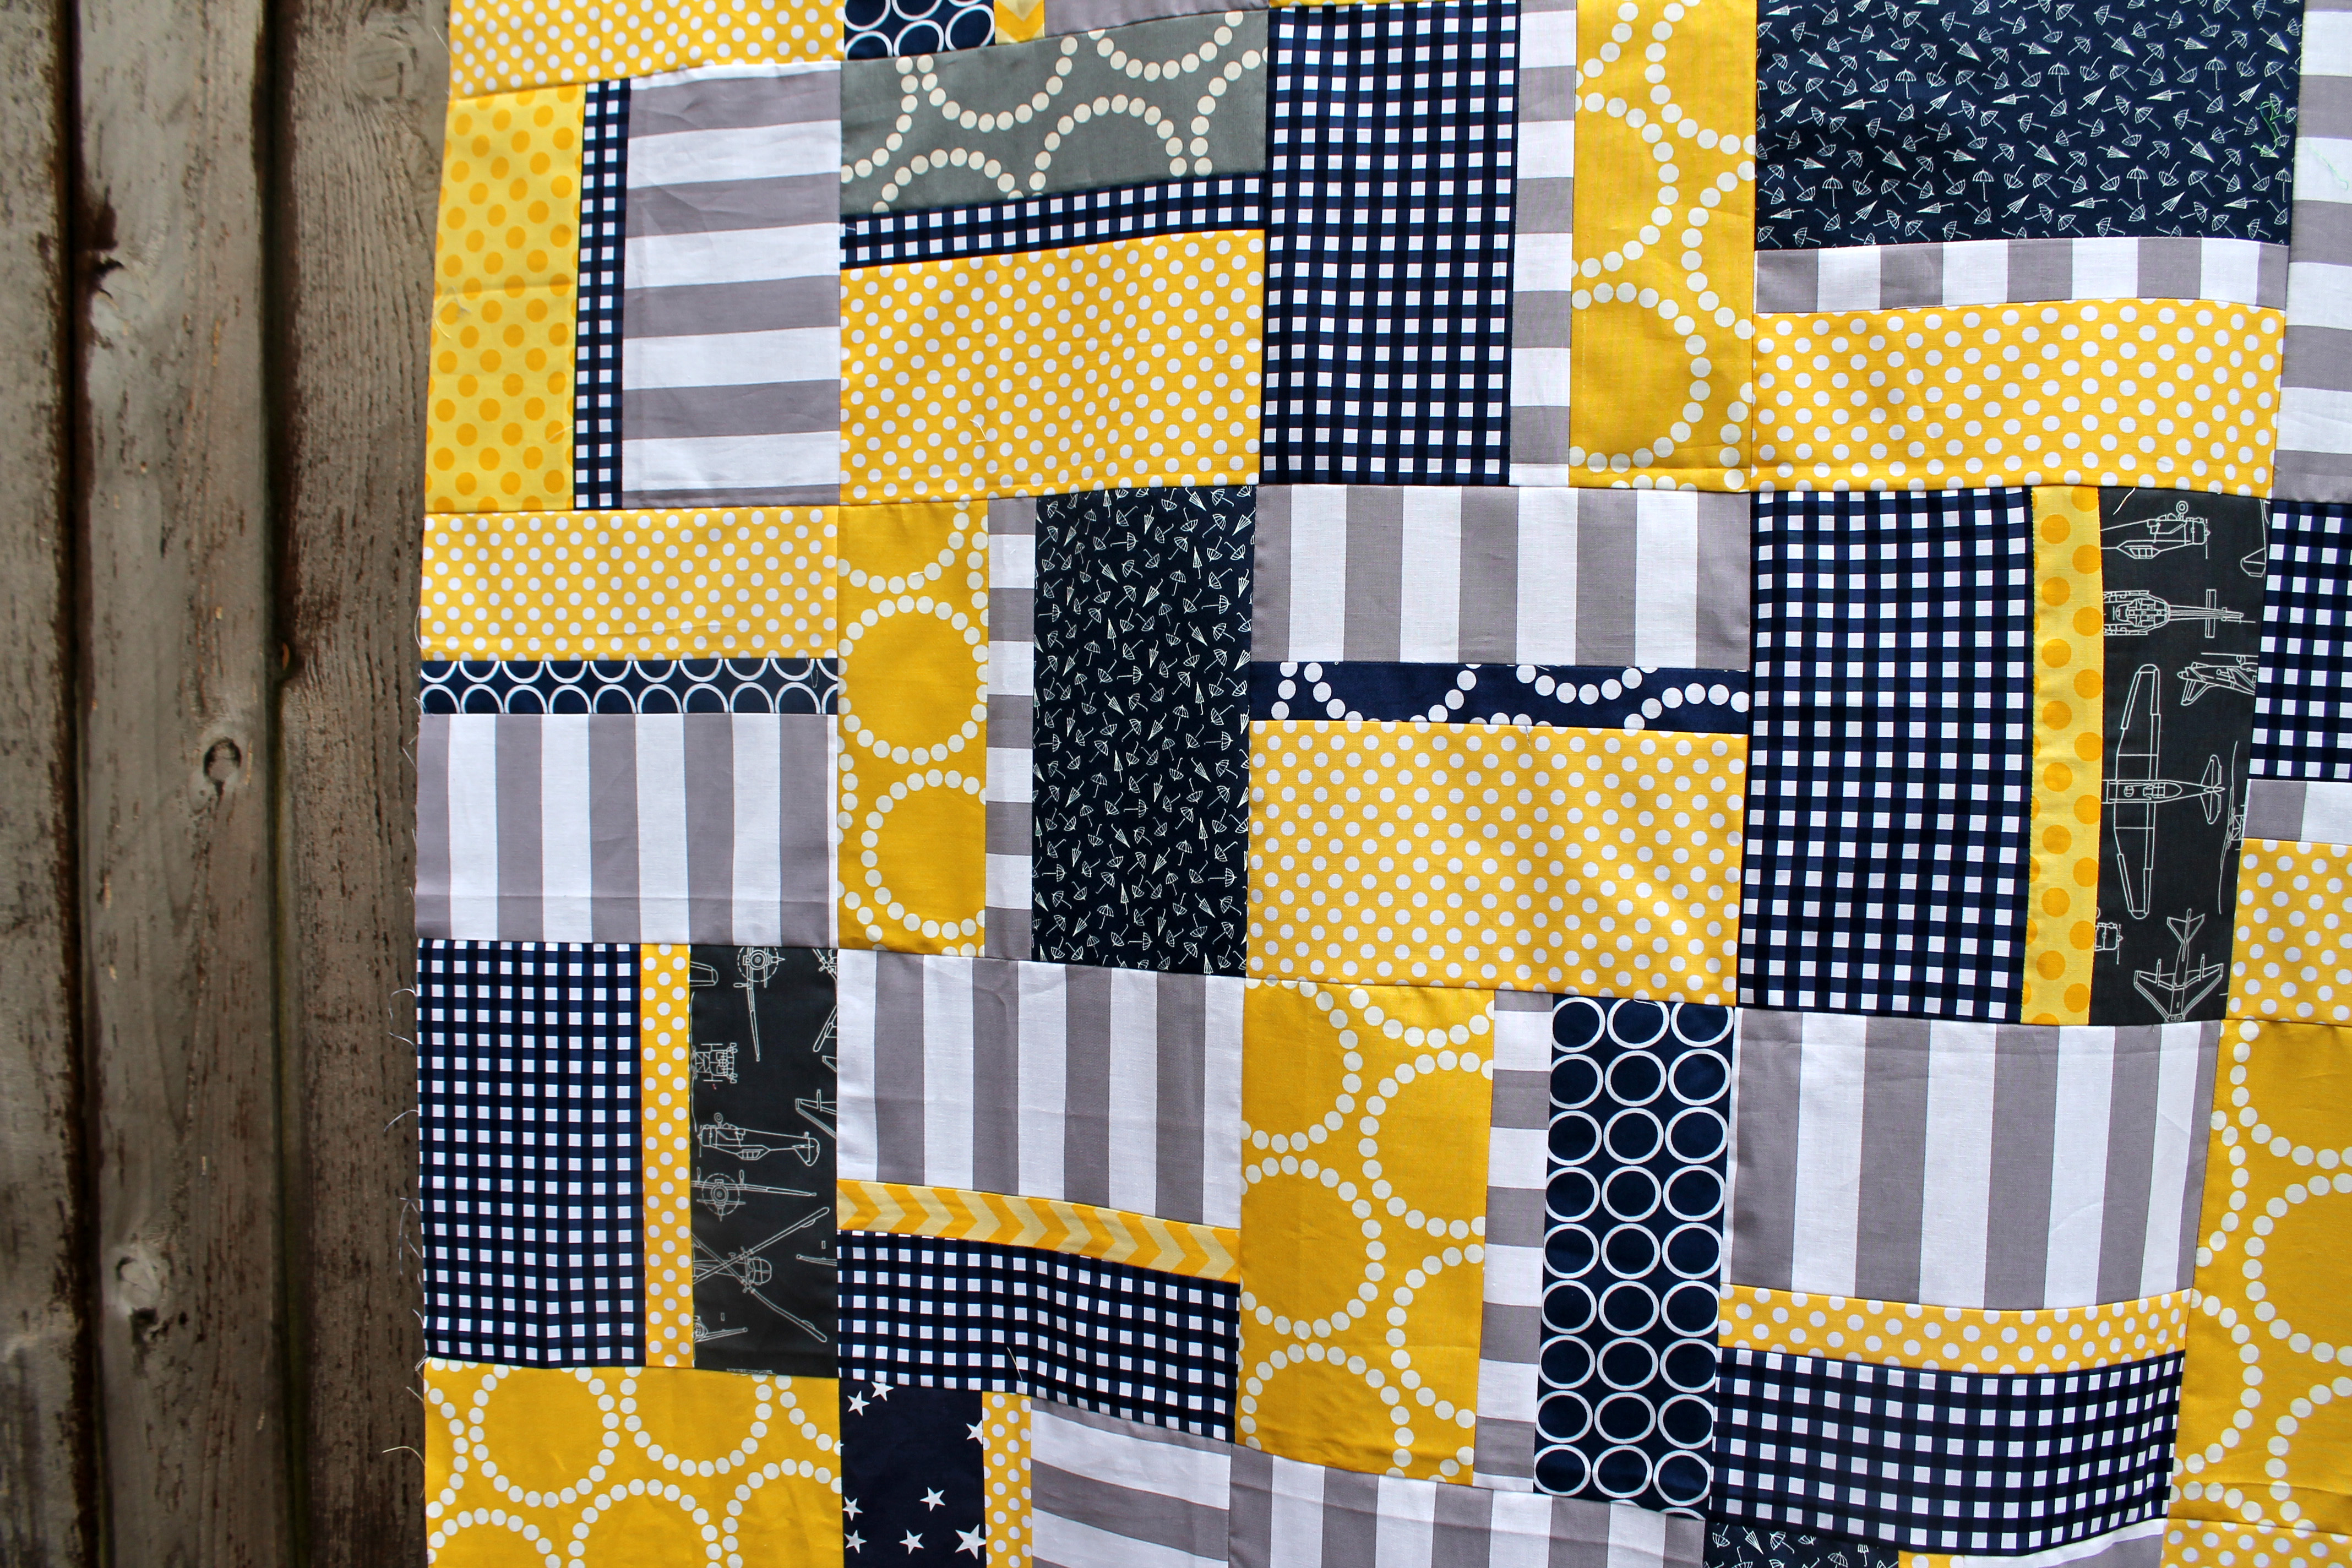
This week I am pleased to share another Portland Modern Quilt Guild charity quilt… actually one of my favorite so far I must admit…

Finished PMQG charity quilt copy

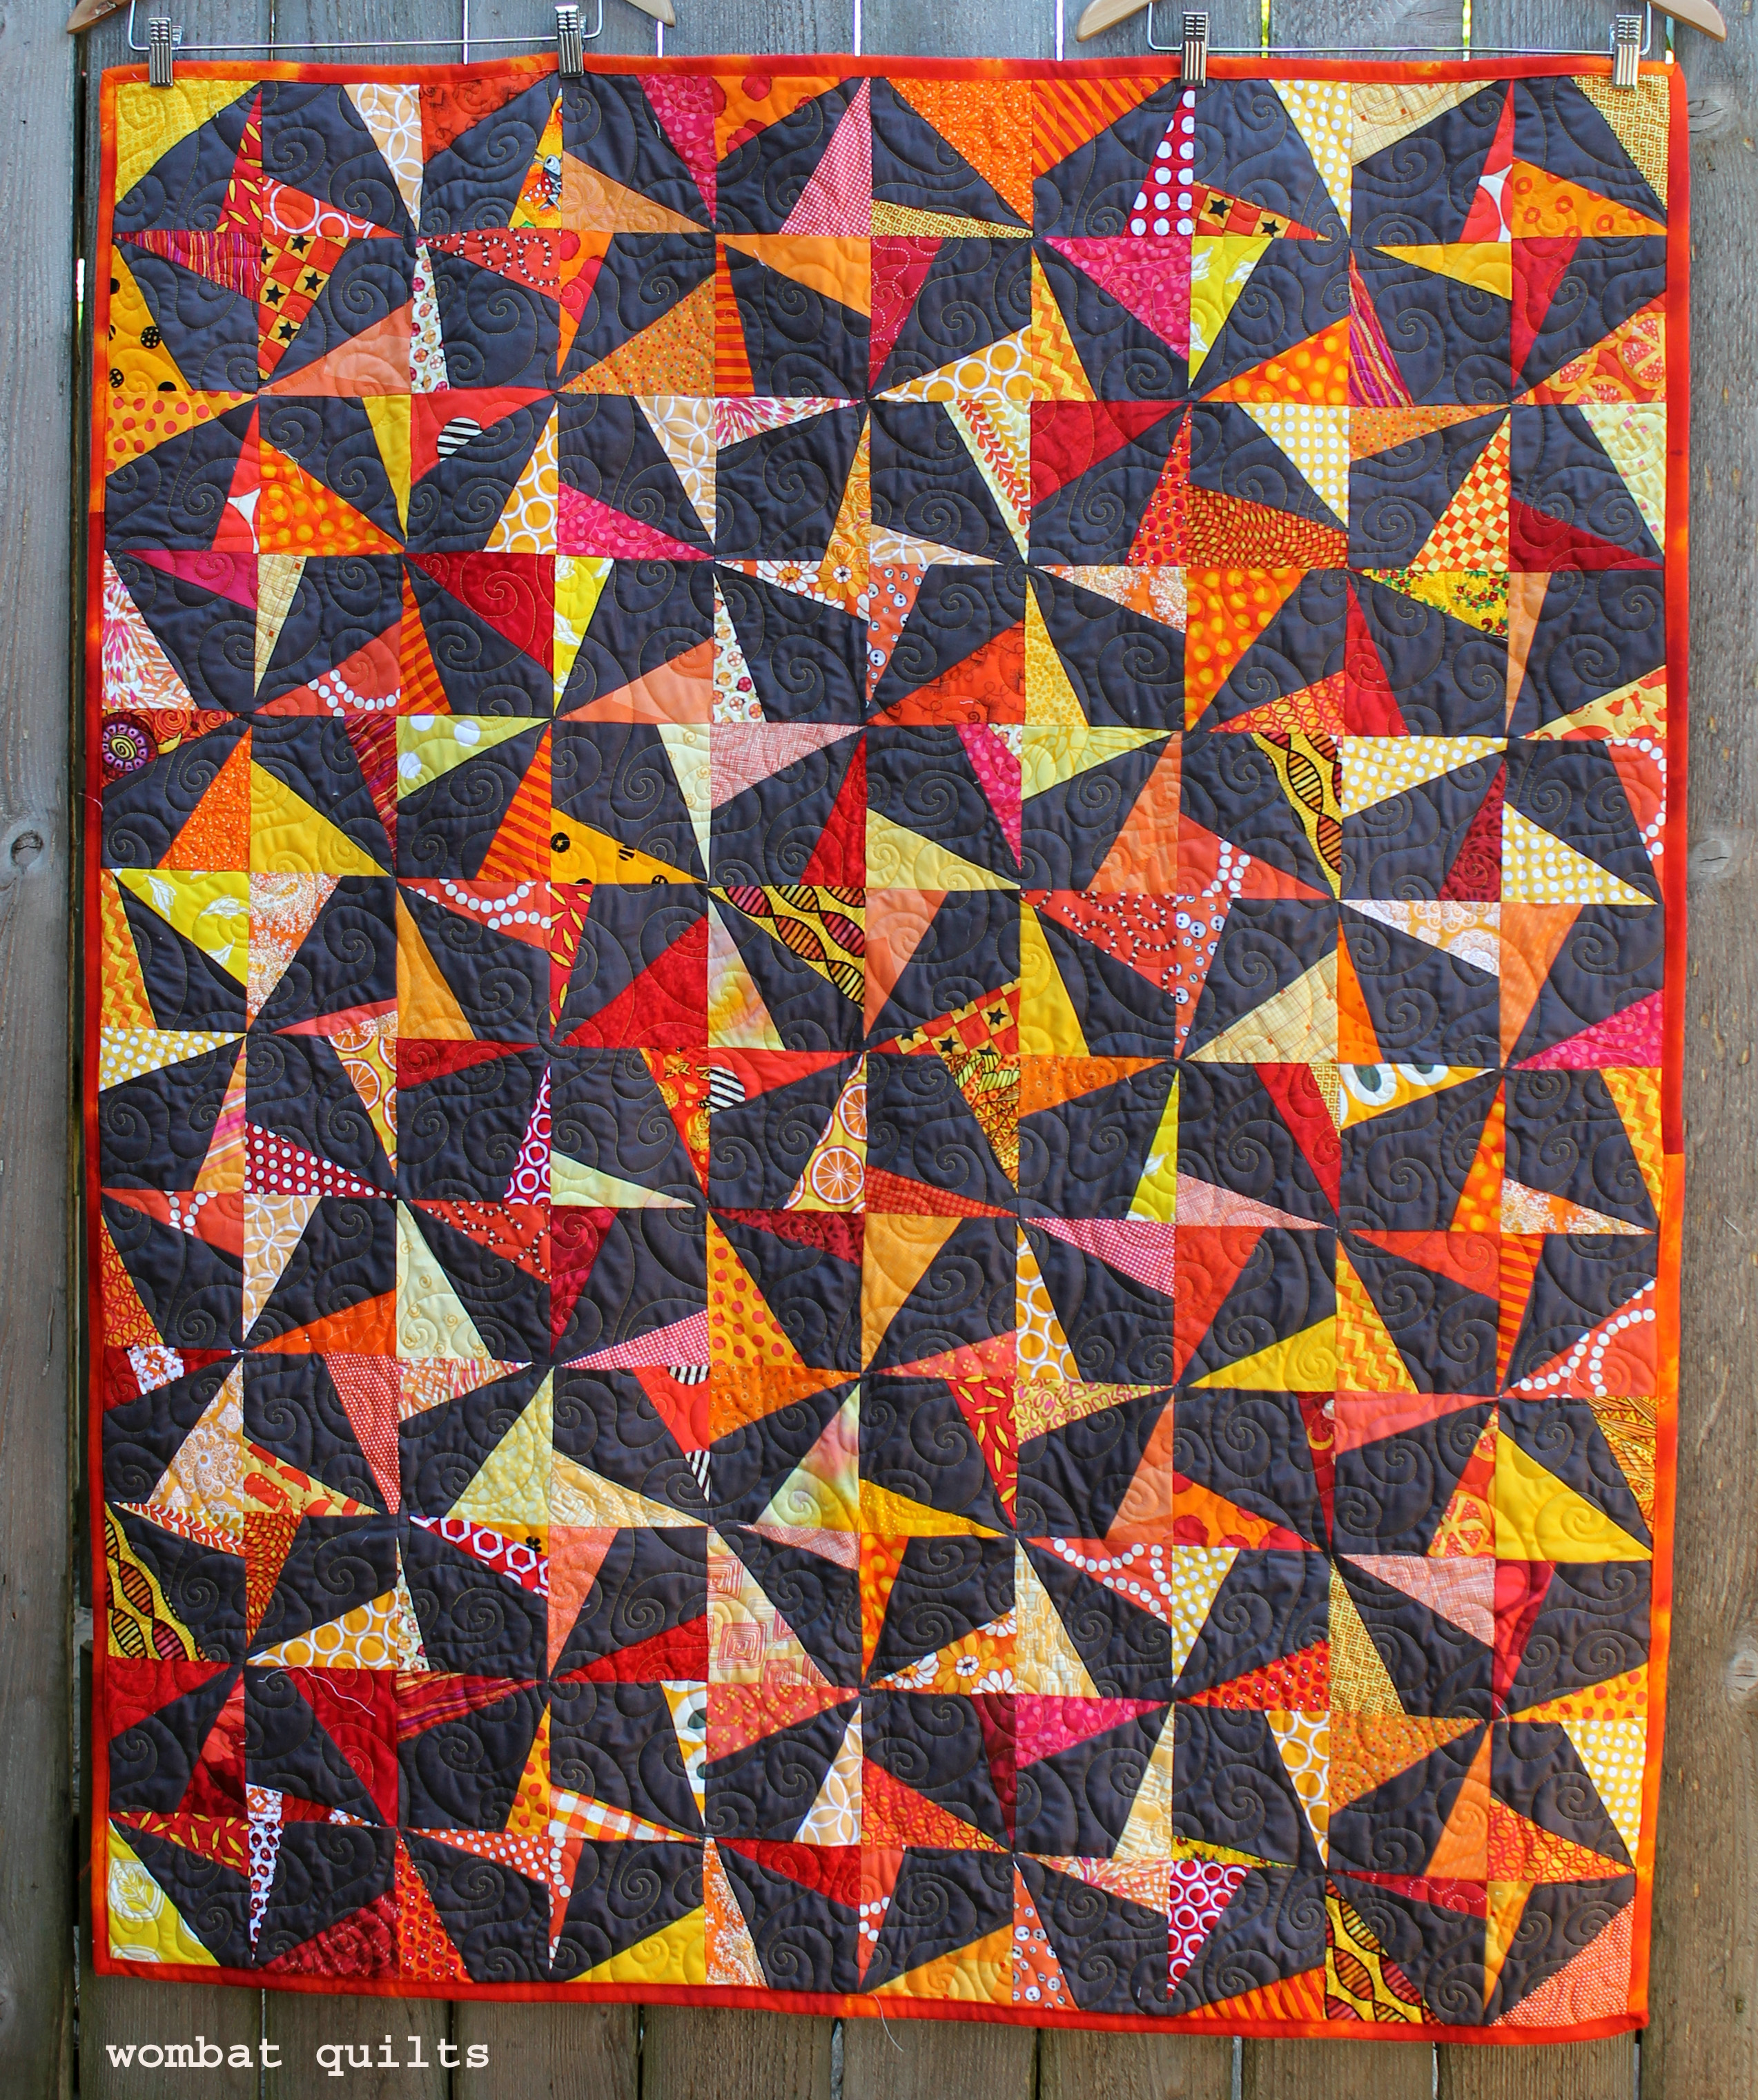
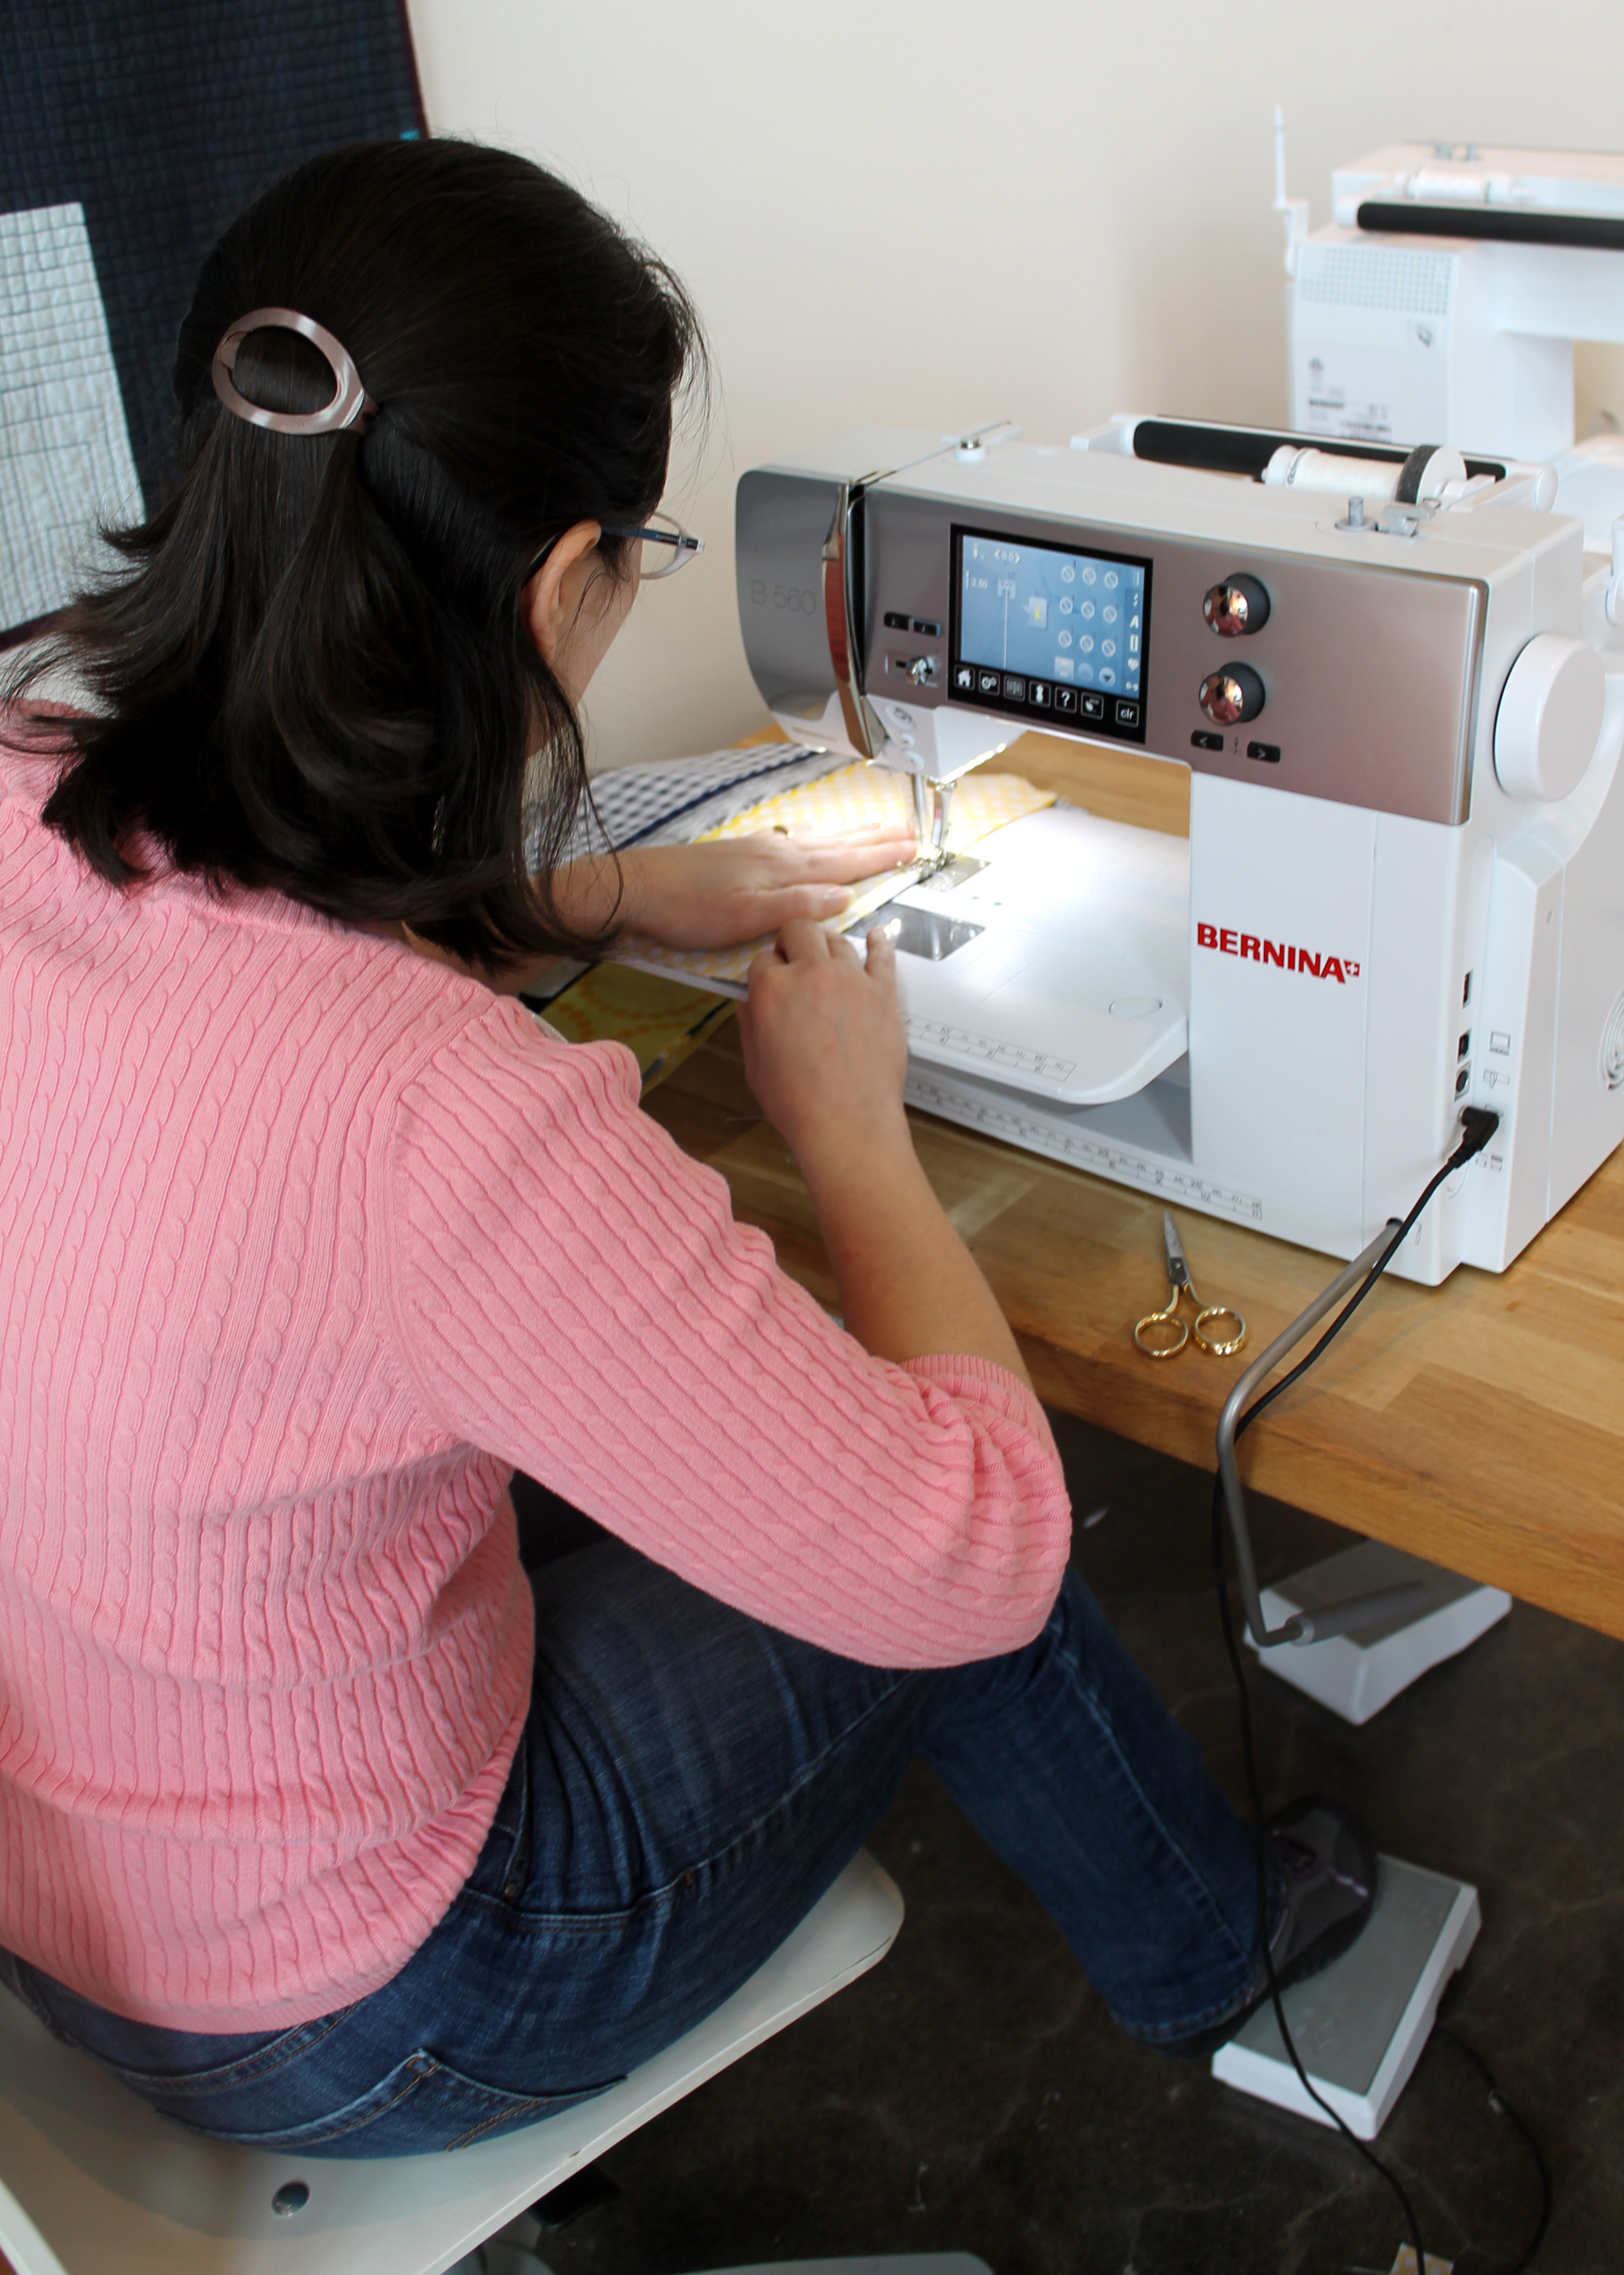
The blocks for this top were made at one of our Charity Sew days (check out my original post for more details) and then shipped off to be quilted by one of our wonderful members. This time it was the amazing Nancy Stovall who did the long-arming.

pmqg charity quilt detail 2
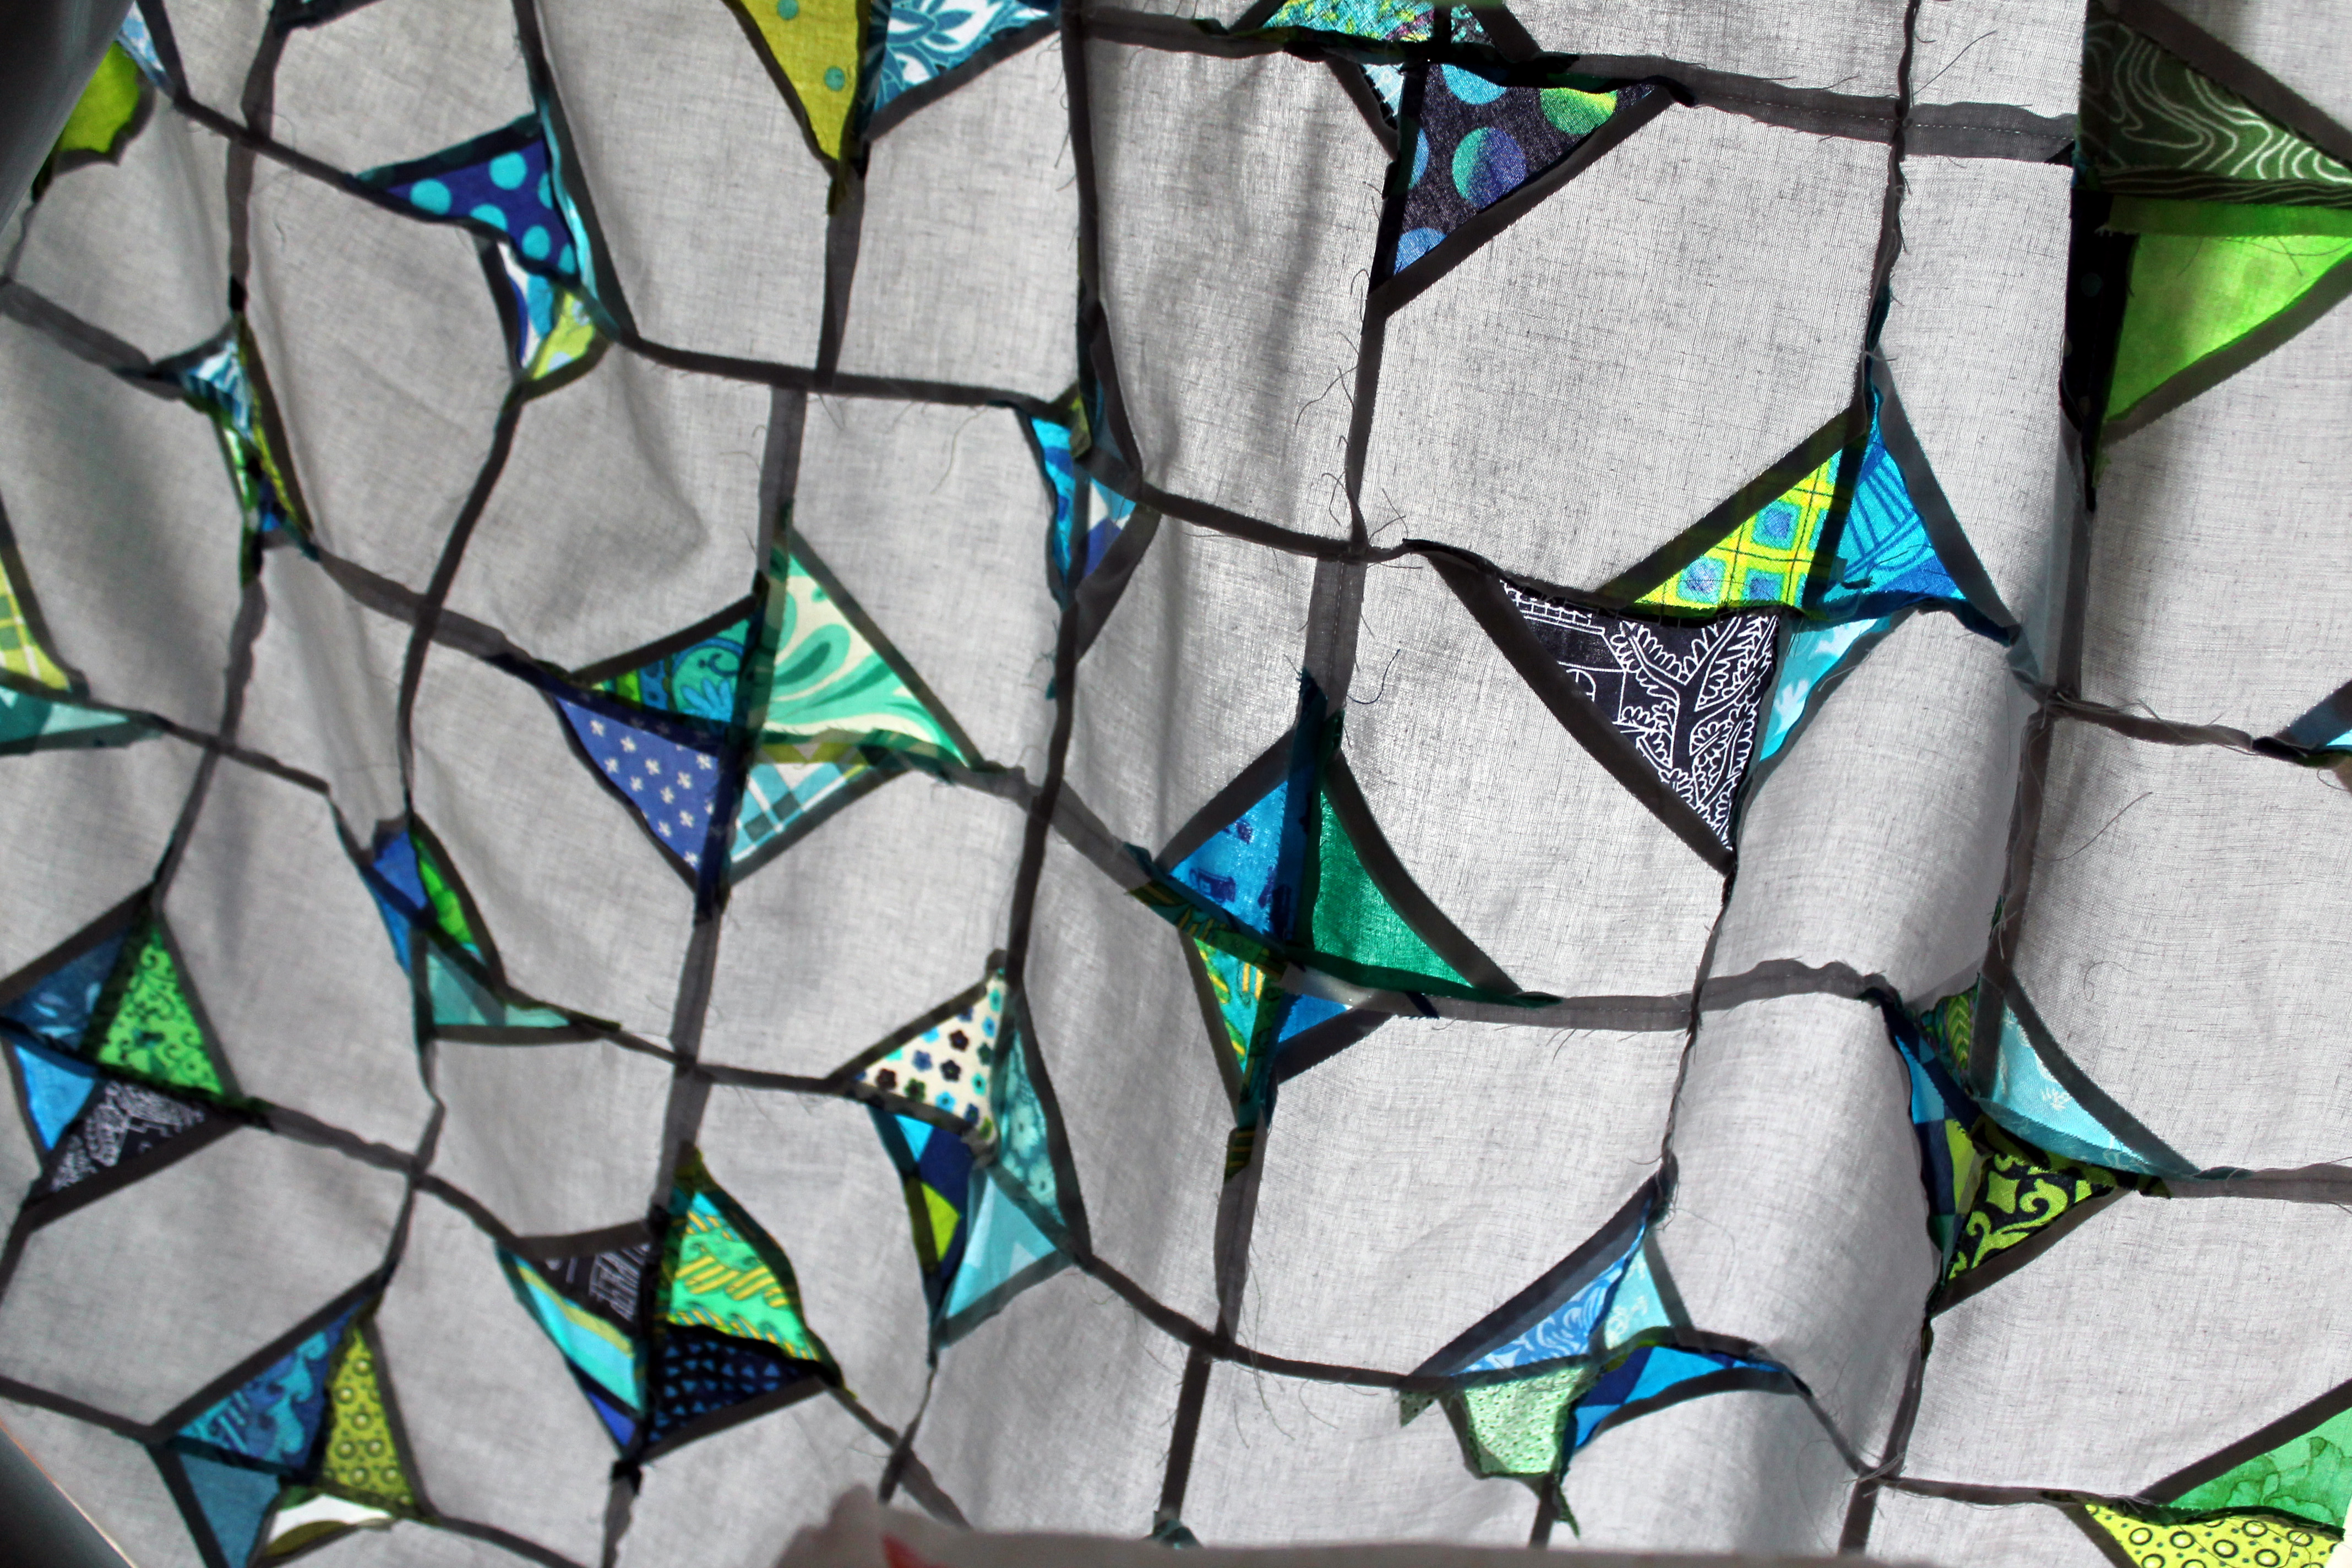
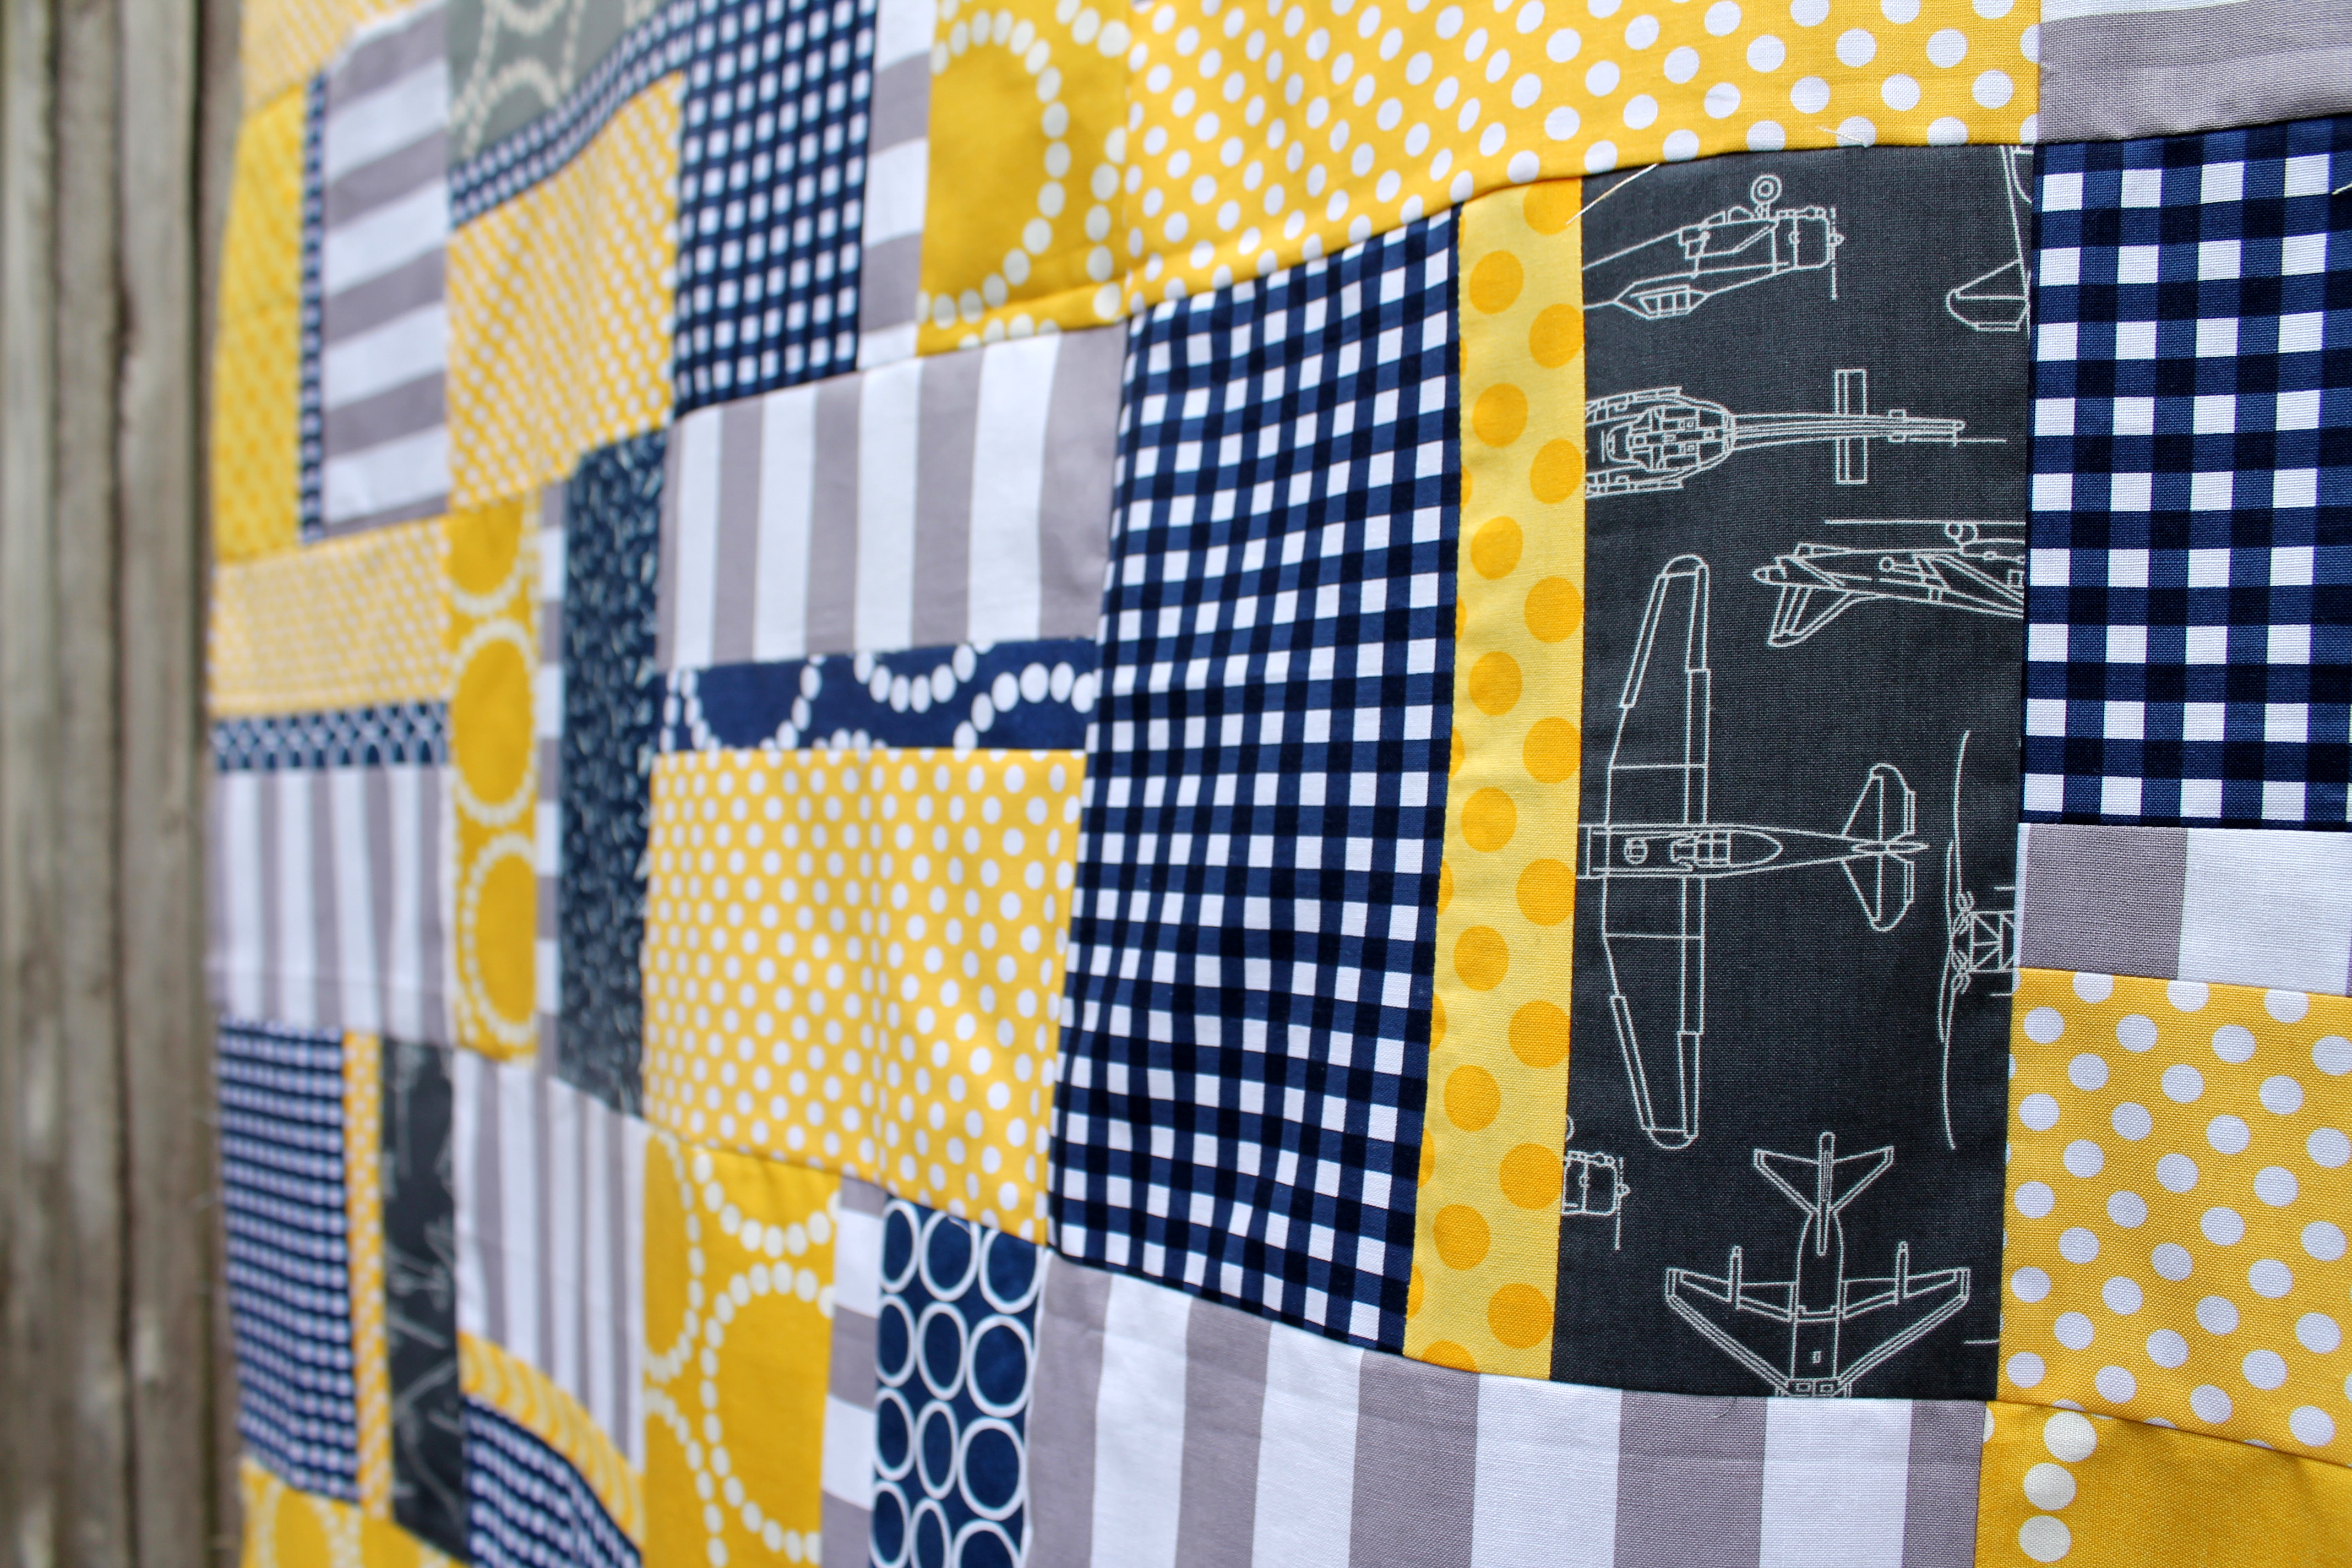
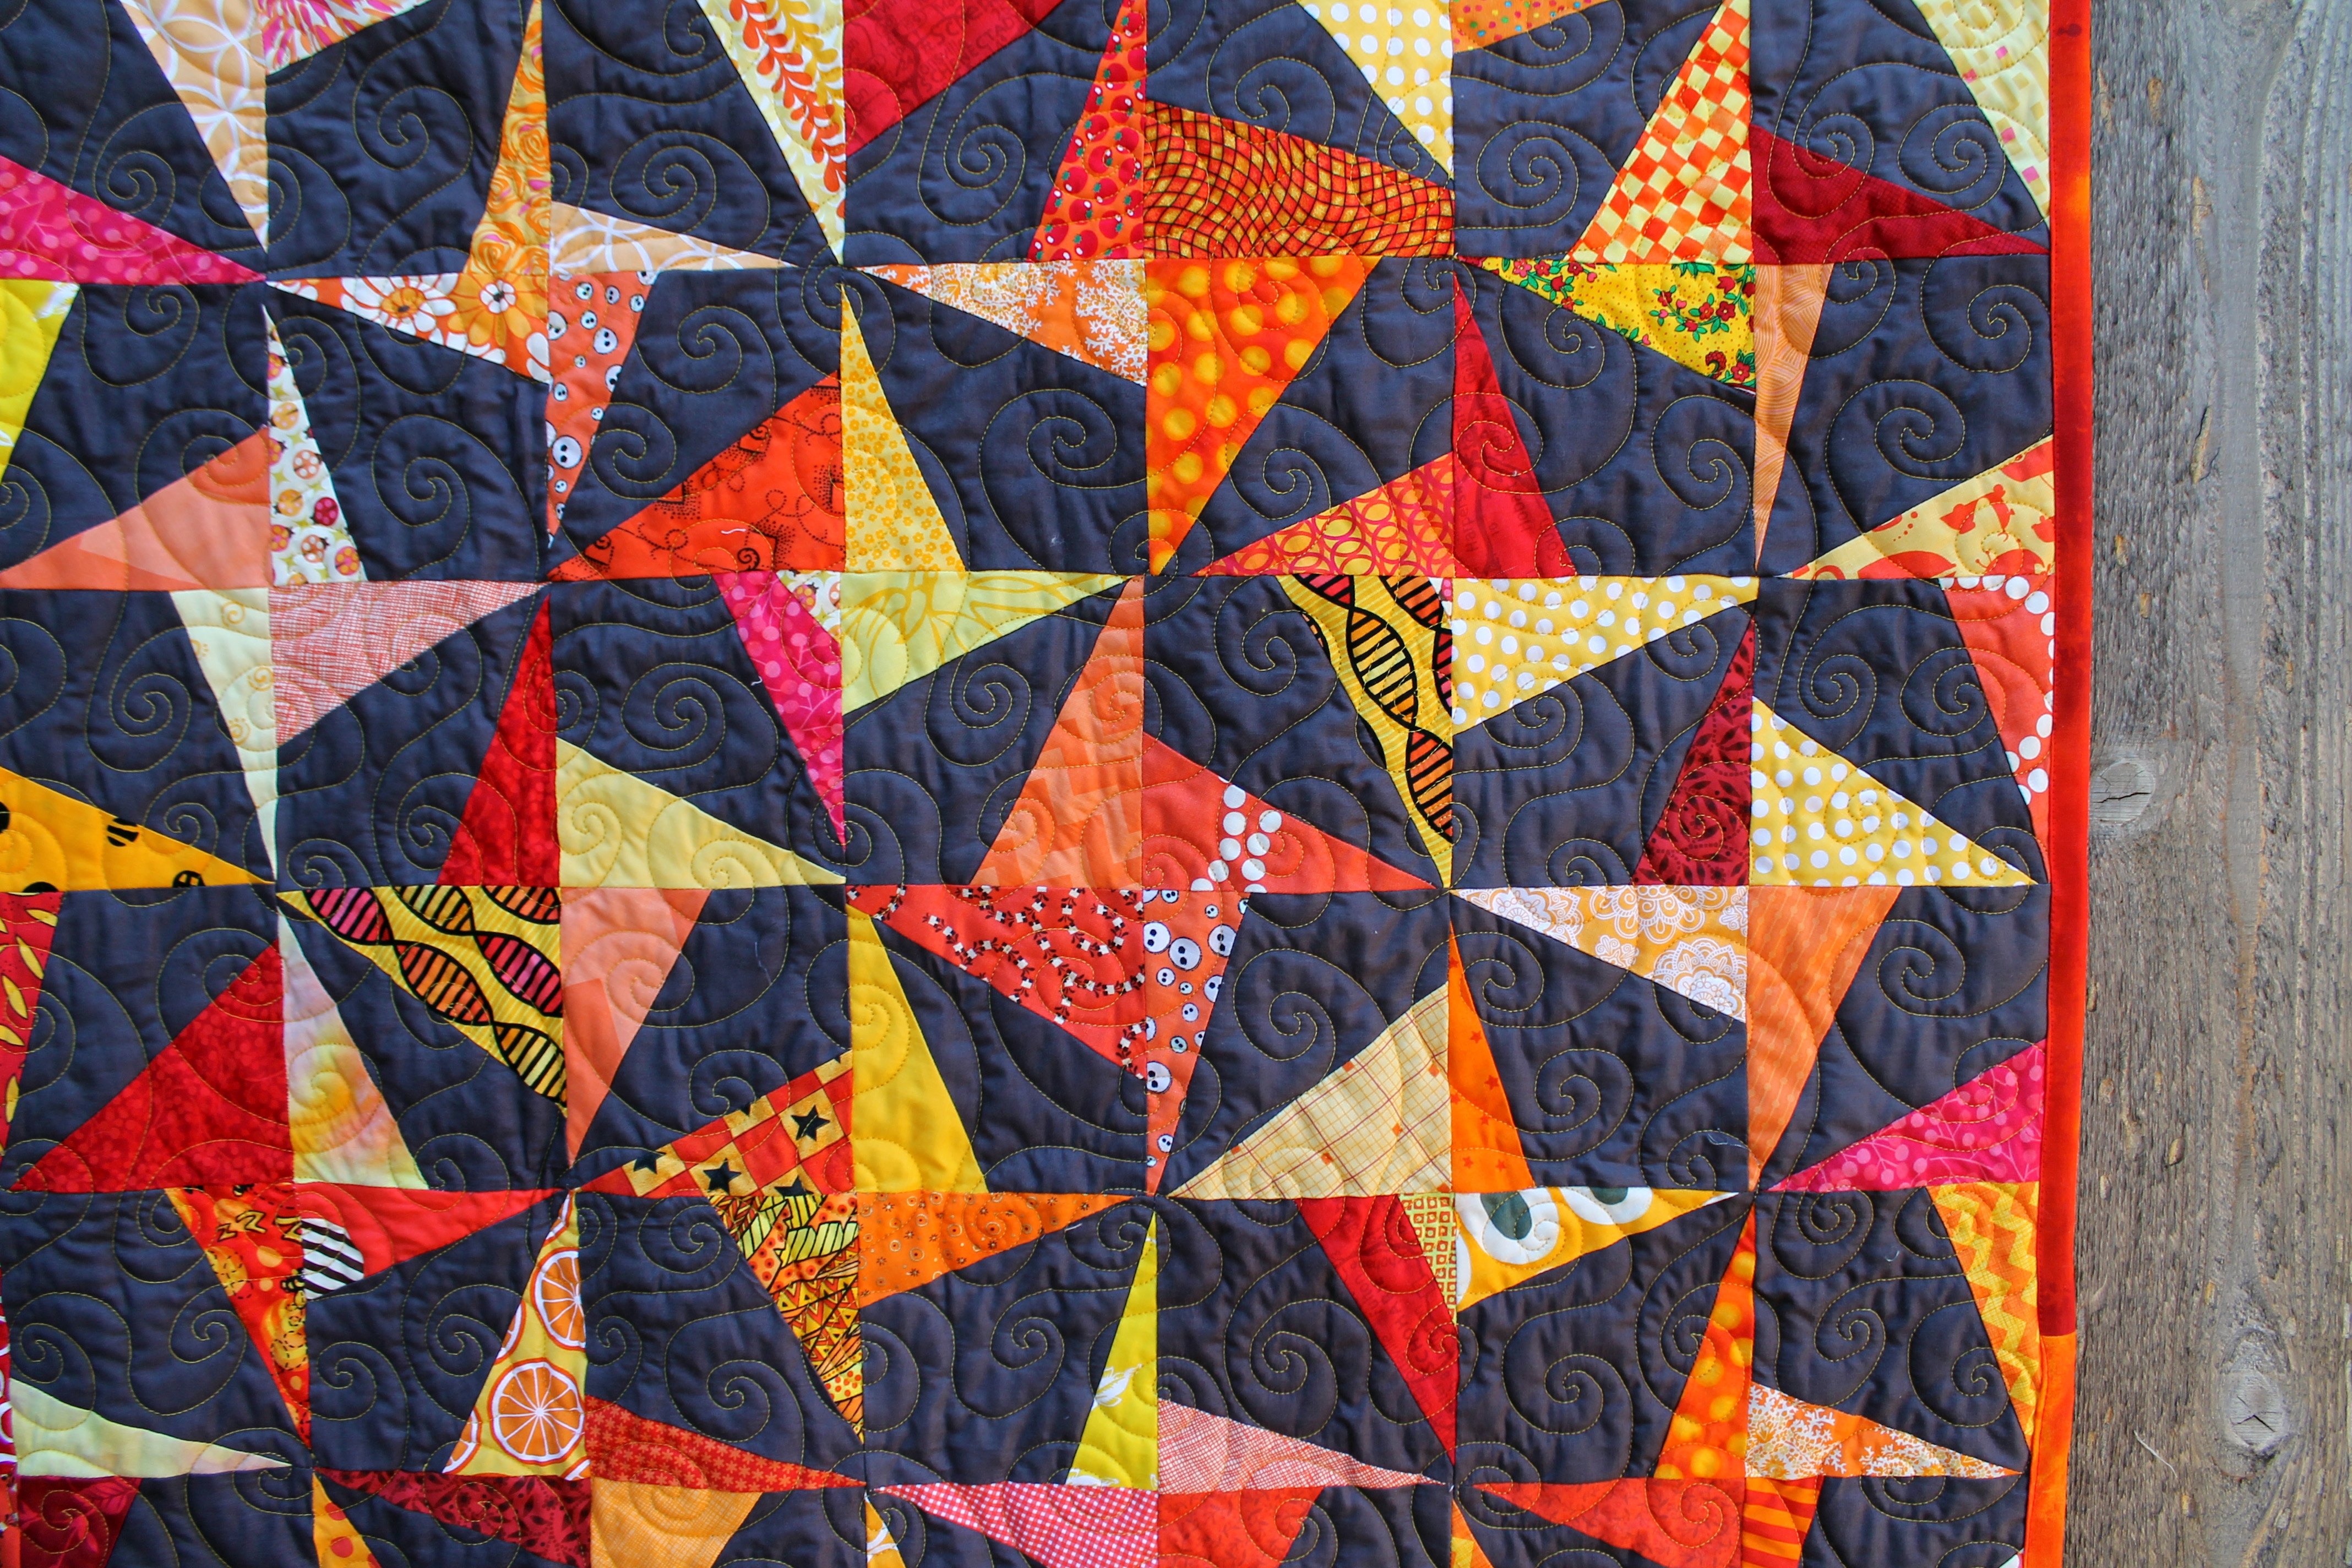
I love the pattern that Nancy chose for the quilting and extra love that she did it with yellow thread….

pmqg charity quilt detail

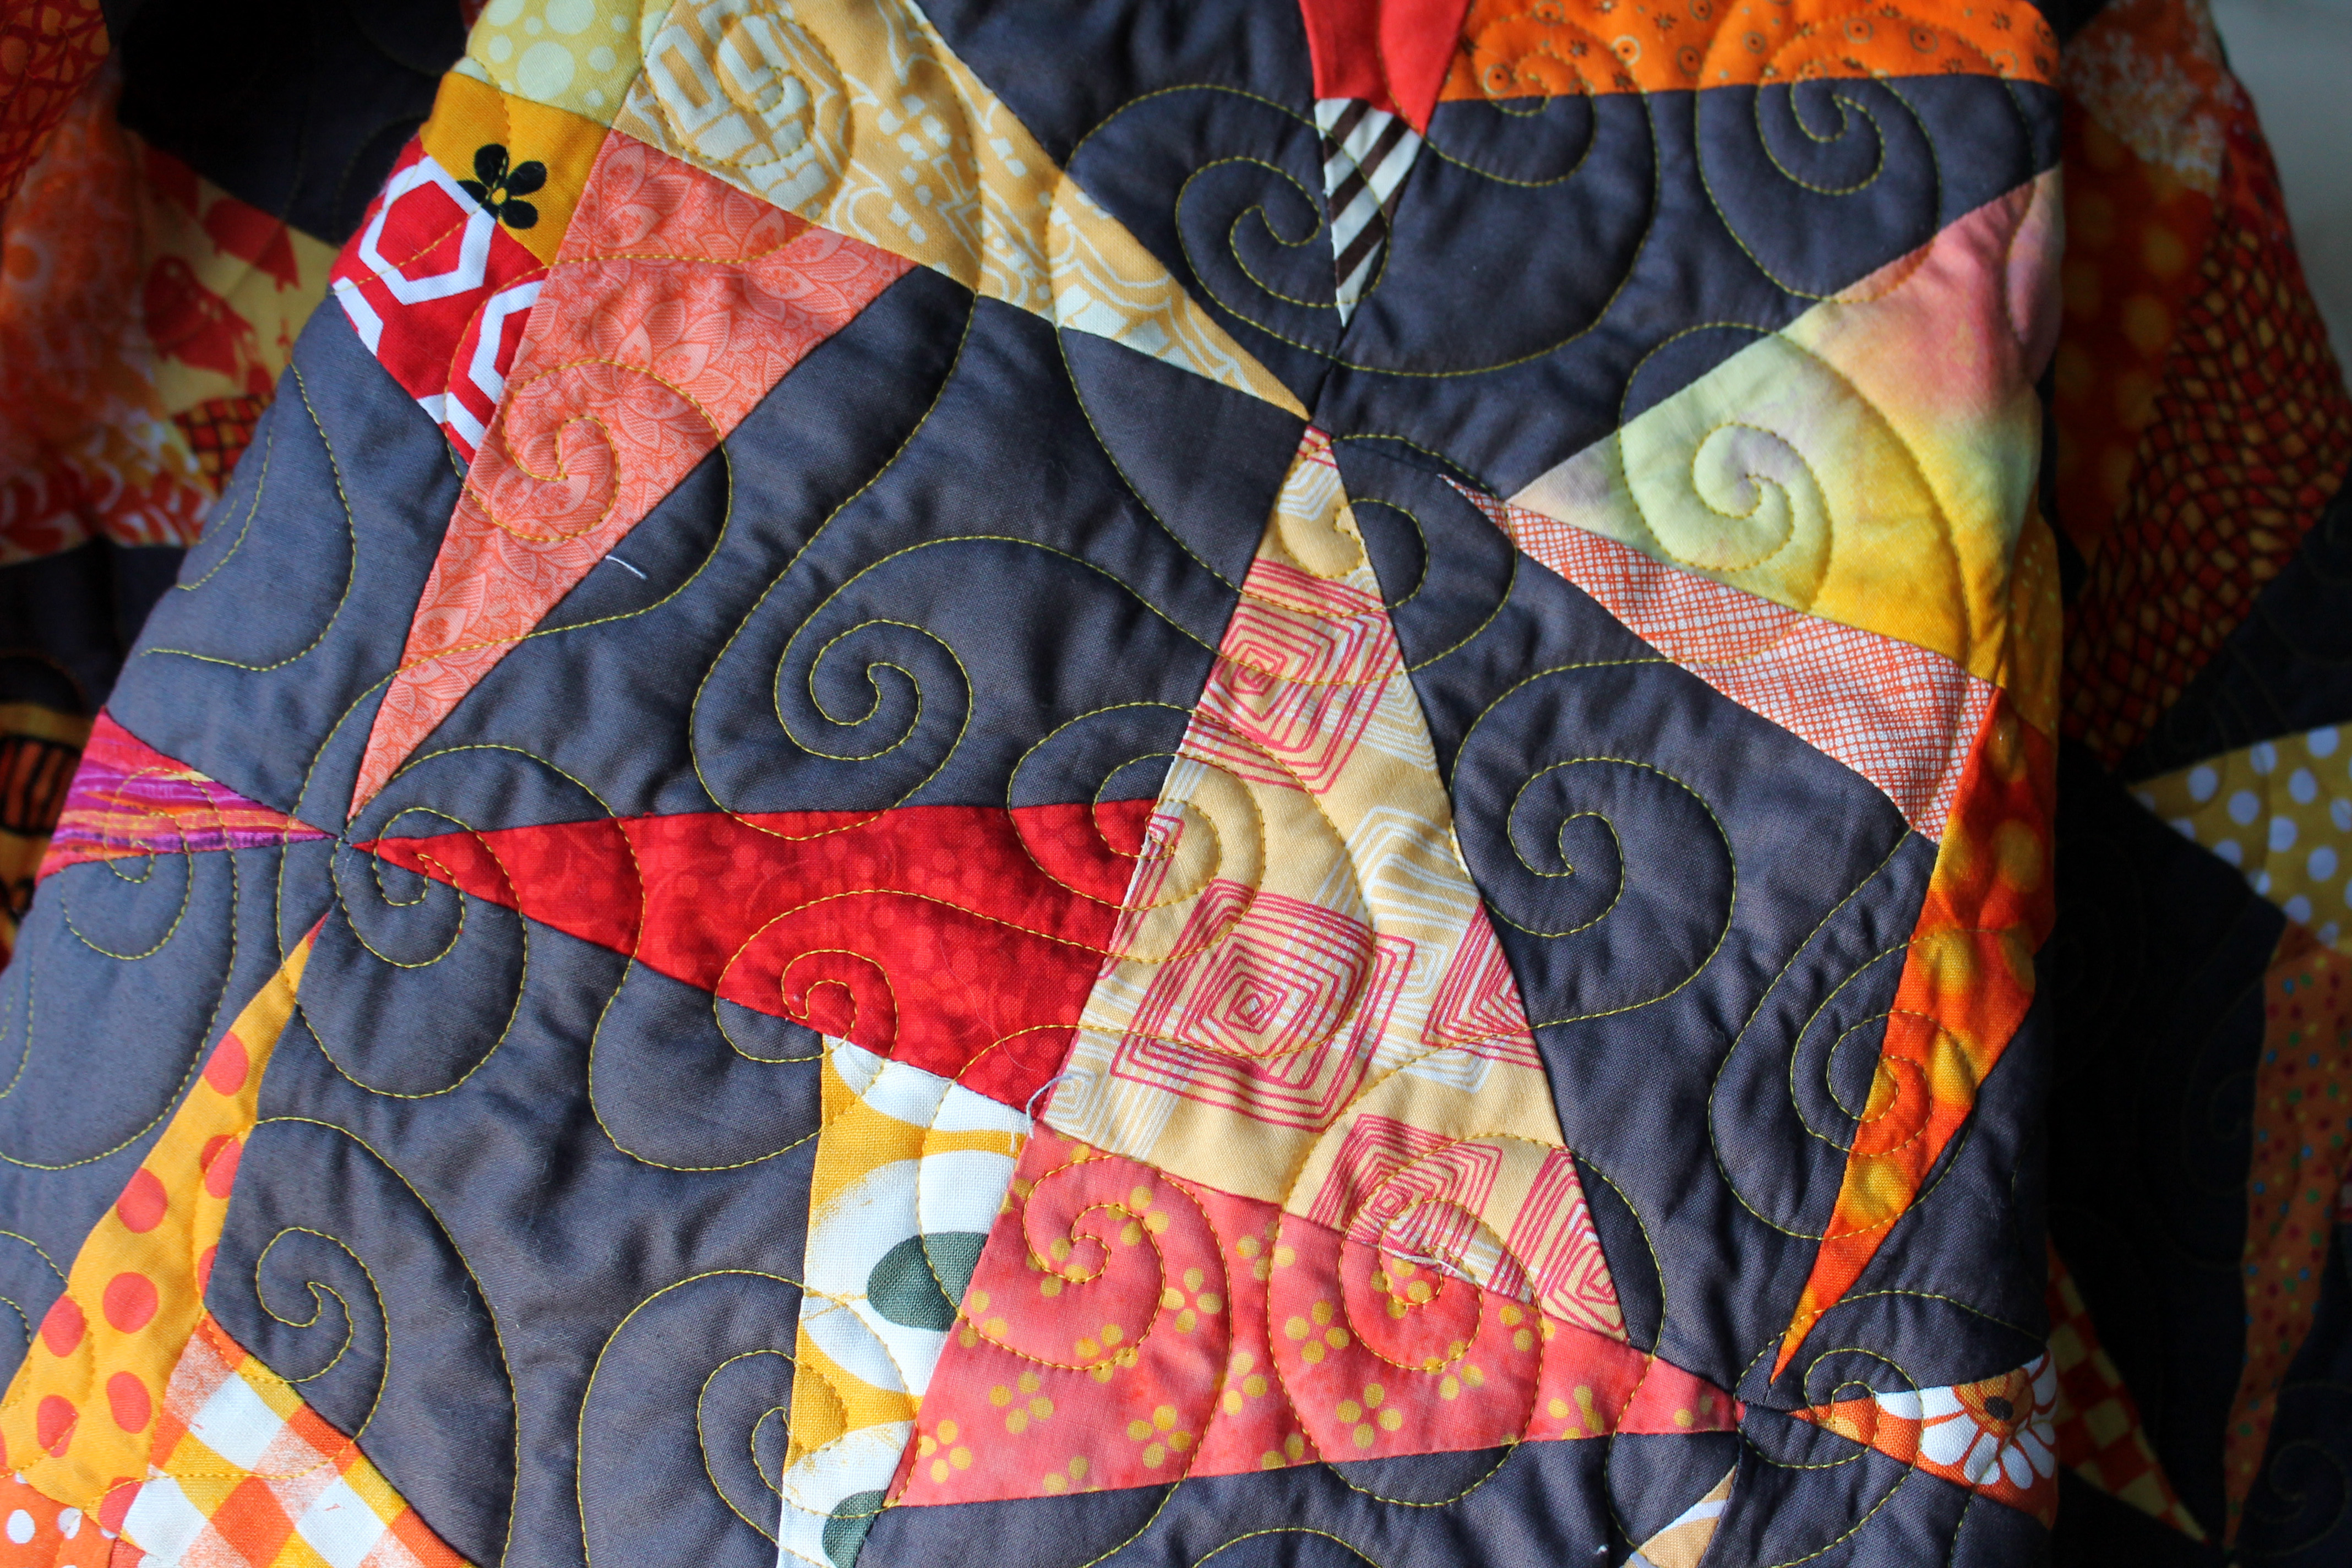
…it just pops against the grey and makes the whole quilt come alive.  I am constantly amazed at how the quilting and binding can bring a quilt together… you think I would have that figured by now, but no, every time total amazement.

binding detail

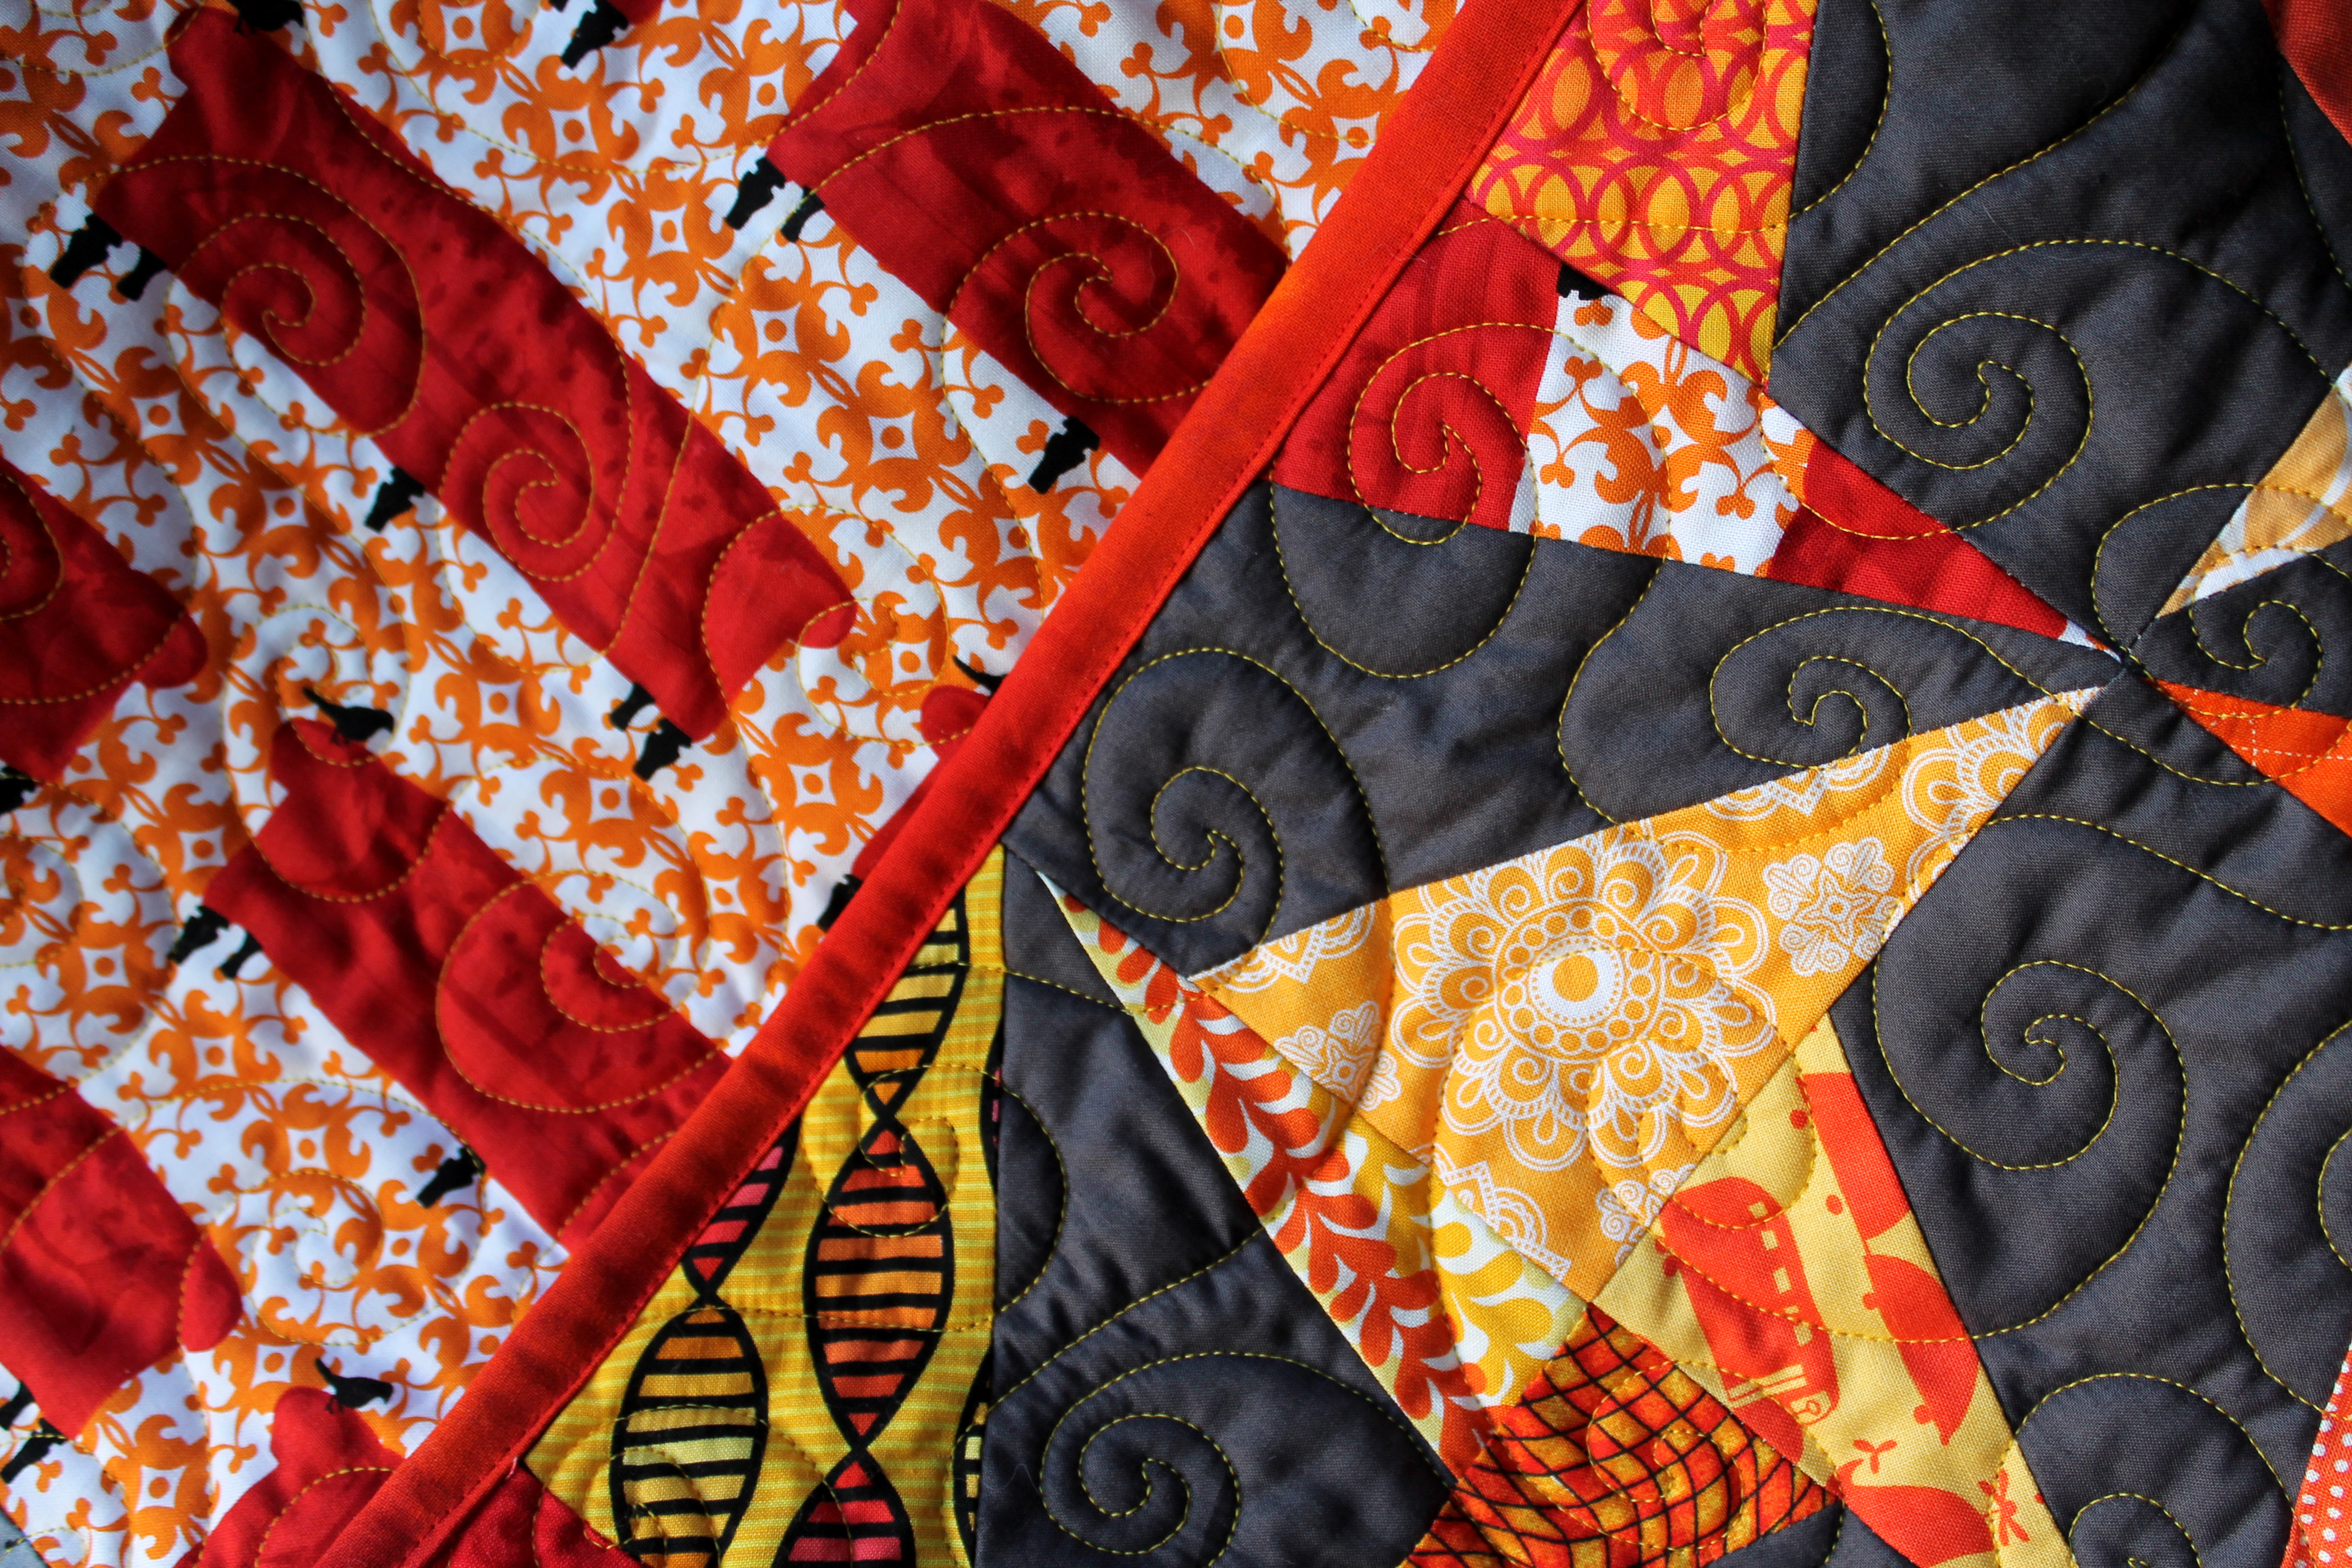
The quilt is backed with a mixture of Michael Miller challenge left over fabric and some very cool donated pieces.

quilt back detail

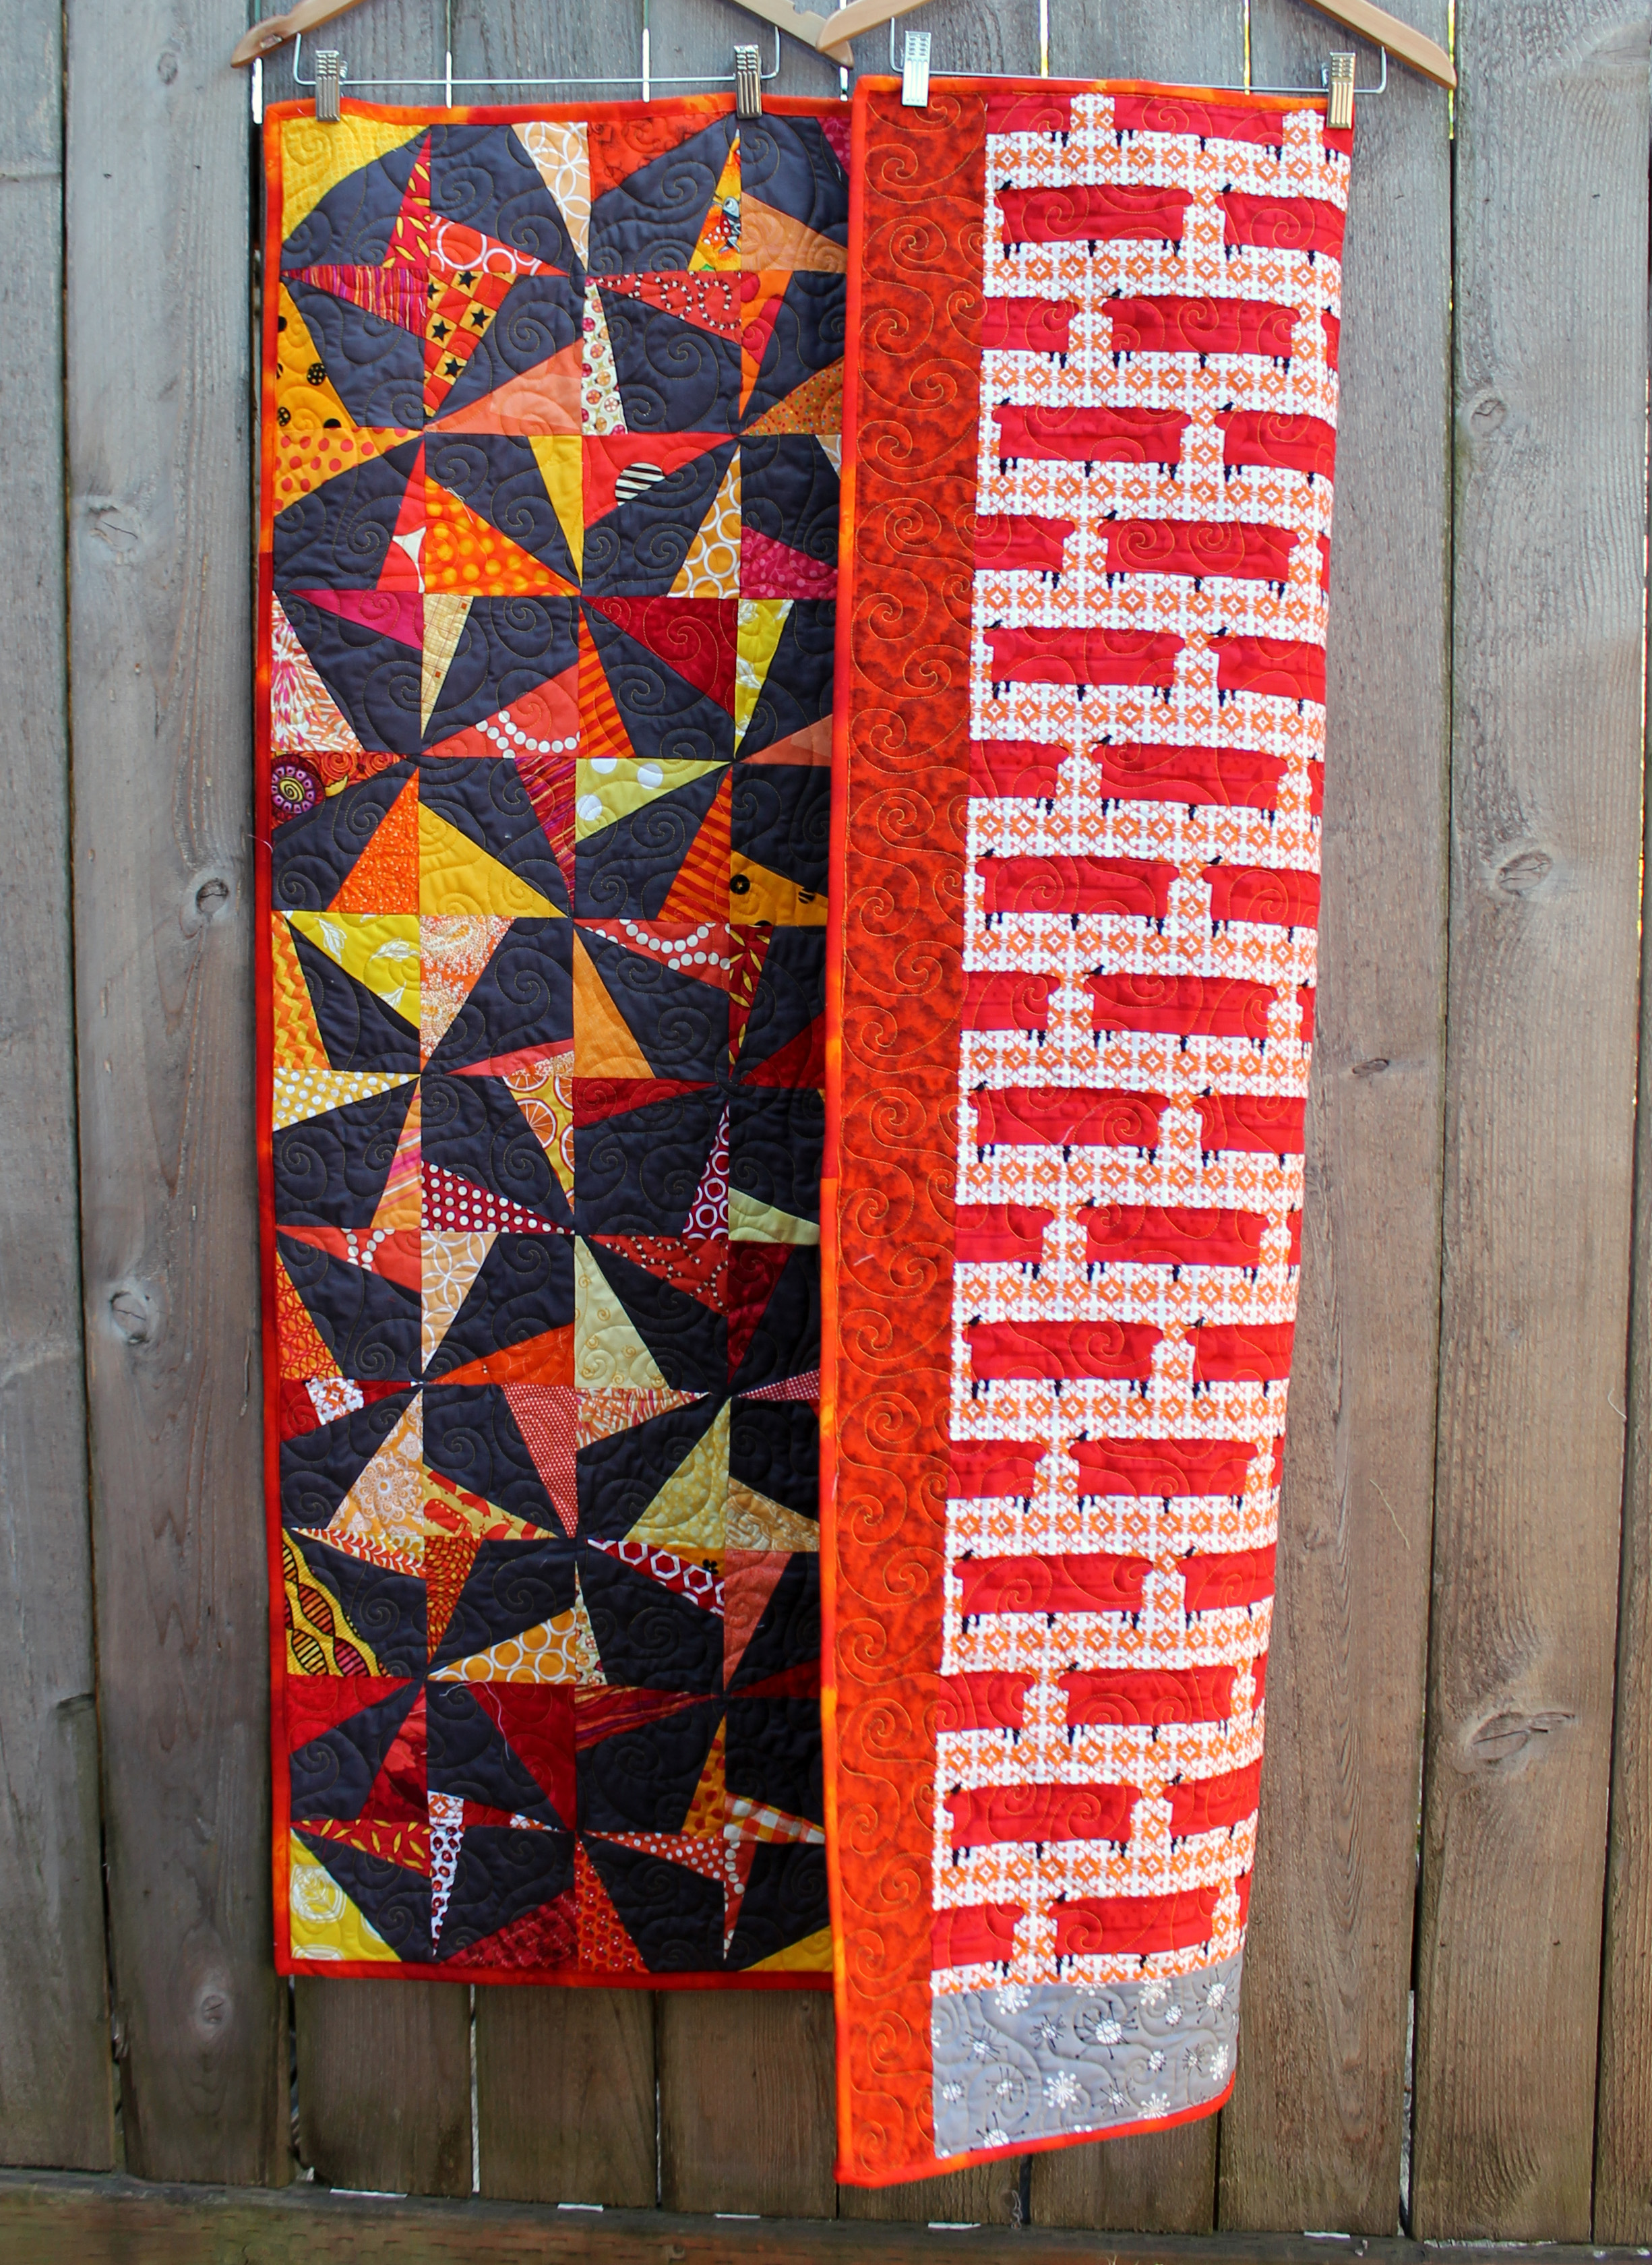
This quilt will be heading to Raphael House, a local women’s shelter here in Portland, hopefully to provide some warmth and comfort.

Quilt Details:

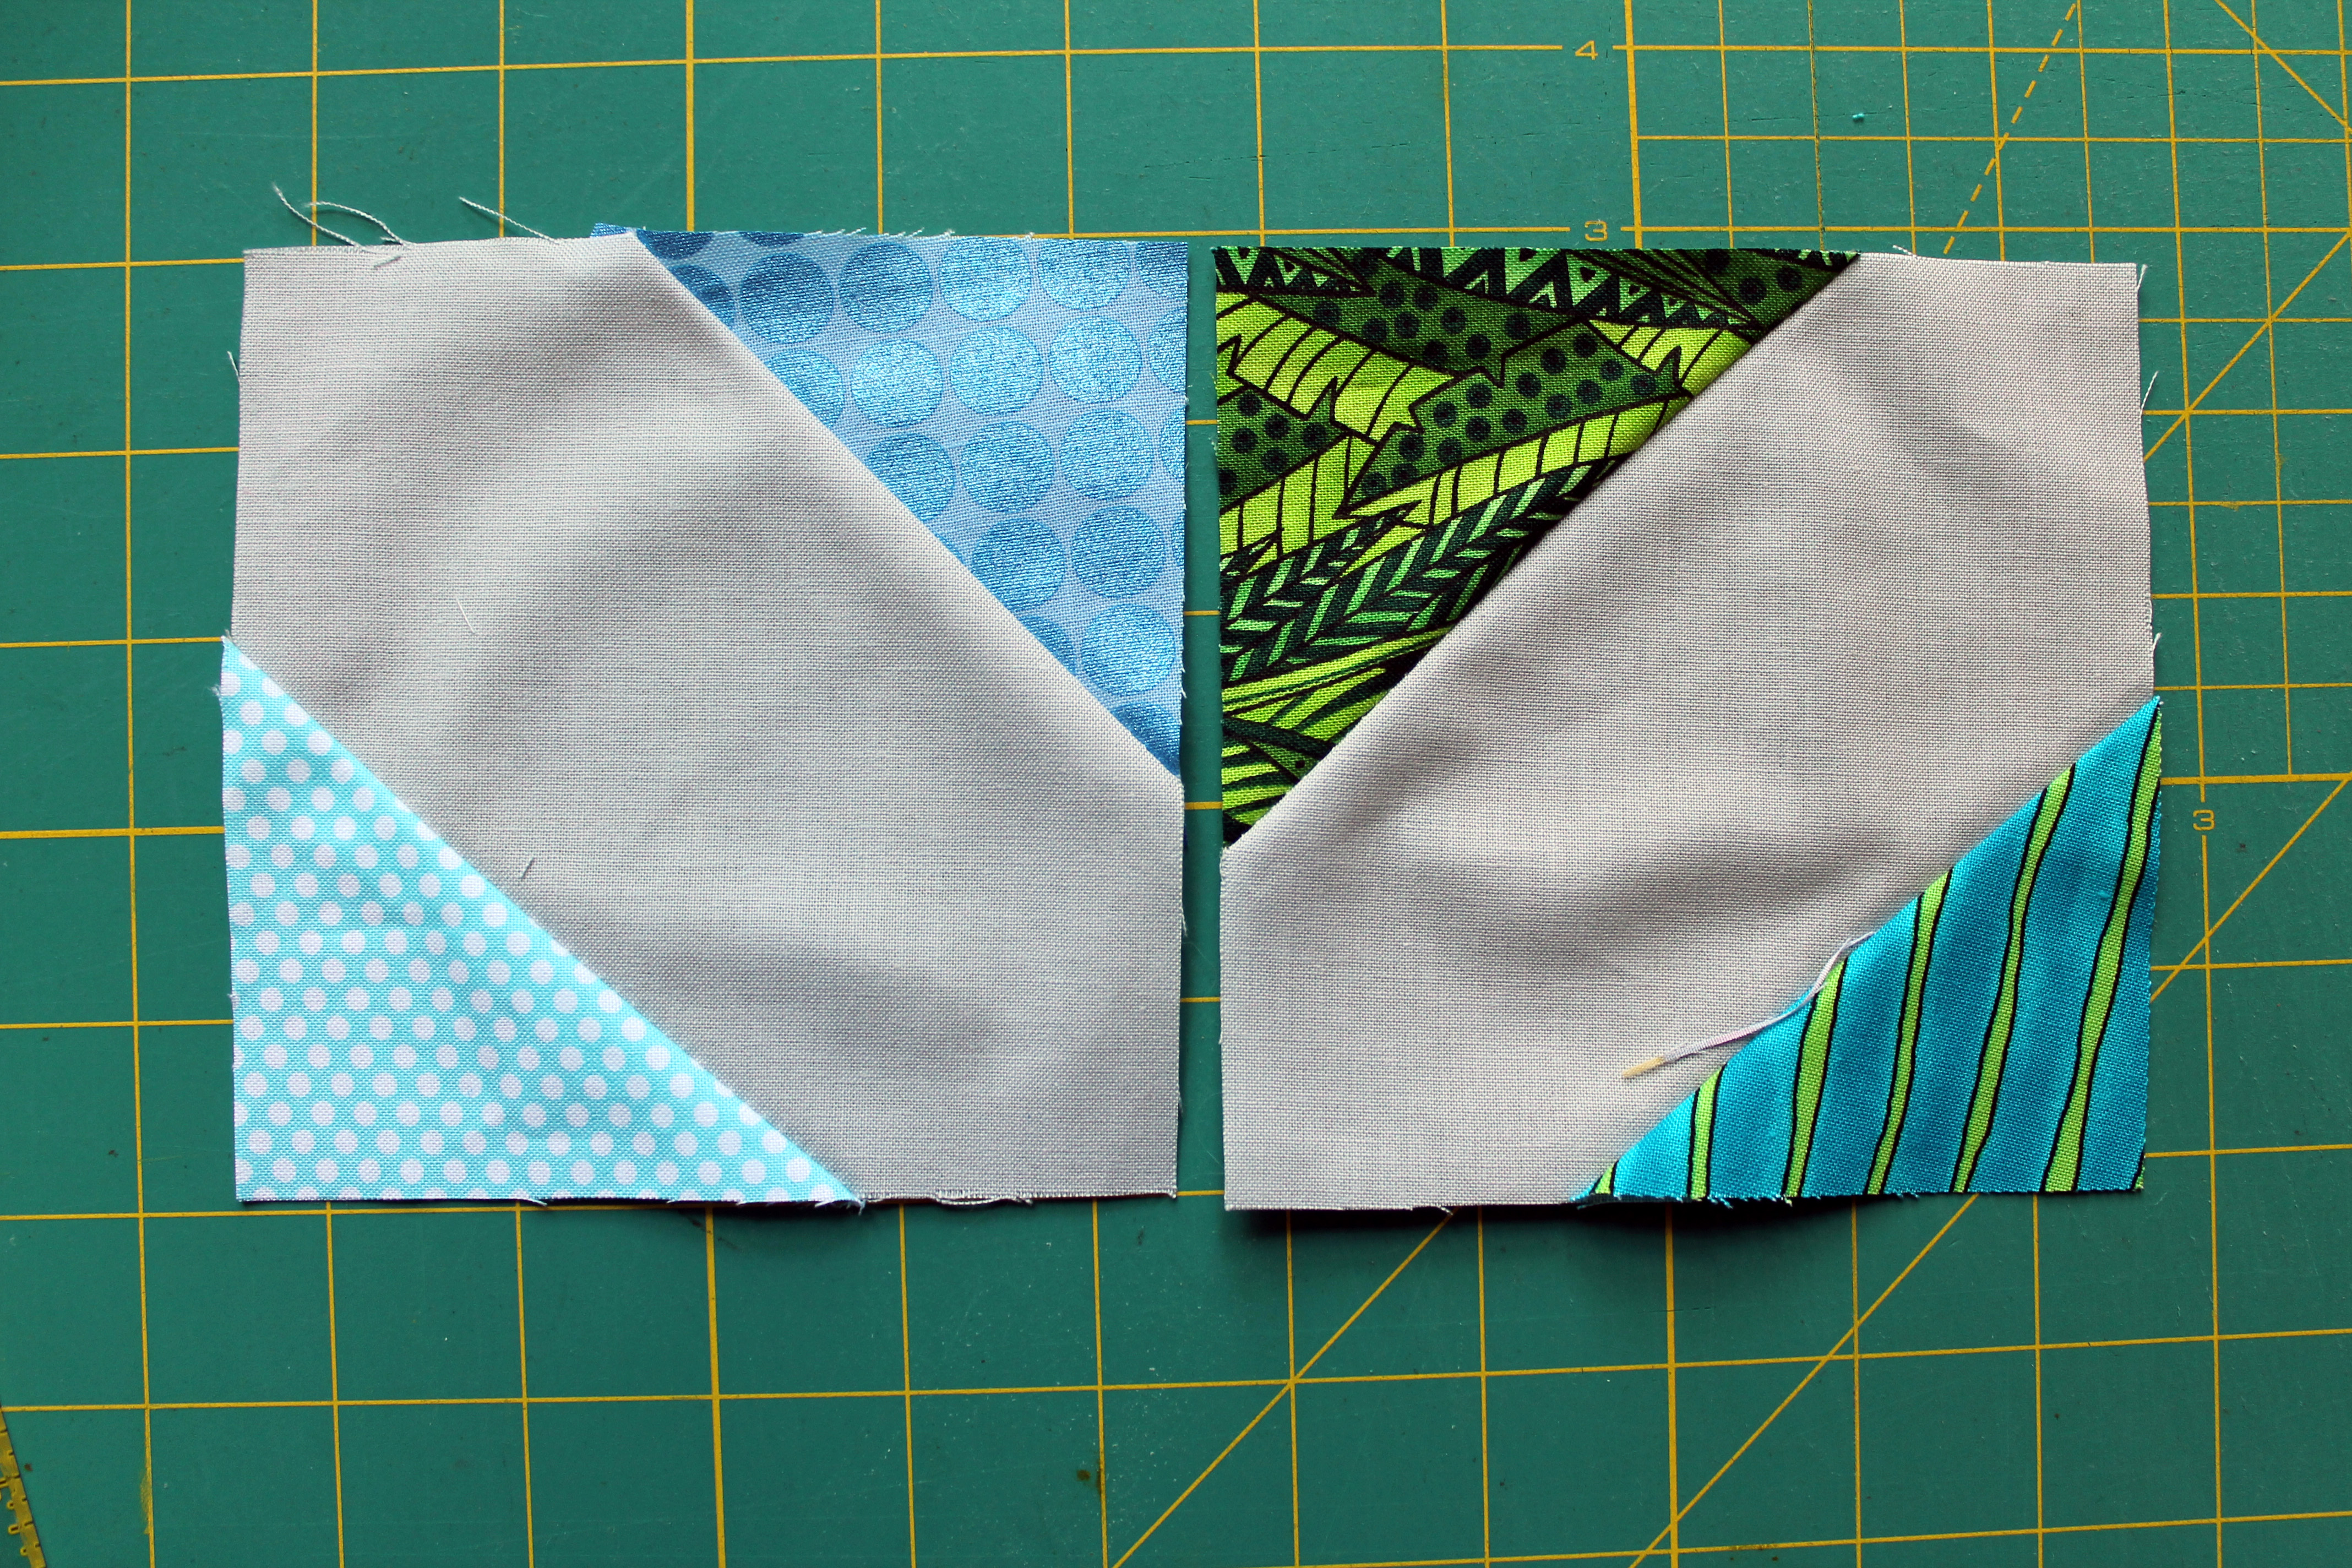
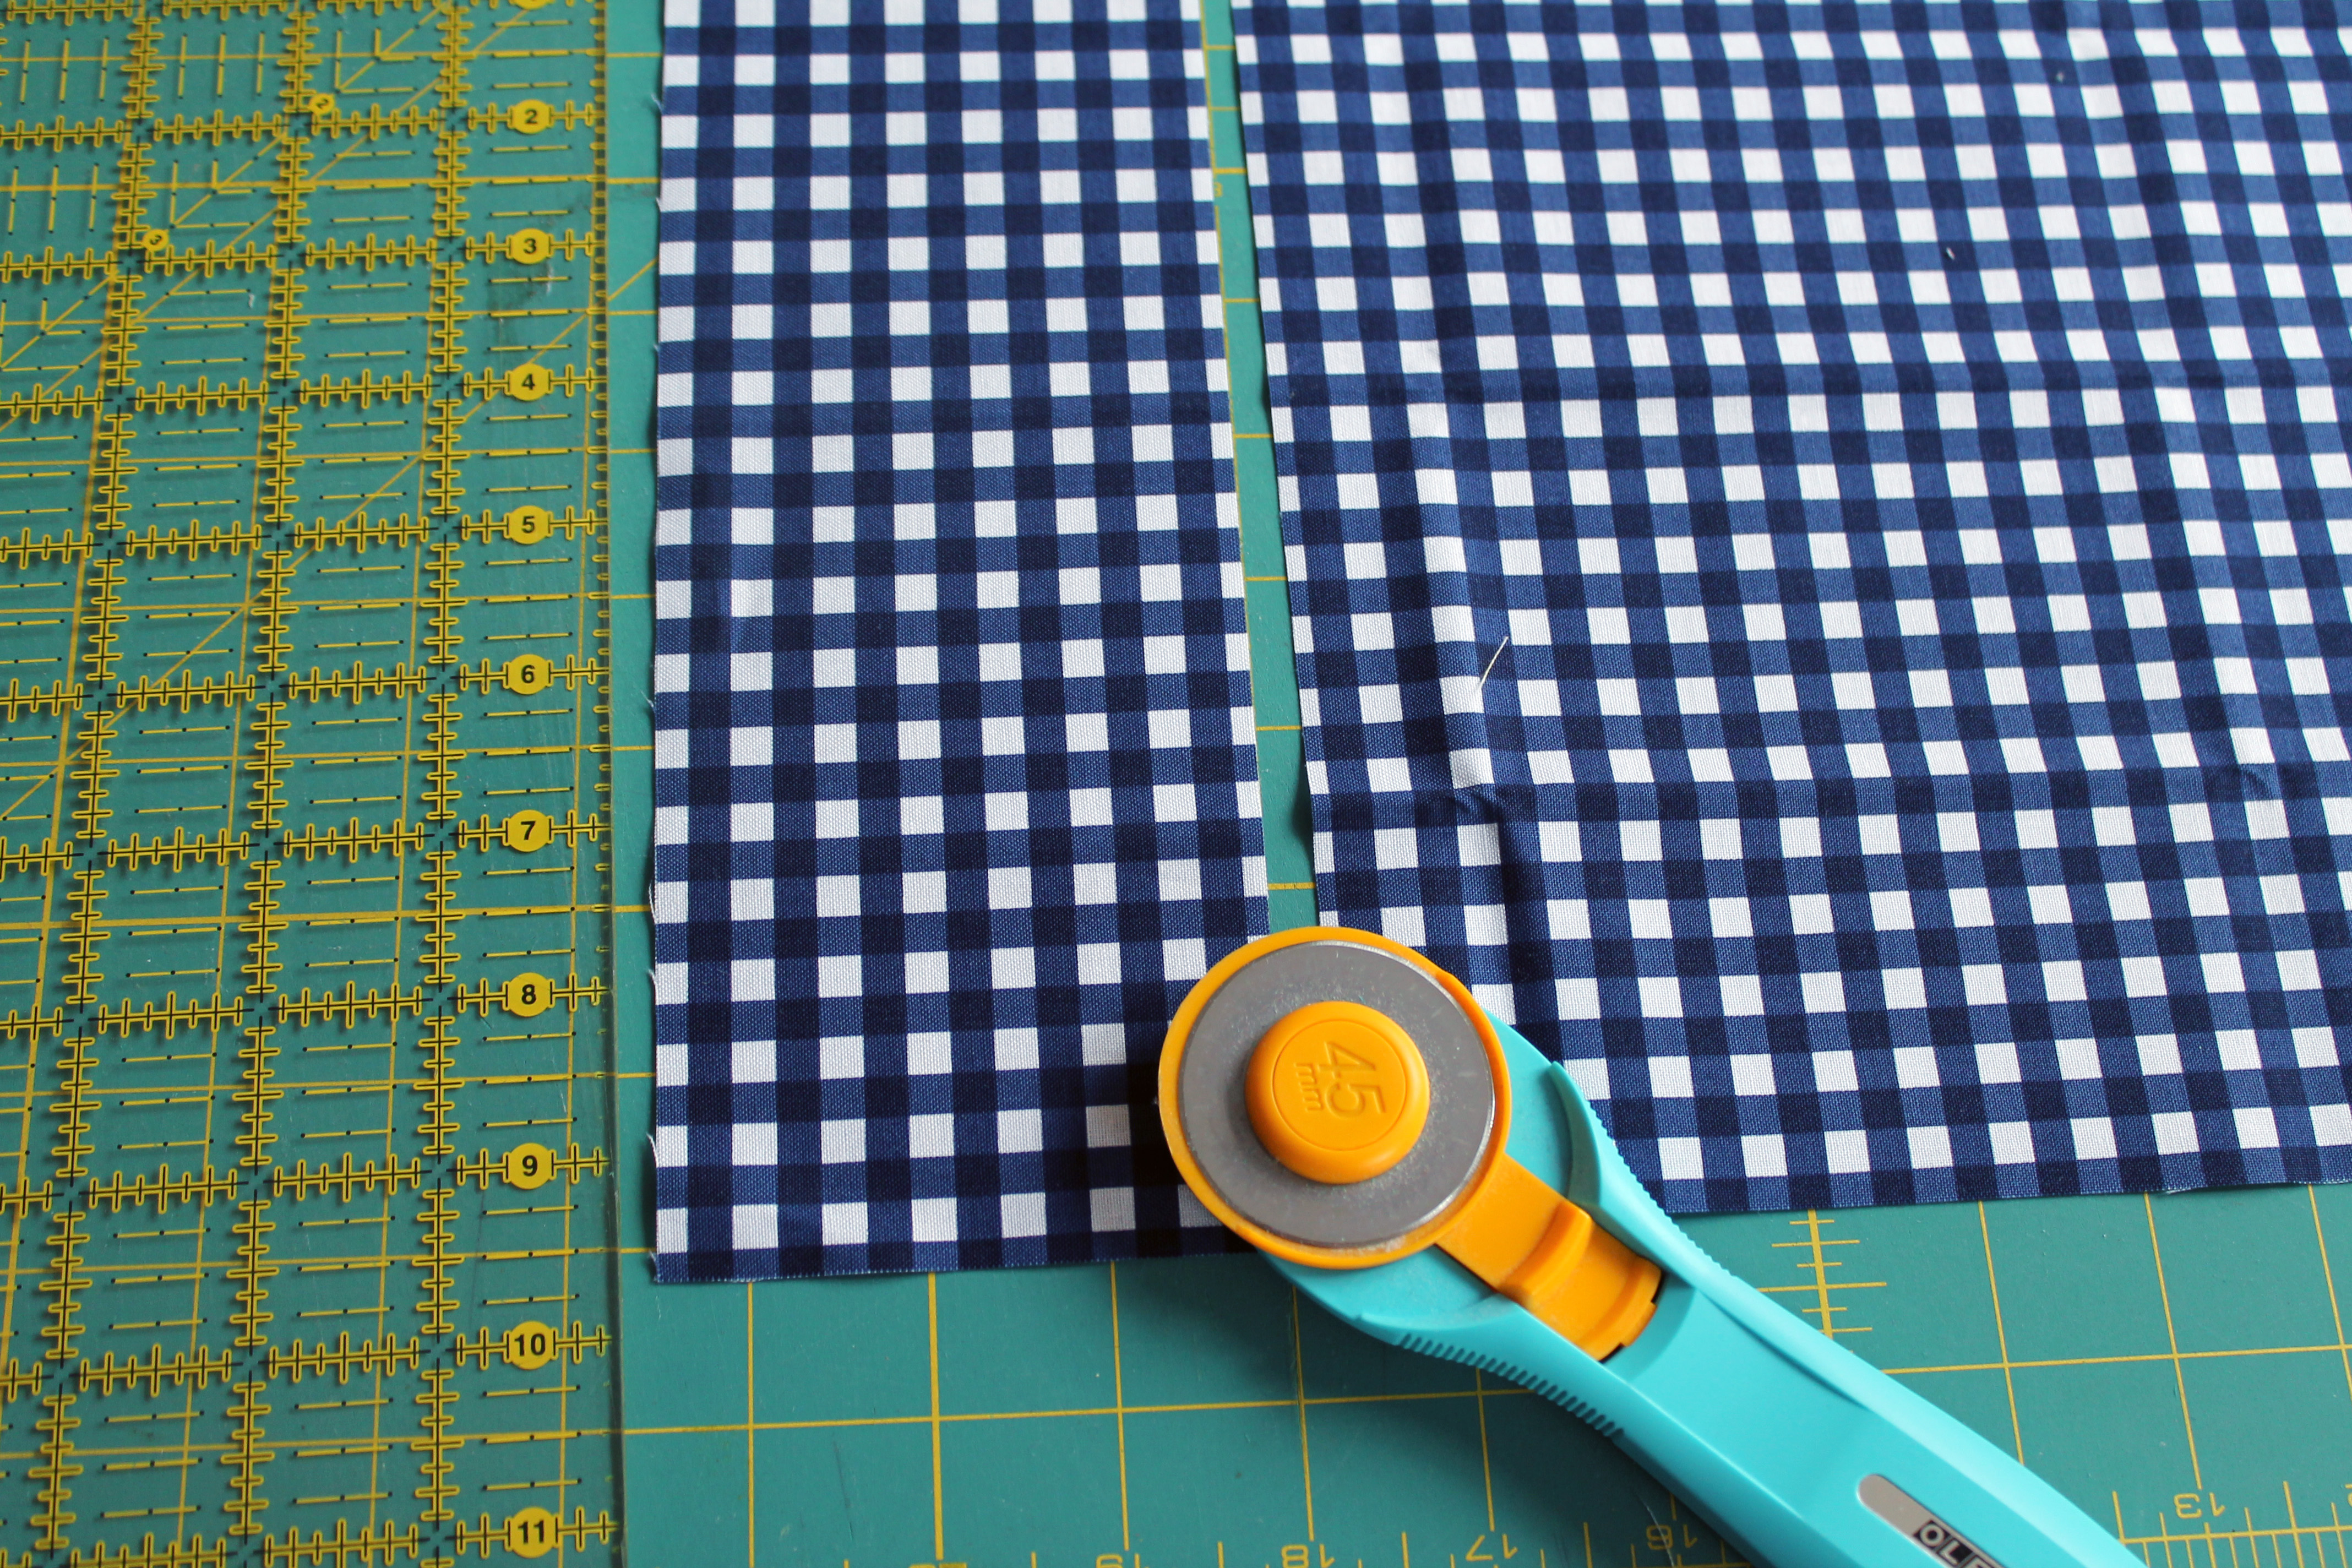
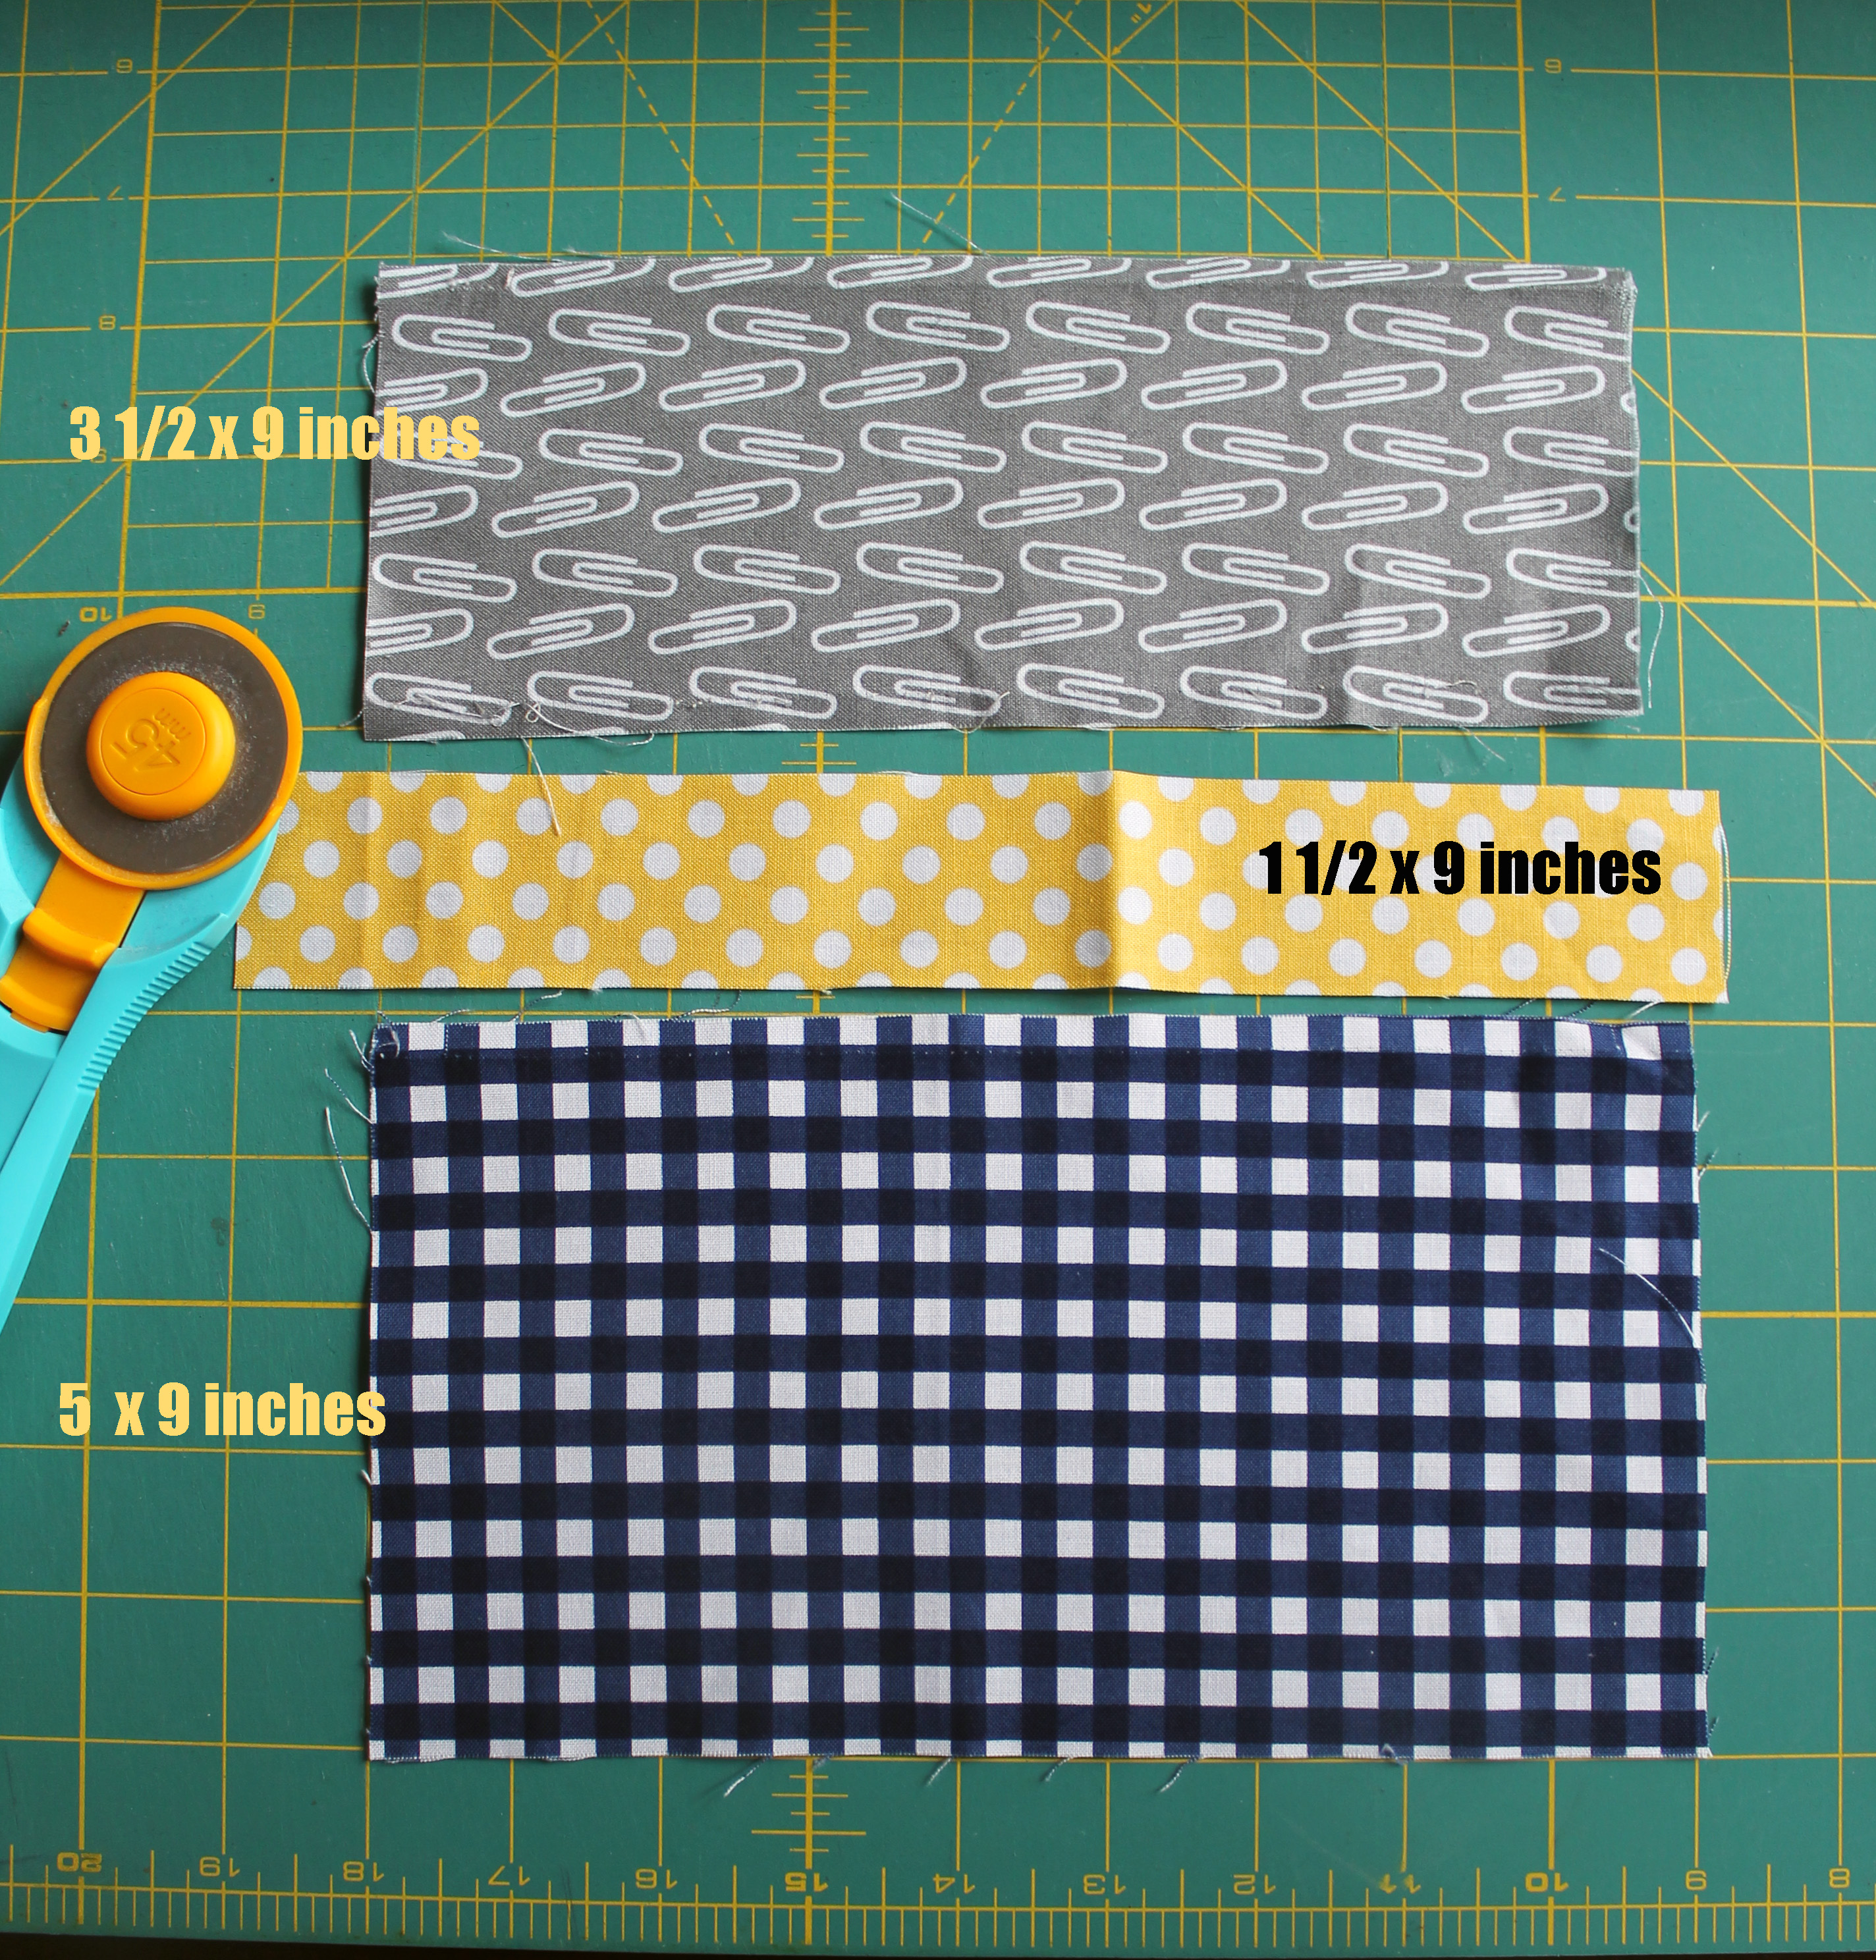
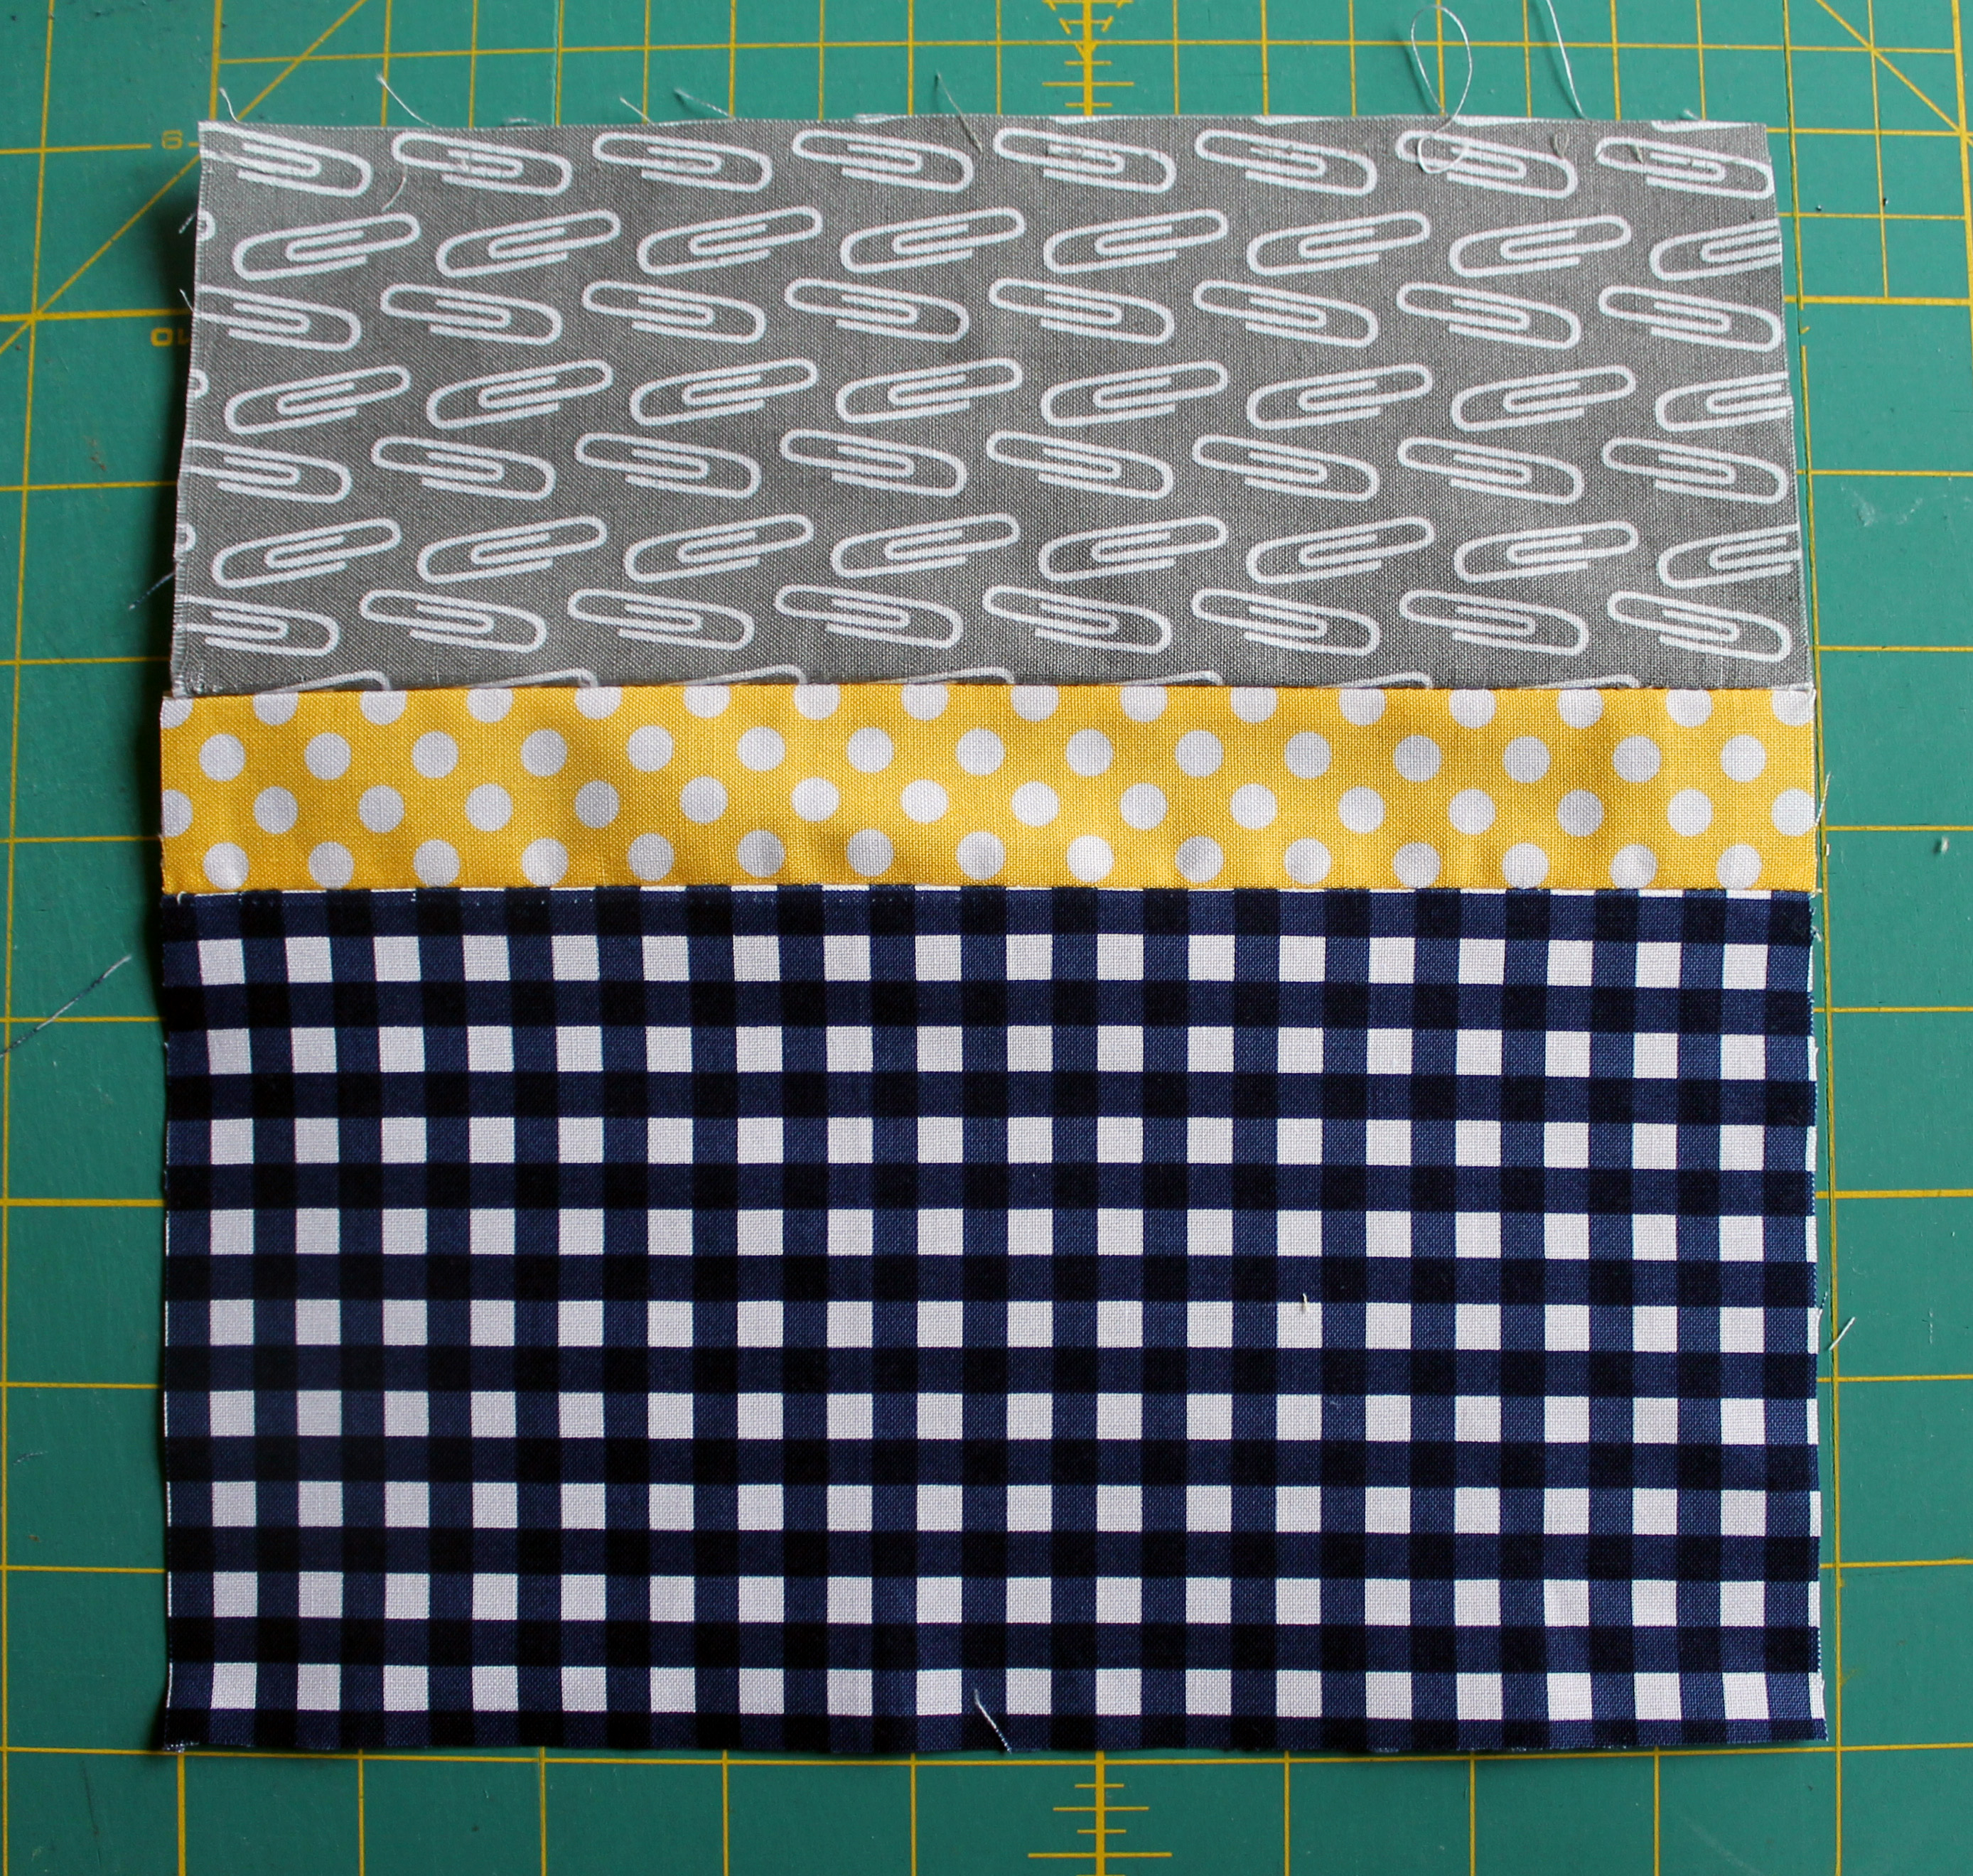
Block:  9 inch wonky pin wheel block
Quilt size:  45 x 54 inches
Fabric:  Riley Blake charcoal solid and lots of red/orange.yellow scraps

Wonky Kites Quilt

A couple of weeks ago a group of PMQG members met for our monthly Charity Sew Day.  These get togethers are always good fun and this one was no exception.  For July I had chosen a wonky kite block for us to make… another easy scrap busters…

wonky kite quilt 2This quilt is so ridiculously simple.  We started with a 5 inch square of our background solid, Kona Shadow and then sewed a green/blue scrap on opposite corners.

trim blockYou then trim the block to 5 inches….

wonky kite blockThen sew two block together, making sure the triangle pieces meet, but not worrying at all about matching the seams (this is the wonky way).  Repeat process and then sew the two halves together to make the kite centered block…

trim block to sizeWhat you end up with is a really fun, random block…

quilt detail 2

Sew them all together and you end up with a huge quilt top!

wonky kite quiltOur charity for this month has requested Twin size quilts, no mean feat at the best of times (and impossible for me to photograph properly).

quilt stain glass

This block was perfect for making sure we had a fun, modern quilt ready to go to a long armer, in a day.

Michelle sewing awayIt helped that we had a great team working to make blocks….

sorting out the scrapsAnd of course the final check and block layout approval was provided by the cat!

cat inspection

Oh the plans I had…

This week has been a lost week for me.  I got smacked hard by the Flu and have not sewn or been near fabric since Monday..yep I have been that sick!  I had so many plans for this week… so many things that needed to get finished.  Oh well.

I was going to just write this blogging week off as well, but for some reason, in my Flu state, I thought it would be a good idea to share the quilt top I finished a little while ago.   It is a quilt top that I was not originally going to post pictures of, as my husband had declared it the “ugliest” quilt he had ever seen.  Now emboldened by an assortment of cold and flu medication here goes…

PMQG Sampler quilt

Now in defense of this top, it was made using a bunch of unloved orphan blocks from the PMQG charity drive.  There are some lovely blocks in the top, but overall the colour scheme is not me.

PMQG Sampler close upPutting the top together I took apart some blocks, cut up others and generally took liberties.  I just loved the challenge of seeing if I could make this work somehow.

PMQG Sampler cuIn hindsight I think I would approach the task differently and use more negative space… putting in solid fabrics instead of some of the cut down blocks.  Next time… and there will be a next time because there are more of these orphan blocks.

So on this Friday I say it is time for the ugly quilts to come out of the closet.  Share your fuglies.  Photography them.  Facebook them.  Instagram them.  Let them have their moment in the sun.

Okay I am now going back to bed with my tissues and my Dayquil.


Paper piecing Monday missing in action…

This week Paper Piecing Monday was usurpered by Portland Modern Quilt Guild’s Charity Sew Day.. sorry.  I have decided on a new paper pieced quilt and have designed the first block for it, but have not had a chance to test the pattern… but I promise it will be ready for next week.

In the meantime I thought I would share some of the fun of yesterday…  where a group of PMQG members took over one of the class rooms at Modern Domestic for the day and made quilt tops.

Michelle sewing awayWe had a collection of fat quarters and fat eighths left over from the Riley Blake challenge and our challenge was to make some quick and easy quilt tops out of them. Rachel from 2nd Avenue Studios and I spearheaded this adventure and we quickly settled on a modified rail fence and three of the fabrics from the Challenge – the yellow dot, the navy check and the grey stripe.

Fabric detailWe supplemented the Riley Blake with some other graphic prints in our colour way, all boy appropriate, as our Charity needs teen boy quilts (yes I am the one that added the Pearl Bracelets!).

finished PMQG charity quilt topThe pattern is ridiculously easy and very very effective.  In a nutshell we…

1.  Cut a generous nine-inch strip of our chosen fabrics…

cutting fat eights2.  Cut our nine inch strips into sections of 5 inch, 3 1/2 inch and 1 1/2 inch pieces.  We made sure we had a variety of each colour in ever size.

block layout copy3.  Selected the strips for our block making sure there was one of each colour… then using a scant 1/4 inch seam we sewed the pieces together to get our finished 9 x 9 inch block.

finished rail fence blockYou can easily build in some wiggle room with this block by cutting your fabric strips from your yardage at 9 1/4 inches wide (it is a little harder with fat eights, but with the fat quarter cuts we cut 9 1/4 inches from the 21 inch width).

If you are struggling to get a scant 1/4 seam allowance you can add some wiggle room the other way, by cutting 5 1/4 inch or 3 3/4 inch pieces… and then trim the finished block as needed down to 9 x 9 inches.

And viola you have a fun, easy but striking quilt top.

PMQG Charity quilt detailThanks to everyone’s efforts we managed to get two tops finished yesterday… in between the socializing, laughing and cake eating.  Not a bad way to spend a Monday I must admit.