Everybody loves a wonky star…right….

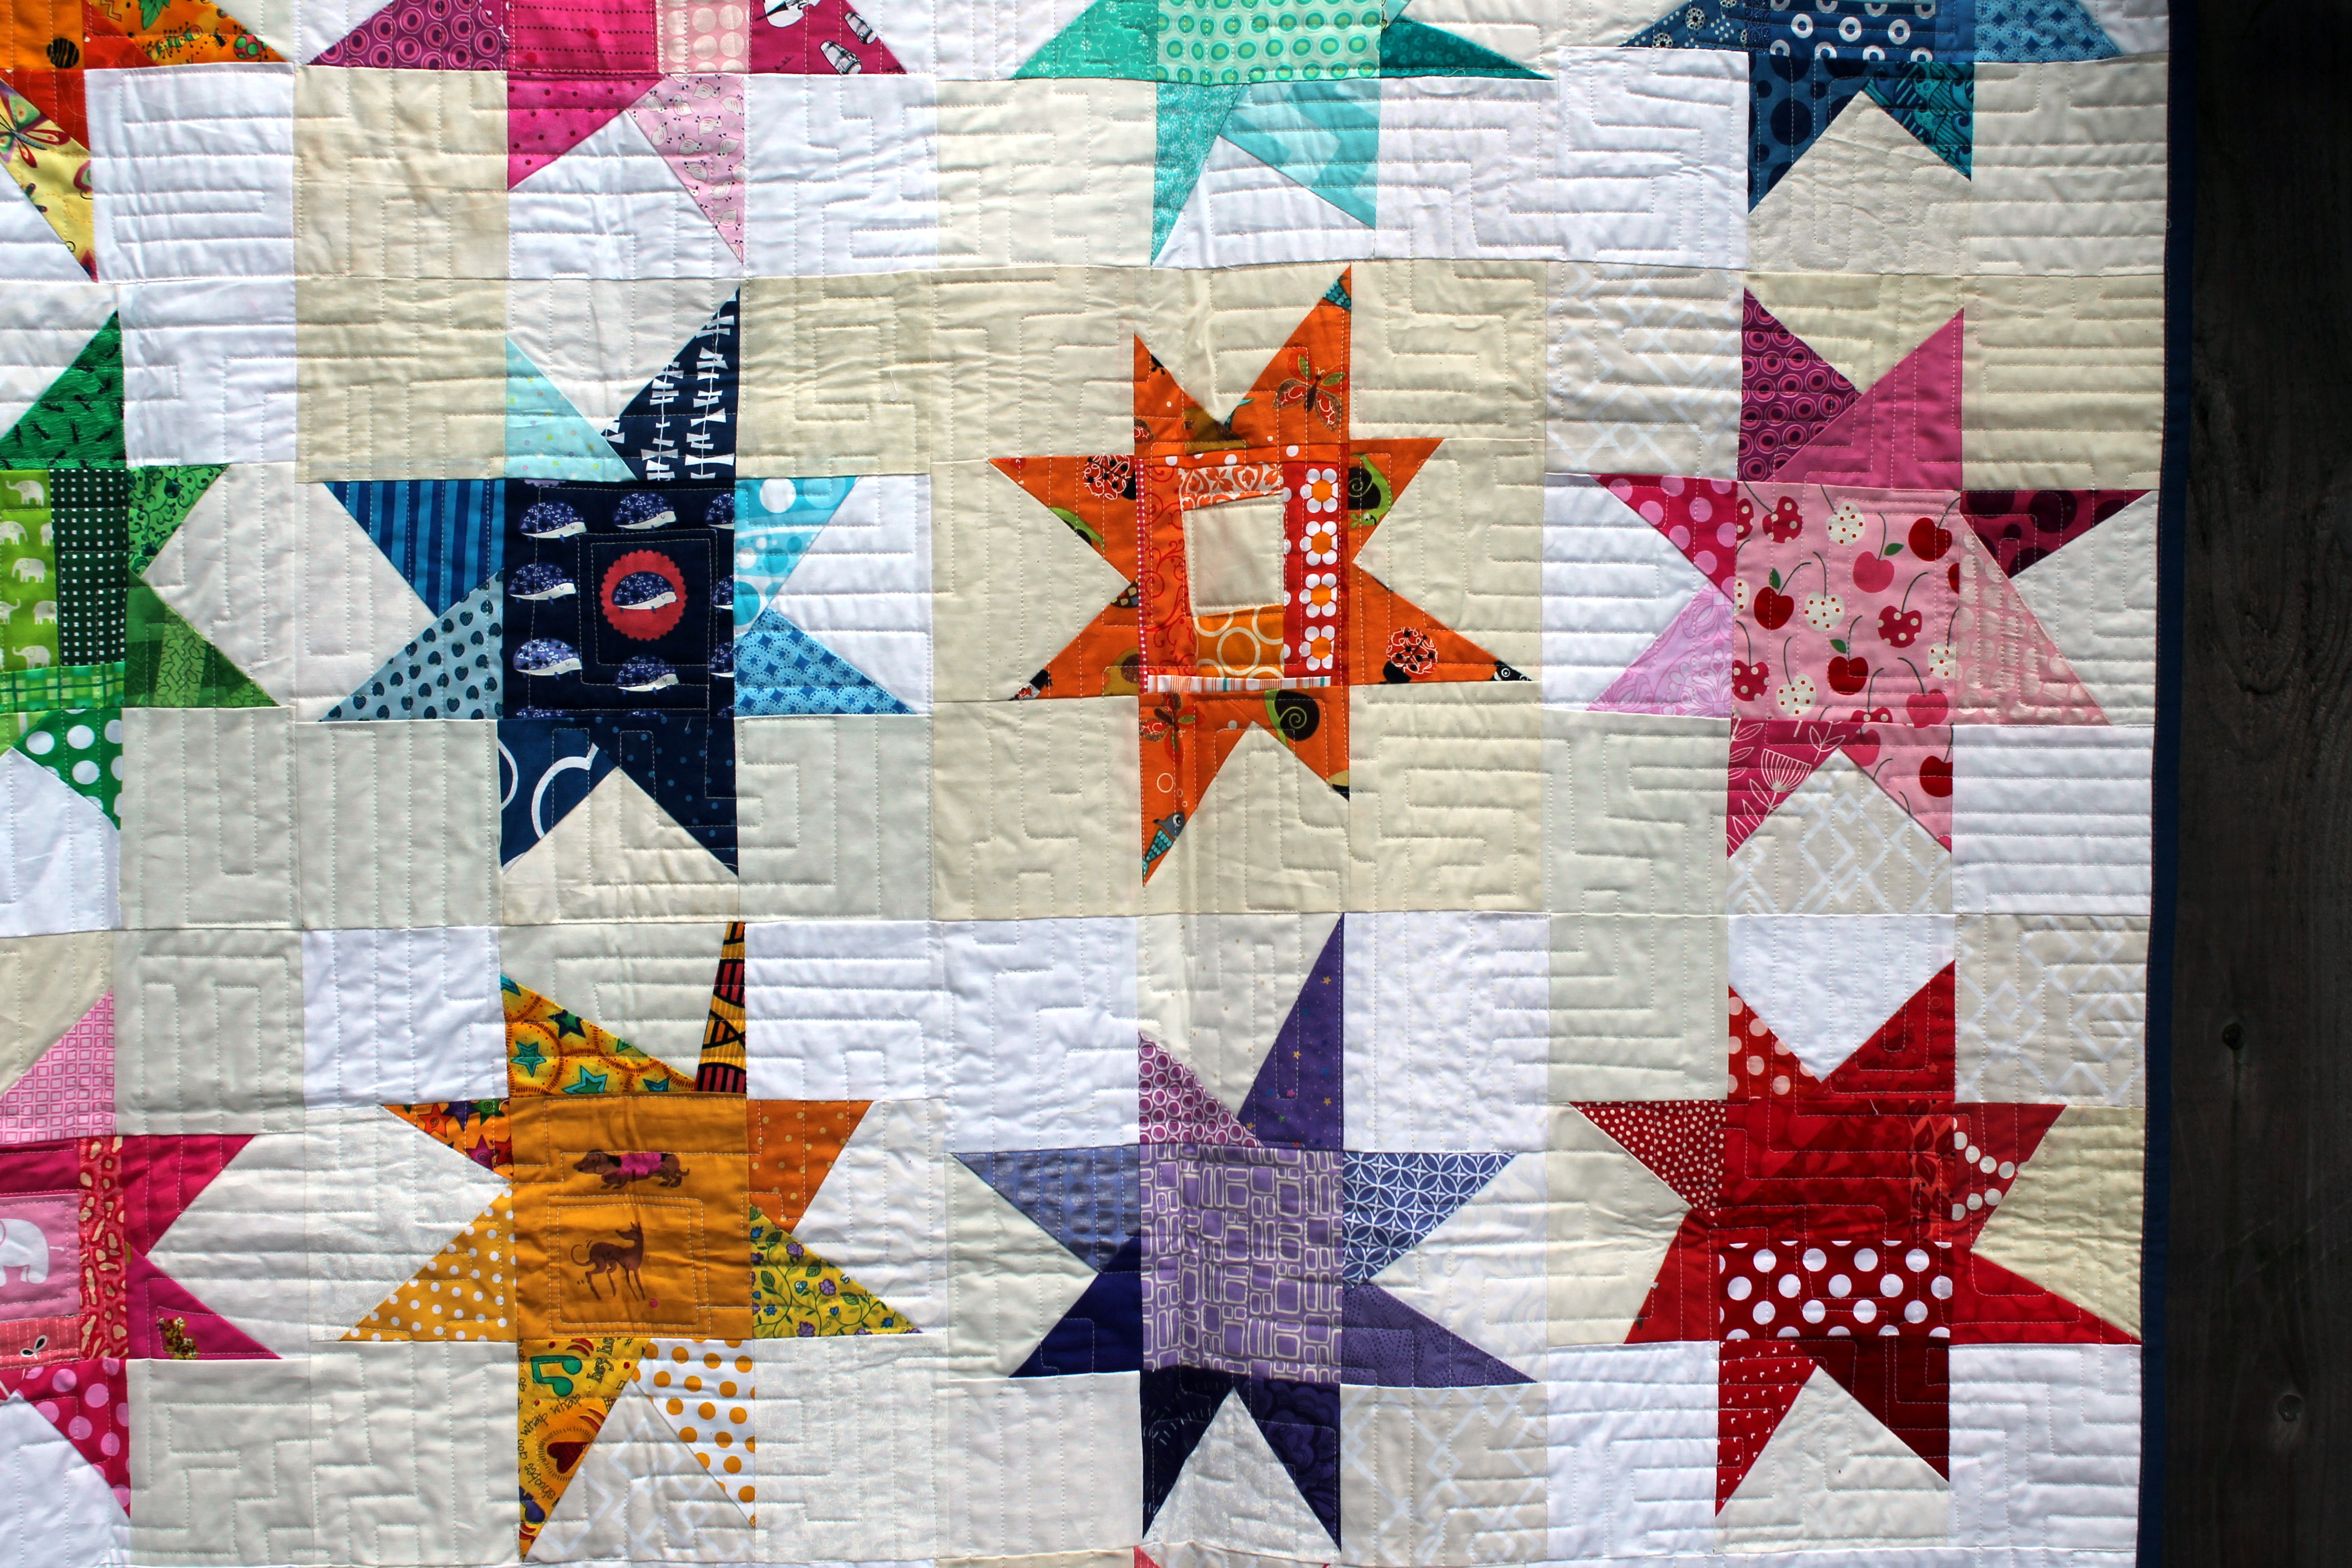
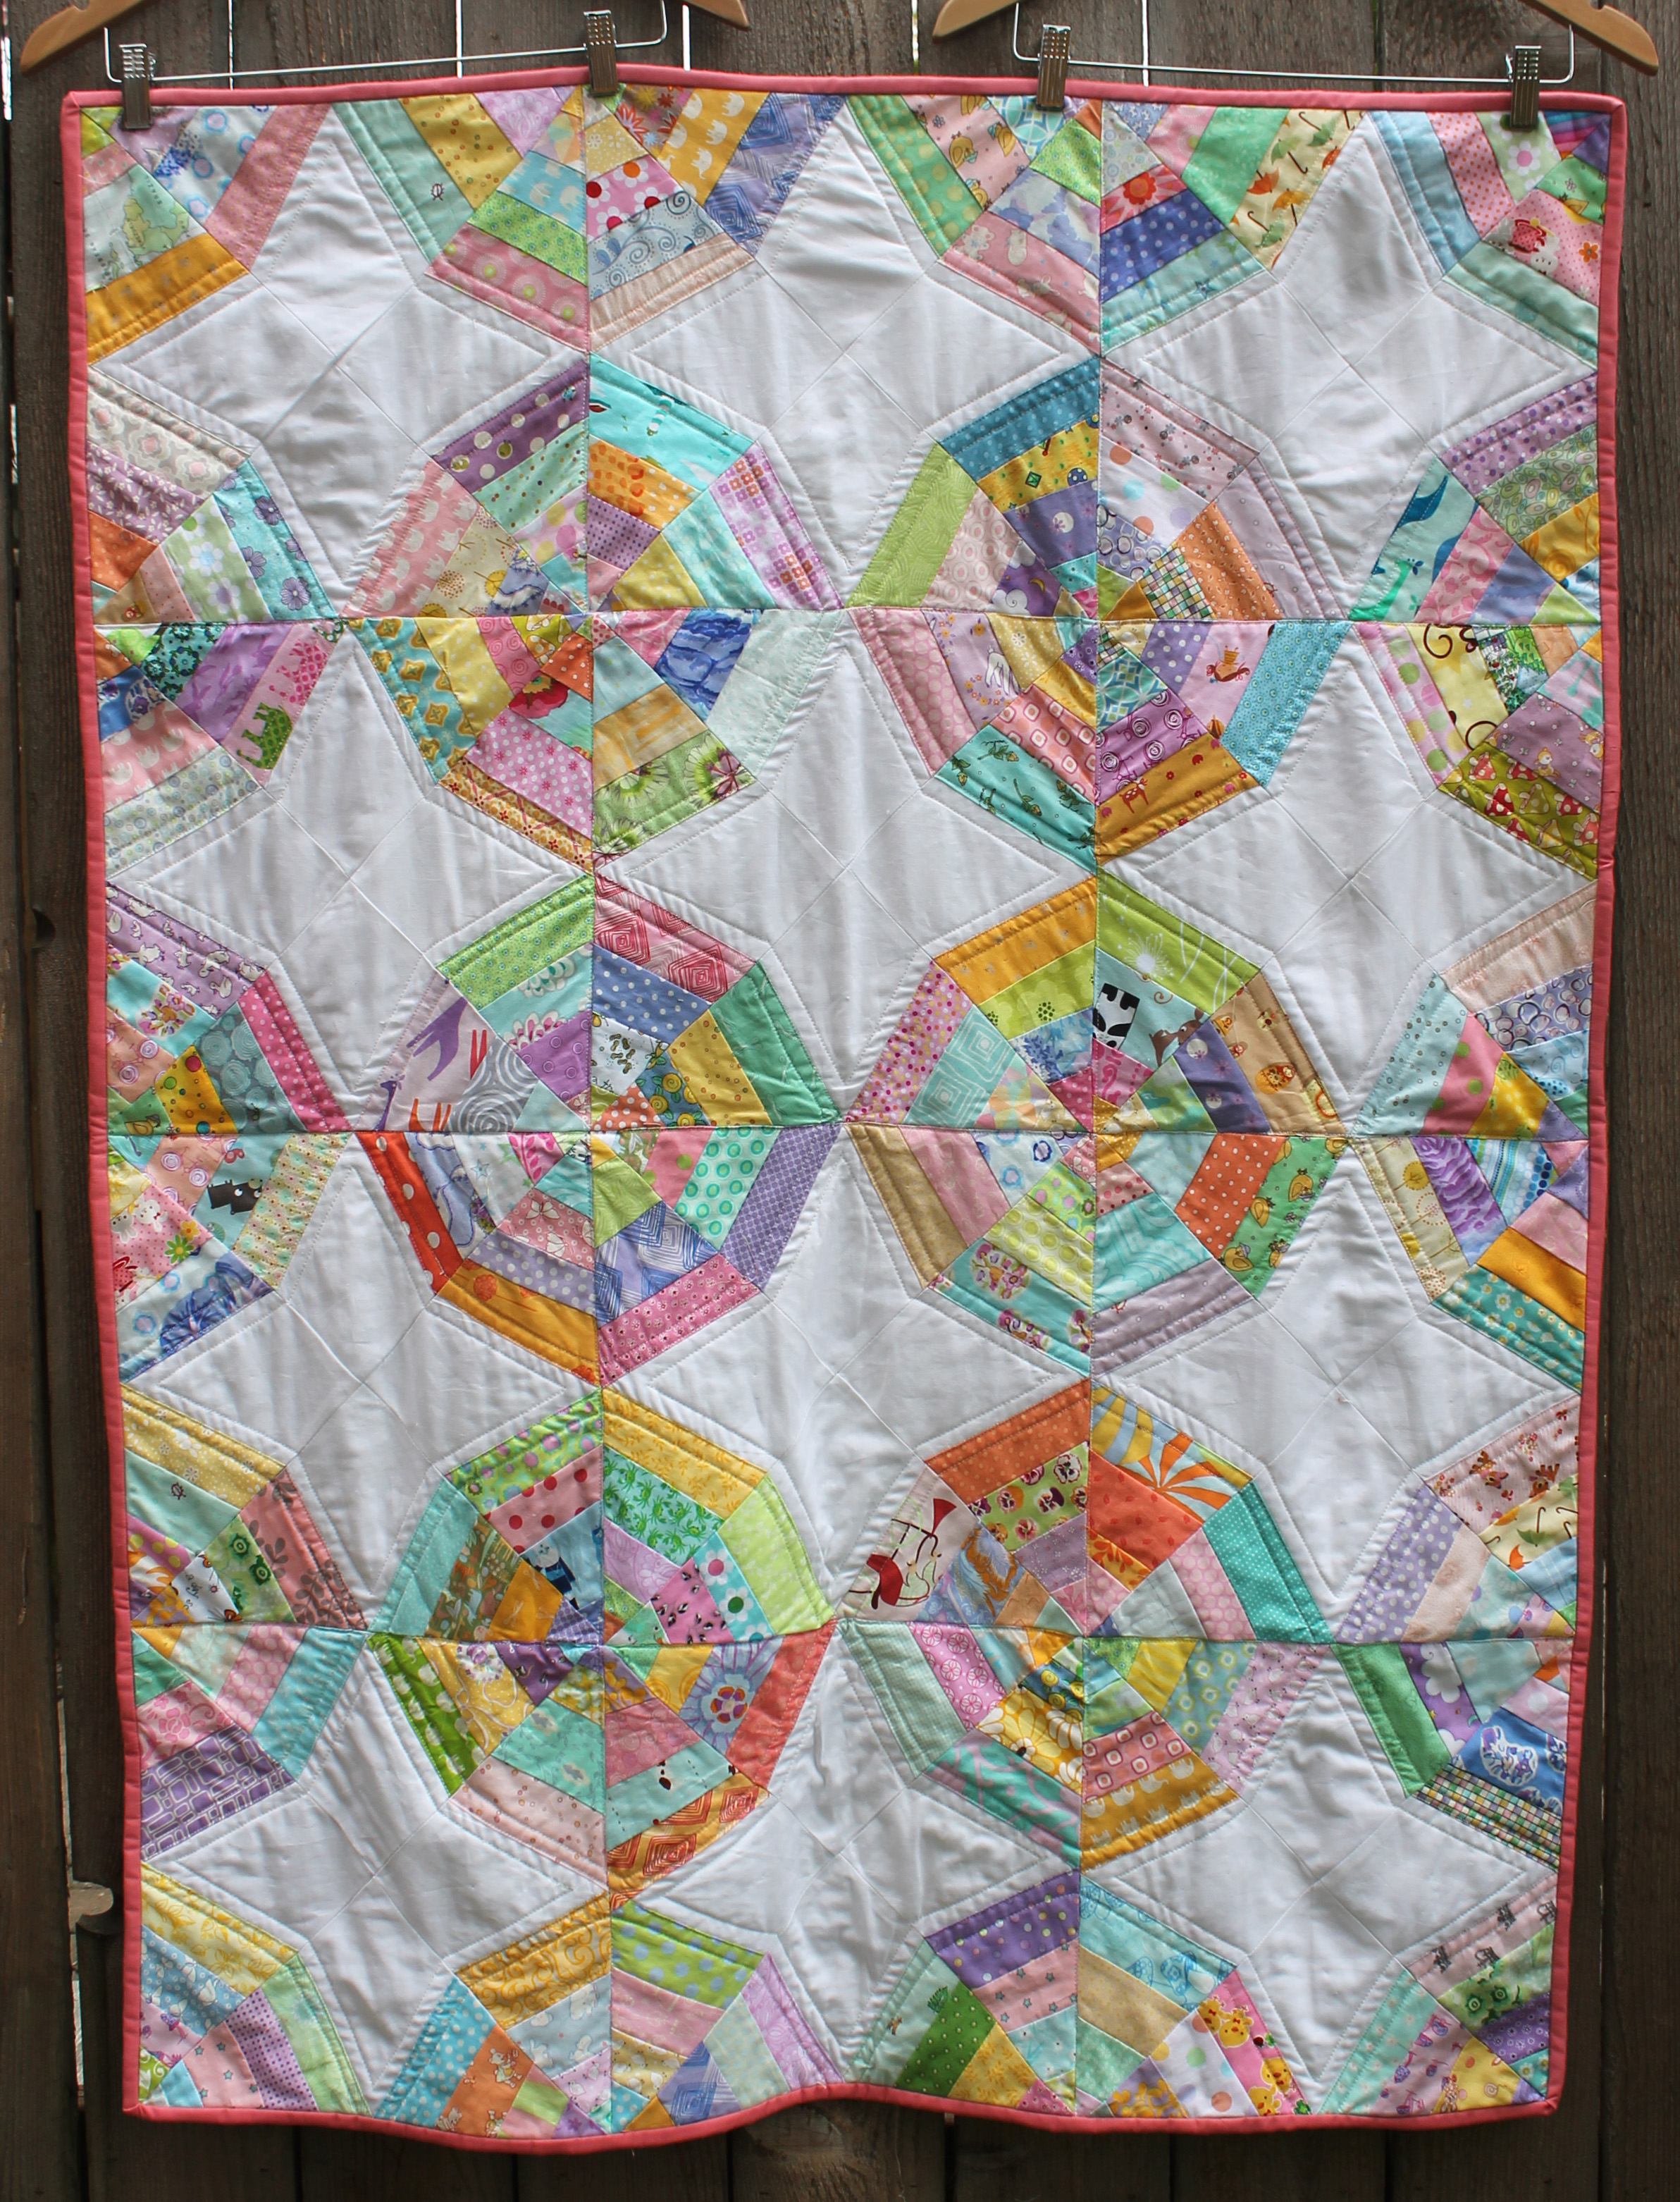
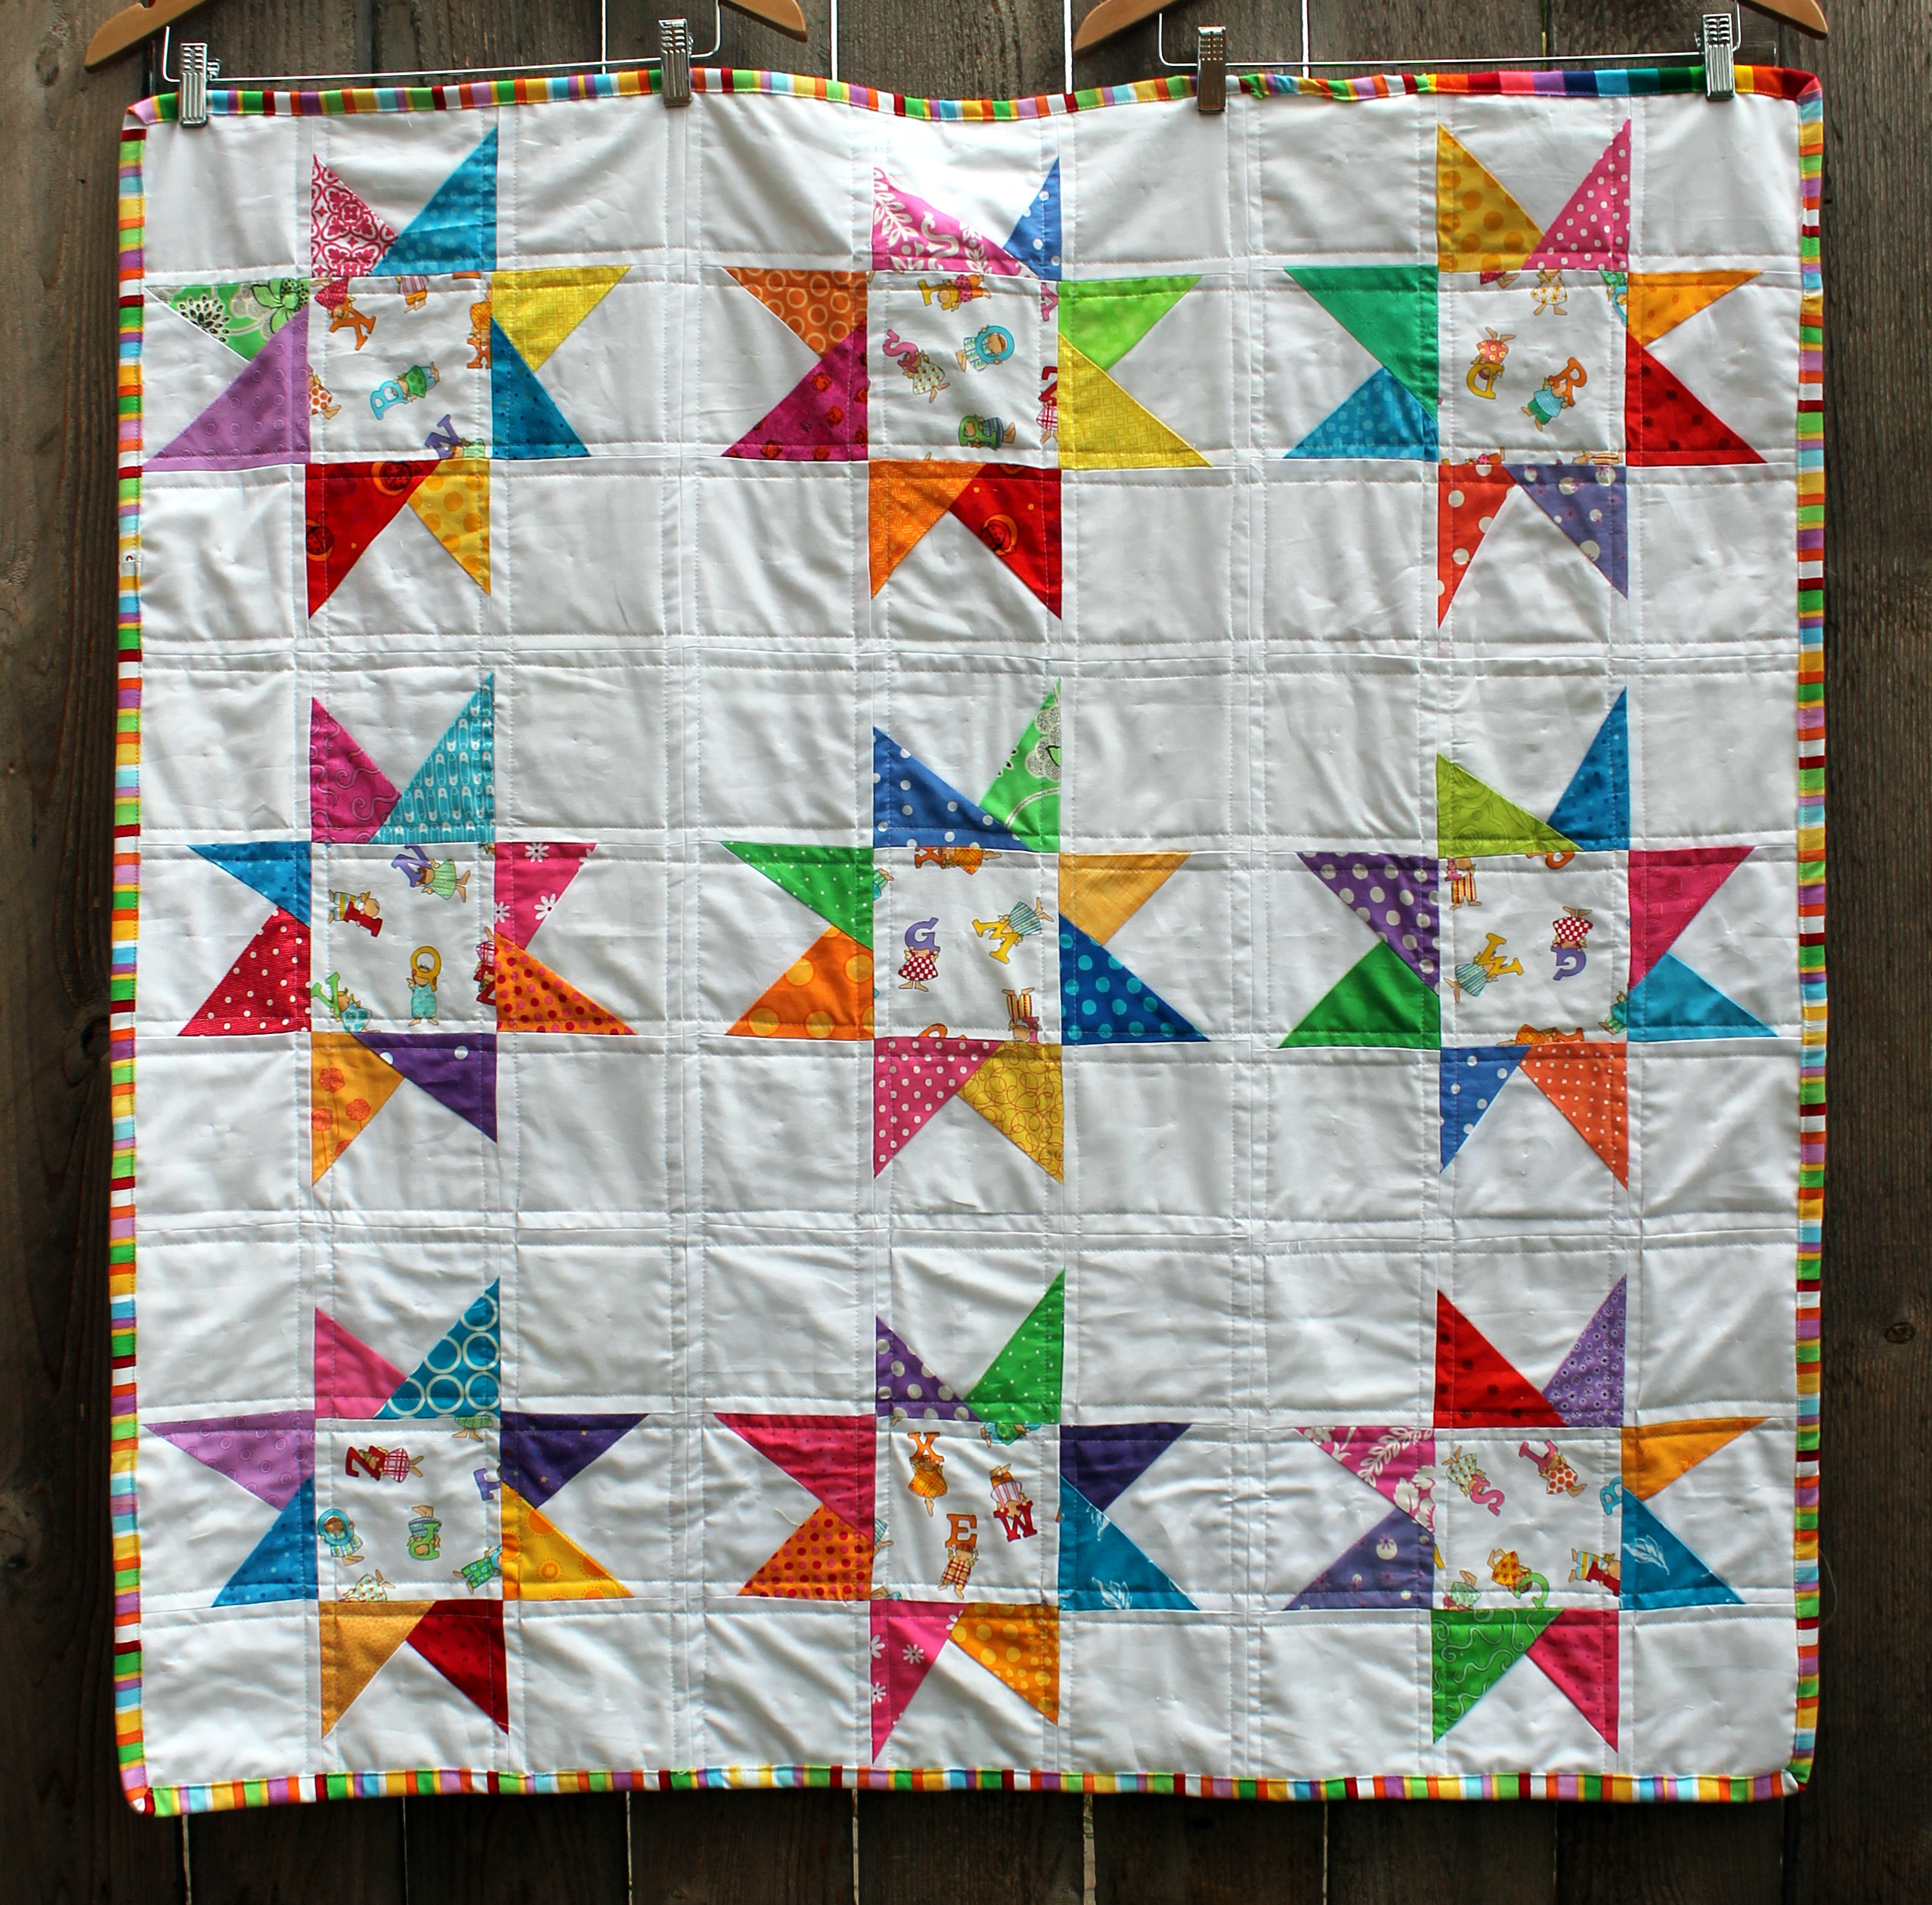
My final finishes for 2015 and first finish of 2016 has been putting the binding on a couple of wonky star quilts.  If you follow this blog you know how much I love a wonky star, and I found during my recent health issues that I could make wonky stars without too much effort or thought (I seem to have good muscle memory for this quilt block!)….

white star quilt

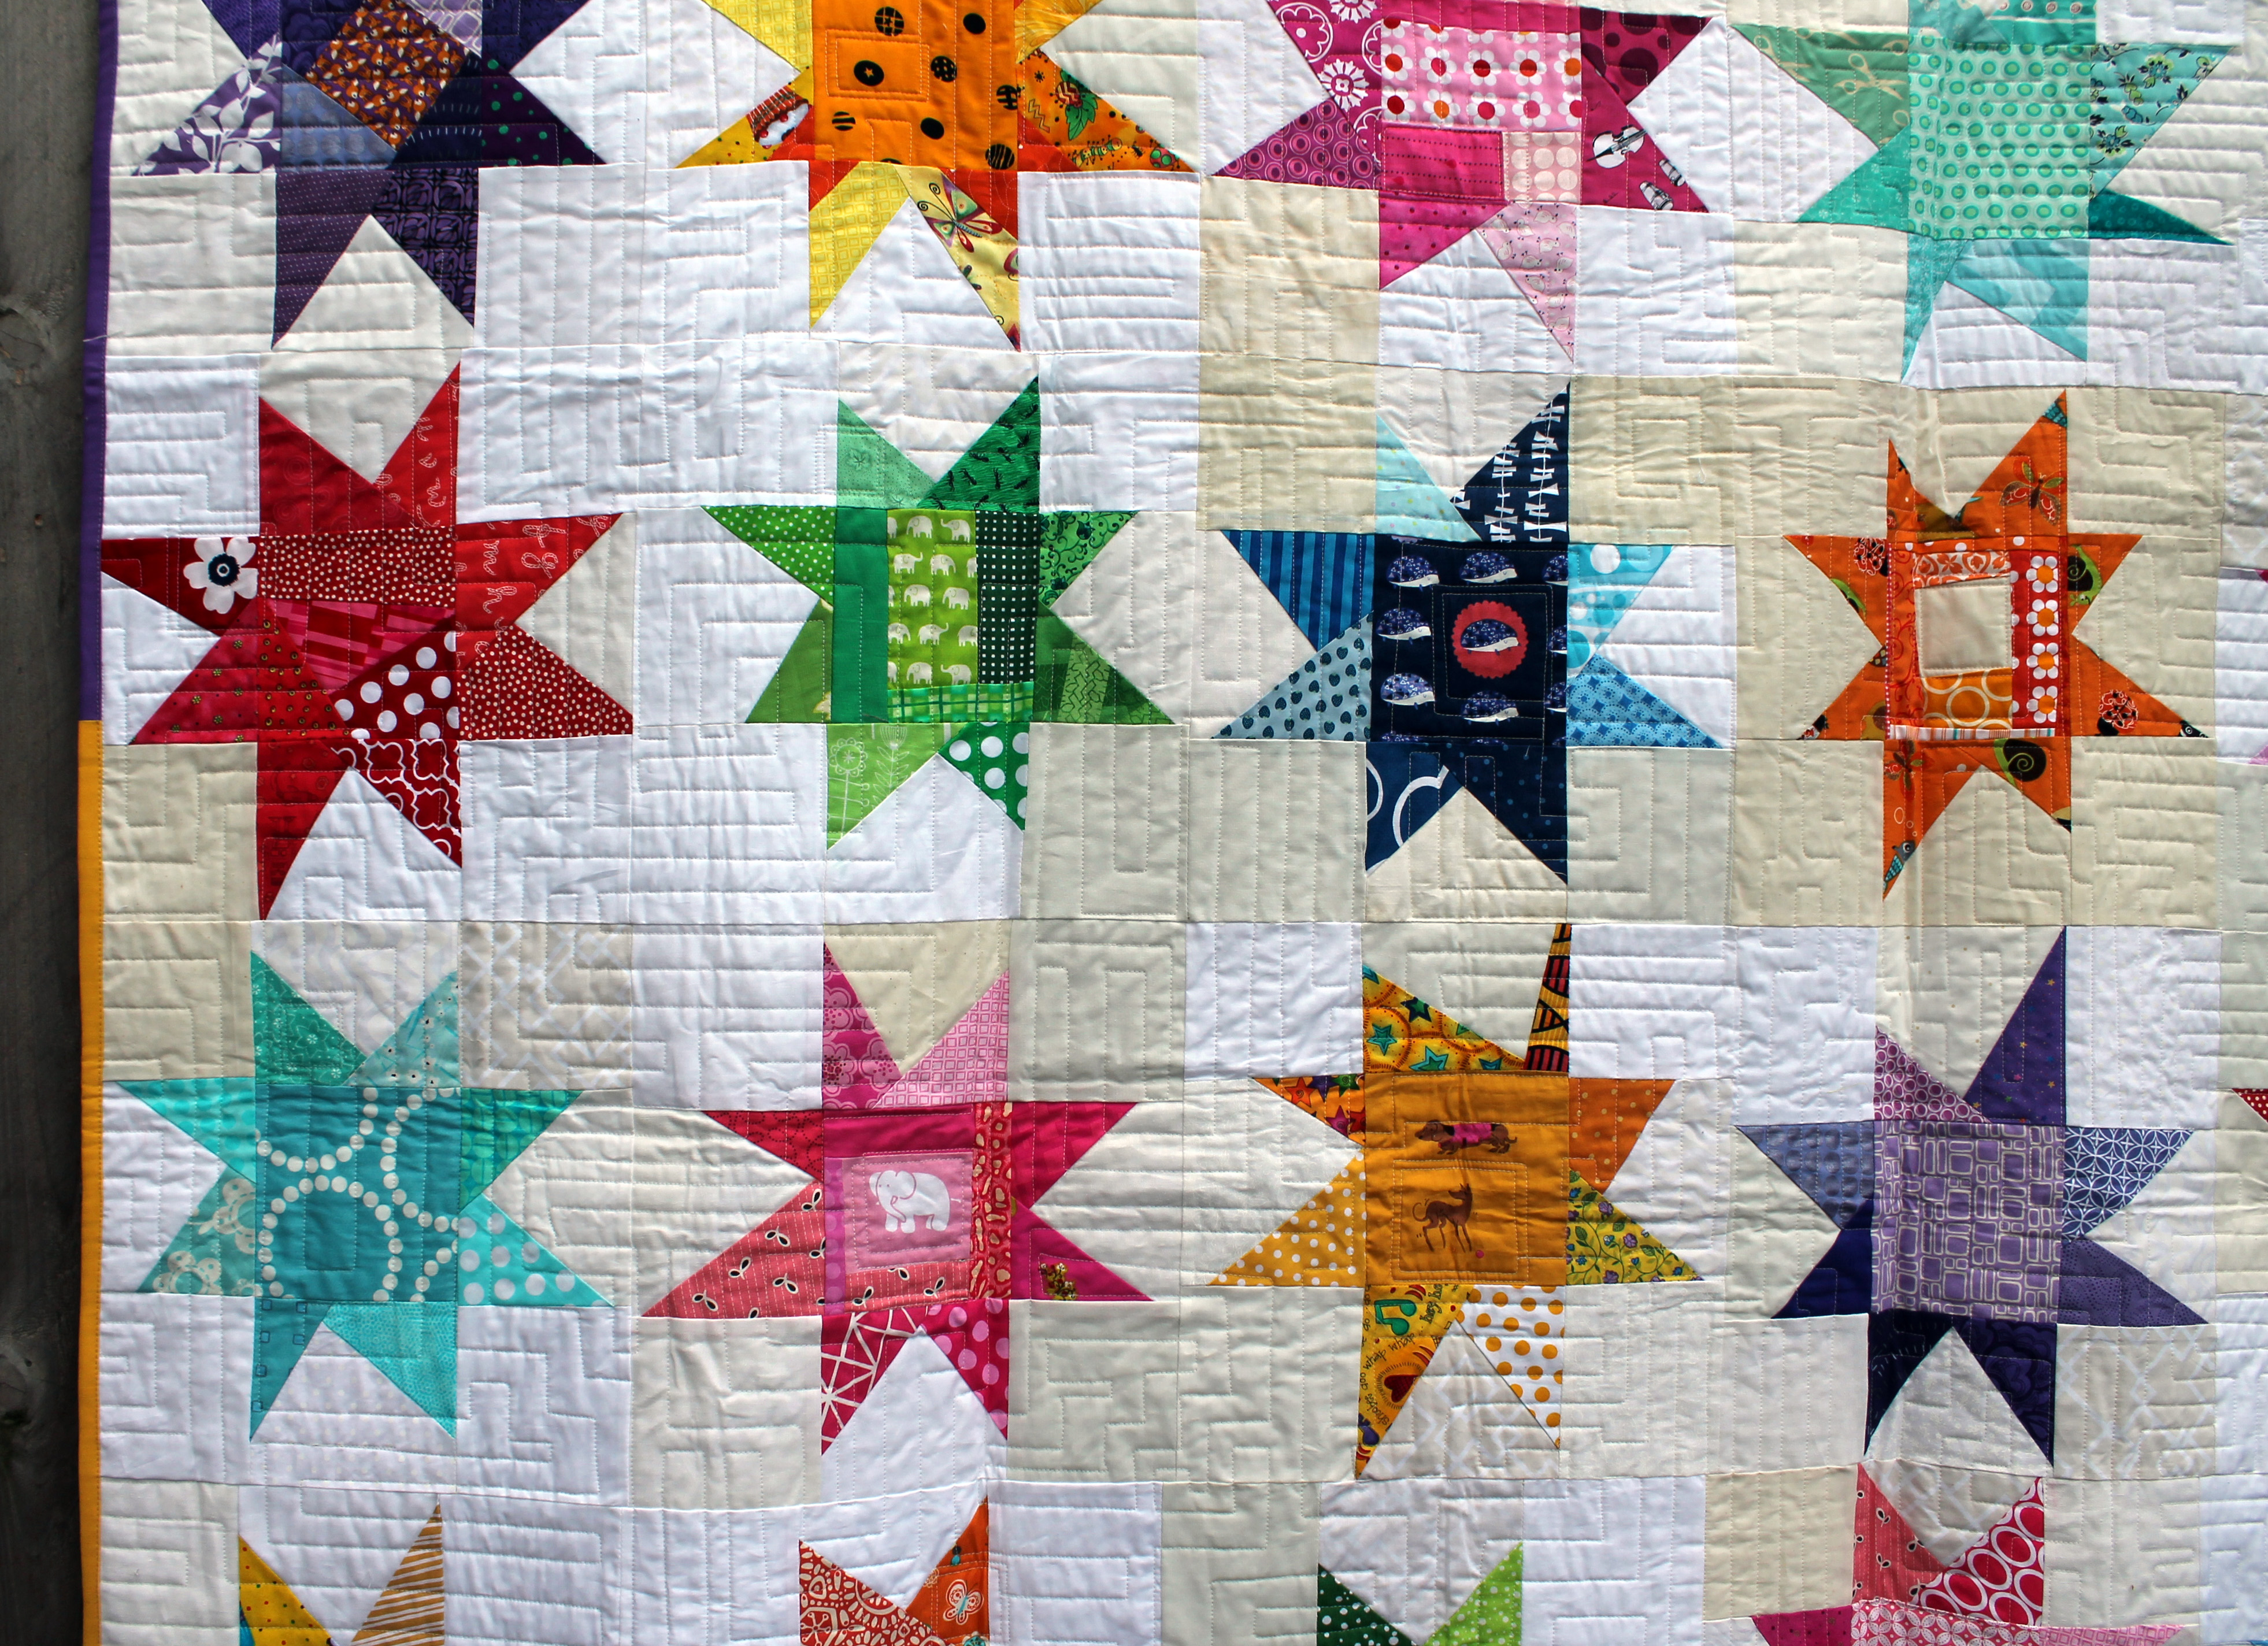
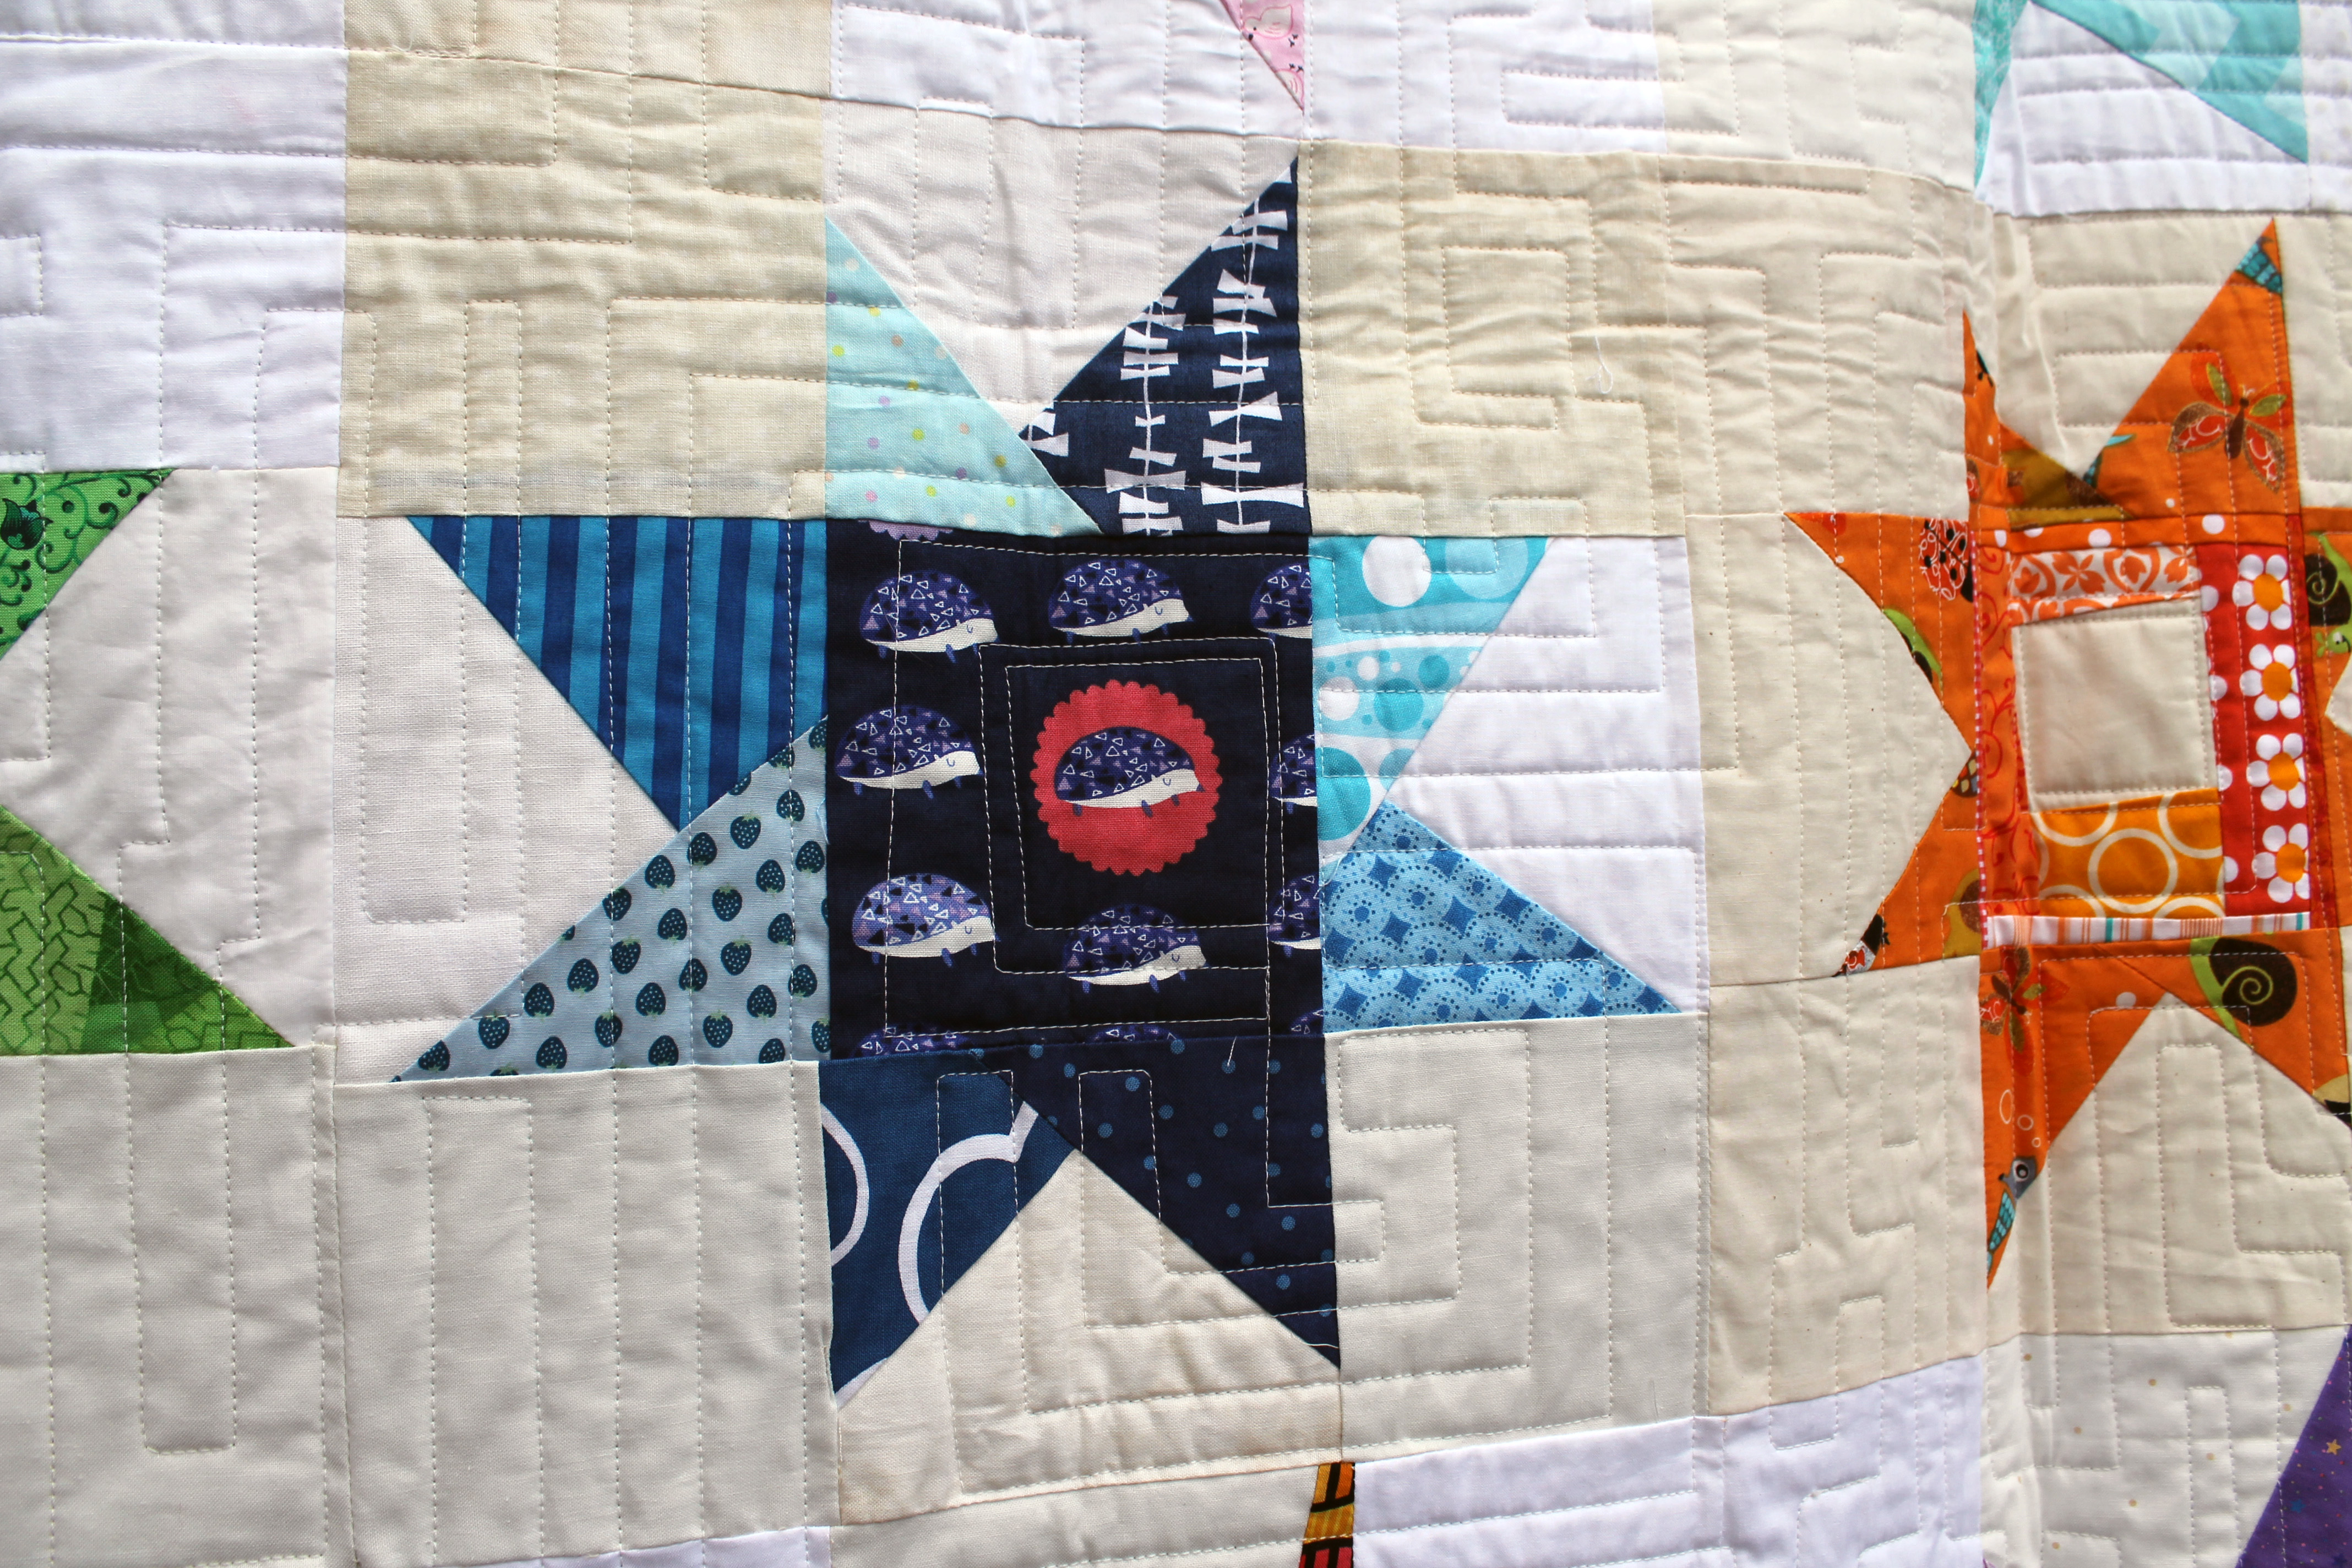
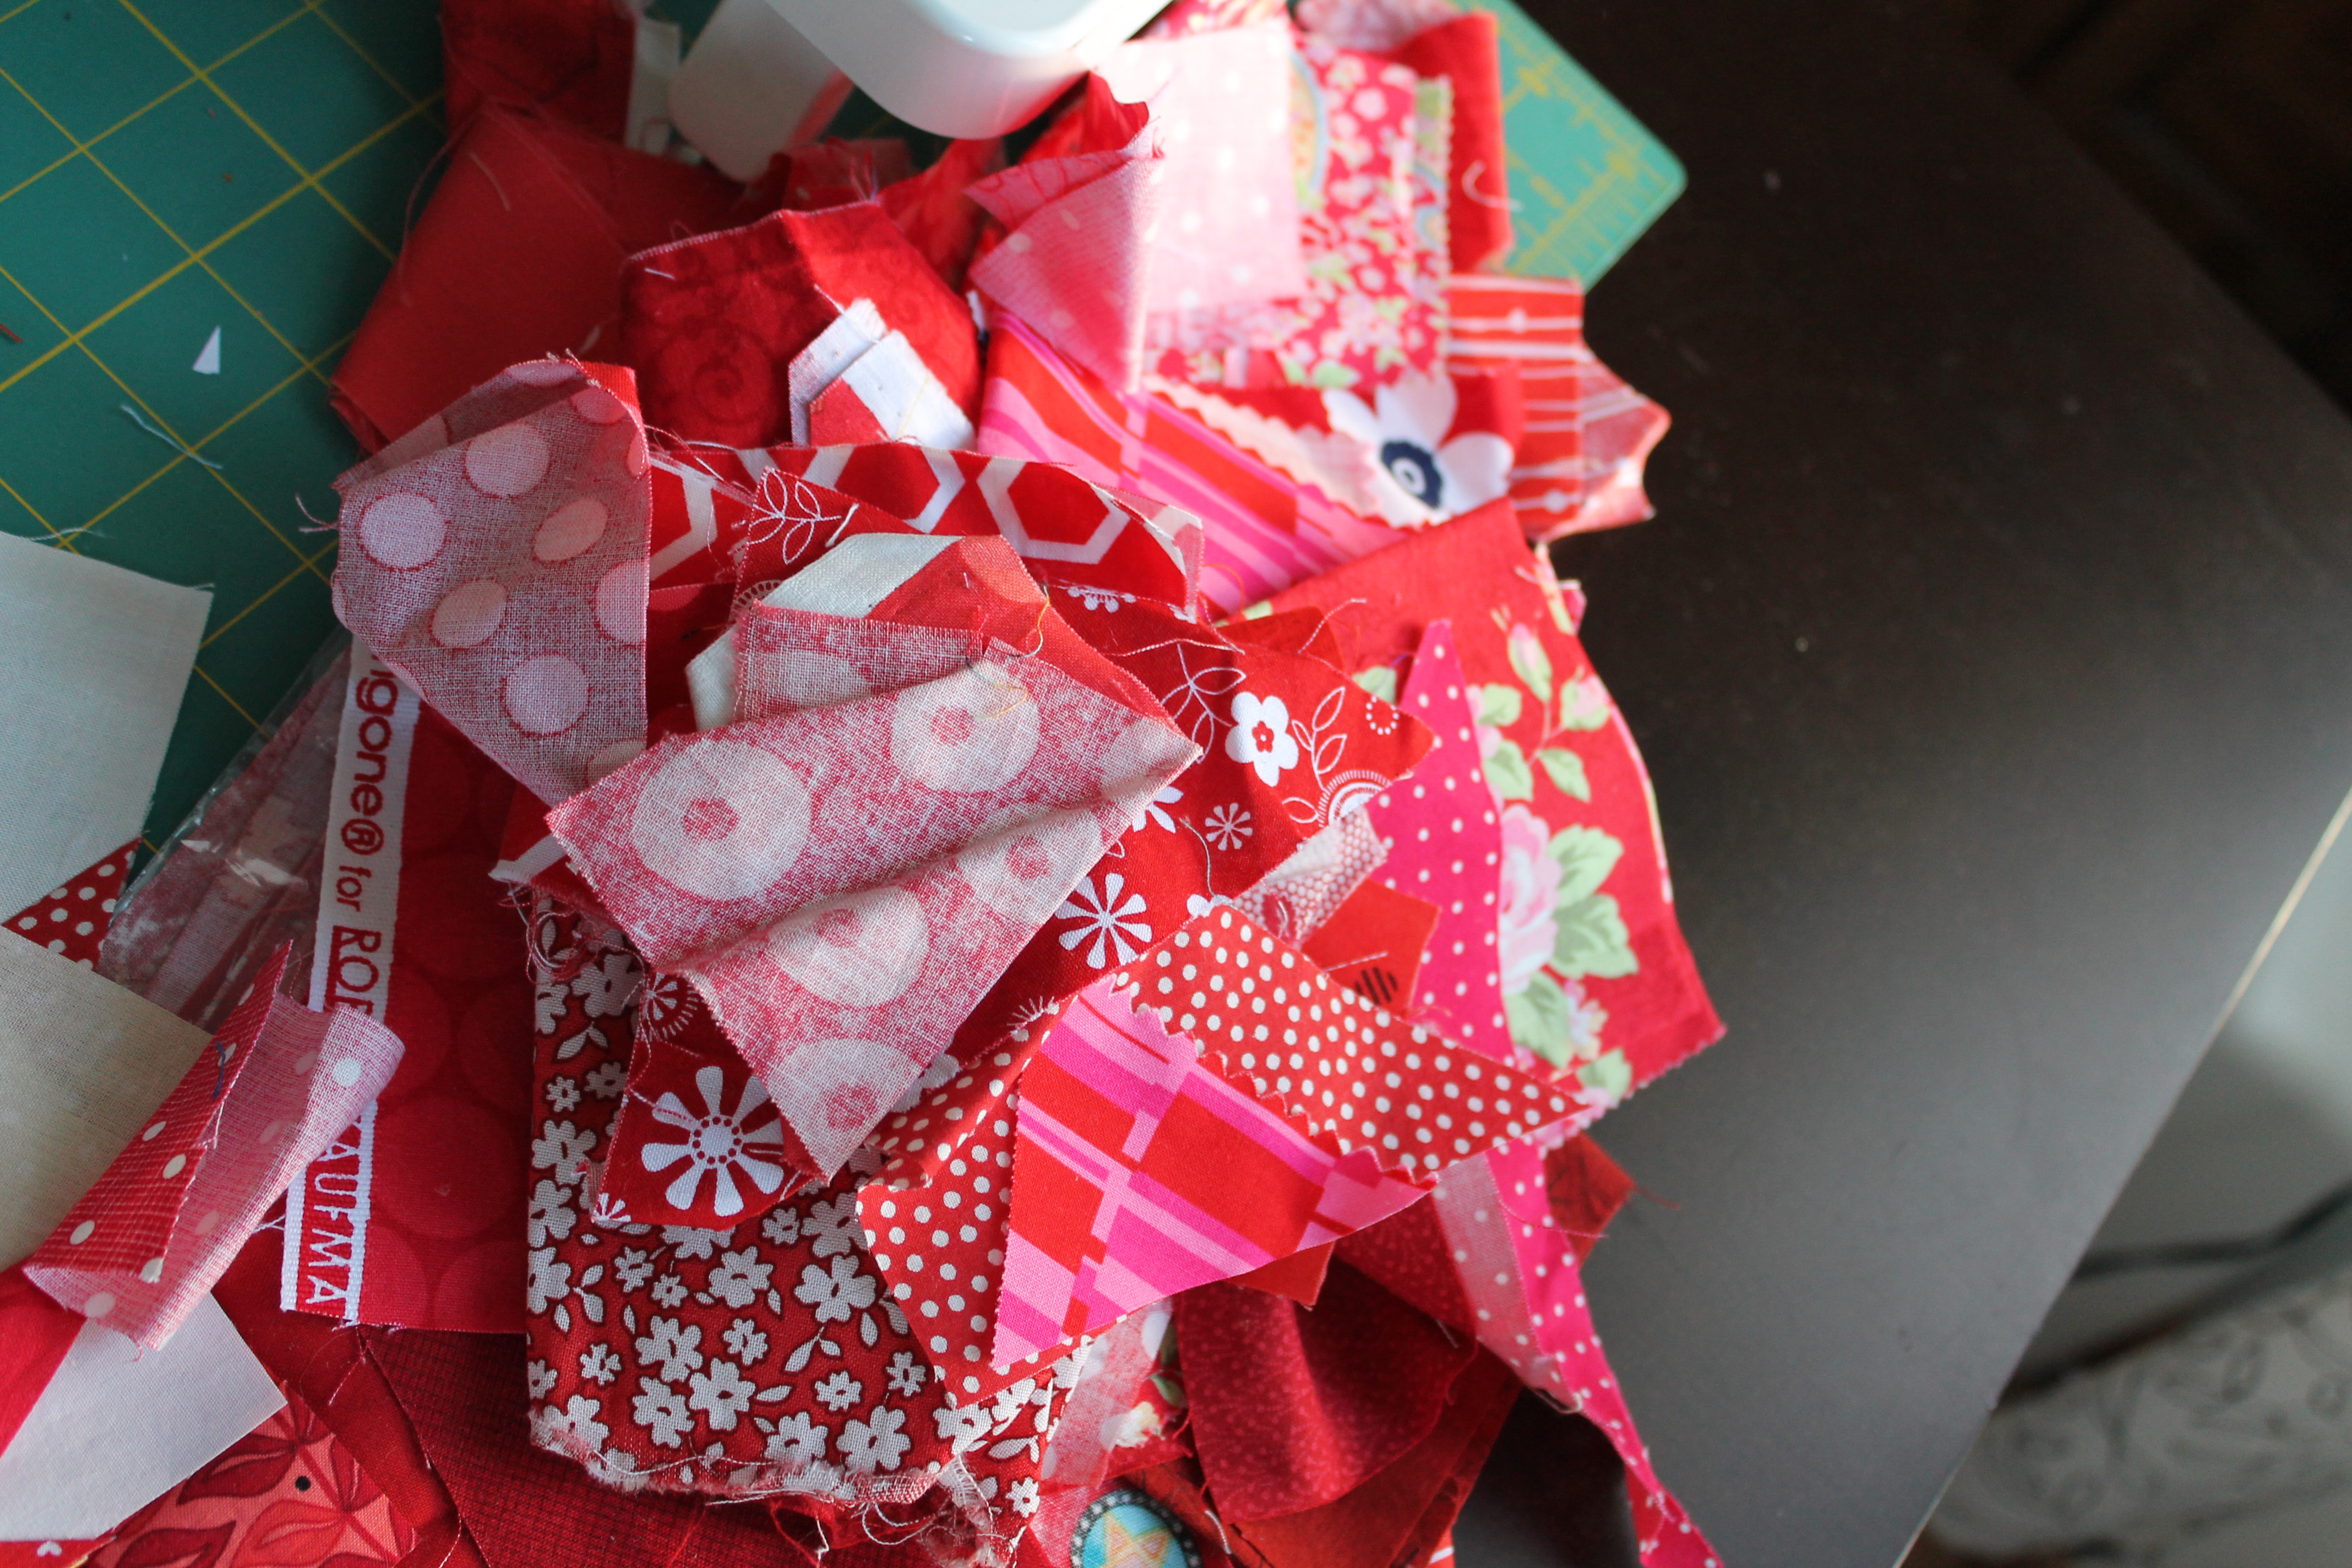
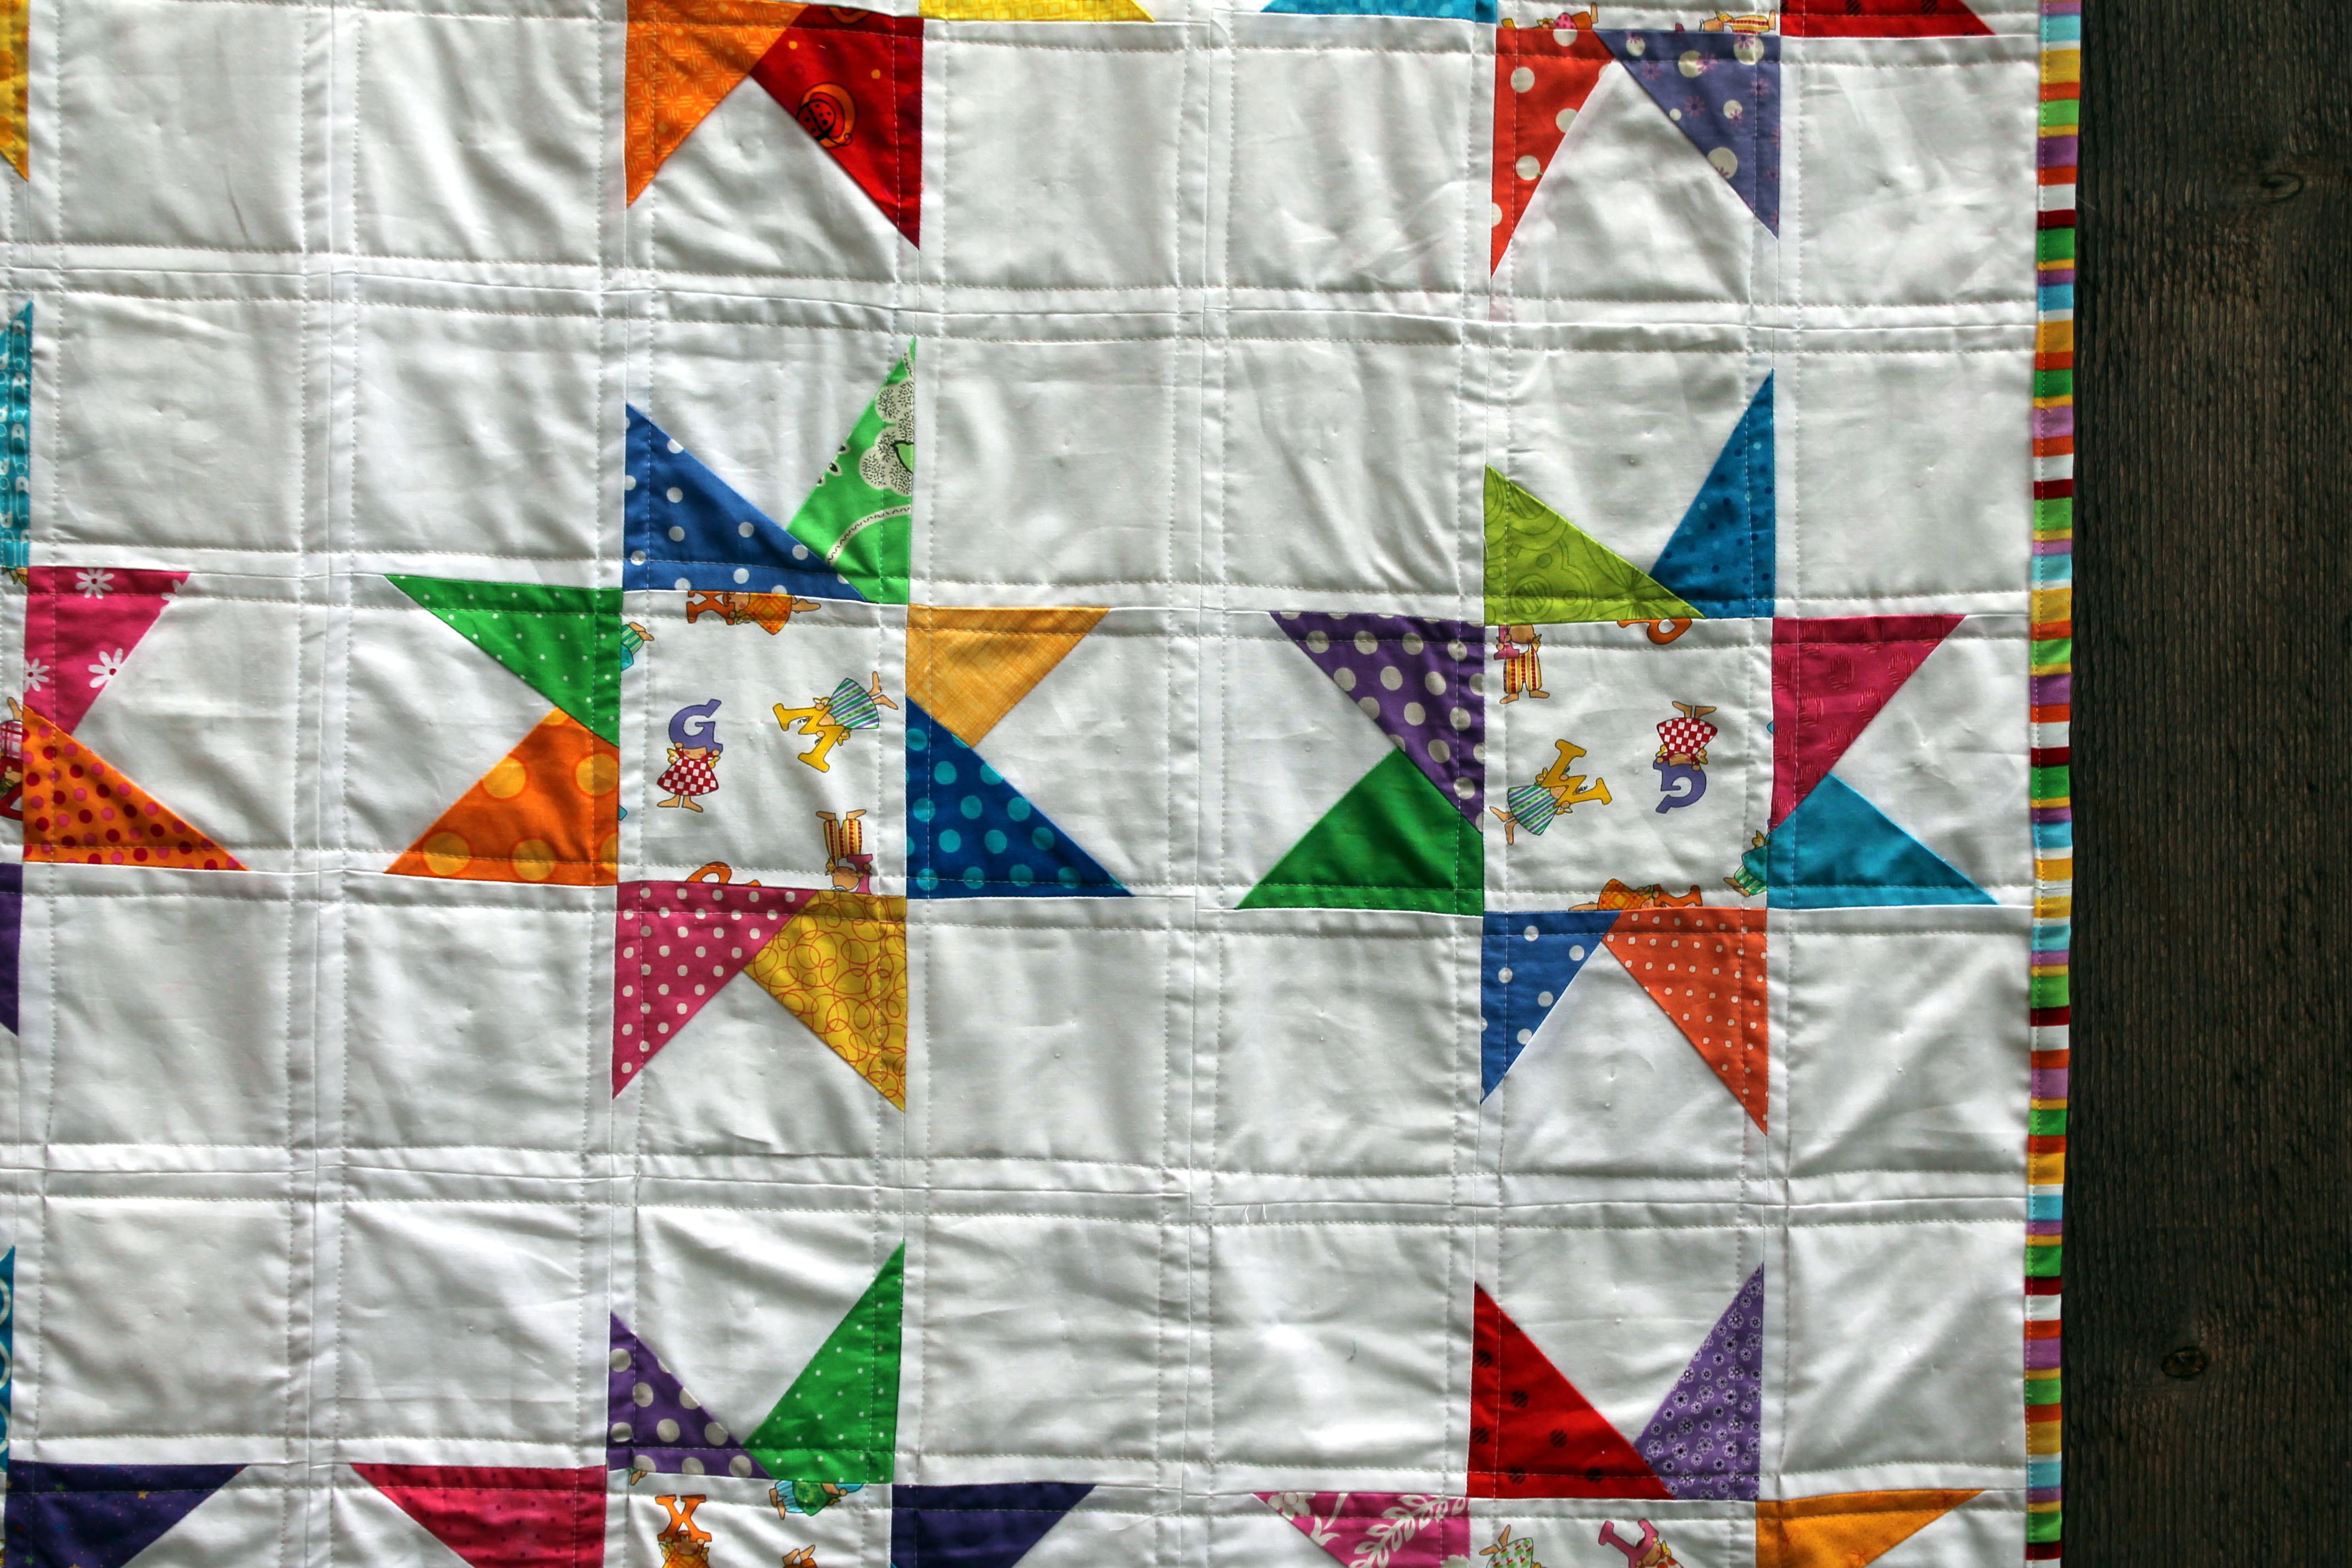
What made these quilts so easy for me to make was that I used some of my huge stash of 5 inch squares and lots of scraps.  For this first quilt I grabbed a pile of blue squares and my bag of white/cream scraps and got to work.

star detail

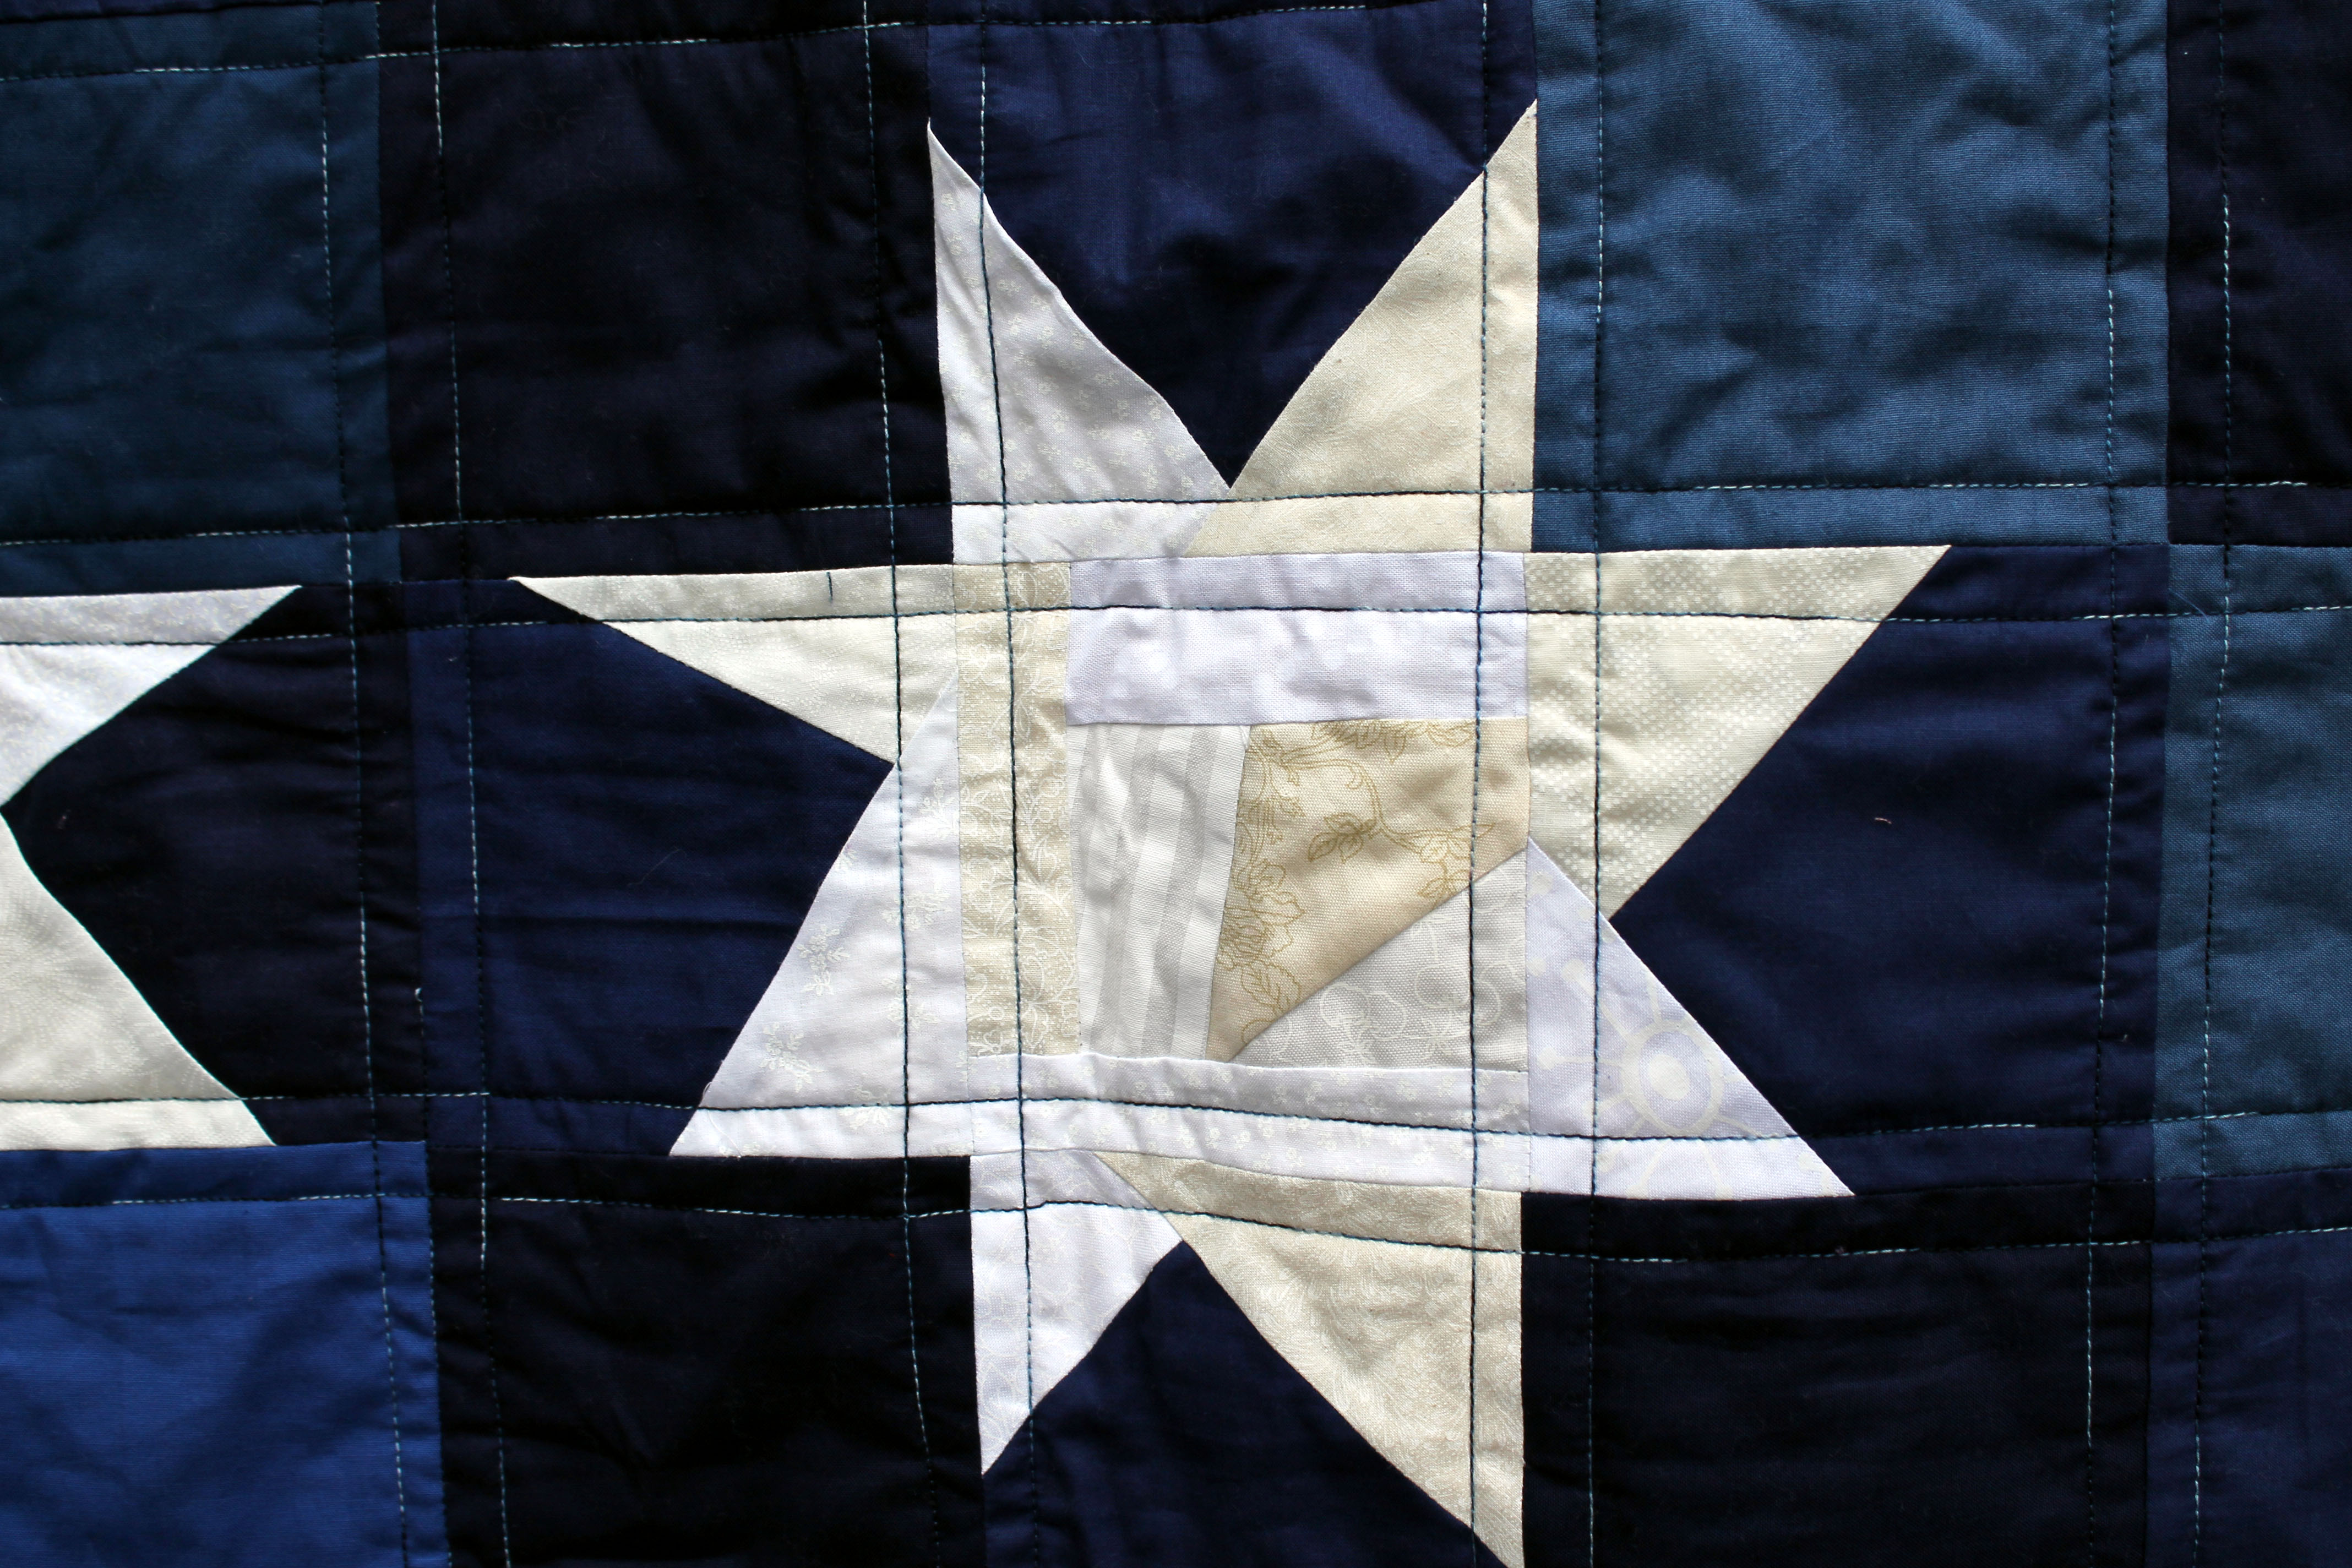
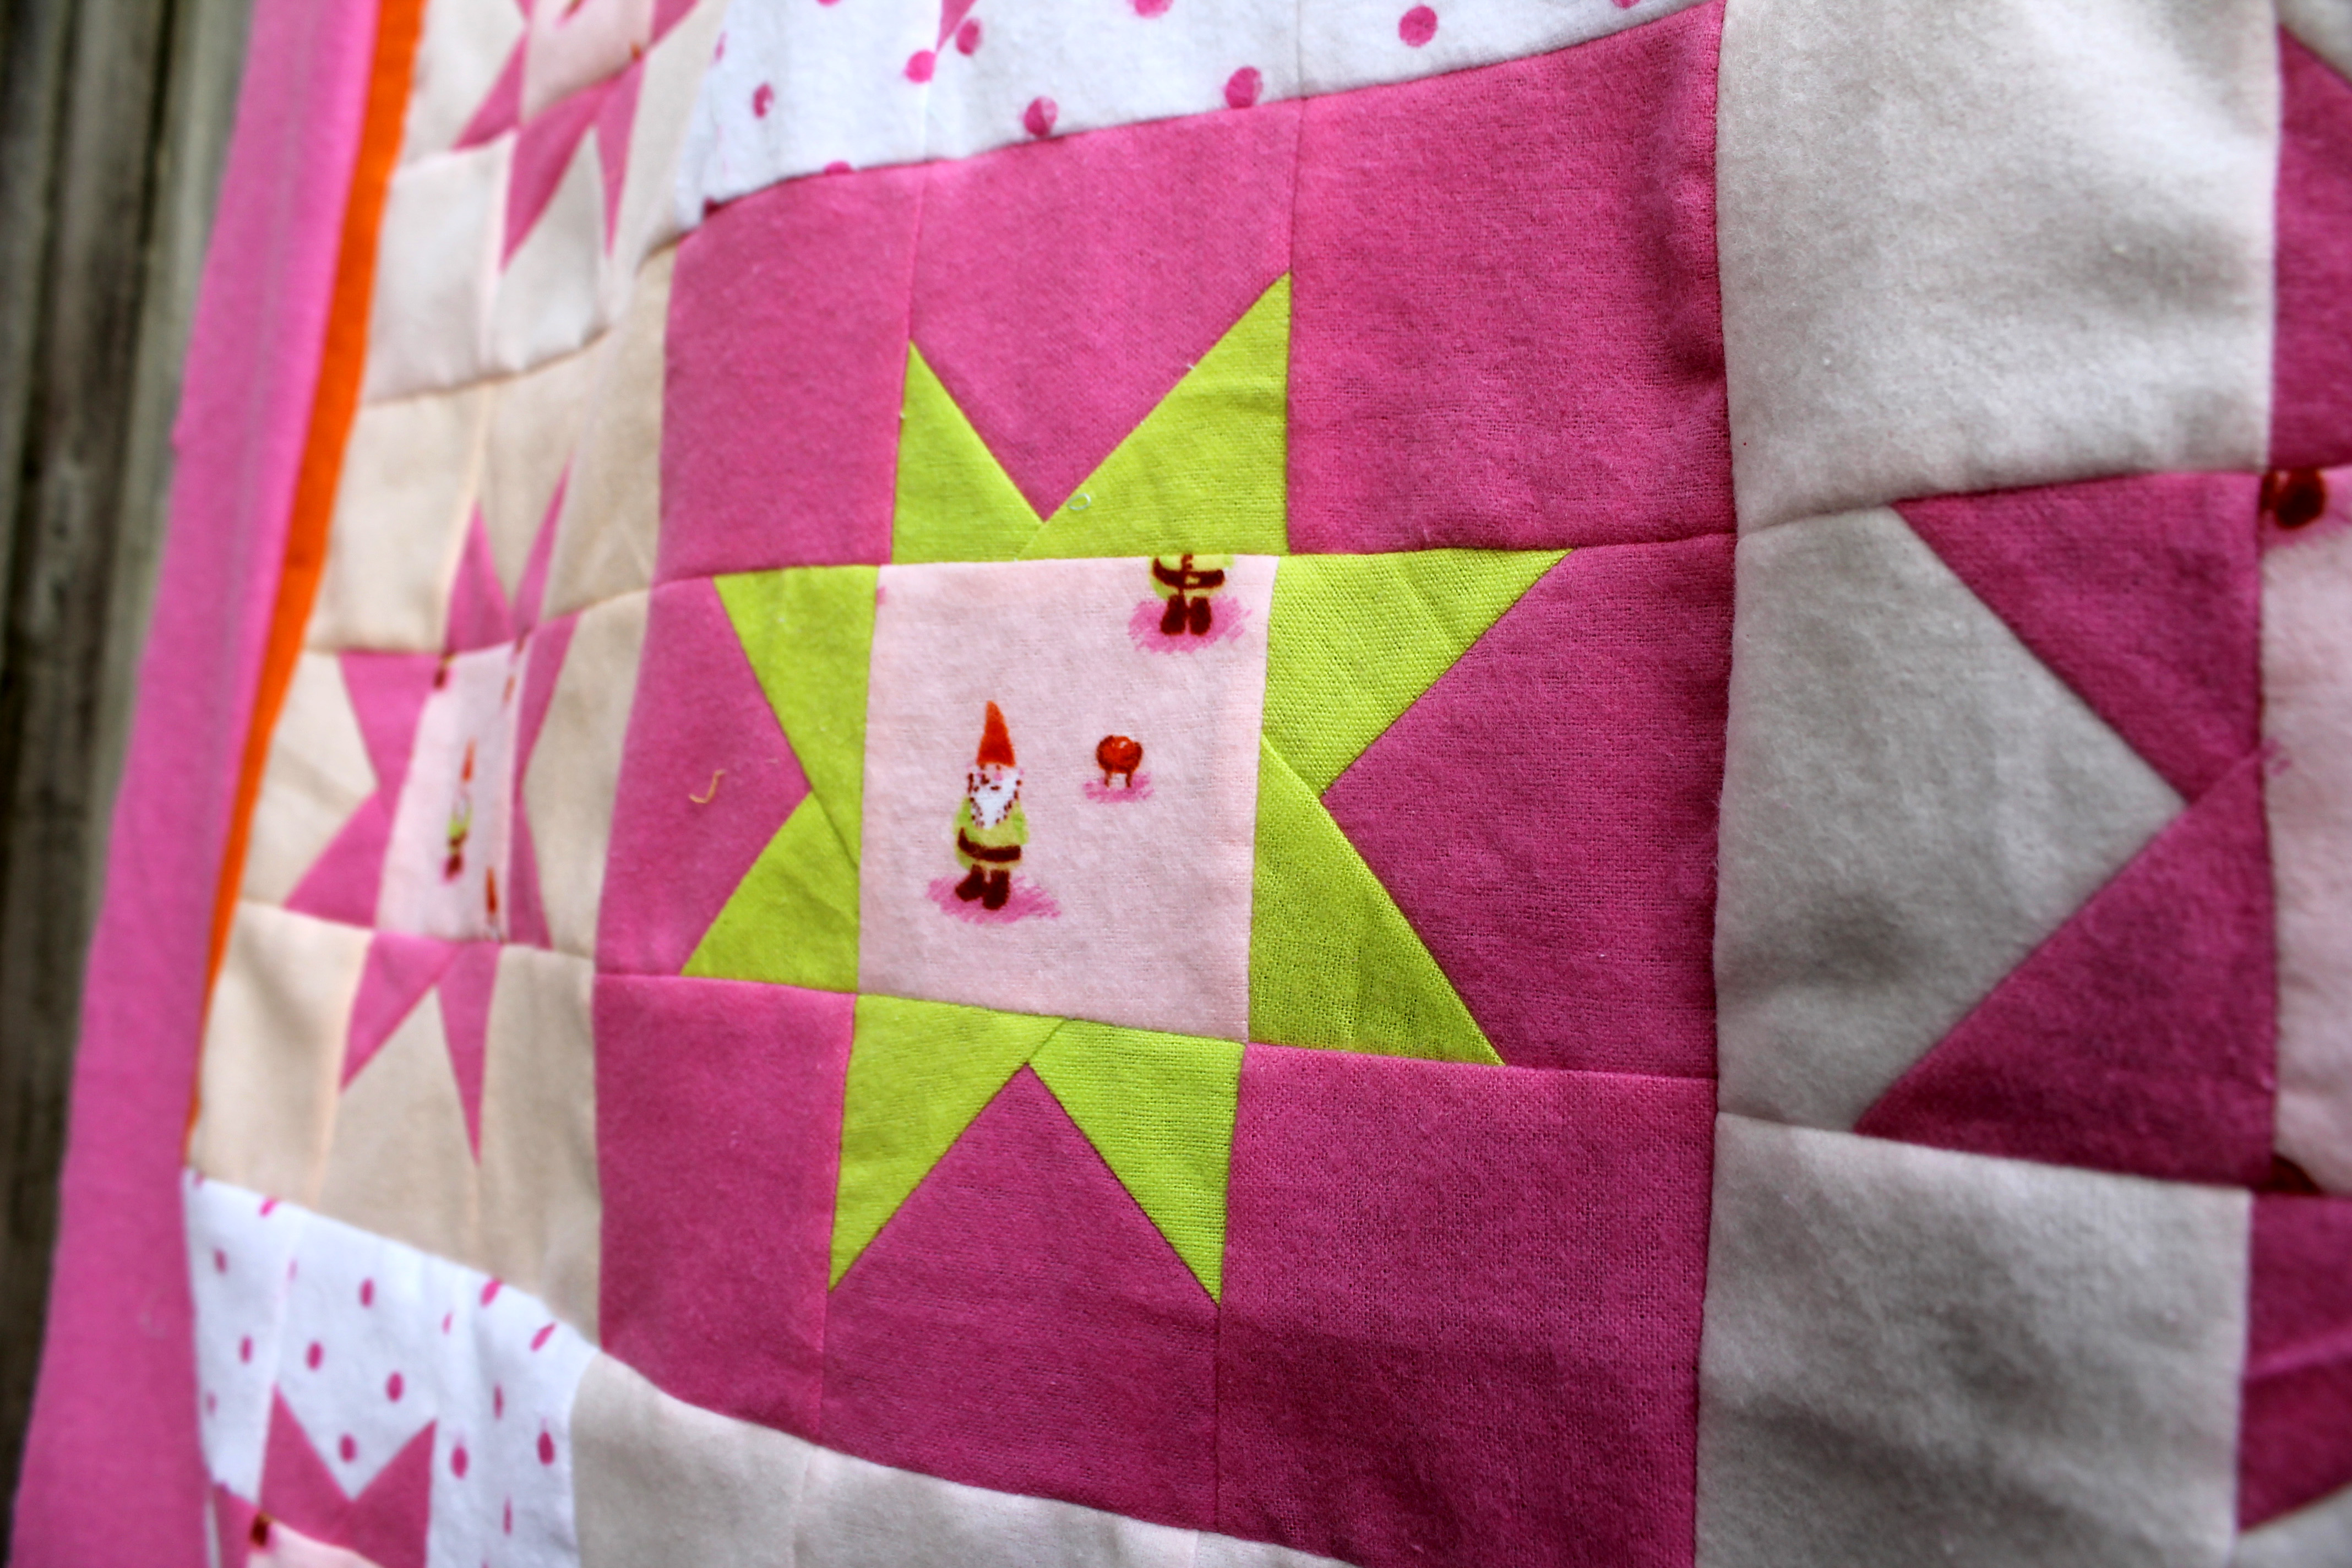
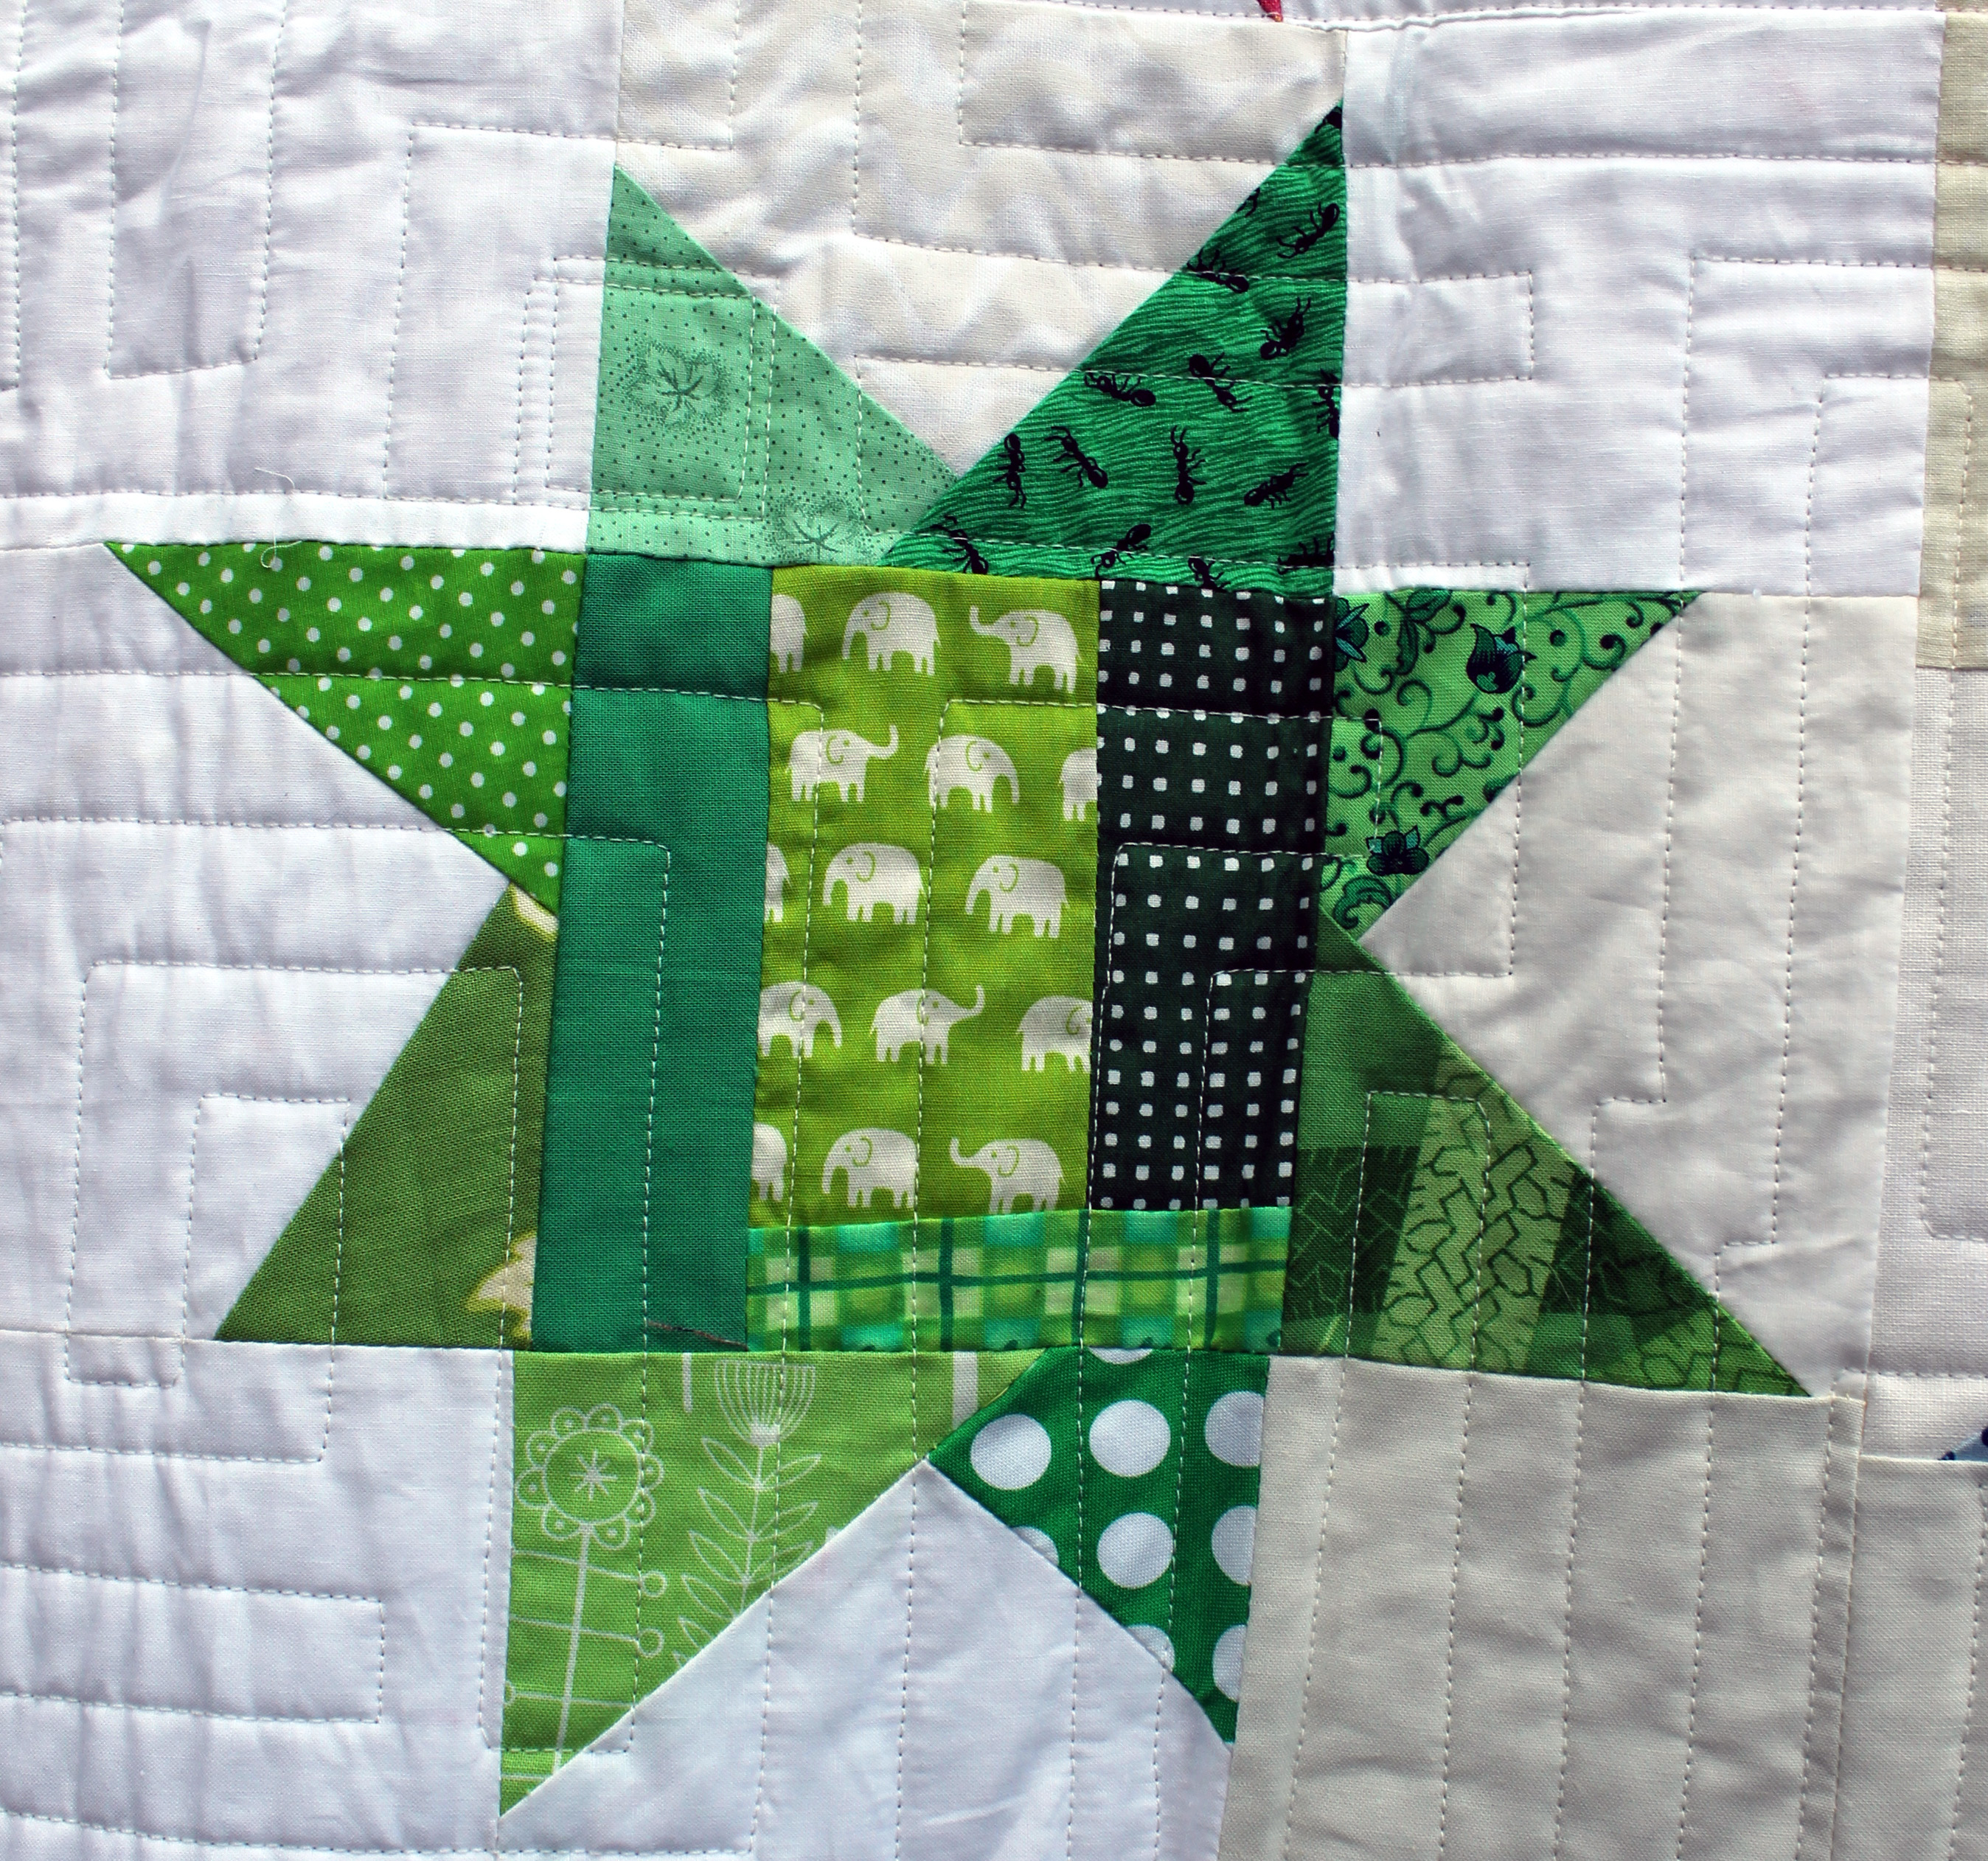
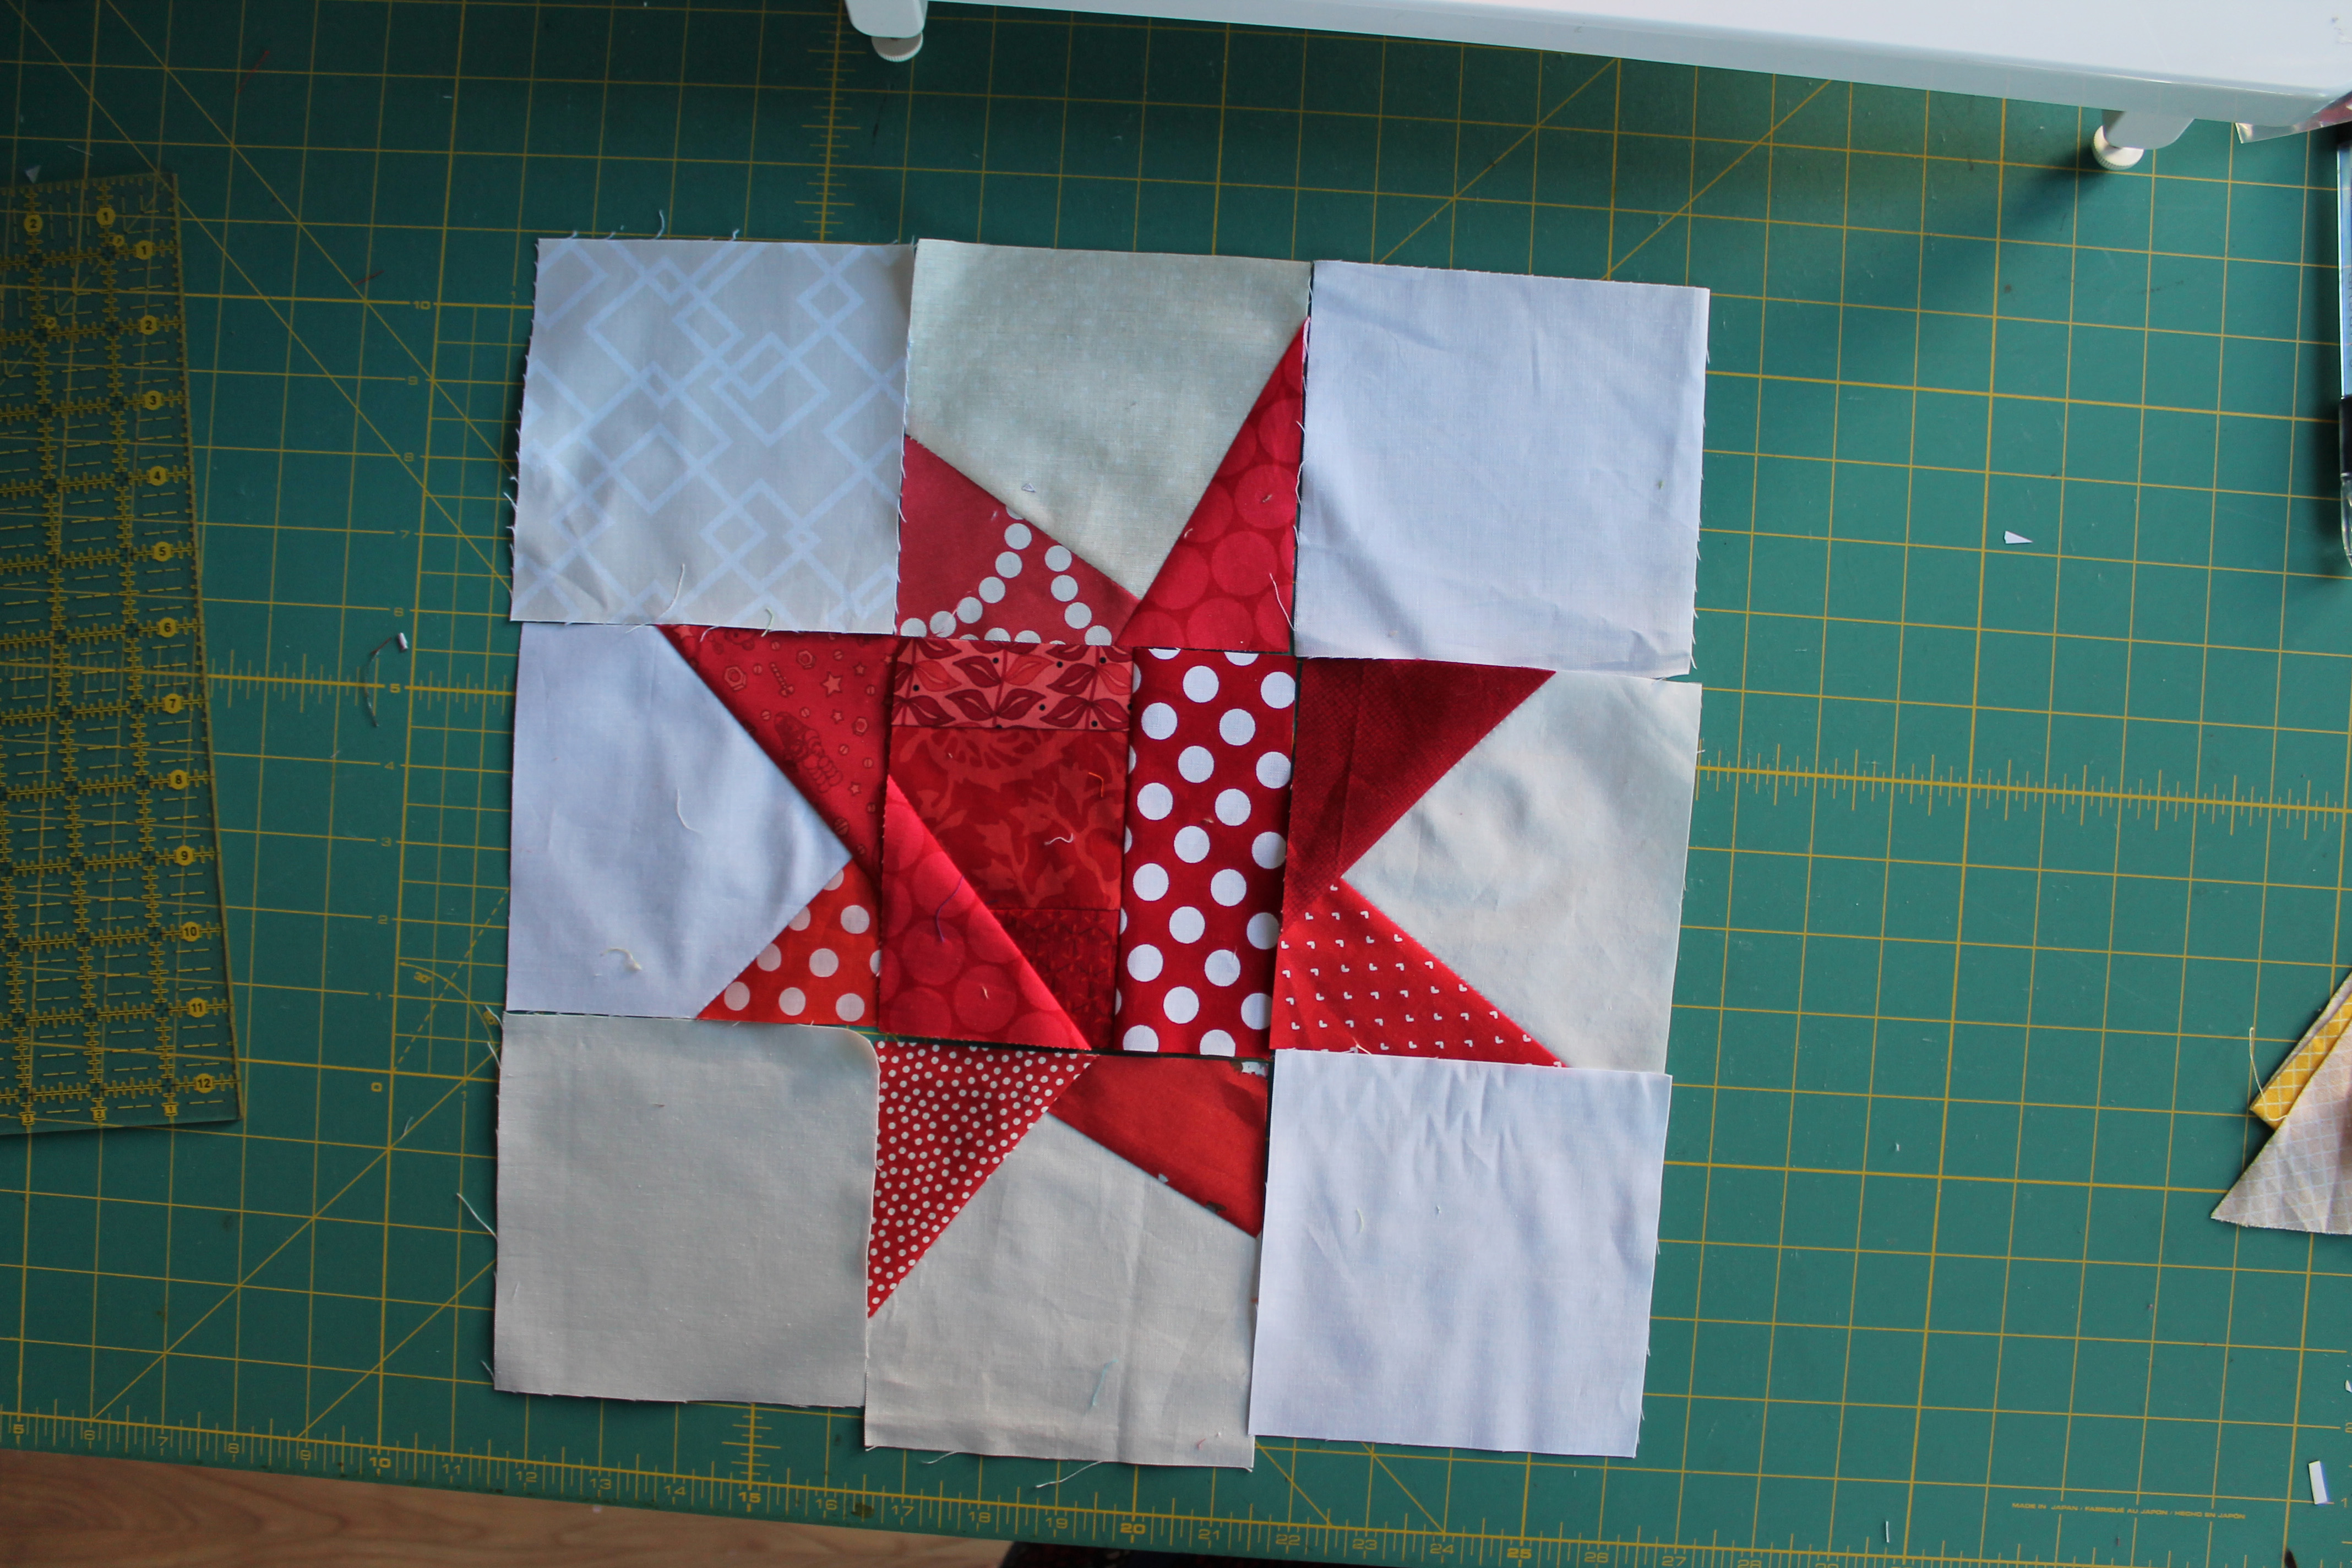
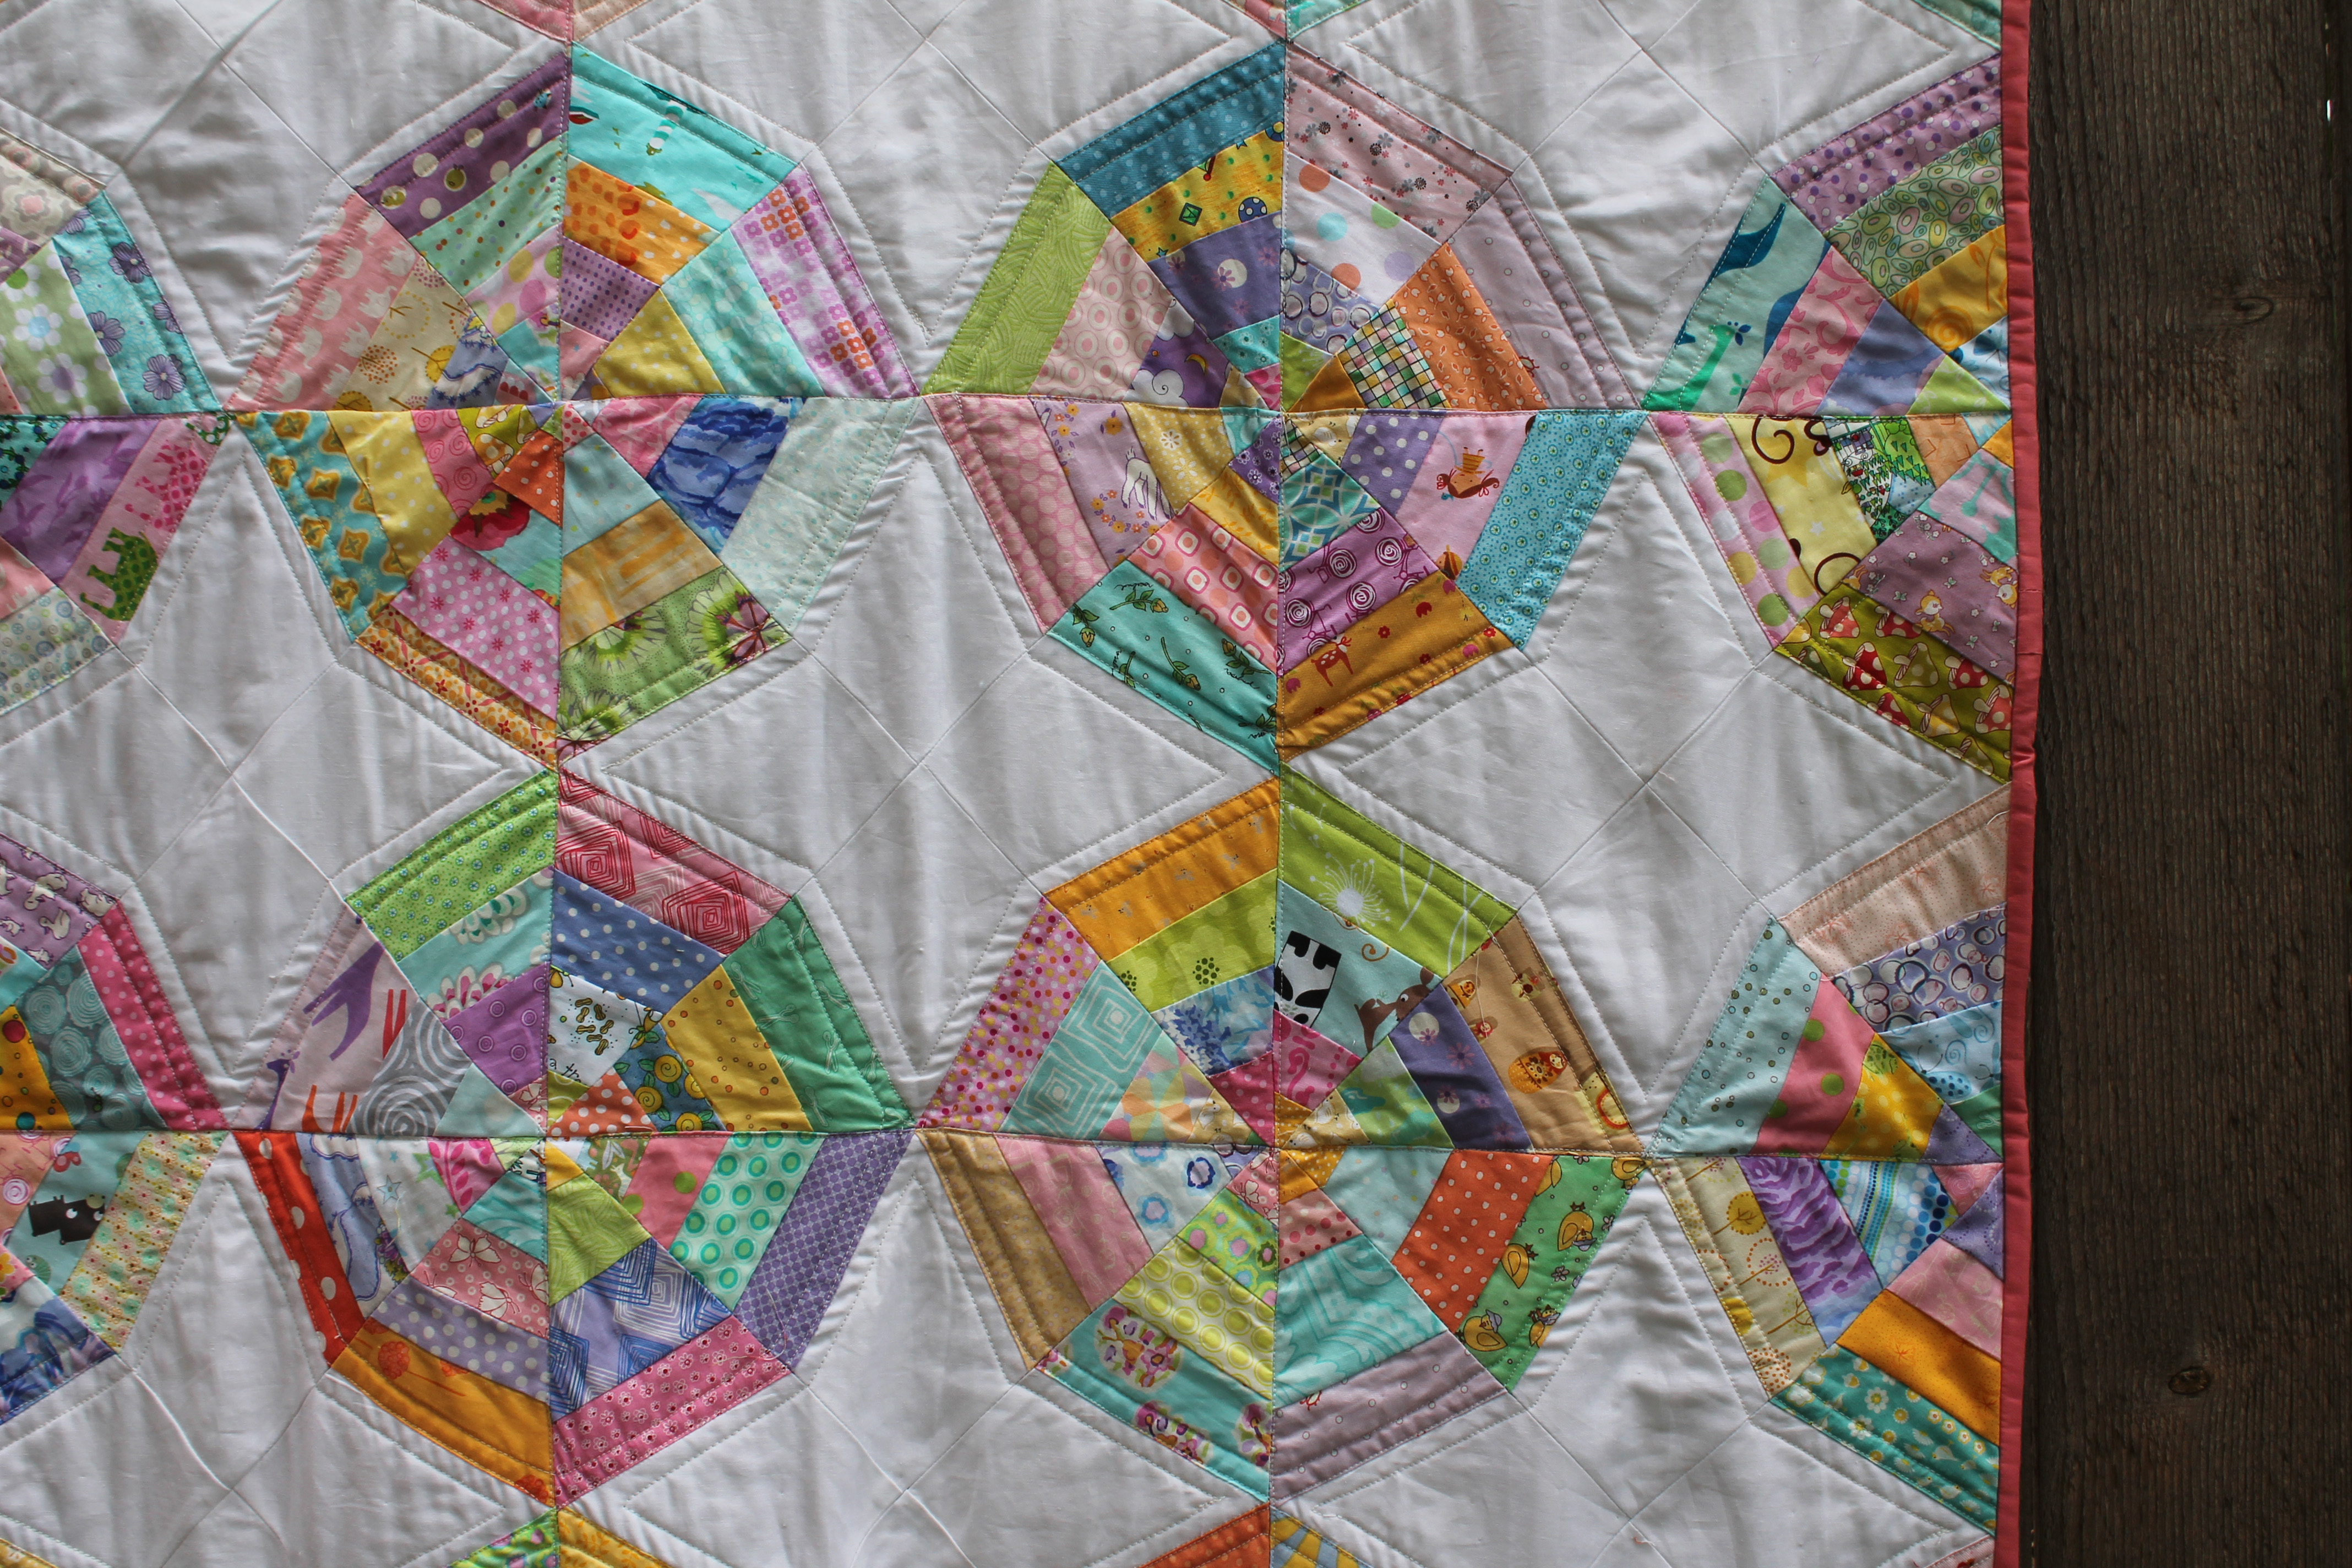
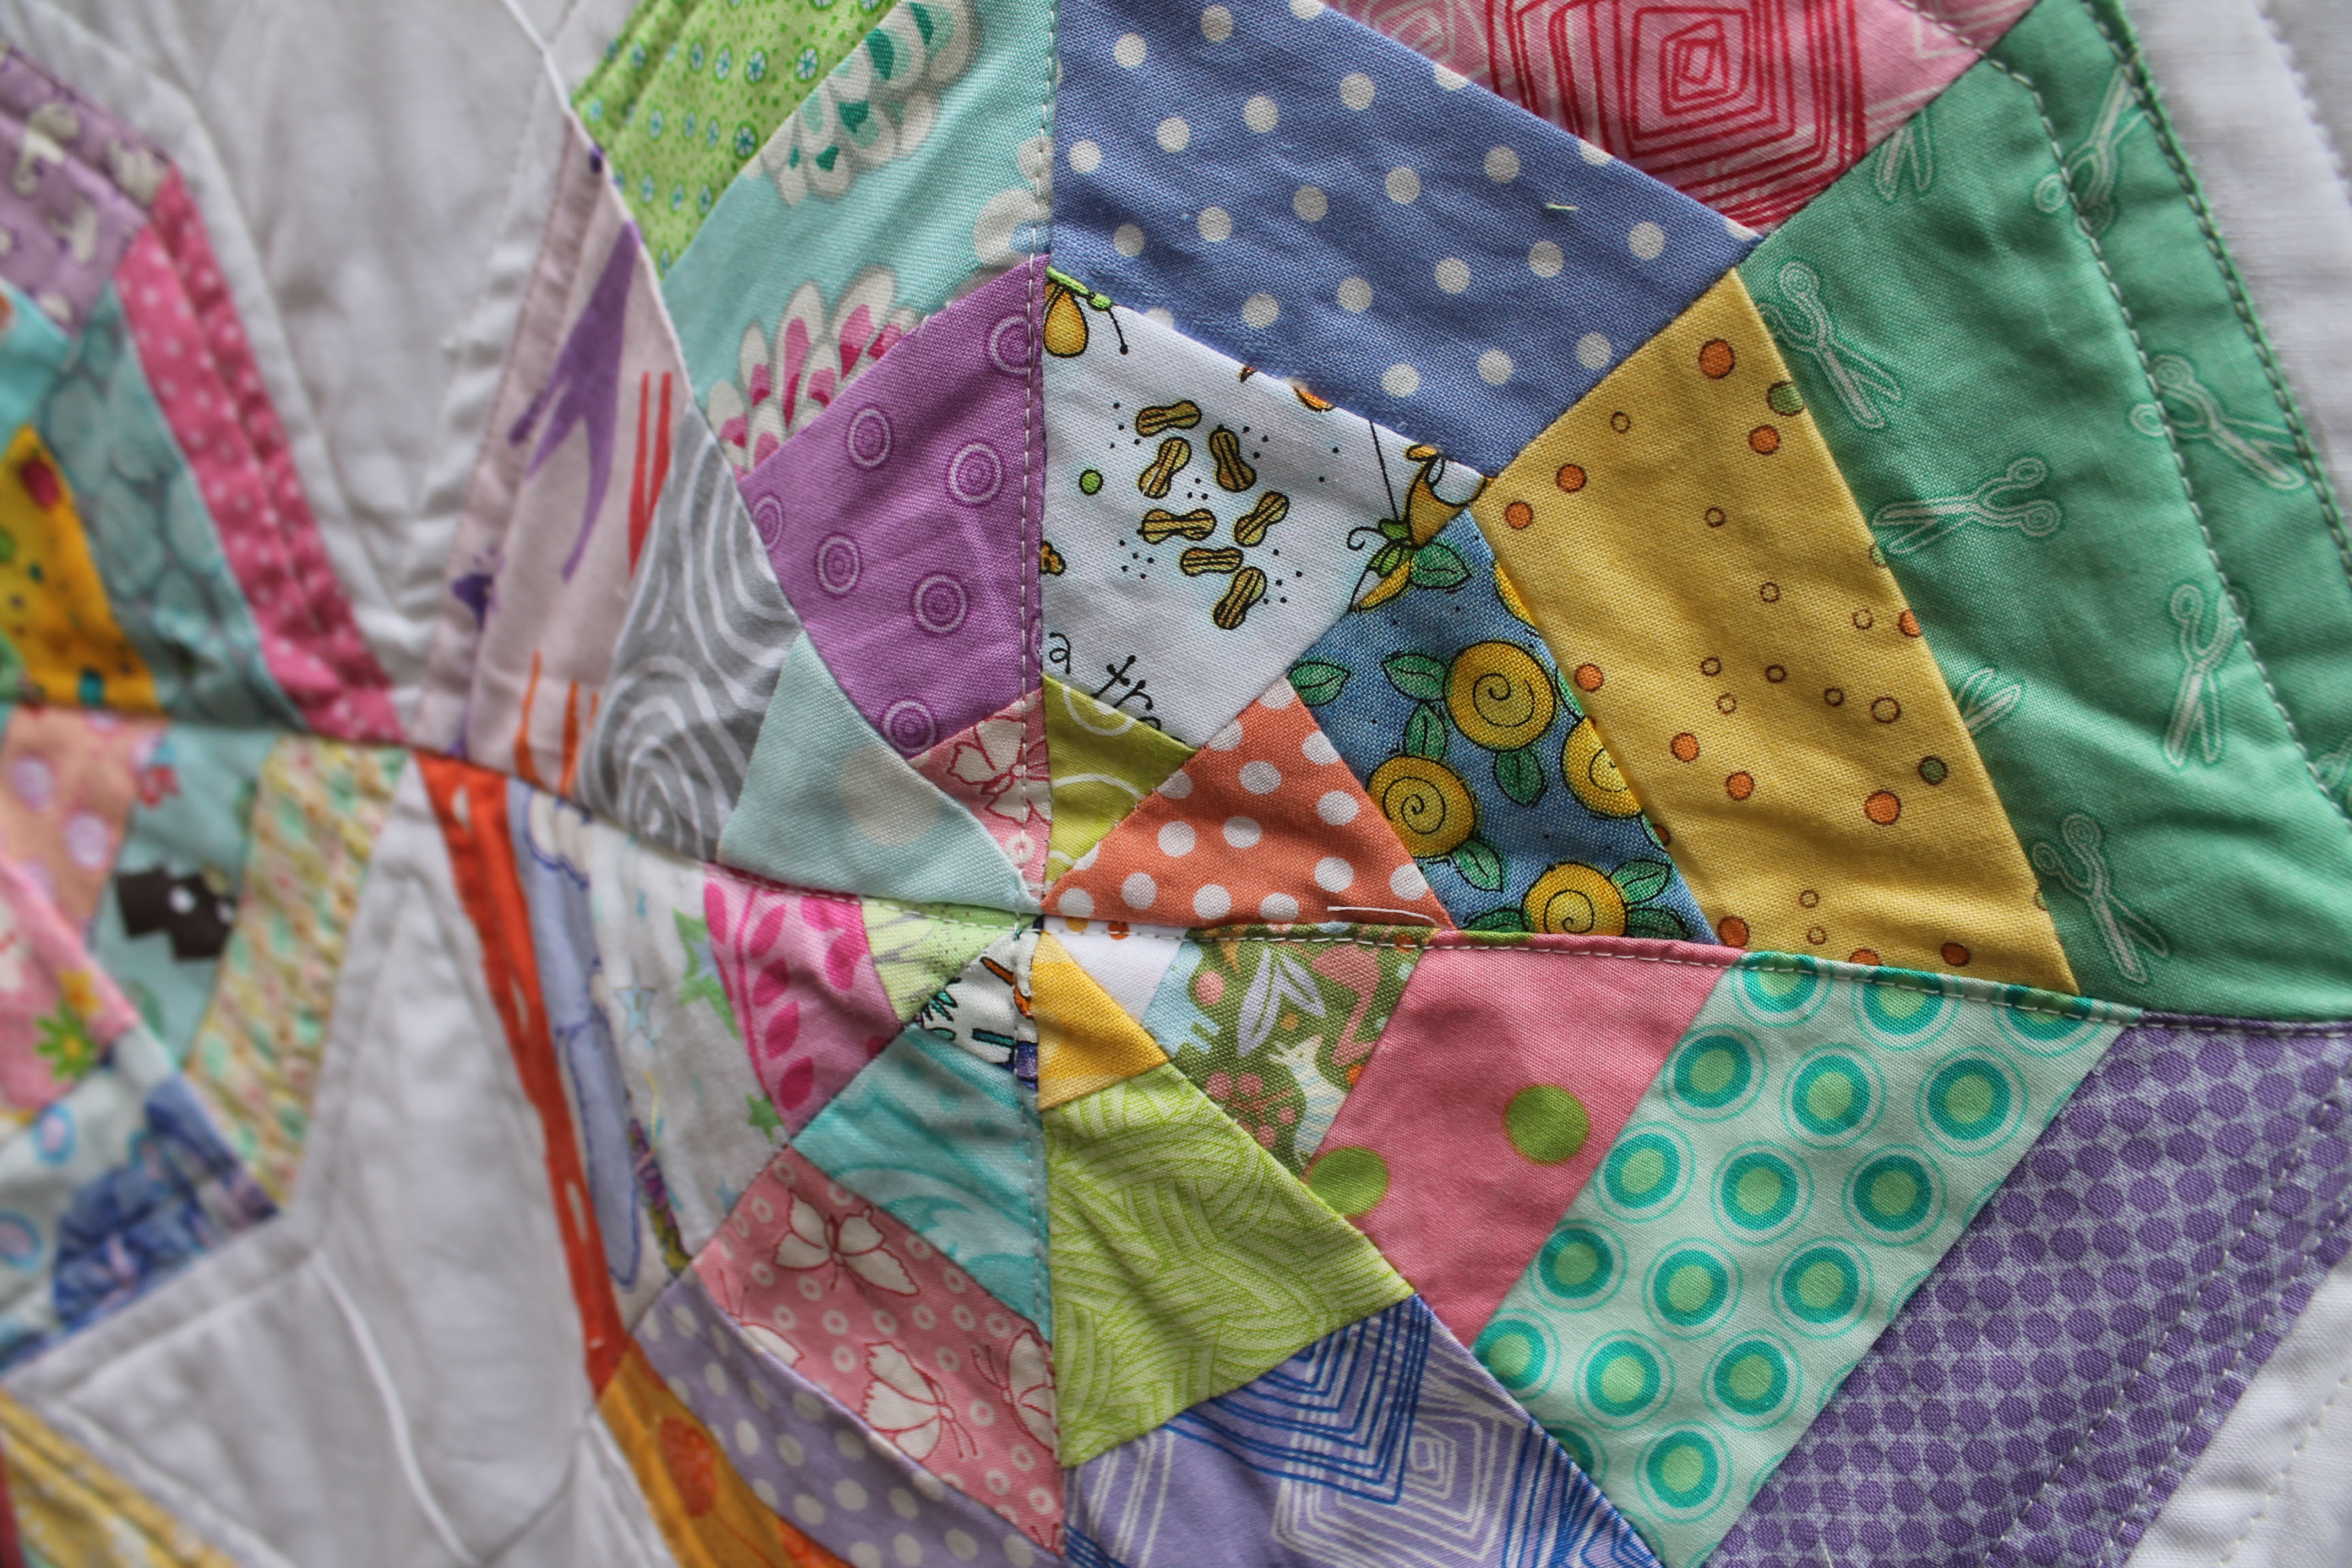
What you can not see too well in the photos is that each center of the star is made up of improv scraps.  This is my favorite bit of the process… sewing all the little scraps together to make my own fabric.

white star detail

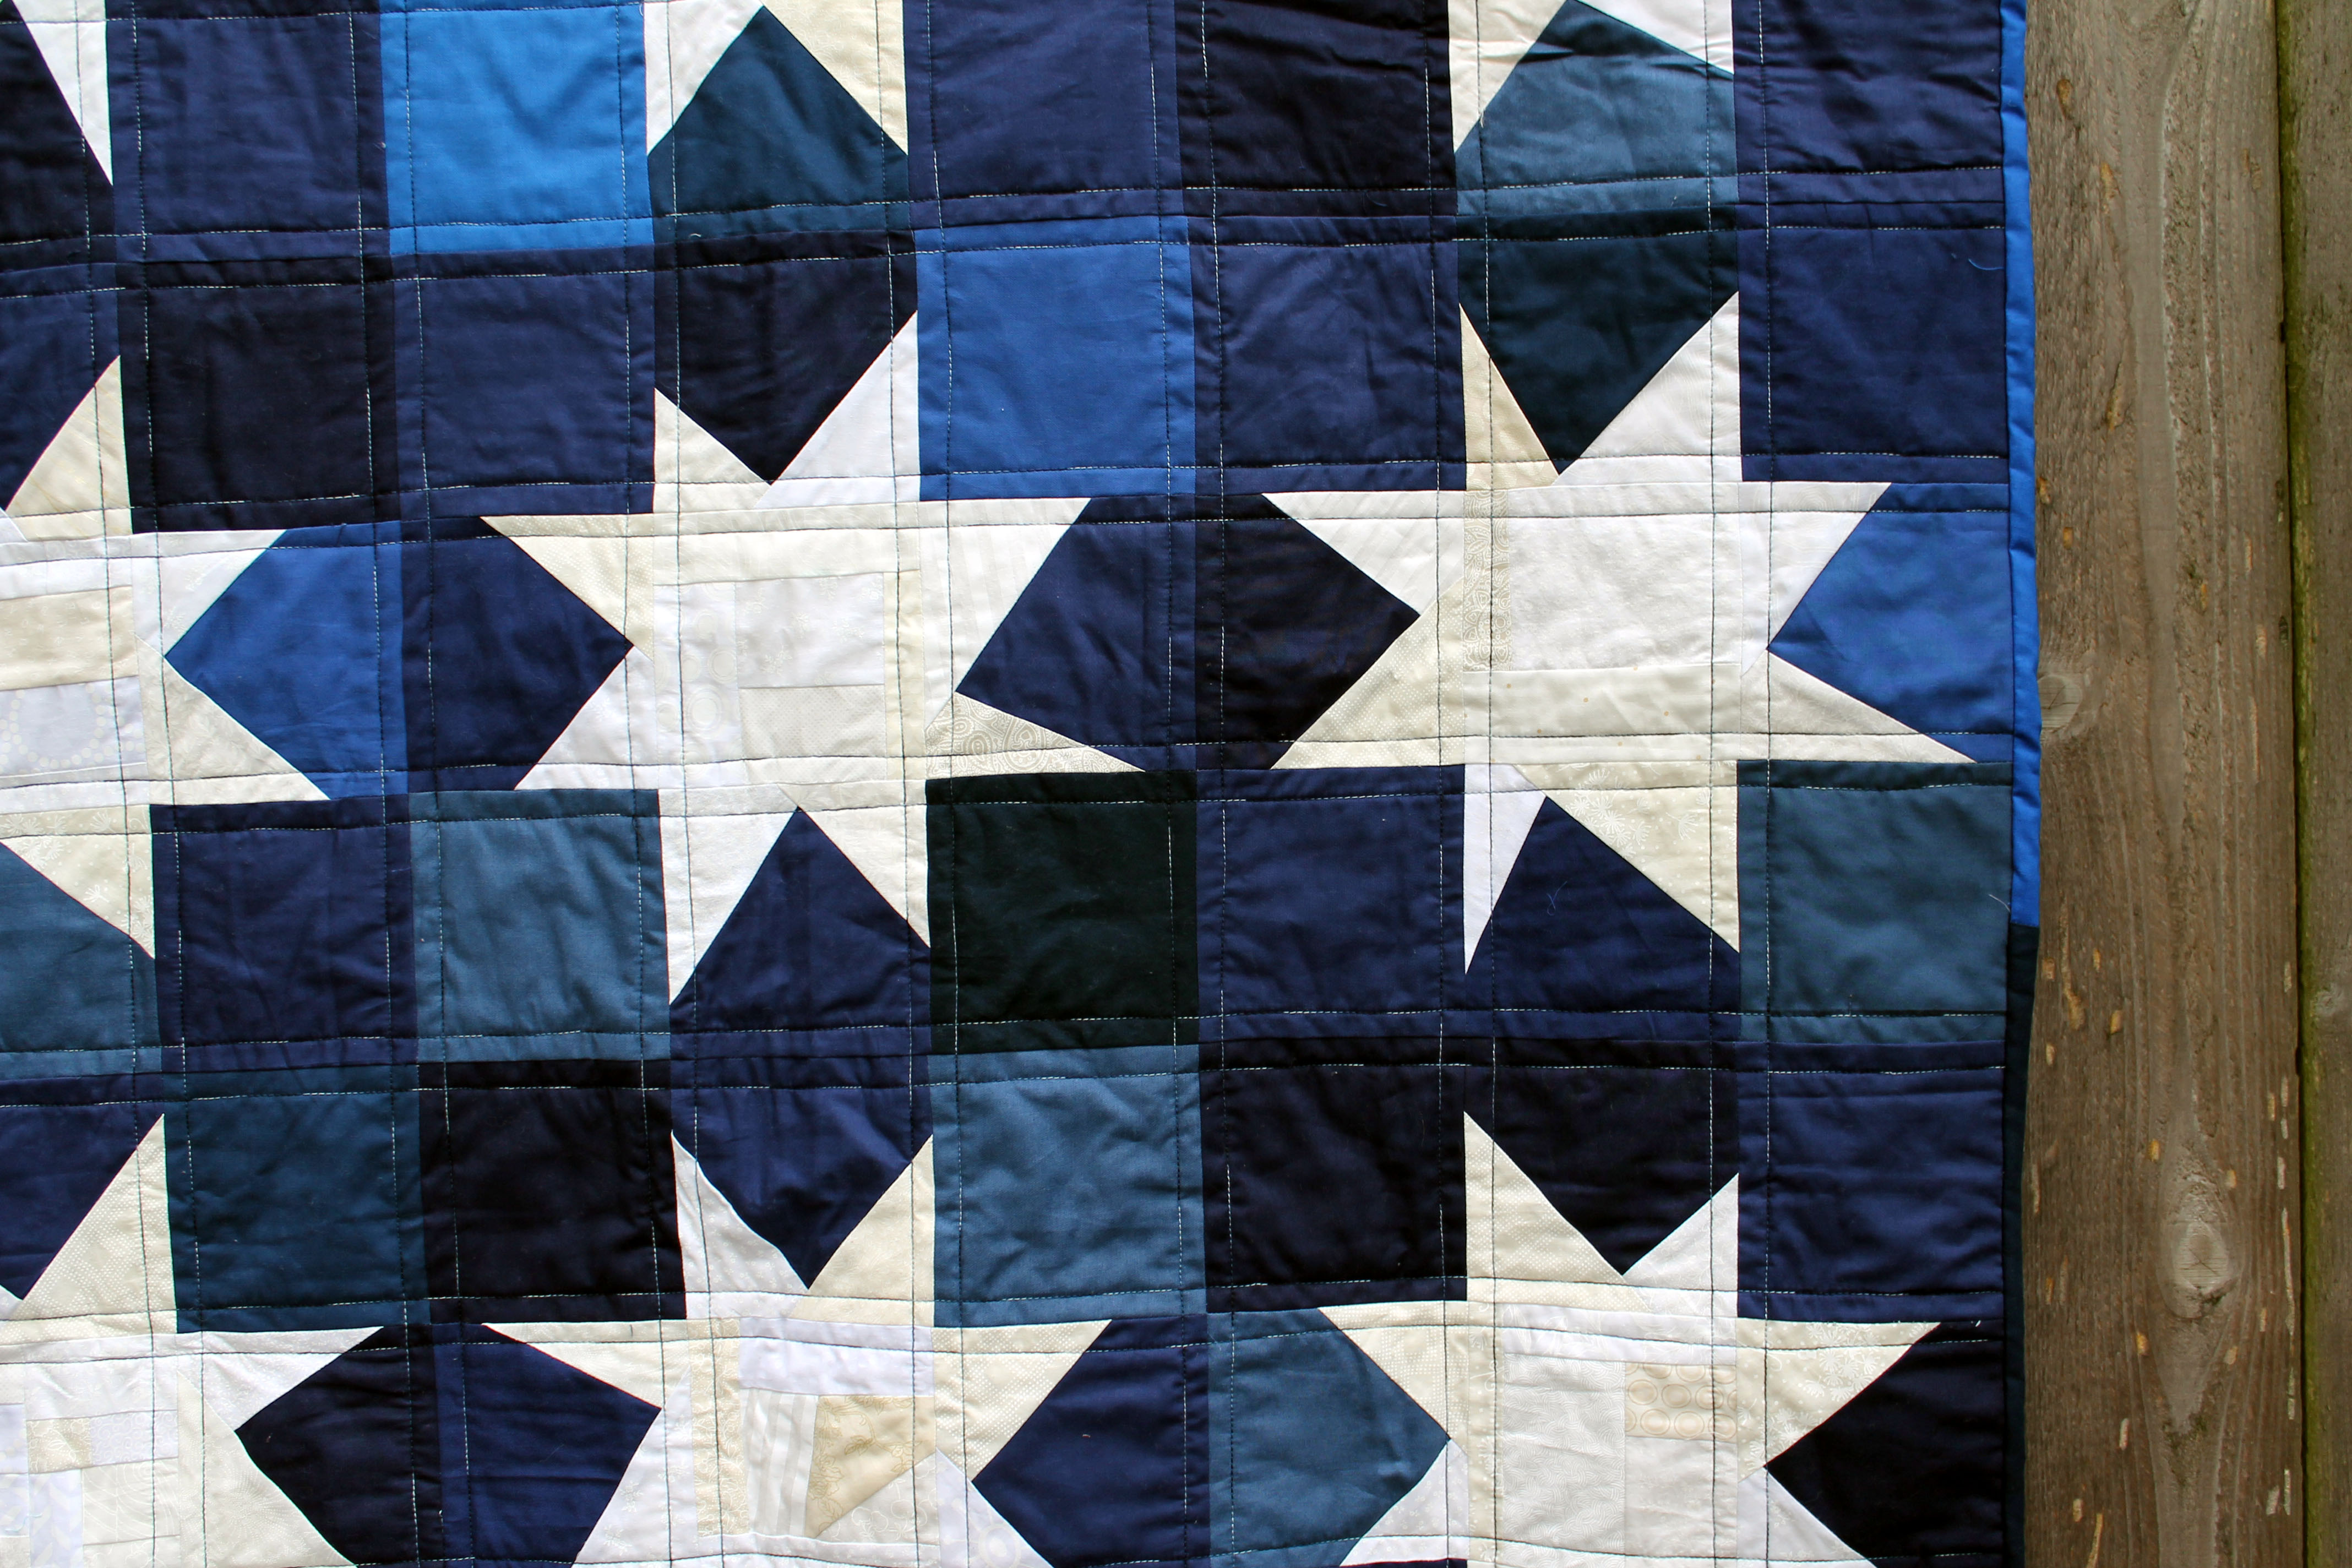
For all my wonky star quilts I did simple straight line quilting, but with this quilt I used a variegated thread I found in my thread box.  I kind of love how it turned out…

For my next two wonky star quilts I took some scraps of Hoffman batiks that I had been given and had some fun…

pink quilt

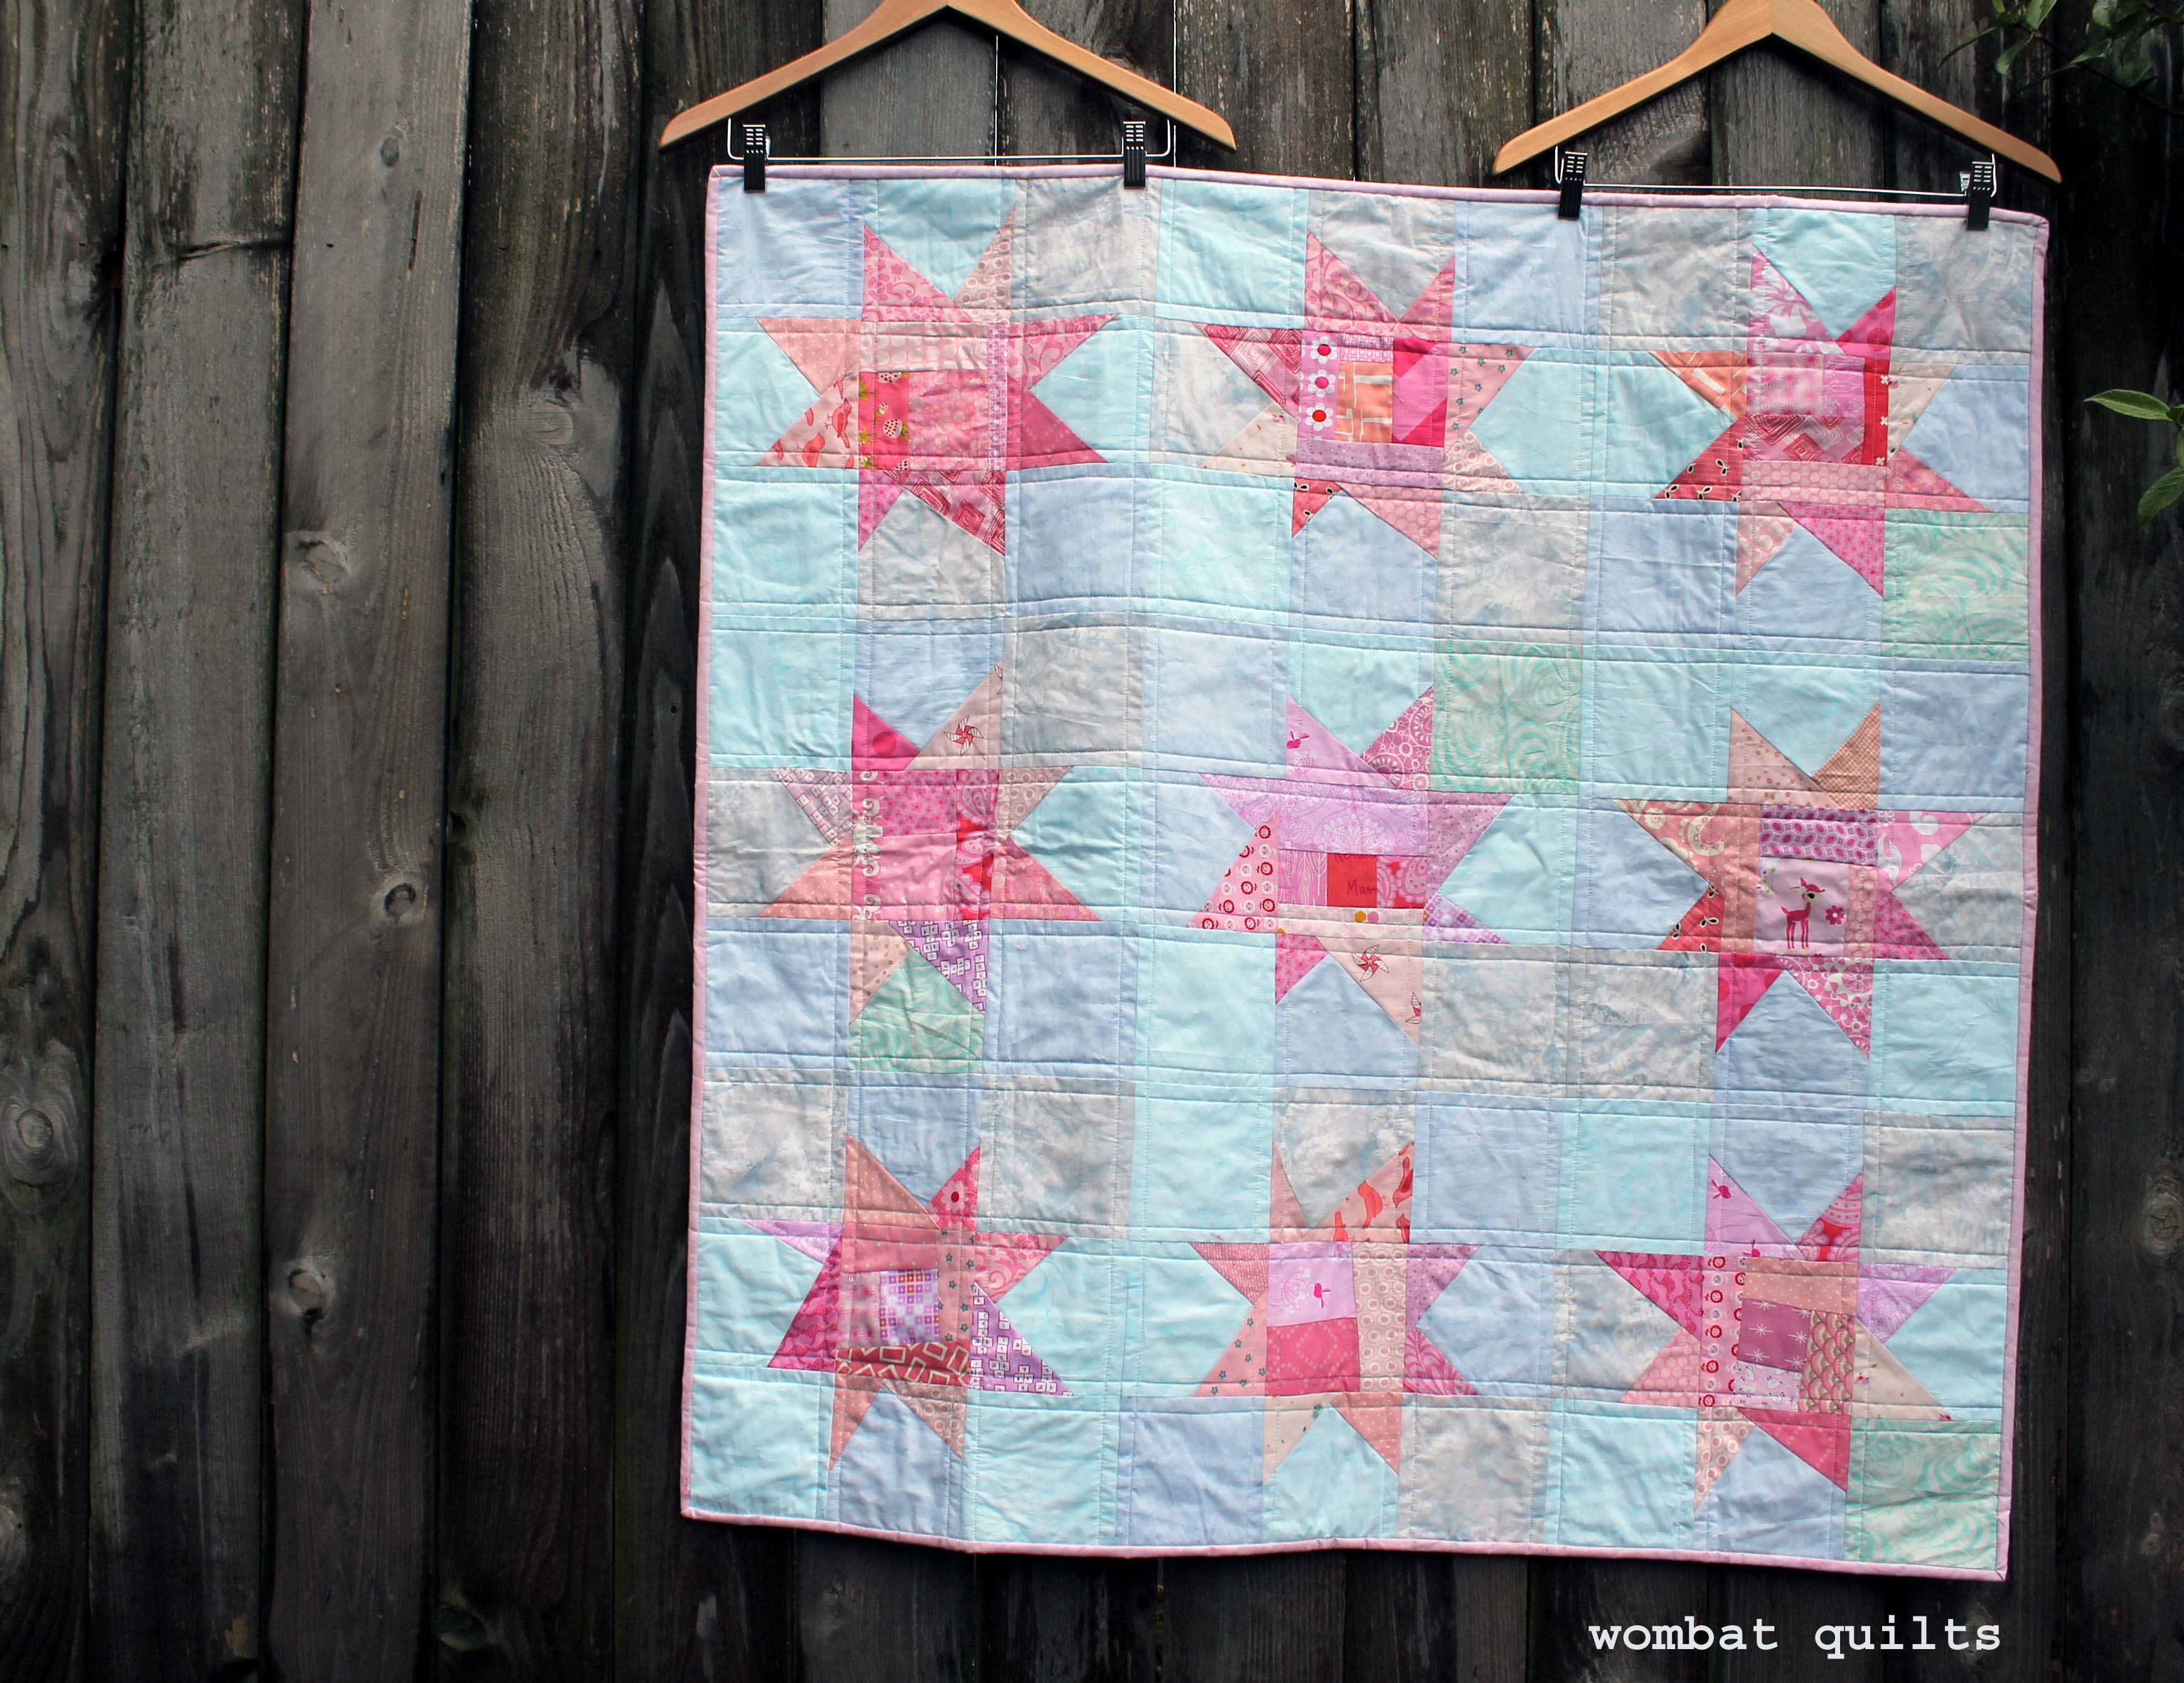
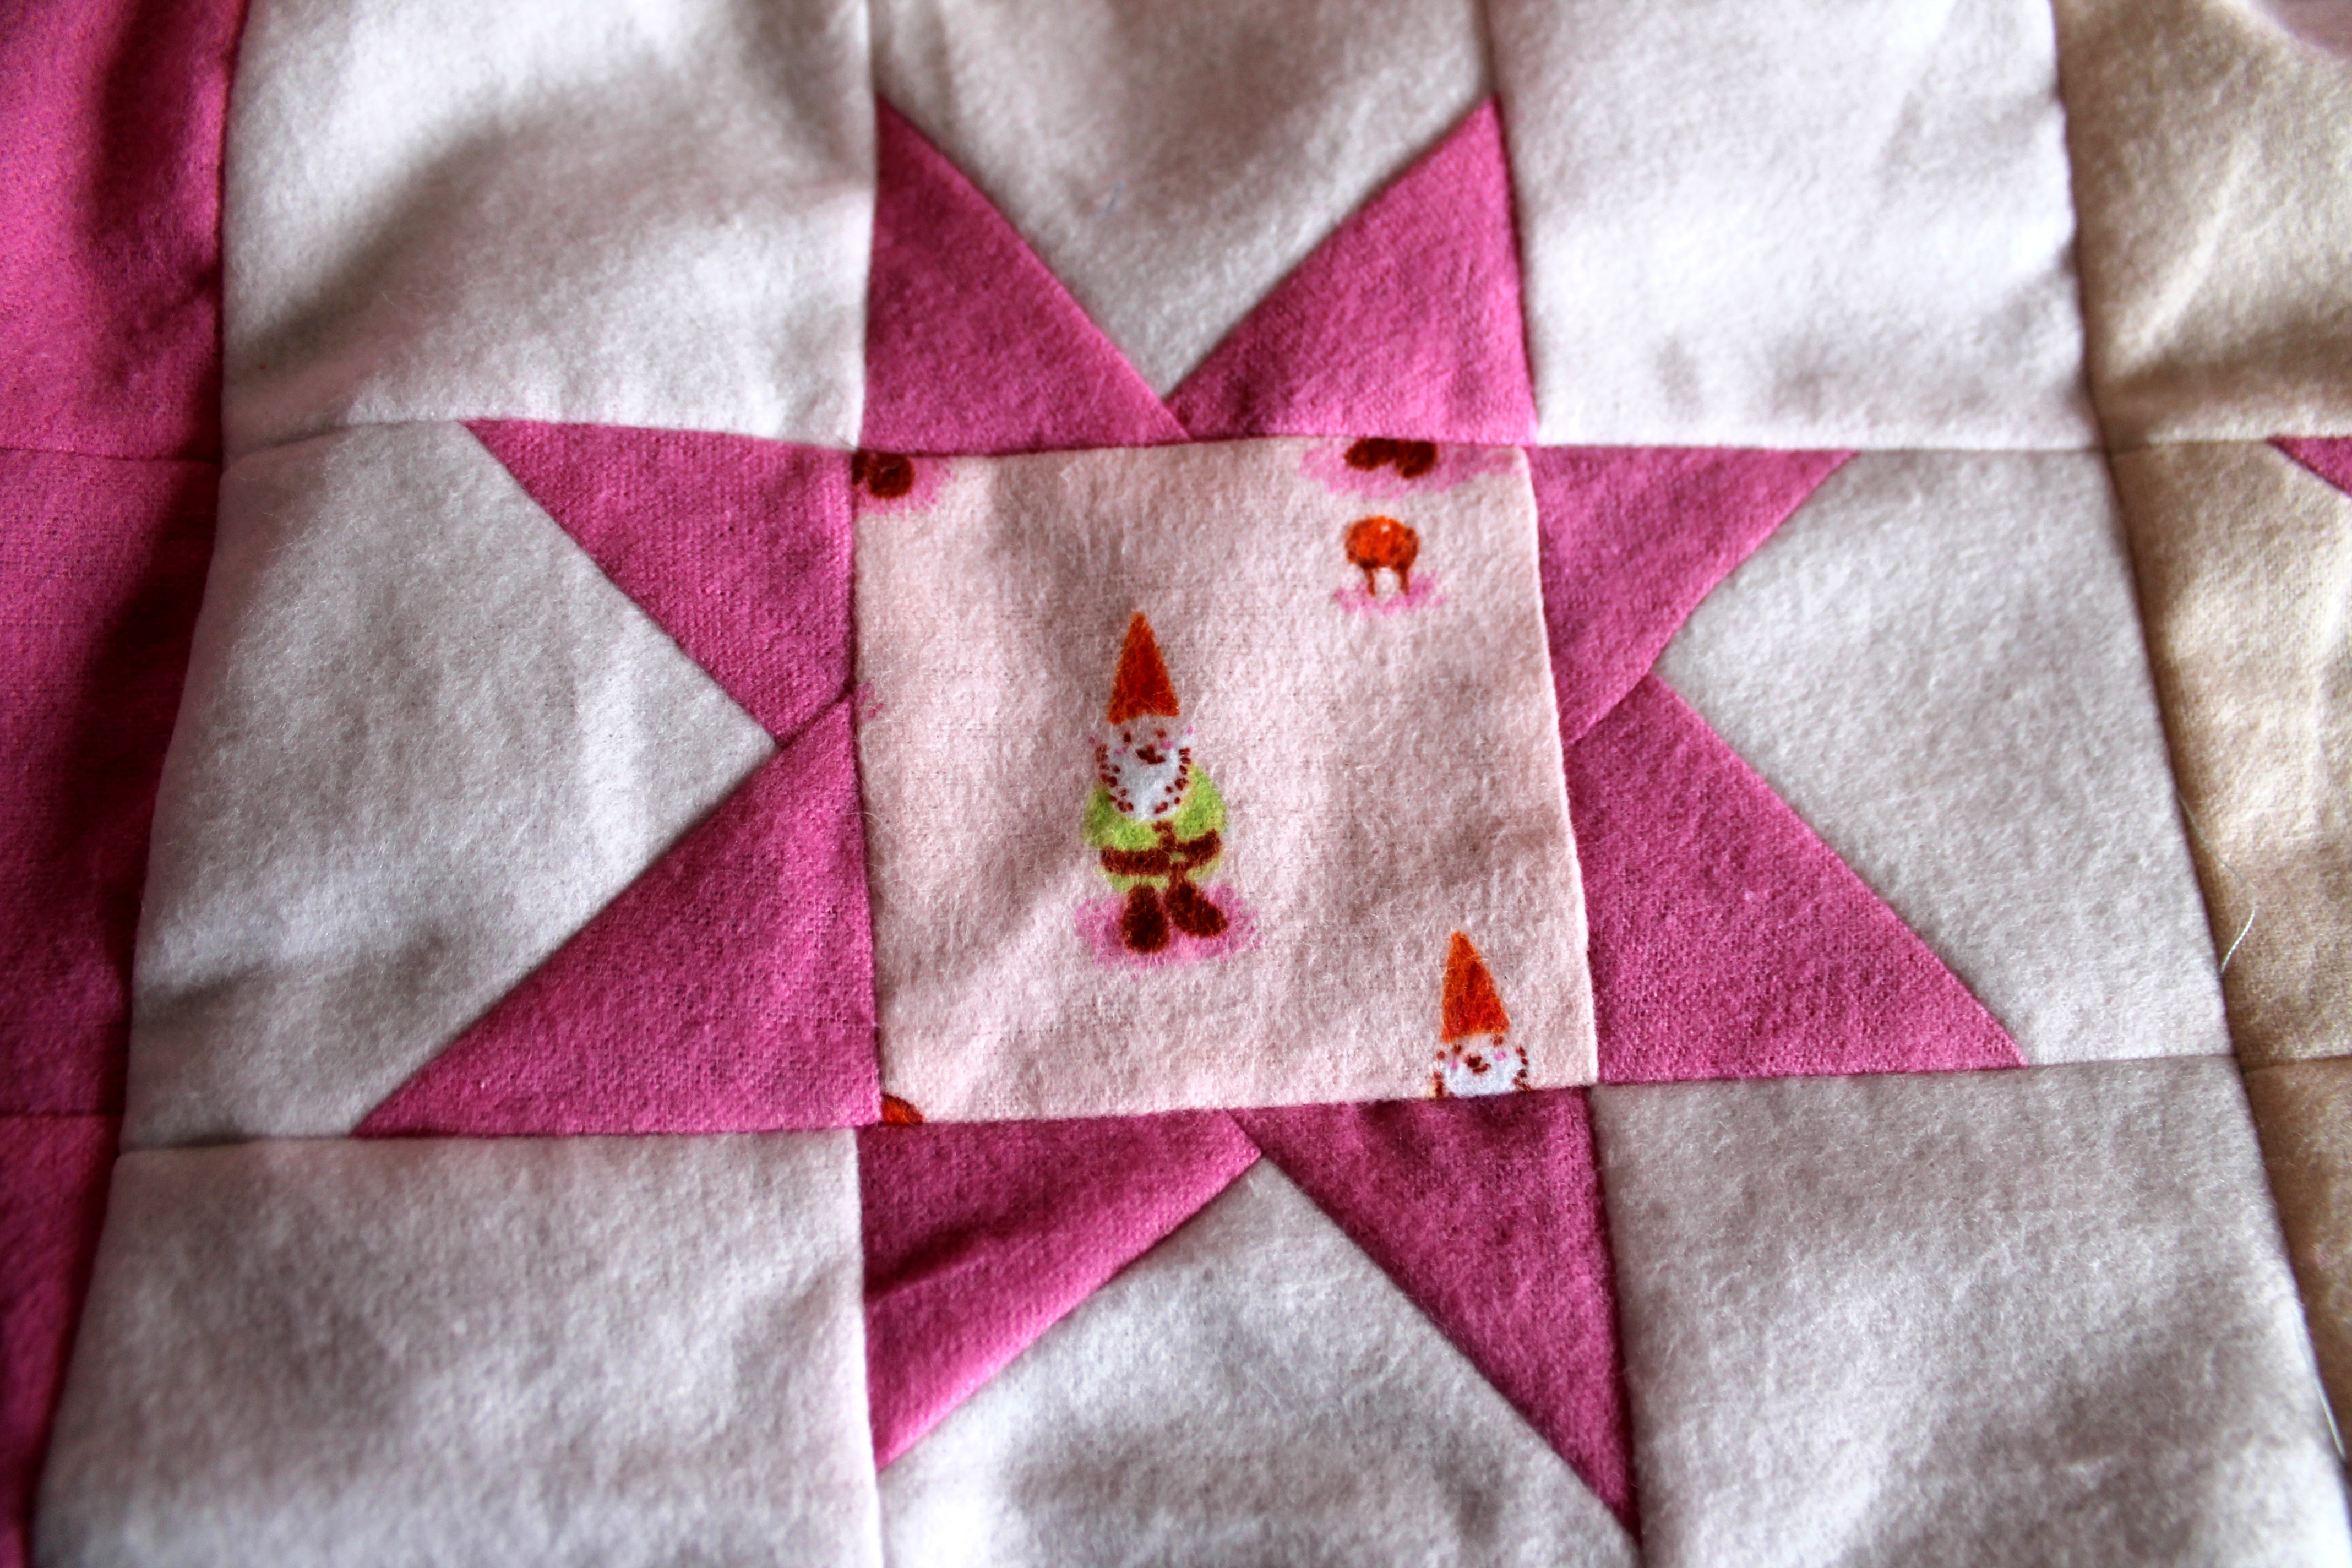
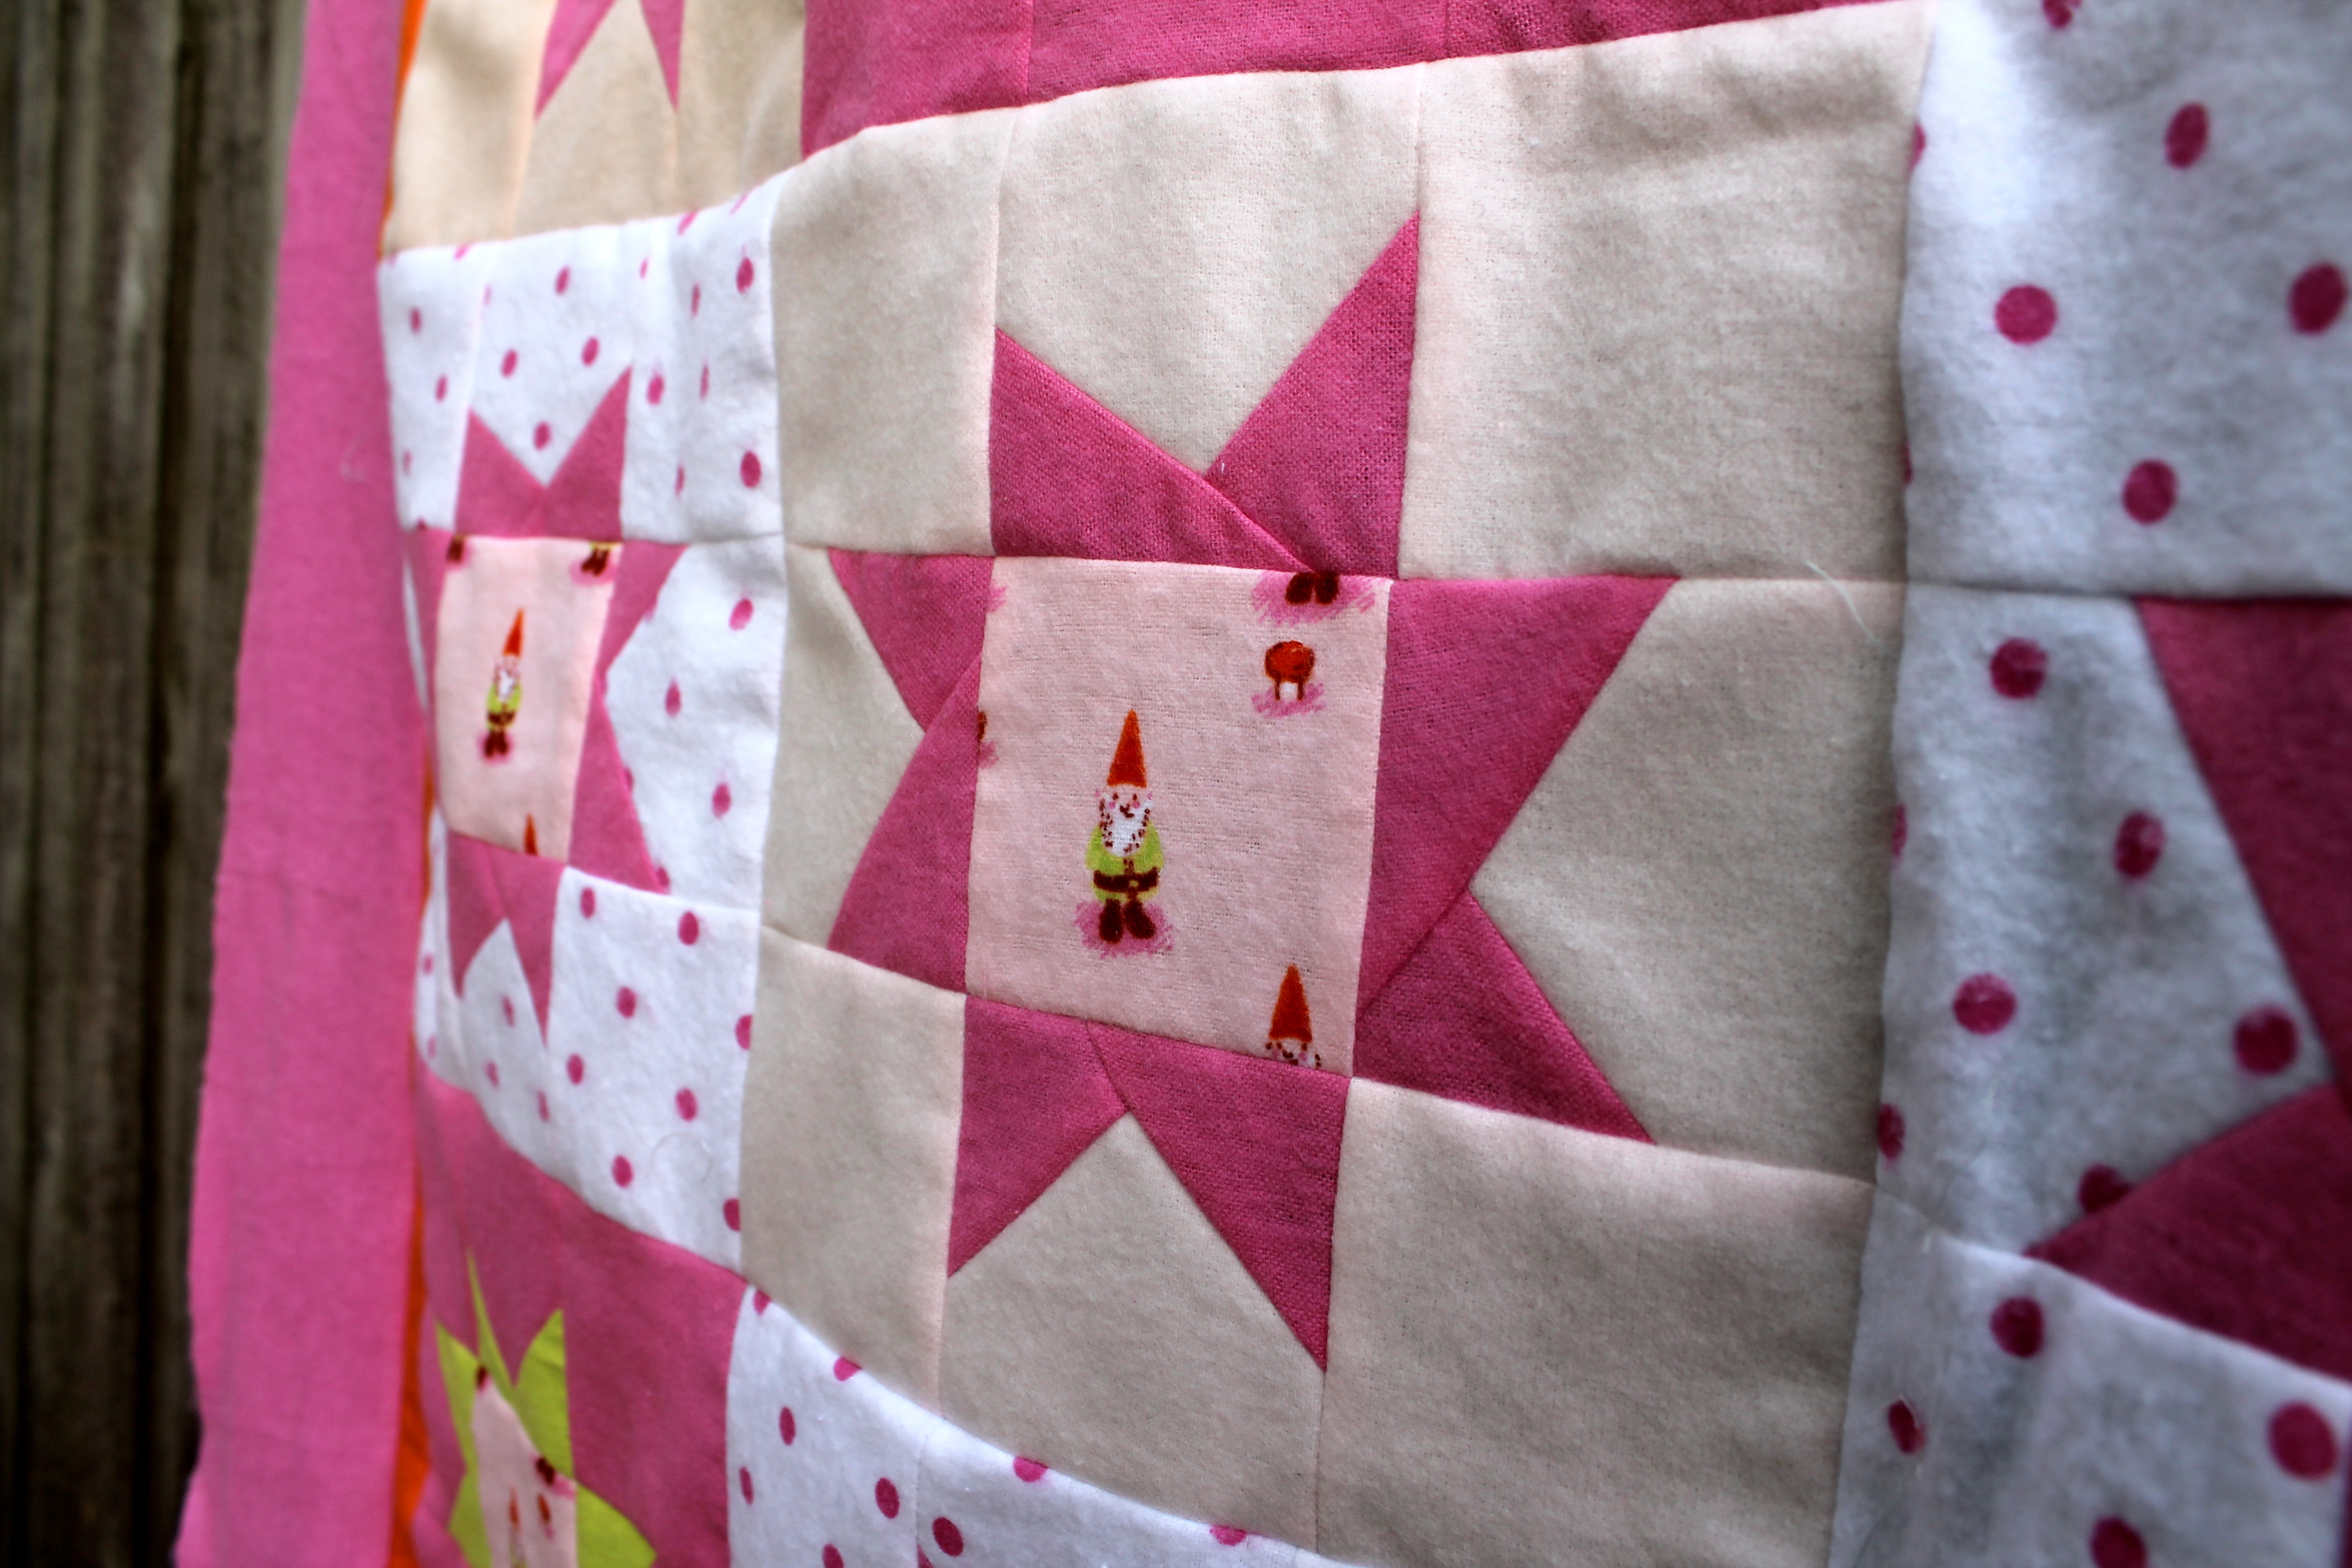
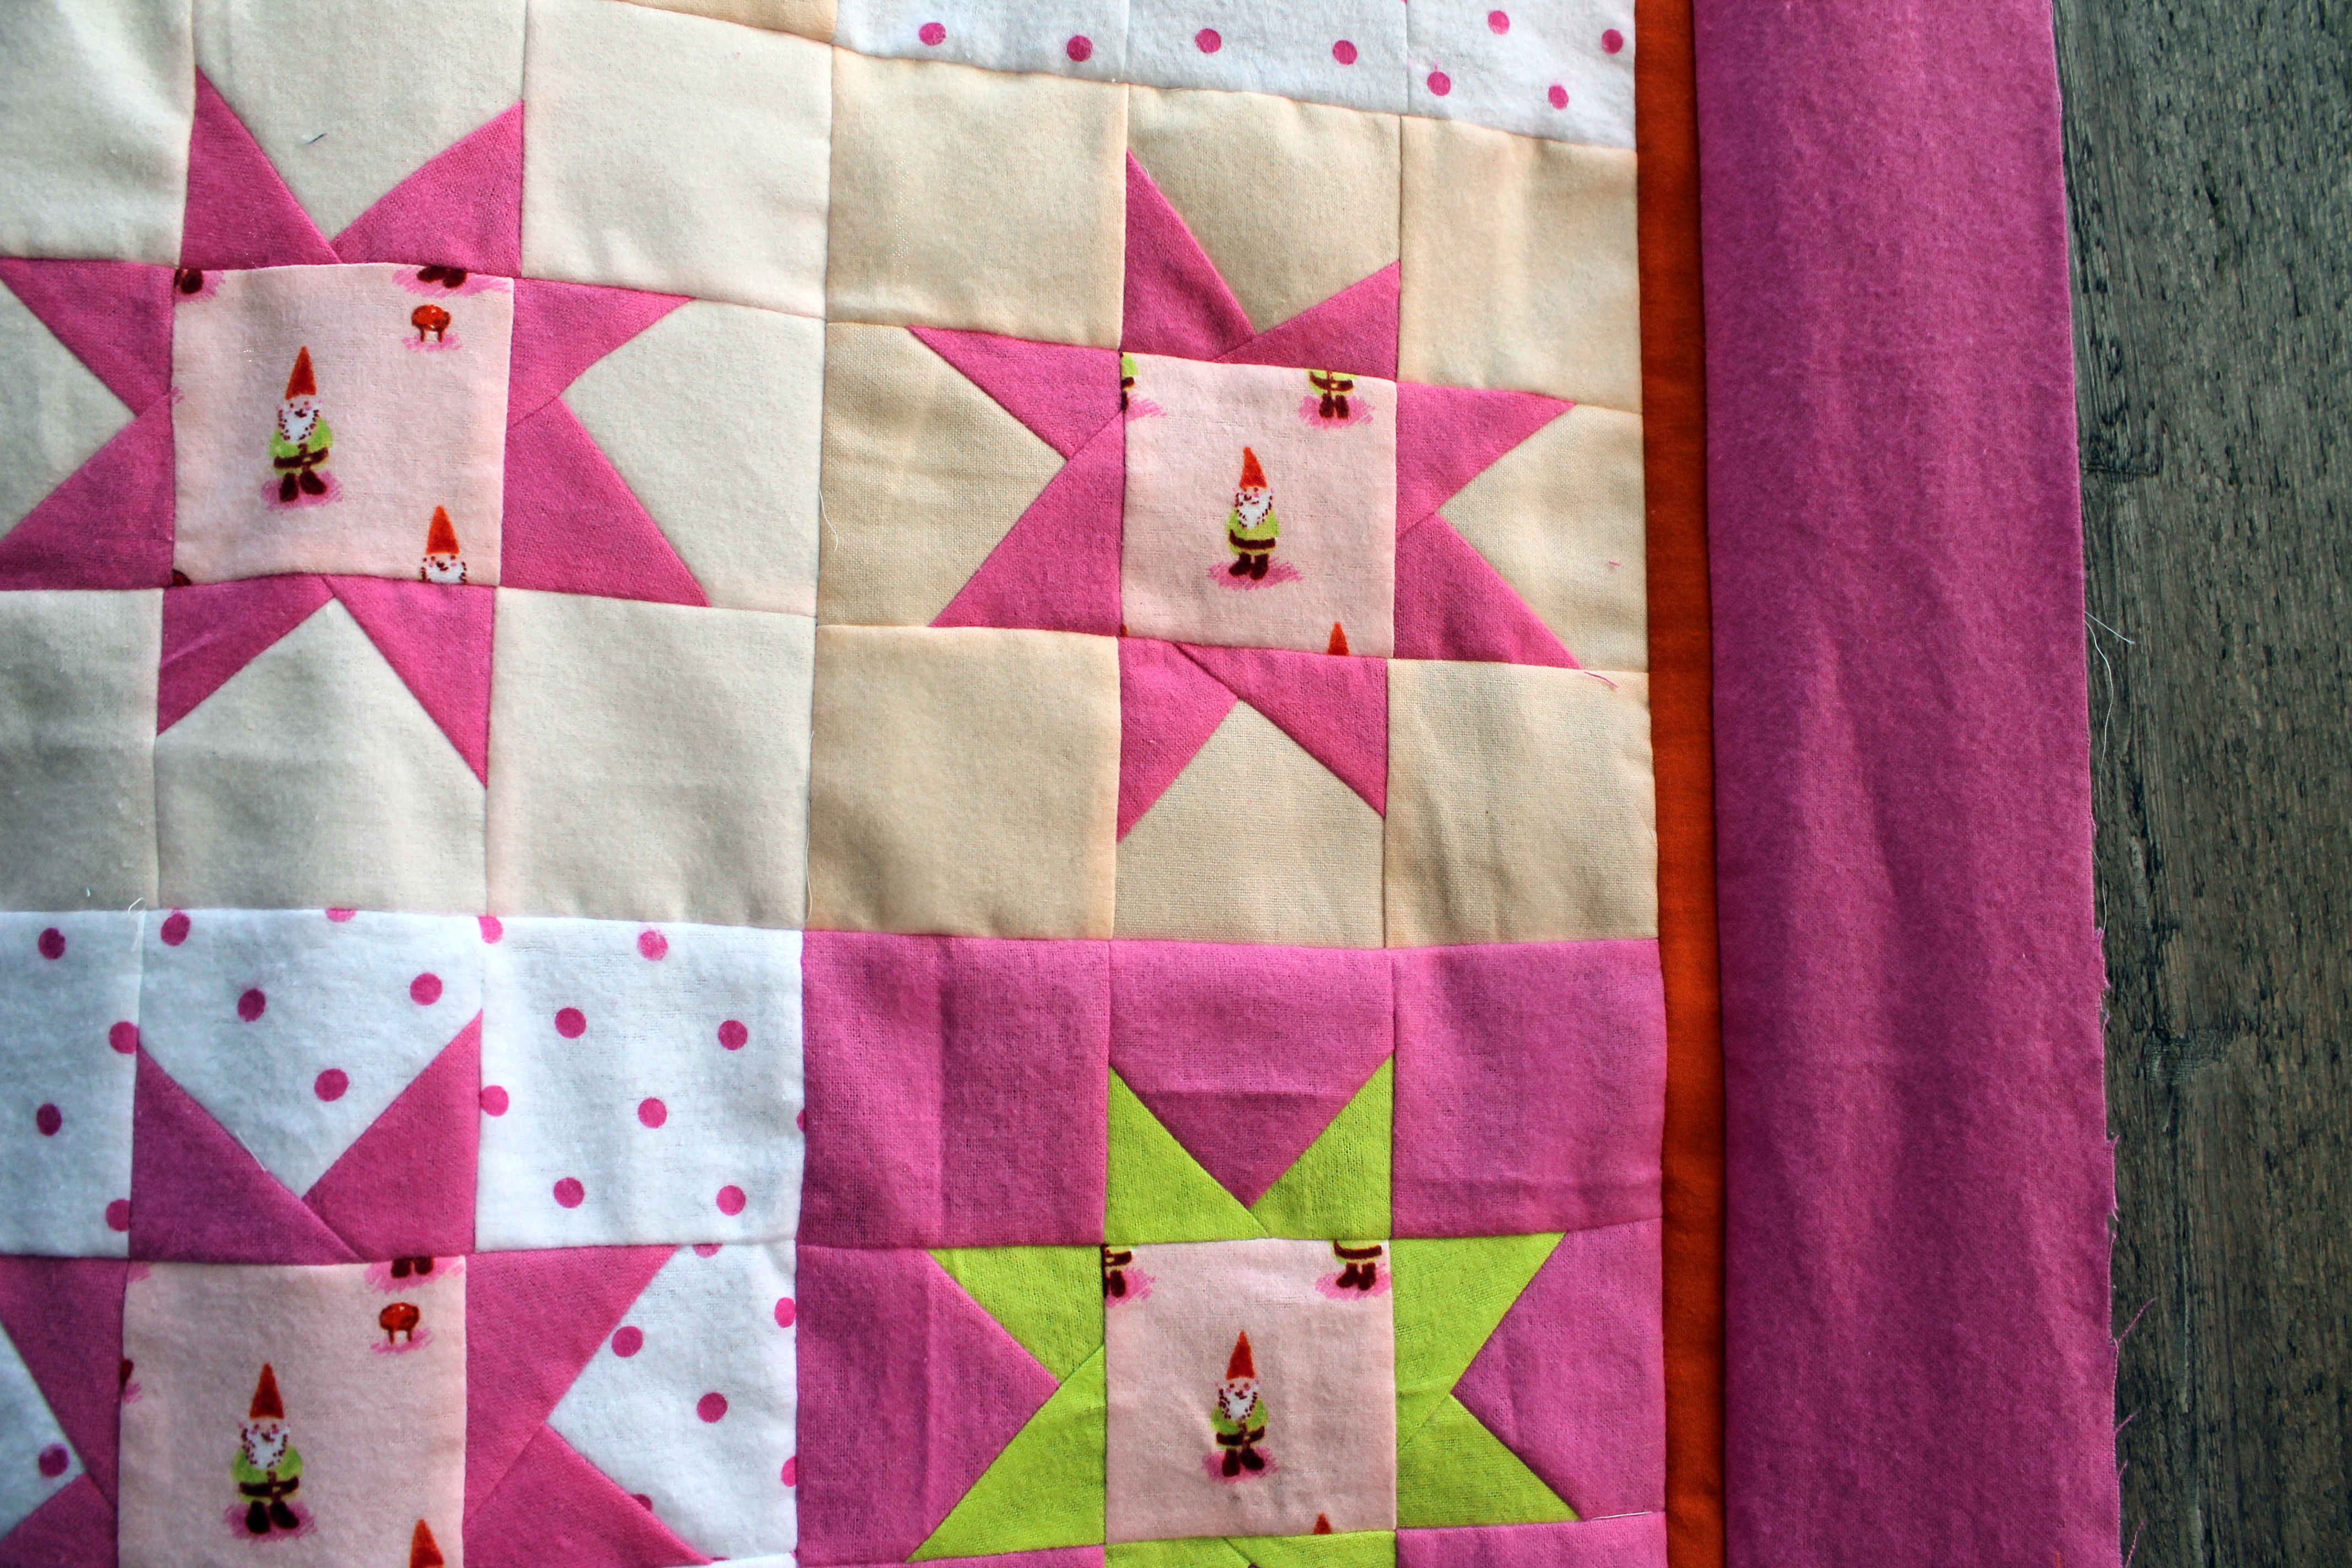
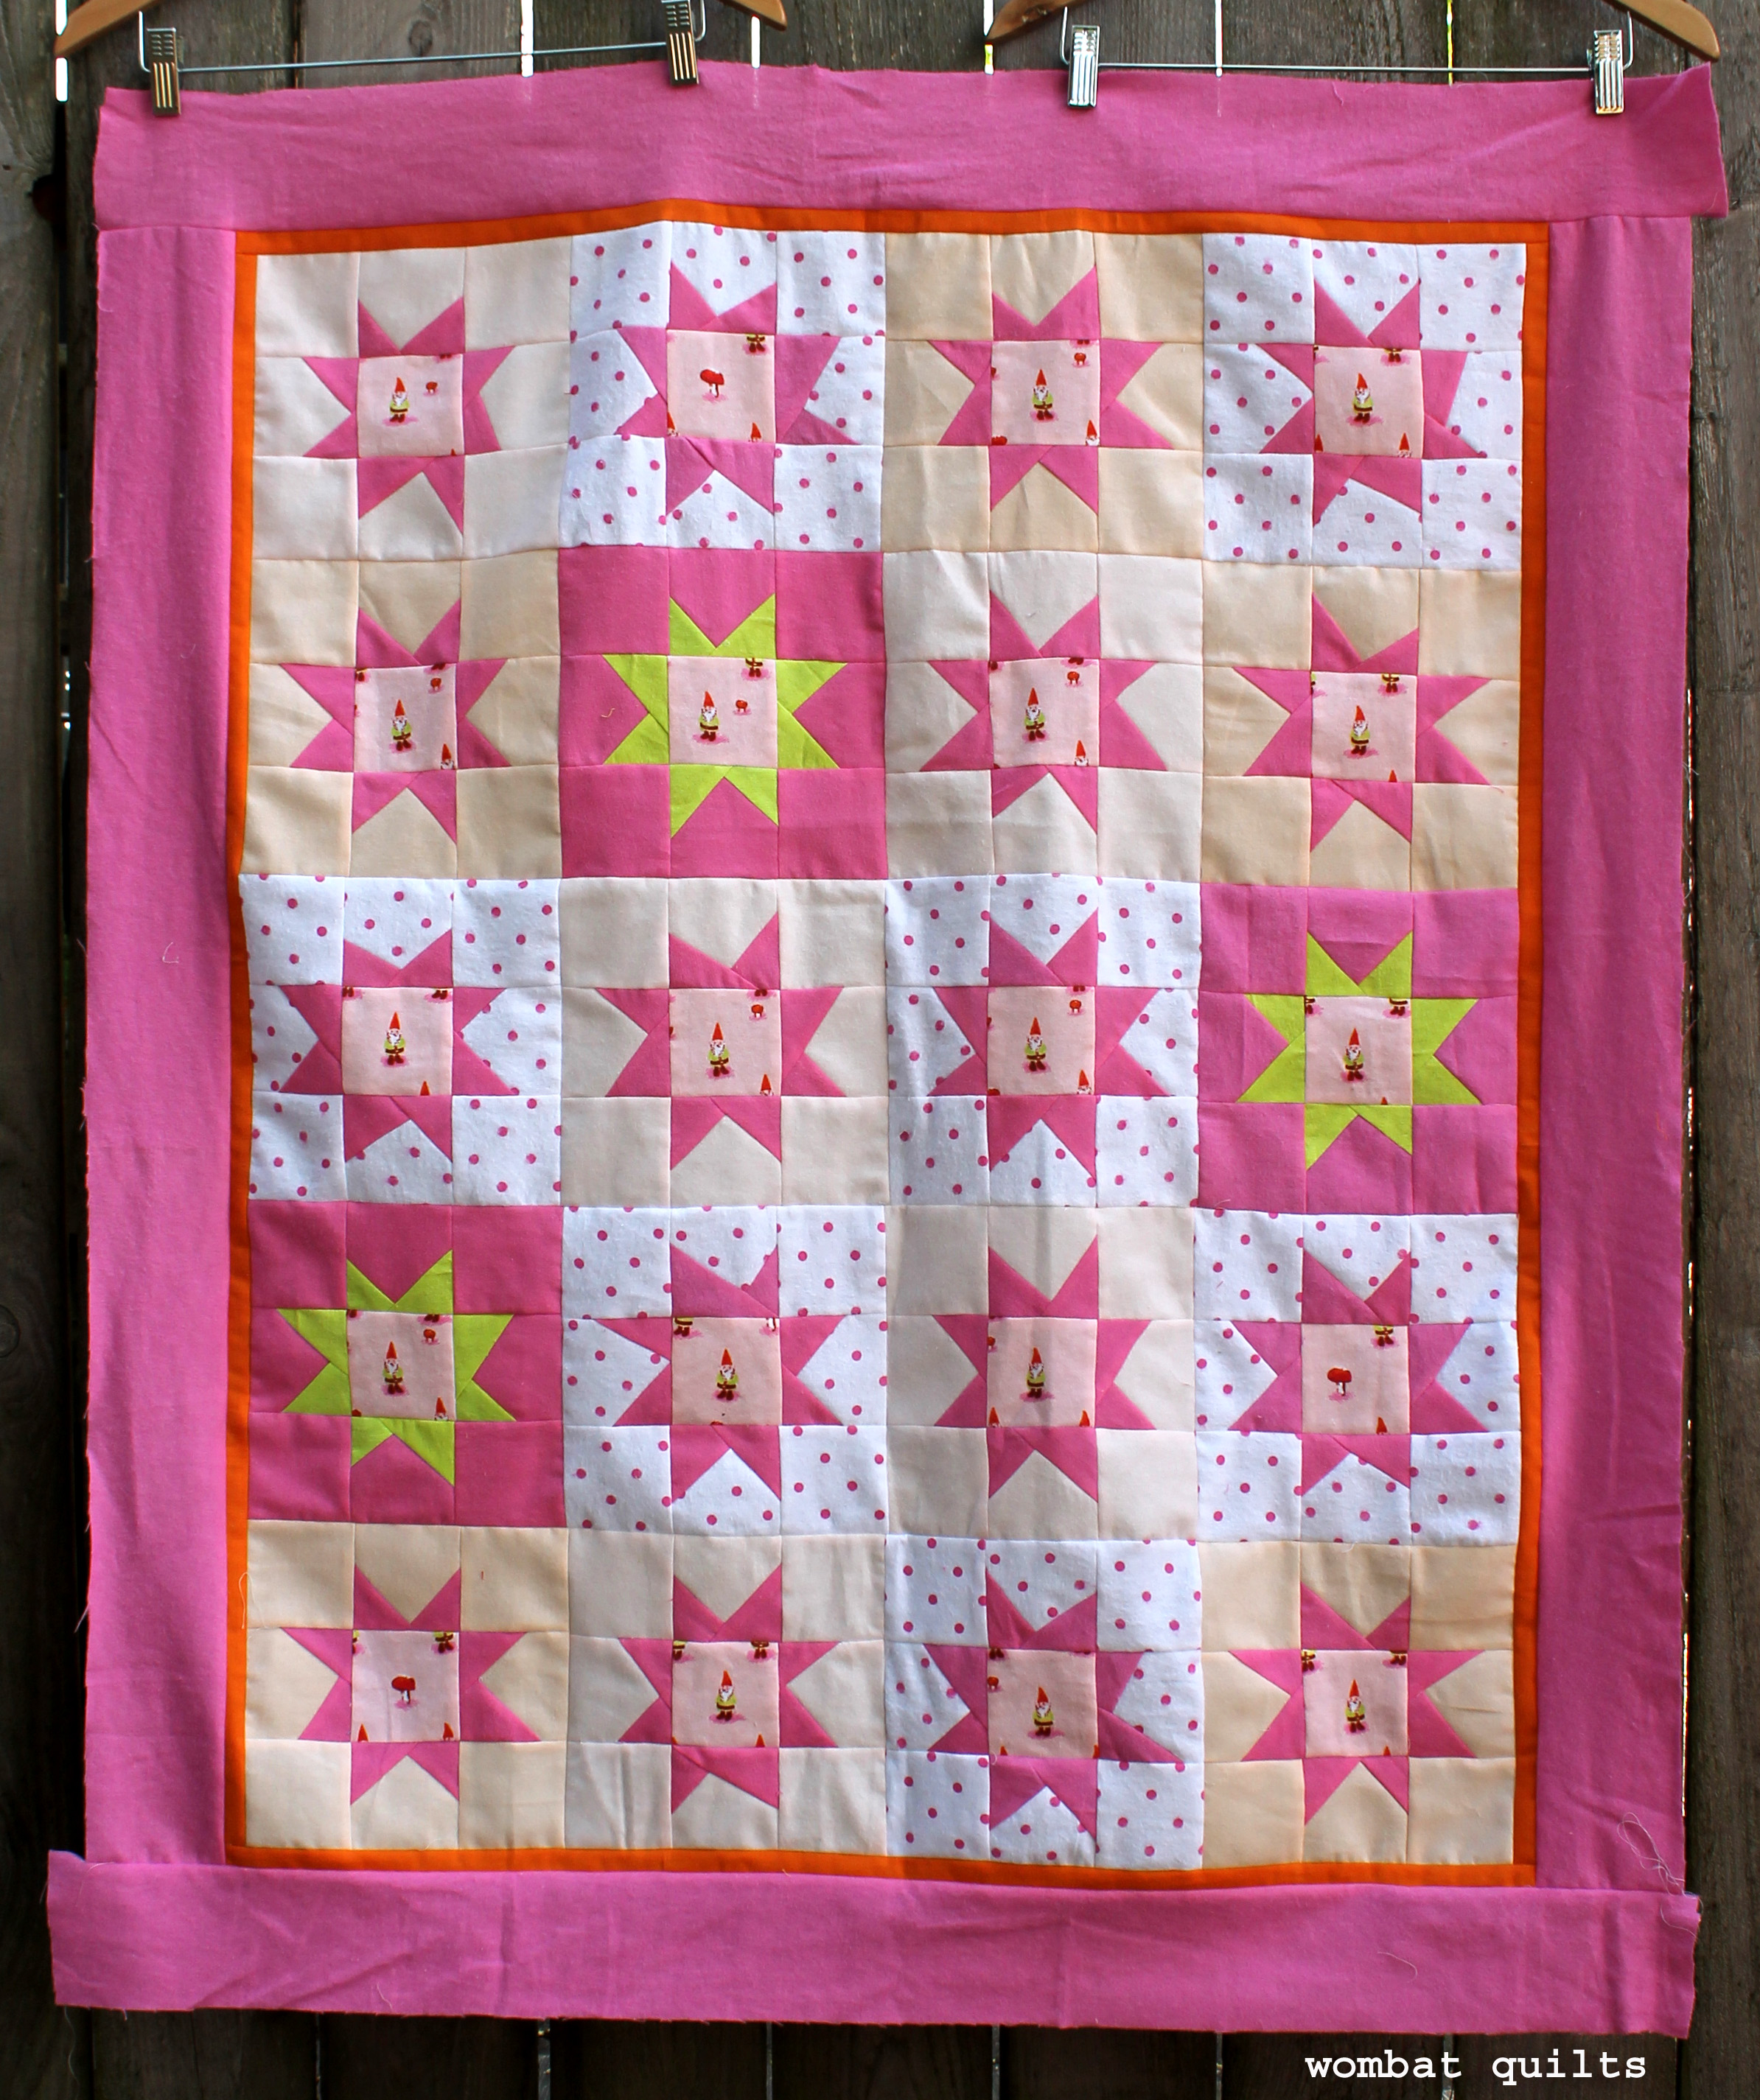
This is my favorite of the quilts… I love how the soft pink and blue play together….

pink quilt detail

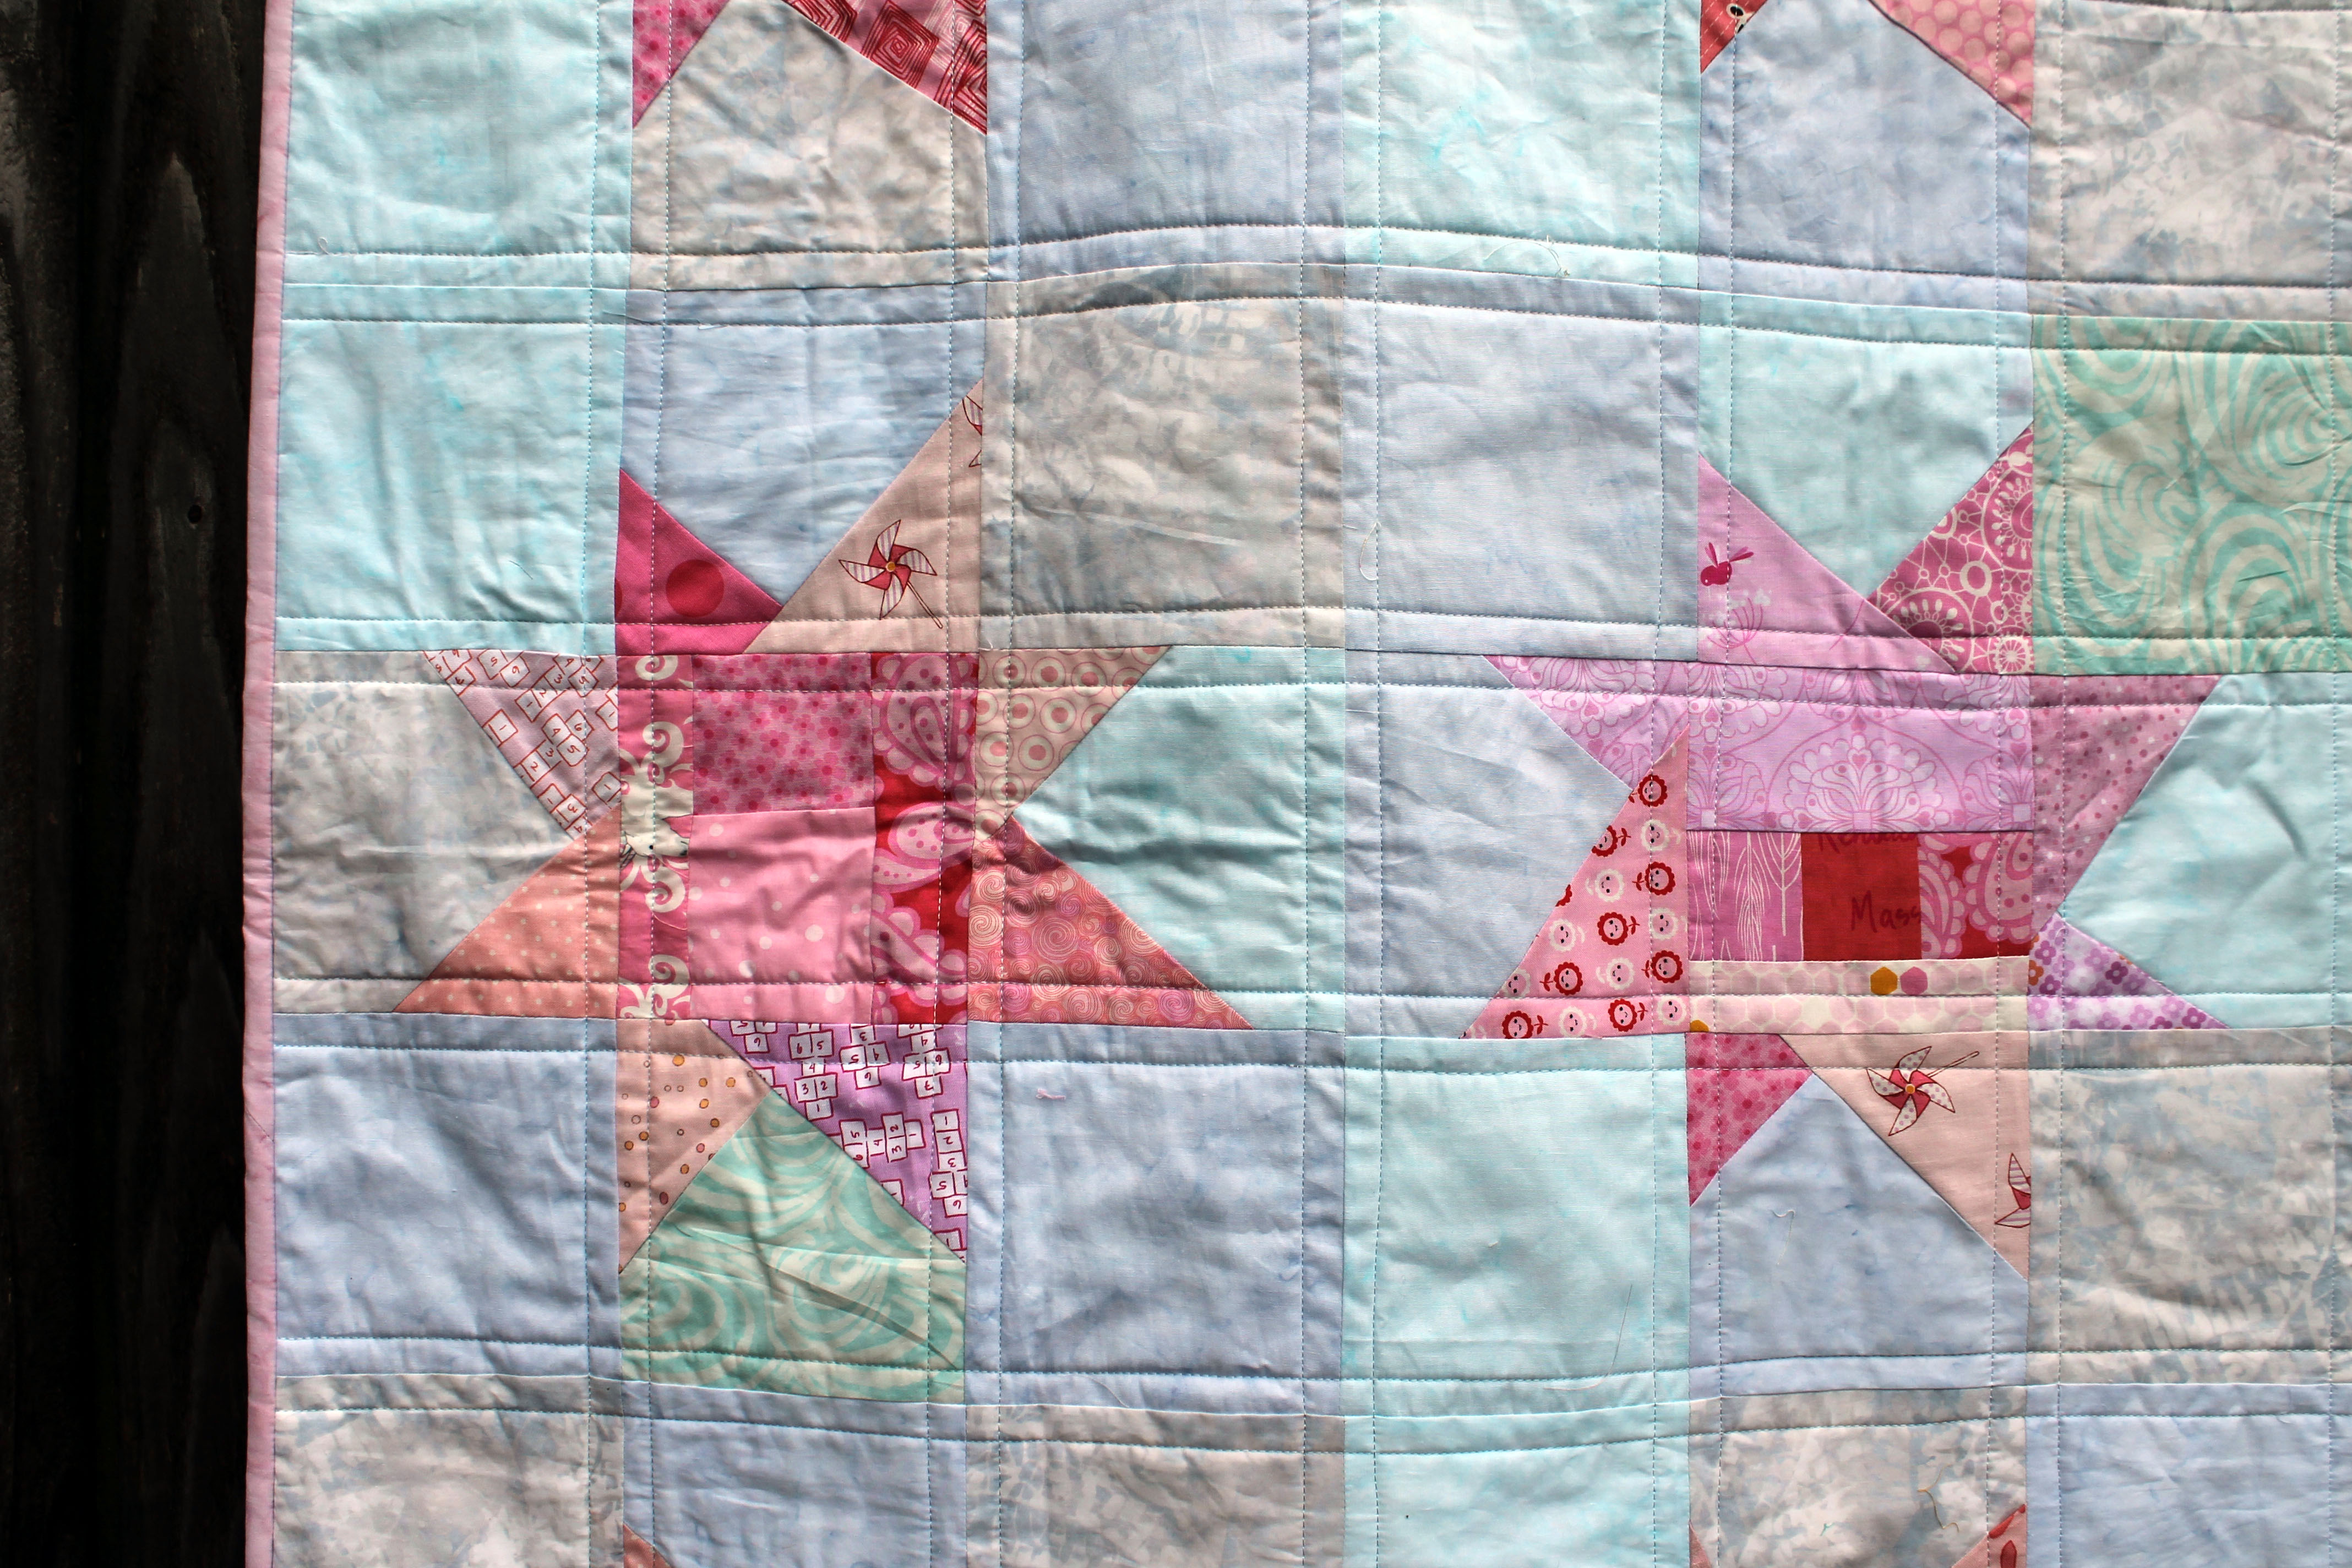
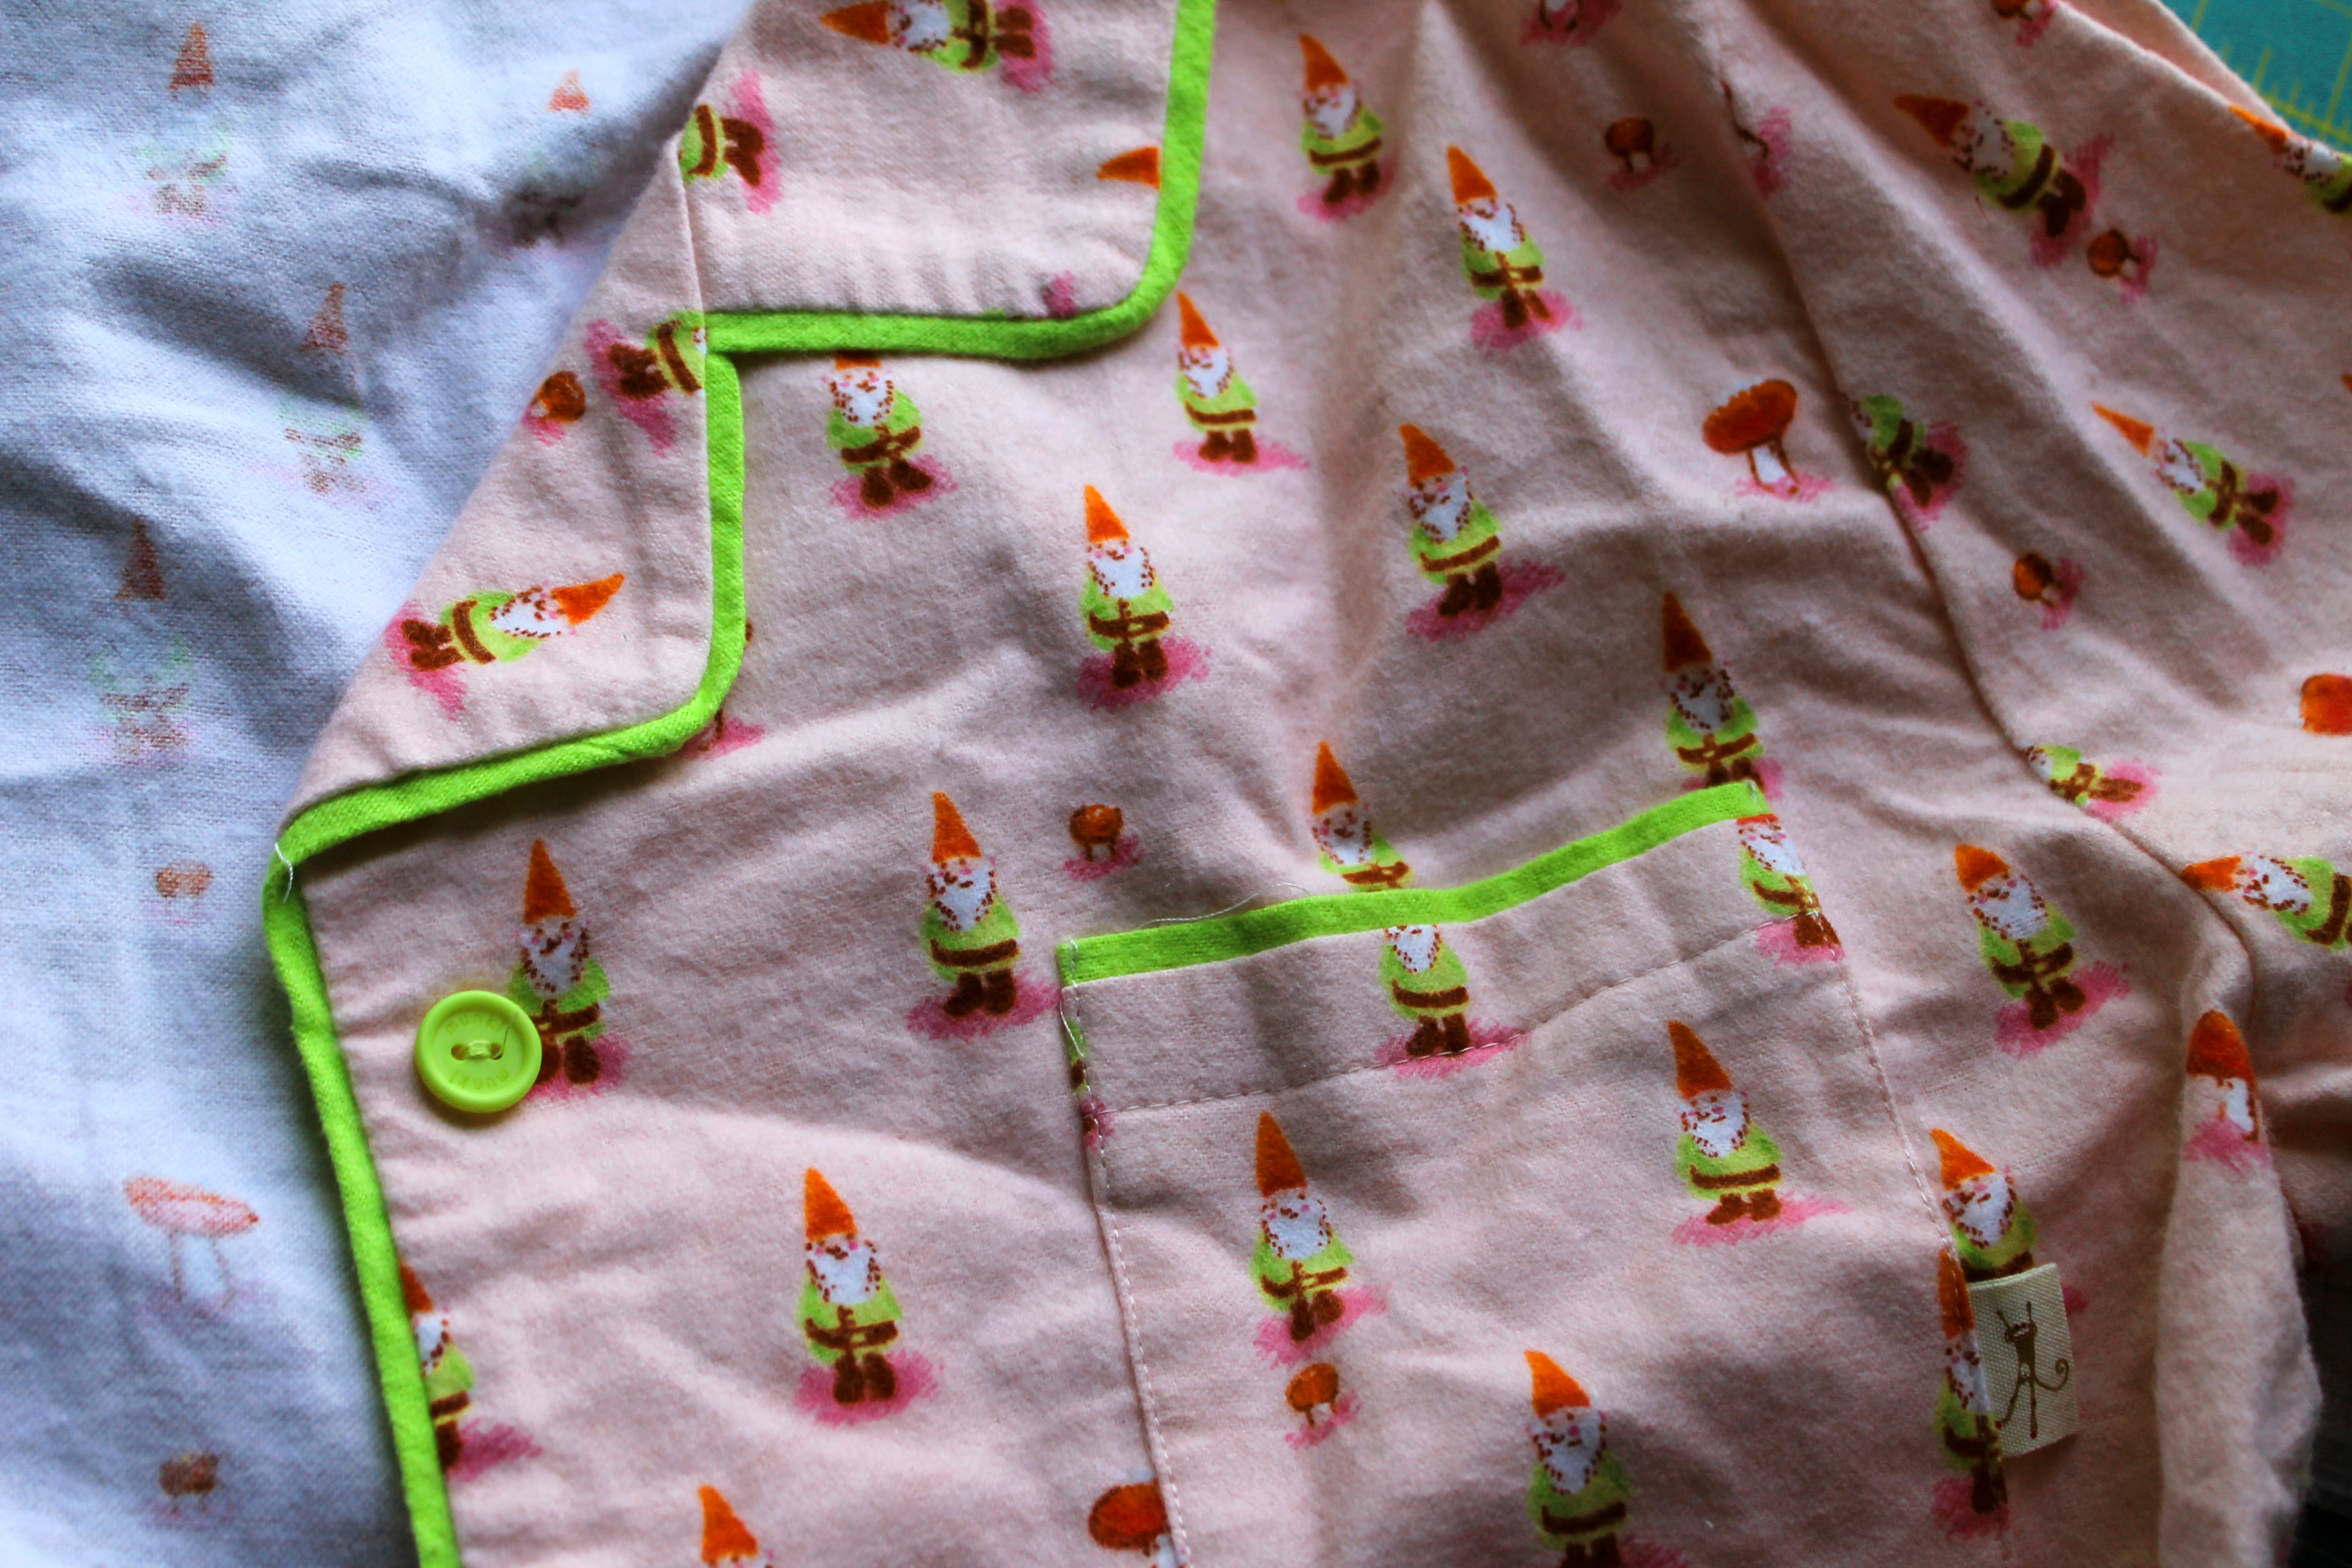
Plus I got to play with novelty prints which makes me so happy.  The background  for the stars uses 4 different Batiks and with all these quilts the colour variation  in the background adds a nice texture to the overall quilt I think.

pink backing fabric

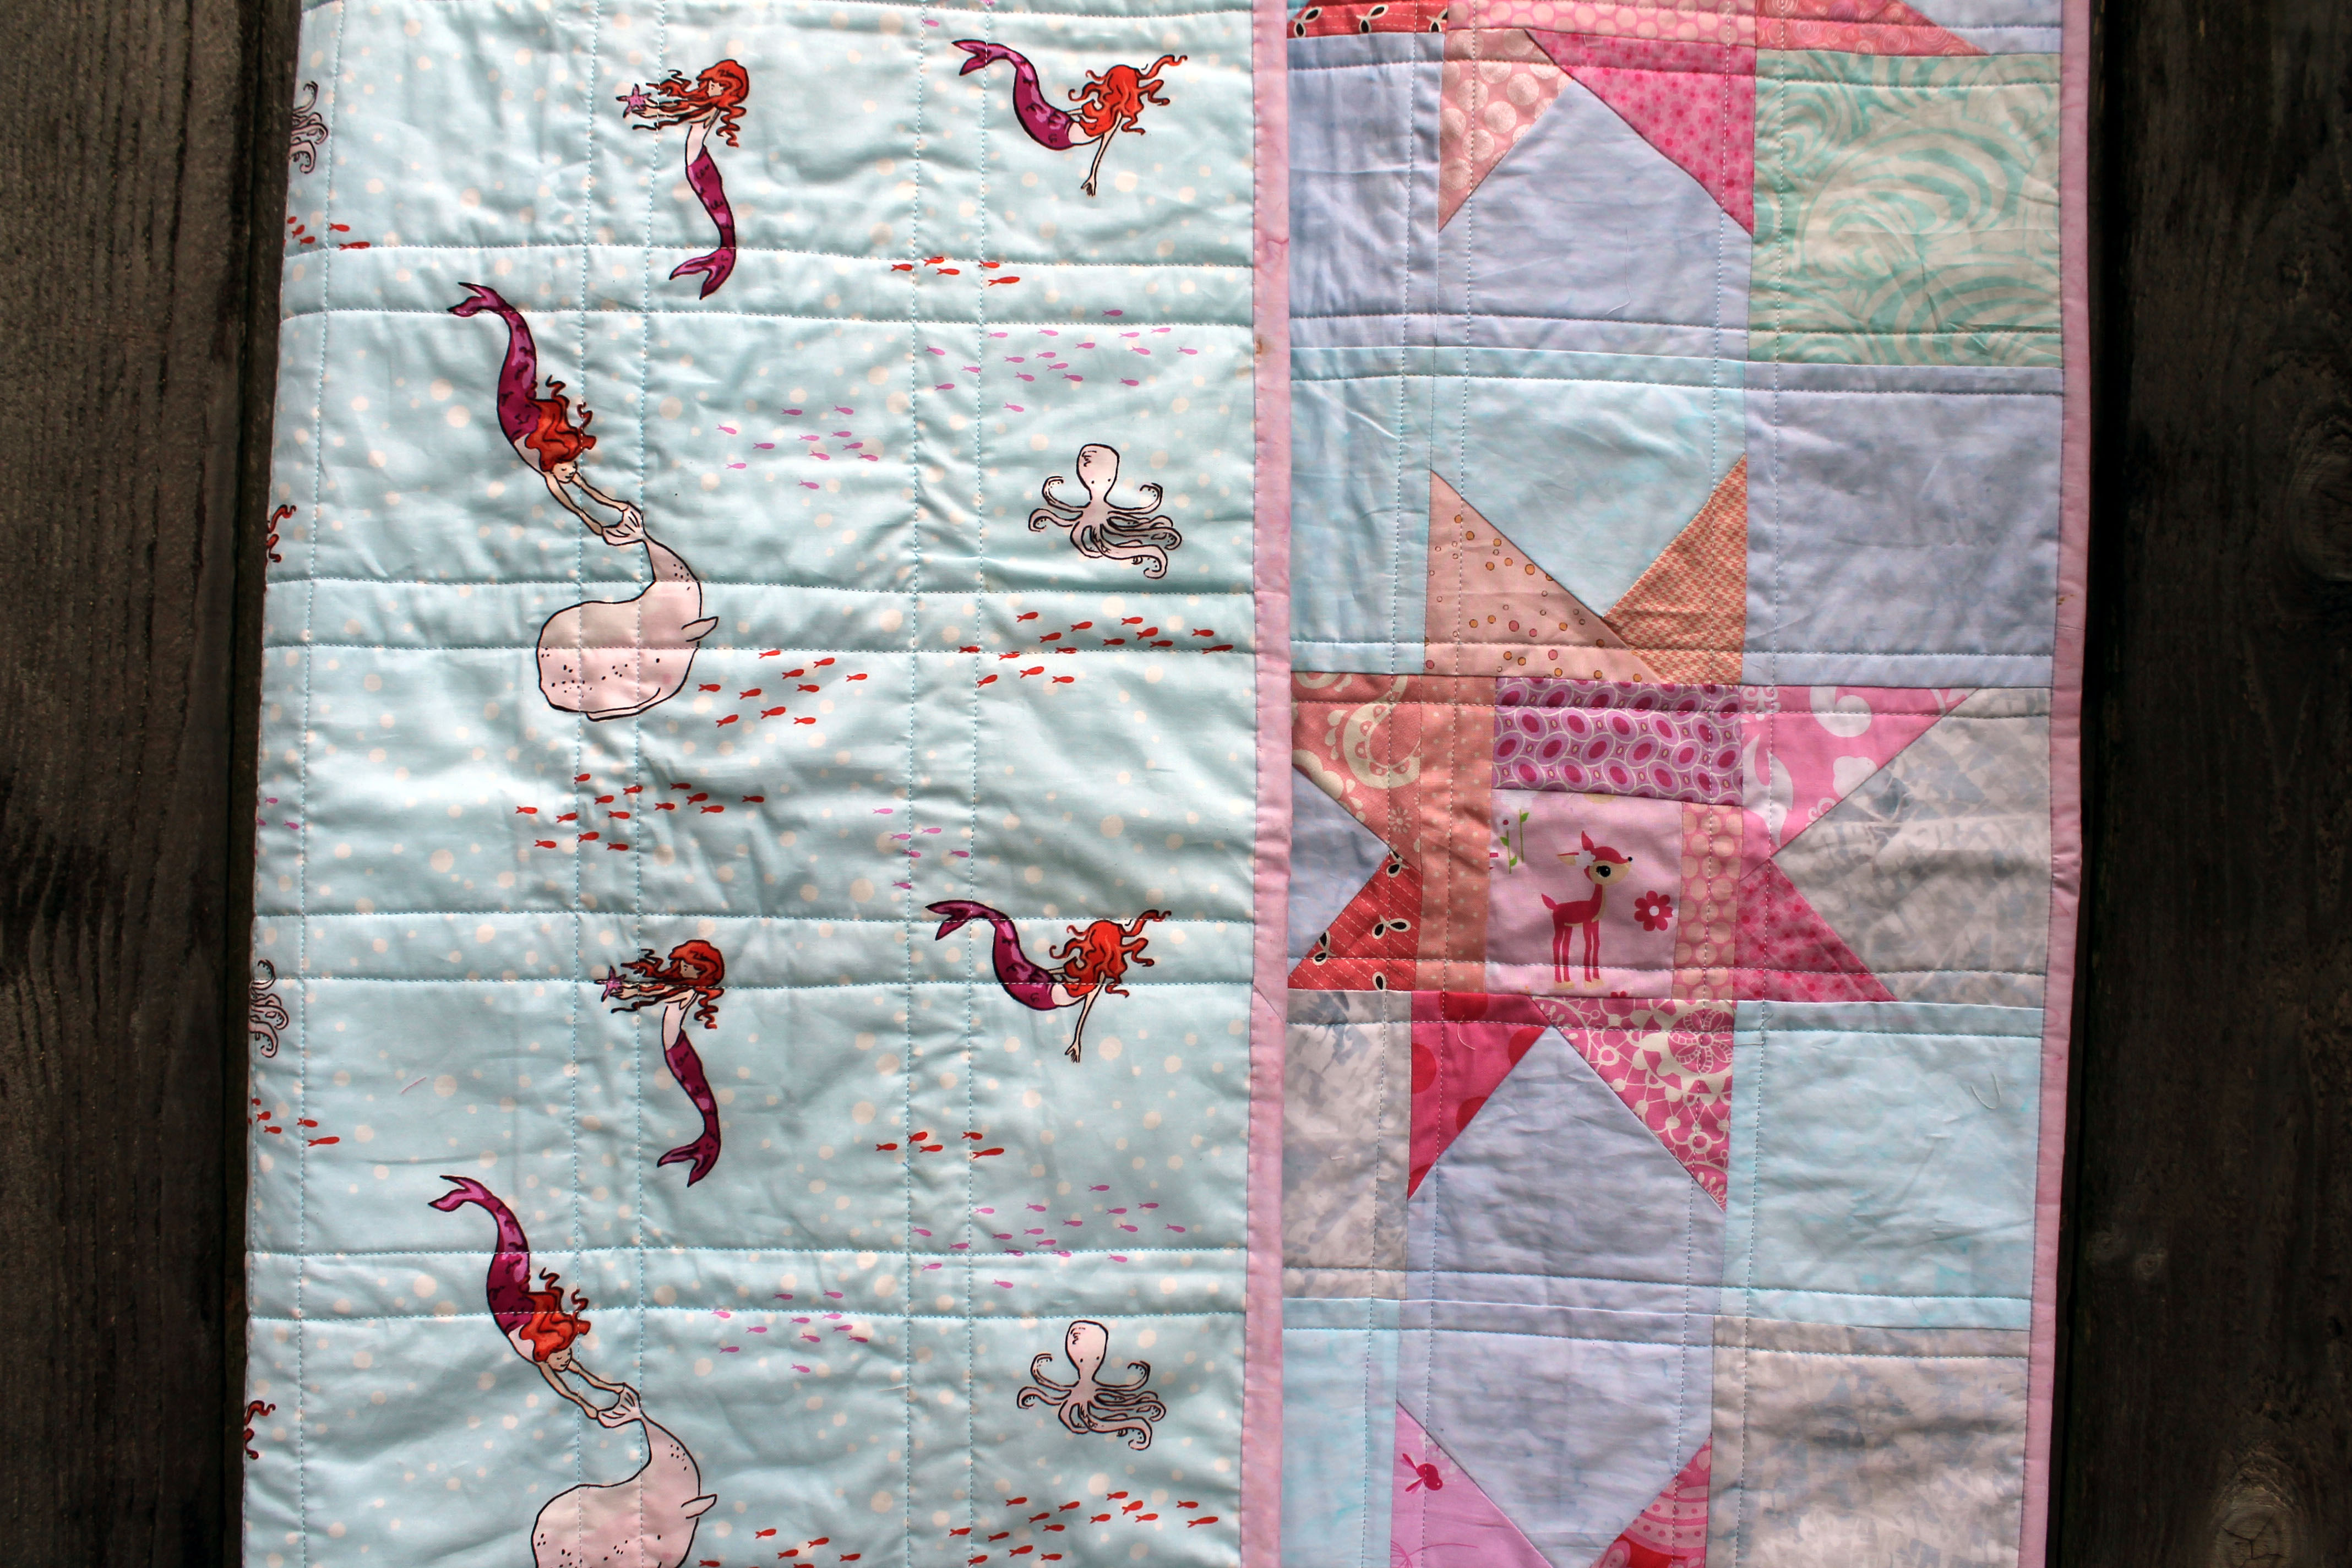
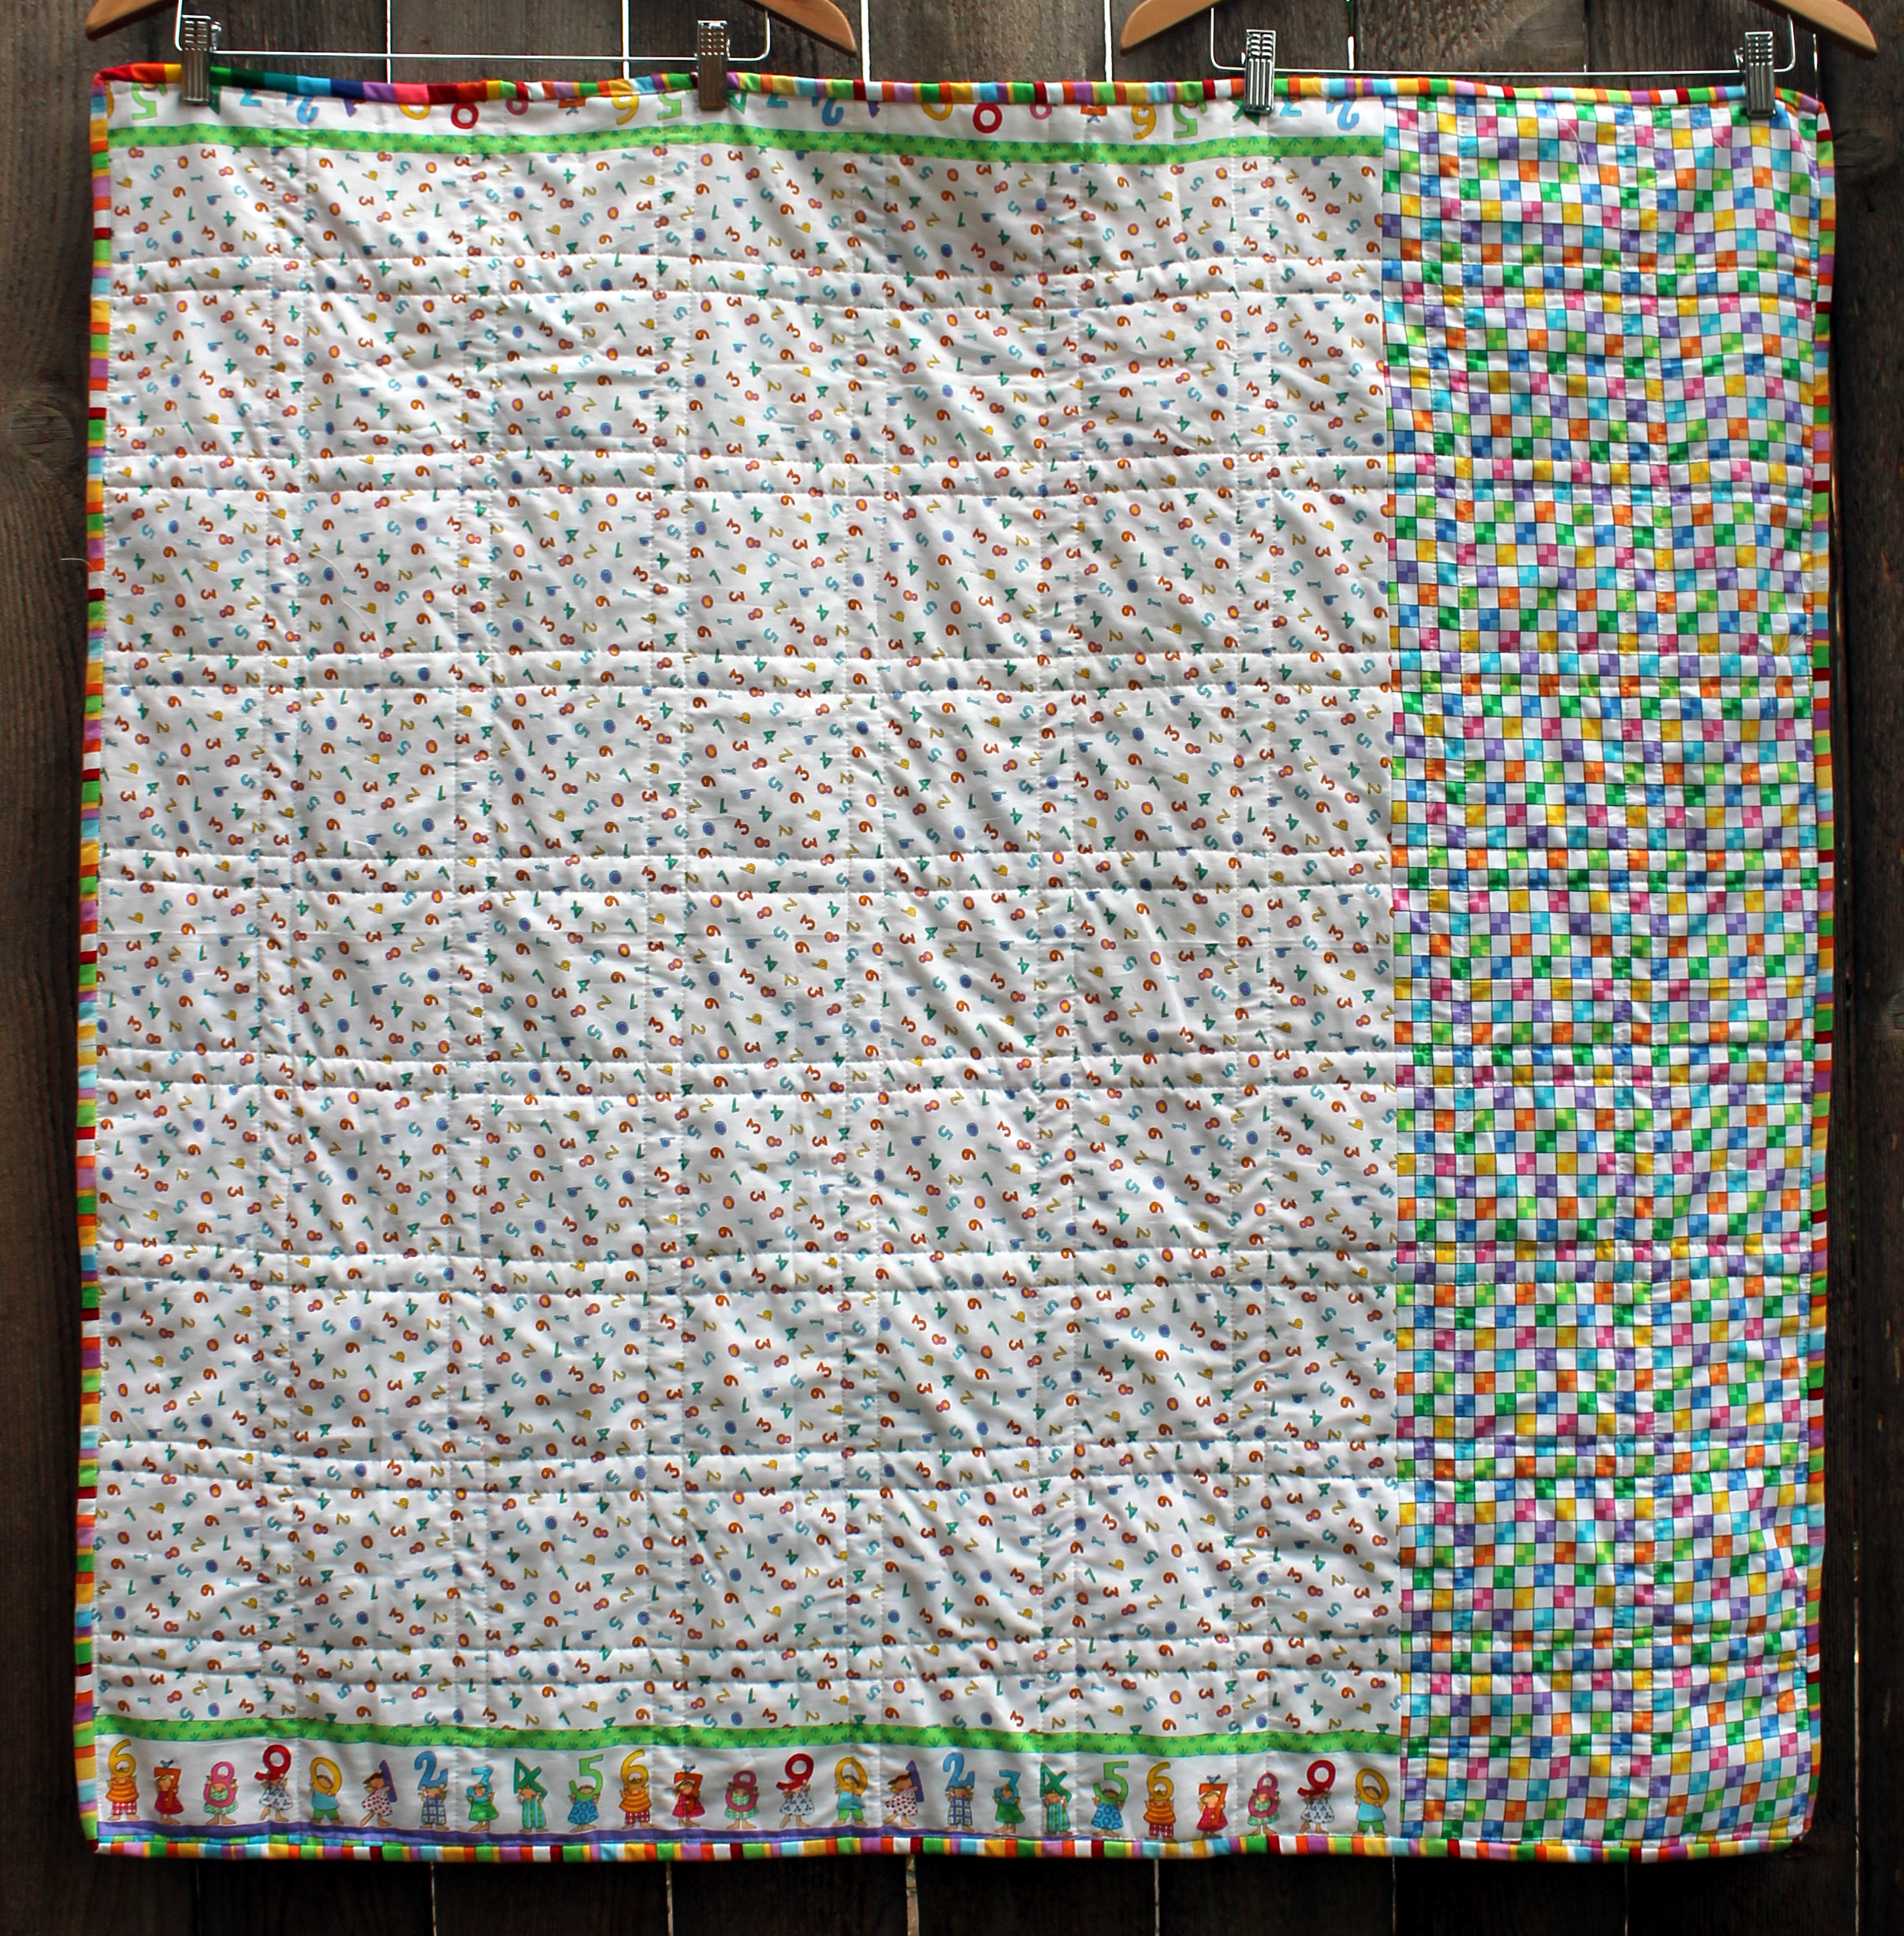
I got to back my pink stars with some of my favorite fabric from Michael Miller.  I love the mermaids so much…and this fabric was so perfect for the quilt it had to be used.

finished aqua baby quilt copy

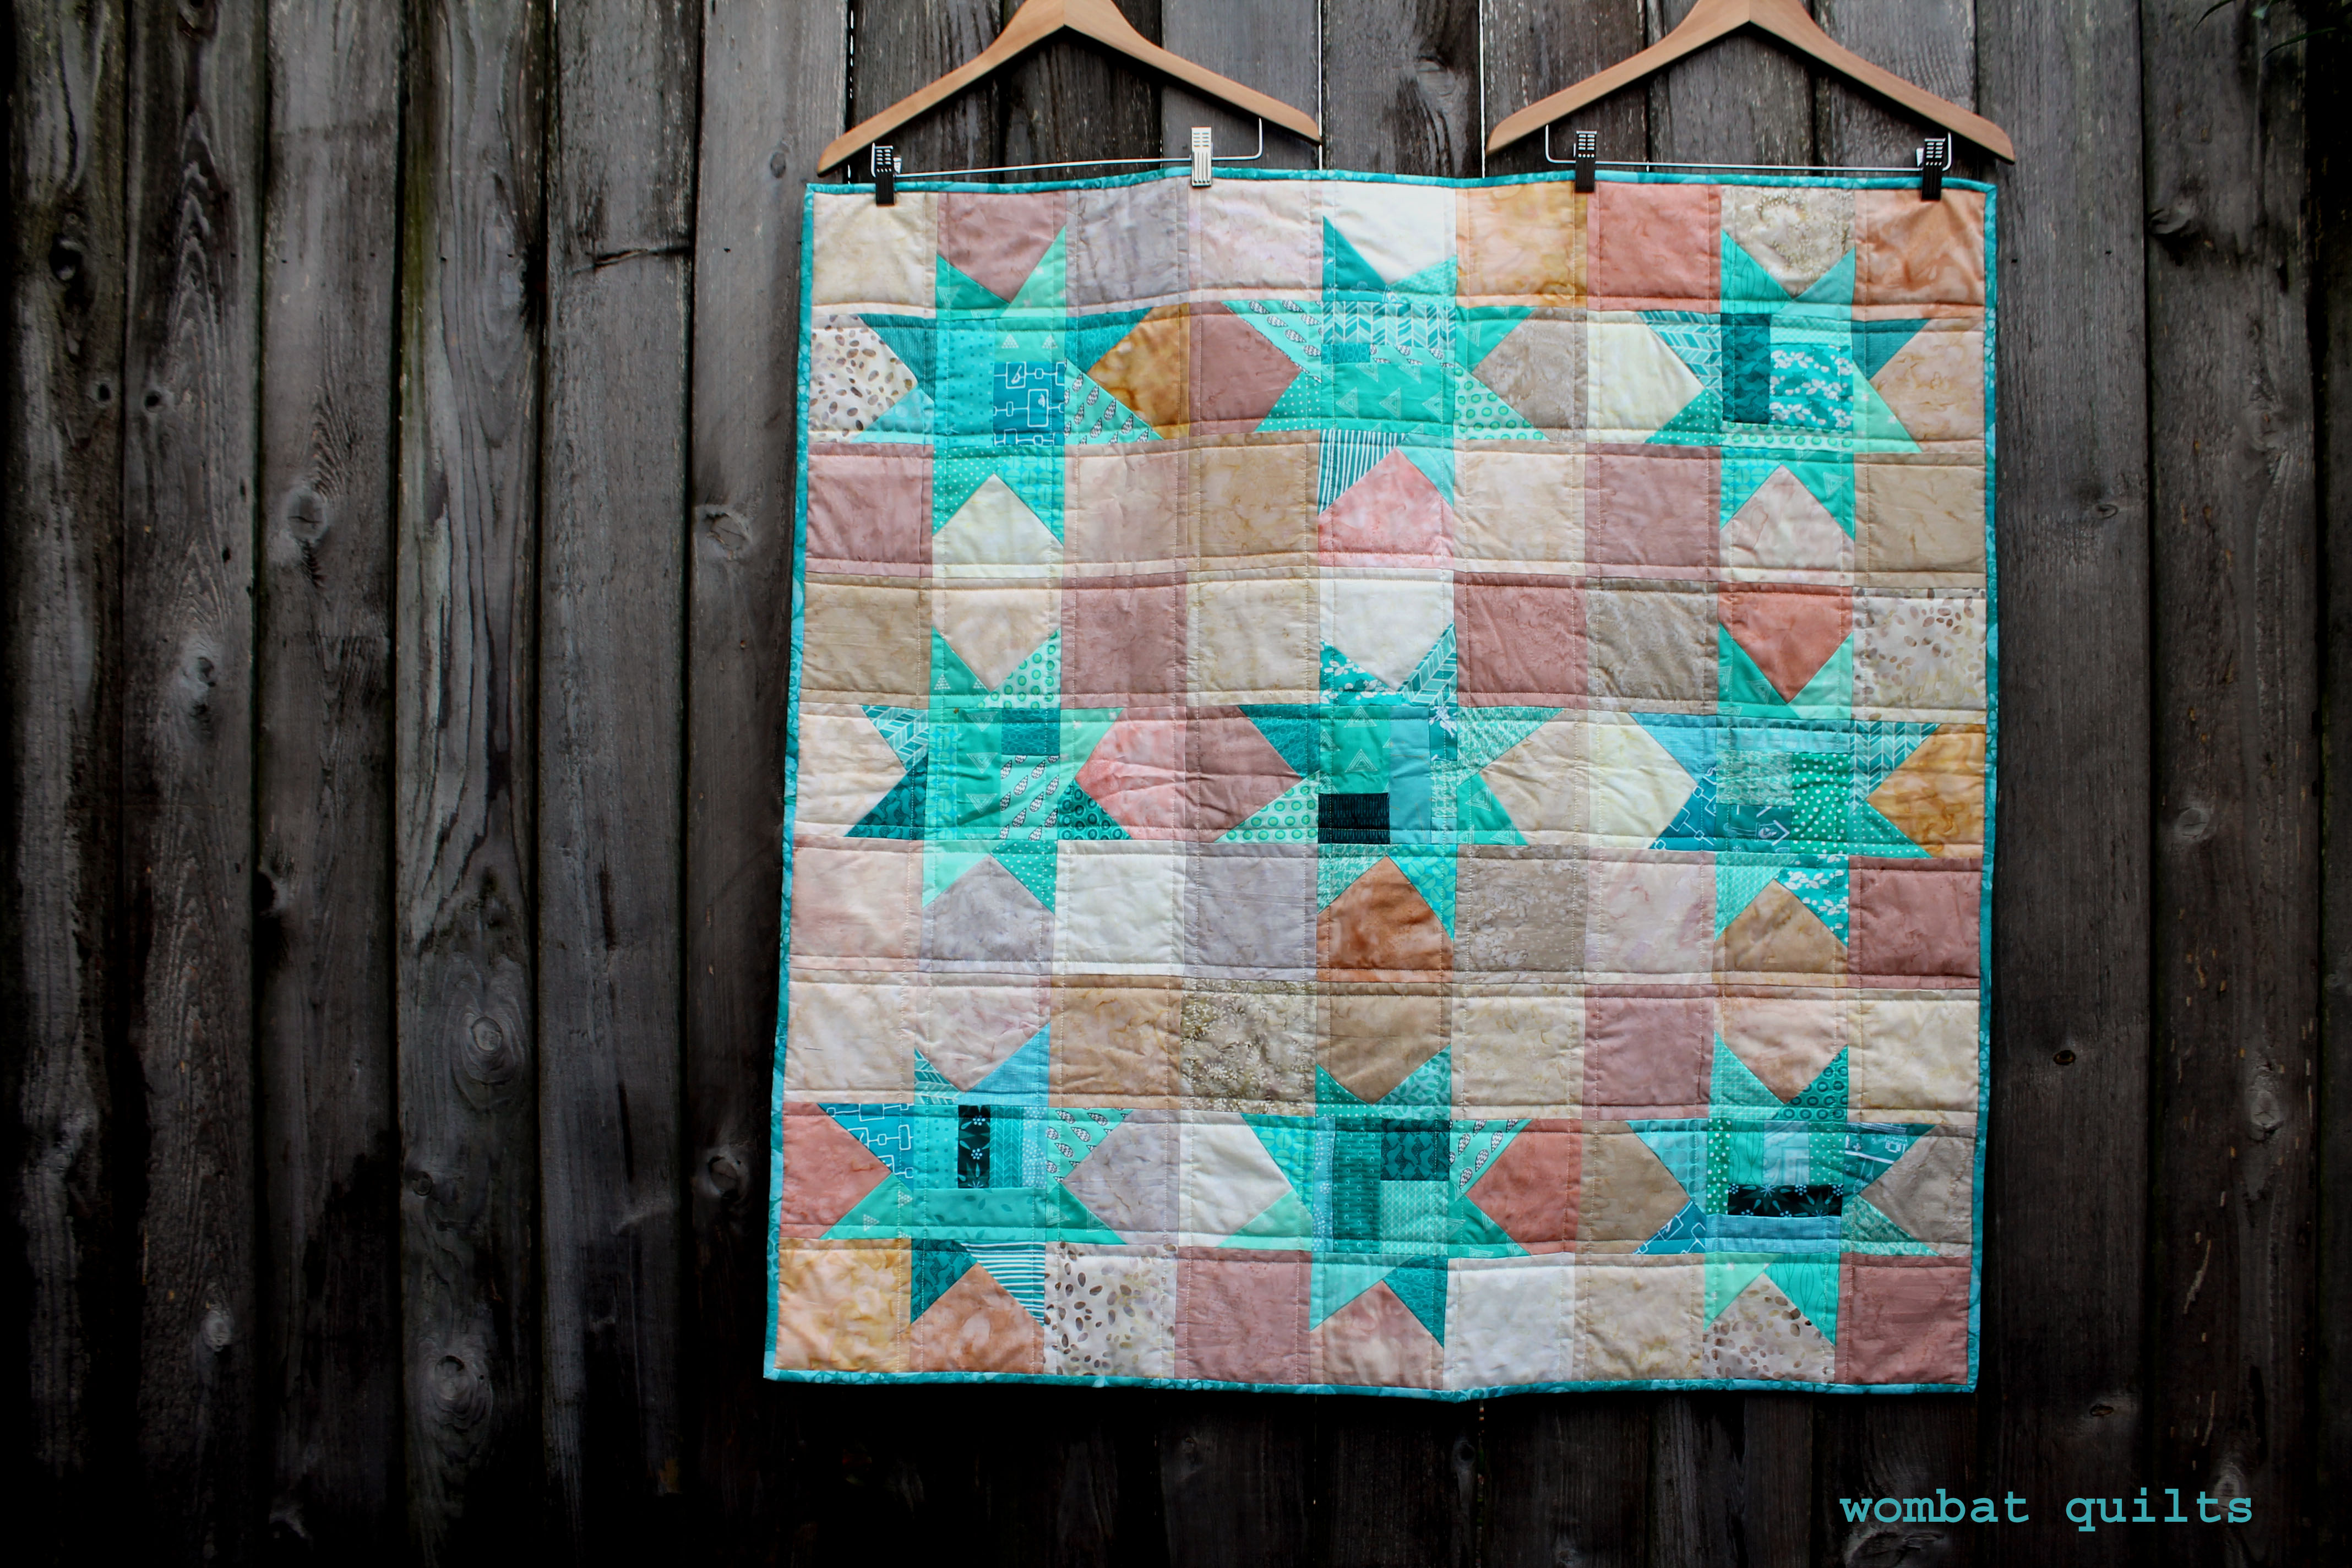
For the background of this quilt I used creams/beige batiks from a Hoffman layer cake or two.  I do not use batiks much in my quilting but I love how they work as a support to the modern quilting fabrics.   For this quilt I played with batting loft and used a wool batting.

wonky star detail

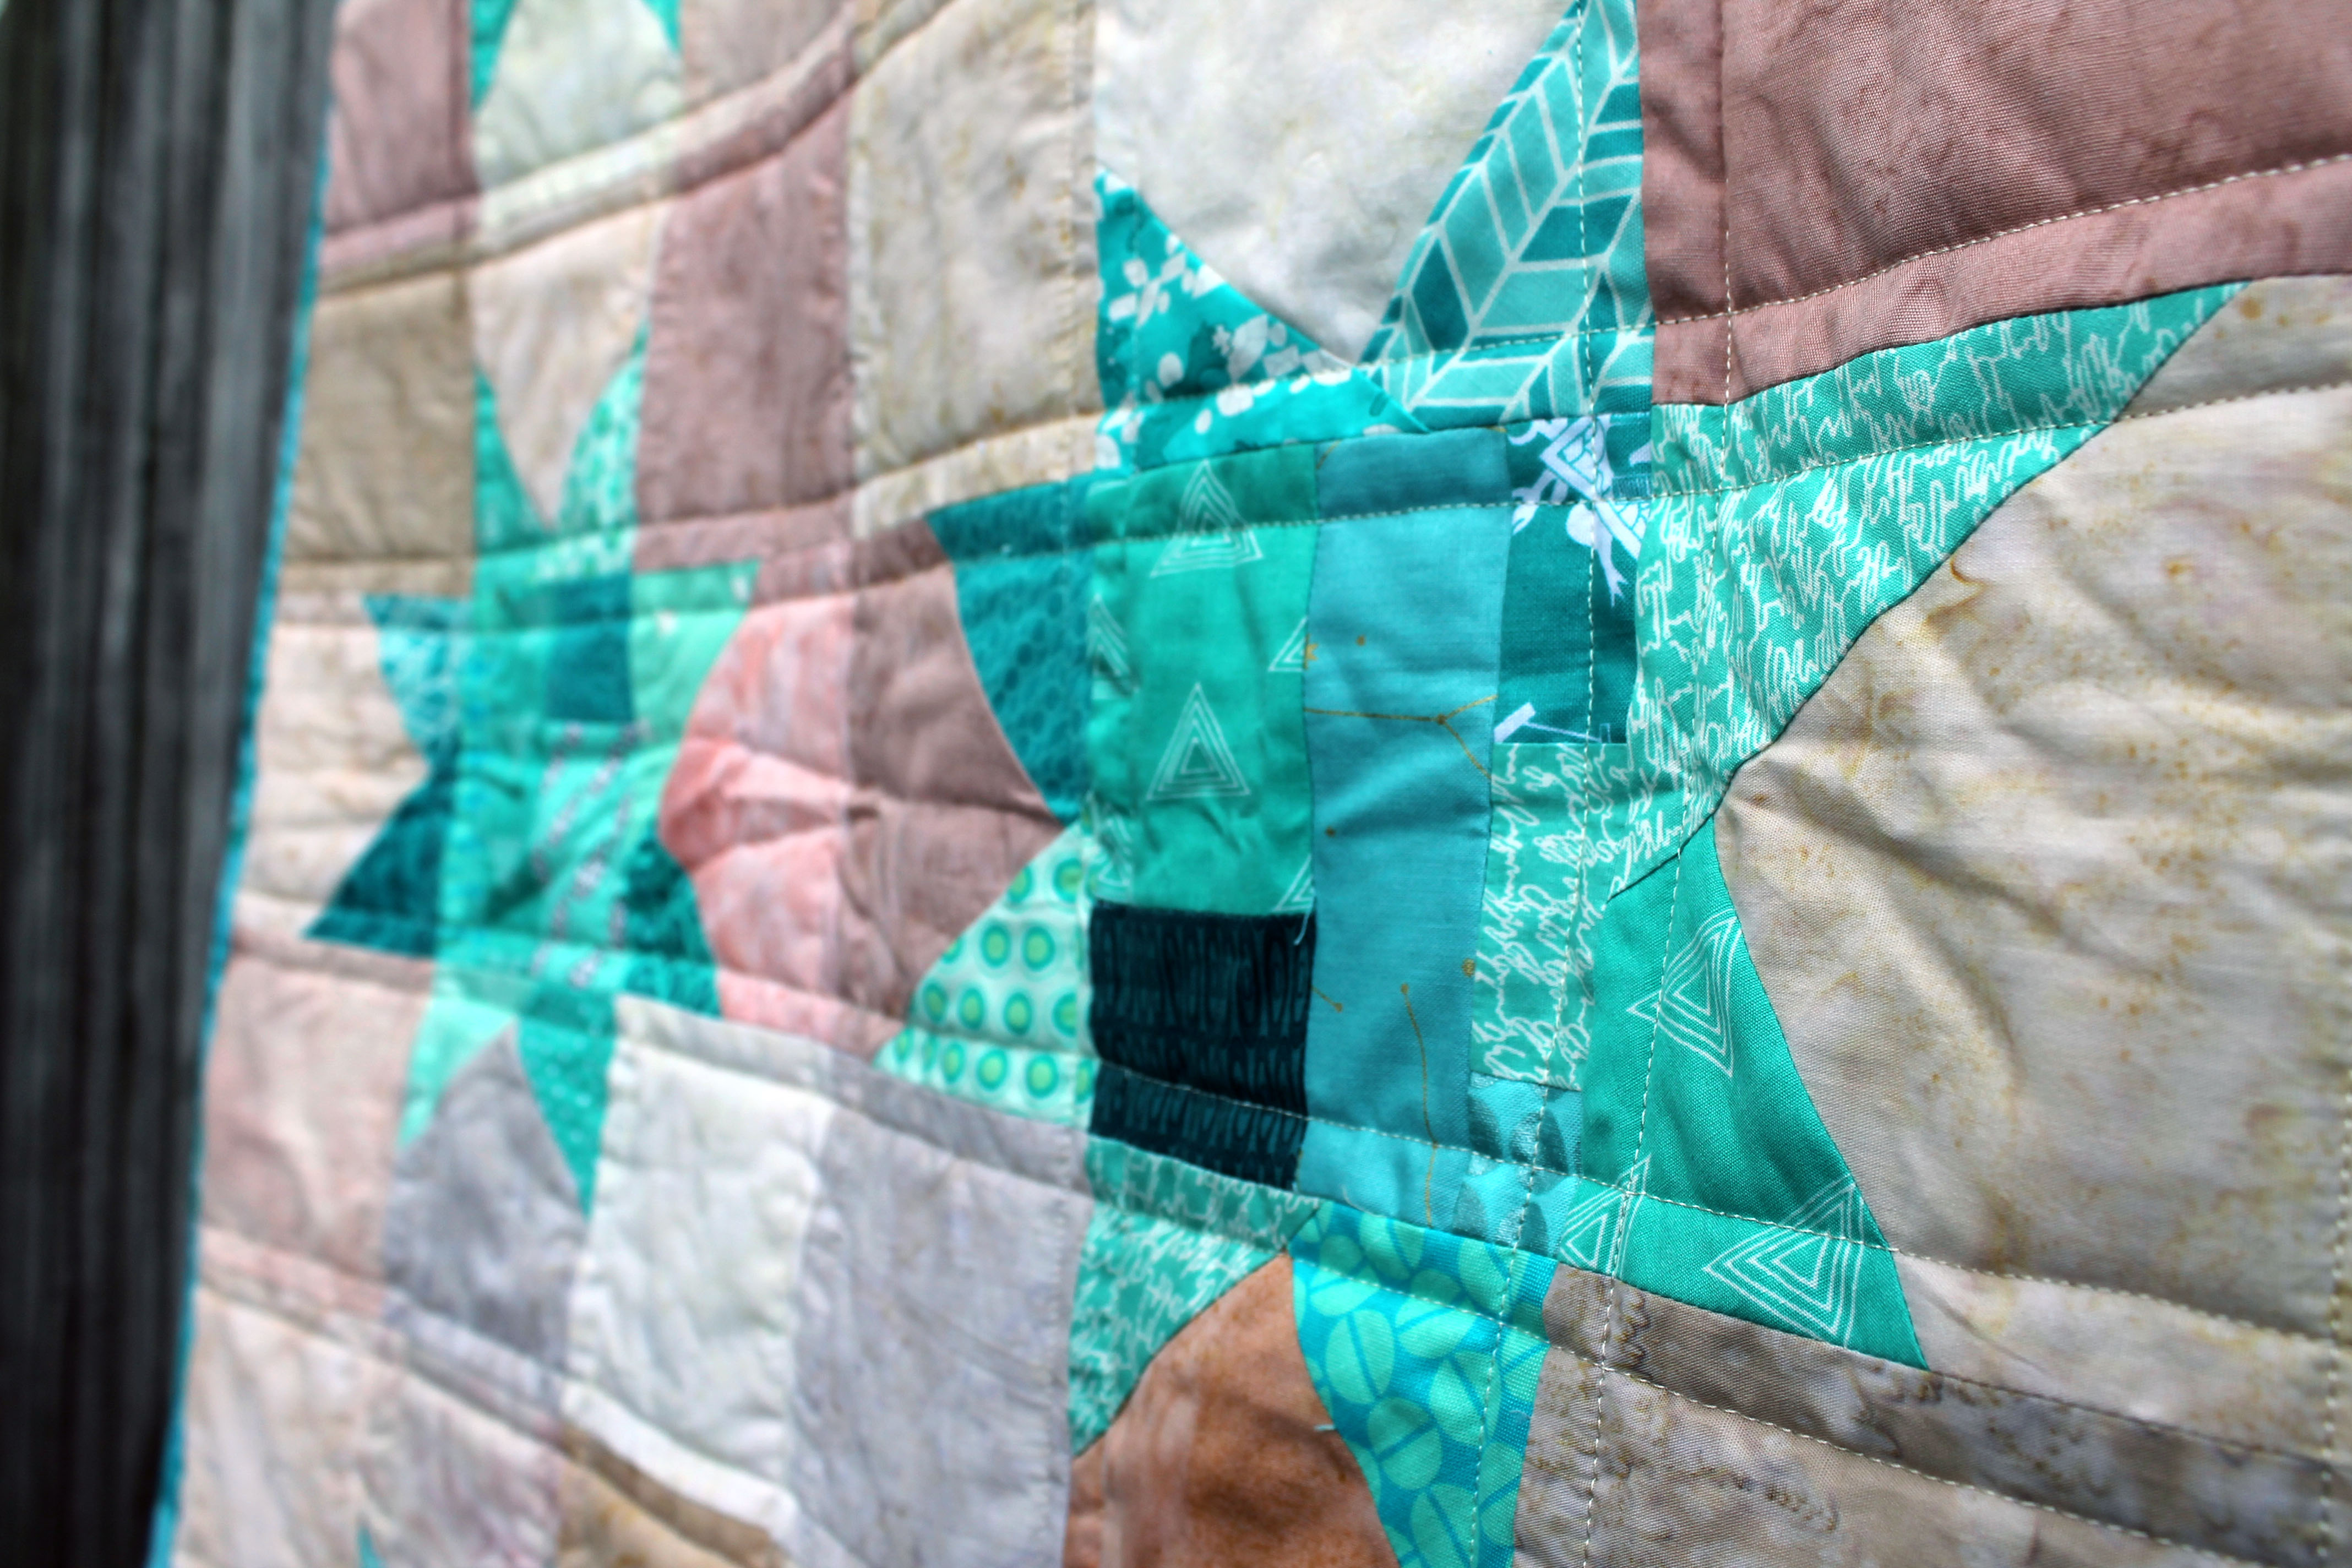
The batting gives the quilt a lovely warmth and softness… it is nicely puffy.  I can see why long arm quilters would choose to use a higher loft batting, as it really does make the quilting stand out.

So there are my last and first finishes.  Very simple, very easy and kind of fun.  Each quilt finishes at 41 inches square, a perfect size for our local Pediatric Intensive Care Unit.

An interesting source of fabric

At Christmas my darling husband gave me a set of Munki Munki flannel pj’s.  Pajama giving at Christmas seems to be a very American tradition..but I have fully embraced it.  When I opened my Christmas package only one thing came to mind….this is going to make a wonderful quilt.

pjsFor those of you that are not familiar with the Munki Munki brand, their top designer was/is Heather Ross and collecting the pajama prints and using them for quilts is very popular amongst modern quilters.  This is of course what I tried to explain to the husband when he found me cutting up my pajama top.

Seriously how could I resist these darling gnomes…

fabric detailSo a flurry of fussy cutting ensued and my favorite “go to” block pattern, the wonky star, was employed….

star detailWhat was interesting about making the top in particular for me was that I used all flannel.  I had previously back several quilts in flannel…I love the soft finish particularly for baby quilts… but I had never pieced in it.

Munki quilt detailFor this top I used some flannel scraps a friend had given me and bought some more from my local quilt store… and I tried to use as much of the source pajama fabric as I could…including the sleeve and leg cuffs which were bright green.

green starMost of the flannel I used had a wrong and right side and it was at times tricky to tell which was which…. except for the Cloud 9 flannel which was beautifully thick and lush and was reversible.

sashing detailThe end result was this darling little baby quilt… and I love how soft and cuddly it is.

munki munki baby quilt

A special QuiltCon reject

I finally got the opportunity this week to photograph the beautiful wonky star quilt that was made last year at my first PMQG Charity Sew Day.

pmqg wonky star charity quiltI originally posted about making these blocks back in February last year and you can find the original post HERE.  I really loved the quilt top but extra love it now that Rachel at 2nd Avenue Studios wove her quilting magic.

quilt detail

Rachel free motion quilted these wonderful wandering lines that fill the scrappy white space fabulous while also highlighting parts of all the blocks.

block detailAll over the quilt there are these little moments where the lines move around the fussy cutting…

green block detail

…and around and through the stars.   The quilting perfectly compliments the scrappy wonky offset stars.

quilt detail 2This quilt is now in our Charity pool and will be used this year…and I am in the process of preparing for the January Charity Sew Day.  Every month PMQG members meet at the wonderful Modern Domestic and make blocks and chat and hang out.  Every month we make a quilt top together, all of them bright and fun and all of them destined to do good in the community.  It is such a good thing.

Rocking my wonky world…

A couple of weeks ago I spent a very fun day at the monthly PMQG Charity Sew meet up.  The event is held at the fabulous Modern Domestic (my new home away from home) and I got to spend many happy hours sewing on a beautiful Bernina 560.  In a day of wonderfulness the most amazing thing was having my wonky star world rocked by  one of my fellow PMQG sewers, Cherri.

Wonky Stars have been a fun staple in my sewing repertory for a while.  It is s a quick and easy way to make fun kids quilts and if you peruse my “Finished Quilt” tab you will see a few of them in there.  So for years I have been cutting out my 5 inch squares, using my scraps to make star points and calling it good… but no longer. Here is how the new wonky stars block goes…

1.  Take eight 5 inch x 5 inch squares of your background fabric… in this case various whites and creams.

5 inch square whites

2.  Grab a pile of scraps in your colour scheme…for this exercise red.

pile of red scraps

3.  Sew random fun bits of scraps together to make a squarish shape, making sure that it is a bit bigger than 5 inches square.   Anything goes at this point.  You can fussy cut…wonky log cabin or just improv.  Then trim your random scrappy square down to 5 x  5 inches.

trim center block

4.  Make four points to you star using the 5 x 5 inch background squares as your foundation and larger scraps for the star points.  Trim as needed to get a 5 x 5 inch square.

trim star points

5.  Sew the block pieces together – 4 plain corner pieces, 4 star point pieces and your fabulous scrappy center piece.

laying out the block pieces

6.  For an added extra bit of wonky fun at the Sew Day we then trimmed our blocks down to 12 1/2 inches square.  This step allowed us to put the stars a little off center and added another element of randomness to the layout.  The blocks work just as well trimmed down to 14 x 14 inches too.

trimming the star

And voila you have a fabulous wonky star with a scrappy center piece.

wonky star block

I can not believe I did not think of this technique myself.  It is genius and the best way to use those little bits of fabric in your scrap bin.  It was such a fun exercise this week to take all the wonky stars everyone made at the Sew Day and put them together into one loud, fun, wonky top.

wonky stars quilt top

There is a combination of solid centered stars and scrappy centered stars in this top and I think it works nicely.

charity wonky star detail

And every star is so very very different.  There was a lot of fun techniques used for the scrappy centers…

charity wonky star 2

Because it is a kids quilt we went with bright colours, novelty prints and lots of fussy cutting.  My favorite block is scrappy and fussy cut…

favourite block

The finished top is 60 x 60 inches square and the next step is to find a fabulous PMQG member to quilt this beauty, or maybe we can throw it on the long arm at our next Charity Sew Day.

Quilts for kids

I can not believe that we are already 13 days into September… this month is going way to fast for me.  I have Bee blocks to do and quilts to finish and not a sewing elf in sight.  Augh!

As September is slipping away I bustled this week to get a couple more quilts finished for the 100 Quilts for Kids project.  I raided my pile of unfinished/nearly finished quilts and found two that I could easily complete without too much sweat, and that would be kid suitable.

Scrap spiderweb quilt

The first quilt is my scrappy spiderweb quilt, which has been sitting waiting to be completed for over a year.

spiderweb quilt detail 2

I really put a dent in my scrap pile with this little beauty.  Lots and lots of different fabrics which means lots of “I spy” potential.  It is a really fun quilt.

spiderweb closeup

The other quilt I finished this week is a quick and easy wonky star quilt.  I must admit wonky stars are my all time favorite “go to” quilt if I have to get something done in a hurry.

easy kids quilt

For this quilt I used a darling fussy cut novelty fabric for the center piece and then bright scraps for the star points.  Most of these scrap triangles were left over from my “sparkle punch” wonky star quilt.

wonky star quilt detail

To back the quilt I used some bigger pieces from the same fabric range by Jone Hallmark.

wonky star quilt back

Both these quilts side by side you can see which one I spent days and days making and which one was done in a few hours.  In the end both will be loved and treasured in equal measure, I hope.