A couple of months ago I joined my first quilting Bees.I had been thinking about joining a Bee for a while, and then the opportunity to join two different bees presented itself. For those of you that do not know what a quilting bee is, it is basically a group of quilters who join together (in person or virtually) to make blocks every month which are then made into a quilt.
A search of the web showed me there were dozens and dozens of different types of Bees, and lots of opportunities to join Bees. There are short burst bees (like the 4 x 5 Bees), there are Charity Bees (like do.Good.Stitches), there are virtual Bees, Quilting Guild Bees and of course the “group of friends who want to set up a Bee” Bees (like the ScrapBeeLicious Bee I am part of). What I could not find on-line was advice about being a “good” Bee member. What is the etiquette for quilting Bees?
A couple months into my Bee block making This is what I have learnt so far…
Fabric:
Use good quality fabrics. I always pull from my stash 100% cotton quilters quality fabric. There are some Bee’s out there that specifically state no Joann’s or other chain store fabrics, but I tend to bend that rule a little when it comes to fabrics like the DS Quilts range and the Cloud 9 Organic range I bought at Joanns. In my opinion it is about the quality of the fabric not where you bought it.
Just for fun I try and fit in Lizzy House’s Pearl Bracelets or Michael Miller’s Mirrorball into my Bee blocks, if I can. I have a friend who tries to get Denyse Schmidt’s Chickopee into her Bee blocks.

Lizzy House’s Pearl Bracelet
Queen Bee:
If you are Queen Bee – that is if it is your month to set the blocks there are some extra etiquette steps you might want to keep in mind.
1. Make sure your instructions for your block and how to make it are clear and include the block’s finished size, colour preferences and ideally a sample block that you have made.
2. Respect other people’s copyright. For my turns as Queen I made sure I used a free, easily accessible pattern. Do not set a block out of a book unless you are sure that everyone in your Bee has that book. It is frowned upon to copy a pattern out of a book and distribute it without the author/originators approval.
Always credit pattern or inspiration and/or quilter and link to the original source.
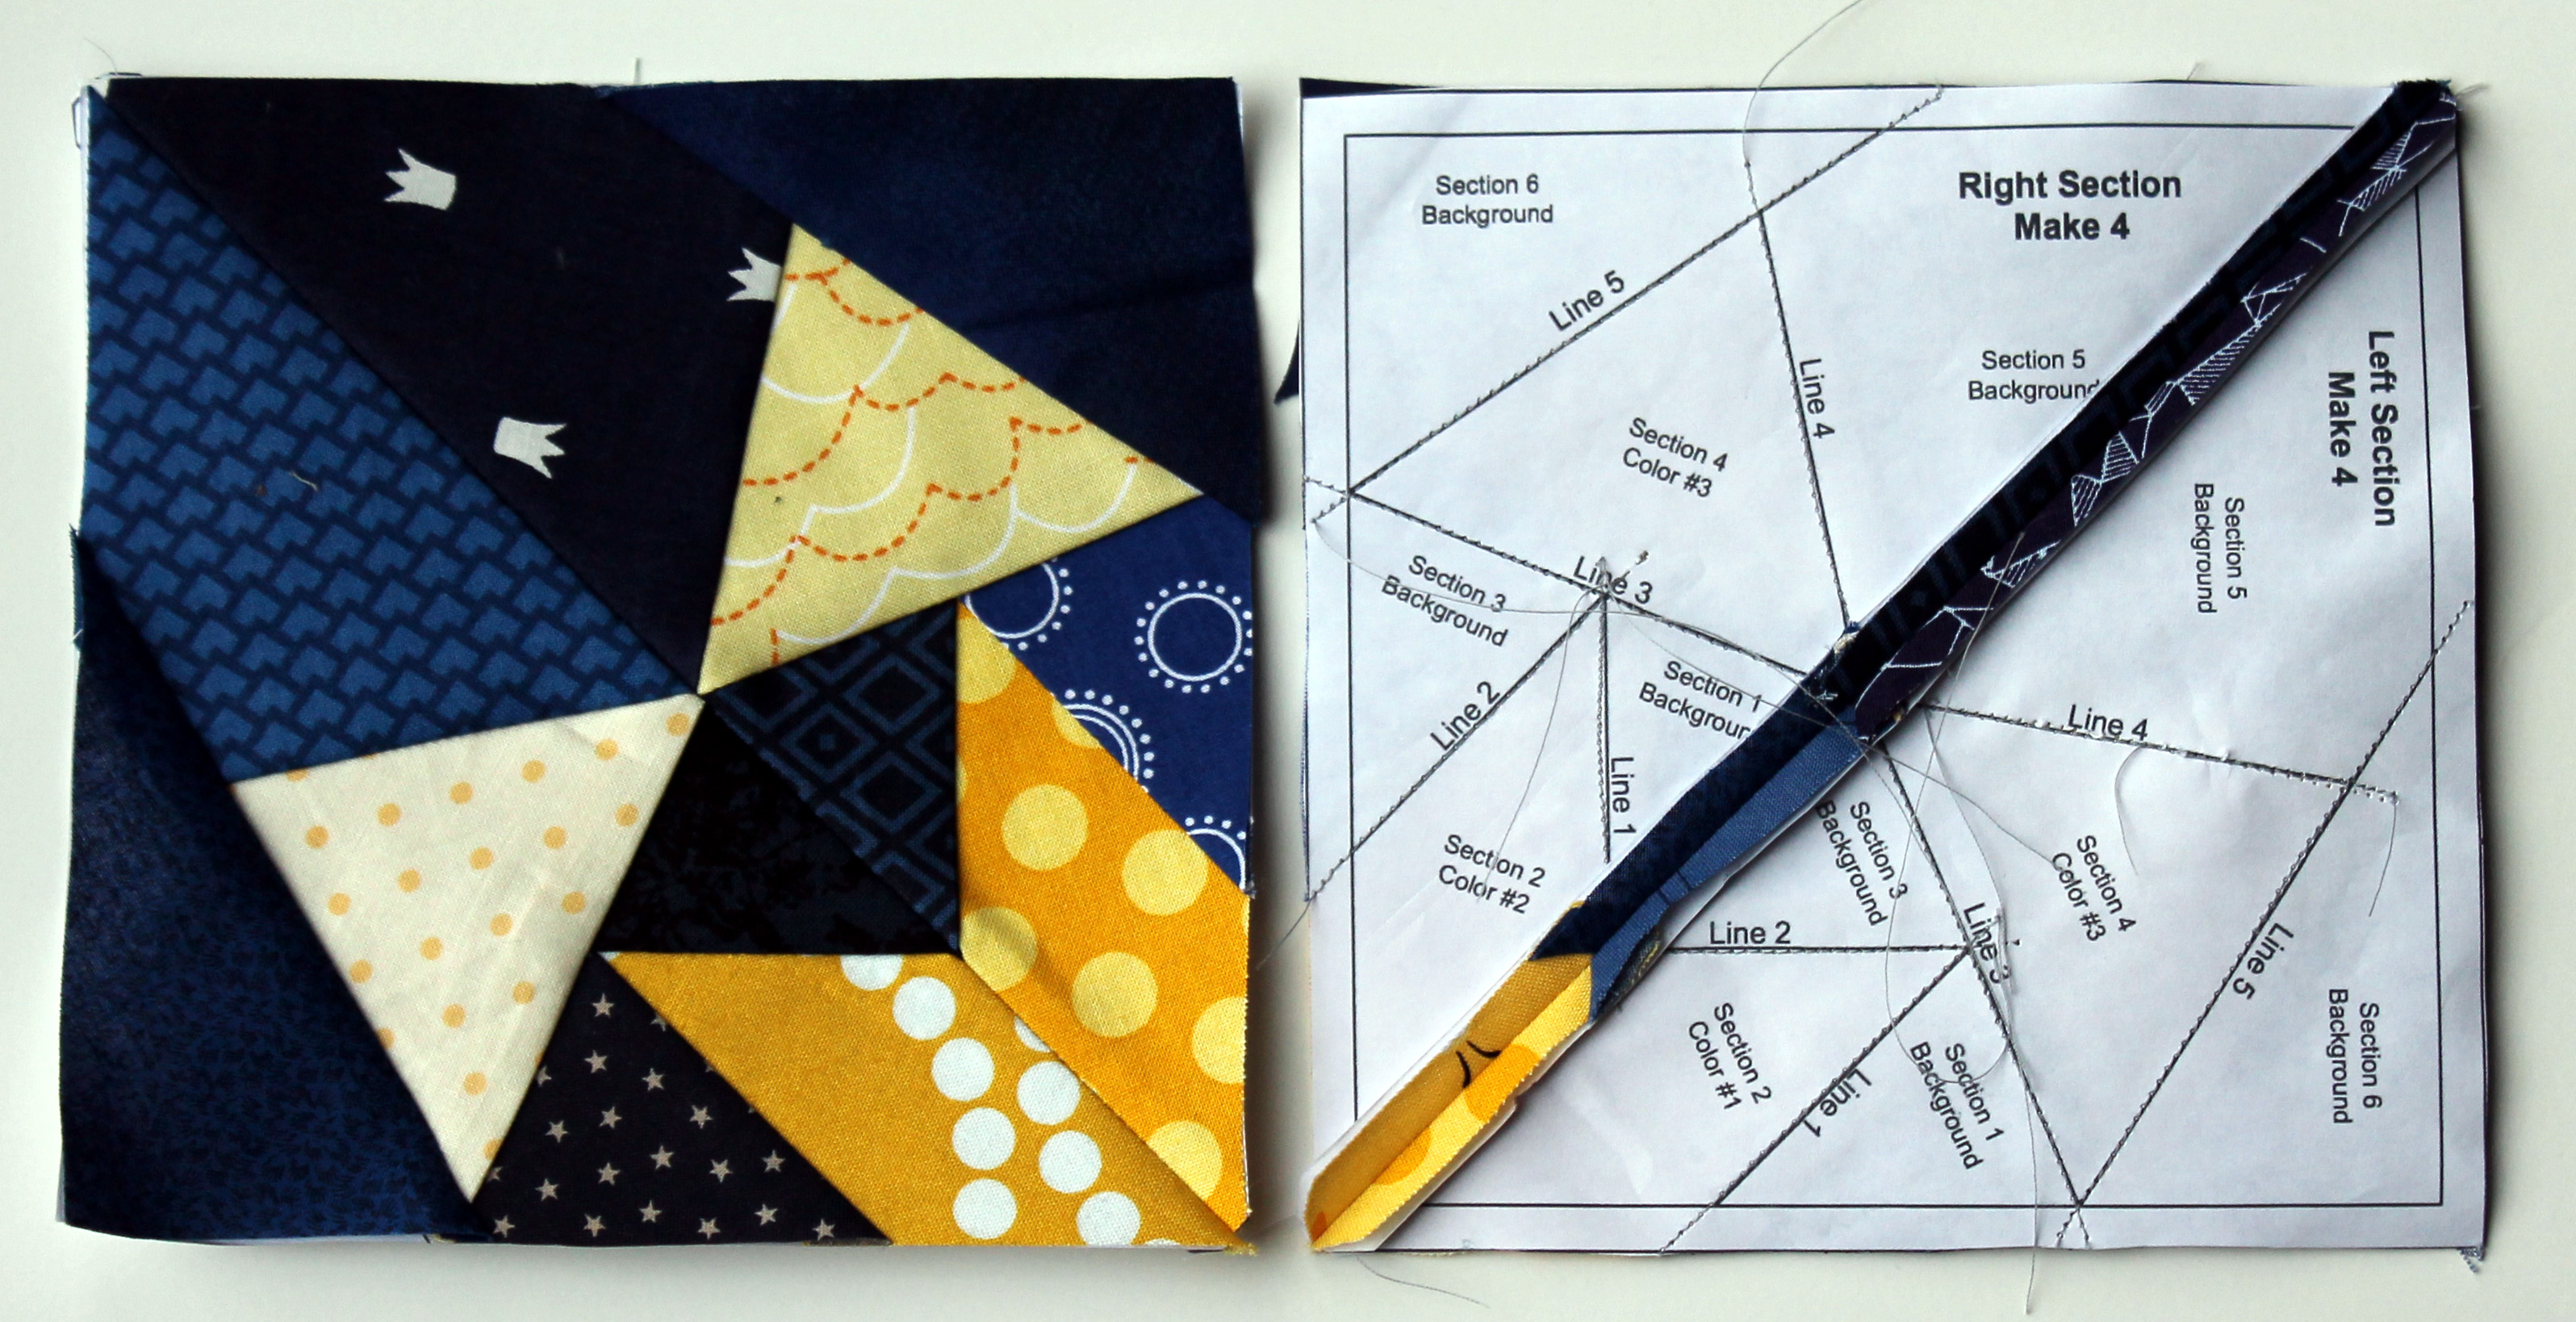
3. When setting your block understand that you may be forcing people out of their comfort zone. I personally feel this is a good thing. I set my do.Good.stitches Bee a paper piecing block which was a challenge for several people. If it is a new or challenging technique make sure you include links to instructions on how to do that particular technique (paper piecing, curves, quilt as you go etc).
4. If the previous month’s Bee block has been particularly challenging, consider making your block a little easier (this is particularly relevant with ongoing Bee’s like Do.good.Stitches where you do not want people to burn out too quickly).
The Blocks:
Follow the Queens colour inspiration/directions as closely as possible. If you are struggling with a lack of a certain colour in your stash, reach out to your Bee. I have found that members are more than happy to help if they can.
Make sure your finished blocks are accurately sized to the specifics the Queen has set (which is usually 12 1/2 x 12 1/2). If in doubt, leave them un-trimmed and drop a note to the Queen that you were unsure so did not size them up. Remember you can cut a block down to size easily but it is messy to try to size a block up.
Make sure your finished blocks are presentable – pressed and trimmed of loose thread. I take this opportunity to apologise to the recipients of my first lots of Bee blocks because they were a hot ugly messy. Sorry.

The perfection I am striving for… not there yet
Communication:
Communication is everything. Whether you are communicating via email or Flickr make sure you are keeping your Bee informed. If you are communicating via Flickr make sure you check the Groups discussion boards regularly (this was a rookie mistake I made with one of my Bees).
If you are struggling, have questions, need fabrics or your block is going to be late, let the Queen Bee know. No one will be angry with you, especially if you are communicating. People become frustrated when there is radio silence and no reply to emails or discussions.
If your blocks are not going to show up (everyone has bad months) let the Queen know. The sooner you can let your Queen know that the blocks will not be arriving the better, as she will then have to make replacement blocks or re-adjust her design.
If you are going to miss more than 2 months in a Bee cycle, step down from the Bee, or suspend your participation for a cycle. It is the polite thing to do.
Include a little note in with your blocks (another one of my rookie mistakes). A little piece of paper with your name and a short note helps the Queen Bee identify who the blocks have come in from and is a nice personal touch. Remember this is a social activity.
Posting your blocks:
Make sure you post your blocks with plenty of time to make the deadline. With most Bees it is assumed the blocks will arrive by the end of the month, usually with a 2 week grace period. Your blocks are considered late by the 15th of the following month.
Make sure you are accurate with your postage. Most Bee blocks cost around $2 + to post out – if your envelope has any sort of bulk to it the USPS considers it a parcel and charges more. I have had to pay extra postage on a couple of envelops in the last month or so and now have a stack of change next to the door so I can easily pay the post person.
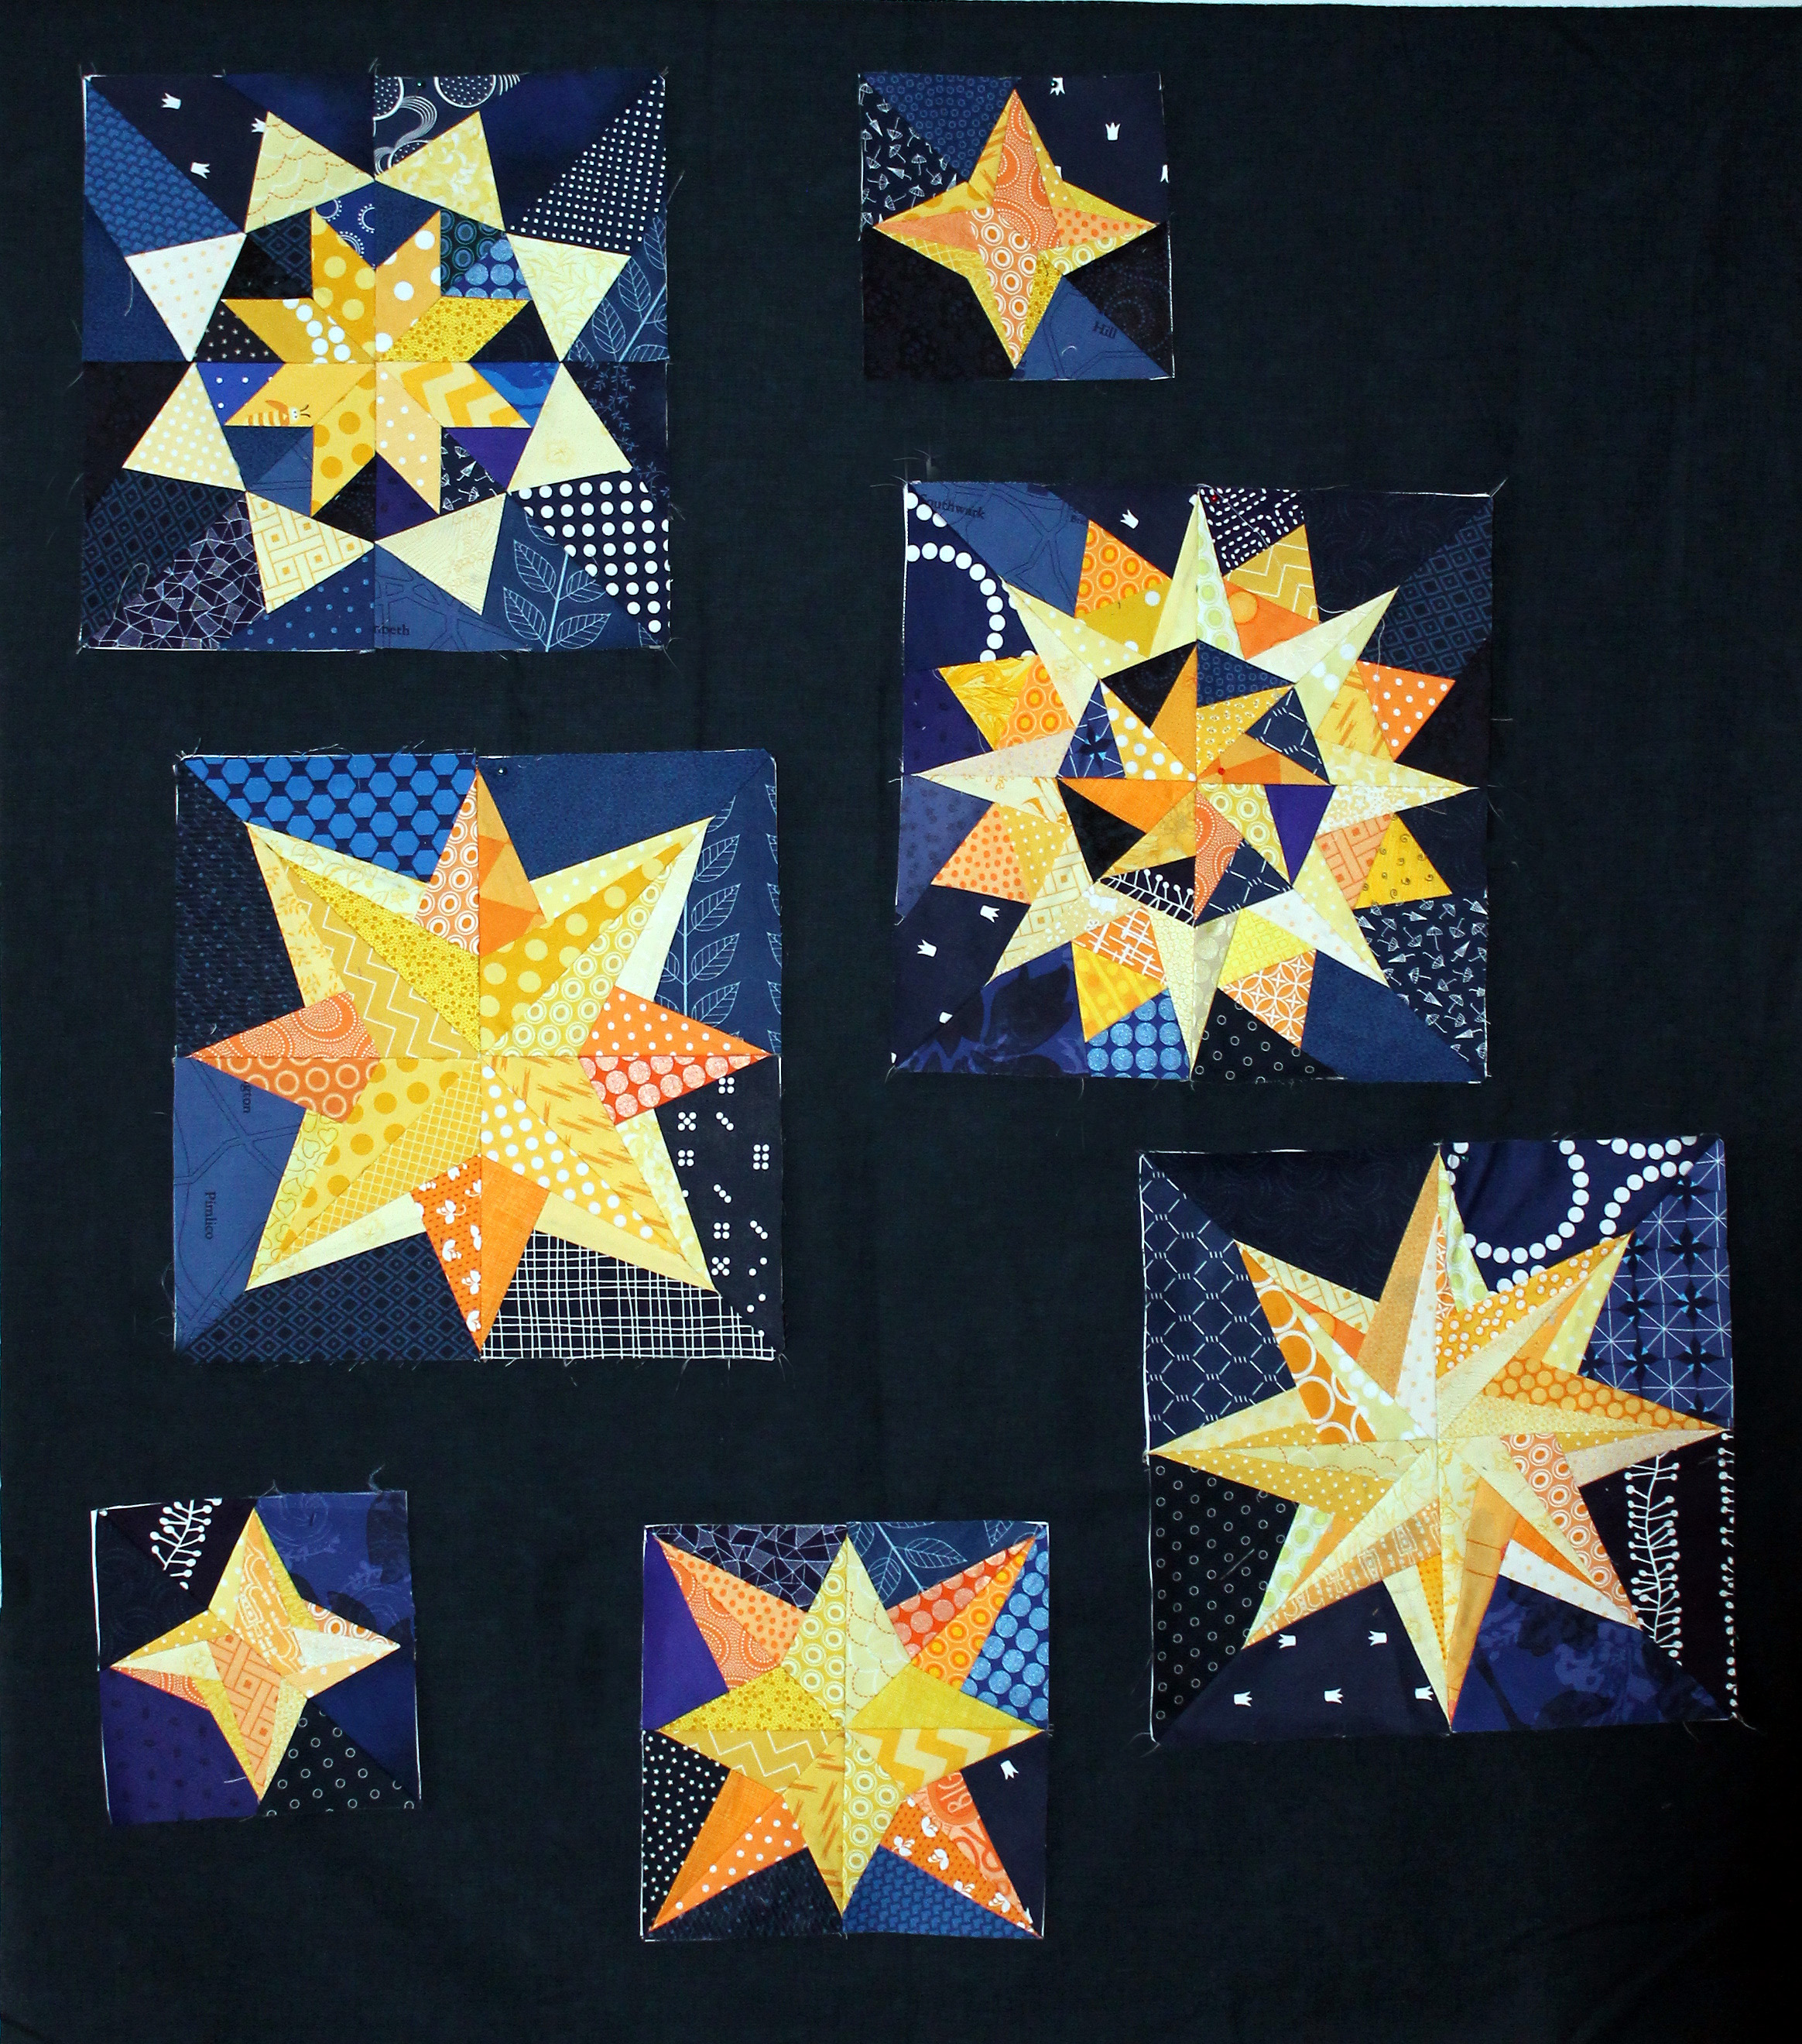
Now onto pretty…
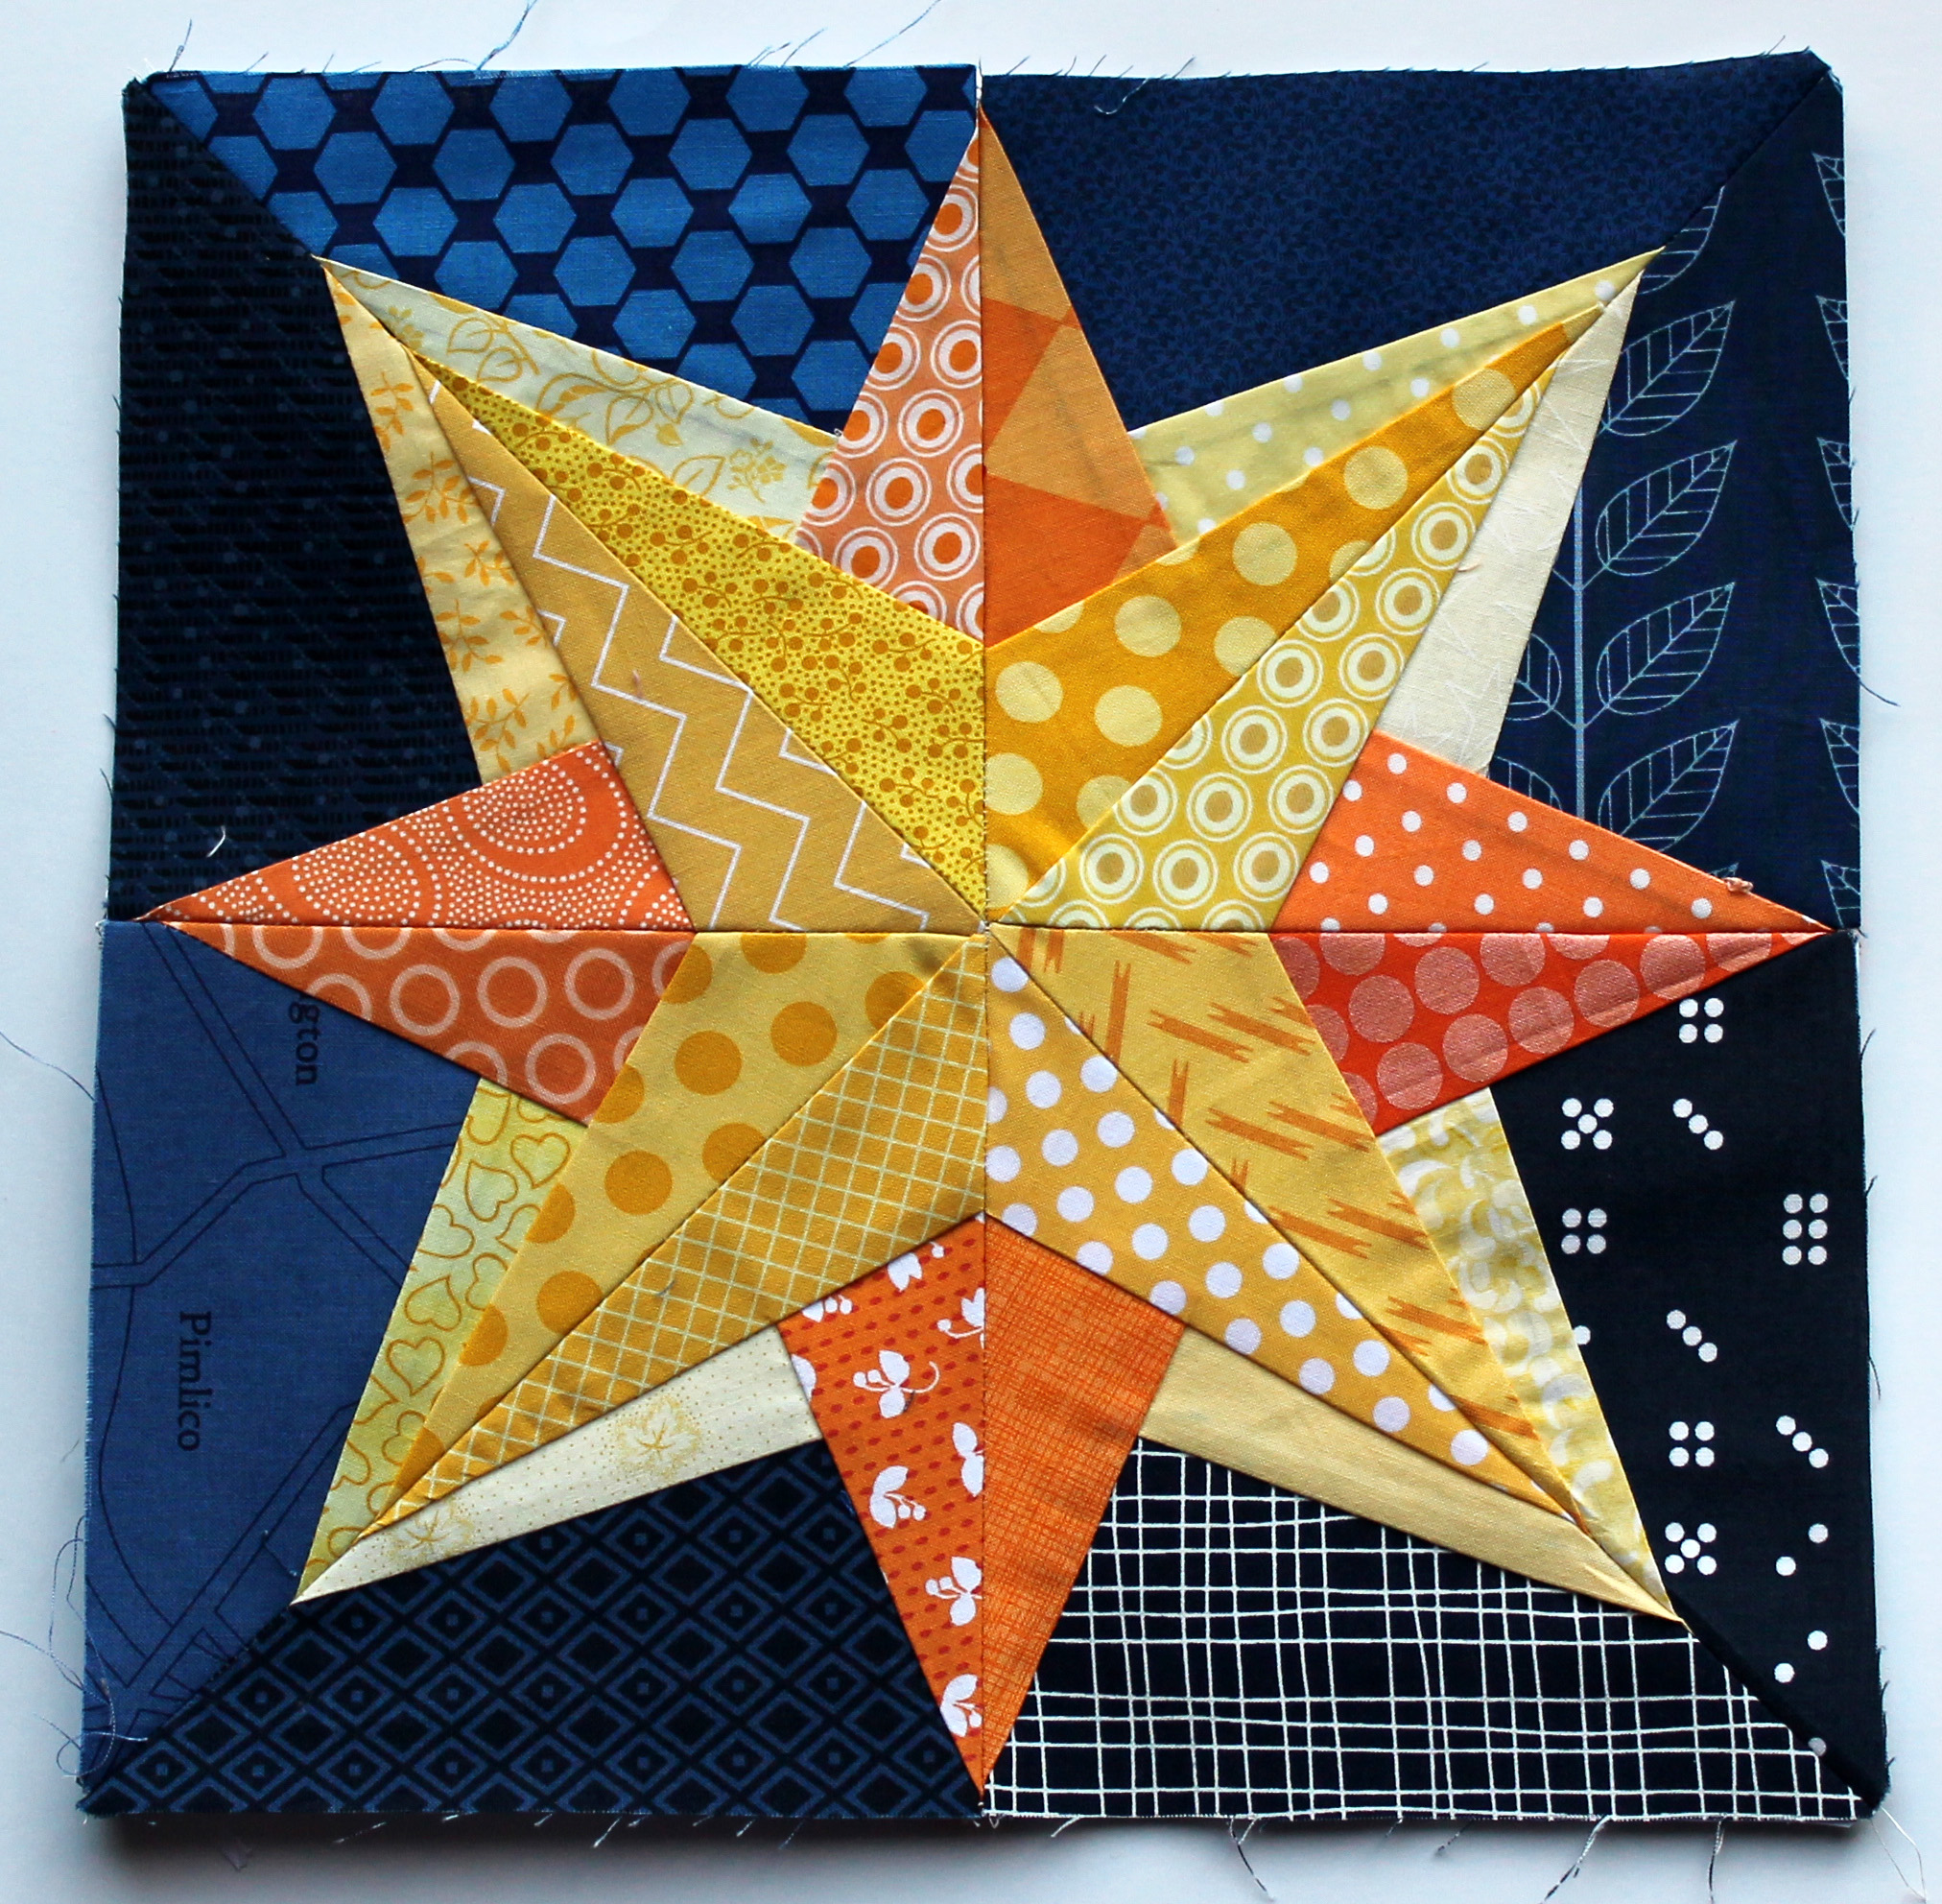
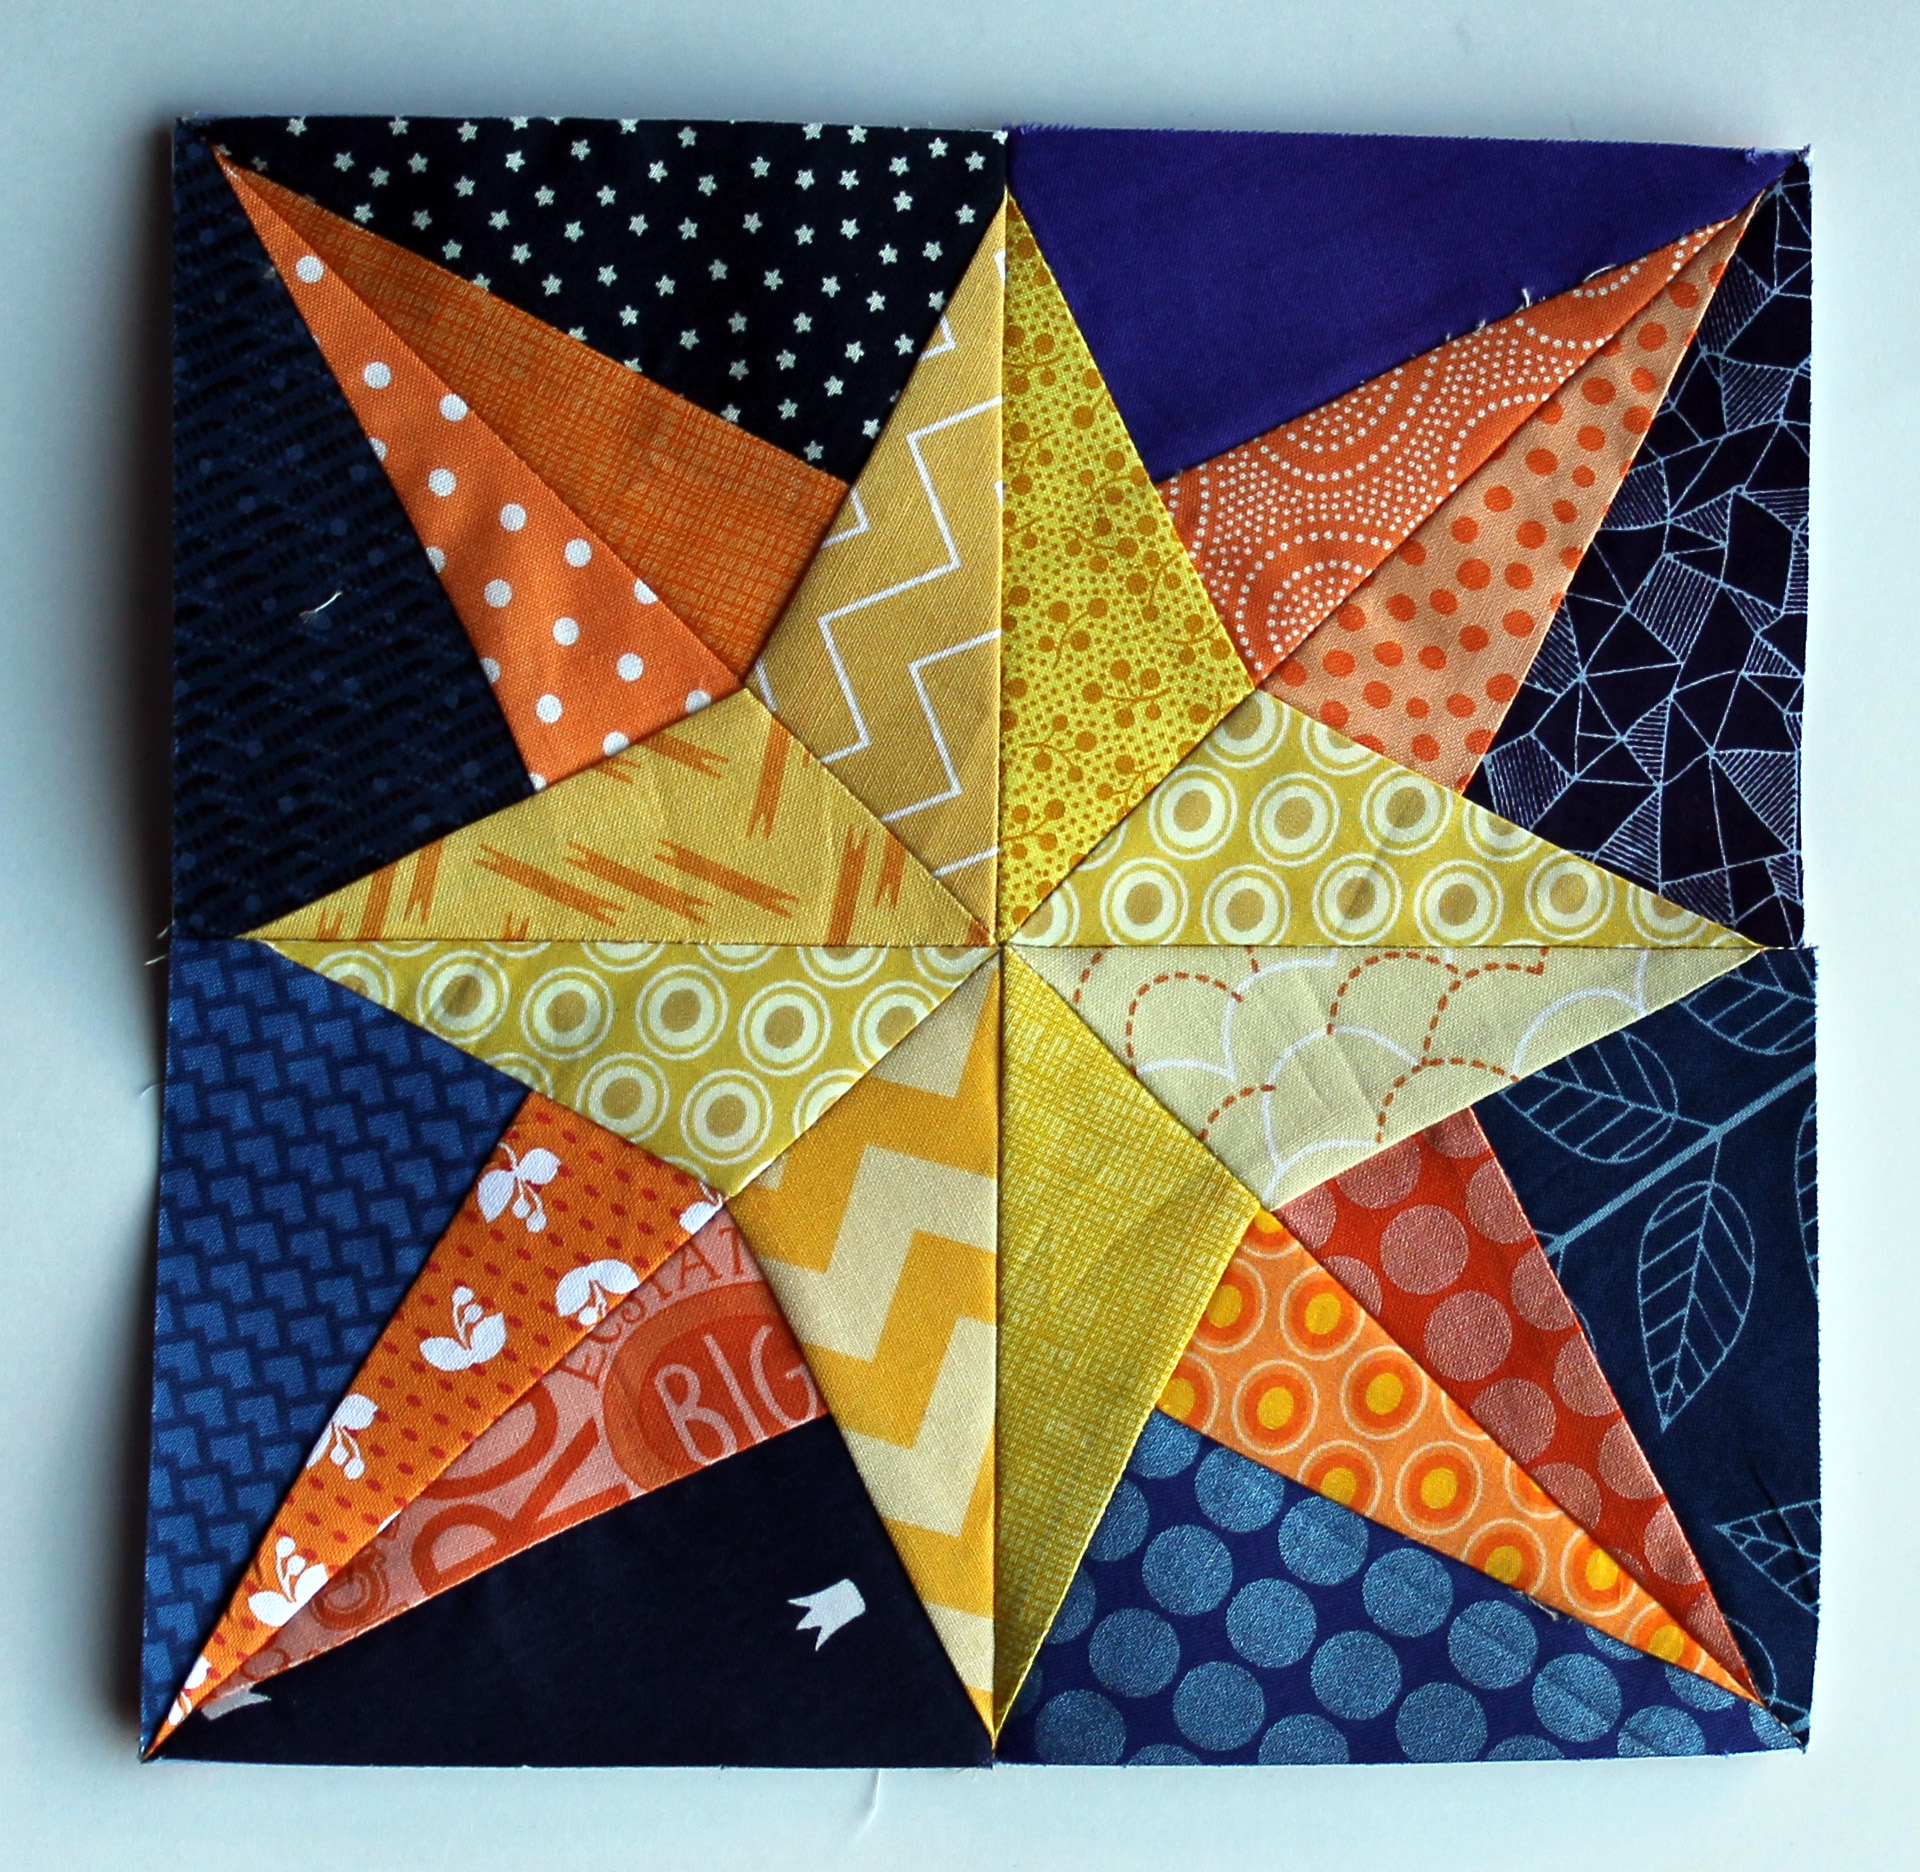
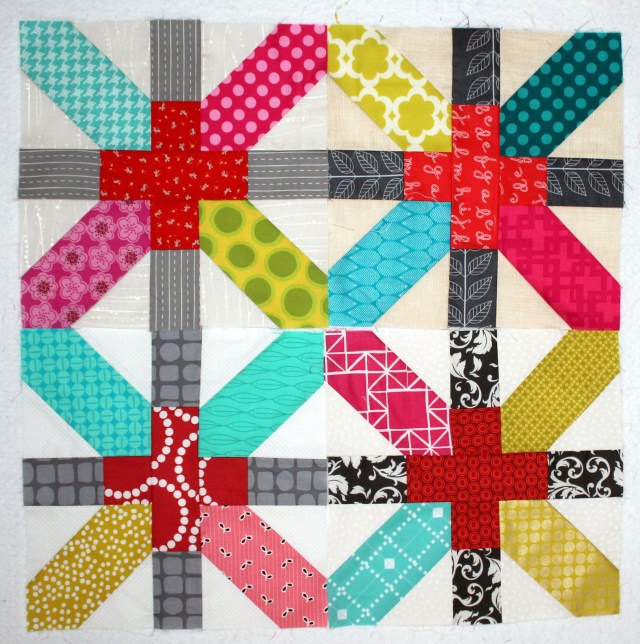
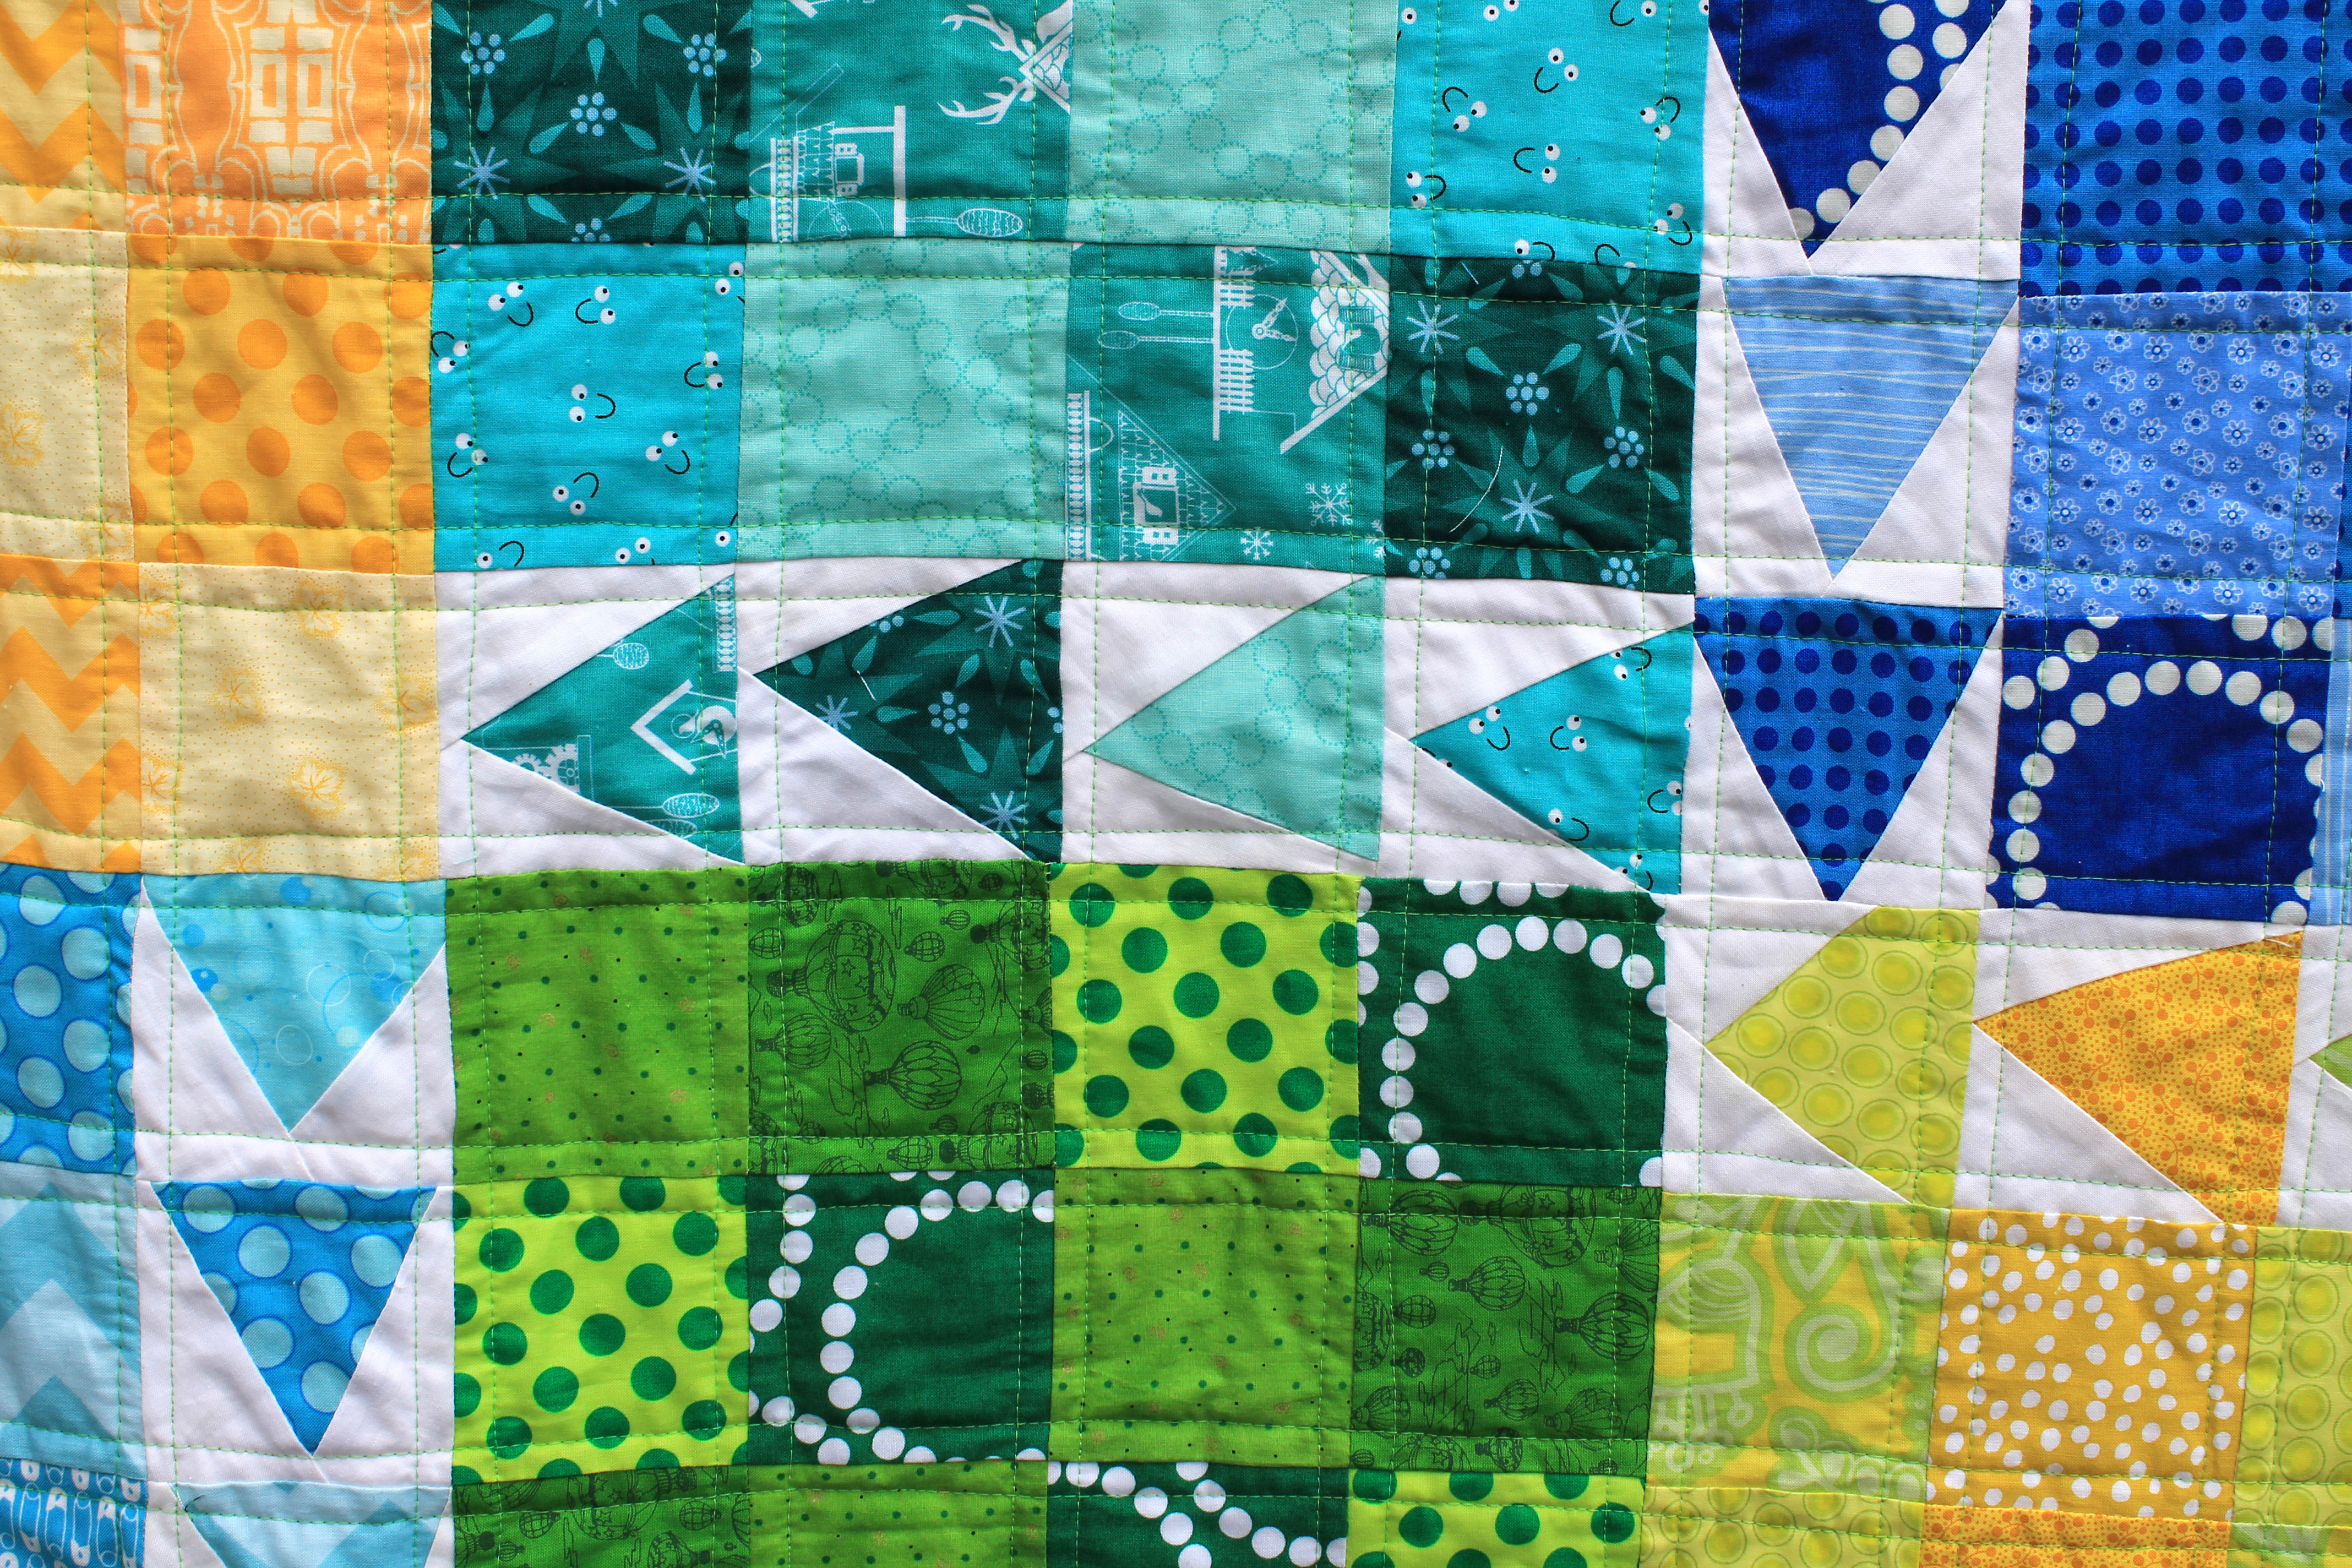
To wrap up things up here are my November Bee blocks for Alyce of WonderlandbyAlyce, who requested the X plus block.
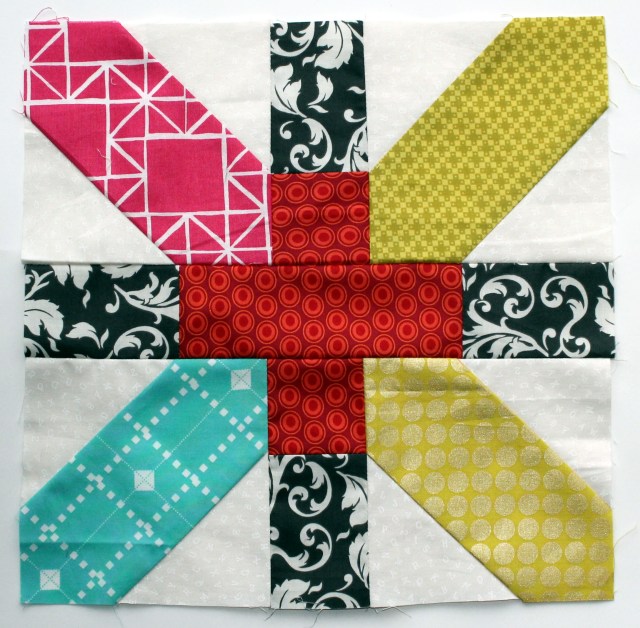
I had been wanting to try this block for ages and even though Alyce just asked for 2 blocks I got a little carried away and made 4. I am not sure what the etiquette is on doing more than the number of blocks requested but I kind of figure you can use the extras for the back if you want.
Enough already…
I am sure that there are things that I have not covered, do not know about or have not yet encountered. I would love to hear your thoughts, experiences and advice on Bee Etiquette.
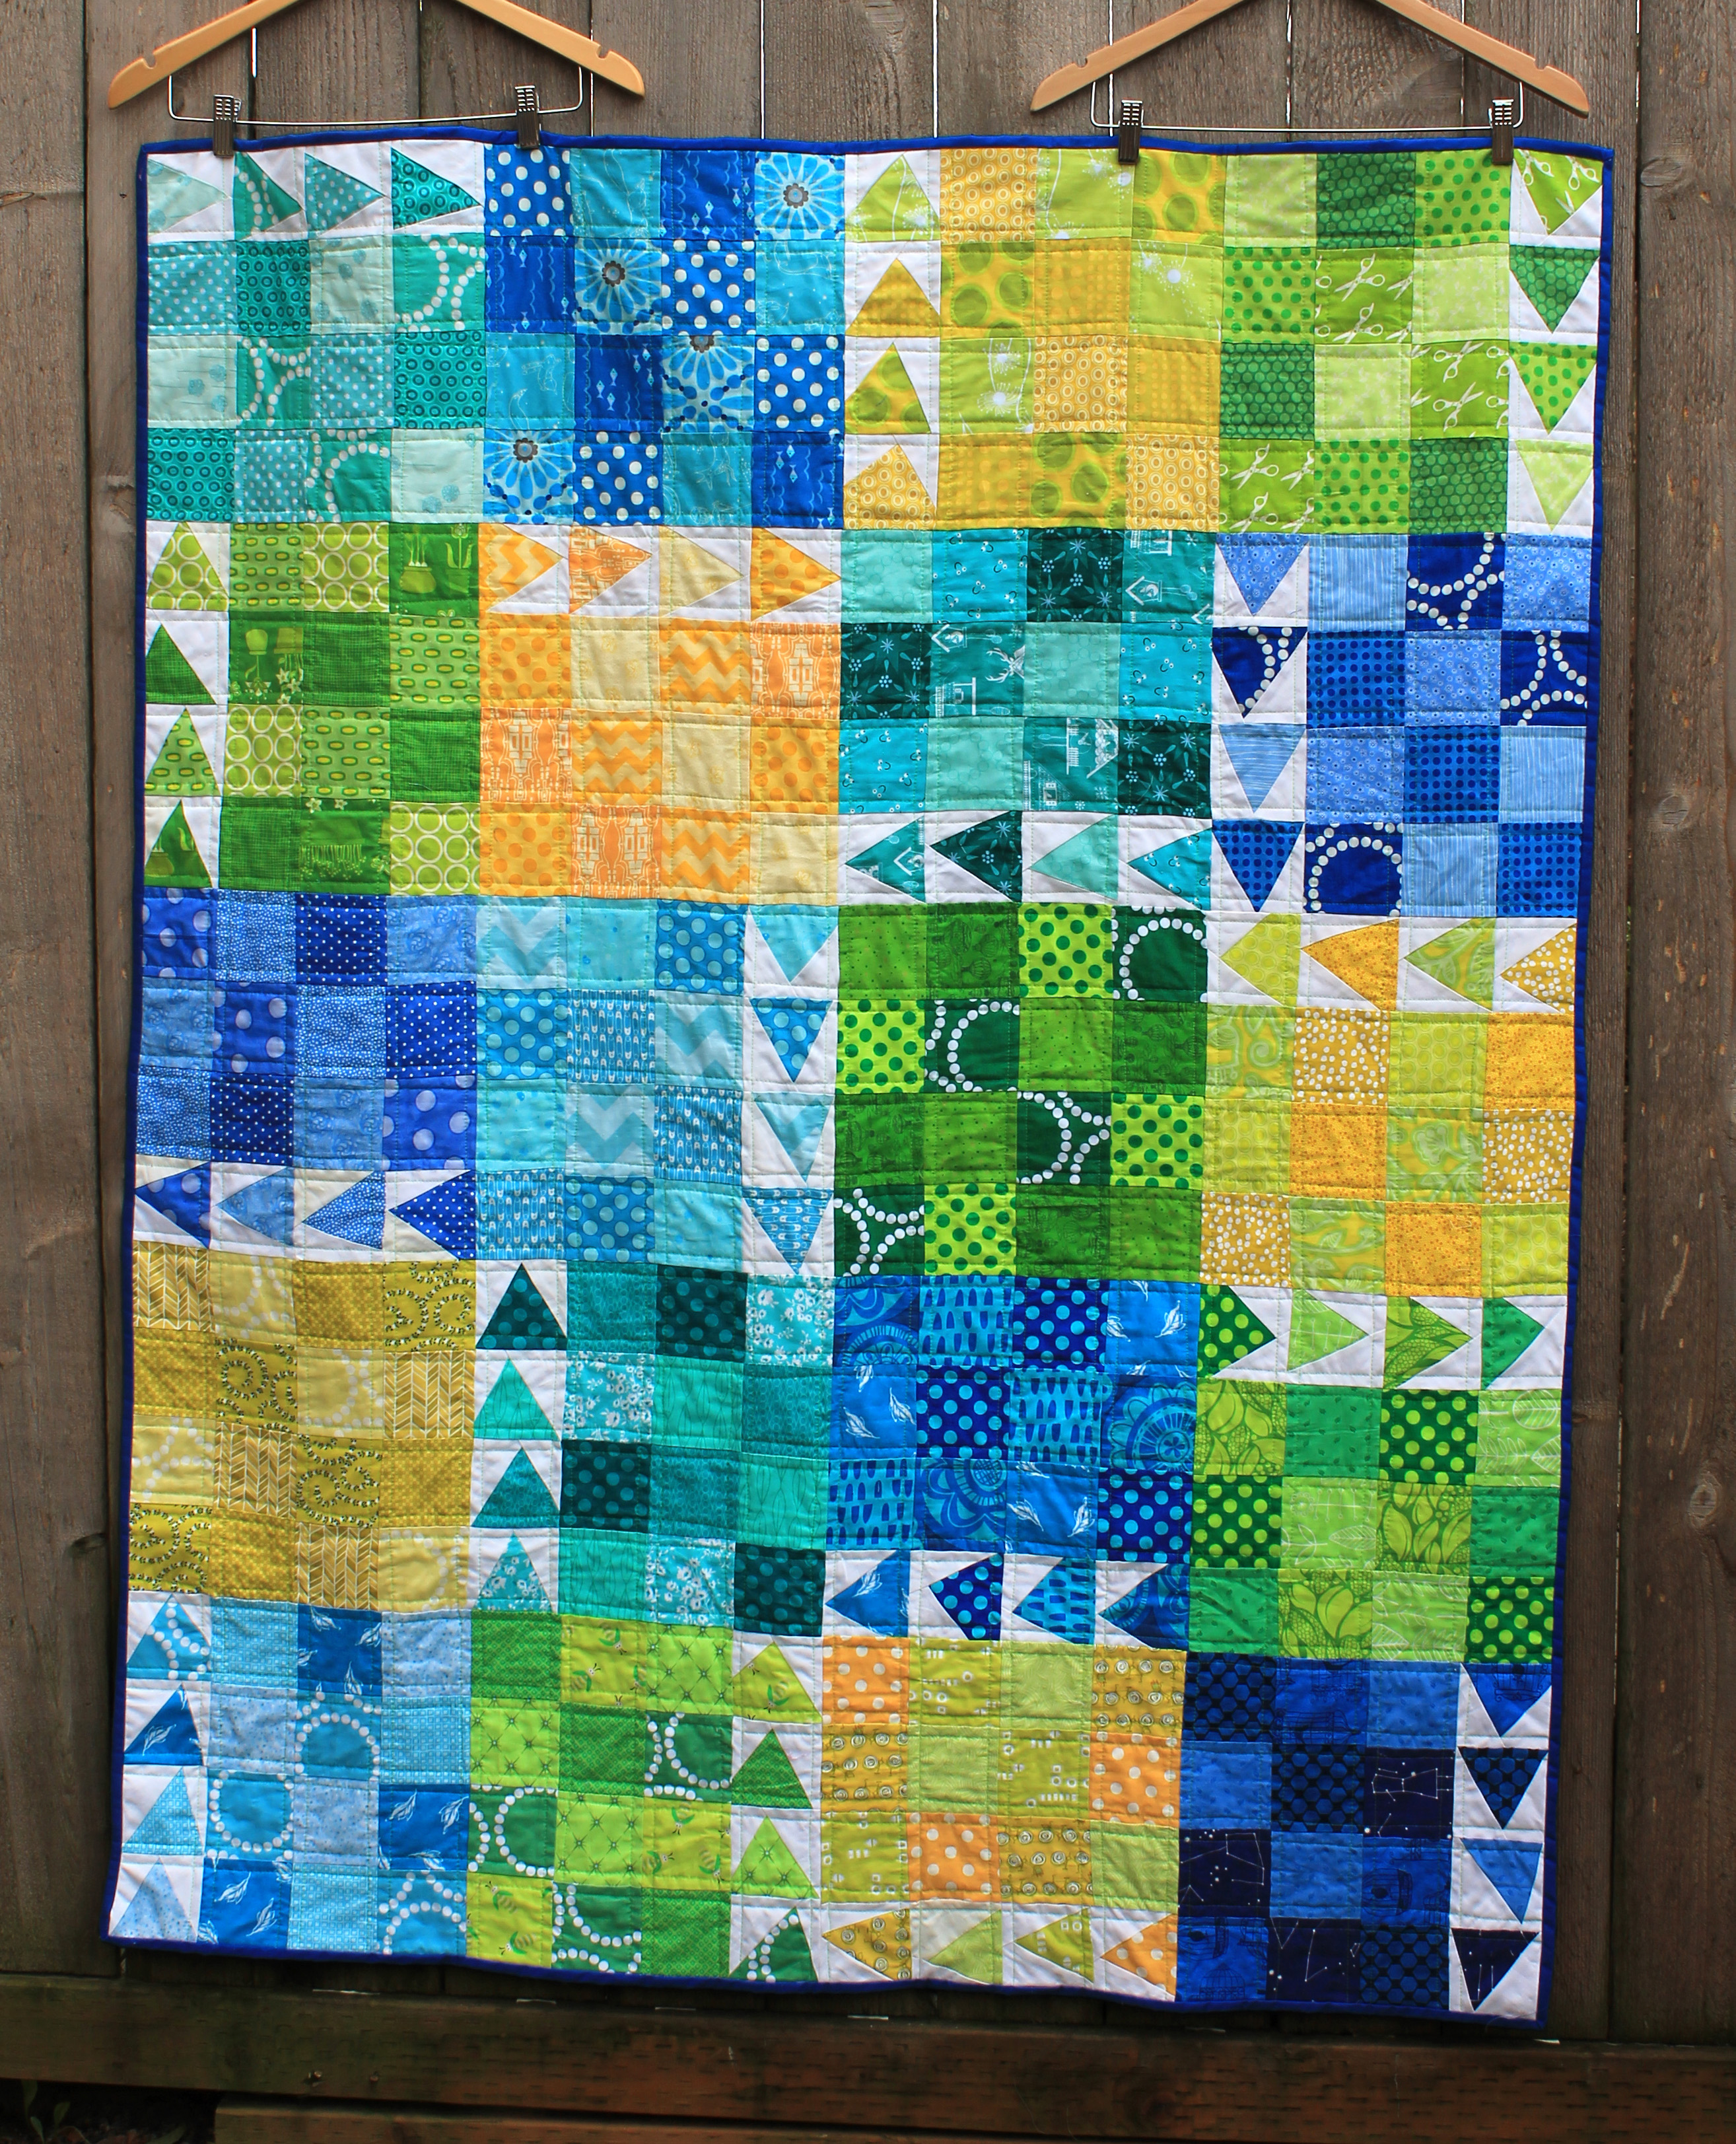
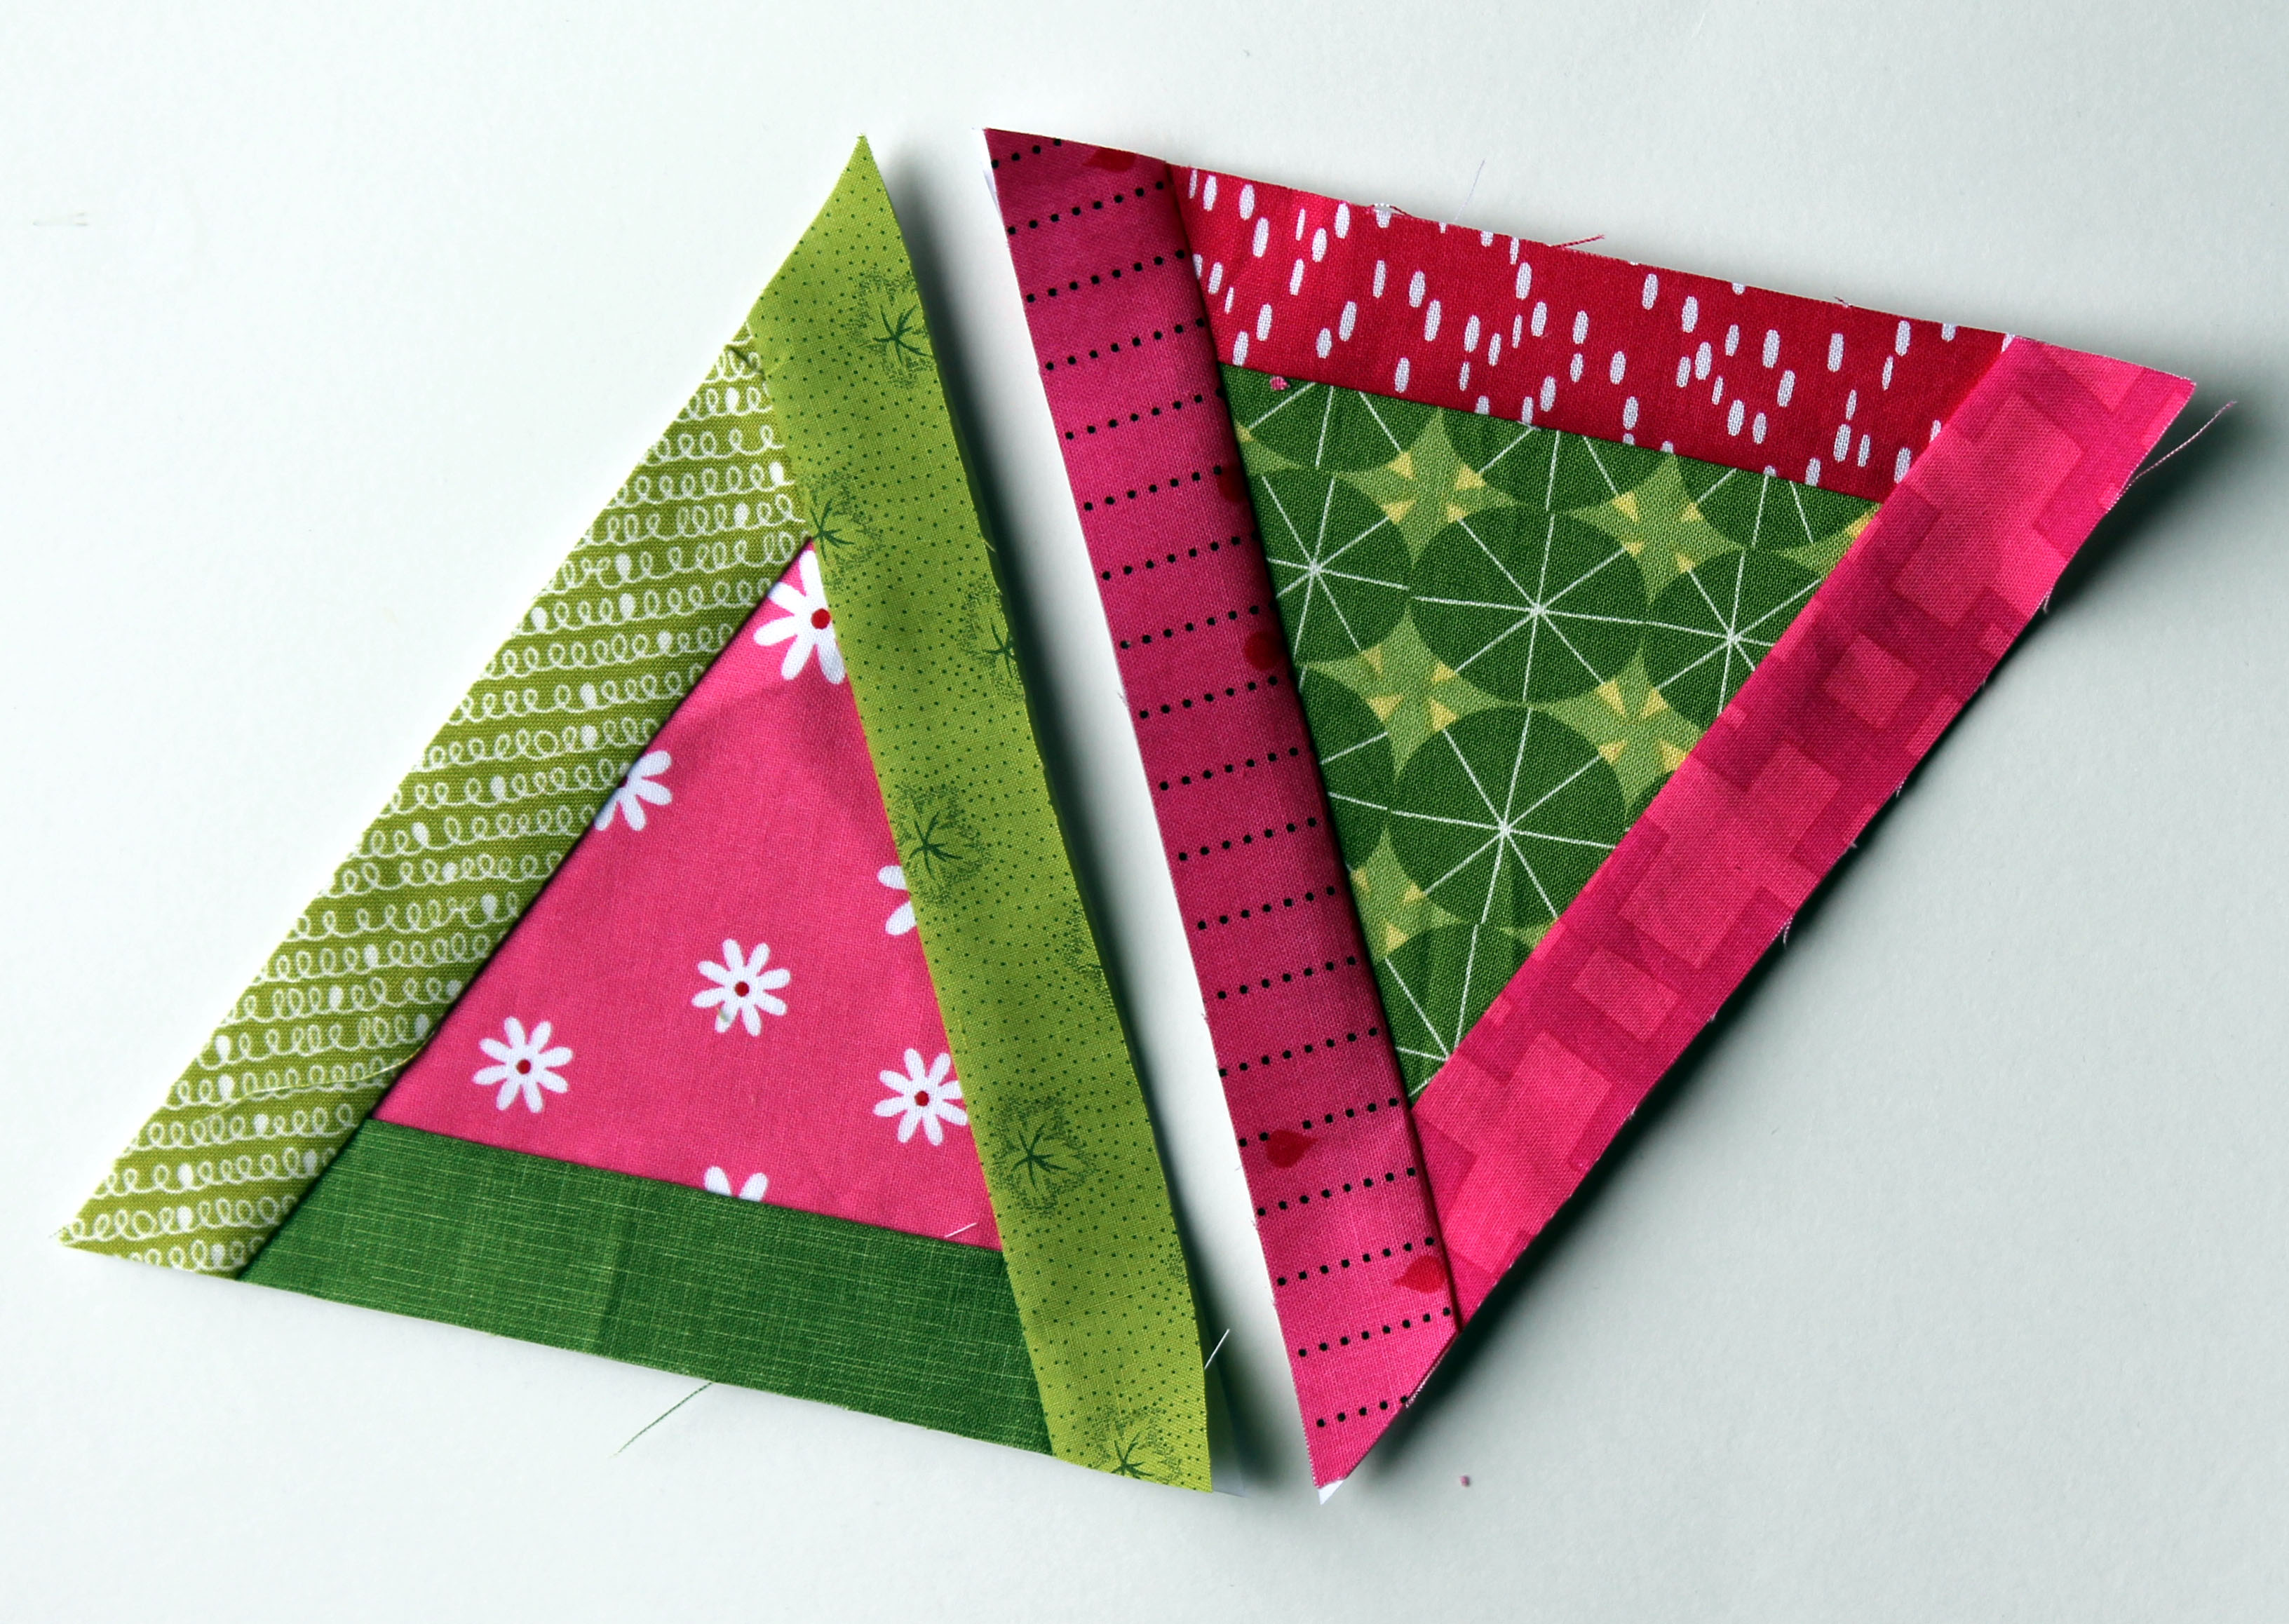
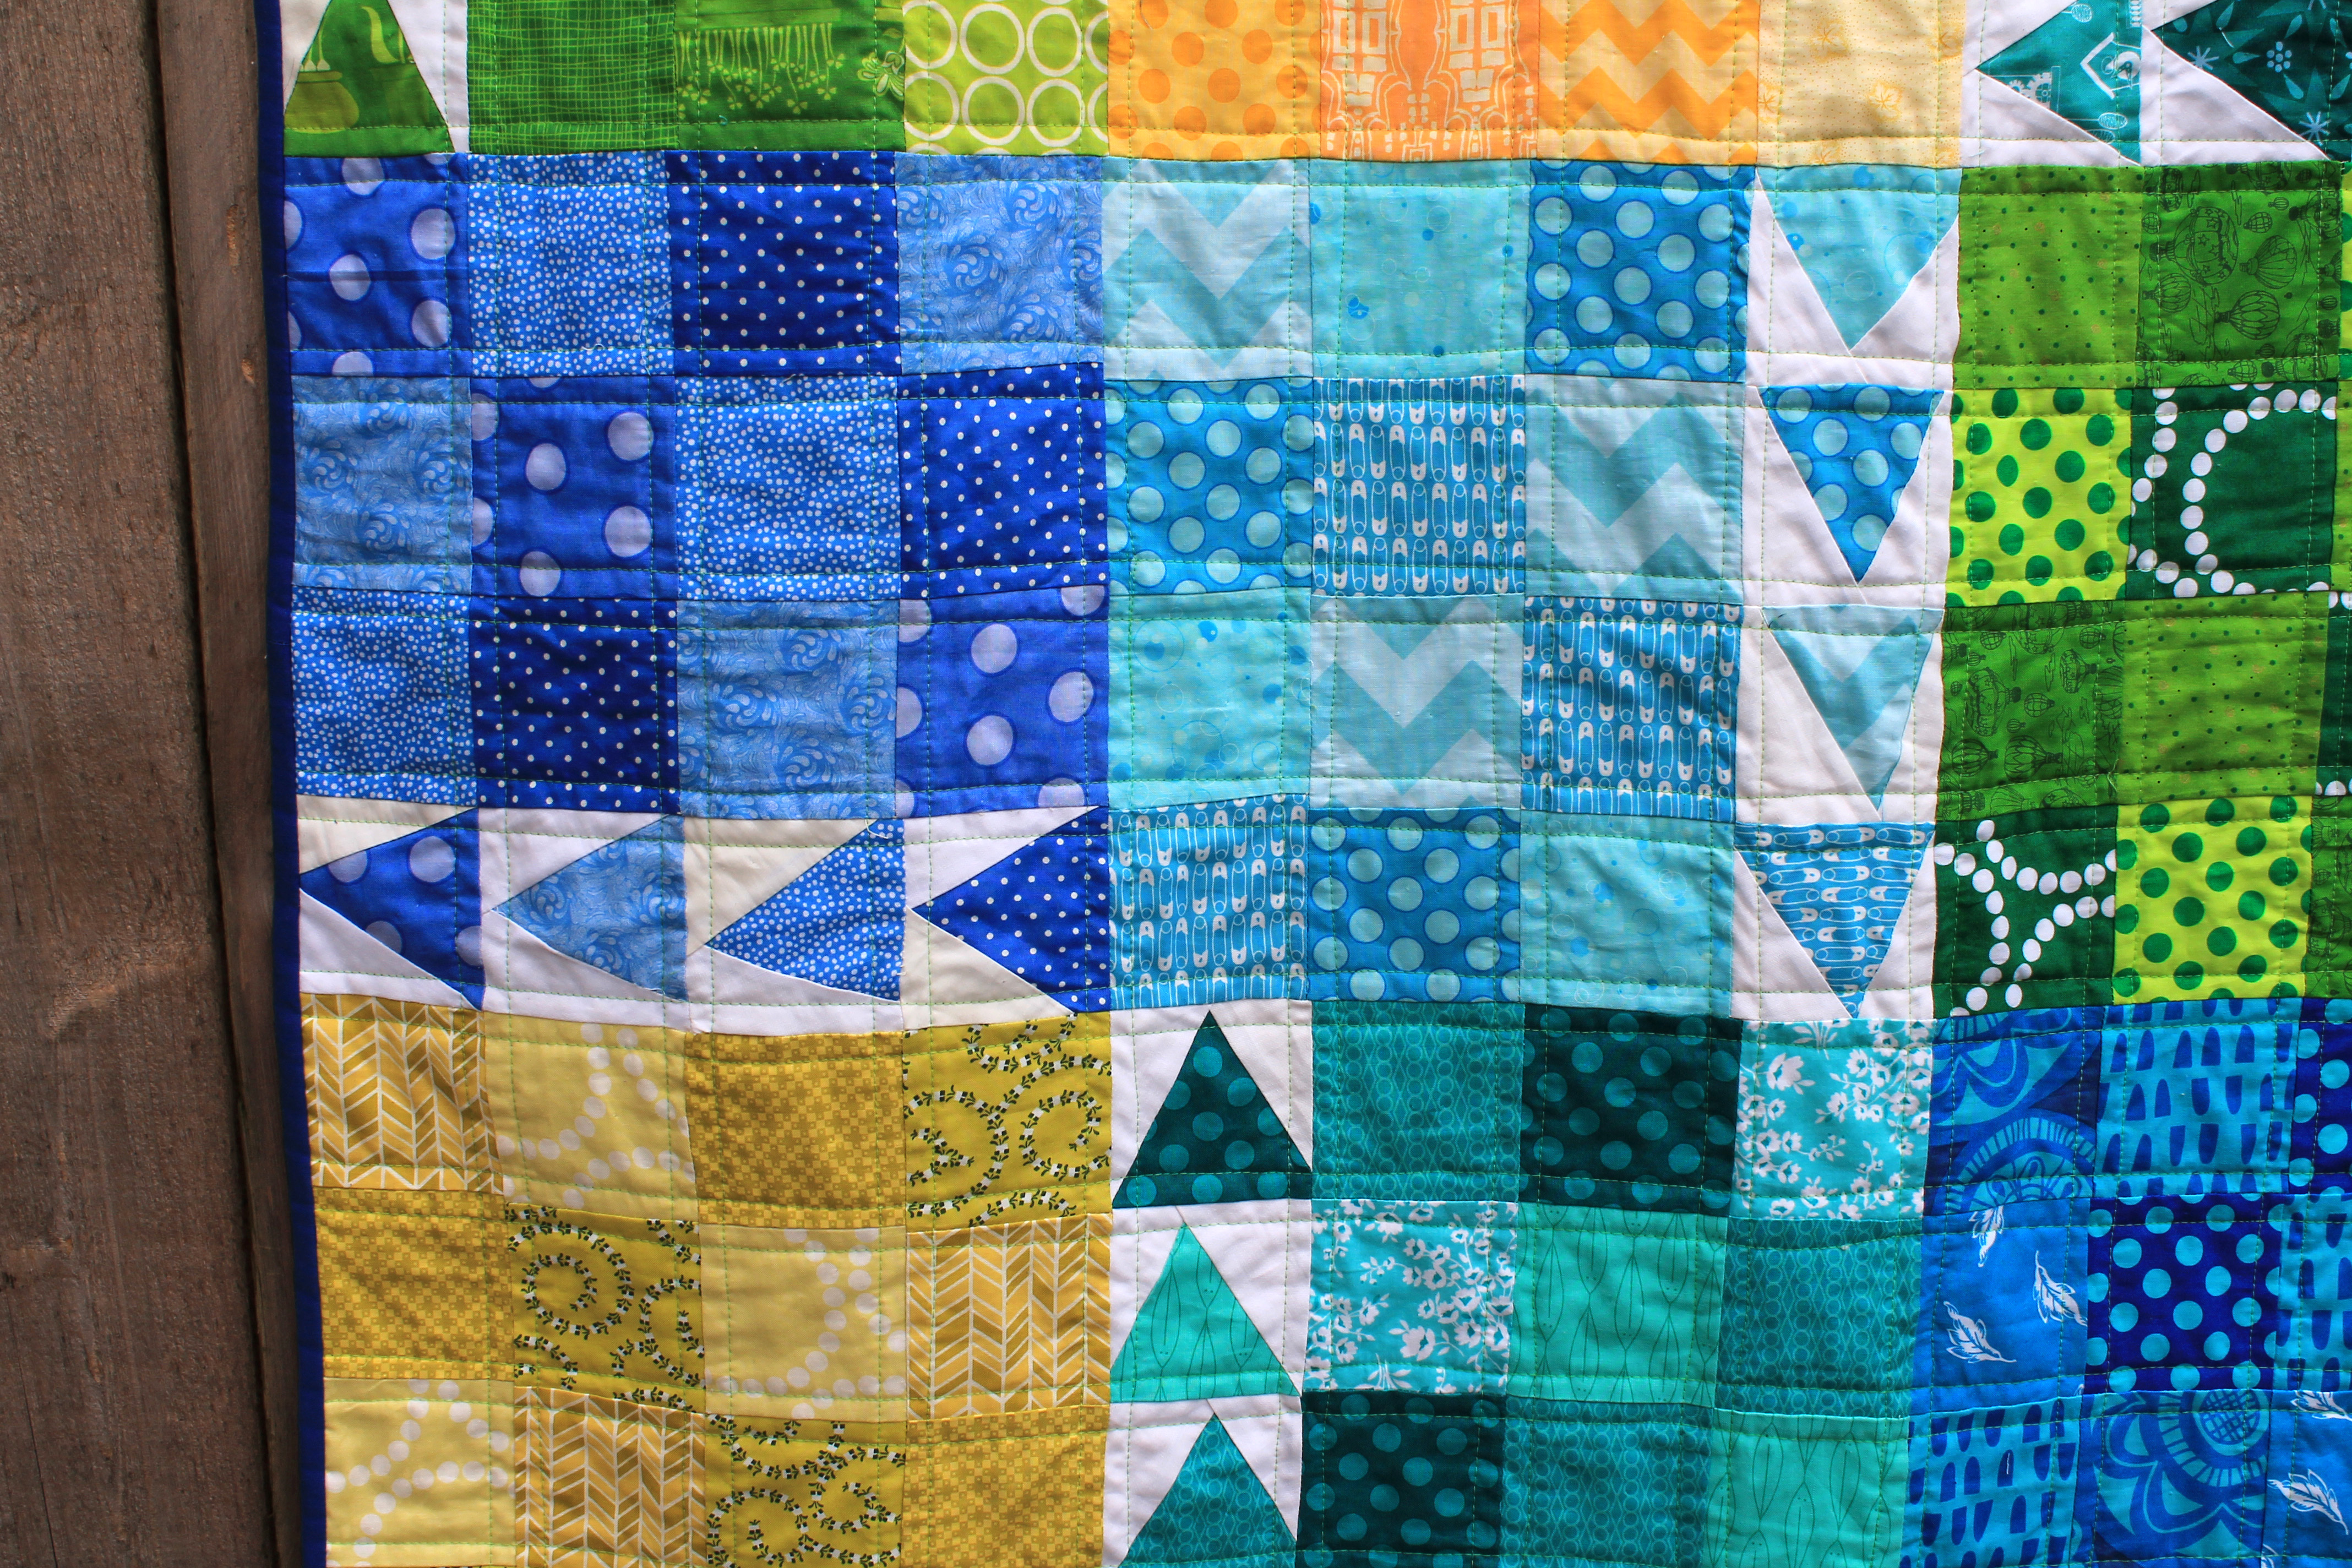 I really do love how easy this quilt block is. I think it will be my new “go to” block when I need to get a kids quilt done quickly. Though next time I think I will put some more prints into the quilt, not just tone on tones. I also want to try to make one just using solids. Oh I have too many ideas and not enough time.
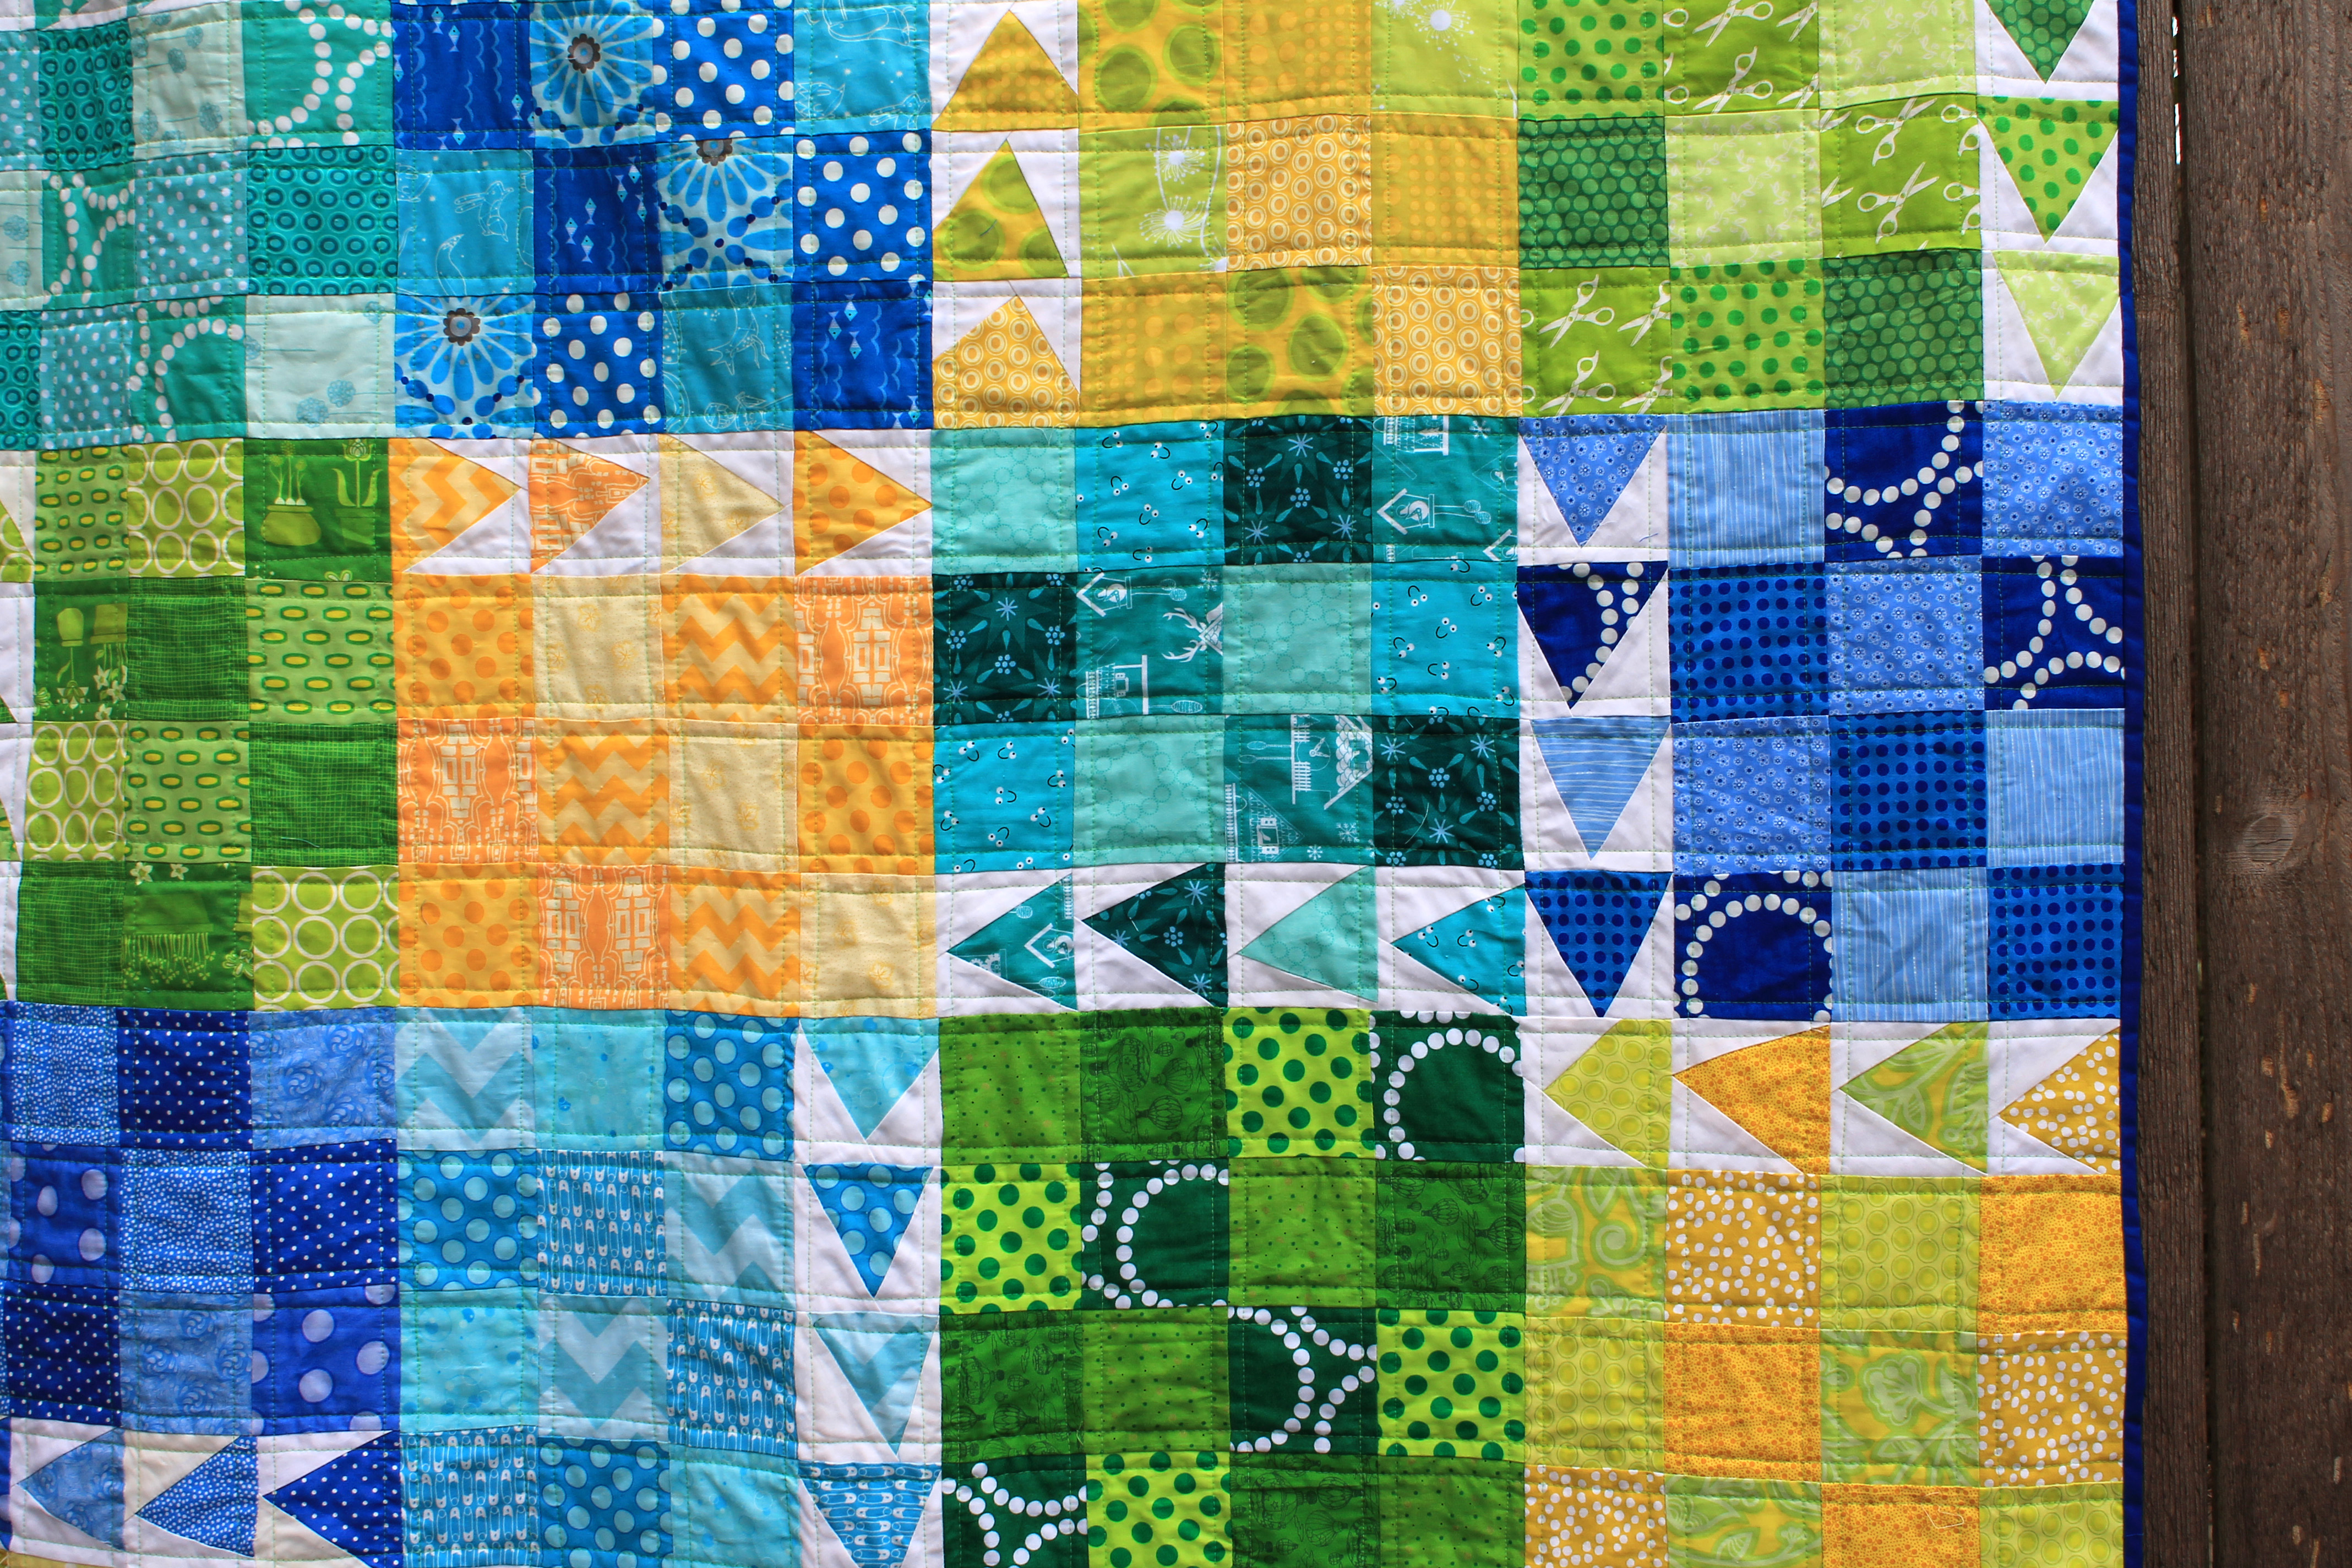
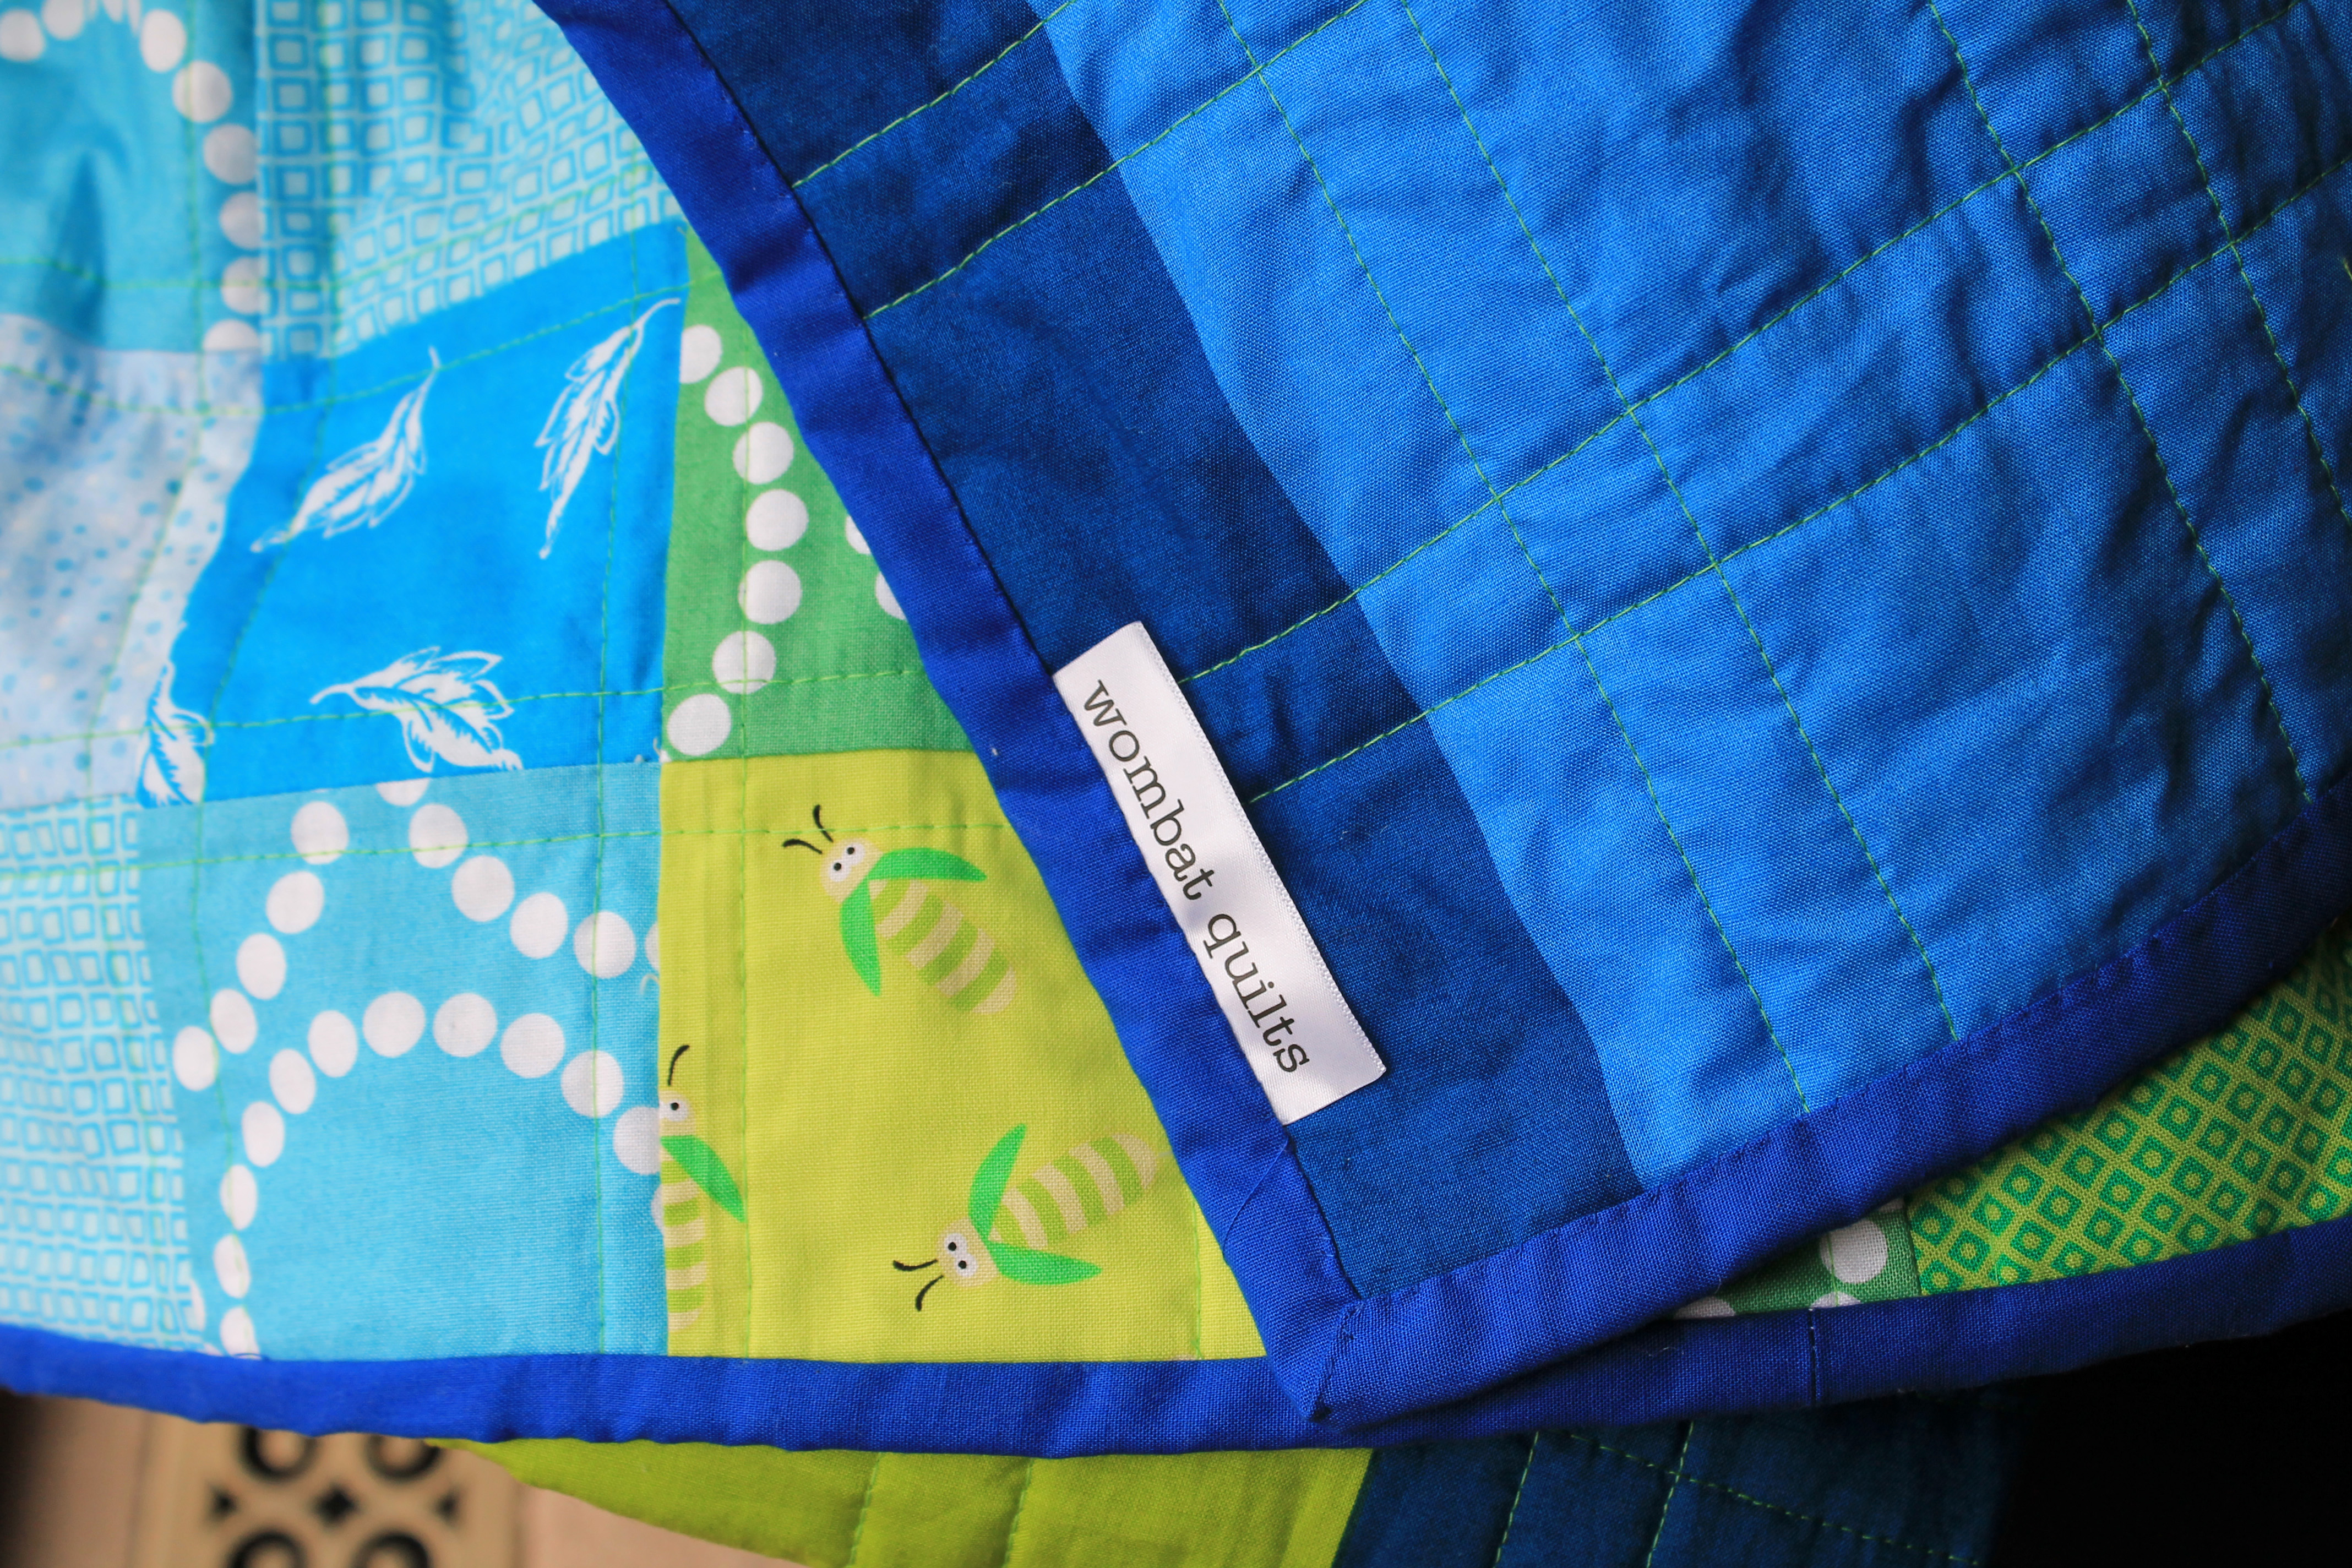
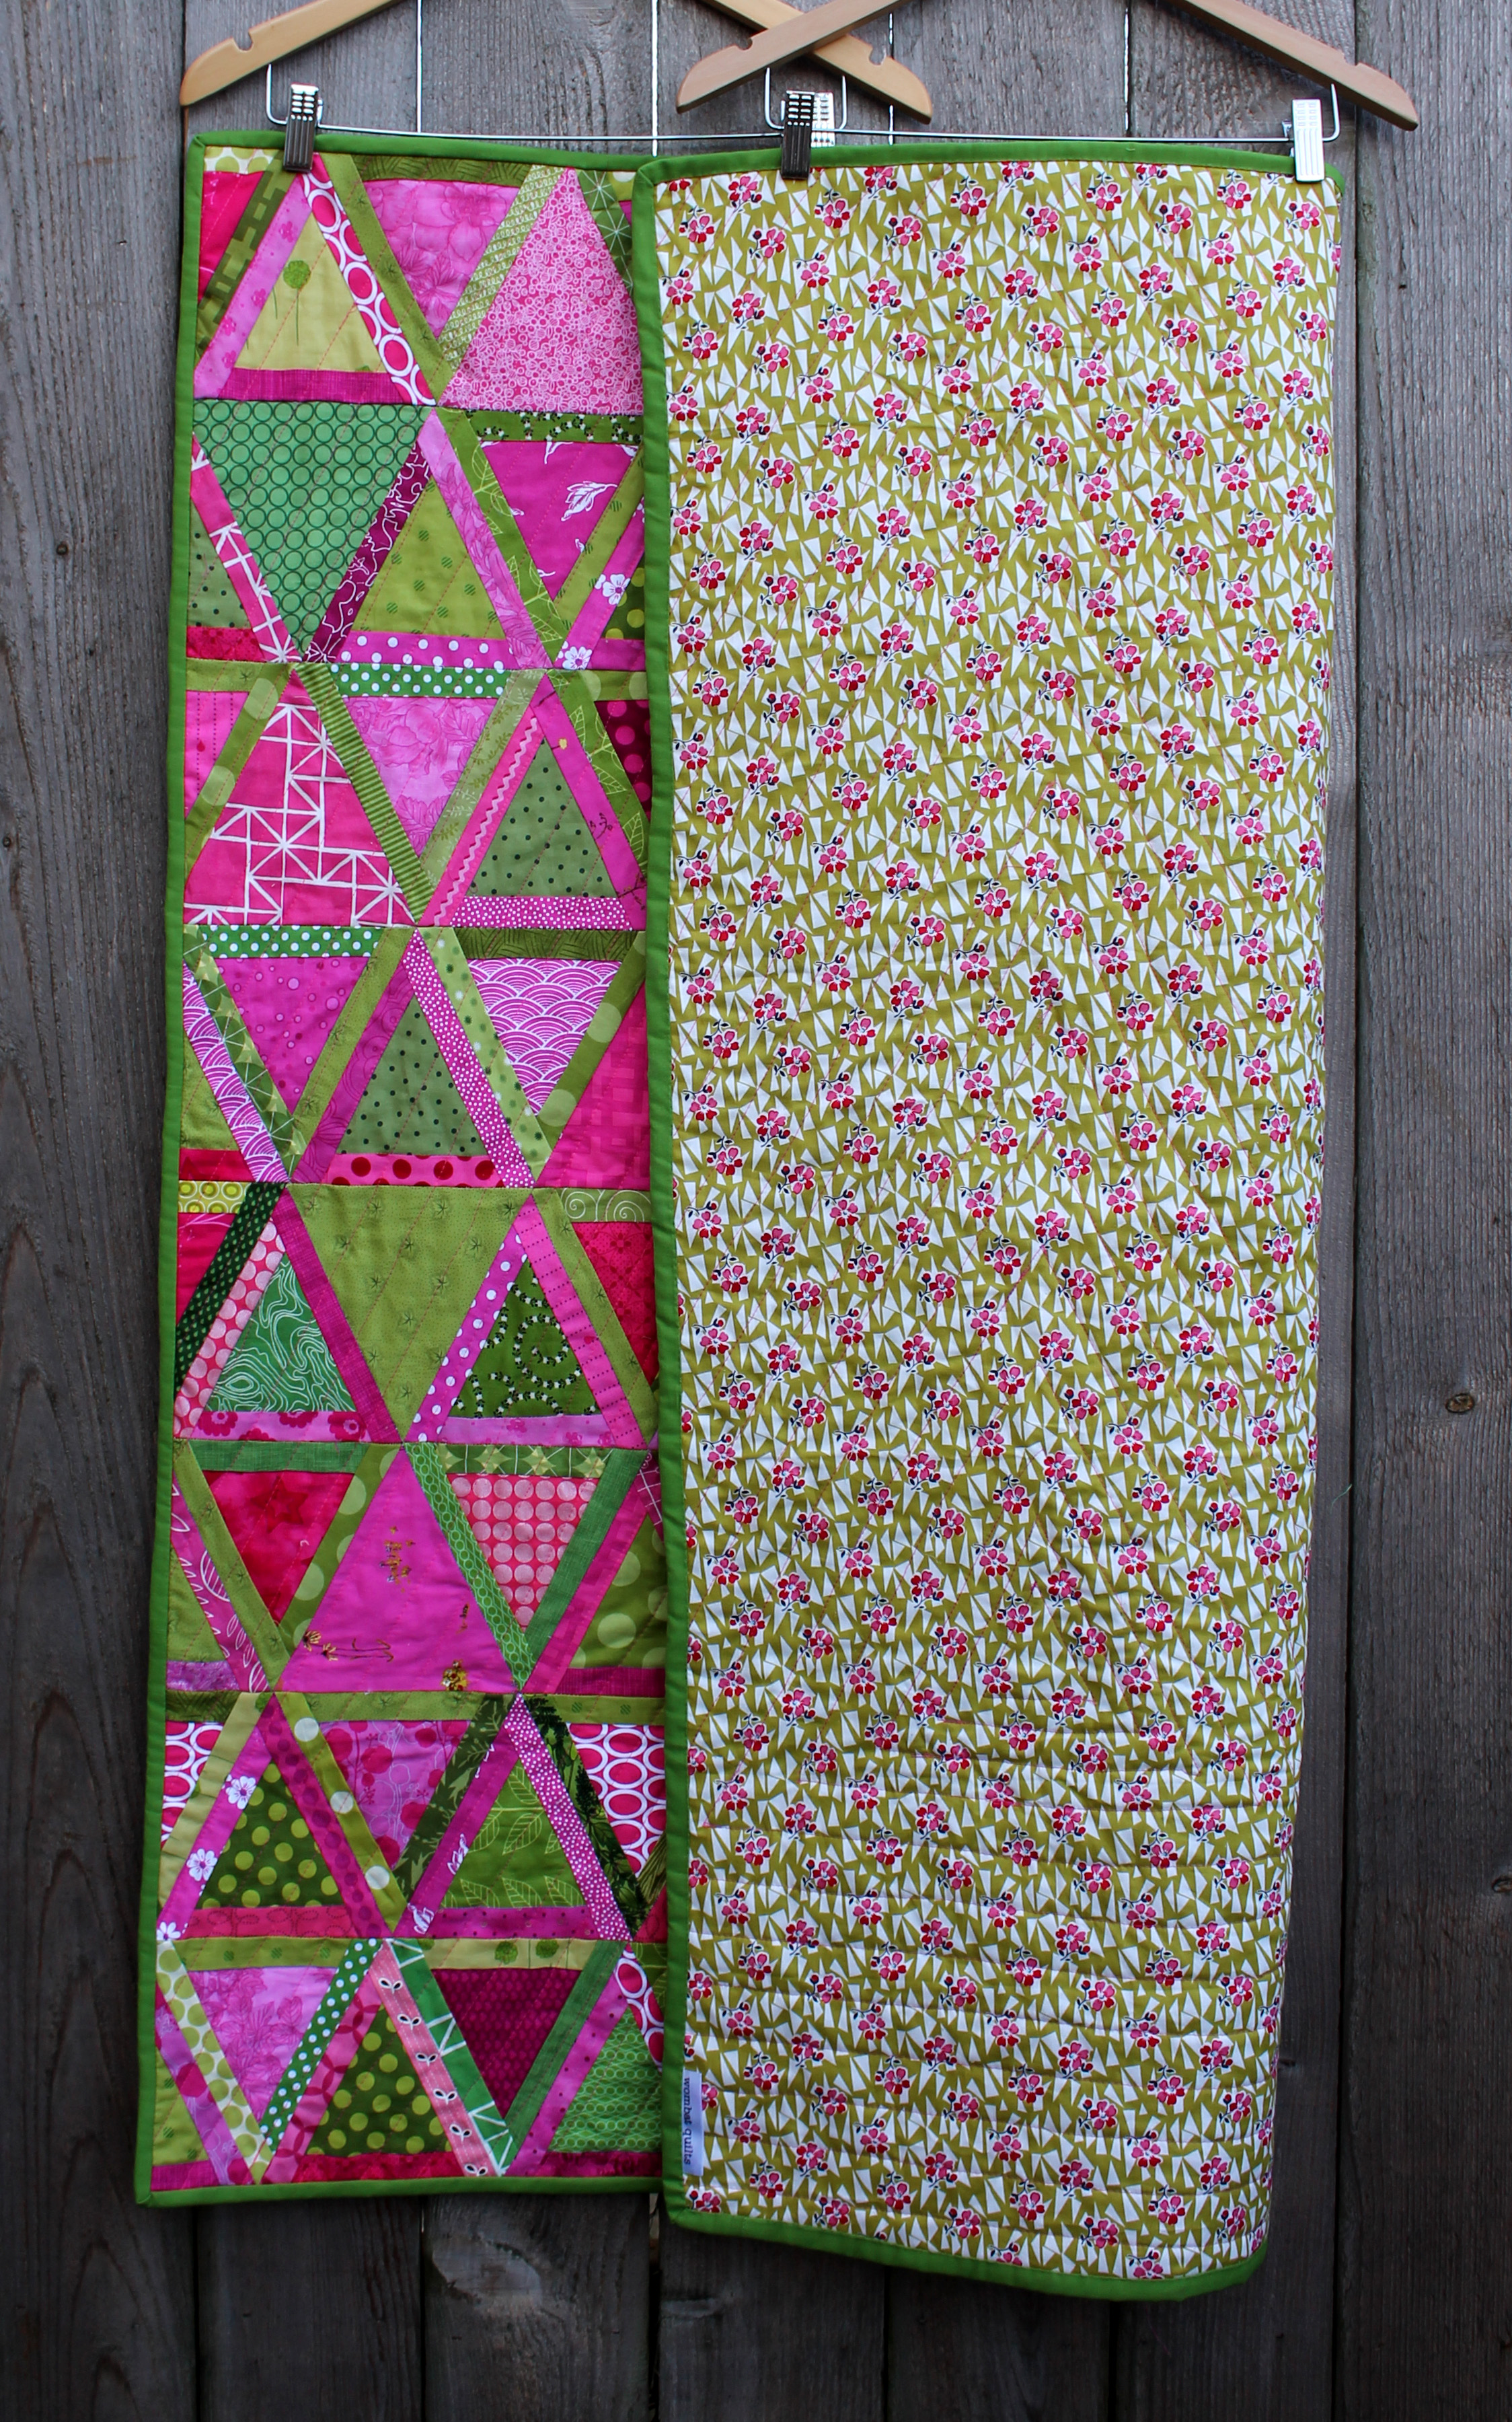
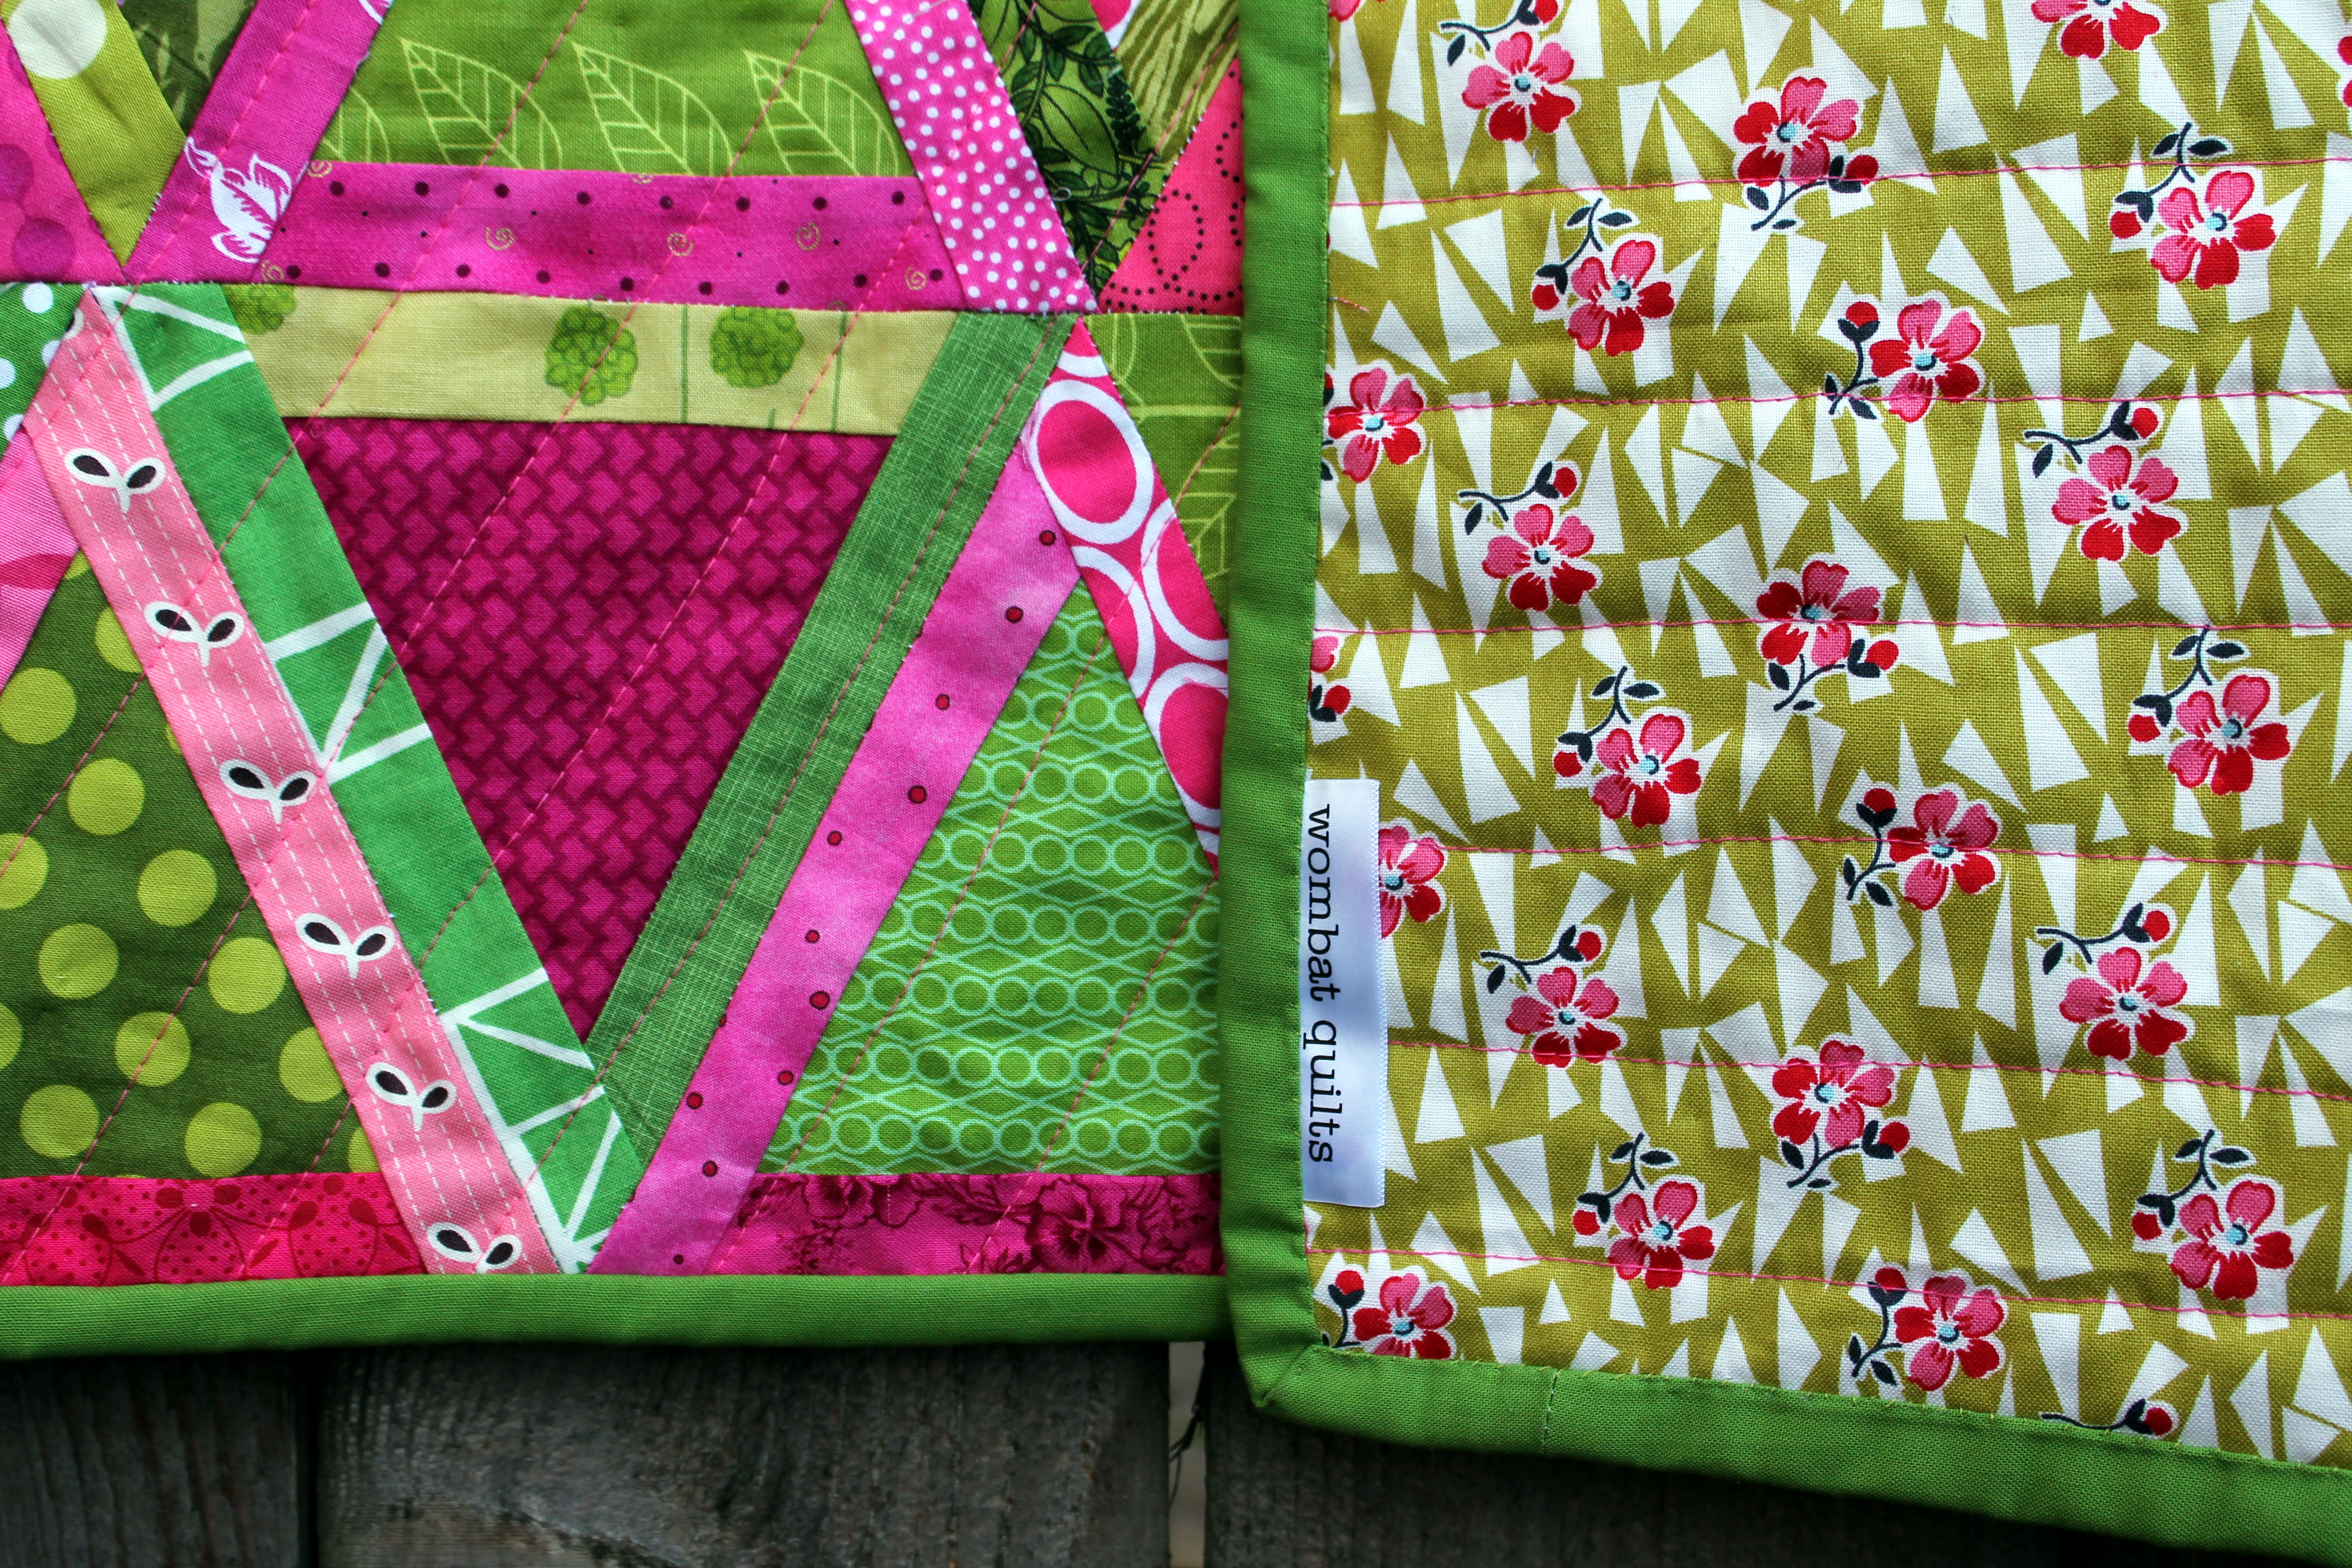
 To back this quilt I used the last of my IKEA green and blue fabric. This fabric has been a great way to back my quilts and I am going to keep my eye out for more of it. The backing is one solid piece, but it looks like I have sewn together a pile of solid fat quarters.
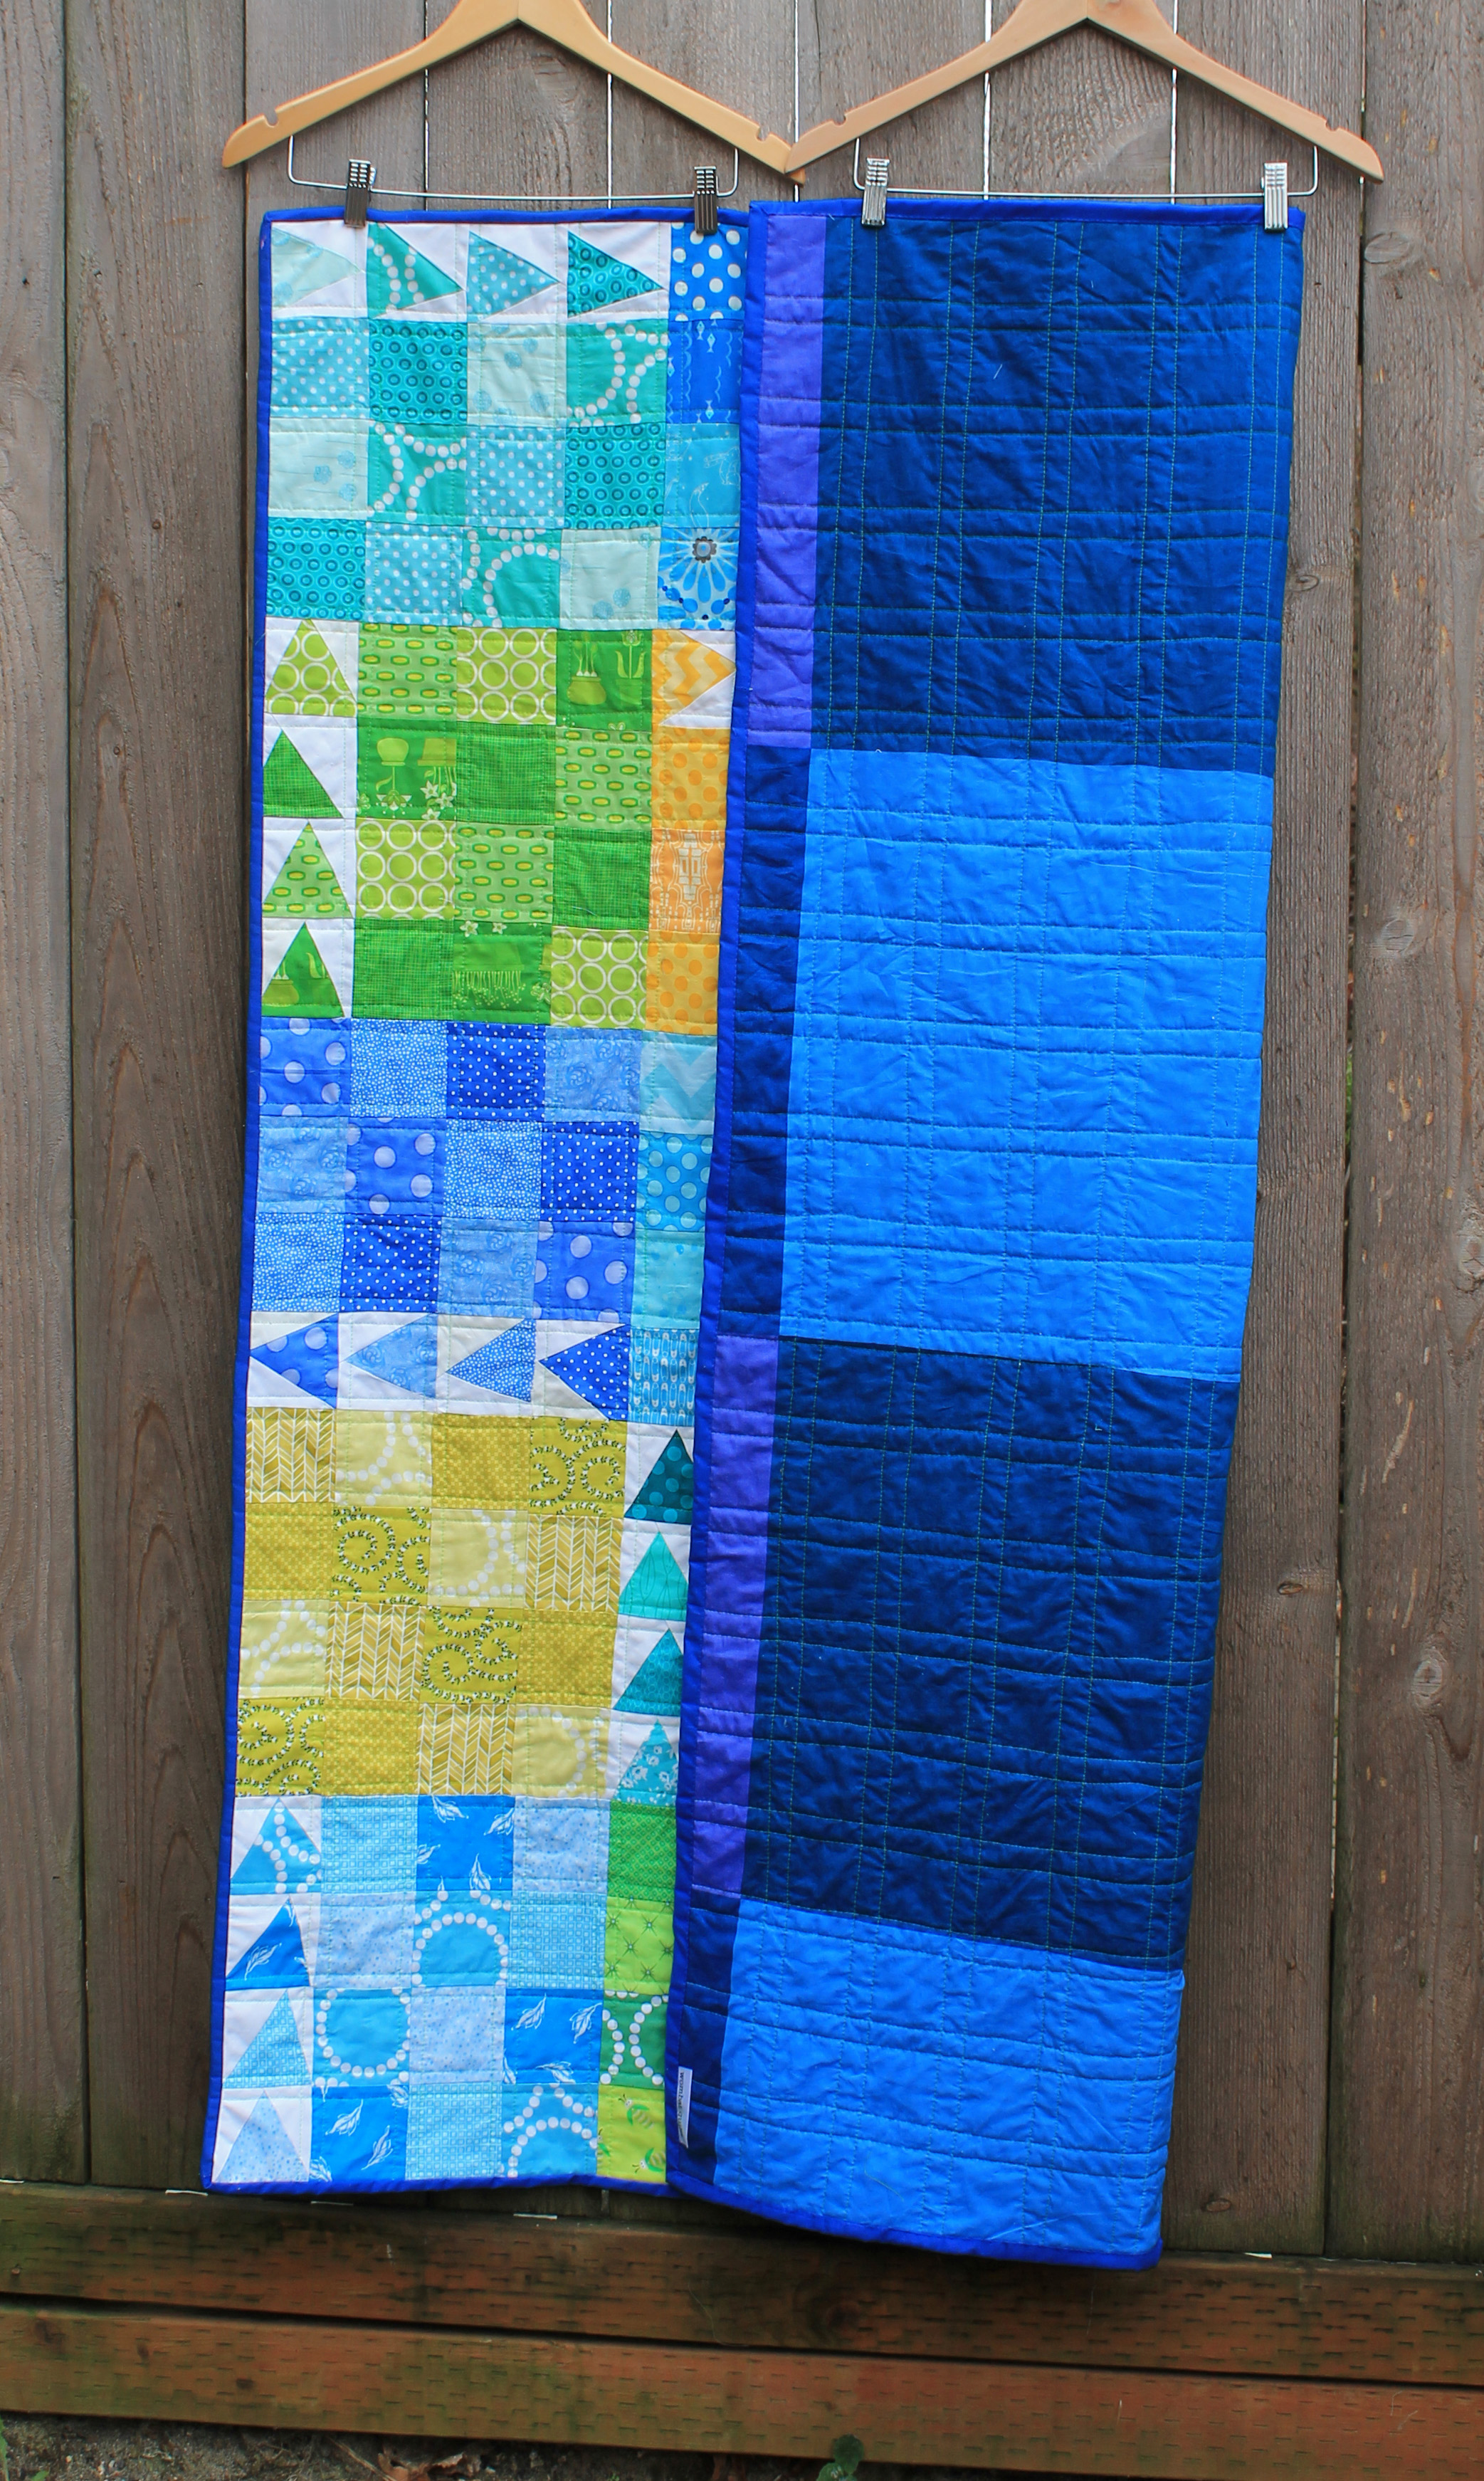 The finishing touch is an electric blue binding… I seem to go through a lot of binding in electric blue for some reason. It is either that or someone/something is eating my blue binding.