Rocking my wonky world…

A couple of weeks ago I spent a very fun day at the monthly PMQG Charity Sew meet up.  The event is held at the fabulous Modern Domestic (my new home away from home) and I got to spend many happy hours sewing on a beautiful Bernina 560.  In a day of wonderfulness the most amazing thing was having my wonky star world rocked by  one of my fellow PMQG sewers, Cherri.

Wonky Stars have been a fun staple in my sewing repertory for a while.  It is s a quick and easy way to make fun kids quilts and if you peruse my “Finished Quilt” tab you will see a few of them in there.  So for years I have been cutting out my 5 inch squares, using my scraps to make star points and calling it good… but no longer. Here is how the new wonky stars block goes…

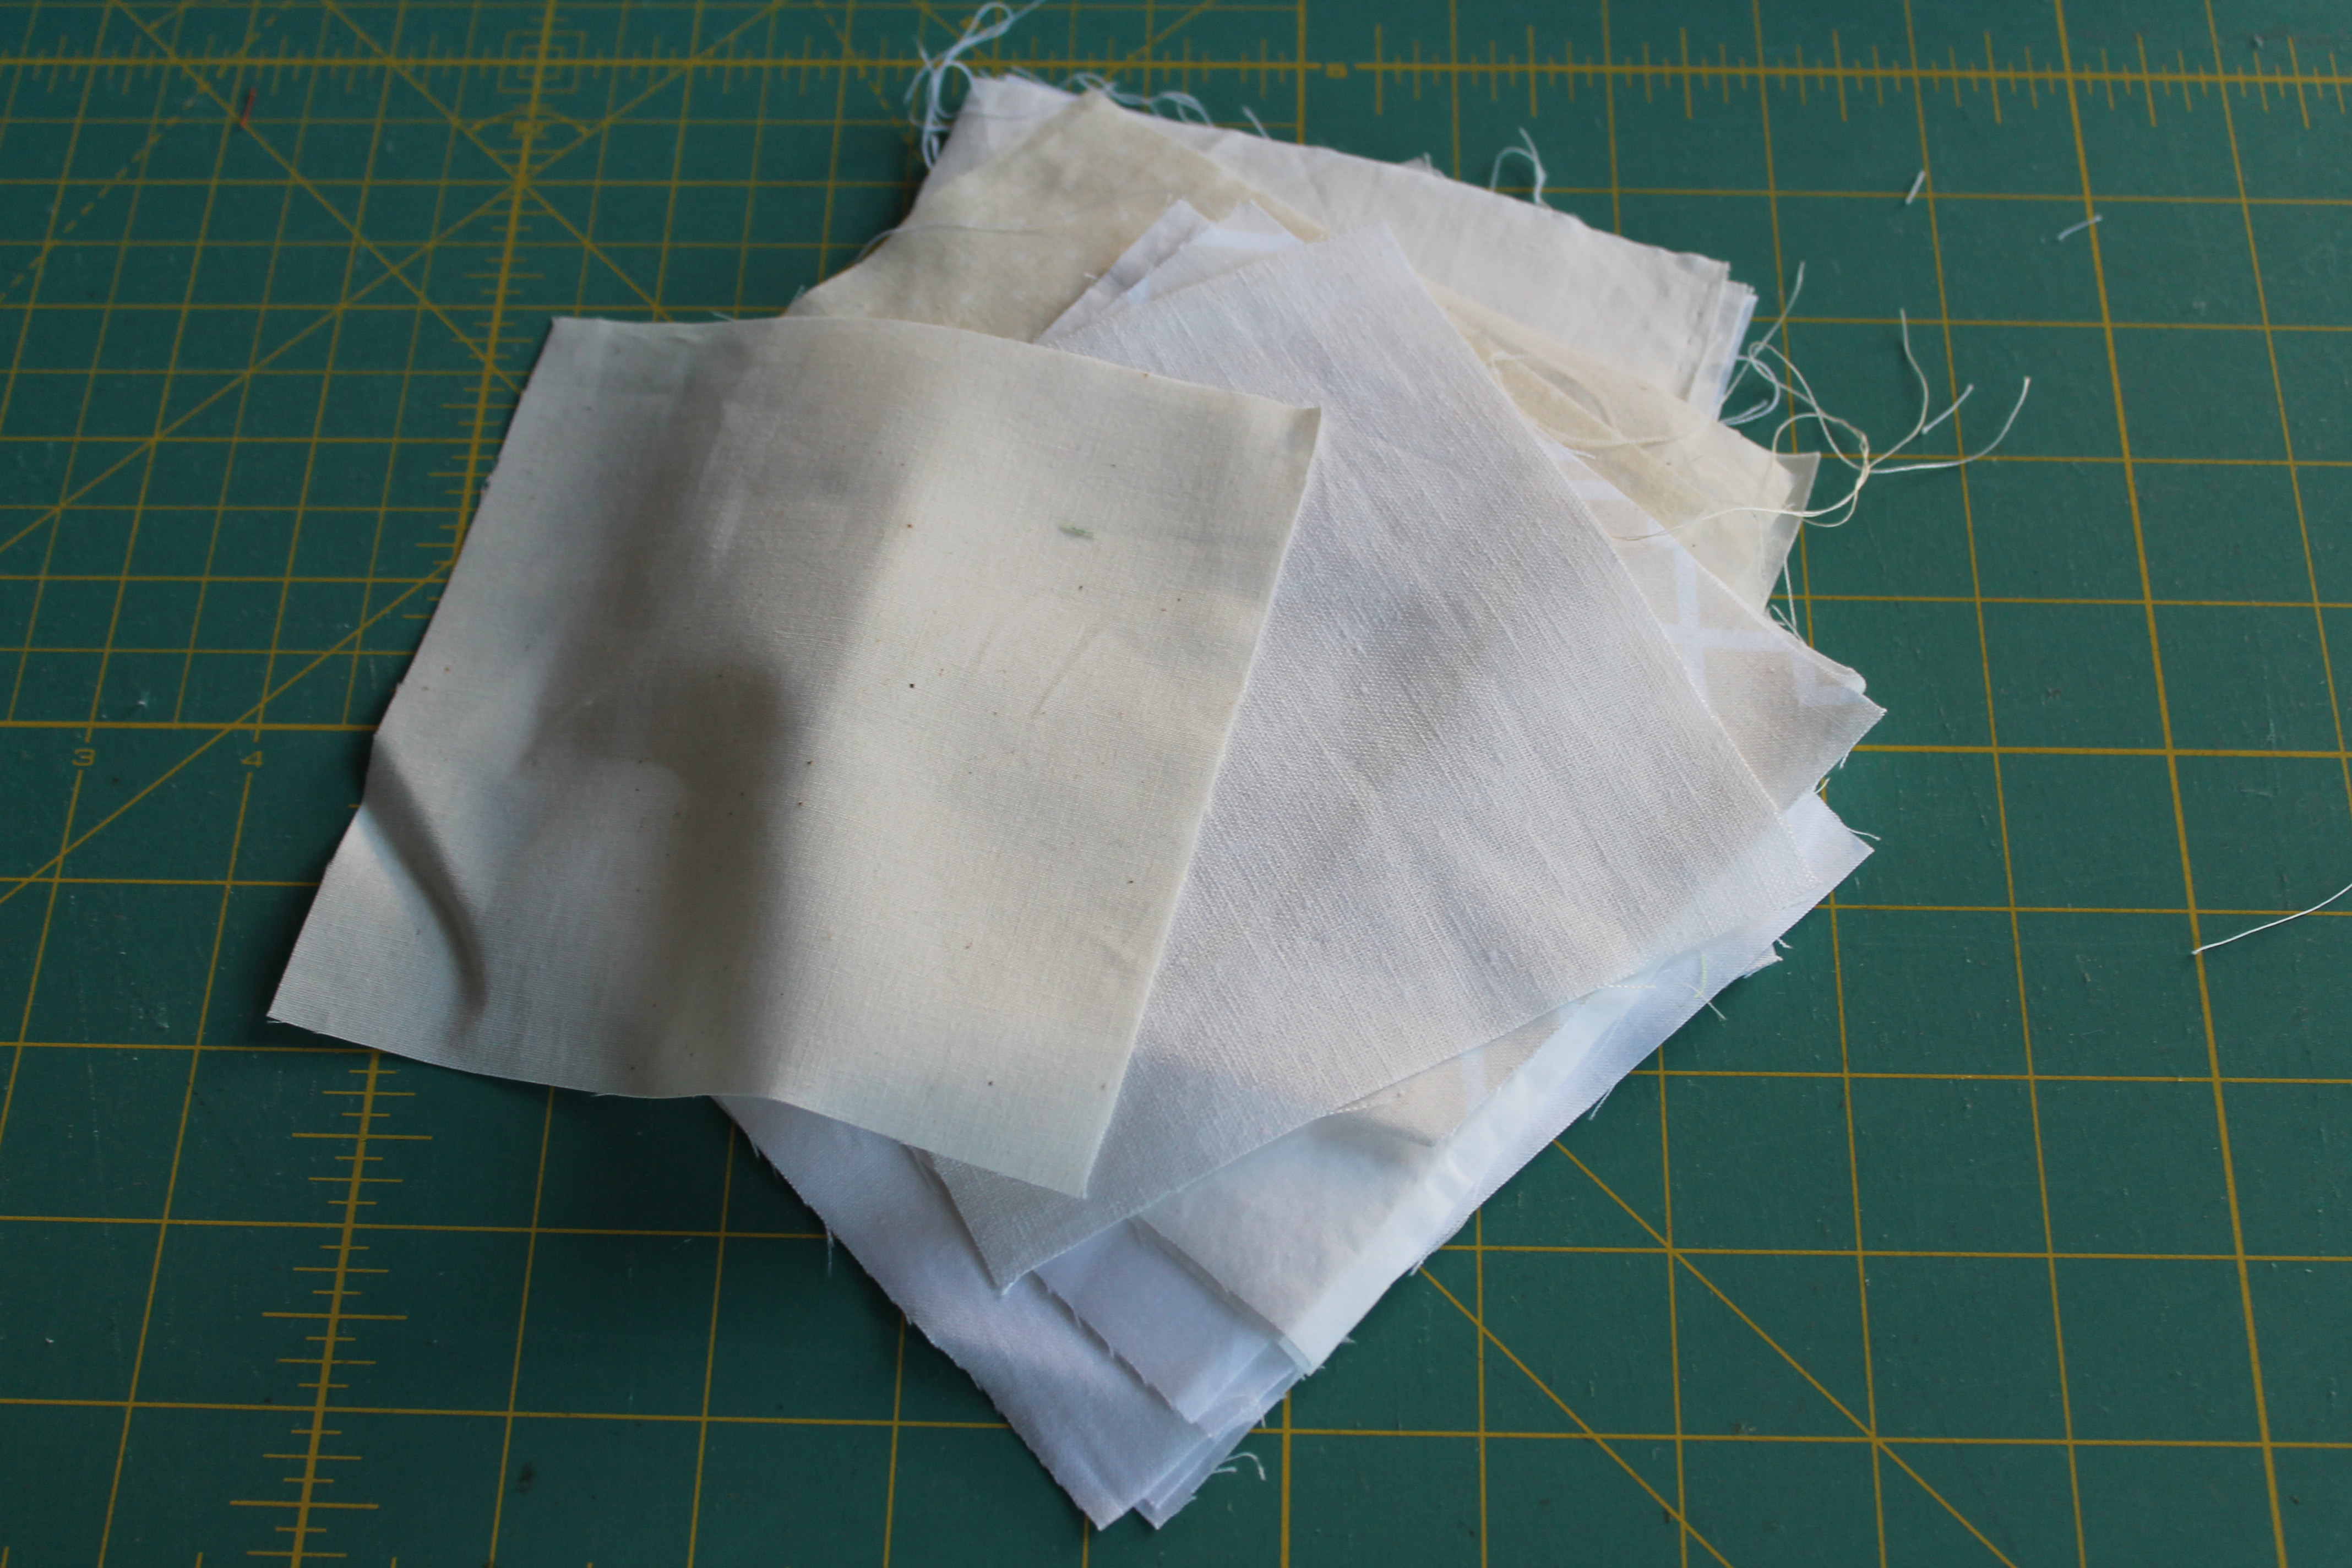
1.  Take eight 5 inch x 5 inch squares of your background fabric… in this case various whites and creams.

5 inch square whites

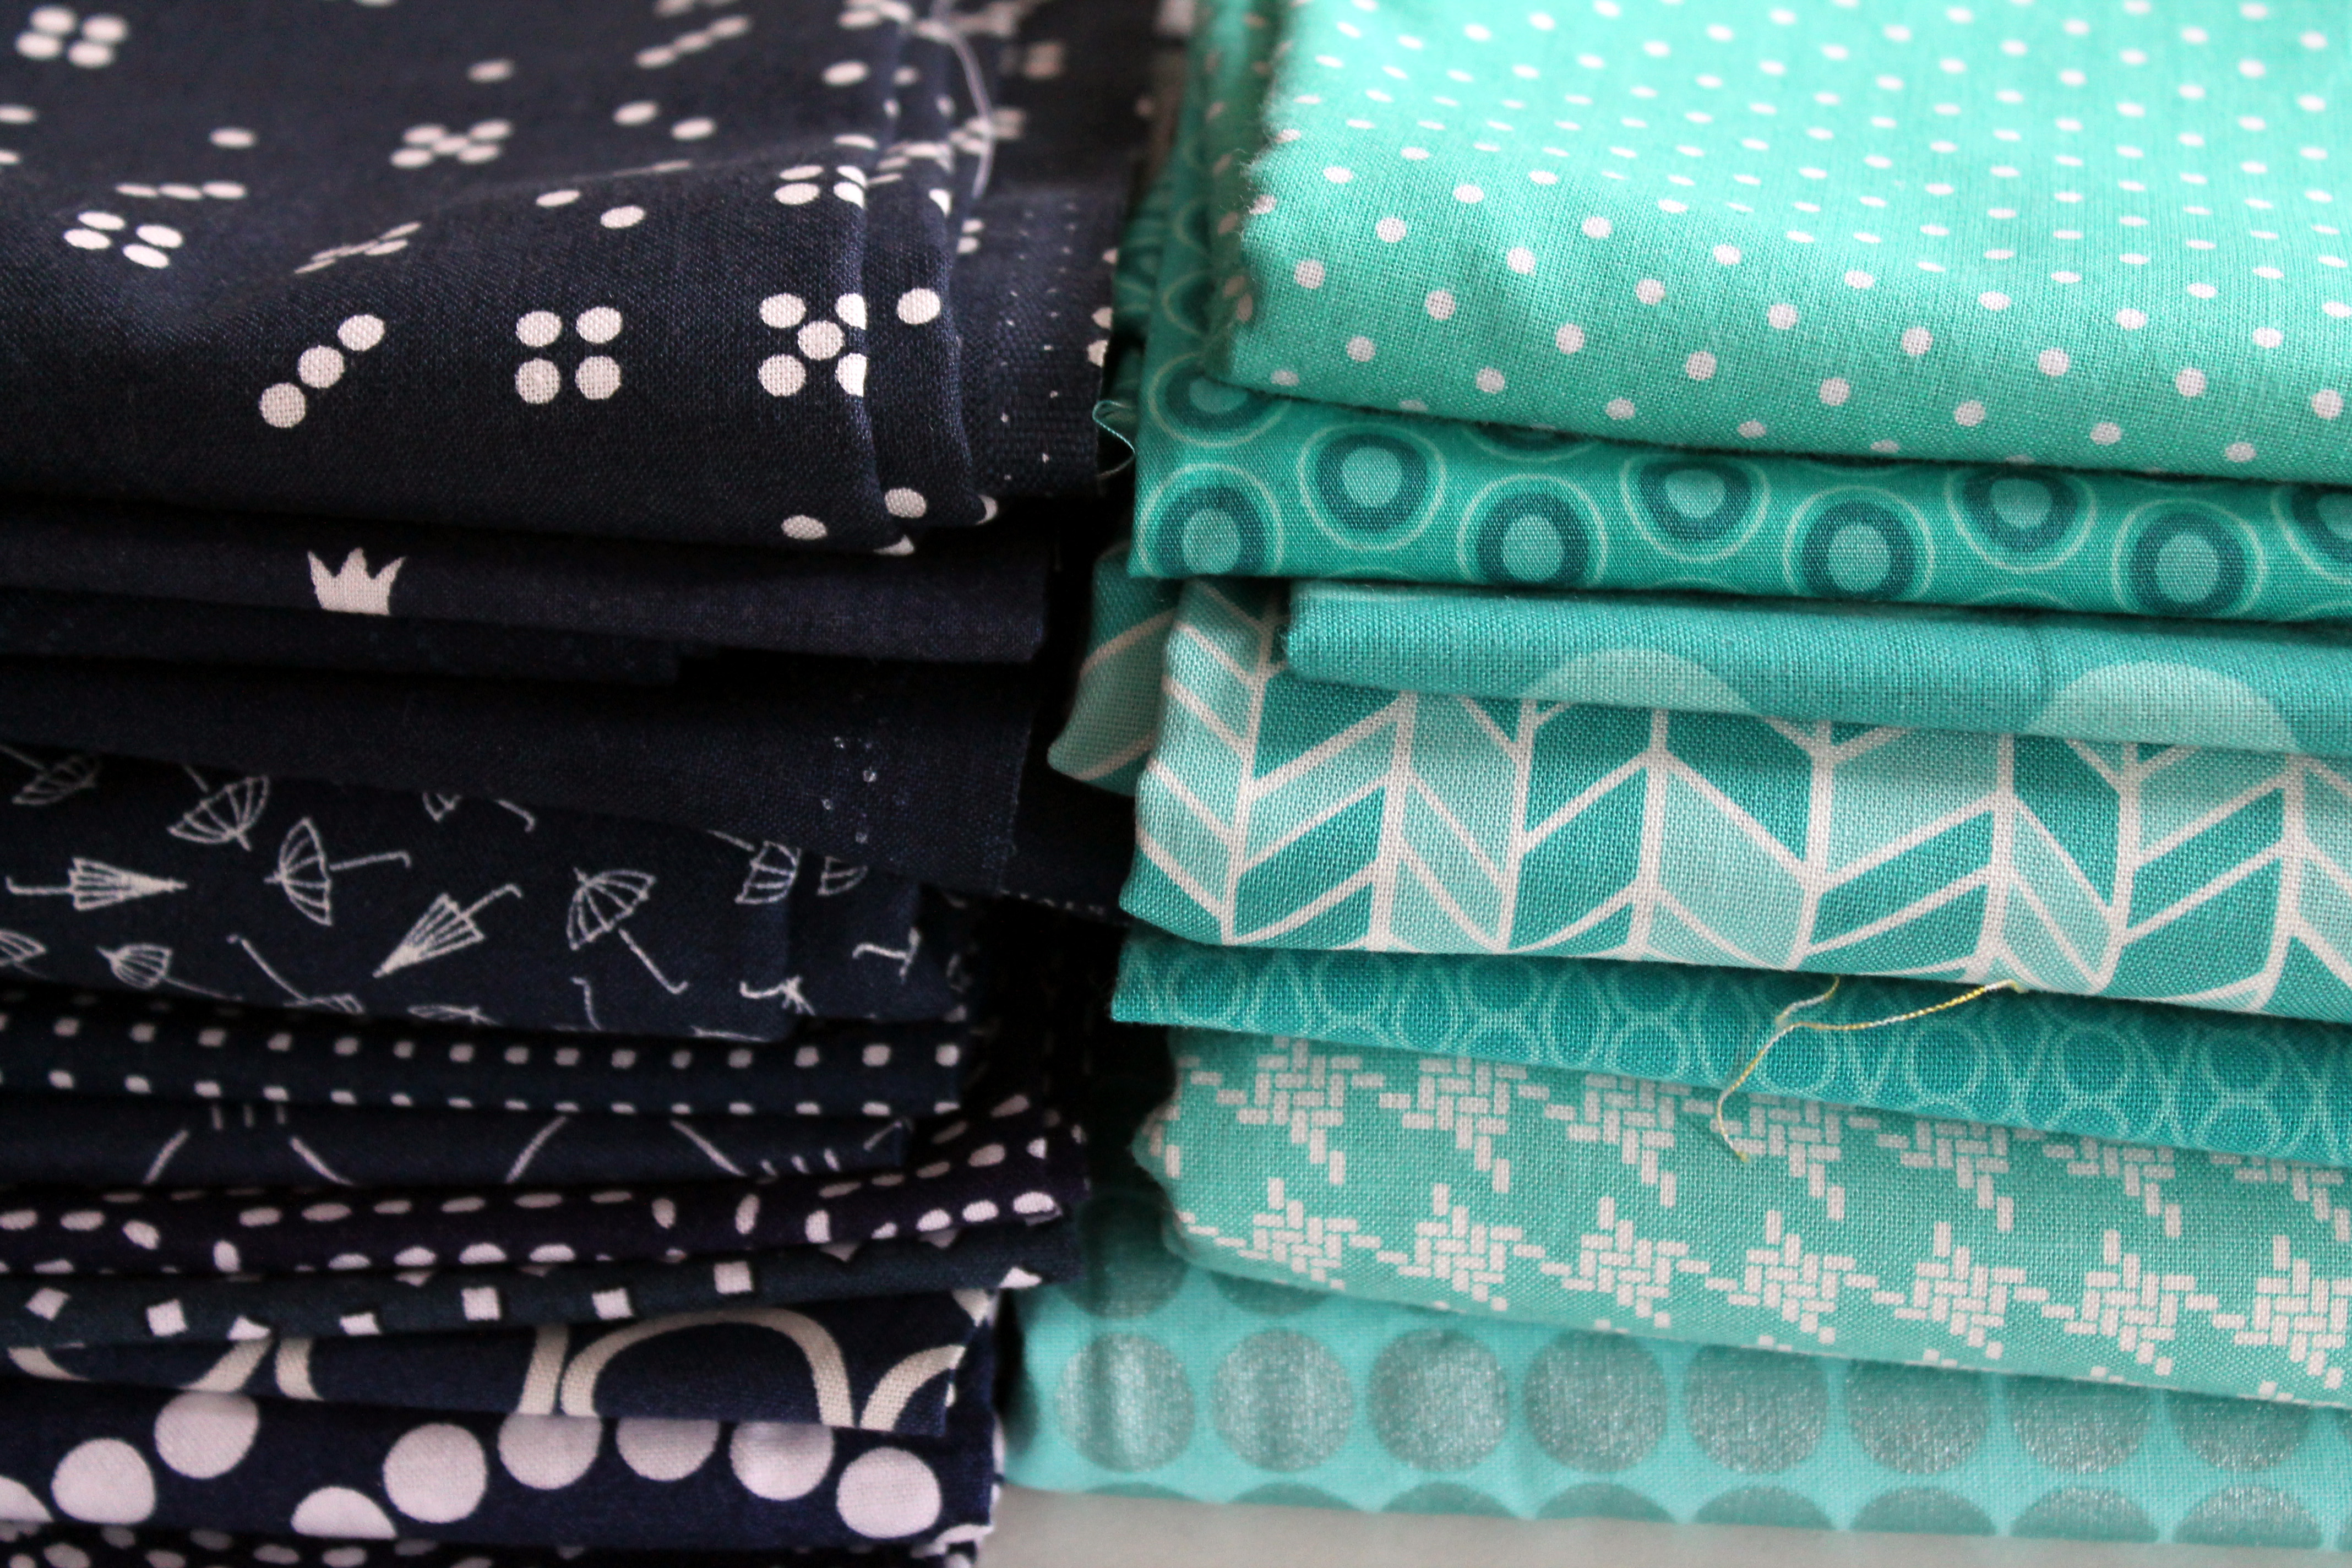
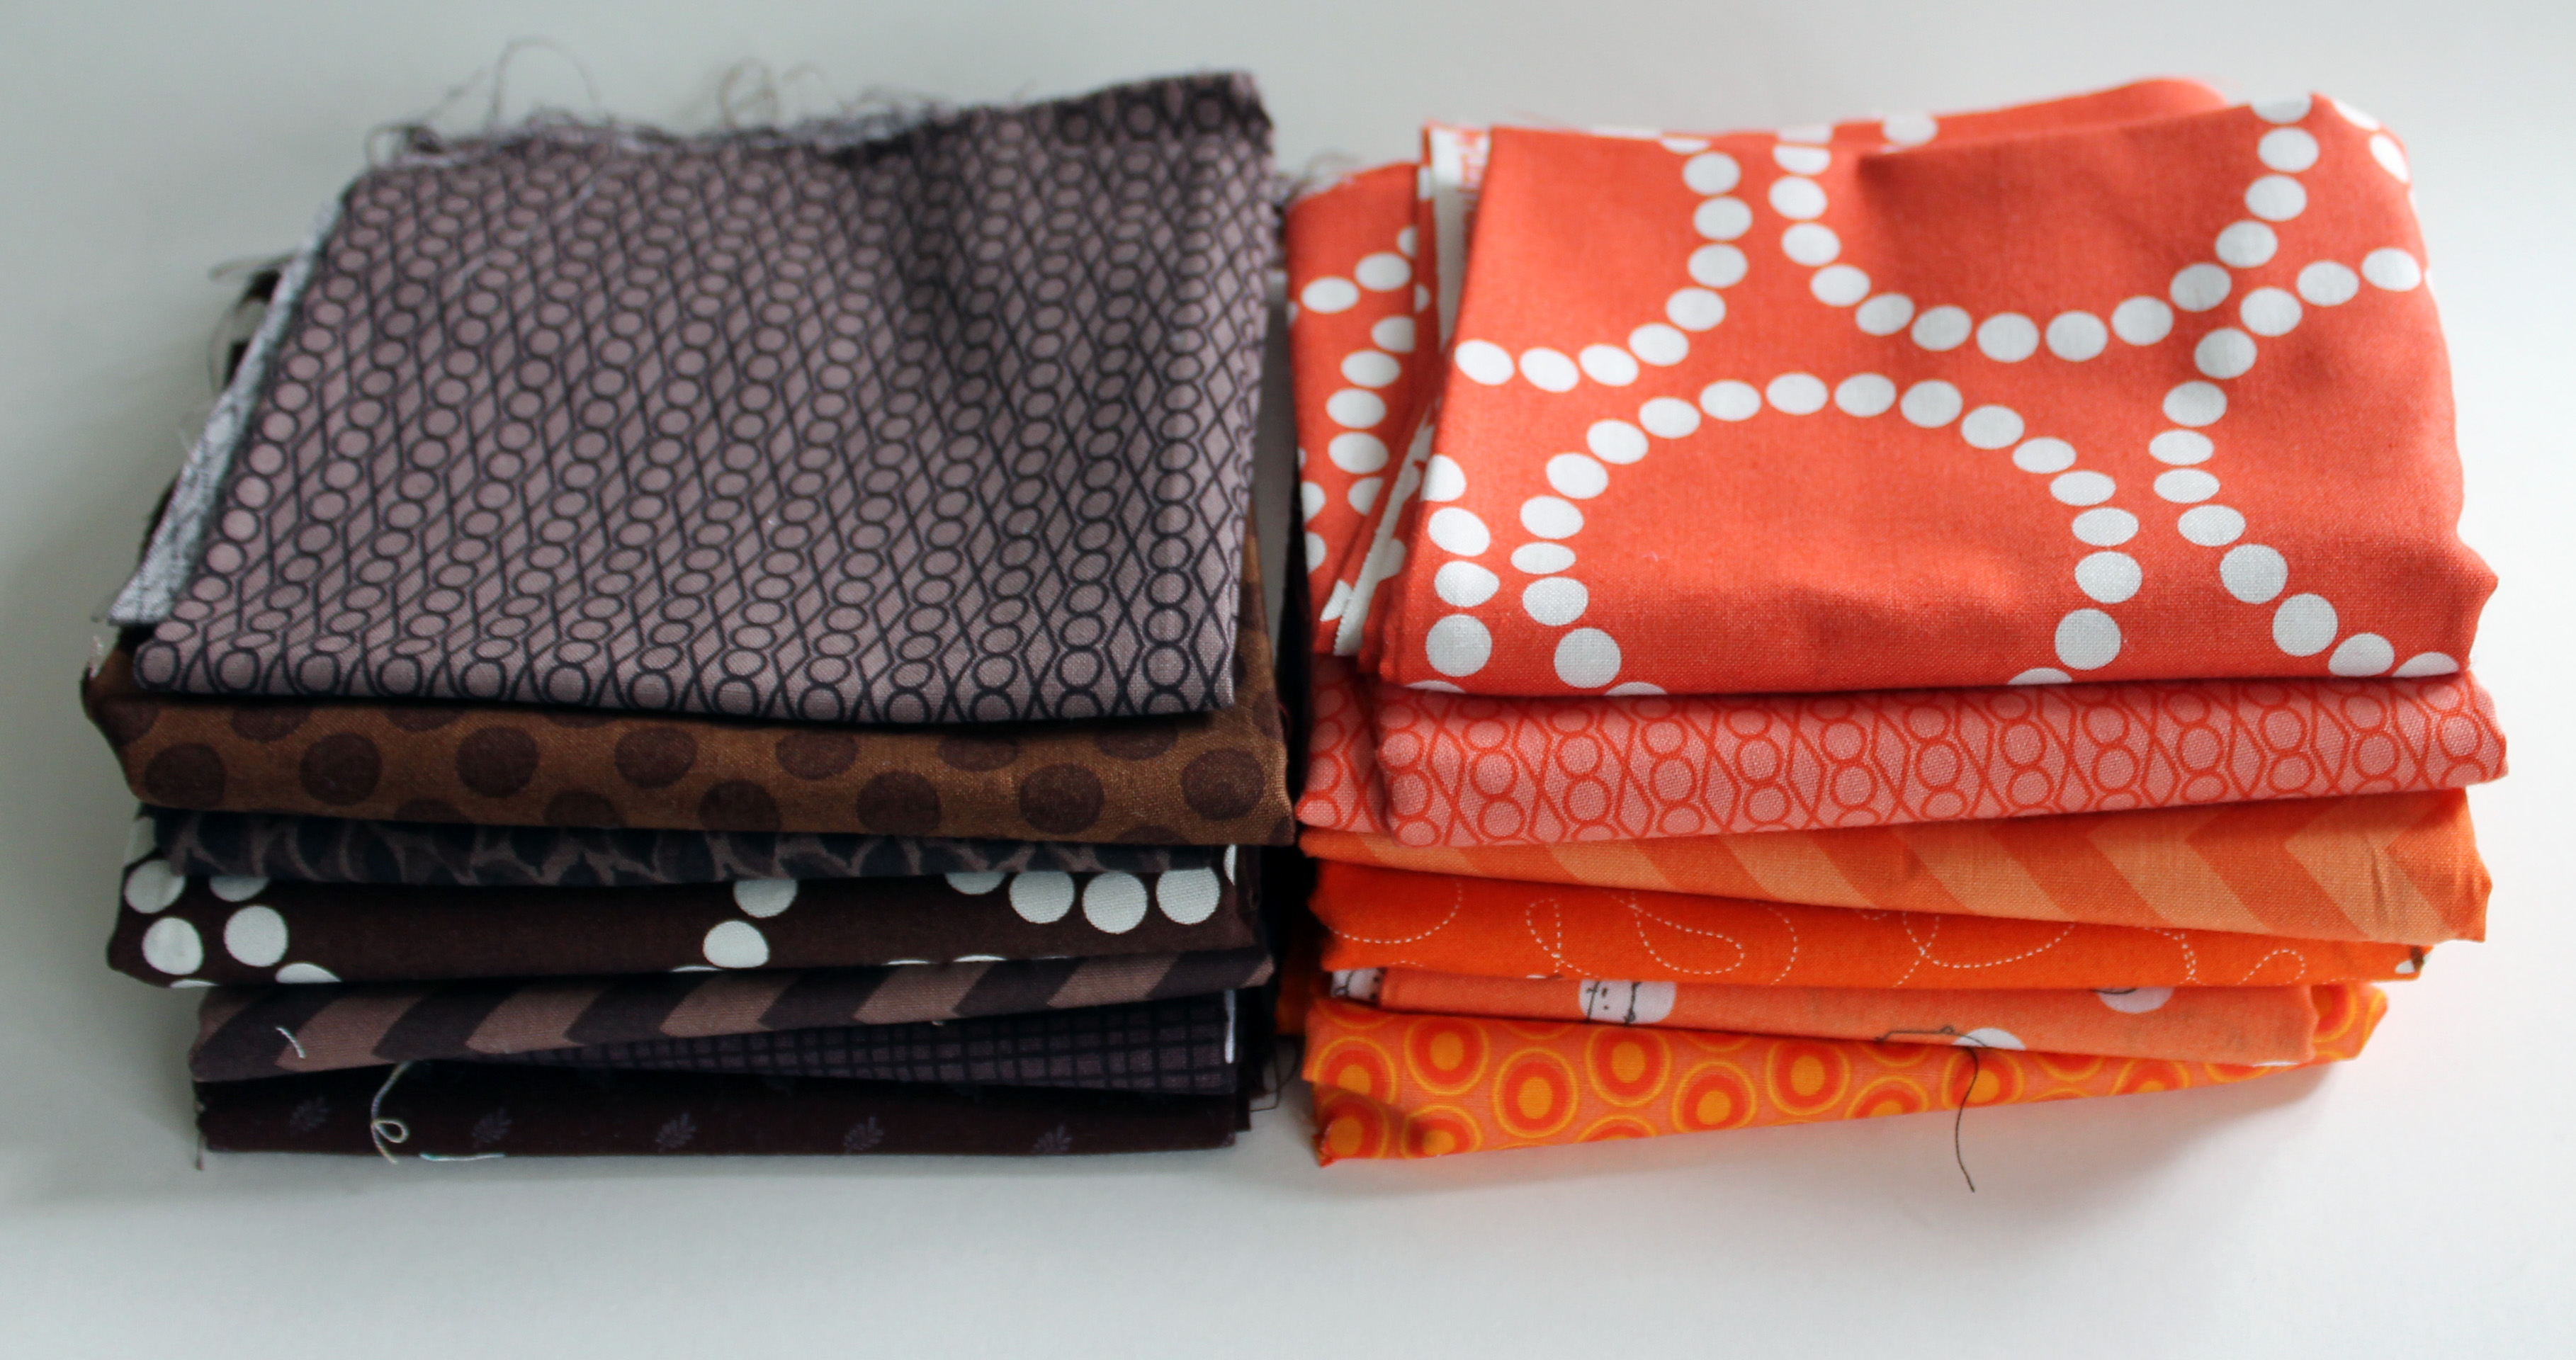
2.  Grab a pile of scraps in your colour scheme…for this exercise red.

pile of red scraps

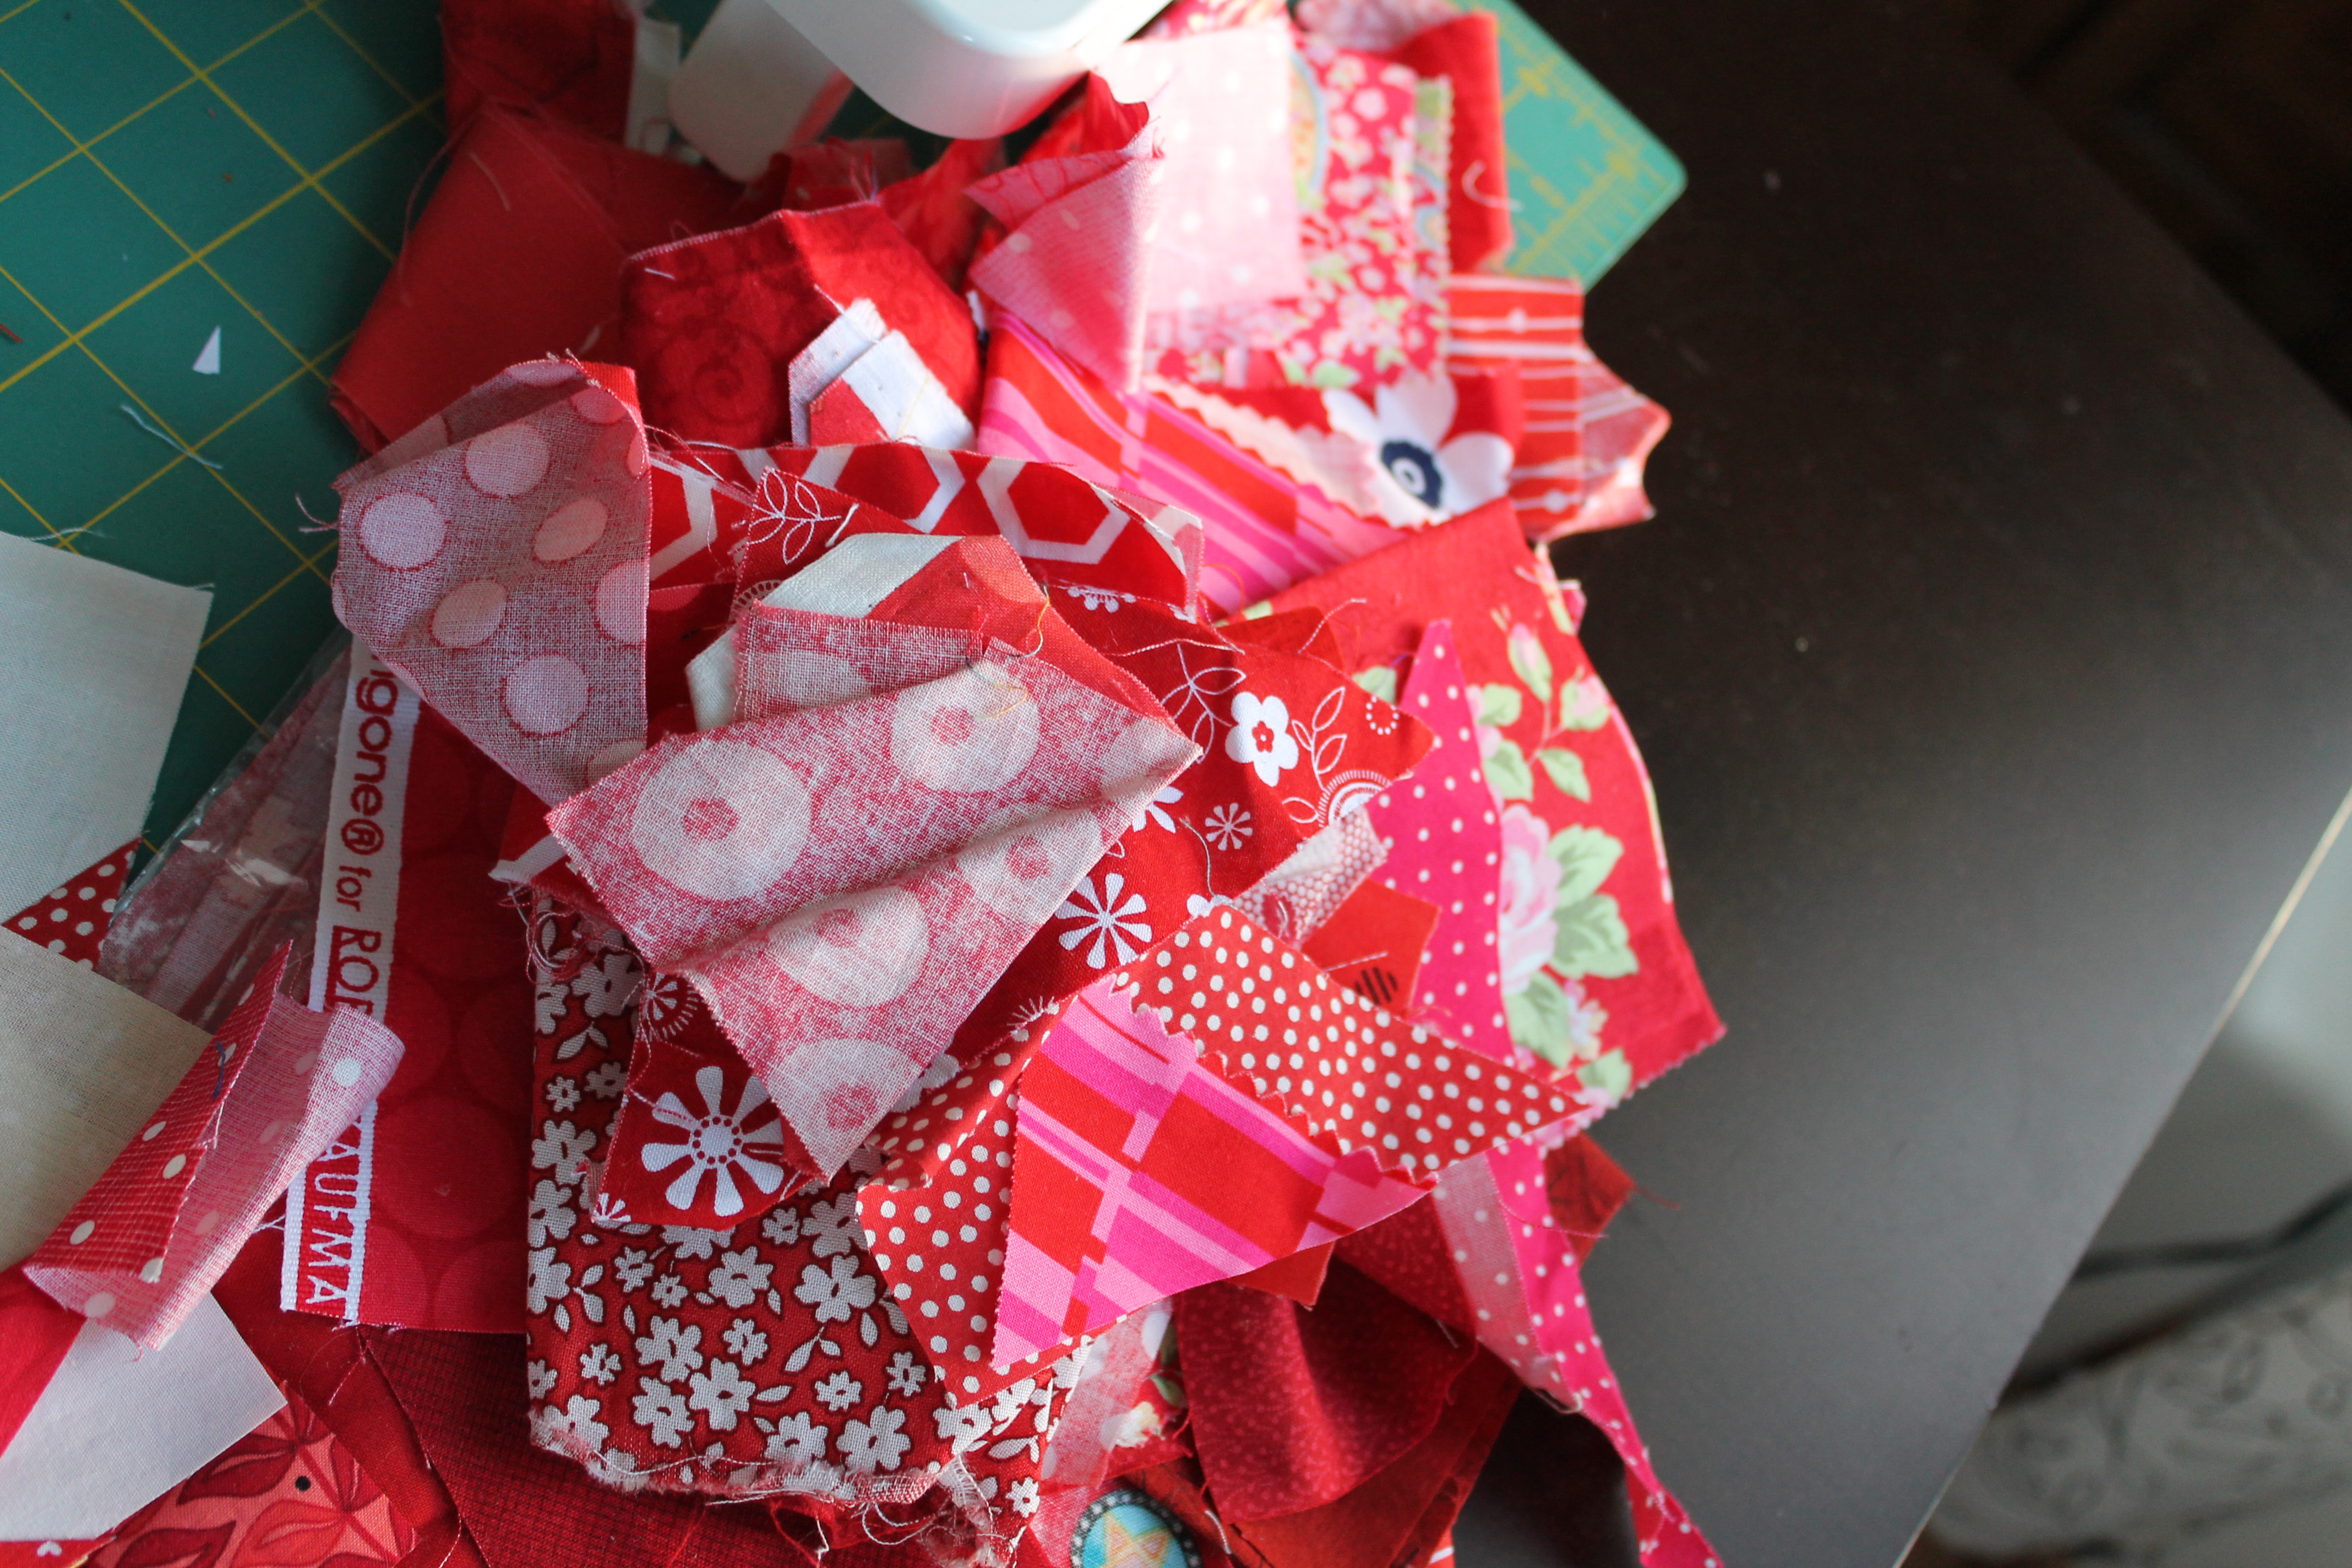
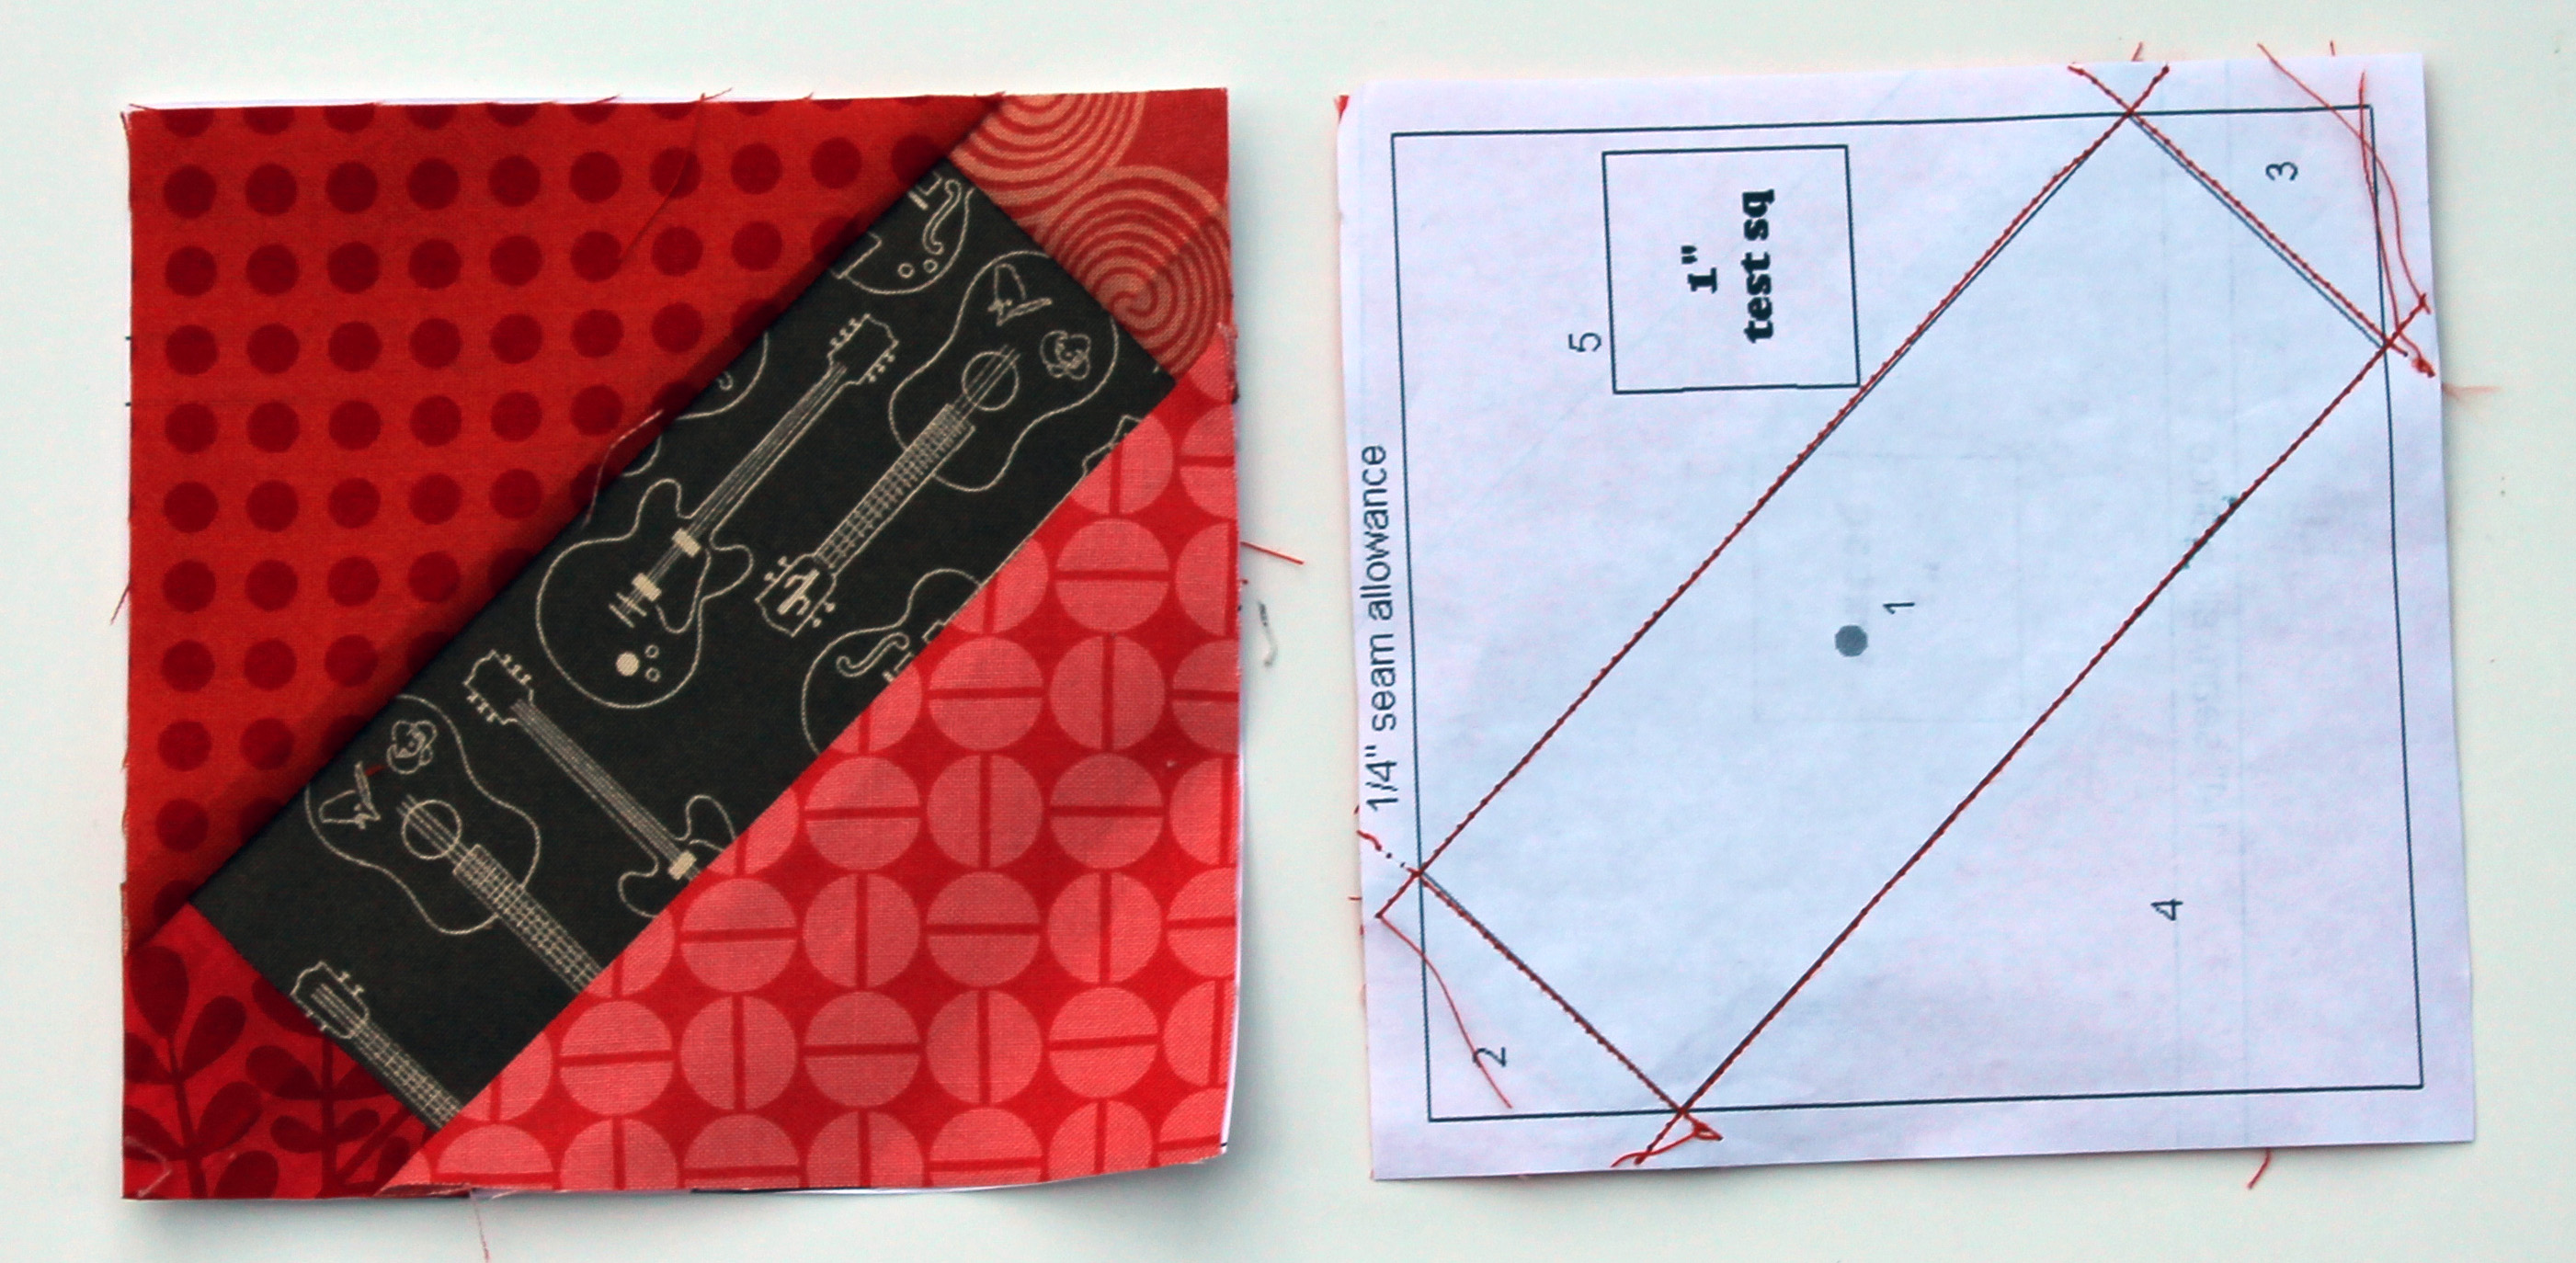
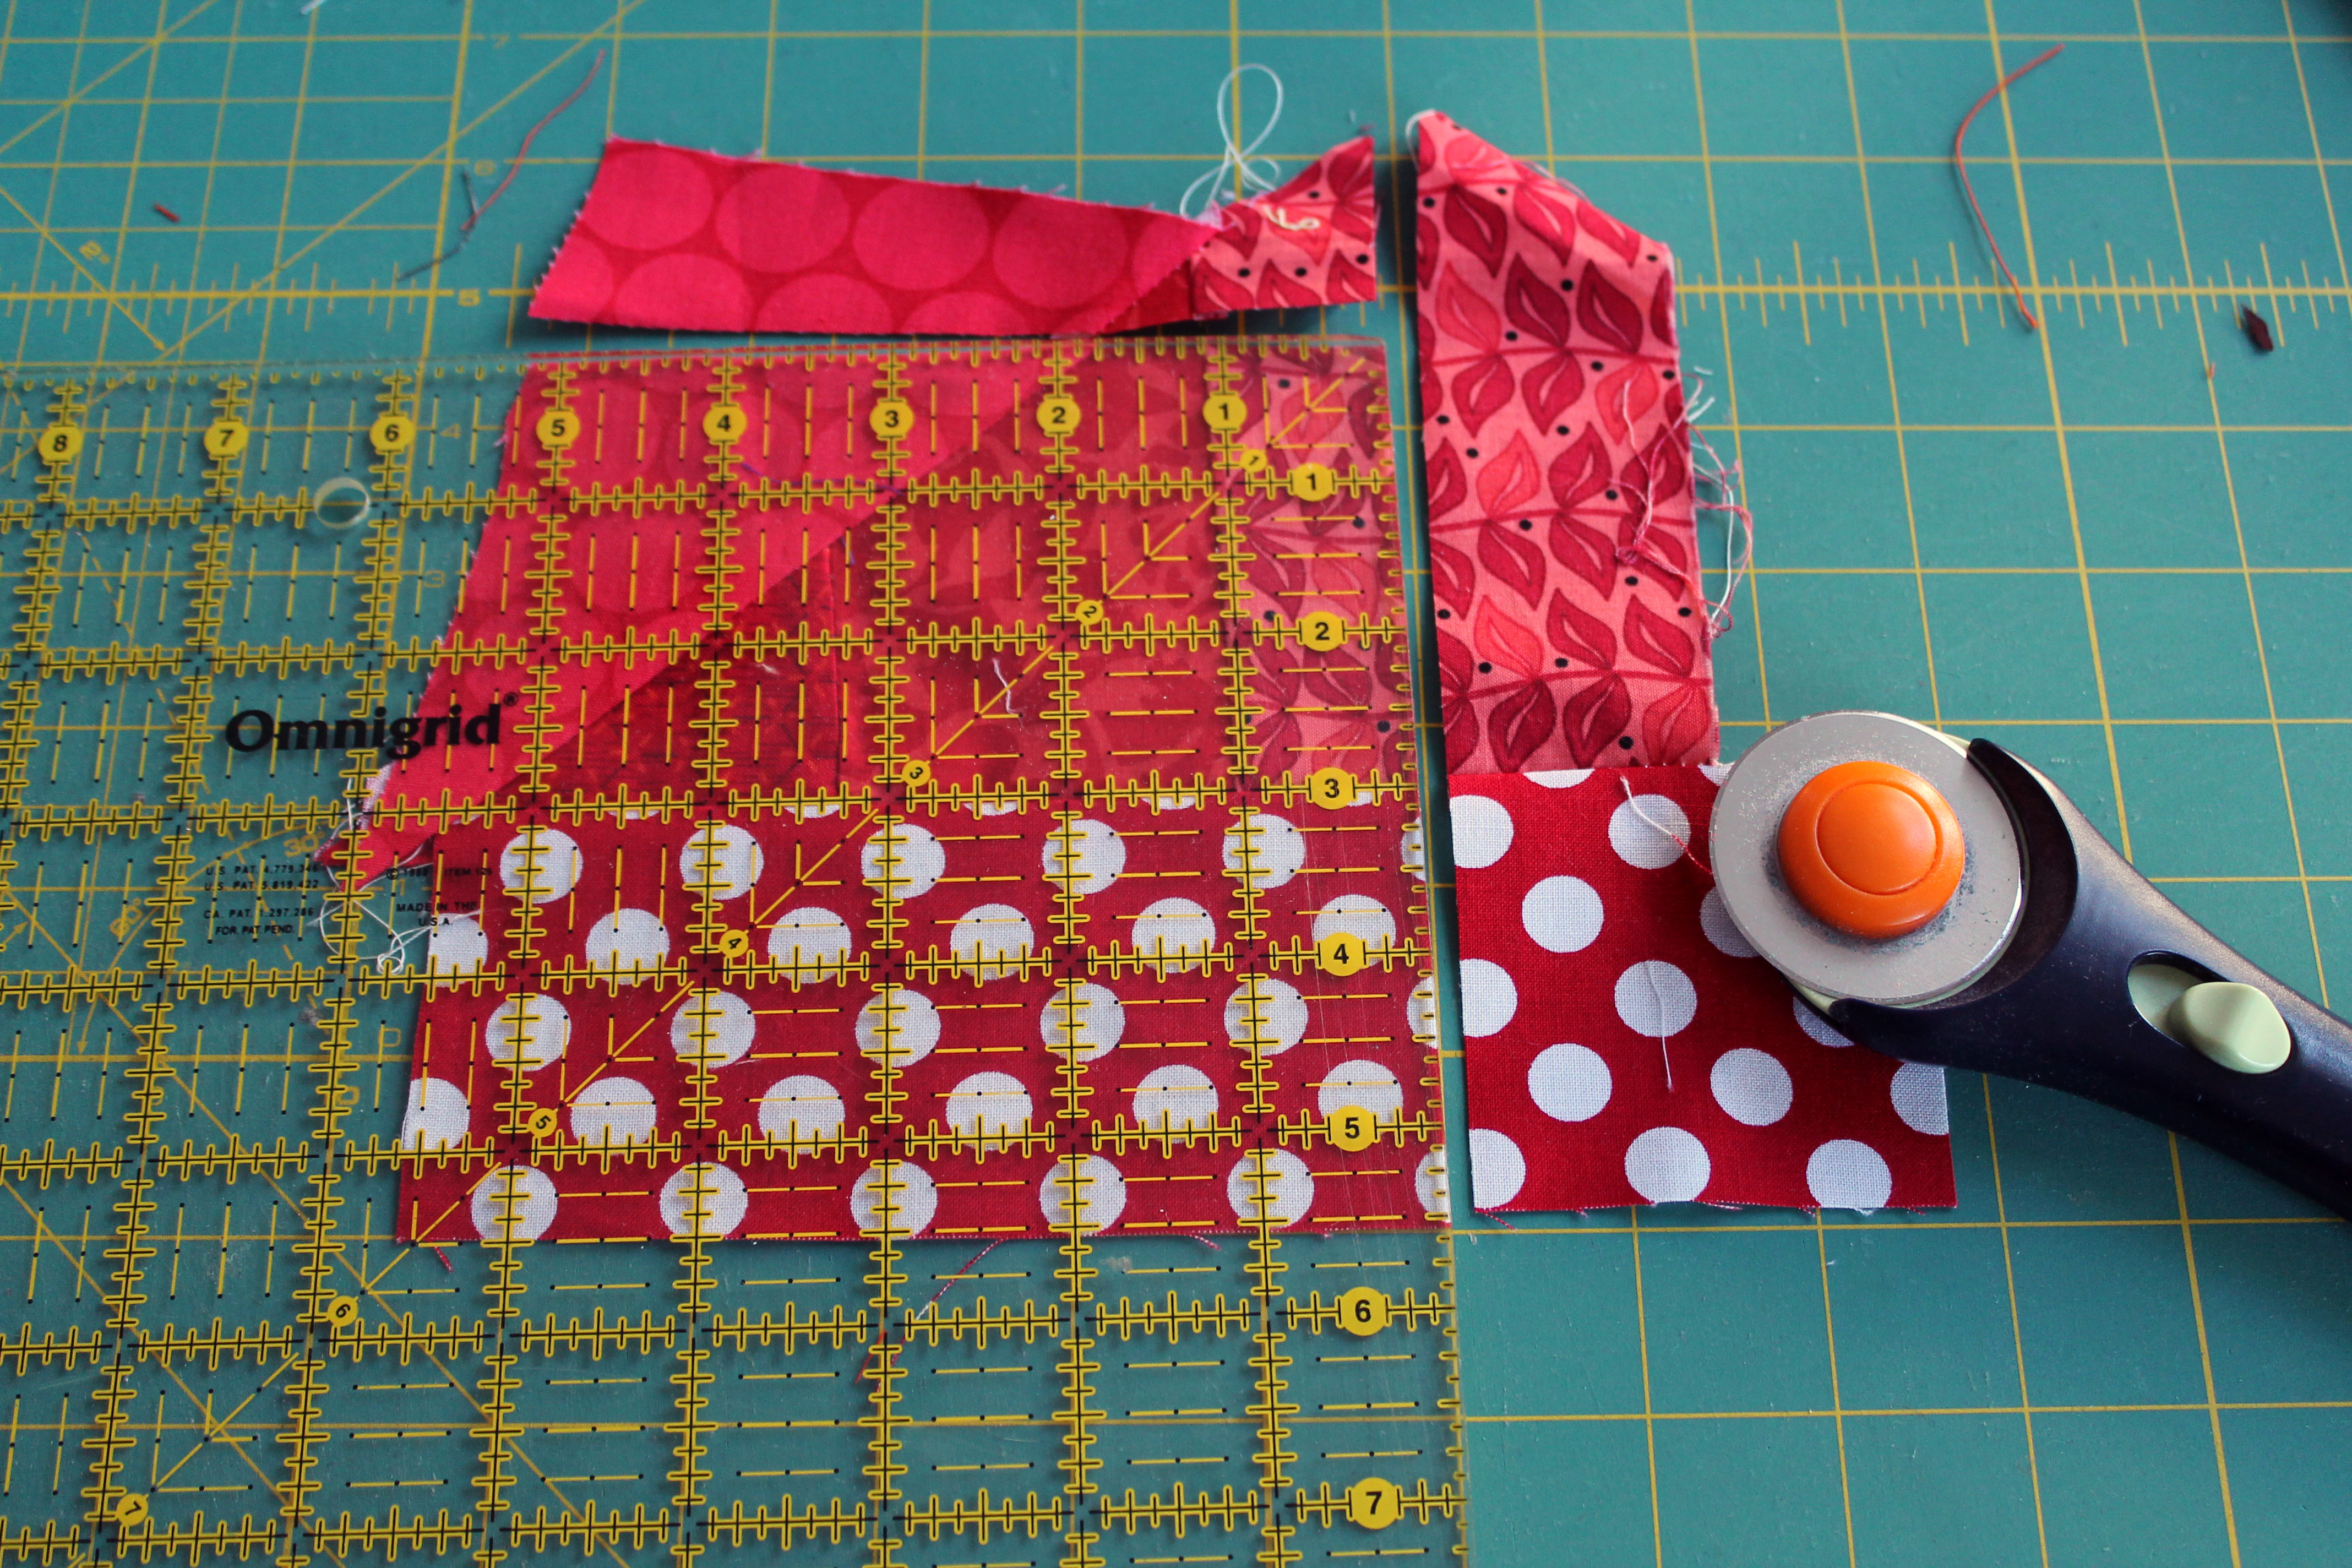
3.  Sew random fun bits of scraps together to make a squarish shape, making sure that it is a bit bigger than 5 inches square.   Anything goes at this point.  You can fussy cut…wonky log cabin or just improv.  Then trim your random scrappy square down to 5 x  5 inches.

trim center block

4.  Make four points to you star using the 5 x 5 inch background squares as your foundation and larger scraps for the star points.  Trim as needed to get a 5 x 5 inch square.

trim star points

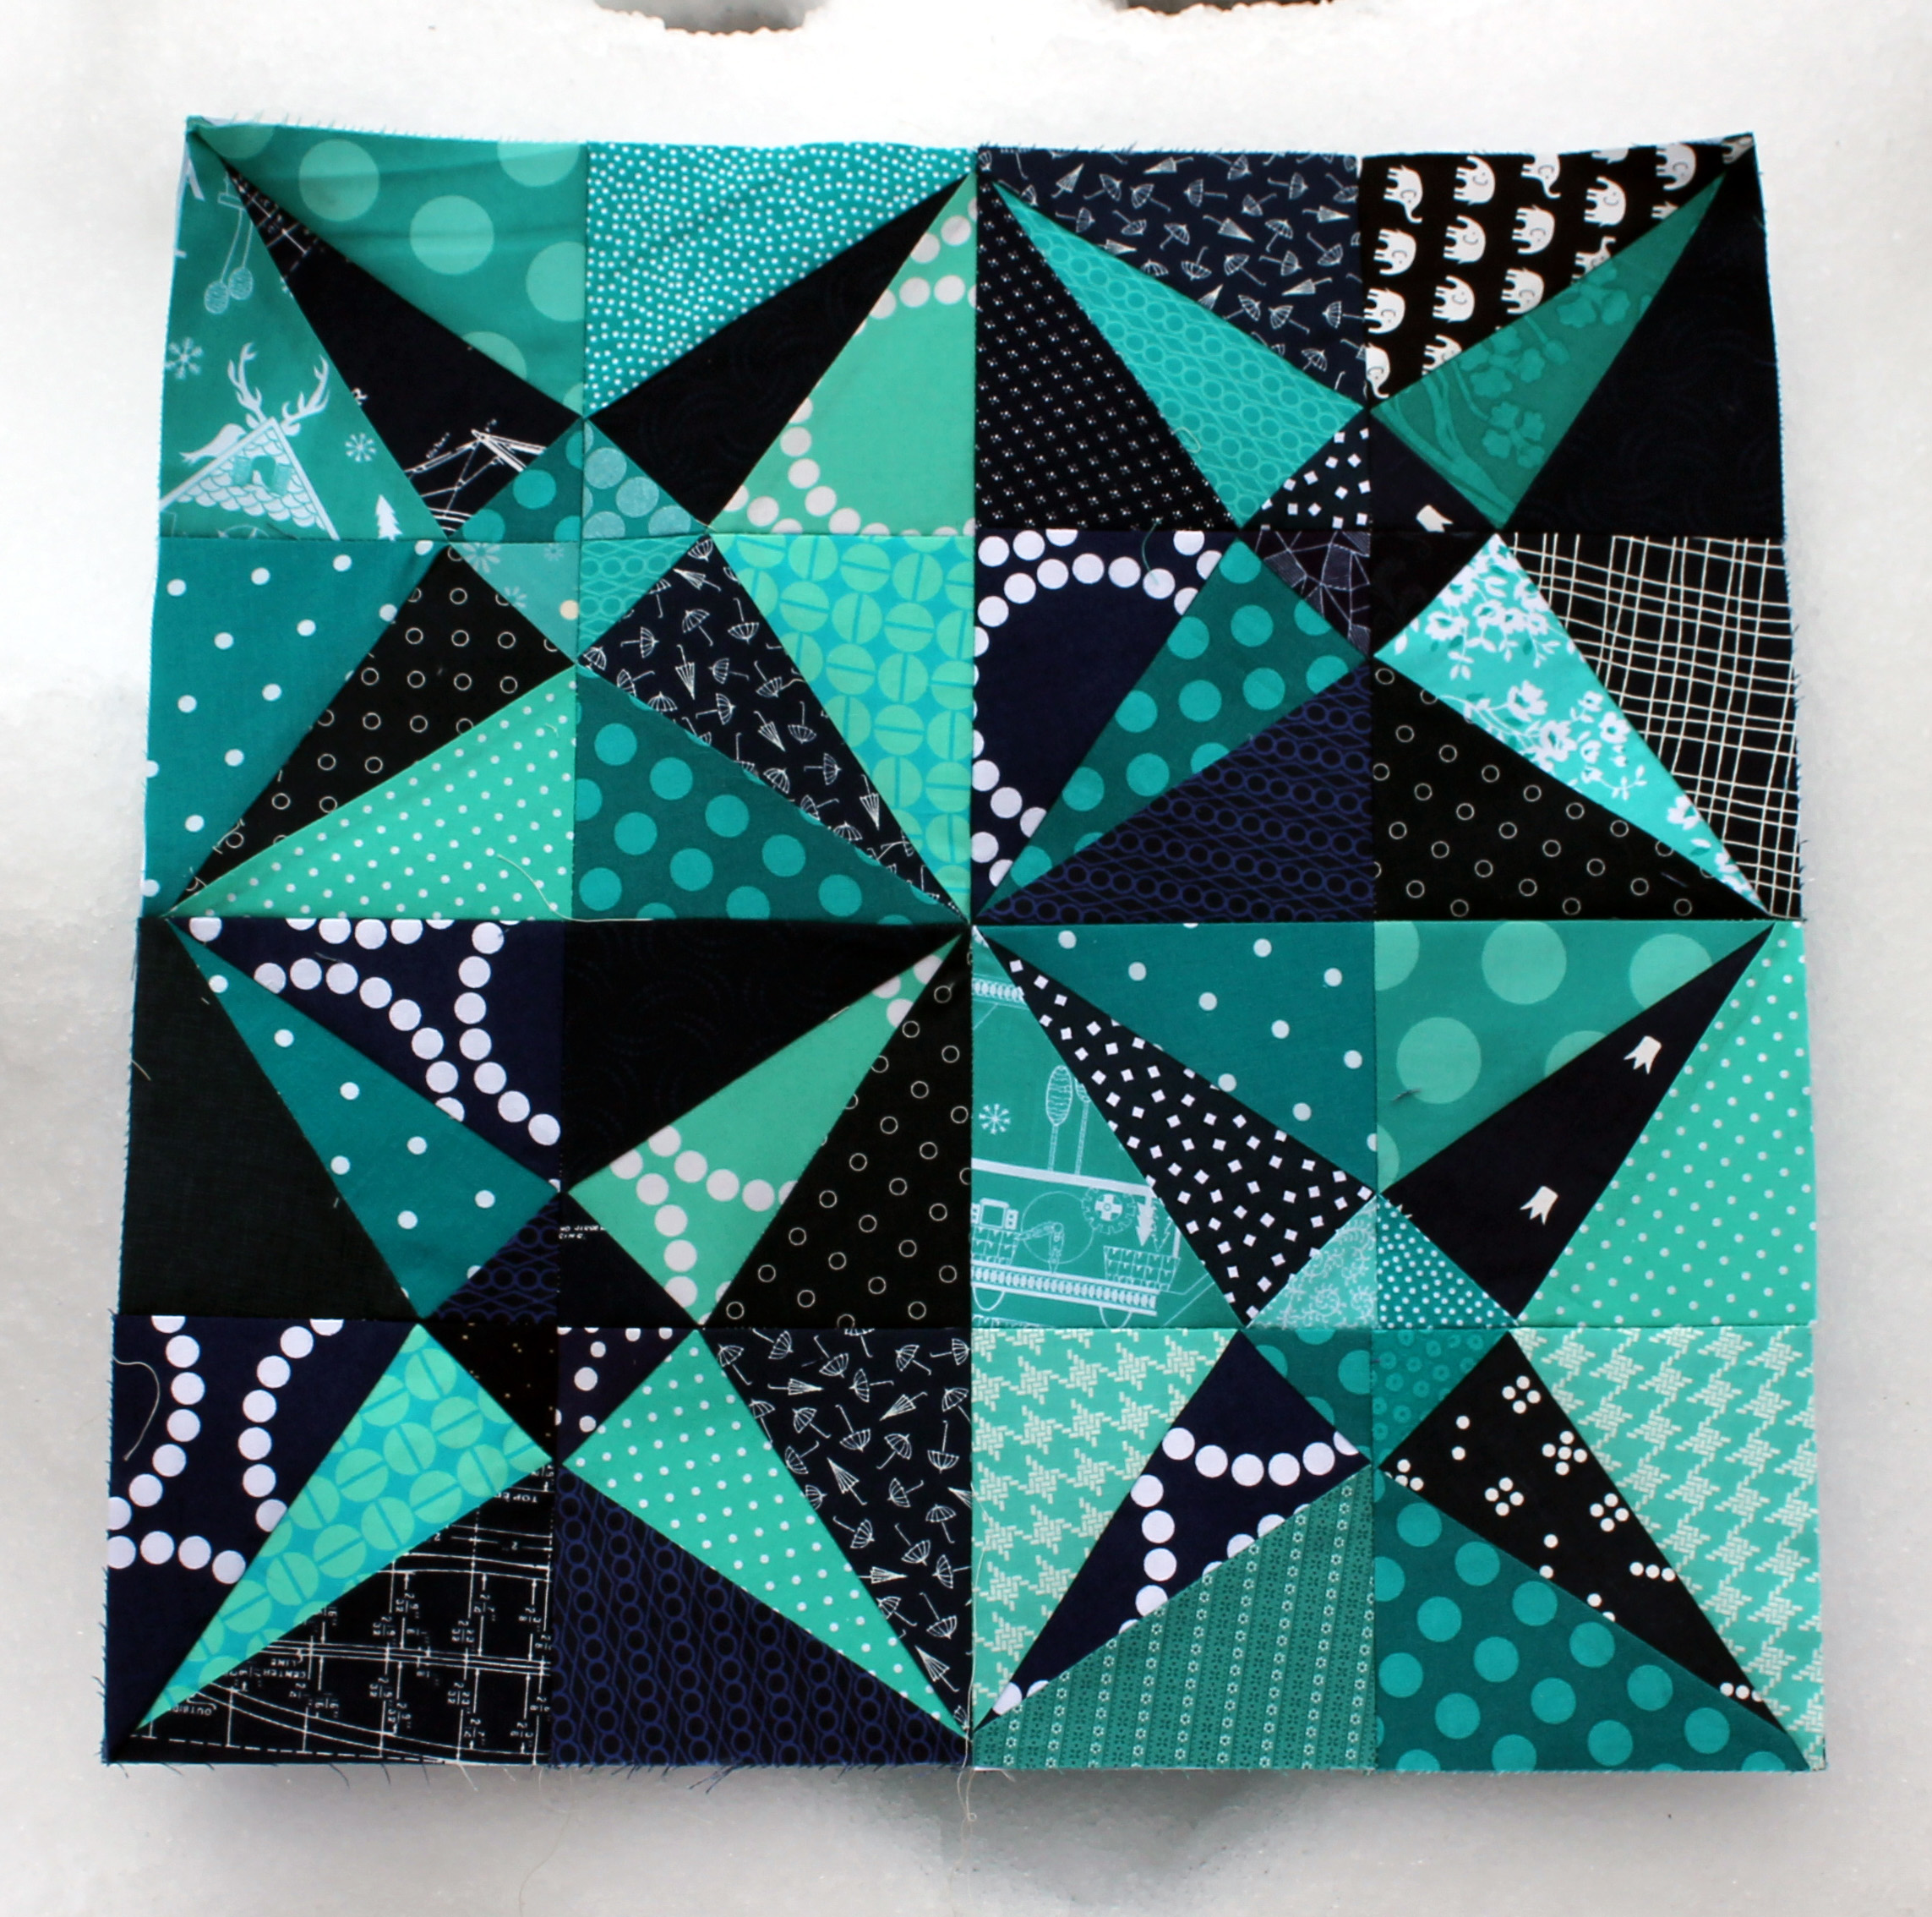
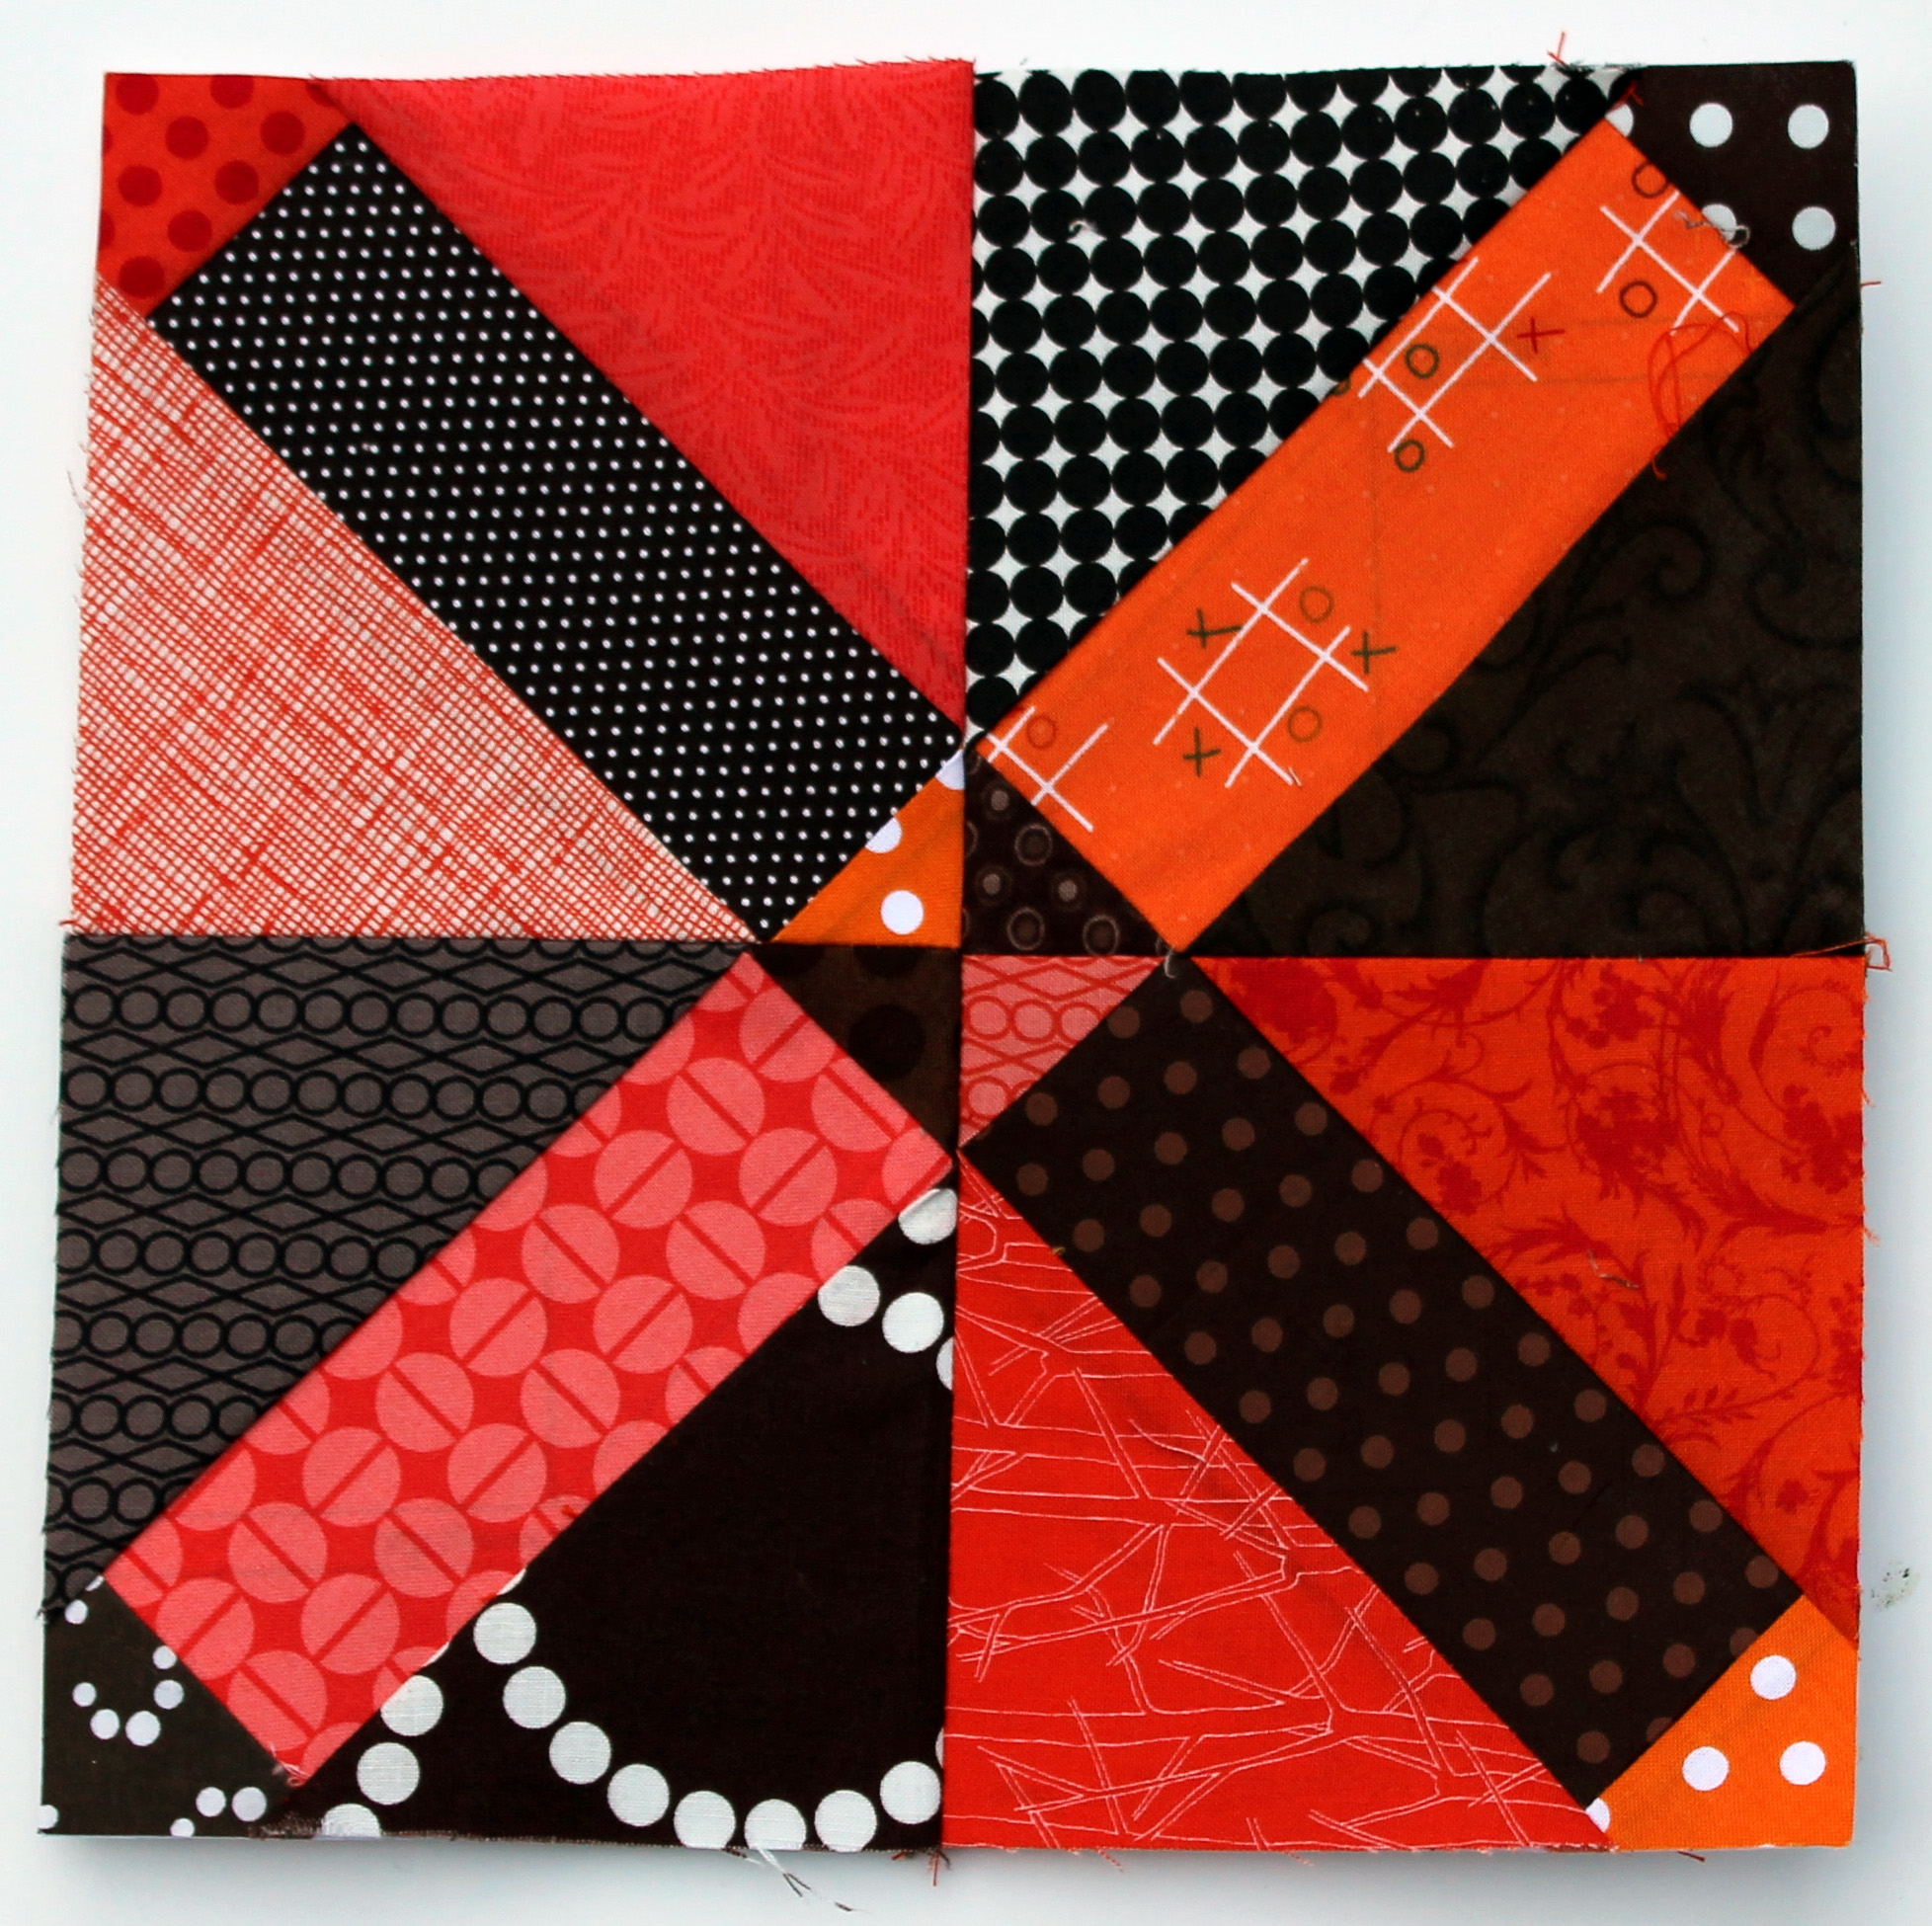
5.  Sew the block pieces together – 4 plain corner pieces, 4 star point pieces and your fabulous scrappy center piece.

laying out the block pieces

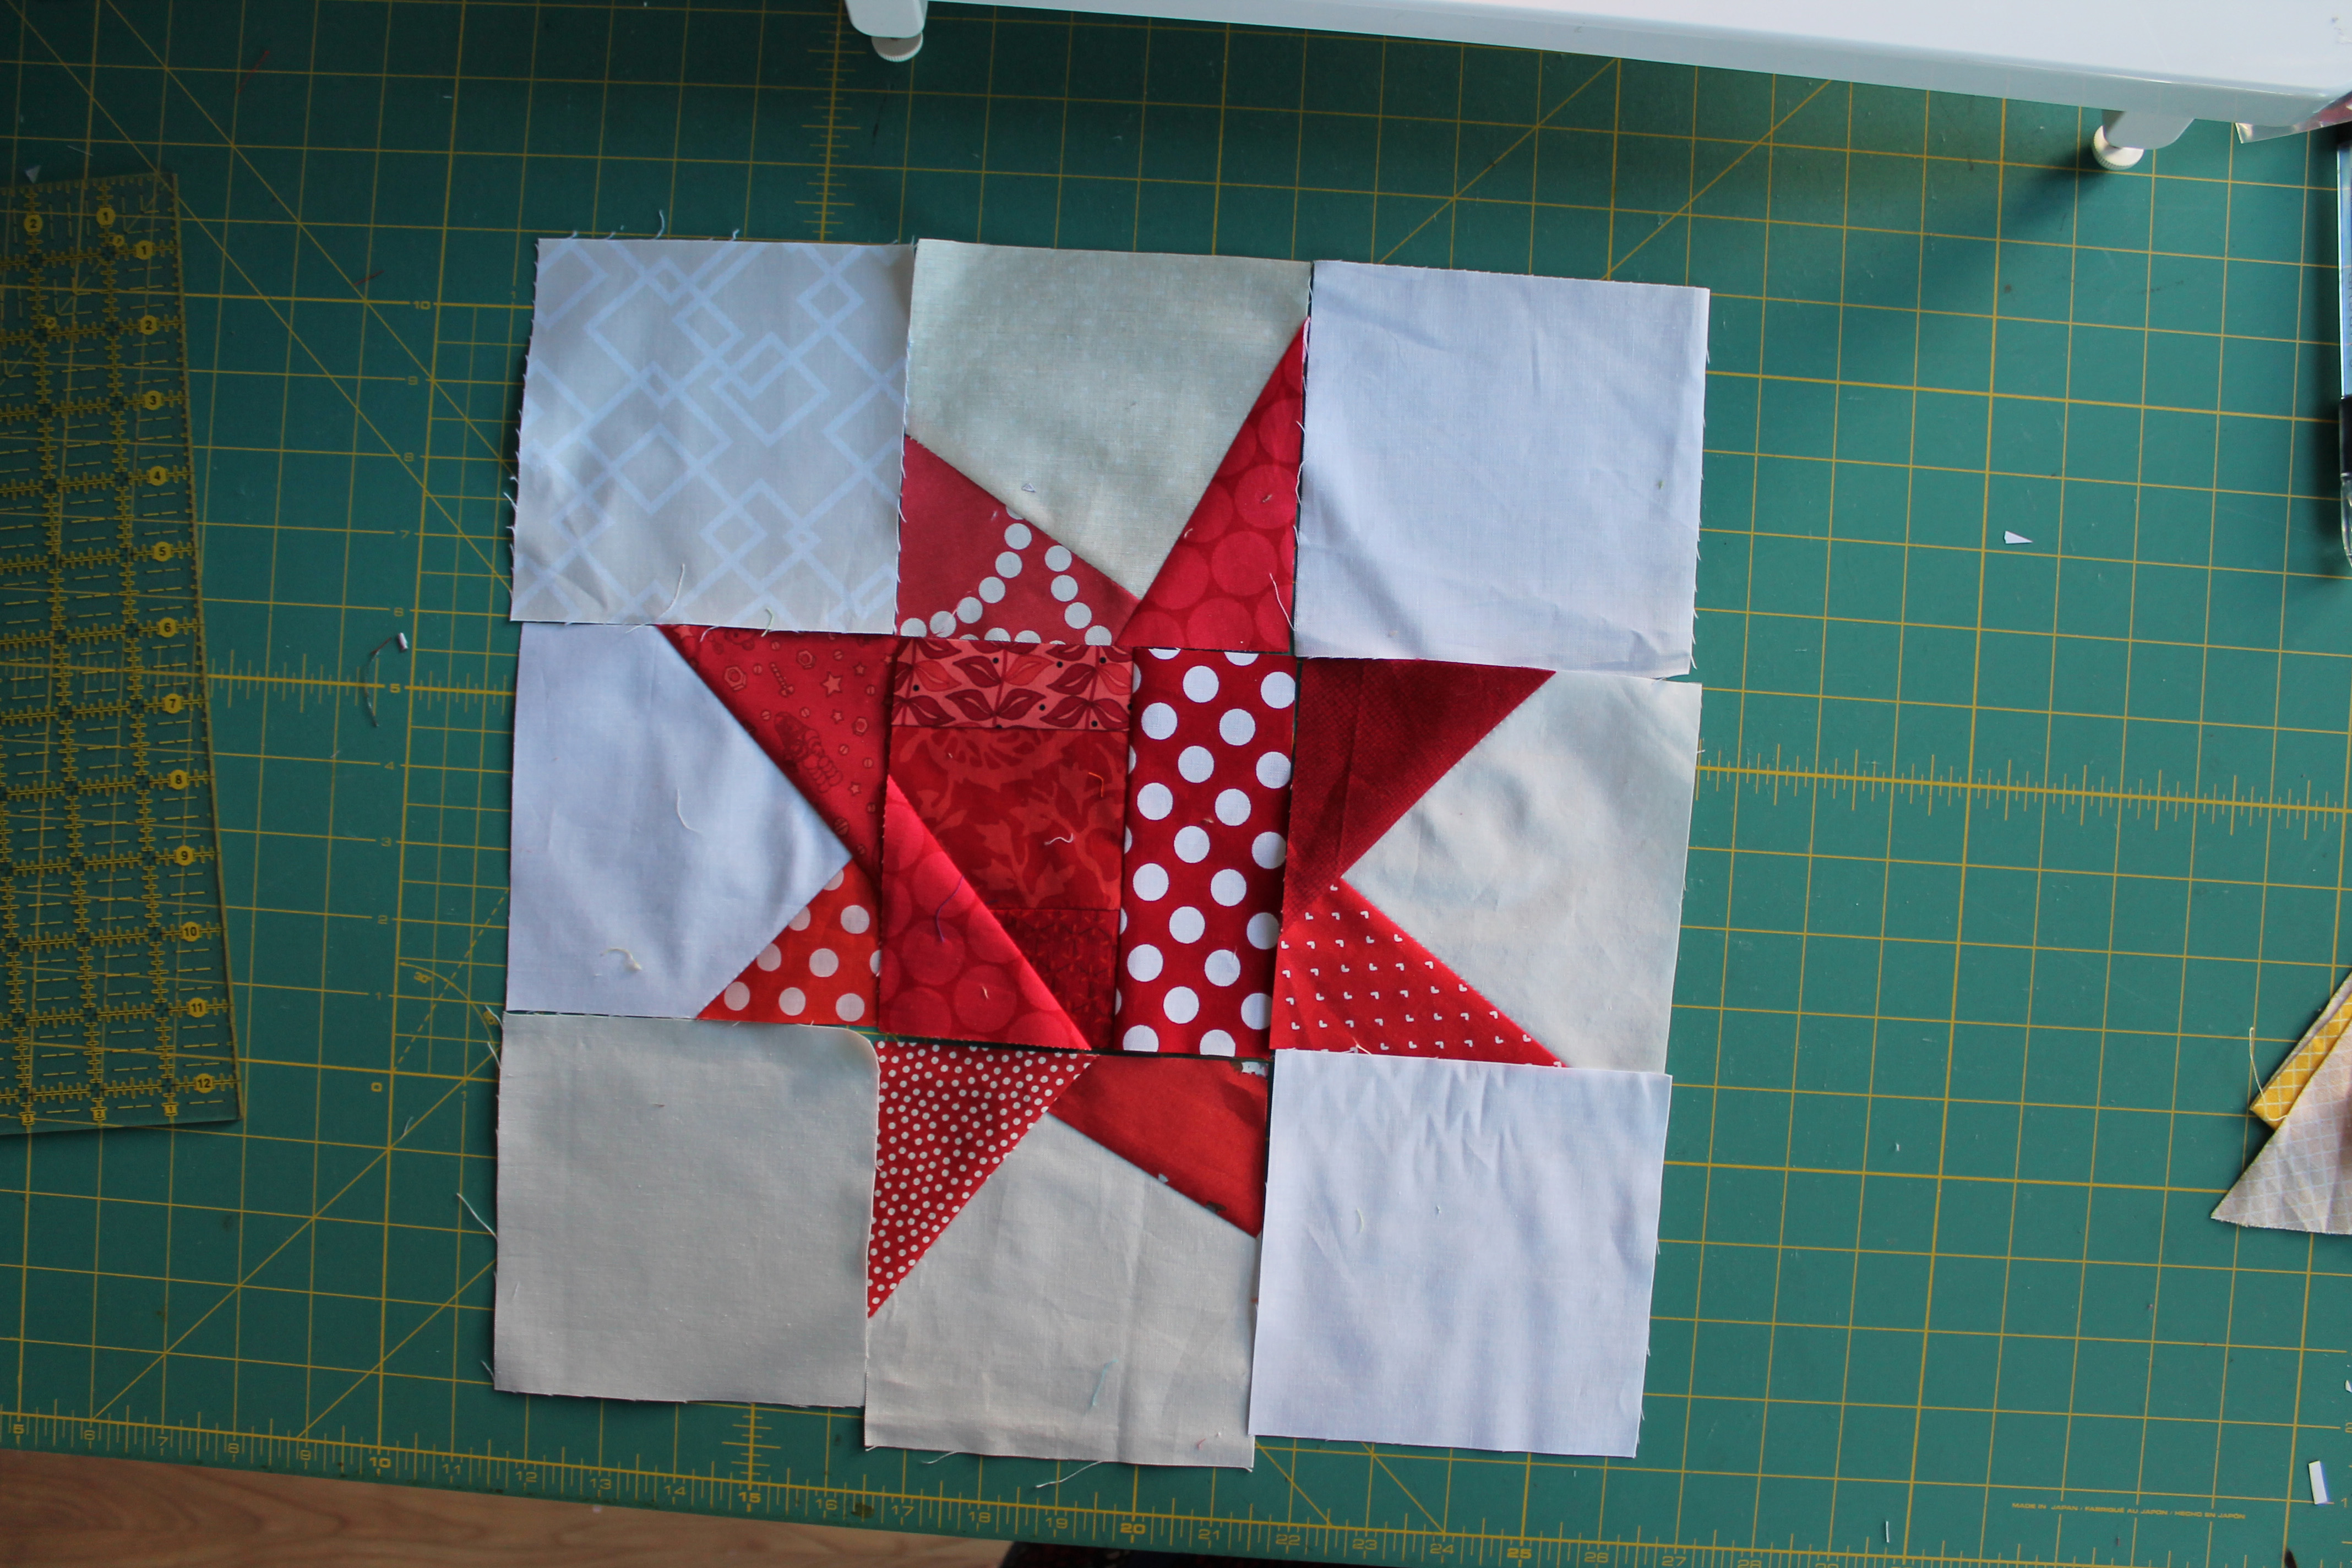
6.  For an added extra bit of wonky fun at the Sew Day we then trimmed our blocks down to 12 1/2 inches square.  This step allowed us to put the stars a little off center and added another element of randomness to the layout.  The blocks work just as well trimmed down to 14 x 14 inches too.

trimming the star

And voila you have a fabulous wonky star with a scrappy center piece.

wonky star block

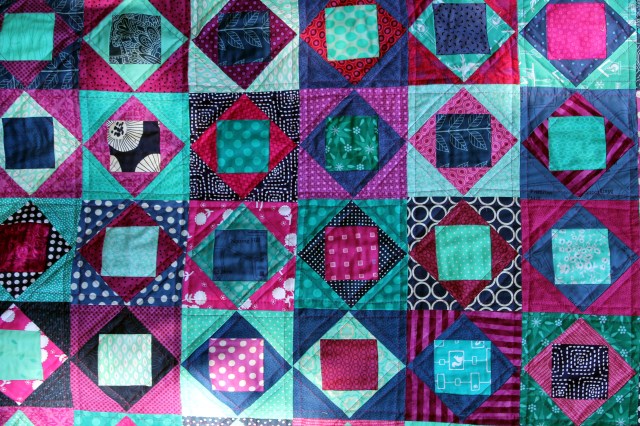
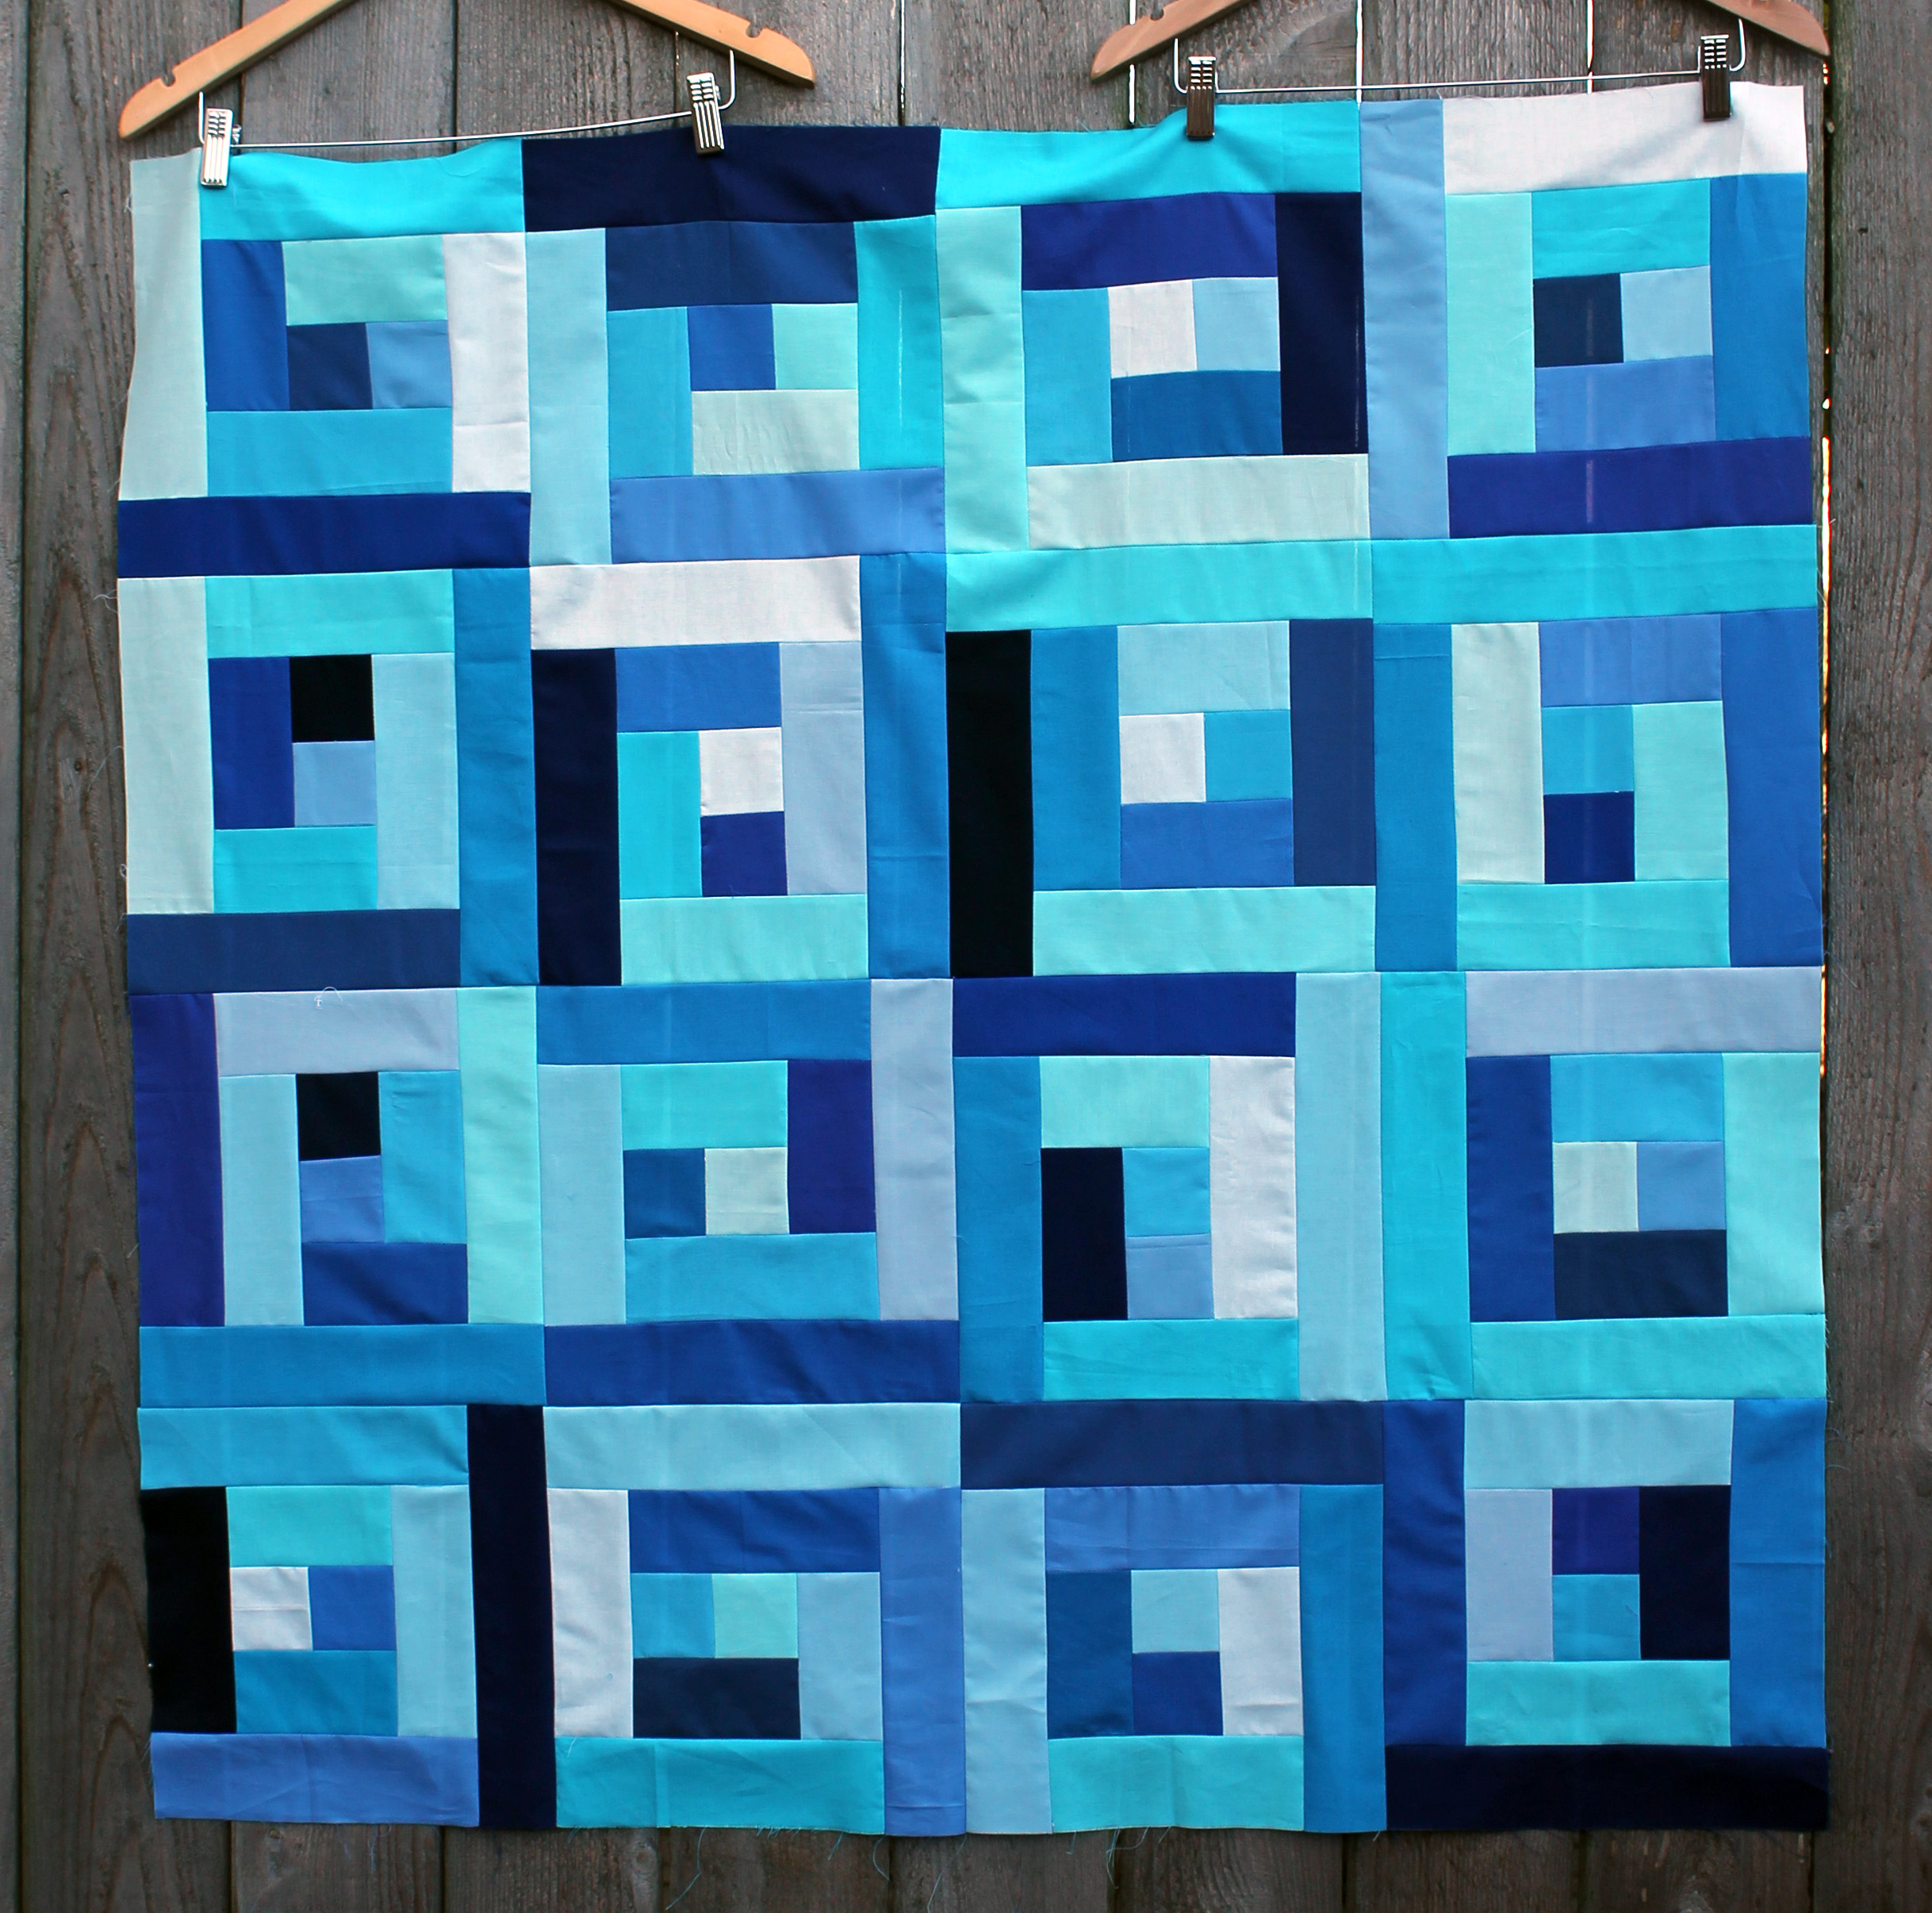
I can not believe I did not think of this technique myself.  It is genius and the best way to use those little bits of fabric in your scrap bin.  It was such a fun exercise this week to take all the wonky stars everyone made at the Sew Day and put them together into one loud, fun, wonky top.

wonky stars quilt top

There is a combination of solid centered stars and scrappy centered stars in this top and I think it works nicely.

charity wonky star detail

And every star is so very very different.  There was a lot of fun techniques used for the scrappy centers…

charity wonky star 2

Because it is a kids quilt we went with bright colours, novelty prints and lots of fussy cutting.  My favorite block is scrappy and fussy cut…

favourite block

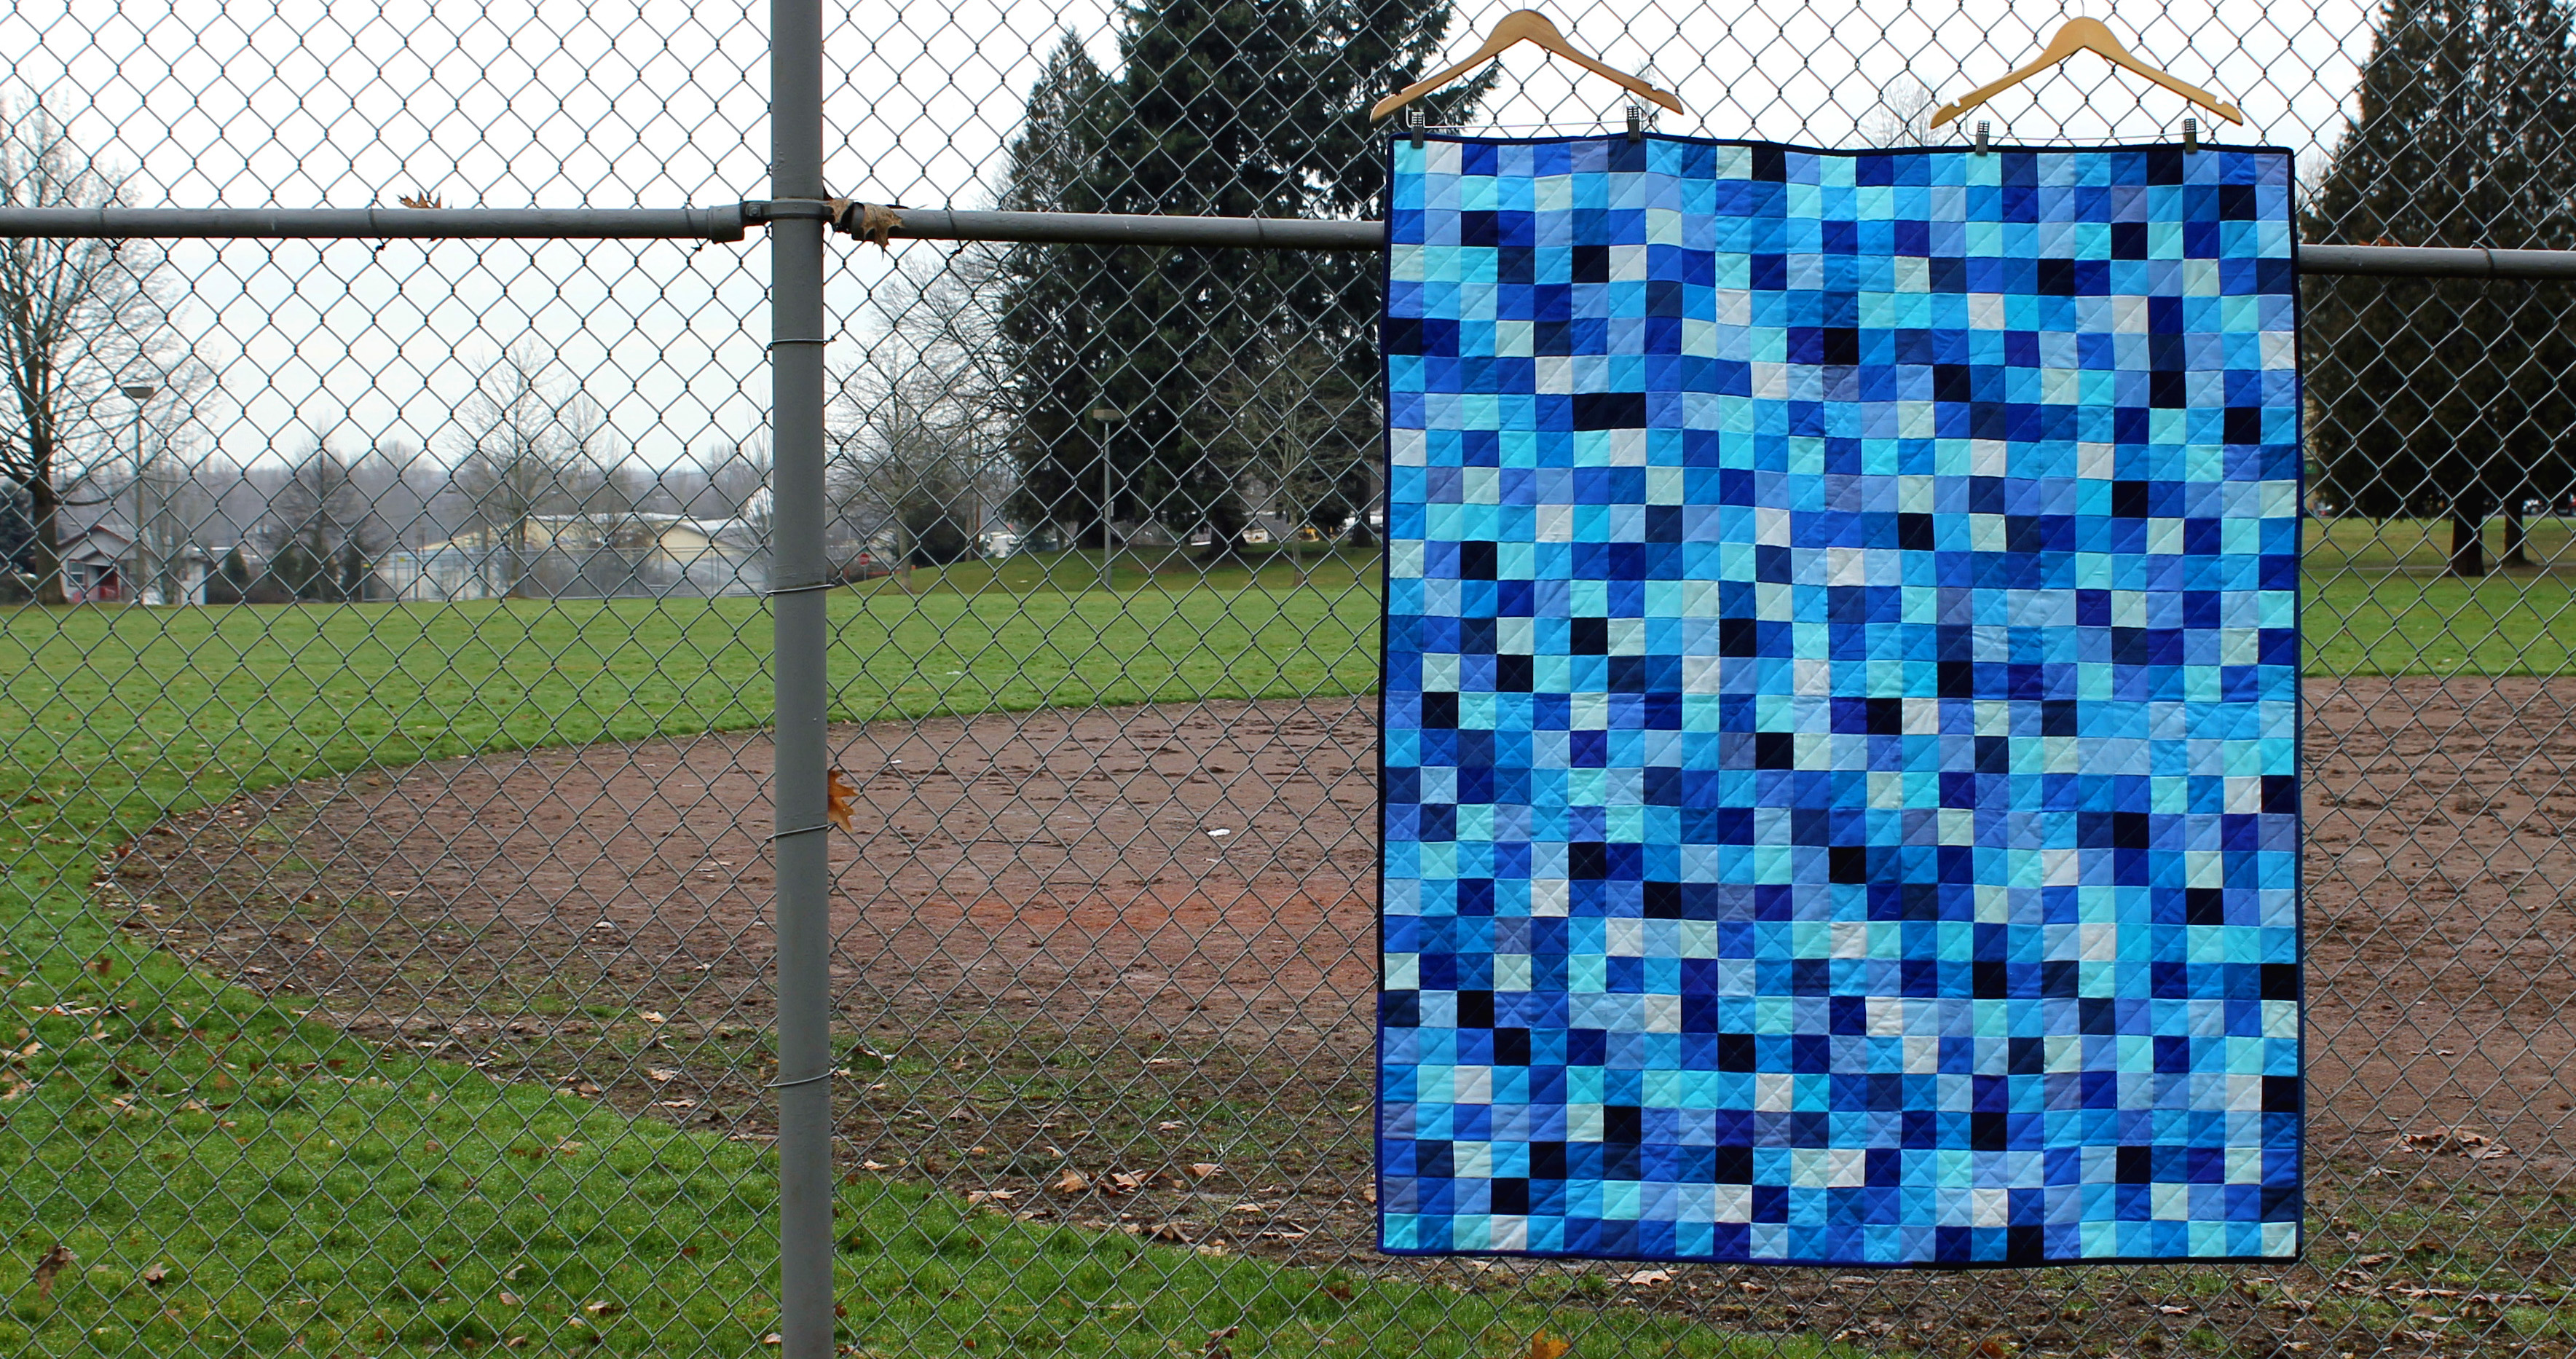
The finished top is 60 x 60 inches square and the next step is to find a fabulous PMQG member to quilt this beauty, or maybe we can throw it on the long arm at our next Charity Sew Day.

Colour Play Turqoise

This week I decided to play with turquoise and my all time favorite neutral, navy blue.  There was something about this colour combination and snow that just seemed to work.  First I raided my scraps and then pulled this bundle from my stash…

navy turquoise fabric bundle

I had used navy and turquoise together before, but with “radiant orchid” and some electric blues thrown into the mix.

quilt top detail

This time I wanted to keep it simple, clean, cool.   I choose an easy block called “World Without End”.  This classic quilt block dates back to the 1900’s  and I found some wonderful old examples when searching on-line, including one from the Spencer Museum of Art.  For my project I used Quilters Cache’s free paper piecing pattern which you can find here.

World block component This is another quick, fun block that packs a punch, and is perfect for scraps.  I just loved how the strong colour contrast with this pattern.

world without end quilt block

I was surprised how big my turquoise stash was and it has been great fun cutting into it for this project.  I have added this to my list of “must finish” for 2014… a list that keeps getting bigger.  I  need some sewing fairies pronto!

A blue finish

This week I managed to get my sister in laws quilt finished, photographed and posted.  It took me way longer than I hoped, but I am glad it is finally on its way to sunnier climes.

Christines finished quilt

The quilt was too long to be photographed in my usual spot so I took it out to the local park and hung it on the fence around the baseball practice area.  It was a little to wet and muddy to get more creative but I liked the location change-up.

christines finished quilt 2
The blocks for the quilt were made using the “Trip Around” technique and tons and tons of blue solids.  If you are interested you can read more about the initial design process here.

quilt detail

For the quilting I was originally just going to do straight line stitching in on diagonally on the quilt in one direction.  It made the quilt feel like the water was flowing in one direction, which I loved.  I then had the brilliant idea to add ten lines of quilting diagonally opposite to the flow to represent the ten years that my sister-in-law has been married…the ten years where her path has intersected with someone else. Okay I was being really sentimental and mushy and I will stop now!

backing and binding

I backed the quilt with the perfect print from Lizzy House’s “Constellations” collection and hand bound it with a variety of dark solids.  I am hoping that Christine loves this quilt as much as I do…

Colour Play – Brown

Last weekend, while my husband was away on a “dude’s weekend” I took the opportunity to clean up my stash a little. Needless to say there was fabric from one end of the house to the other… it looked like a fabulous colourful fabric bomb had gone off. During this process I realized I had somehow accumulated a decent size stash of brown fabric. I am still not sure how this happened as brown is definitely not a colour I use at all, ever, but now I had found it I of course had to use it.

I love a good challenge and finding good uses for brown fabric is a perfect challenge for 2014. Fired up it took me less than 5 minutes to find some inspiration in my house, and the game was on.

This inspiration, a glass vase….

glass vase

became this fabric pull…

fabric pull

The pattern I chose was a fabulously simple free paper piecing number from Quilters Cache… the Fly Foot 2 .

block pieces

Which when you do alternating colour blocks turns out like this…

WQ chocolate shoo fly block

These blocks when added to other blocks make this amazing plaid like pattern…

wq chocolate shoo fly quilt wip

For the first time in my quilting life I have used brown as a predominate colour and I love the results. There will be more brown combinations in my future… so stay tuned.

My blue period continues…

This week I got a little side tracked by a pile of scraps sitting around my sewing space.  Most of the time I do a good job of keeping my creative urges under control – I usually jot the idea down in my note-book and go back to what I should be doing.  This week the “should be doing” was quilting my sister in laws quilt... instead I took the scraps from that quilt and made some of these…

log cabin block

Yes the scraps from the project I SHOULD have been finishing tempted me into making log cabin blocks.   In my defense I had a whole pile of 2 1/2 inch strips of fabric already cut and lots and lots of scrappy little ends of fabric.  They cried out to be made into a log cabin, and I could not ignore it.  The end result of this diversion is this lovely little top…

baby blue quiltThis 40 x 40 inch quilt top took me about 4 episodes of “Top of the Lake” to make and came together really easily.  I already knew the colours worked together and all the cutting was done I just had to make log cabins.

baby blue quilt detail 3

I am really beginning to love what you can do with solids.  I struggled with the first quilt with the lack of pattern, but now can not wait to make my next solids quilt.  I have a cunning plan already.

baby blue quilt detail 2

This fun little exercise not only distracted me from my quilting to do list, but also added another UFO to my pile, but it was worth it.  The only hard thing about this quilt so far has been photographing it in the howling wind this morning…

blowing wind