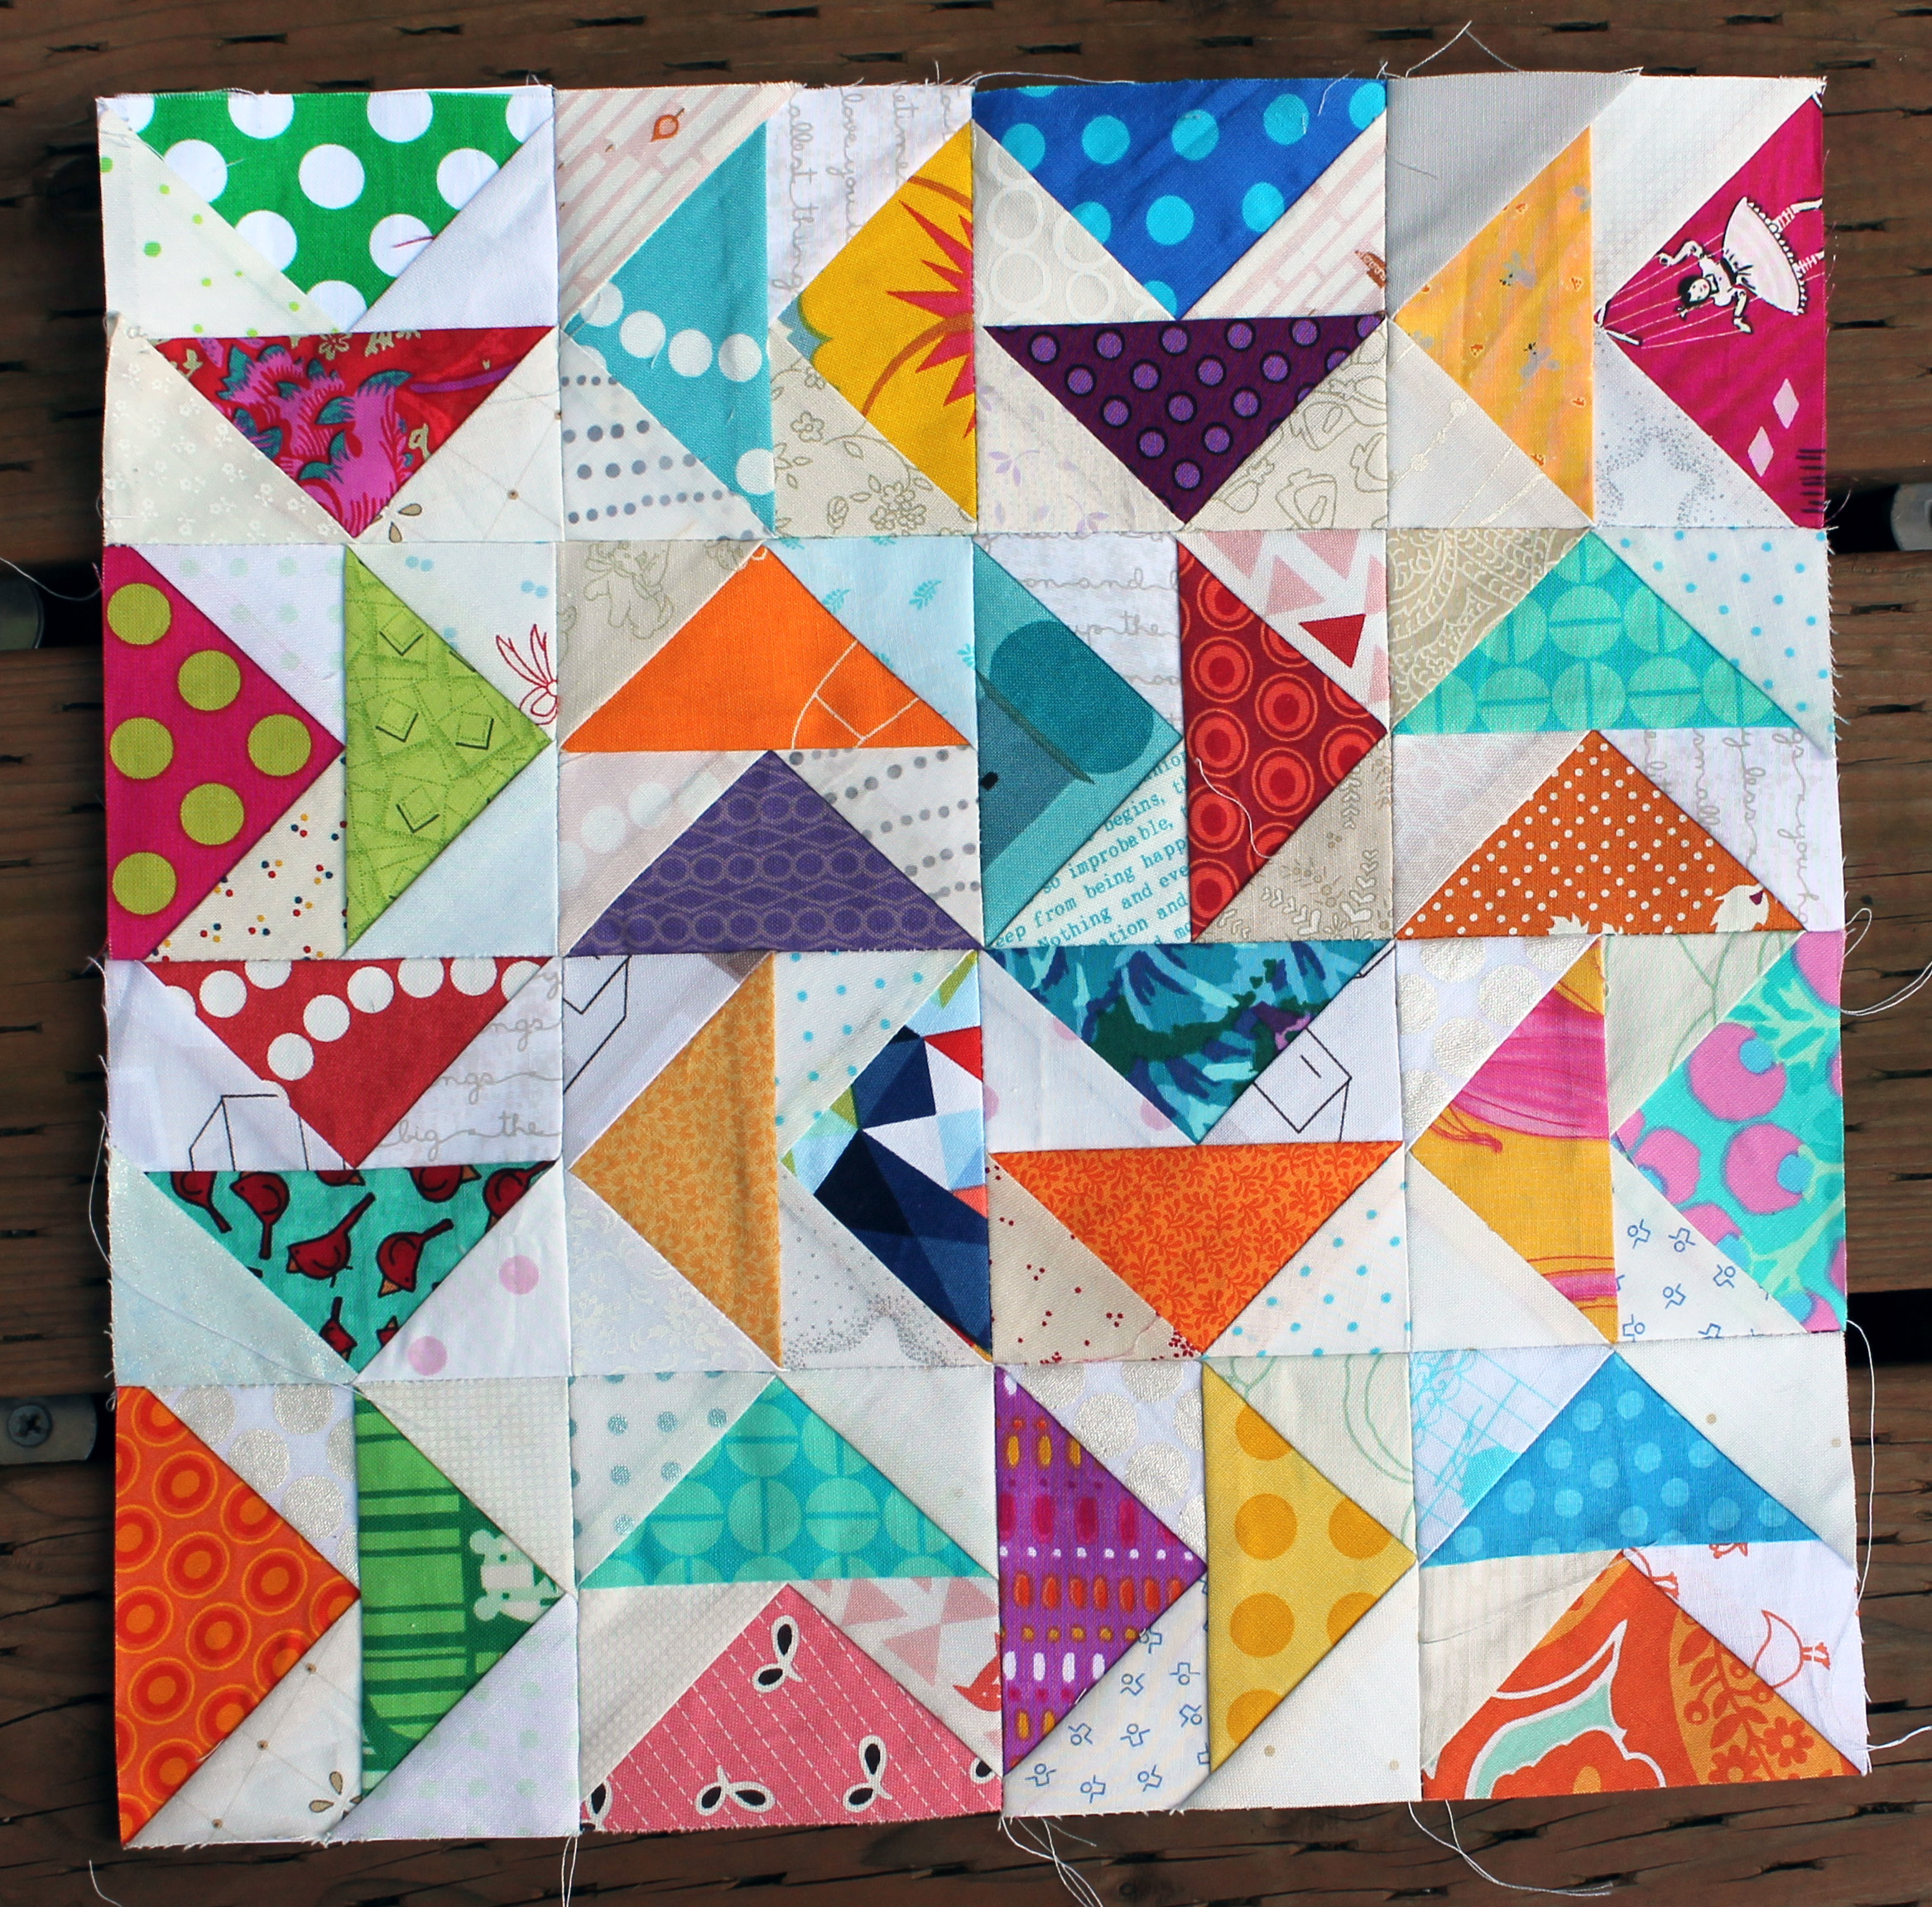
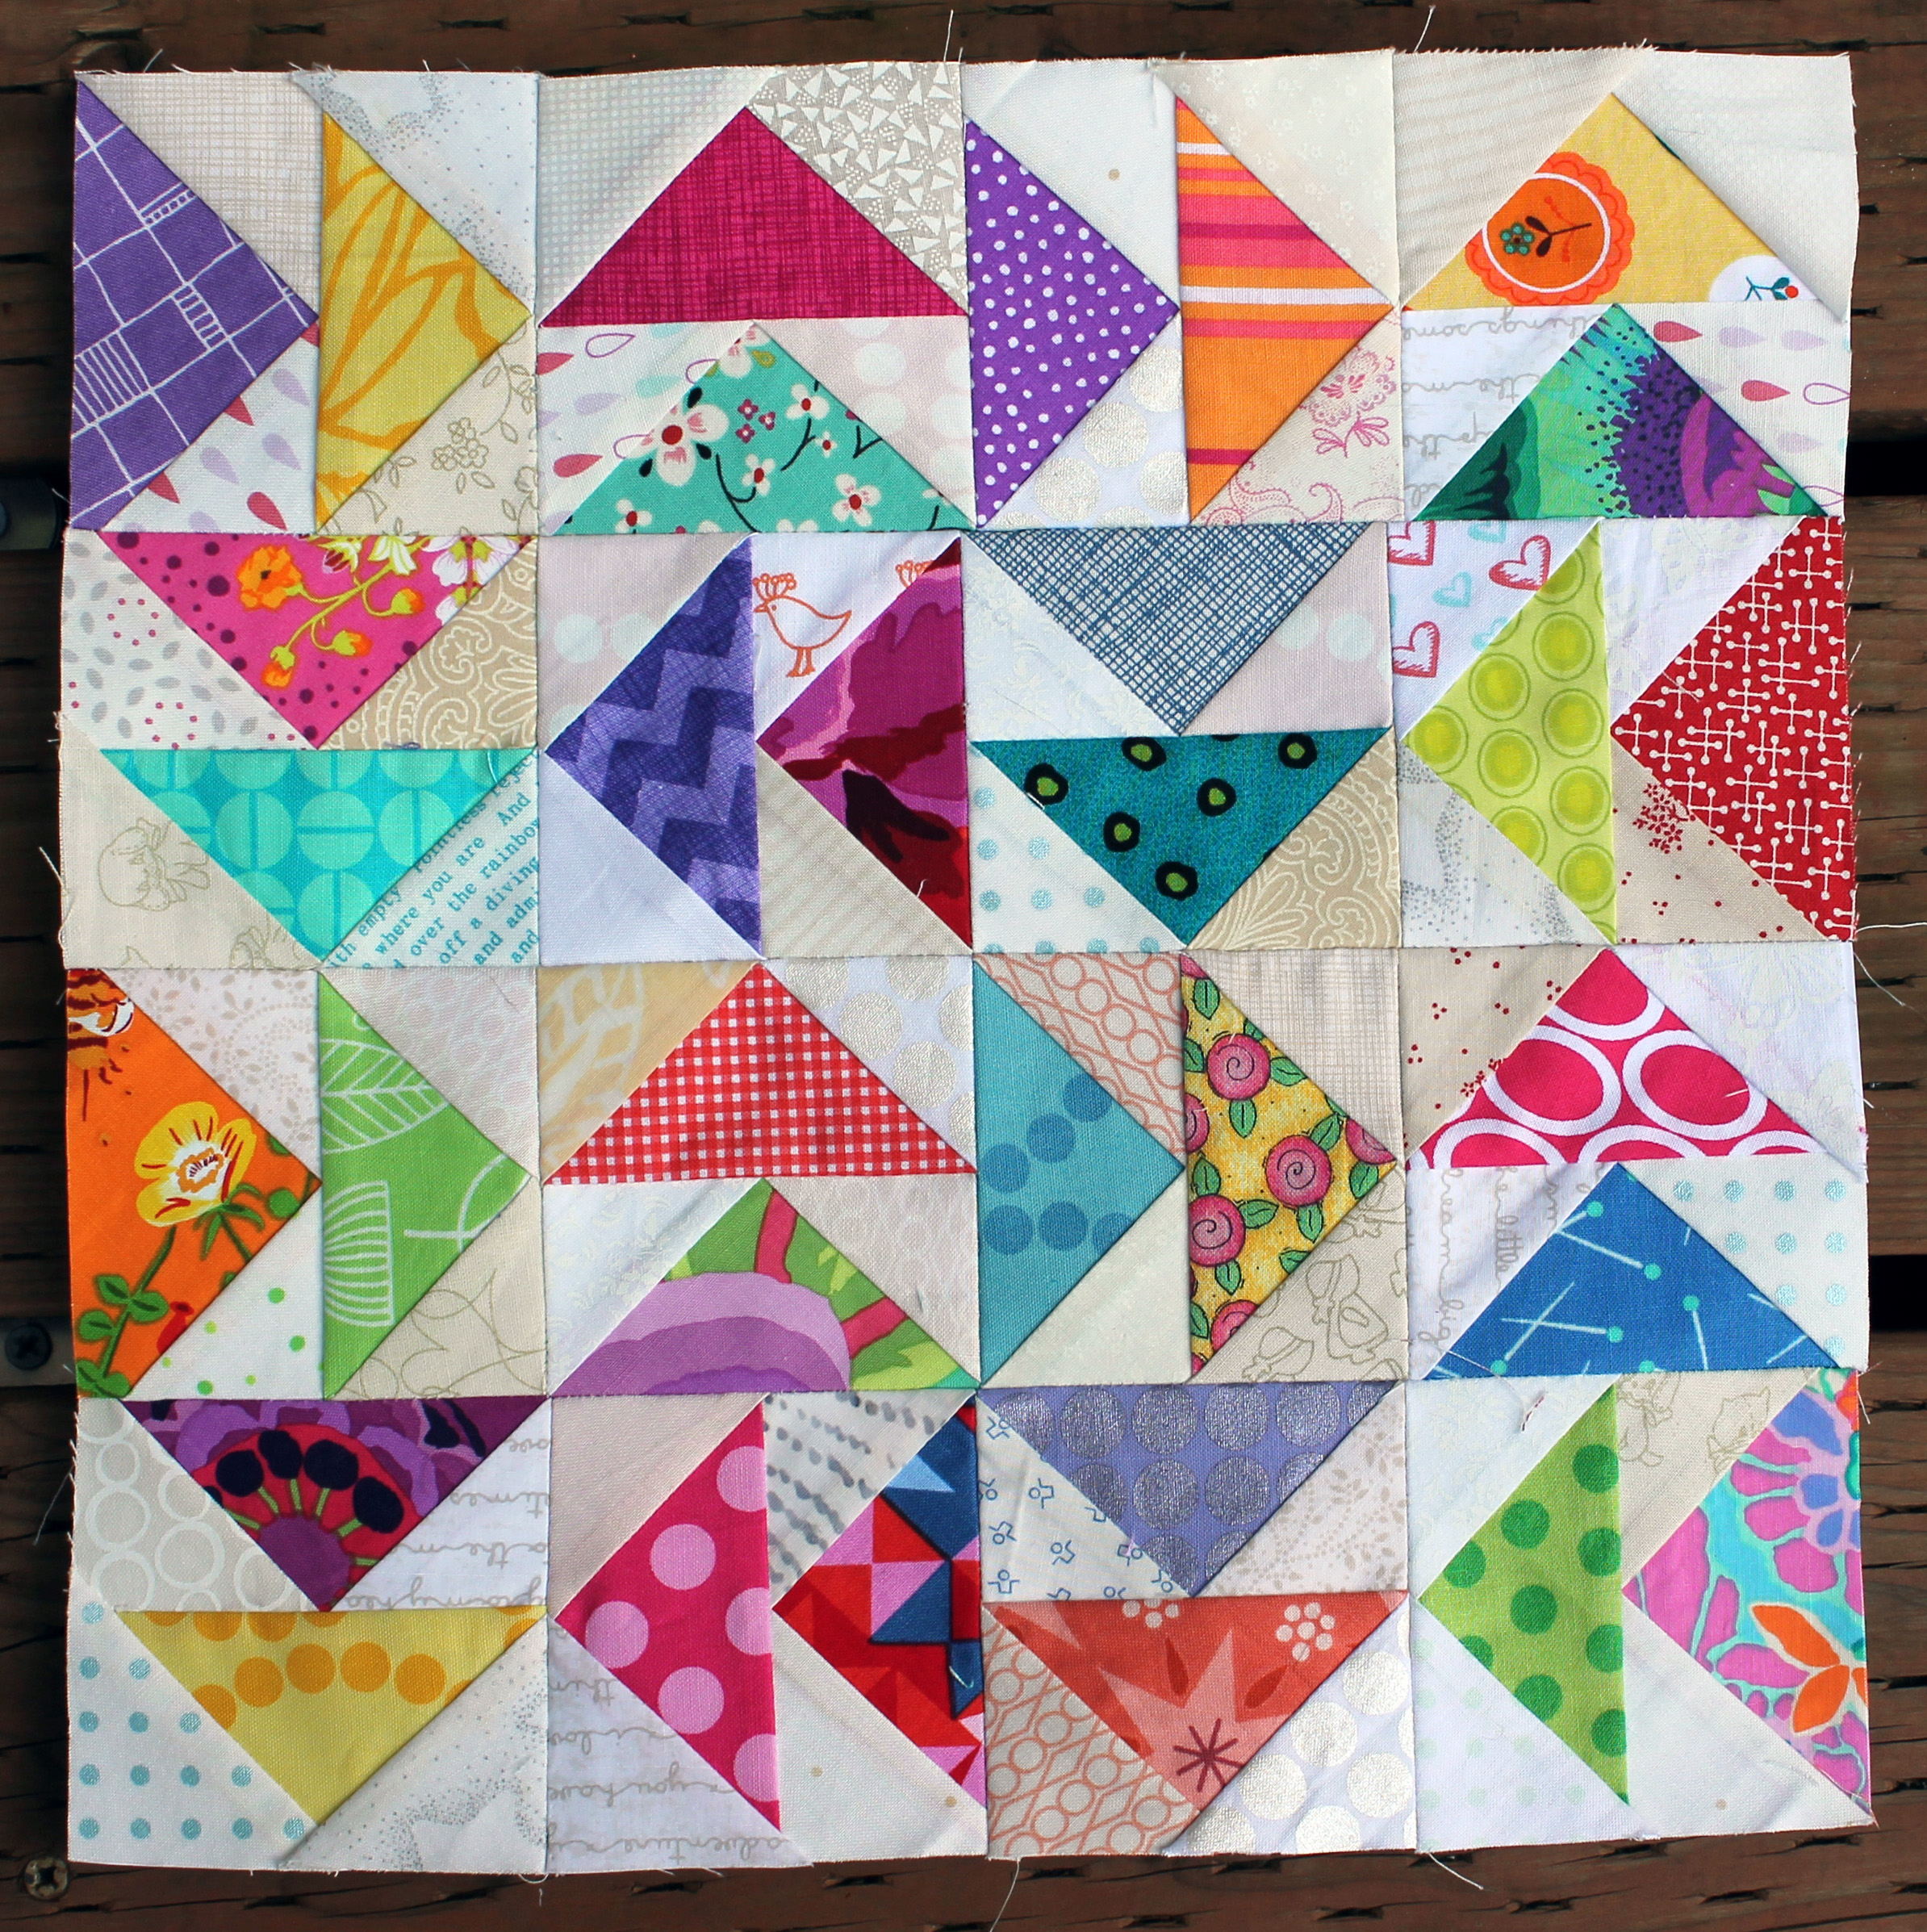
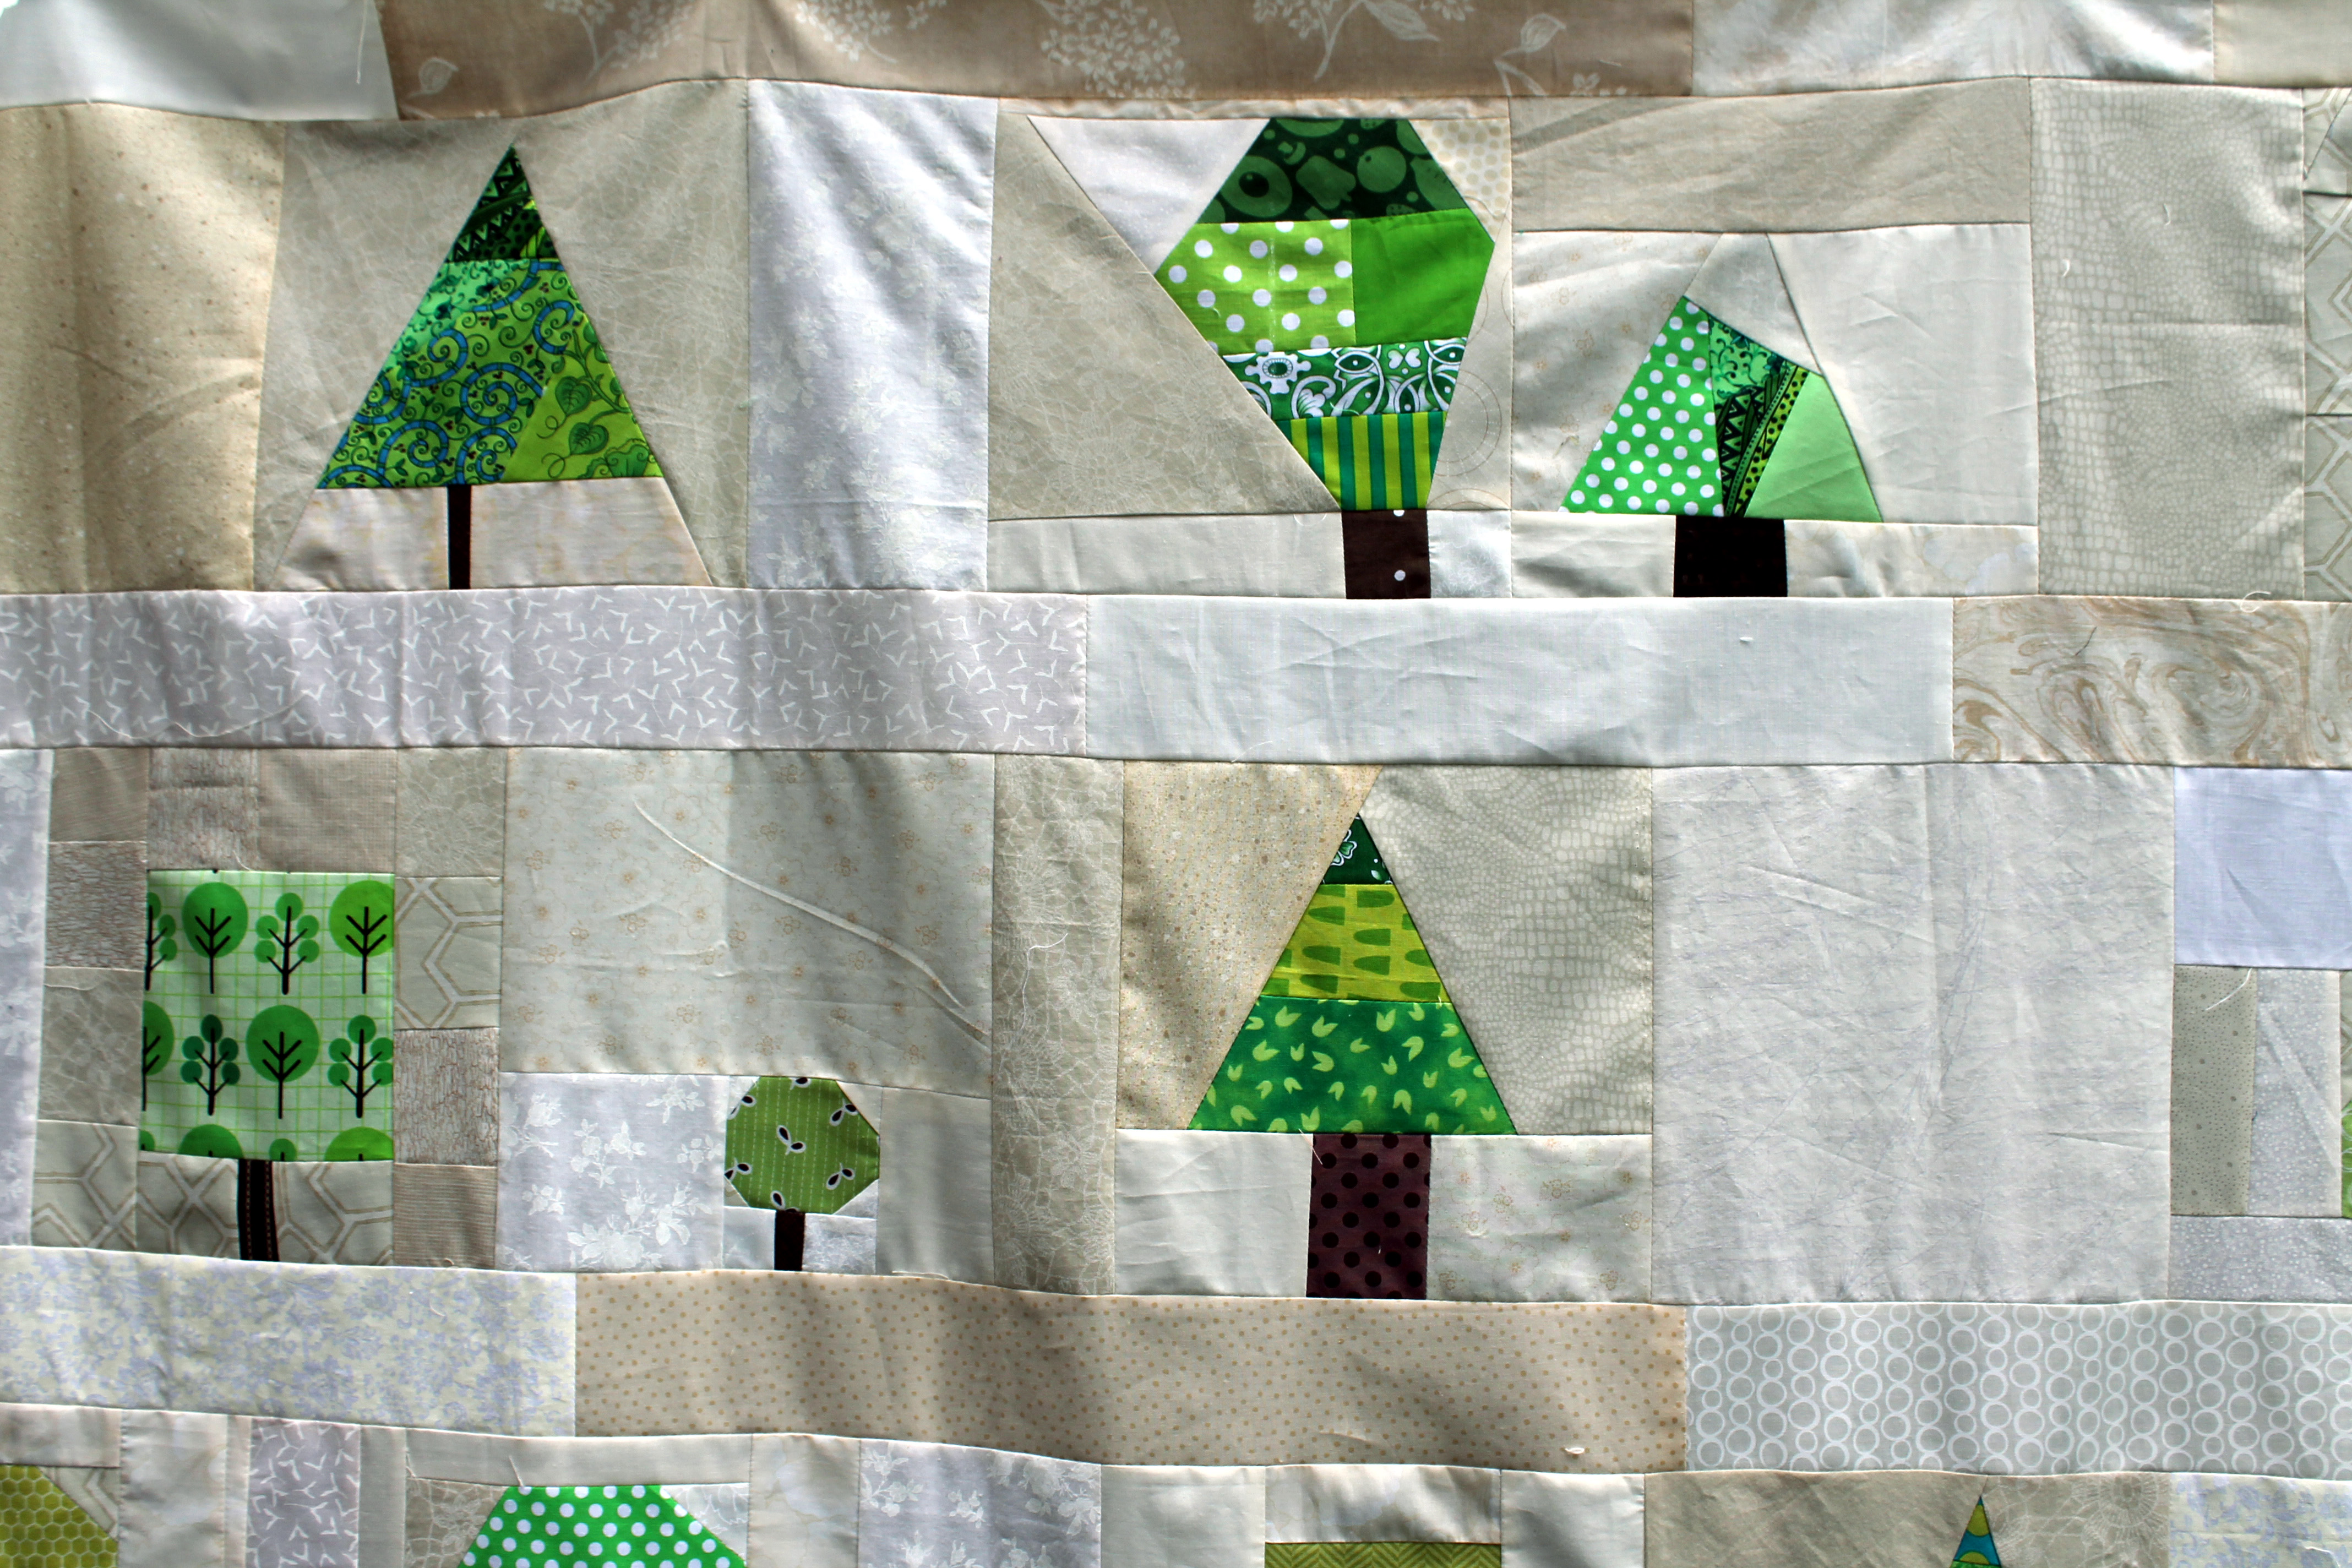
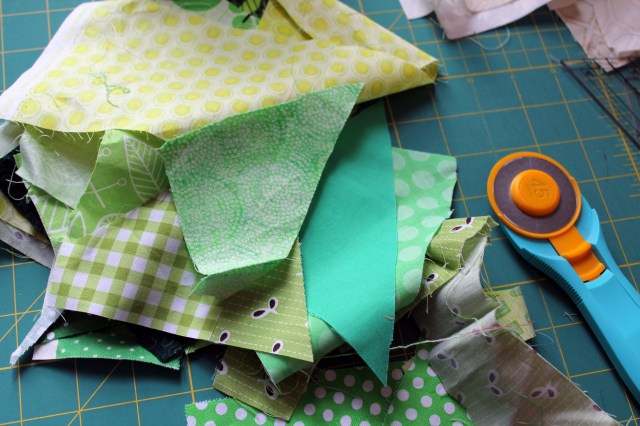
A few weeks ago I forced everyone at the PMQG Charity Sew day to make wonky trees. We had a large amount of green, brown and cream fabrics donated to the Guild and as soon as I saw the fabric I knew that we MUST make trees.
There were only two rules…. the finished block had to be 8 1/2 inches square and it had have a tree in it. What follows is the basic instructions I gave at the start of the day…
Wonky Tree Block Instructions:
Step One…. grab all your green scraps…and some of your brown scraps and either some white/cream solid or a collection of cream scraps.
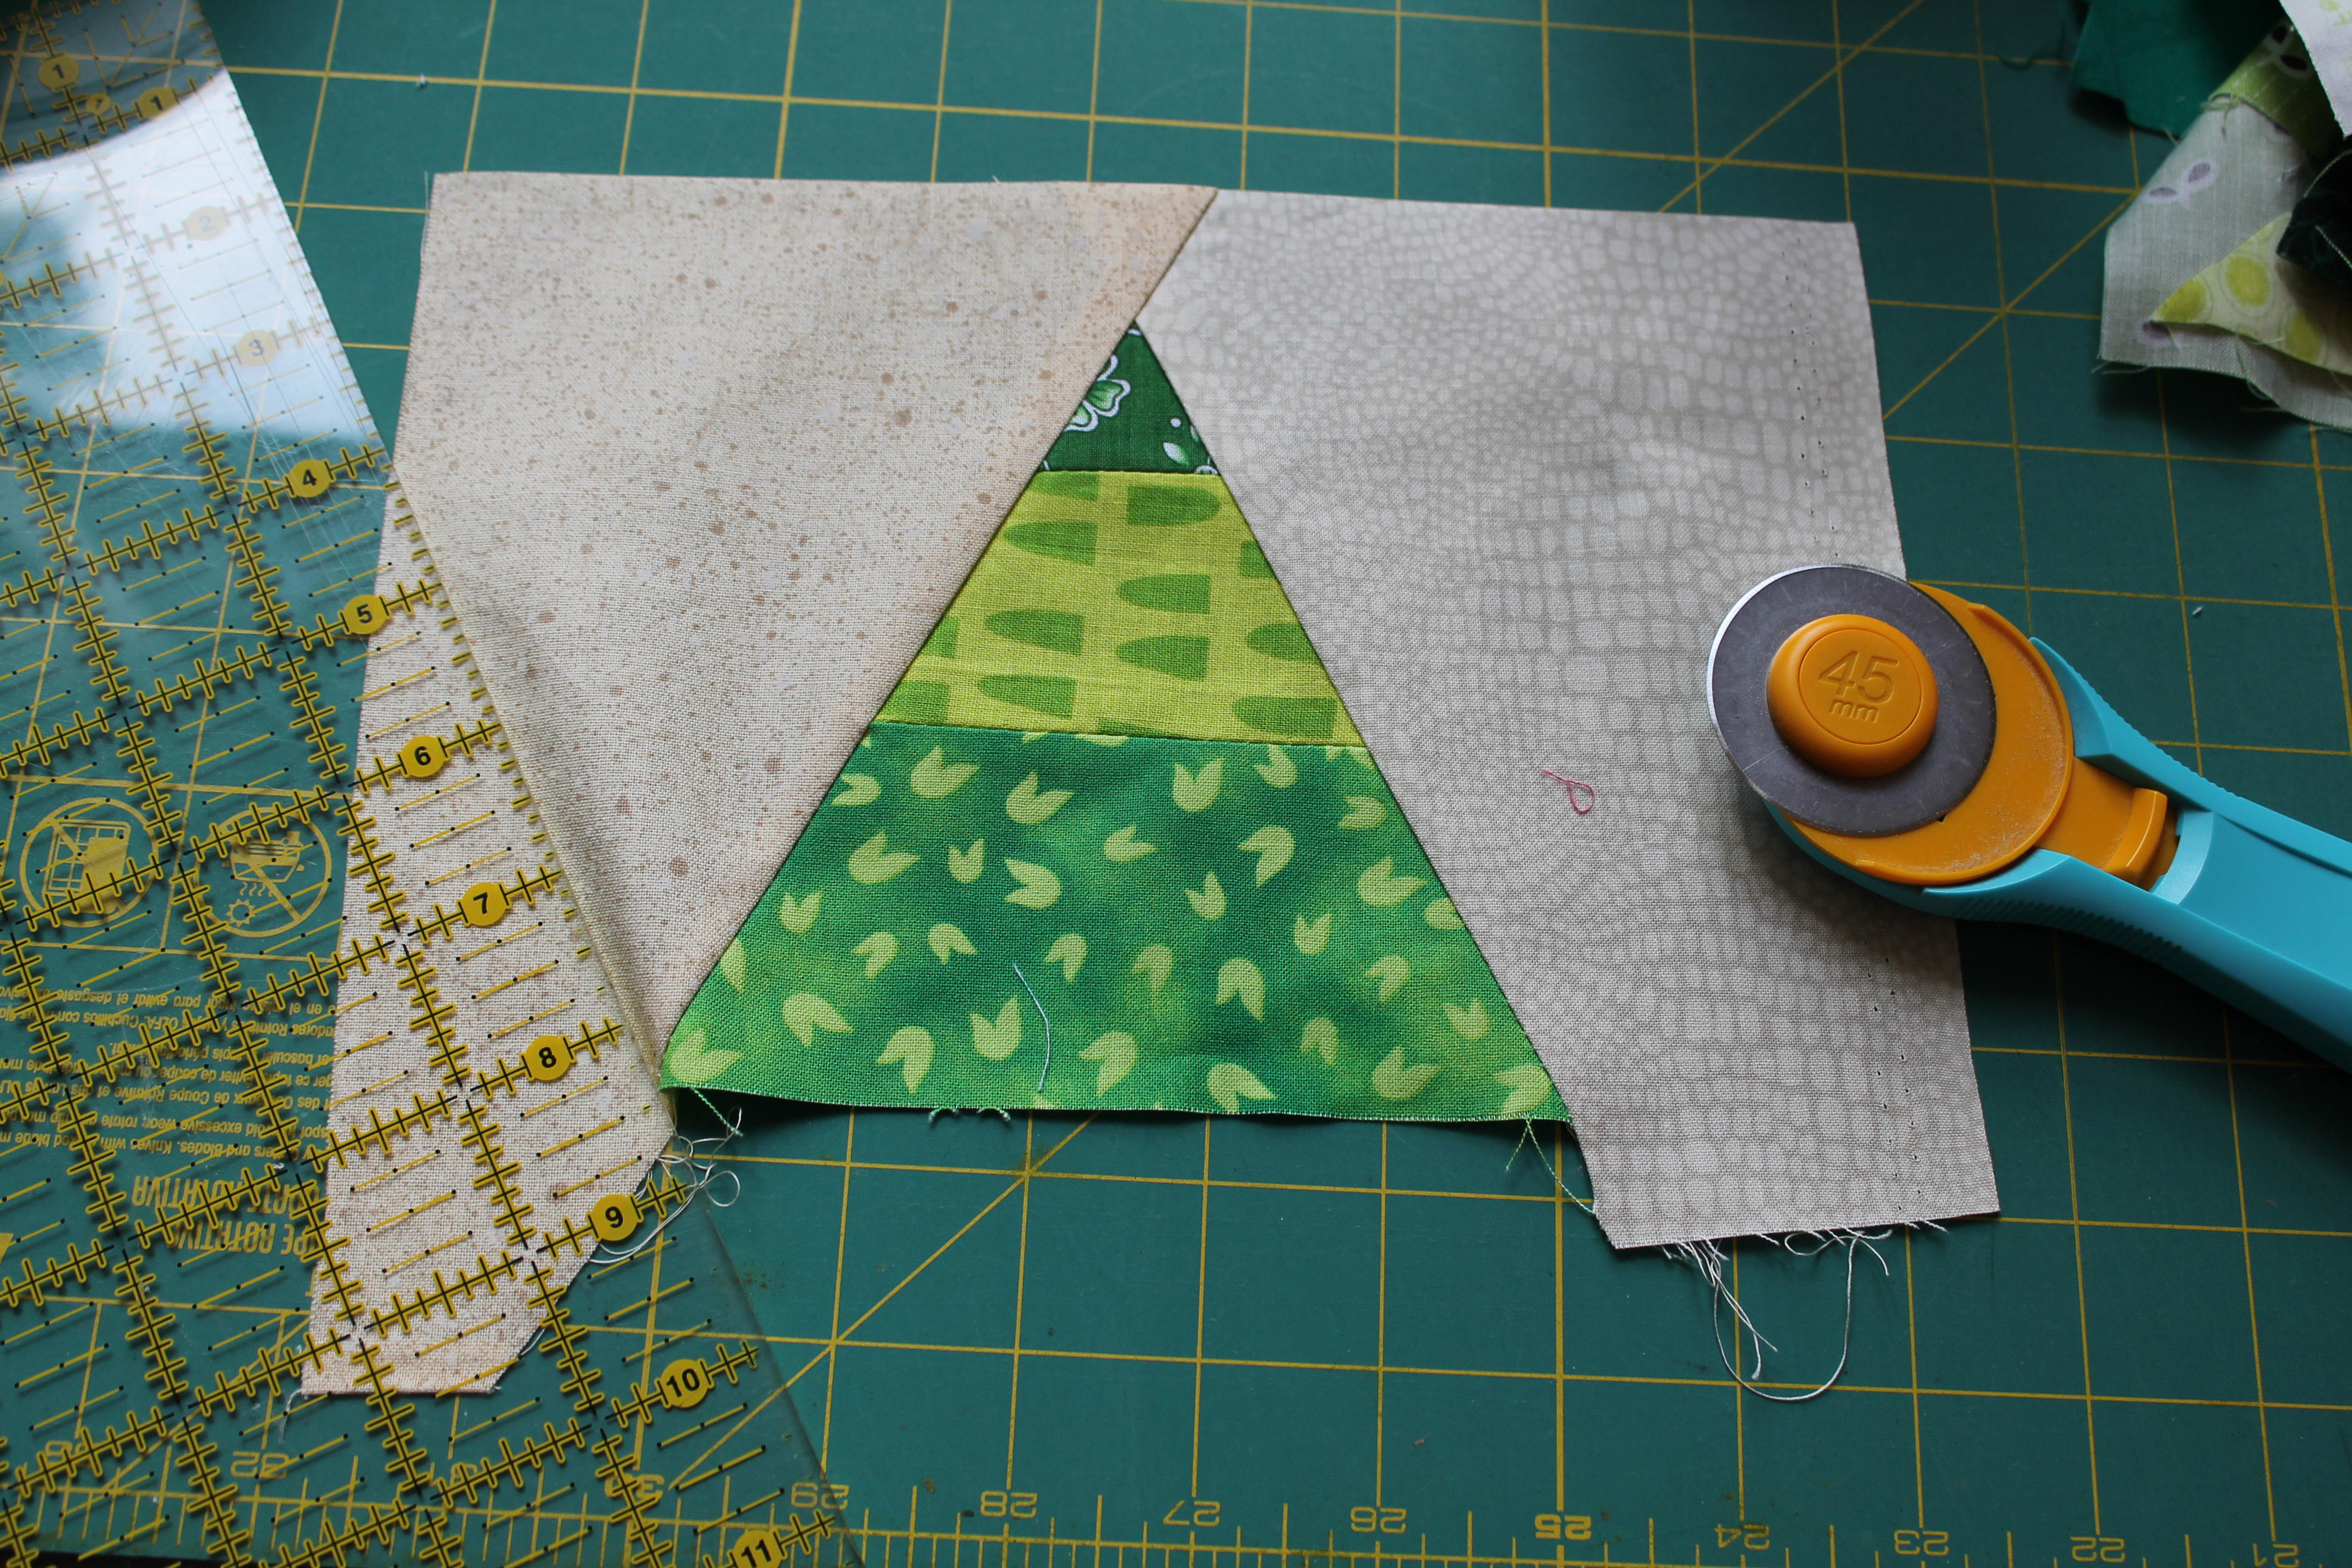
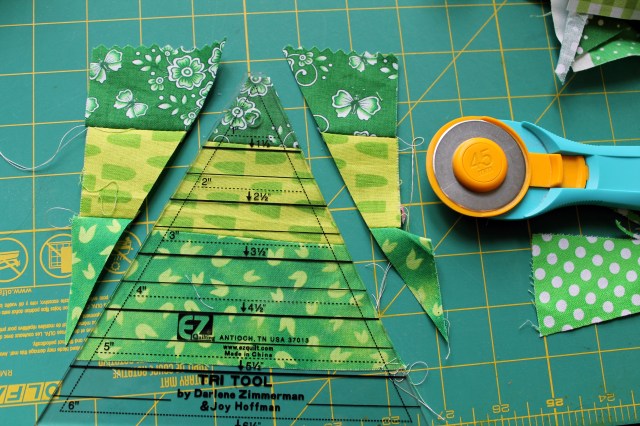
 Step Two... sew a selection of your scraps together to make a rectangle of green goodness… this is going to be your tree top so make it as big or as small as you want you tree to be.
Step Three… trim said rectangle to your desired shape. For some of our trees we used a triangle ruler…
 and for others we just made wonky oval shapes by trimming the corners of our rectangle and adding some corner background fabric….
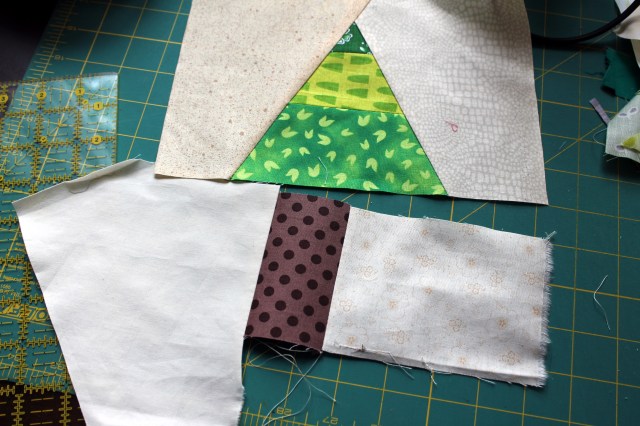
 Step Four…. add pieces of your background fabric around your tree top to make the it square and trim the bottom of your tree top so that it is straight…
 Note: You do not have to worry too much about making sure that the “sky” (background fabric) around the tree is as big as your finished block size as you have the ability to add a border to the block as needed. With the smaller trees we made the tree block up and then sashed the block out to the 8 1/2 inch square finished size (see Step Six and a half).
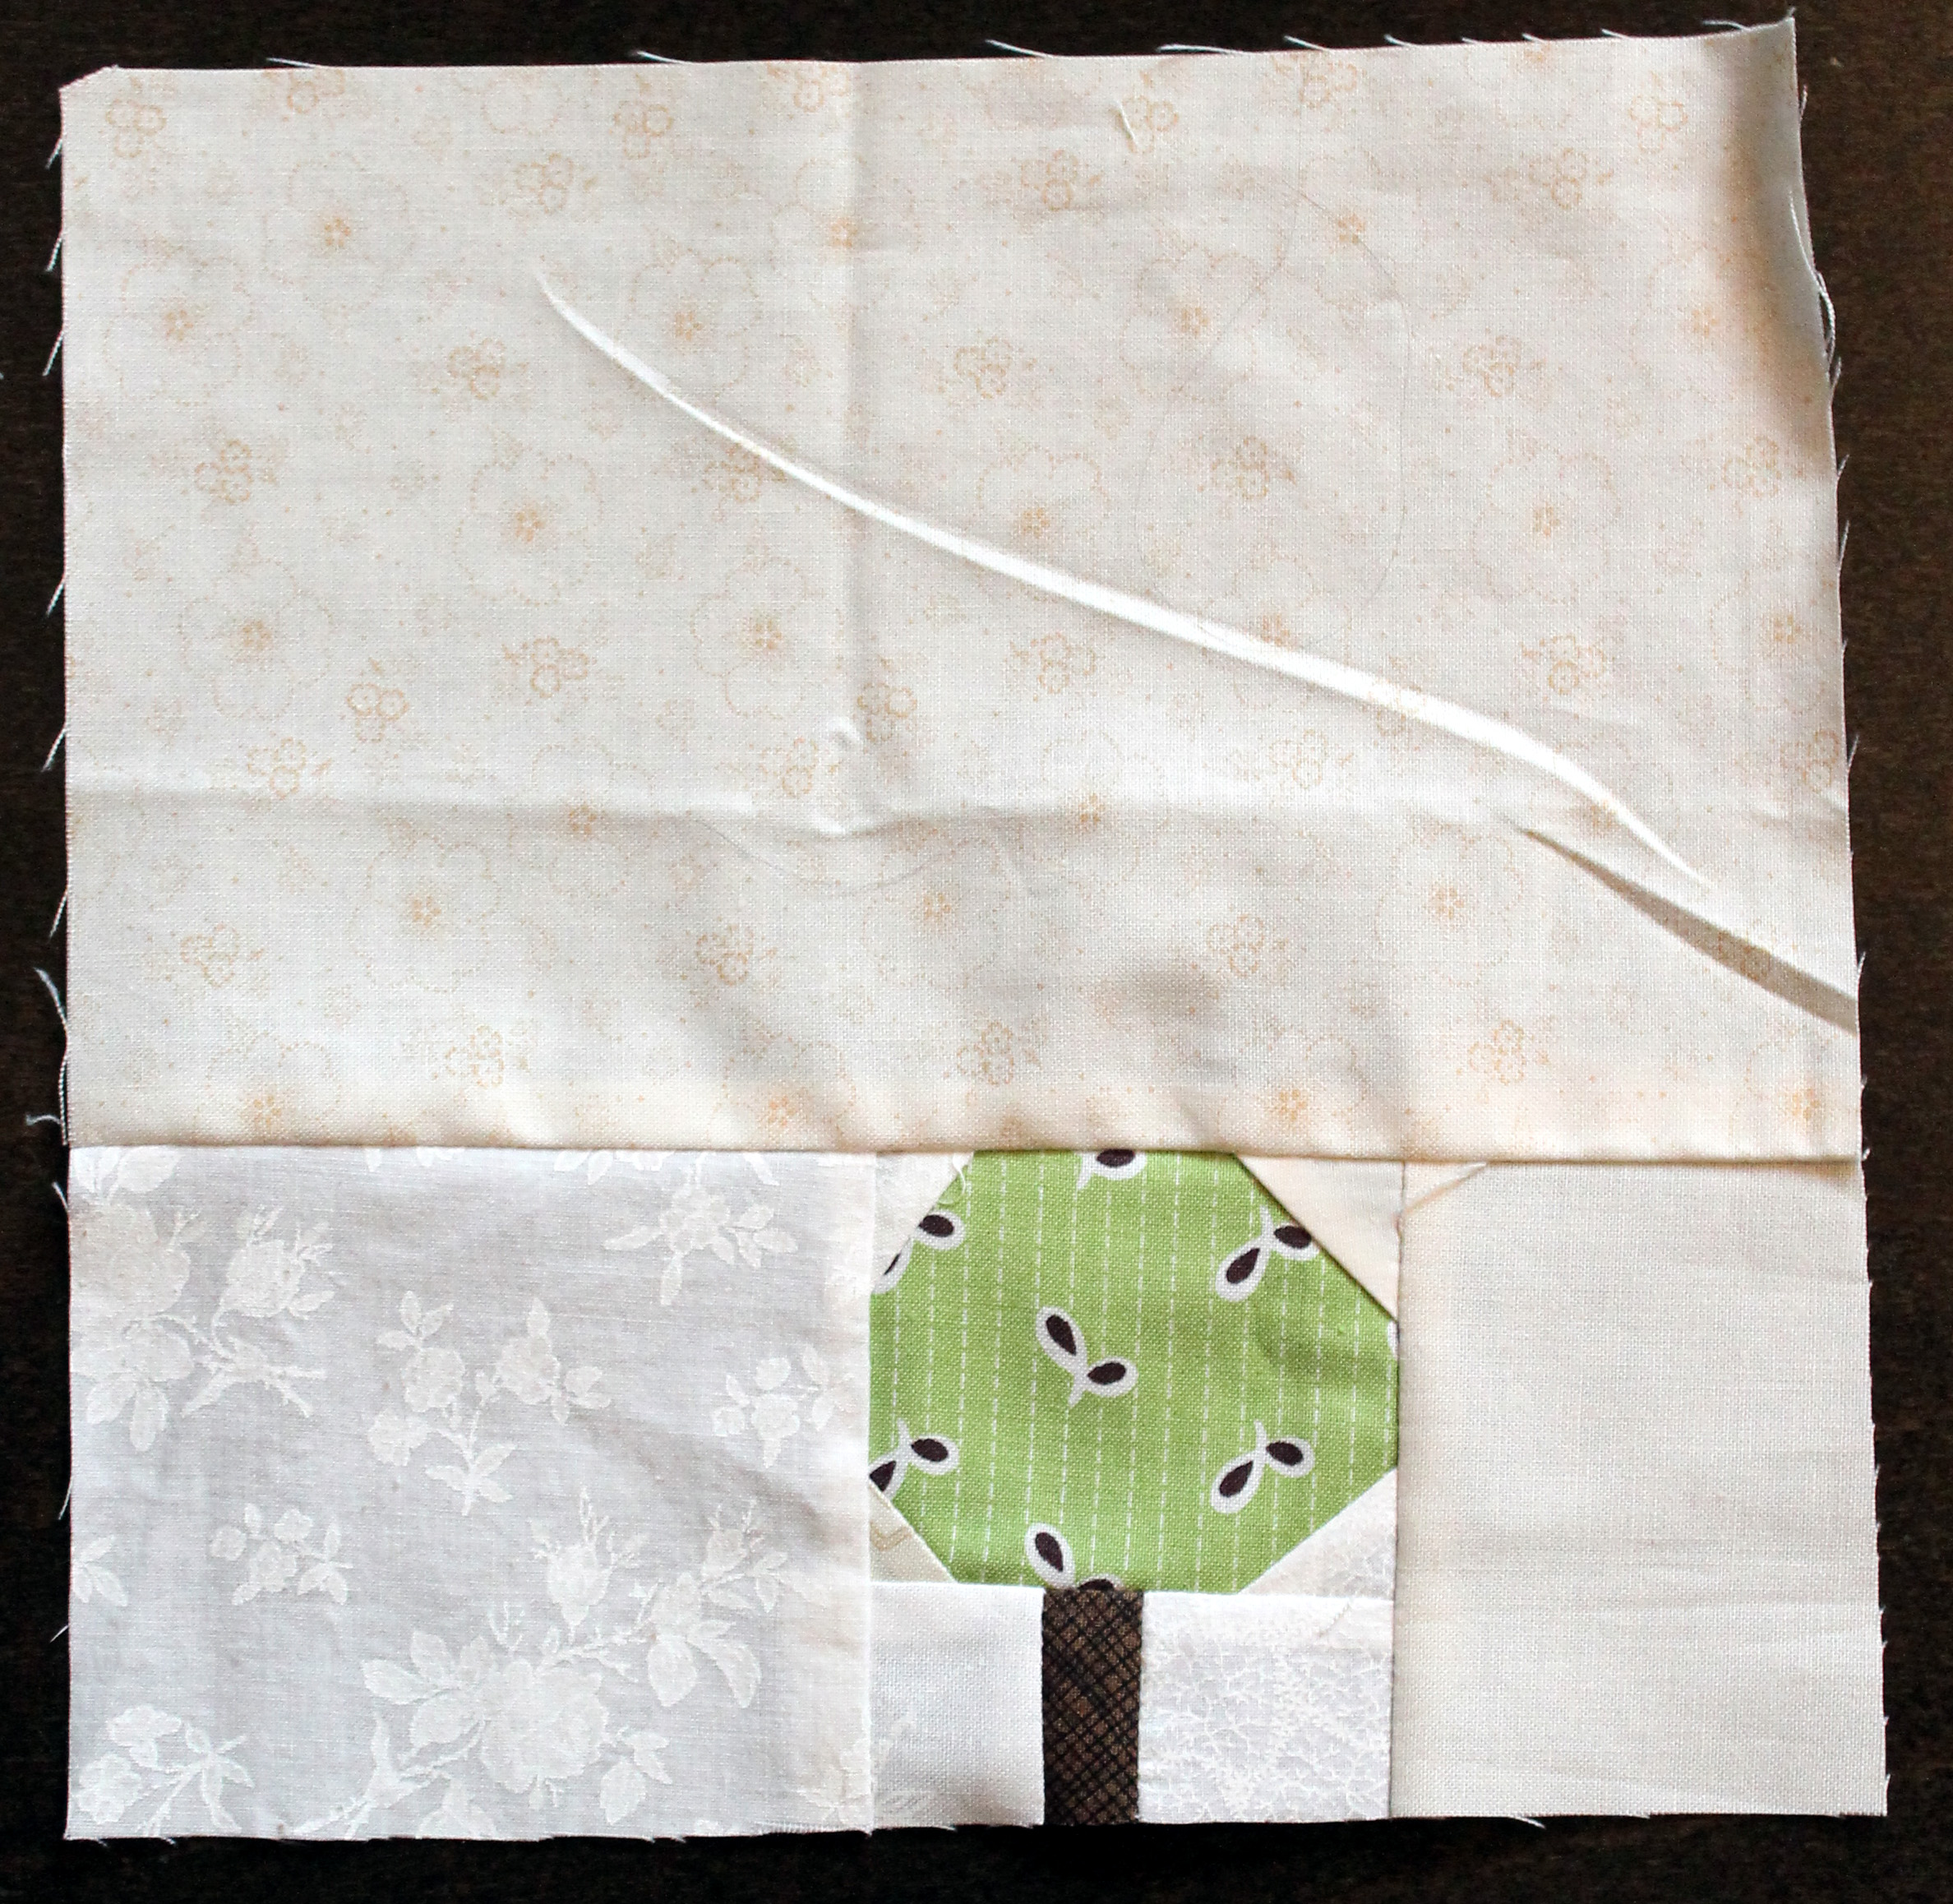
Step Five… Build the tree trunk by cutting a small piece of brown scrap fabric to make a suitable sized tree trunk. Remember this is wonky quilting so it can be as fat or as thin or as tall or short as you want. Sew two pieces of your background fabric to your brown strip, making sure your finished trunk piece is at least as wide as your tree top piece. Make sure that you trim the top of the tree trunk so that it is straight.
 Step Six… align the trunk to your tree top and sew the two pieces together.
Step Six and a half… if you have made a small tree sash your tree block to make it the correct size.
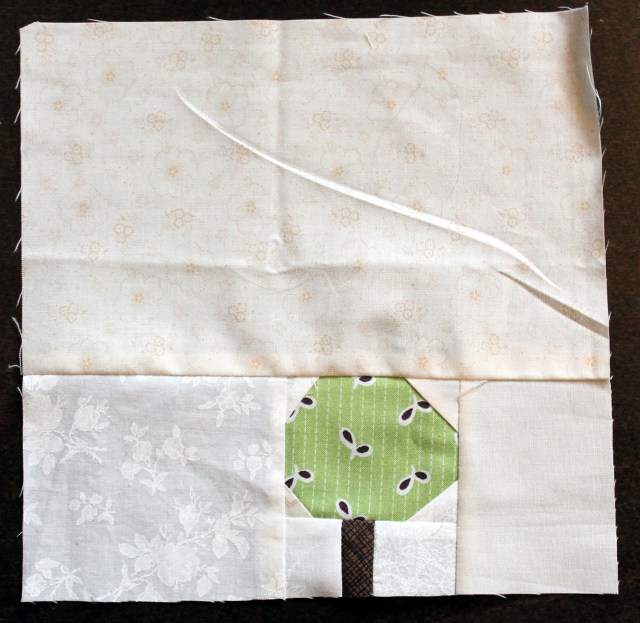 Step Seven…. Trim your block to size, we went with 8 1/2 inch square. Note: that the tree trunk ends at the bottom of the block, with no extra background fabric at the bottom. I found that having all the trunks at the bottom of the block made the overall look of the pieced quilt cleaner and more uniformed.
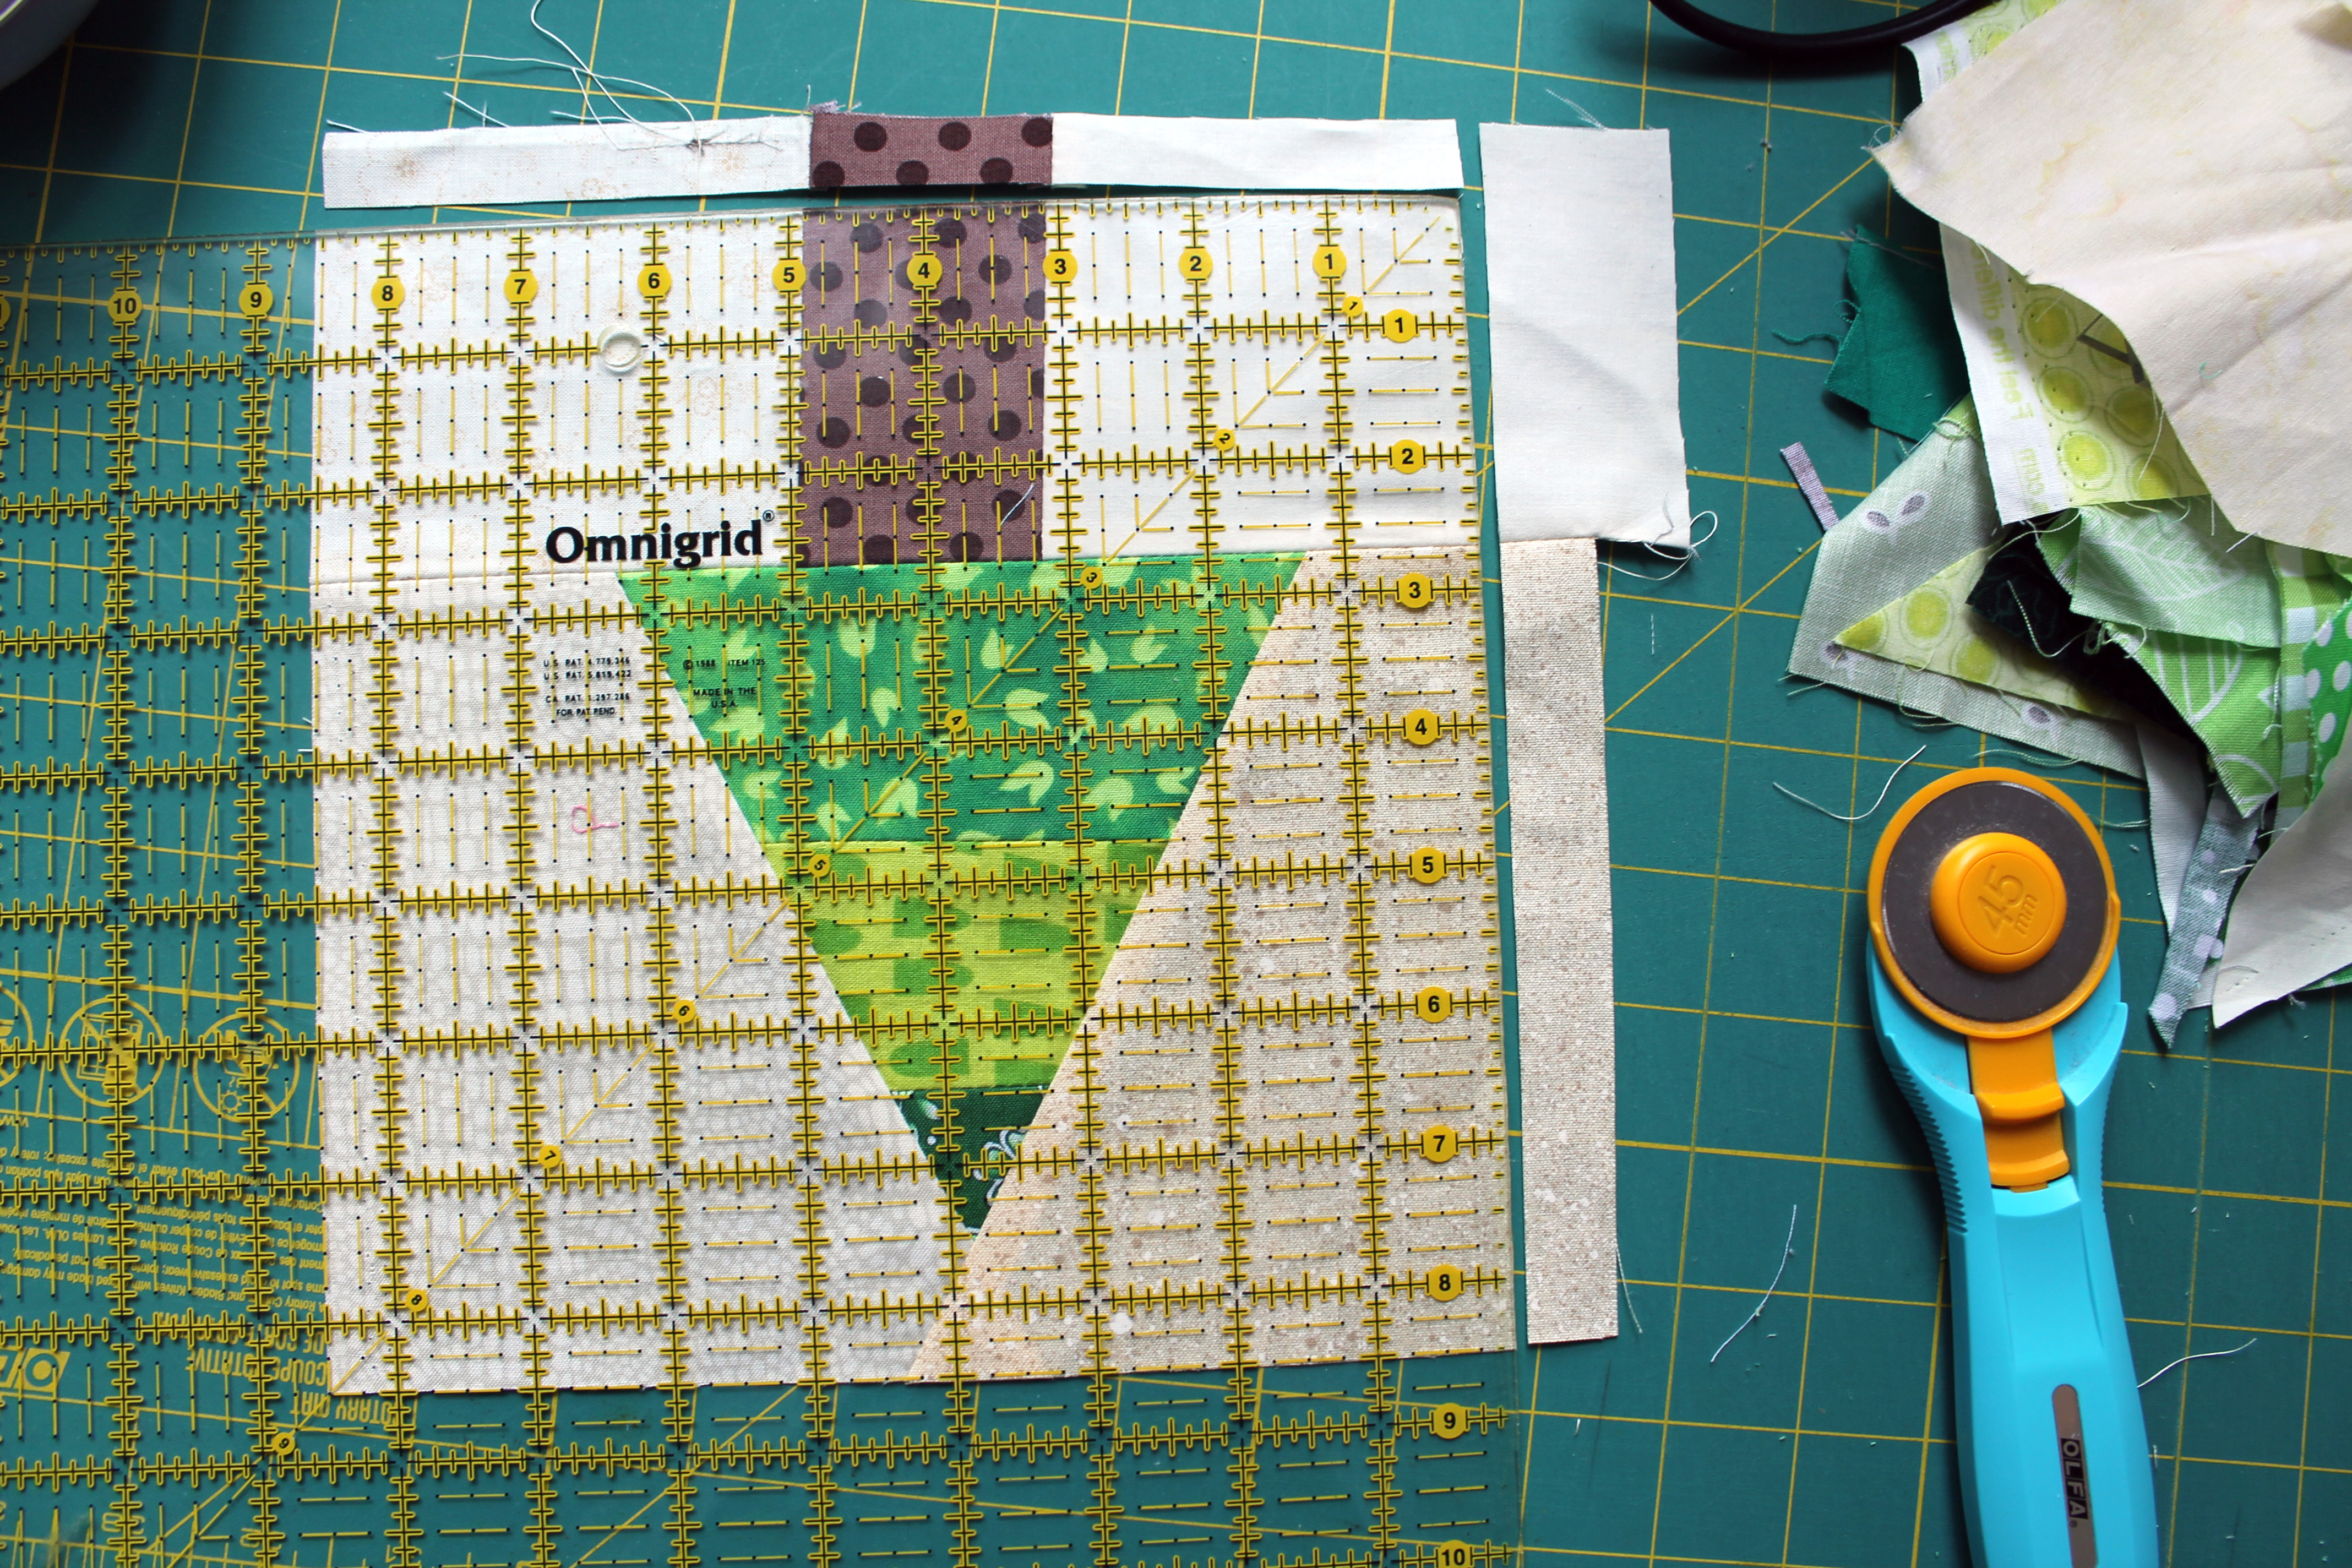
 And voila you have a wonky tree block….
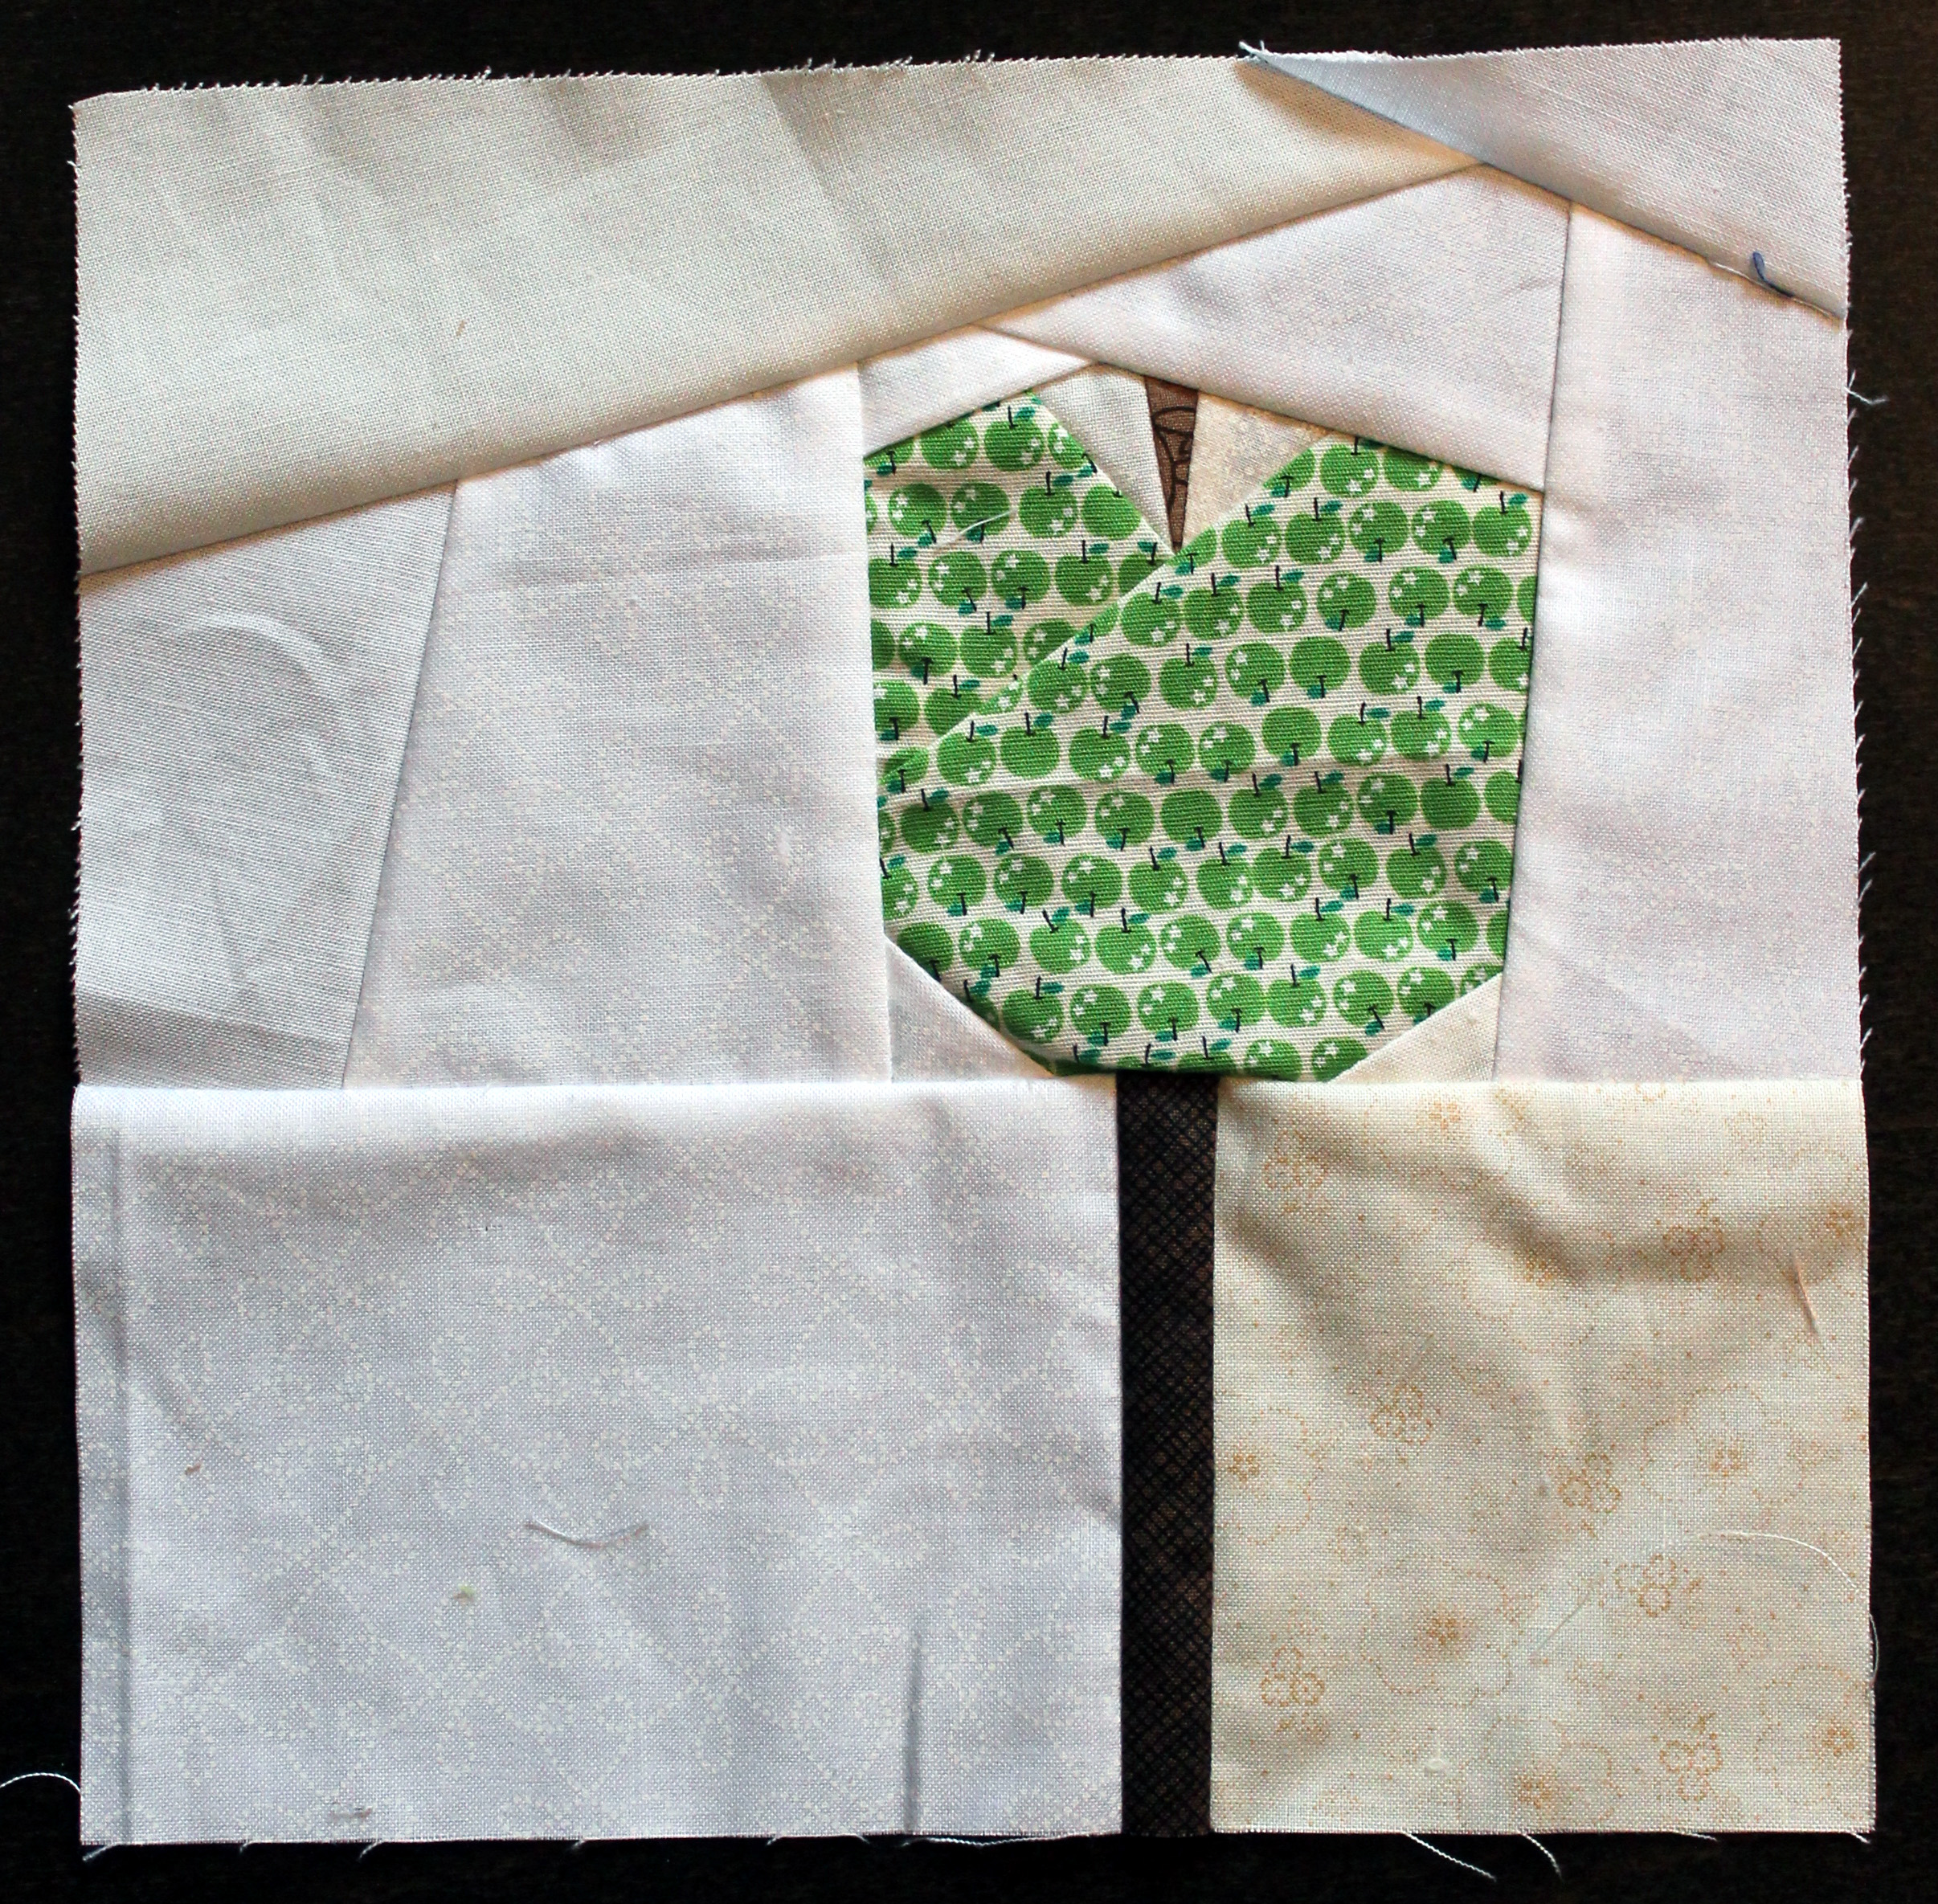
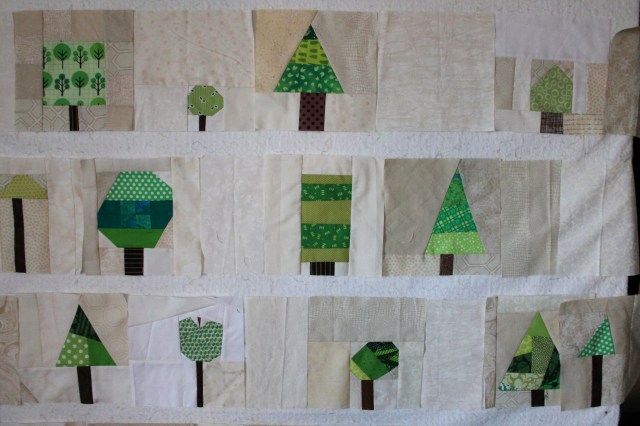
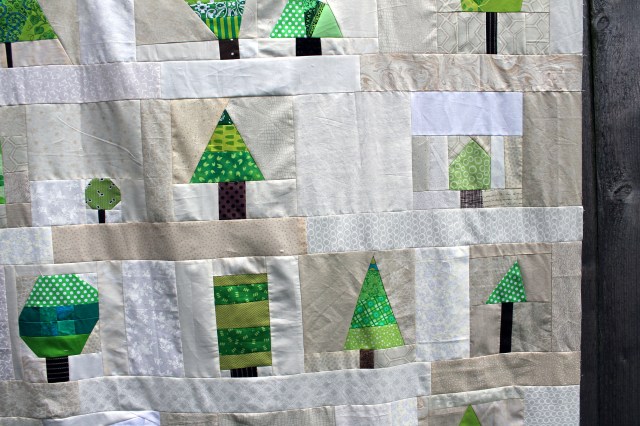
 At the end of our day of sewing we had a veritable forest of different type of trees. Everyone embraced the wonky and the freedom to do whatever took their fancy. My favorite creation of the day was the Apple Tree…
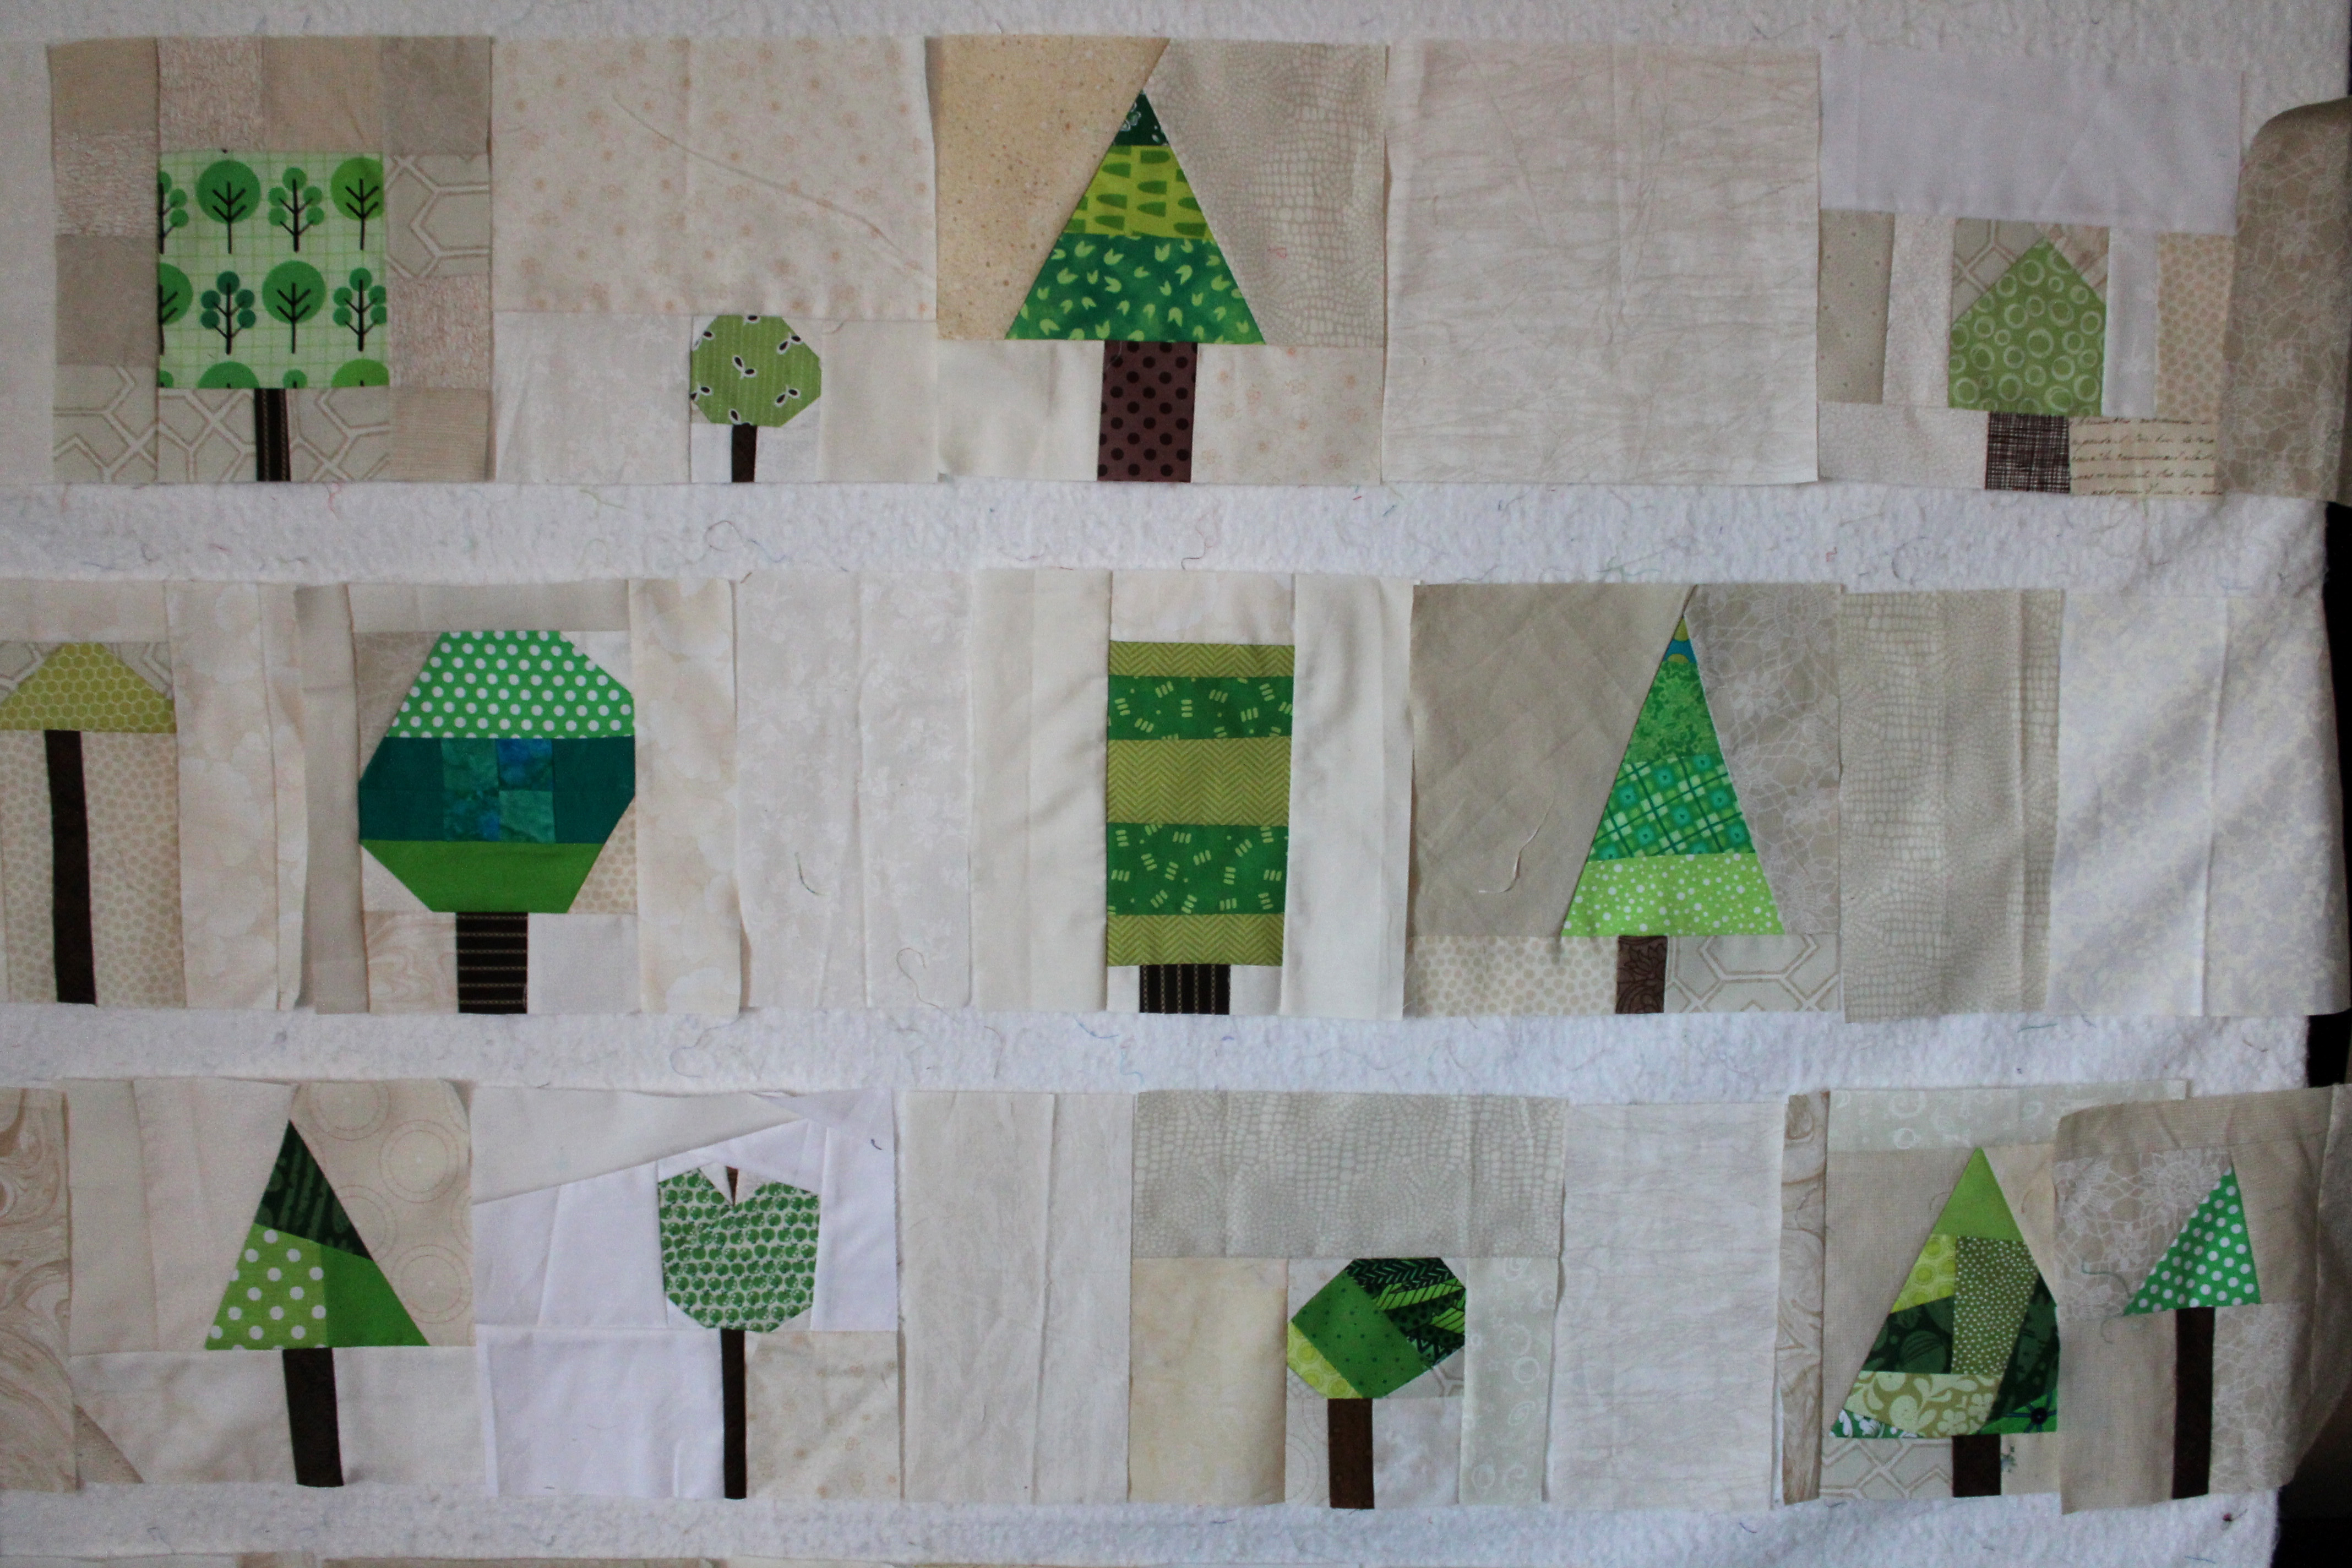
 It was so much fun putting the final quilt top together, there were so many fabulous blocks to choose from and I spent a good hour or so re-arranging the forest on my design wall.
 When piecing the top together I used cream scraps cut into 8 1/2 square blocks and 4 1/2 x 8/12 inch strips to space out the trees. From playing with the layout on the design wall I knew I did not want to put all the trees together in one clump. I then added a 3 inch sashing of cream scraps between each row of trees.
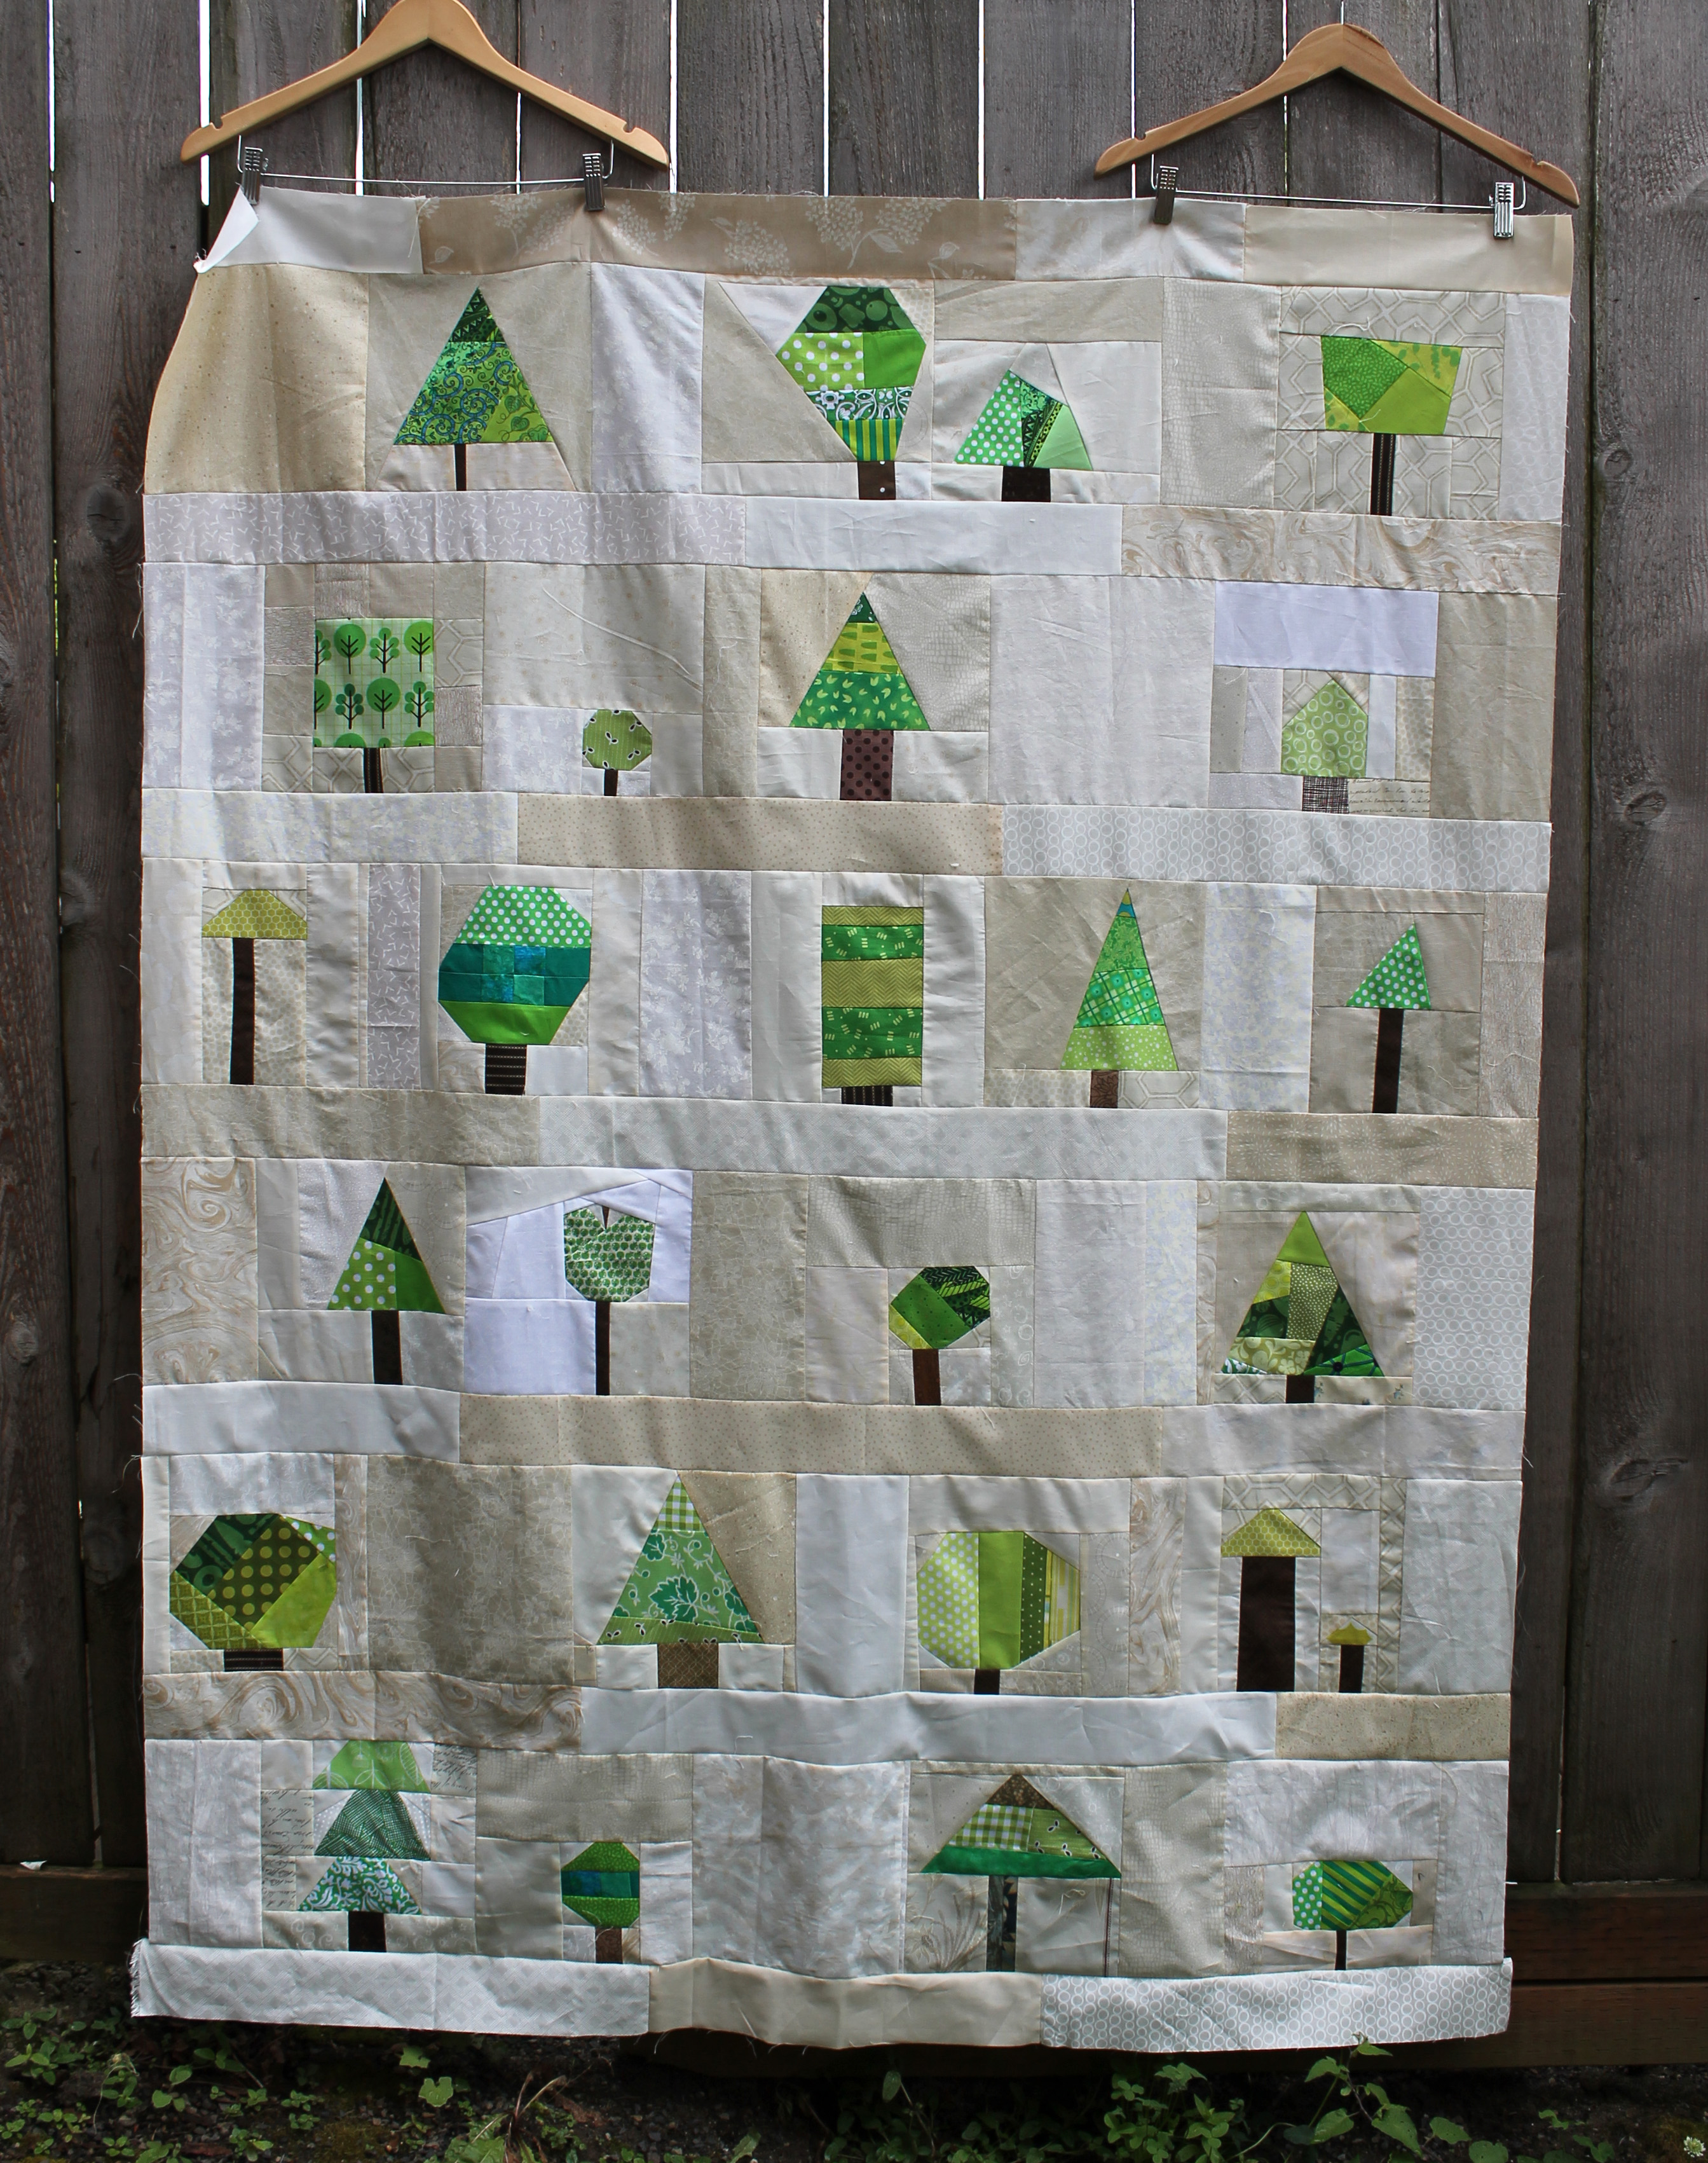
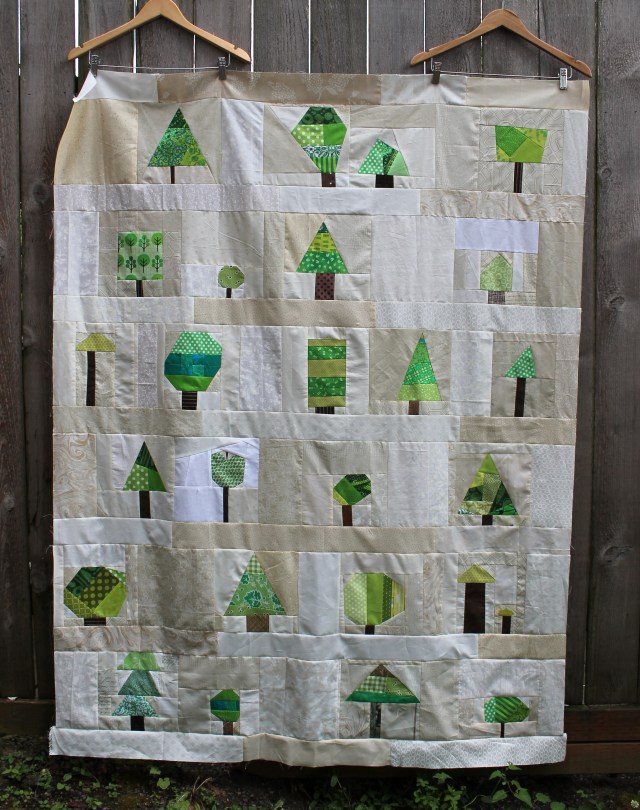 I am so pleased with how this top turned out. There is a sense of fun and silliness to the trees…everyone did such a stellar job and no two trees are alike.
Now our forest is being handed off to one of the Guild’s talented longarmers for quilting. I can not wait to see how they handle this one.
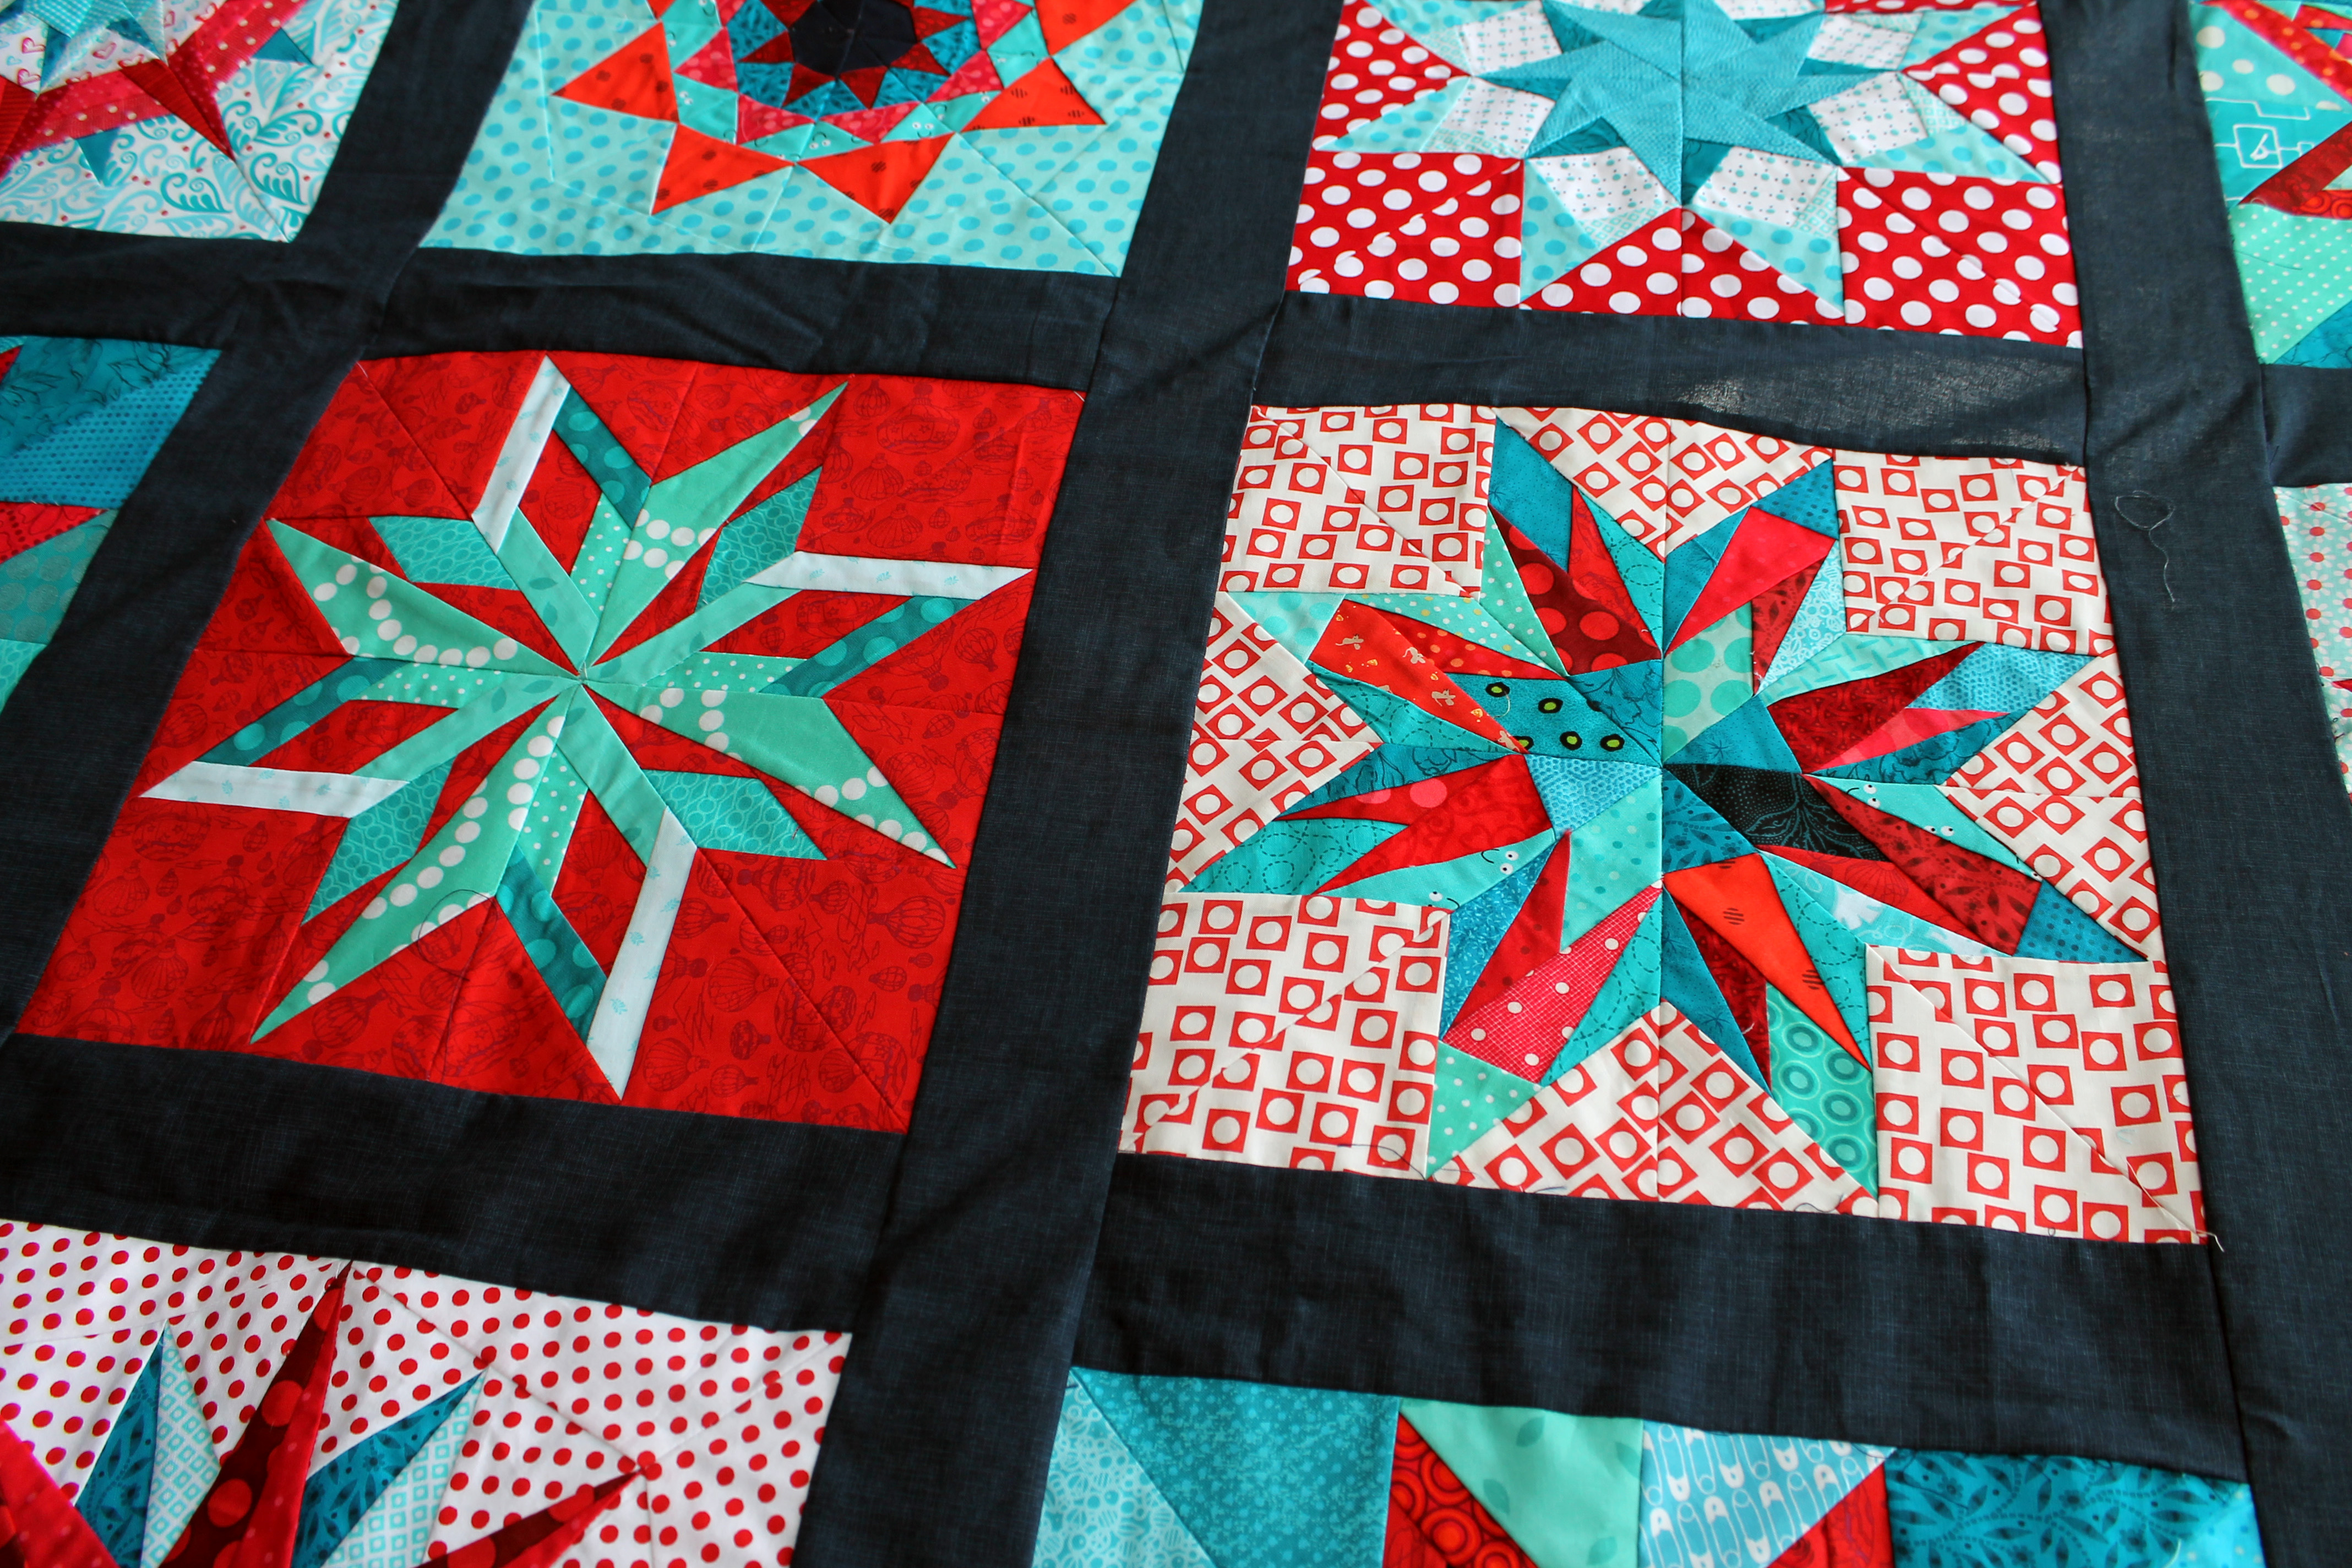
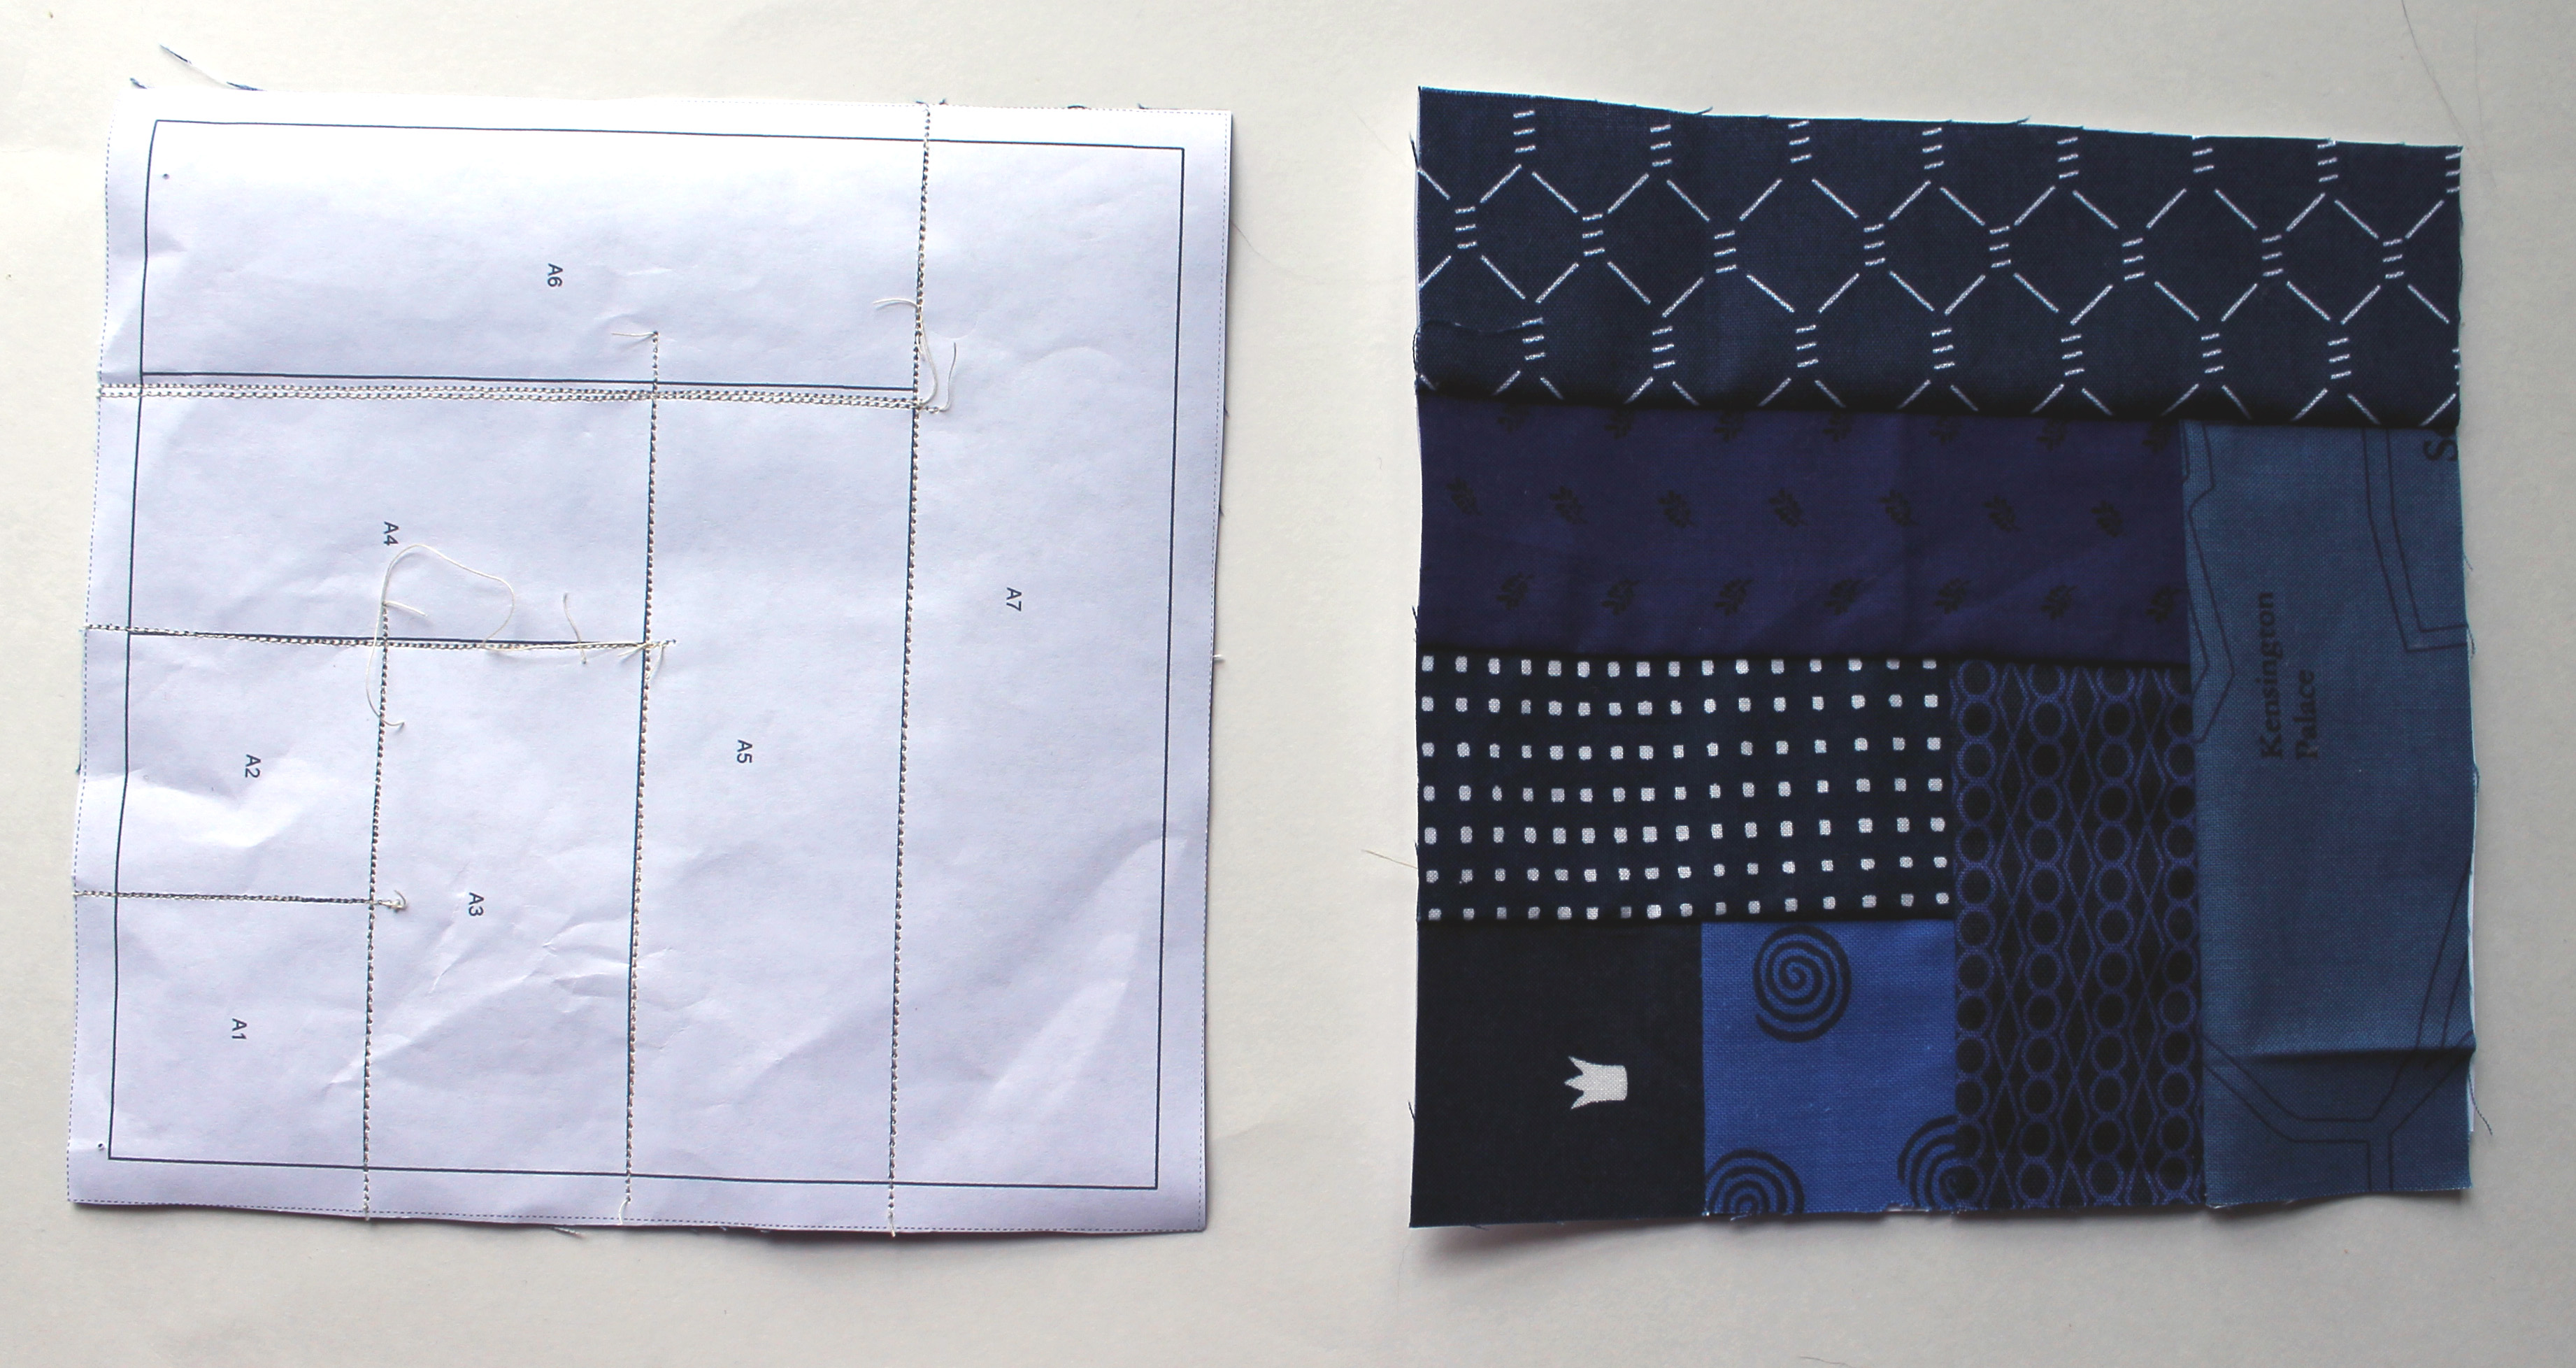
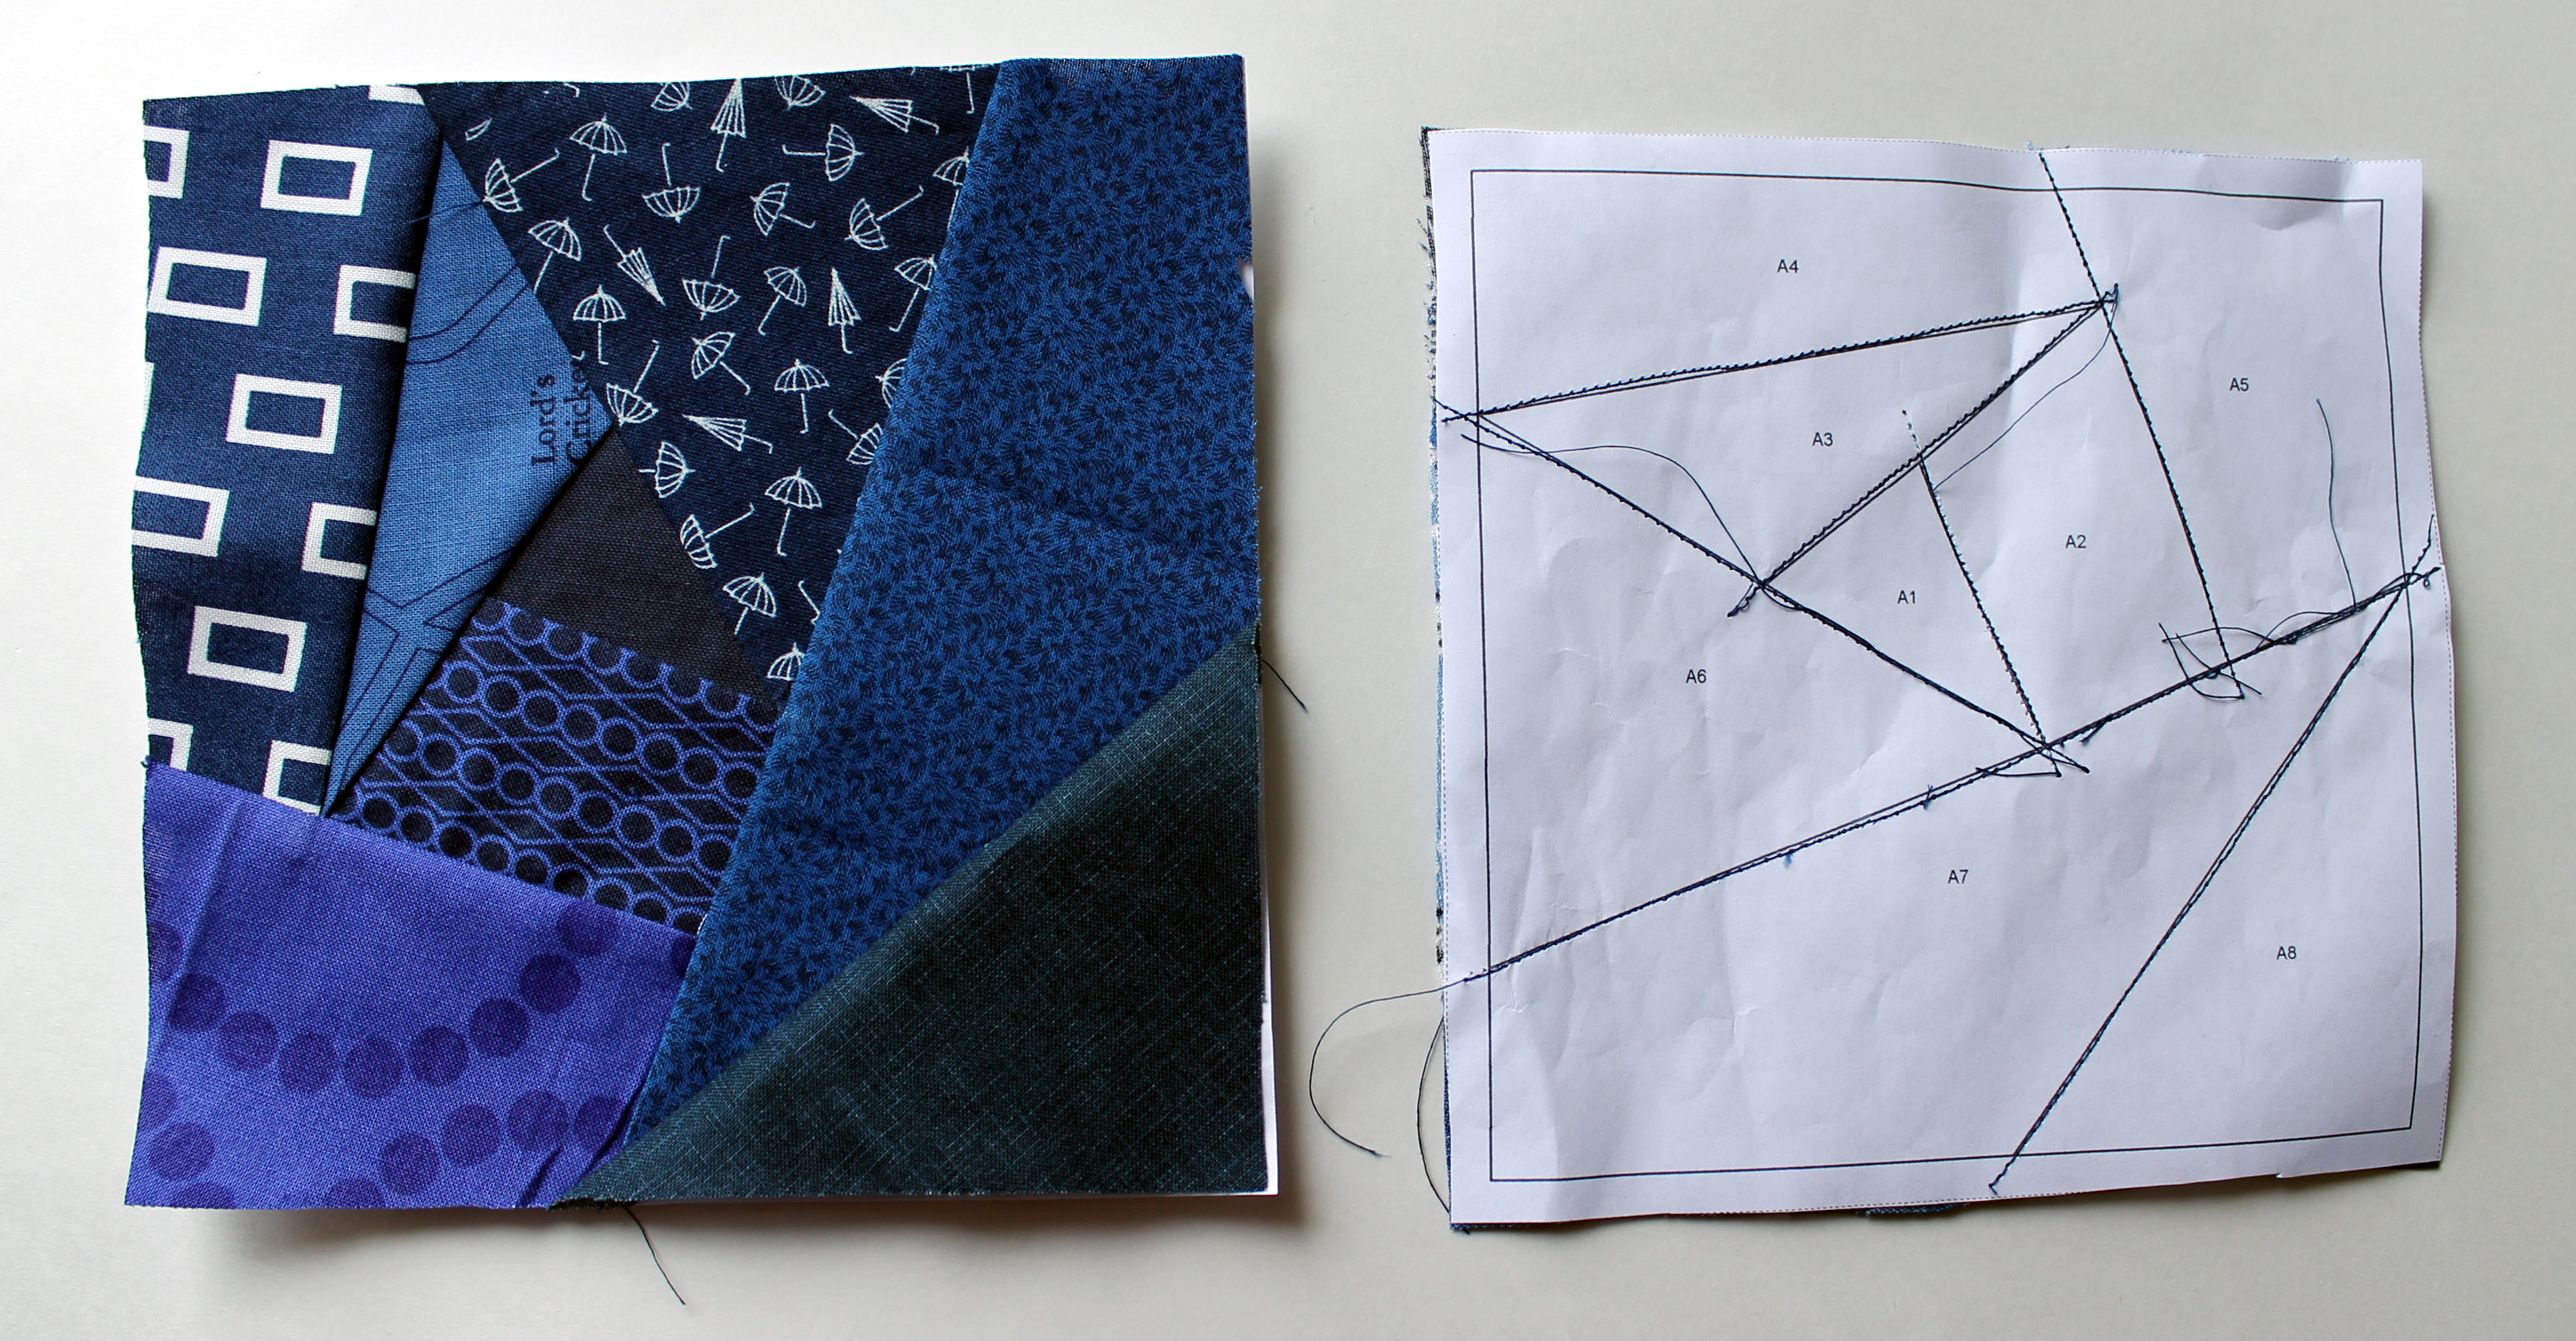
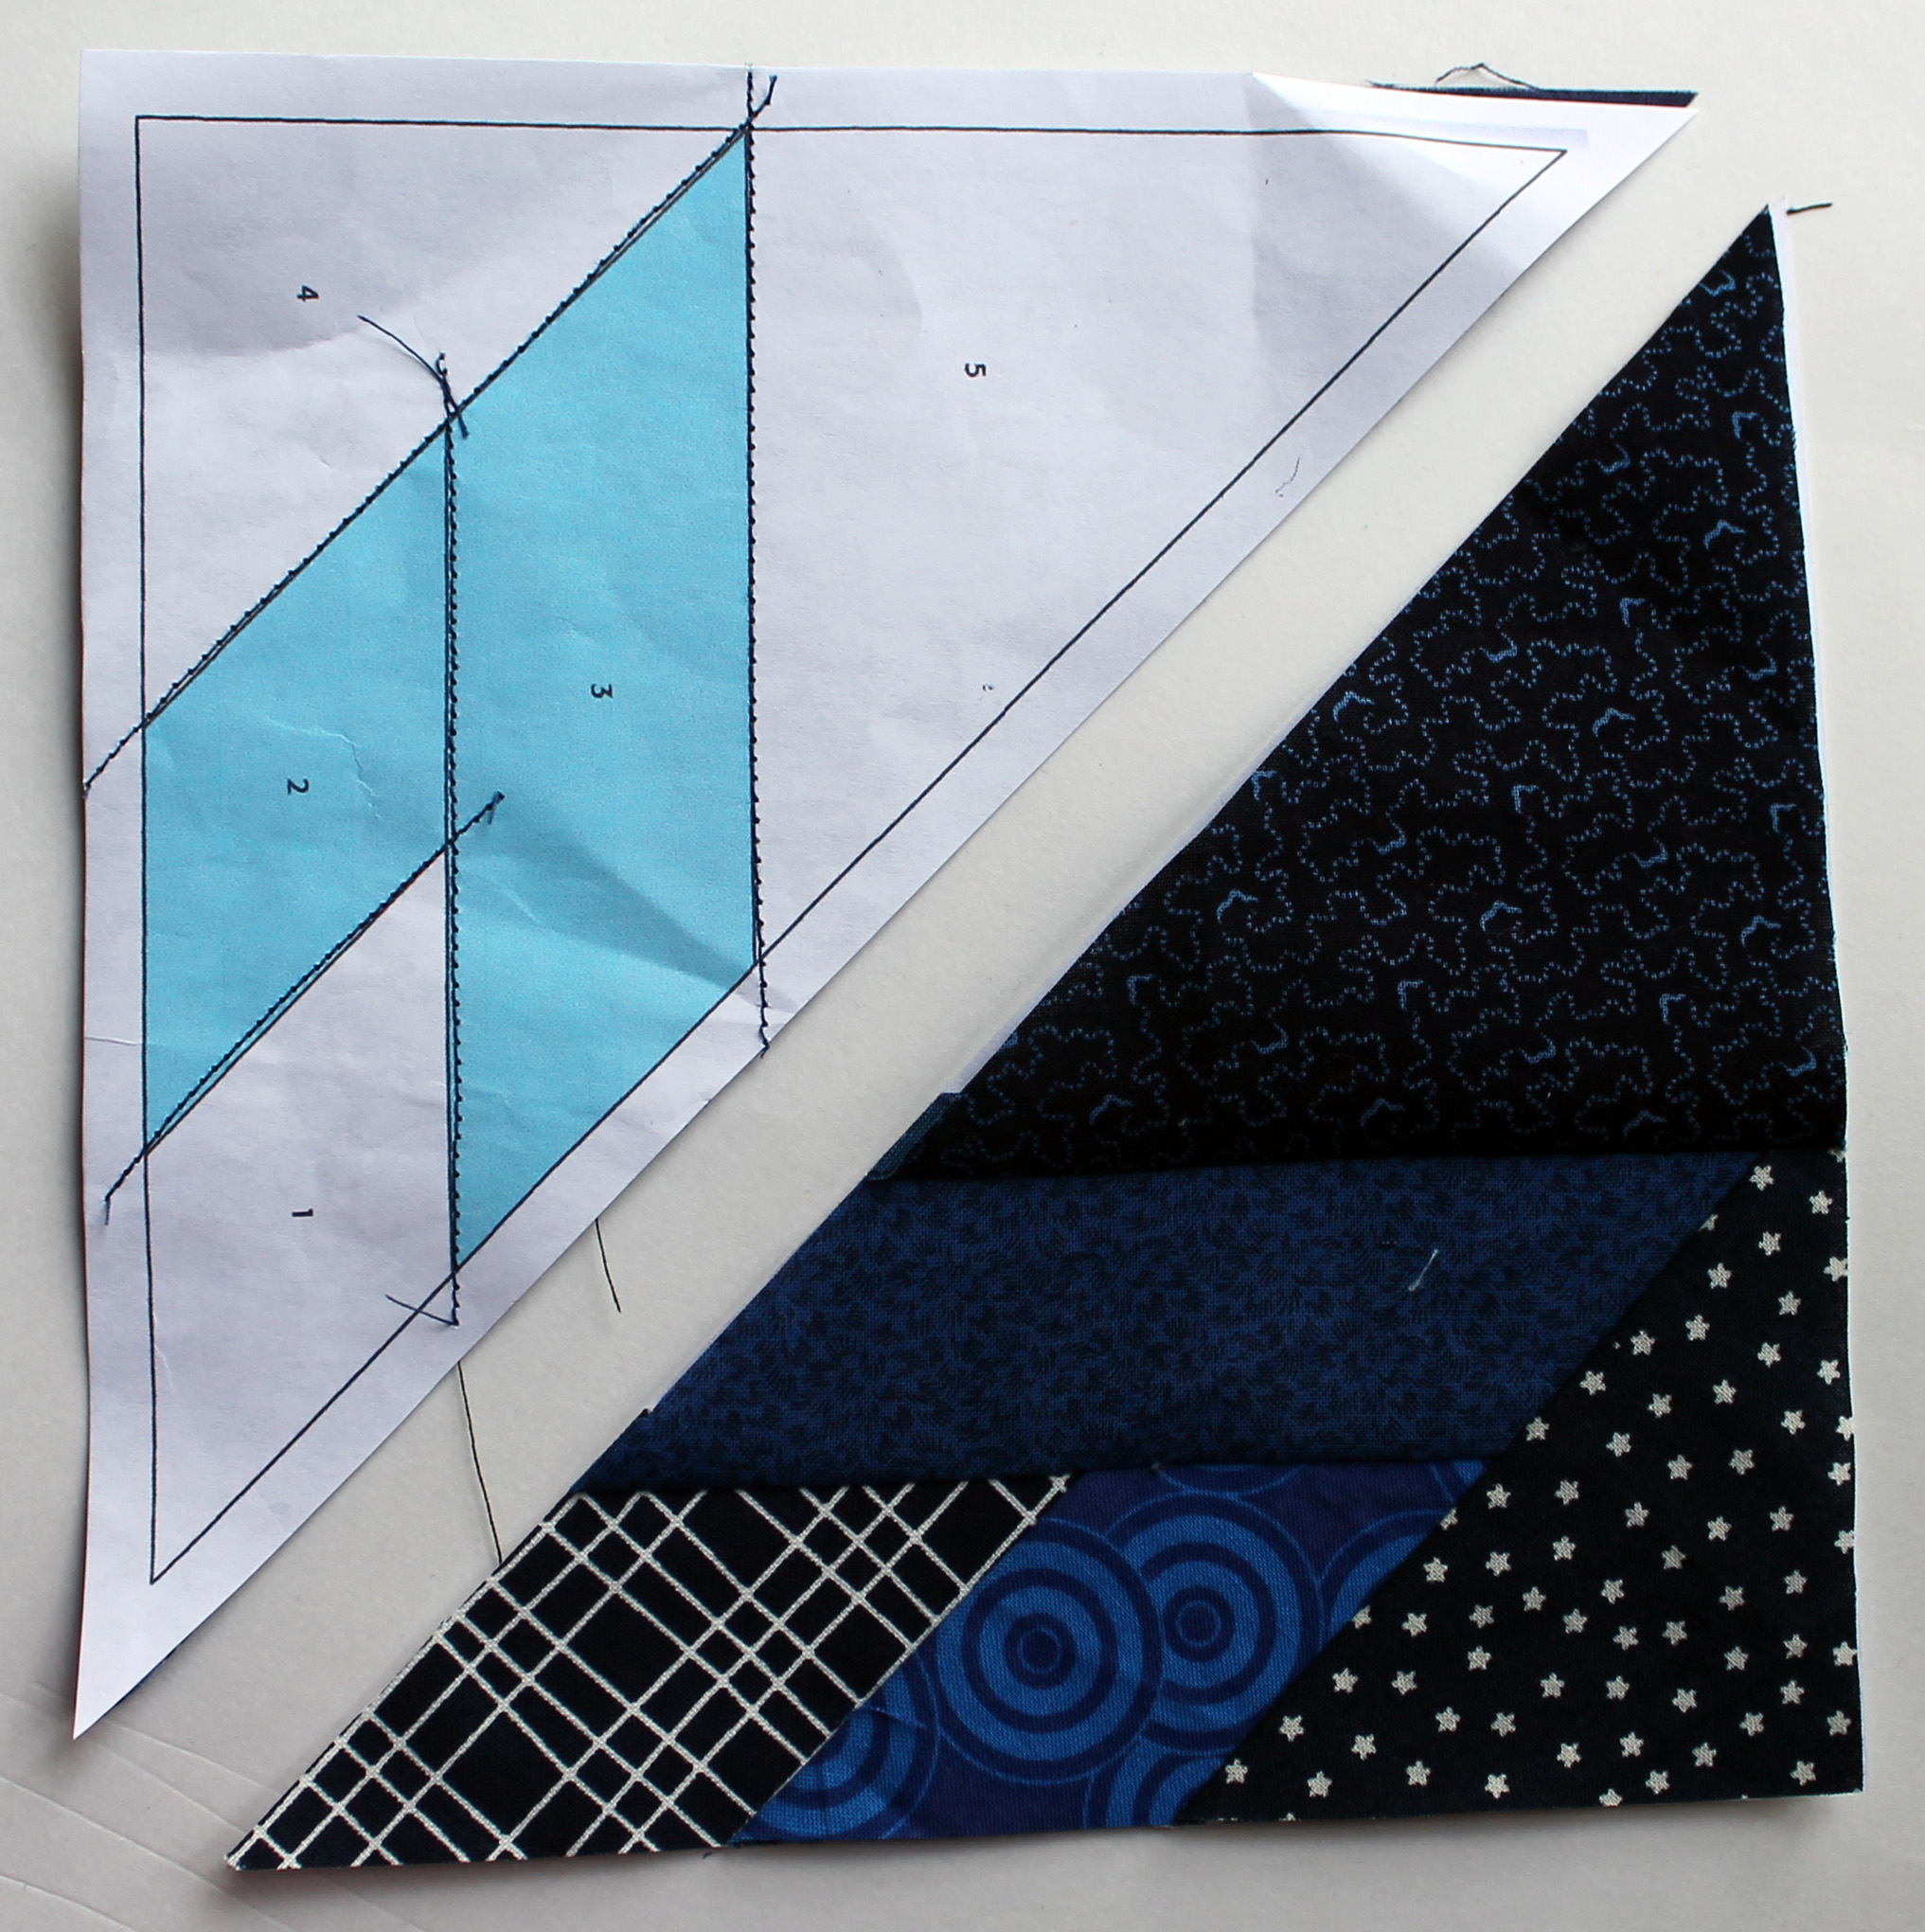
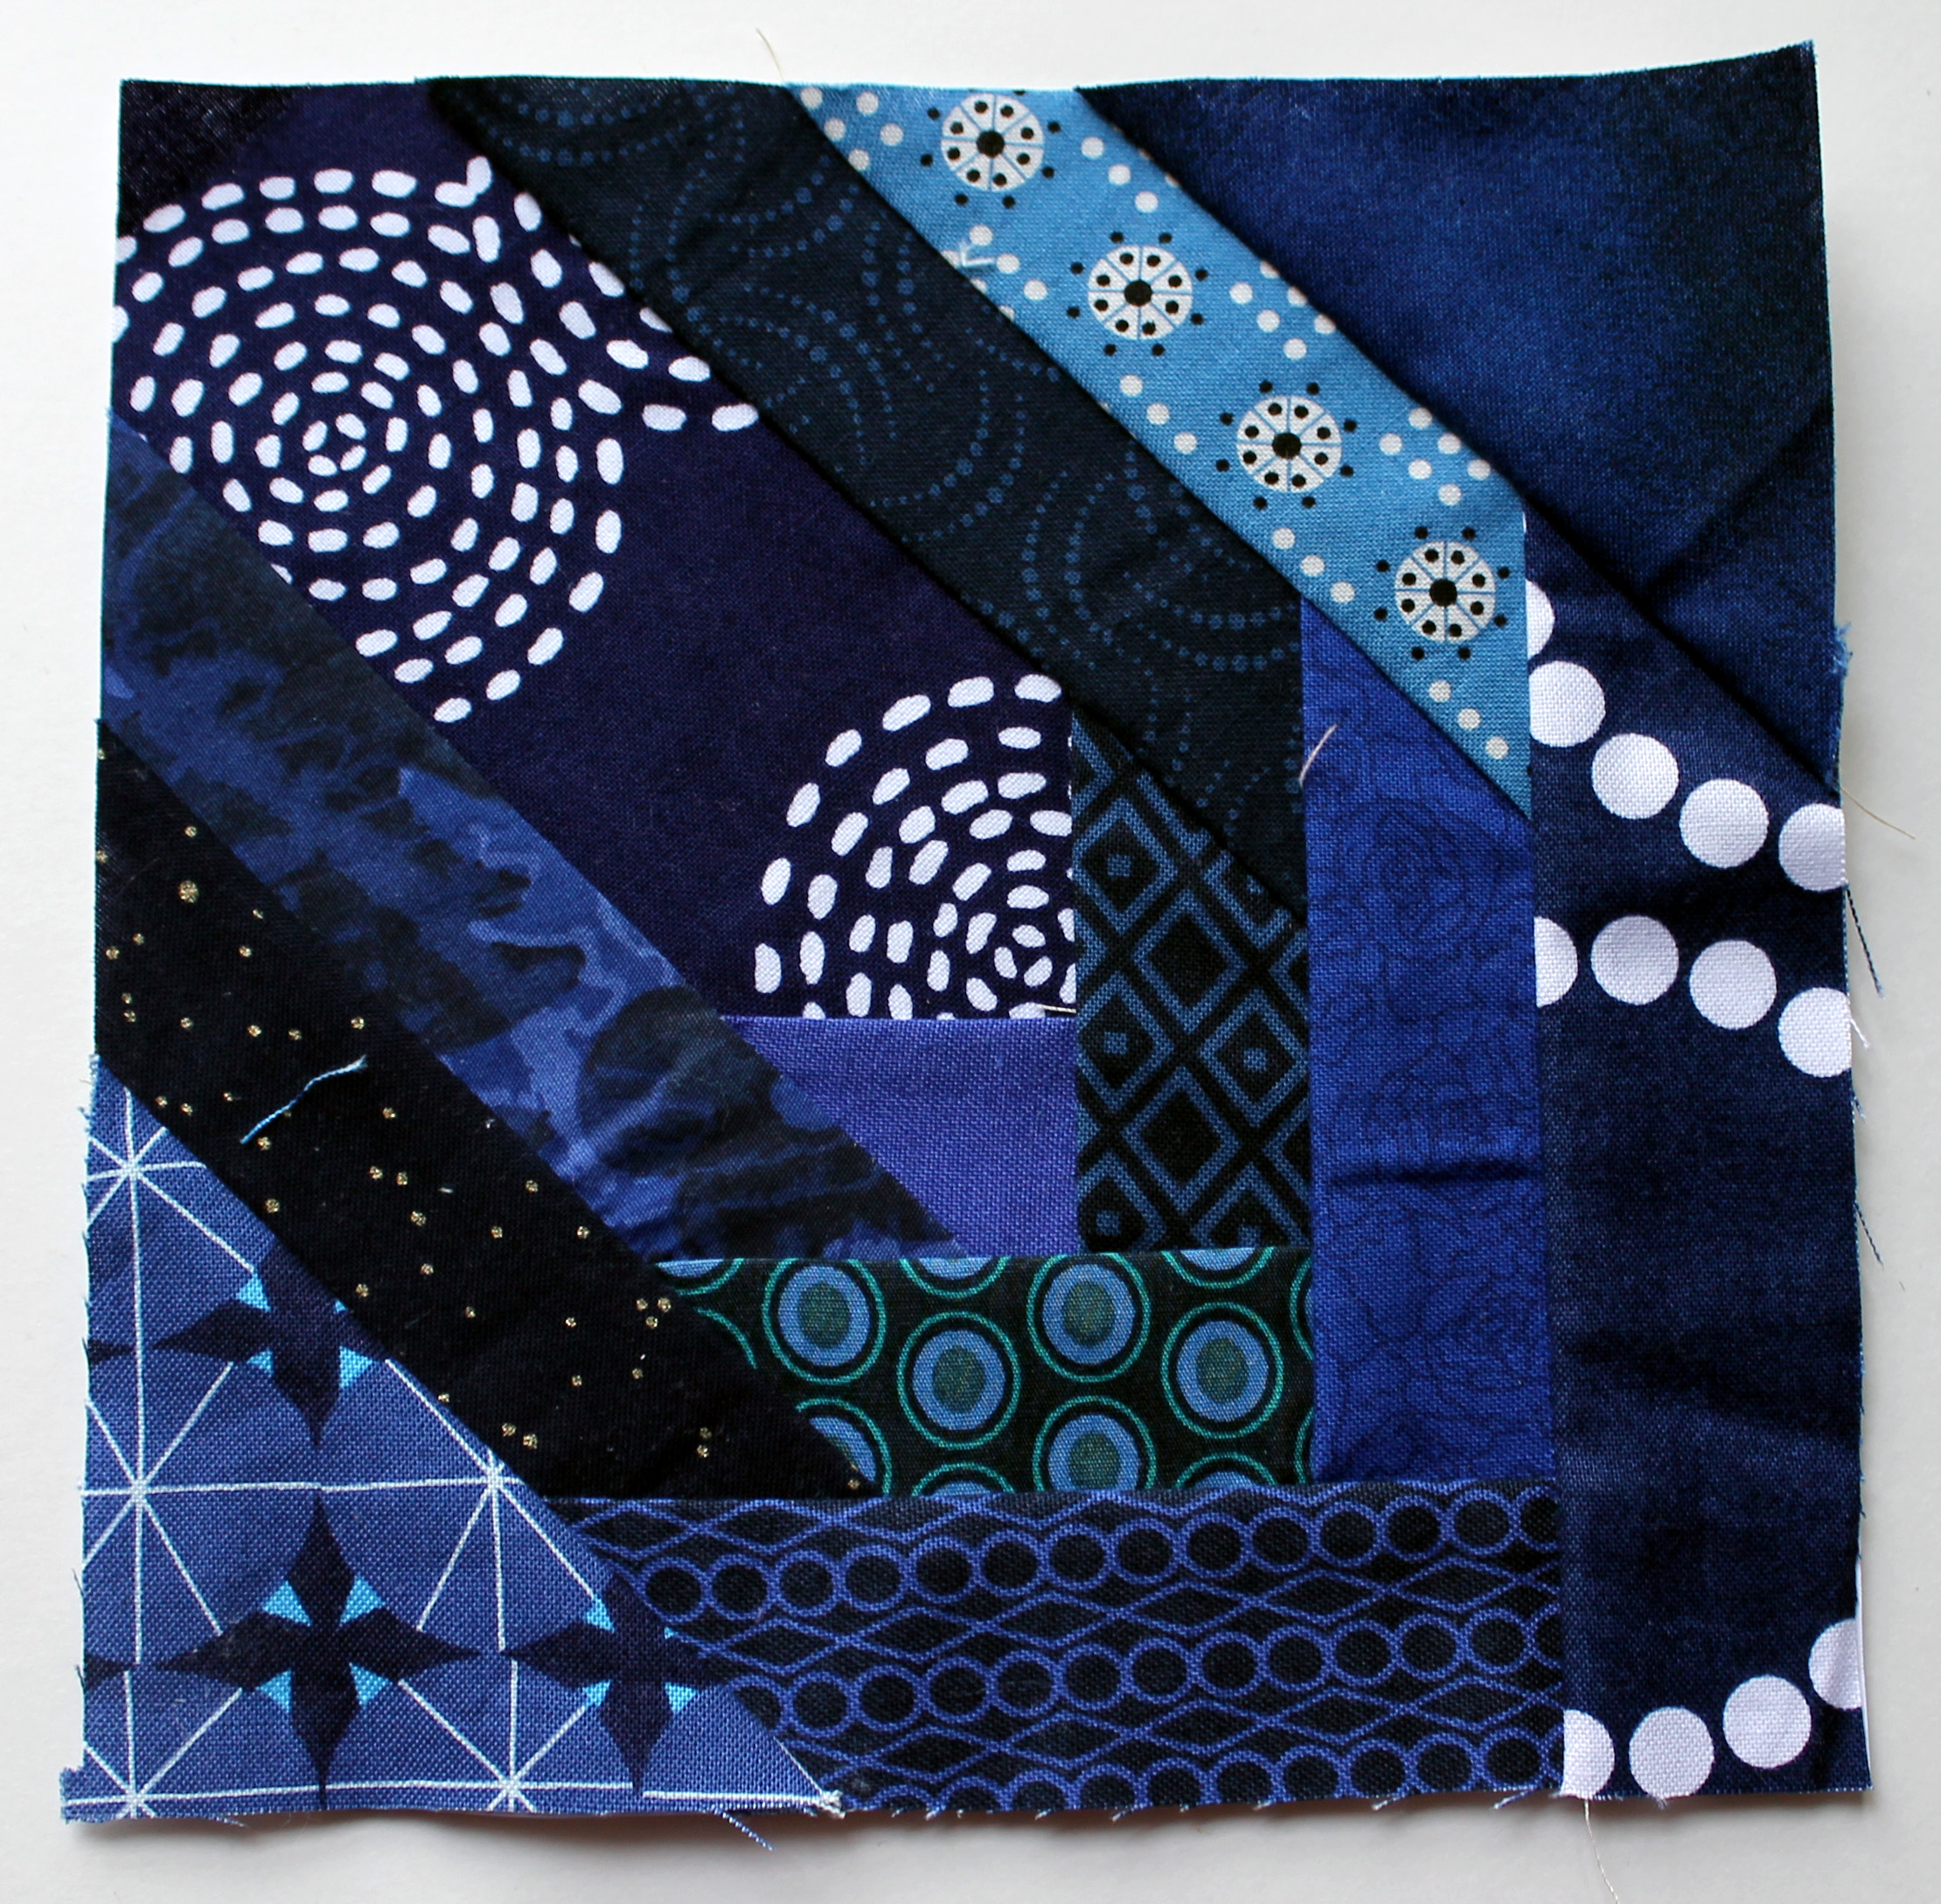
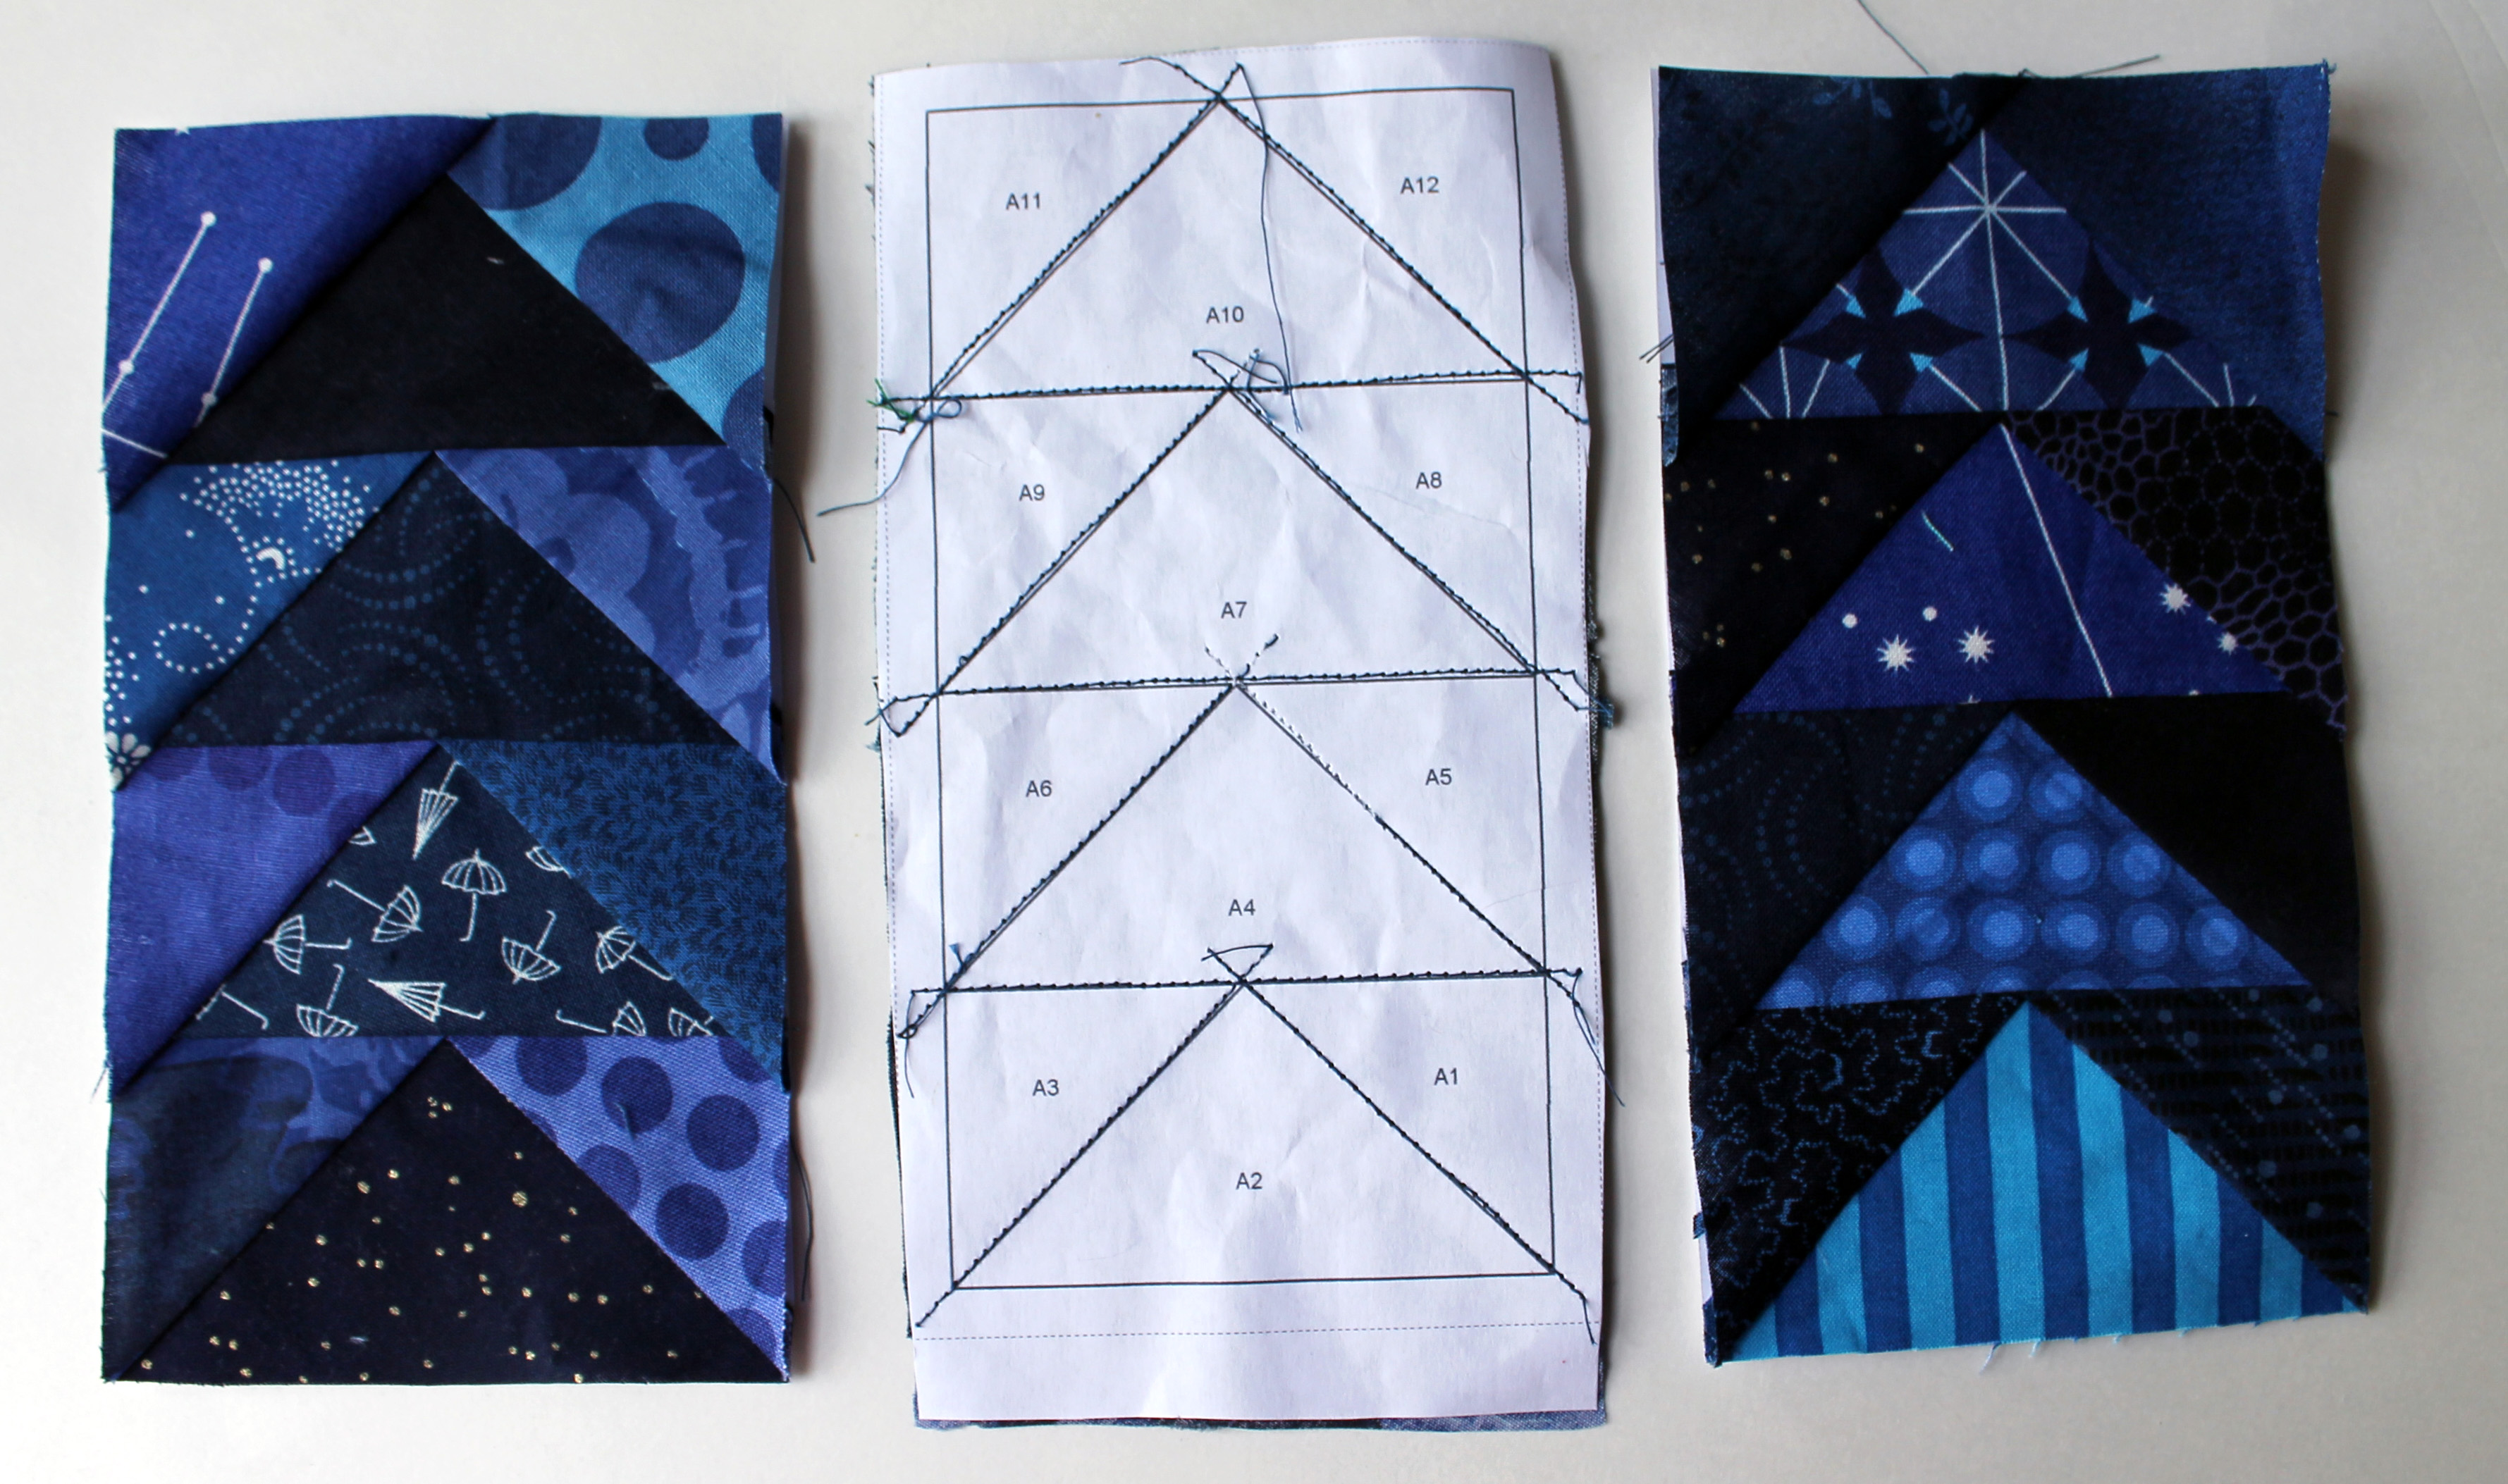
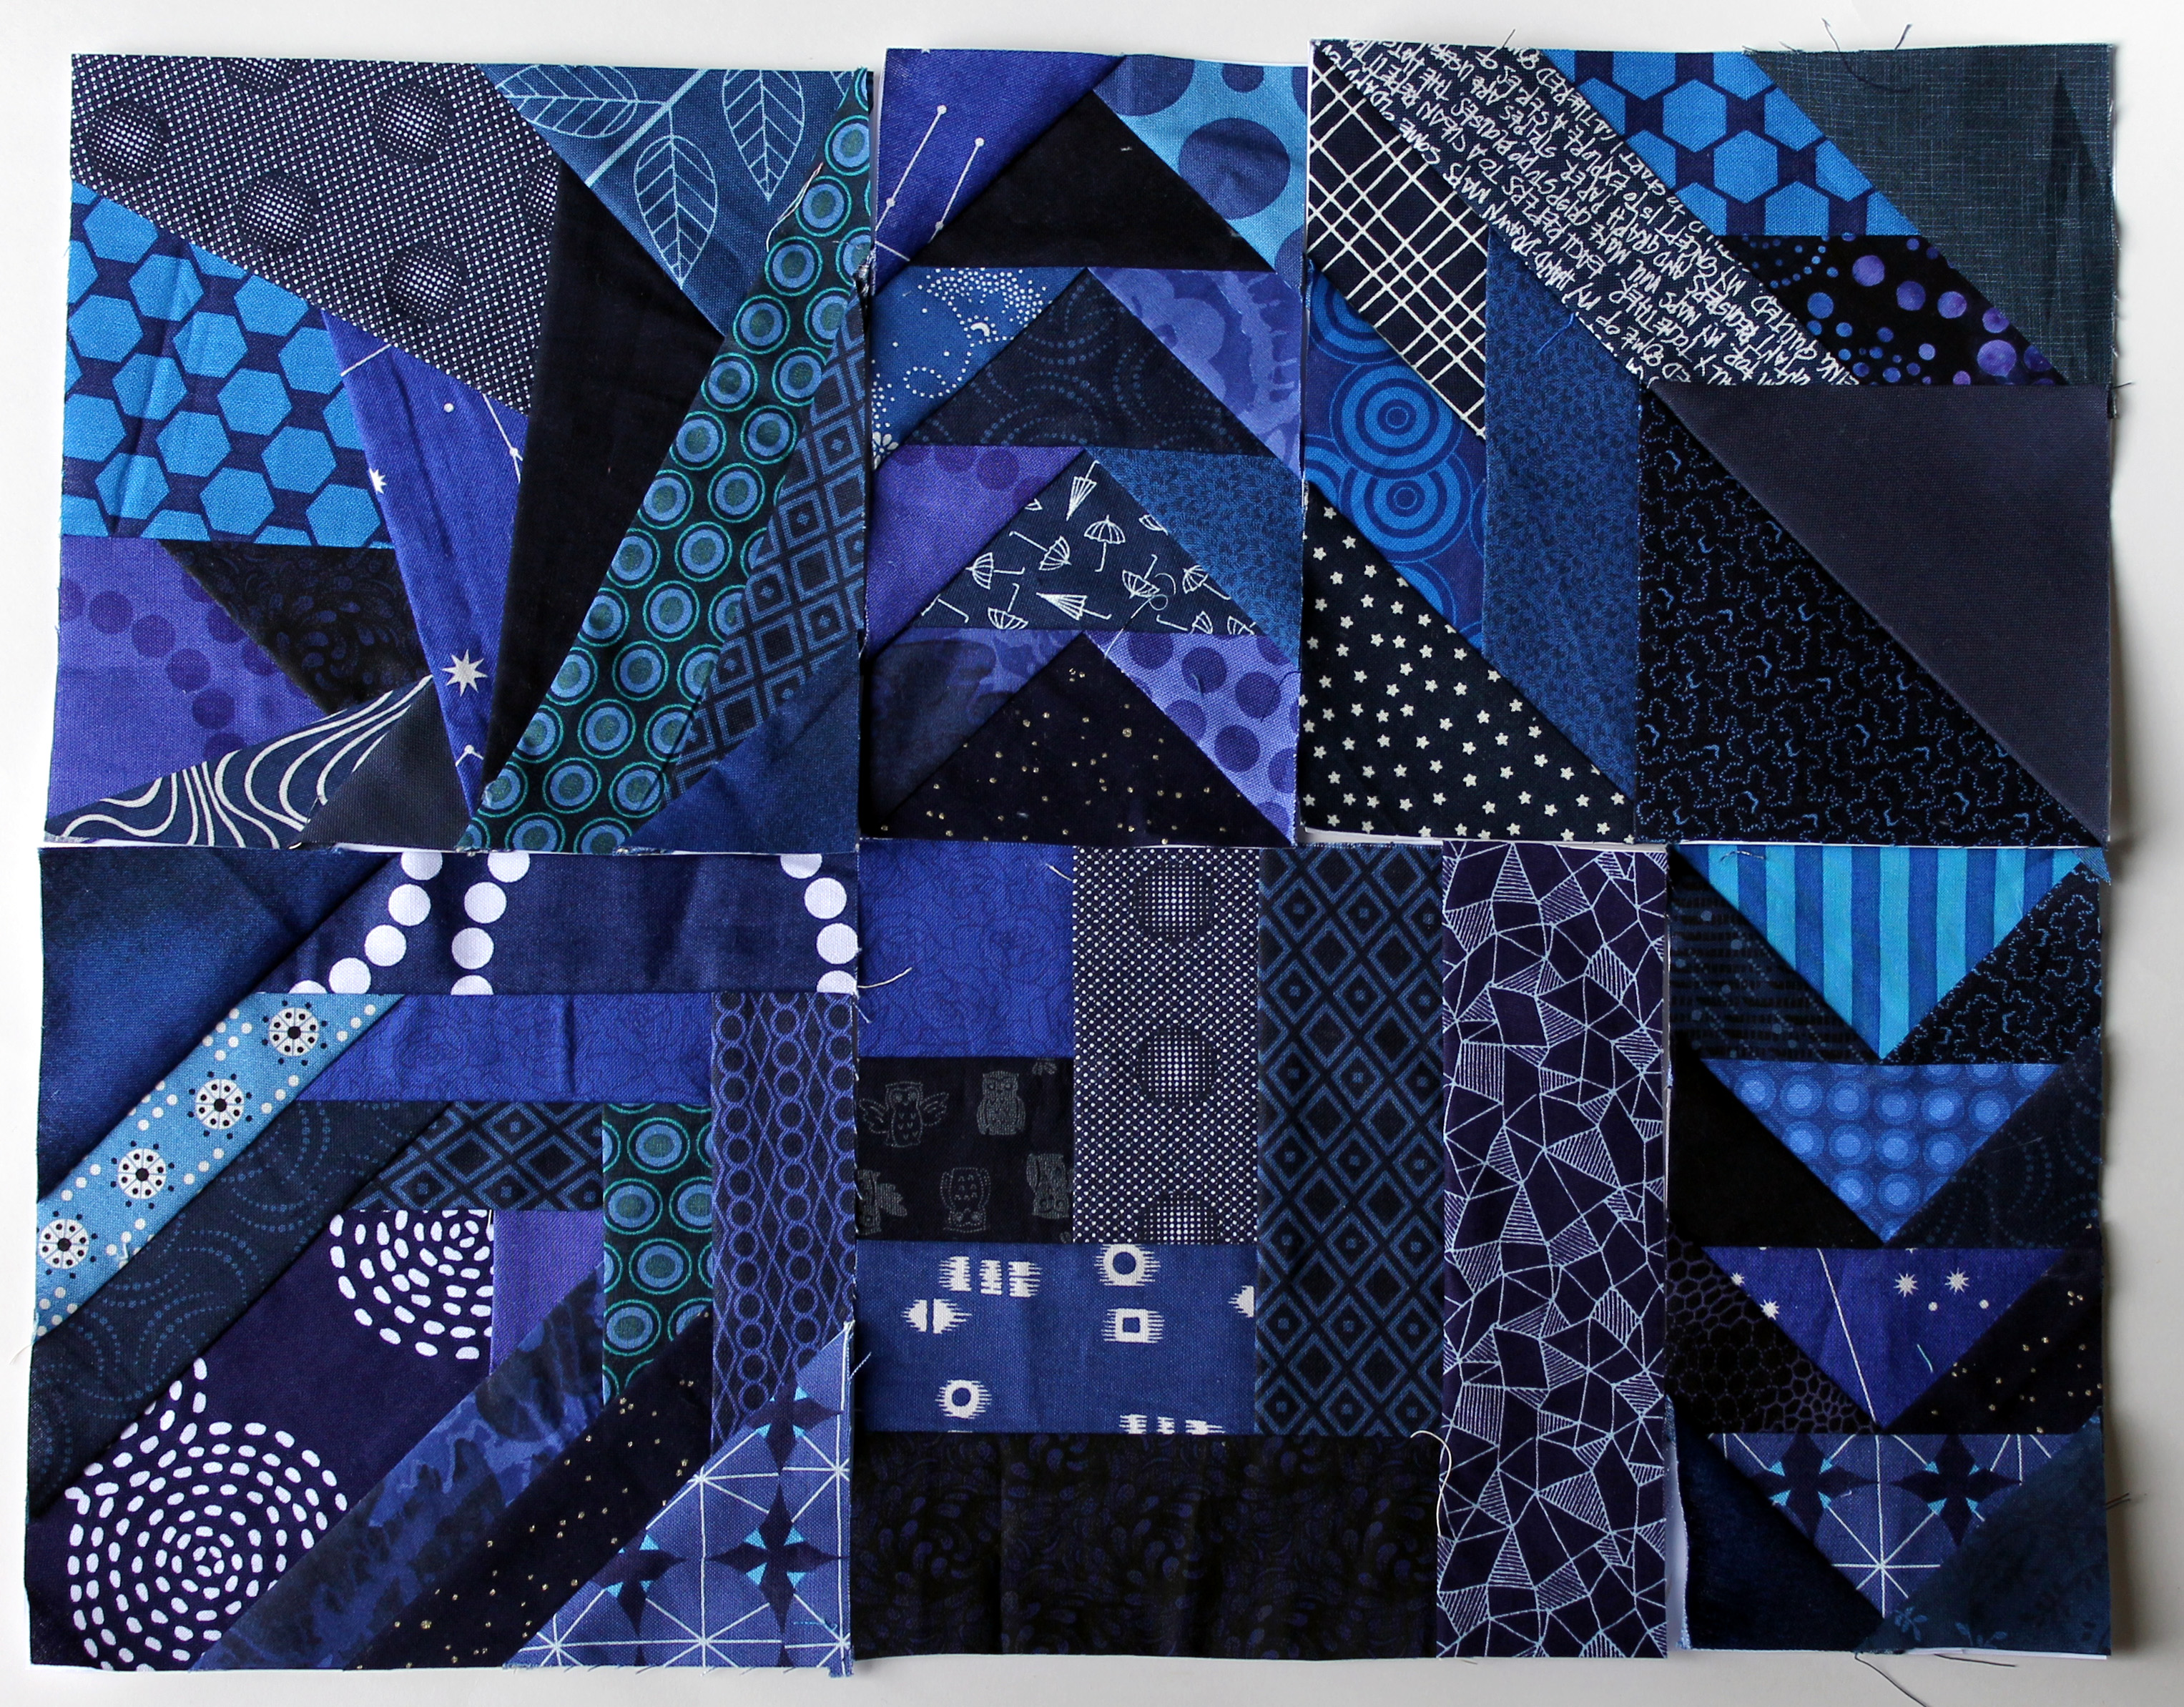
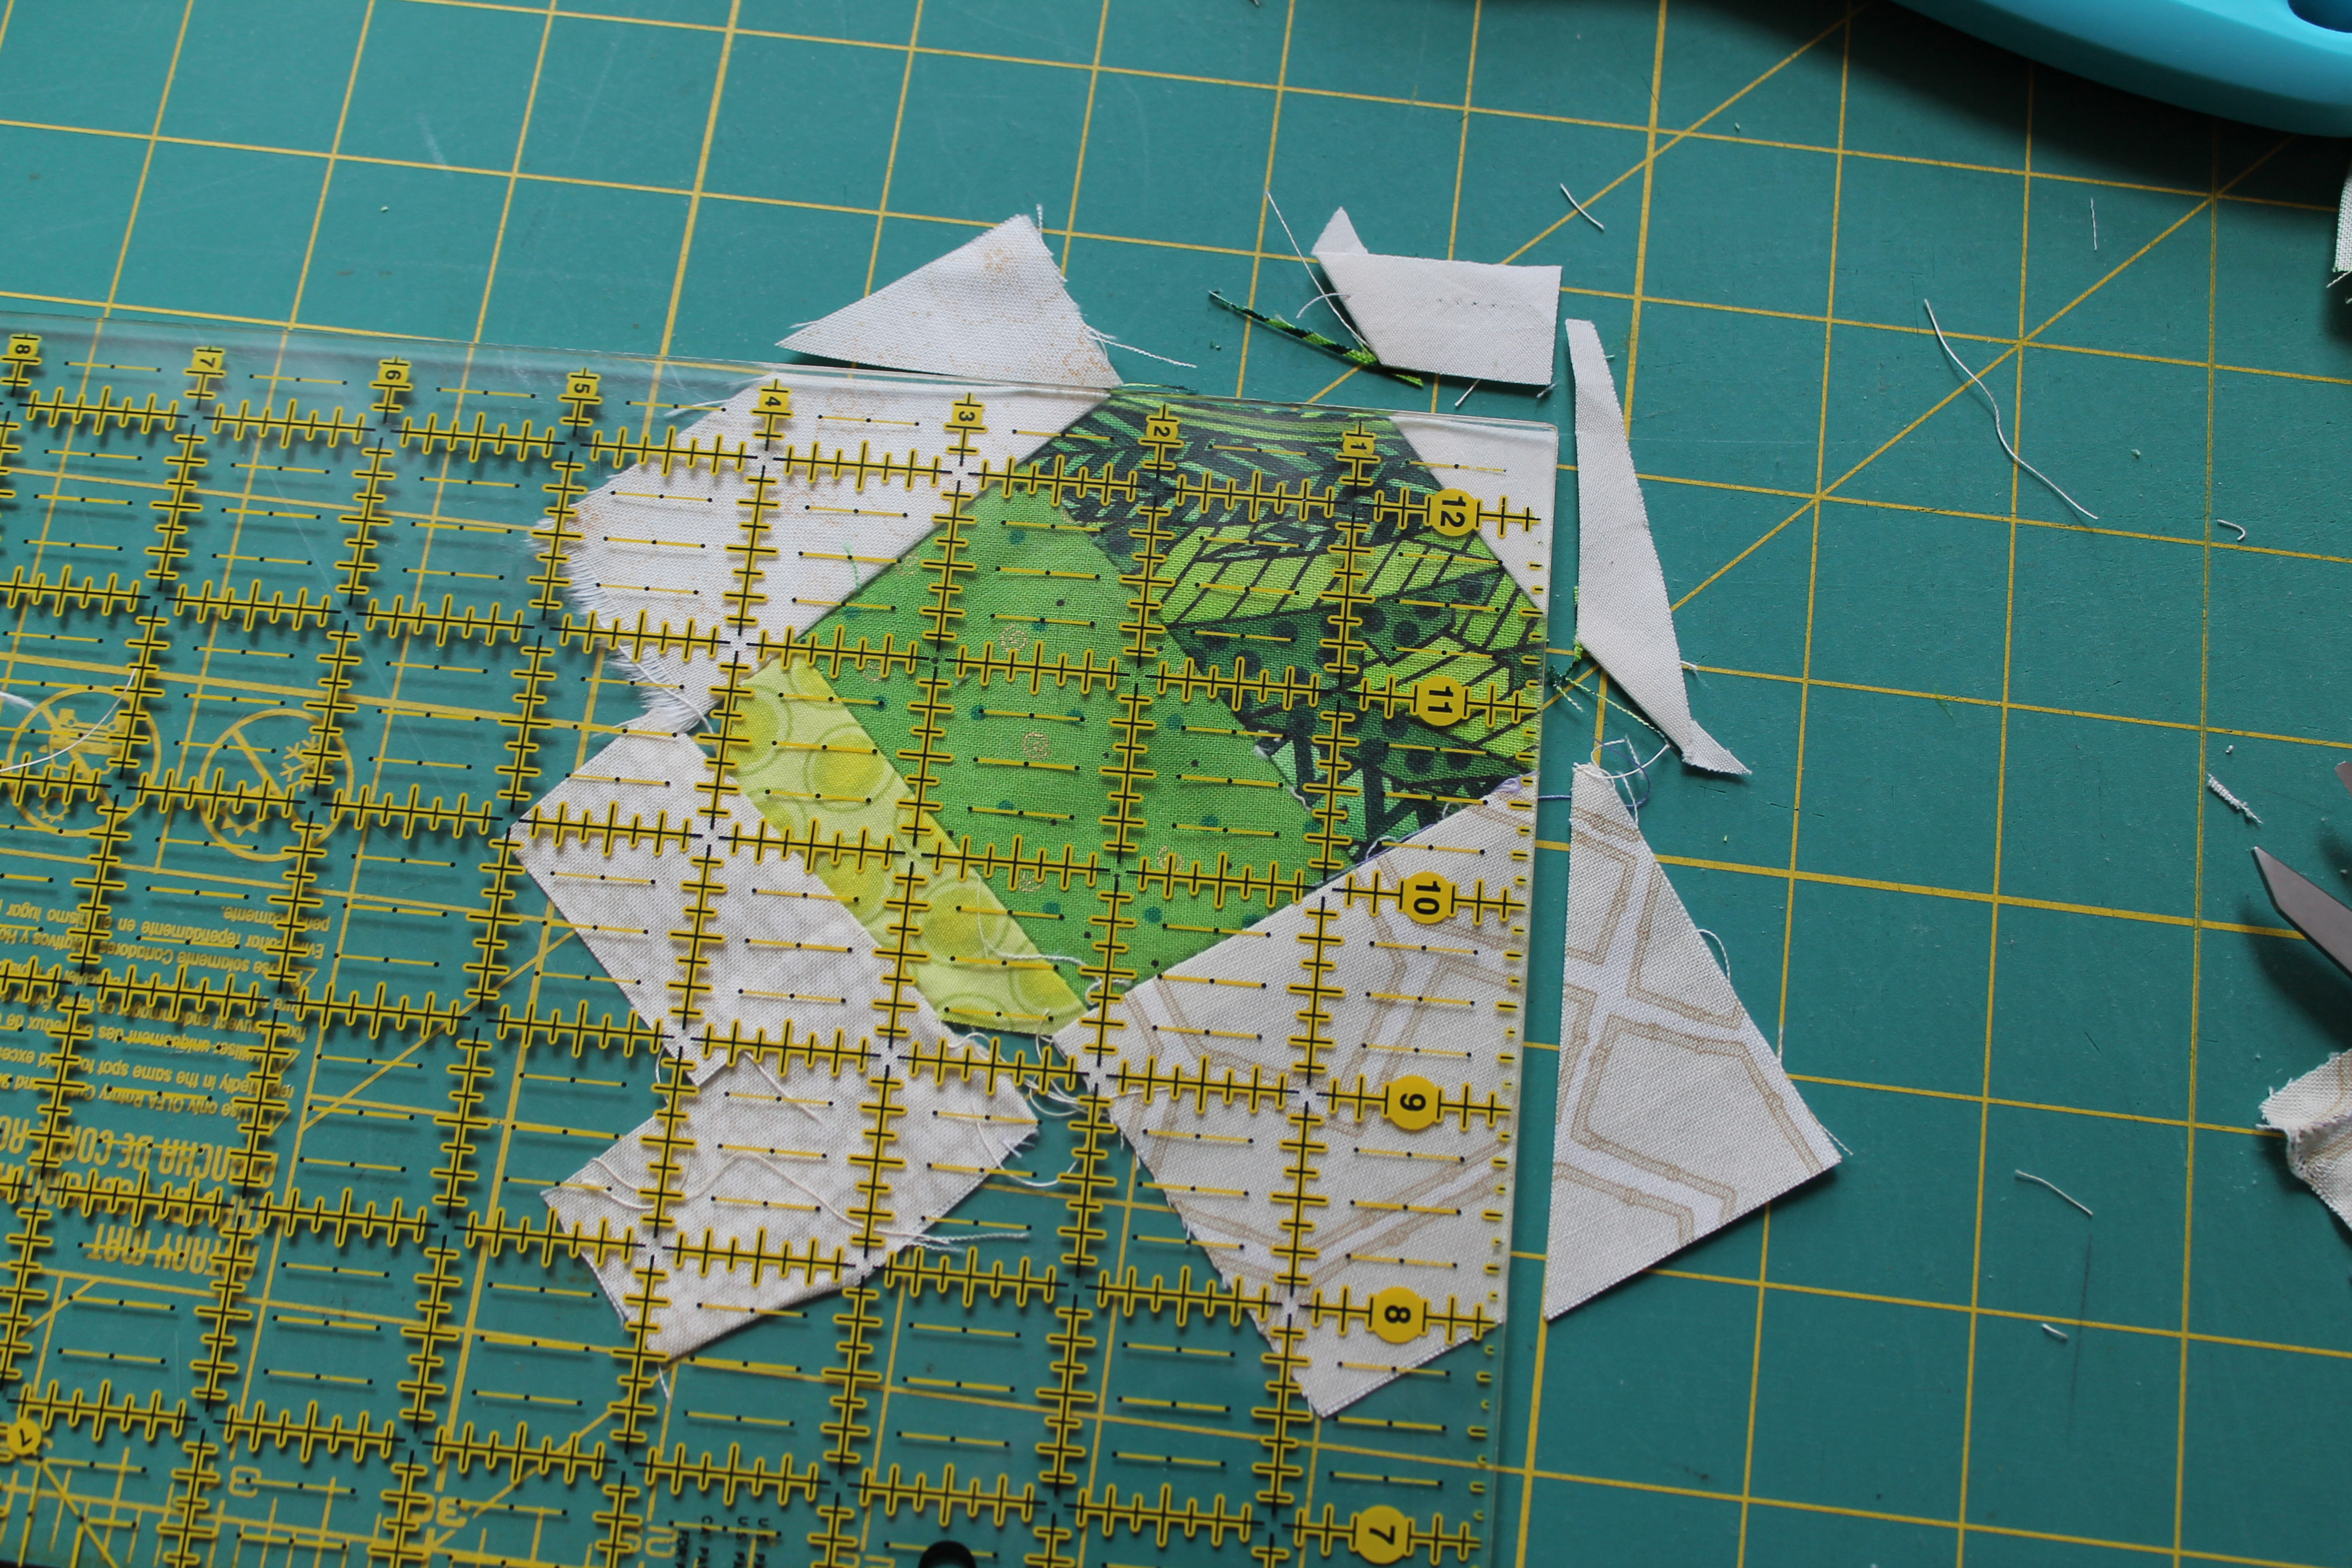
 This lovely star uses the June colour palette for No Hats in the House charity #opgivewarmth. I love the challenge each month of using a different set of colours that I would not usually work worth. I bravely selected a few of the colours in this months palette that were not pink and found Kona Solids to match…
 The paper piecing pattern is another one from the Lucky Star BOM patterns from Elizabeth at Don’t Call Me Betsy. This block is the December 2013 Star and I love the square feel to it.
 Now the cat and I are going back to watching the World Cup. She is finally over the disappointment of Australia going out and is rallying around the US team.