Another Good finish…

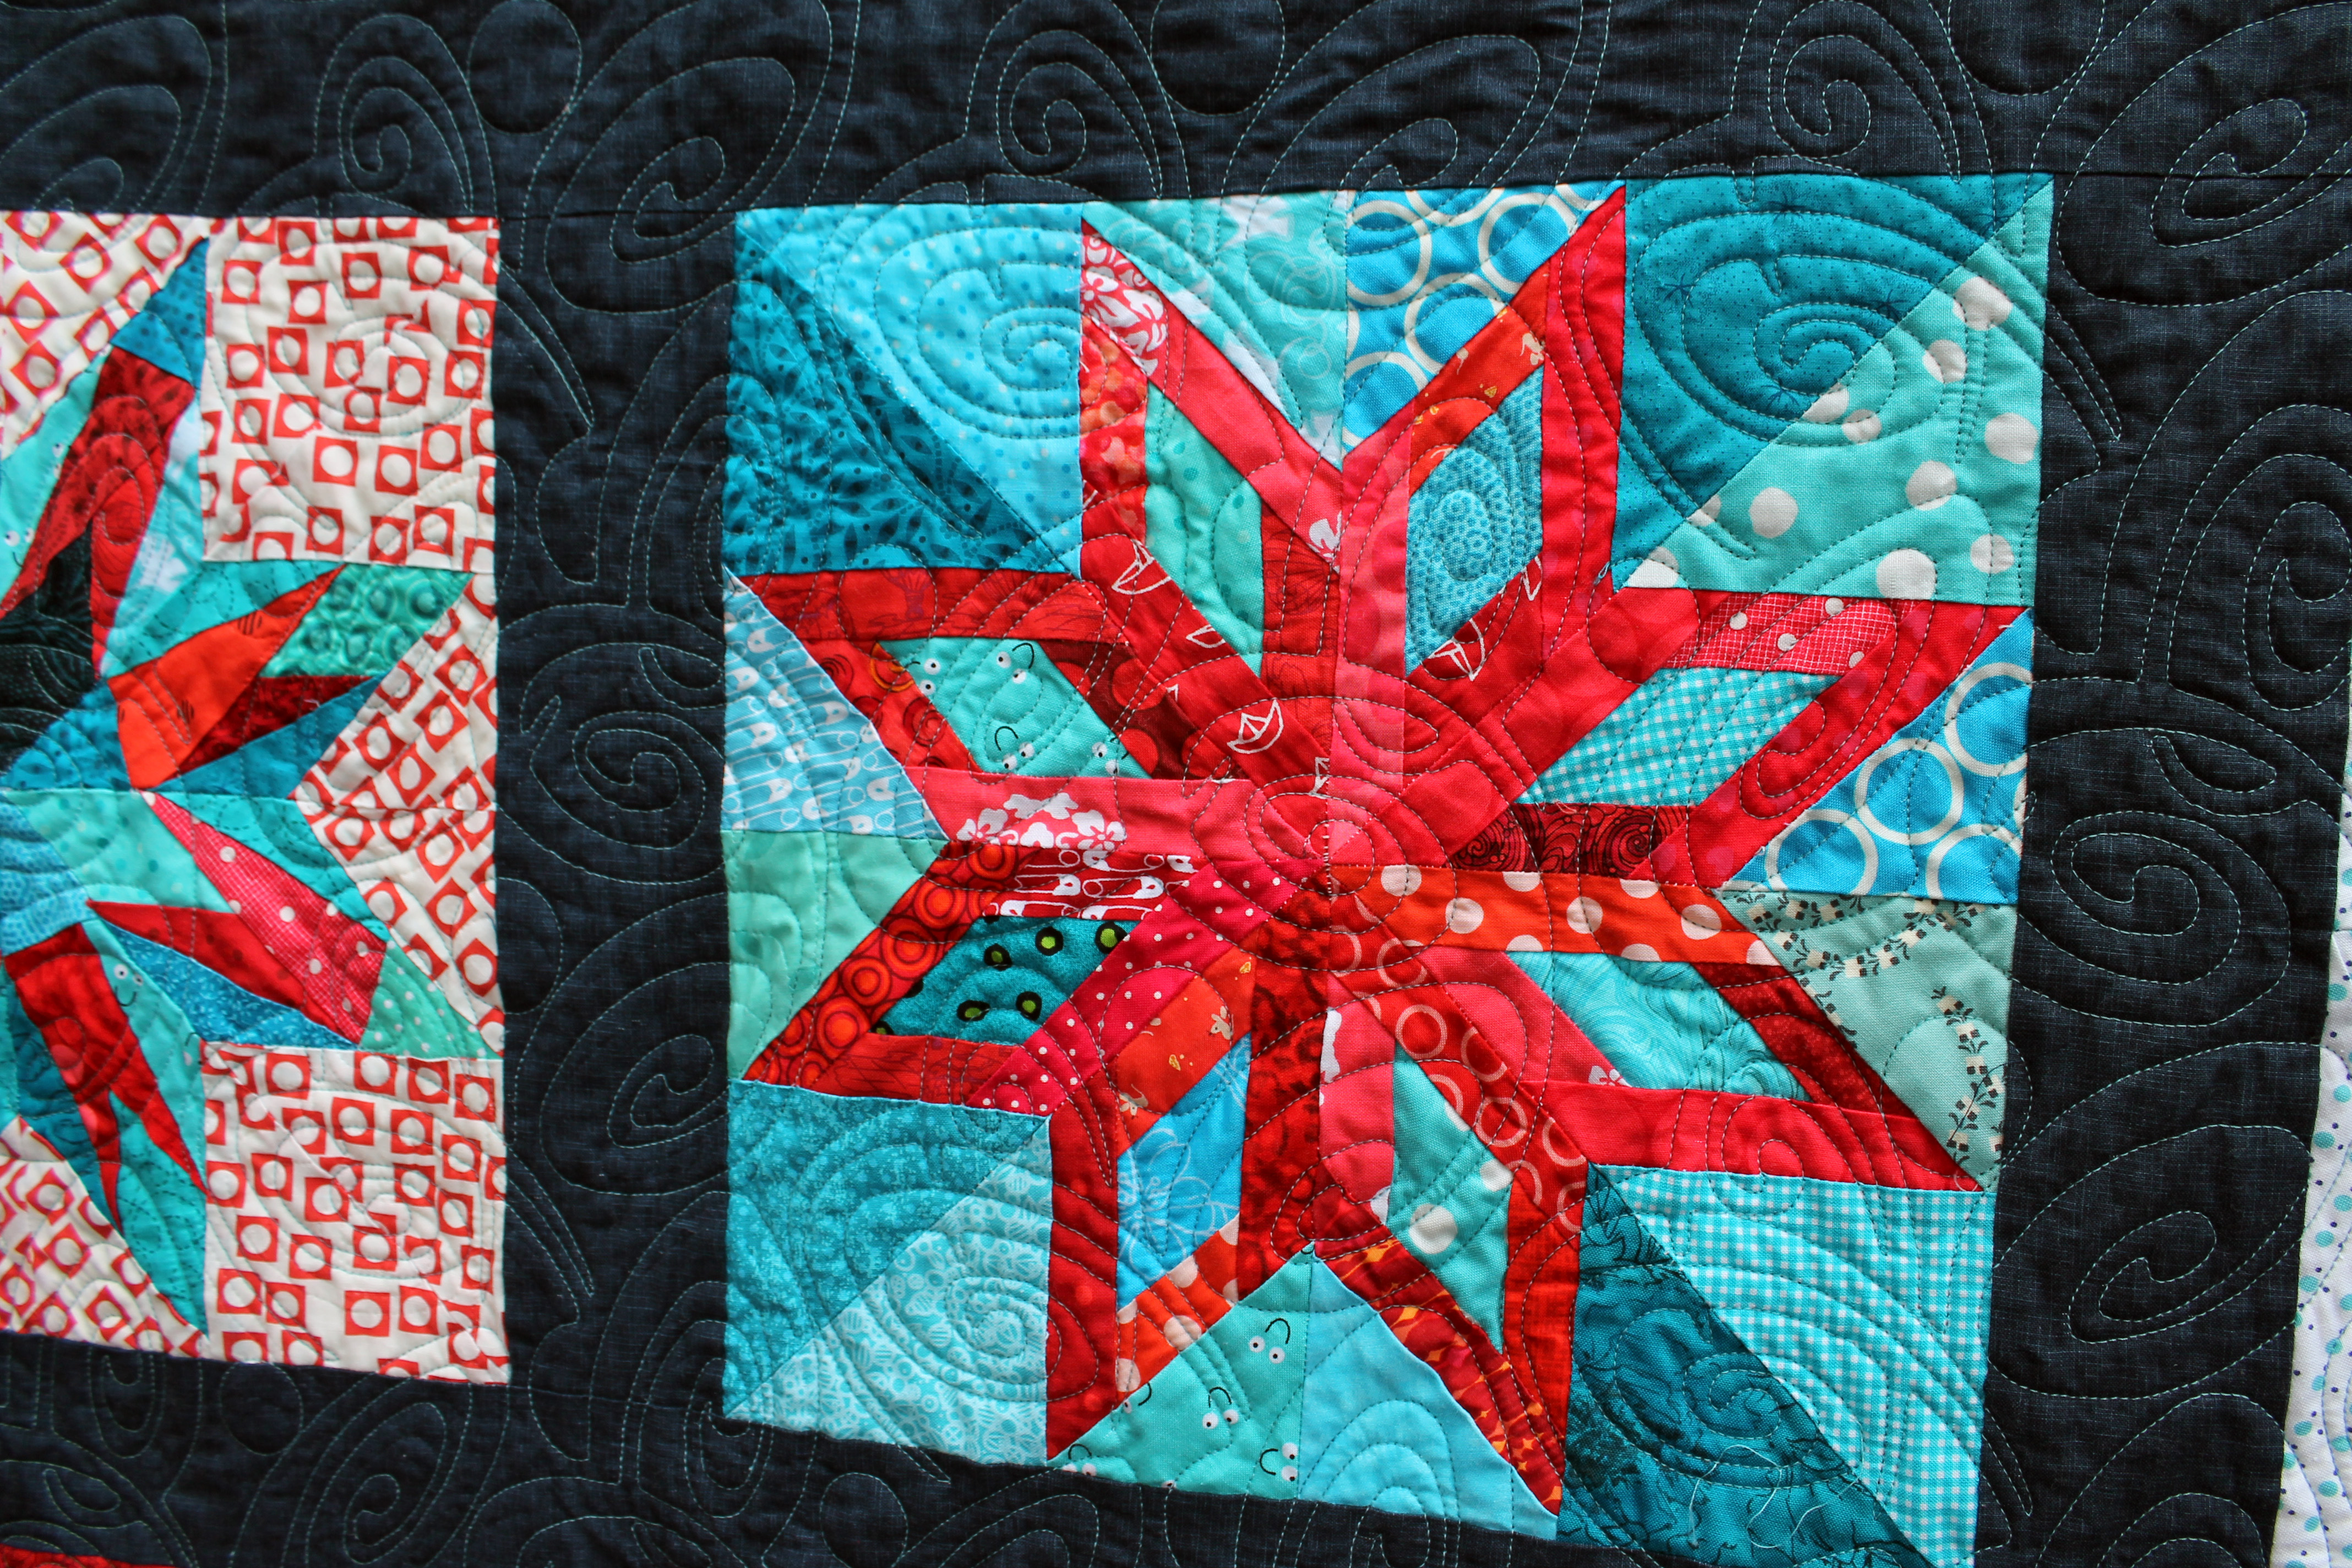
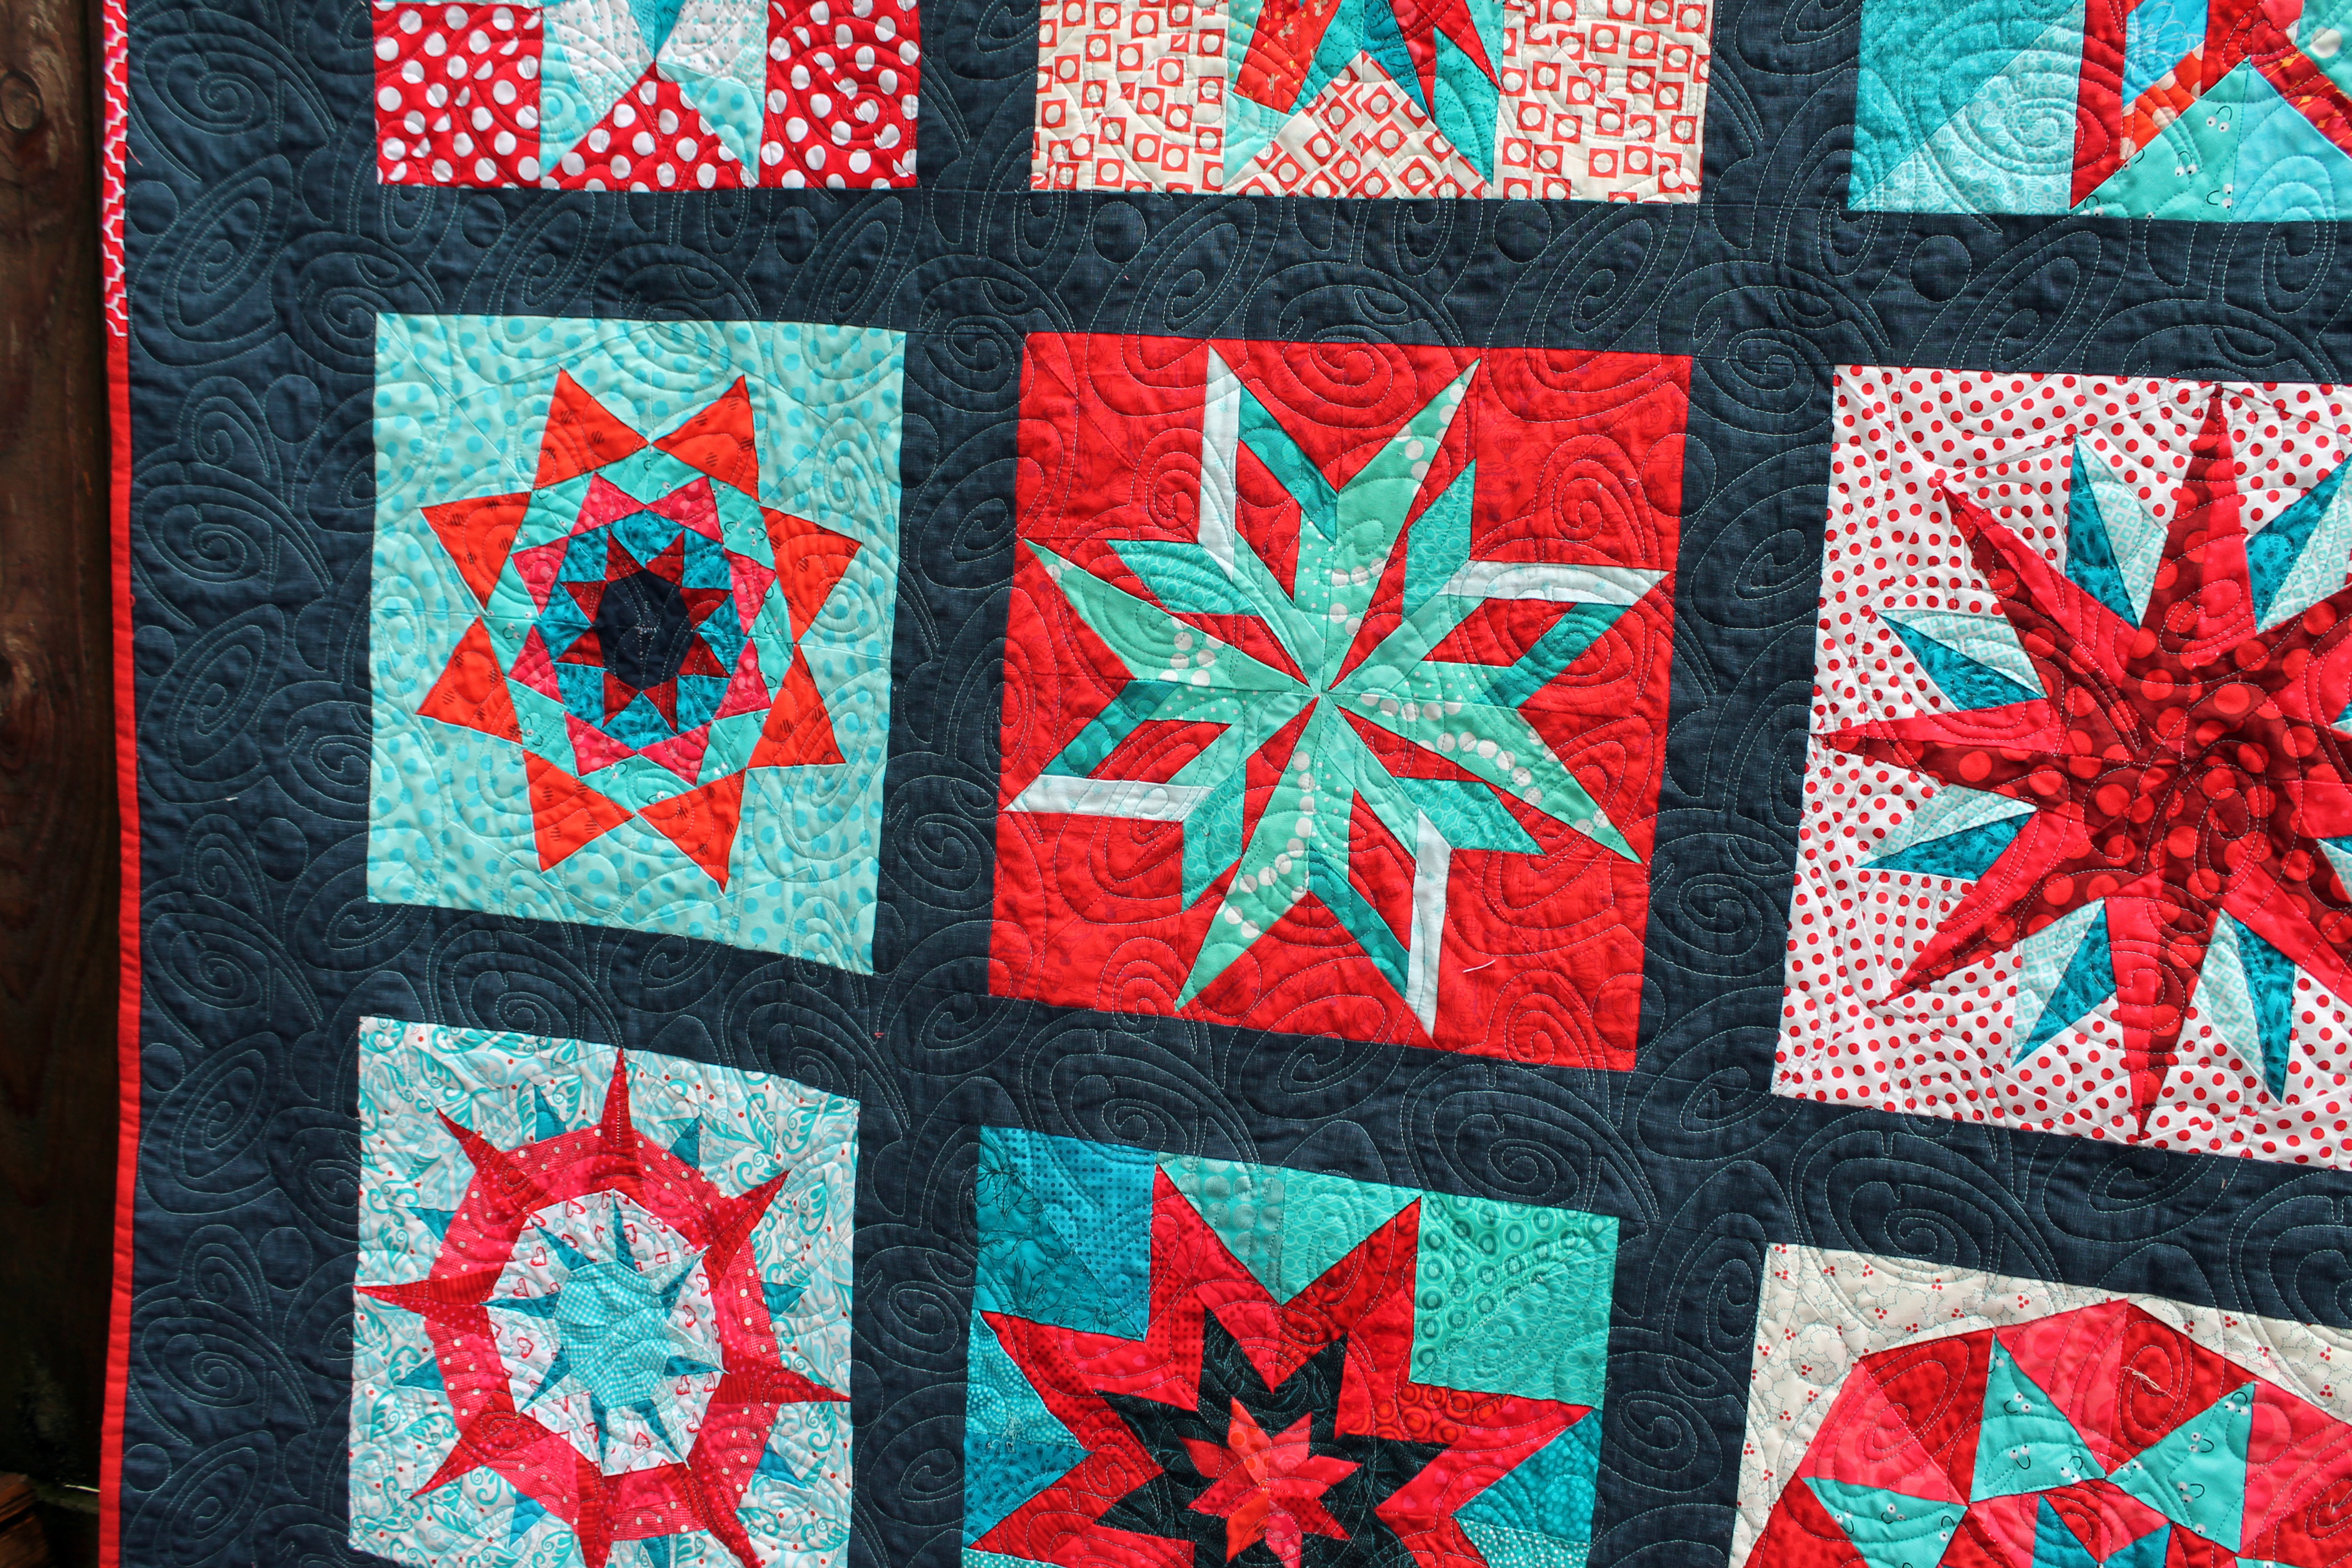
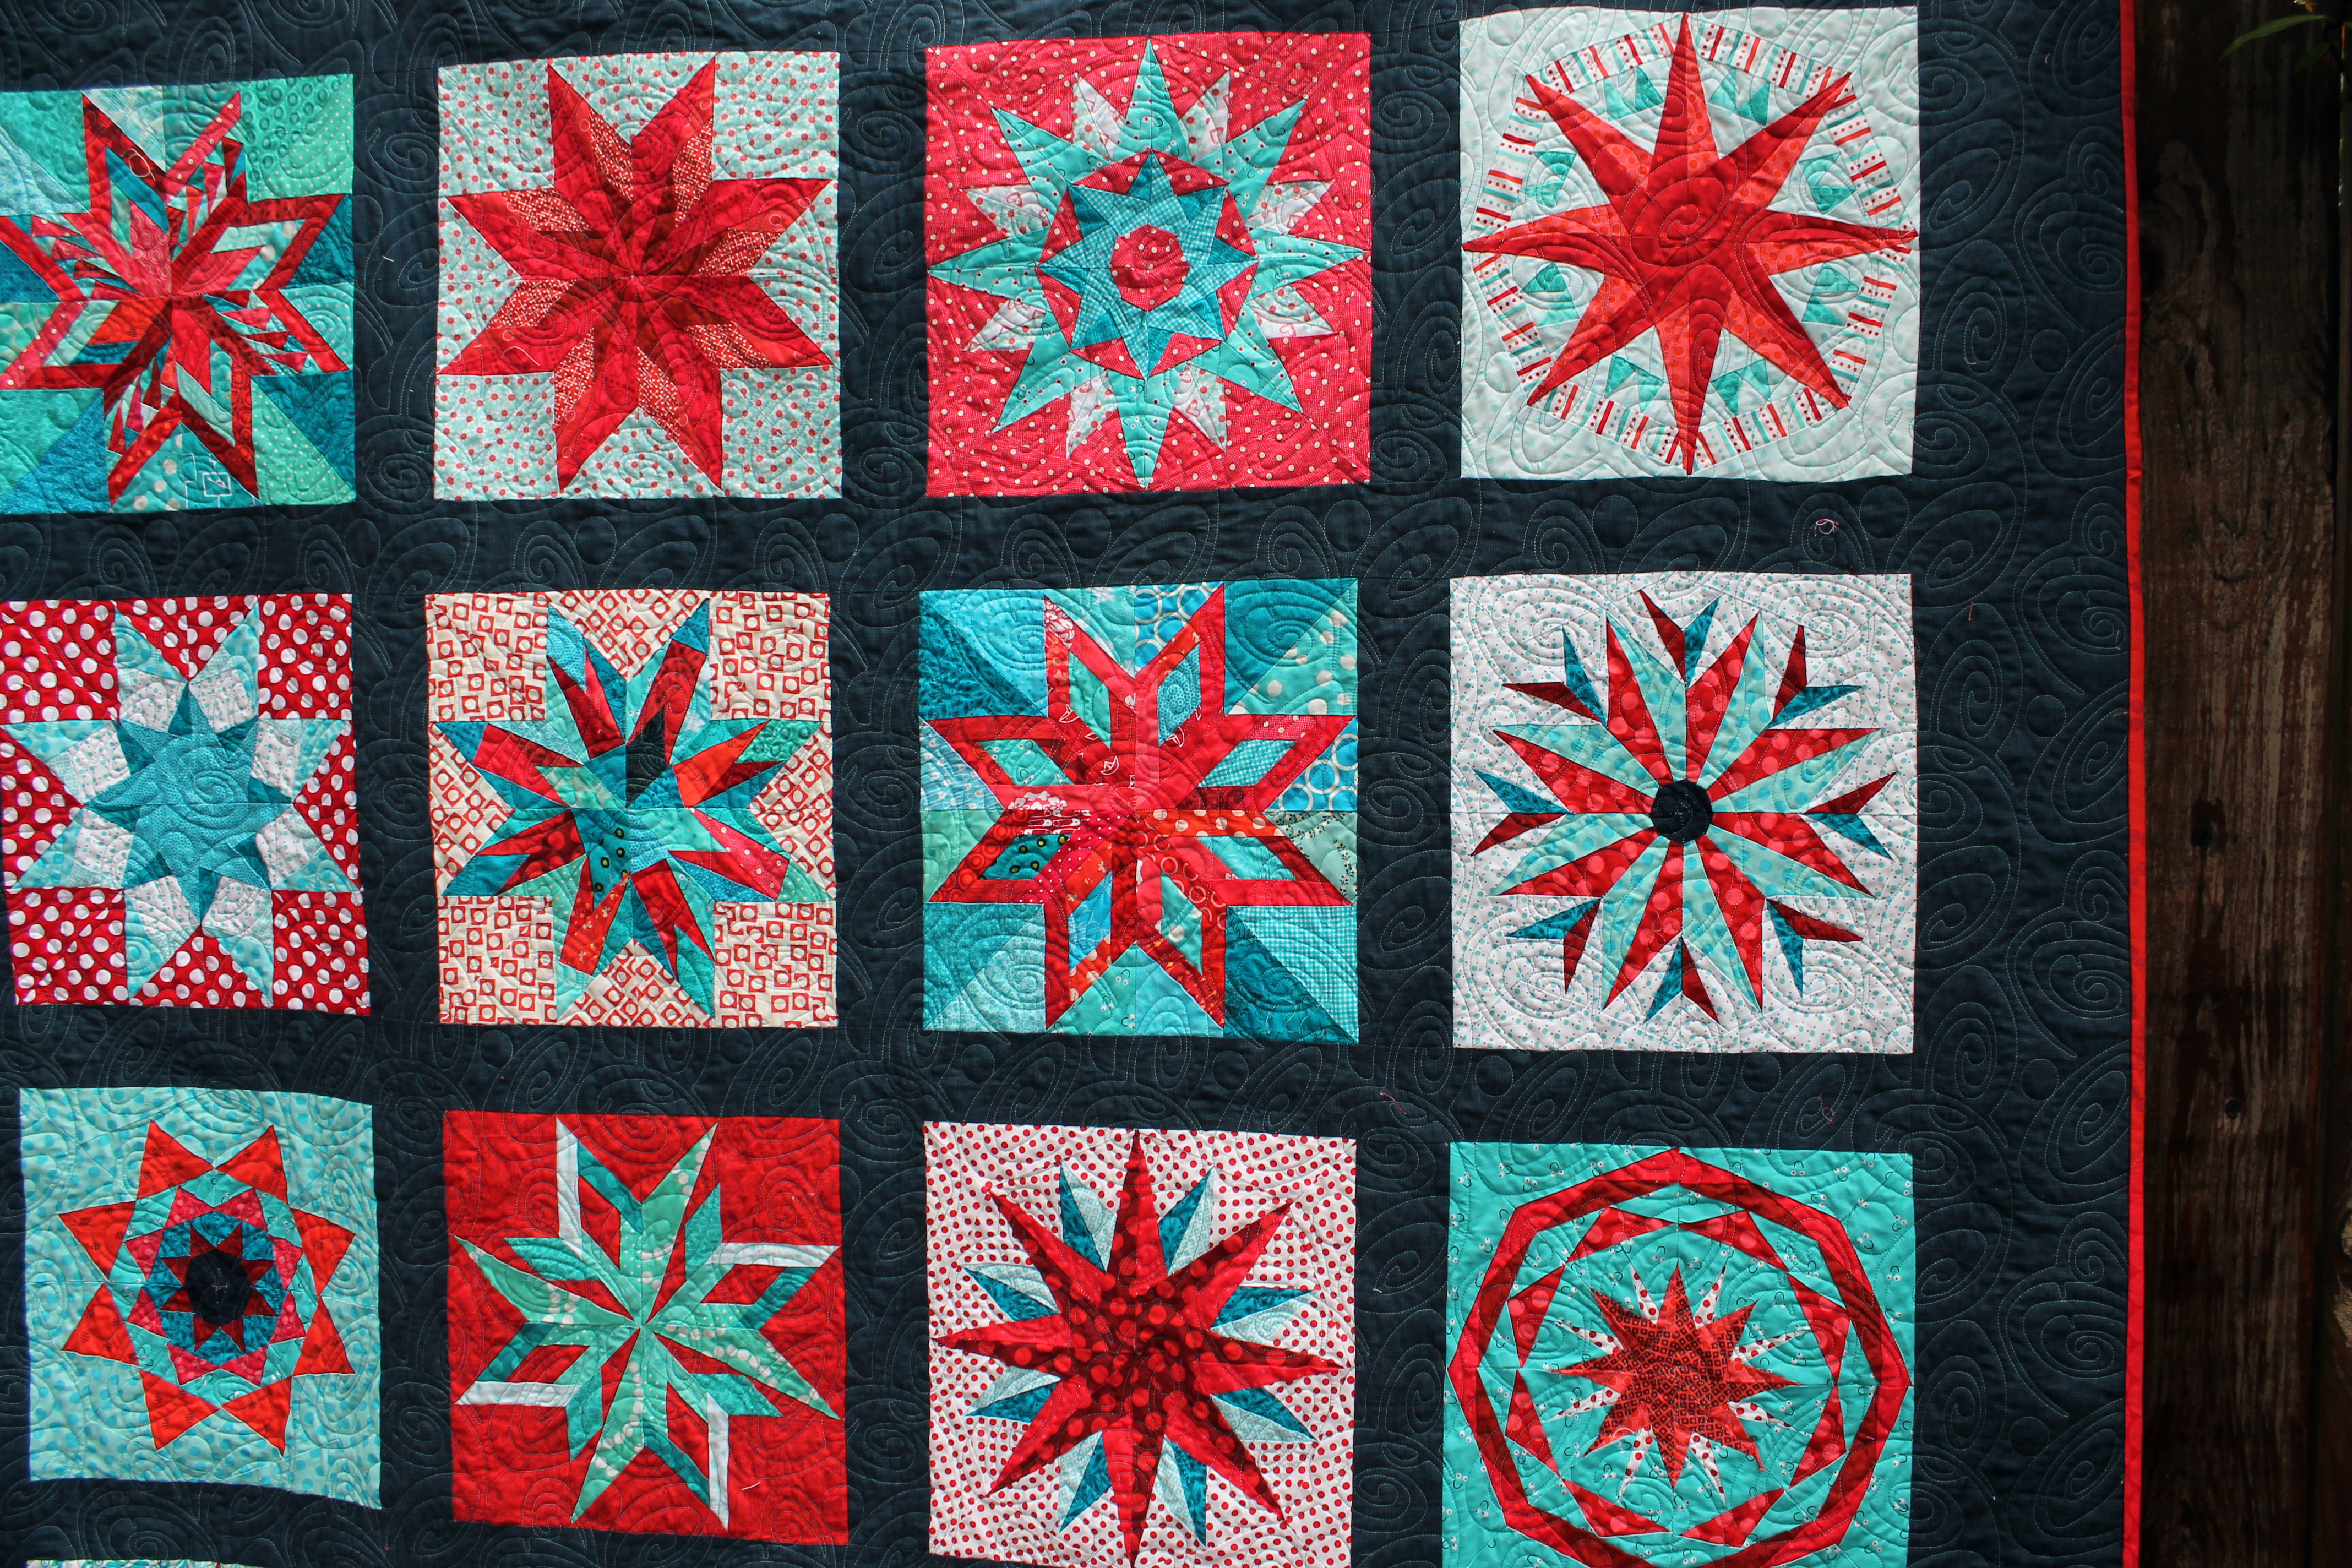
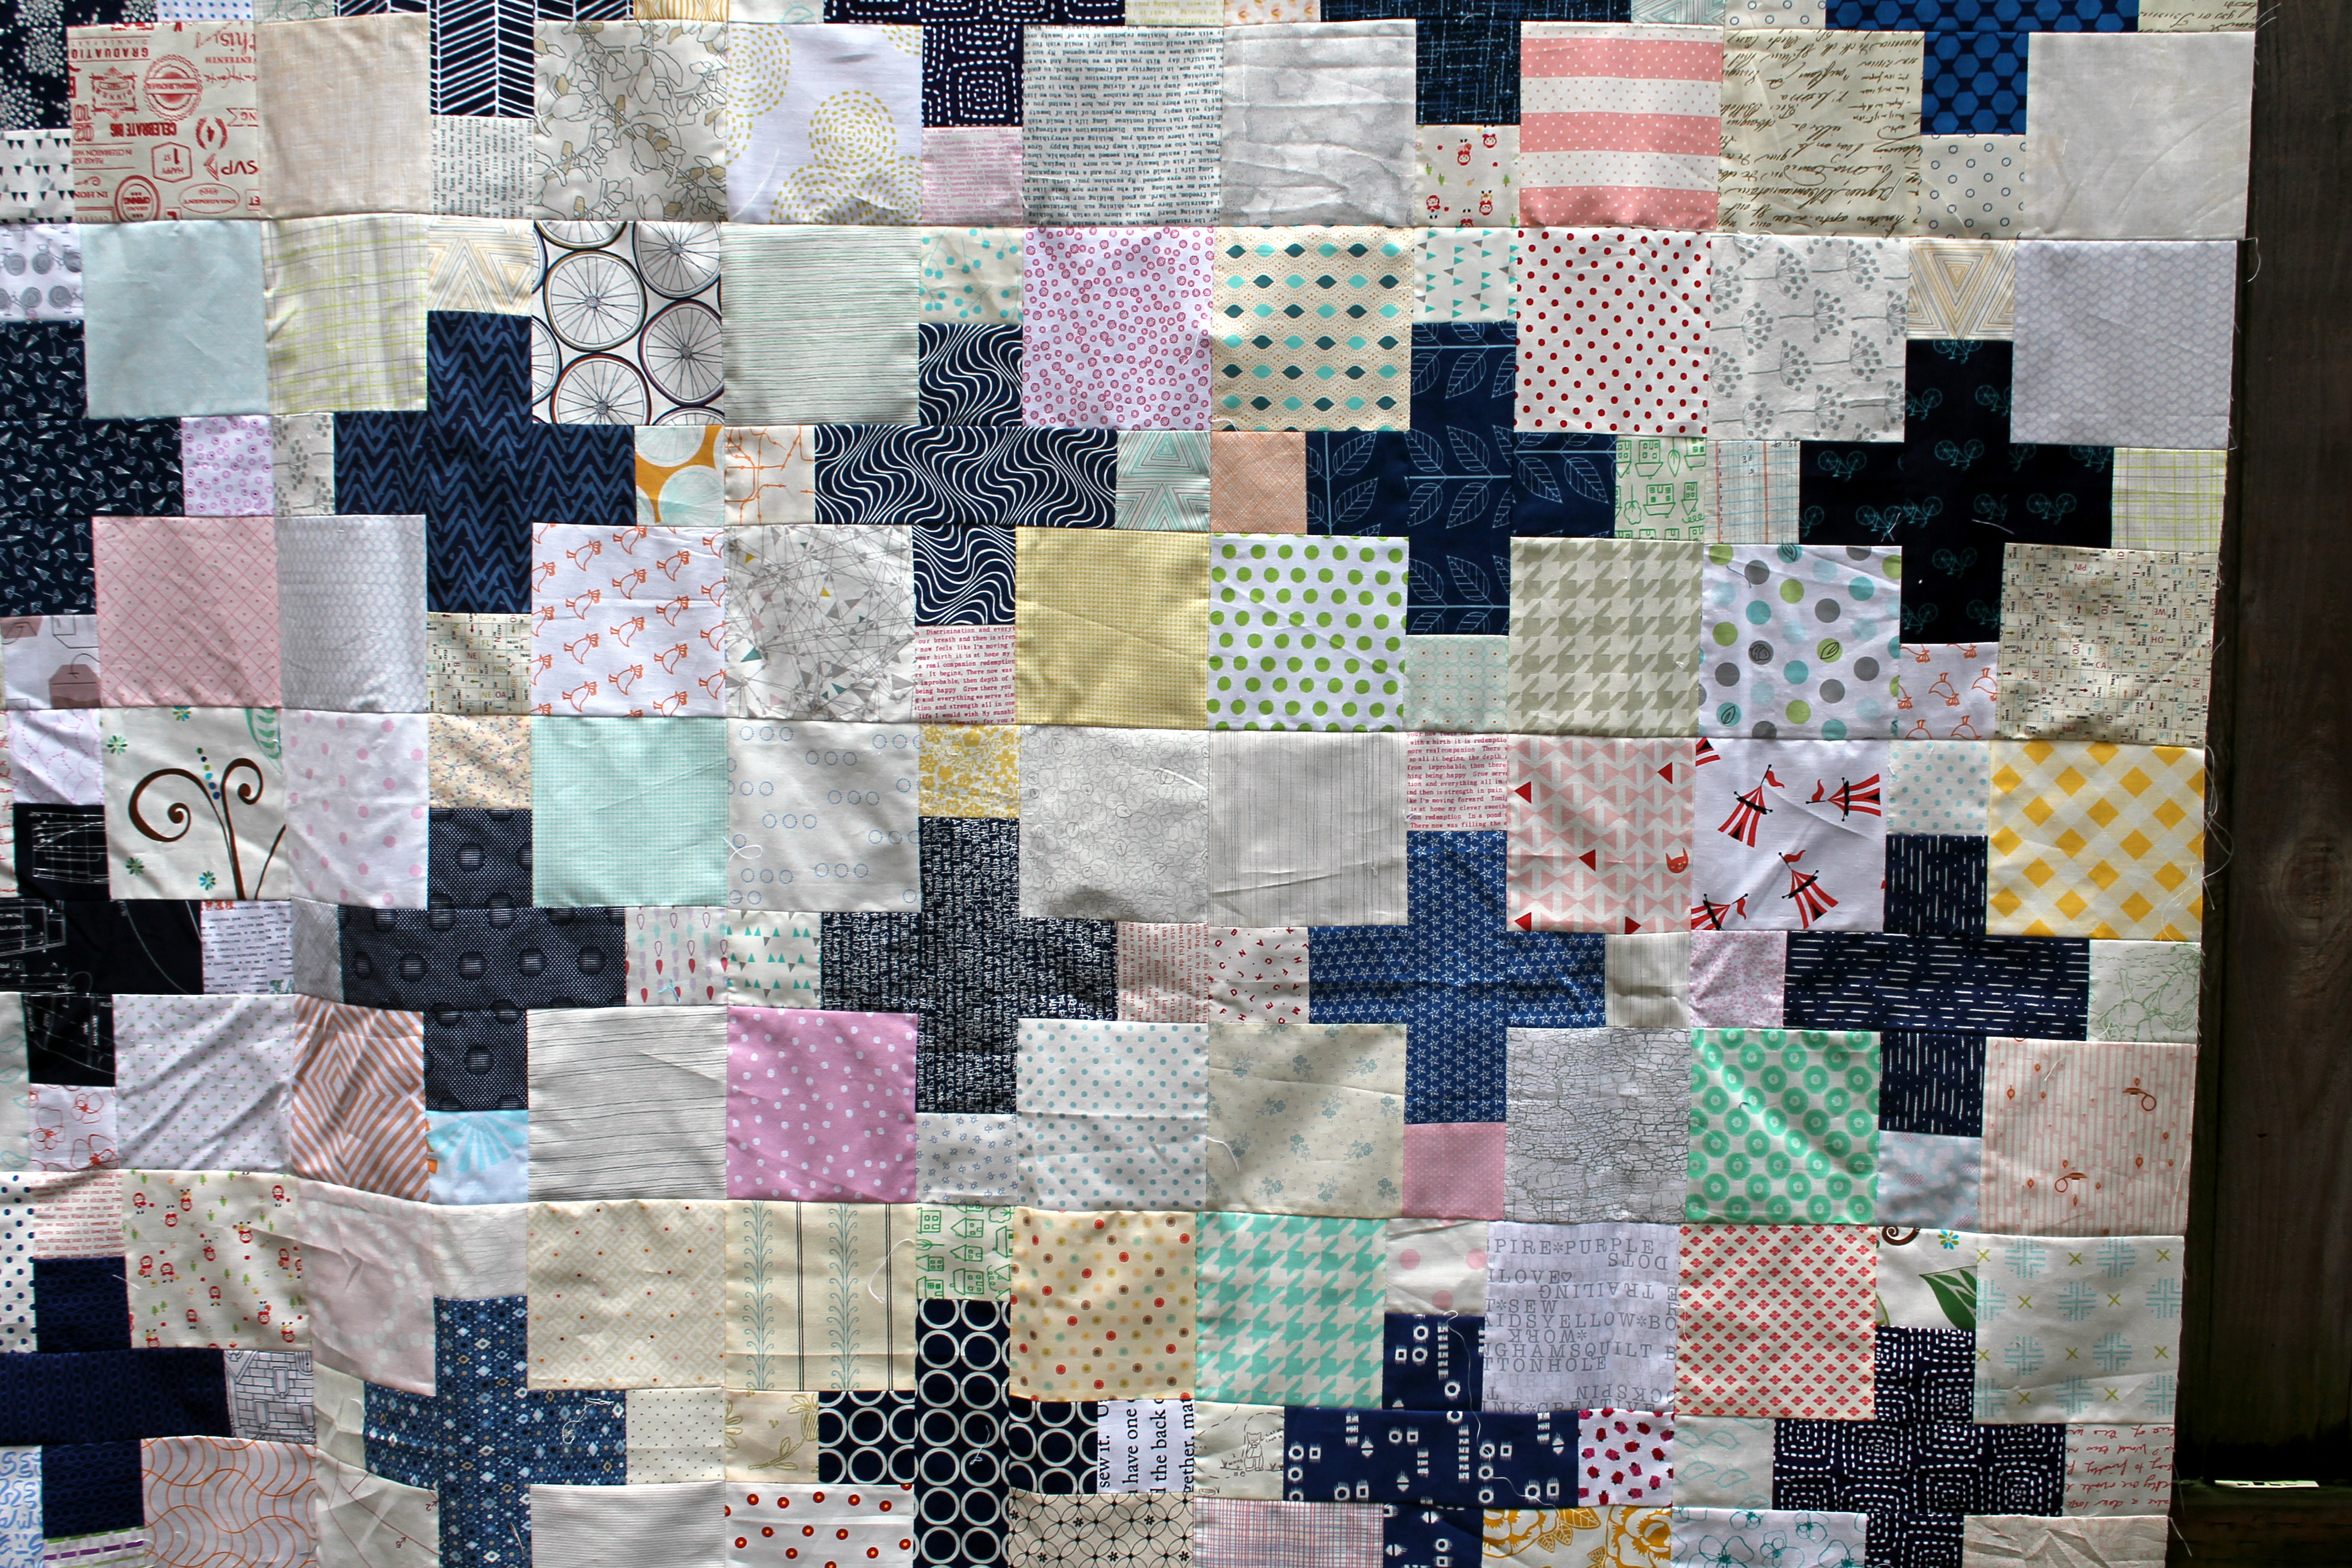
I am plowing my way through my “must do before we leave” list… and this week it meant finishing up last month’s Do Good Stitches quilt top.  I was Queen Bee and set a simple, but fabulous cross block.

scrappy low volume quilt block

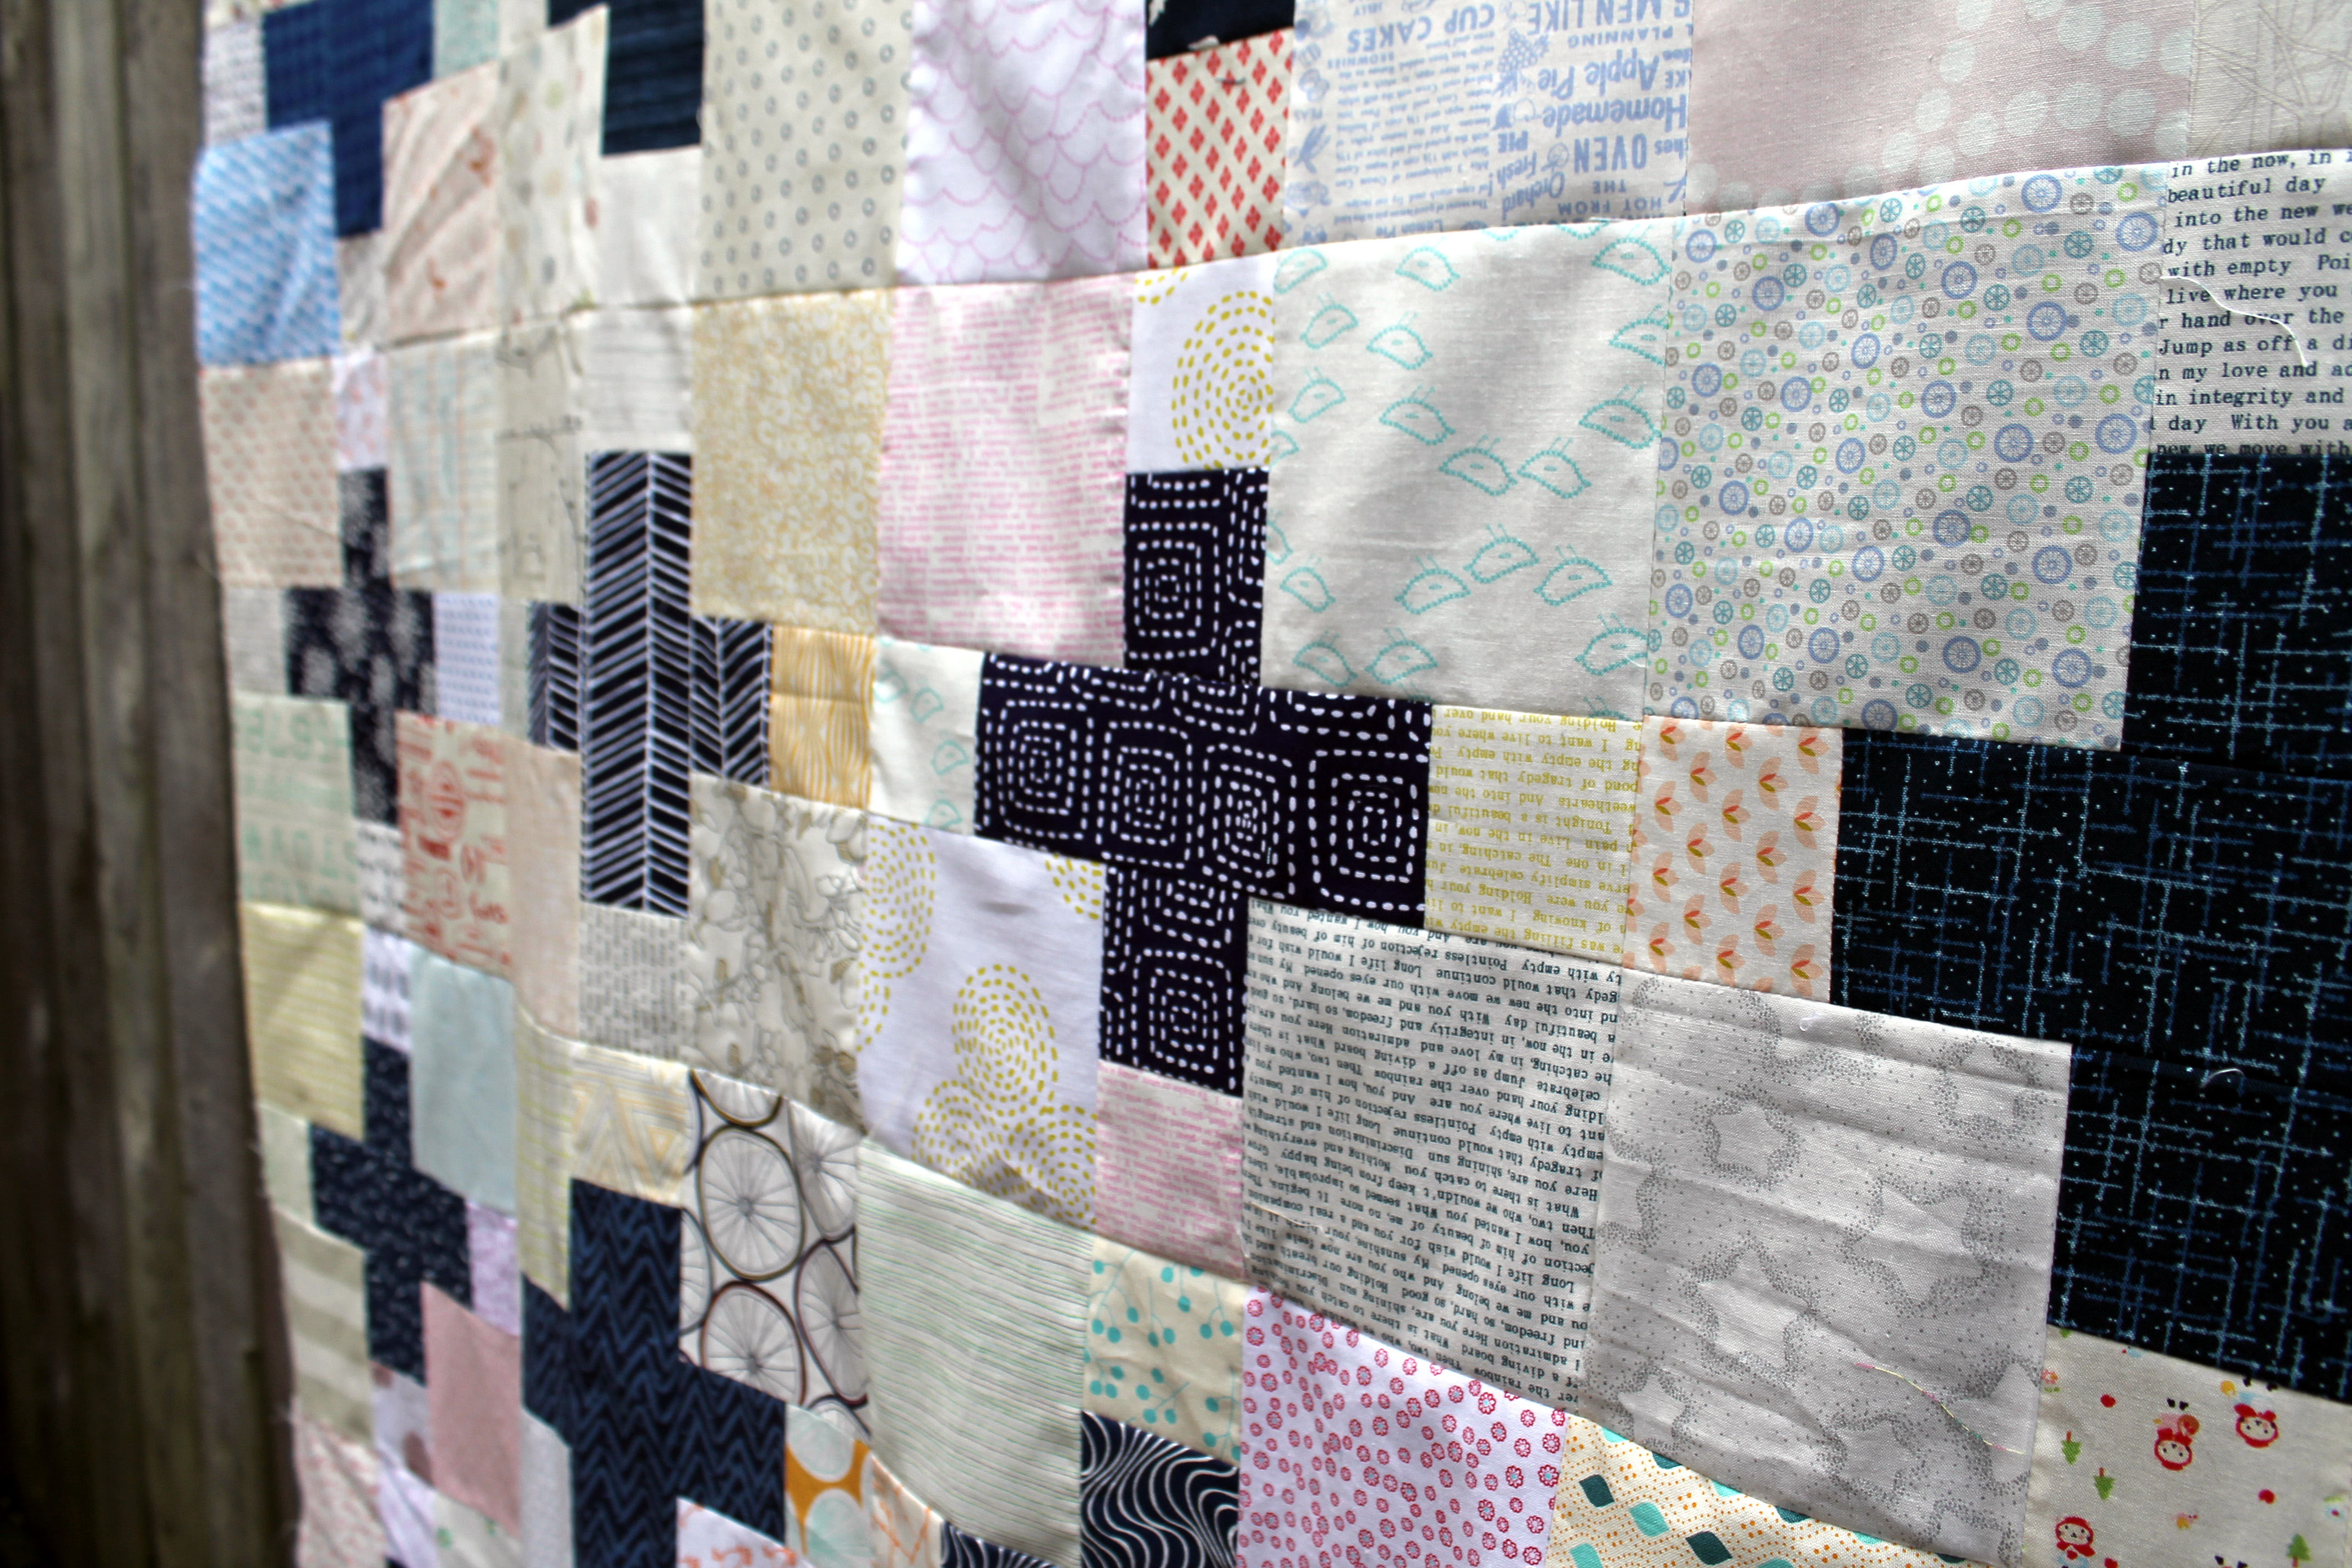
I used the dimension from Wooden Spoon’s flickr photo https://www.flickr.com/photos/wooden_spoon/8584301543/ and choose a navy blue cross on a scrappy low volume background.  The finished quilt top is scrap-tastic.

Do Good Stitches Cross quilt

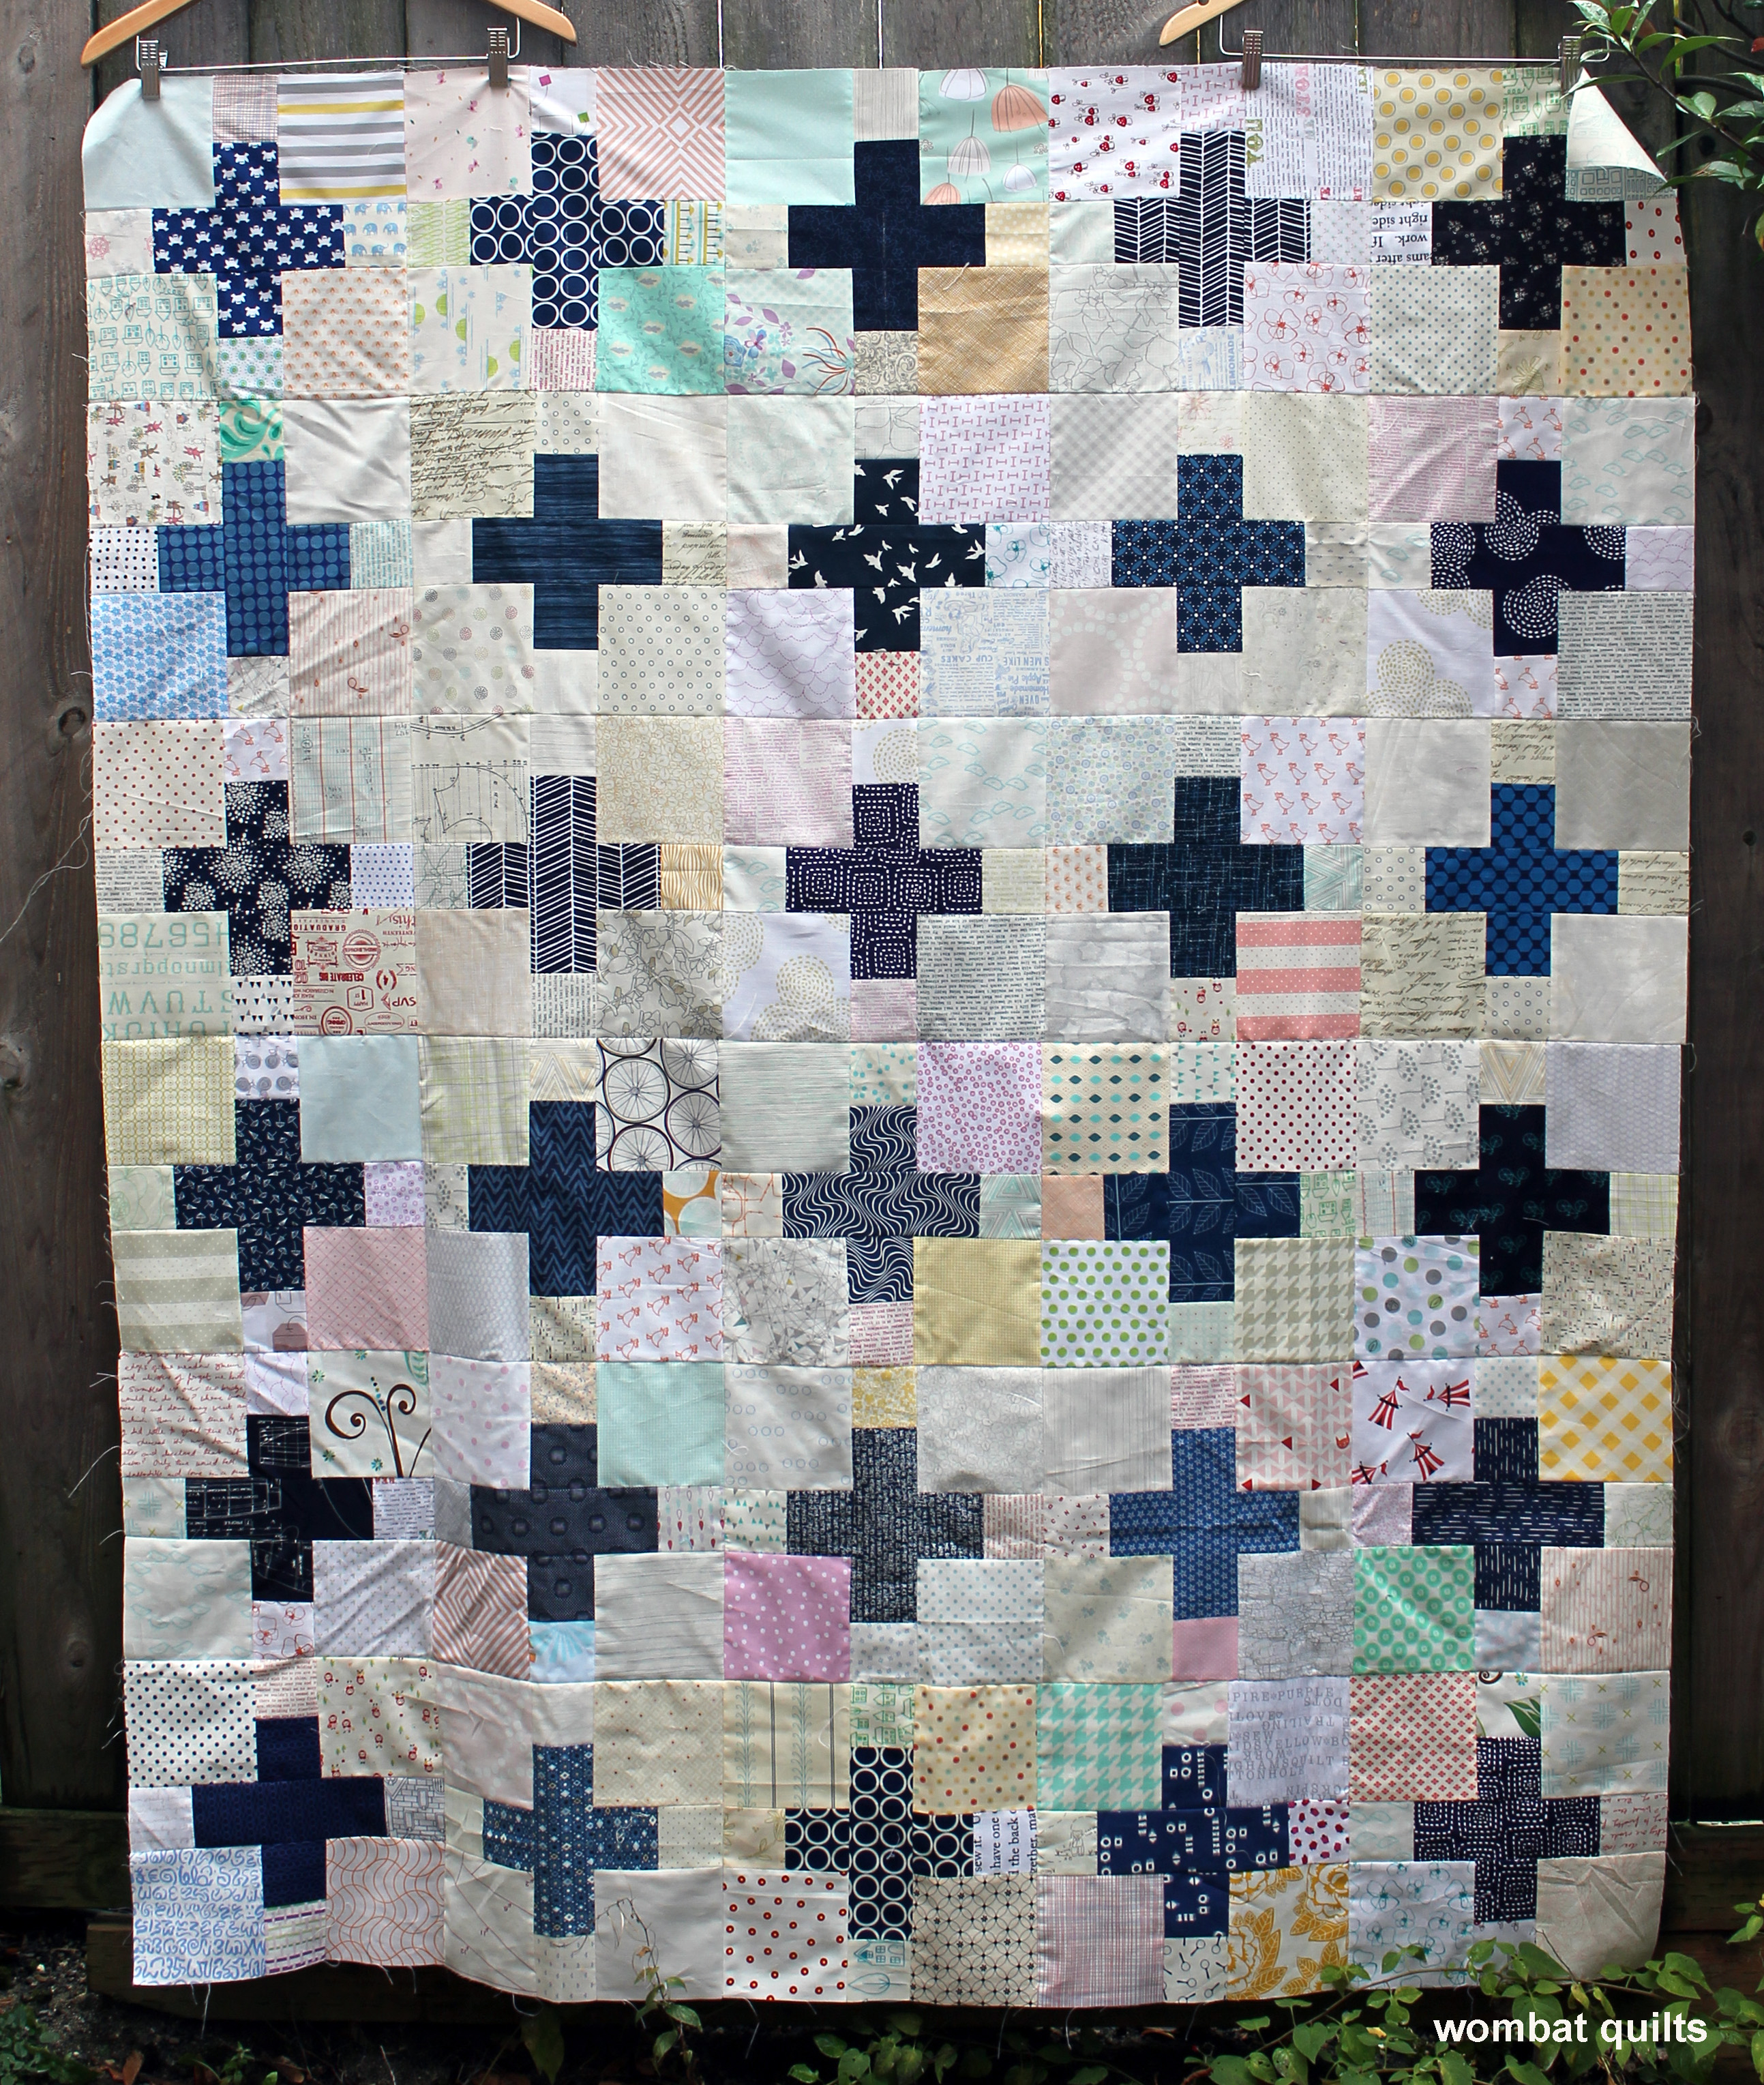
I love how the background has an amazing array of colours just subtly hanging out.  Because the cross is so dark it was easy to get great contrast with a variety of different colours and fabrics.

cross block detail 3

We also managed to sneak in some great novelty prints too…just for fun.

cross block detail 2

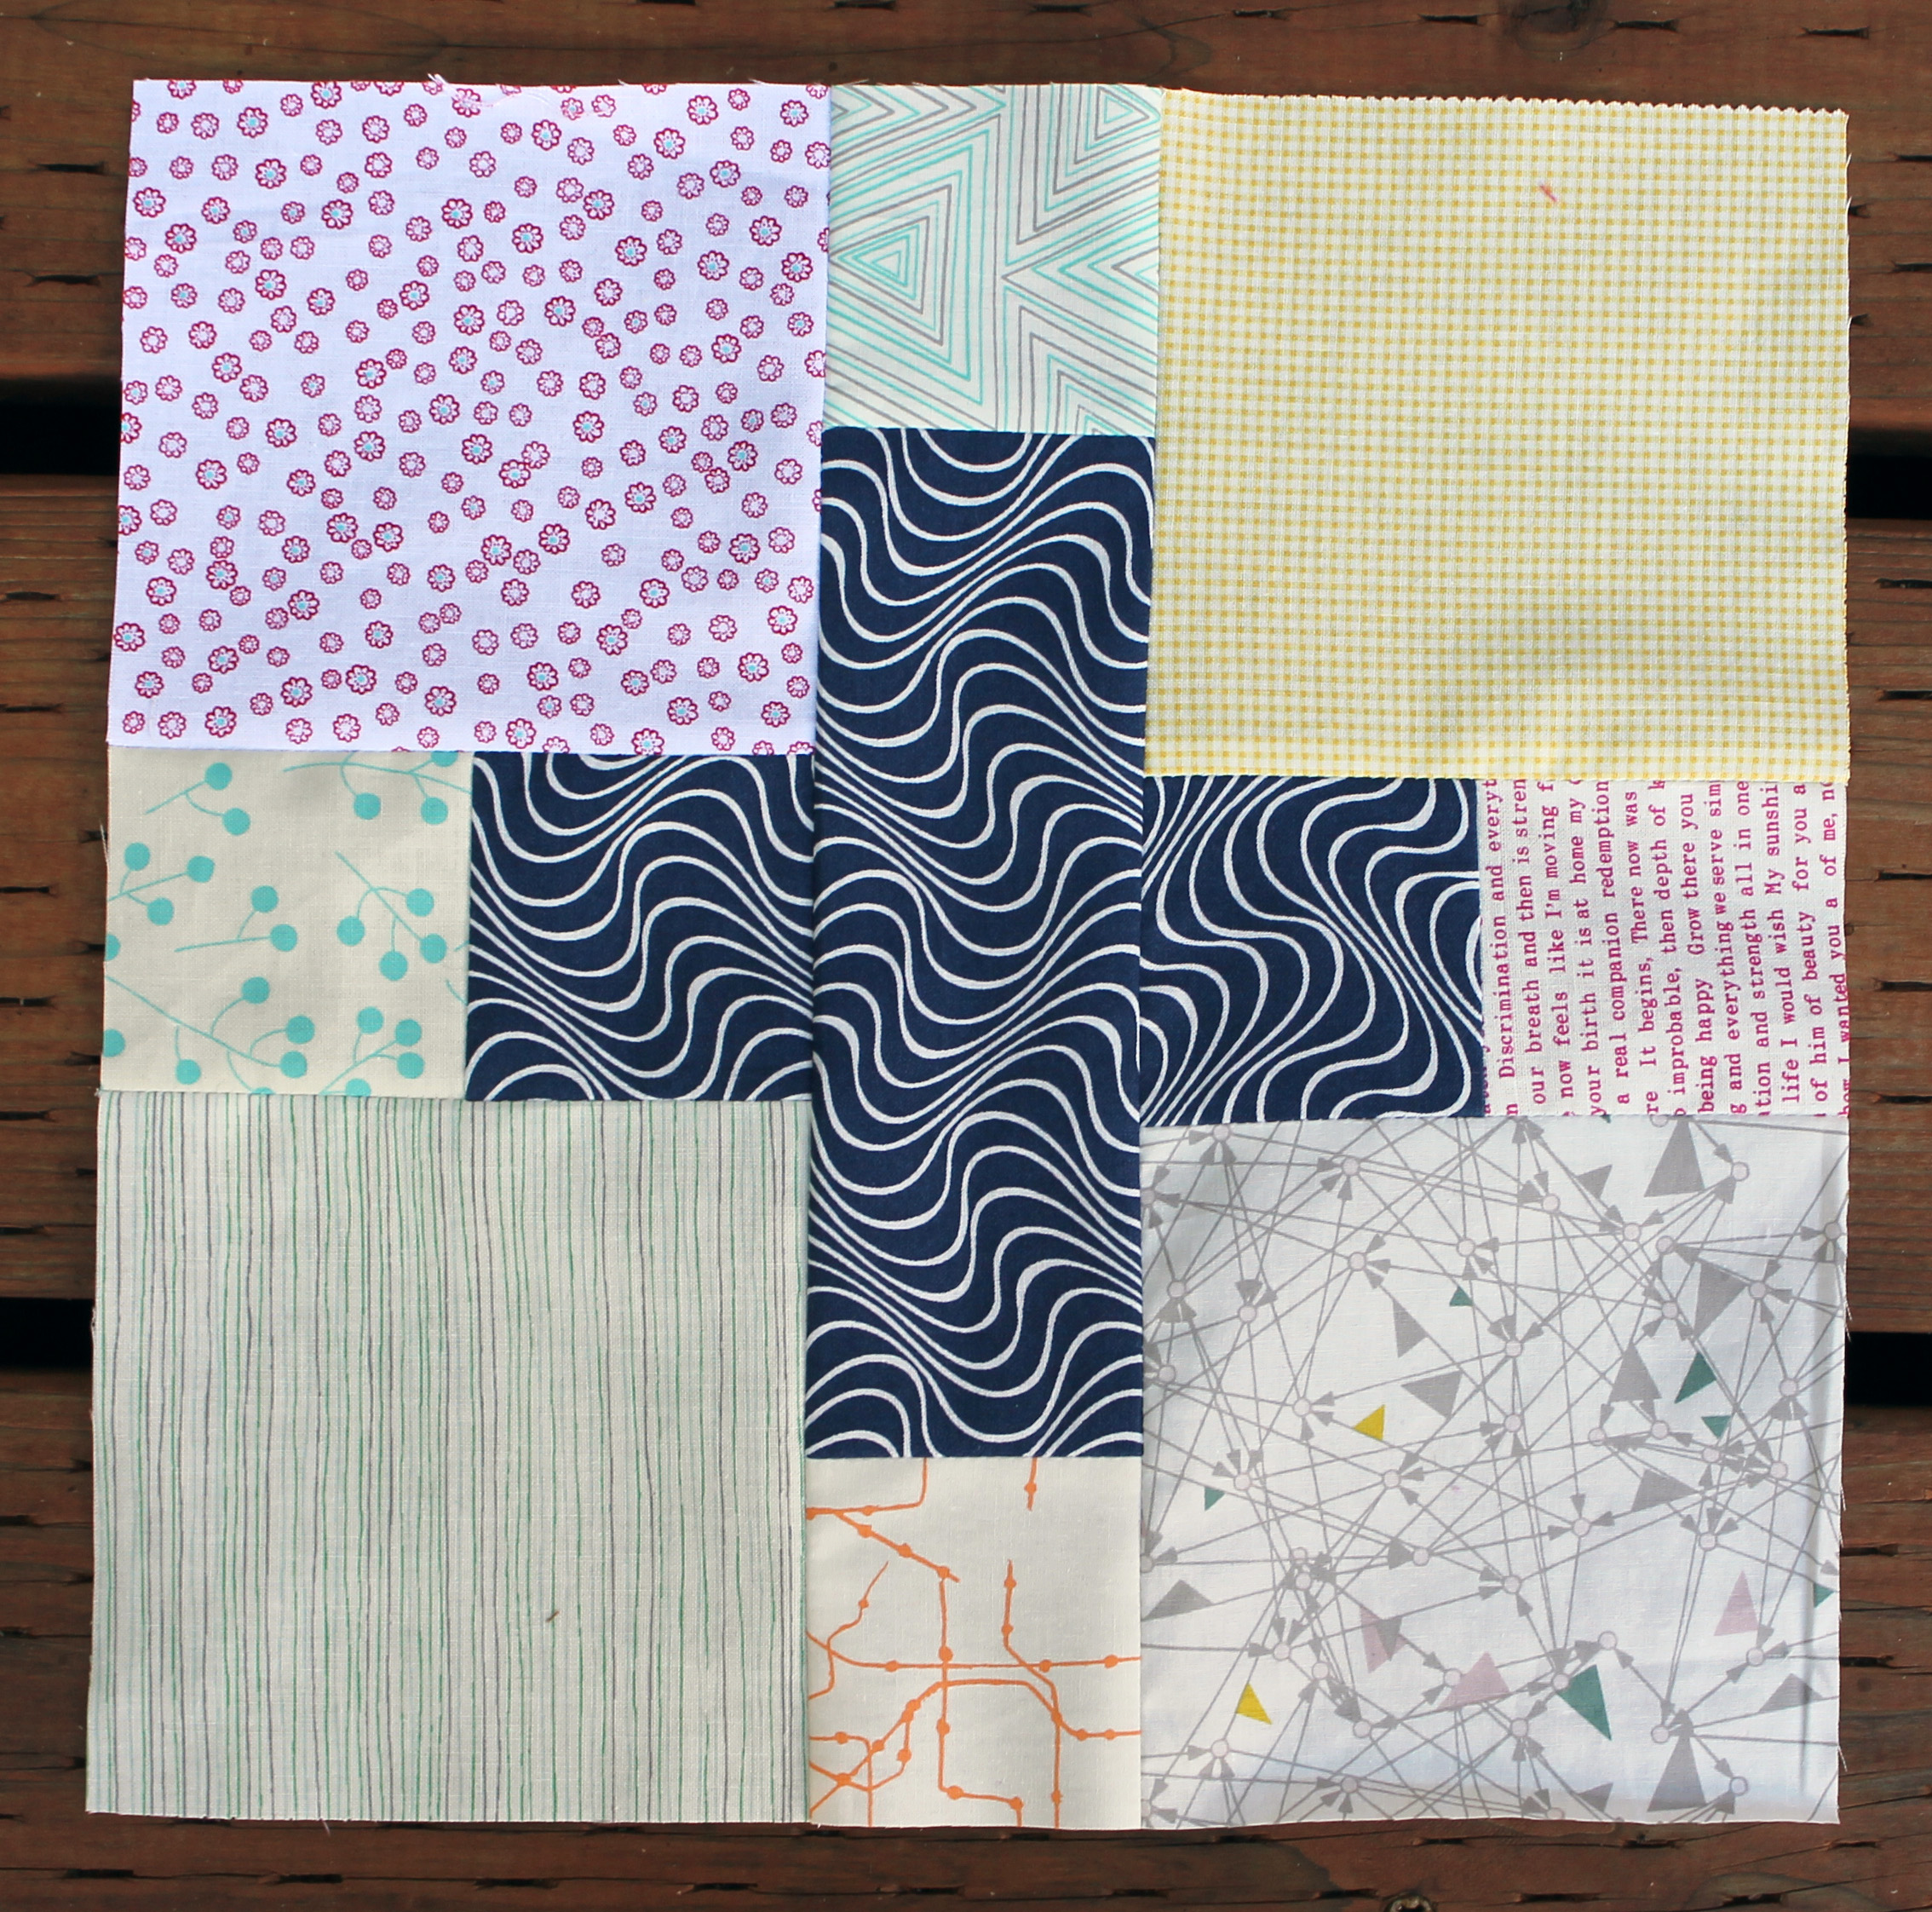
I trimmed all the blocks to 11 1/2 inches unfinished, and possibly got a little carried away in making my samples.  I made 12 blocks so easily, so that when they were added to my fellow Hope Circle members blocks we had enough blocks to 5 across and 6 down…instead of the usual 4 across by 5 down.

cross quilt detail

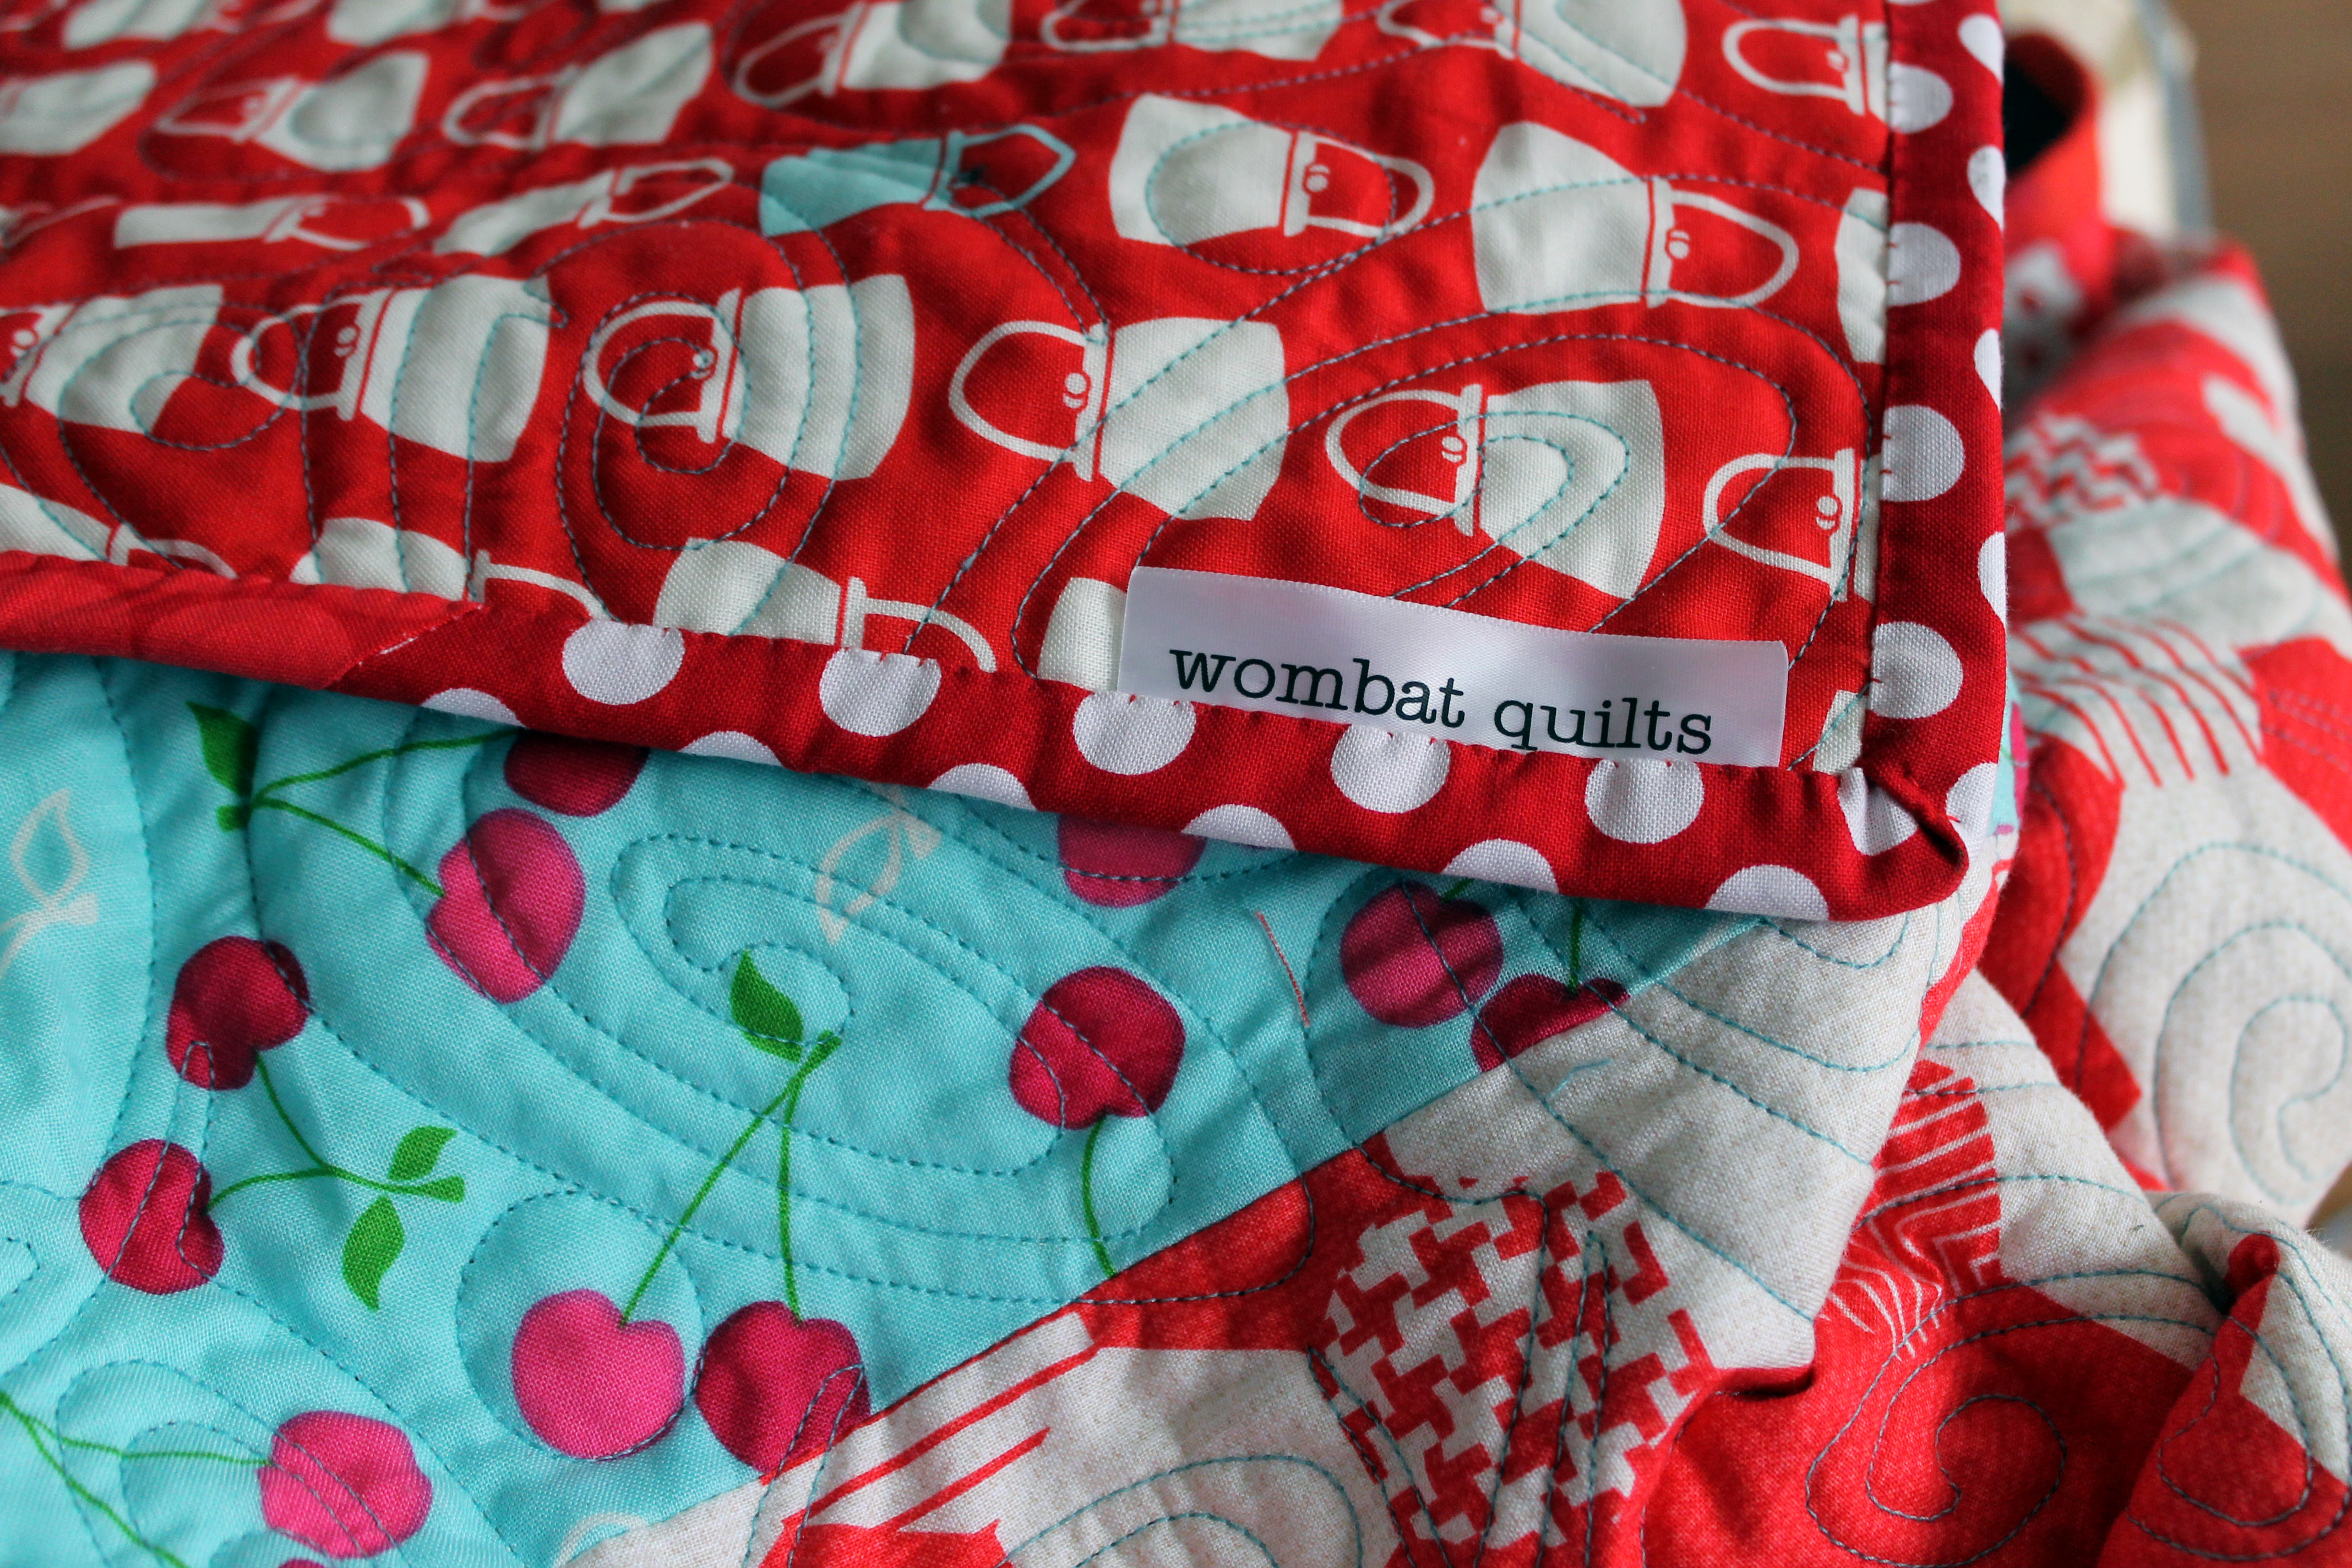
The top is in need of a some extra starch and a good press but it will all have to wait till next month to be completed!  December is going to be crazy, I can tell.

The continuing adventure that is 8 inch stars…

Welcome to another riveting edition of Paper piecing Monday… okay there was a little bit of hyperbole in that statement, but I am really enjoying making these stars, and today’s pattern is no exception…

stamp star

I call this one Stamped Star because it feels very solid… not at all delicate like last weeks. The star is 24 pieces and would look cool, I realized after I had finished the block, with a light center rather than the dark.

stamp star pieces

You can find the PDF pattern for this star here…Stamp star.  Next week I will try to get a wip shot of the stars so far.  They are looking cool up on the design wall…but I still am not sure what I am going to do with them all!

A special finish….

This week I managed to finish up the second quilt I am taking home to Australia…this one is for my mum.
Red star quiltSo my Mum knows that this quilt is heading her way as a birthday present (yes she knows it is coming to her, because I am hopeless with surprises!)… her favorite colours are red and aqua so it is perfect for her…plus this quilt, with its beautiful stars and hours of work needed to go to someone special.

Red star quilt detail

20 paper pieced stars, a couple of yards of Robert Kaufman Quilters Linen, spools and spools of thread and countless yards of red and aqua fabric and we are done.

red star quilting detail

I was smart enough to send this quilt out to be quilted and the fabulous Nancy Stovall did an amazing job.  I actually left the quilting pattern decision up to Nancy and she choose a wonderful swirl that gives great movement to the stars.  I love it.

Red star quilt detail 2

For the back of the quilt I used a bunch of yard and half yard red and aqua prints from my stash. I also embraced the scrappy with the binding, using a variety of red prints to tie the quilt together.

red star binding

As I was binding the quilt I got a chance to look at every star more closely, and reflect on what I have learnt.

quilt detail 1

My first couple of stars were a little rough….I did not use small enough stitch setting on some of them which means that some stitches at the seams are visible.  I also was not as careful with the bulky joins in the some of the stars – I did not iron the seams open properly leaving a bulbous lump in the center of one or two stars.  But 20+ stars in I was a pro – I had embraced scrappy, had finessed my process and was making kick butt stars.

This quilt really does represent a wonderful journey for me… and I am thrilled that my mum will get to keep it.

Quilt Details:

Technique:   Paper piecing
Pattern:  various stars by Carol Doak and Quilting on the Square
Quilting:   Nancy Stovall of Just Quilting
Finish size:  65 x 80 inches

Straight Star…paper piecing Monday

This week’s paper piecing star is a easy, fun one…

Straight star block

The straight star is another relatively simple 8 inch star block…using just 28 pieces none of which are weirdly shaped or angled.  A PDF copy of the pattern I used can be found here….straight star pattern.

Straight star pieces

I used a random selection of green stripes from my scrap bag… but I think you could get some interesting effects with this star by carefully placing the dark and light pieces.  The effect of a whole quilt with this block would be fabulous I think, so it has been added to my “To Do” list.

Tune in next week for another fun 8 inch star….

The PMQG Medallion Quilt

This past week has been a full on Portland Modern Quilt Guild week….starting with a fabulous Quilt retreat and ending with a full day of Charity Sewing.

The weekend Retreat was my first quilting retreat… actually it was my first retreat since High School and my first retreat that did not involve religion in some way.  Needless to say it was fabulously, wonderfully unlike any retreat I had done before.  3 days, 30 creative ladies, 1 well stocked candy bar and 4 Mexican Coca Cola’s worth of fun.

work station

During the retreat a number of people were working on finishing up their Medallion Quilts.  It was great fun to see how everyone had interpreted the border patterns.  Every single medallion quilt that PMQG members have made have been so different, it has been a blast watching them all come together.

Each month the new border was announced by showing the Guild Medallion…

PMQG Medallion quilt top

This version of the Medallion was made by this years Guild Officers – Kelly, Mary Ann, Suzanne, Lisa and myself.  We used the full range of Botanics by Carolyn Friedlander which was generously donated to us by Robert Kaufman.

PMQG Medallion detailEach month we choose a border, worked out the maths (the hardest part for me!) and then one of us wrote up the pattern and made the border (most months I did a paper piecing version of the pattern as well)… You can find all the patterns and instruction here if you are interested.

PMQG Medallion detail 2

So when the last border was added it was my turn to take all the left over scraps and yardage and make a back for this beauty.  There were a few extra blocks and bits in the mix and in the end I made this…

quilt backKeeping with the Medallion vibe, and embracing all the leftovers I made a stripped panel for the center of the quilt back.

PMQG quilt back detail 2

The orange flying geese, circles and navy stripes were all left over blocks from my fellow Officers.  The rests of the blocks I made… including some more cross blocks and some square blocks.

PMQG quilt back detail

Left over yardage was then used to get the back to the needed size of 75 x 75 inches.  Now the top and back are off to one of the Guilds many talented long armers for finishing…  after I have removed some paper from the back of it and given it one last press!