A year of Bear Paws….

2020 was definitely the year of Bear Paw blocks for me. I taught a color class for Modern Domestic, a local quilt store, which was all about color in quilting. We used a fabulous book by Rachel Hauser of Stitched in Color called a Quilters Field Guide to Color as a resource… and like Rachel does in the book we workshopped color using Bear Paw blocks. What this means is I made enough bear paw blocks to finish up 8 quilts… you are going to see a lot of bear paws over the coming months.

But before I started my over zealous production of bear paws for class, I set the block as my Do Good Stitches block. Actually in May 2019 I posted about making two blocks at a time in various sizes… the result of the tutuorial and my Bee mates work is this stunning quilt…

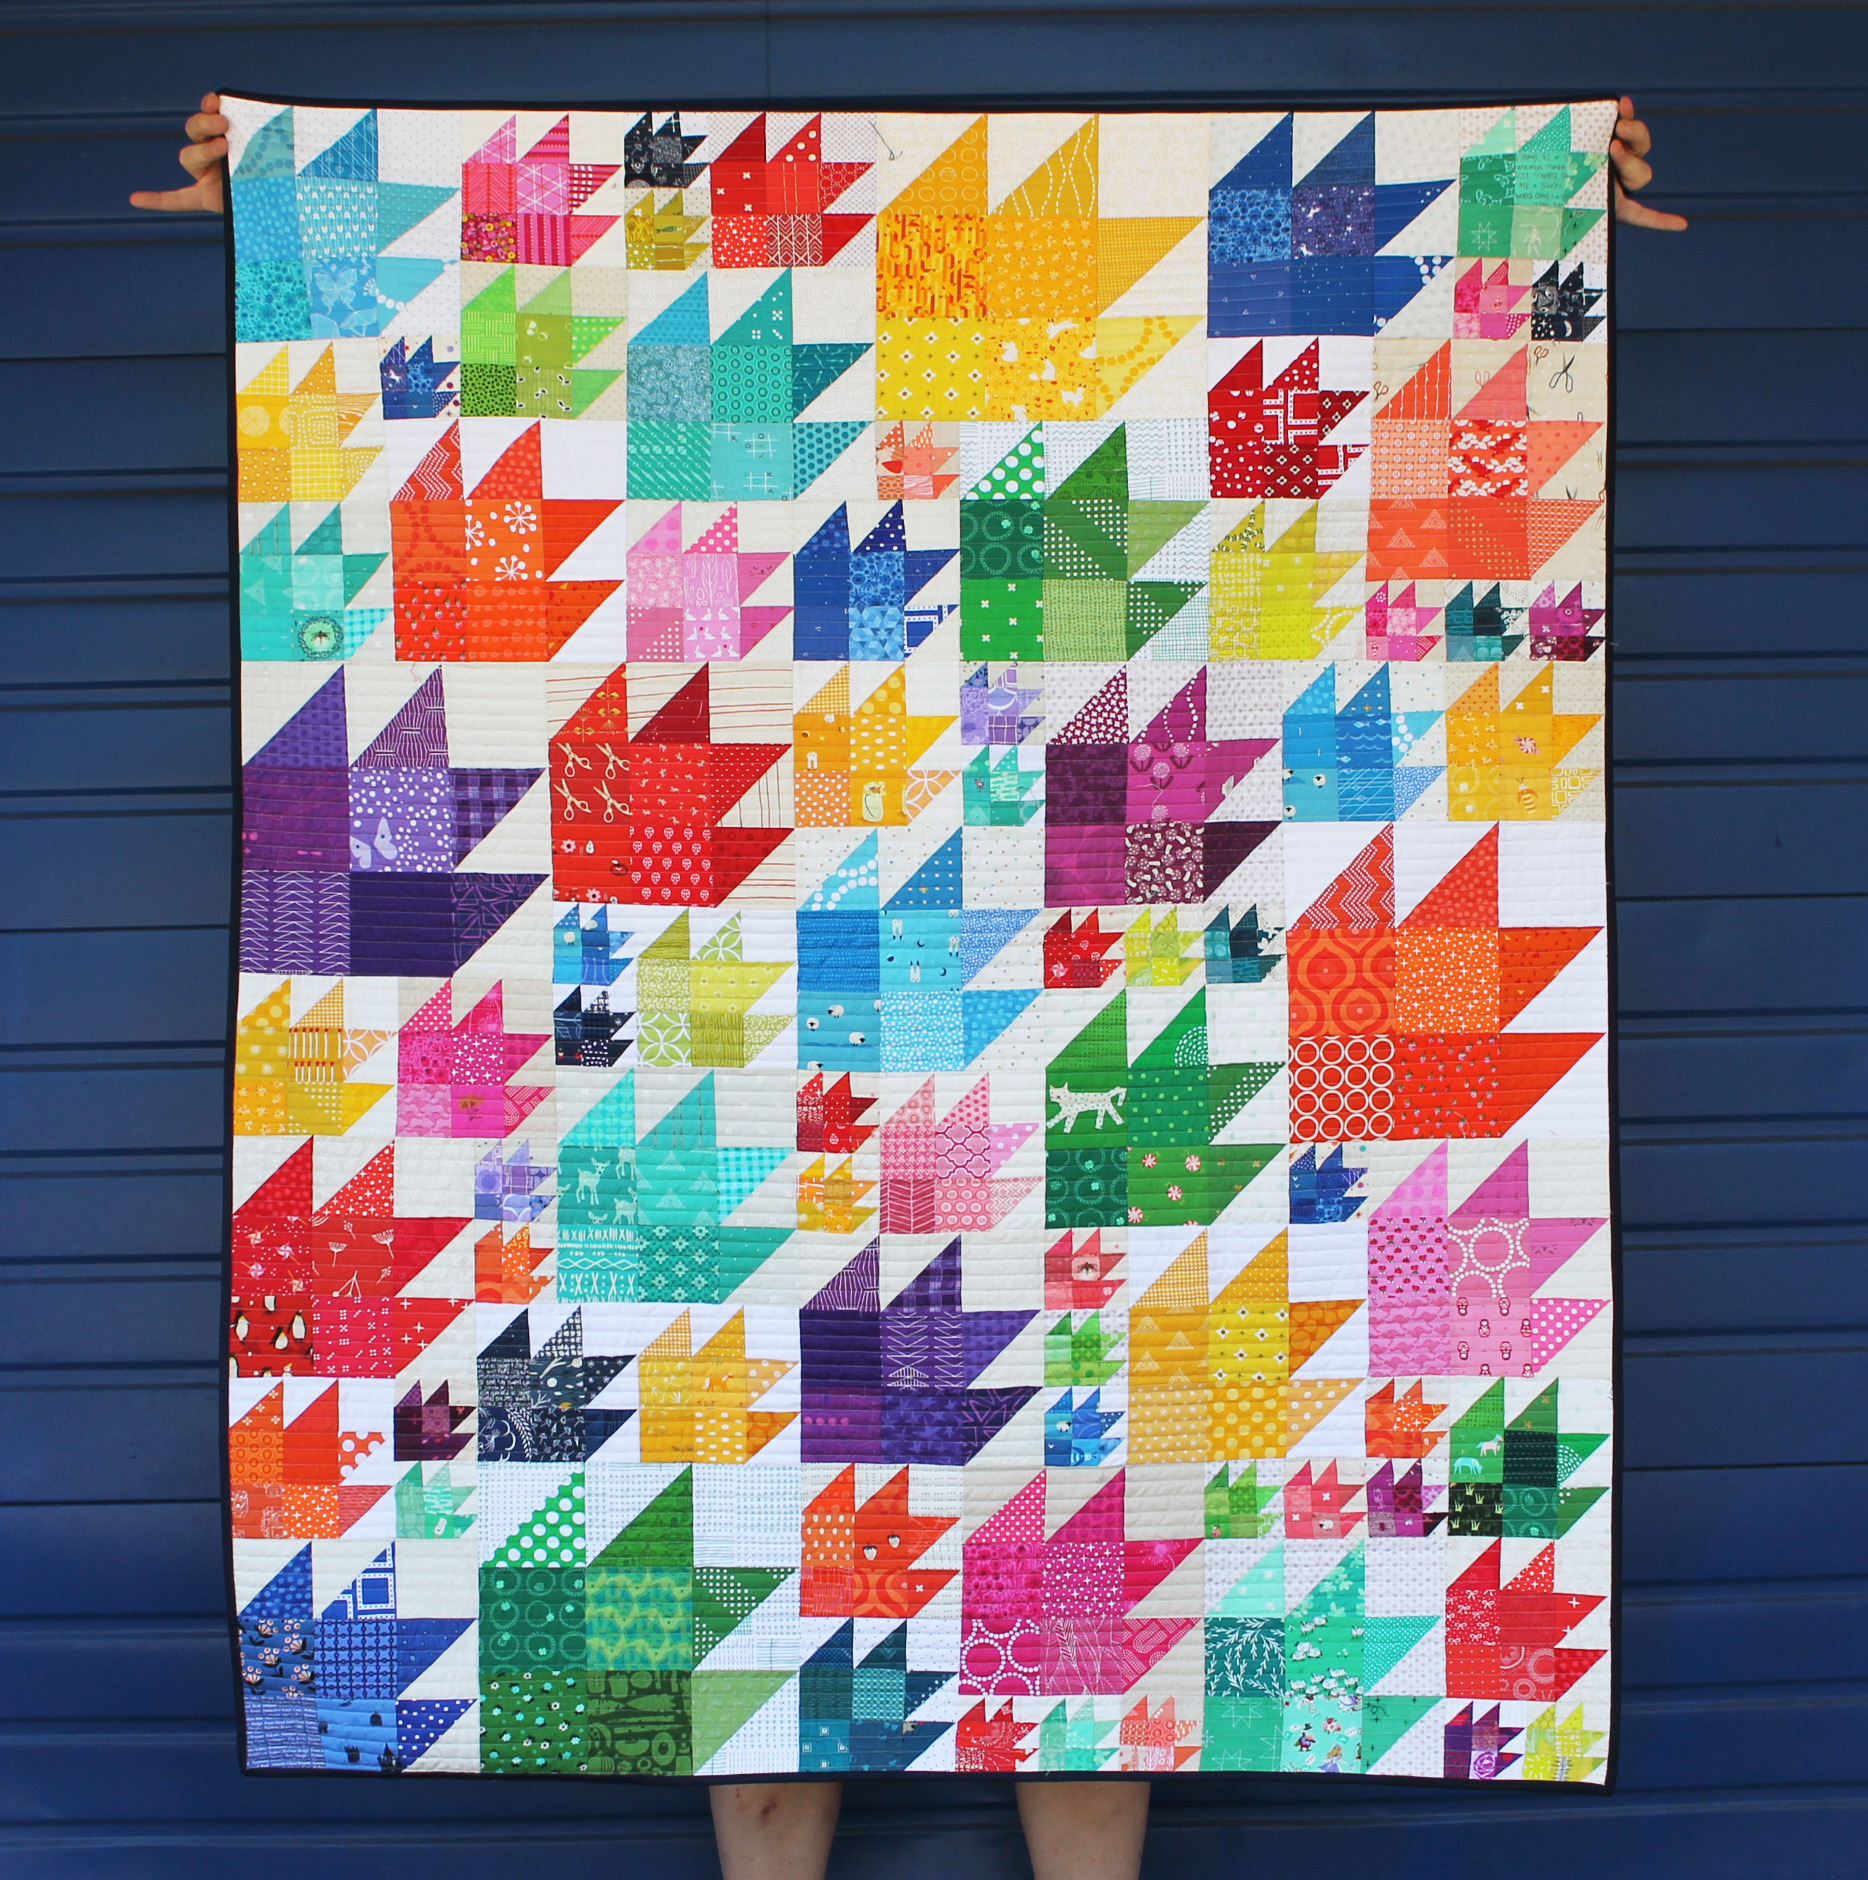
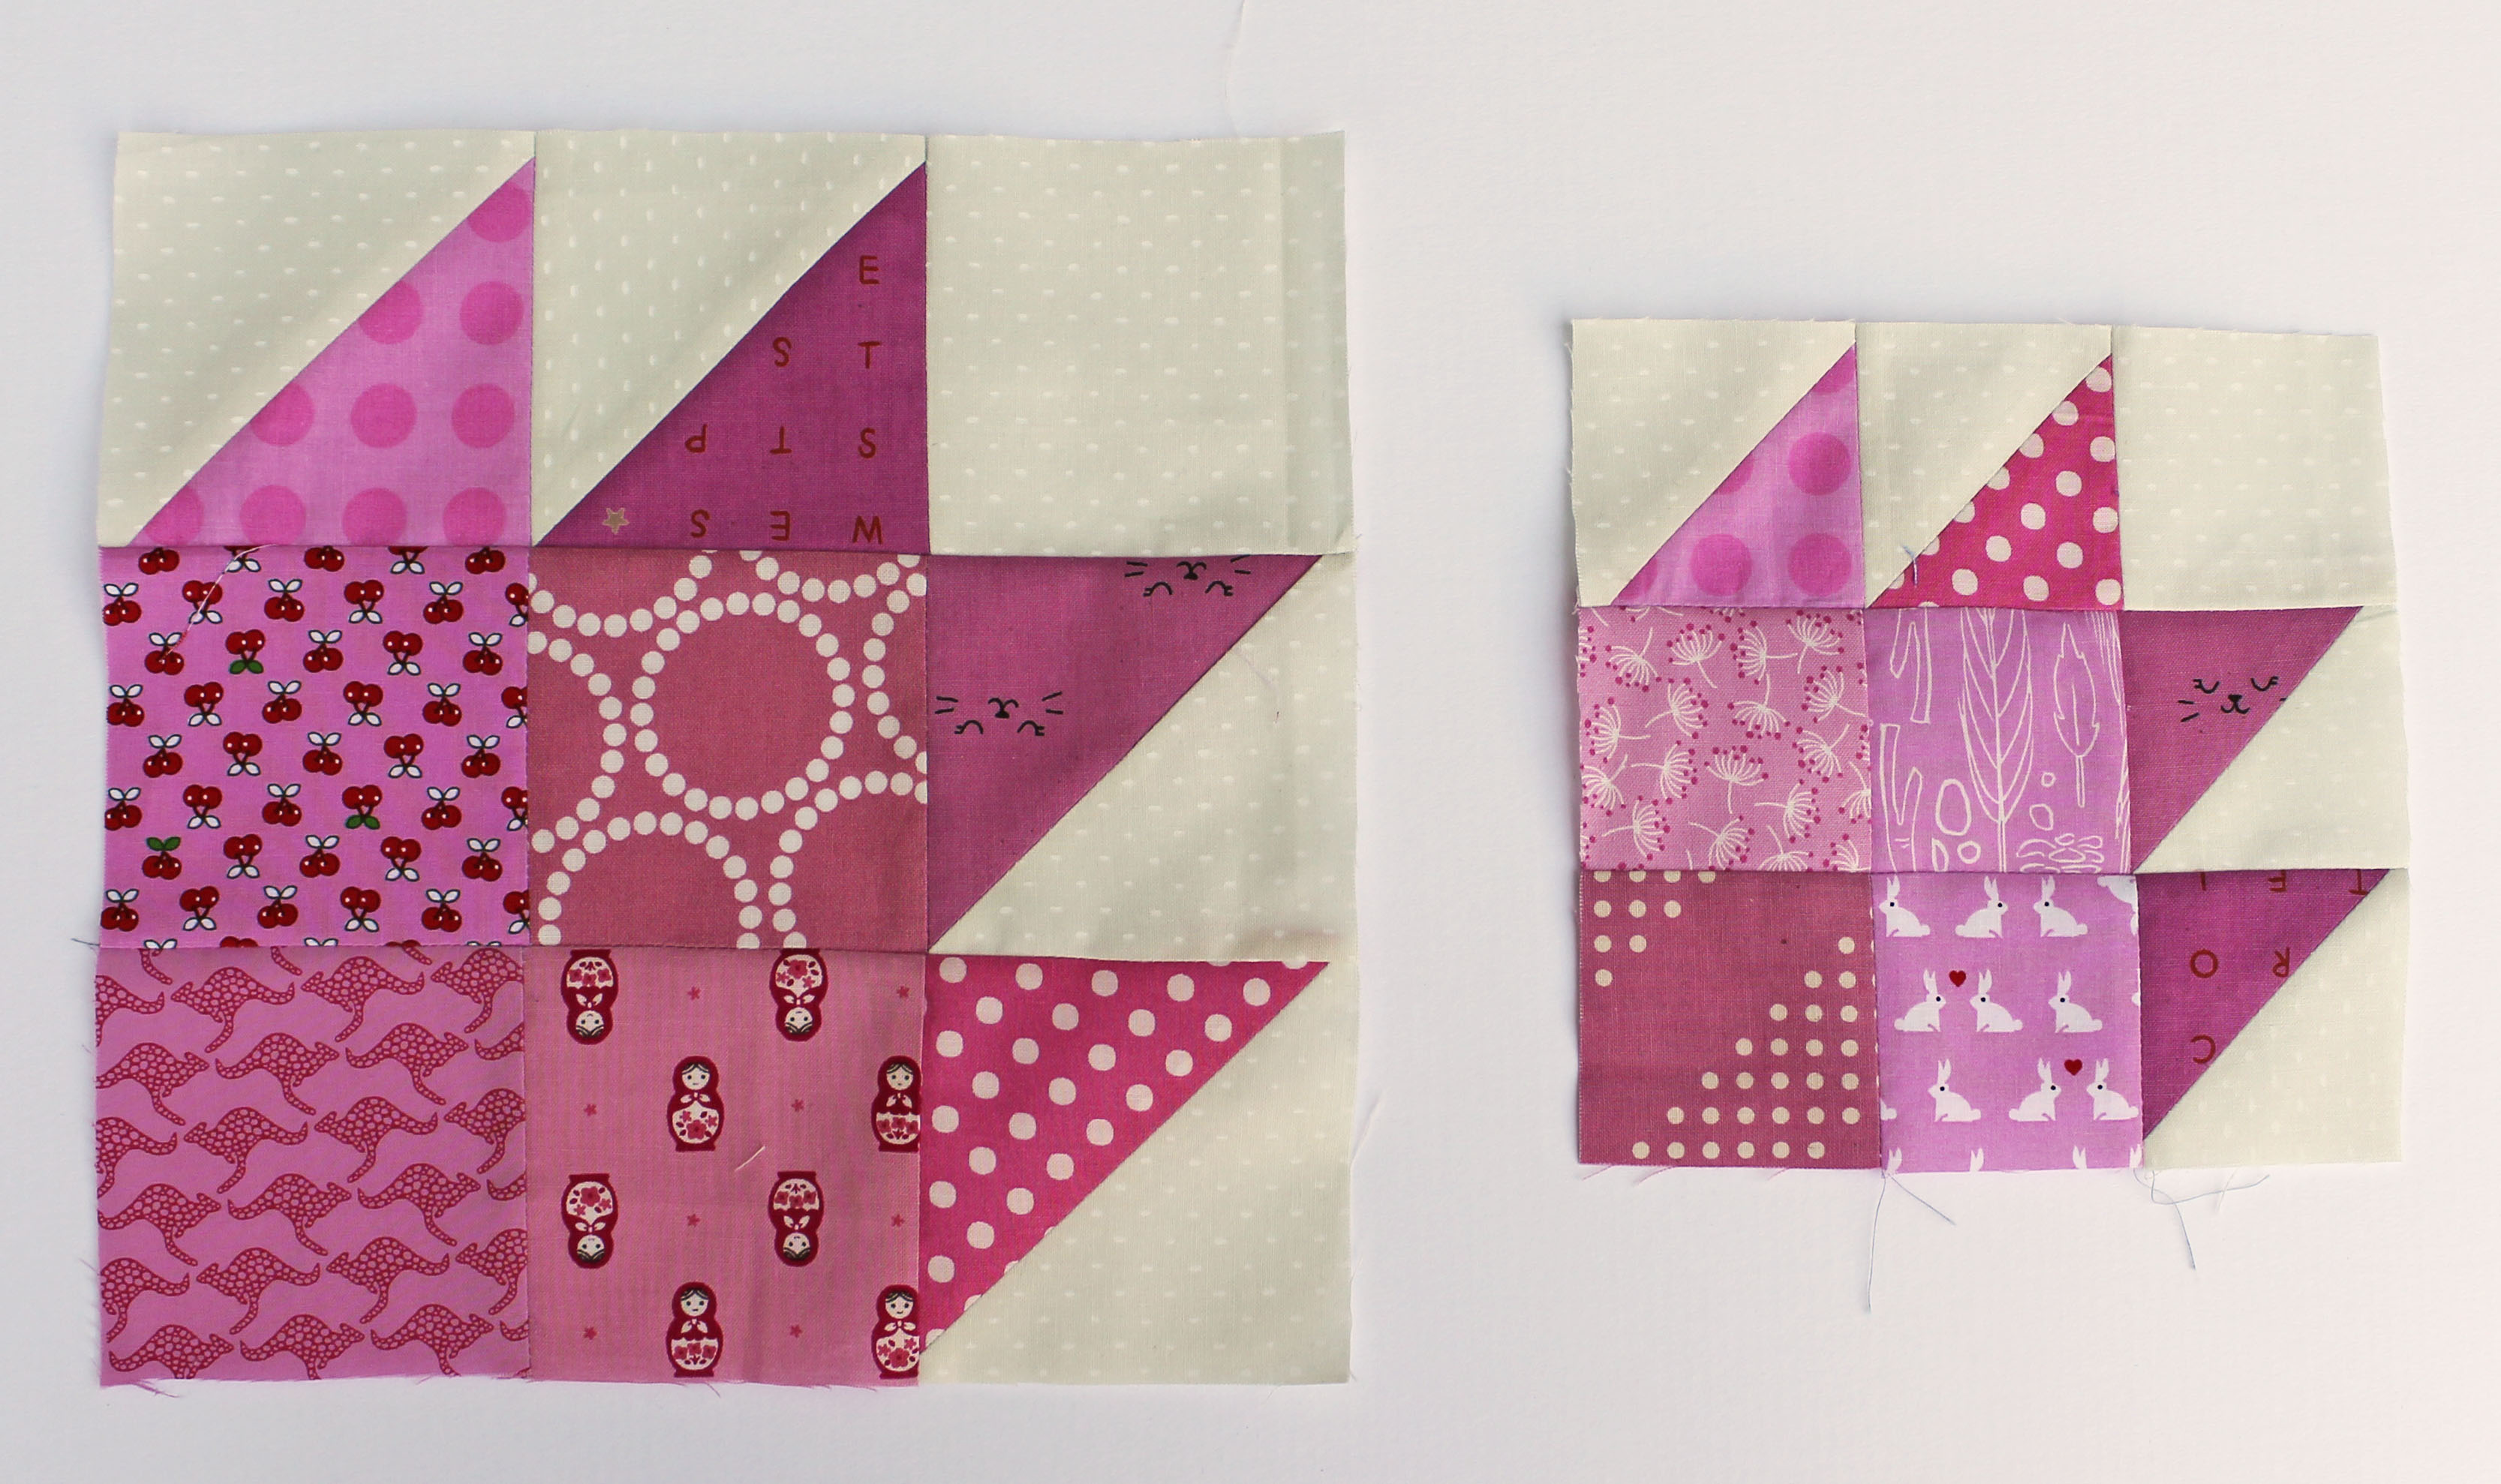
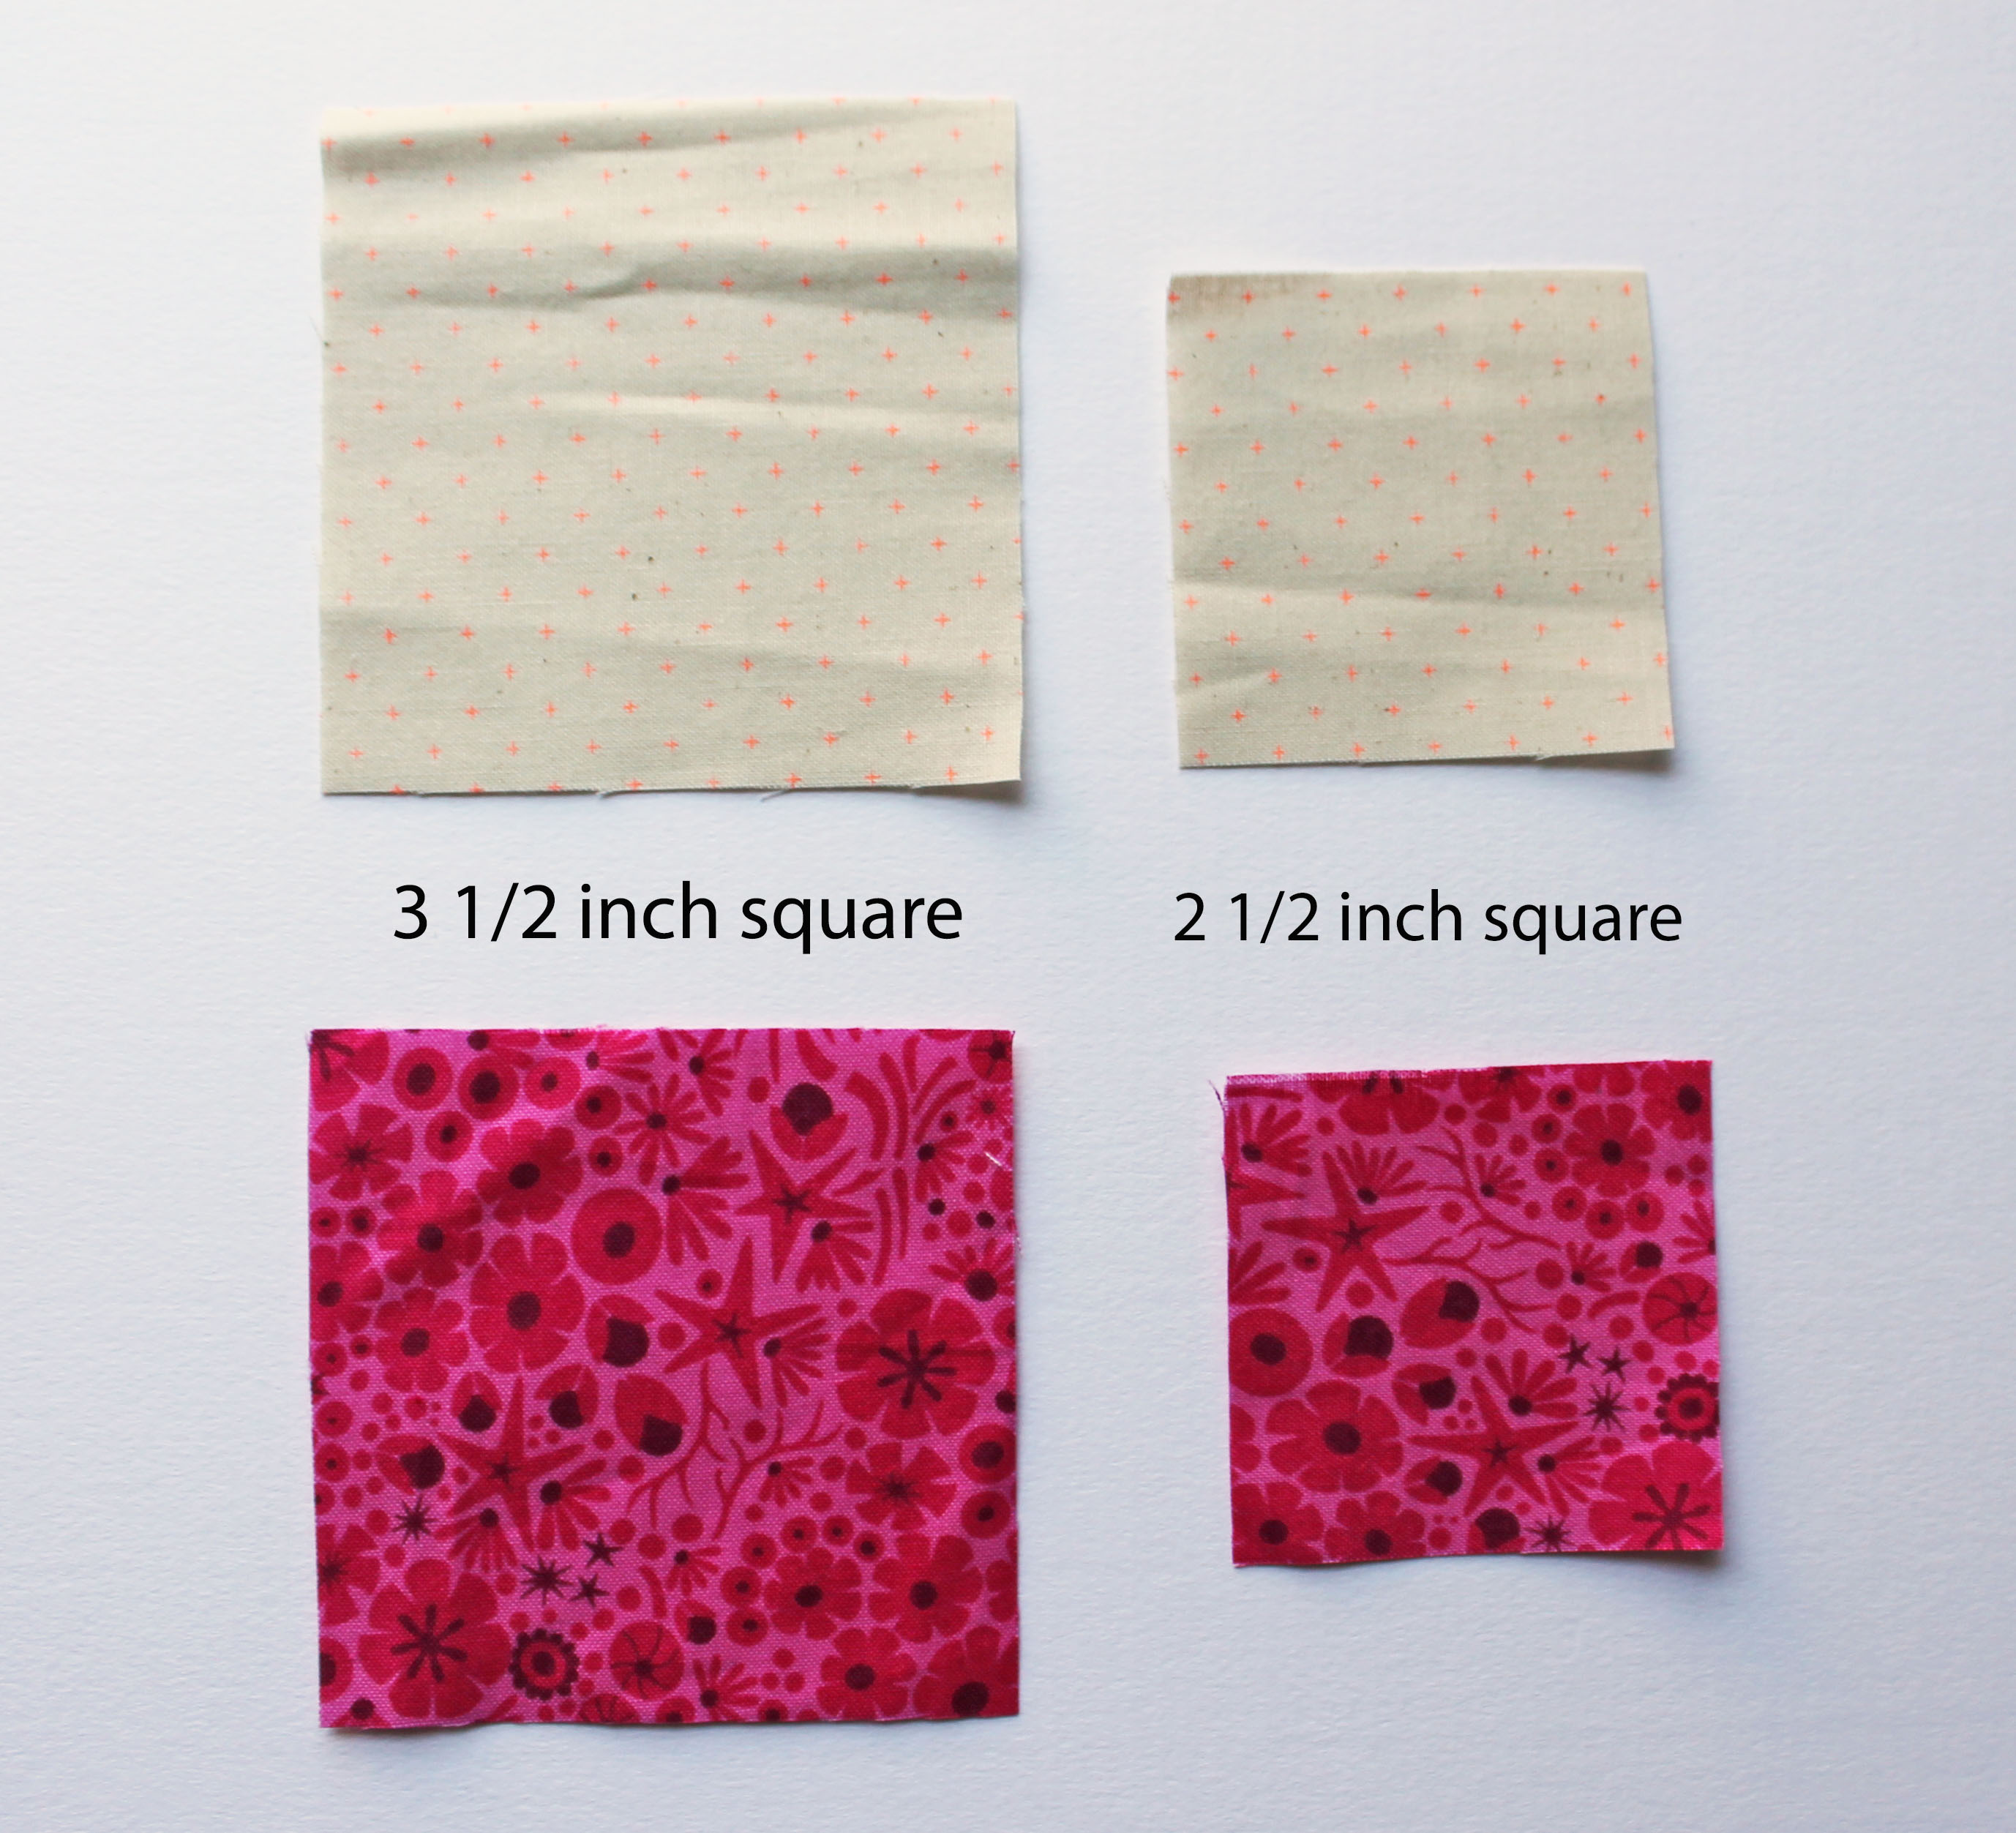
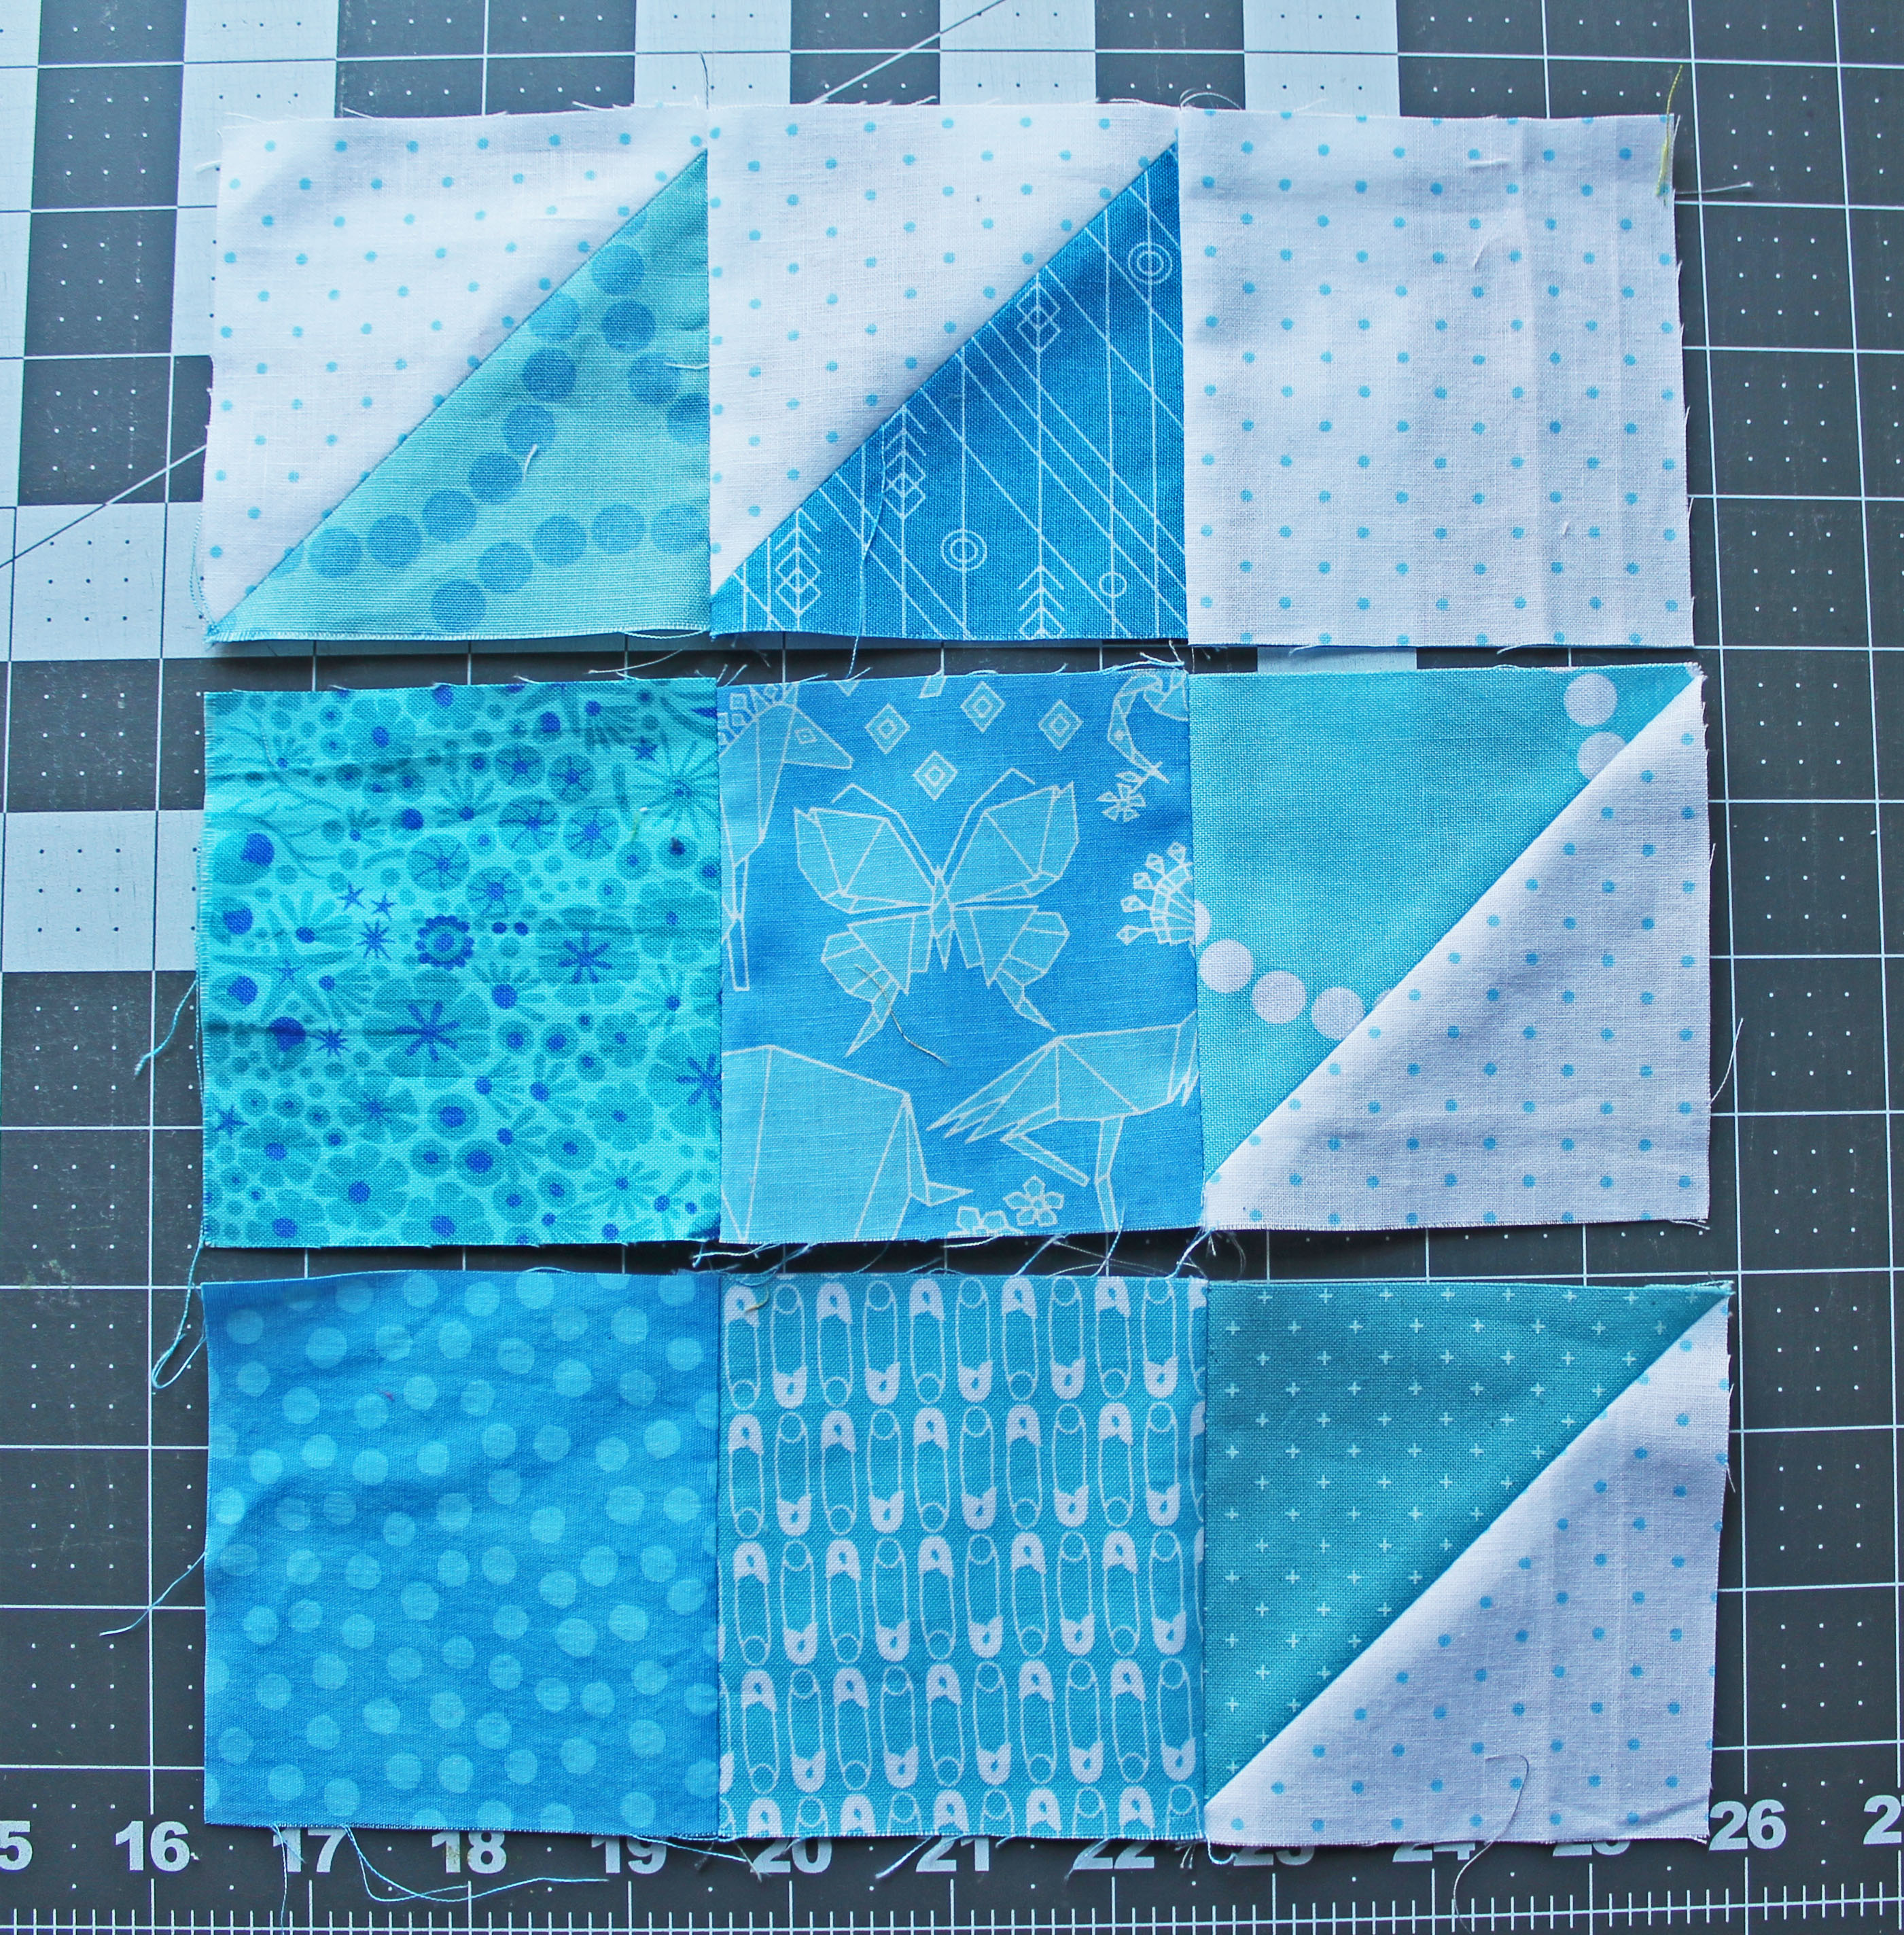
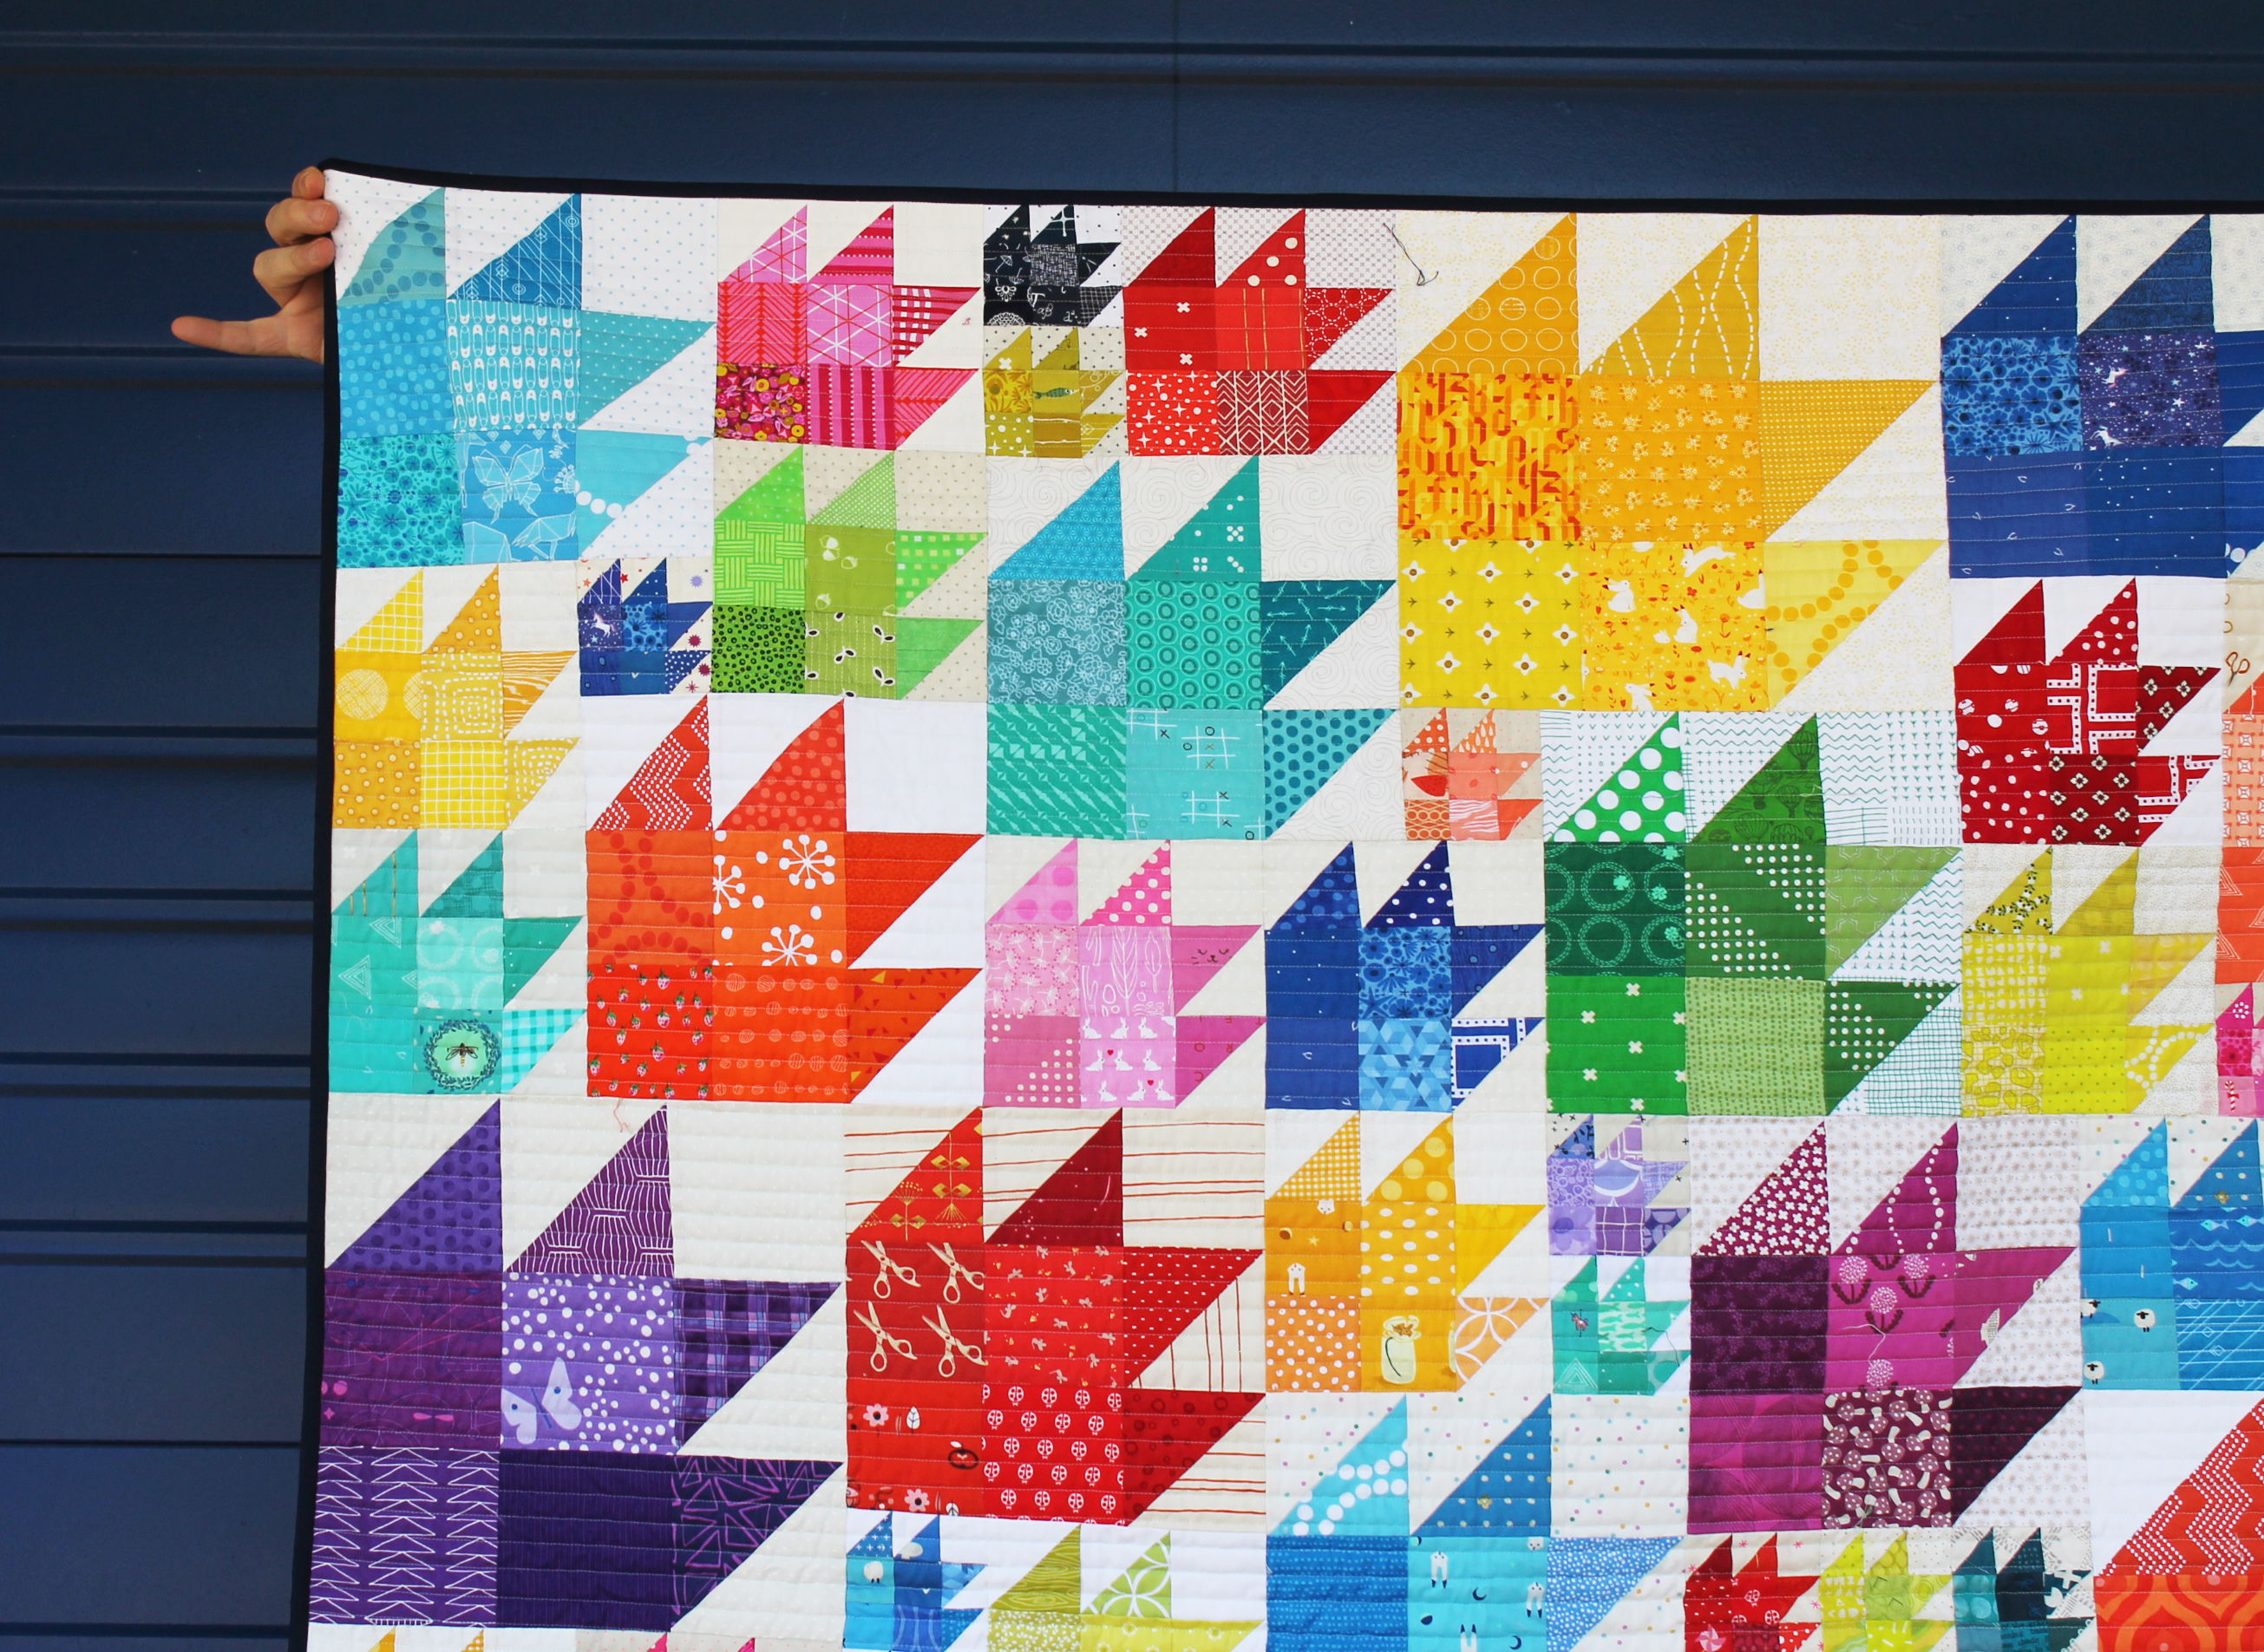
This quilt uses blocks that are 3, 6, 9 and 12 inches big… a whole rainbow of colors…. and tons and tons of scraps.

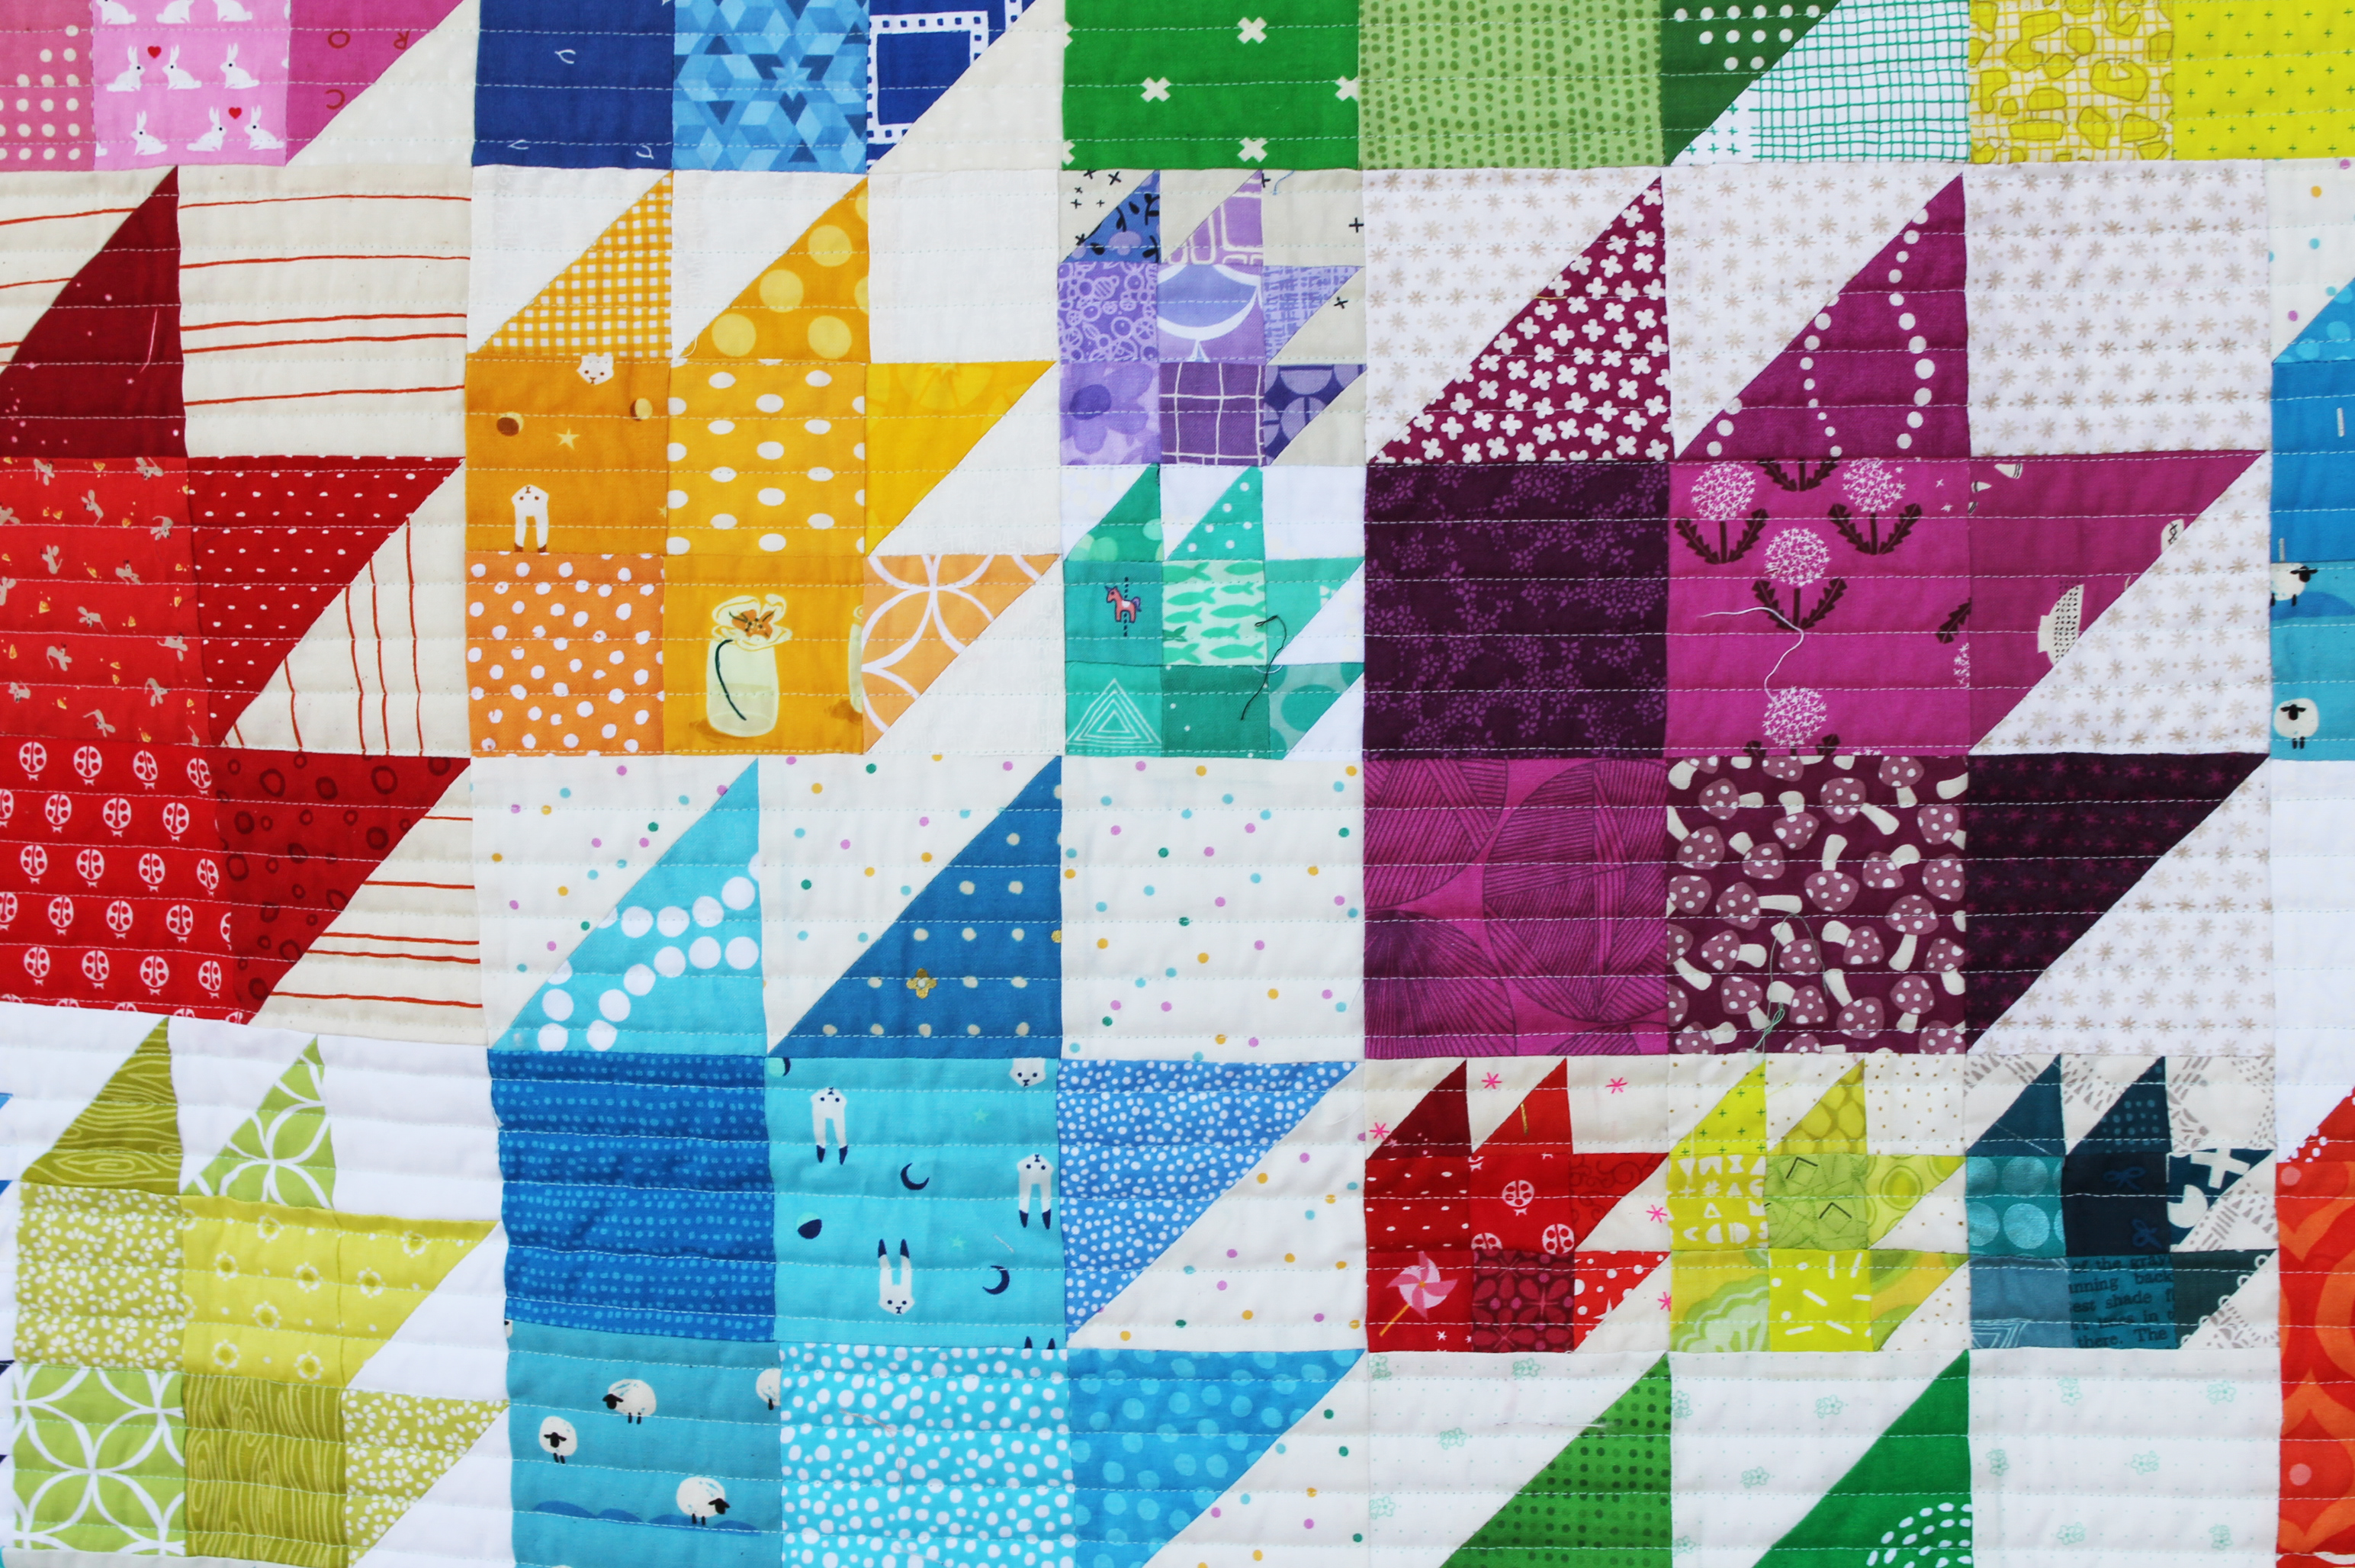
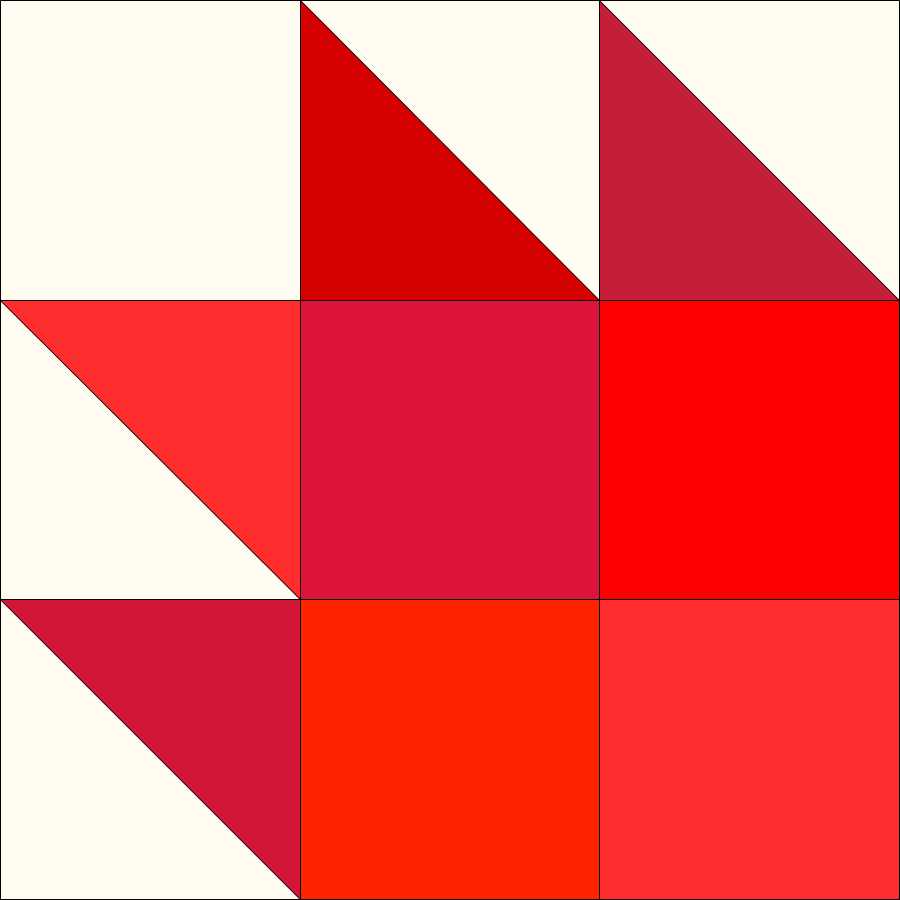
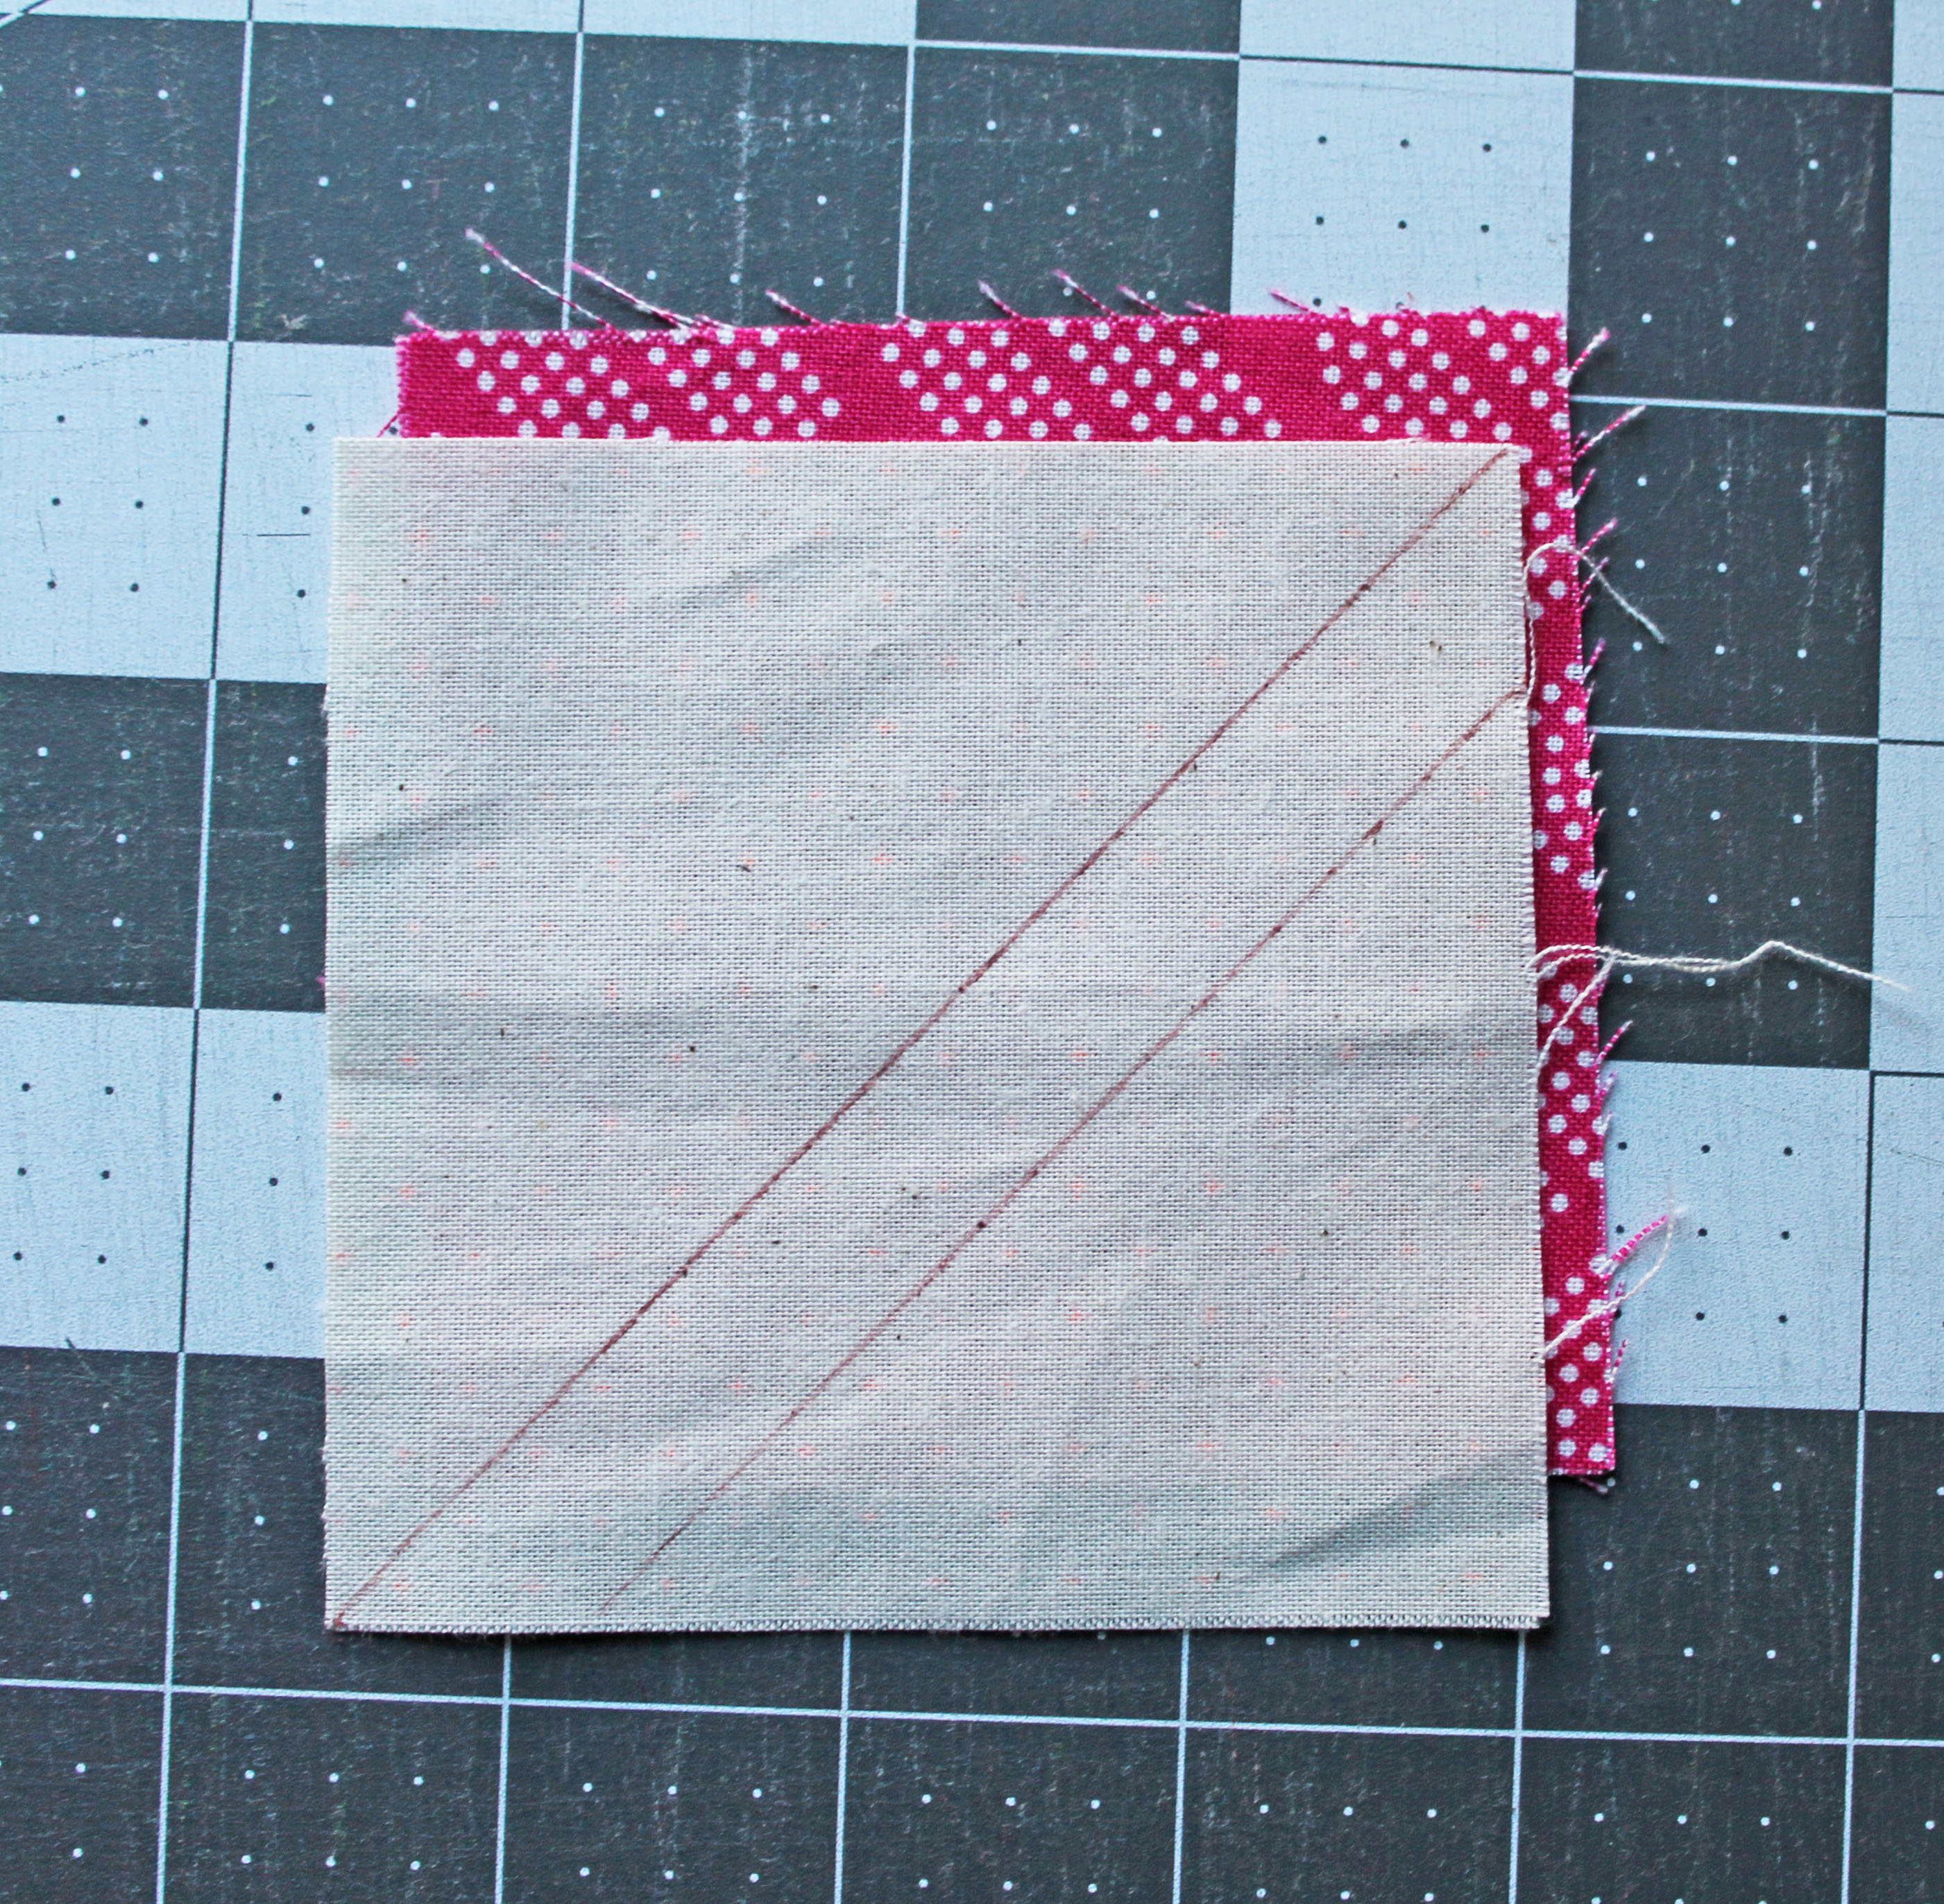
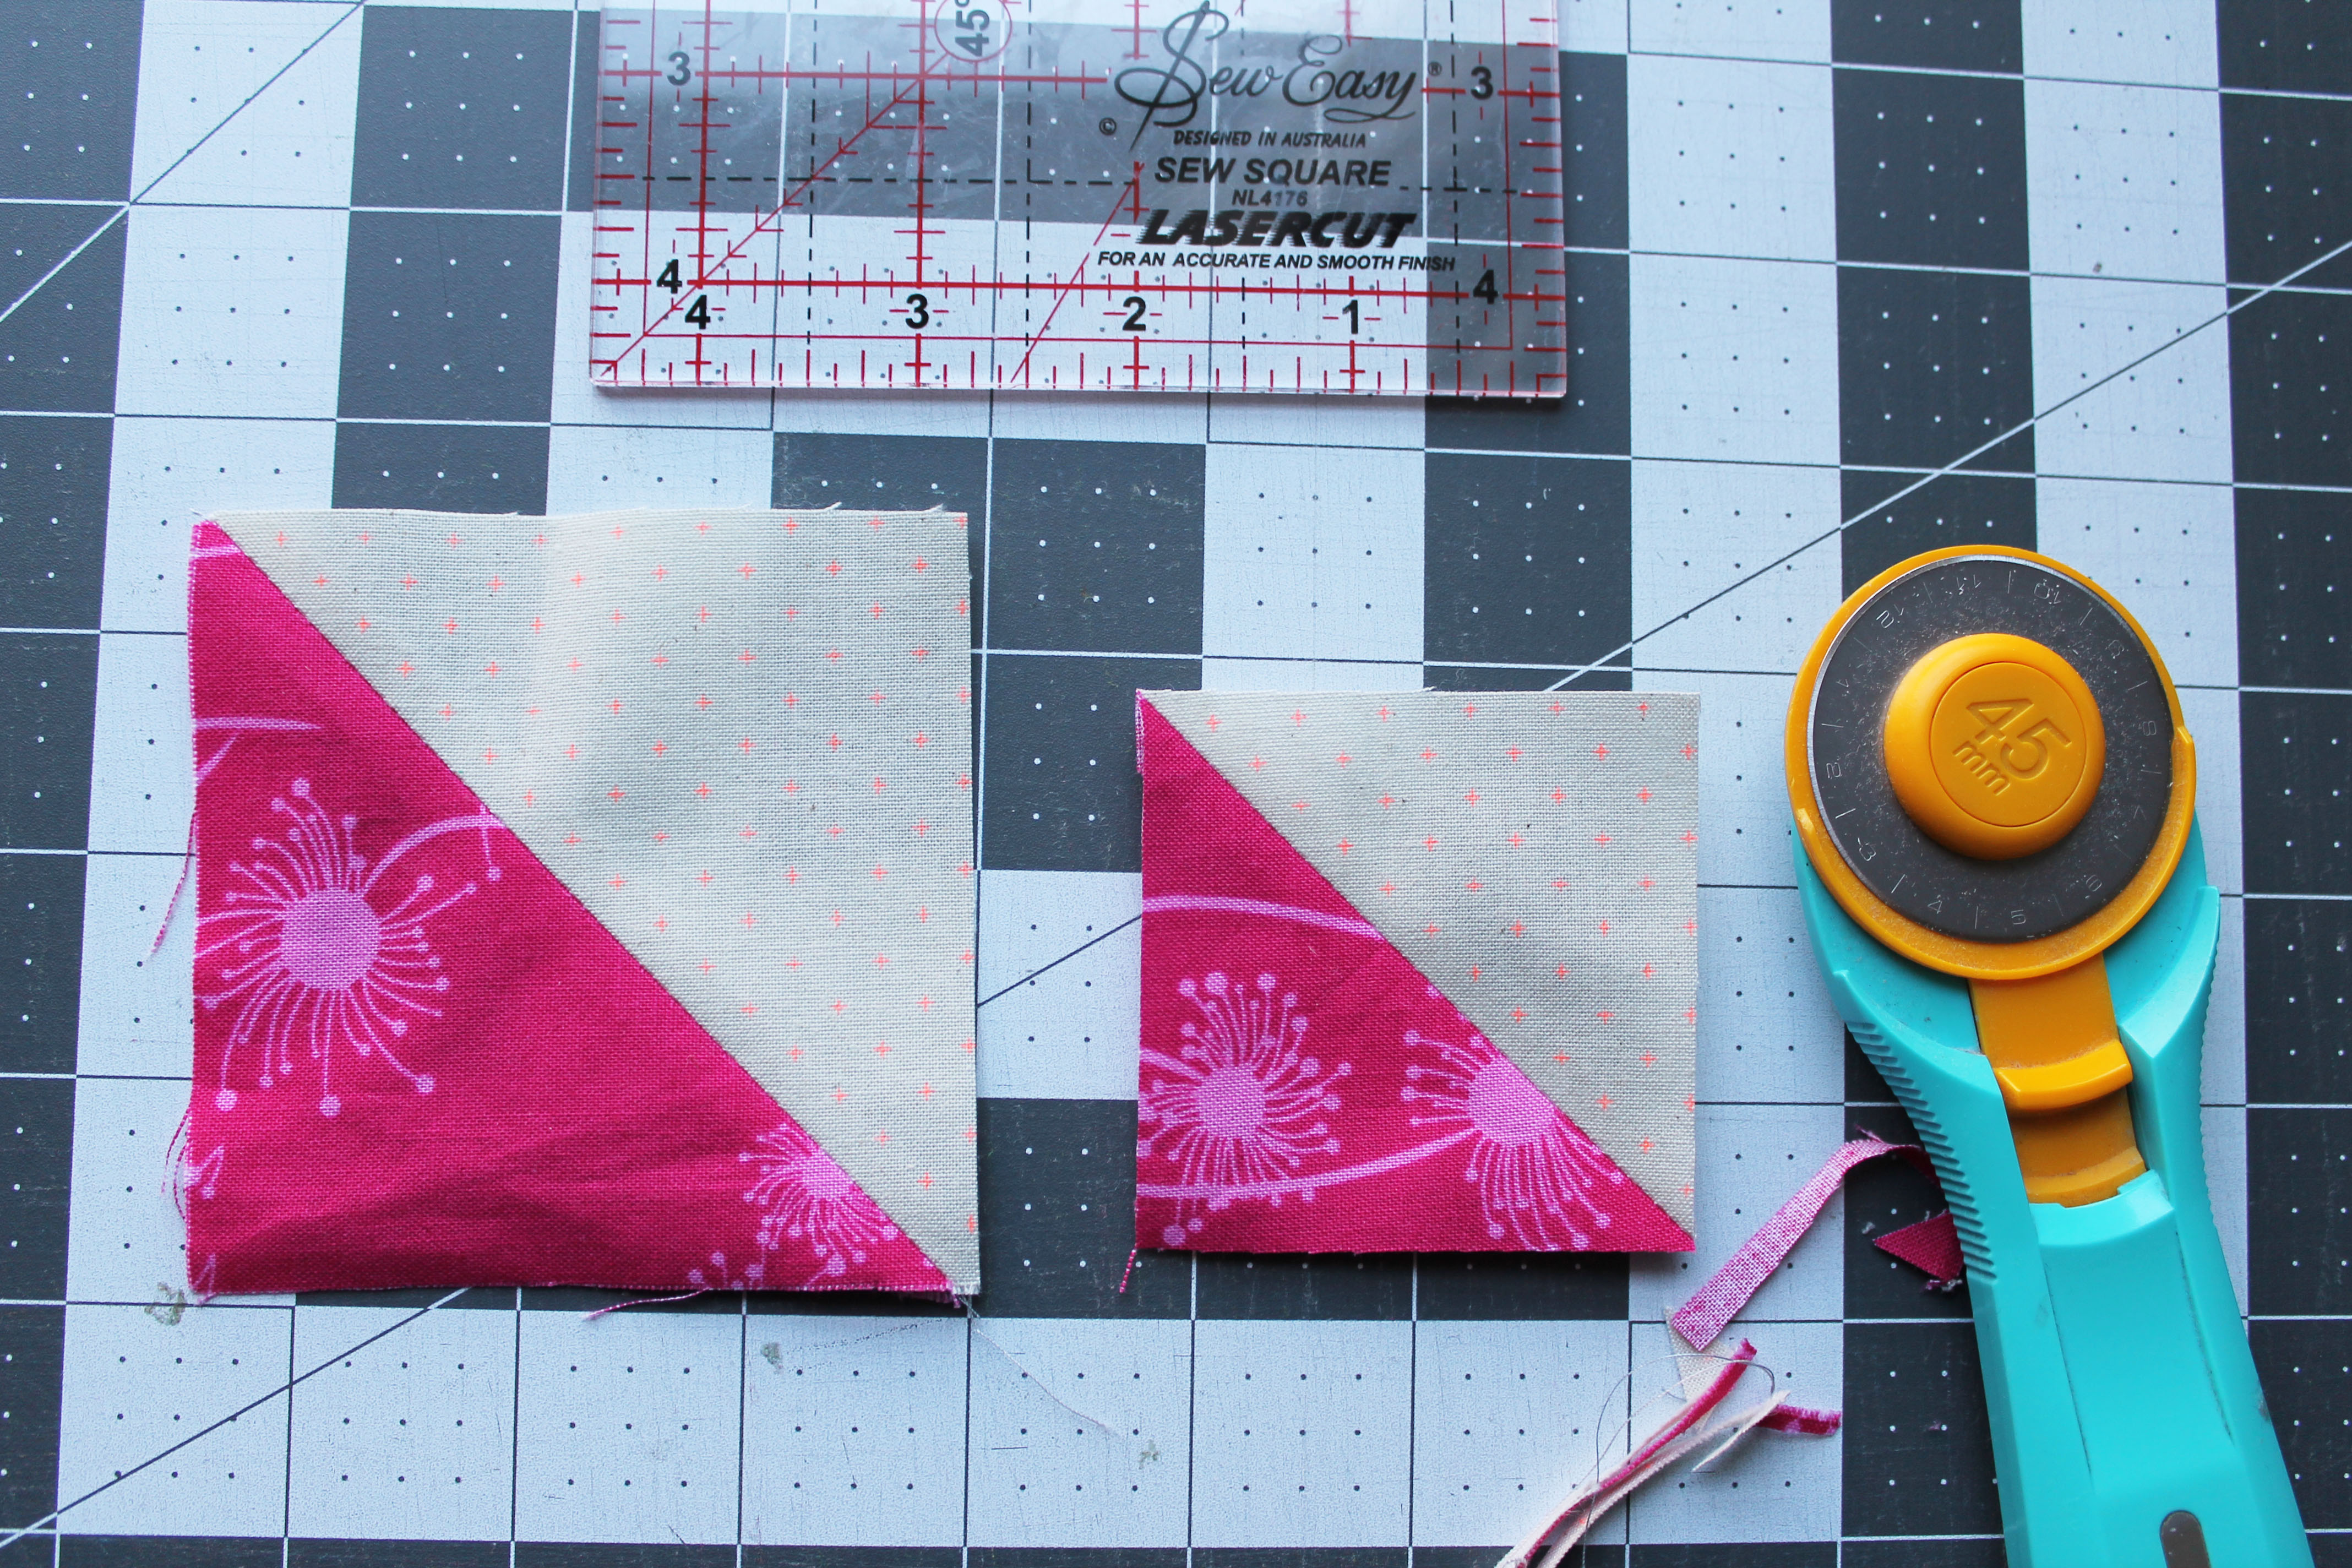
Each body of the bear paw is made up of four squares which allows for maximum fussy cutting potential and scrap usage. I know with the blocks I made I had a blast finding different novelty prints to cut up.

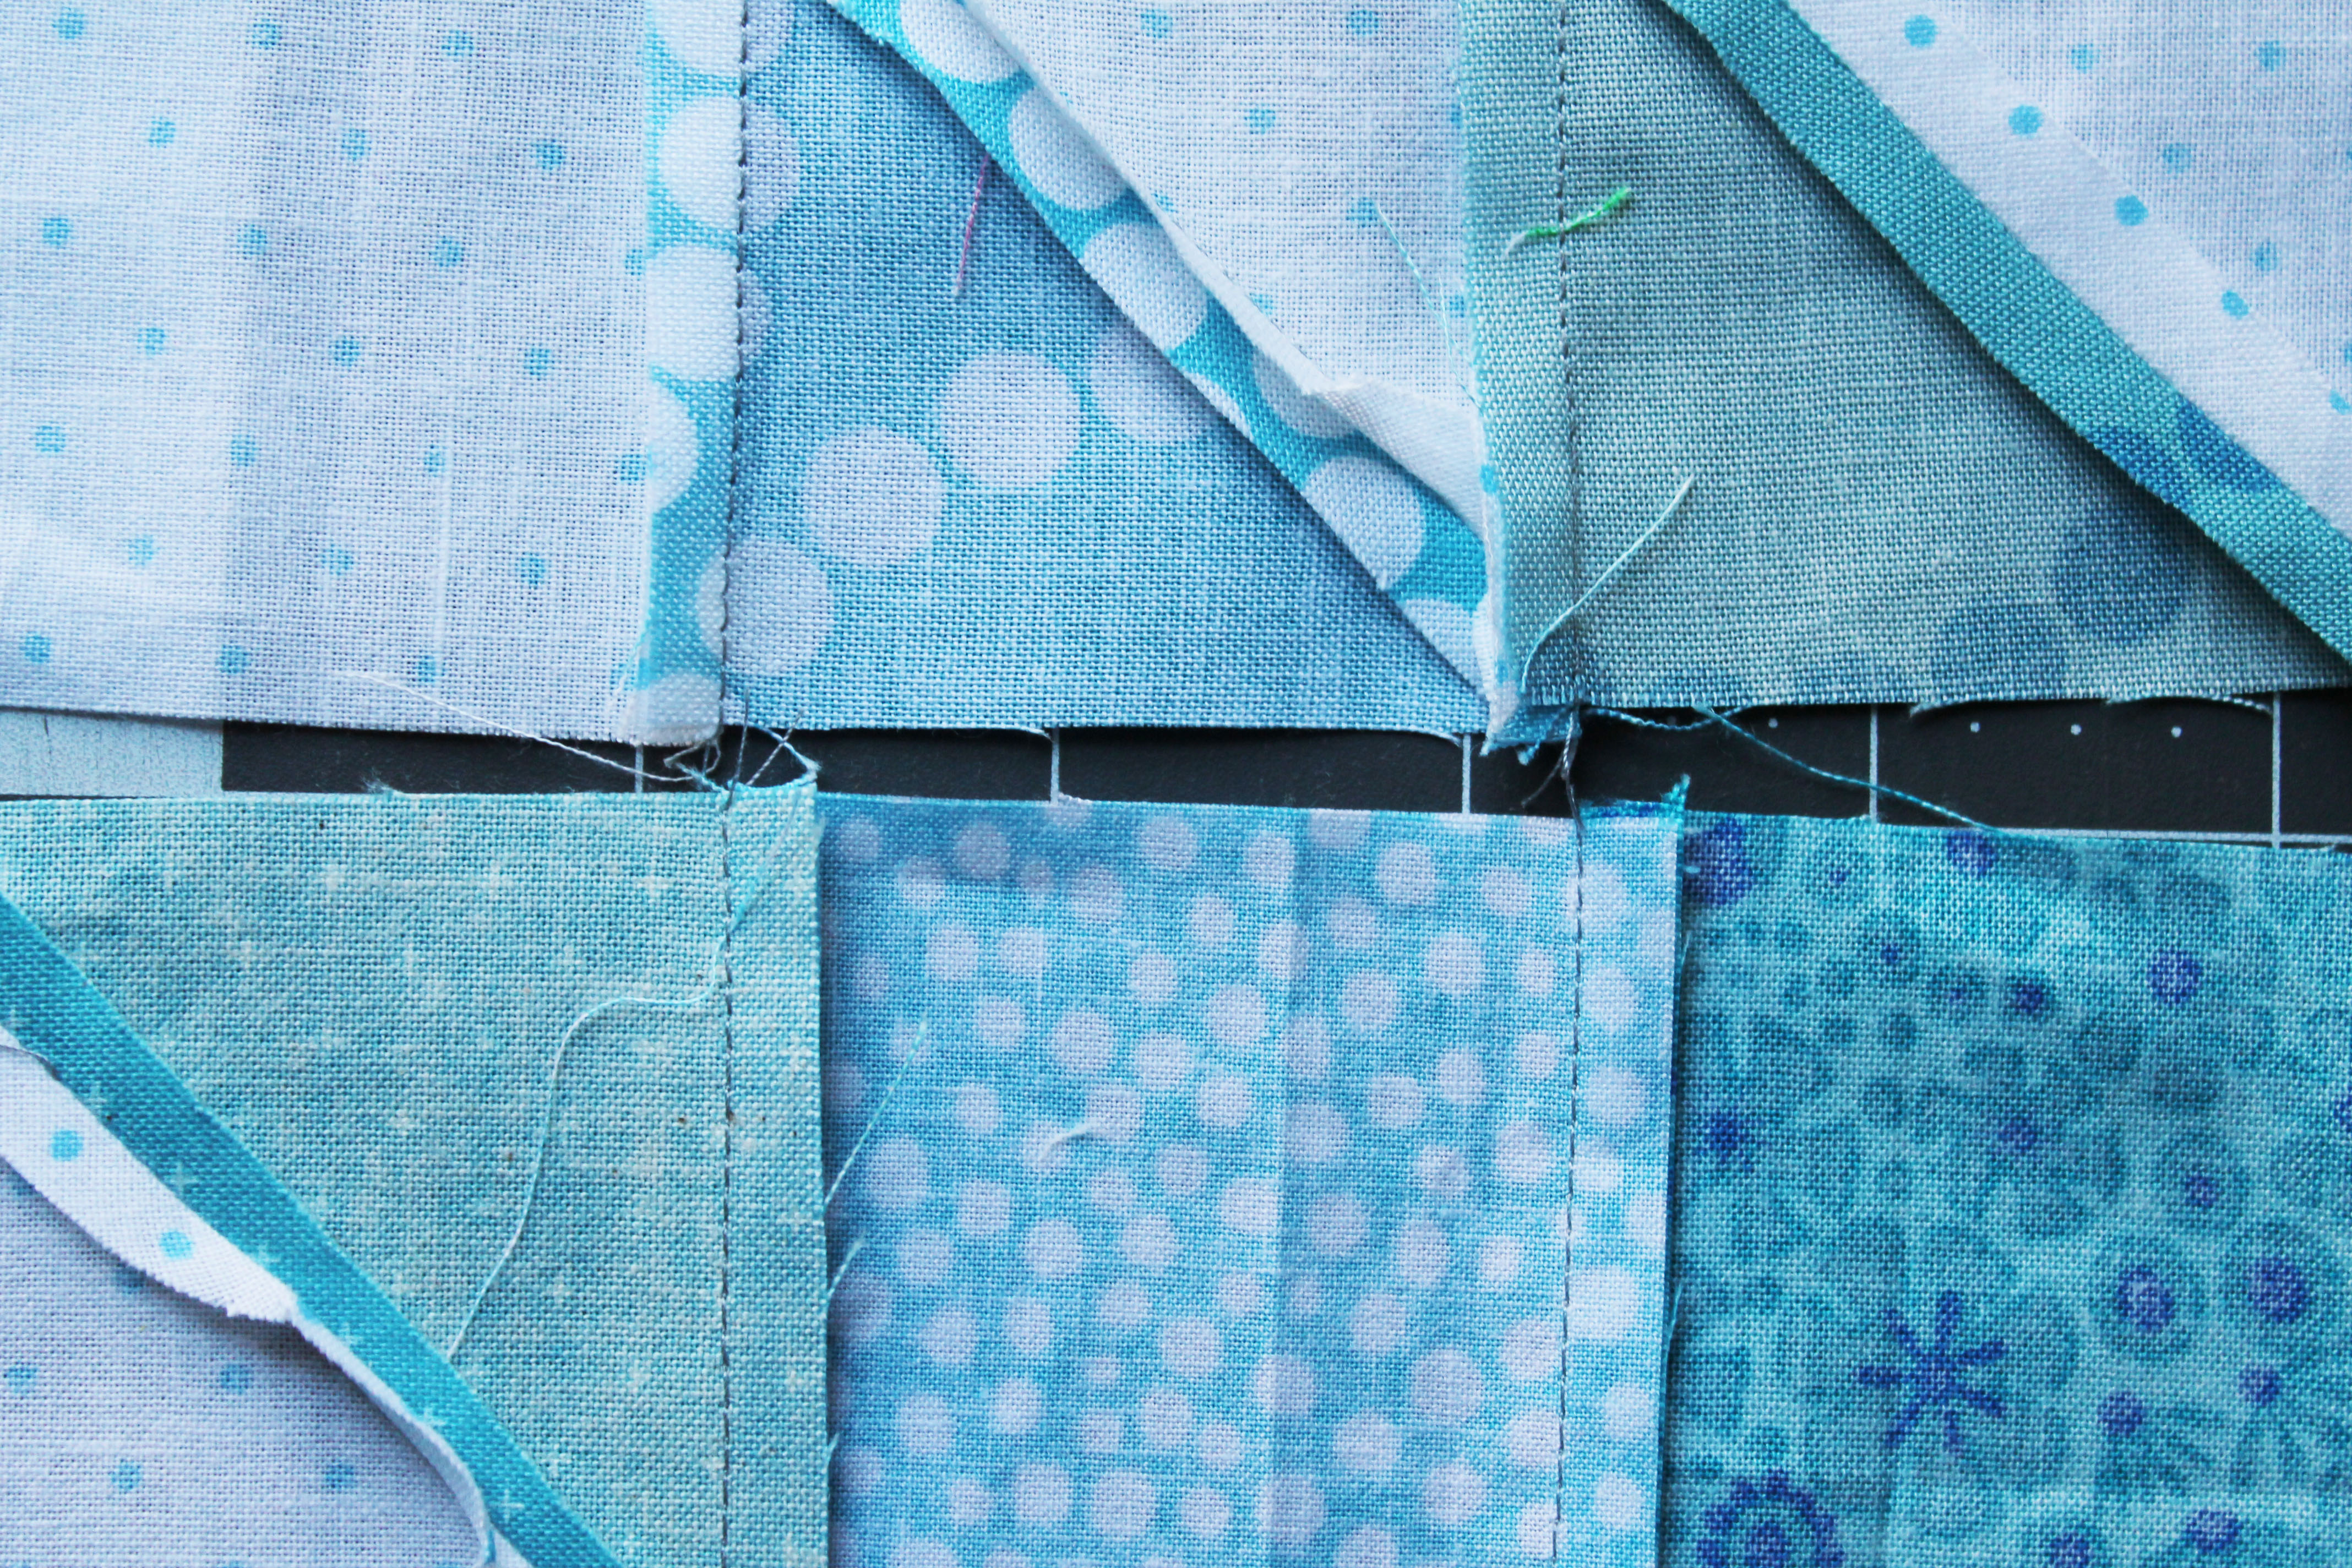
Now laying out this quilt was not to hard because there was a logic to the size blocks I chose – using a 3 inch grid…. but being a perfectionist I did um and ah about it a lot. It sat on my design wall for a bit before I was happy with it.

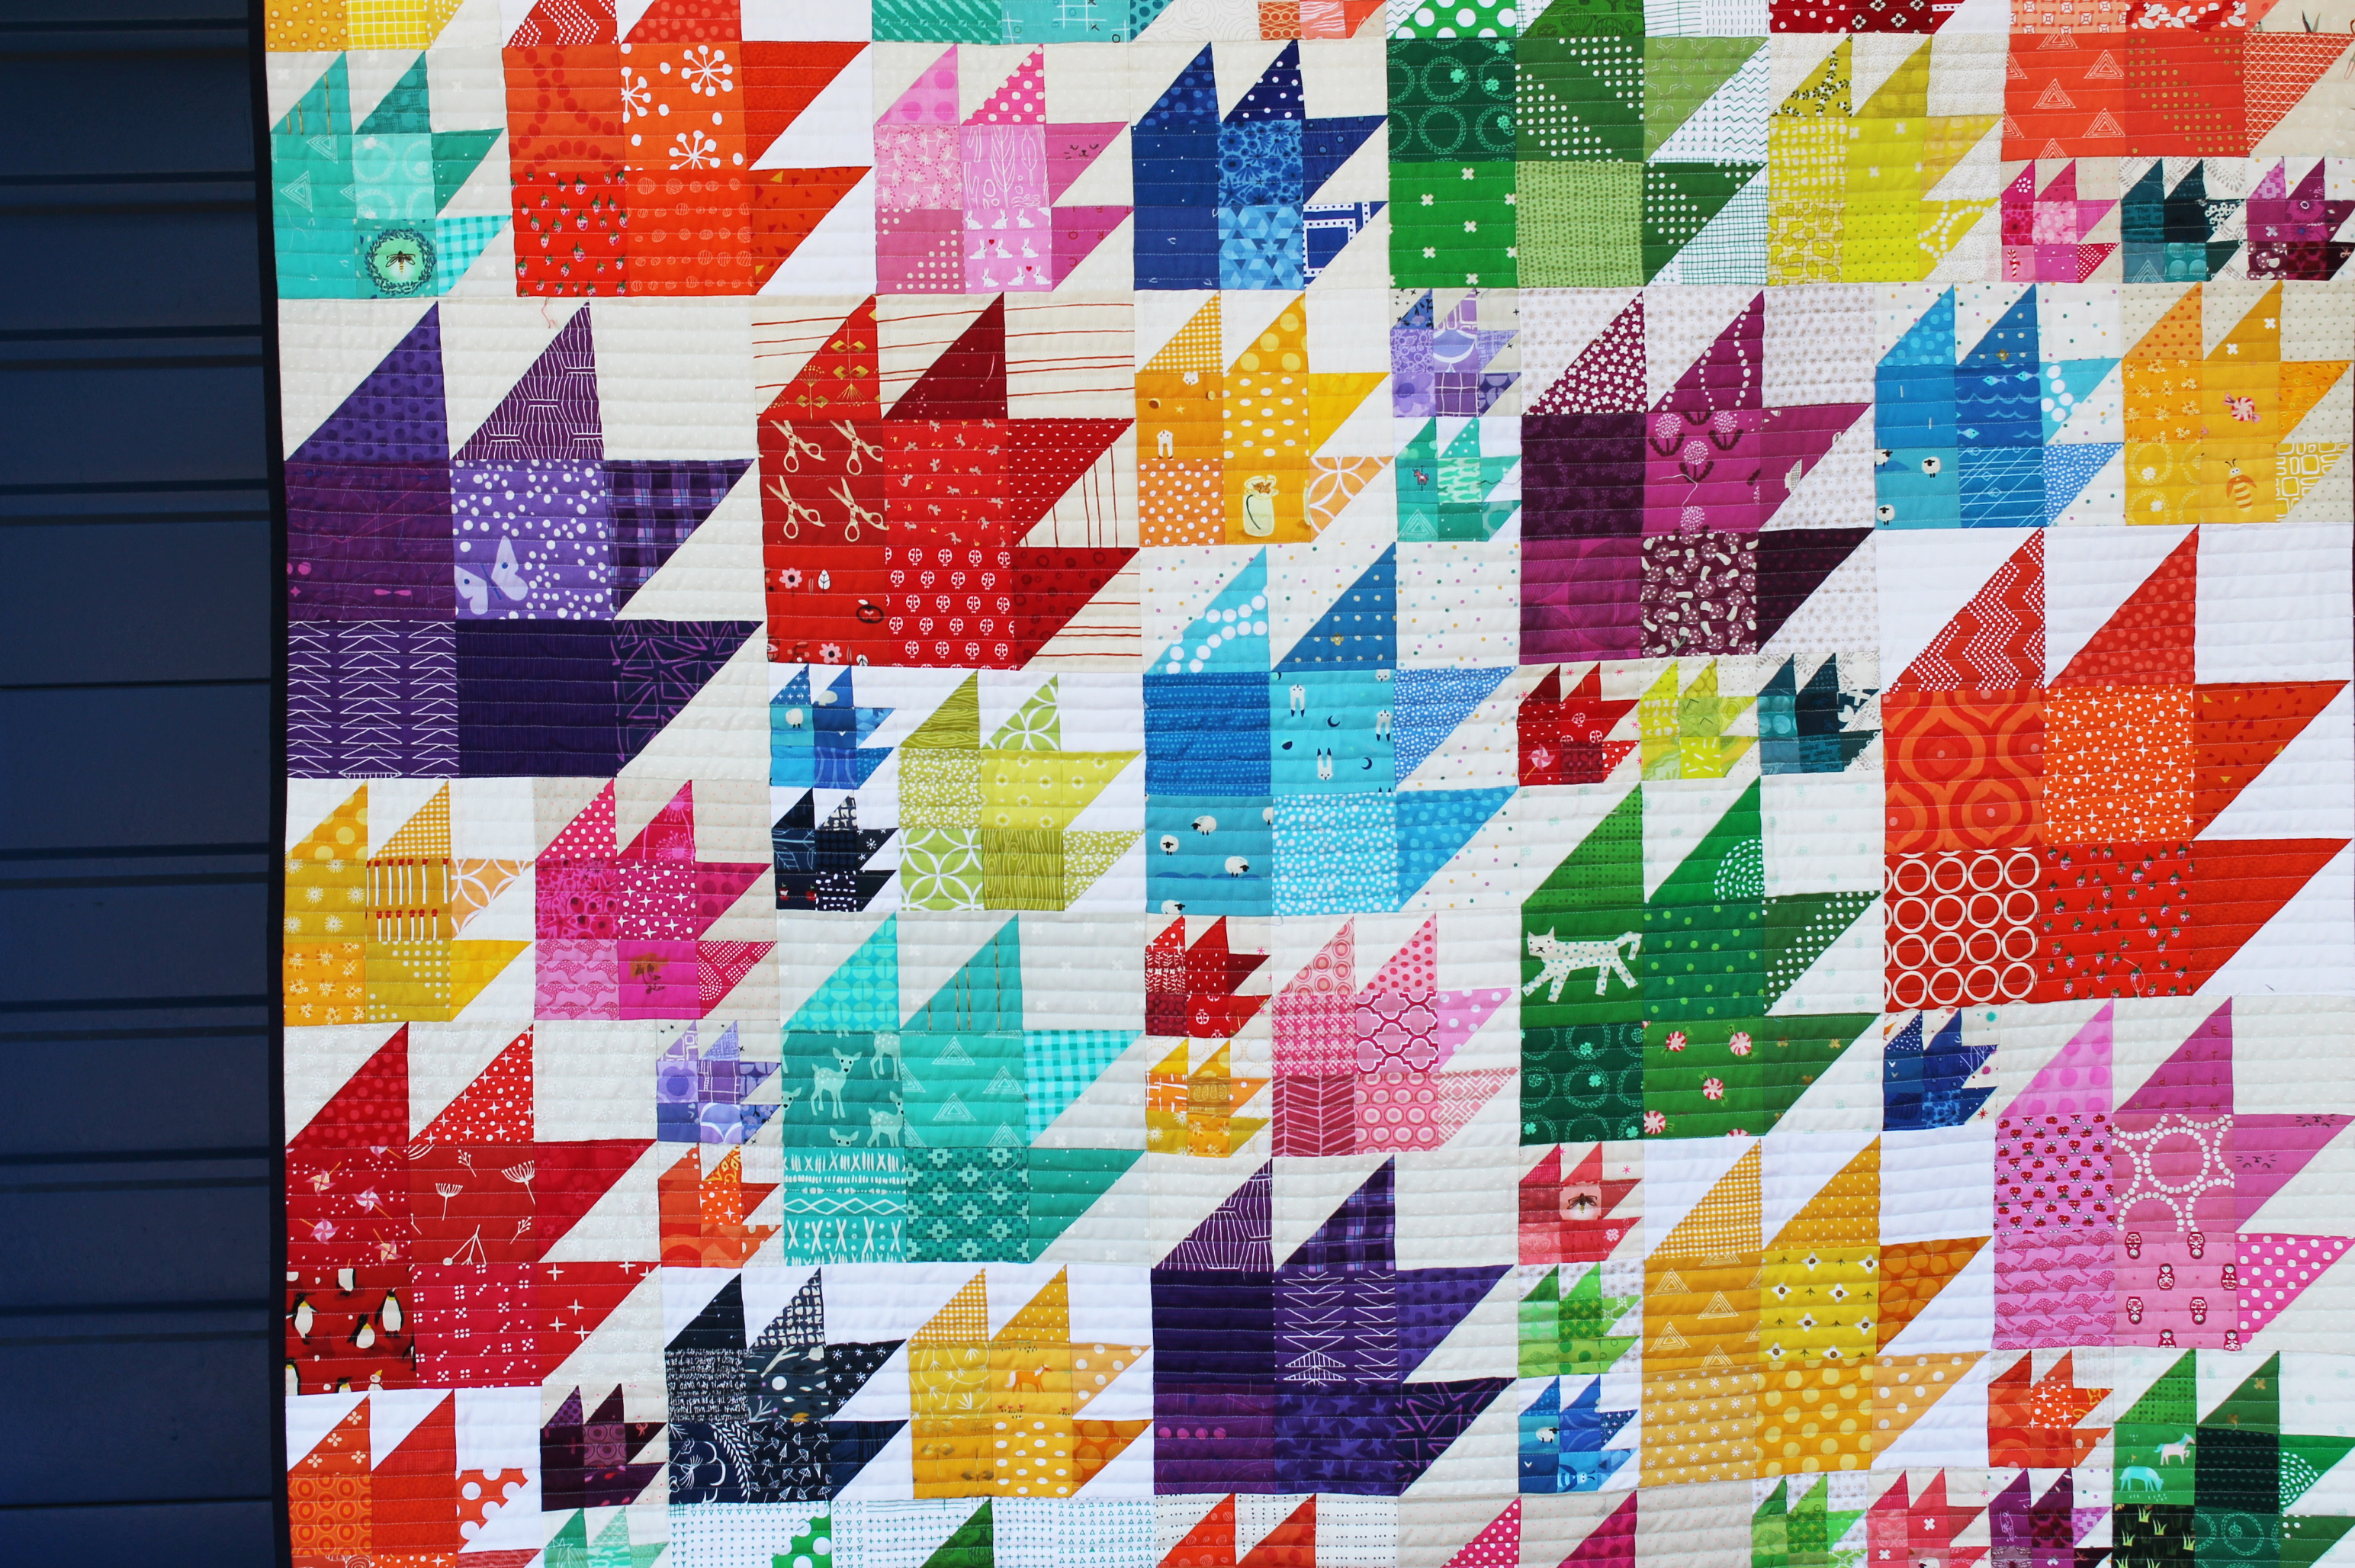
It was slightly tedious to sew together…. I grouped blocks together where I could and only had a few partial seams to deal with. I could have made it easier on myself and just gridded the layout so there were no difficult seams but in the end I loved the layout I had put up… it does not feel regular or predictable.

So this post I am giving you half the Nick pinkies photos to end… as well as the a full body shot. Mr Wombat is usually pretty camera shy but I snuck this picture of him. His identity is safe as he is fully masked LOL.

This quilt headed into the wild last year via the Portland Modern Quilt Guilds charity quilt program… which we somehow managed to keep going despite a world wide pandemic… actually we managed to get 15 to 20 quilts a month to our local Pediatric Intensive Care Unit which was quite a feat.

Back for some fun little Bear Paws…

This month I am the setting the blocks for our Do Good Stitches Bee… and I find that it is easier for me to blog the block instructions that to try and do it all on Flickr….  Of all the social media platforms I use Flickr is really the one that constantly surprises me that it has not died yet.  It is so clunky and not at all very user friendly for some things.  Anyway rant over… here is the blocks.

color bear paw

I went with a simple Bear paw section… I have a ton of little scraps and this seemed like a great way to use some of my precious little bits… I have decided to do the block in two sizes – 6 inches and 9 inches…

finished blocks

And I worked out a way to make both sized blocks at the same time… so here goes….

fabric requirments

Cutting Instructions:

Background fabric (we are using low volume or white on white):
5 (five) x 3 1/2 inch squares
1 (one) x 2 1/2 inch square

Colored fabric (we are using bright primary colors):
8 (eight) x 3 1/2 inch squares of various prints
4 (four) x 2 1/2 inch squares of various prints


Step one:

Choose four of the 3 1/2 inch squares and four of the 2 1/2 inch squares for the center part of the block .  When I was choosing these fabrics I selected the more interesting fabrics for the center squares (ie. the ones with fussy cuts).

The remaining four 3 1/2 inch squares will make the half square triangles (HST).

Step two:  Make the HSTs.

mark fabric


Mark a line down the center of the back side of your background fabric, going corner to corner.

Then mark another line 1/2 inch from that line.  These two marks are your sew lines – you will be sewing directly down these lines.


cut hst


Cut down the middle of your sew lines… you are actually cutting 1/4 inch from the center line.  You now have your two HST components.

Press your HSTs (I usually press my seams open).


trim hst Trim each of the HST components .  

Your 3 1/2 inch HST will not need much trimming (it should be almost perfect).

There is a bit of wiggle room with your 2 1/2 inch HST so you will have a little bit to trim off.


Remember to use the center diagonal line of your ruler to make sure you are trimming straight.

Step Three:  Sew it all together.

rows


Sew your block sections together in rows.

With my blocks I have been ironing my seams open… but you can also nestle the seams.  It is up to you.

iron seams


Then sew your rows together to make your blocks… and trim as needed to the finished size.

Just for fun I have made a couple of tiny versions of this block…

3 inch bear paw. Scrap quilt block

This block finishes at 3 1/2 inches… all the bits are 1 1/2 inches which is a little crazy but also kind of fun.  I have been having a blast finding little bits to fussy cut at this size.

I am having a blast with this project.  I have actual work sewing to do and I do not want to do it… all I want to do is cut my scraps up into little bits and play.