Tricky Triangles finally finished

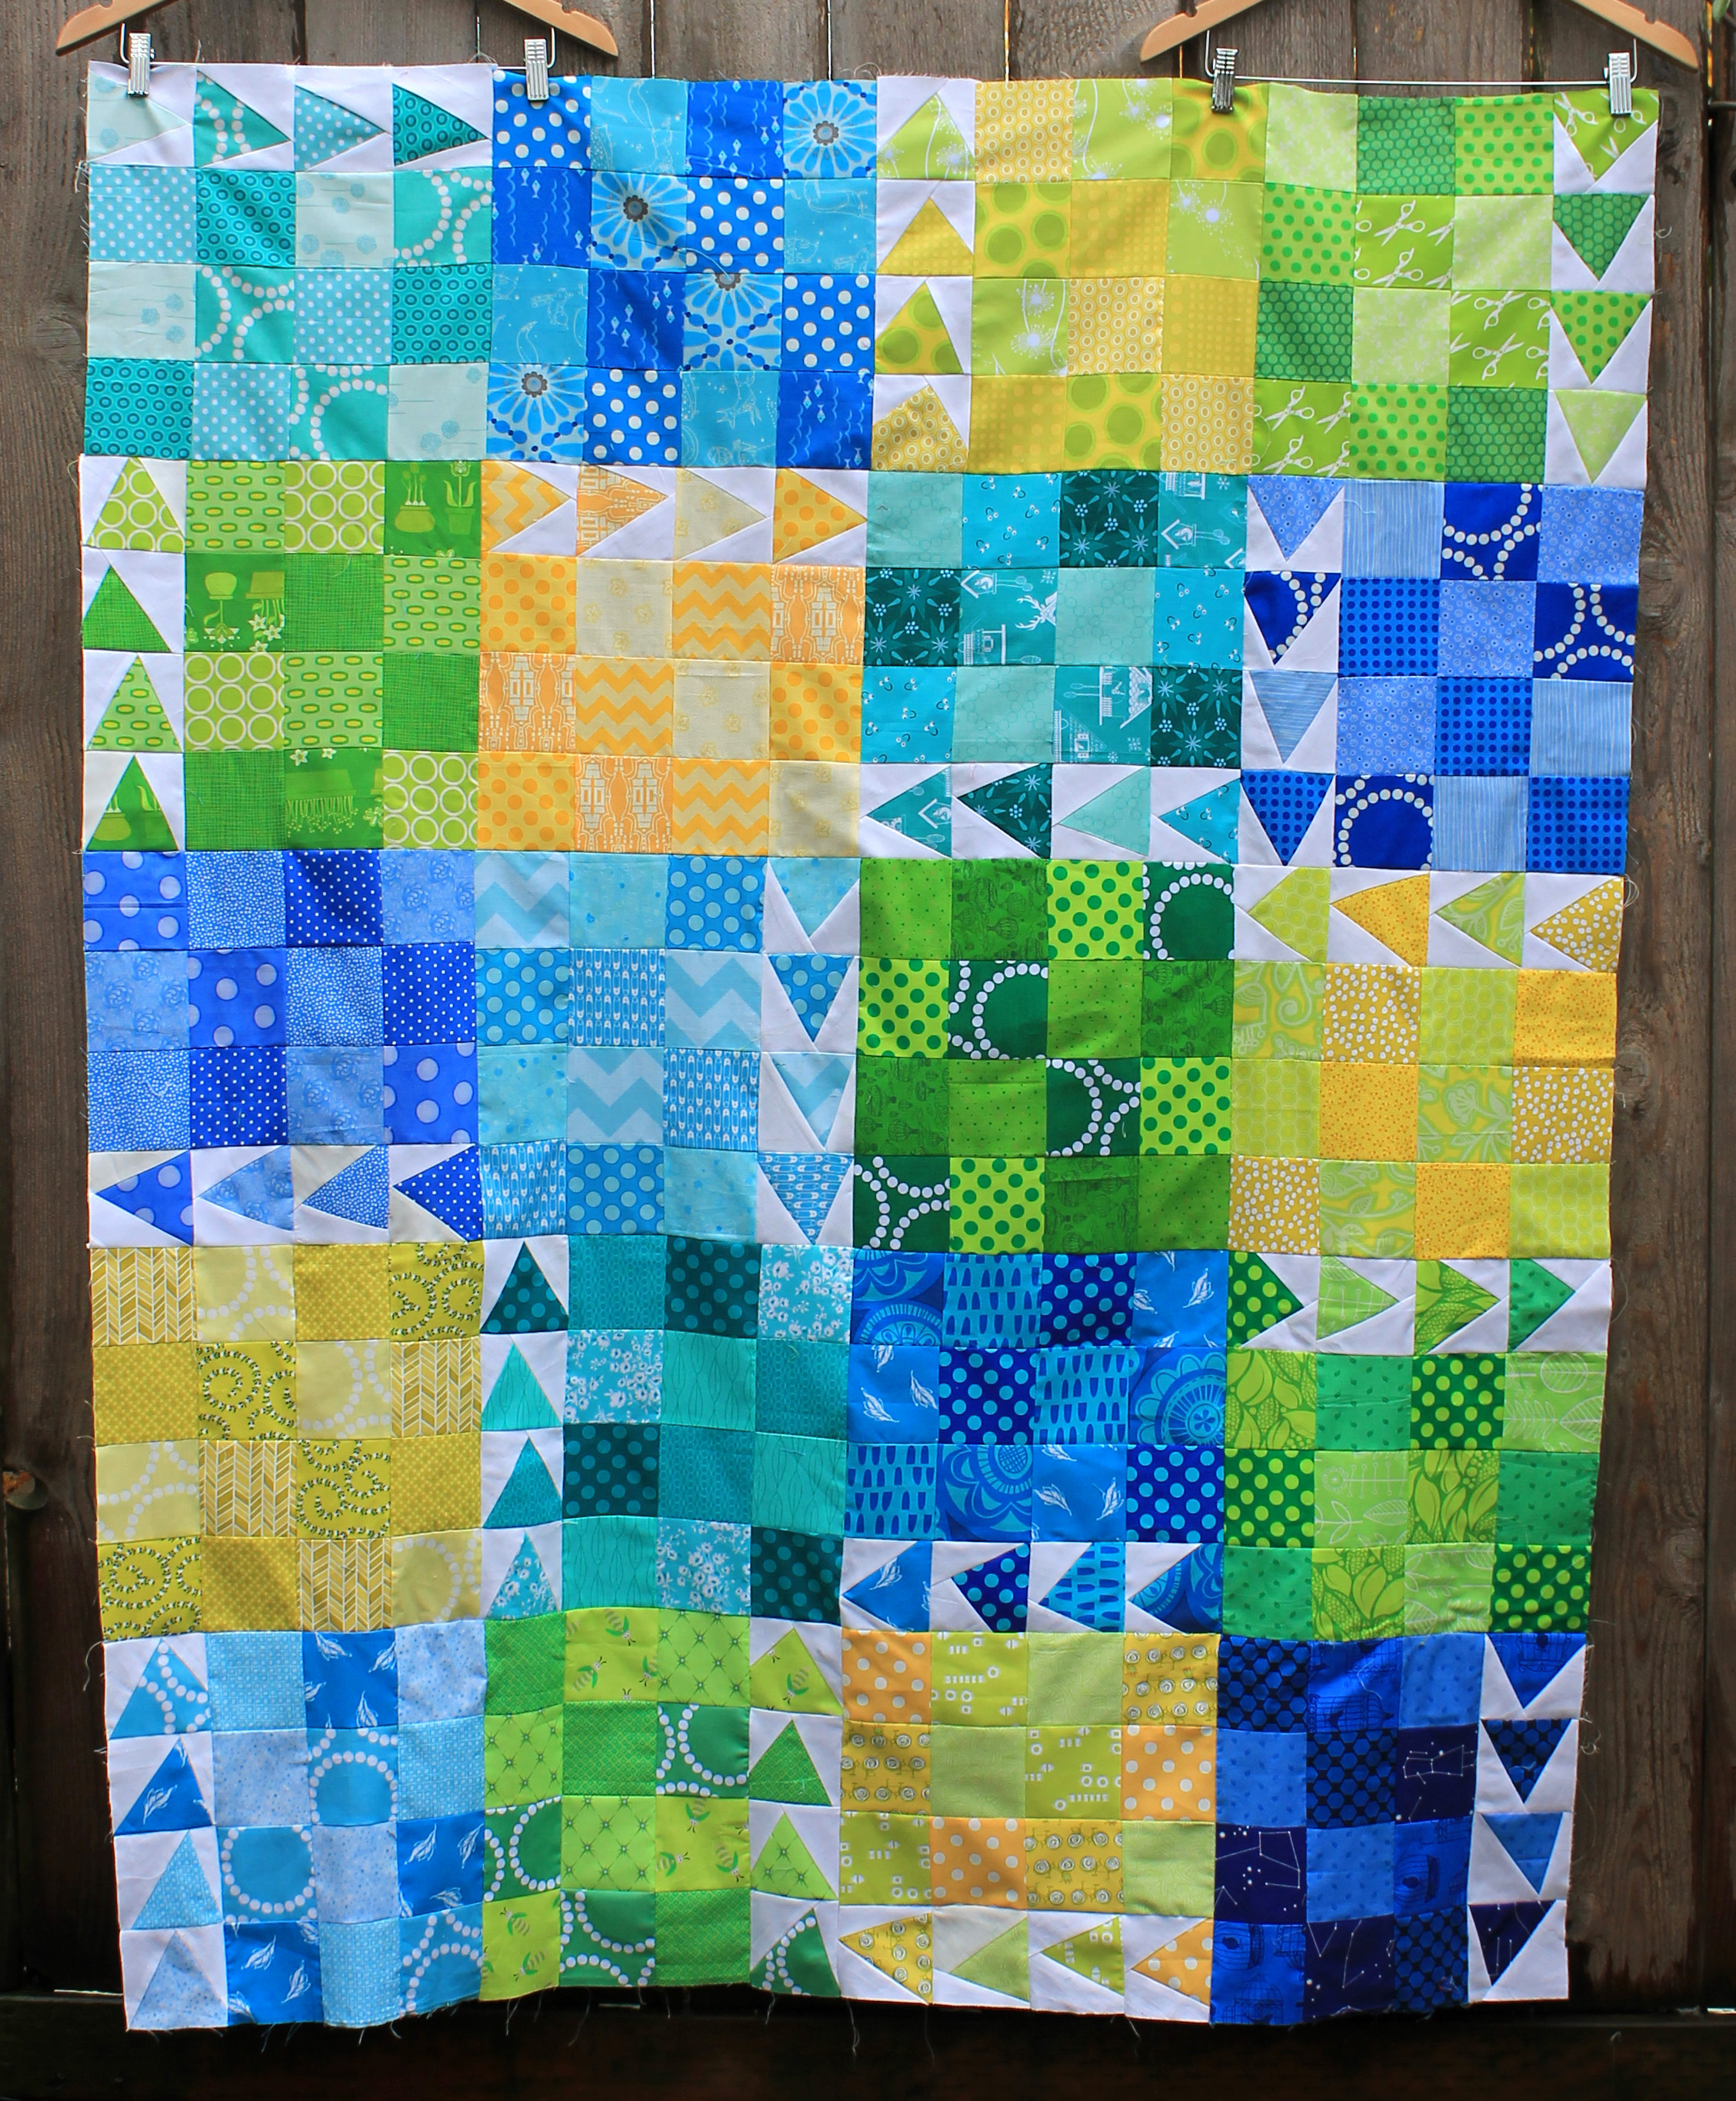
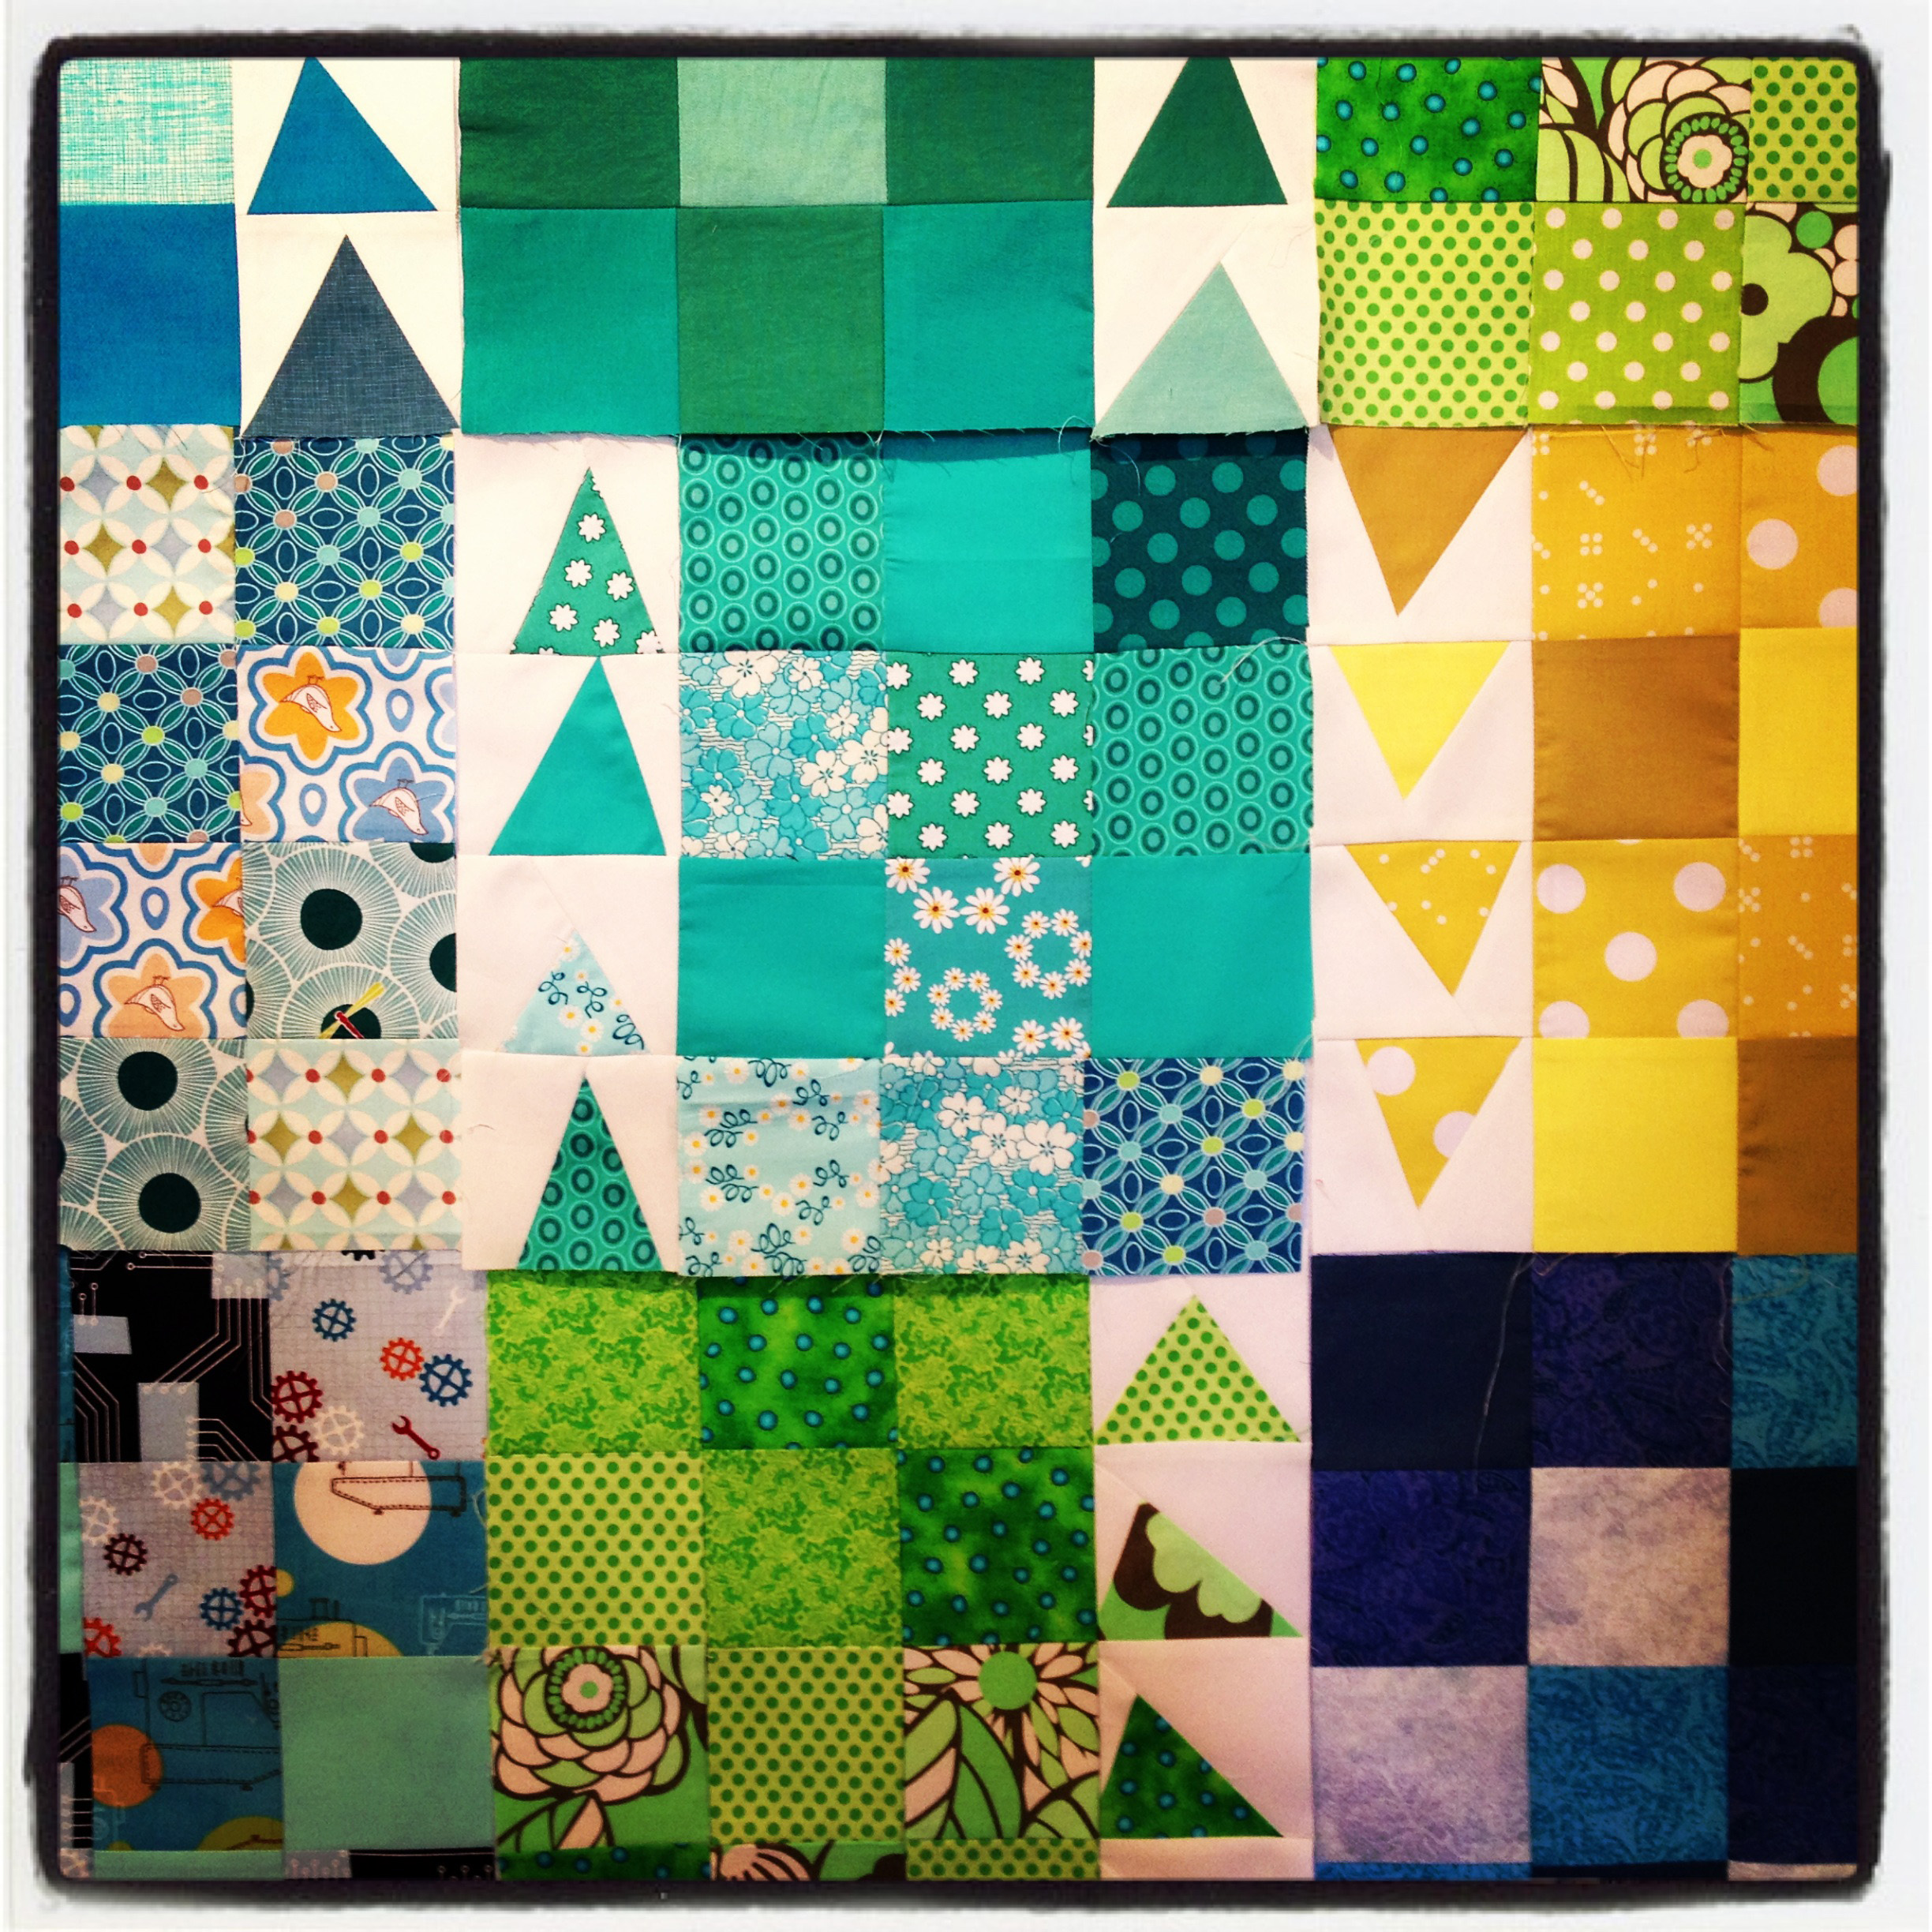
I am very very very  pleased to say that my pink and green triangle quilt is finally all done.  I have procrastinated with this quilt in new and exciting ways over the last 6+ months… but she is now completed and I can move on with the rest of my life.

modern scrap triangle quilt

I must admit, in the spirit of full disclosure, that I had planned for this quilt to be bigger than what she ended up as, but I got to the point where I had had enough and just went with the blocks I had made.  Her finished dimensions are 45 inches x 50 inches which is a smallish kids quilt.

finished triangle quilt detail 2

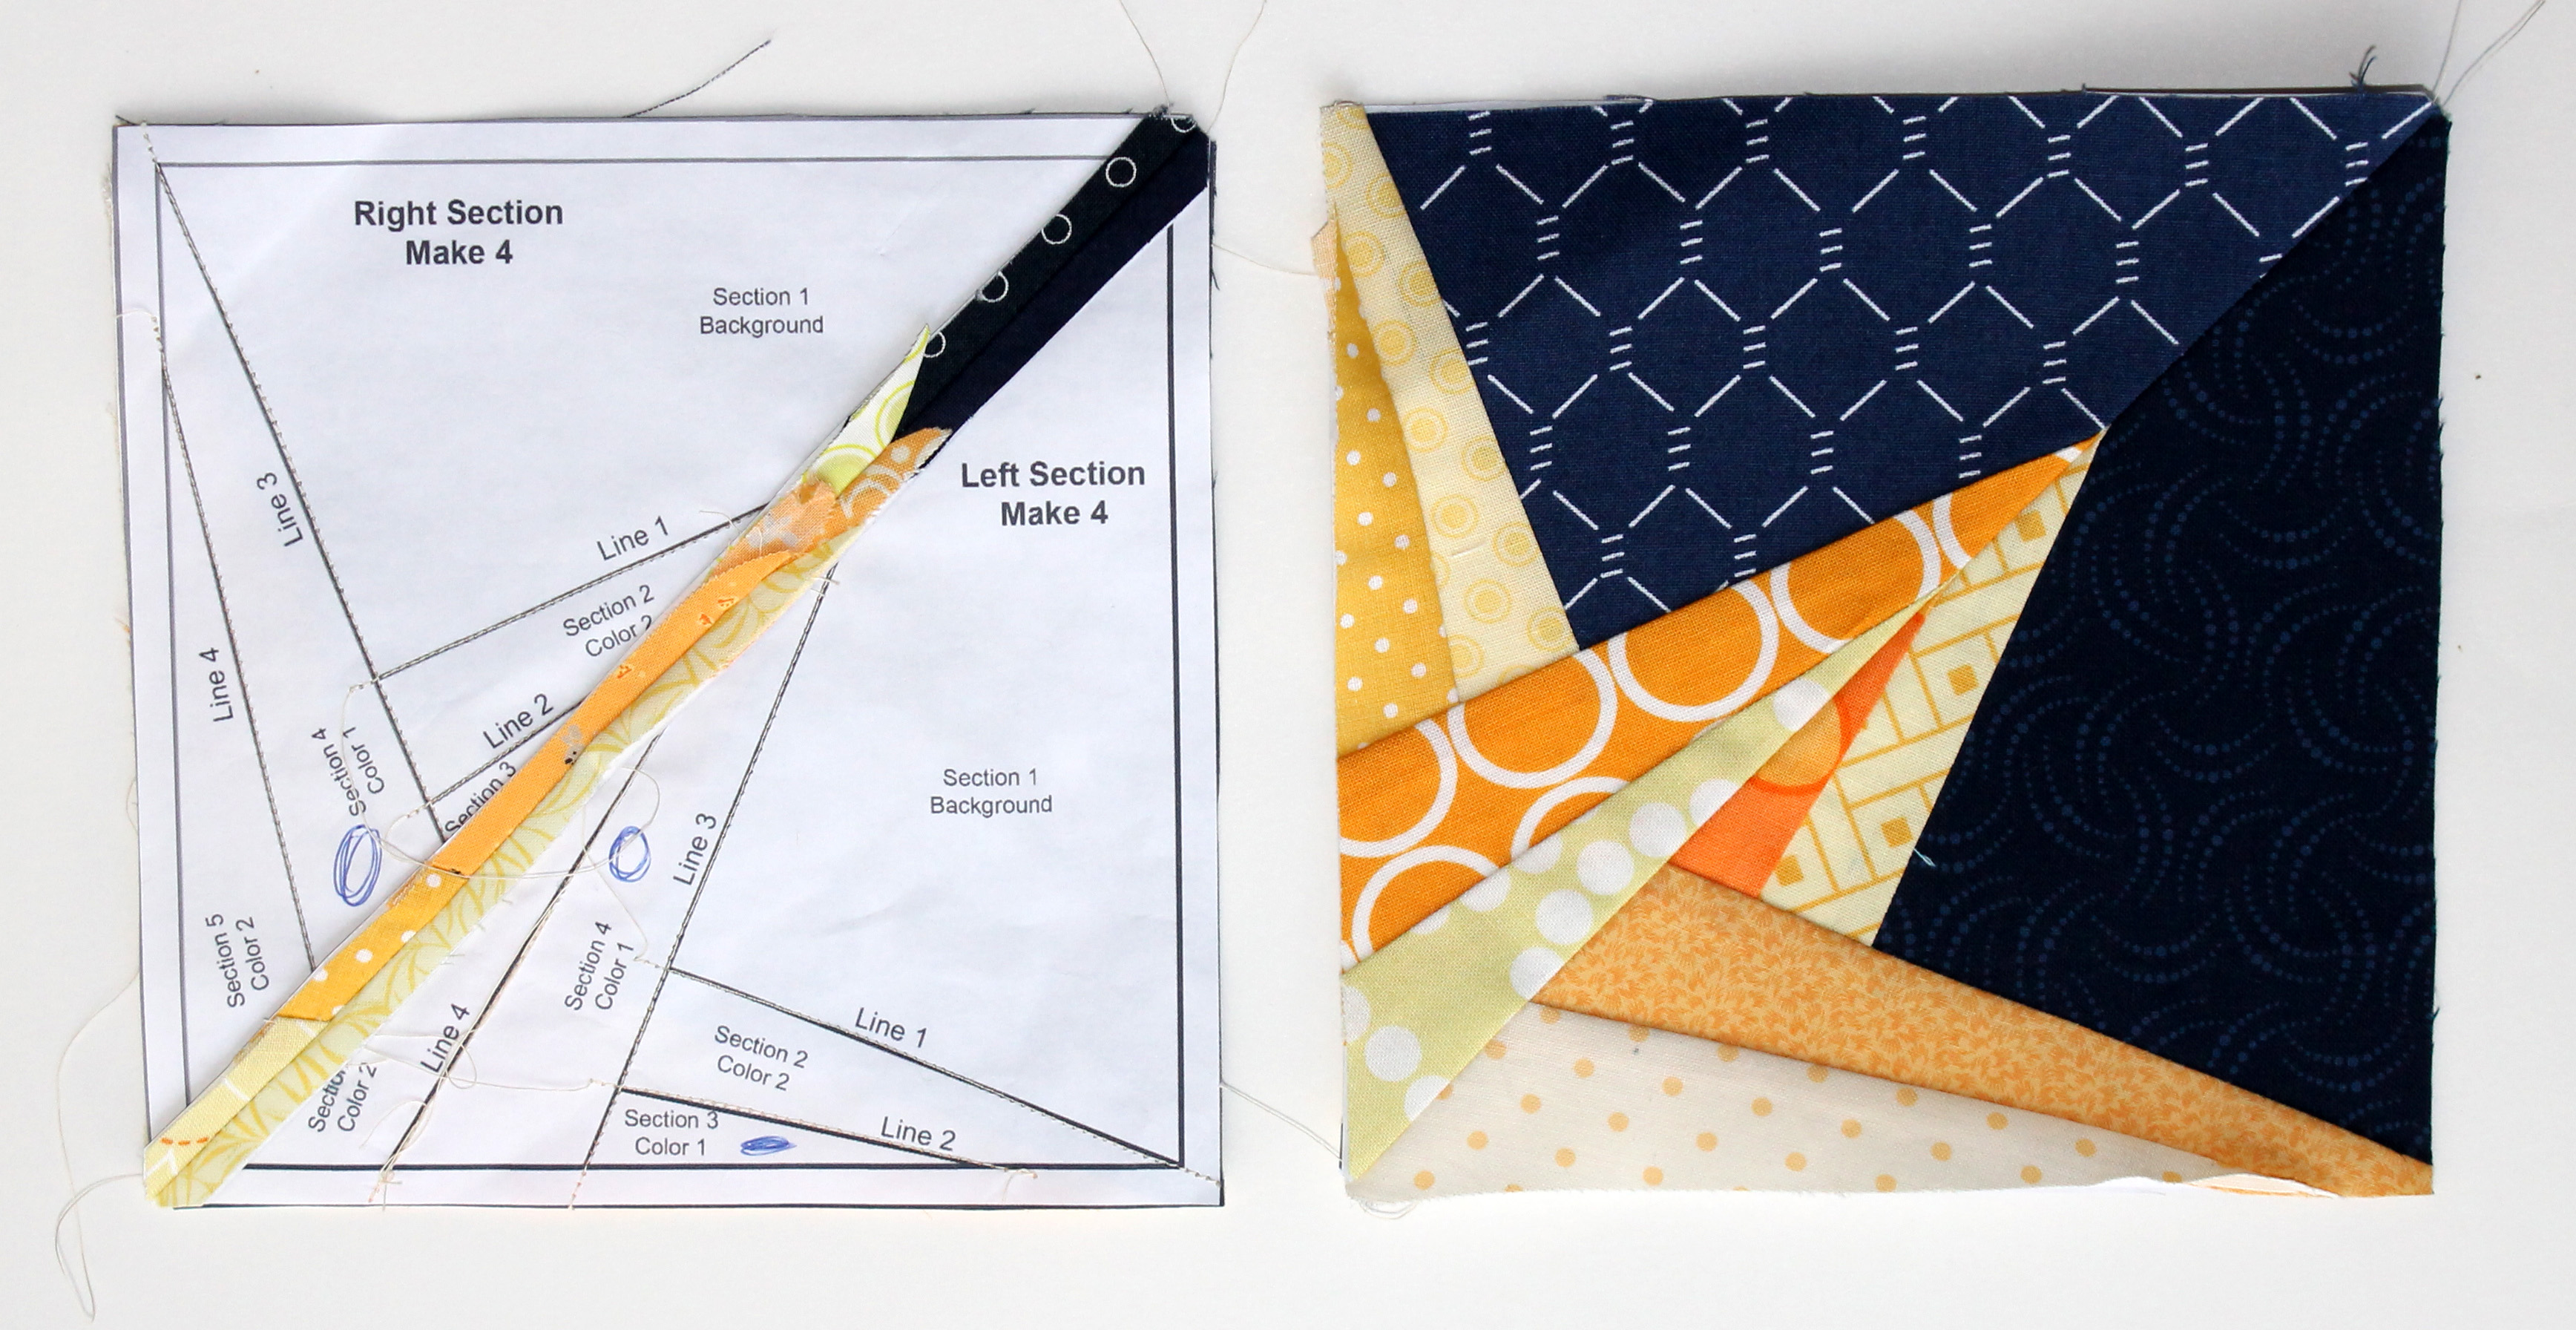
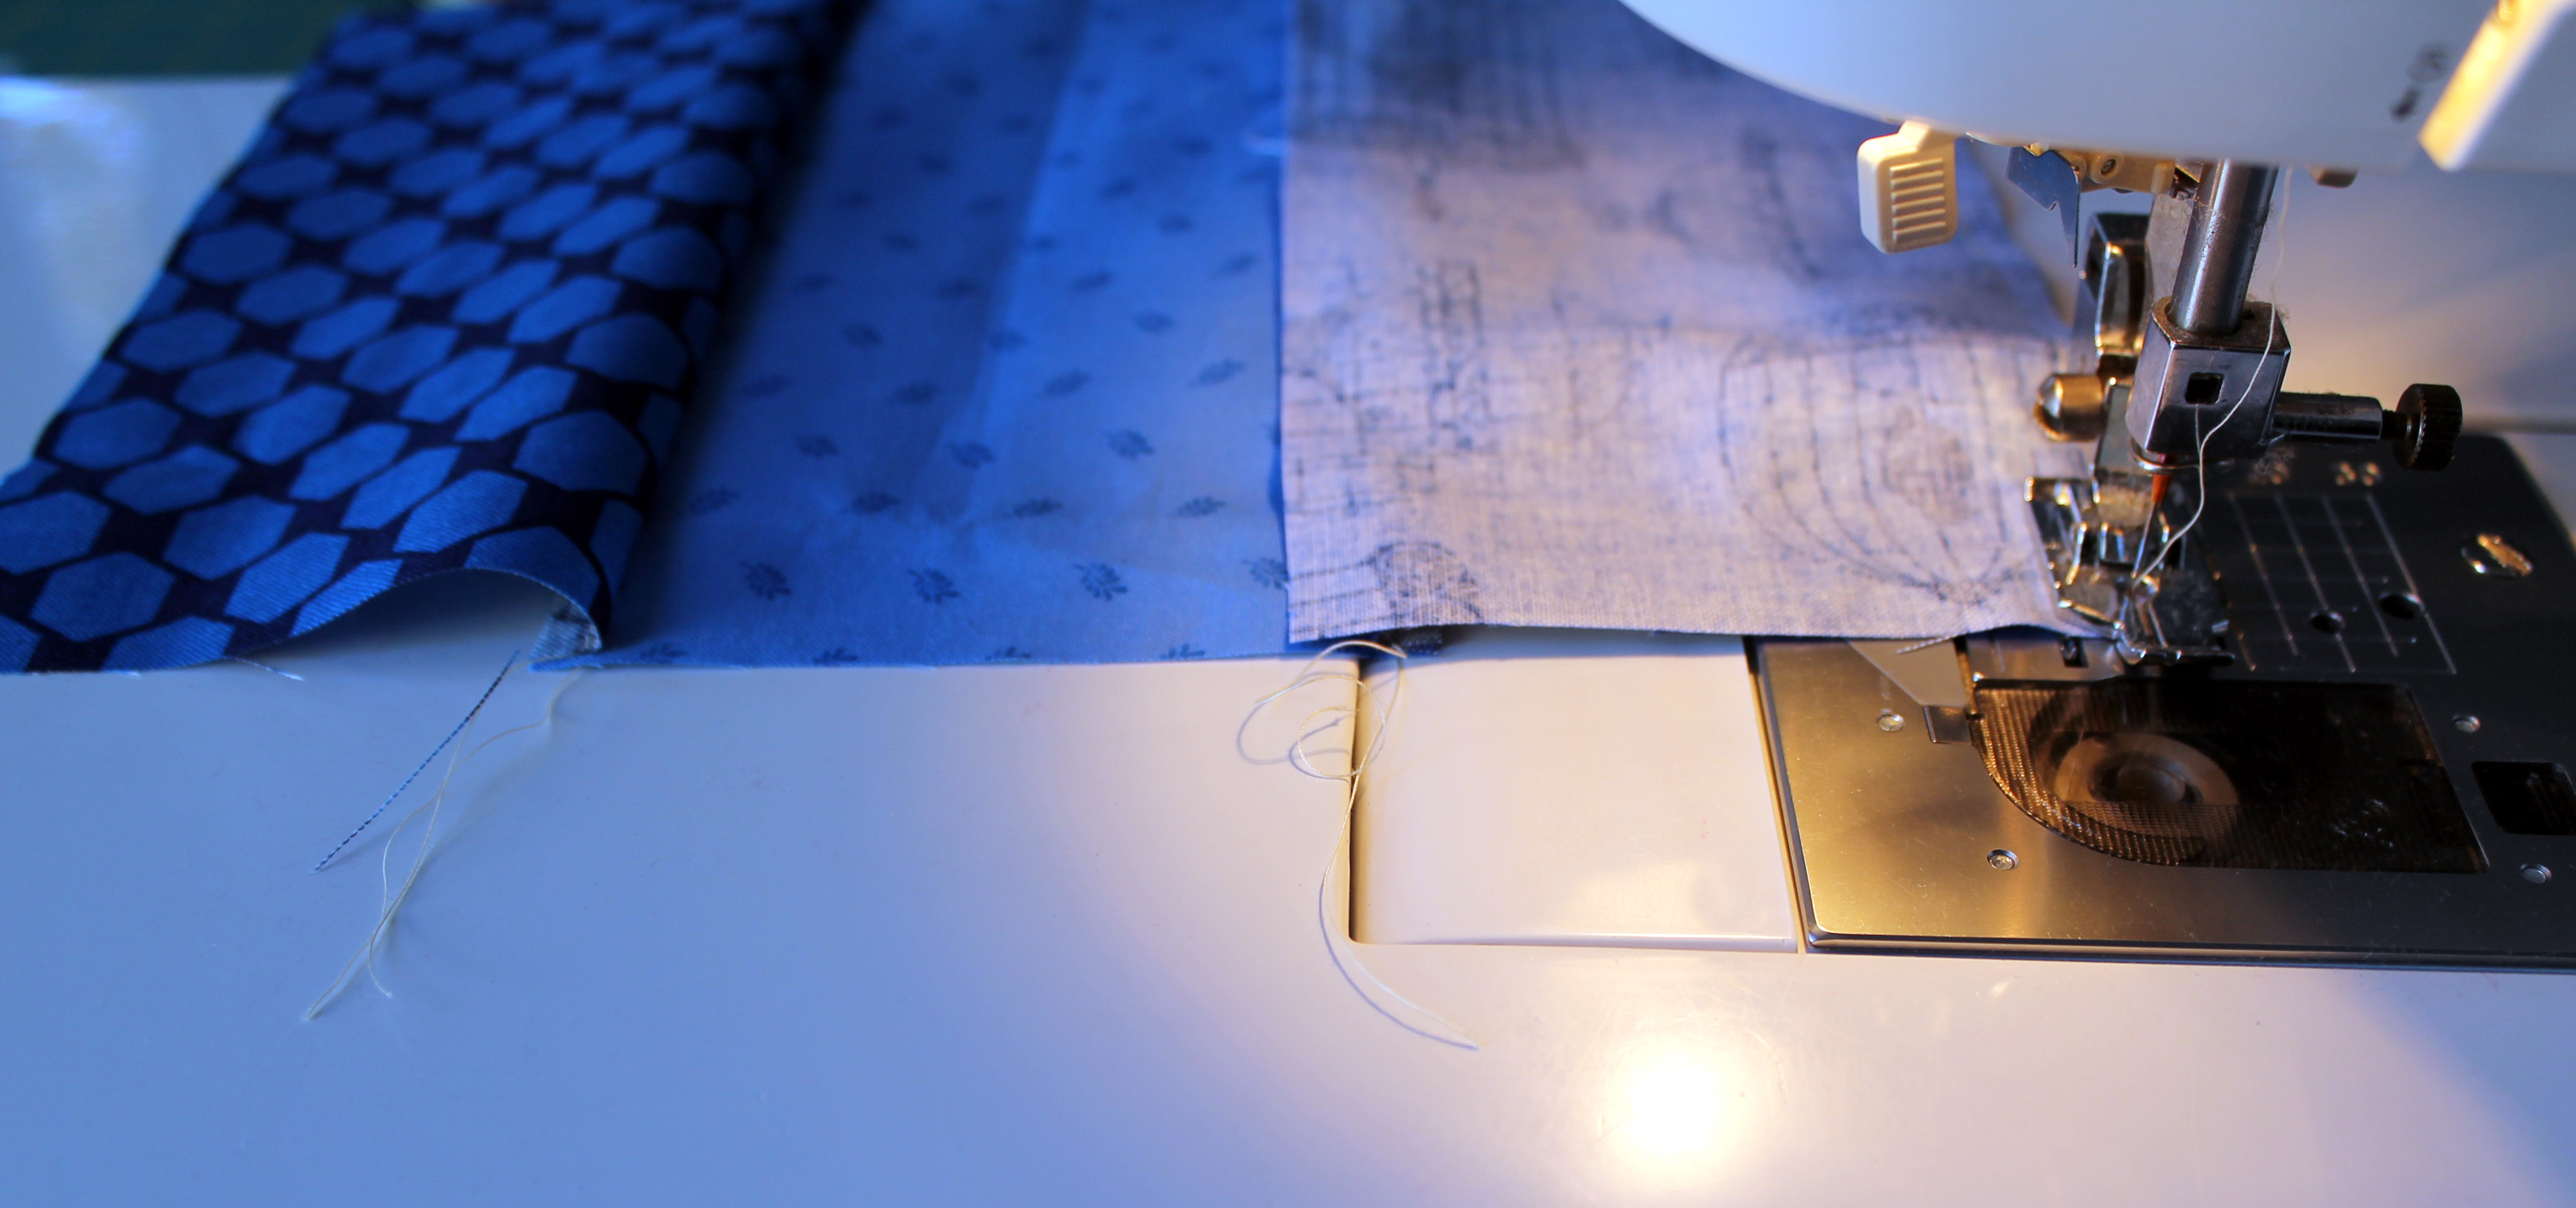
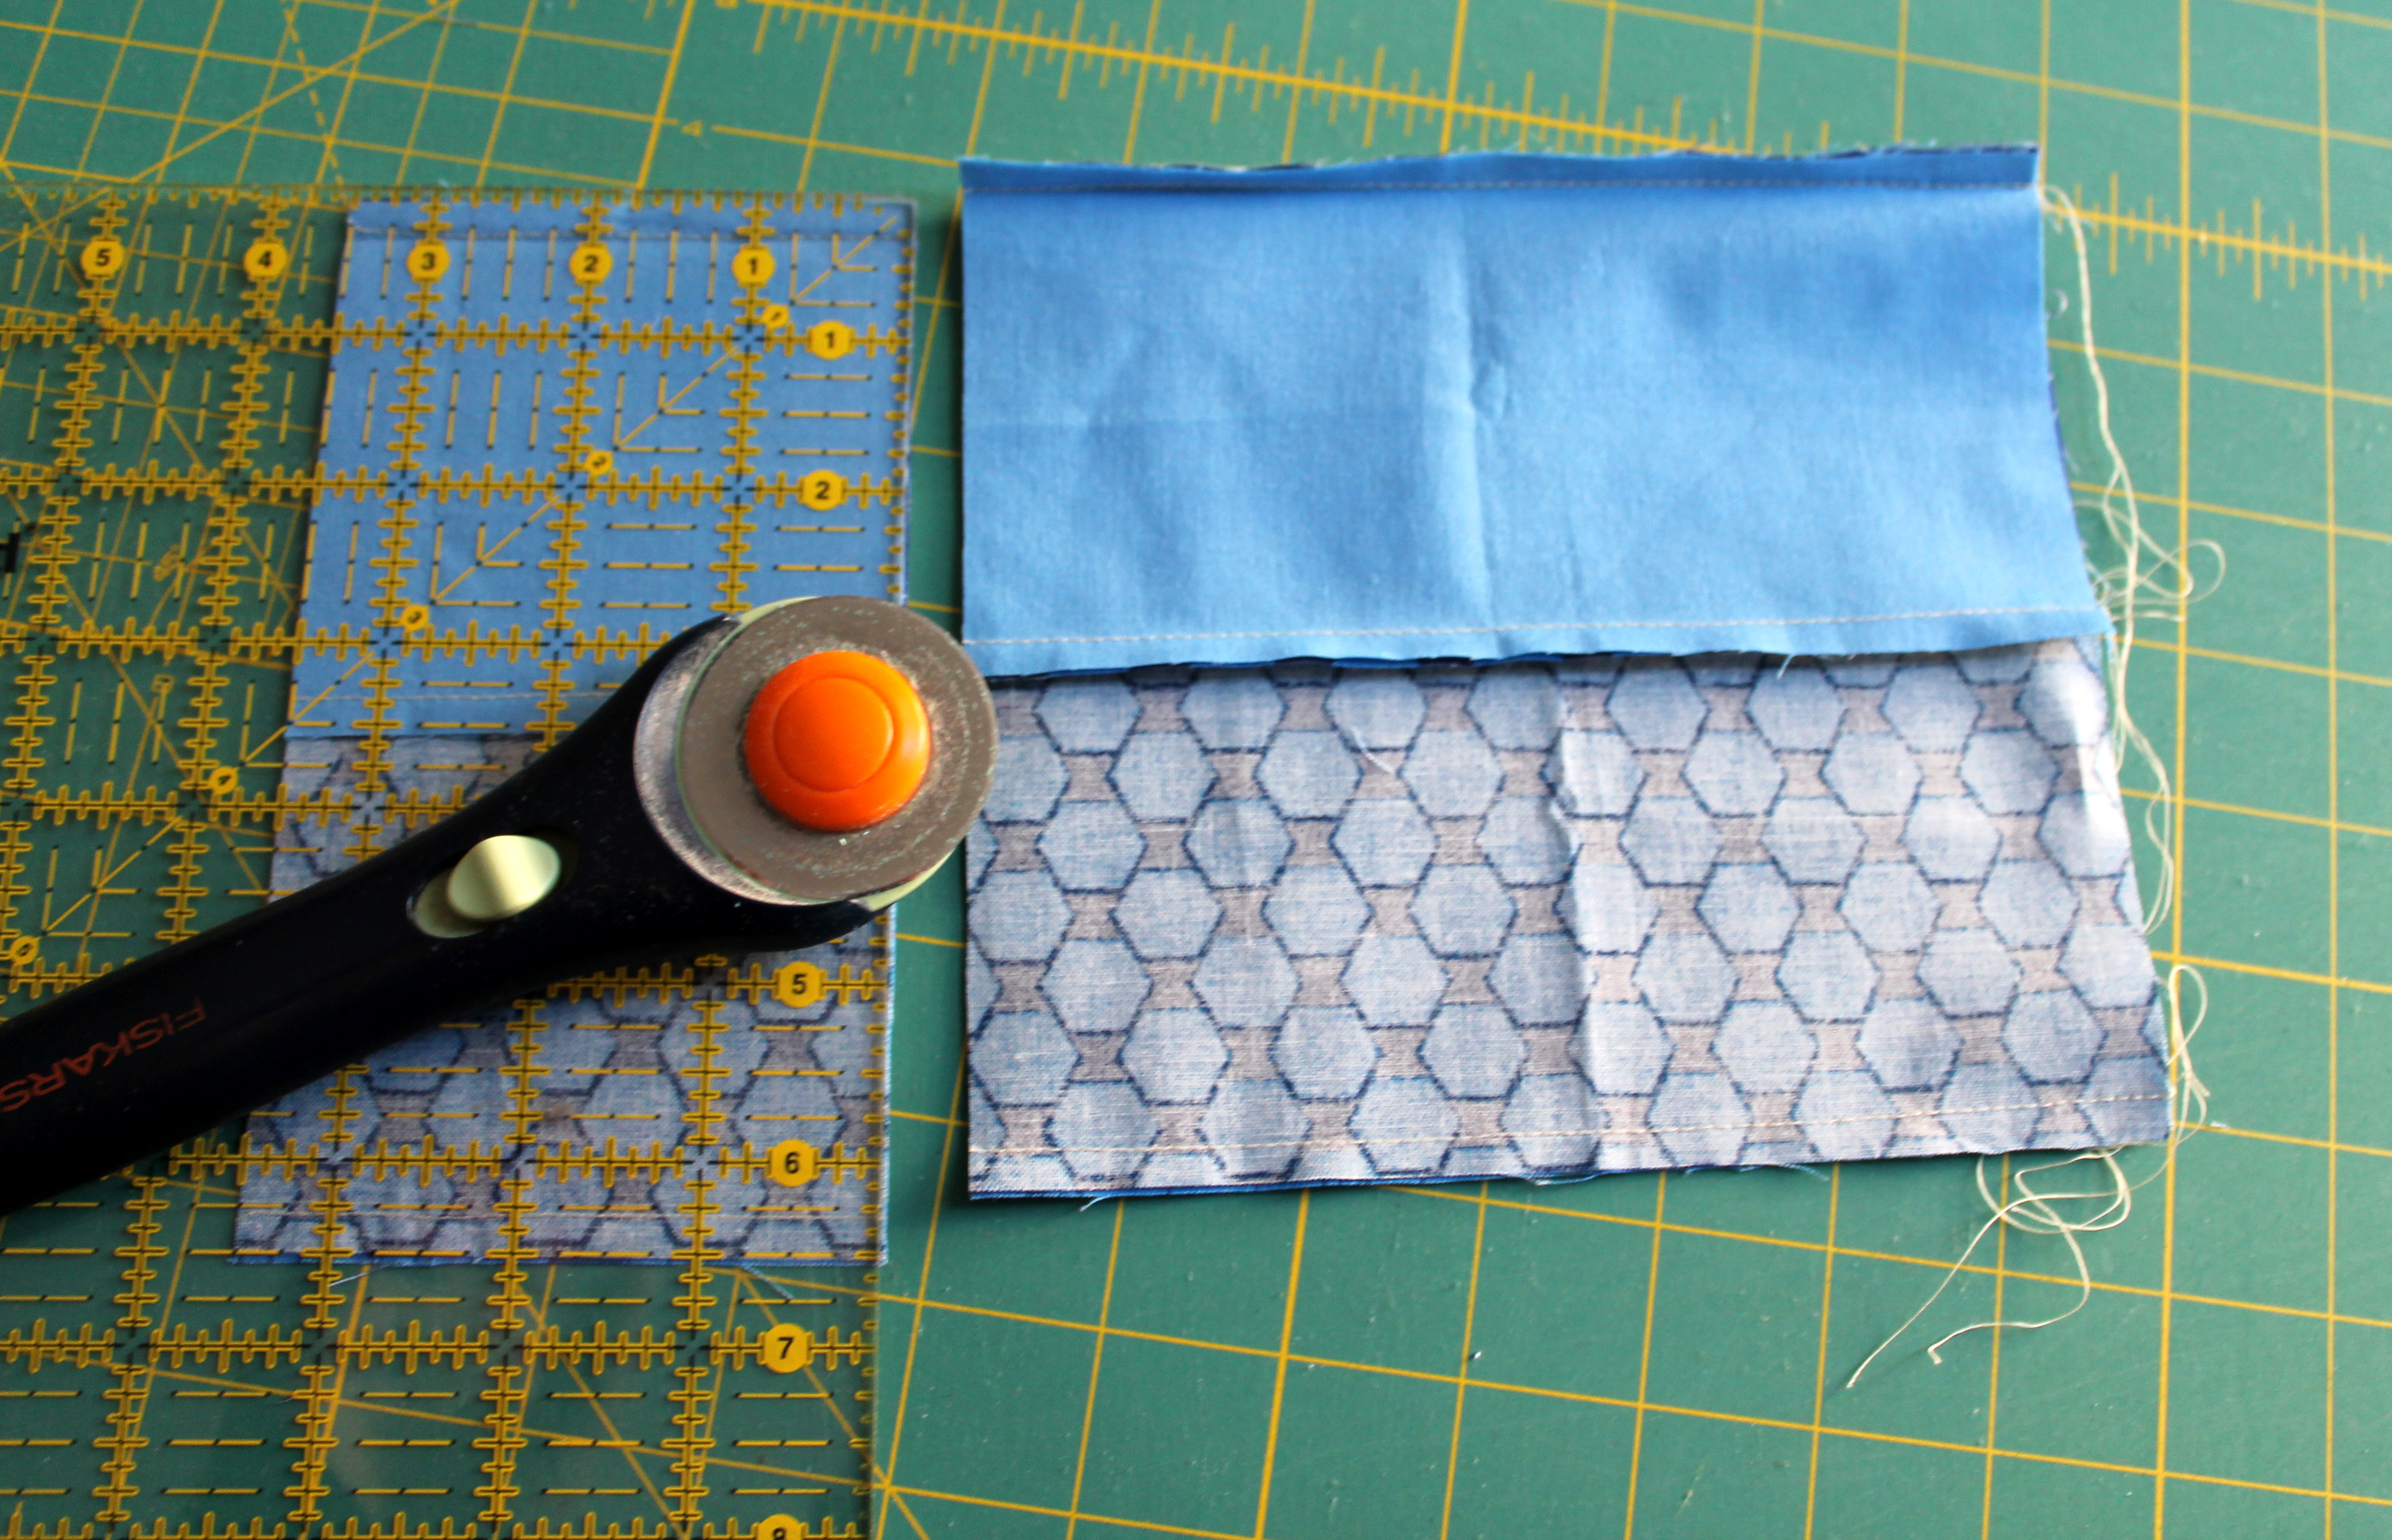
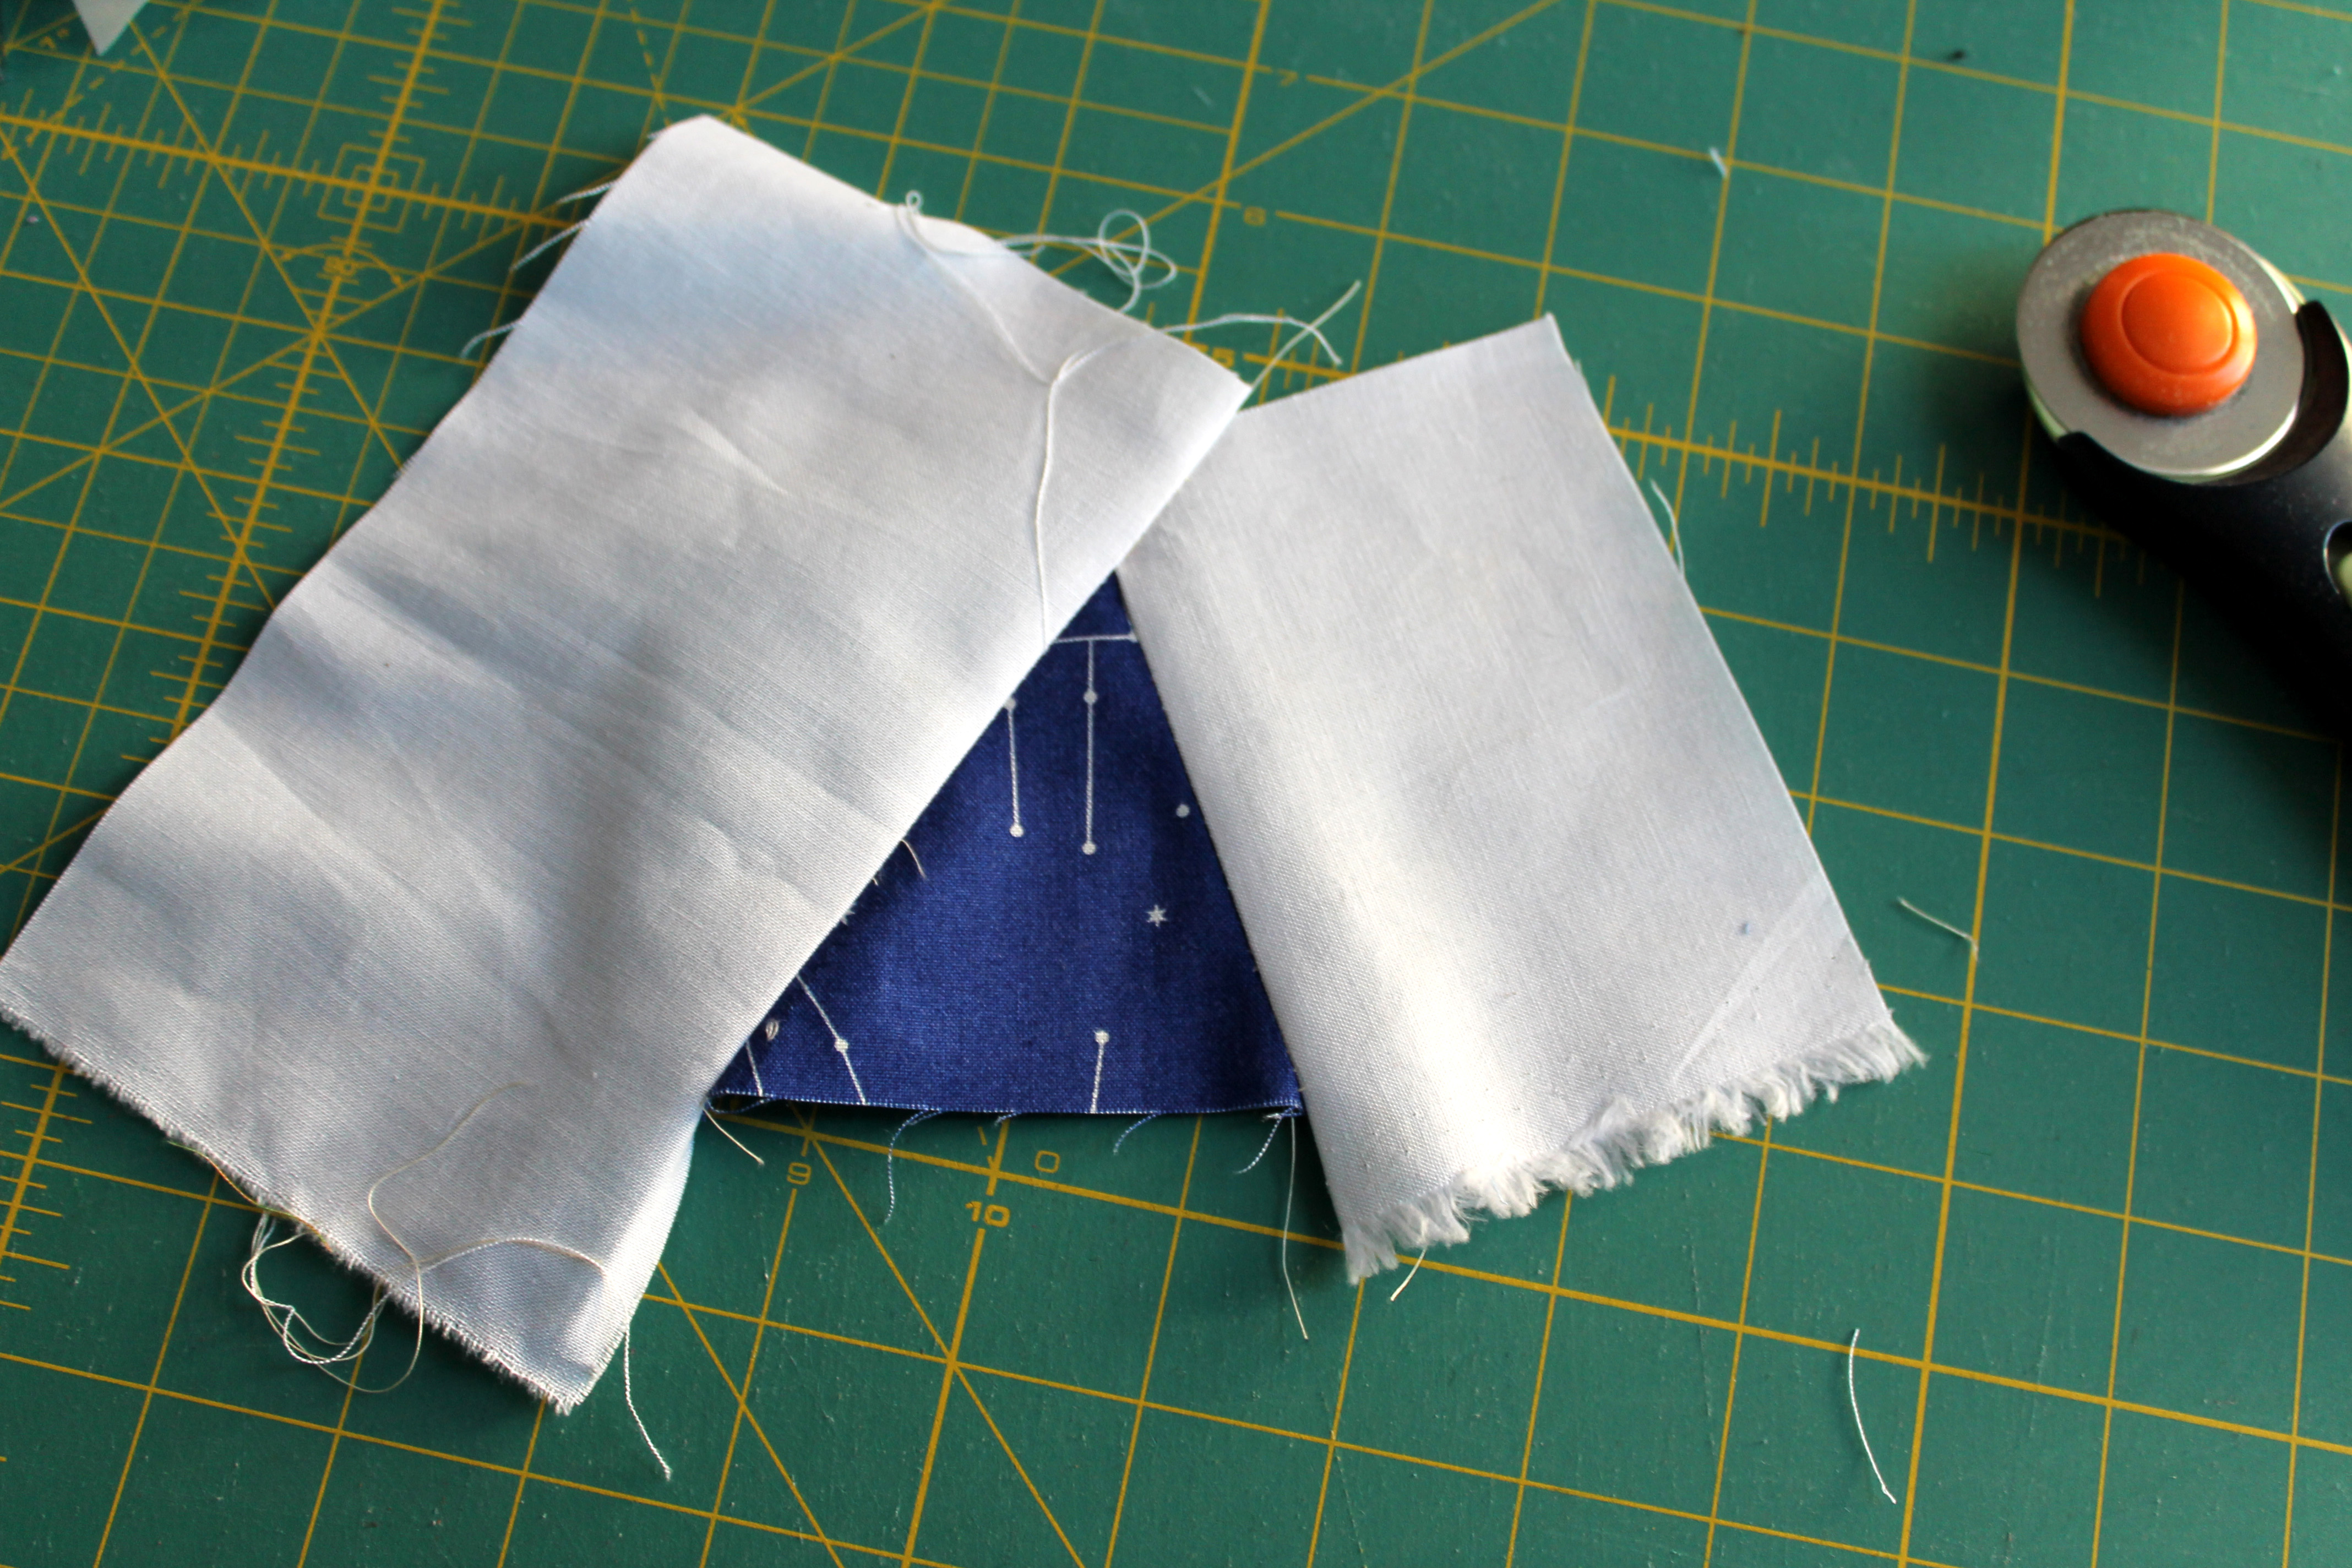
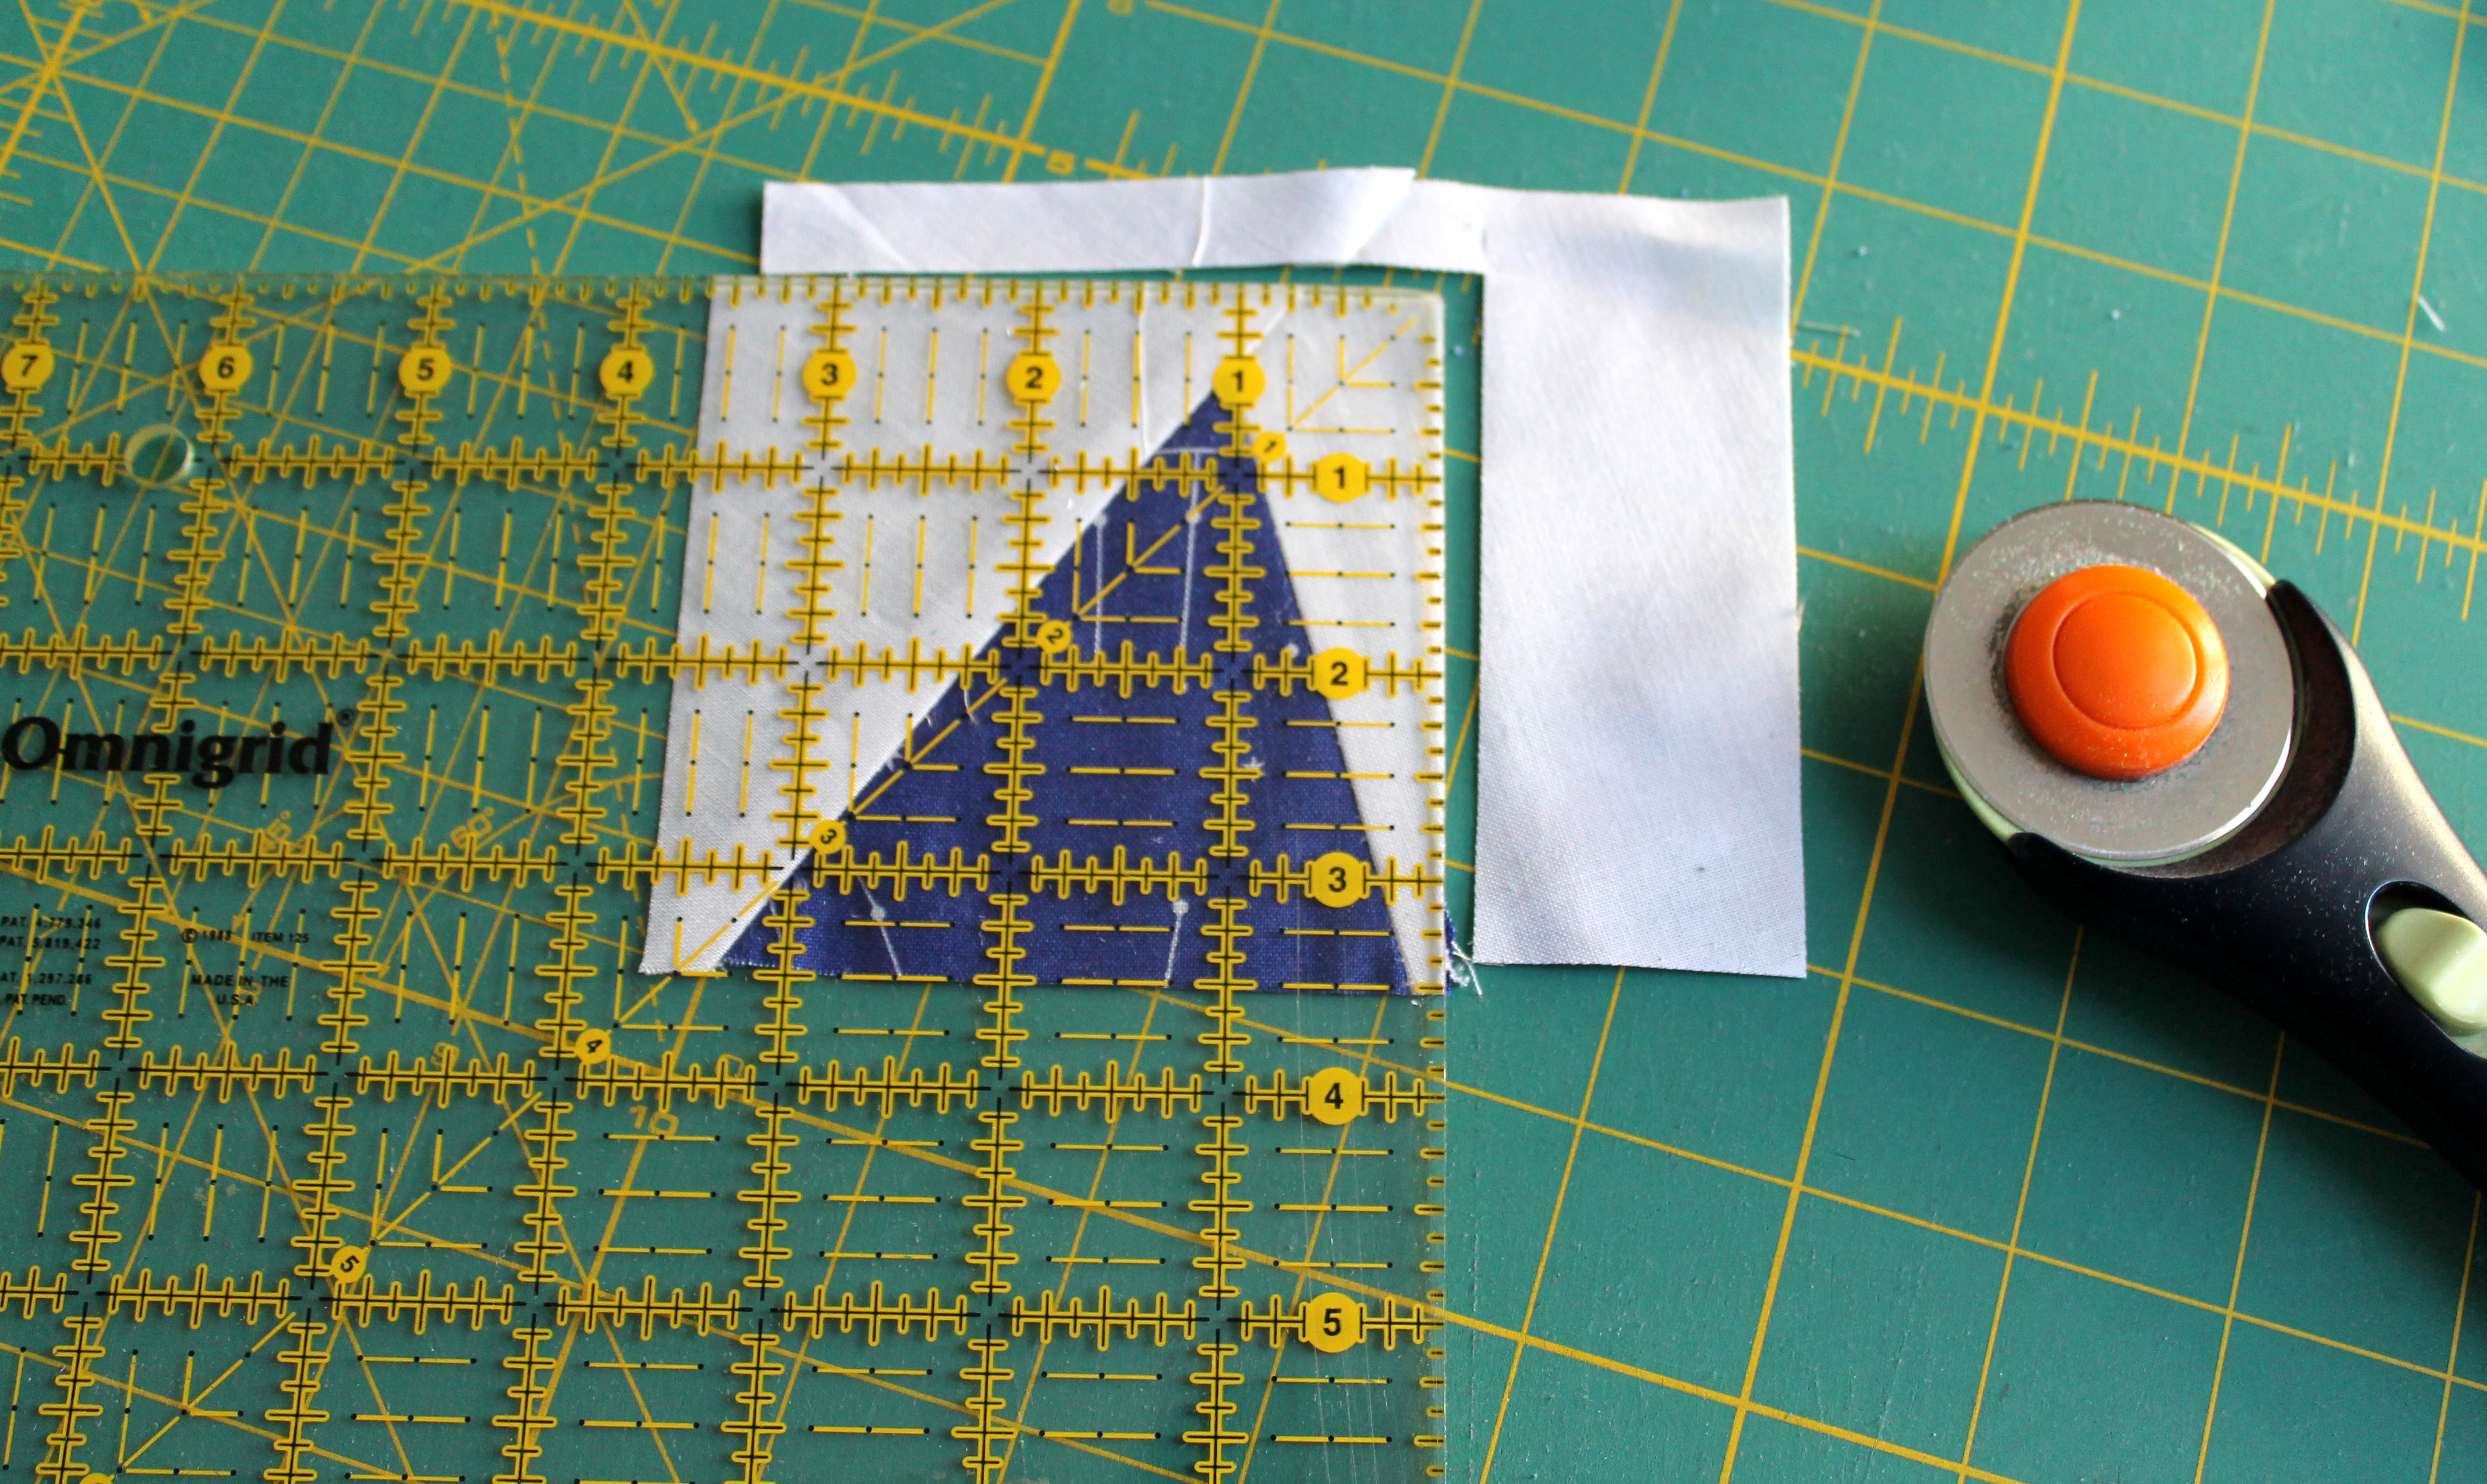
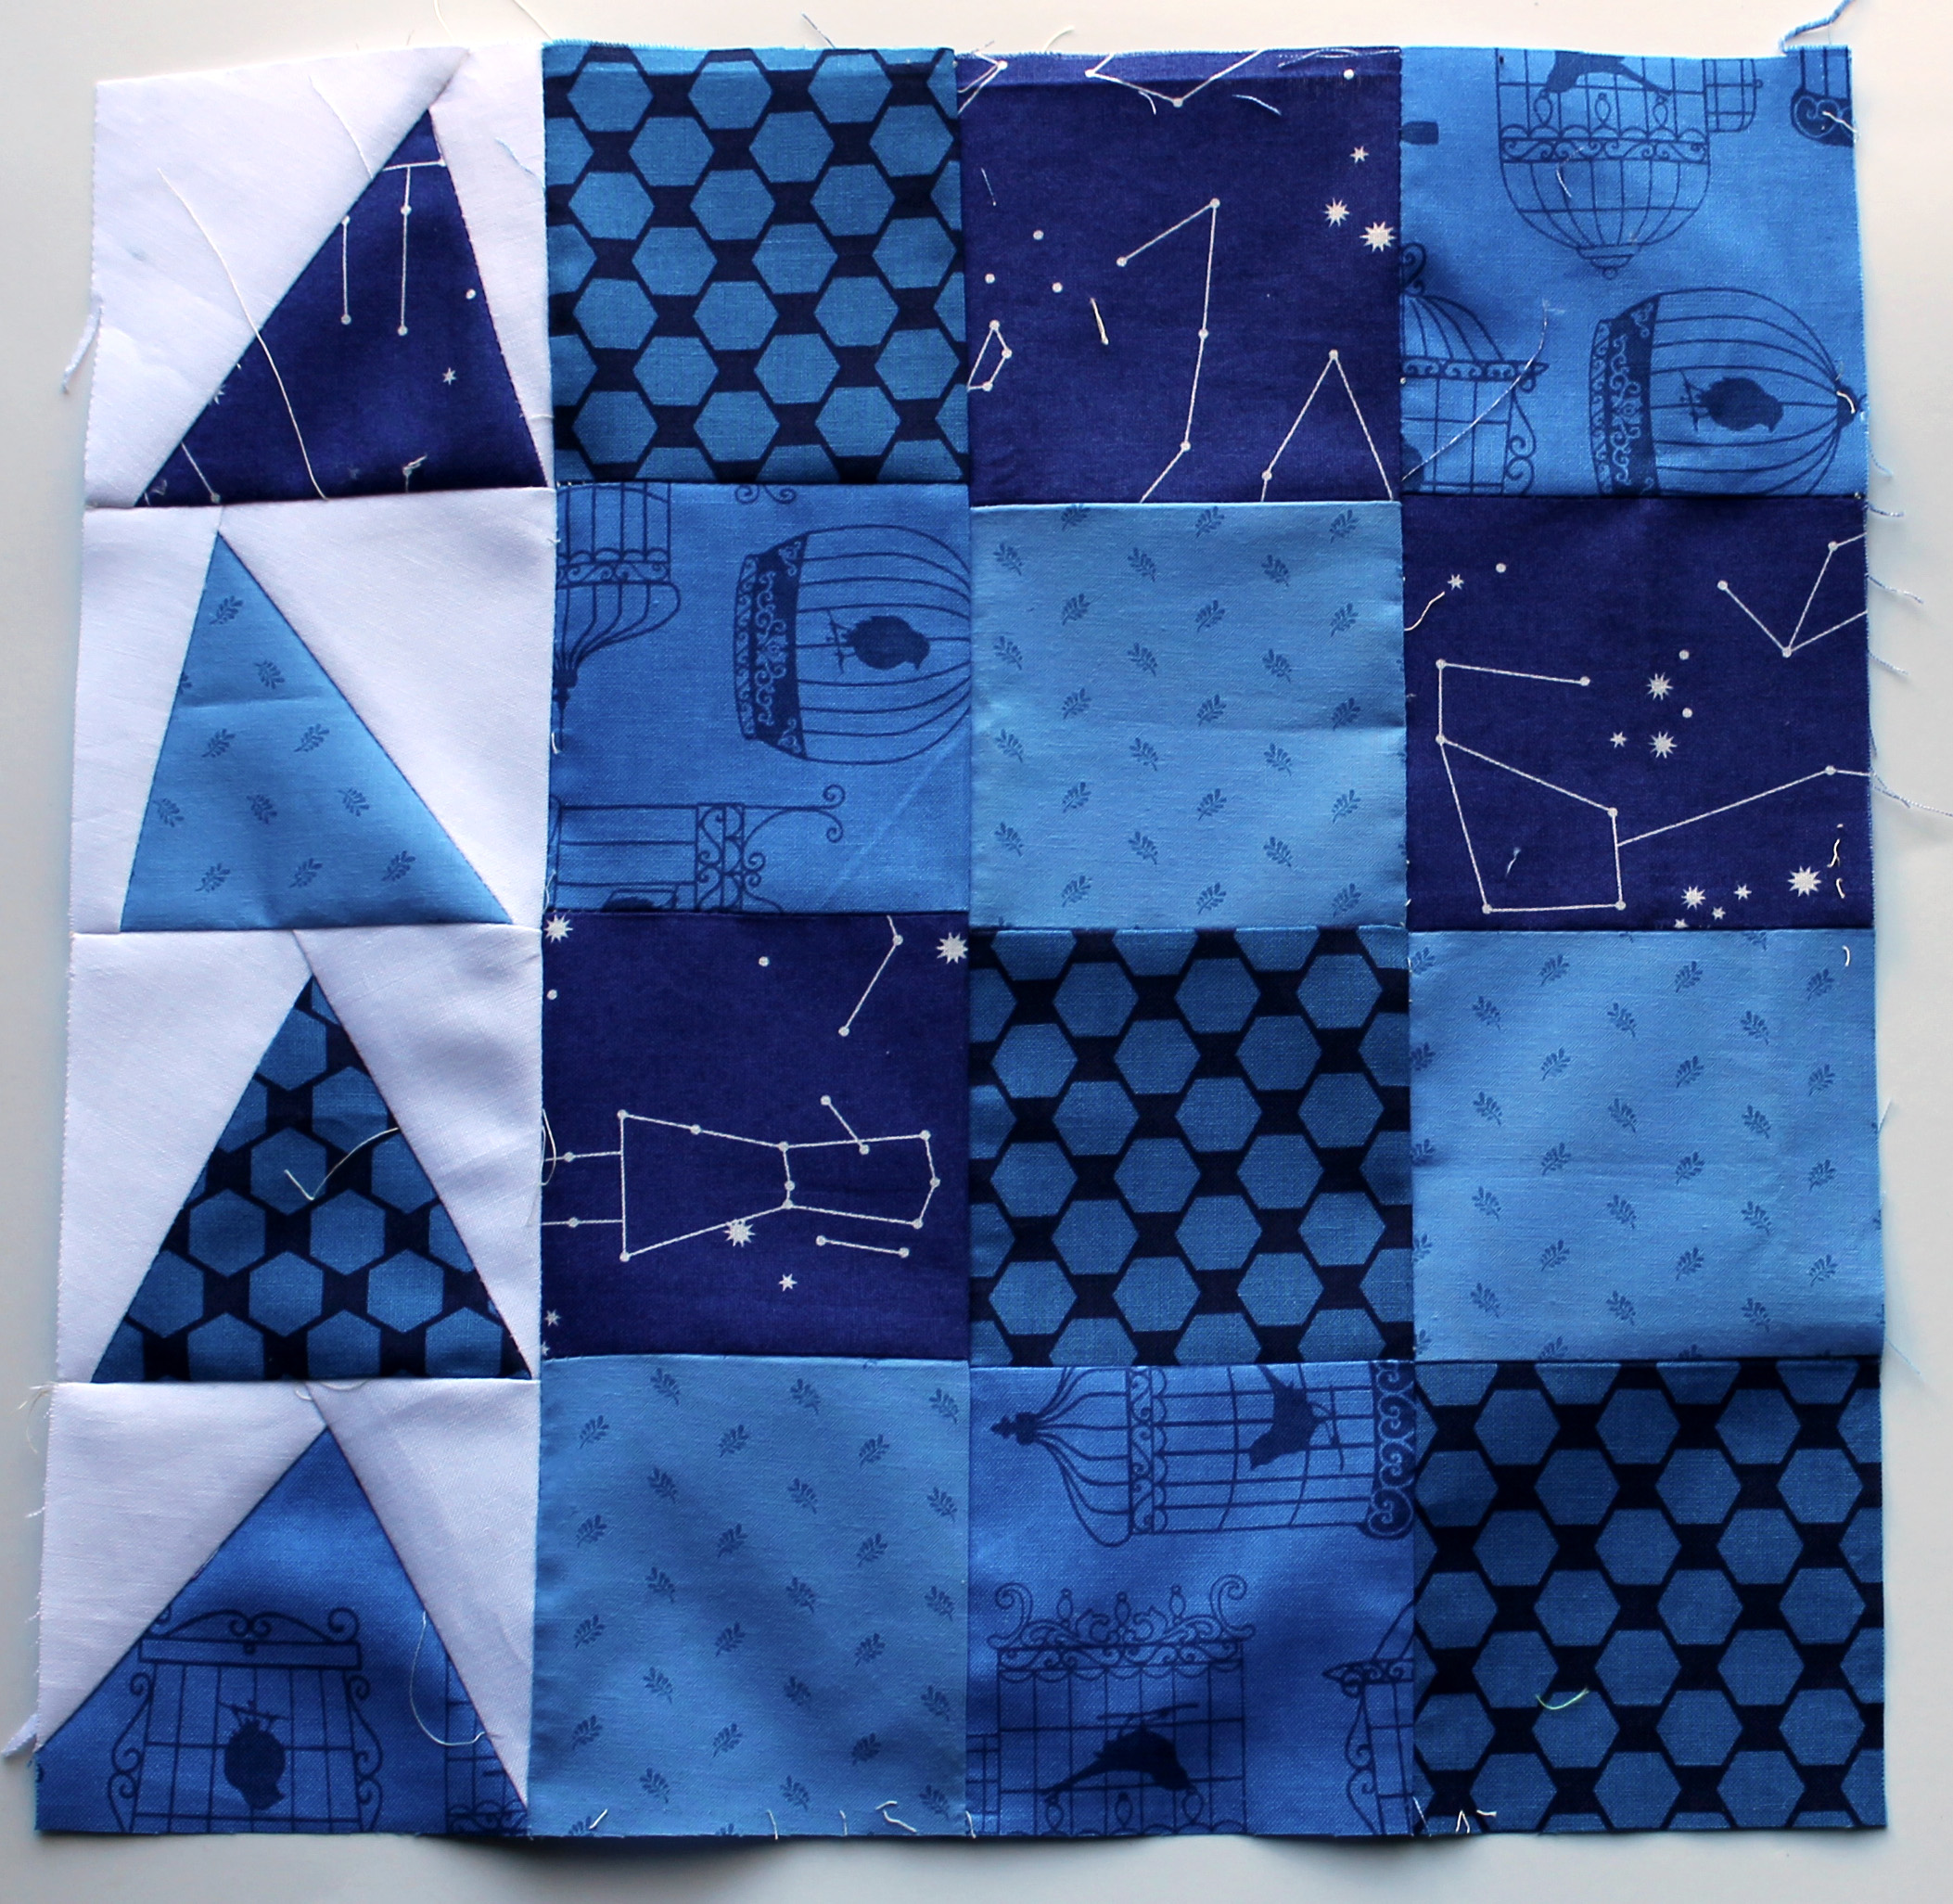
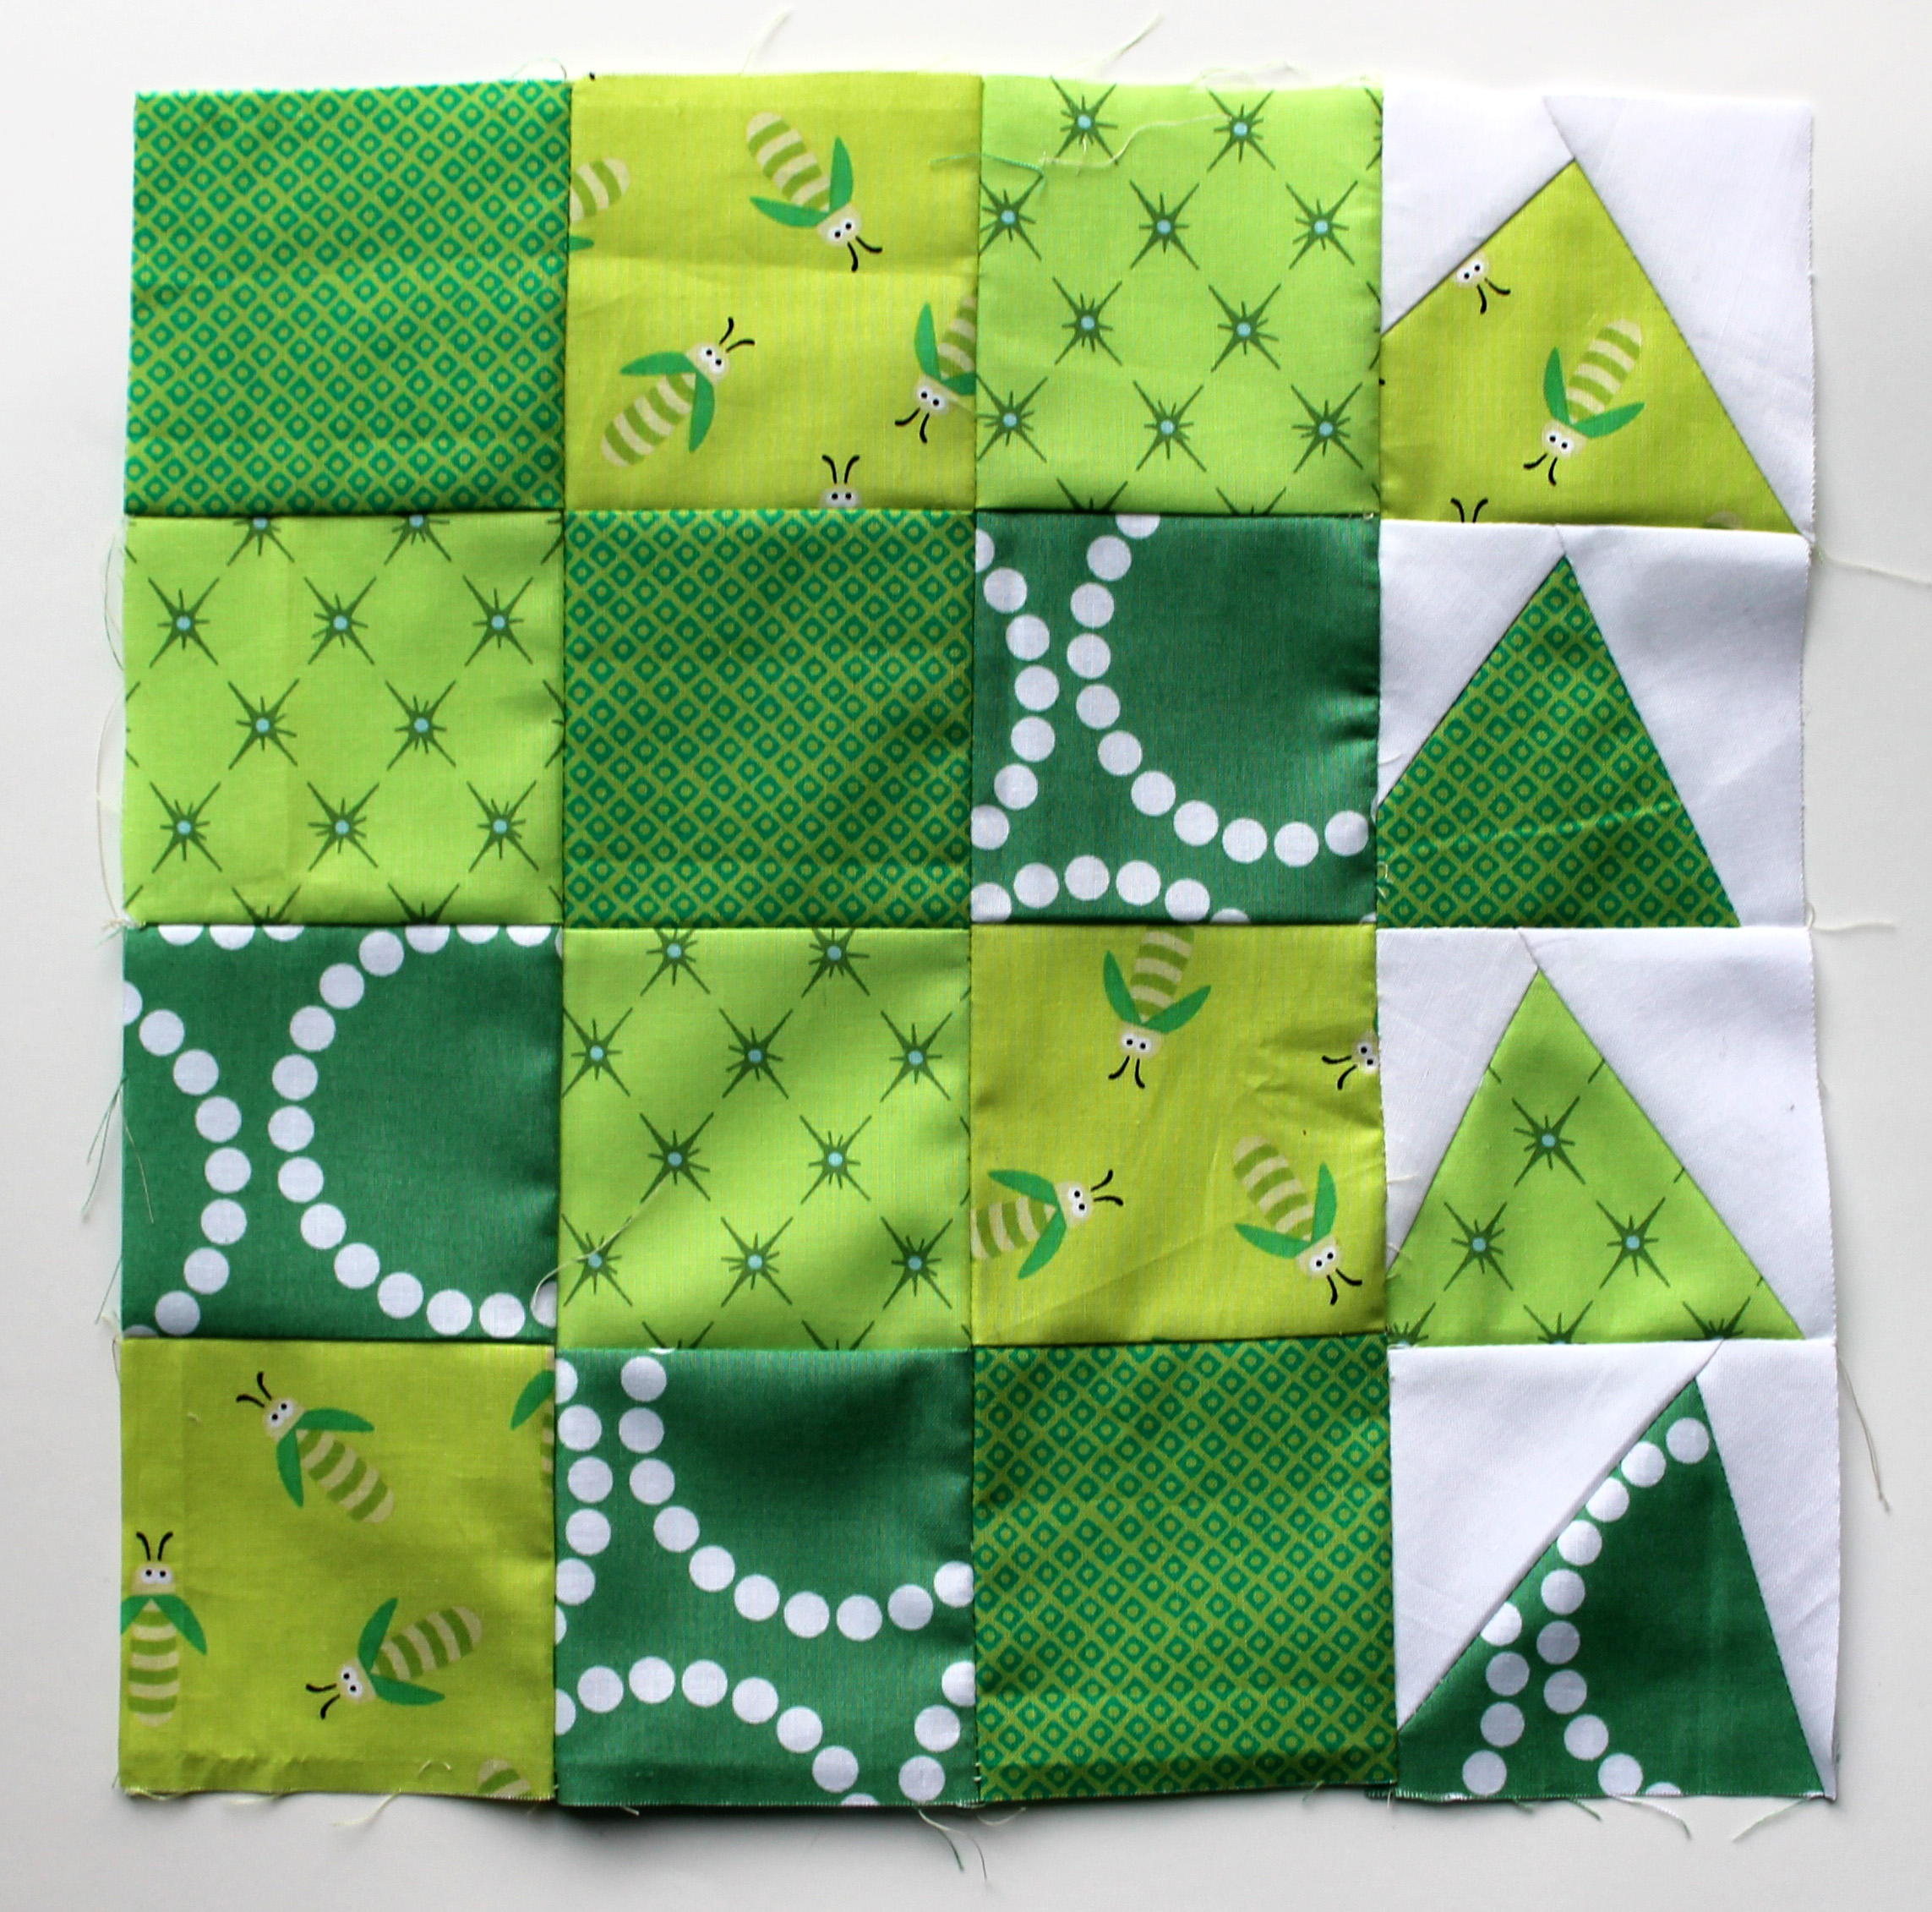
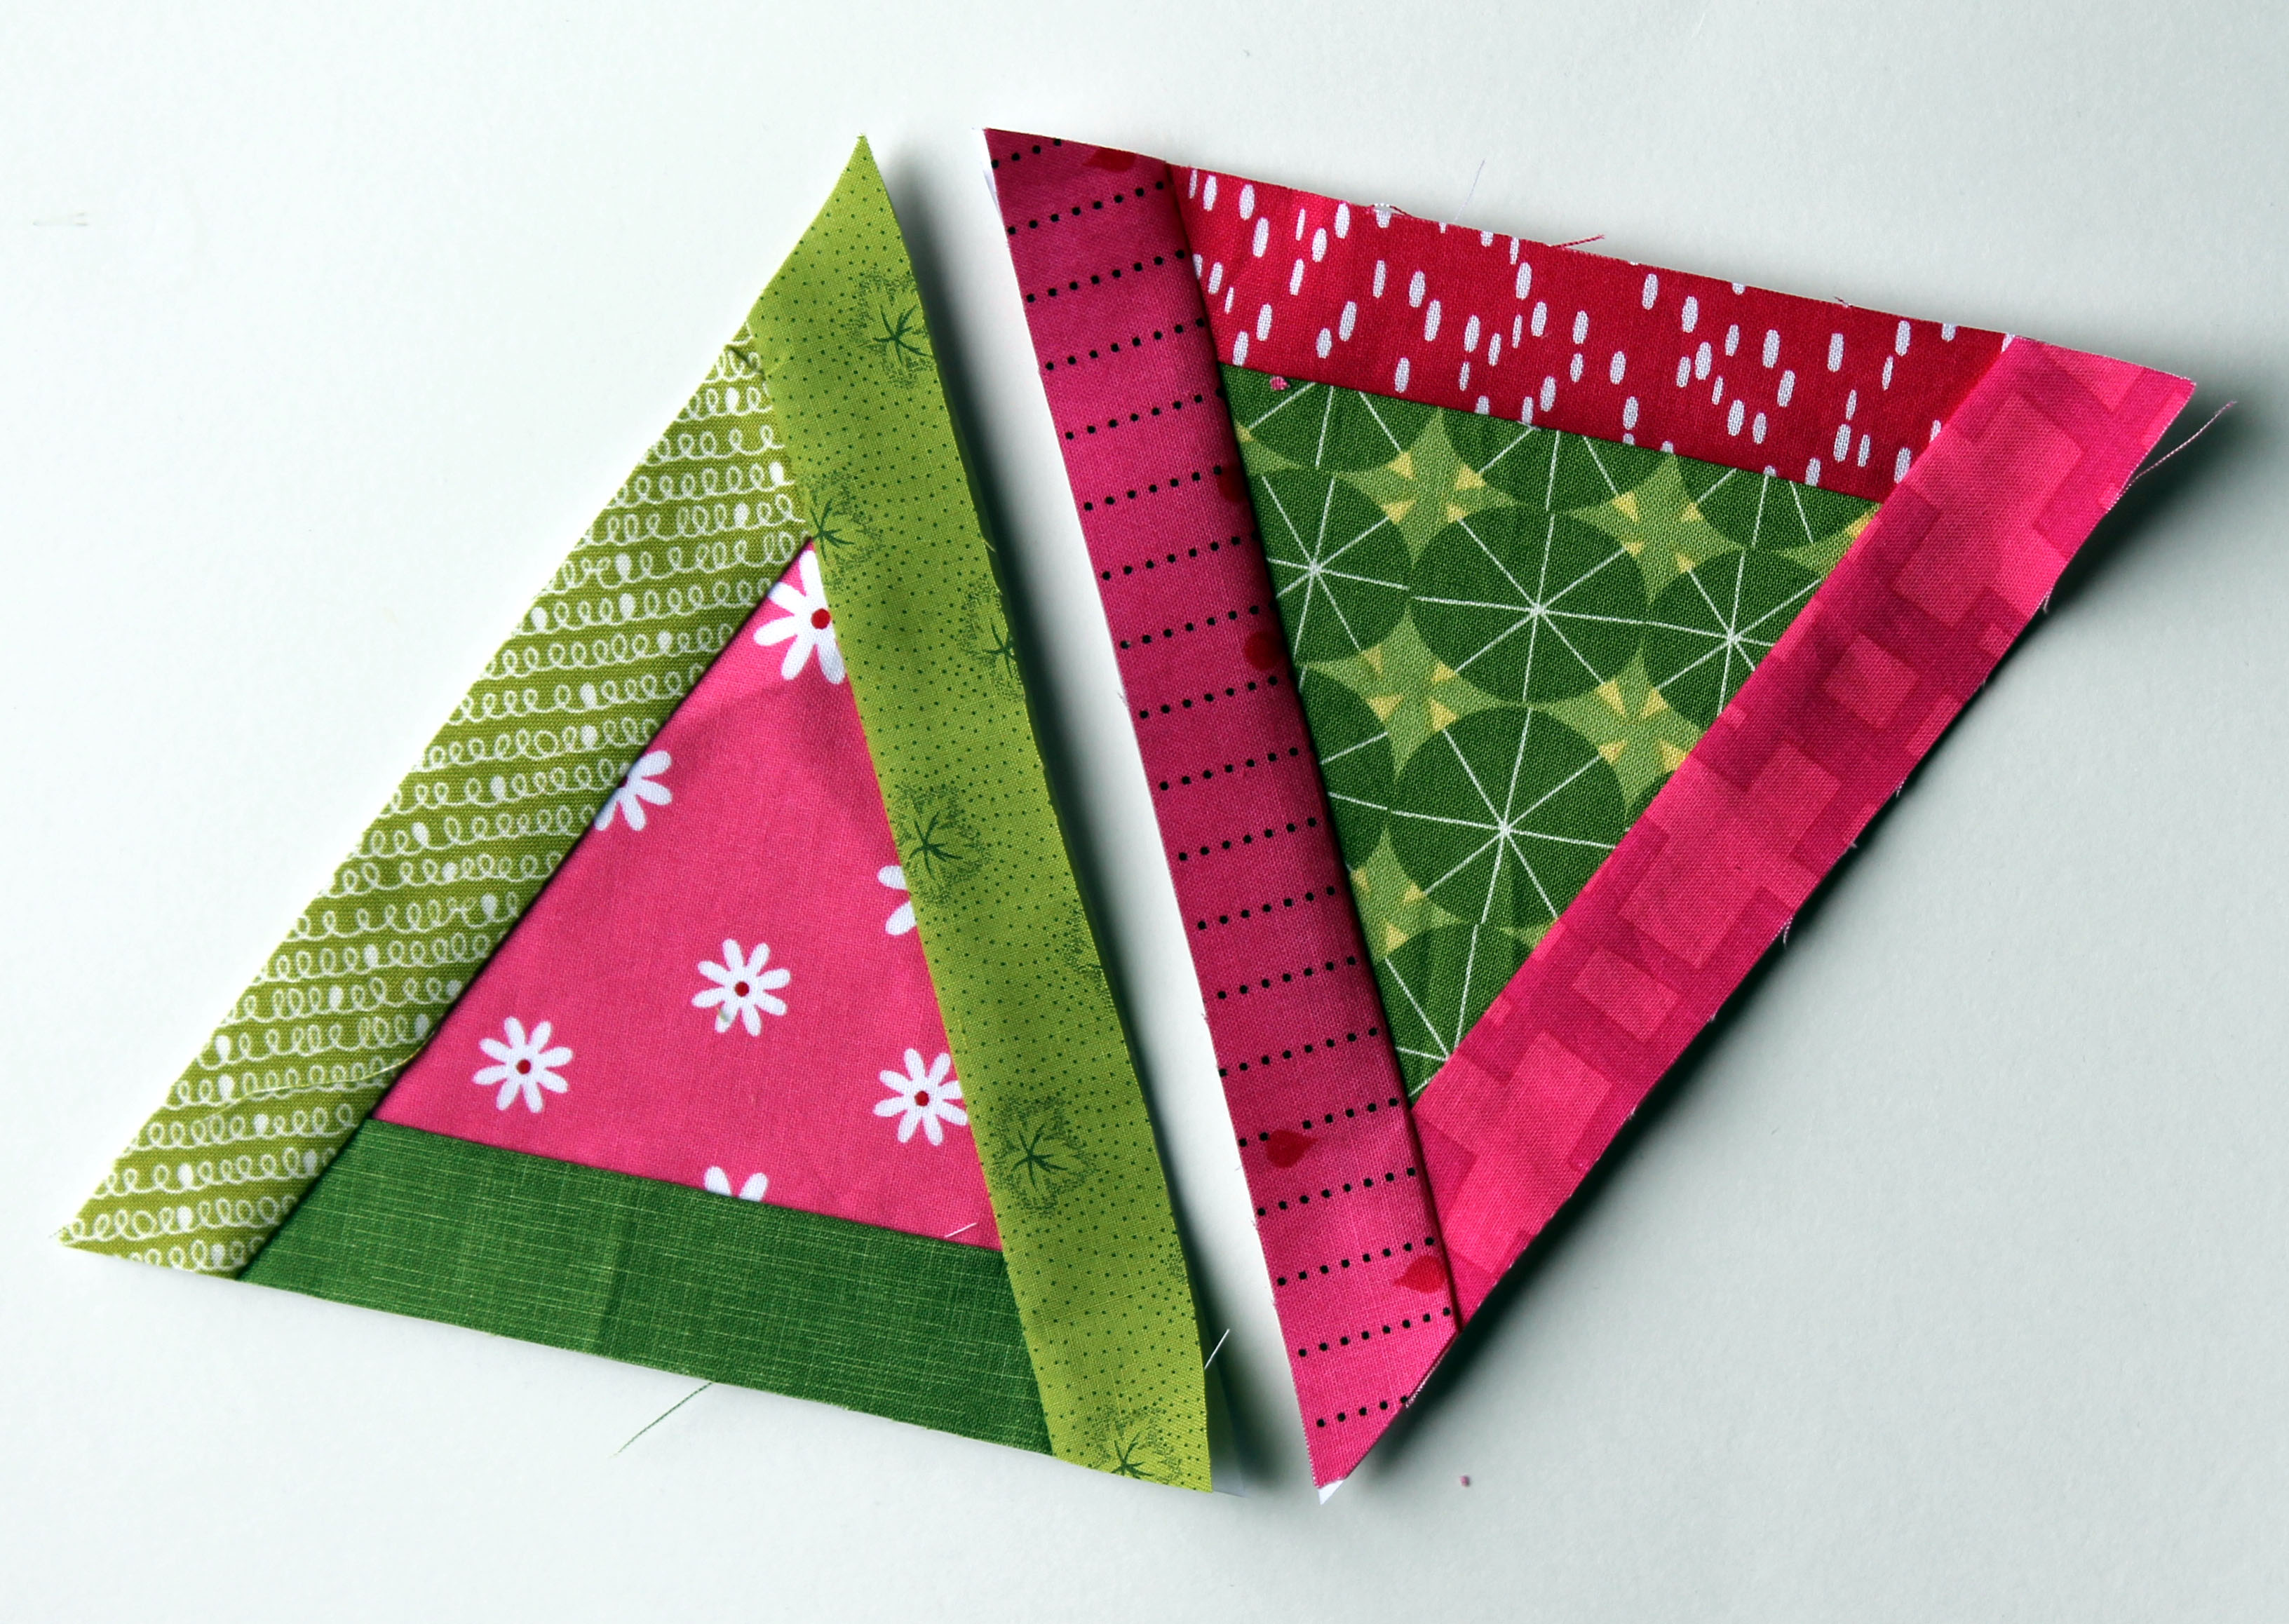
I first posted this block way back in April… I had been given a small scrap pile of olive green fabric and wanted to do something with it.   Hot pink fabric was chosen to go with the olive and a triangle paper pieced pattern from the “Modern Blocks” book was chosen.   I was so optimistic with that first post I titled it “Triangle Love”.

triangle quilt blocks

Fast forward to a couple of weeks ago, when I decided to bite the bullet and finish this sucker… but now I was referring to it as “Triangle Trauma“.  Oh what a difference time makes….

finished triangle quilt detail

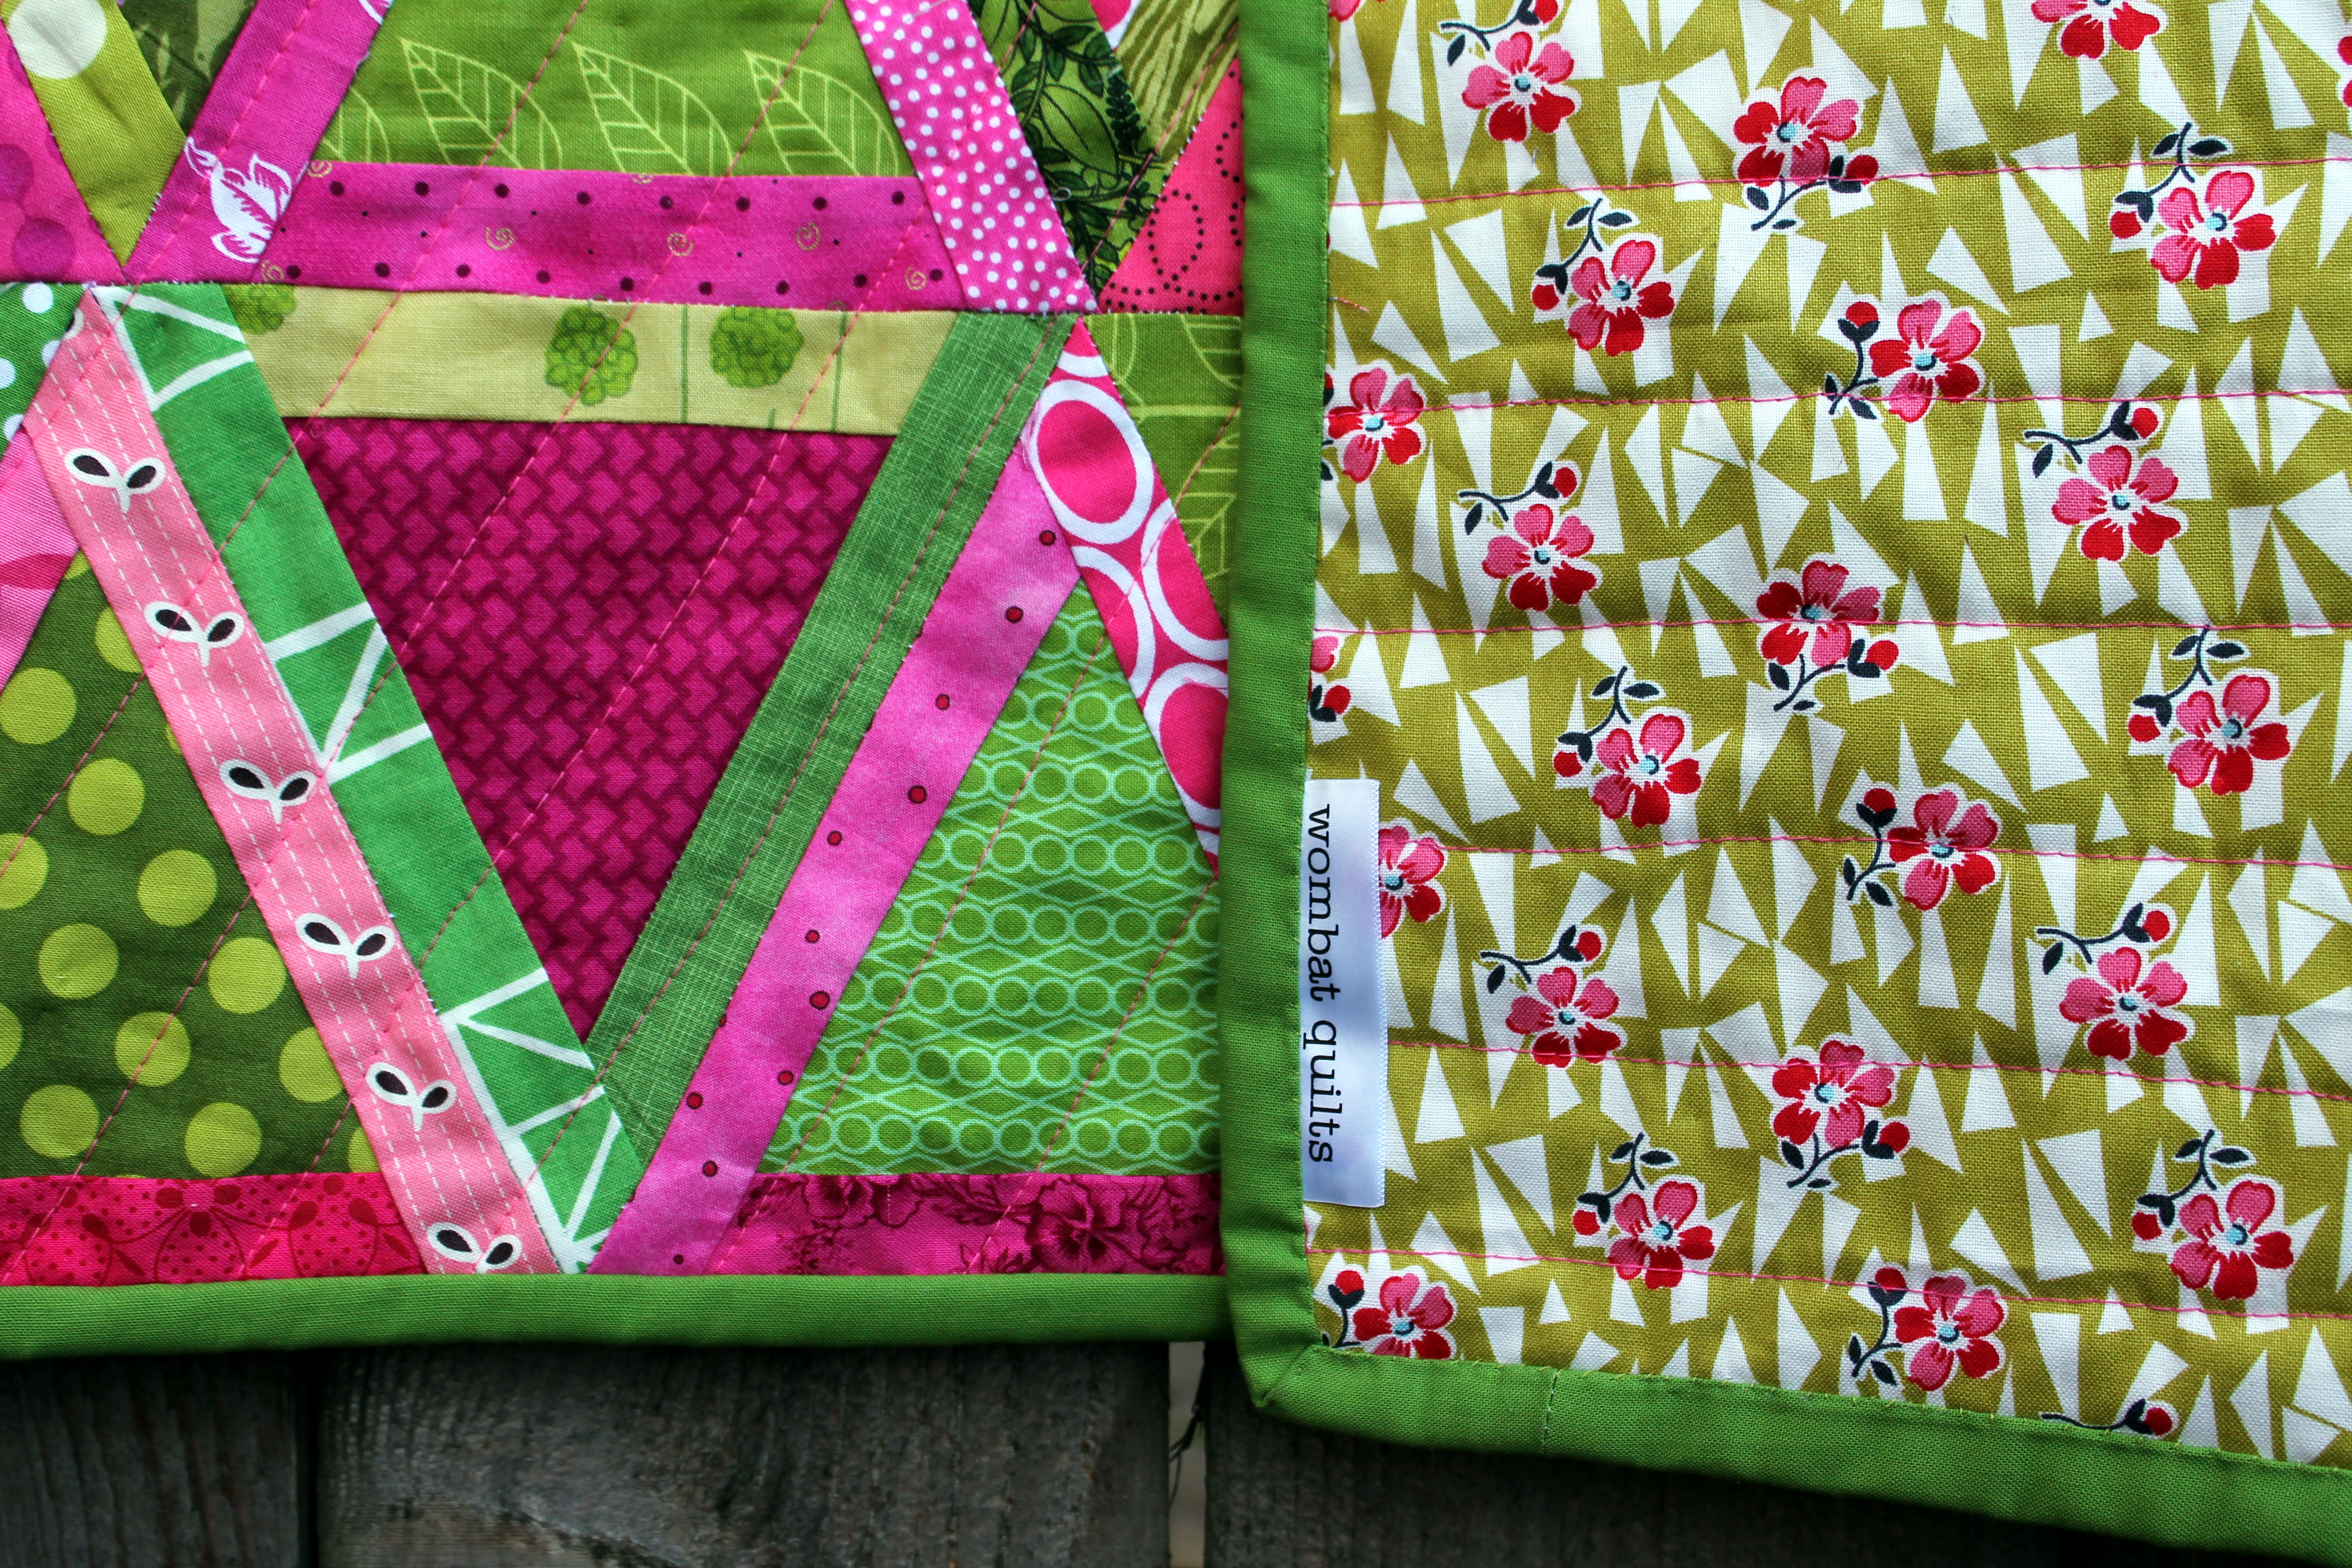
Now all is said and done I am really happy with how this quilt turned out…but will not be jumping into another triangle quilt for a while!   For the backing of the quilt I used a piece of Densye Schmidt which worked perfectly with the quilt top.

finished triangle quilt back

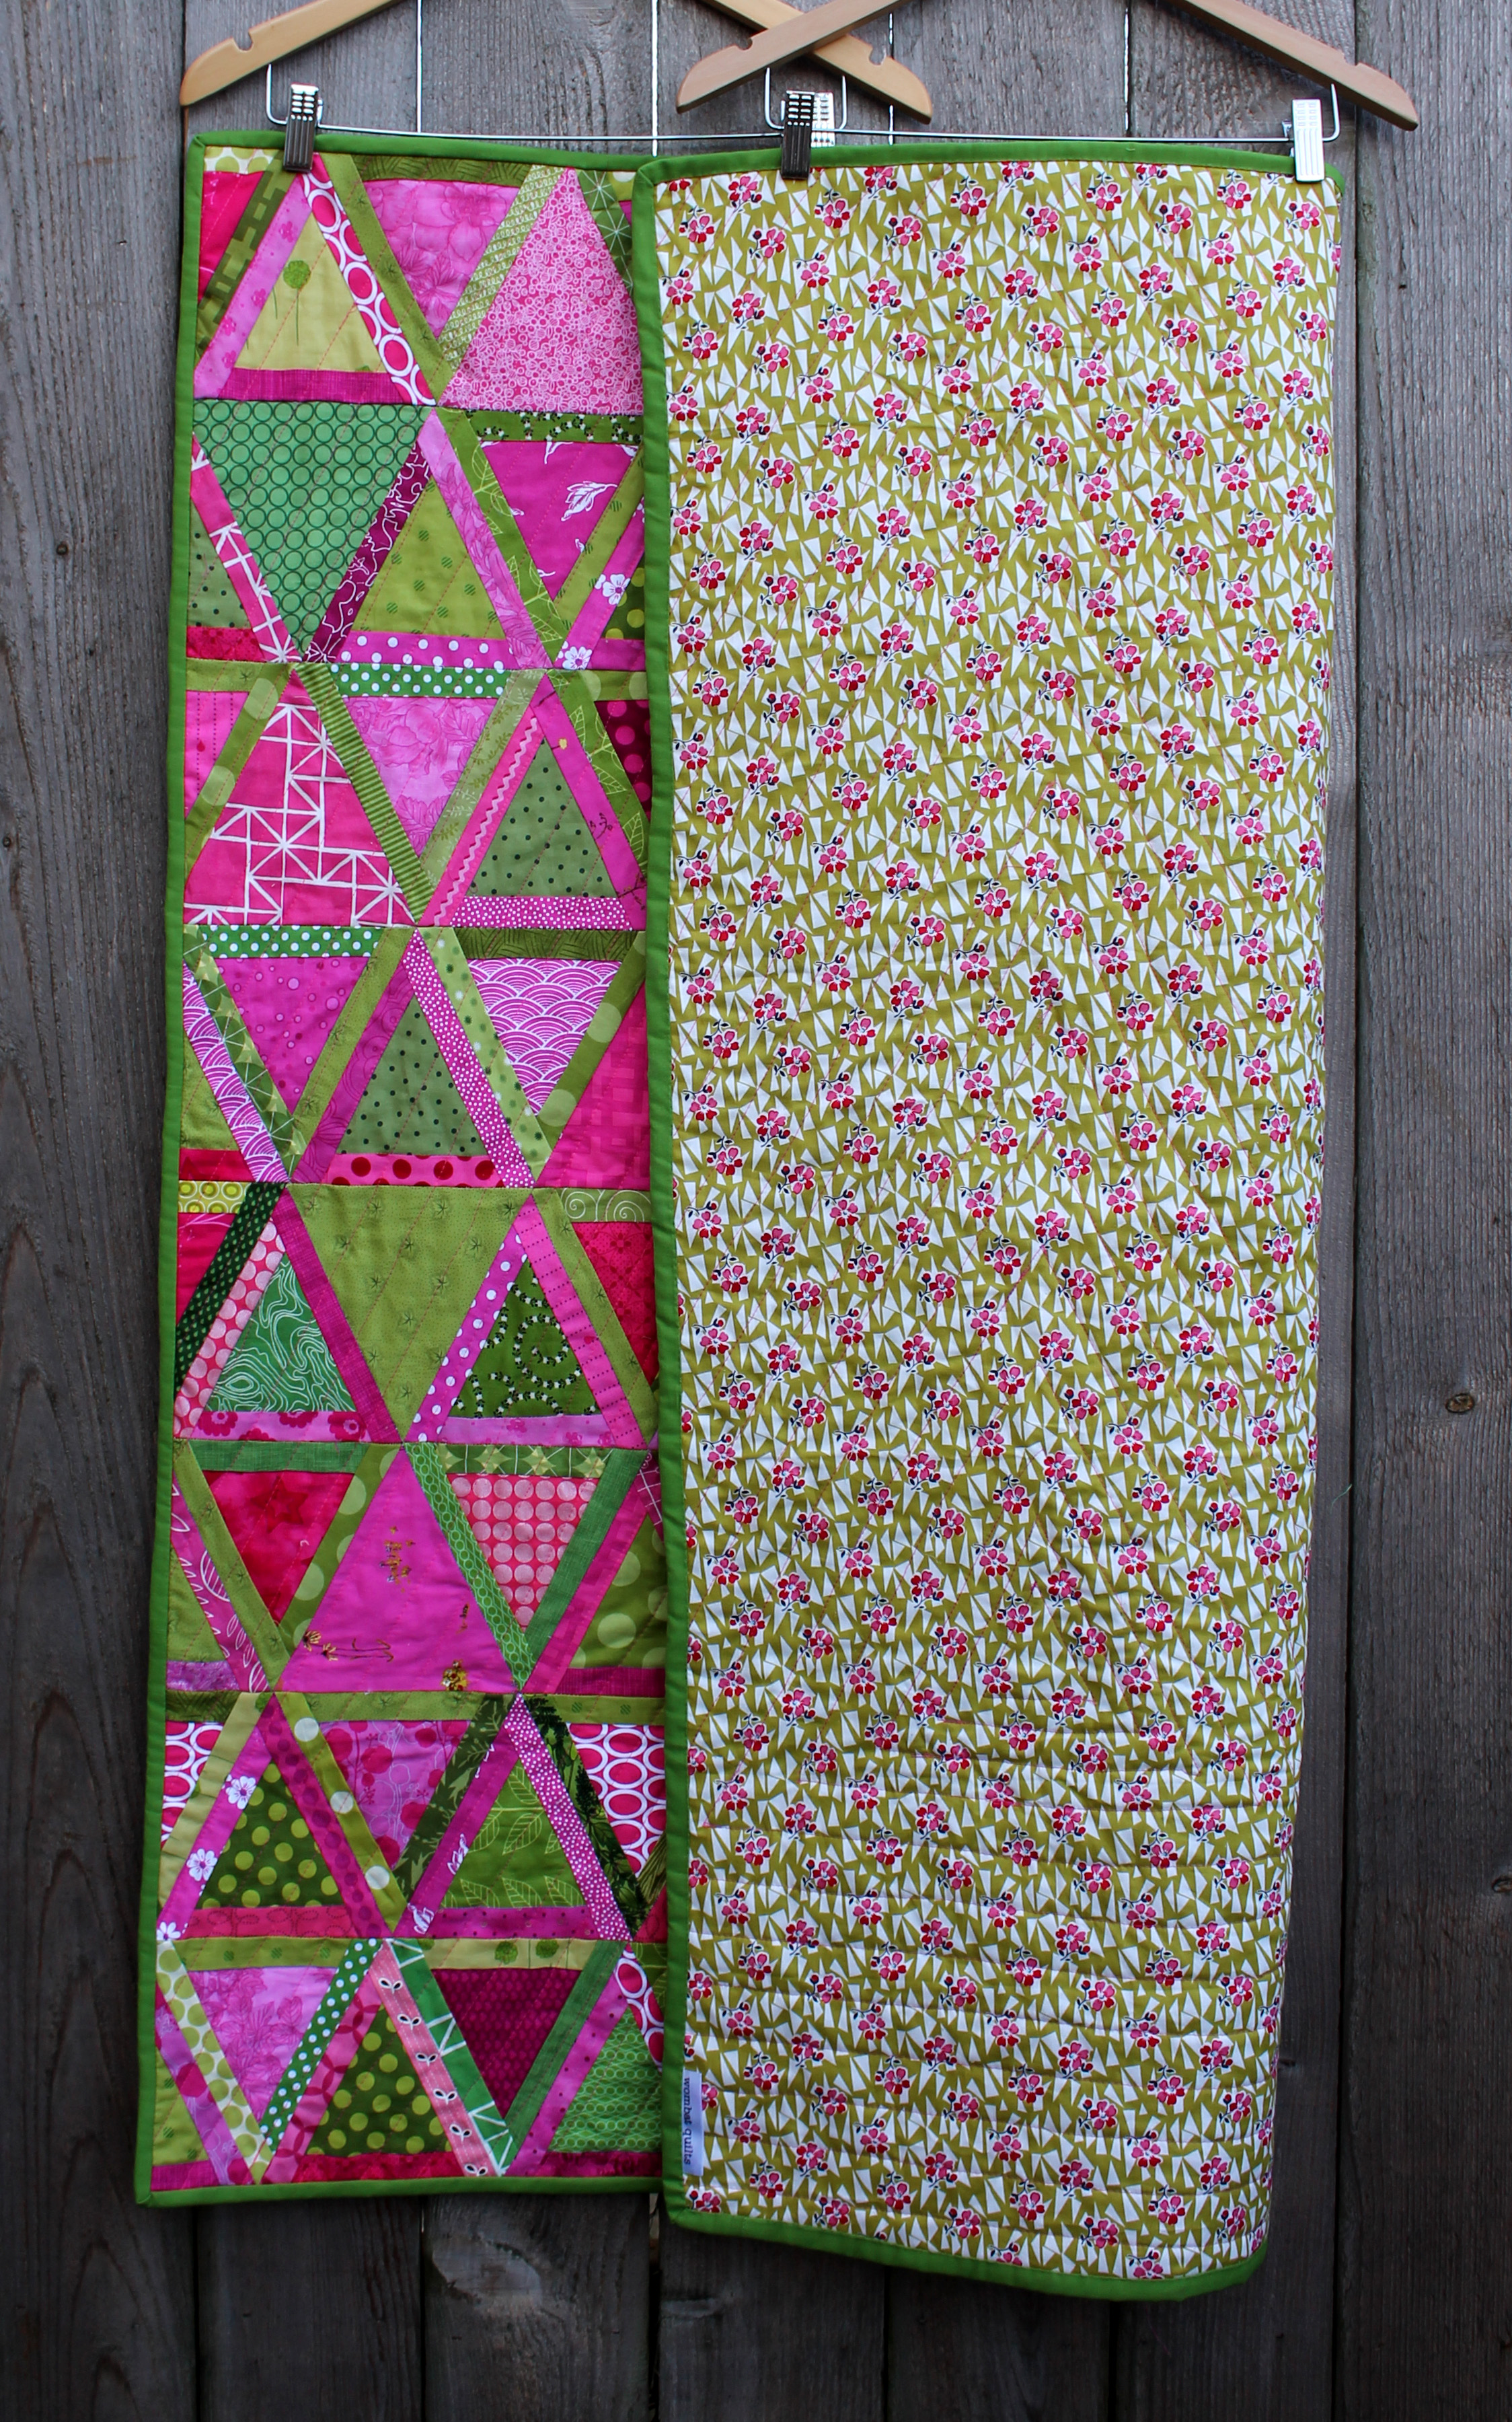
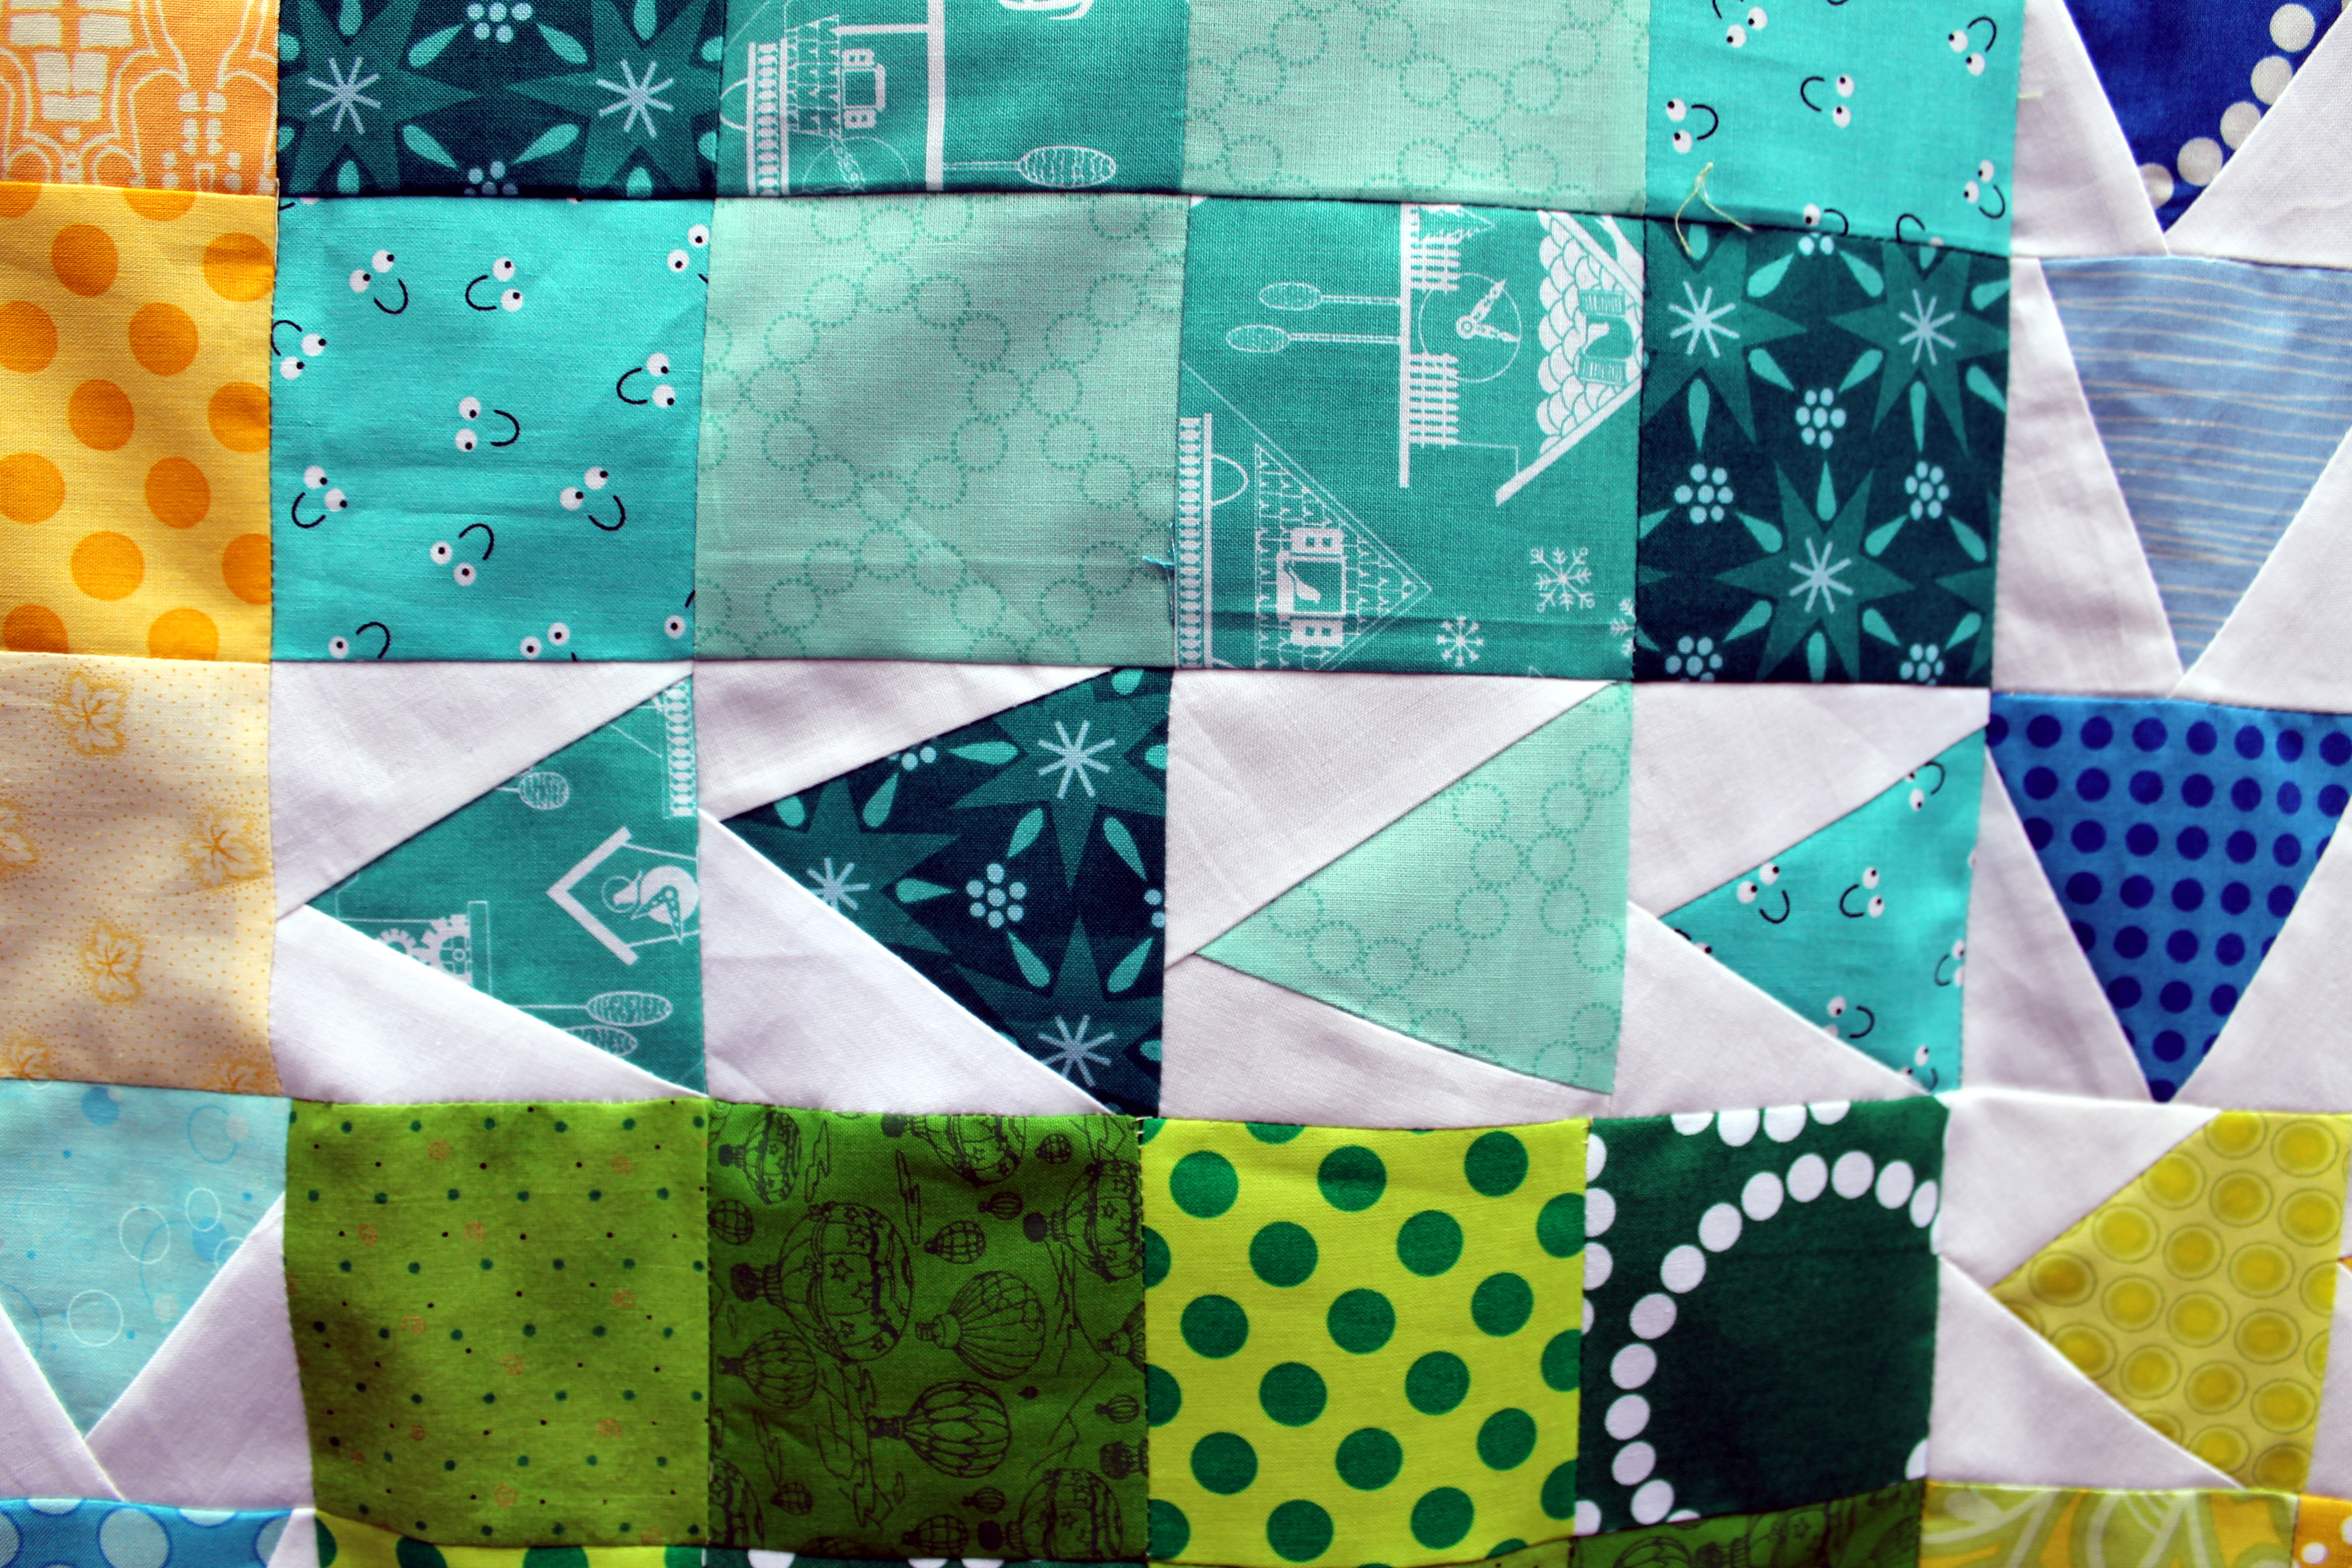
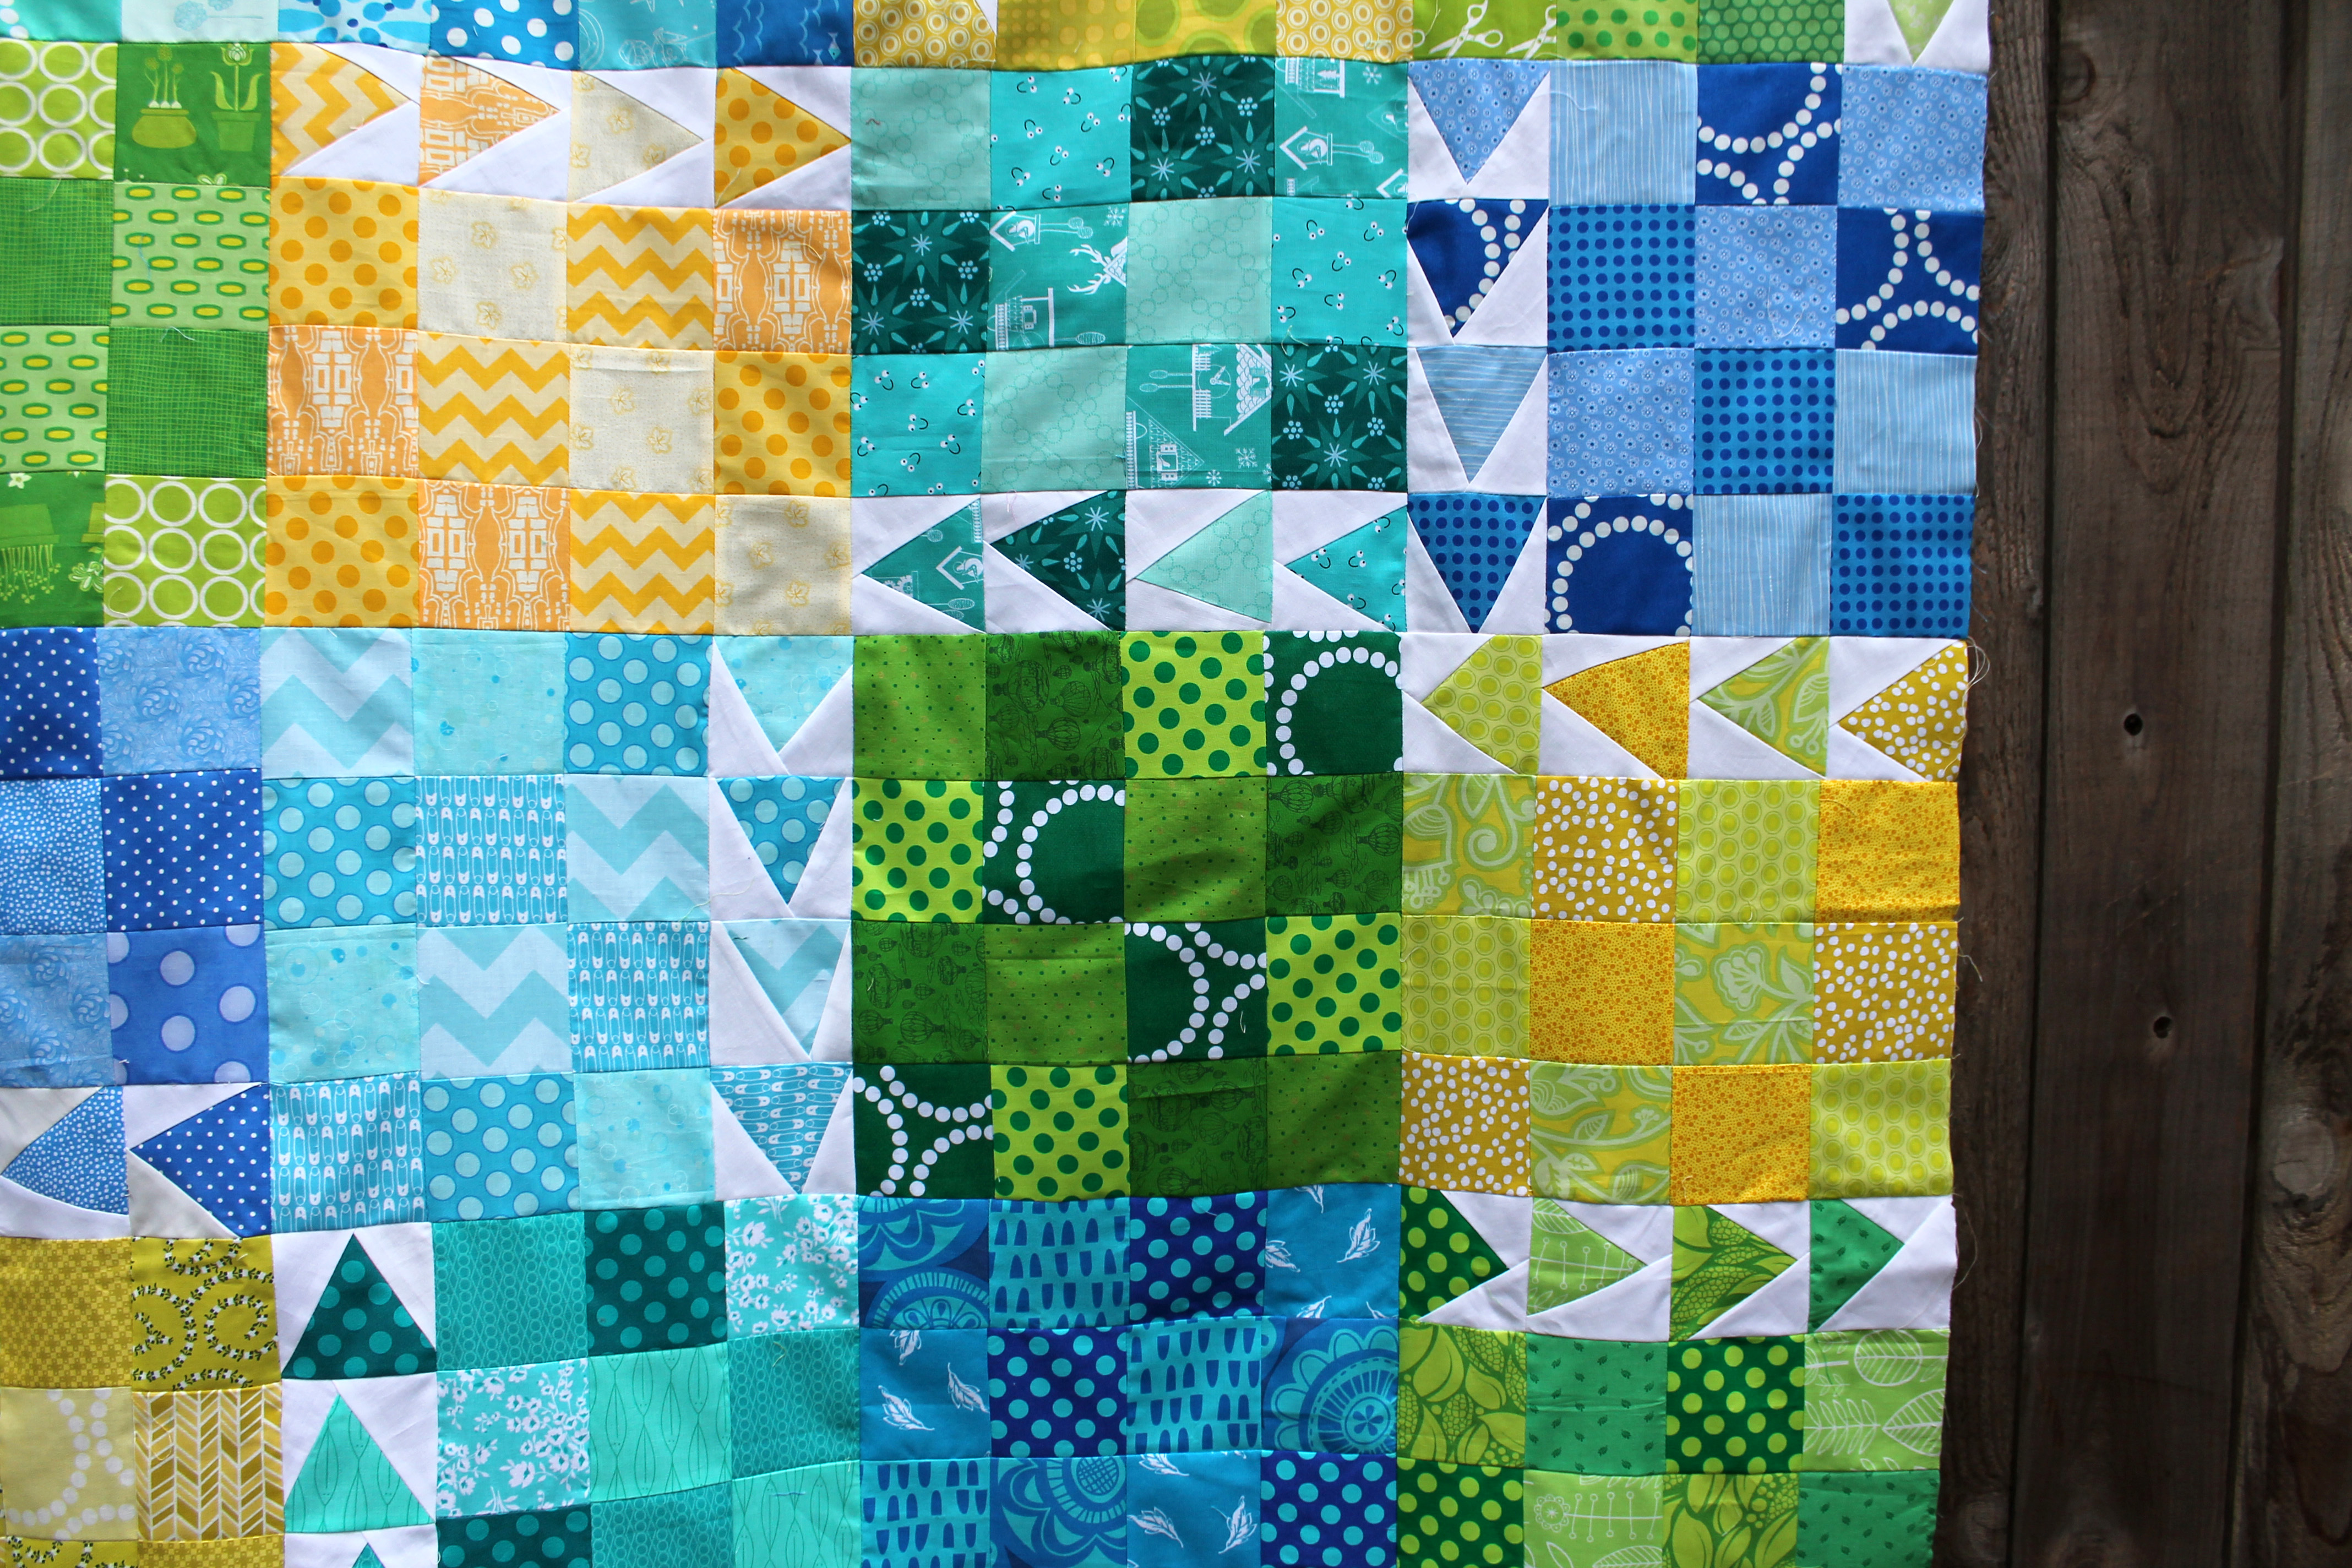
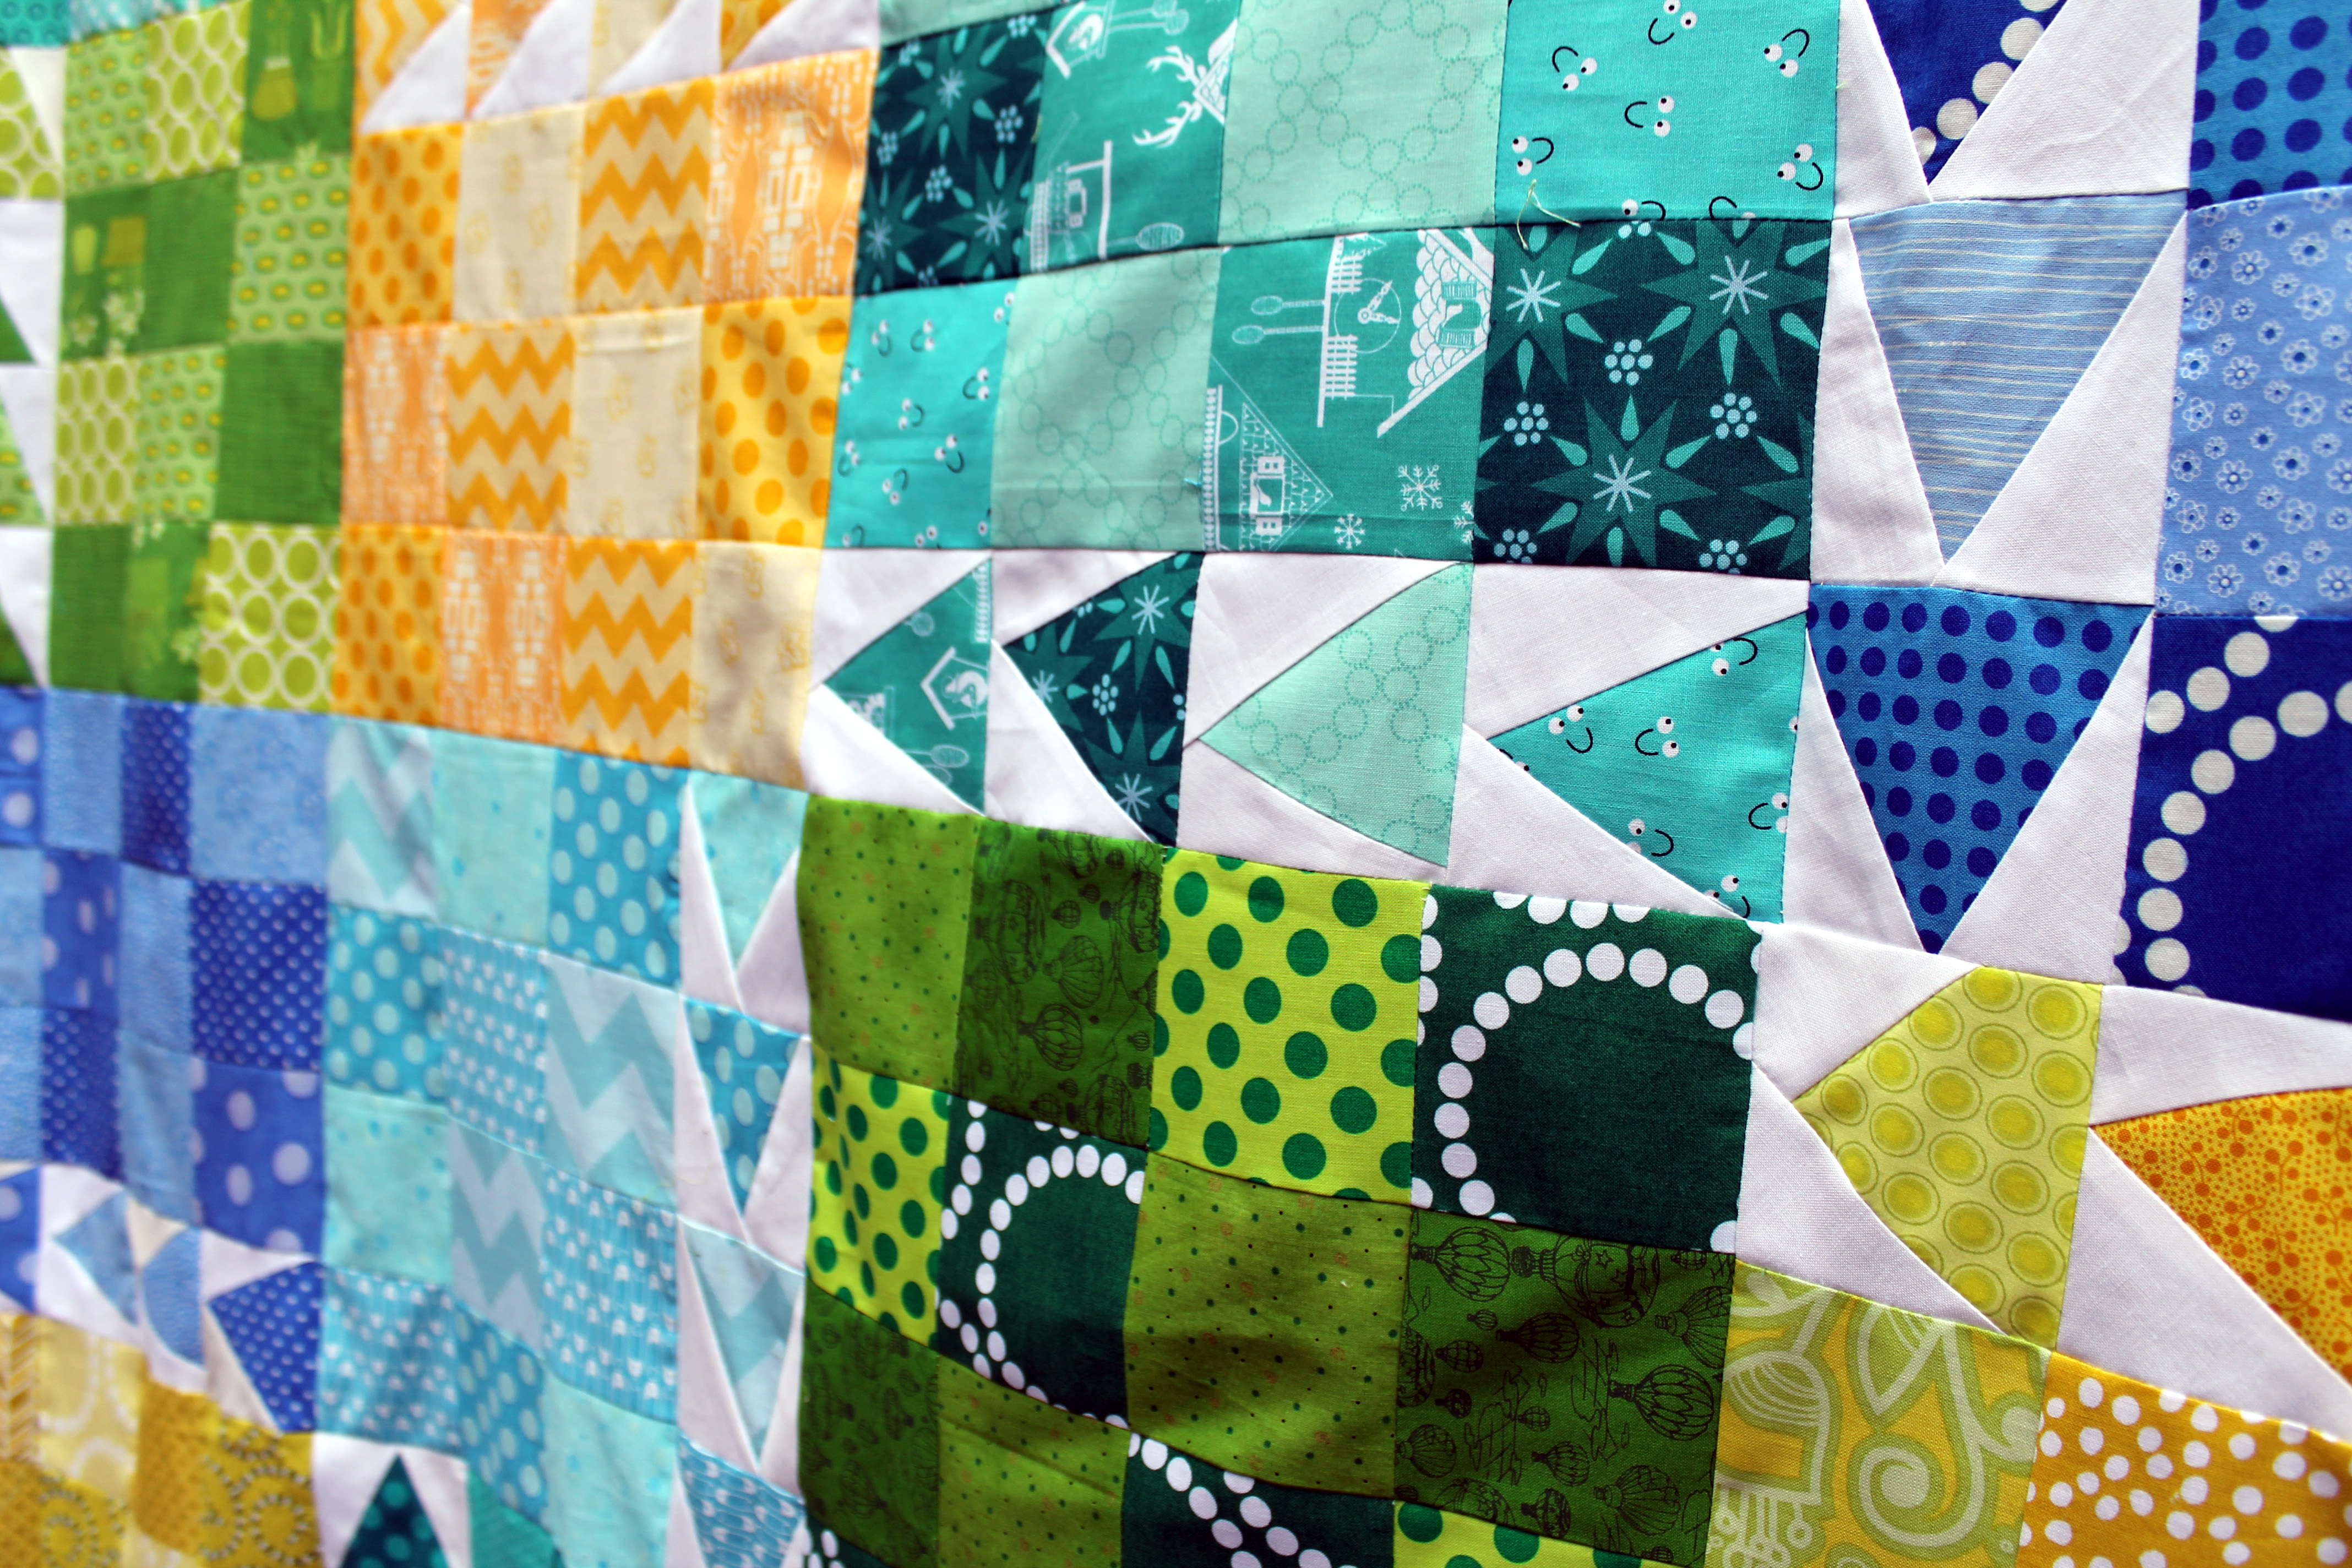
For the quilting I selected a random triangle, quilted around it and then radiated the quilting out from there.  It is straight line quilting but with a twist.  I went with pink thread of course, because you can never get enough pink in my opinion!

finished triangle quilt quilting detail

I nearly went with pink binding but opted for a Kona olive green instead – I think it made the pink pop a little more.

finished triangle quilt bindingSo now that I have finished a quilt, I am now, under Ashley’s mum’s rules, allowed to start another one.  I have a pattern picked out and fabric pulled… stay tuned.

Quilt Details:

Technique:  Modern scrap
Block:   Paper pieced triangle pattern from “Modern Blocks”
Finished size:     45″ x 50″

Starry Night continues – Paper Piecing Monday

After last weeks easy (read 18 piece) blocks I decided to up the fabric piece count with this weeks star.

Starry night Cactus Compass block

This fabulous star is another free pattern from Quilting on the Squares new bonus compass star patterns.  The Cactus Star Block star is a 64 piece star, with enough complexity in the colouring that I had to resort to coding my pattern…

Cactus Compass block parts

I must admit more and more orange is creeping into these stars…along with a touch of dark purple here and there.  I just can not seem to limit myself too much colour wise, particularly with these more complex blocks.  They work best, I think,  if you have variety in your colours.

Urban Chicken Fun

This week I manged to finish my first Urban Chicken quilt top…. I am so excited.   I love this modern easy fun pattern.

easy modern kids quilt

The Urban Chicken block was designed for the Portland Modern Quilt Guild meetup by Michelle Freedman.  You can find my original post and tutorial on making the block here.

urban chicken finished top chickens

When laying the quilt top out I had great fun making the chickens run all around… there really is a sense of silly to this quilt block that I love.

urban chicken finished

It is also a very forgiving block – wonky triangles, lots of scraps and bold bright colours.  You can get away with a few squiffy seams if need be.

urban chicken finished top cu

This is Urban Chicken number 1 for me.  I have another one following close behind in warmer colours, as I set this pattern for my Do.good.stitches bee this month.  You have been warned!

Starry Night Paper Piecing Monday

First of all I have to explain, for those of you that do not know me, I have the attention span of a gnat.  I get bored easily and always have more ideas than I have time.  With this revelation in mind I hope you will forgive me for putting aside my pastel paper piecing blocks and starting a new project… Starry Night.

paper pieced star quilt block

I had the idea for this series of blocks the other day while watching an episode of “Face Off” and after seeing Quilts of a Feathers fabulous WIP Tardis quilt, and just had to run with it. Then I discovered that Quilting on the Square had added a six more free blocks to it’s Compass collection and it seemed like Kismet.  I promptly picked the Rolling Compass block pattern (block3countryregister) and went to work.

Starry night block pieces

Another fairly simple star pattern with just 40 pieces, but once again the scraps make it look more complex than it is.  I think this is going to be a fun quilt to make.

ps.  last night my husband did a very technical spreadsheet thingy and choose a winner of Give Away. Congrats to Melintheattic.  A bundle of fun goodies will be winging their way to you soon.  And thanks to everyone for the kind comments left on the site… made me feel all mushy.

Playing with Urban Chickens

To celebrate this years Pacific North West MQG Meet up our fearless leader,  Michelle Freedman designed a fun modern block to celebrate… the Urban Chicken.  During the Meet Up we did a charity sew day where chickens ran wild.

Charity Sew Day Urban Chickens

This week I decided to dust off the pattern card and make my own Urban Chicken quilt… below is my plagiarized, annotated and updated version of Michelle’s original pattern.

For each block you need:

1.  Four (4) different shades of the same colour – I decided to stick to green, blue & yellow

2.  White or off white fabric – I pulled all my scrap bag of solid whites out.

Then it is off to work making a block….

1.   Cut one  3 ½ inches  x 14 ½  inches strip of each of your four coloured fabric.  I added an extra 1/2 inch to the strips from the original pattern to allow for some wiggle room (ie. mistakes).

layout strips

2.  From these strips cut one 3 ½ inches x 3 ½ inches  and set aside these squares.

cut square off strip

3.  Sew the four 10 ½ inch strips together using 1/4 inch seam allowance.  Press the seams to one side in the same direction.

sewing strips together

.4. Sew the long ends together to form a tube… these next steps are the same as you would do for a Trip Around quilt.

5.  Subcut the tube into three 3 ½ inch wide units… this is where the excess 1/2 inch of fabric on the strips comes in handy for me.

cut tube

5.  Carefully use the seam ripper to open each unit at a different place.  Arrange the three rows as you like, nesting the seam allows and sew together.  Press the seams open or to alternating sides.

strip blocks ready to go

Then to make the chickens….

1.  Using your white scraps or some generously cut white strips (no smaller than 2 ½ wide) and the four coloured squares you had set aside make some wonky triangles.

set aside squares

2.  Place the white fabric strip over the 3 ½ x 3 ½ inch square right sides together – angling the white fabric from just past center of the square to one corner of the square.  Repeat on the other side.  Do this for all four coloured squares.

chicken pieces for trimming

3.  Press seams on your chicken unit and square it up to the original 3 ½” x 3 ½” size.  When trimming make sure that the top of the triangle has a ¼ inch seam of white.  This will allow you triangles to come to a clean point (learnt this one the hard way).

trim chickens

4.  Arrange your chickens as you like and sew them together to form the fourth strip of the block.

urban chicken block

You can stitch your chickens to either side of your solid blocks.

Urban chicken block 4

5.  Make sure you square off your completed block ensuring it measures  12½”” by 12½”.

To add some variation to your Urban Chickiens, Michelle suggests doing some blocks up without the chickens… that is blocks of just 4 x 4 coloured squares.

I am now off to add some more chickens to my coup.  I am really having fun with this quilt and can not wait to have a finished quilt top to show.