The joy of 5 inch squares.

Last year I had a brief period of time when I had some back issues that meant that sitting was not a fun thing to do.  I decided that, seeing I could not sit at a sewing machine, I would cut fabric.  For weeks I cut 5 inch squares out of my scraps and stash.  The end result was hundreds and hundreds of 5 inch squares.  Now all I had to do was find ways to use them.

My first step was to make a pile of simple baby quilts for Project Linus which played with colour (please excuse the dodgy i-phone photos).

simple bright kids quilts

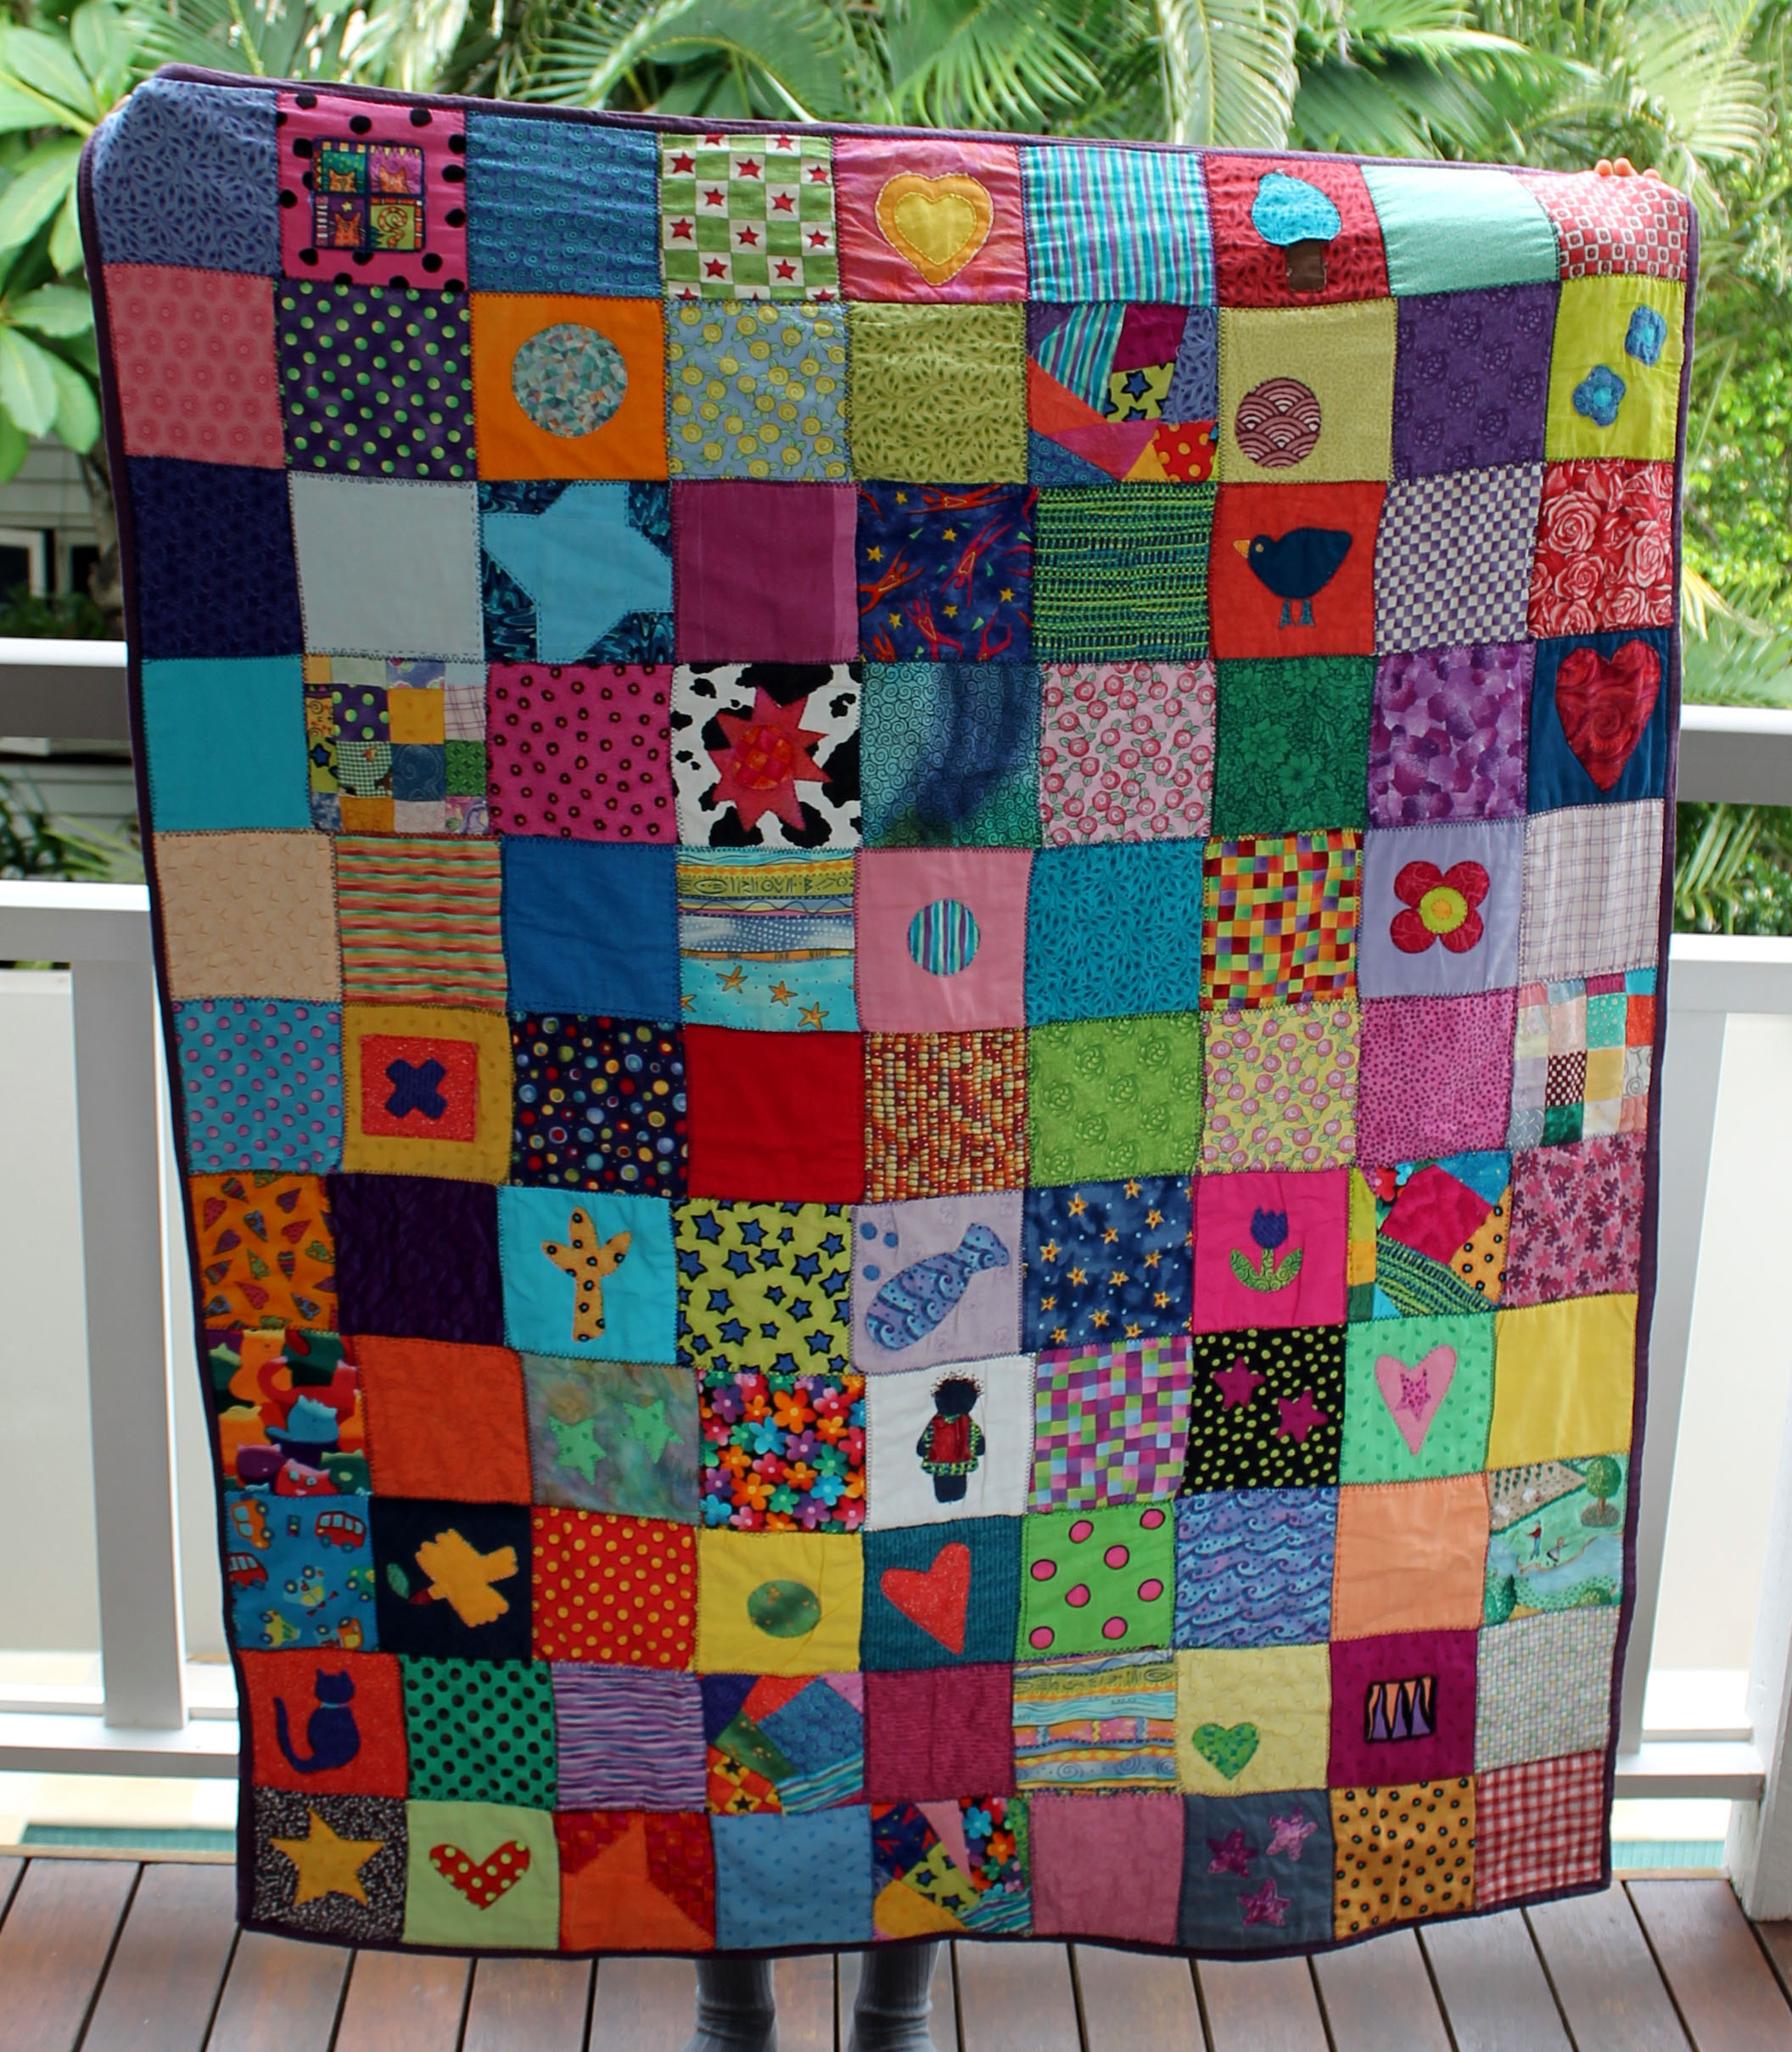
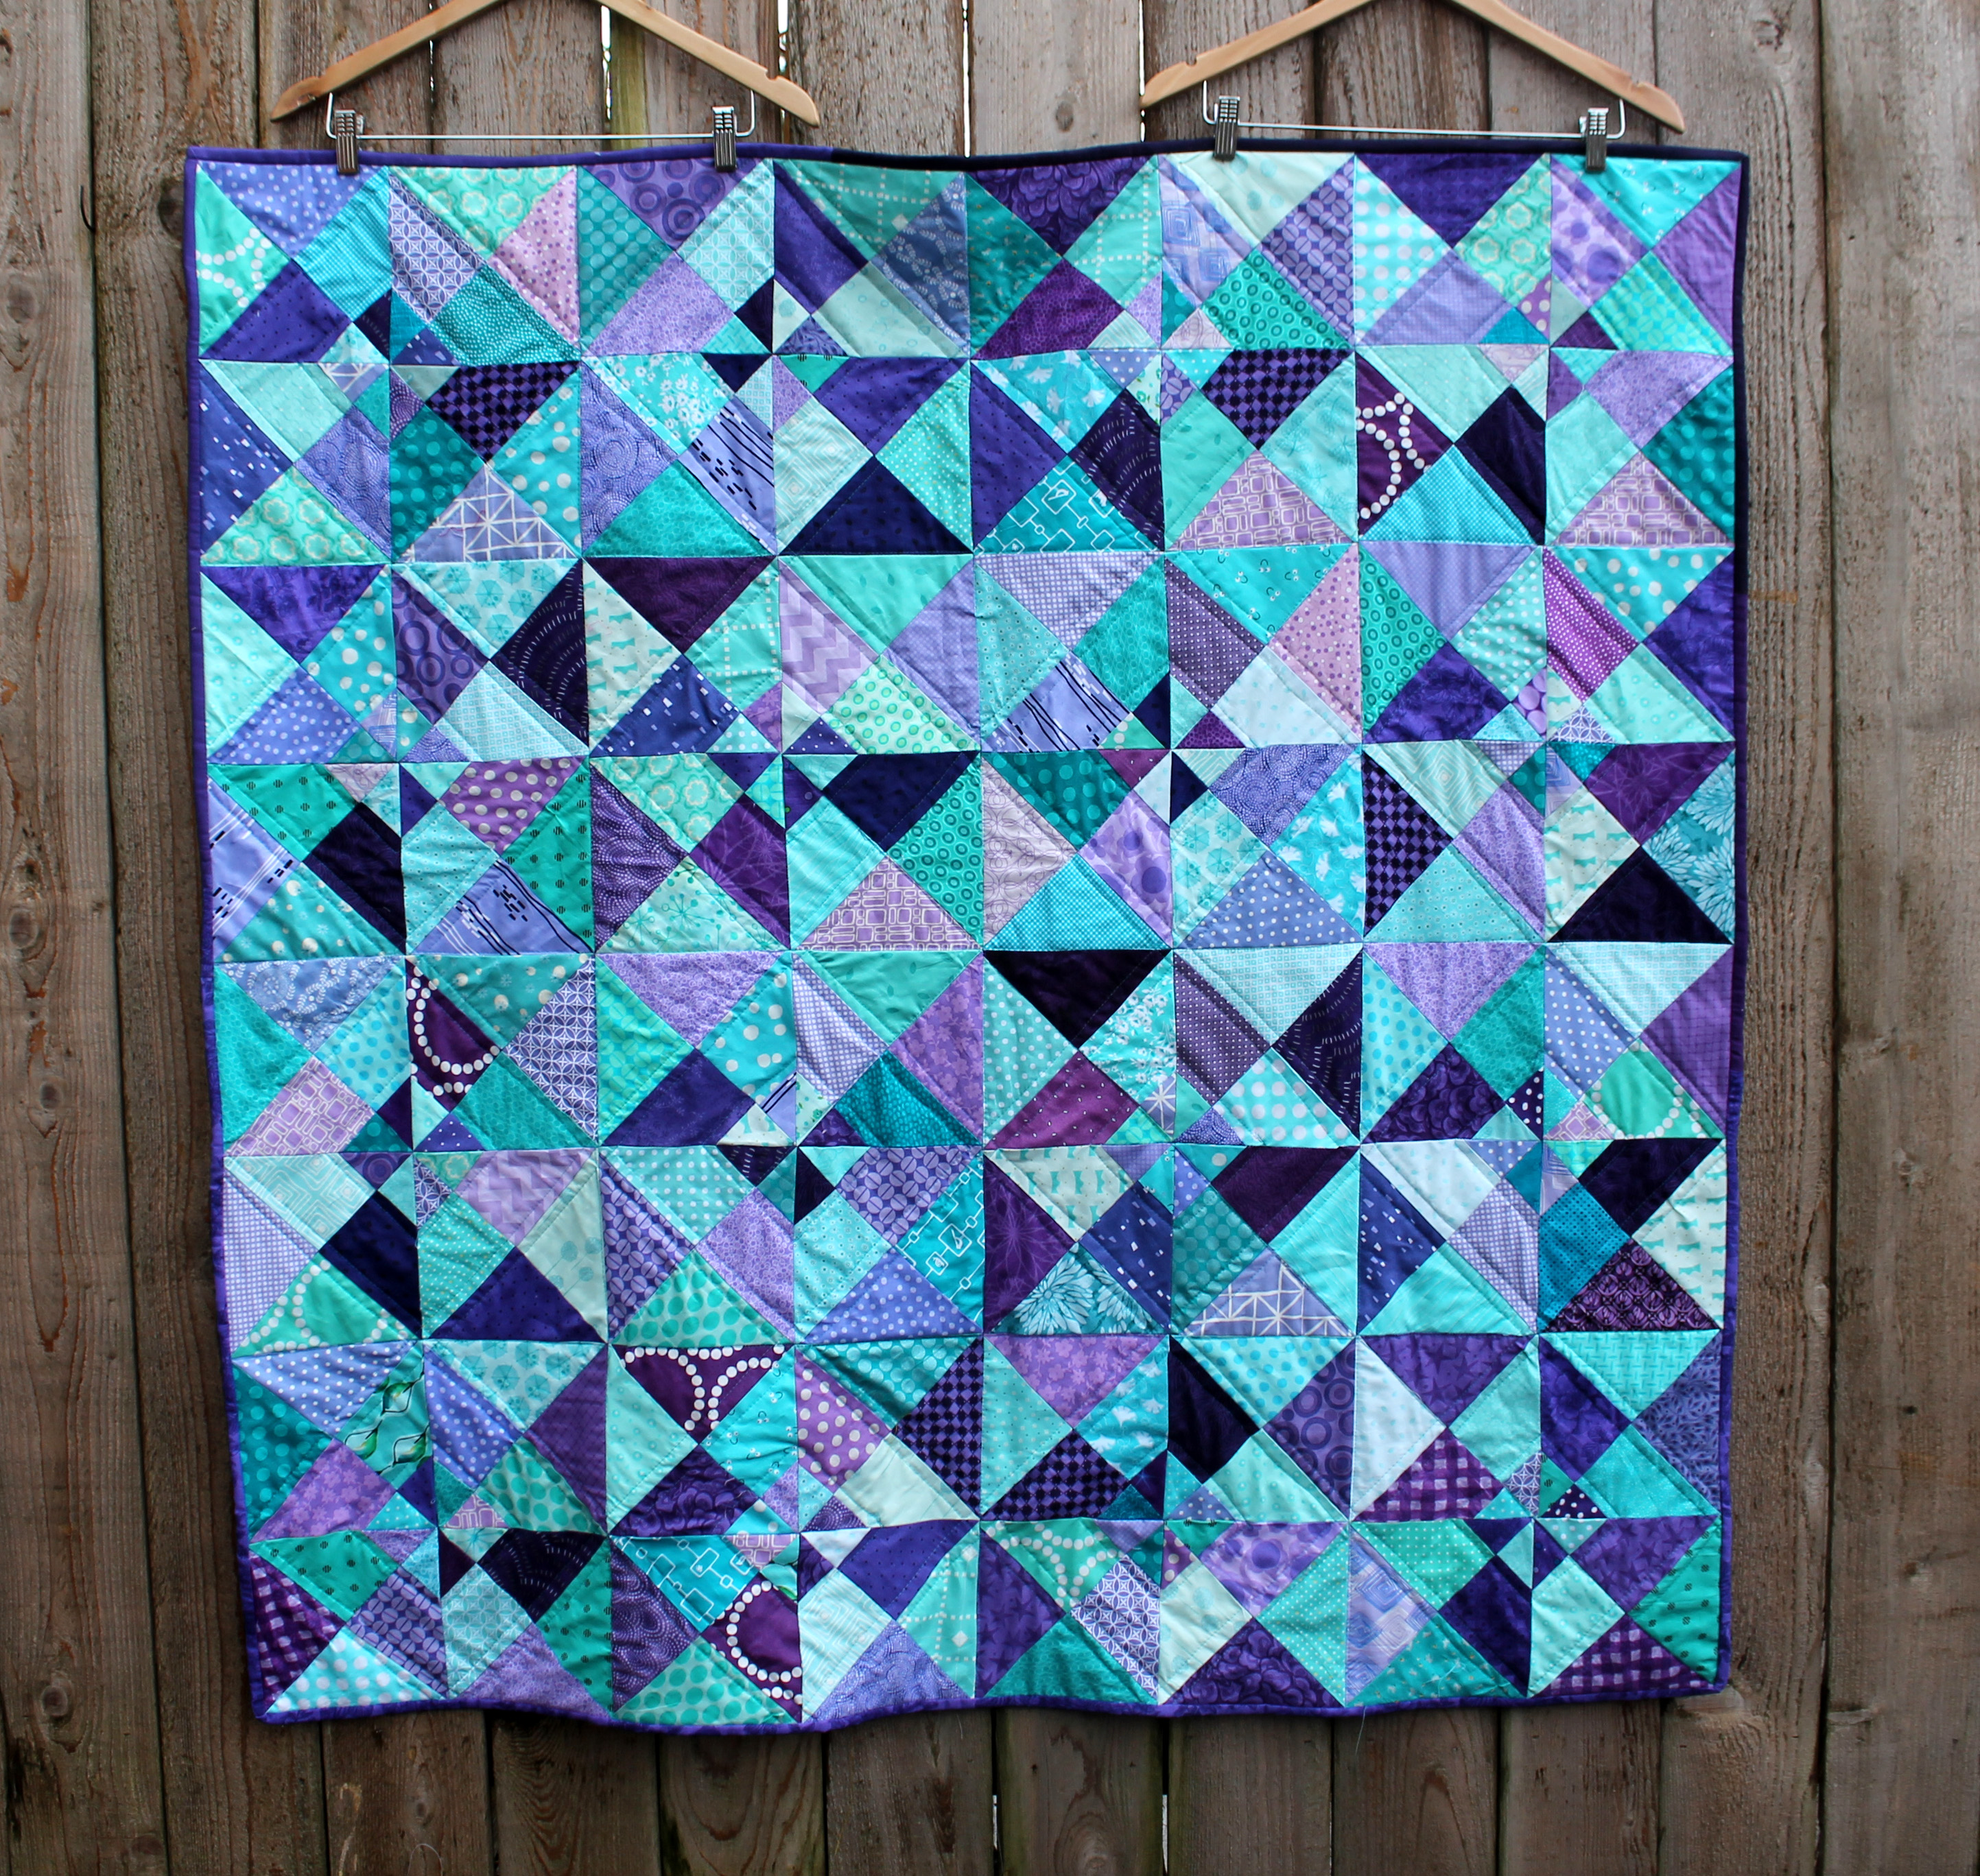
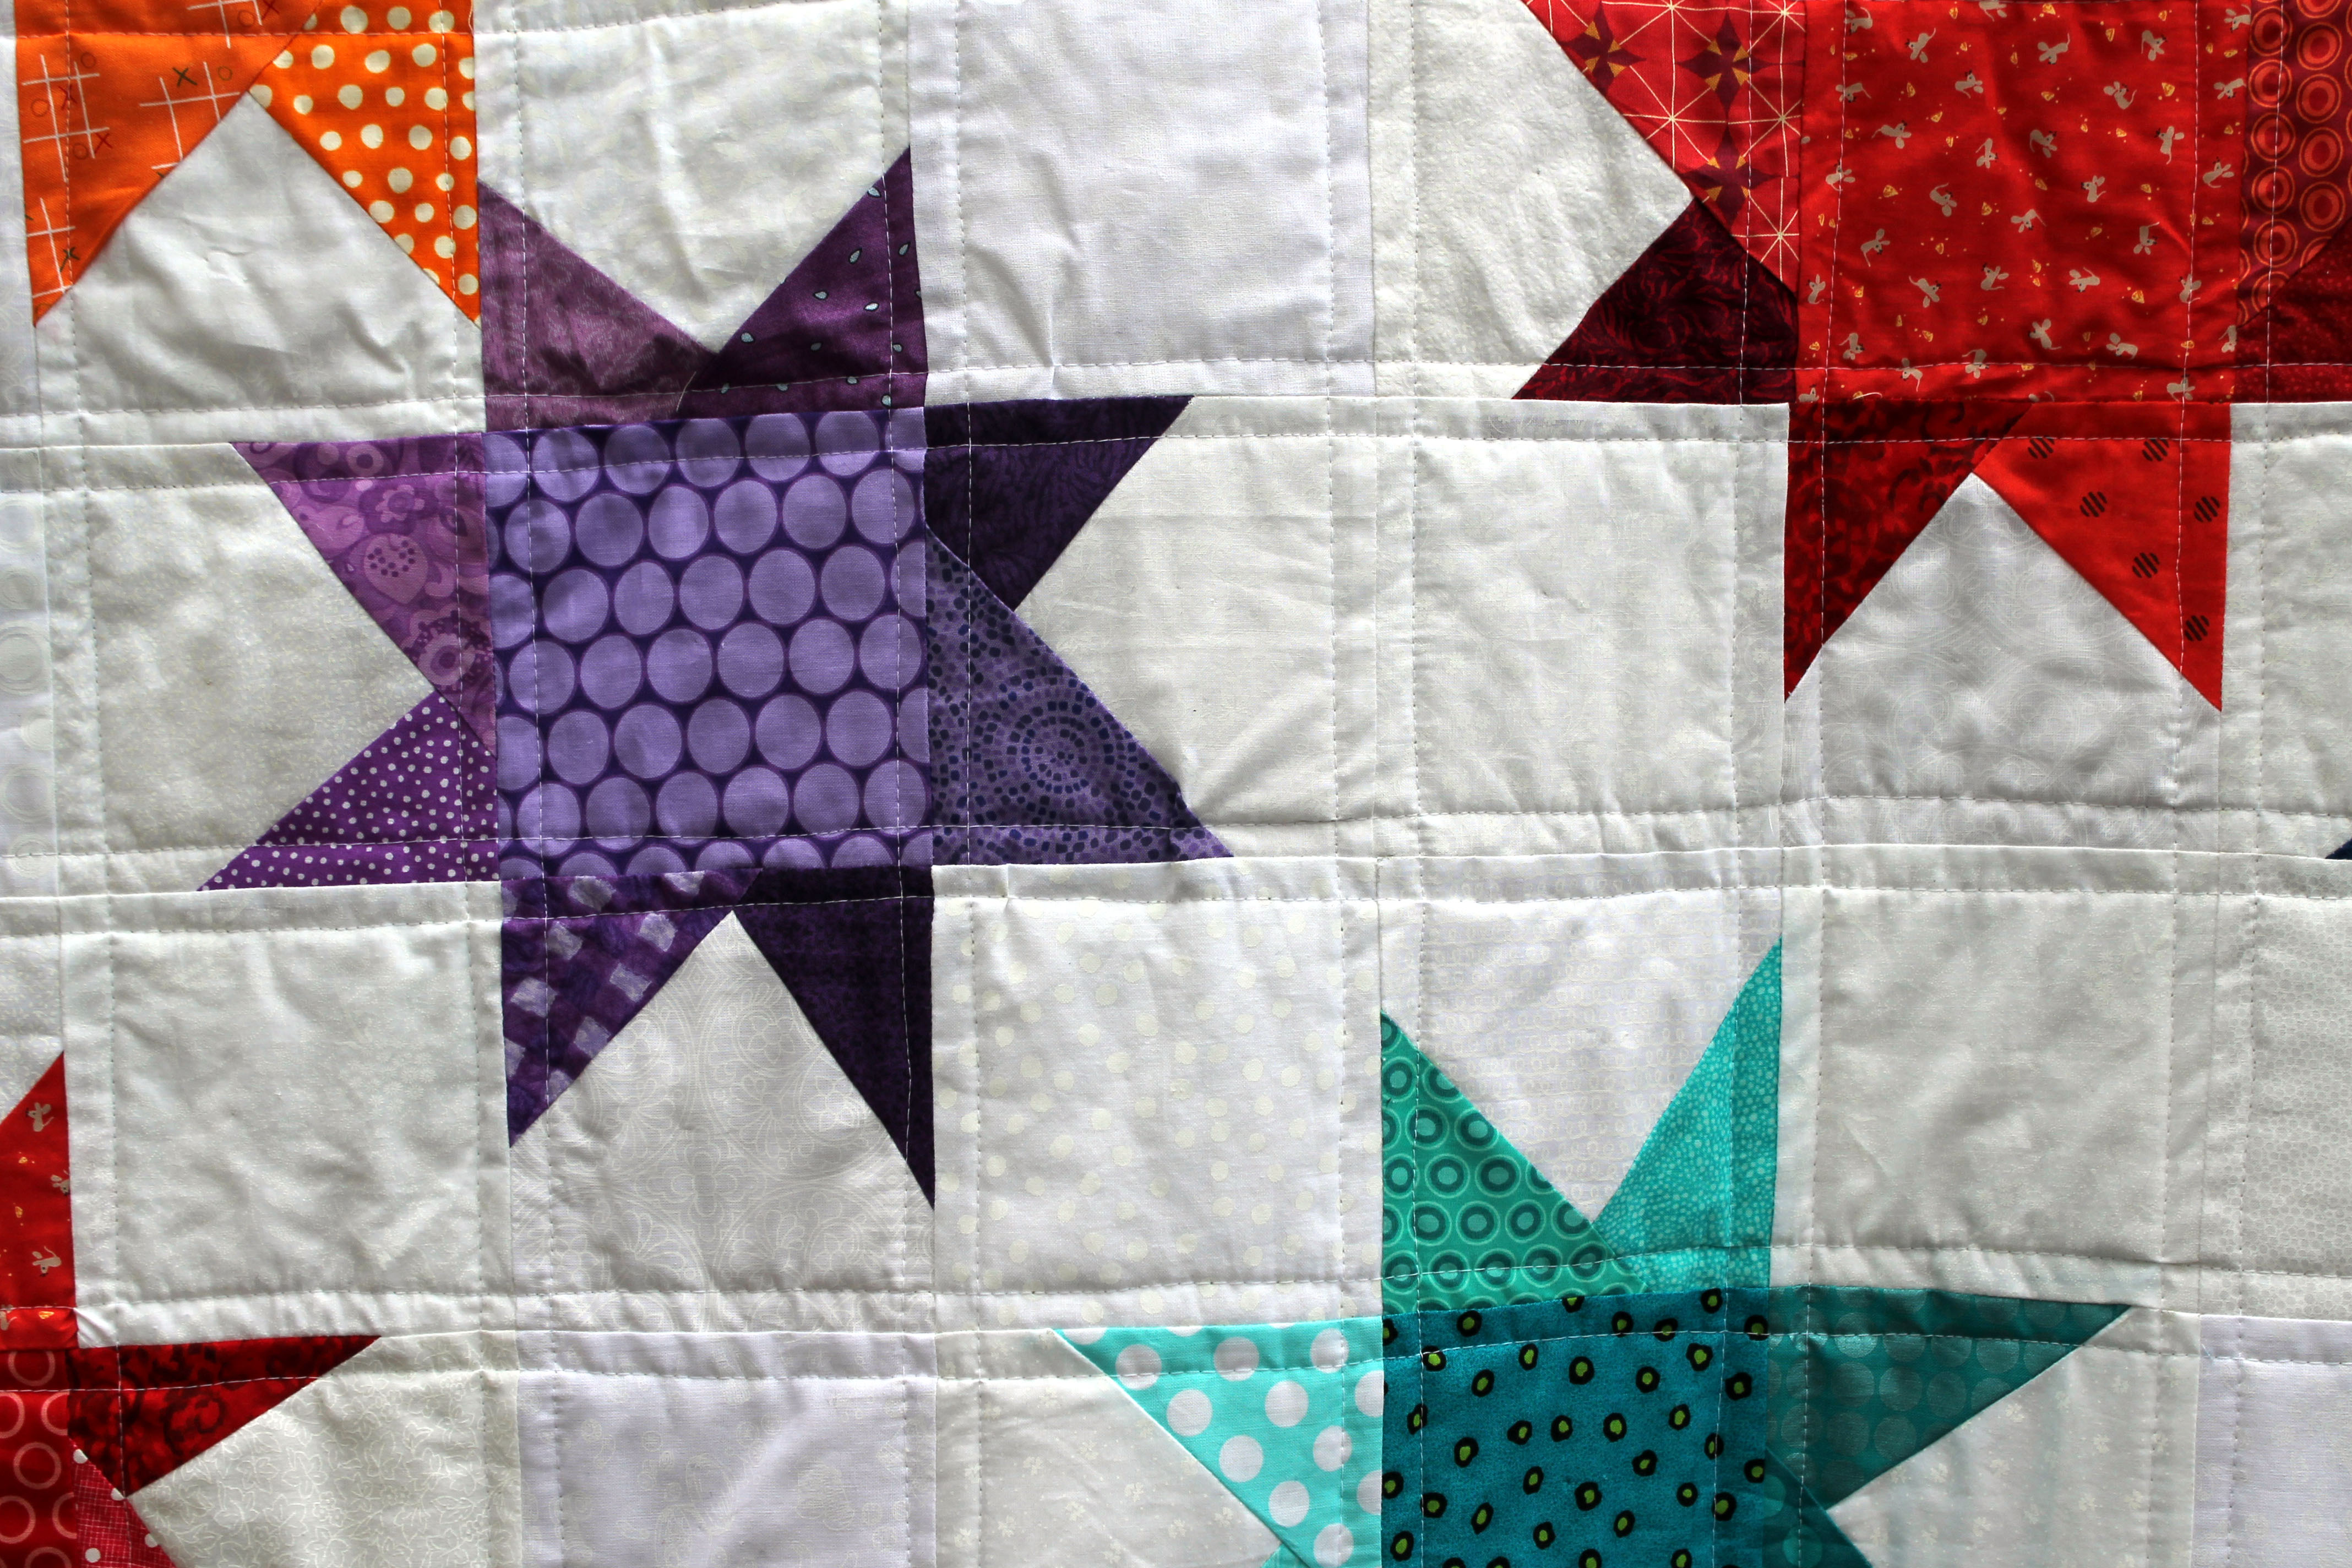
This year I have got a little more creative with the squares, while still keeping it simple.  First I used the squares as the basis for my wonky star quilt which you can see here.   I then used the left over bits and pieces of that quilt (plus some left over scrappy white squares) to make this.

modern simple kids quilt

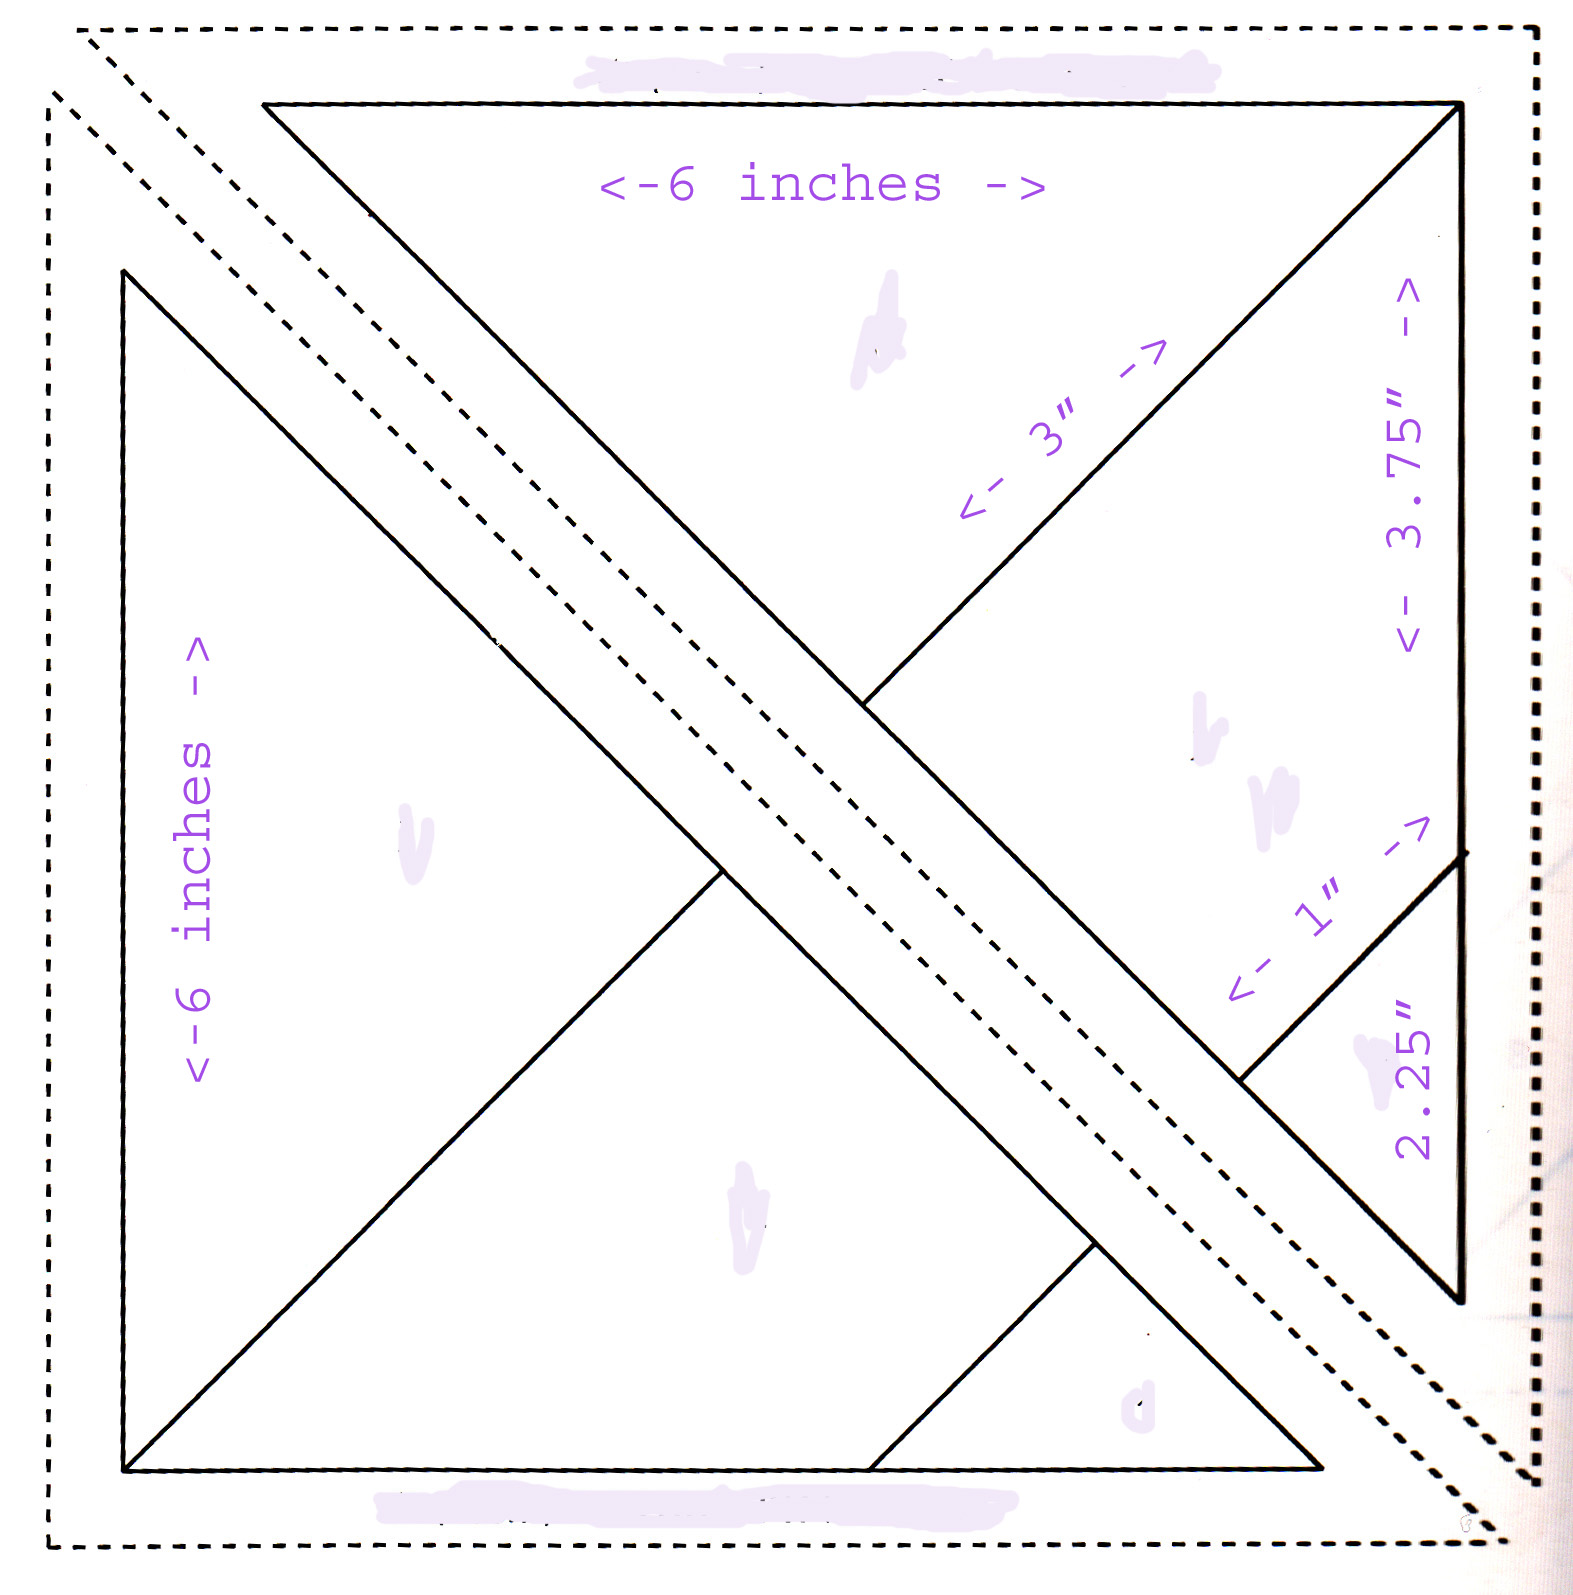
The 5 inch squares were used for the center pieces of the block, the background of the quilt  plus I cut a number of  the squares diagonally and used these triangles to make the star points.  Wonky star quilts really are so ridiculously easy.

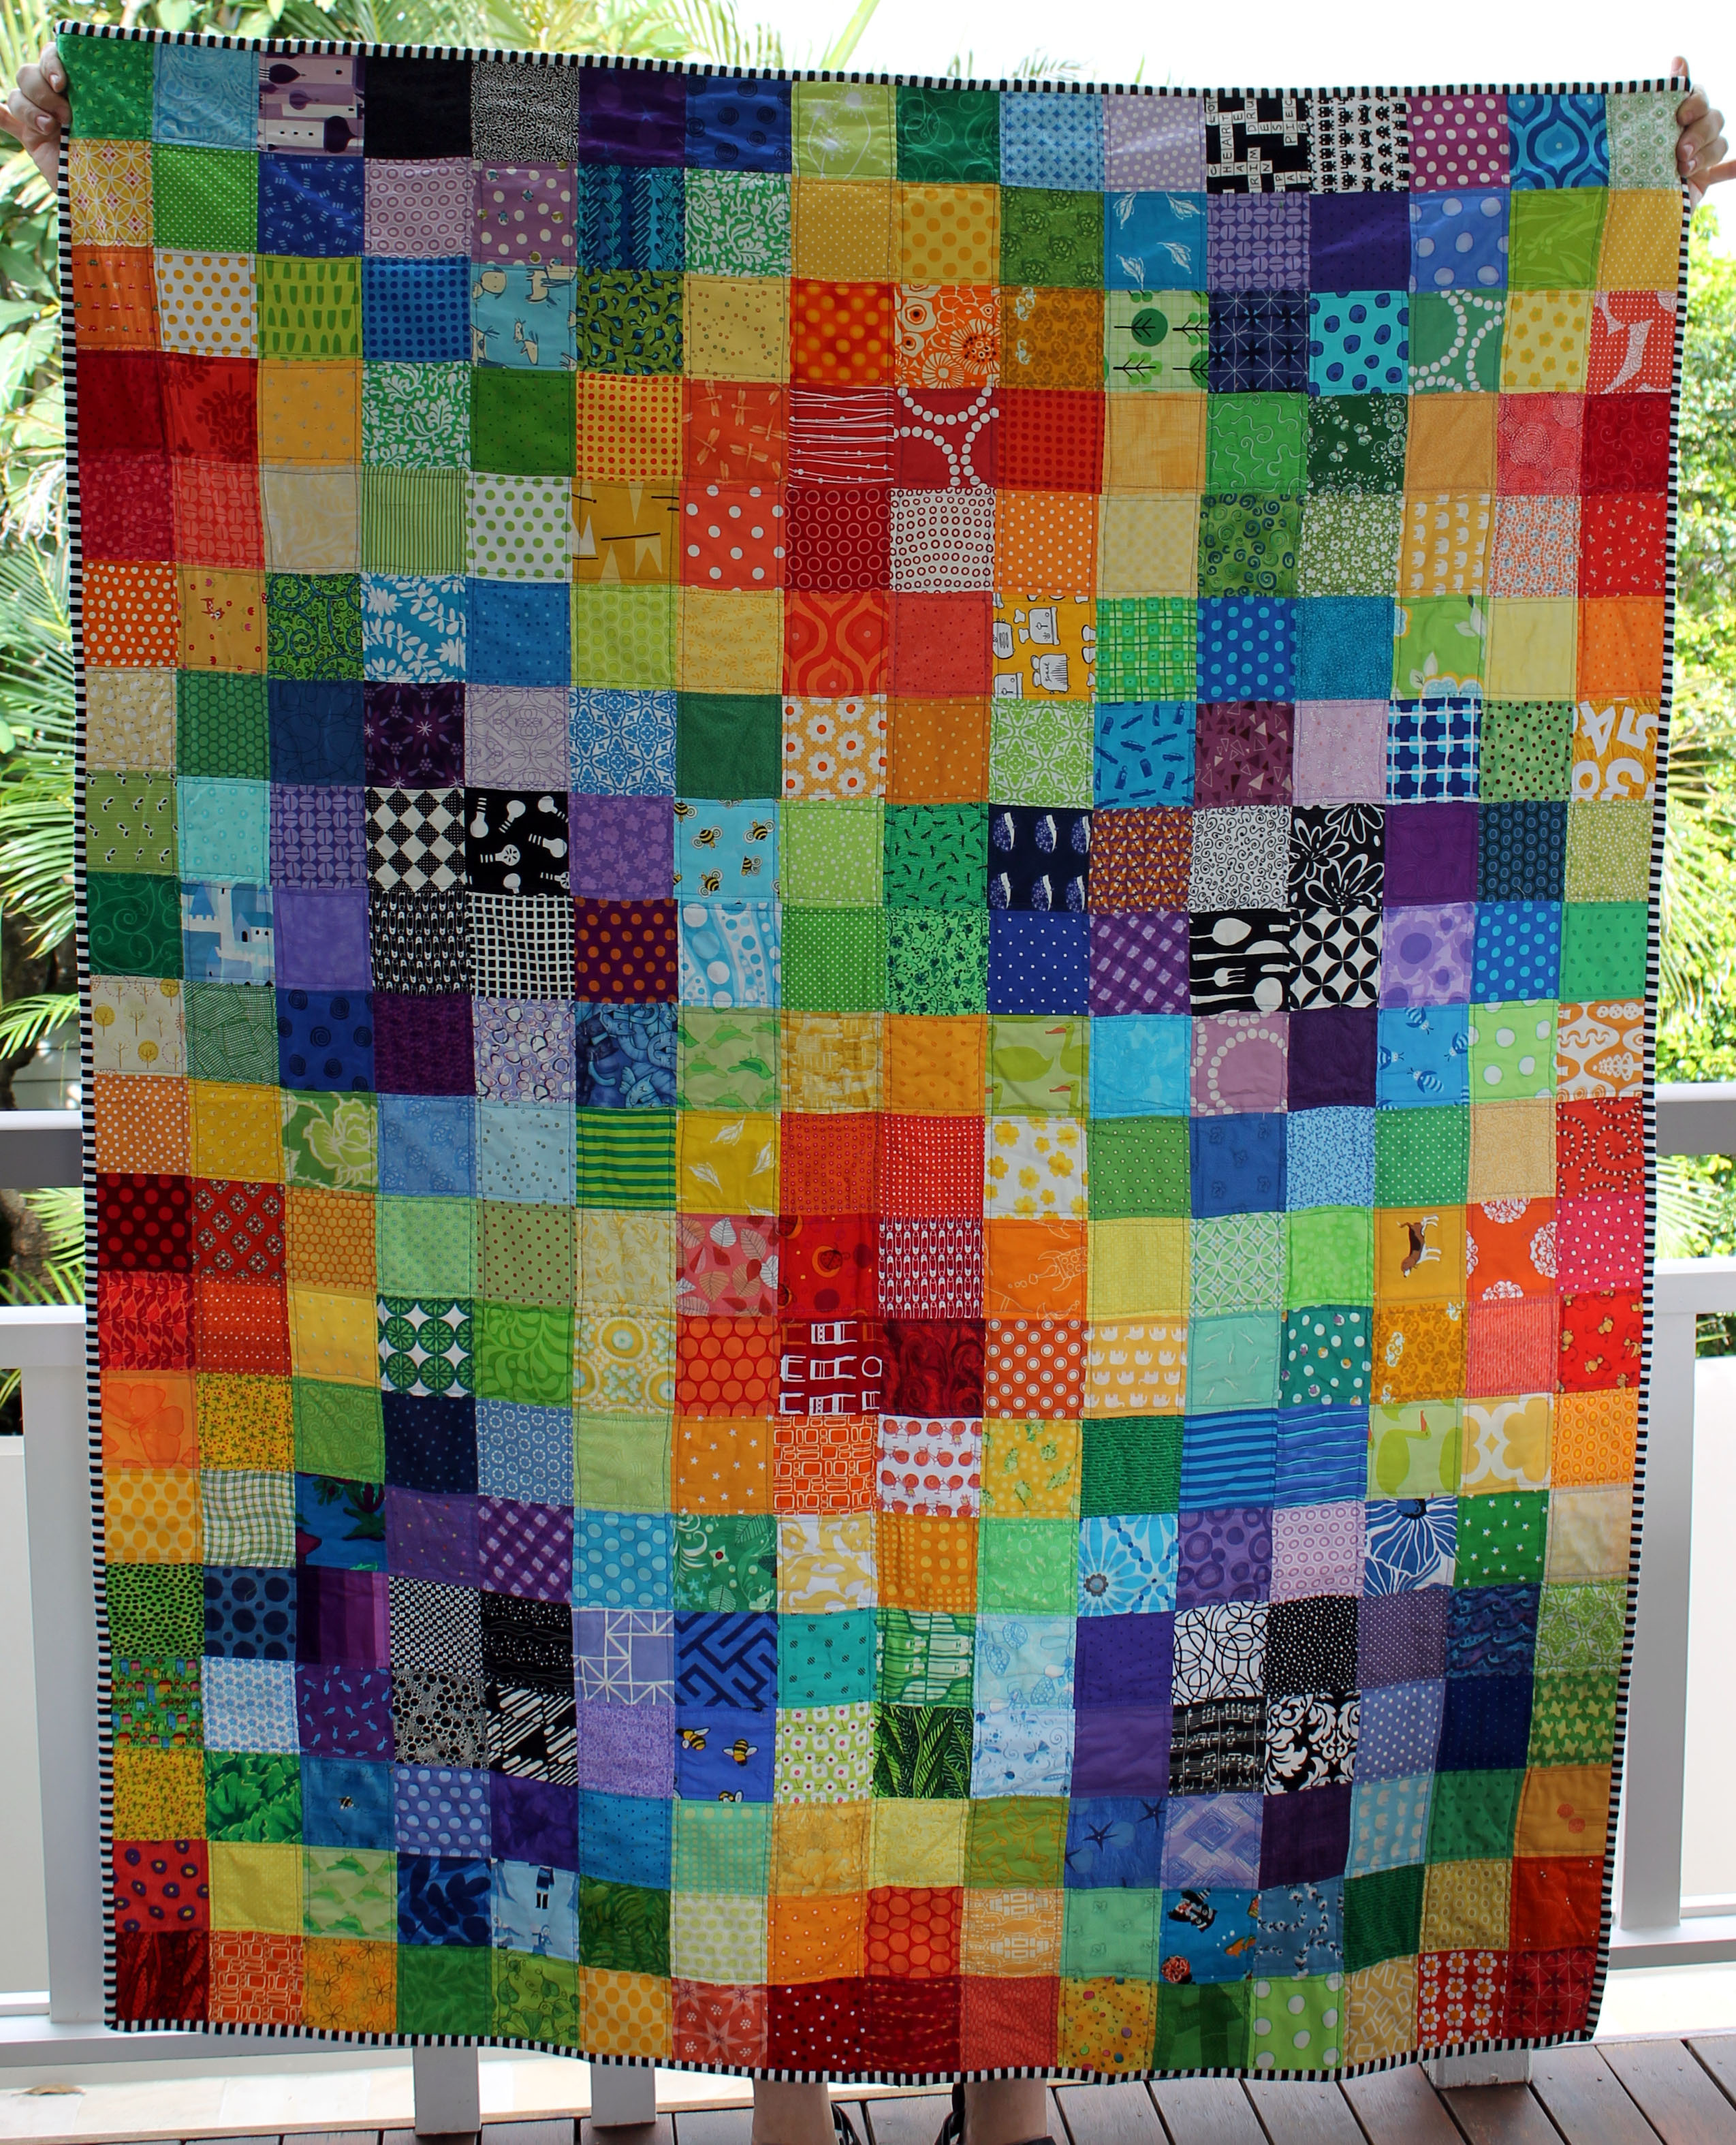
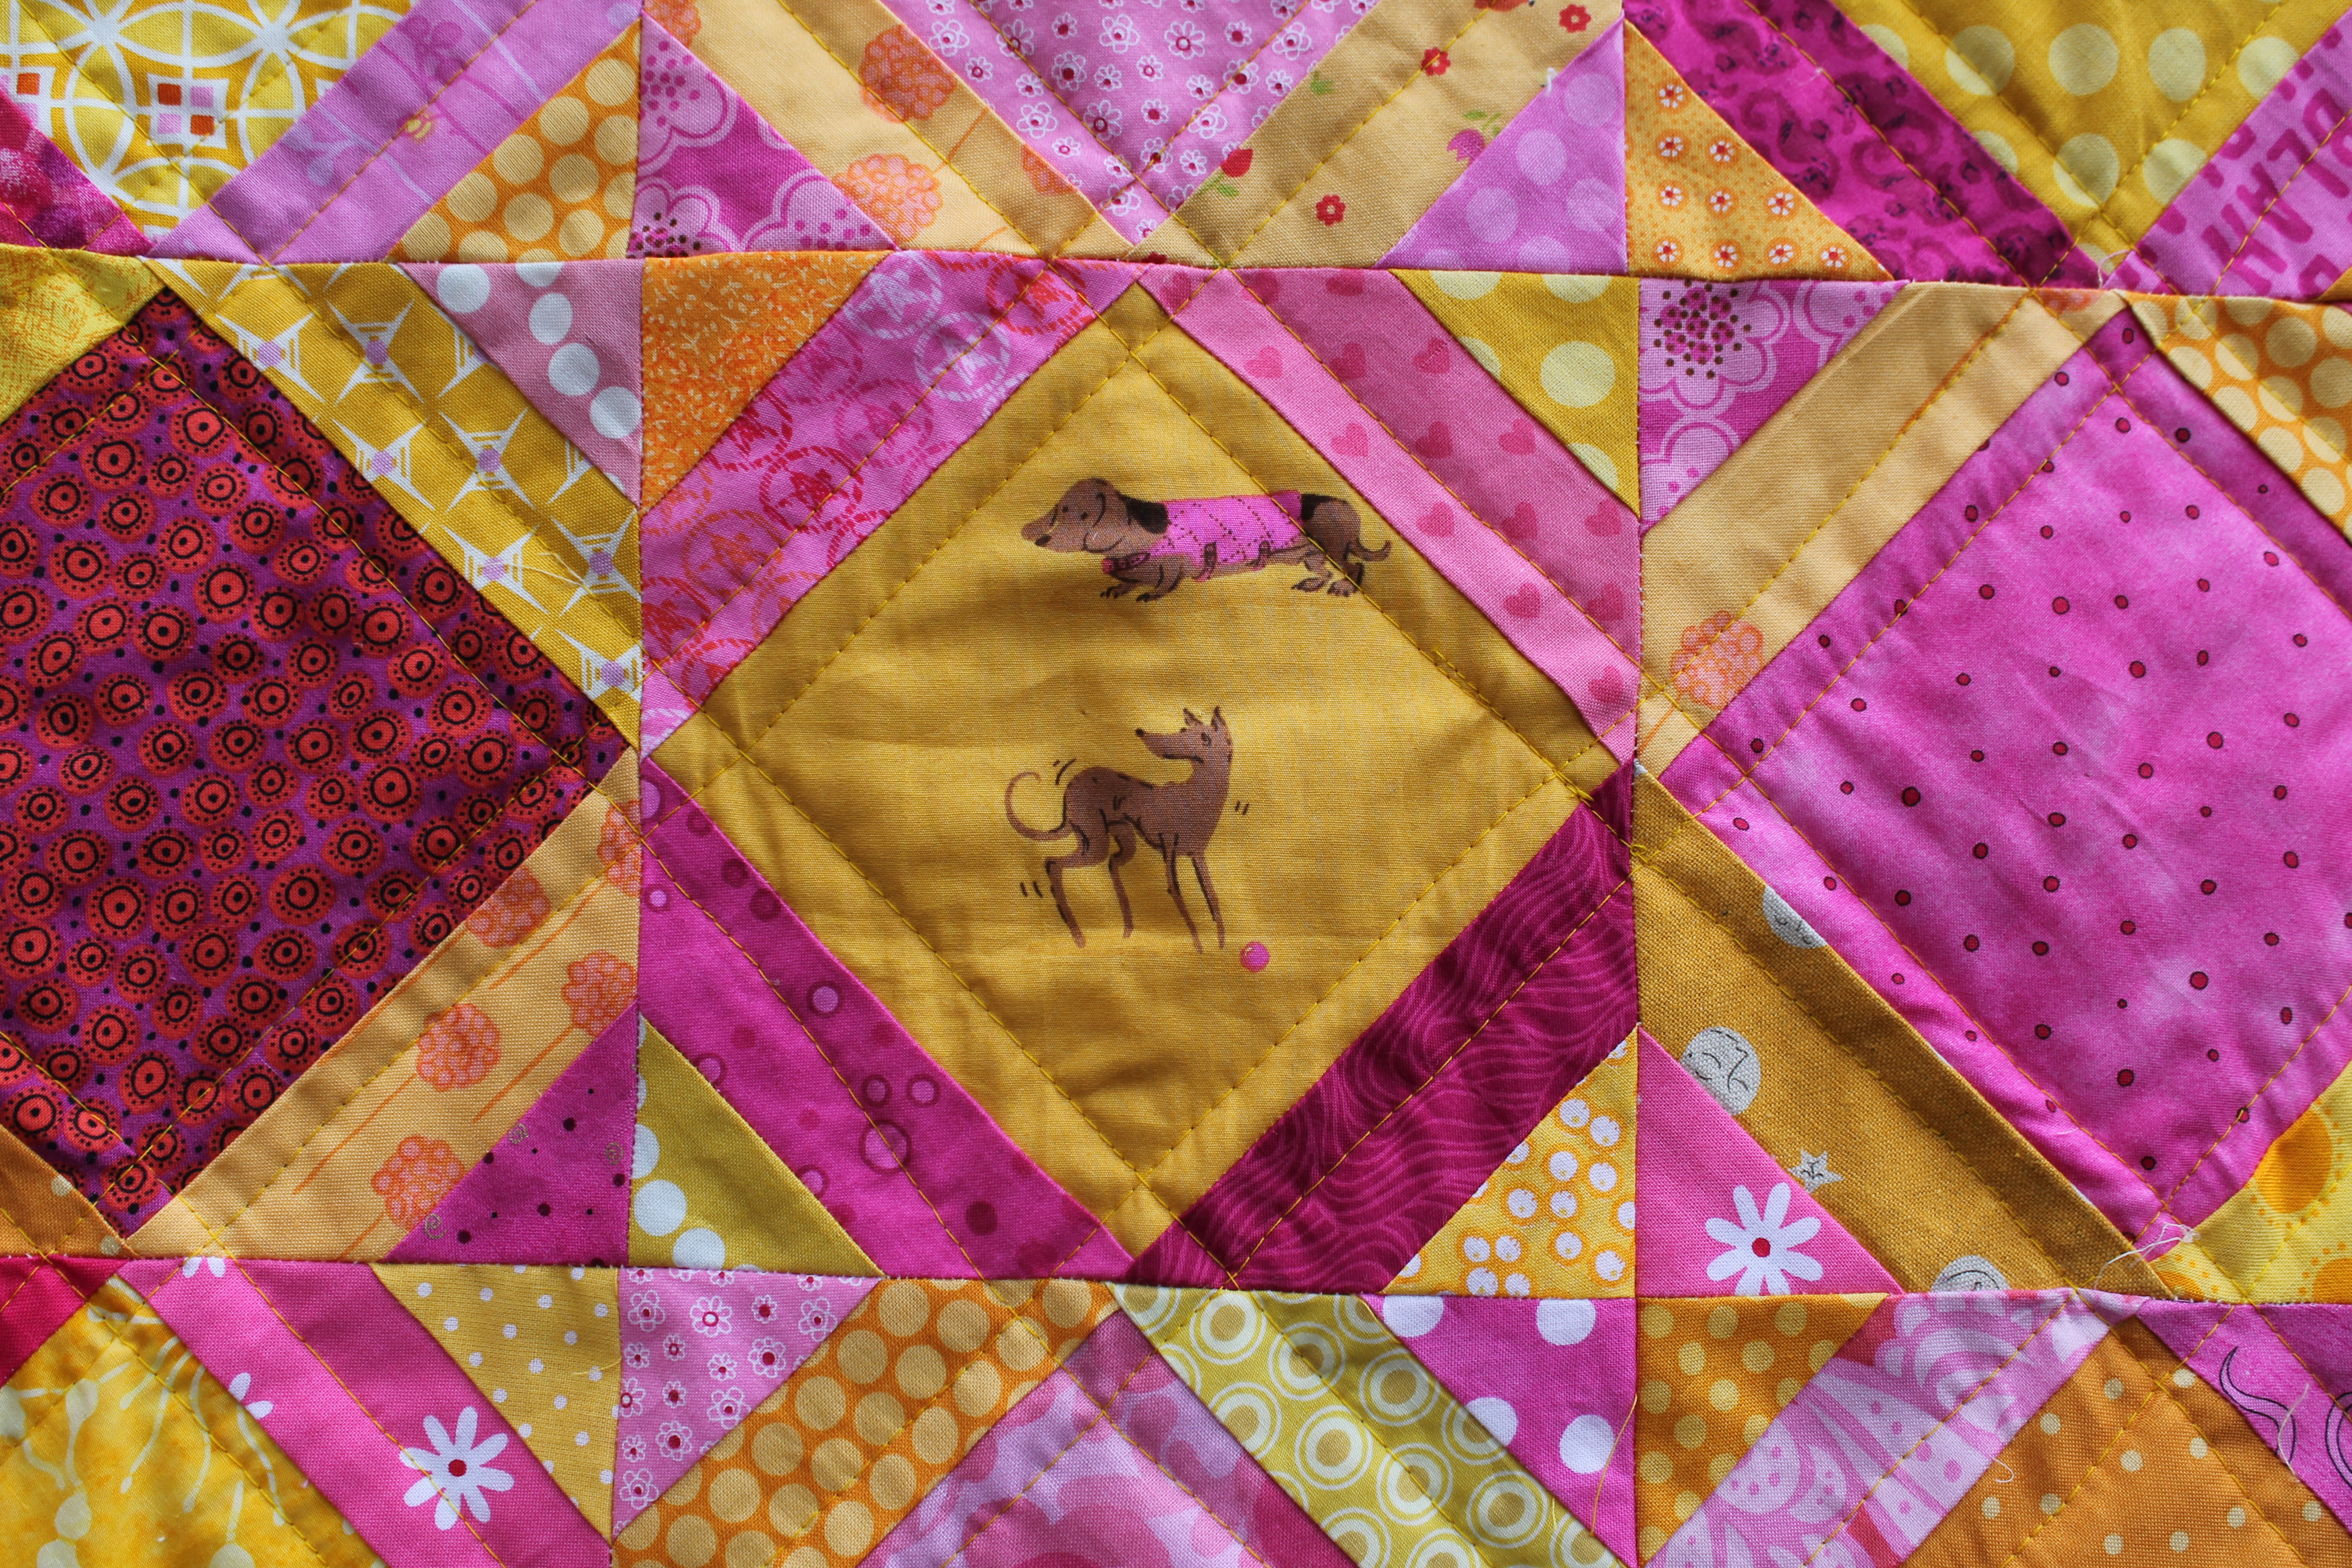
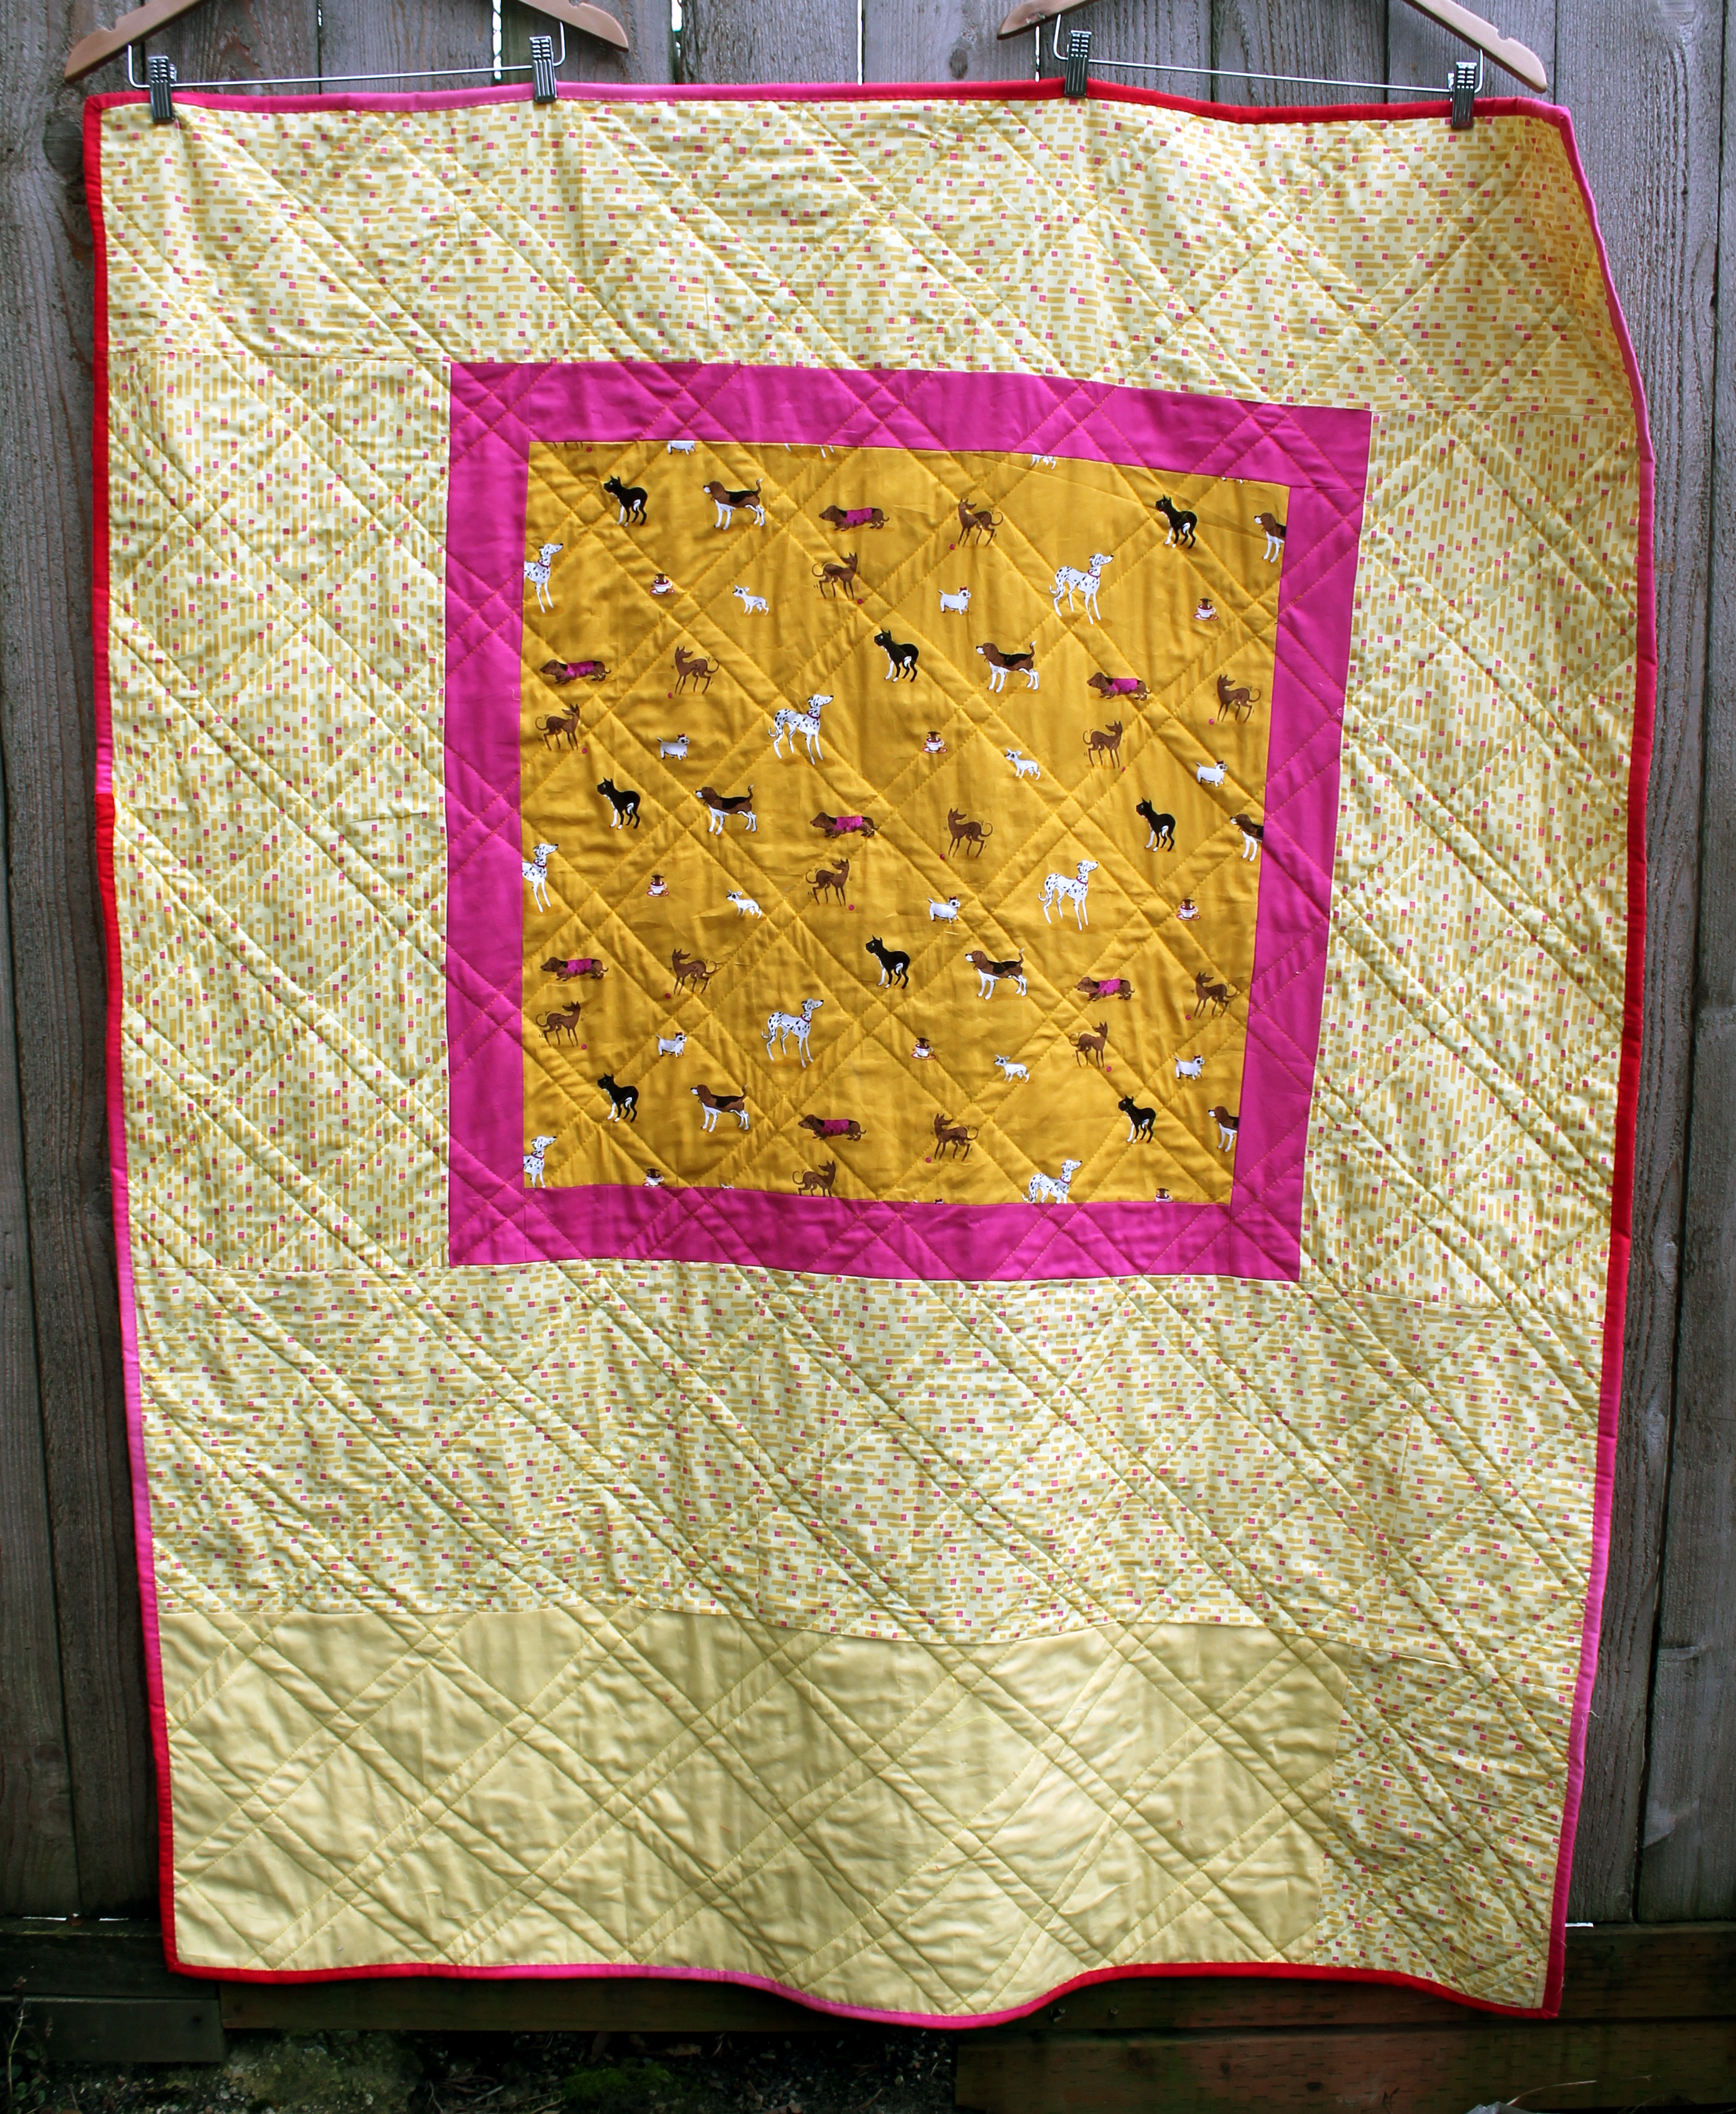
The latest quilt I used my 5 inch squares on is my extra-large granny square quilt, which I have just finished.

modern large granny square quilt

With this quilt I just lay the blocks down diagonally to make the pattern,  sewed the blocks together then trimmed the extra edges and it was ready to go. Again ridiculously easy.

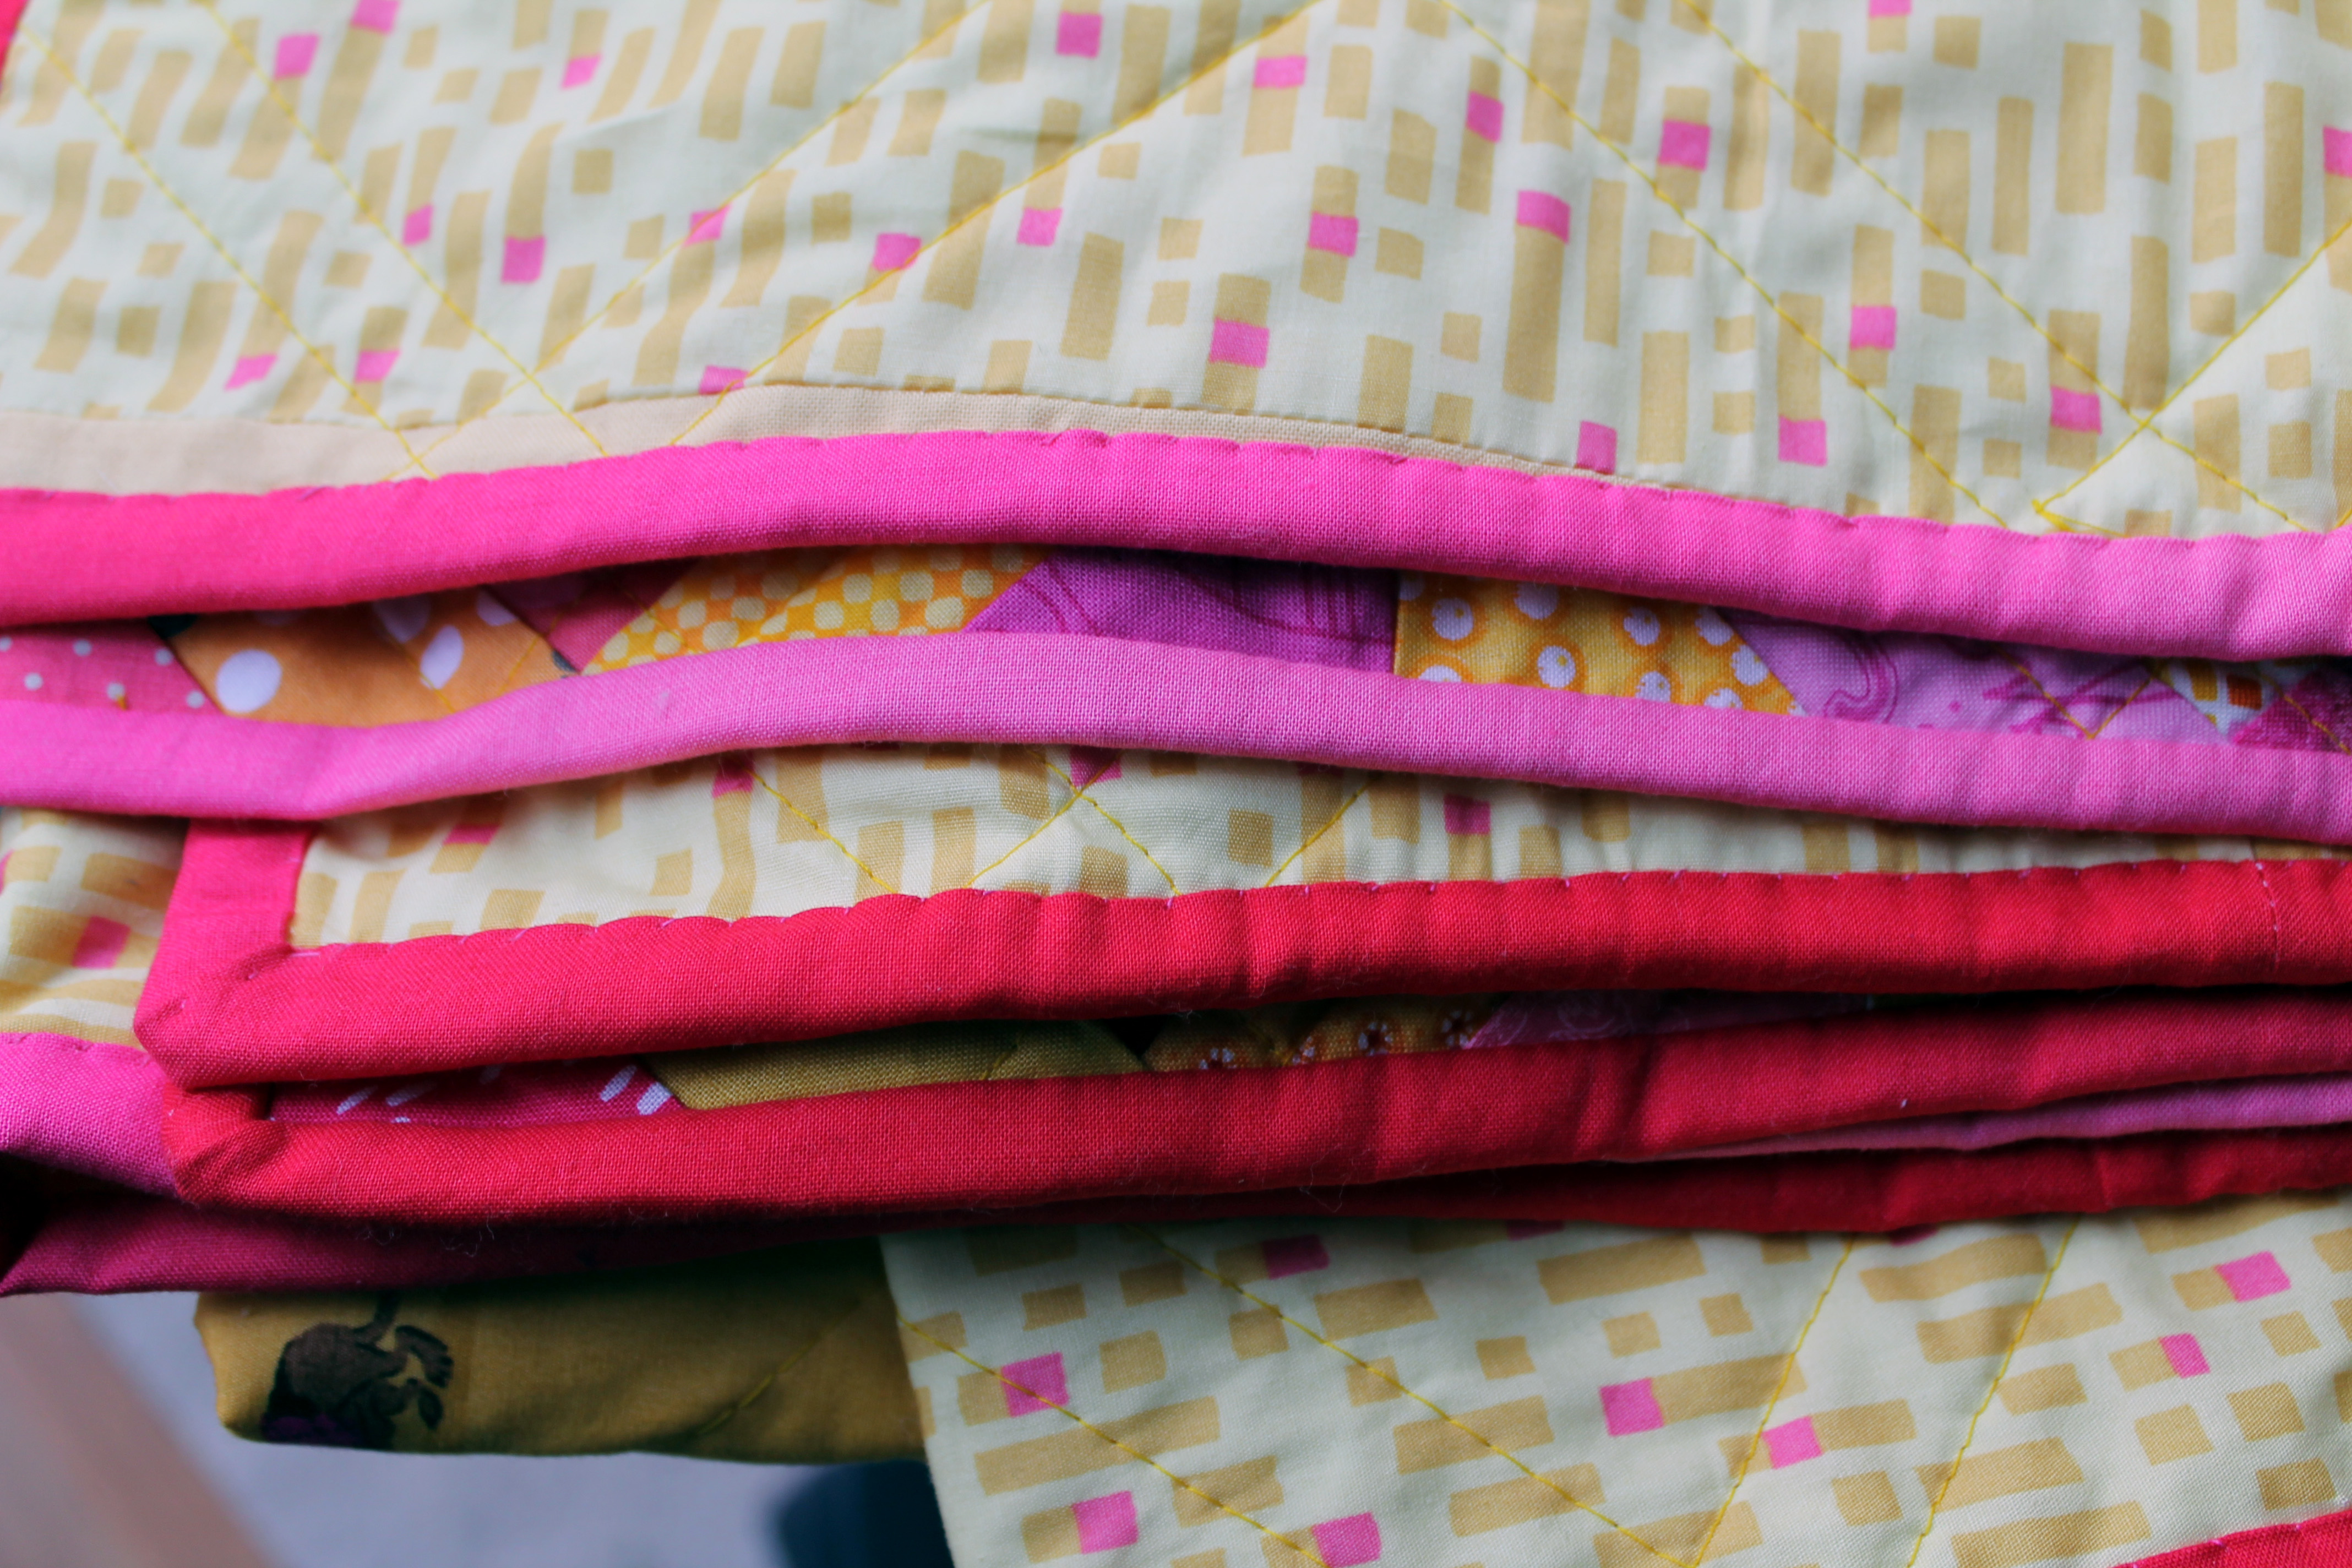
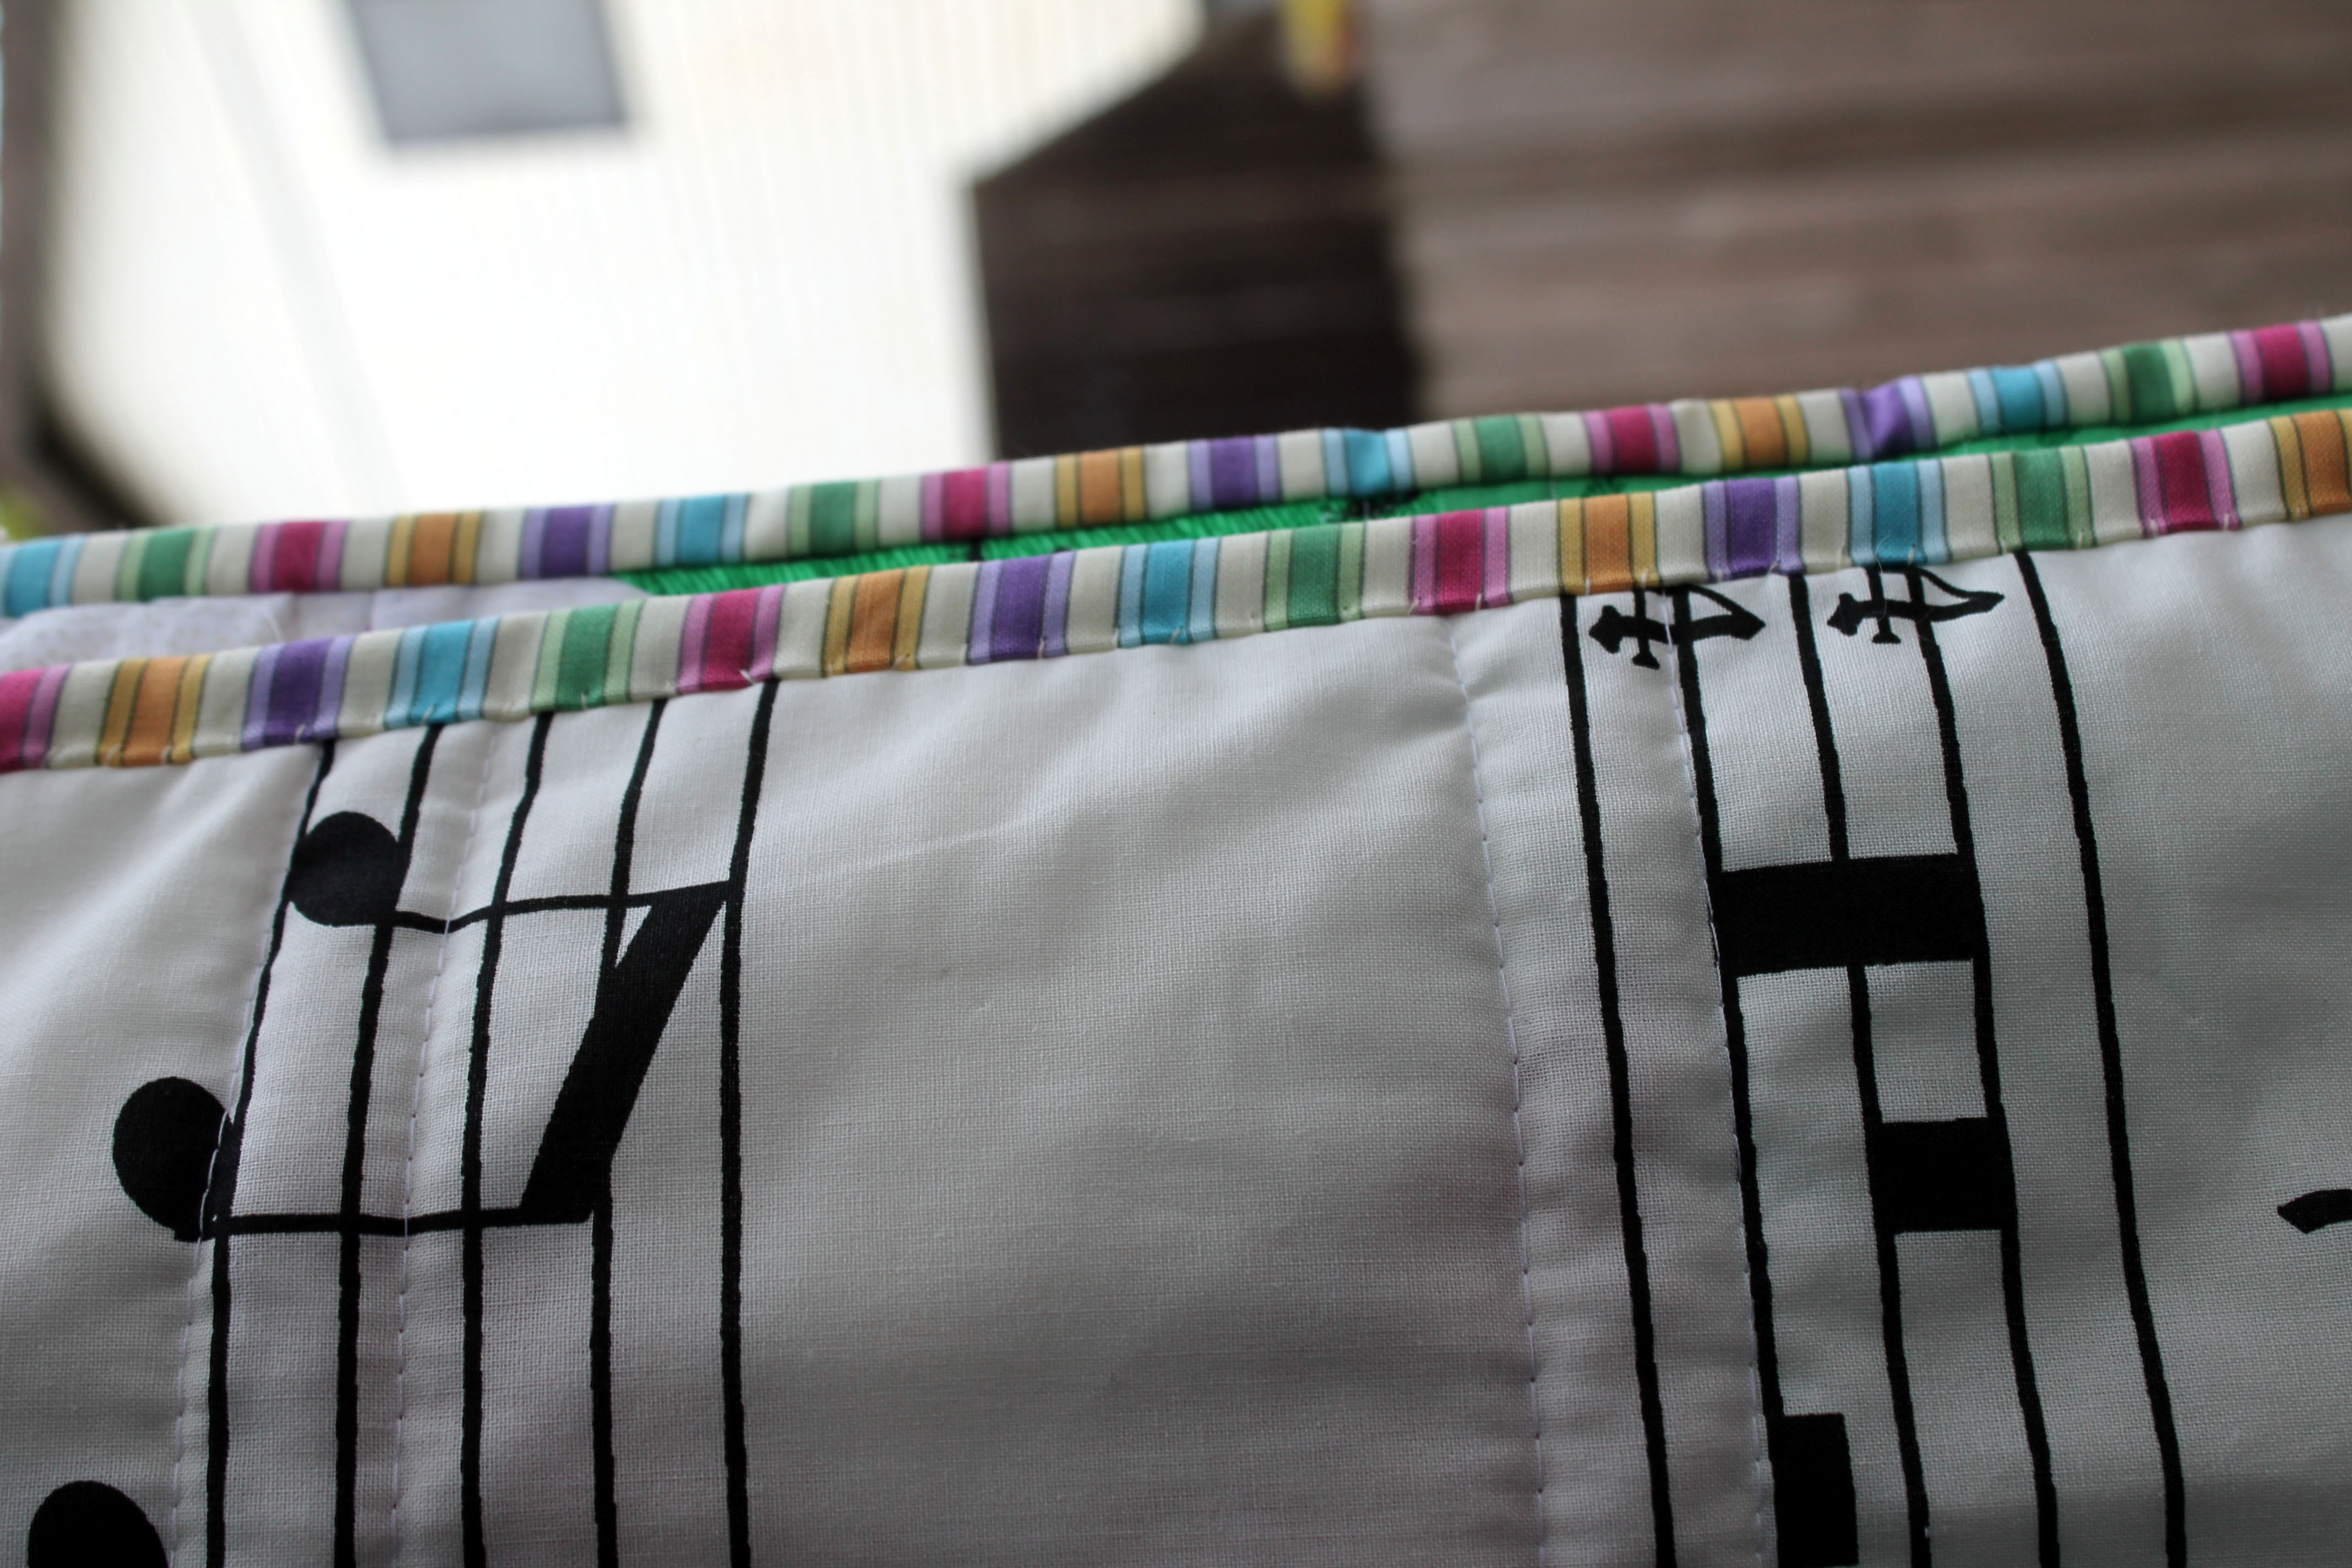
With both these quilts I did a simple straight quilting, running down both sides of the “ditch”.

quilting detail

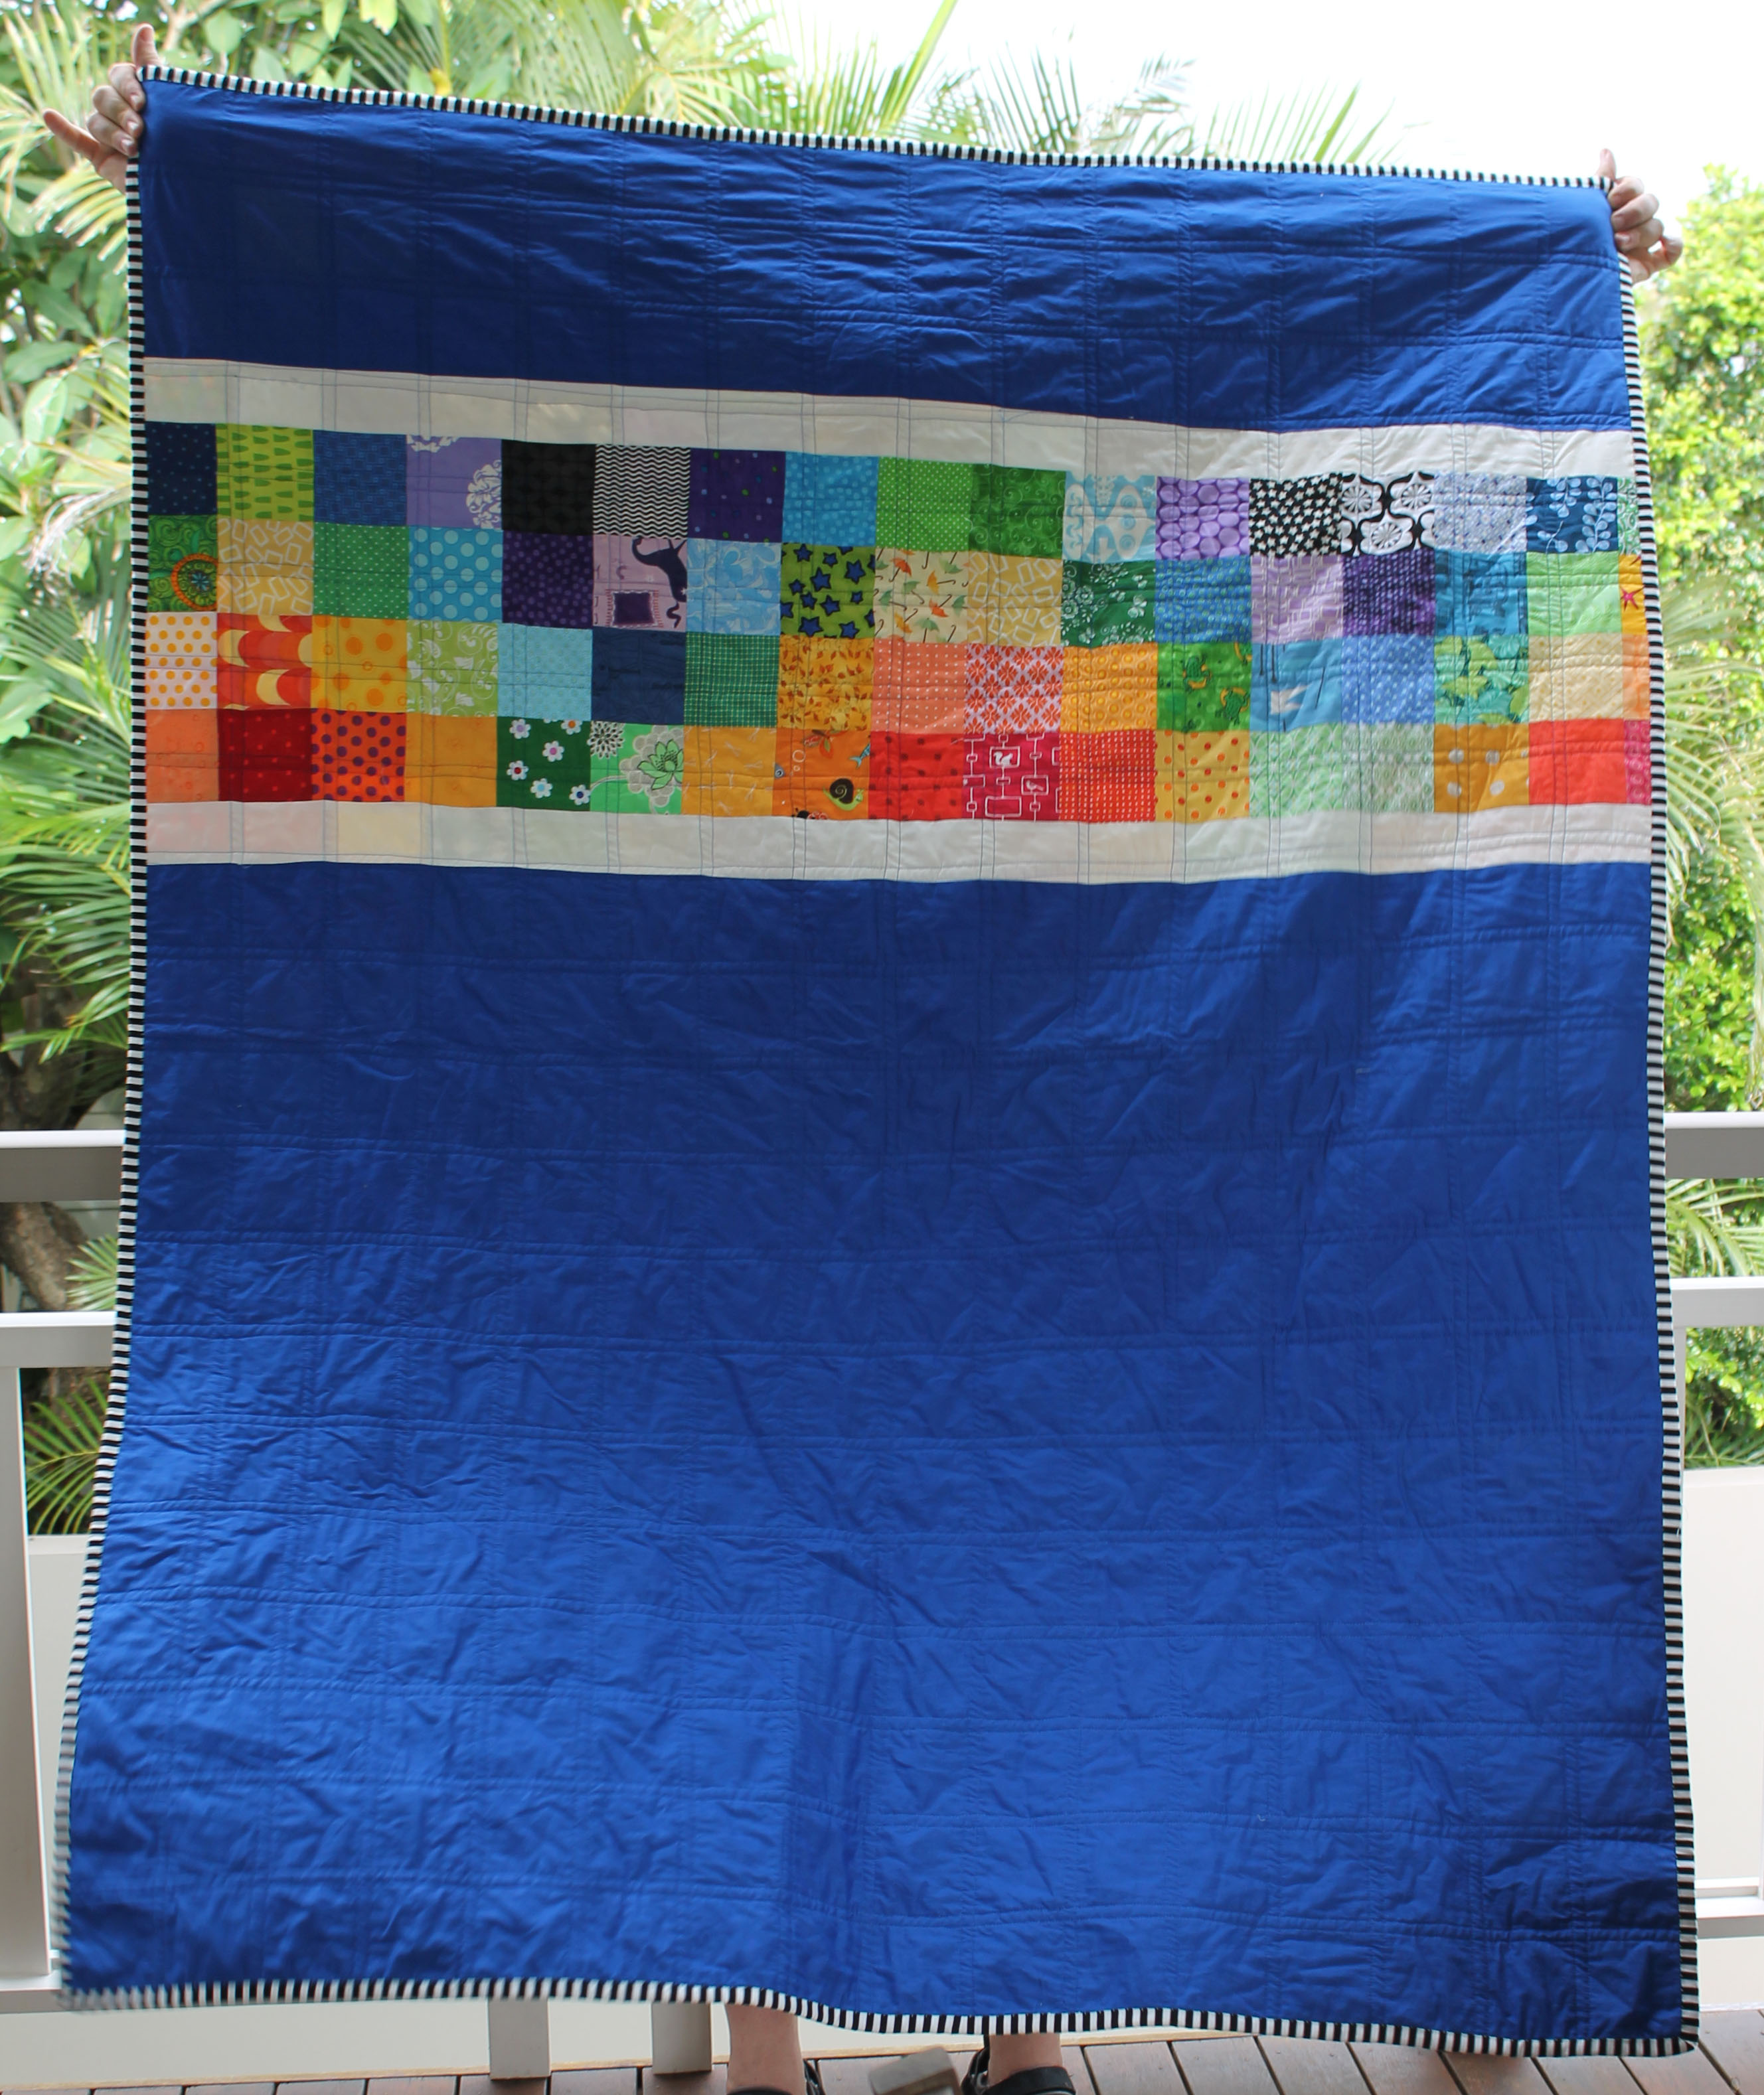
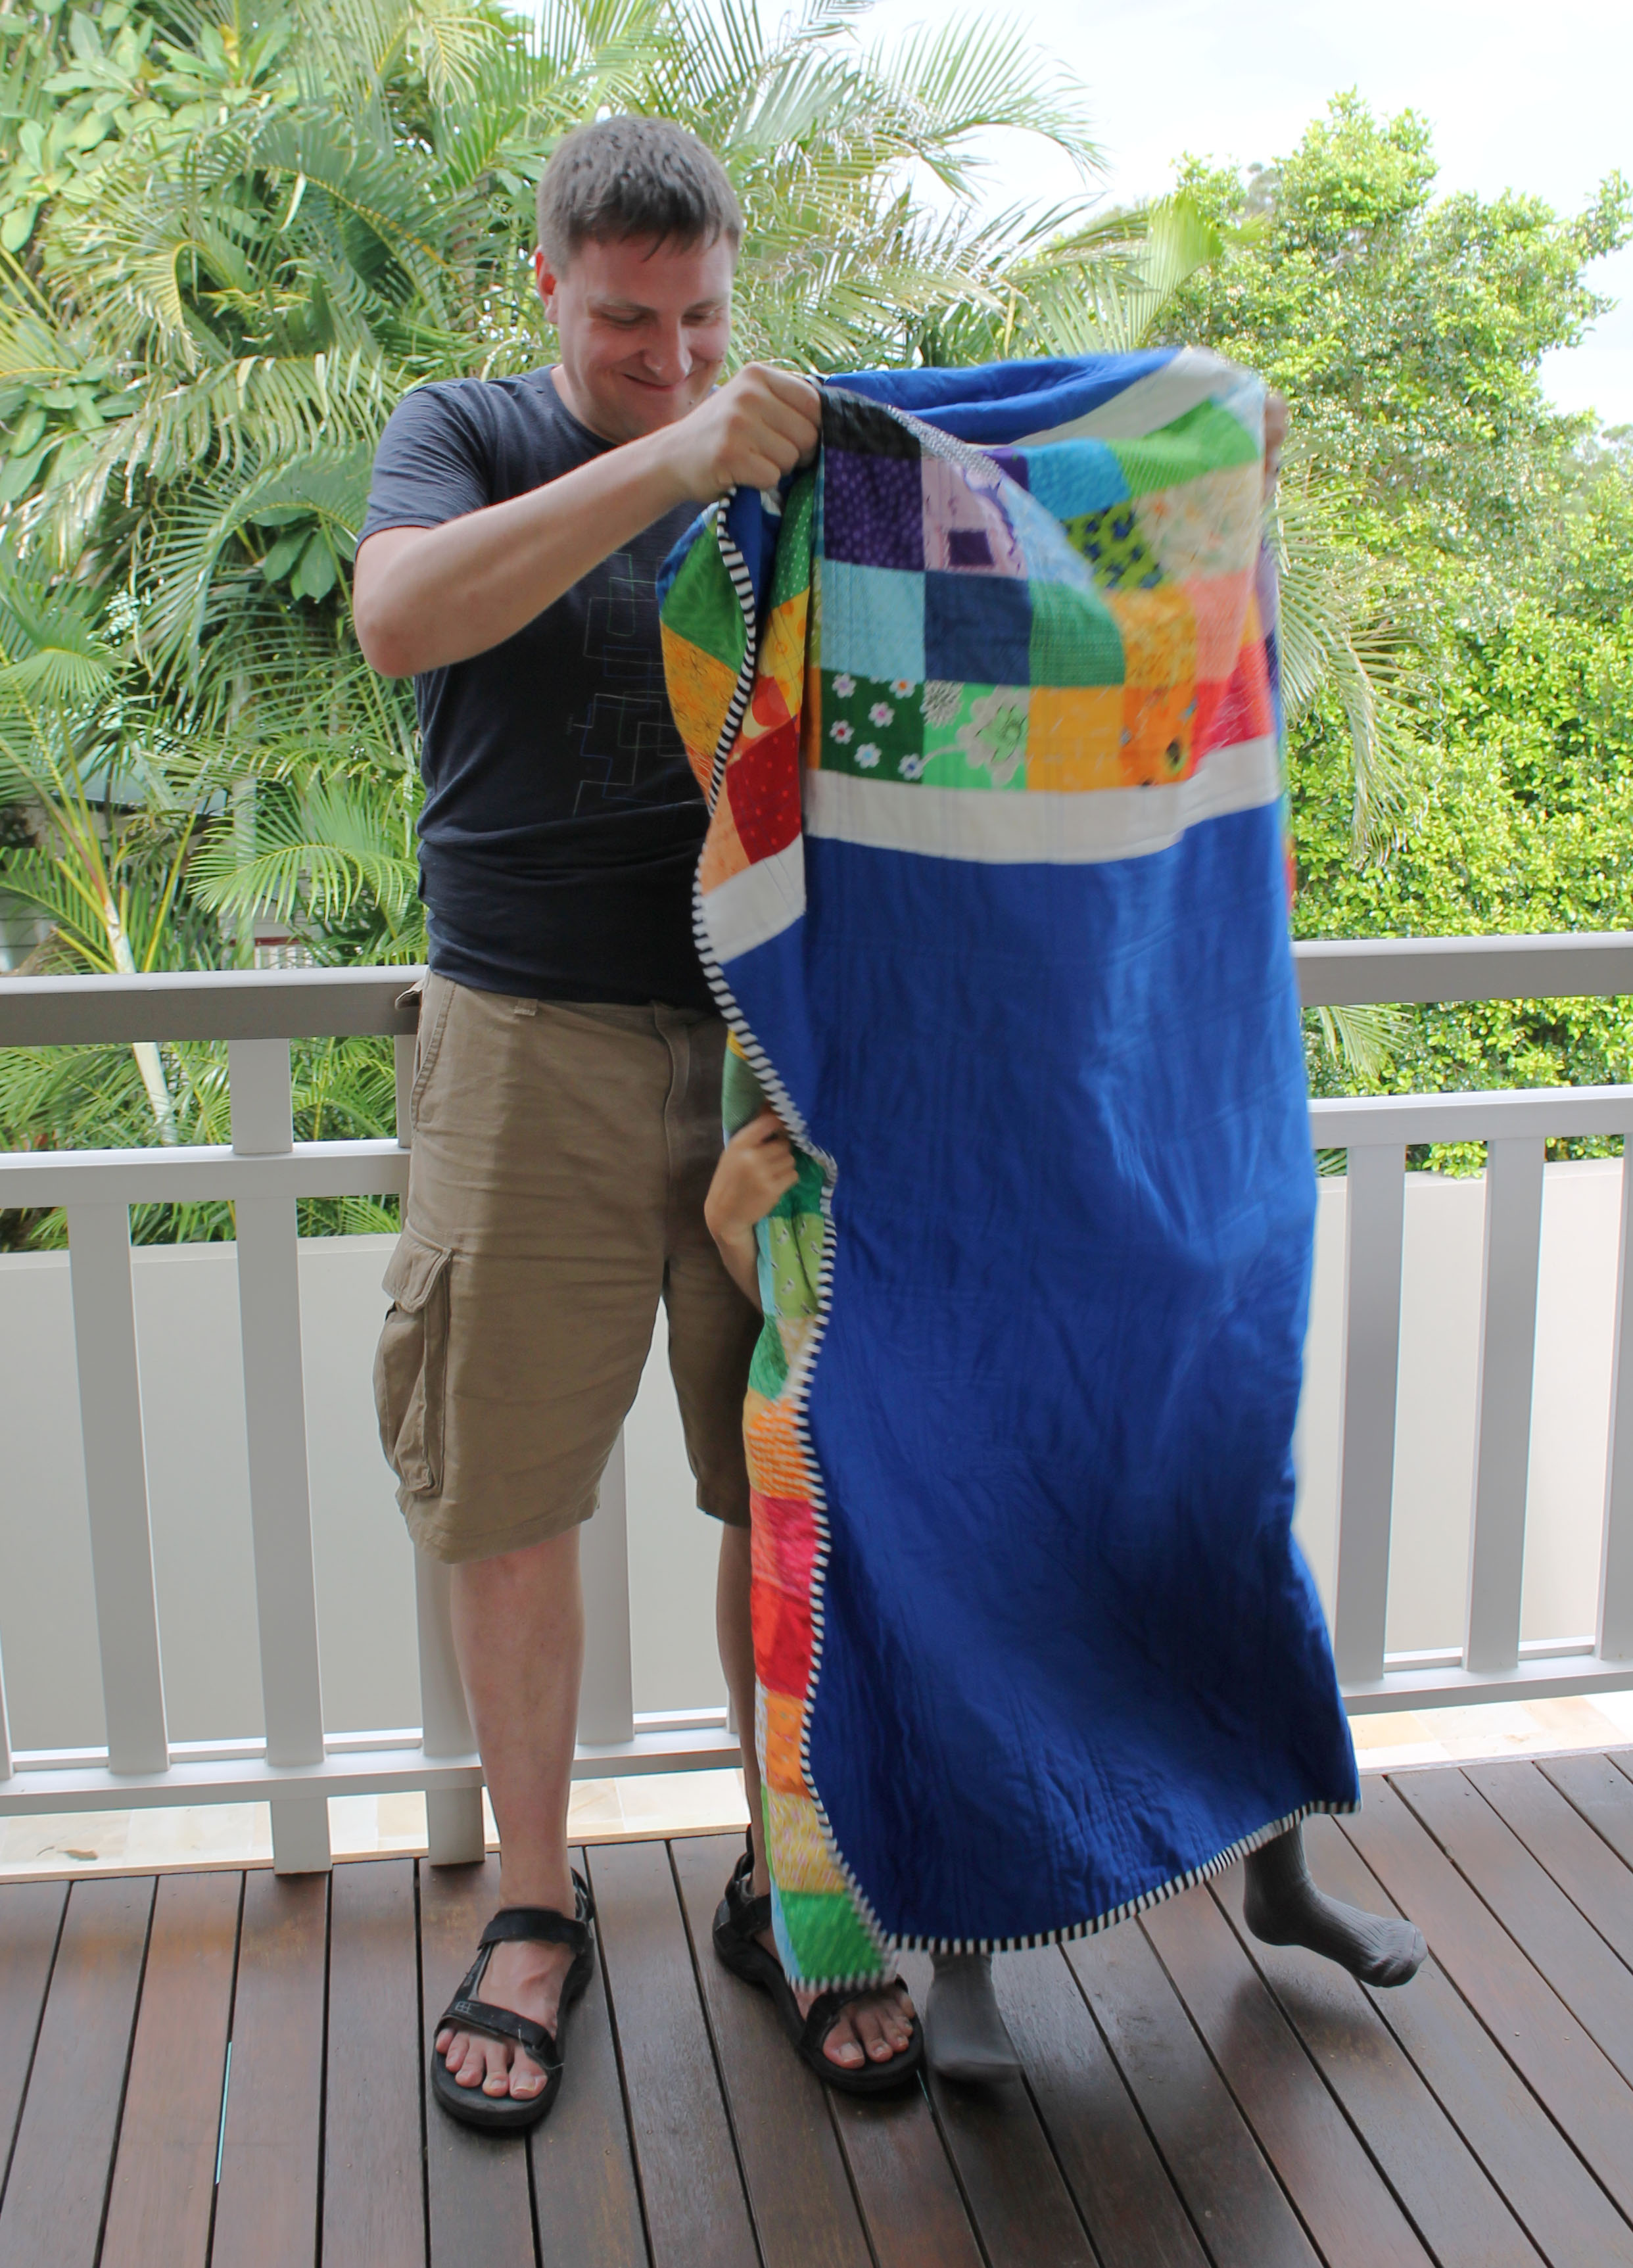
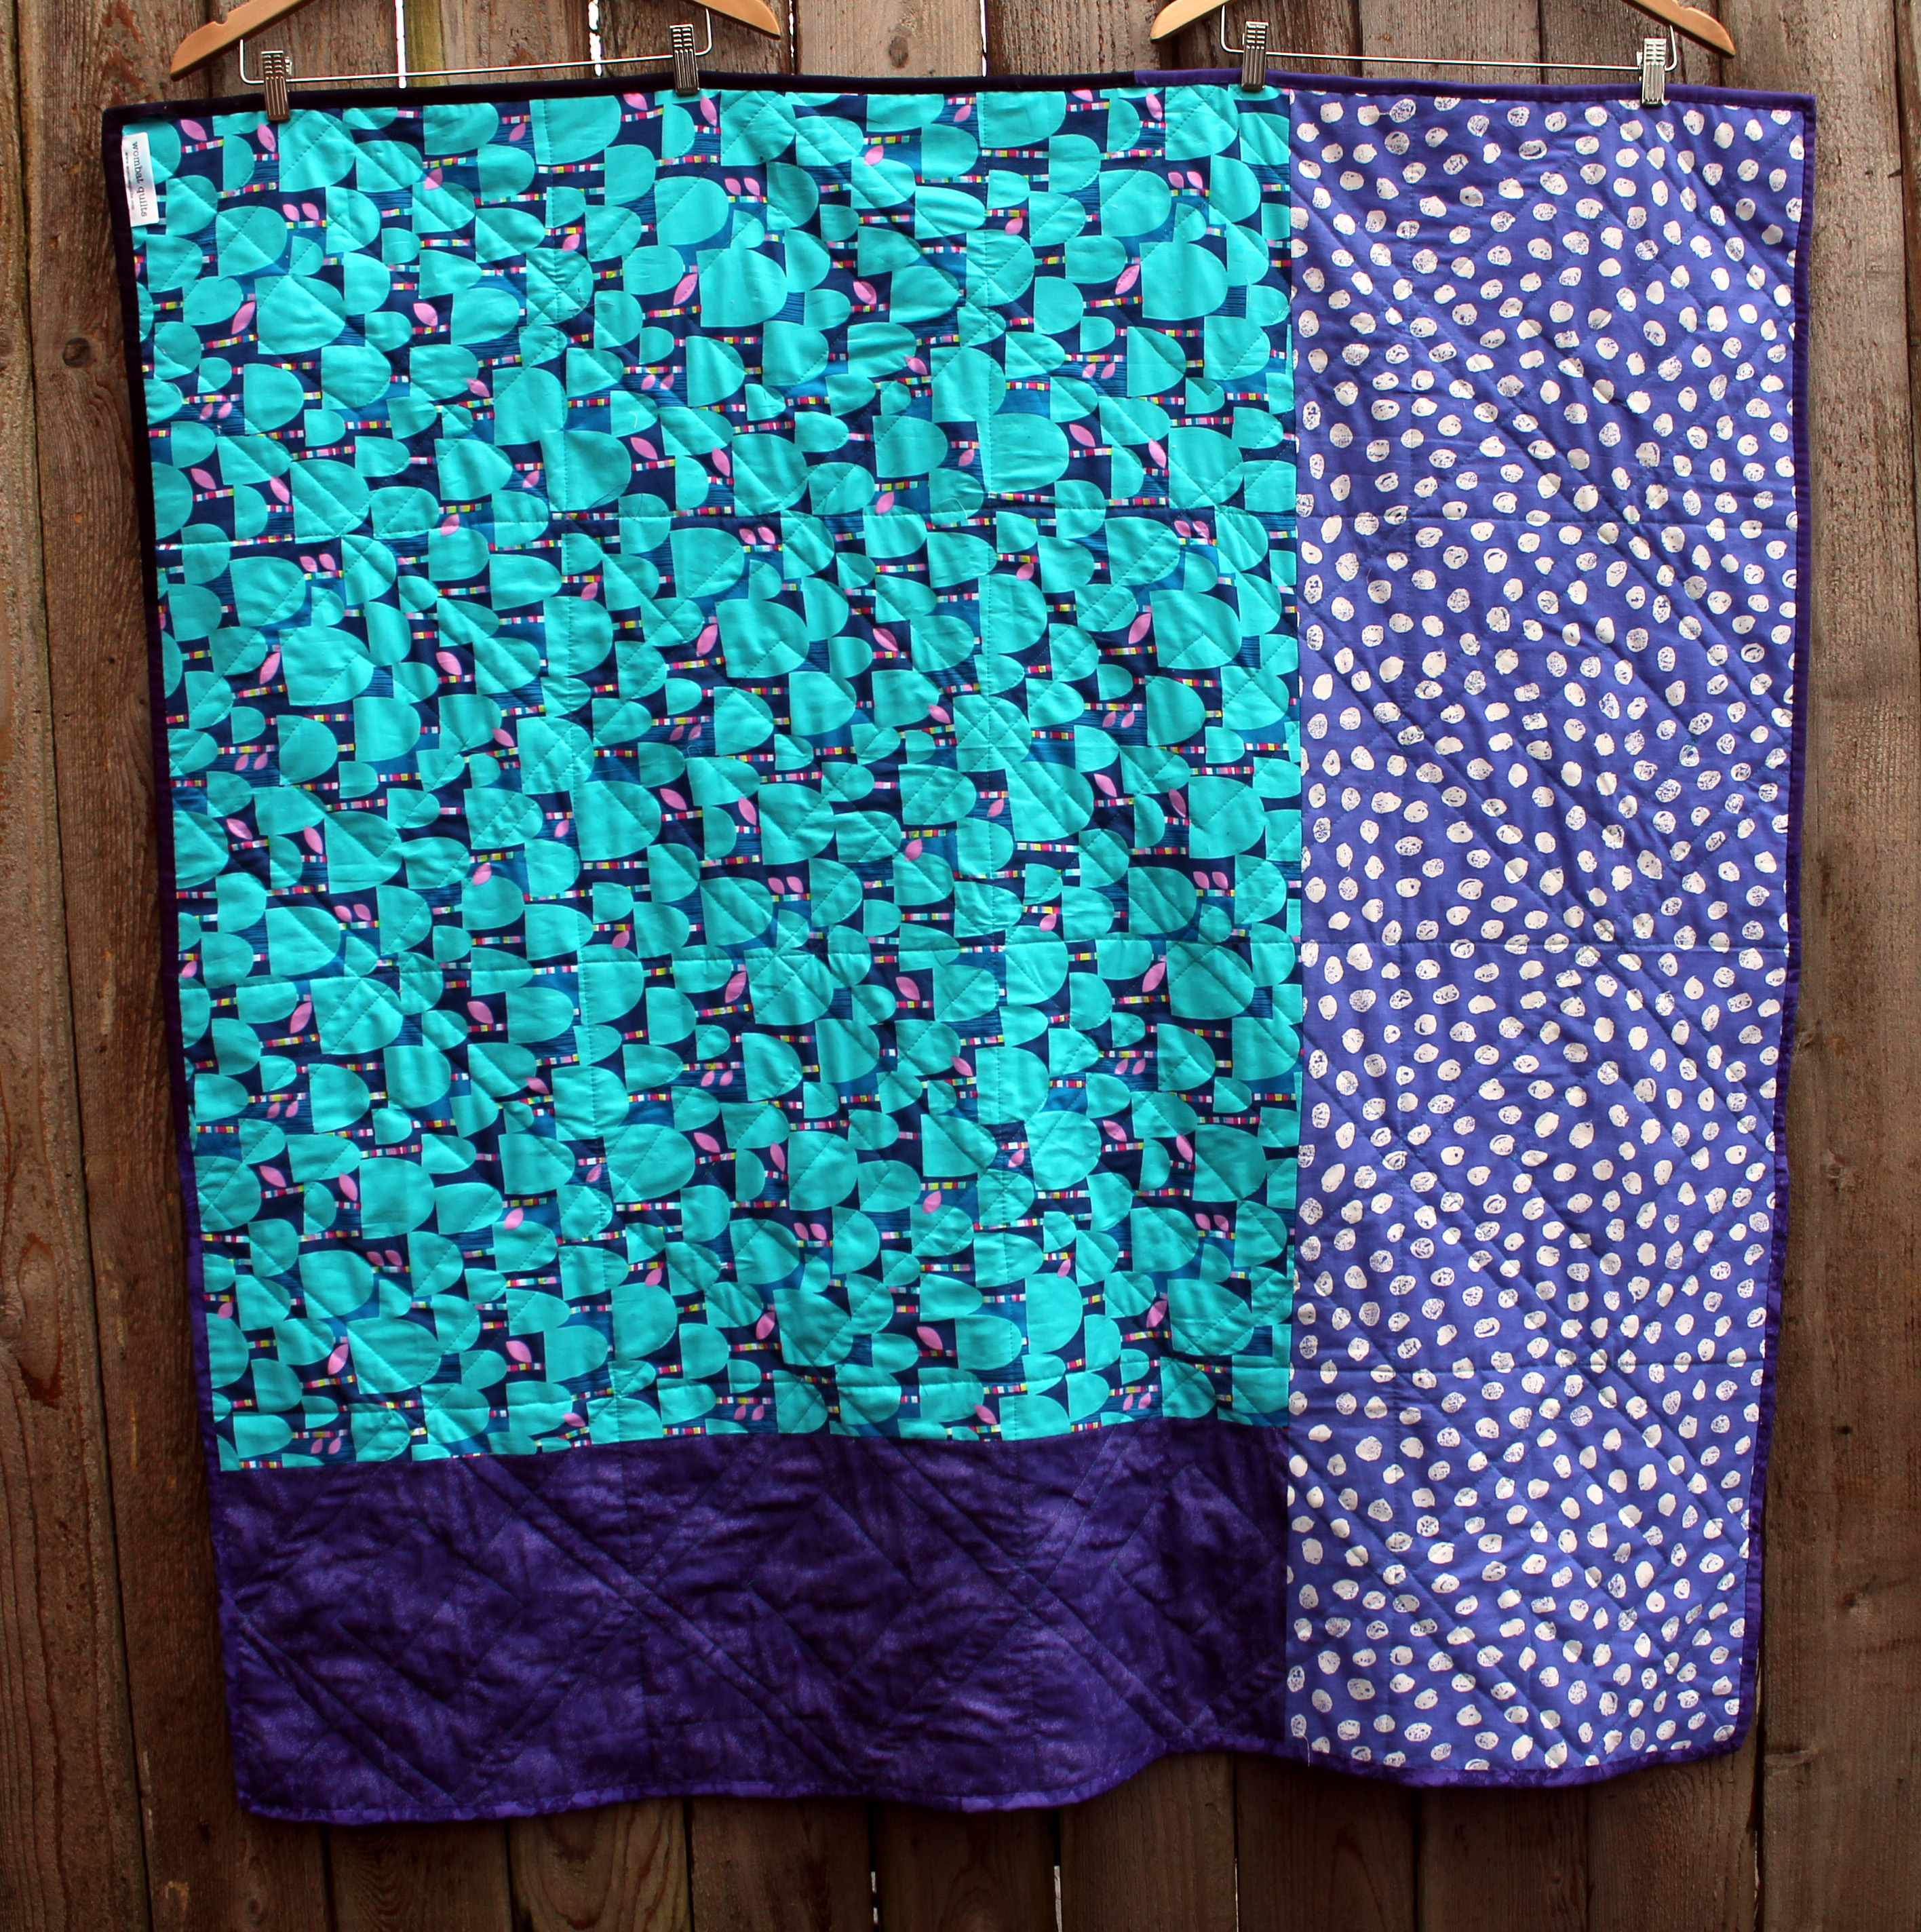
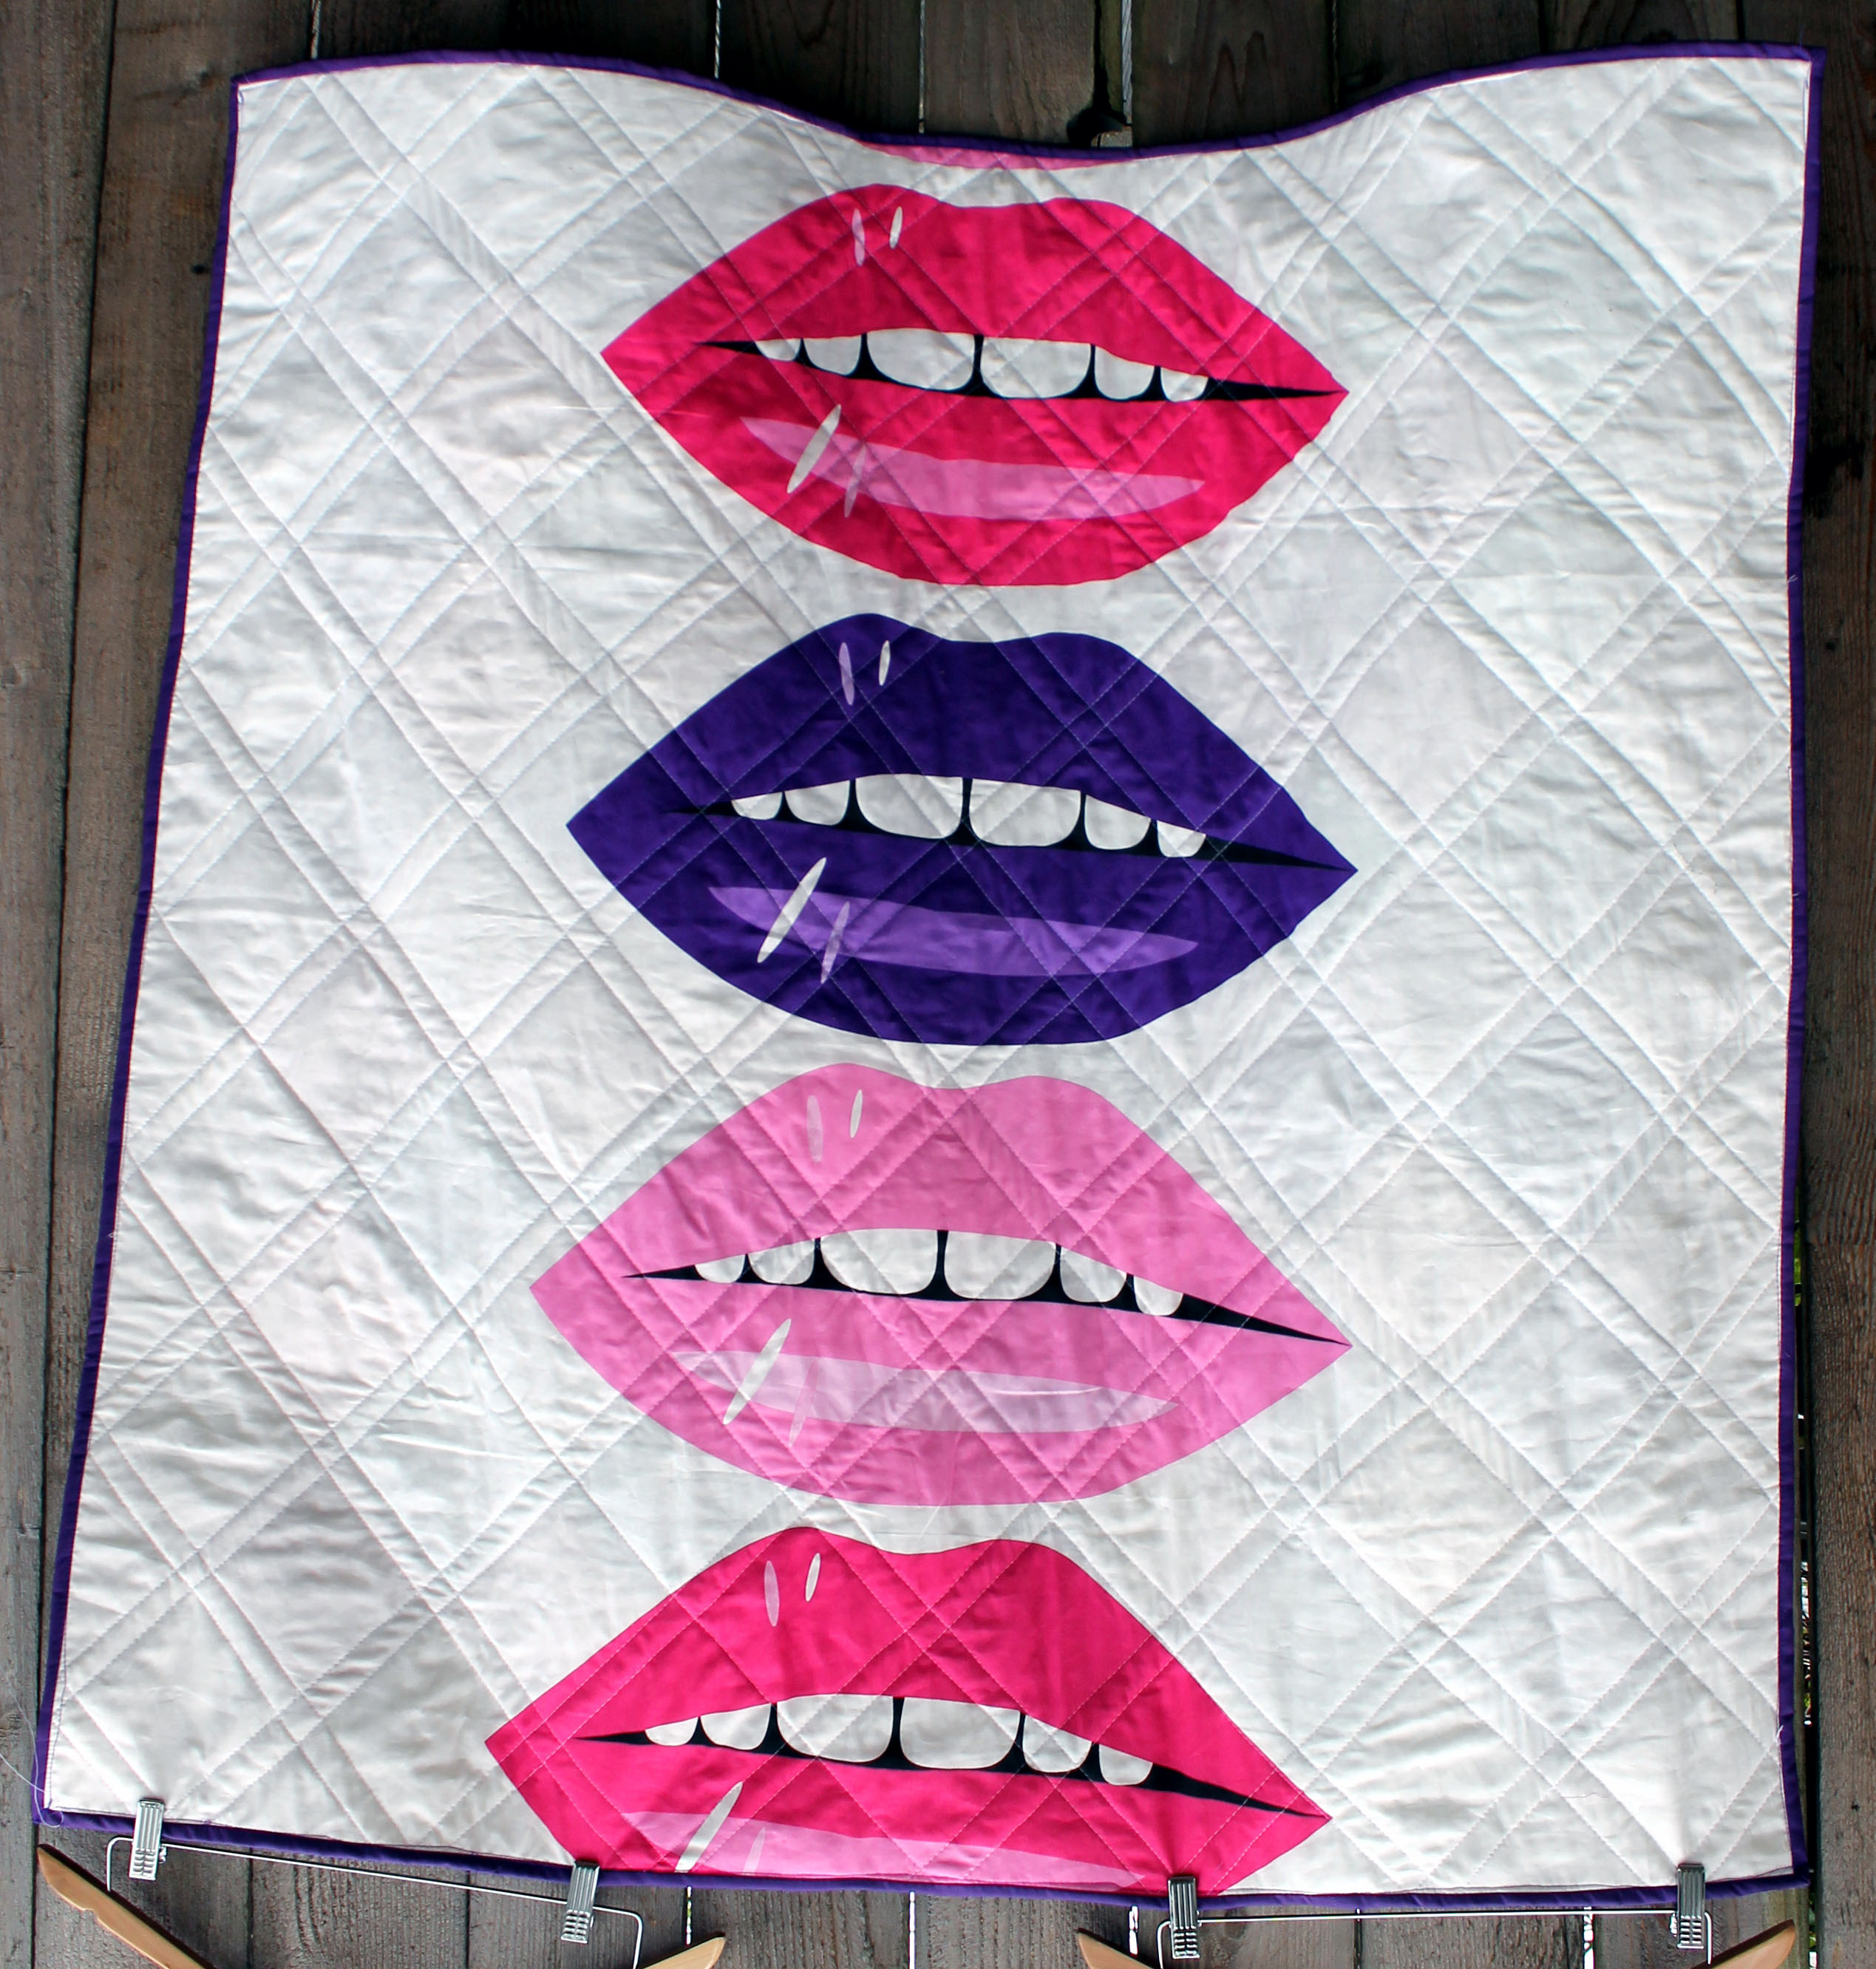
The backing for both these quilts is from Ikea.  The granny squares got the most fabulous fun lips fabric as it’s back (yes the photo is upside down!)

quilt back

And for the wonky stars I went with a simple black & white music note fabric.

quilt bindingWhat I love about Ikea fabrics is their width.  You can easily piece larger kids quilts with one piece of fabric plus their prints are really fun.  Both these quilts are now finally finished and ready for delivery this month to Project Linus.

Sun & Sea quilt finished

I have just finished my sunshine and sea quilt that I started just after I came back from Australia… and I am really pleased with how it turned out.  I keep looking at it and smiling.  It reminds me so much of the fun time we spent at the beach, when the sun was shining and the water was warm.  On this cold and over cast Portland day it reminds me that sun does shine, somewhere!  Summer is not going to come quick enough for me.

blue orange finished modern kids quilt

The overcast day does have one advantage – it is great for taking photos (as long as it is not raining!). Okay,  enough about the weather… moving on.

With this quilt I have been struck by how a quilt pattern can change when you sew the whole quilt together.  I rarely map or sketch out the finished quilt.  I really like to just see where it all takes me, for better or for worse.  So I started the process with an easy block that looked like this.

blue orange quilt block simplified modern Iowa star block

The pattern in the block is like a simple star with four points.  I mirrored the block pieces to give it a more interesting effect.  When I look at the quilt now I struggle to find the stars, all I see is a pin wheel.    The original pattern is in there, I just have to search a little harder for it.

modern bright kids quilt detail

This quilt was  really quick and simple to make but the interesting part came when I was sewing it all together.  There are sections of the quilt where 12 block pieces meet which causes a little bit of bulking, even with sewing seams flat.

To help with the bulking I chose quilting that would go through and around the center of this join.  In having so much quilting through the bulk it helped flatten and strengthen this area.  It also made for a lovely pattern of quilting.

detail ofsimple straight quiltingA pieced back and scrappy orange binding finishes the whole thing off.

sun & seaback of quilt

I must admit it had been a month or so since I had hand stitched the binding on a quilt and in that time I seem to have forgotten how to do it.  The stitches at the start are a little big and a little rough, but by half way through the process I was back to invisible stitches.  I was tempted to unpick it all but decided to leave it be.  Looking at the small section where the hand stitching is visible reminds me that the quilt is hand-made and that a lot of effort has gone into the finished product.

Loud, bright and fun… the quilt

.. and the nephew.  When I was back in Australia I took the opportunity to photograph the quilt I made my nephew last year.  I finished the quilt just before I started blogging and forgot to photograph it before I sent it on its way.   Better late than never right….

Rainblow quilt finished

This pattern was an out-and-out steal/borrow from a “do good stitches” quilt posted on Blue Elephant’s site.  I fell in love with the pattern immediately  and thought it would be great for my nephew.   The block is simple and the directions are easy and clear – its foundation is a 16 piece block of rainbow colours.  If you are interested in the pattern check out the above link for all the great instruction straight from the source.

quilt detail

For the back of the quilt I used some of the extra blocks I had.  I usually have blocks left over because I make more than I need so that I have choices when I am putting the finished quilt together.

quilt back 2

This quilt replaced a baby quilt I made for my sister about 12 years ago.  I actually made the quilt without knowing that my sister was pregnant or what sex the baby would be.  All I knew was I was heading out on an adventure and I did not know when I would be able to quilt again.  This is the much-loved, much washed  old quilt.

Harry's old quilt

Photographing these quilts involved more time and effort than usual as there was much misbehaving, silliness and photo-bombing going on.

trauma for photographing the quilt

In amongst the crazy I did manage to get a photo of Miss Banana and her new quilt.

Miss Banana and her quilt

What I did not manage to photograph was the hilarious sight of my 6ft tall husband walking around Portland Airport with a pink and yellow quilt sticking out of his backpack.  It is a sight I will not forget in a hurry.

Colours of this week are purple & aqua!

This week has been a weird week.  I have not got as much done as I would have liked, as our family is preparing to run away to Australia for a couple of weeks.  In between the packing and the last-minute shopping I did managed to get this quilt finished.

finished double pinwheel quilt

This quilt is made up of 16  of these 12 inch blocks.double pinwheel finished block

I used a really easy pinwheel paper piecing pattern and lots and lots of scraps of fabric.   There are a number of simpler versions of this block on the web but I love the extra punch of the added pinwheel.  The pattern and dimensions I used are:

purple aqua quilt pattern copyEight of these pieces make up one of the finished blocks.  If I was to do the quilt again I would probably stick with more strongly contrasting fabrics – the blocks that have the dark purple against the aqua are so much more punchy I think .   The contrast makes the pinwheel pattern really pop.

purple aqua quilt detail

I am still doing just straight quilting…. maybe when I return from vacation I will be sufficiently relaxed to forget the stippling nightmare.  I have to be braver with my quilting.   The backing is  a selection of different fabrics I had in my stash.  Nothing too exciting but I like how it looks, particularly the Erin McMorris “Somersault” fabric.

purple aqua quilt back

I finished it all up with a scrappy purple binding.  I do love scrappy binding – bits of solids, bits of prints, different shades, different patterns.  The scrappy does not work with all quilts but it seemed to be just right for this one.

purple aqua quilt binding

Now it is back to packing and cleaning…..

Dear Miss Banana

Dear Miss Banana,

I have just finished your quilt.  I hope you like it.

pink quilt finished

I used bright pinks and yellows to make the blocks.  I had fun picking out the fabrics, using lots of different bits and pieces to make it fun for you.  There are some fabulous dogs, as you requested.

dog block details

And some of my favorites including some cute Mariska dolls.

pink quilt detail

I did some simple quilting, which should make the quilt pretty when it is washed and will make it durable, so it should last as long as you need it.   Any repairs over the years either me or your mum can help. Just in case,  your mum can find the pattern for the quilt blocks here.

For the back of your quilt I used more of the doggy fabric you loved along with some fun yellows.

pink quilt back

Then to finish the quilt I found this really great fabric that is different shades of pink so I made the binding out of it. I think it makes the quilt look really cool.

binding

So I hope your like your new quilt.  I put a lot of work and love into it and I hope it keeps you warm and comforted over the years to come.

Love

Auntie Cath

ps.  I now have to find a way to get it to you in Australia.  I am hoping there is some room left in good Uncle Nick’s suitcase, but it may have to be posted to you.  There is no room left in my suitcase – it is full of presents and Lego!