Yipee a finish…

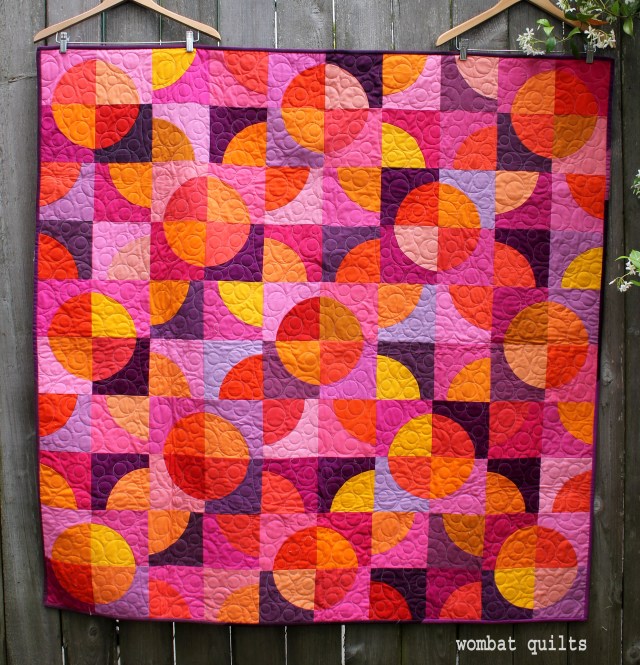
This summer has been a little crazy, but in amongst it all I have managed to finish up some quilts including this fun one…

postage stamp quilt

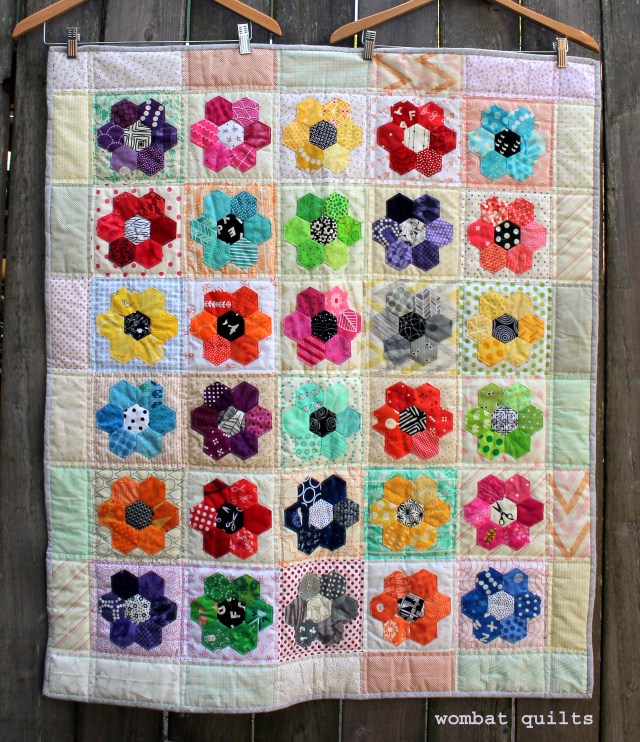
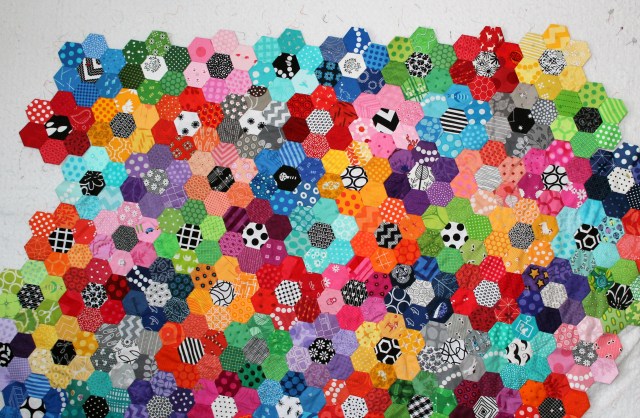
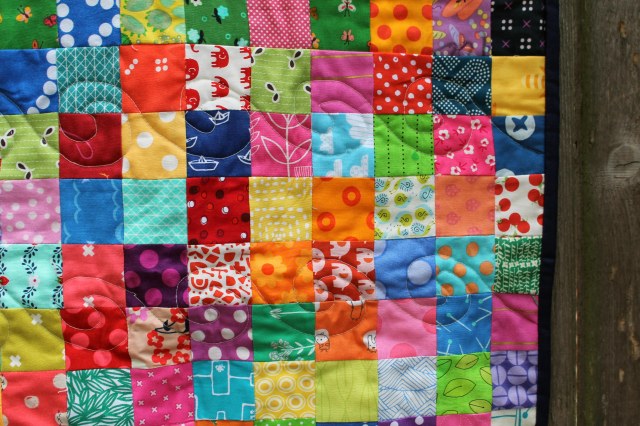
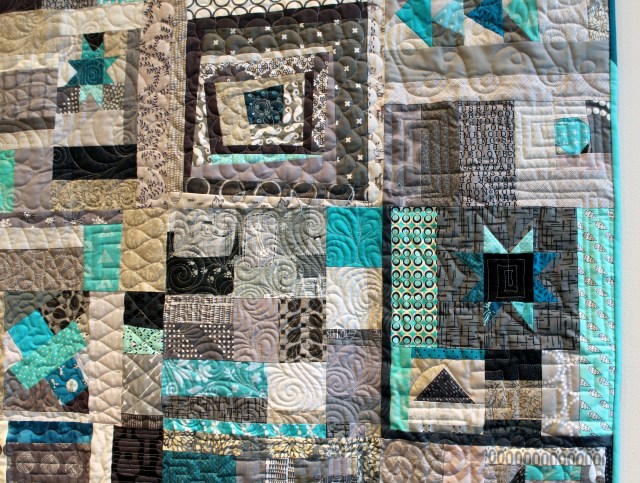
This is my second postage stamp quilt using Rita from Red Pepper Quilts technique.  It is really an easy way to get all these little 1 1/2 inch squares sewn together.  To make it easier on myself, every time I cut out a quilt or have some scraps I will cut a 2 x 7 inch strip and put it in a shoe box.  Over the course of a couple of months that shoe box fills up.

postage stamp quilt detail

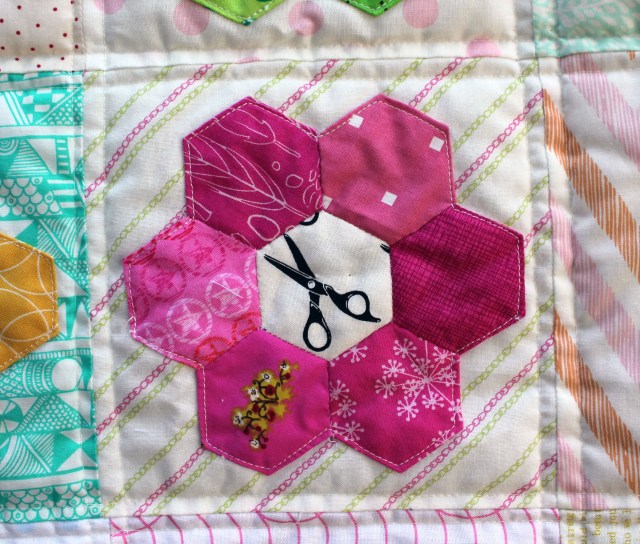
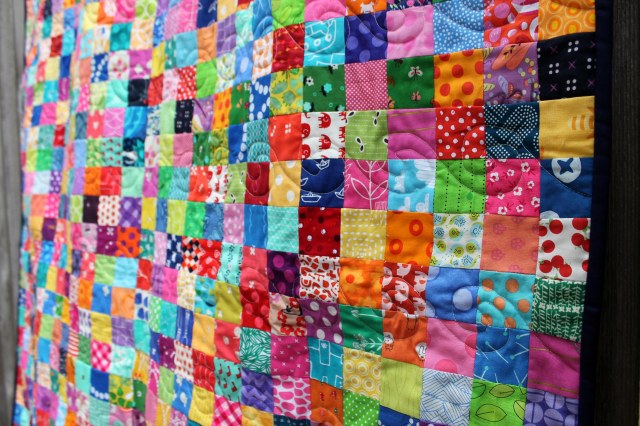
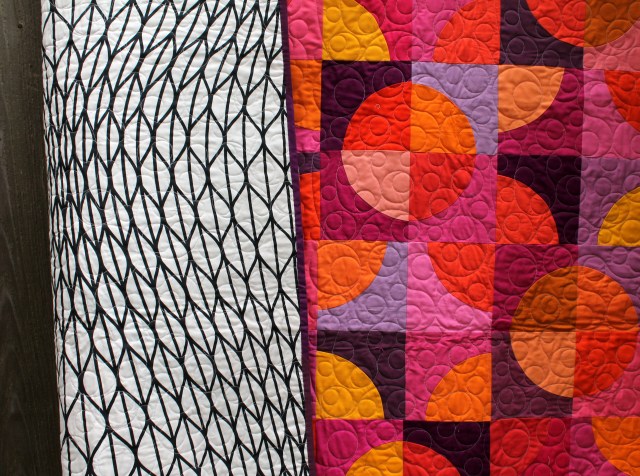
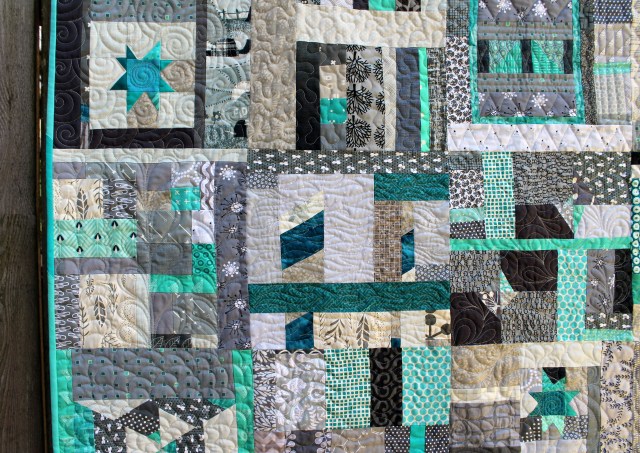
When you are working this small I do not worry about fussy cutting but focus mainly on colour….making sure I have some darks and lights as well as lots of white in my prints…  That said you can still play a great game of I Spy with this quilt…

quilt detail

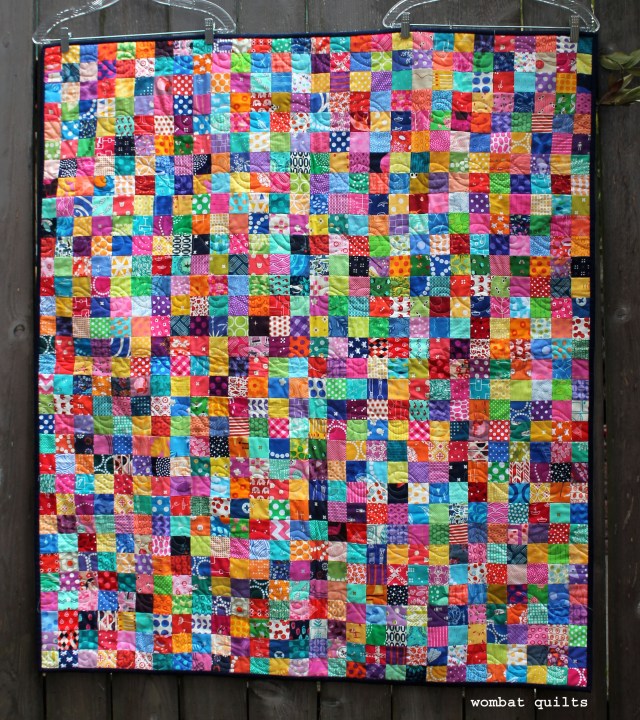
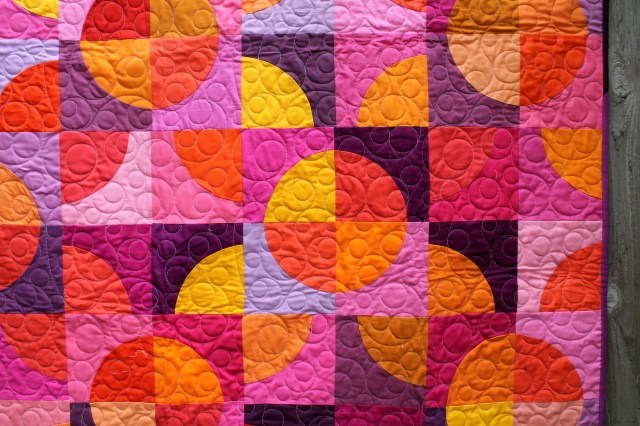
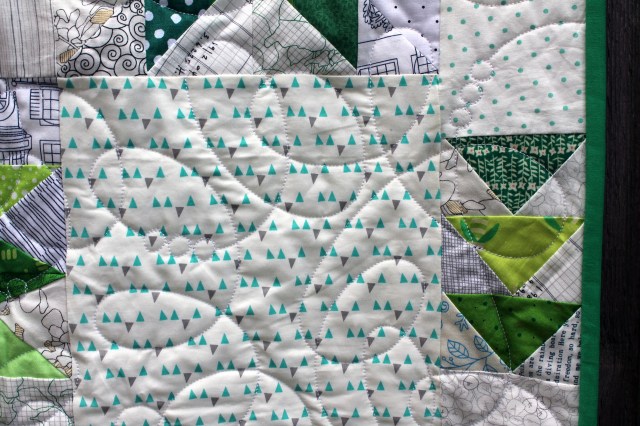
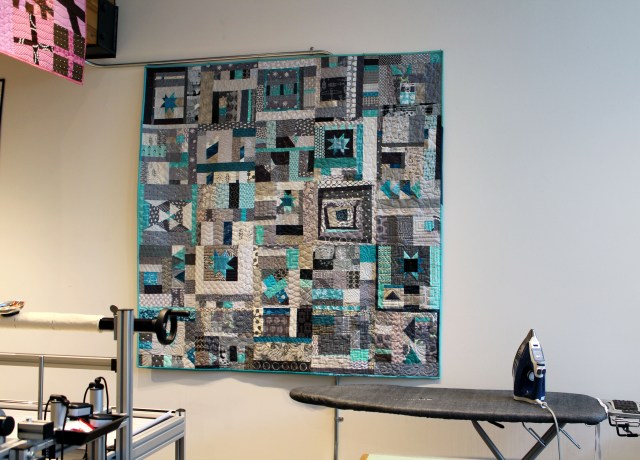
I did have some fun with the quilting on this piece.  For the first time I used one a quilting template…

IMG_5181

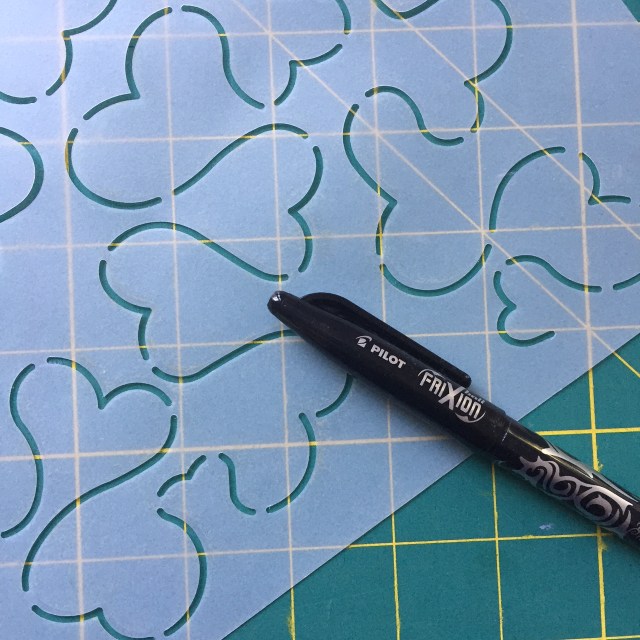
I have picked up a couple of these things over the years but never ever used them before… for this quilt I picked a waved pattern and using my trust Frixon bravely drew all over the quilt top.

quilt detail 2

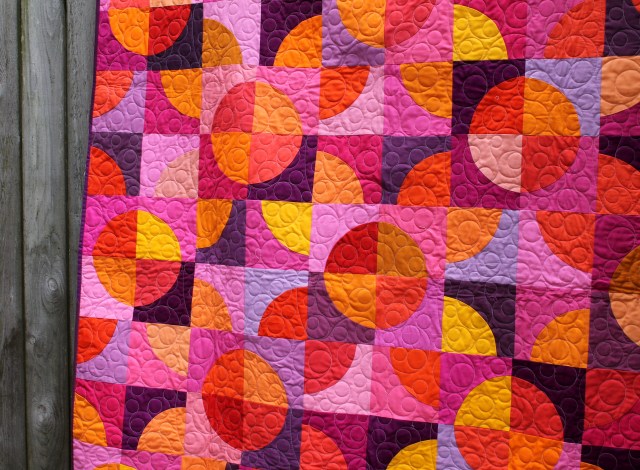
Now my quilting is not perfect but it was a fun exercise.  More than anything it was good for practicing this circular technique which is used a bit in free motion.  It is going to take a bit more practice before I am even remotely proficient but it was a fun exercise.  I even got to bust out my Bernina stitch regulator…

quilting detail

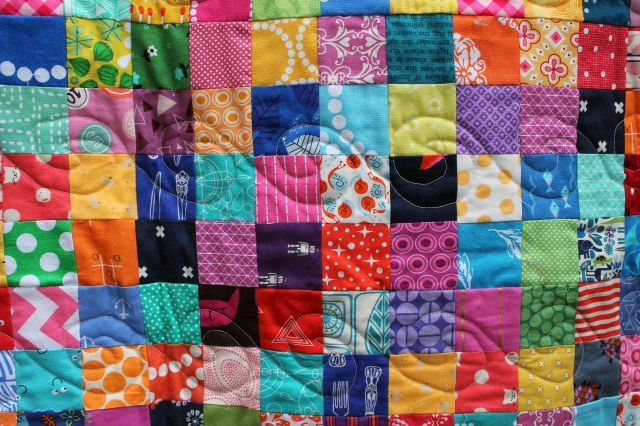
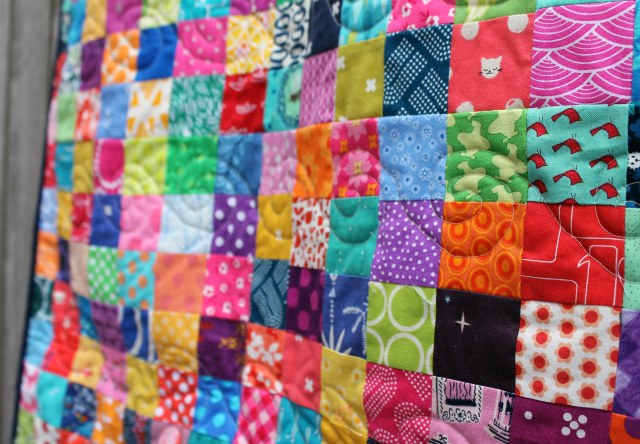
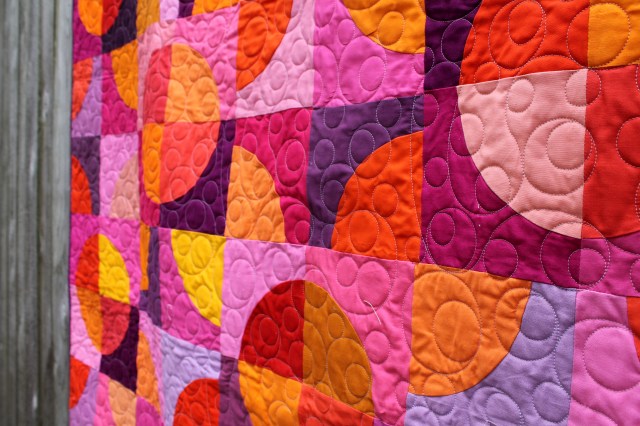
Do not look to closely because even with a drawn line my quilting is very wonky… but from a distance it all looks fine…

quilt

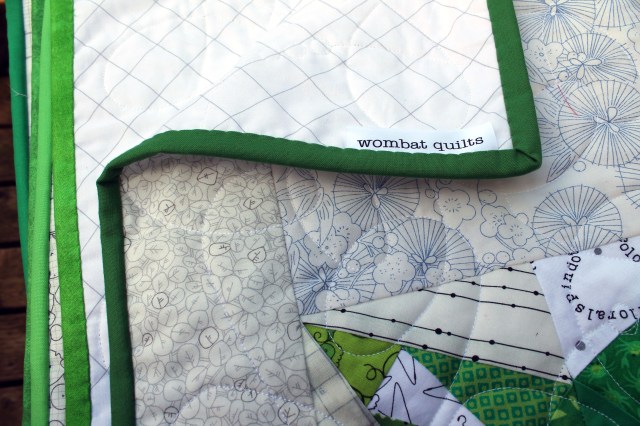
For the back of the quilt I found a lovely Alexander Henry print in my stash that worked perfectly…

quilt back detail

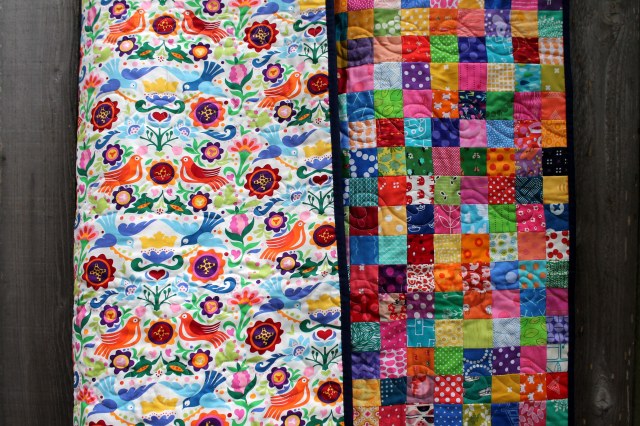
Some solid Kona navy binding and a label and this beauty is ready to head off into the world… hopefully it will bring a smile to some kids face.

My scrap shoe box is already half full (after a busy scrap cutting session last week) so there will be another one of these in my future I am sure.

More curves…

It seemed fitting to finish this week by sharing my most recent finish…which was also my first curved quilt EVER…

finished circle quilt

I started this quilt 2014 after being challenged to do some curved blocks for a quilting bee (thanks Michelle for the challenge!). For this top I used the EZ Circle ruler and the blocks are decidedly bigger than Monday’s adventure.  If you want to learn more about the making of this quilt you can check out my original post here

quilt detail 3

For this top I used a huge stack of solid scraps that I had in my stash…including Konas, Couture Cottons, Bella cottons and some American Made cottons.  I do not make a lot of solid only quilts but solids seemed like the perfect way learn to curve piece (no pattern distractions!)….

quilt detail 2

I am thrilled with how it all turned out.  I had Kazumi do some fabulous all over quilting on this baby…and I love the circles upon circles.  I was worried at first that the quilting may compete with the piecing but I think they work well together…

quilting detail 2

And there is no way I could have done anything this cool with the quilting by myself.  The quilt is backed with some fabulous IKEA fabric which seemed to compliment the crazy of the front of the quilt…

quilt back

A little scrappy binding and I have another quilt off my WIP list.  I am really rocking them this quarter… of course with some help from a very talented long arm quilter… it feels a little like cheating but I so love what Kazumi brings to my quilts.

Some bad habits…

Some bad habits have formed over here at Wombat Quilts.  I seem to have got out of the routine of documenting what I am up to, and in turn out of the habit of blogging.  After a stern talking too from my darling husband I am trying to get back into the swing of writing more regularly…

The good news is that I have a plenty of finished quilts to share.. because I have not blogging does not mean I have not been making….

So turning over this new/old leaf I am starting this Friday with a lovely work in progress I have just finished…

finished green star quilt

Yep my Paper Piecing Monday green star quilt is now done… thanks in part to the wonderful long arm services of Kazumi Peterson.

quilt details 5

Last week I did a talk at a local Traditional quilt guild and while preparing my talk I realised that I had given away most of my quilts…. I have kept a handful but I wanted more to show.  So there was a couple of weeks of feverish activity to get some quilts done, as well as a trip or two to my local long armer.

quilt details 2

I really love how the quilt to turned out with all those lovely 8 inch stars floating about on a sea of scrappy low volume prints…

quilt detail 6

There is a lot of work in this quilt, but doing a star a week really makes the process less daunting…

star detail

If you are crazy enough to want to make your own version the patterns for all these stars are on the blog… you can find them under the “Free Paper Piecing Patterns” tab.

quilt details 4

I love the movement that quilting gives the stars… it is just a simple all over pattern but it is really effective…

quilting details

I must admit I also love the little flying geese blocks I scattered around the border of the quilt… I am not usually one for adding borders but this quilt needed some space around it, and the three little triangles on all sides made everything all right…

flying geese details

To finish everything off I hand bound the quilt using a variety of scrappy solid and marbled greens….

binding

This quilt also marks another finish for this quarters Finish-Along.  After a very slack first quarter I have taken a decent bite out of my WIP list, while adding only a handful of new projects to my slate!  If you want more information on the Finish-Along check out Debbie at A Quilter’s Table post… this quarter’s fun is already underway but you can always join in next quarter.  It really has been a wonderful way to keep myself focused on finishing stuff and not just making new WIPs!!!

A special quilt show…

I have been a little AWOL from the blog for the last couple of weeks because I have been feverishly finishing up quilts….

The first lot of finishes involved putting the finishing touches on some of the Guild’s charity quilts in time for this month’s display at Modern Domestic.

quilts on display 8

Usually when we finish up a charity quilt it is bundled up and sent off to the appropriate charity but for the last couple of months I have been collecting them so that they could be put on display at our local quilt store…

quilts on display 5

I can not explain how excited I was to see all our recent quilts hanging together.  It was just so wonderful…and bright…and affirming.  There are so many people who have had a hand in these quilts and there is so much love stitched into every one.

quilts on display 7

I also wanted to spotlight the newest PMQG quilt finish, so that you can see it in more detail…just in case you can not make it into the store to see it in person…..

quilts on display 4

For most of the charities we give quilts to there is a pressing need for boy quilts, and this quilt was made to as a gender neutral option…

quilting detail

Our colour scheme for the day was grey with a splash of aqua/turquoise.   For a couple of months I had been putting all my grey scraps into a large bin, knowing that  they would be perfect for an improv sew day.

improv quilt detail2
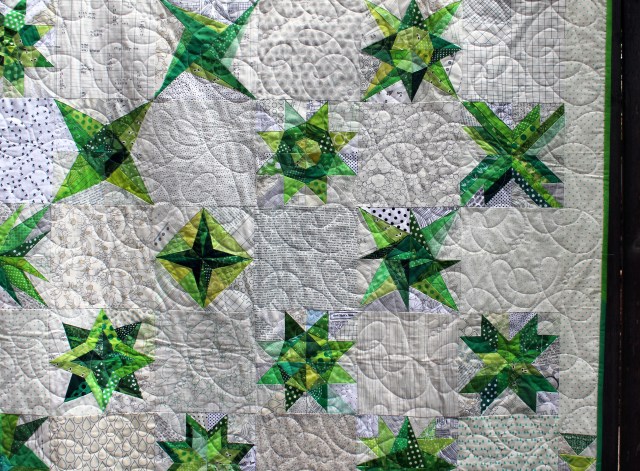
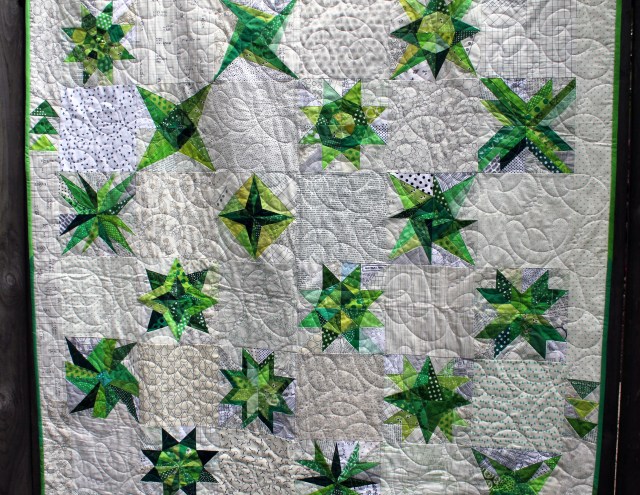
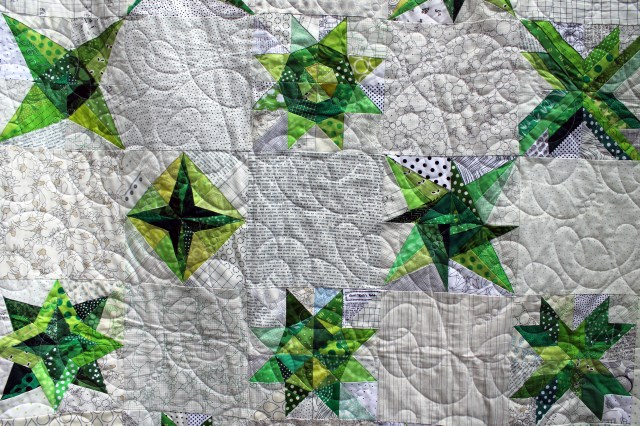
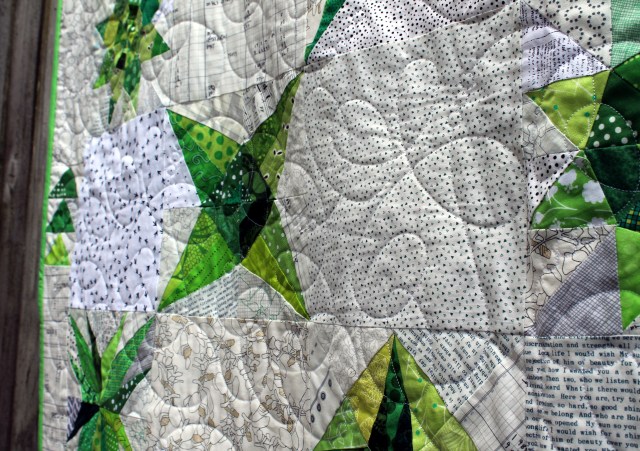
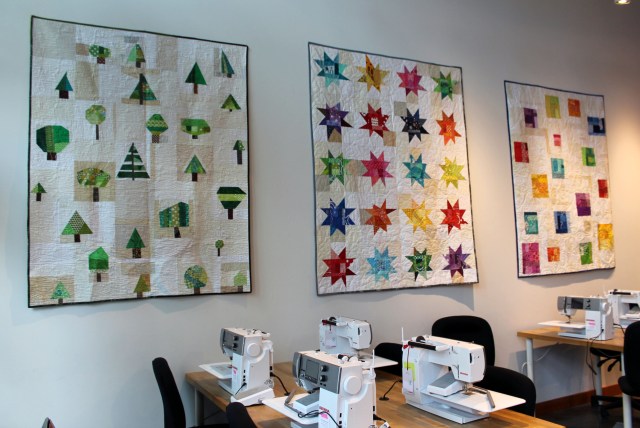
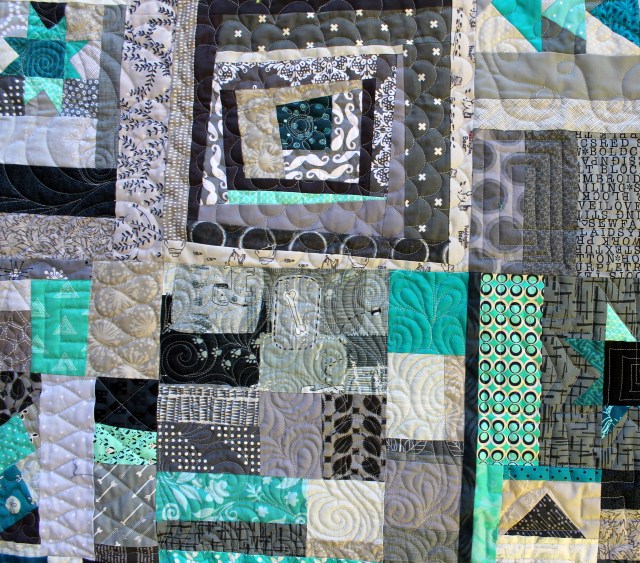
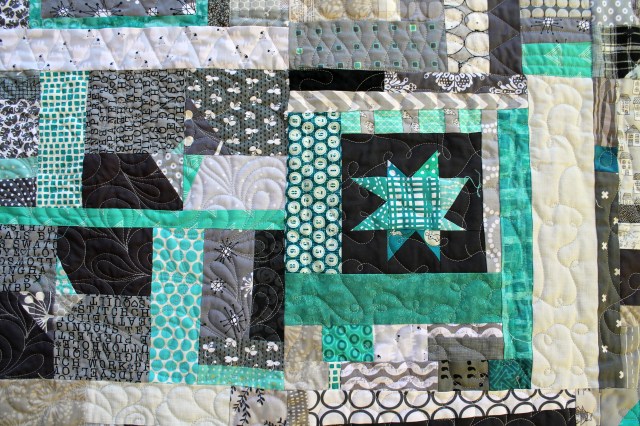
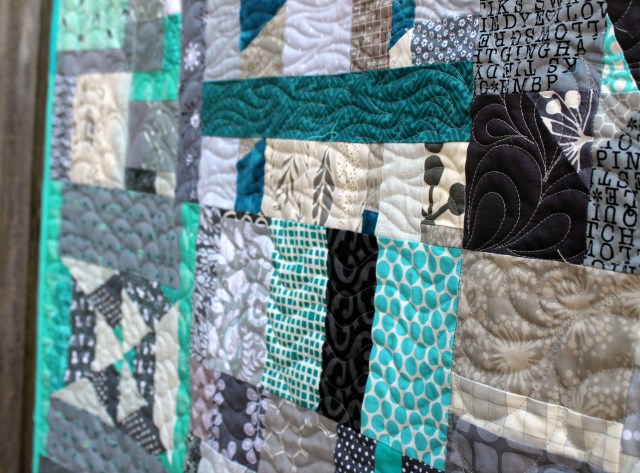
I love the improv days because everyone gets to do their own thing… and anything goes.

improv quilt detail
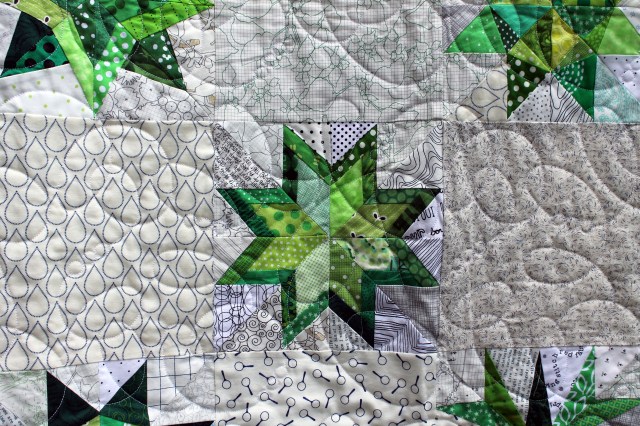
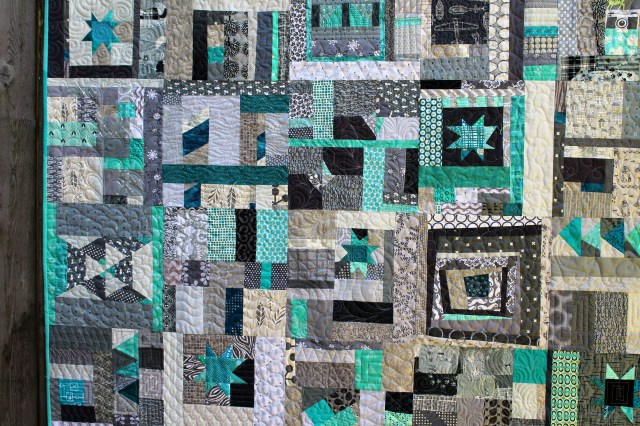
There was a flurry of wonky stars made, spear headed by one of our charity sew day regulars Betty.

quilt block detail

Other people took the scraps and trimmings from other peoples blocks and made something fun.

wonky star

We of course embraced novelty prints, because this is a kids quilt after all.

quilt detail

The fabulous quilting was done by another charity sew day regular, Kazumi.   Kazumi is a professional long armer and you will see more of her work in the coming weeks as she has done some quilting for me recently!

A pretty little finish…

This week I finally finished up my hexagon flower baby quilt.  This quilt came about after a small mistake with my hexi pelt… but it is definitely lemonade and not lemons…

hexagon baby quilt

For this quilt I took the hexagon flowers I had hand pieced and attached them to a low volume back ground… if you want to know more about my process for this you can check out my original post

close up flower detail

When it came time to put this quilt together I decided to use a high loft wool batting… which gives the quilt a plush softness that I think is great for a baby quilt.

hexi quilt detail

I did not want to over quilt so I echo stiched the block lines, leaving a puff flower center.    Because the flowers were stitched onto the blocks before the quilt was quilted the flower has a raised feel to it.

hexi flower detail

Plus there is enough fussy cut goodness in it to make for a good game or two of eye spy….

hexis

Since I made my hexie mistake I have been avoiding my hexie pelt.  I have over 100+ flowers made but I have not been brave enough to attach them to my pelt.  I am hoping finishing this project up will get me over my hexagon hump… but the pelt at the moment looks like this…

hexagon quilt wip 2