So how was your holiday/Christmas break? I hope it was fun and constructive and full of family and friends. Mine was definitely constructive on the paper piecing front… this is what I got finished in December….
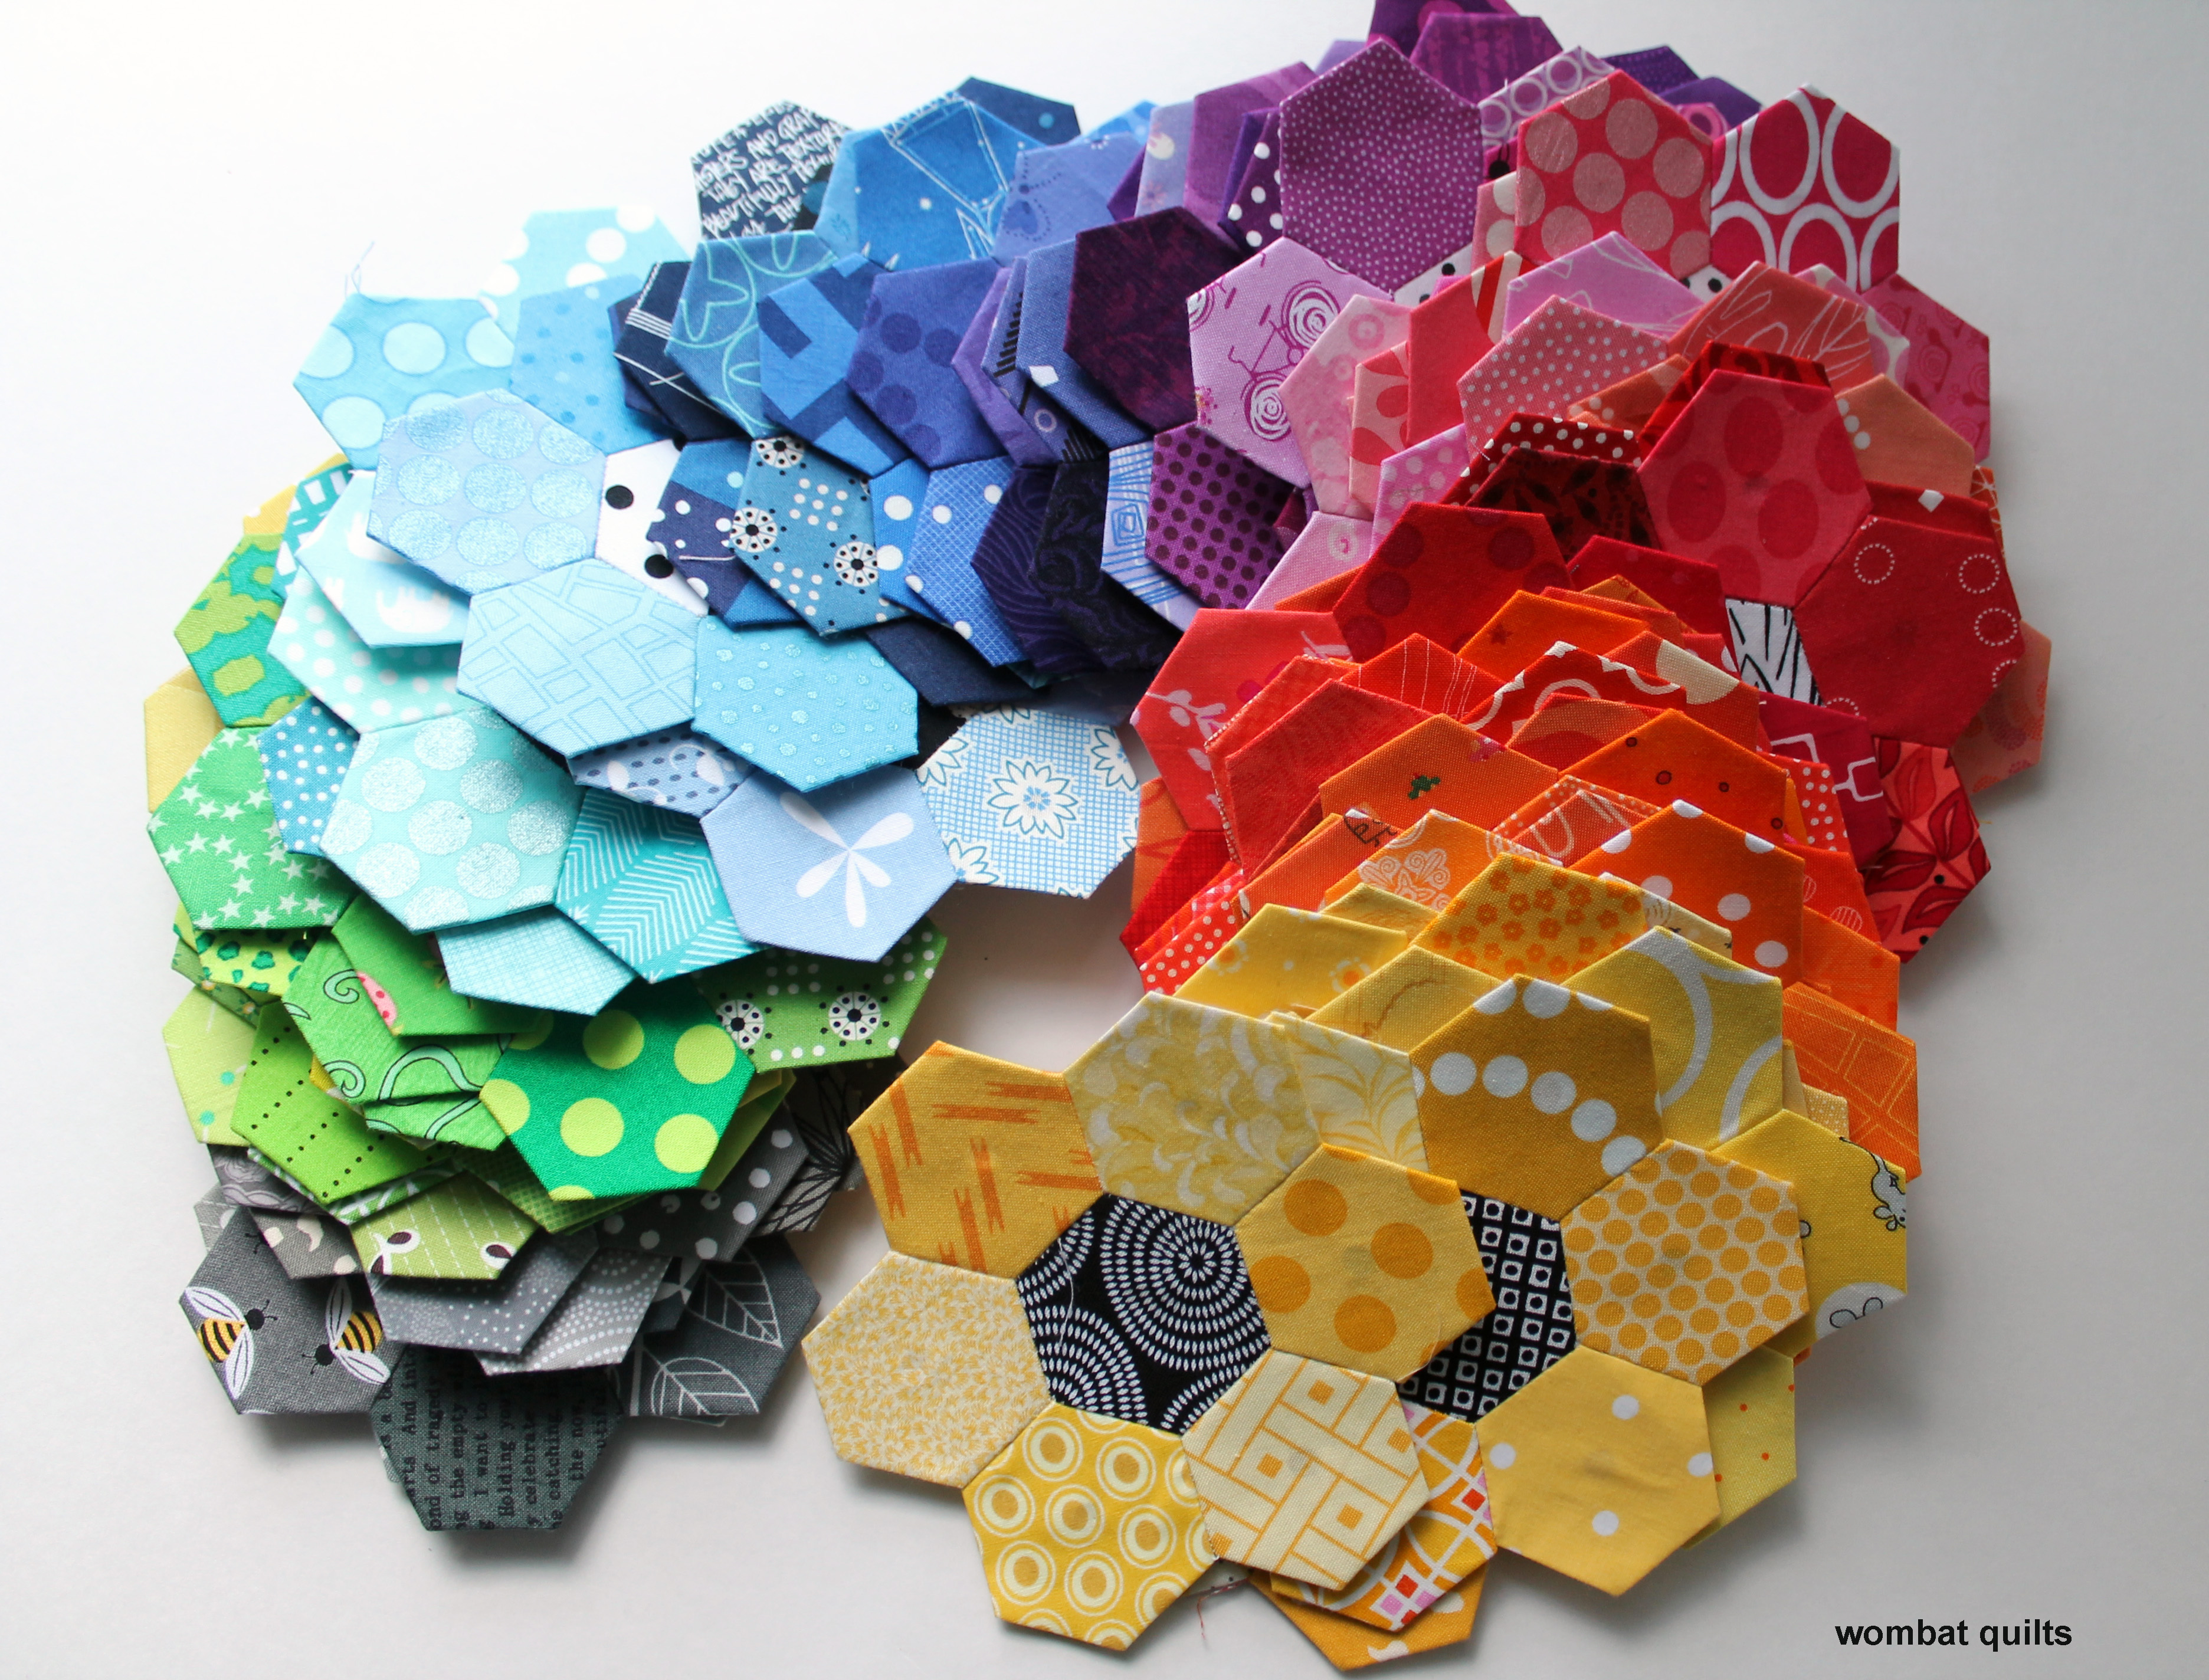
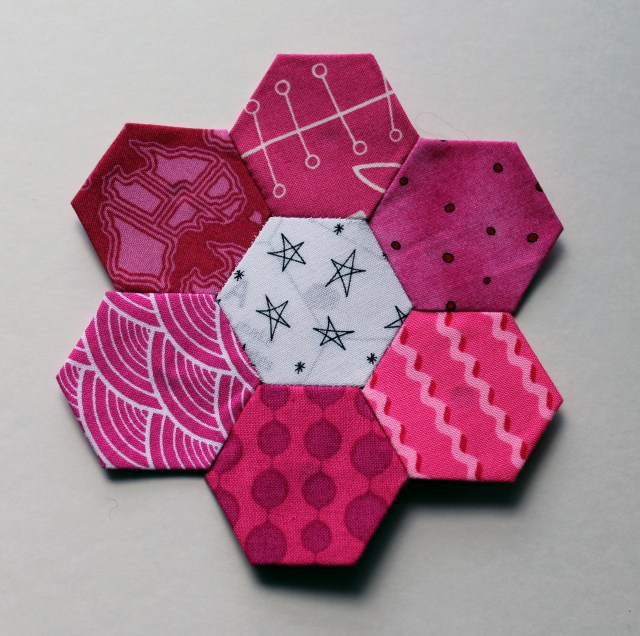
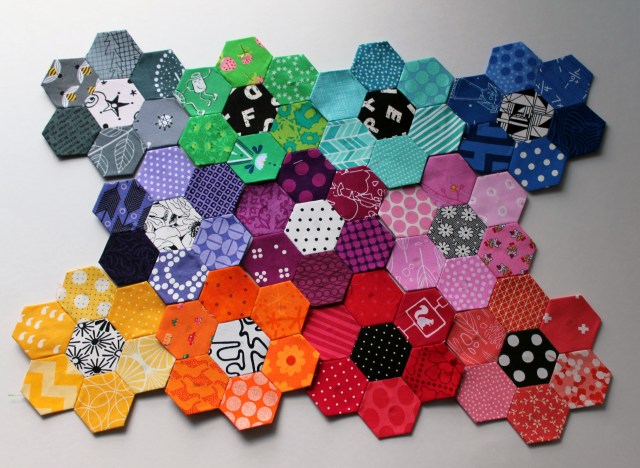
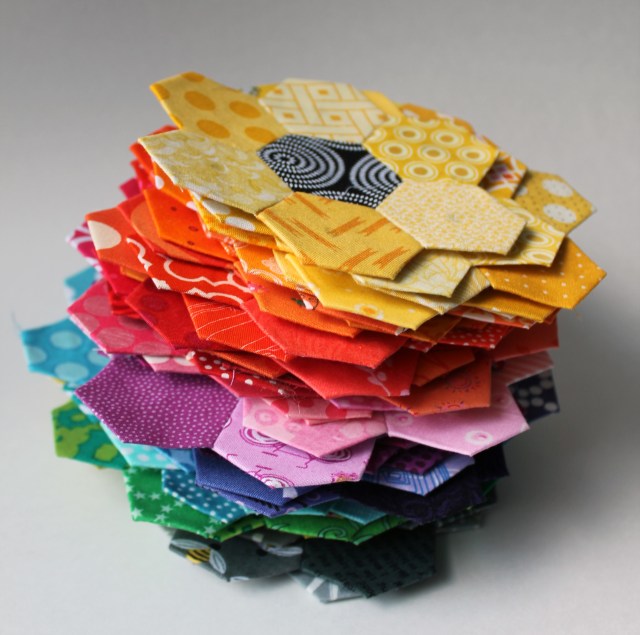 This is a stack of 84 hexagon flowers… does not look like much so maybe this photo will help…
 I became a hexagon demon this Christmas…it is the only quilting I have done for over a month which is a little unusual for me but there is a reason why. You see in October my husband casually told me that his doctor had found a “fullness” in his neck. Fast forward a week and CT showed a 8 1/2 cm tumor in his neck. Those of you that have met my husband know he does not do anything in halves and his tumor was no exception…it was twice the size of what they considered large!
So after specialist appointment and some more tests we were given a date for surgery – 22nd of December. We were allowed to go to Australia which put me into full hexagon production mode. In preparation for the month or so we had ahead of us, I bought a Fiskar hexagon punch, one of the best investments I ever made.
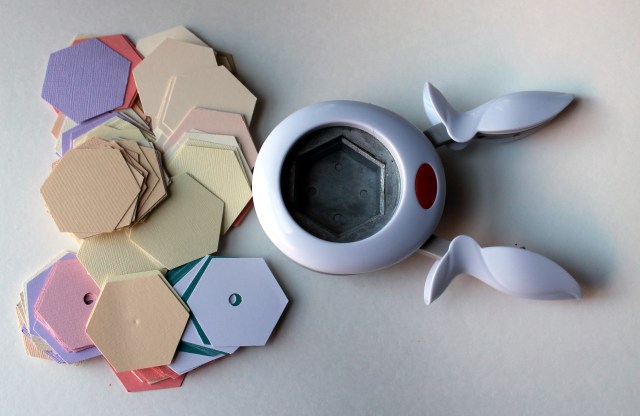 The punch does perfect 1 inch hexagons, so for a couple of nights I sat watching TV and punching out hexagons from scrapbooking paper I no longer use! Hundreds of them. Then scraps were then gathered from my stash and acquired from friends and I was set.
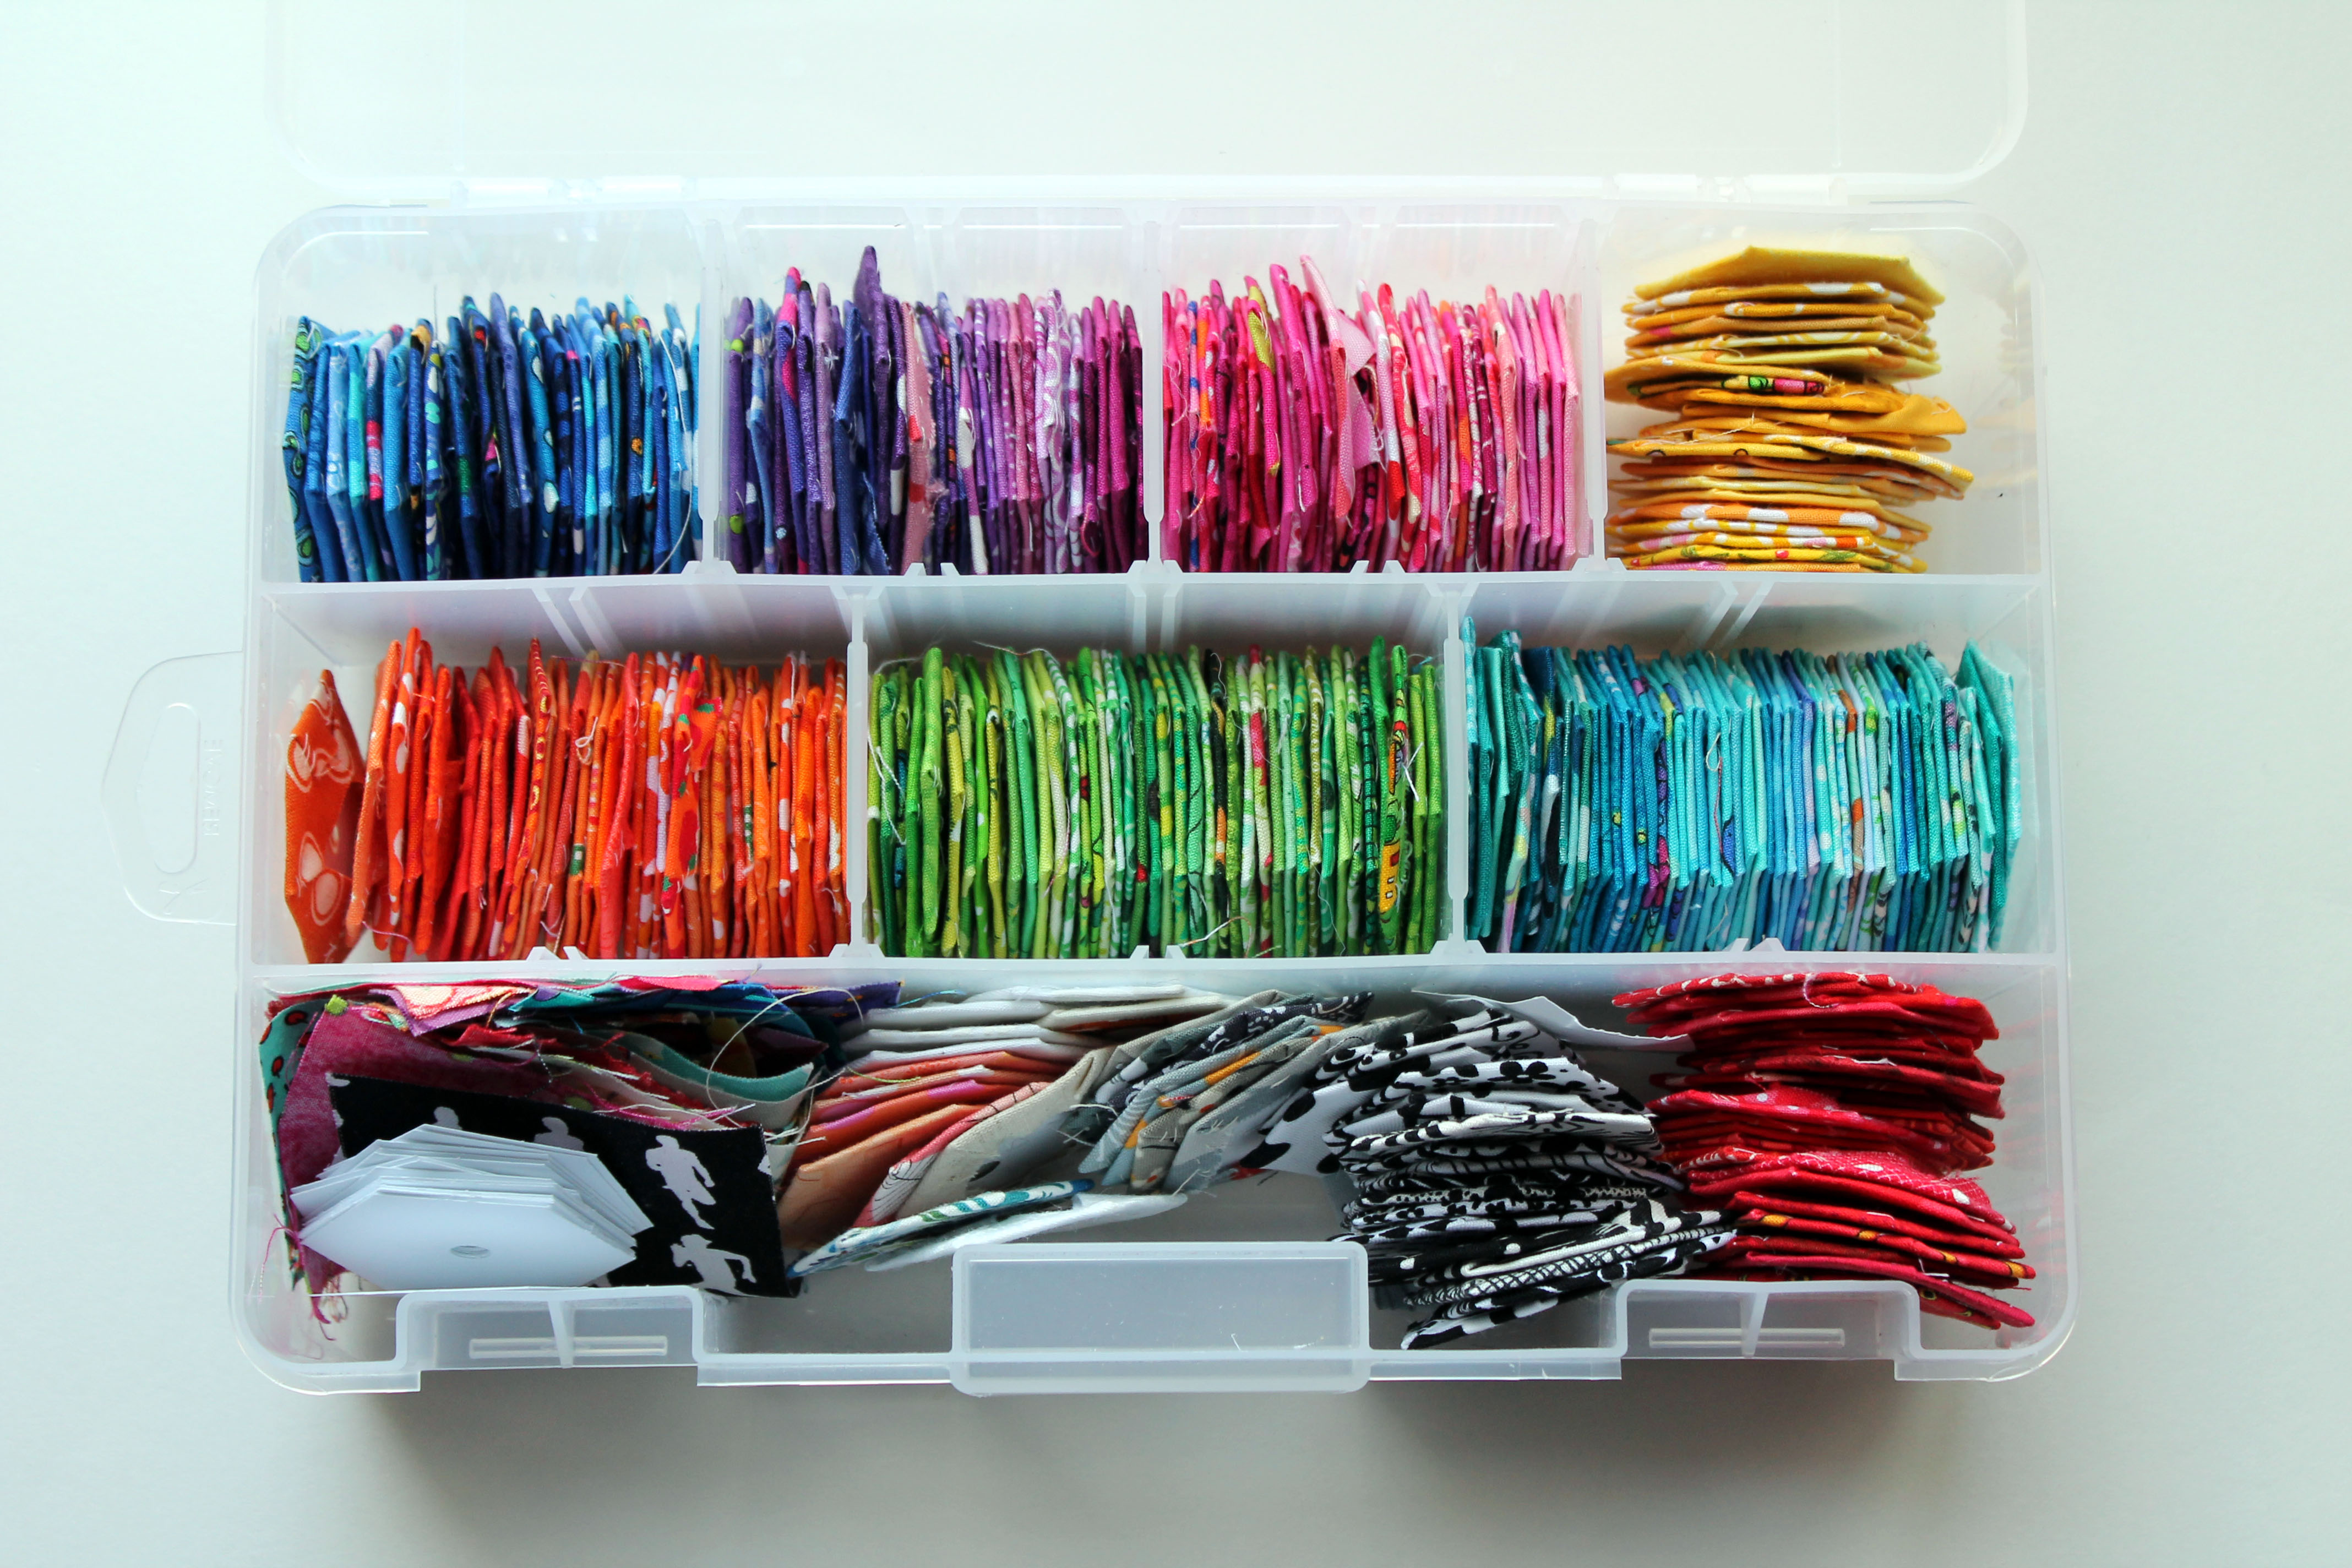
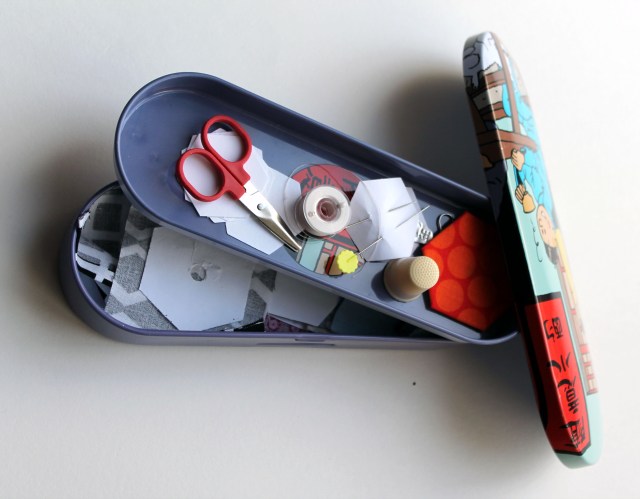
Our Aussie trip allowed me to make lots and lots and lots of hexagons… 16+ hours of flying each way allowed for a lot of sewing. I used my trusty hexagon travel kit..
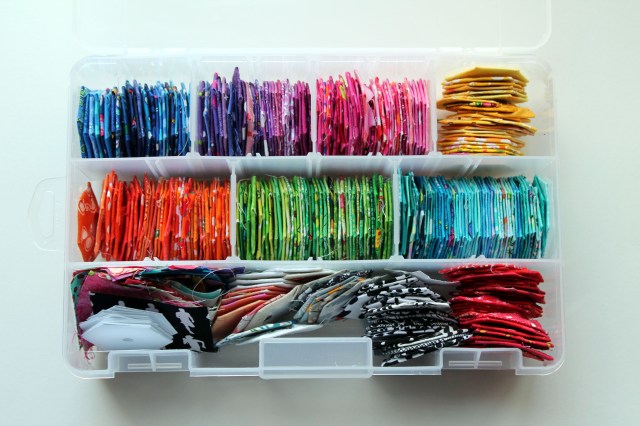
and filled my hexagon storage to over flowing…
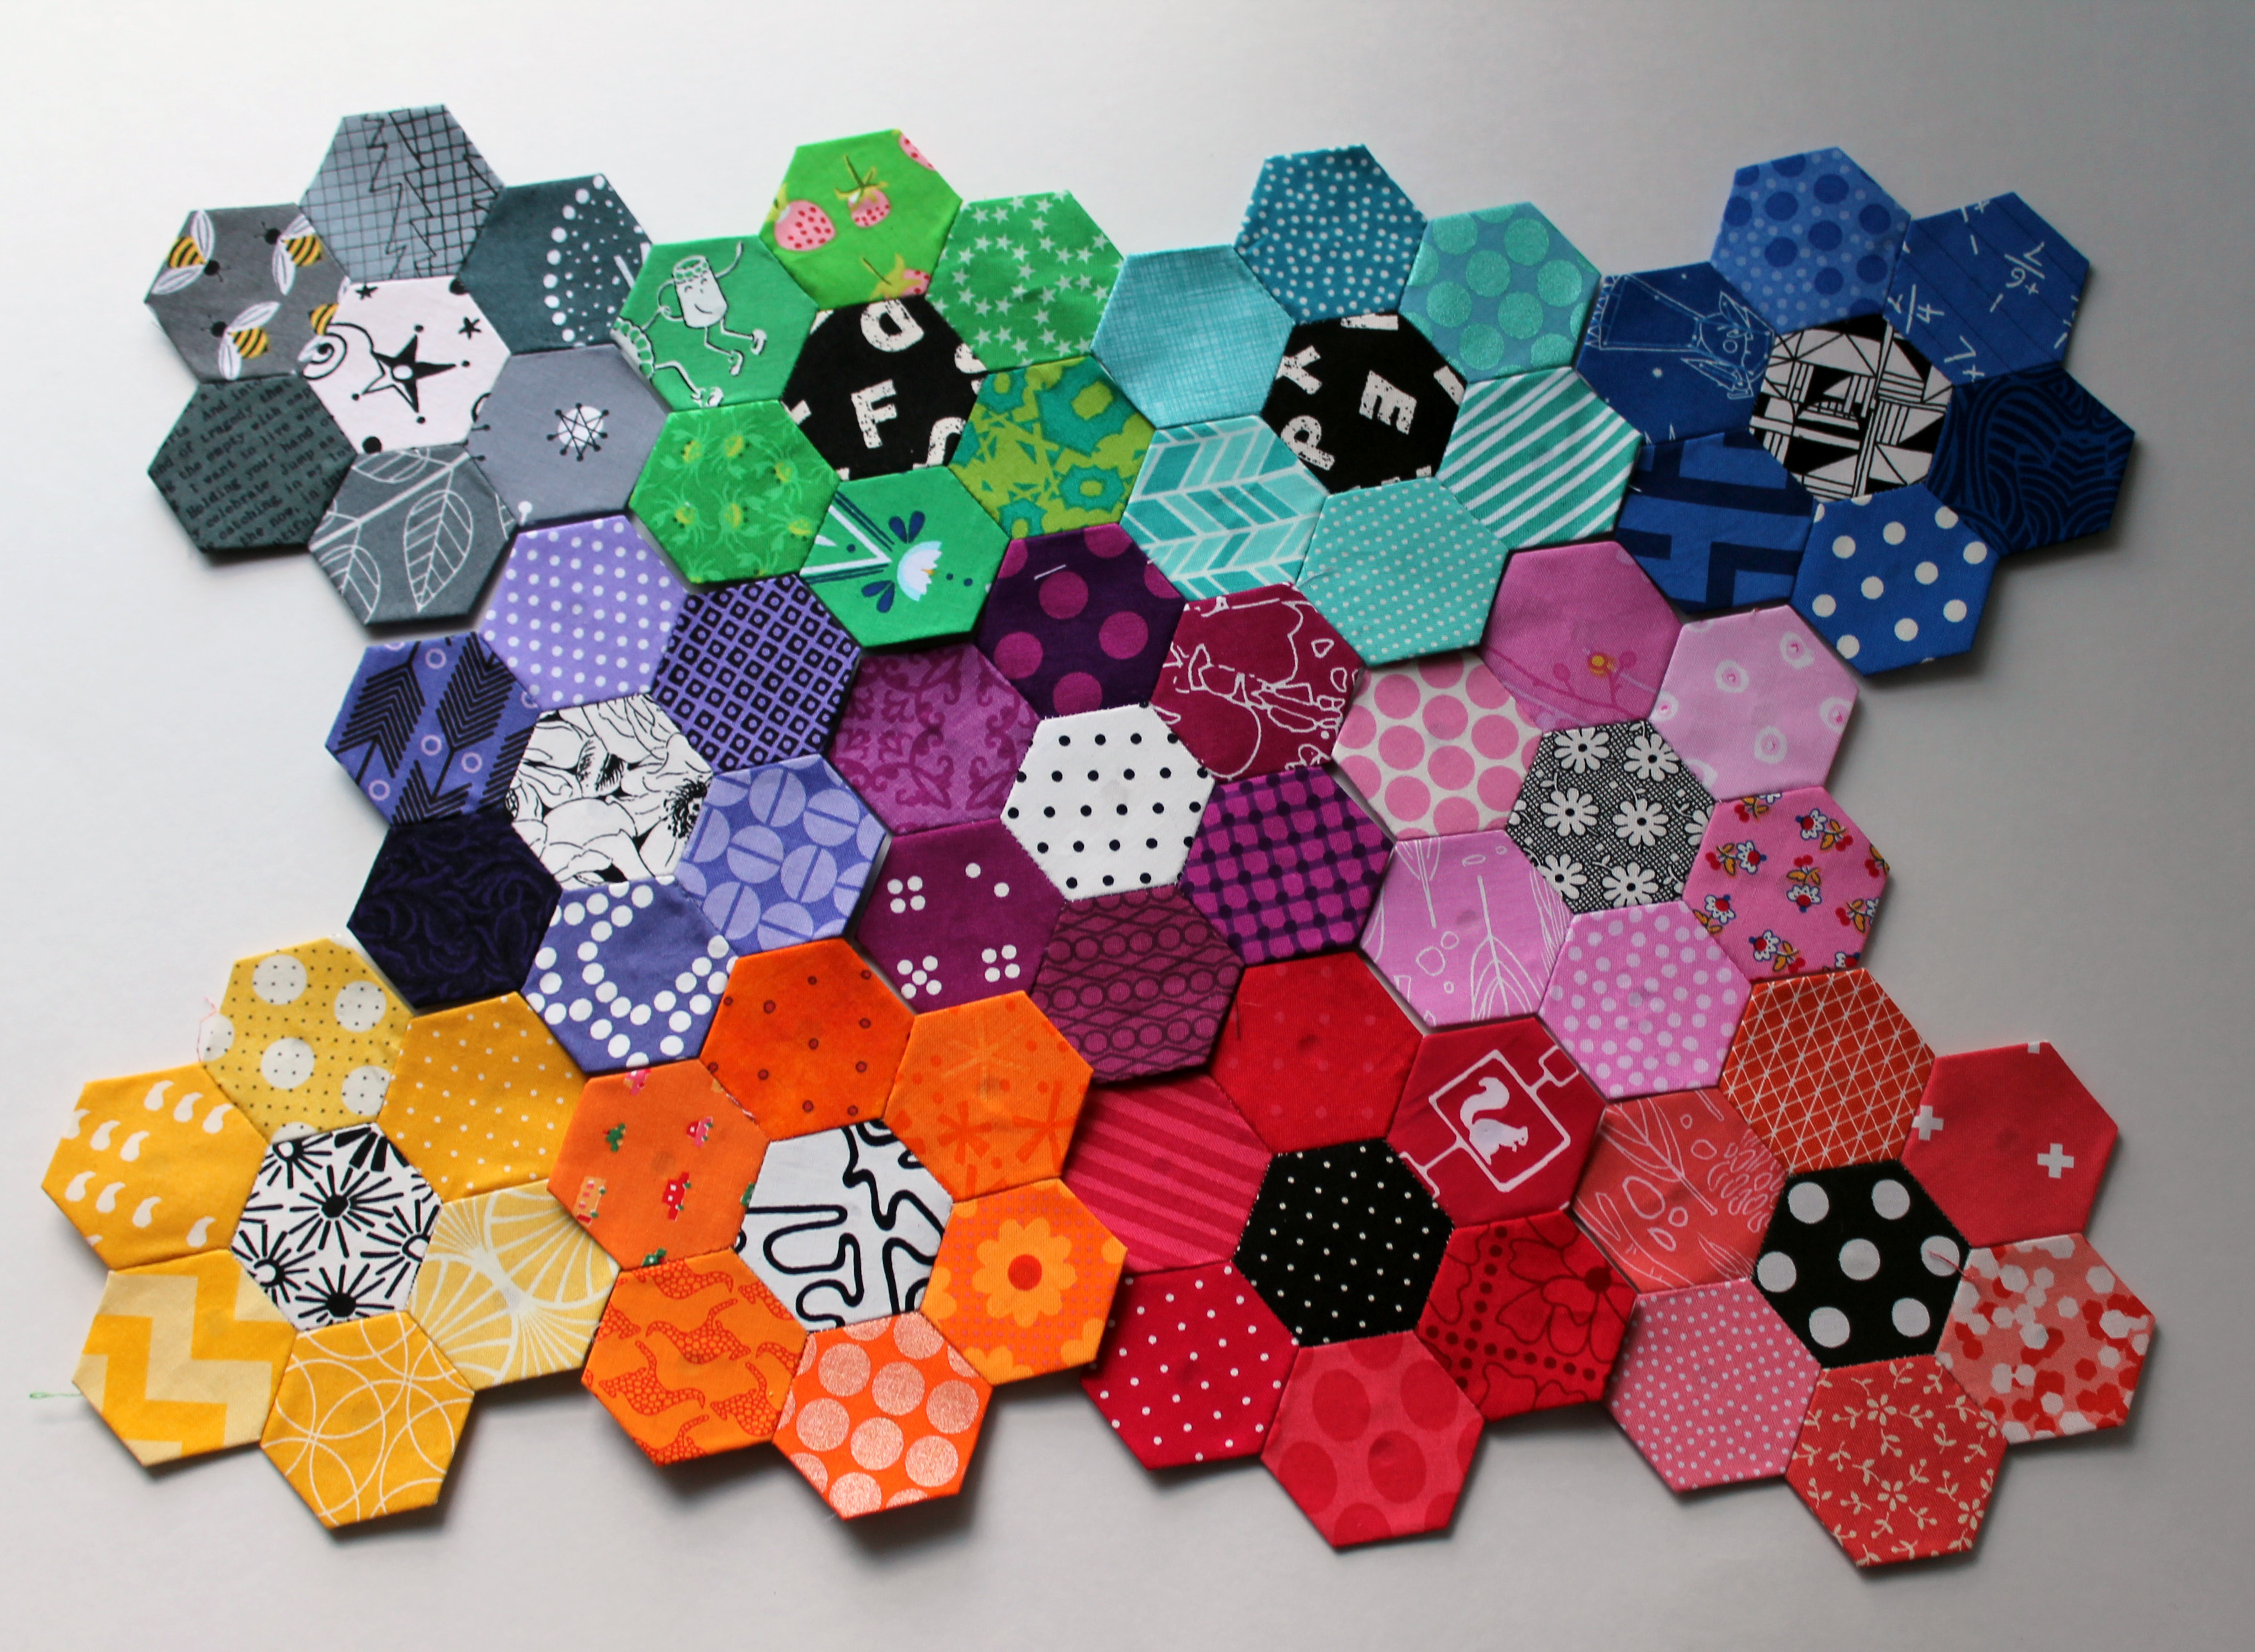
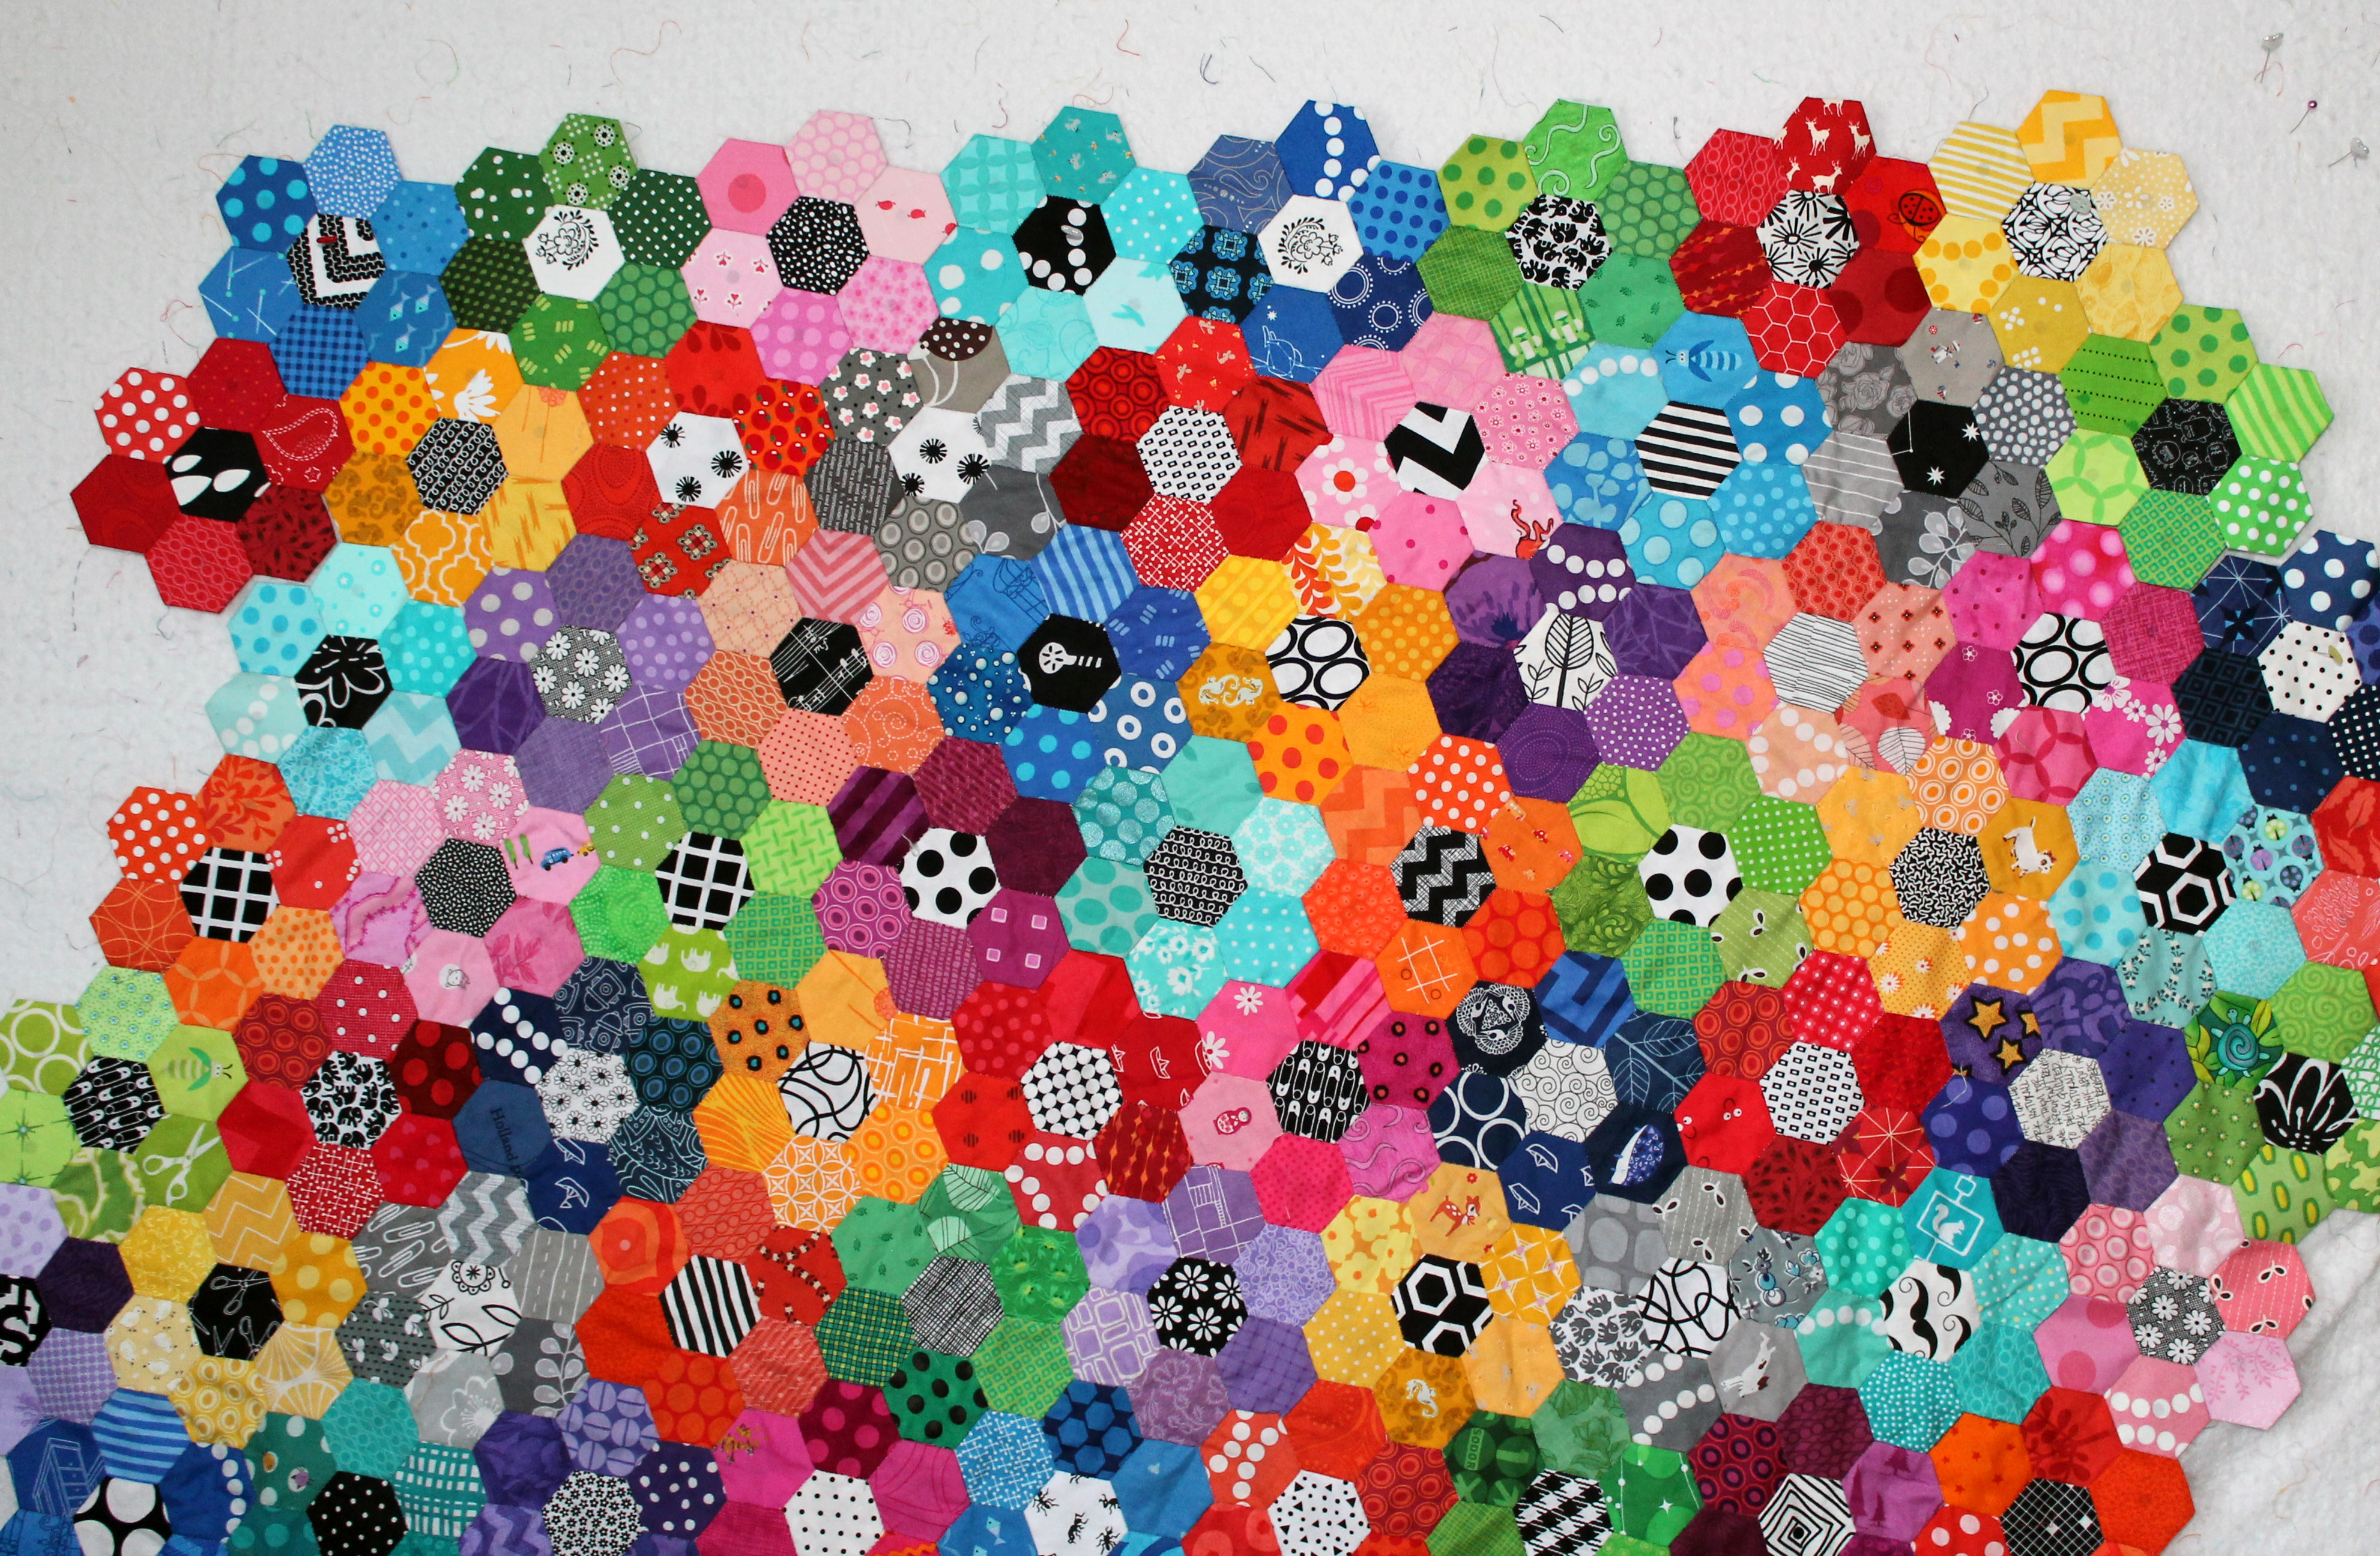
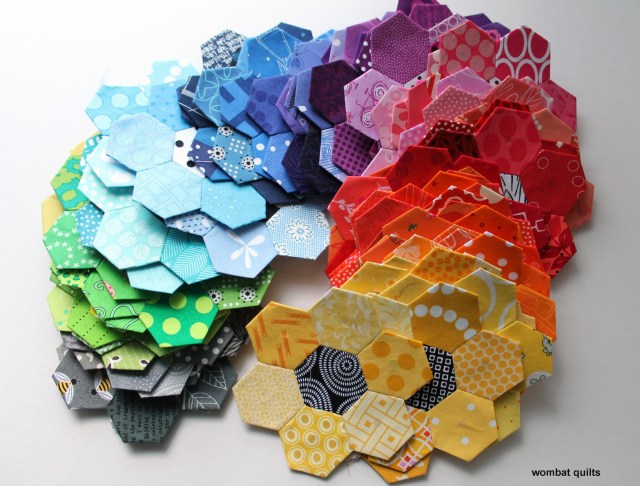
Medical appointments, surgery and recovery allowed me to turn my little hexagon collection into these…
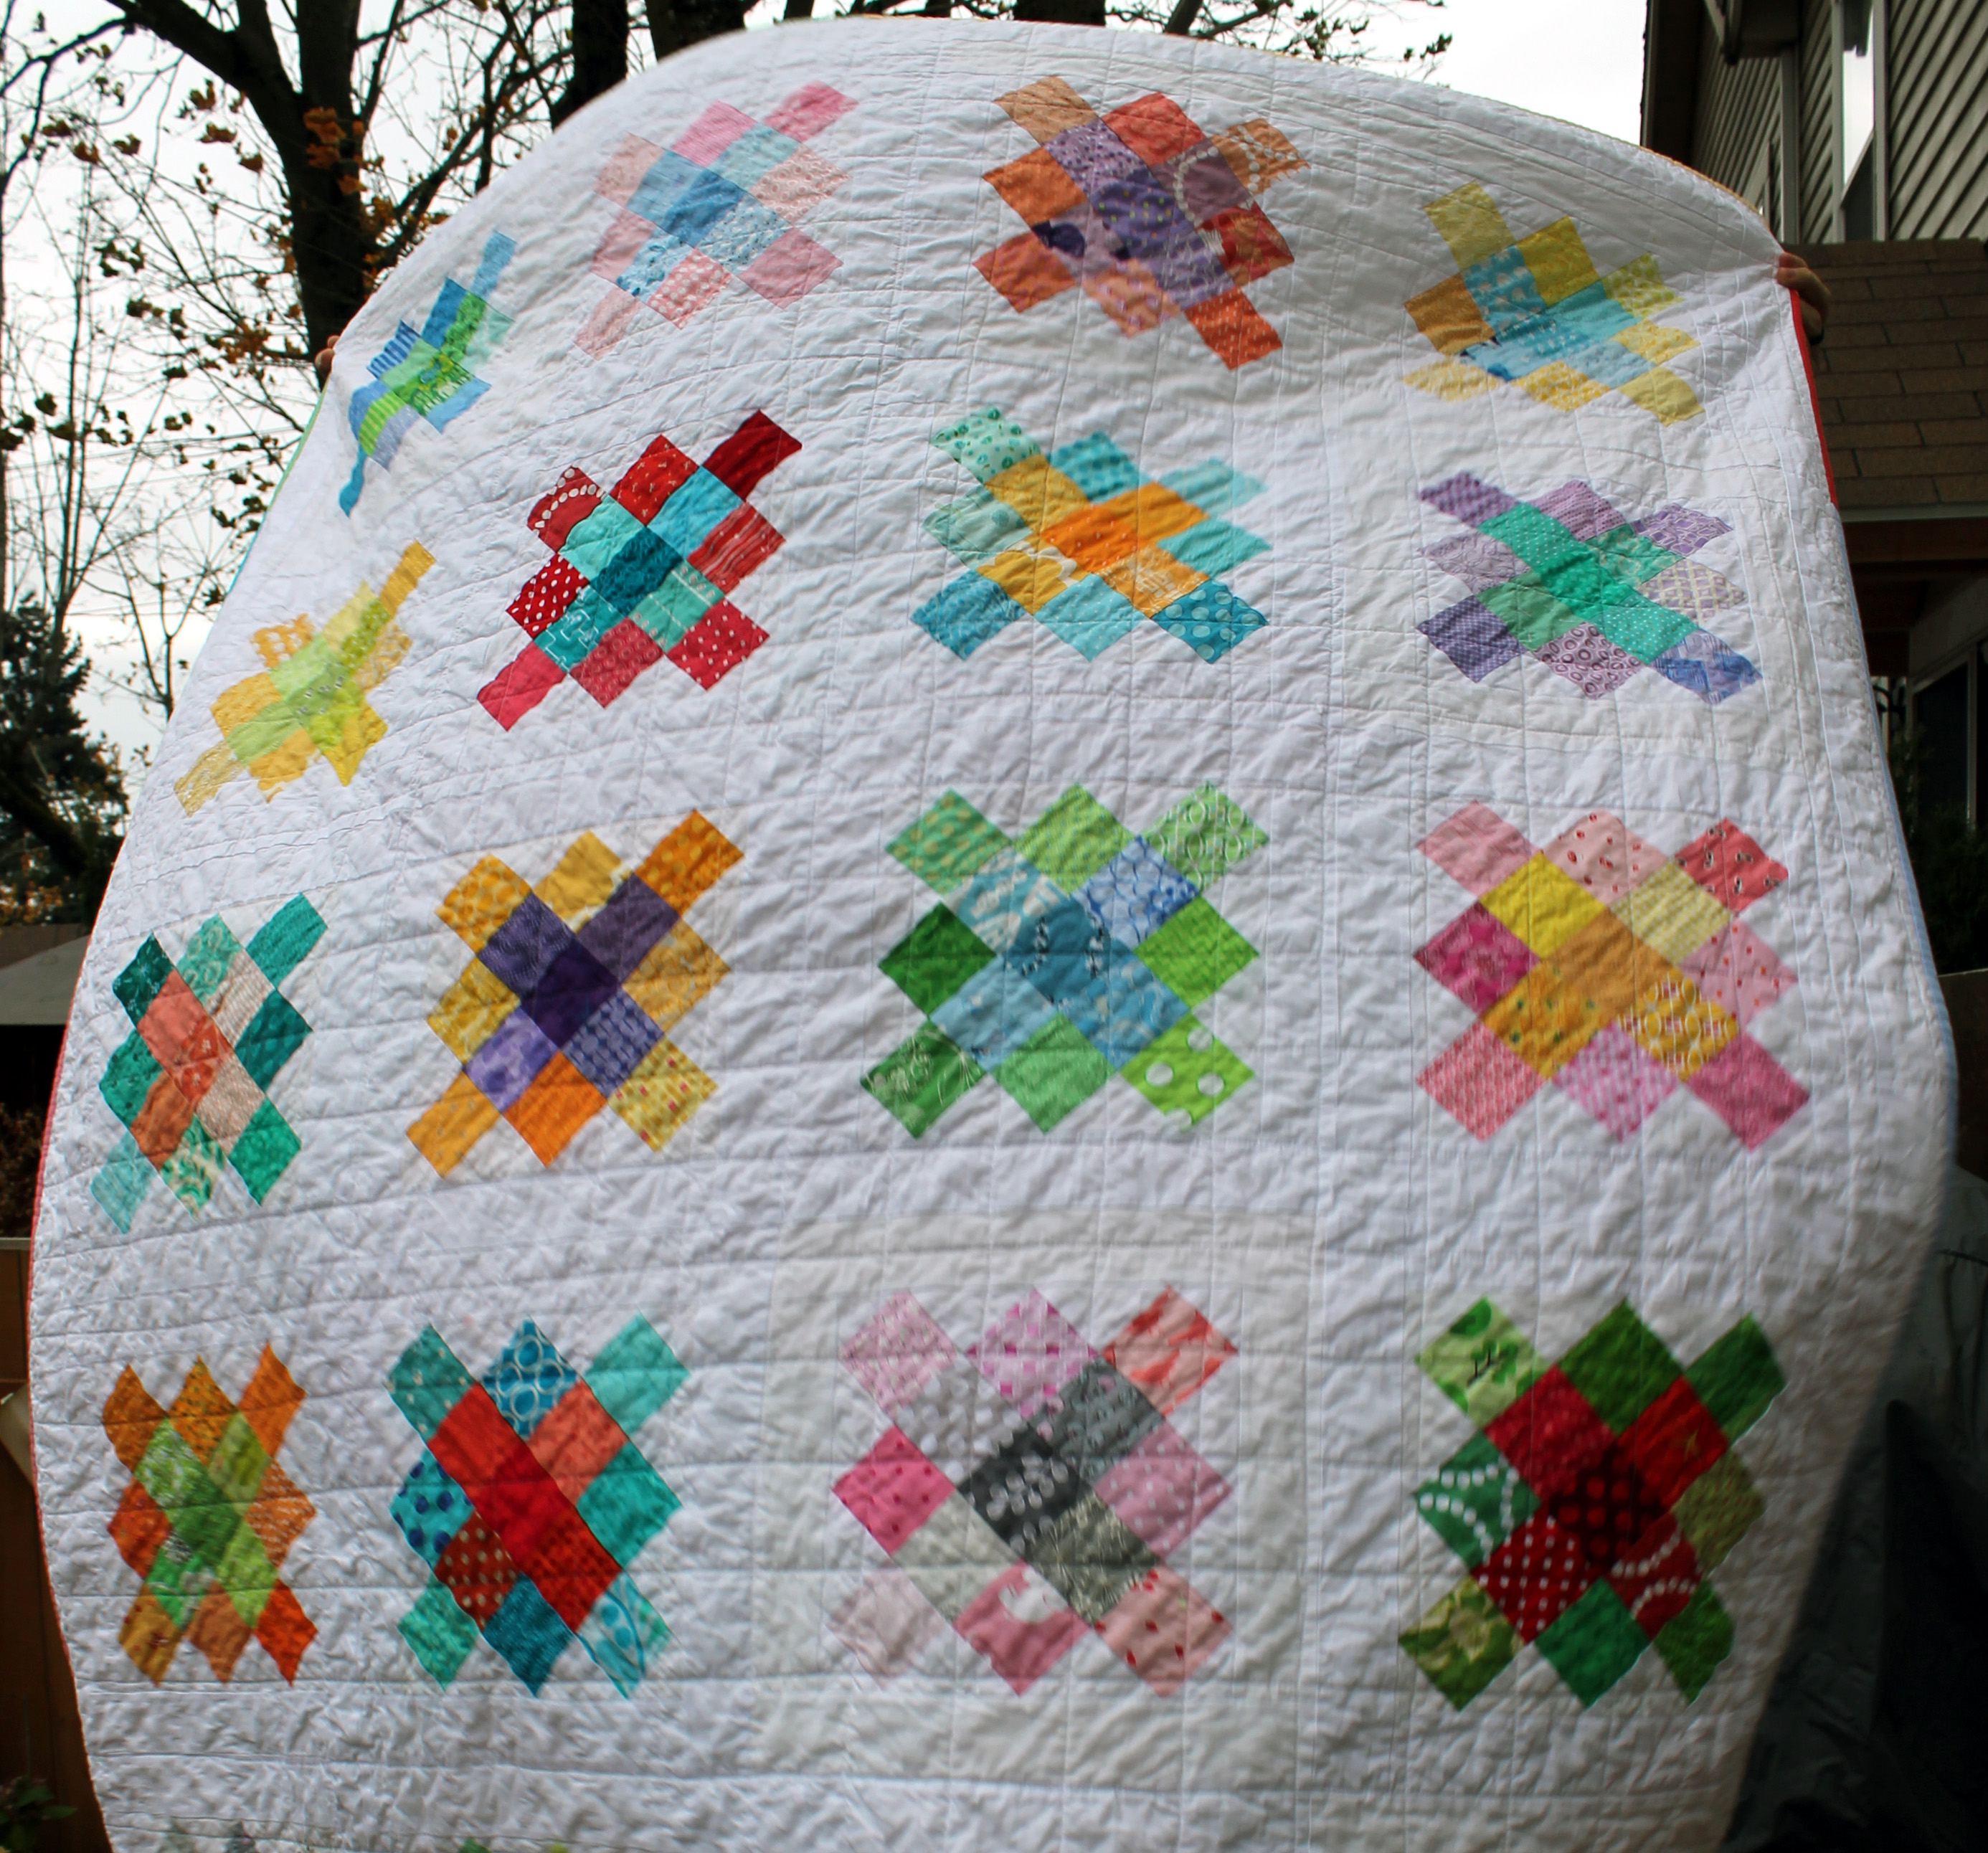
 My colour scheme is bright and consists of grey, green, aqua, blue, purple, magenta, pink, apricot, red, orange and yellow. I have a few repeats on the fabric but not too many.
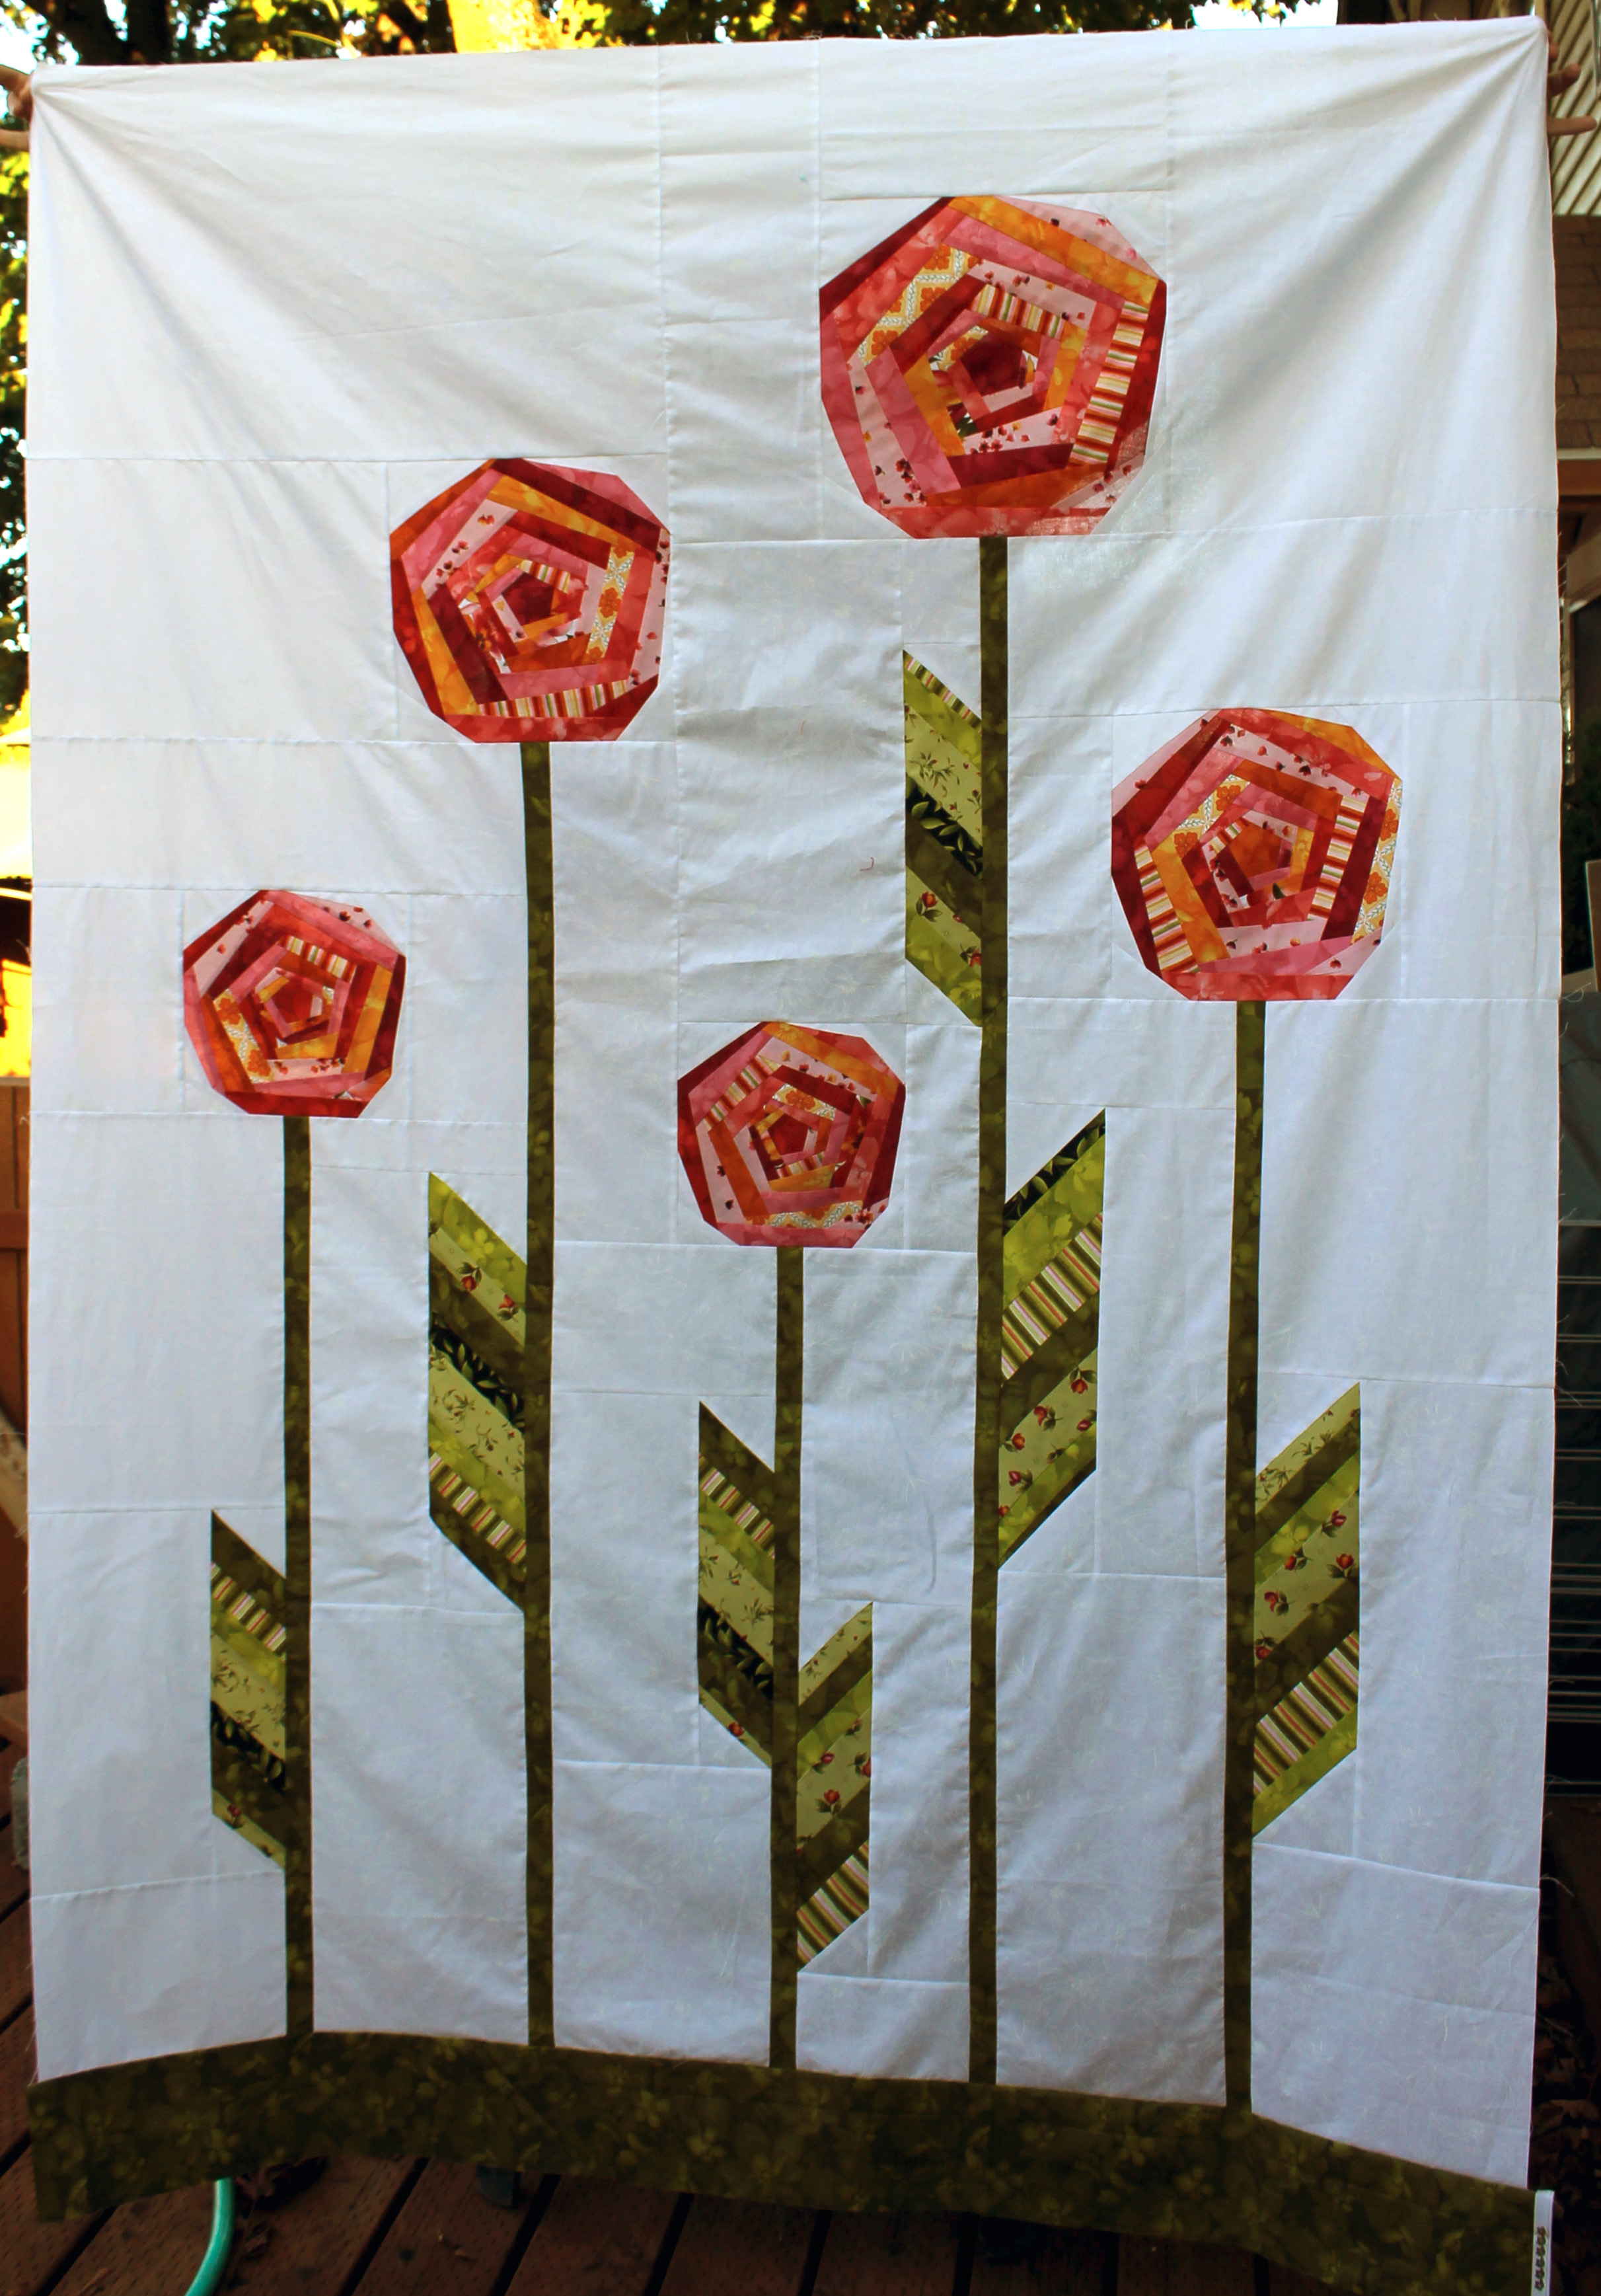
 I am pleased to say that the surgery went well. My darling husband has a wicked scar across his neck but the tumor was not cancerous. So now as he sits on the couch recuperating (playing computer games and listening to the cricket!) I am slowly sewing the hexagon flowers onto the main quilt.
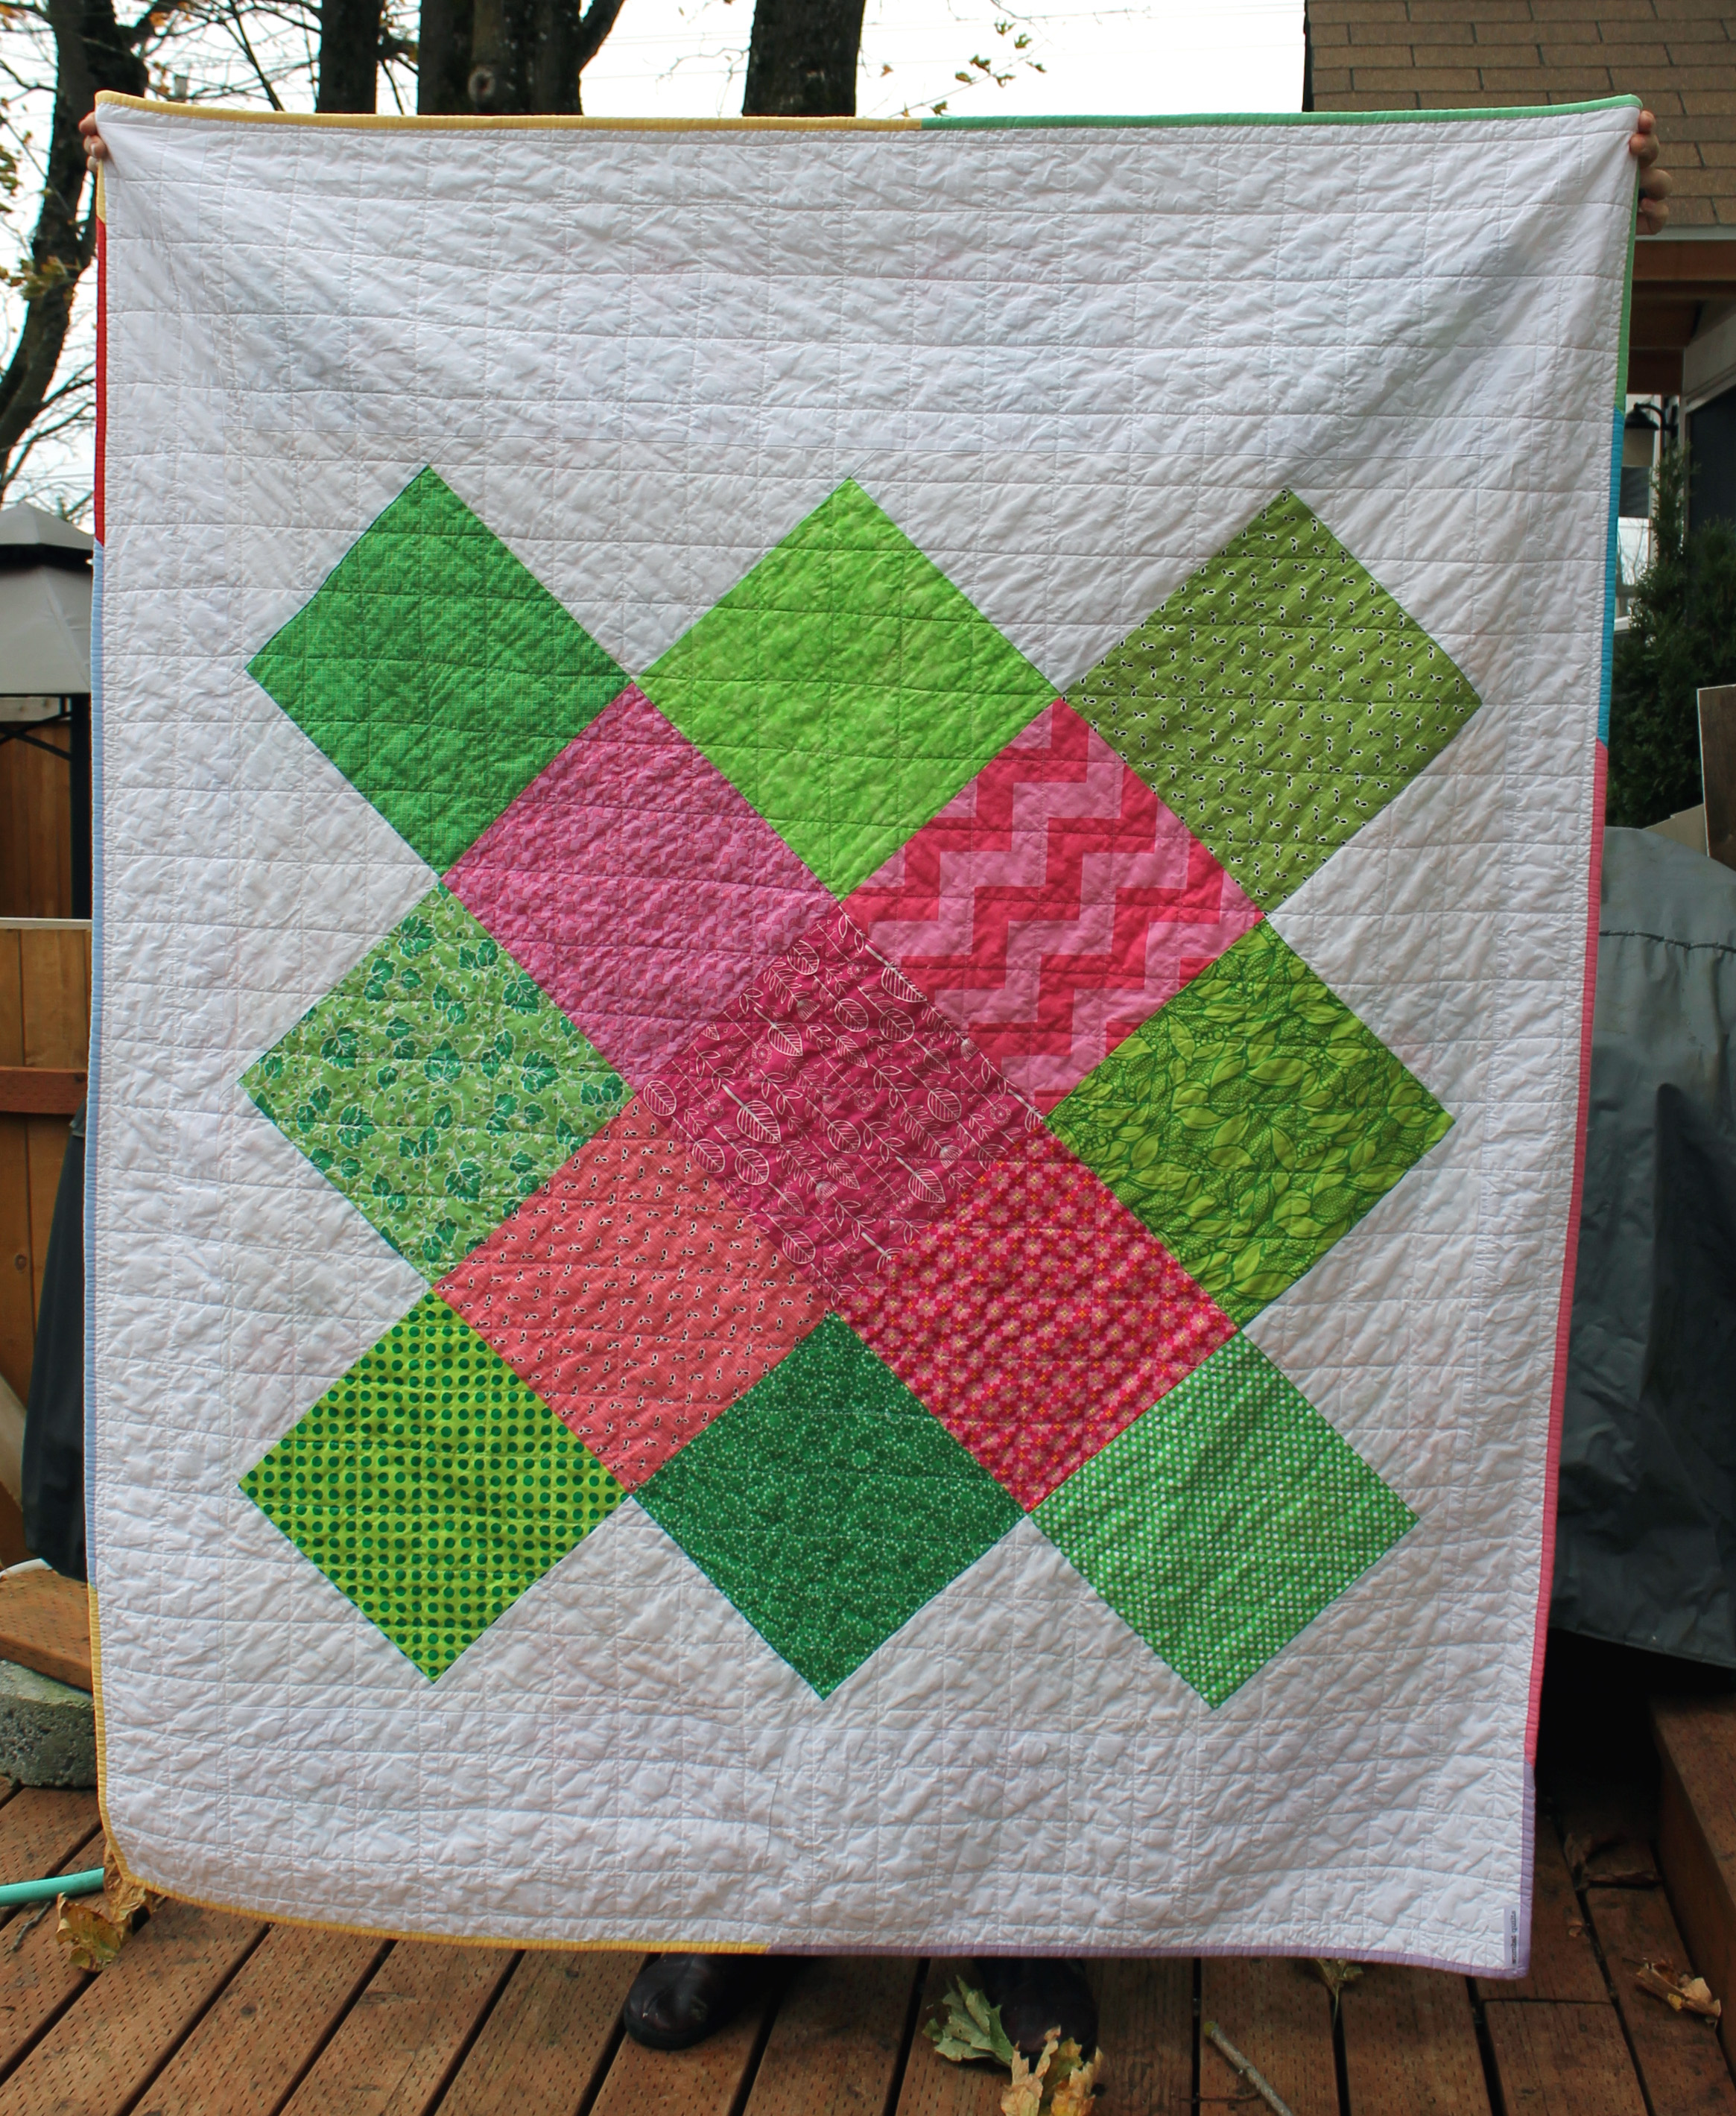
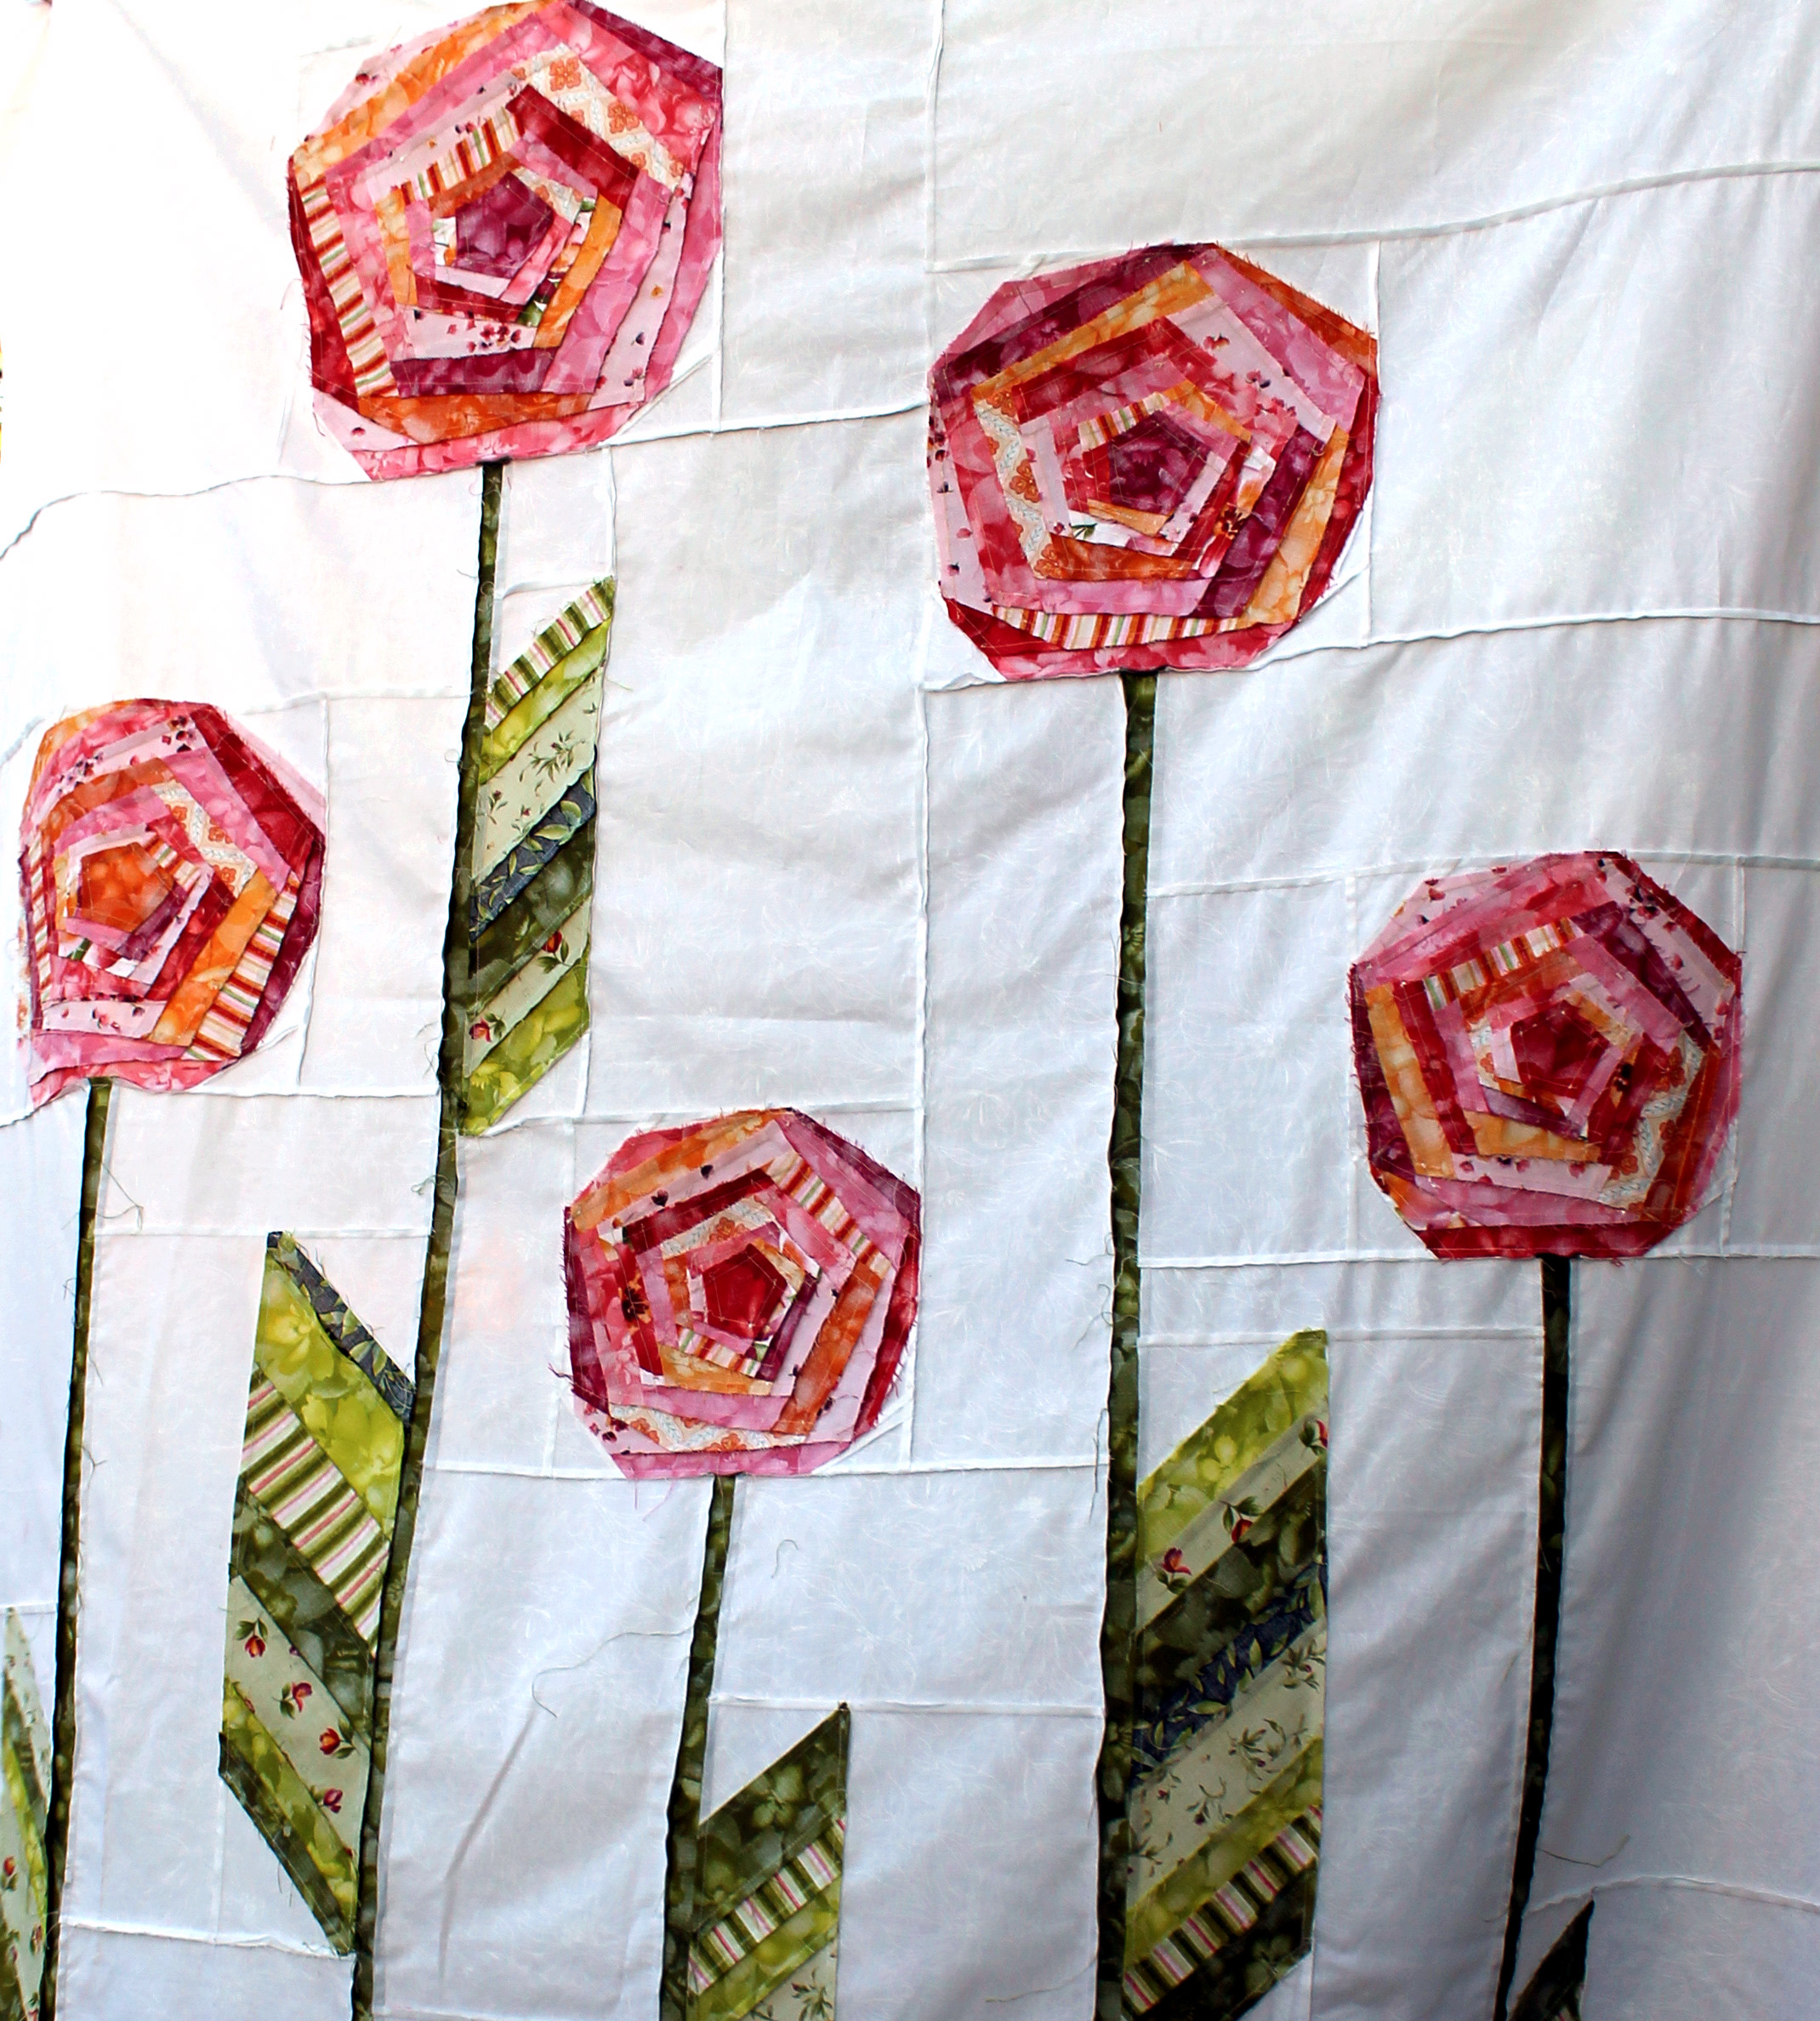
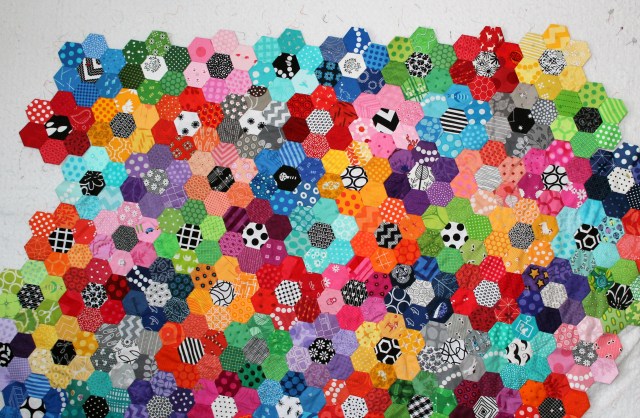 I am trying to fill the gaps and get a straight edge happening, instead of the willy nilly placement I had going earlier. My husband declared that he wanted this quilt earlier in the year so it seemed fitting that I threw myself into its production during his medical hi jinks.


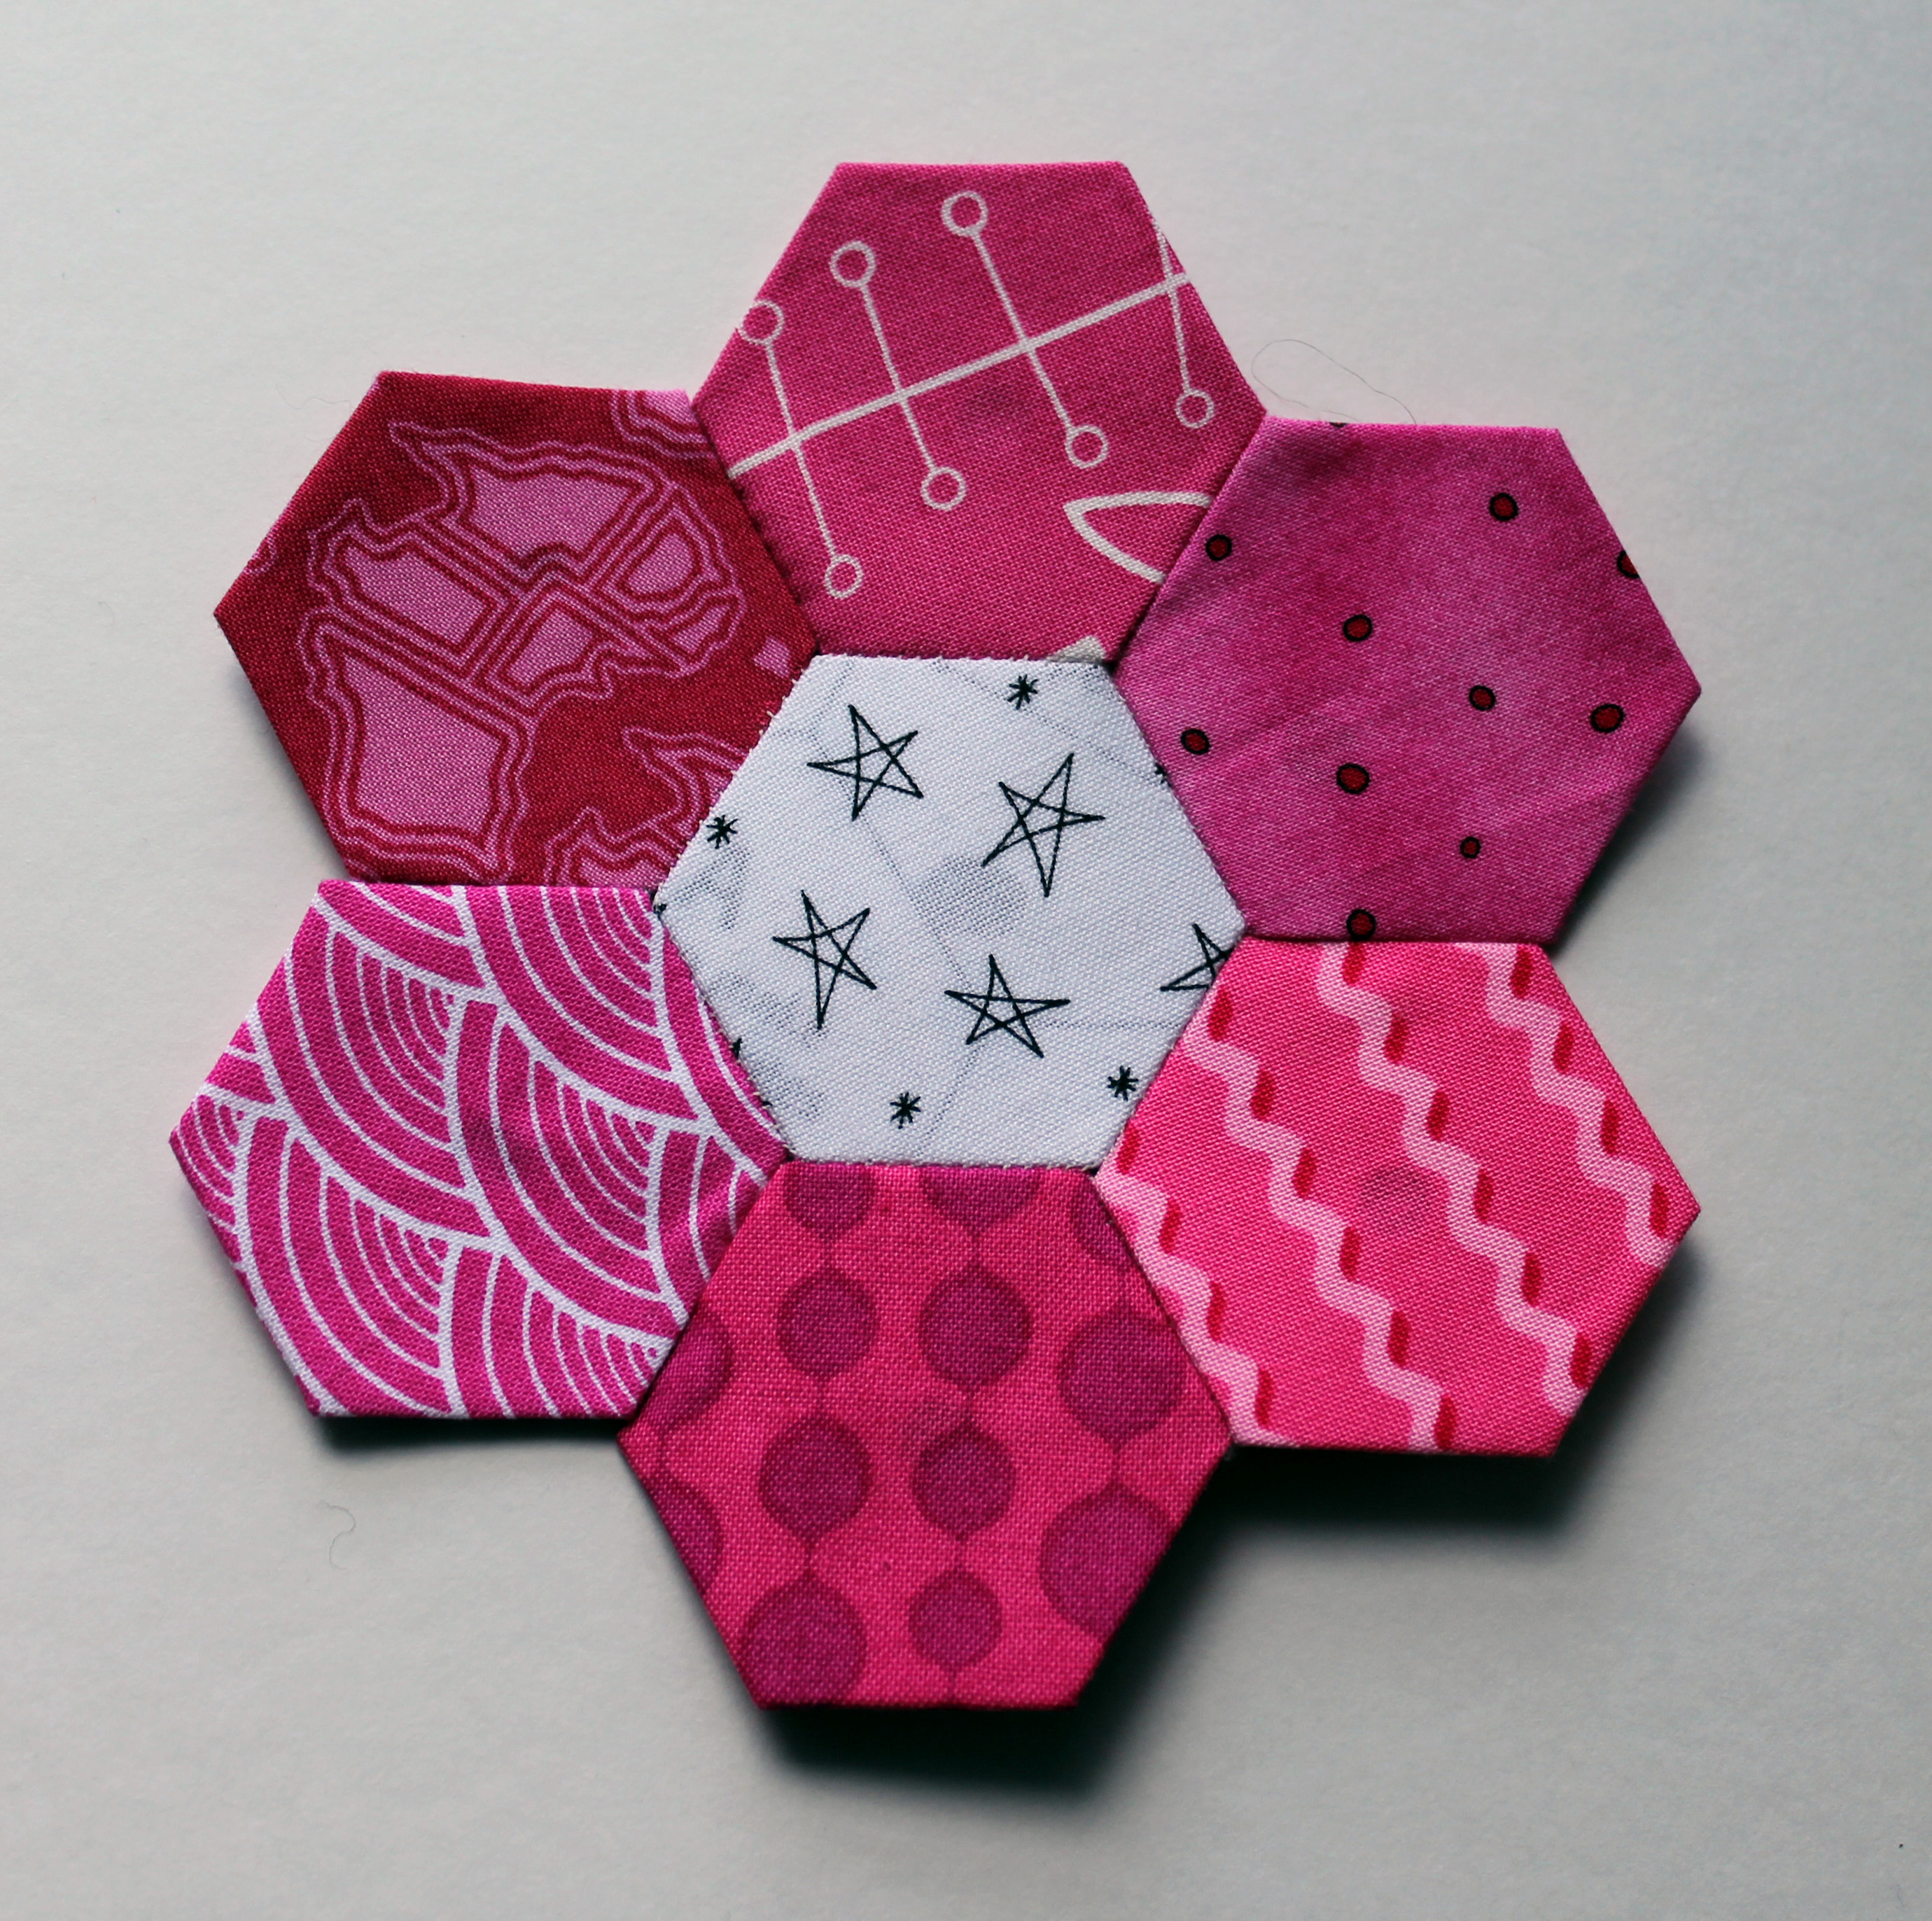
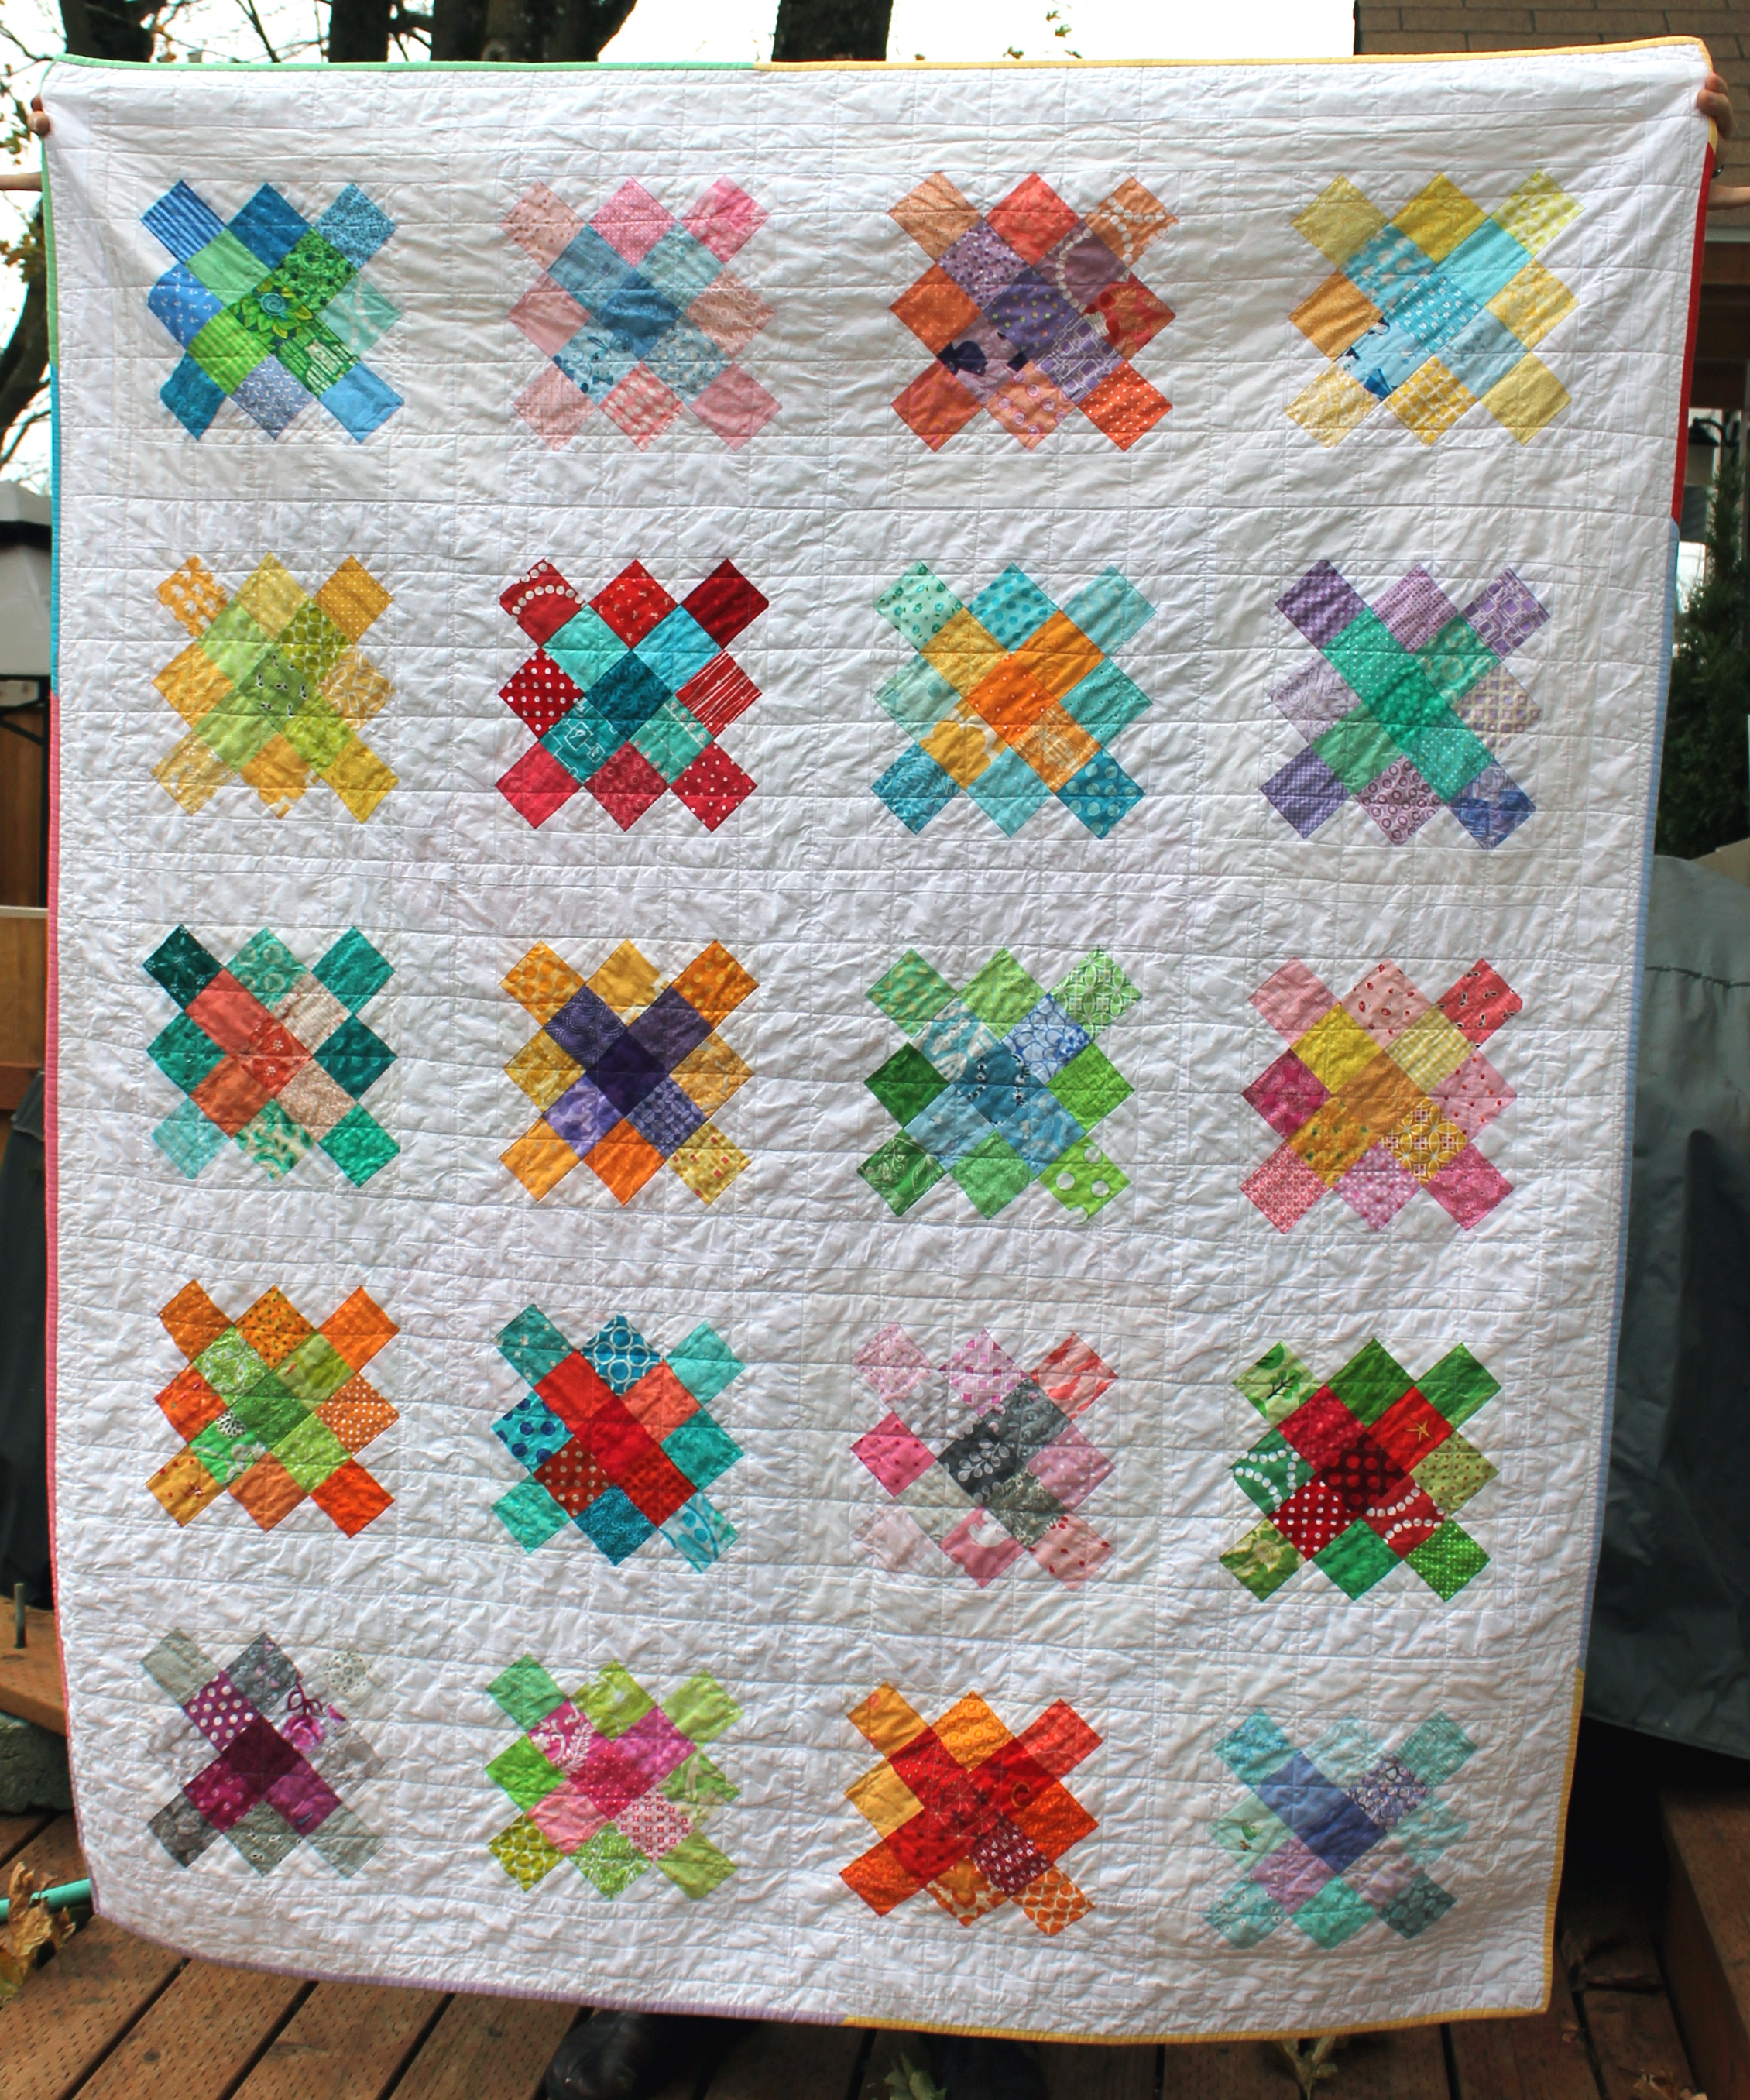
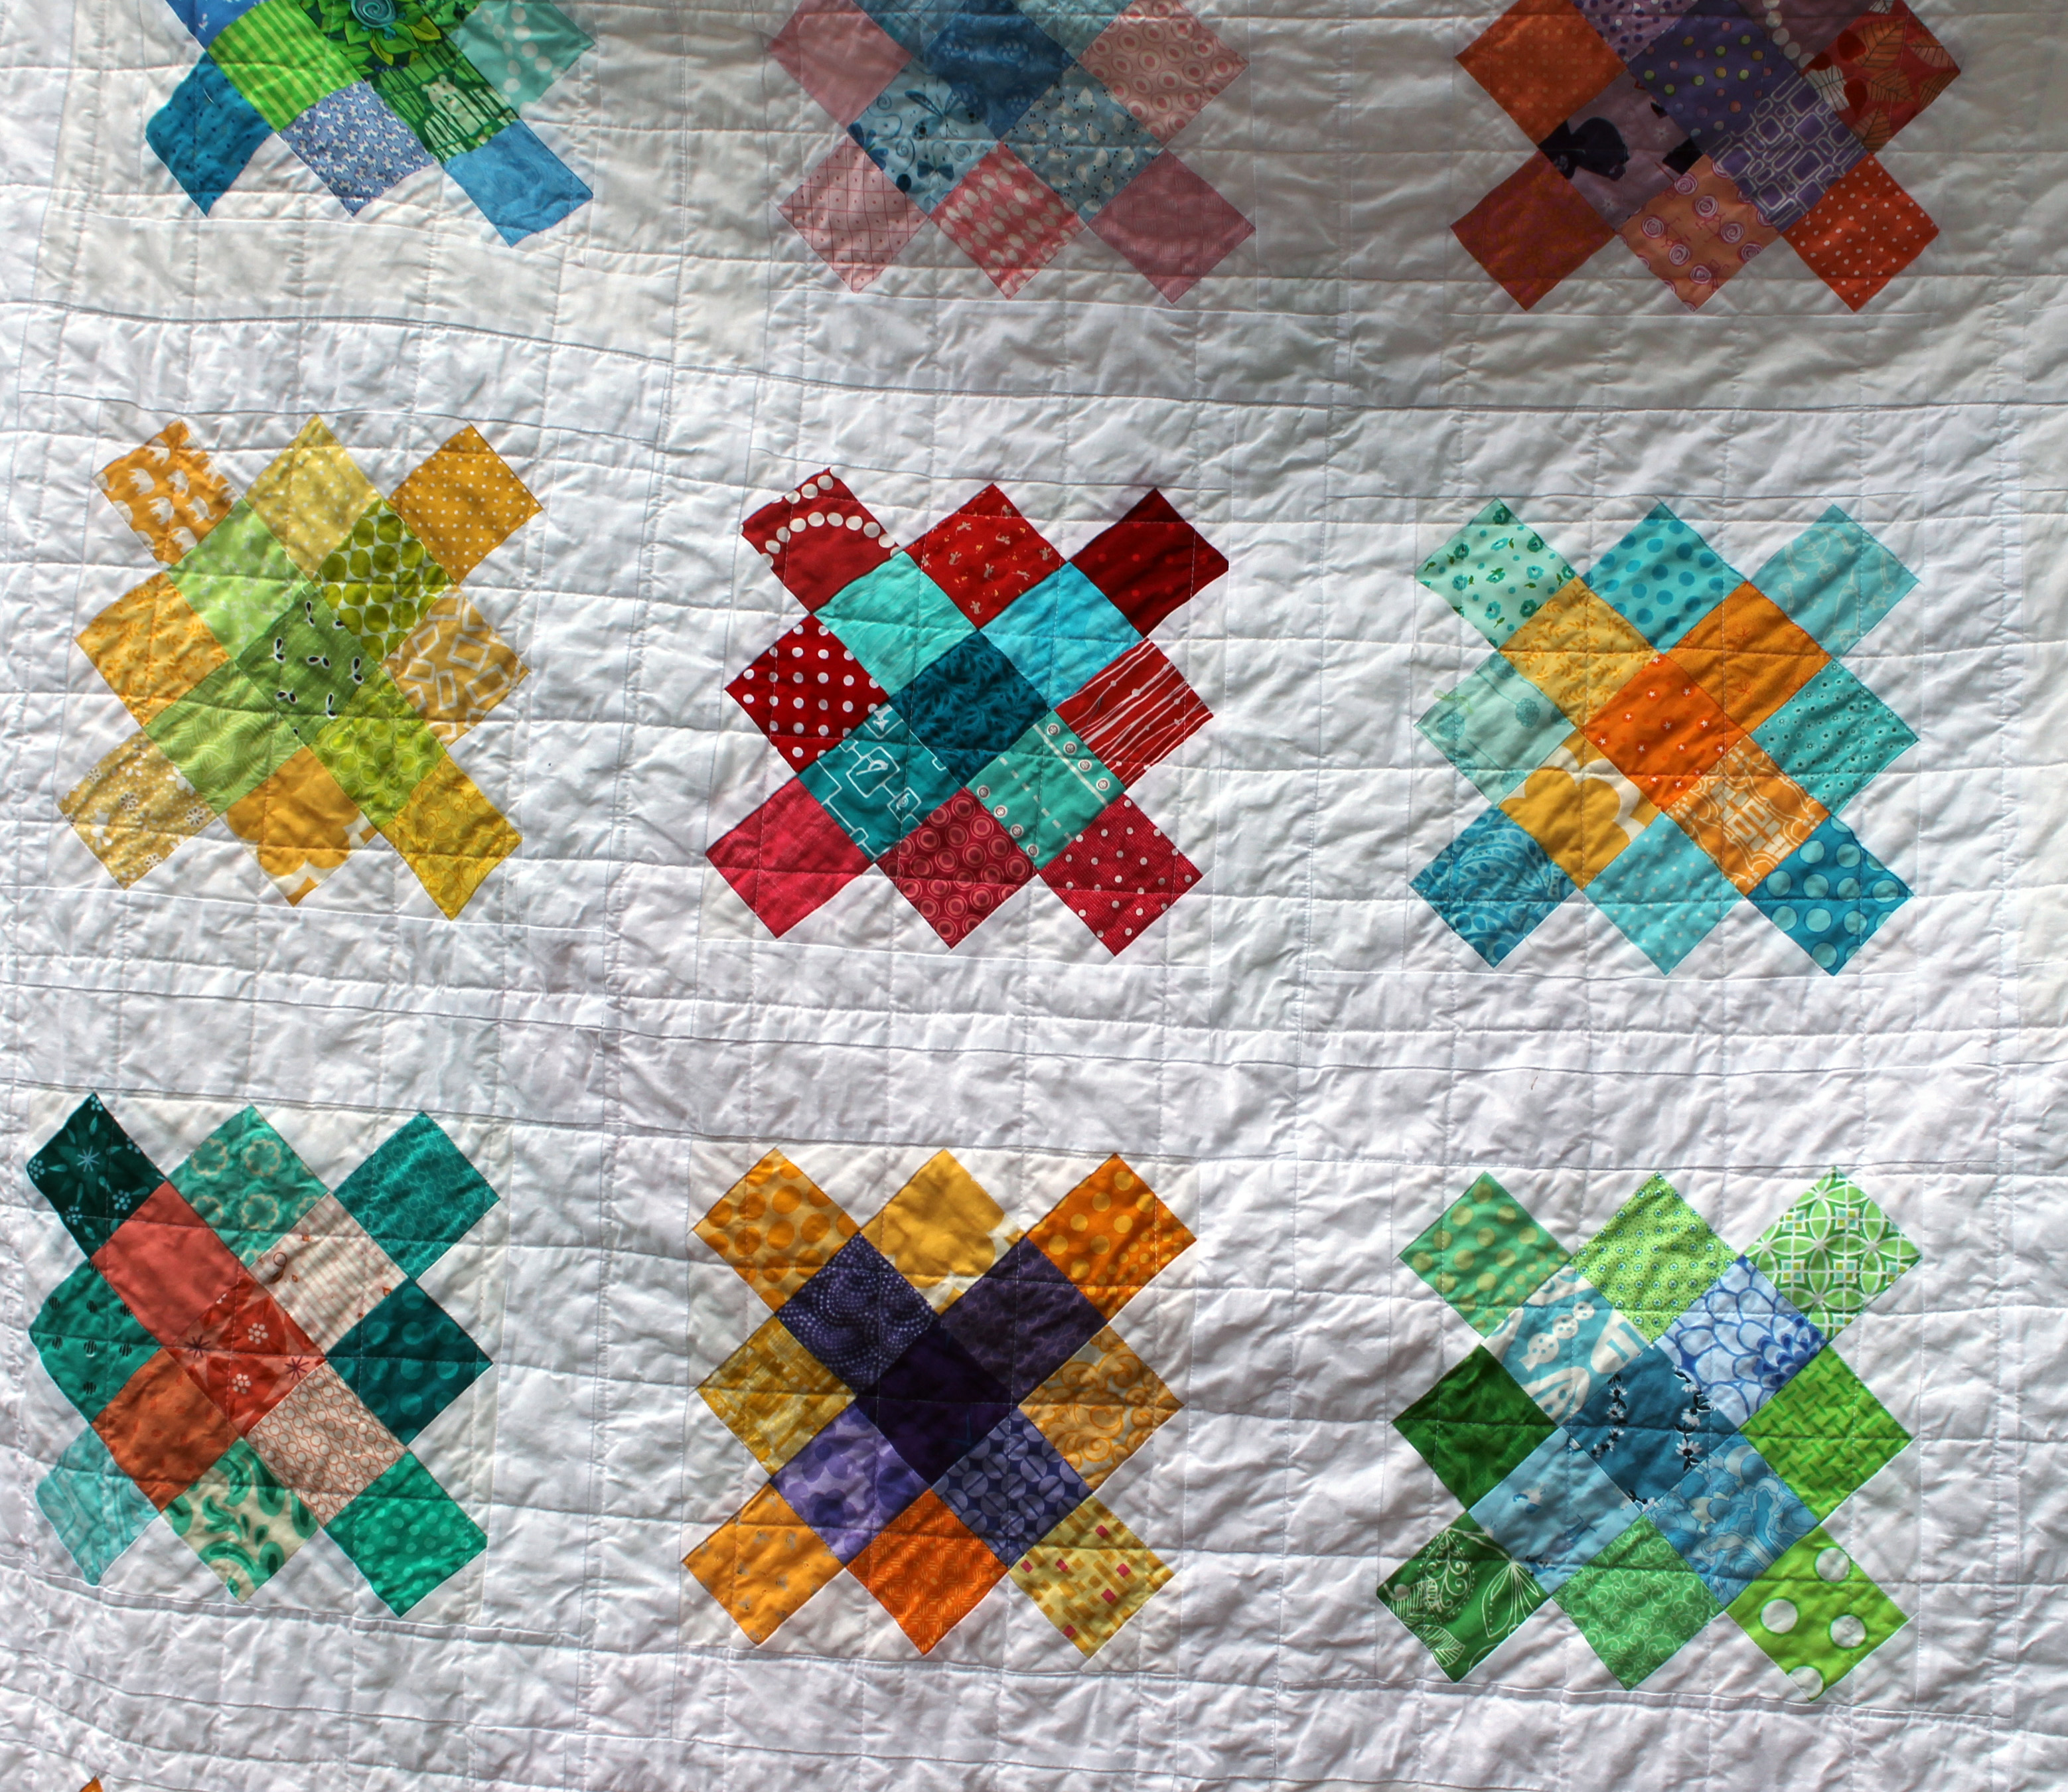
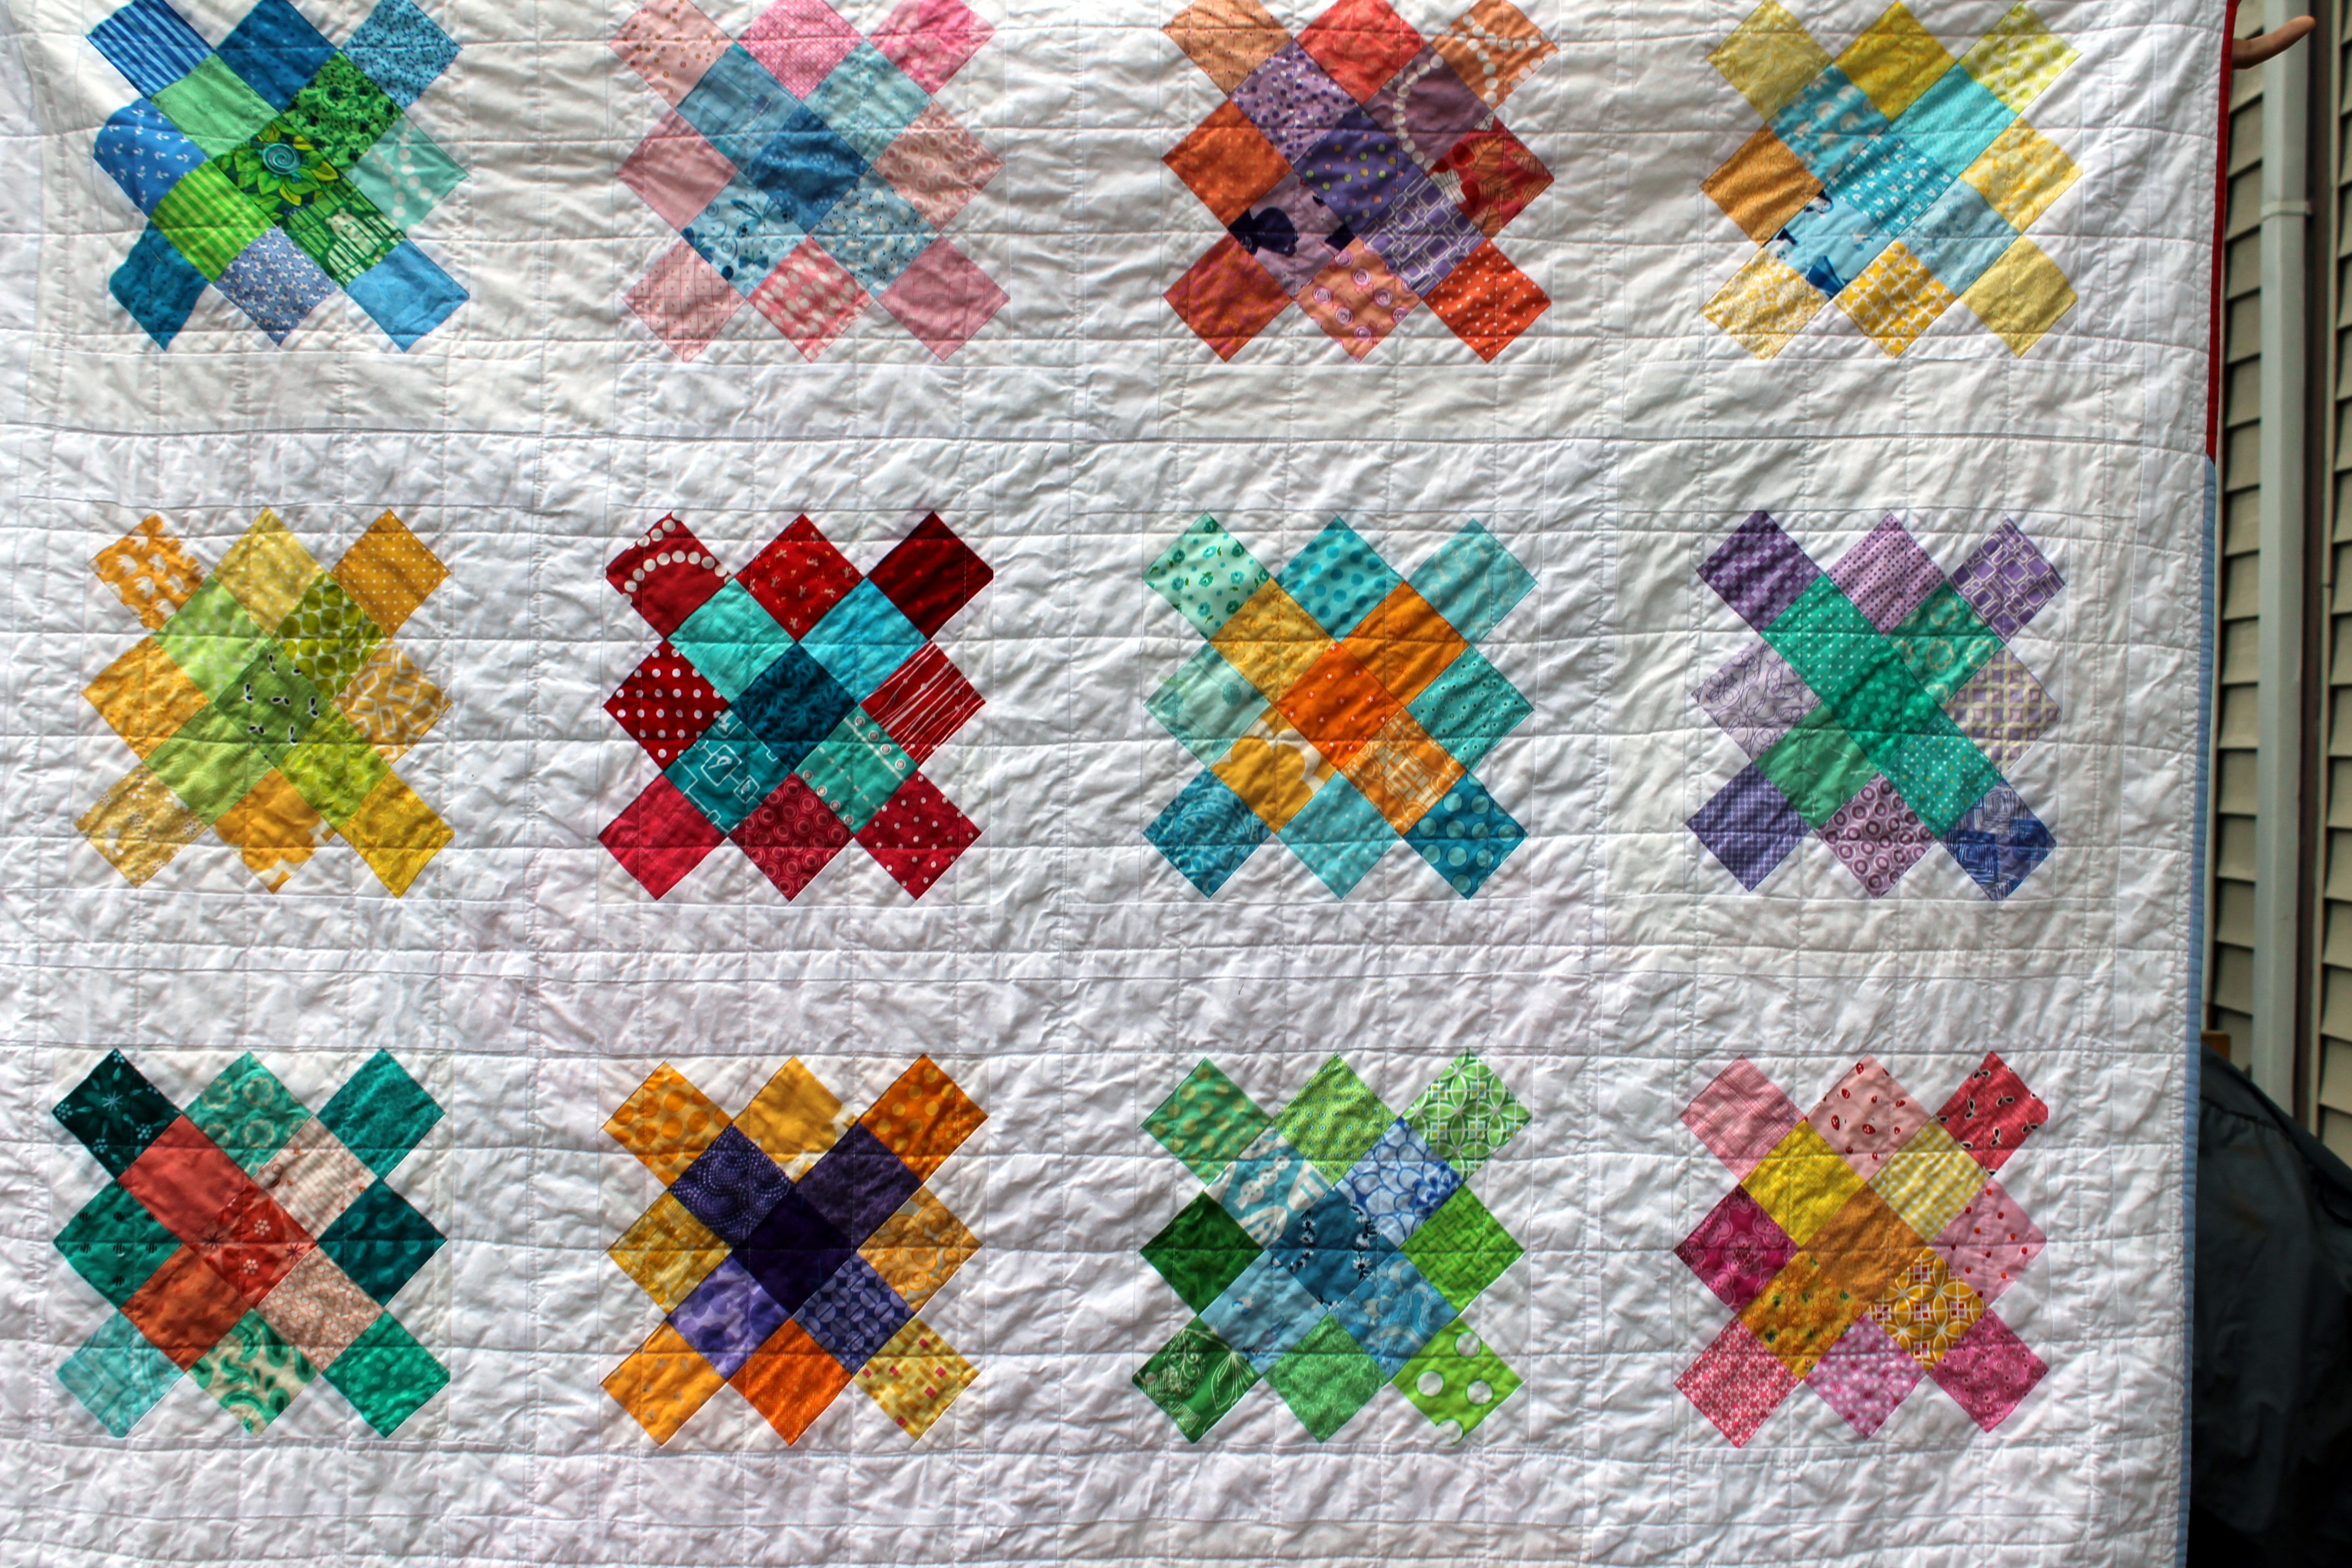
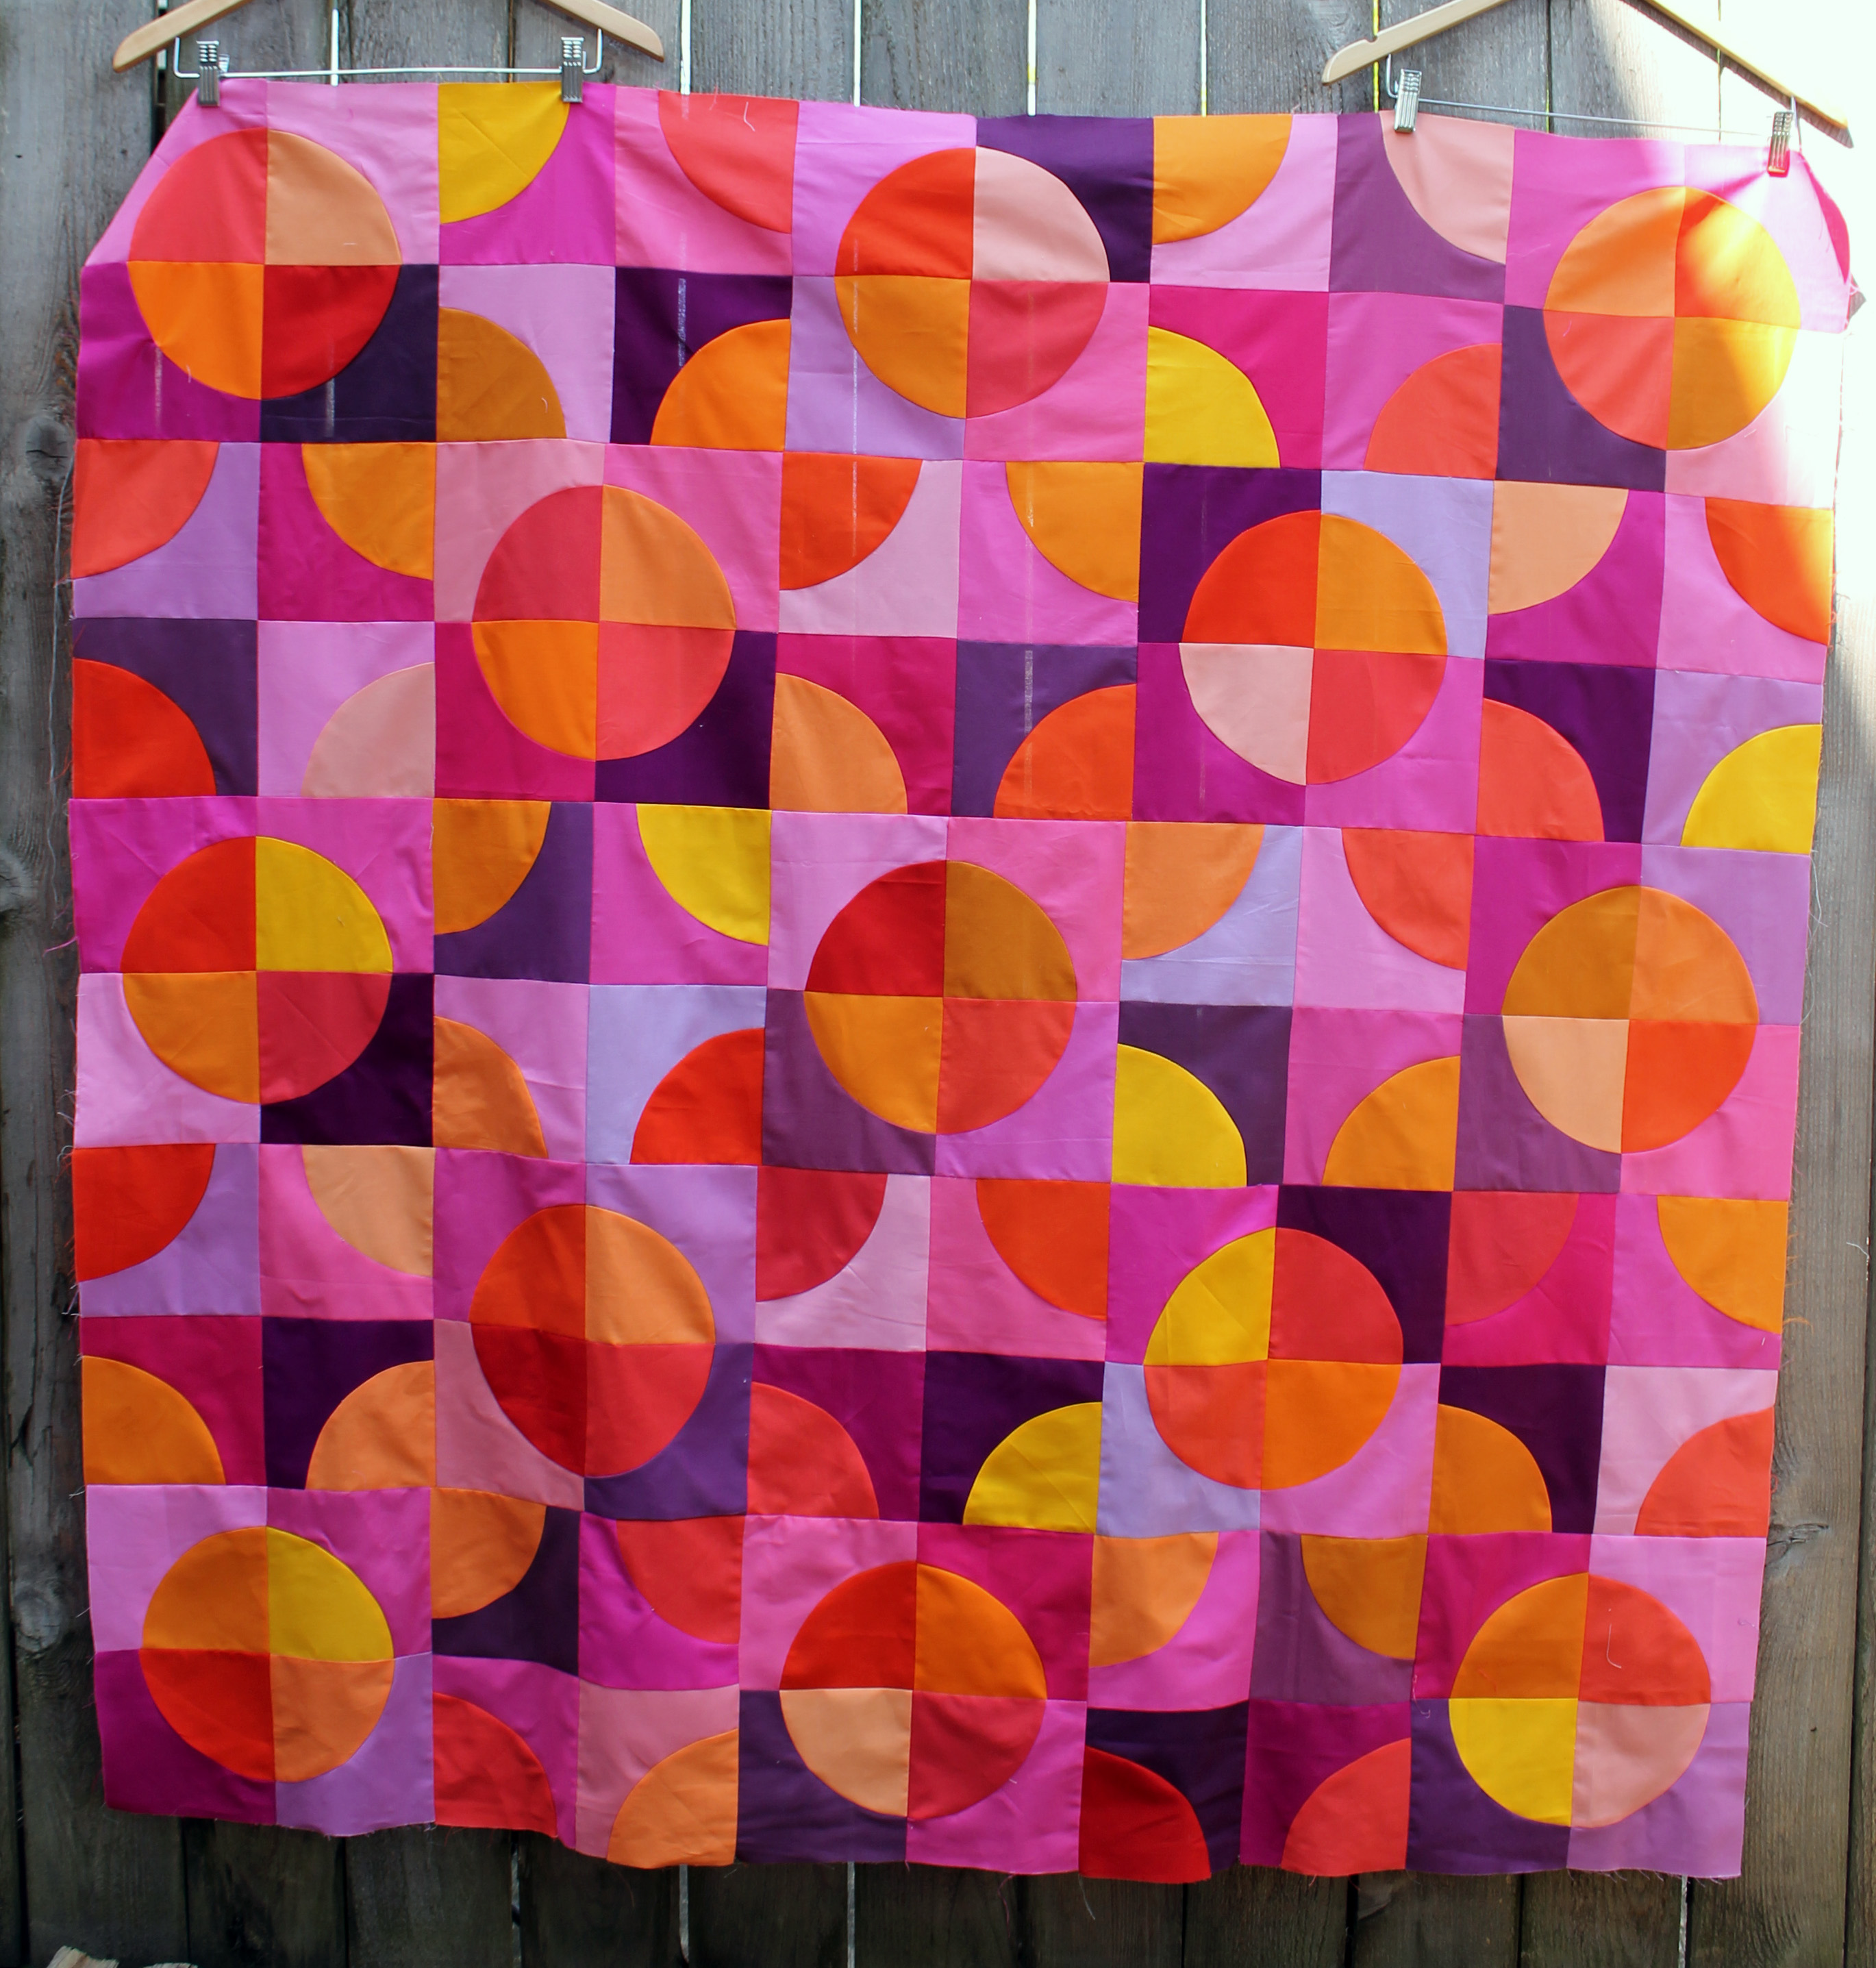
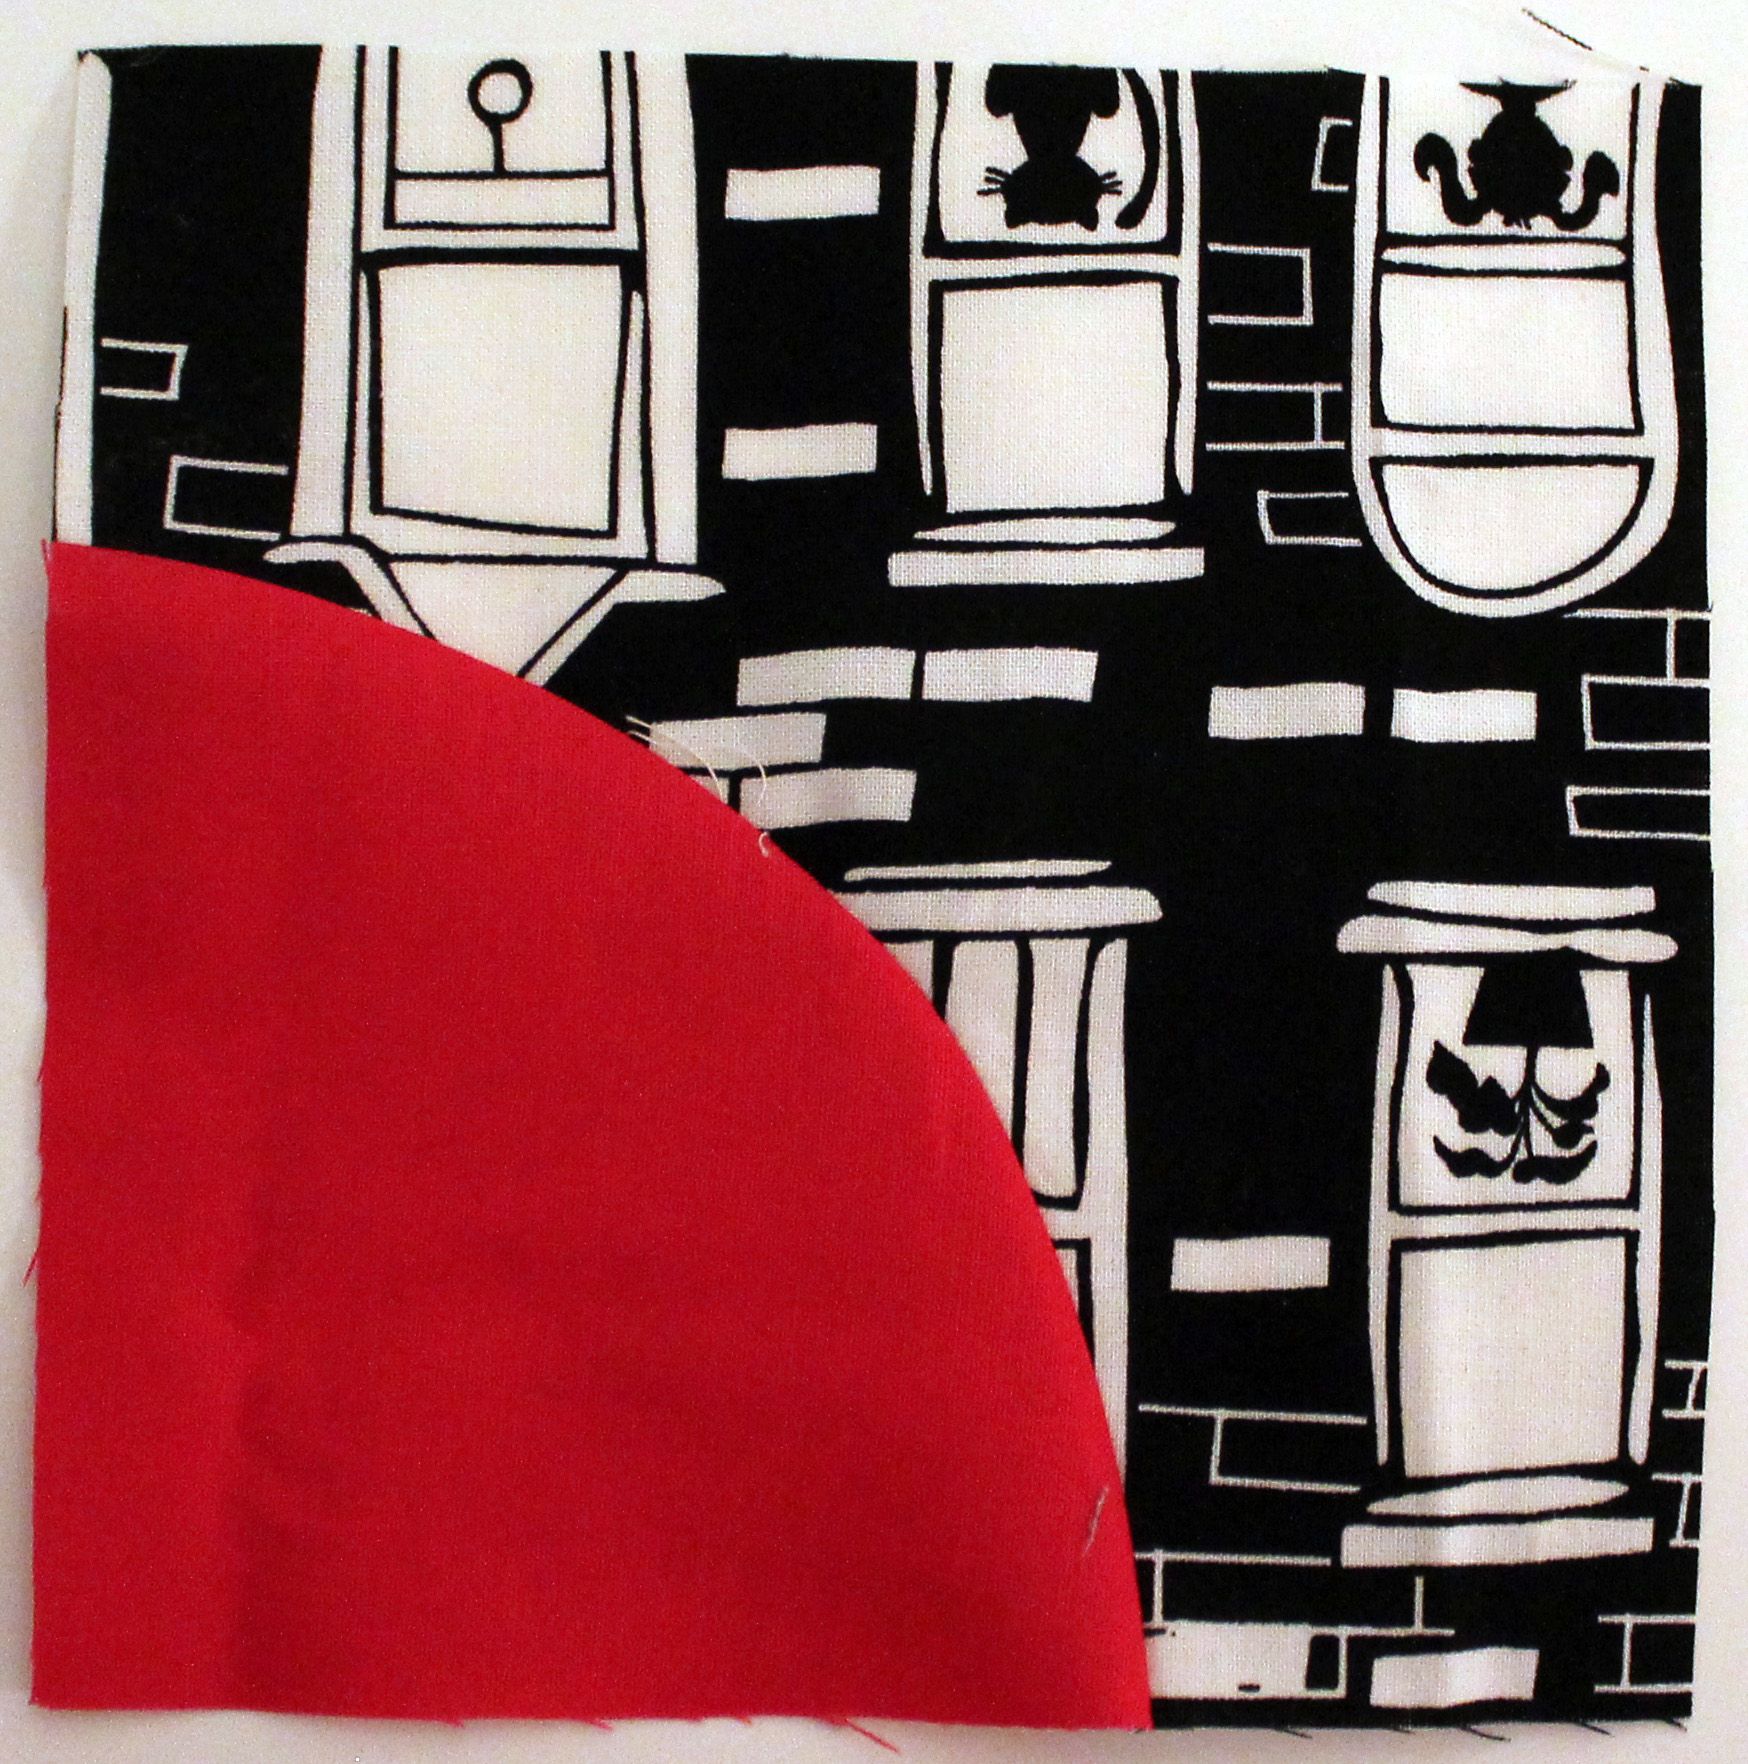
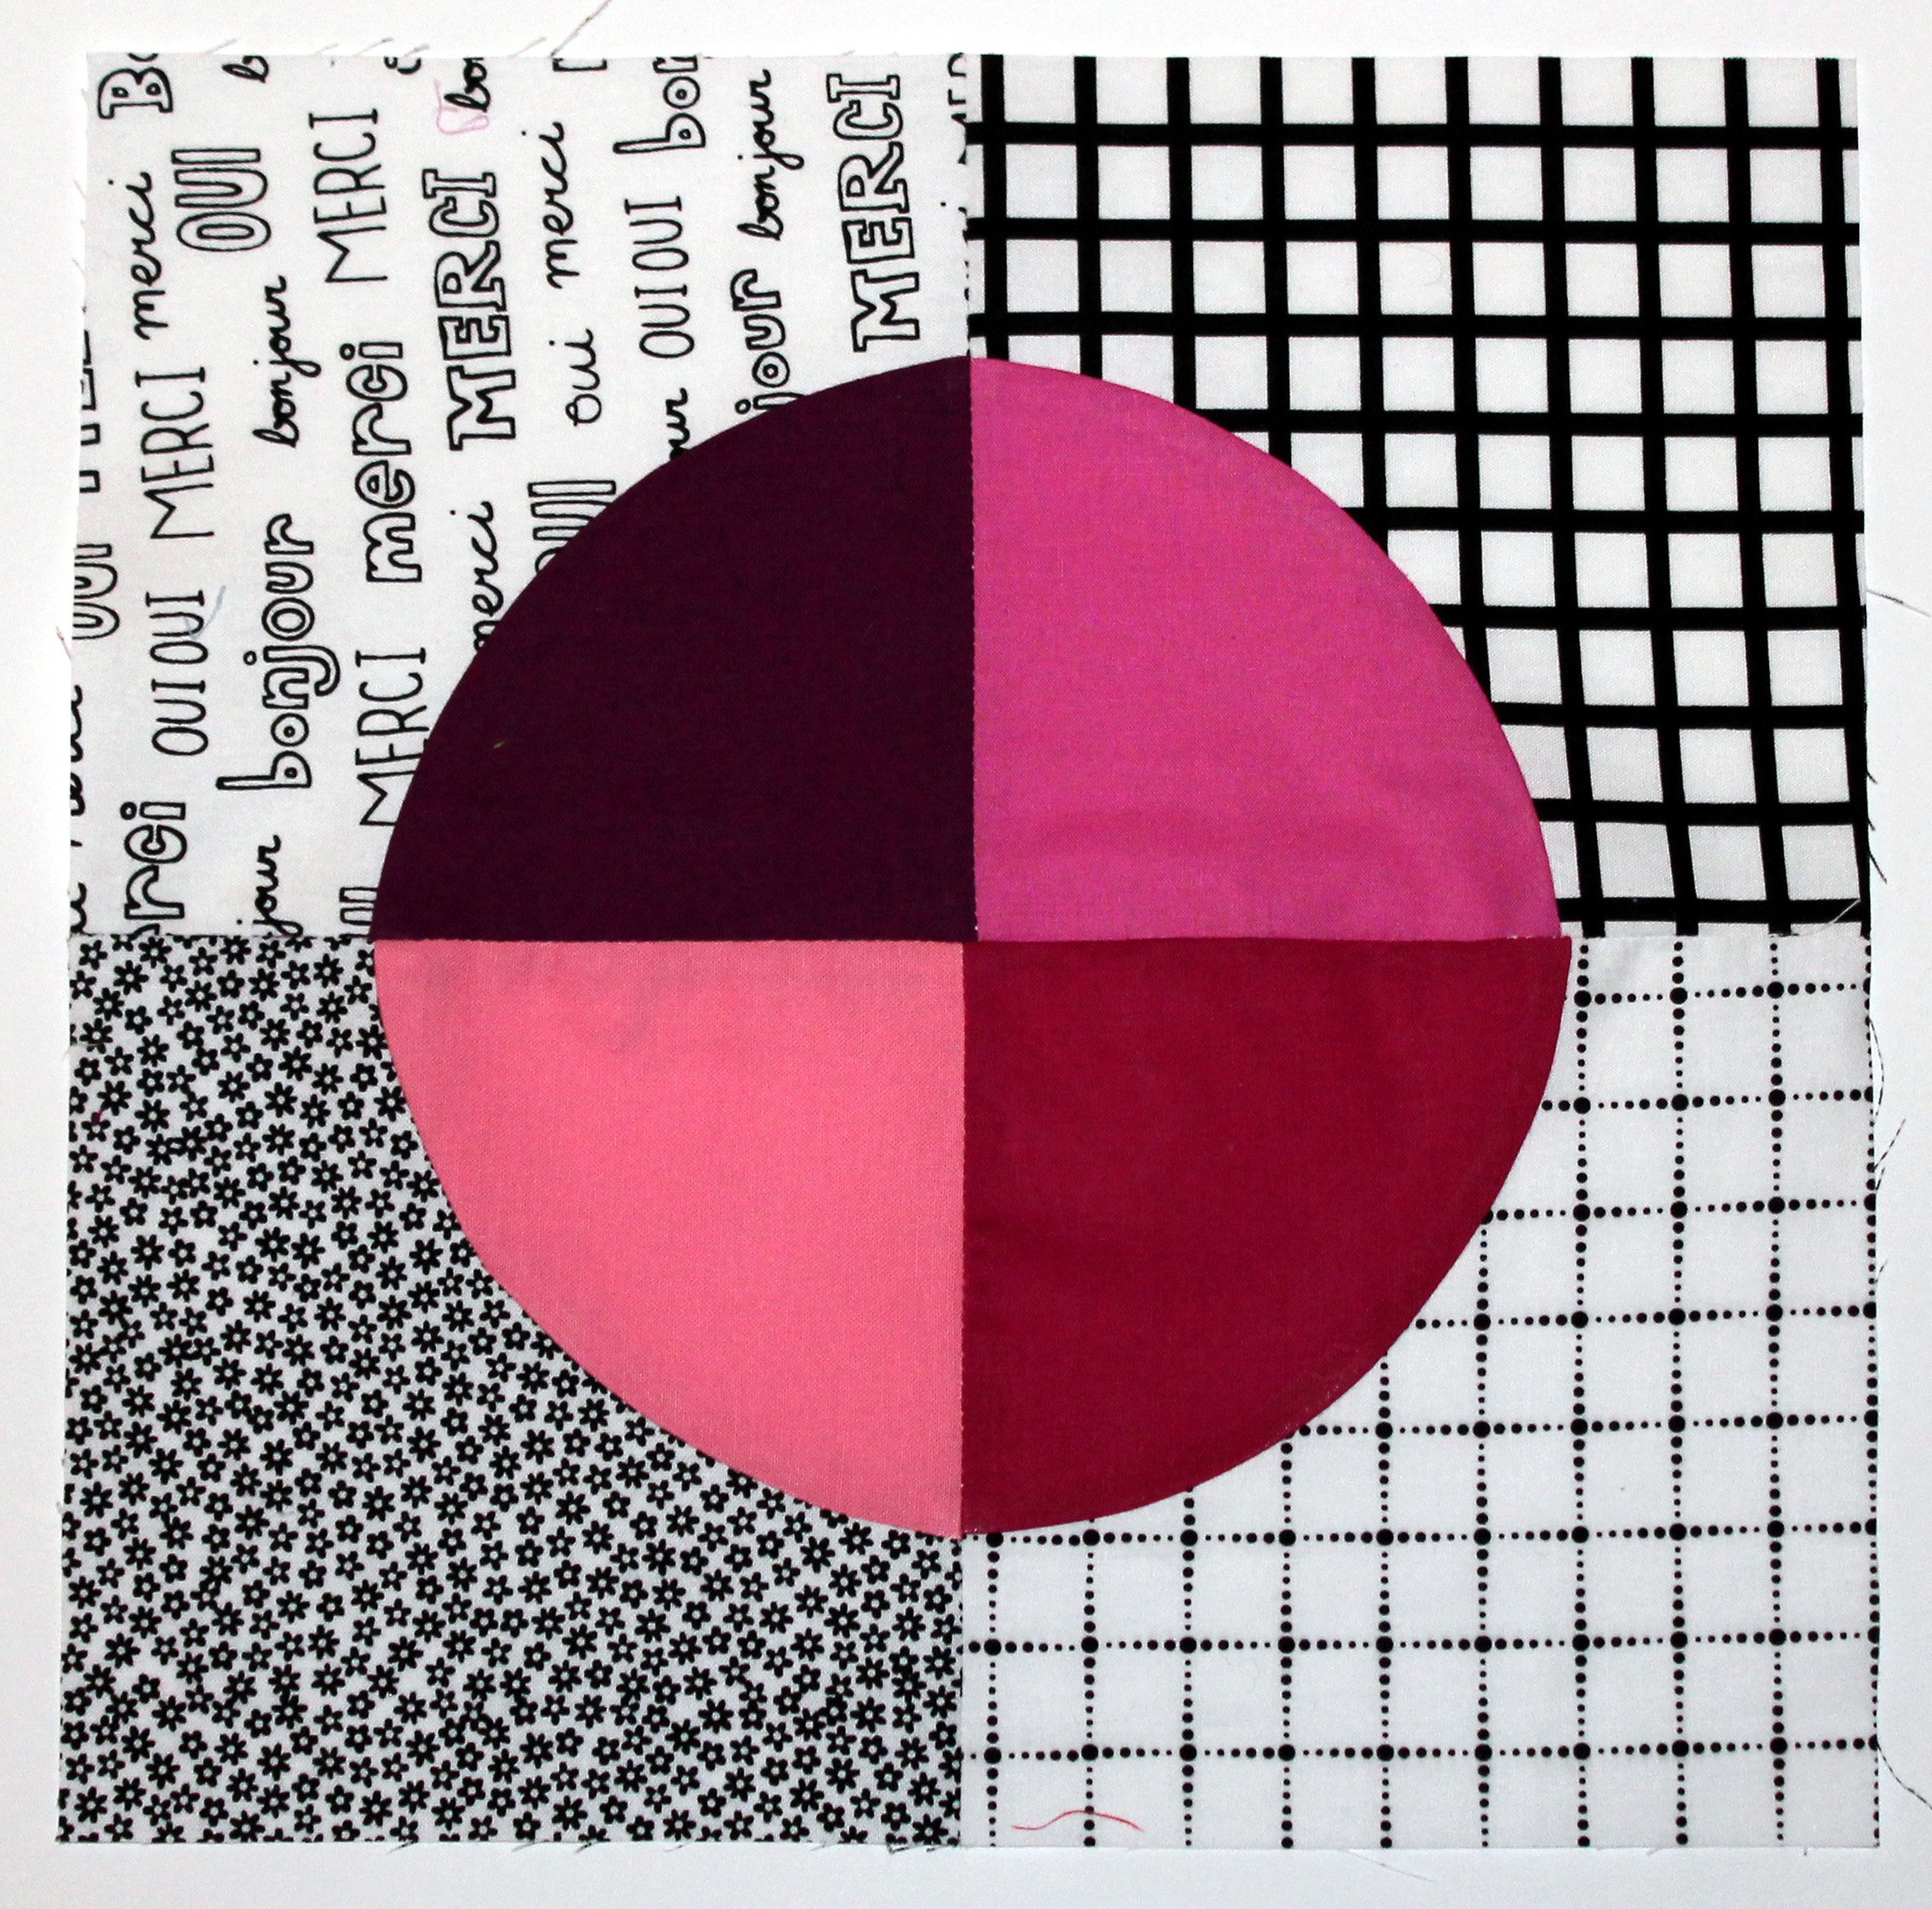
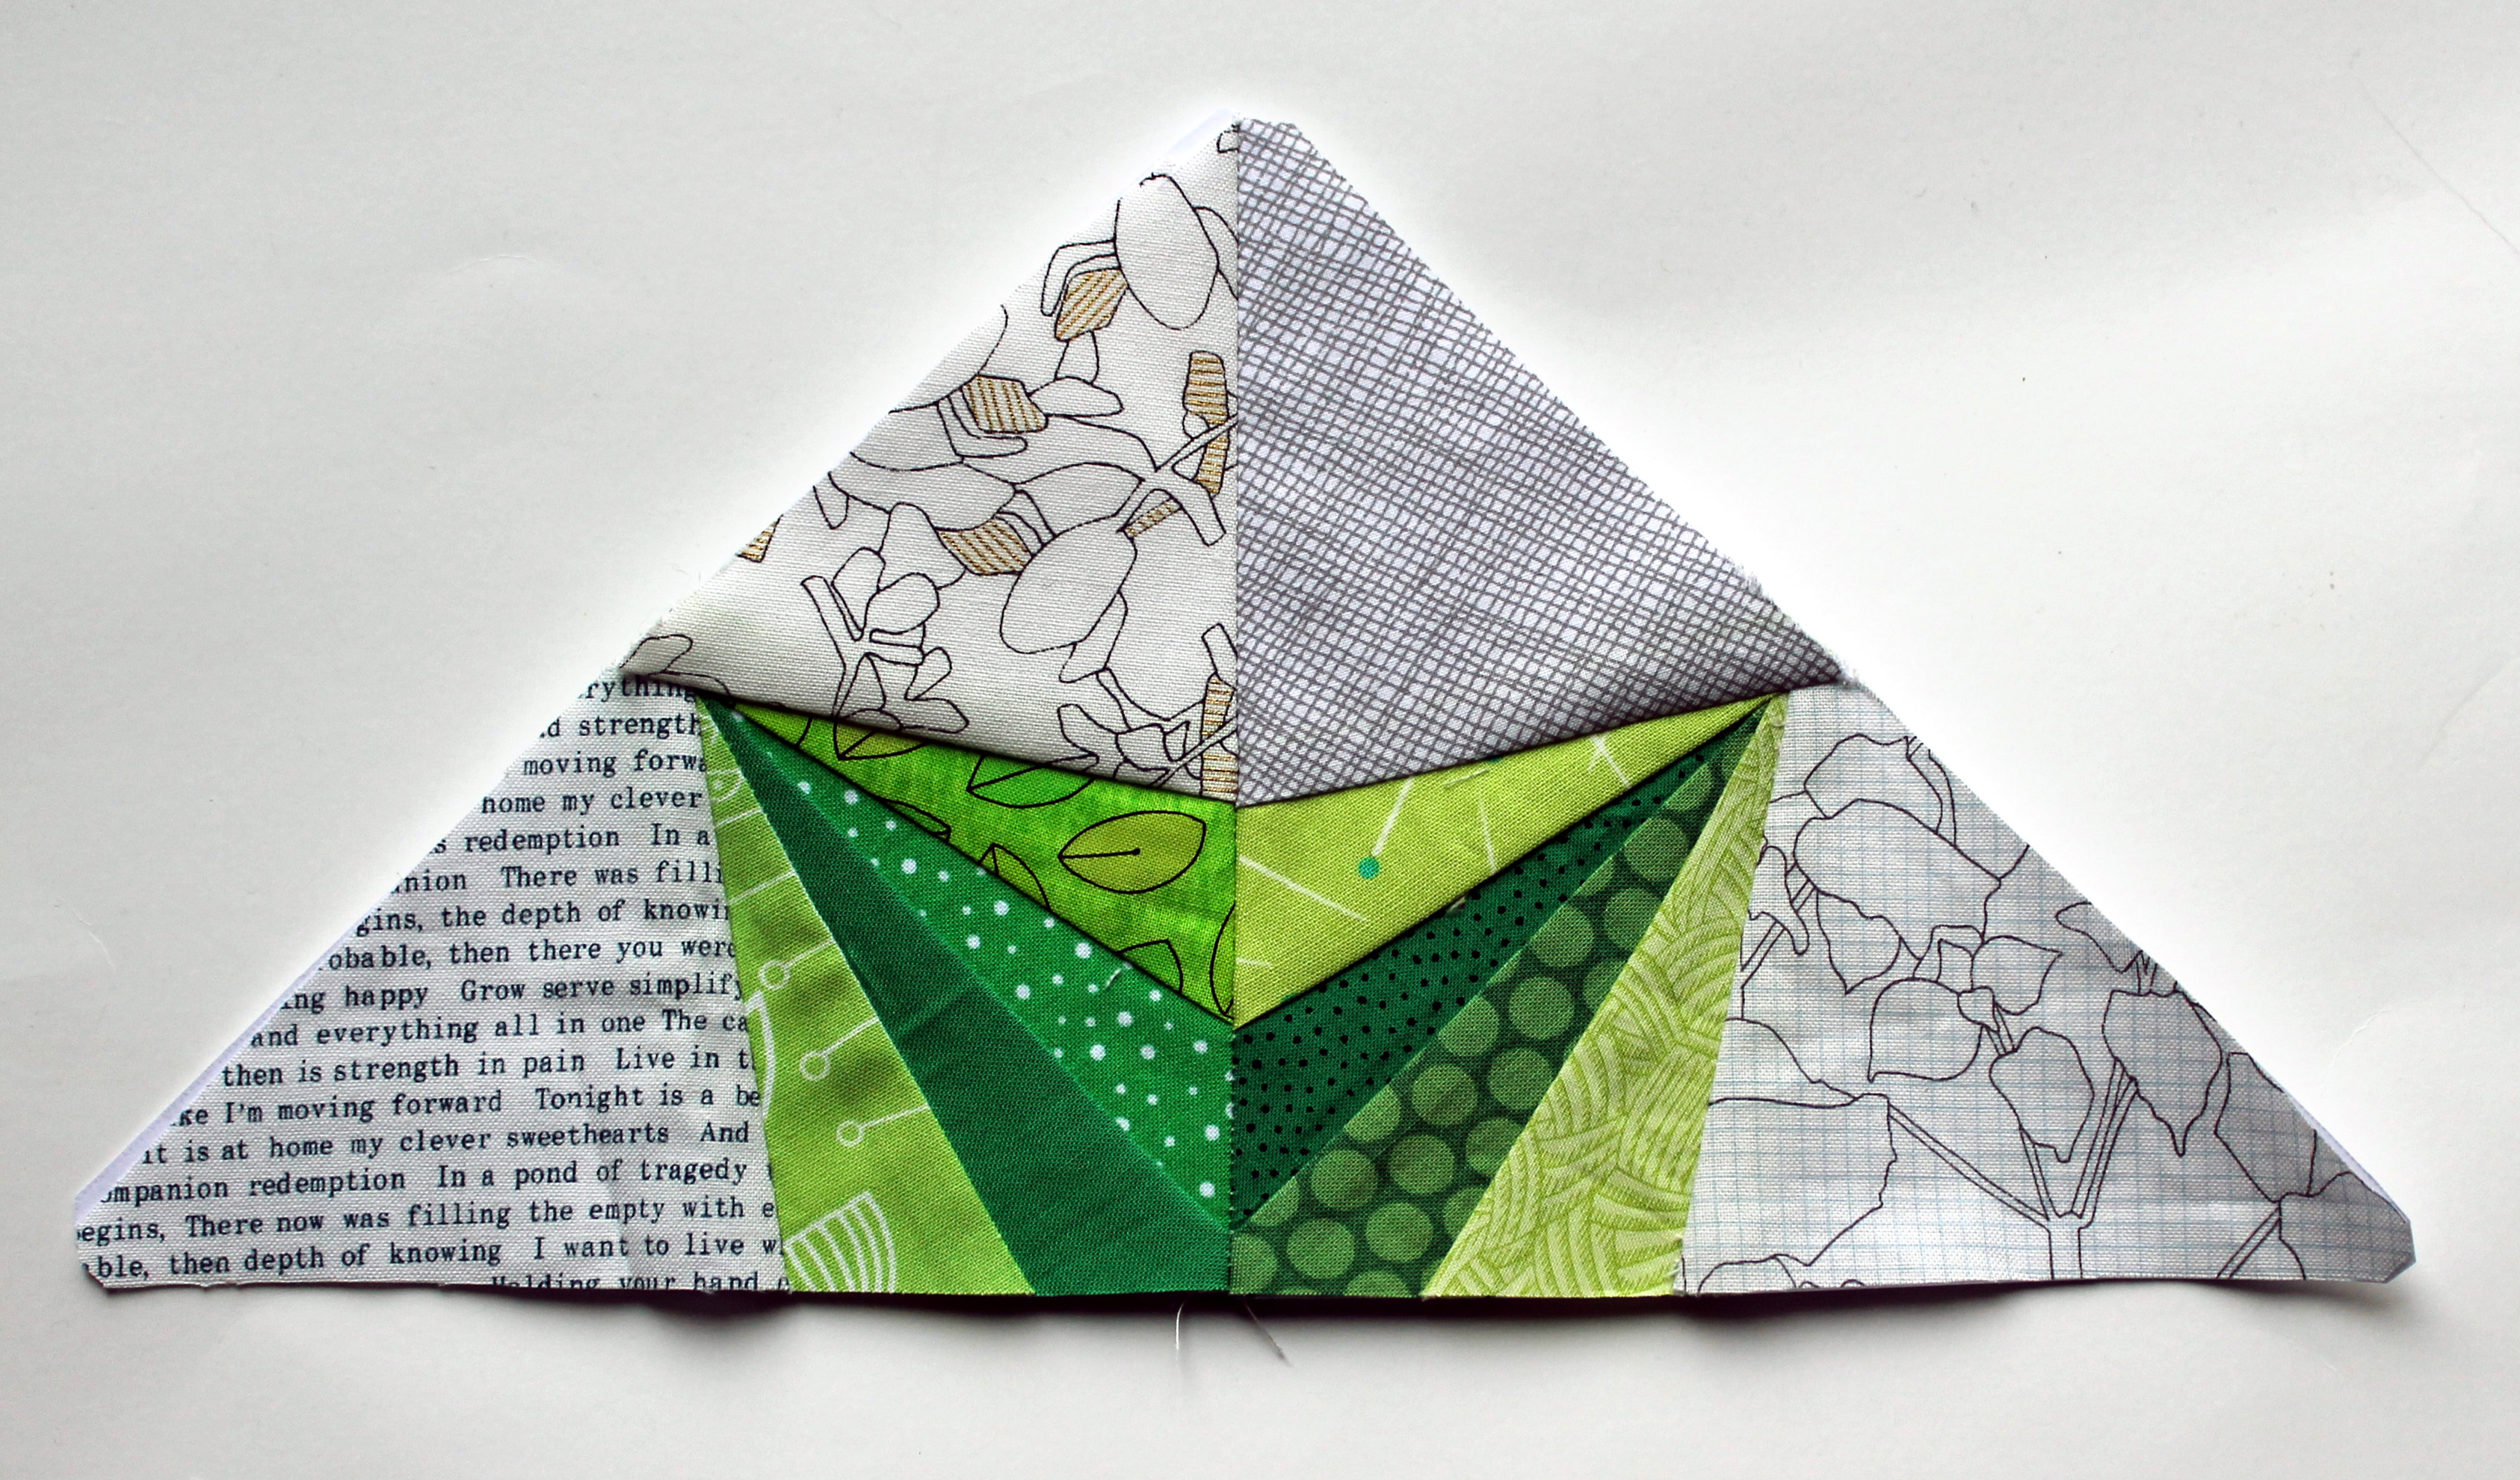 I then do the same thing with the other two pieces of the blocks…and then sew the two halves together. I find this makes aligning the center piece very easy.