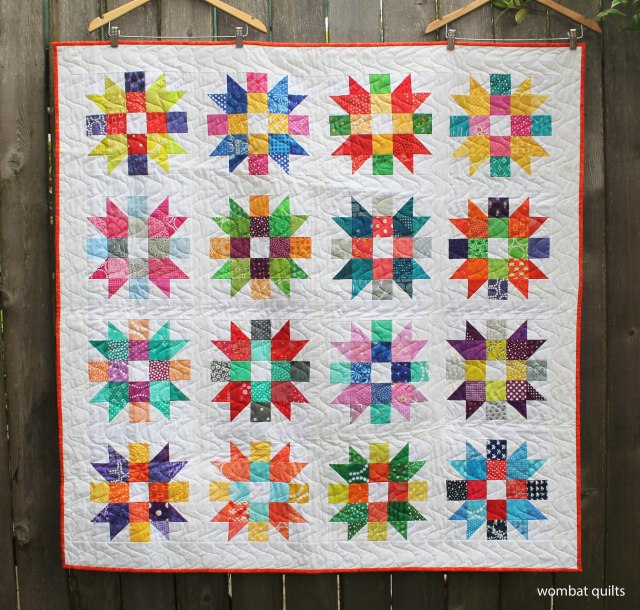
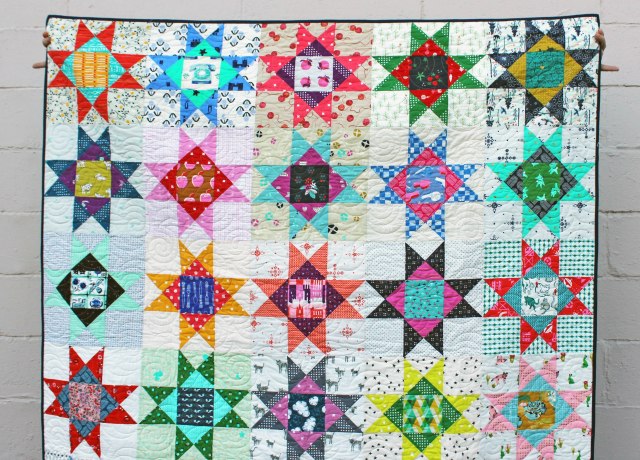
Ah yes it is that time again… I am setting another block for my fellow Do Good Stitches gang… and this month snuck up on me so I have resorted to a variation of an old faithful….the wonky star…
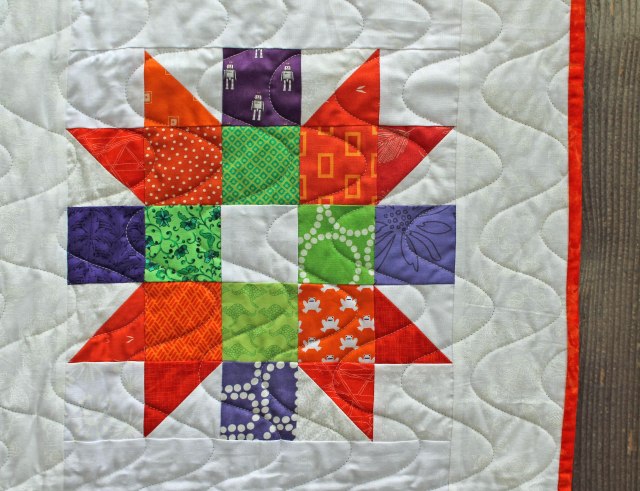
For this 12 inch block I used:
- Fifteen (15) low volume 3 1/2 inch squares
- One (1) black/dark grey 3 1/2 inch square
- Eight (8) black grey triangles – I used scraps but you can cut a 3 inch square in half to make the triangles.
Step one is to make the star points:
To make the star points you will need 4 of your low volume squares and your triangle pieces.

Take one of the squares and sew a triangle onto one corner, making sure the pattern sides of your fabric are together and when the triangle is flipped it covers the corner of your square.

Next trim the excess low volume fabric from the corner and press the triangle over into place.

Then add another triangle of fabric to the other side of the square…. sew it down … trim the excess low volume fabric and press over.

Your next step is to trim your block back down to 3 1/2 inches square.

The back of your block should look like this…. now repeat the process until you have 4 star point sections.

Step Two:
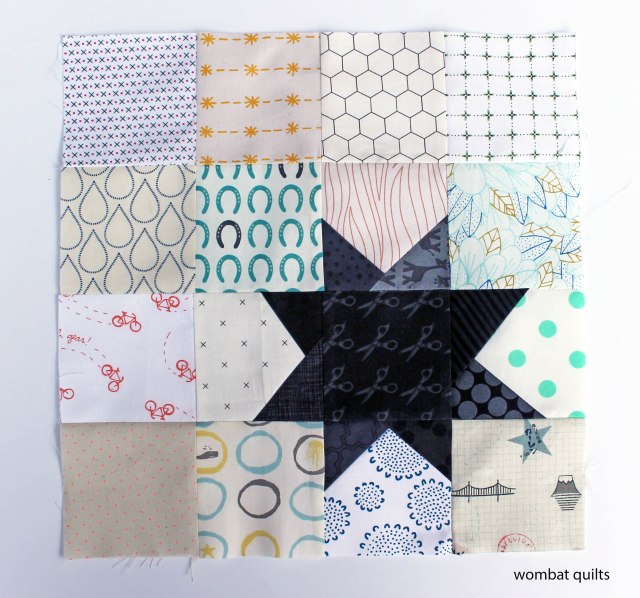
Lay out your block as illustrated….

Step Three:
Sew the block together in rows… then sew the rows together to make a completed block.
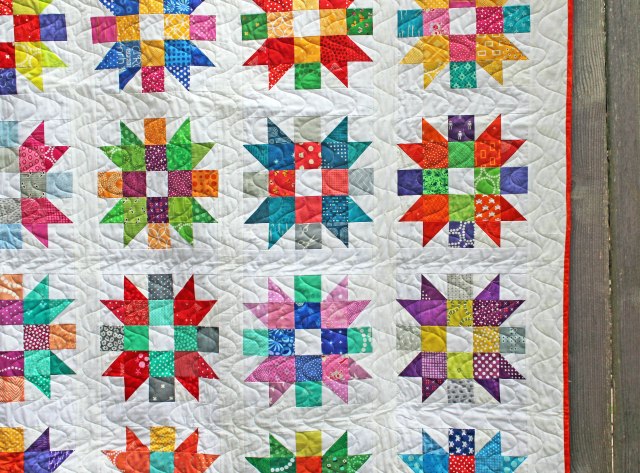
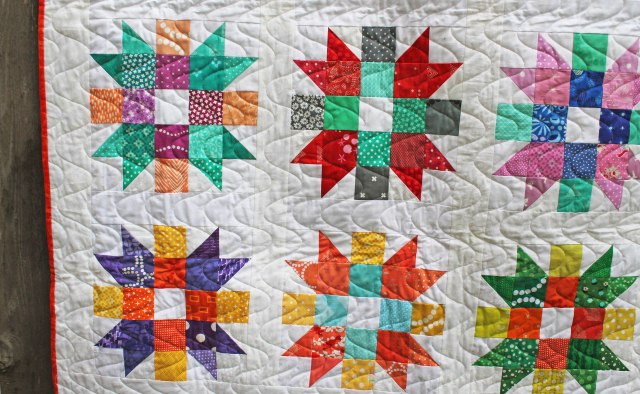
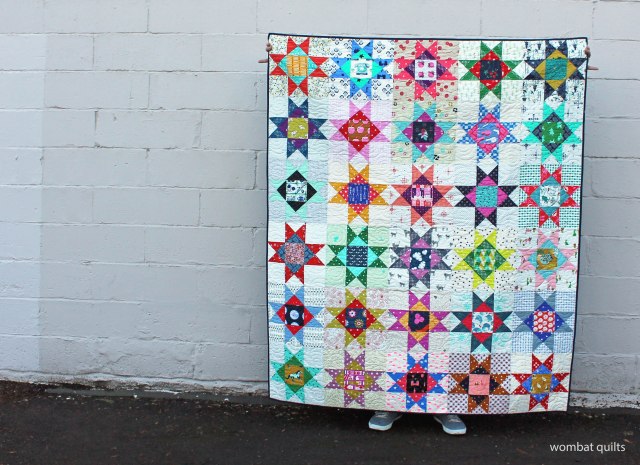
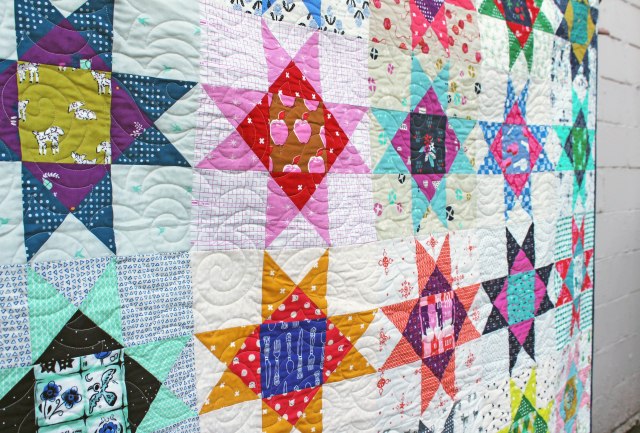
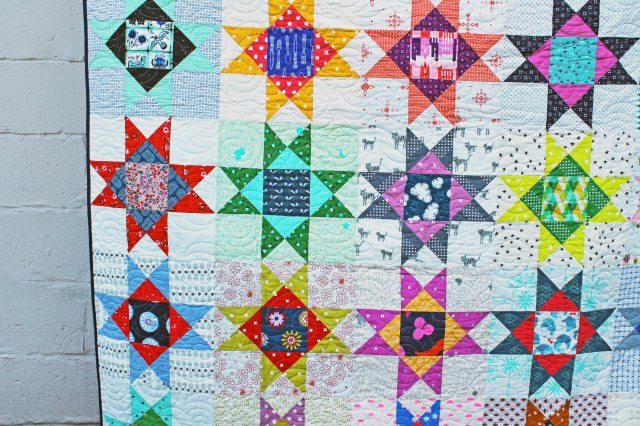
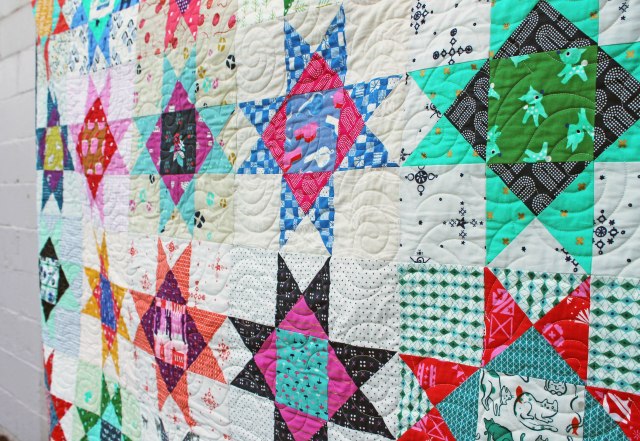
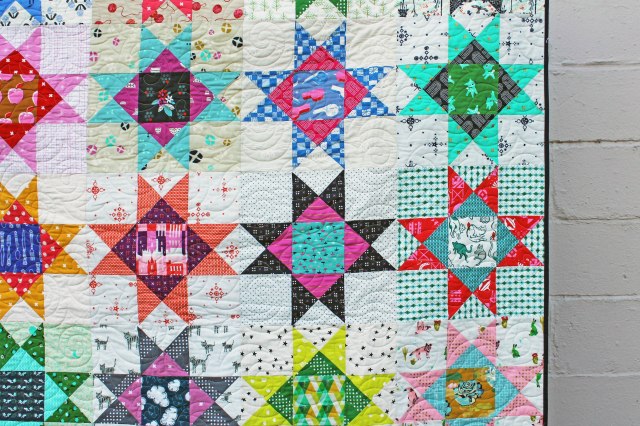
What I love about this block is that has built in negative space which allows for you to stagger the stars layout when putting the quilt top together. You can also make a couple of blocks that are just low volume squares (no star) to break up the layout of the quilt.
In the coming months I will have two different variations of this quilt to show you, as I also used this block recently at out Guild charity sew day. For the sew day we used a rainbow of solids and a white star which gave us a really fun bright quilt. If you want to see a work in progress shot of that quilt head over to my Instagram account.