Another Good Finish…

This week I wanted to share one of the Do Good Stitches quilts I have finally got finished… the guilt over the number of DGS tops I have done is weighing on my conscience a little…

dgs cross quilt

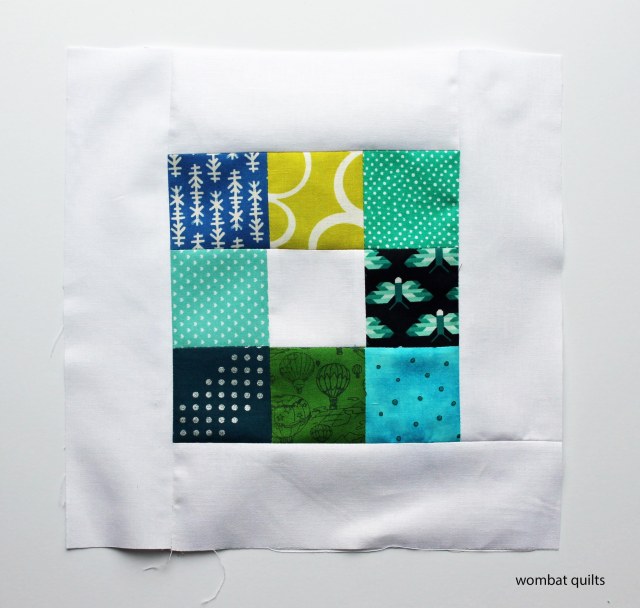
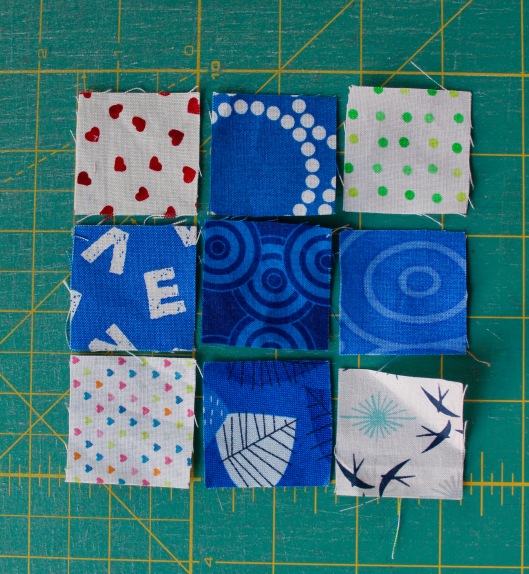
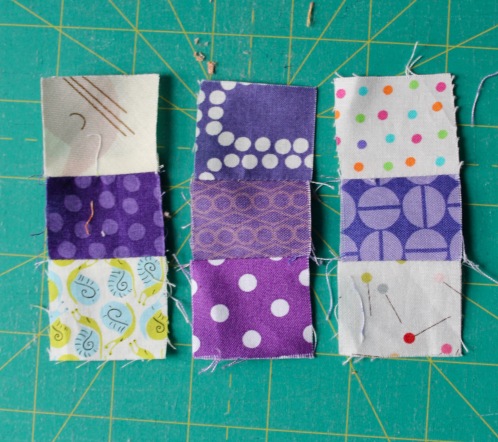
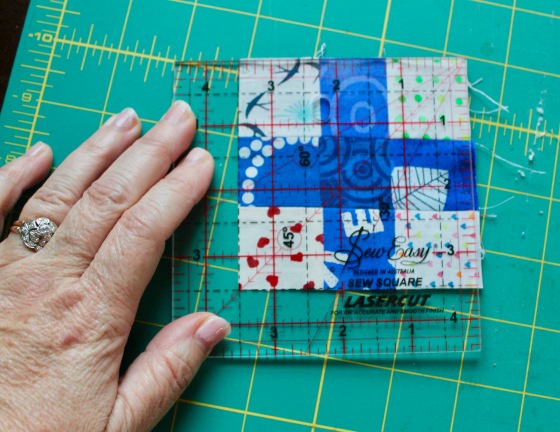
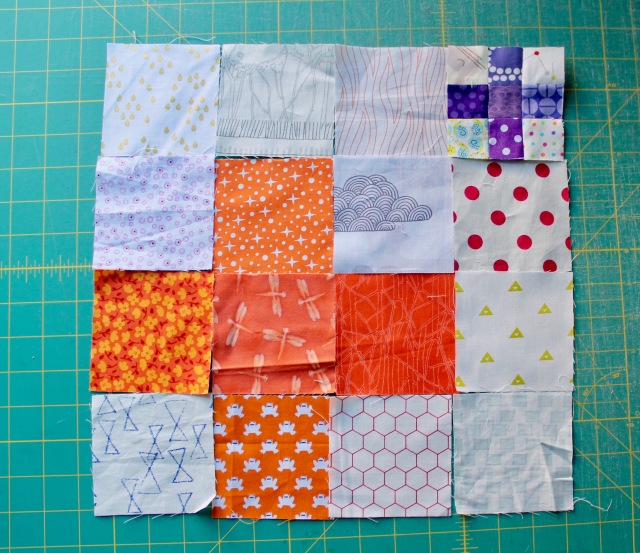
These blocks were a year or so old before I finally got them into a presentable state.  I really like this block but it was a little problematic as a bee block…

dgs detail 2


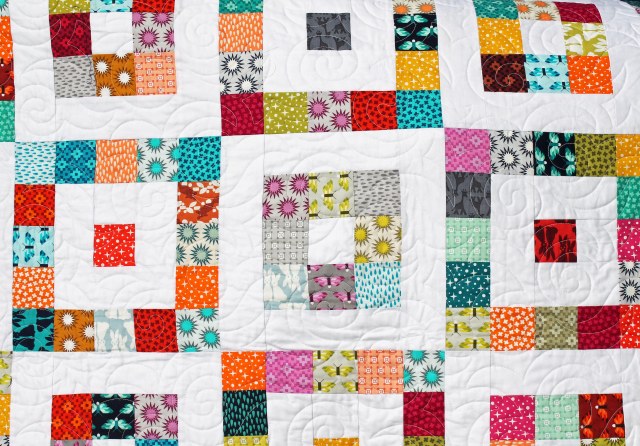
Not all the seams matched perfectly as different people made the blocks on different sewing machine.  I learnt from this quilt that I needed blocks that had a bit more wiggle room for variance – i.e. do not have seams that must align for the pattern to work.

dgs quilt detail 3

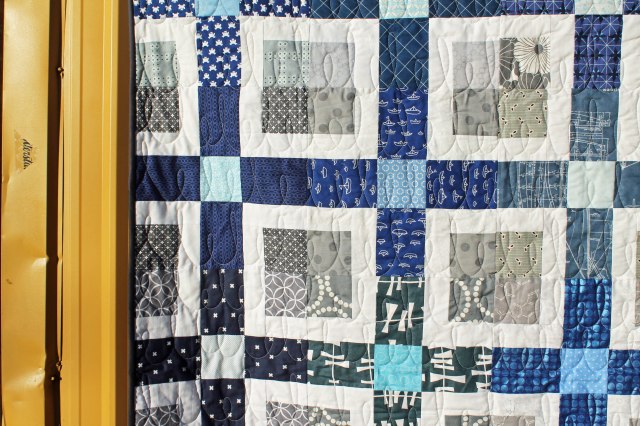
I do like the finished quilt regardless of my seam issues… it is a rare boy appropriate quilt. There is always a desperate need for boys quilts at the hospital and I am trying to make more gender neutral quilts but the call of pink is hard to resist!

dgs quilt back

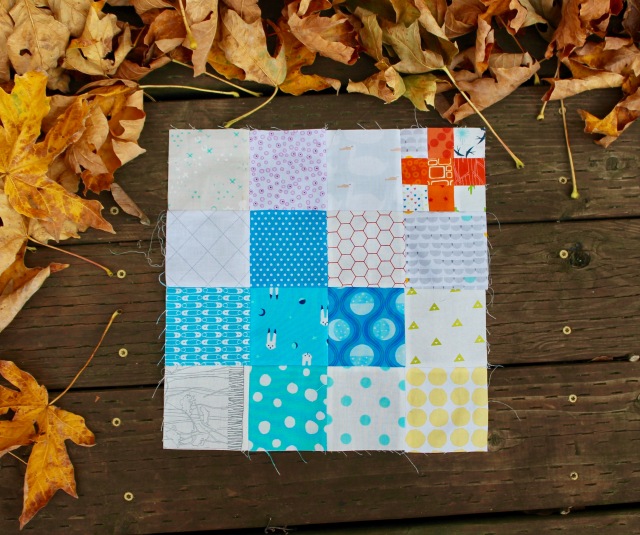
As an added bonus you get a shot of the scrappy back just so that you can admire Mr Wombat’s finger pose.  He is obsessed with sticking his pinkies out when he holds the quilts… which means you have a couple of months of quilt photos with feet and pinkie fingers.  He insists it is his signature move!

Pretty little thing…

Another 2017 finish for you this Friday, this time a little baby quilt I made…

pink drunkards path

This darling little quilt was made using the AccuQuilt  3 1/2 inch Drunkards Path die… I ran some of my pink and grey scraps through my cutter and had some fun.  The main problem with the cutter is that the curved units are so small and I did not have the patience to make a ton more curved blocks, so I improvised…

pink drunkards path detail

Or you could call it cheating… but I added some simple 4 inch patchwork squares in the middle of the the circles to get a decent sized quilt quickly.

pink circle detail

I liked the effect and I had another die to cut those squares too… really cheating.  I also kept the quilting simple and viola I had a finished quilt pretty quickly.

quilt and potted plant

Some scrappy binding and a single piece of fabric for the backing and I was done and the quilt was ready to gift to the local Pediatric Intensive Care Unit.

Quilt Details:

Block:  Drunkards Path using AccuQuilt 3 1/2 inch Die
Fabric:  Pink & grey scraps
Size:  36 x 46 inches

Mini Charm Square block

After I posted the scrappy quilt on Friday I had several requests for a  link to the block pattern, which was hard to do becauseI had not followed a pattern.  I had been inspired by some log cabin blocks I had seen and some quilts I had seen on the internet and so worked out the math and then did a step out for our charity sew group.

So on the weekend I photographed the steps just in case you want to play with your own pile of mini charm squares.  There are two blocks that make up the quilt…

Block One…

mini charm block 1

For this block you need:

mini charm block 1 cut instructions

When making these blocks I sew the mini charm squares into strips first…

block 1 construction

The block is then put together as a log cabin block would be… adding the smallest strip to the side and working my way around.  If you are using mini charm squares cut by manufacturers be aware that they do come in slightly different sizes… some cut with. straight edge and some cut with a crimped/pinked edge.  The squares with the zig zag edges can be slightly larger than 2 1/2 inch.  If in doubt trim your mini charm strips to get a clean sewing edge.

For every block 1 you make you will need a Block 2:

mini charm block 2

For this block you will need:

block 2 cut instructions

Please note that I made a mistake with this photo, so follow the words not the picture and make sure you have two strips of 2 1/2 x 8 1/2 inches.

Both finished blocks should measure 10 1/2 inches square unfinished… trim blocks as needed.  Make as many blocks as you need to get the sized quilt you want.  My quilt on Friday was 60 x 70 inches finished  and there were a lot of hands making blocks for this quilt, which made it a quick process.

Elizabeth Hartman quilt detail

A New Year and a new start…

Welcome to 2018…the year I actually get my act together and post more of the quilts I have finished and share more of the work I am doing.  I am determined to get back into good habits…

To that end I am going to play catch up and share some of my finishes from last year starting with one of my favorite quilts that was made during the PMQG Charity Sew Days last year….

finished eh quilt

This quilt was made using hundreds of mini charm squares of Elizabeth Hartman fabric. Elizabeth is a member of our Guild and very kindly donated the fabric to the charity program.

eh block detail

The quilt is made of two alternating blocks – one starts with a patterned square in the middle and the other starts with a white square in the middle.  I love the overall pattern these blocks make.

amended

The colors from her fabric lines works so well together – we have bits of Rhoda Ruth, Paint Box basics and Pacific lines all together.  I must admit I am waiting for Robert Kaufman to make a wide-back fabric from her butterfly fabric.

elizabeth hartman qulit detail 2

My quilt helper on this overcast day was my cousin who was visiting from Australia.  Claire was battling with the size of the quilt and the wind this morning…

batttling the wind

As always thanks to the army of people who help make these quilts… the volunteers that show up to sew, the wonderful long arm quilters who quilt these big quilts and to Elizabeth for her generous donation – last year we backed 18 quilts with her fabric, thanks to her donation.


Double Plus Block

After another absence I am back…this time with a block for my Do Good Stitches Bee.  It is my month to set the block and after much back and forth I came up with this block….

double plus block

To make this 12 1/2 inch block (unfinished) you will need:

5 (five) x 3 1/2 inch squares of your main color
10 (ten) x 3 1/2 inch squares of low volume prints
5 (five) x 1 1/2 inch squares of your secondary color
4 (four) x 1 1/2 inch squares of low volume prints

STEP ONE – Make the small cross

smallcross

  • Layout your 1 1/2 inch squares in the desired layout.
  • Sew the three squares in three rows.  Press seams as desired (I pressed mine open).

IMG_1596

  • Sew the rows together again pressing seams as desired (I pressed my seams open).
  • Trim the finished block to 3 1/2 inches square.

trim block

STEP TWO – Make the block

Layout your block as below…

blocklayout

  • Sew your squares into rows and then your rows into a block.
  • Iron your seam as desired – I ironed mine open to get the block to sit as flat as I could.
  • If required, trim final block to 12 1/2 inches. Repeat the process until you have as many blocks as you need….

Our quilt will be a rainbow of color, with each block having two bright colors per block… but I think it would be fun to do a block with just two colors – one for the big blocks and one for the small blocks.

As a caveat to this blog post it is the first one I have done on my new MacBook.  My old computer gave up the ghost a couple of weeks ago (one of the reasons I have not been posting) and I am still finding my way around this machine.  My hope is a new computer will encourage me to post more… heres hoping!